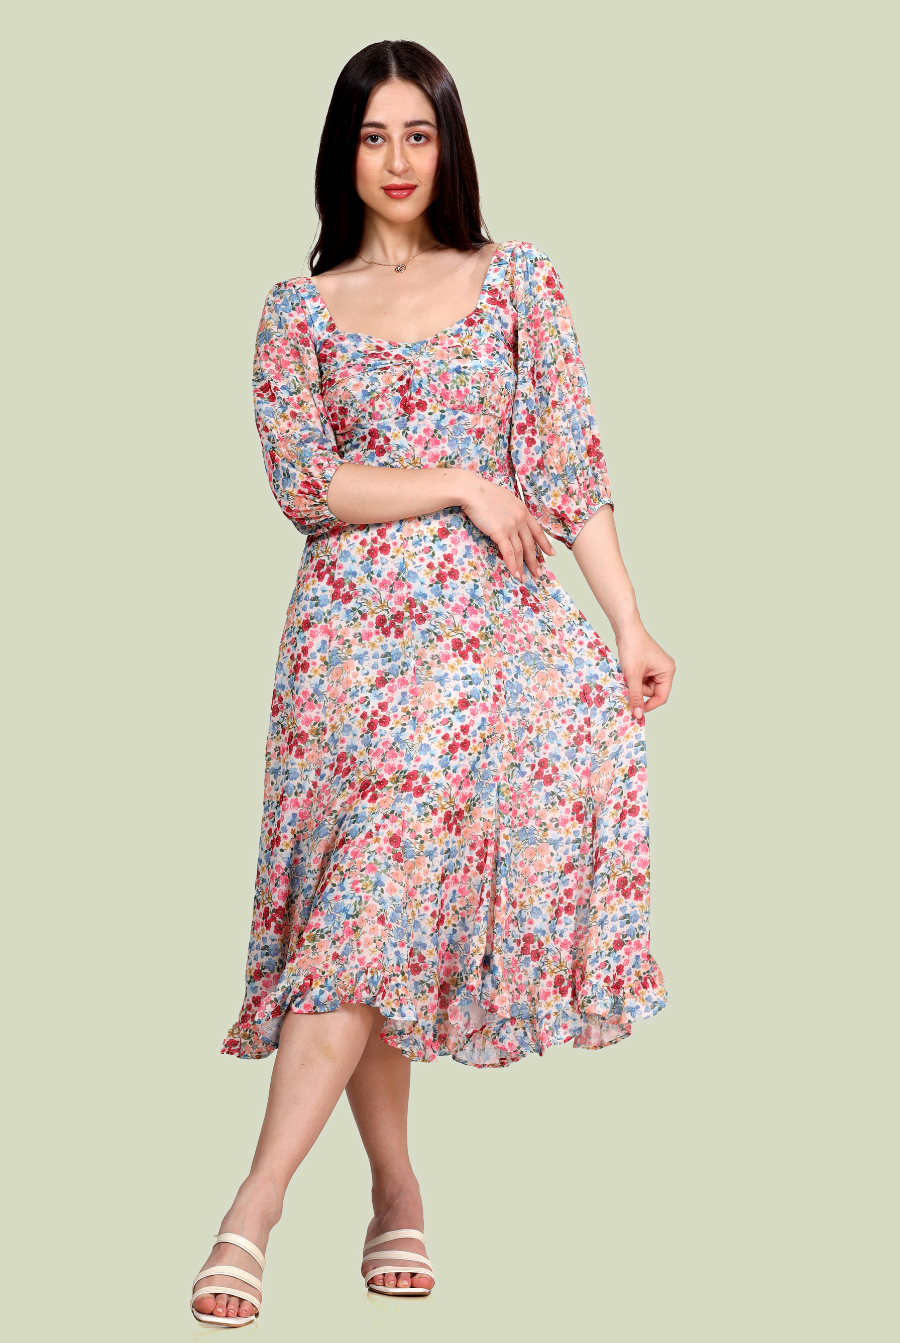
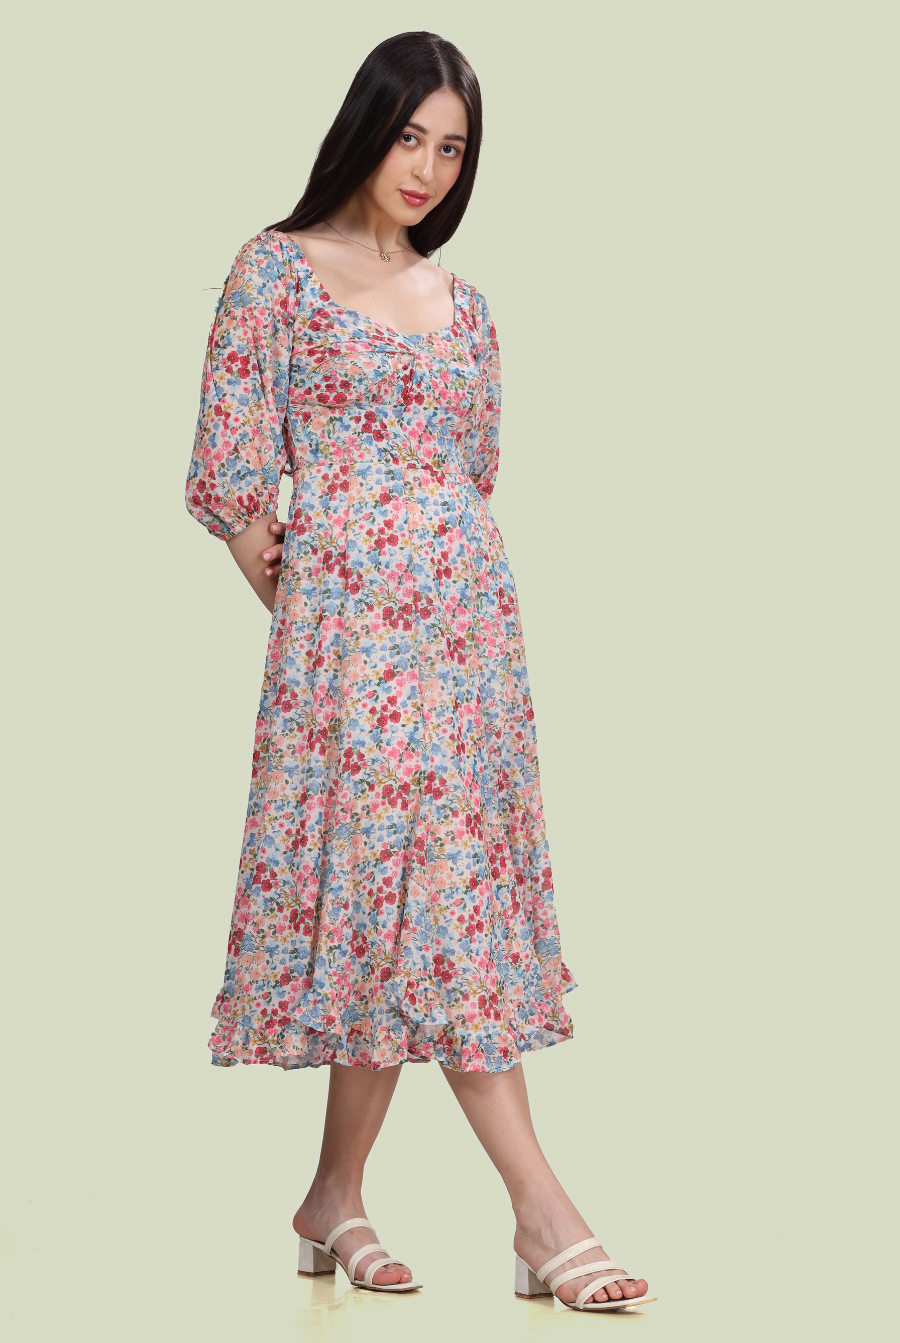
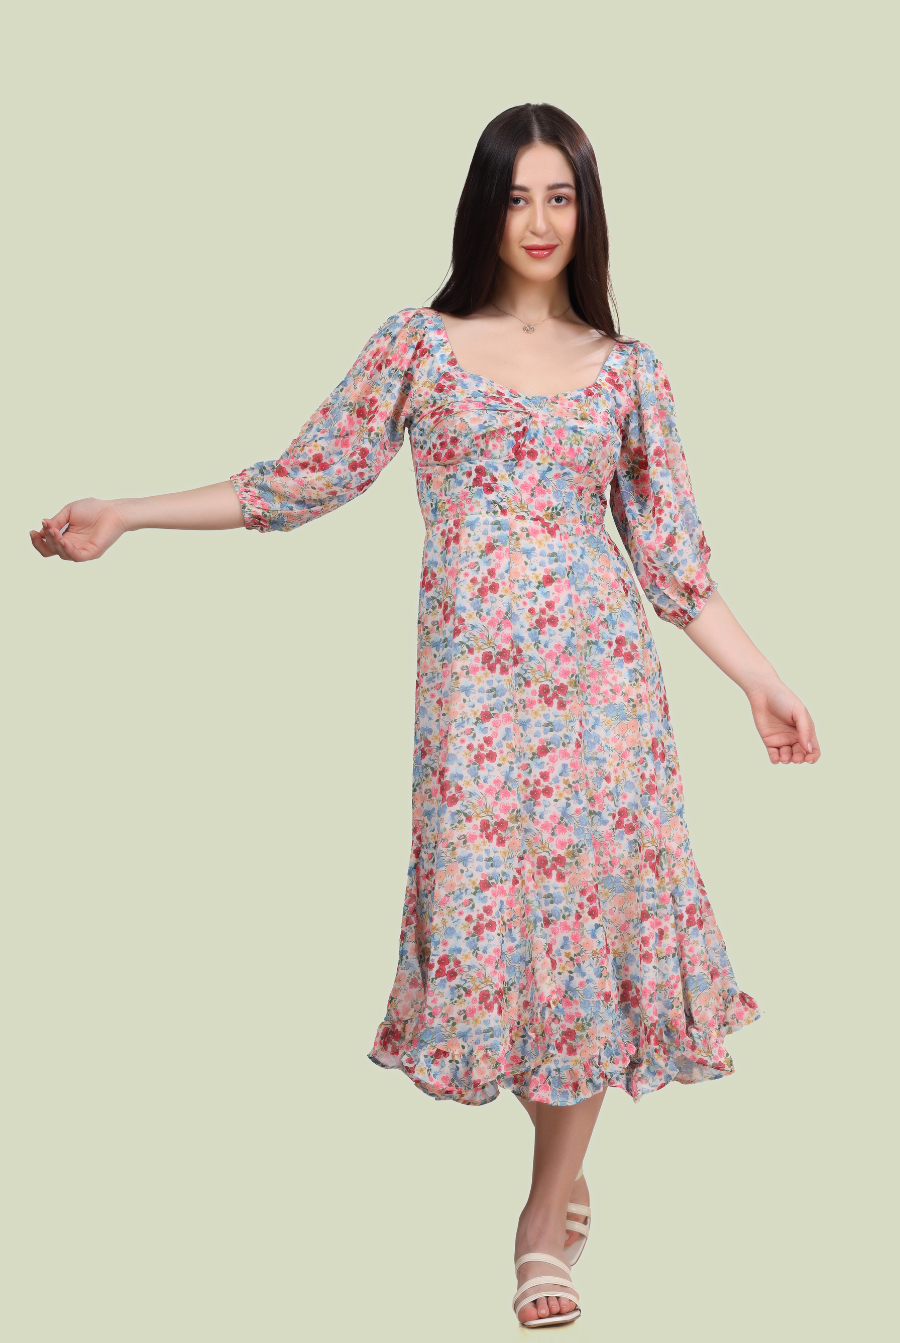
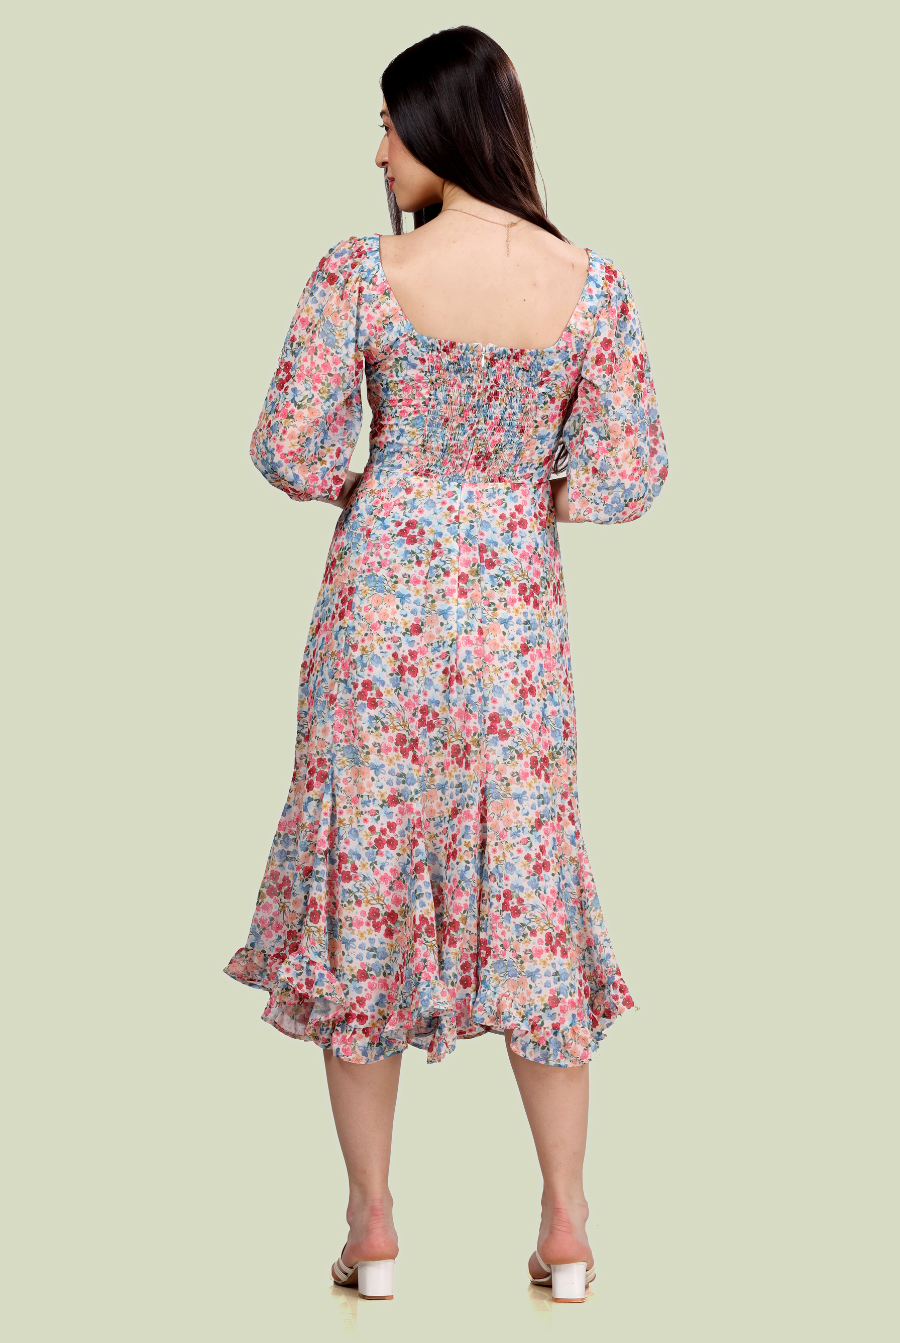
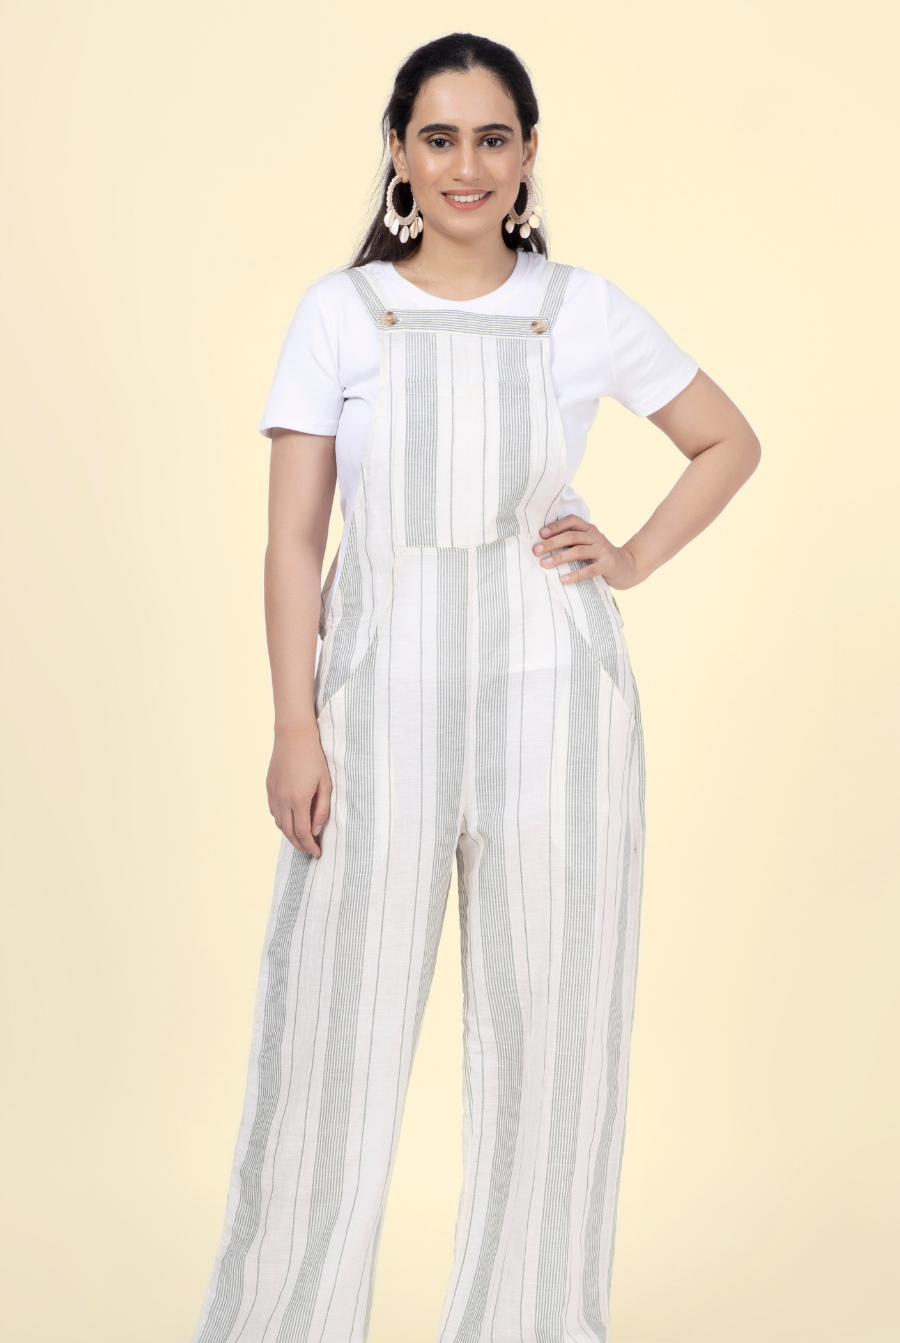
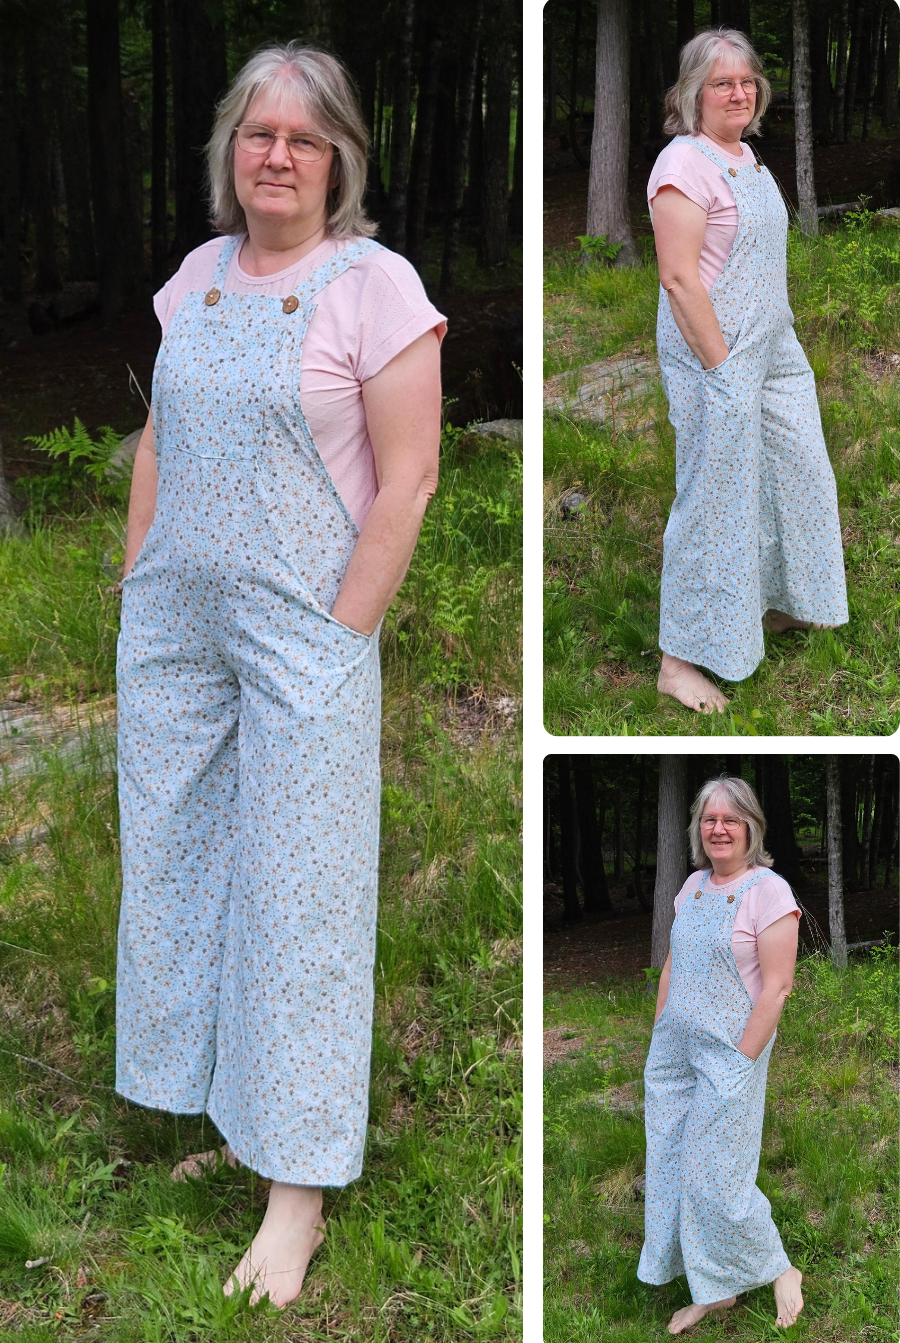
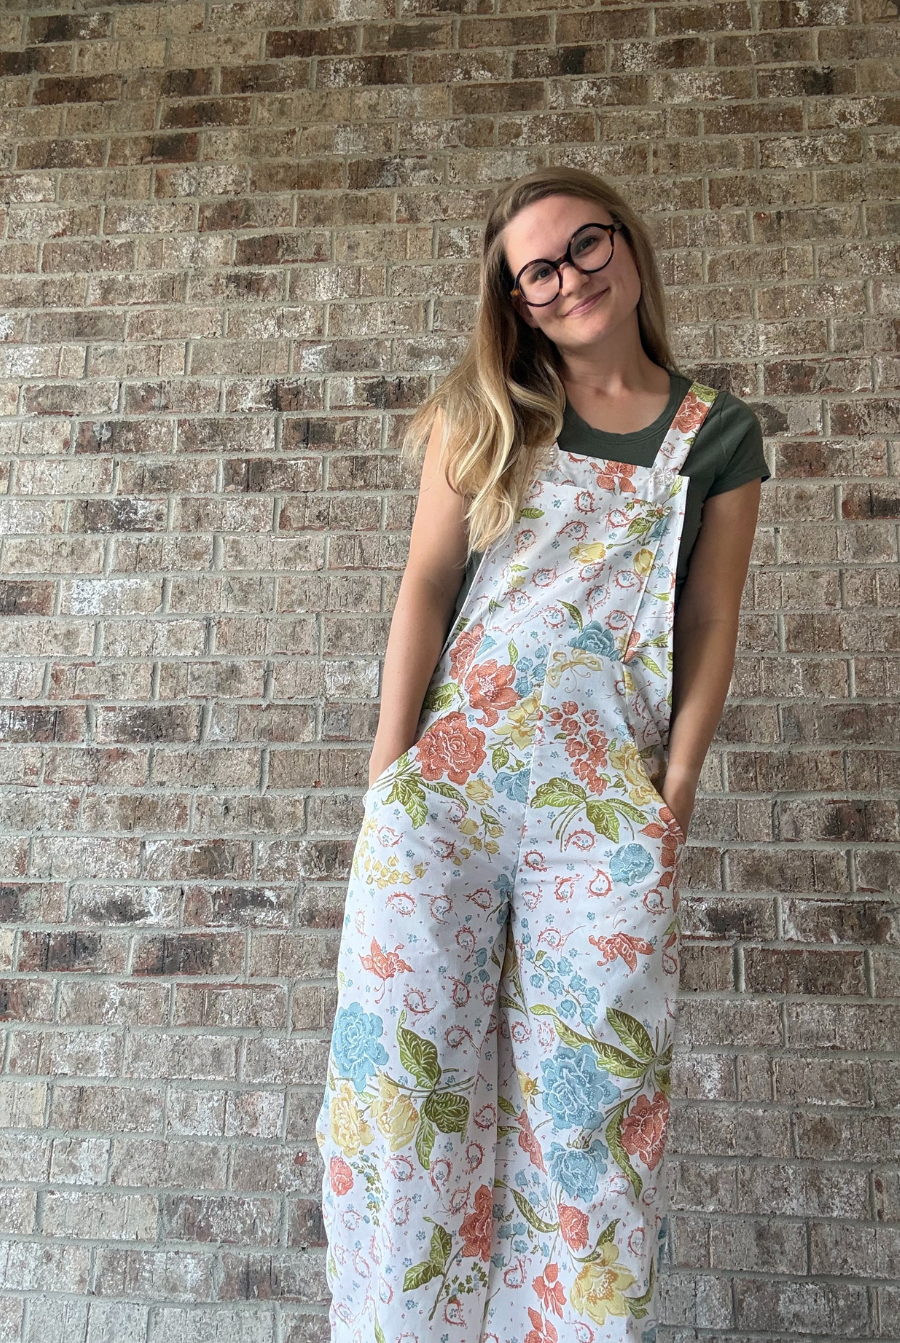
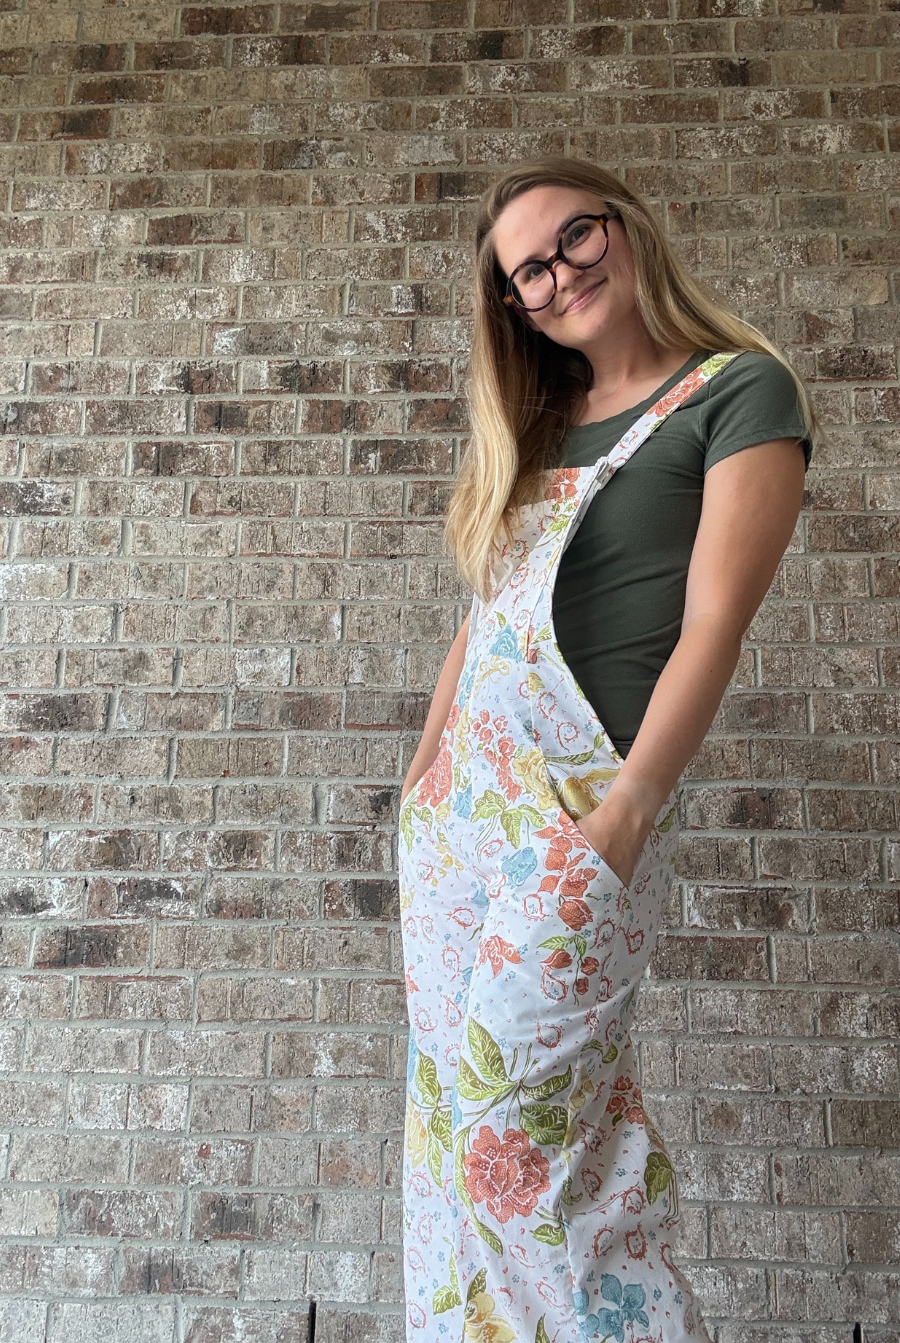
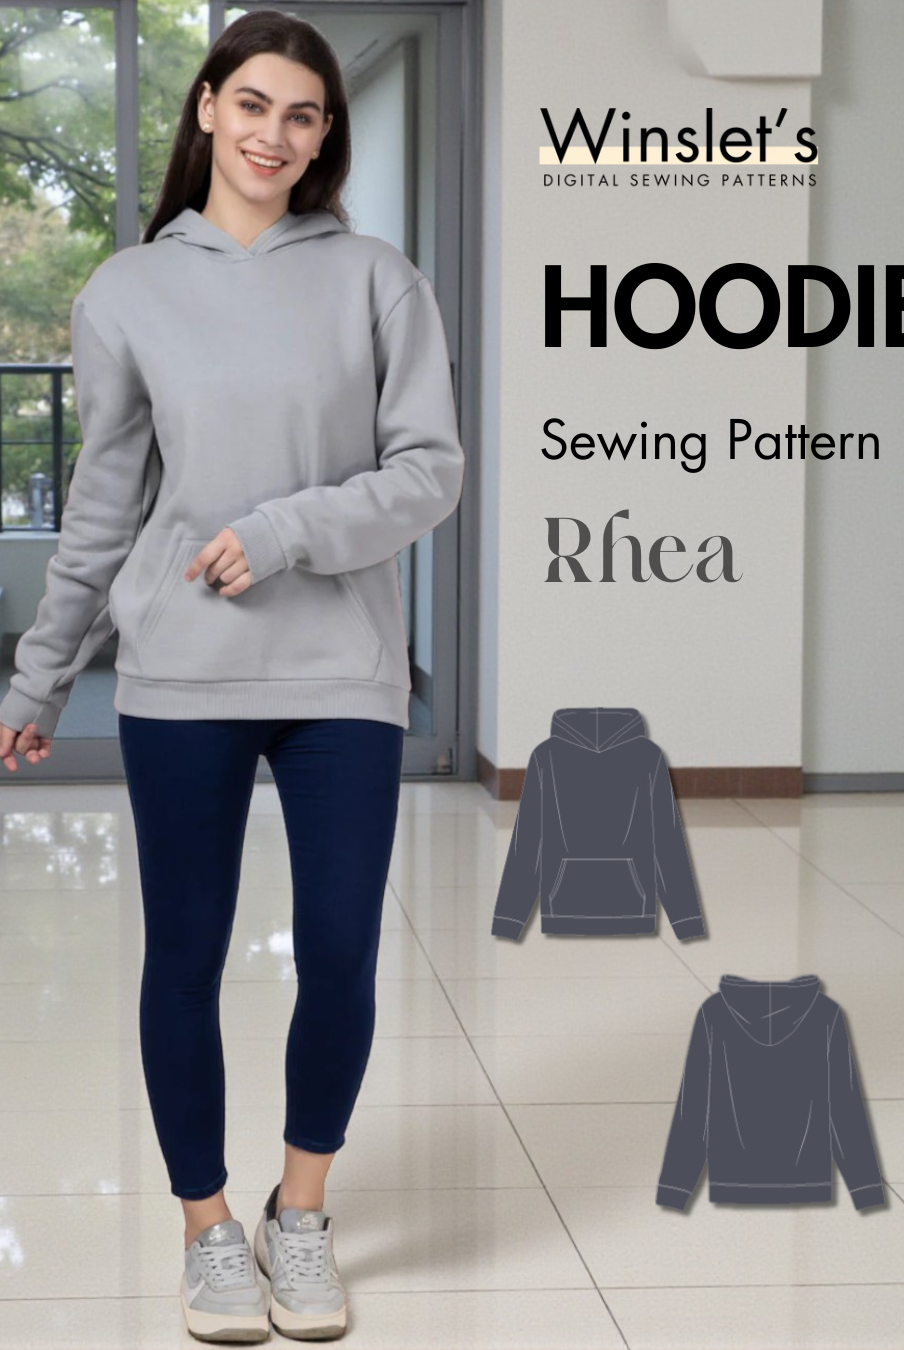
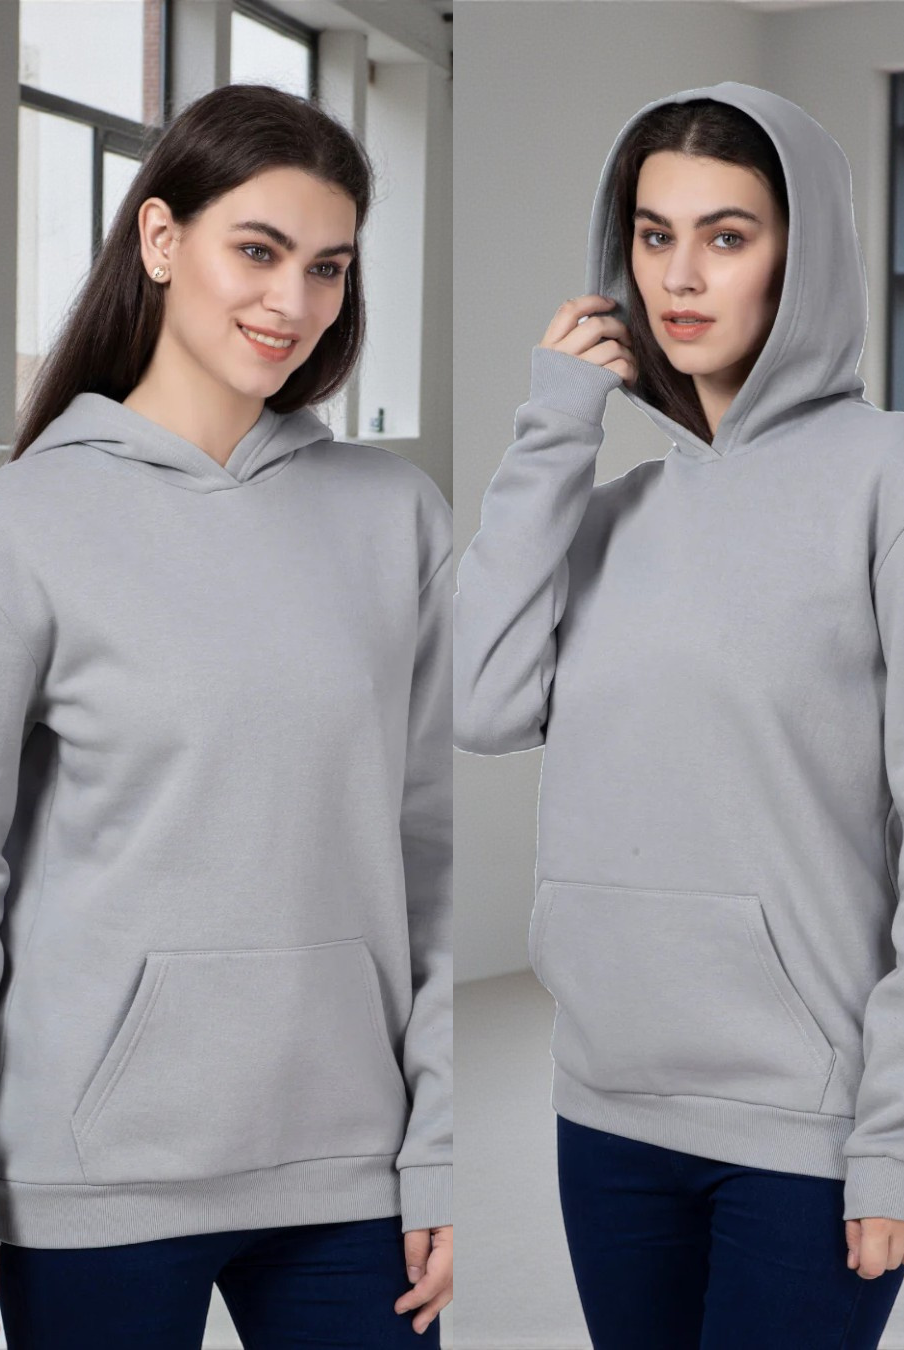
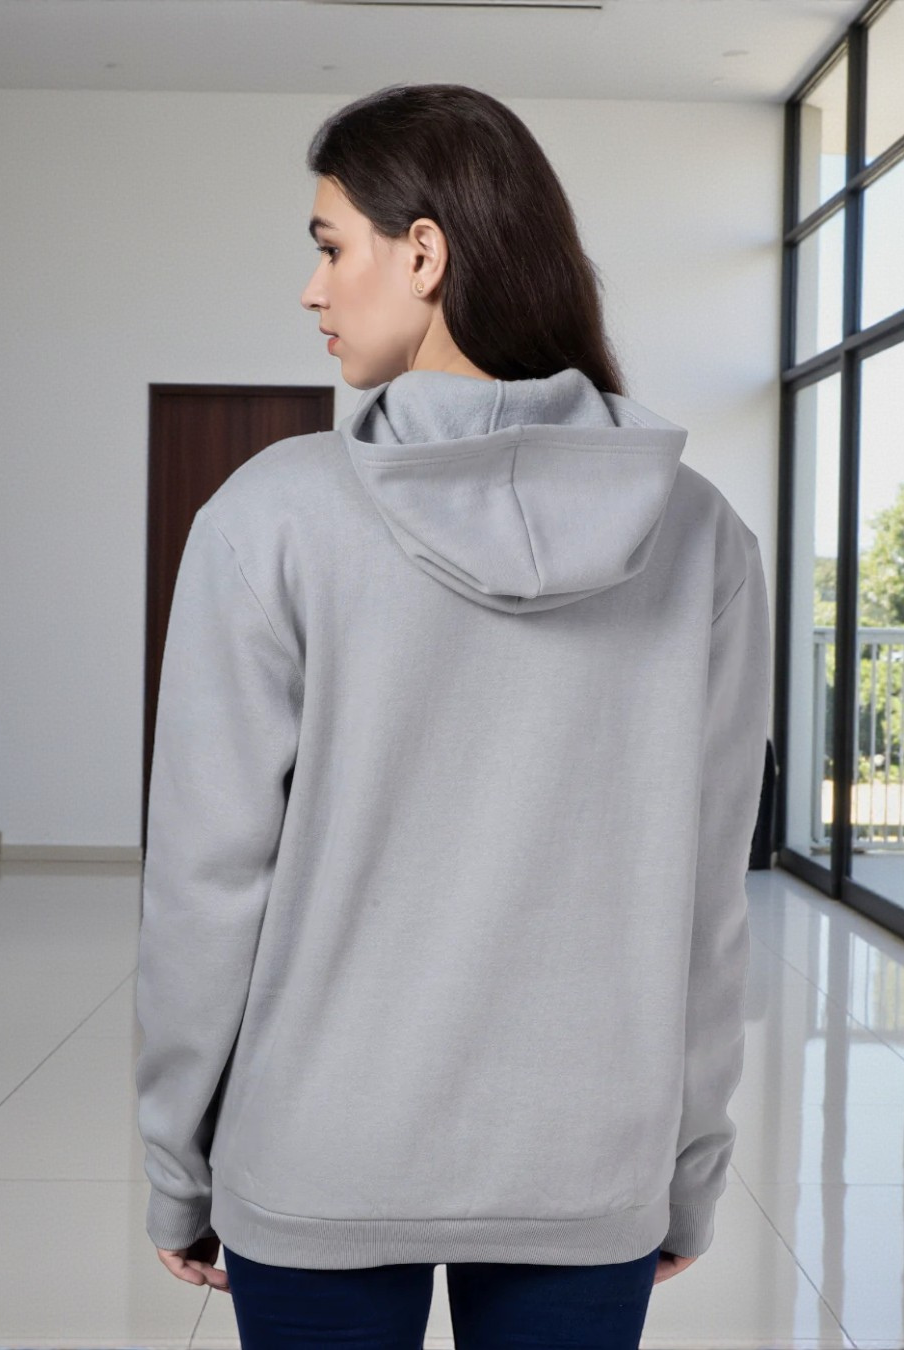
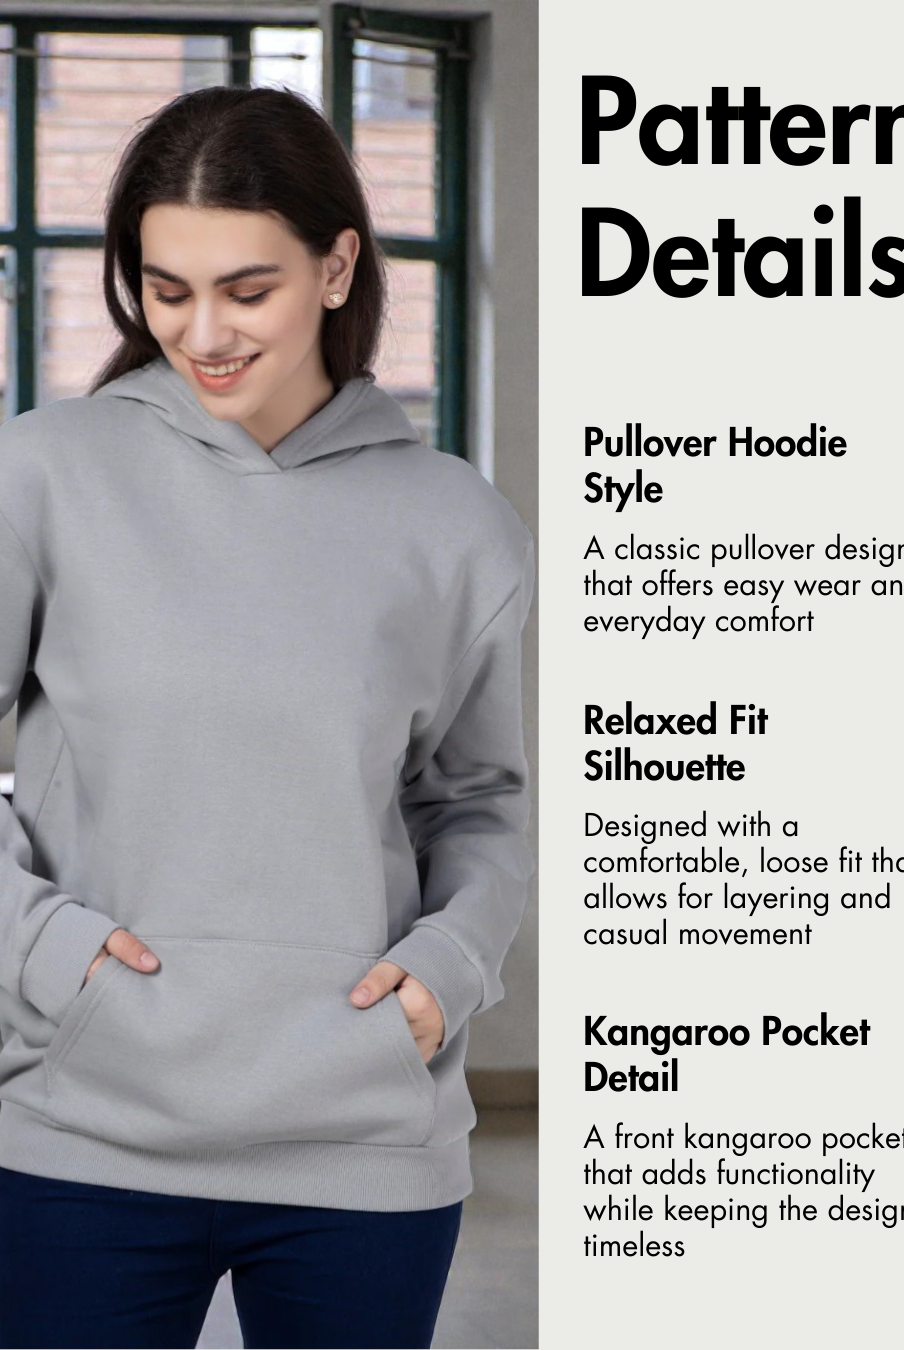
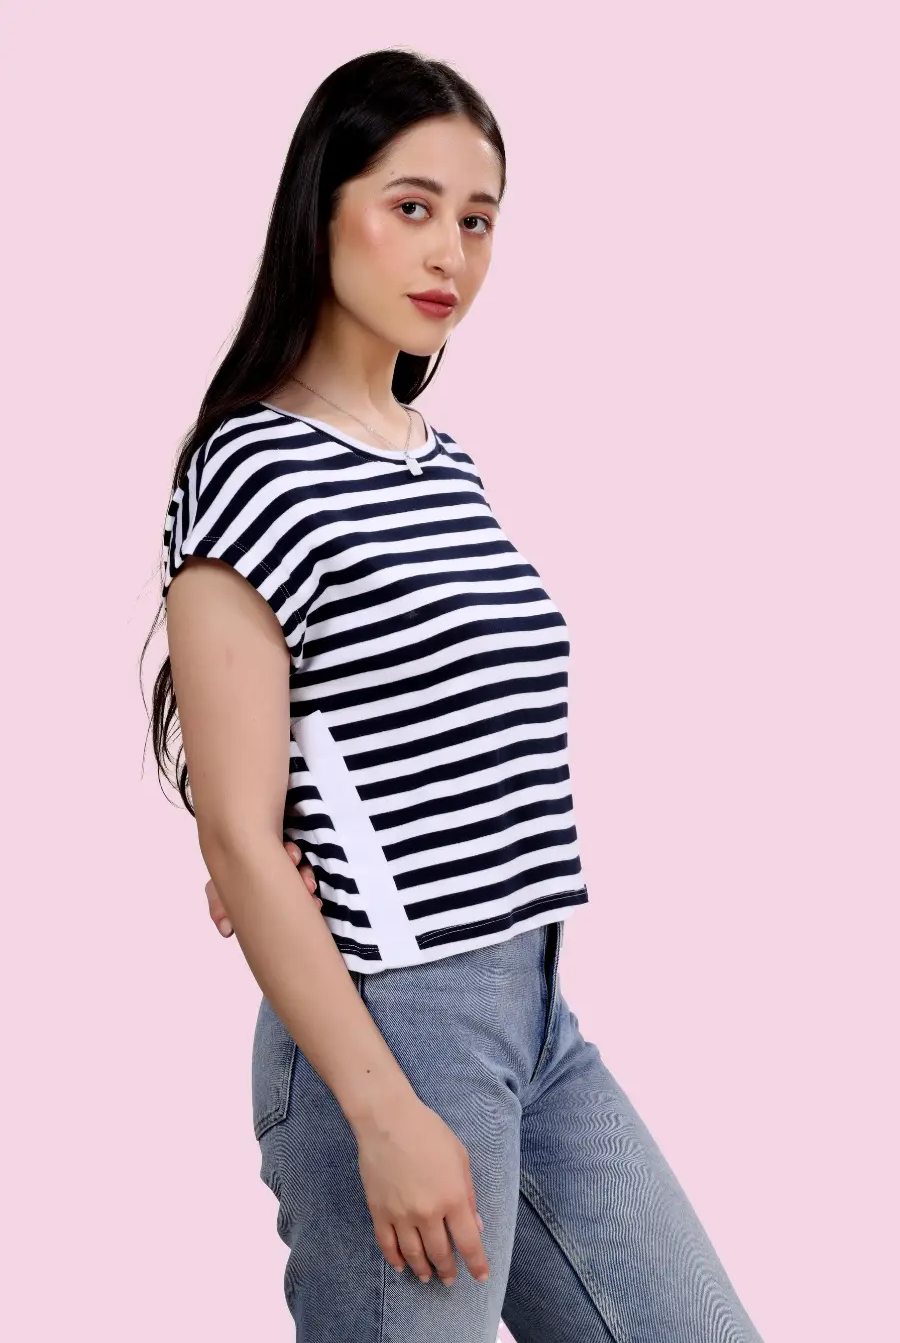
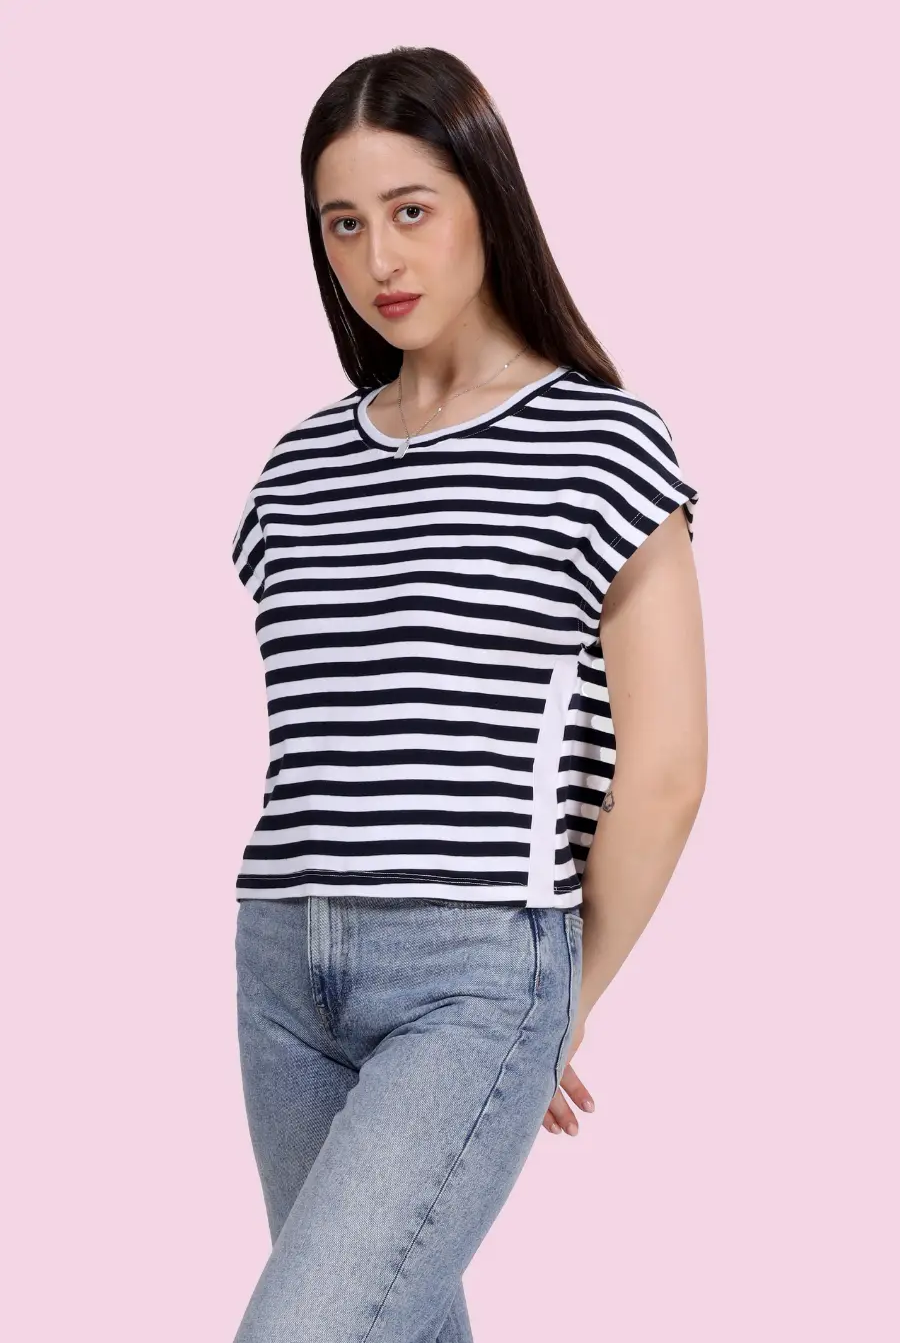
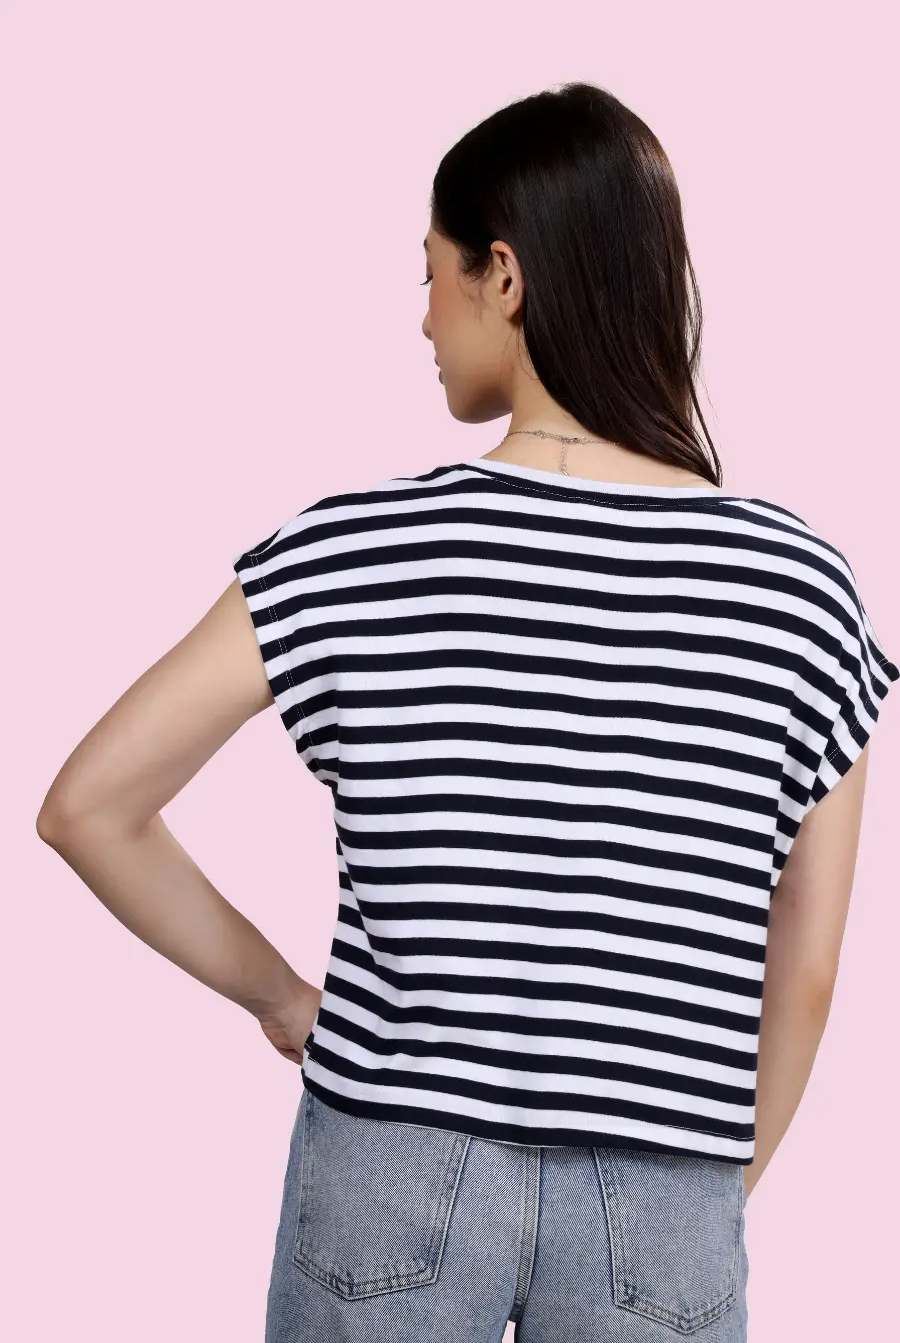
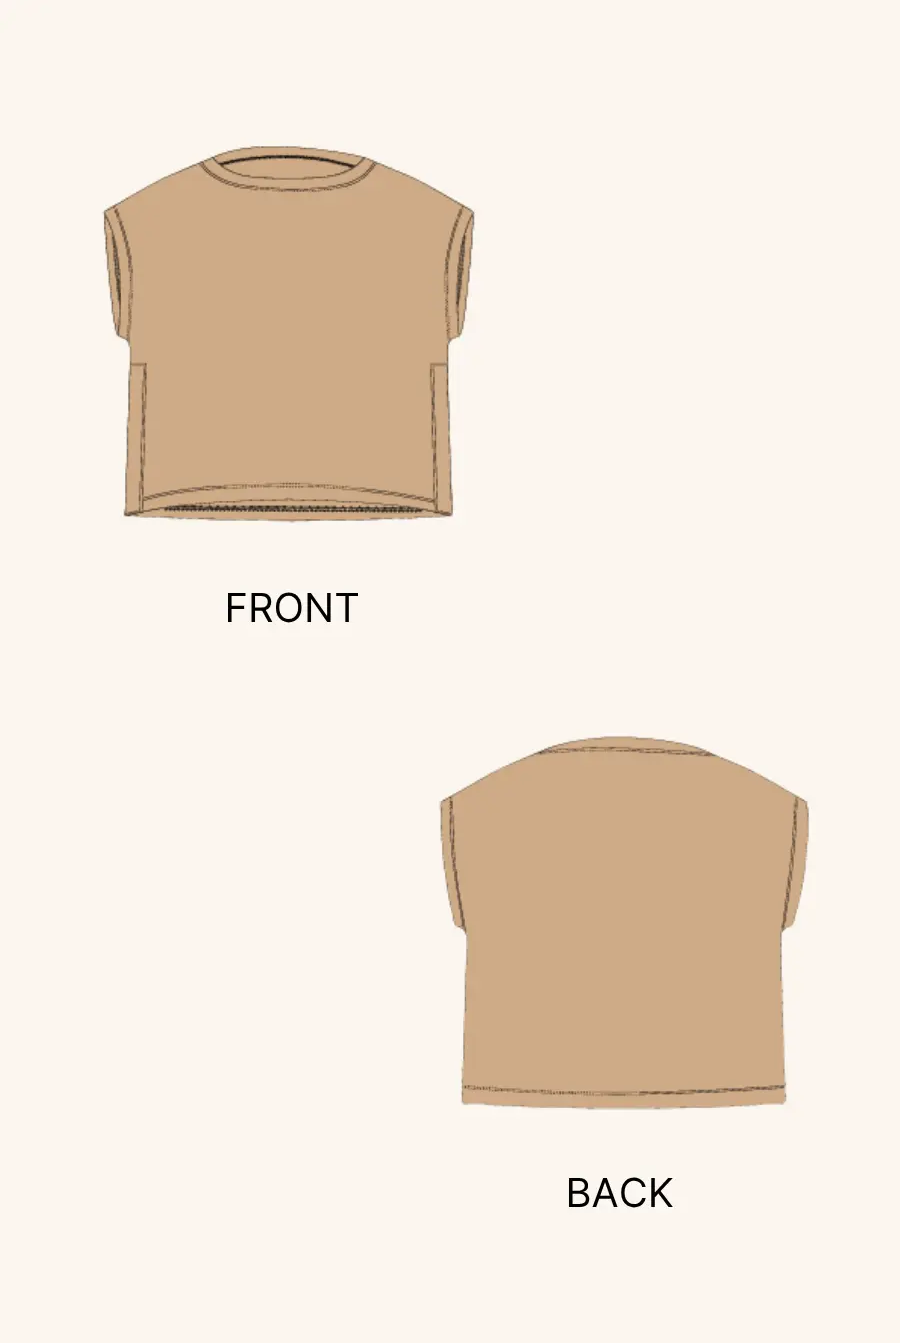
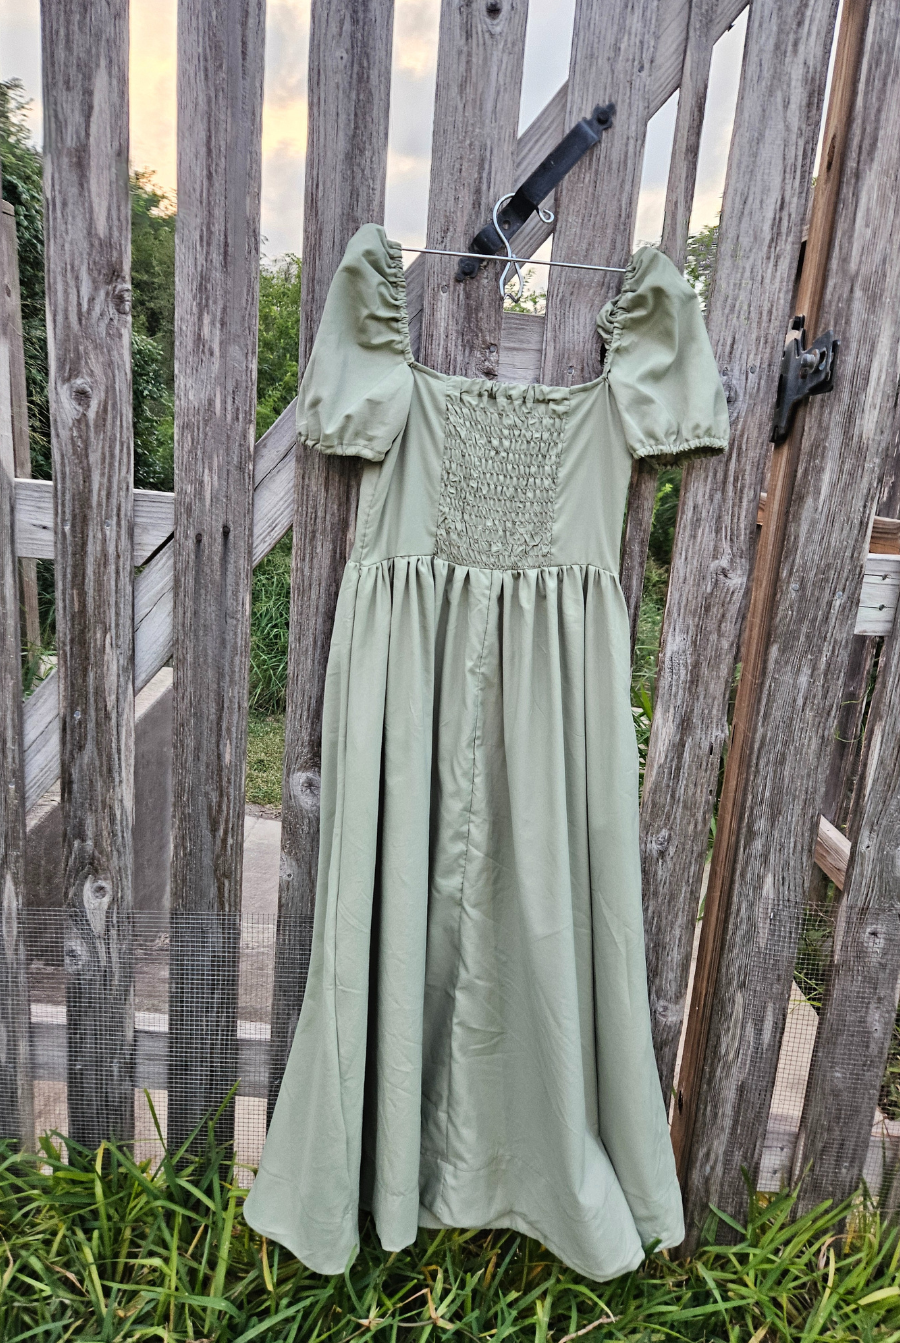
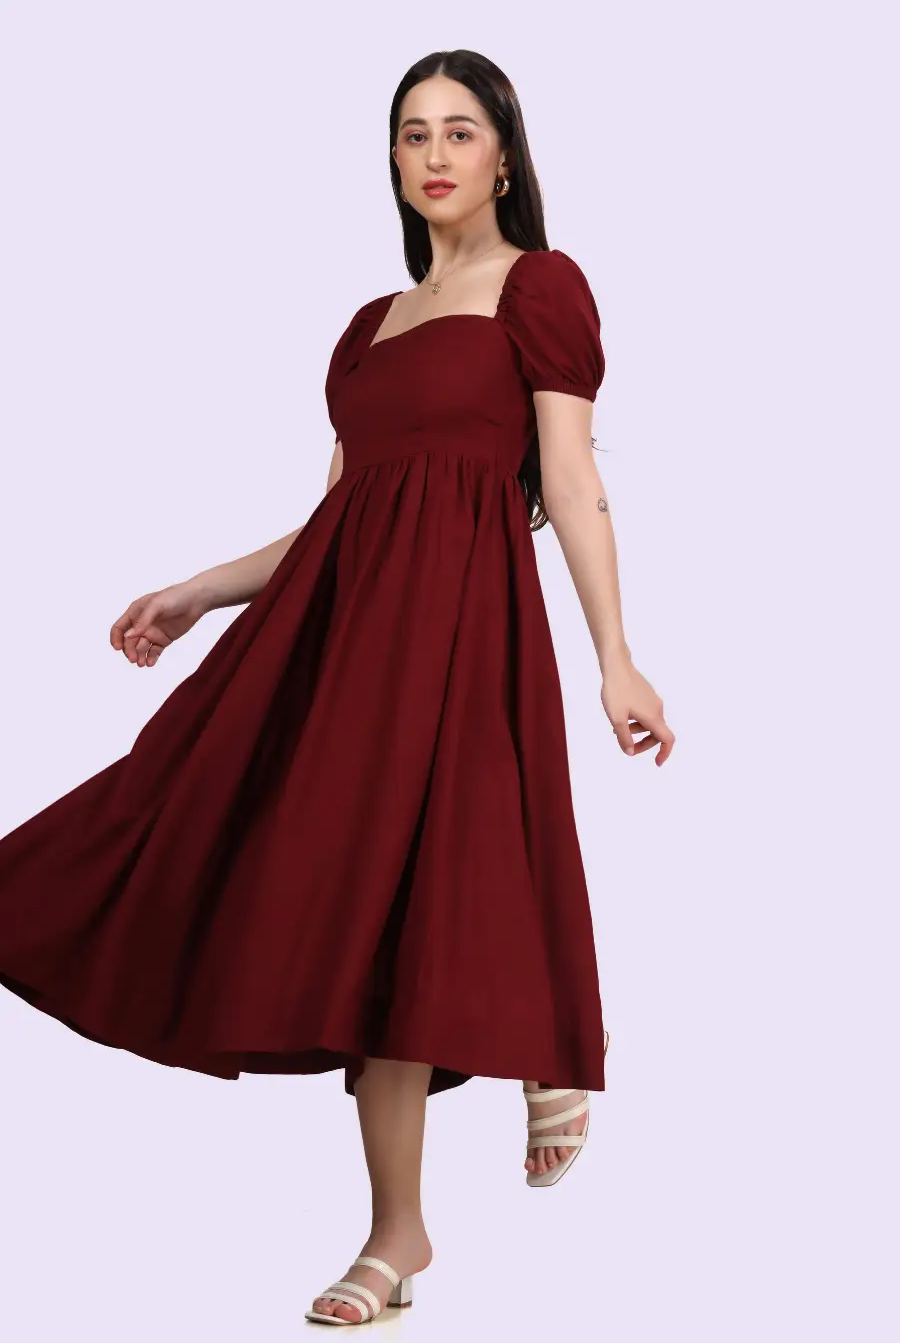
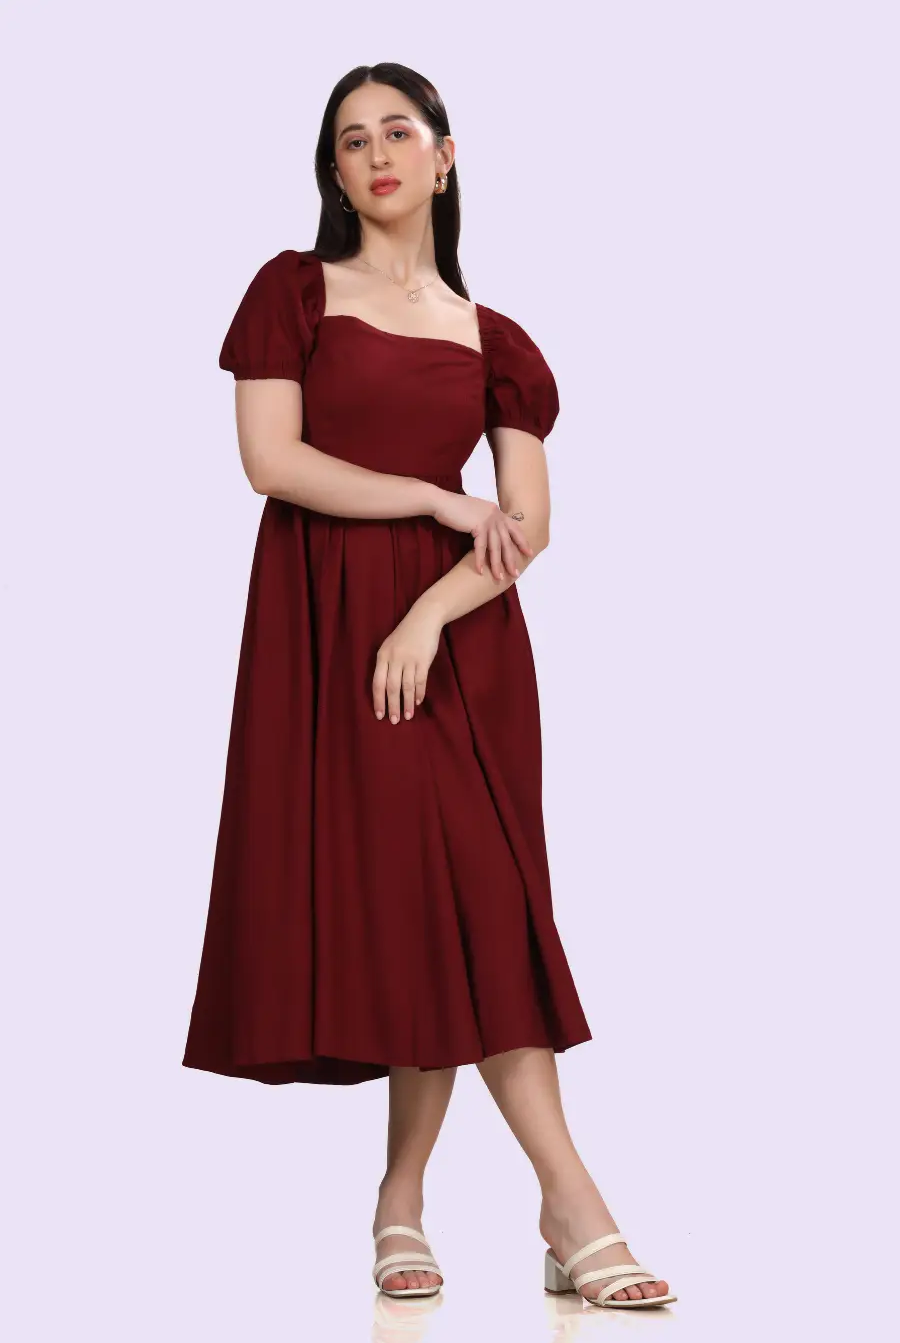
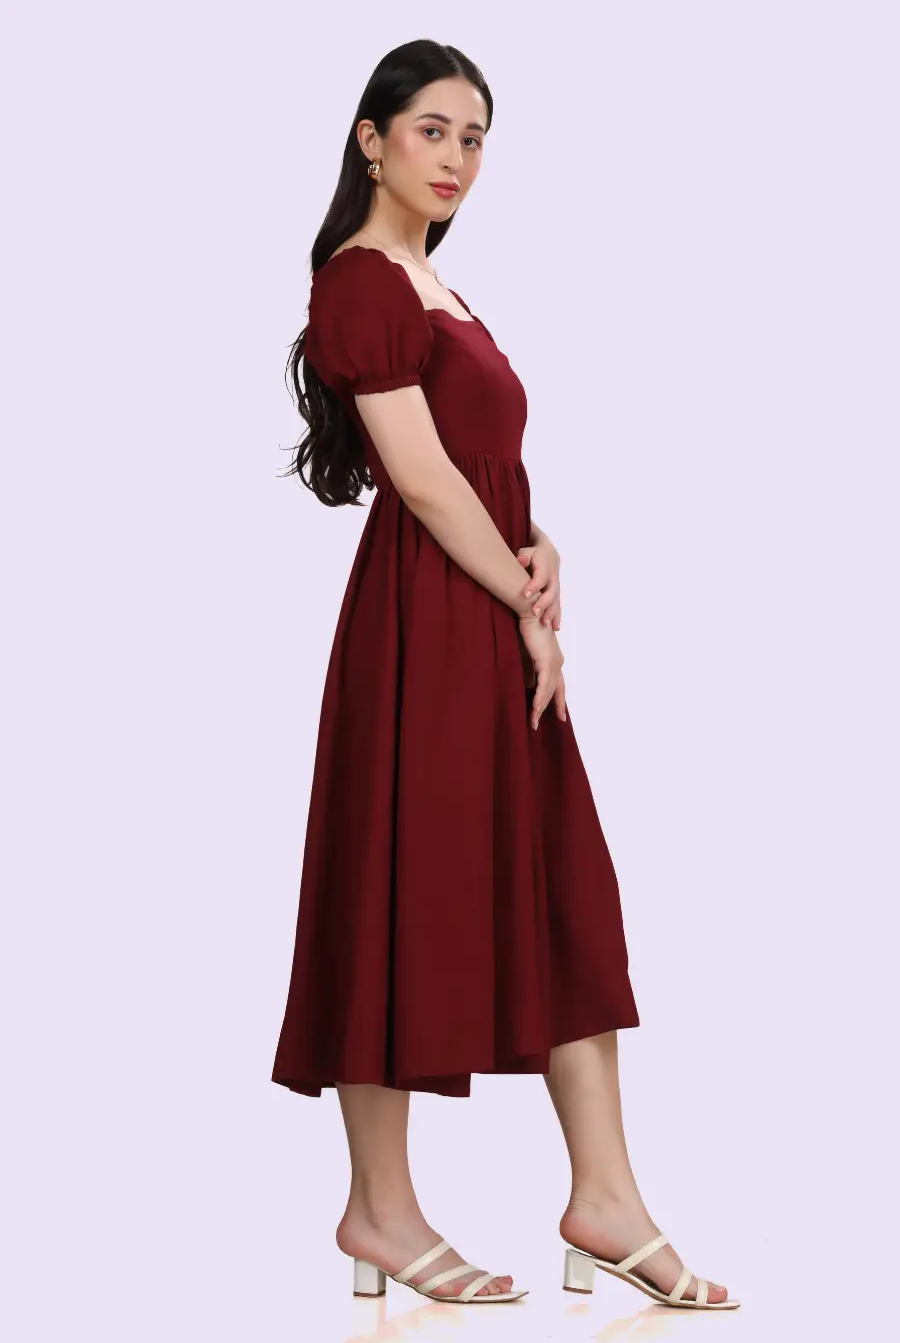
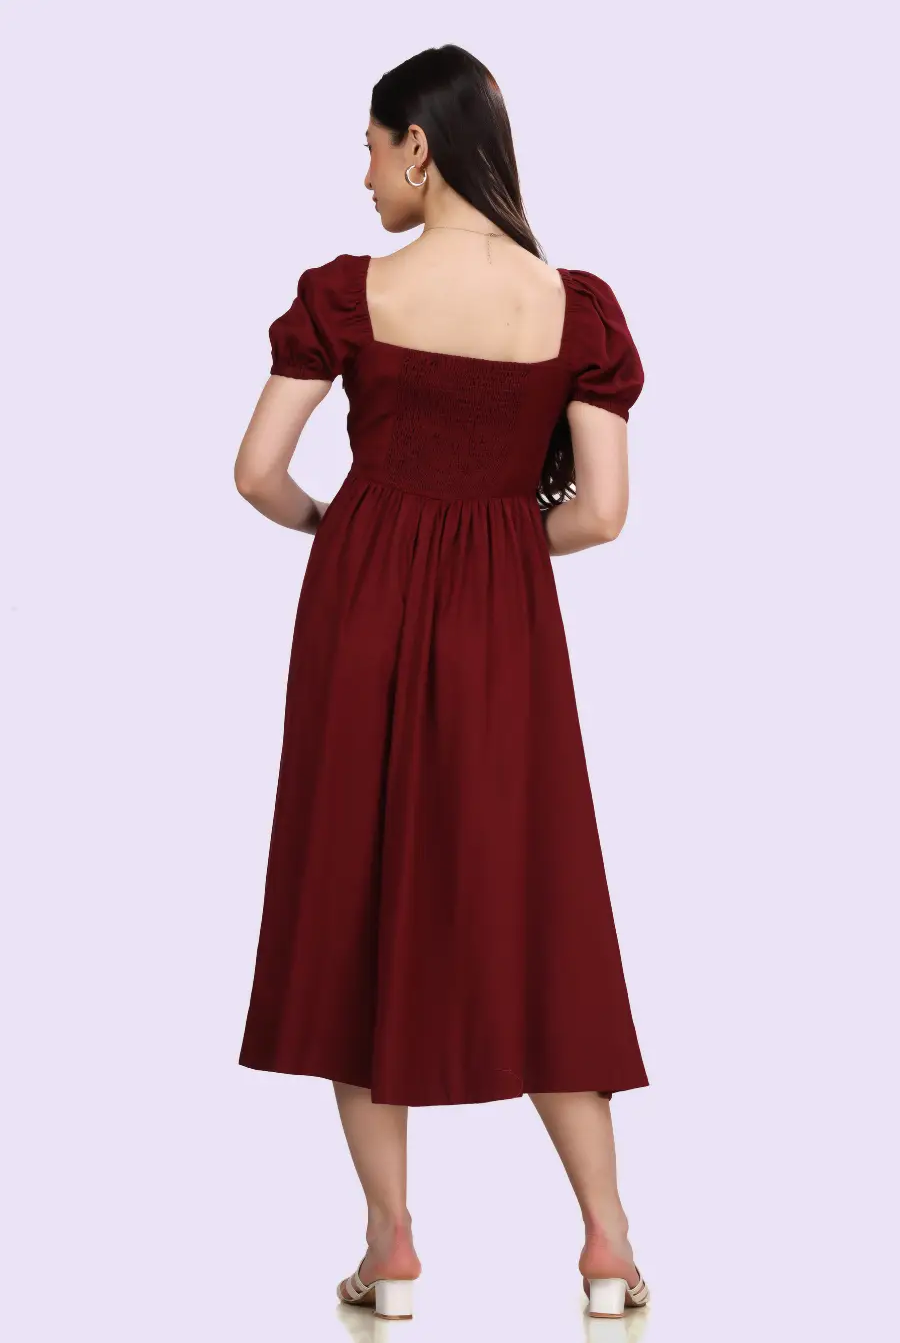
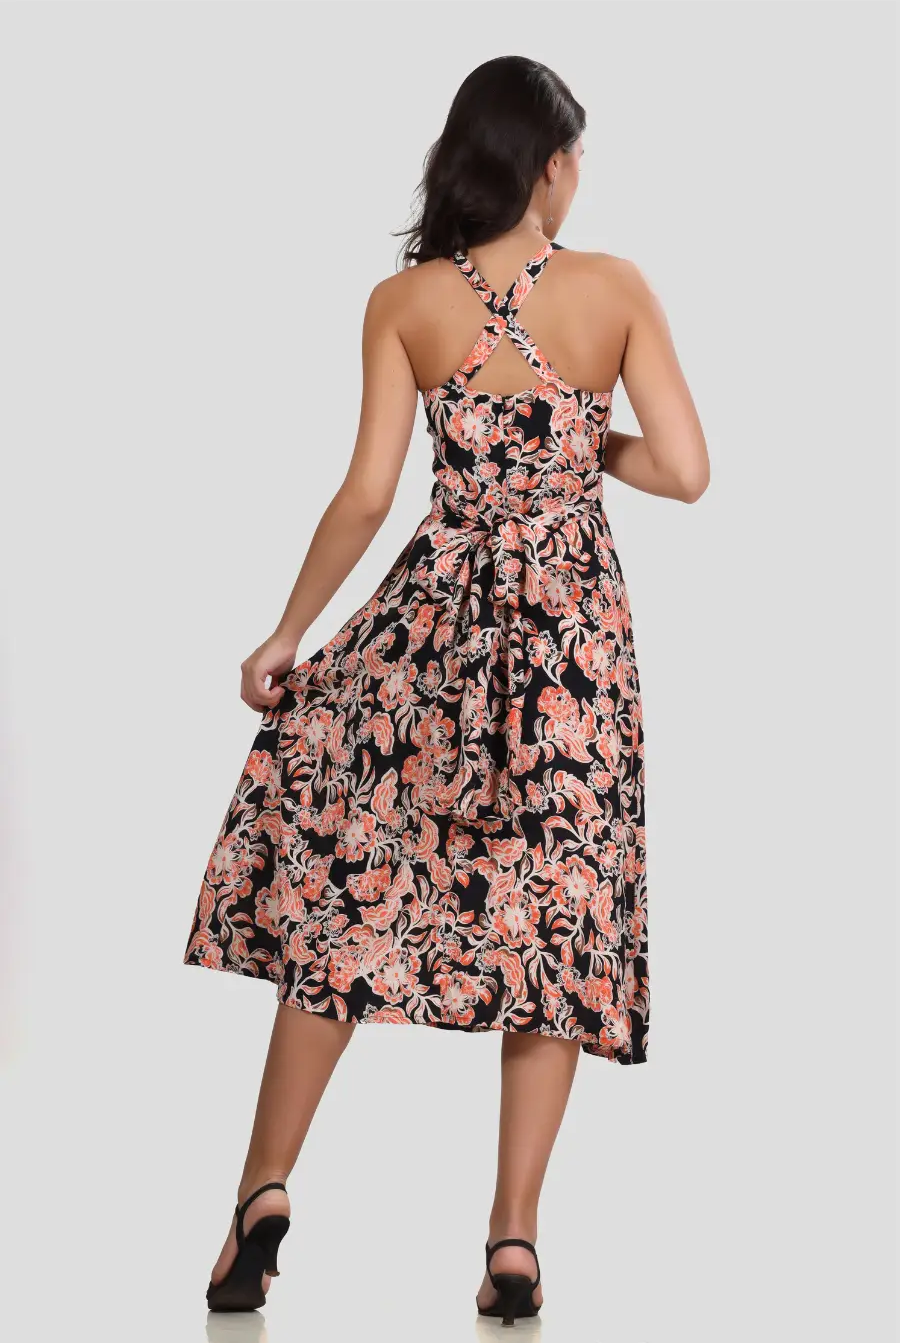
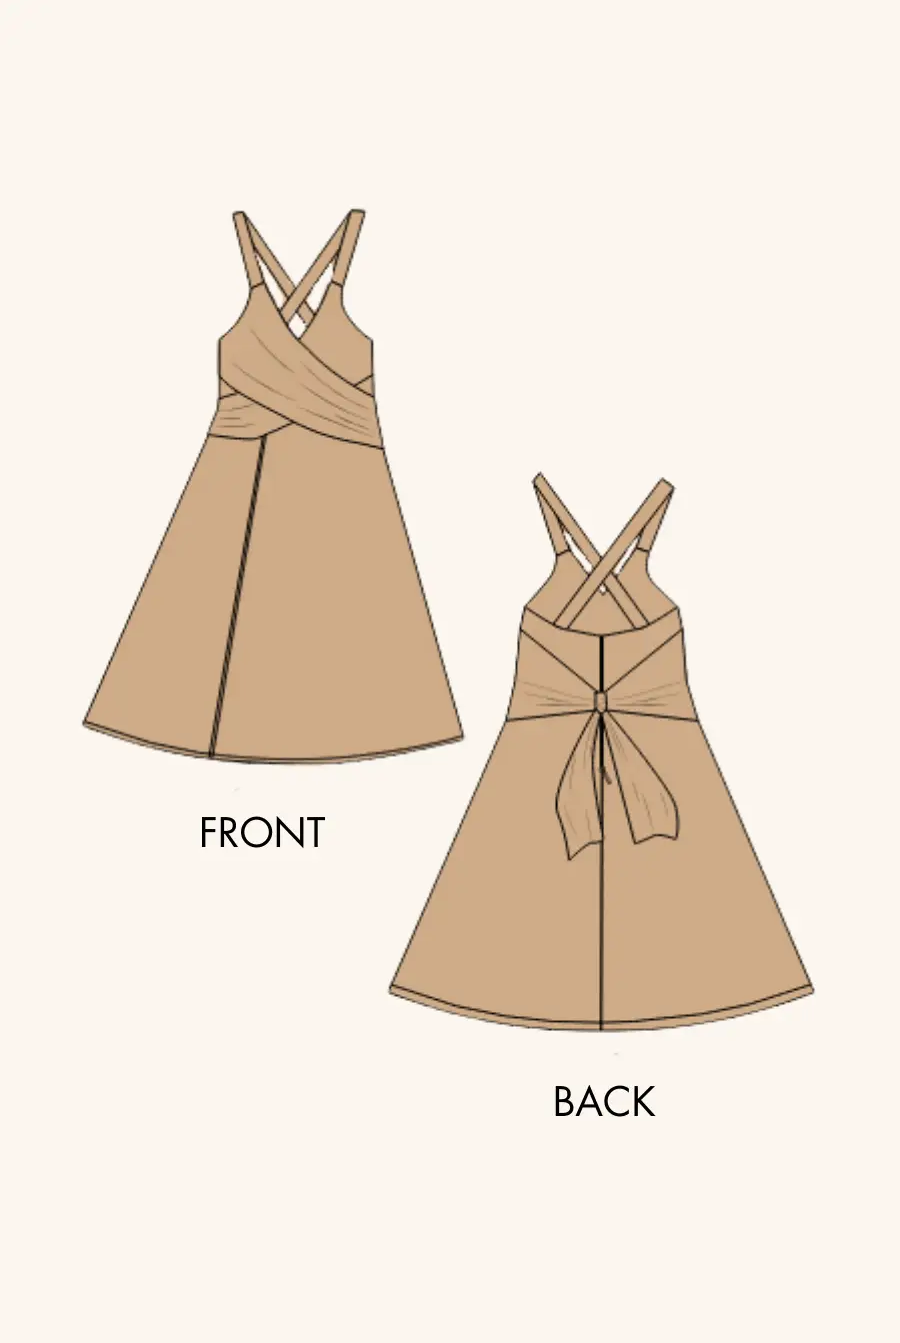
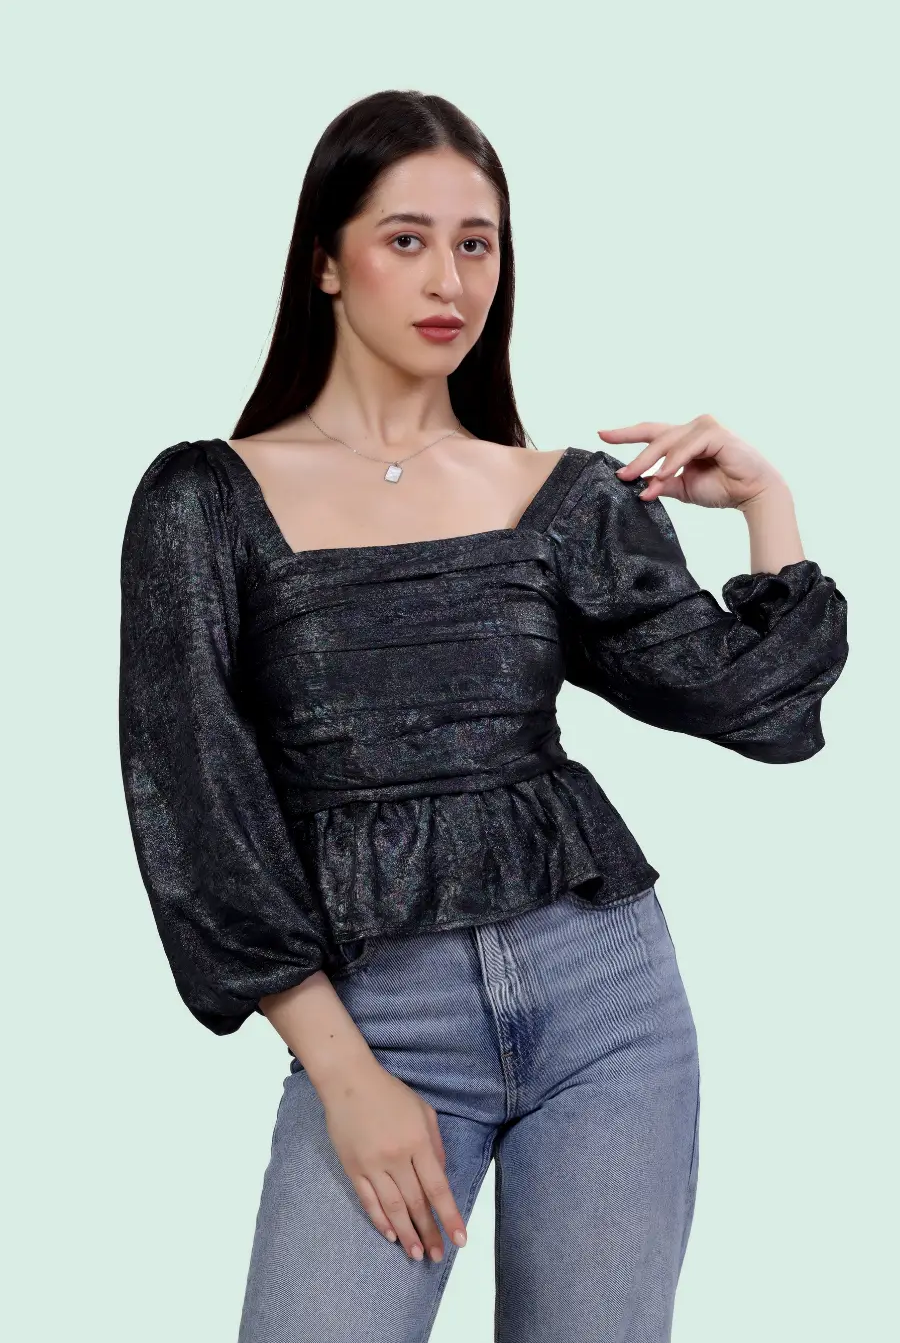
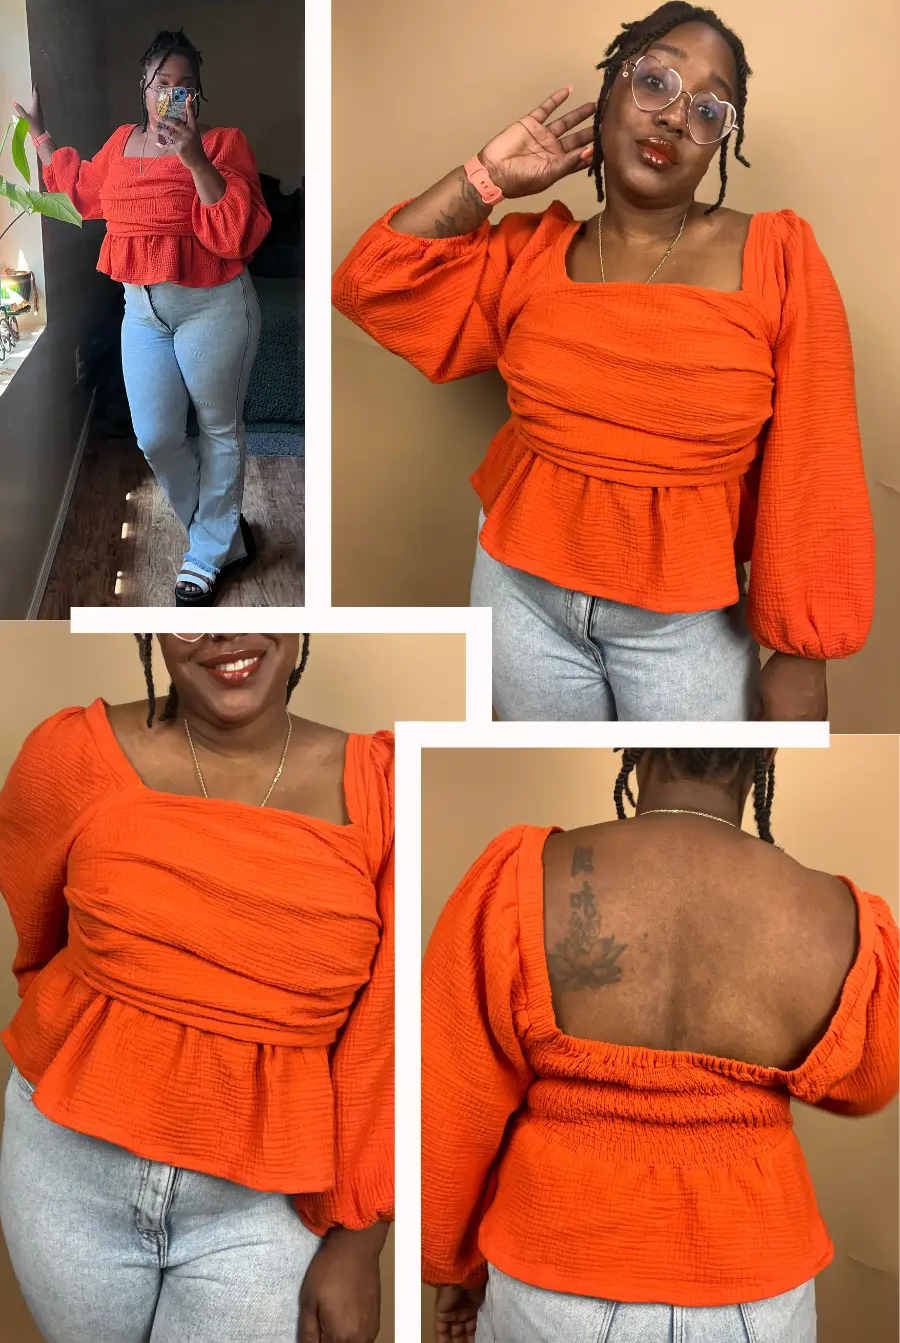
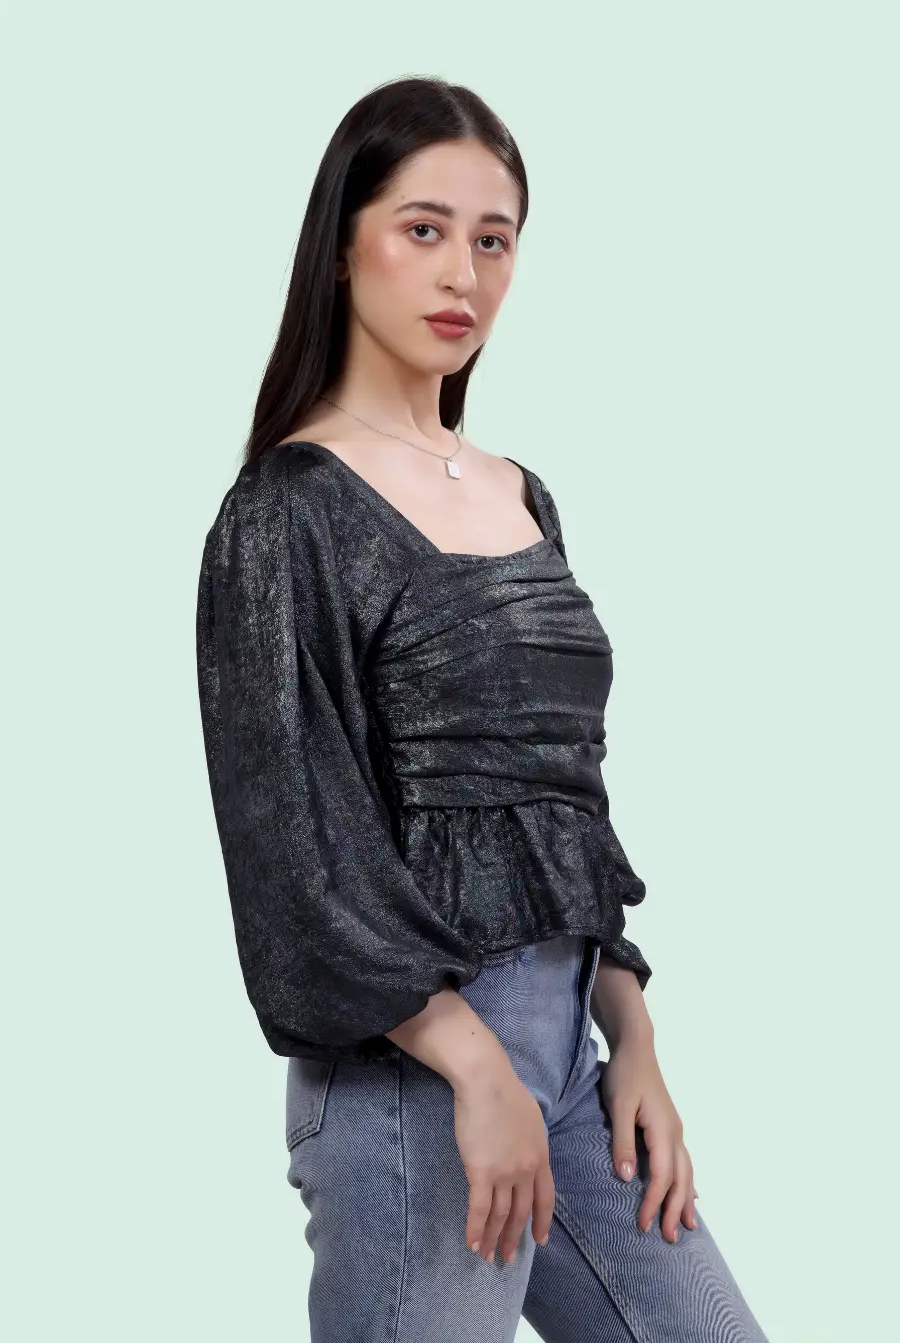
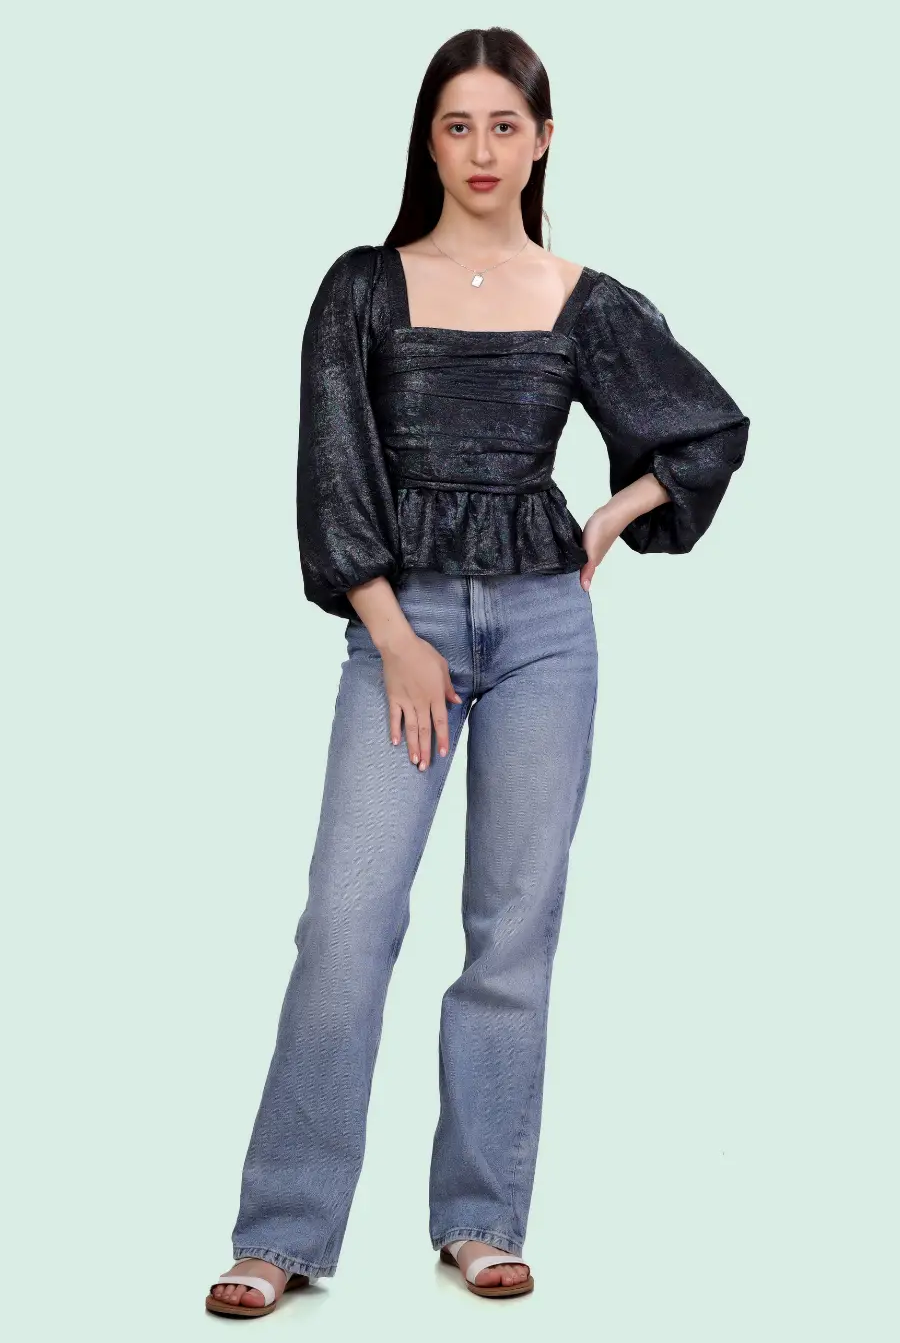
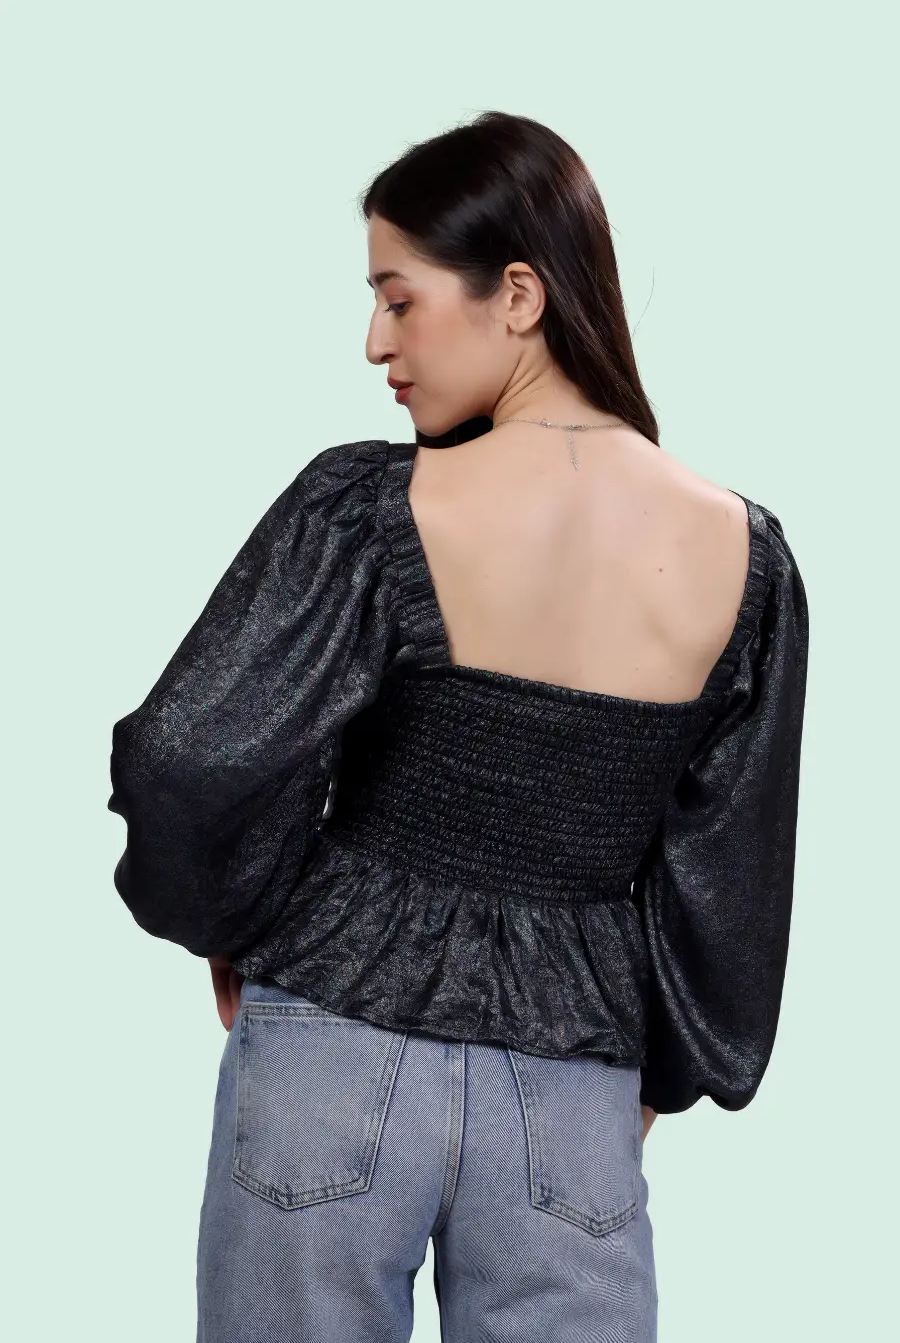
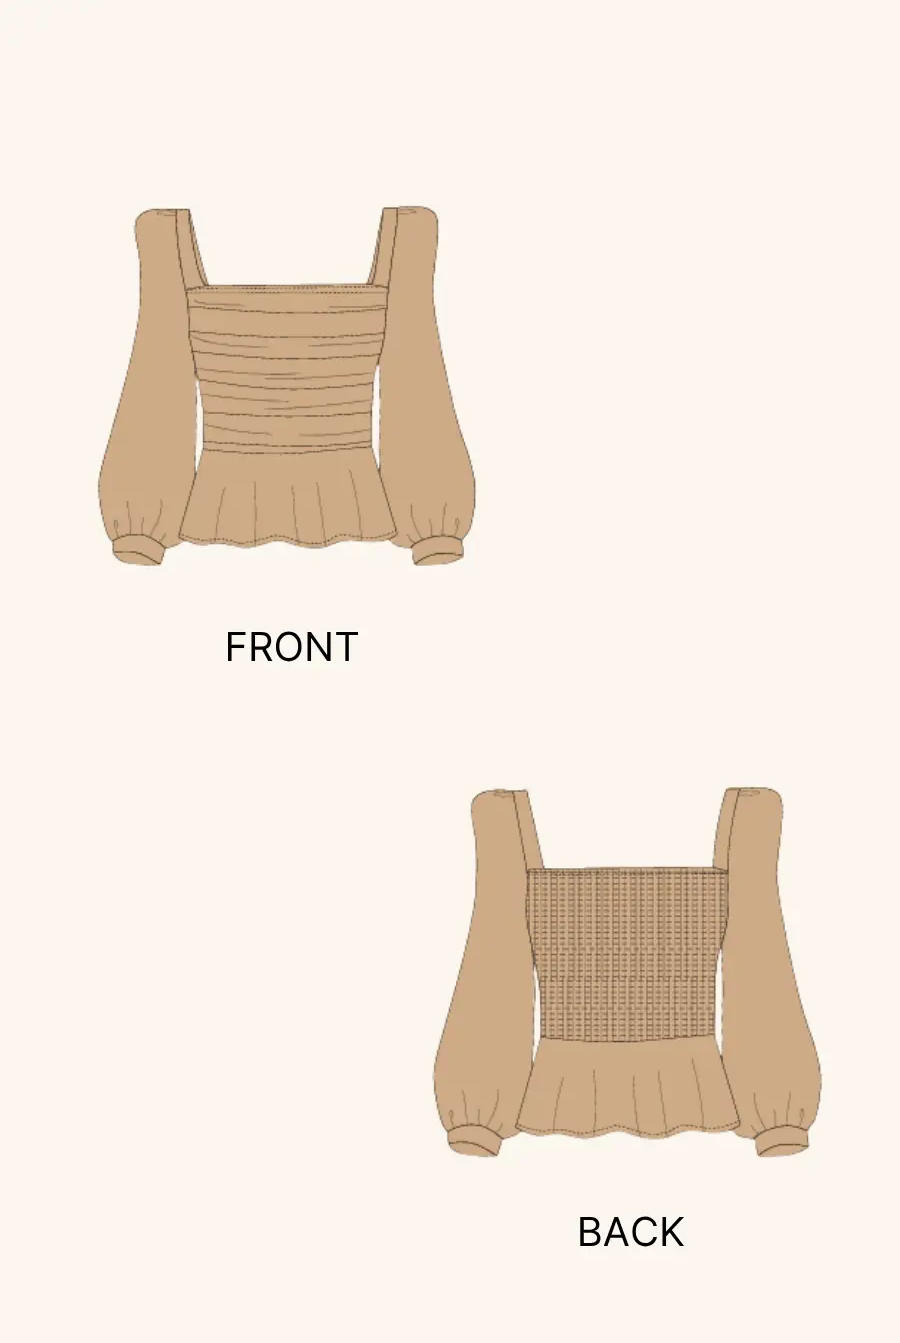
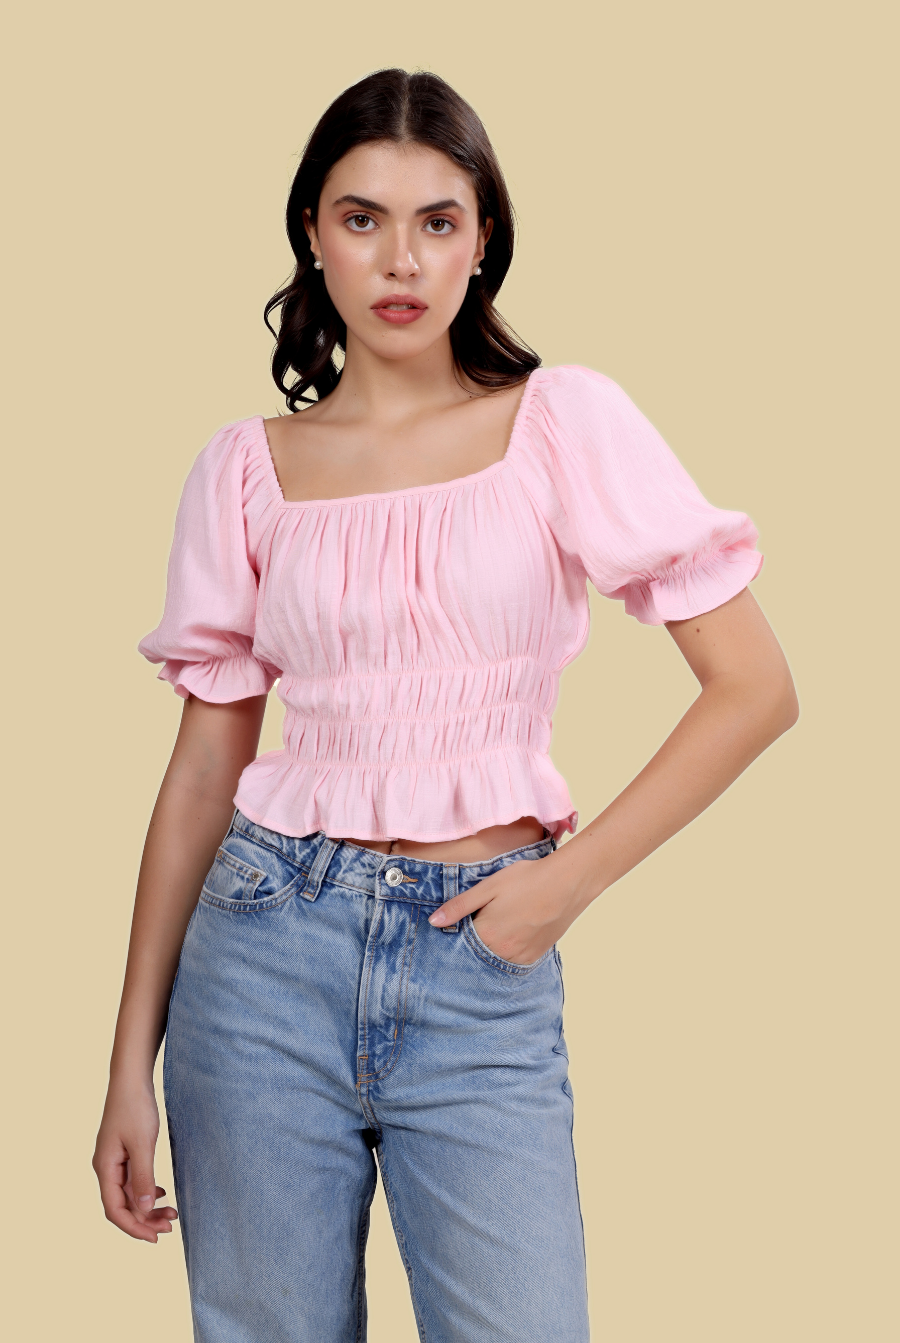
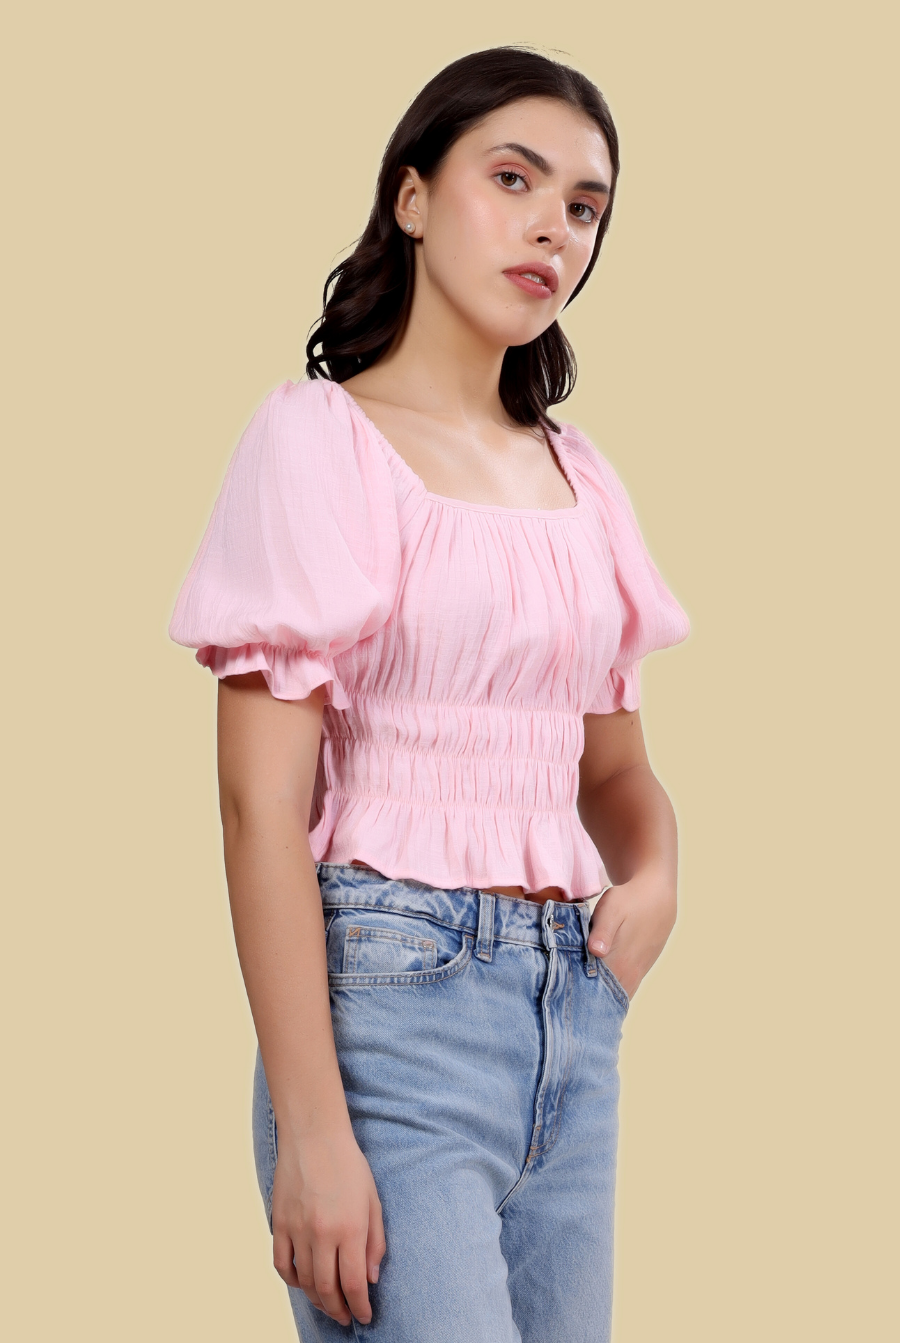
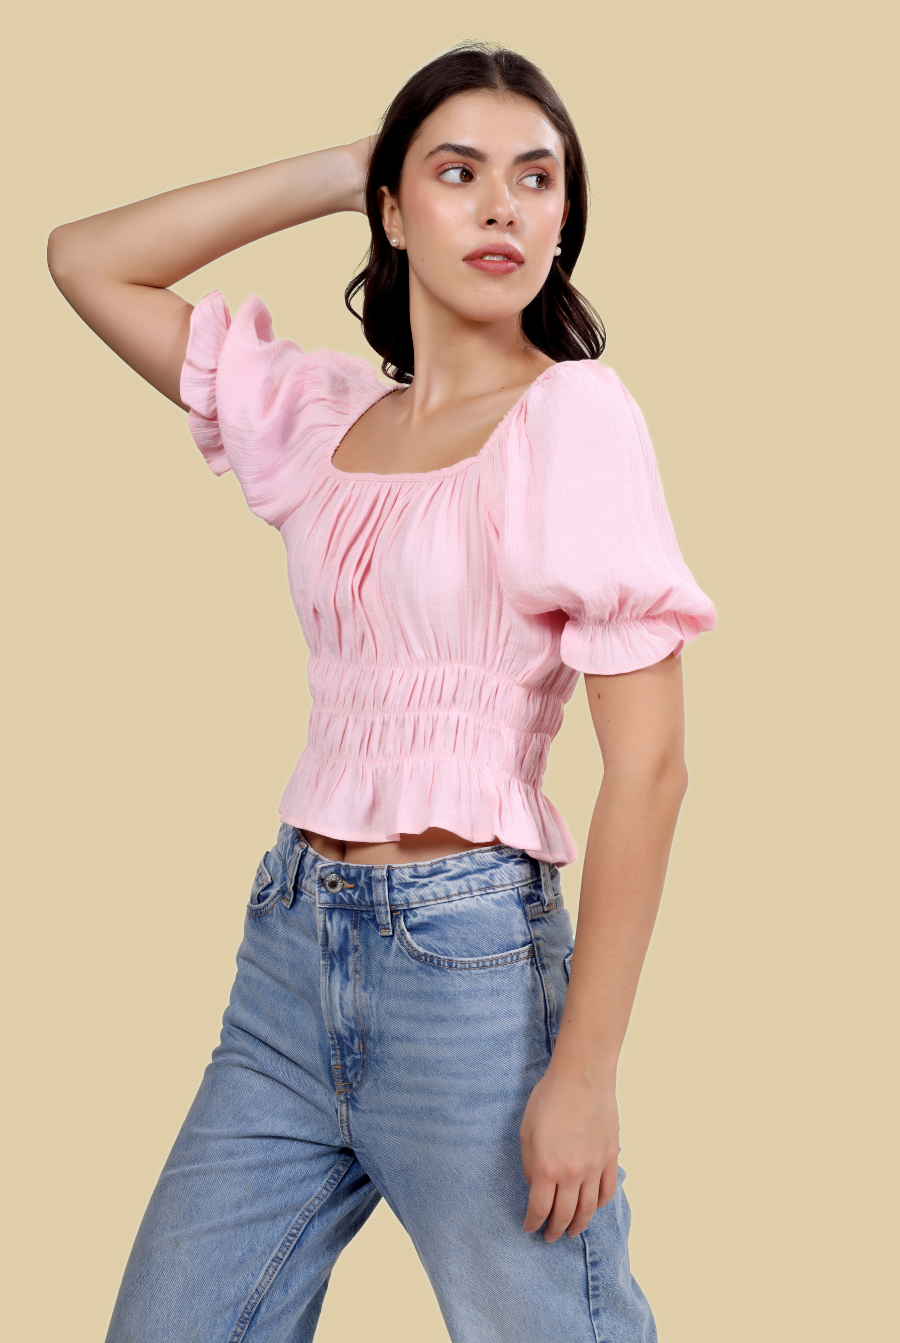
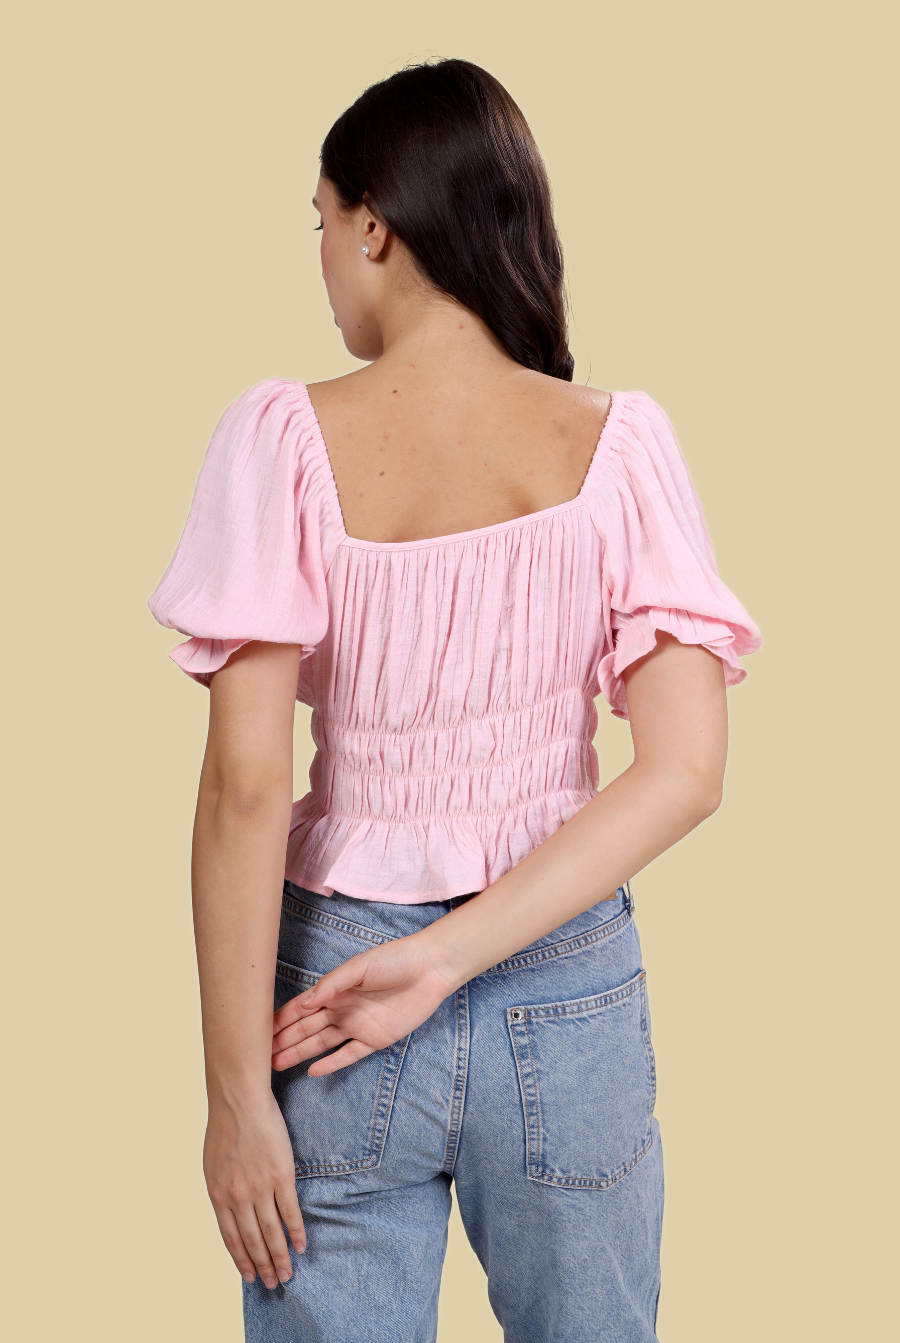
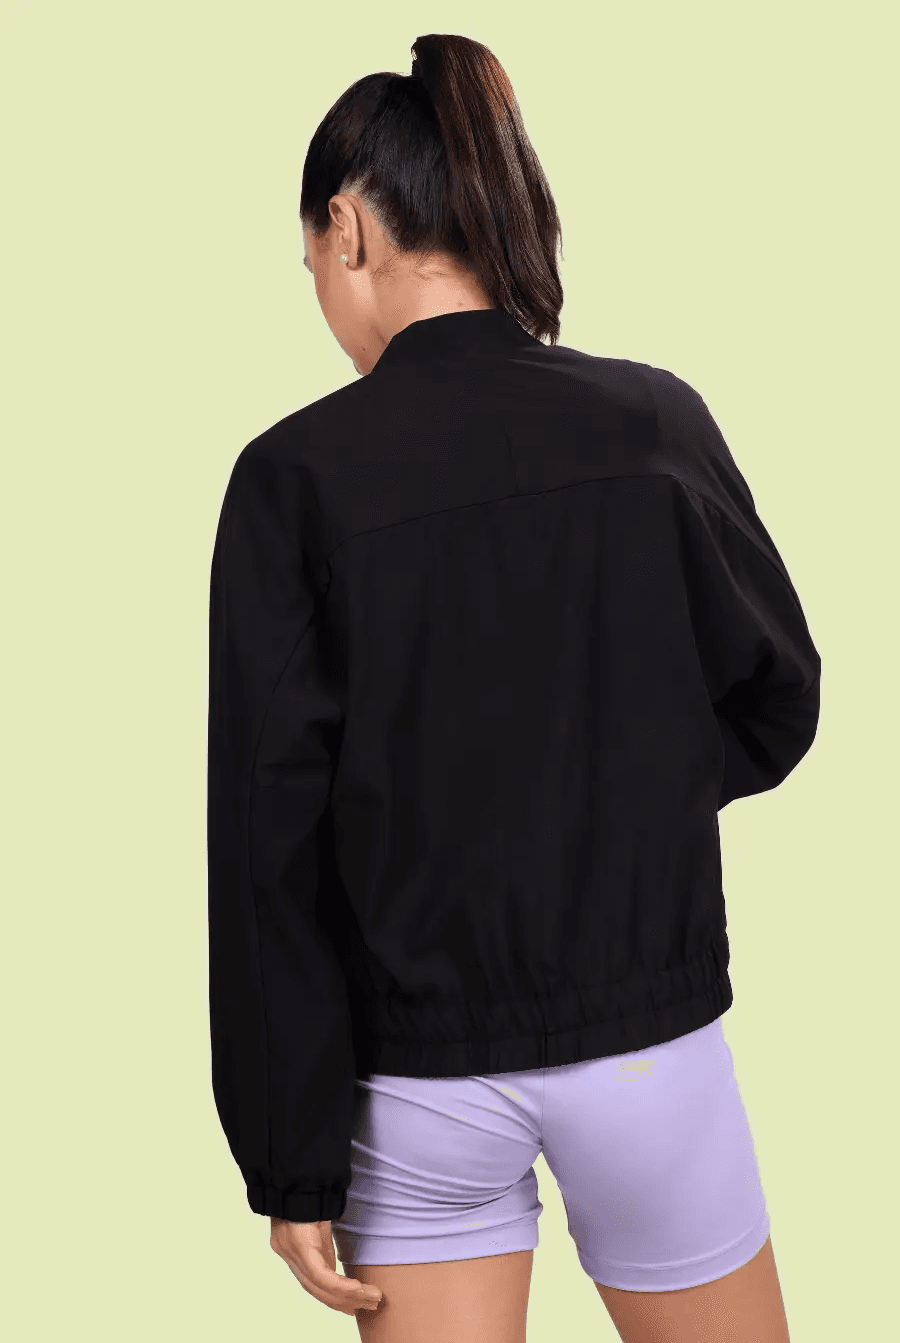
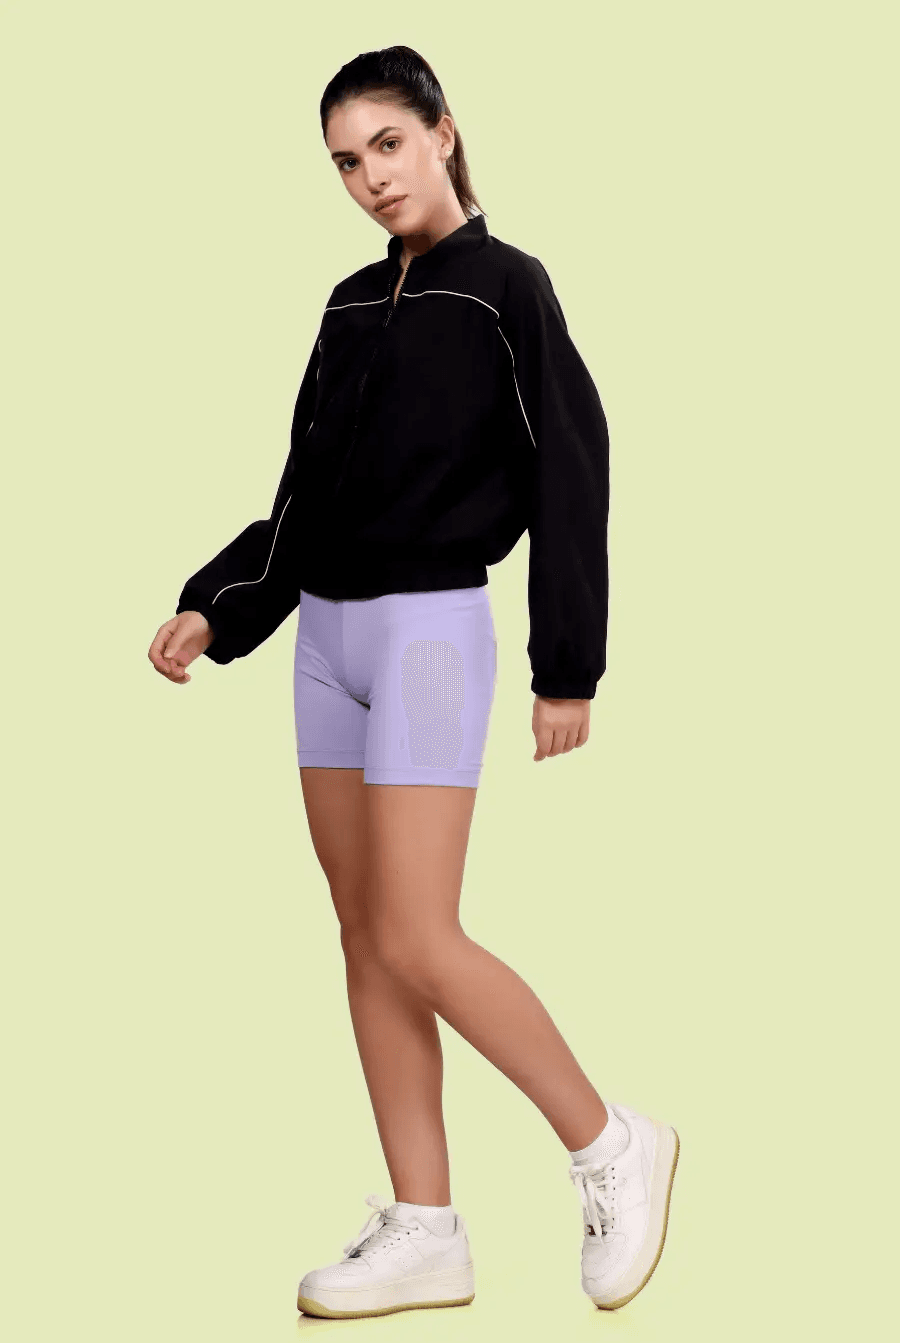
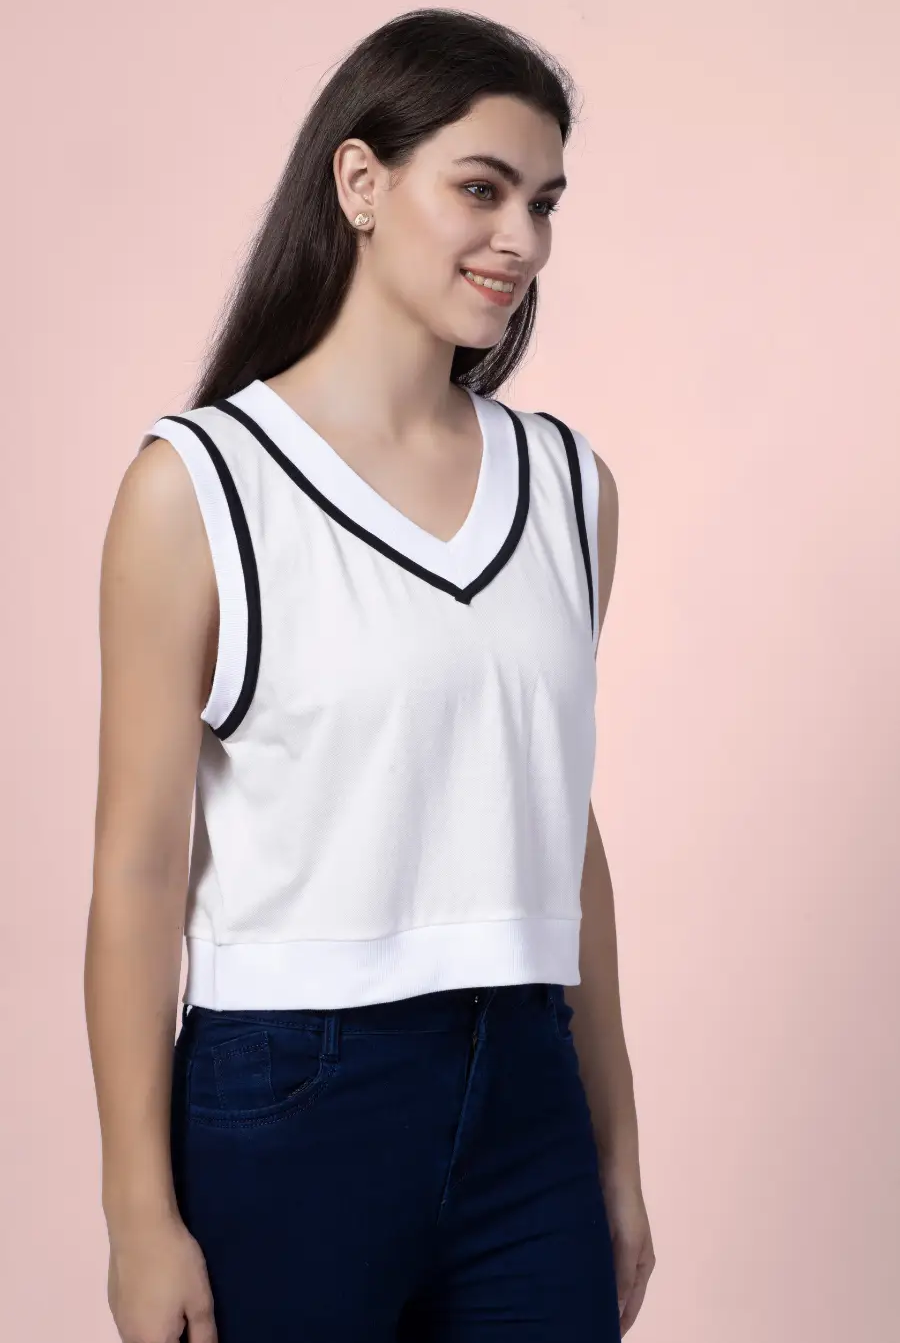
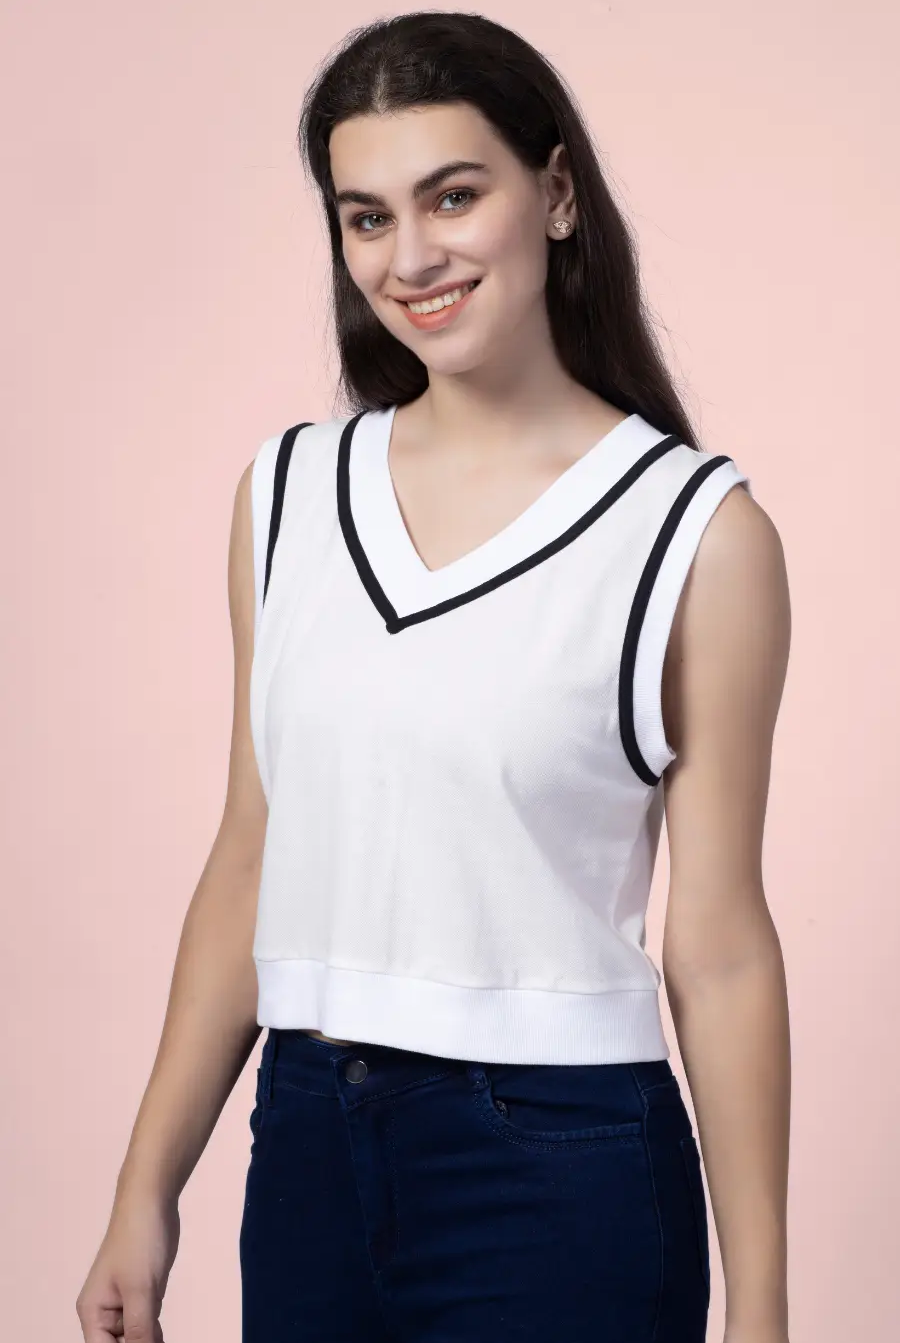
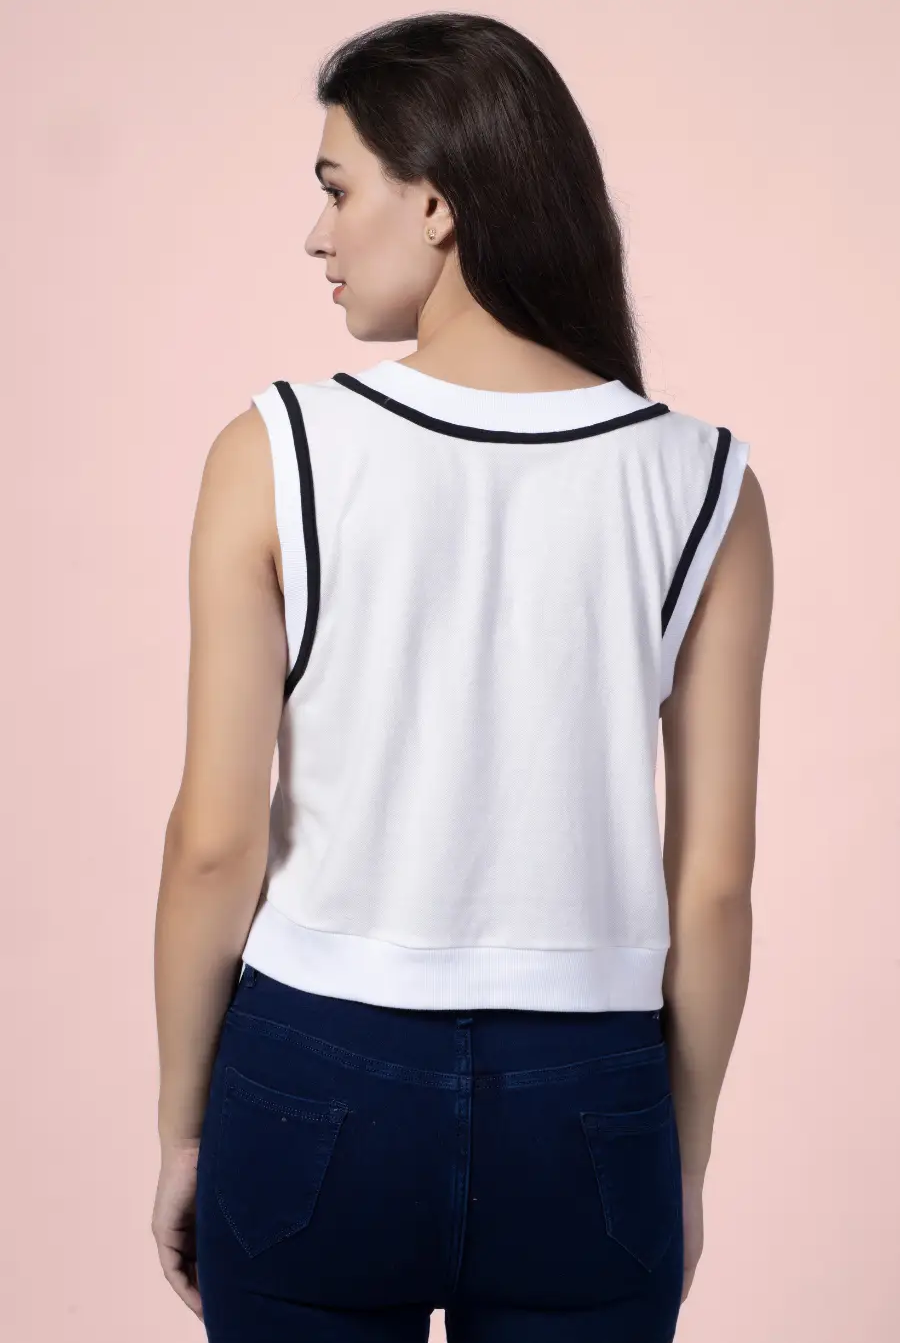
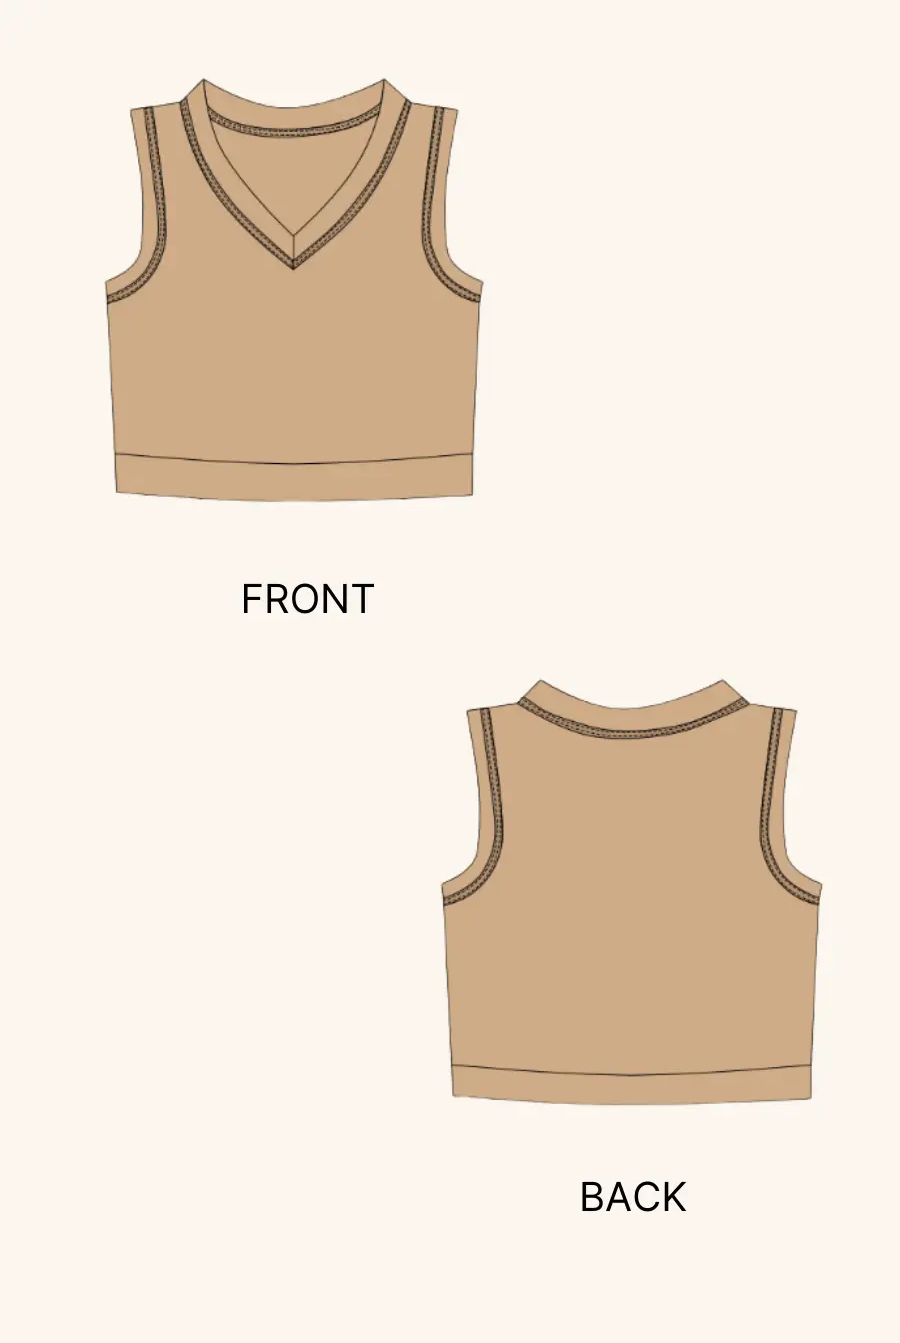
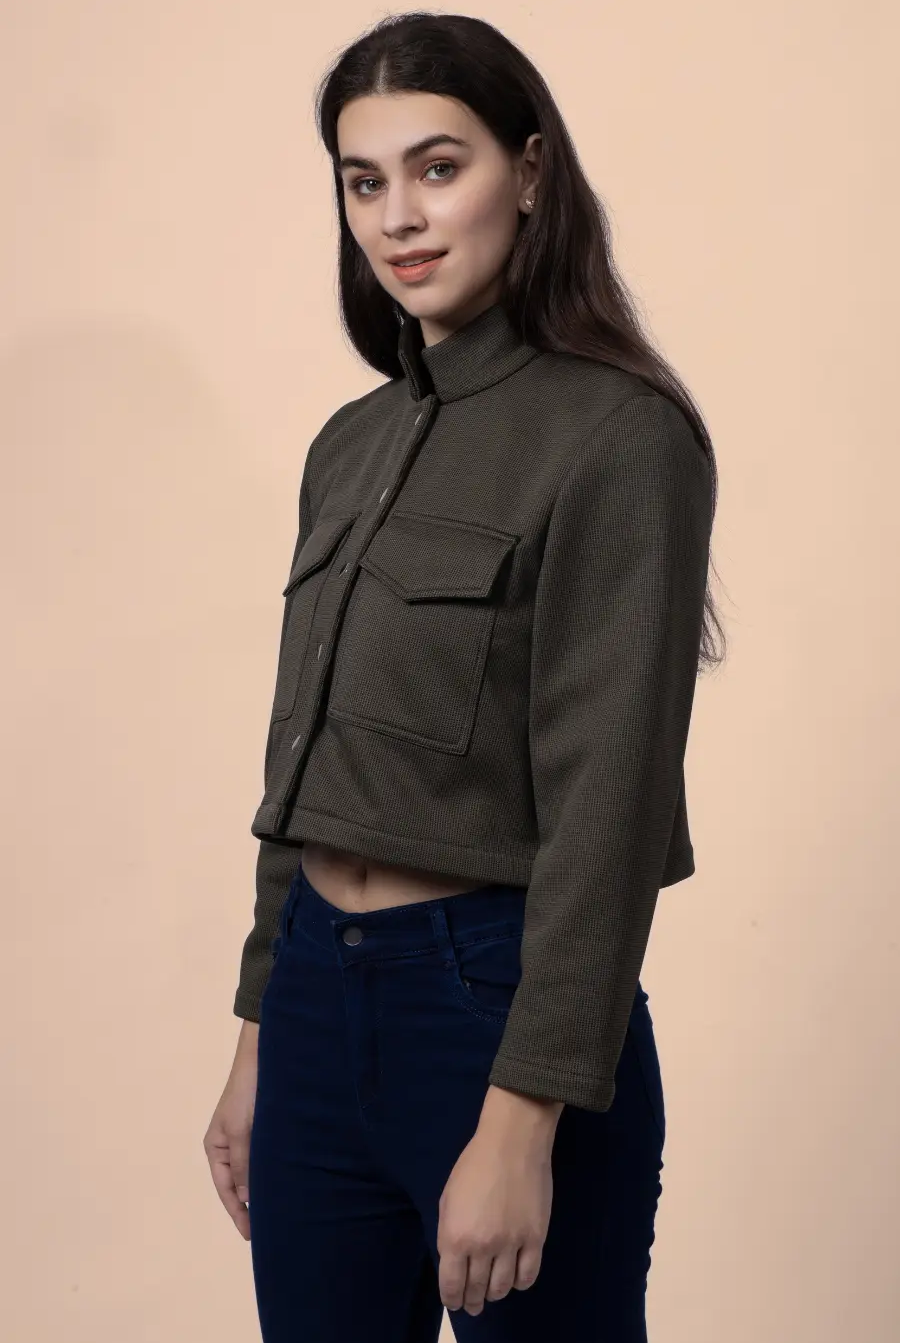
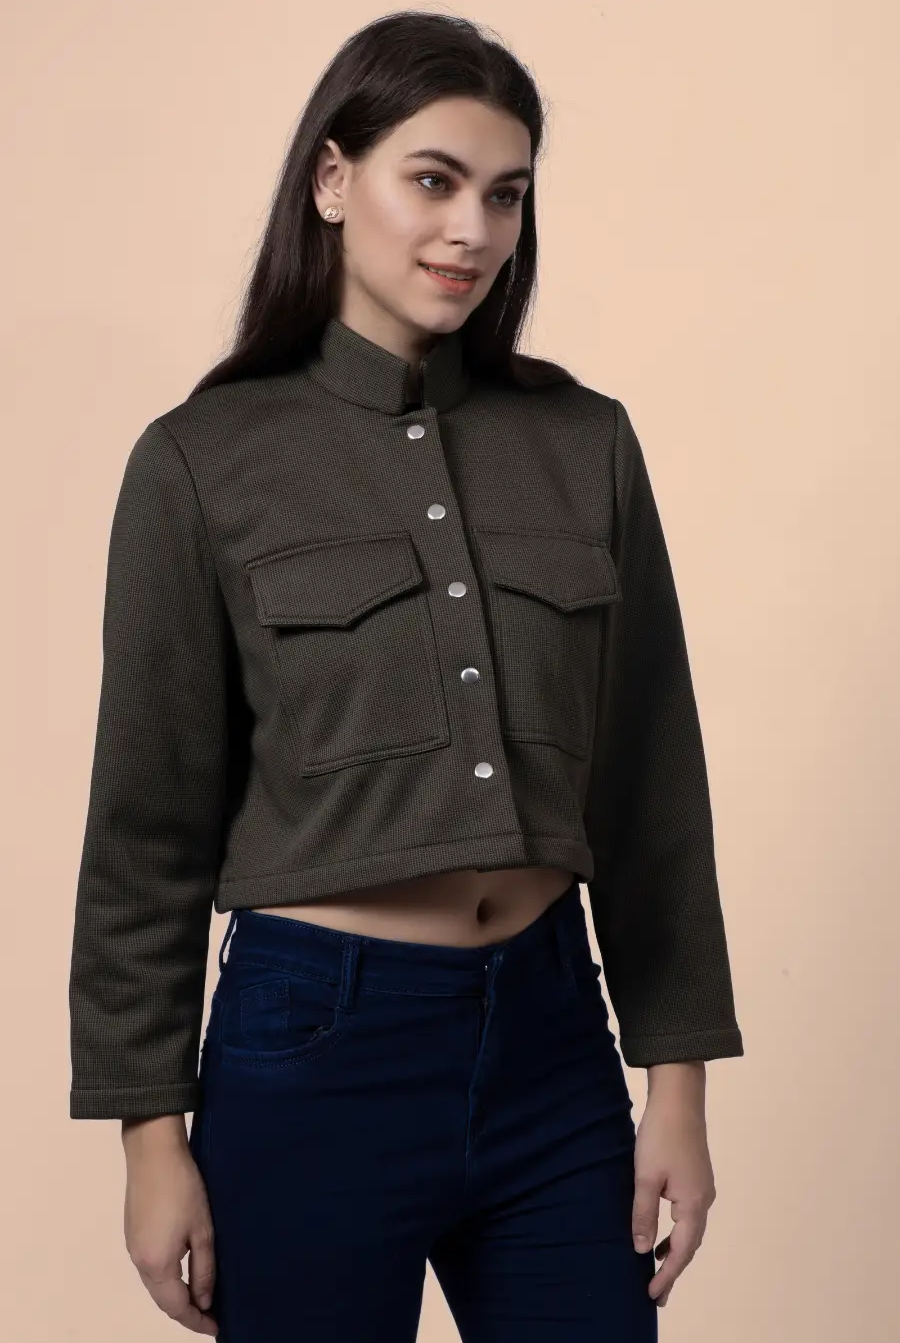
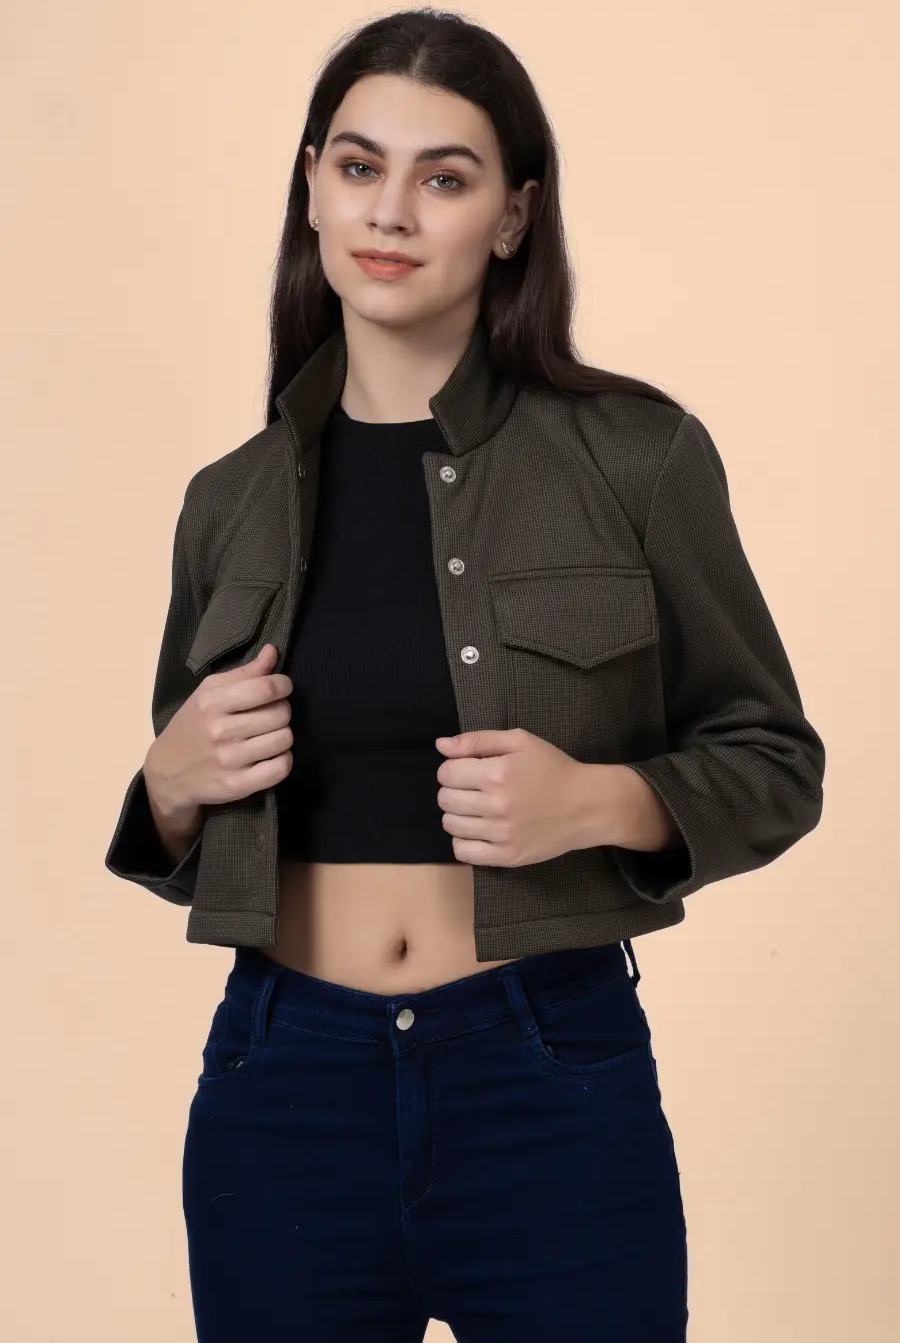
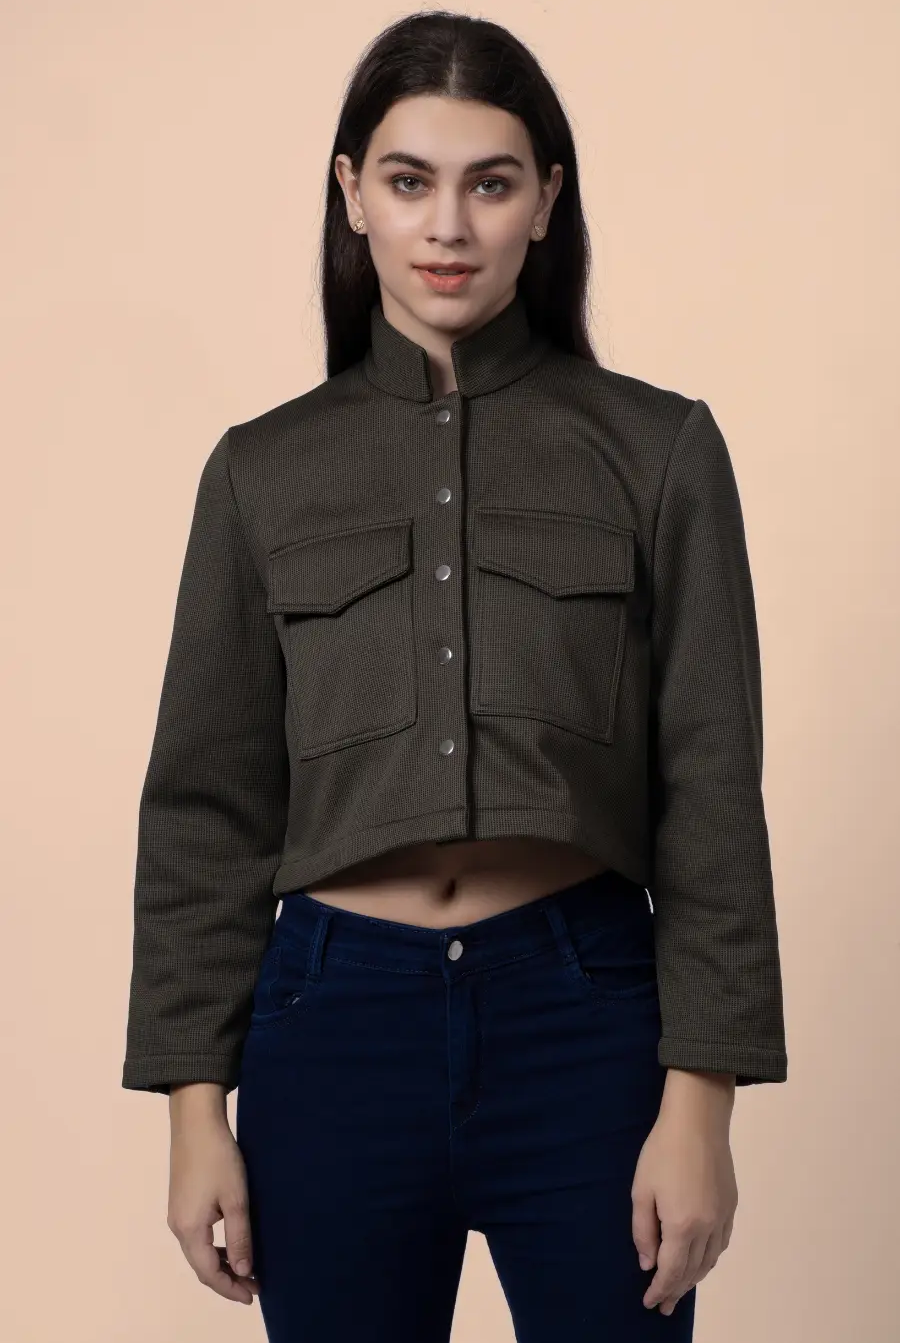
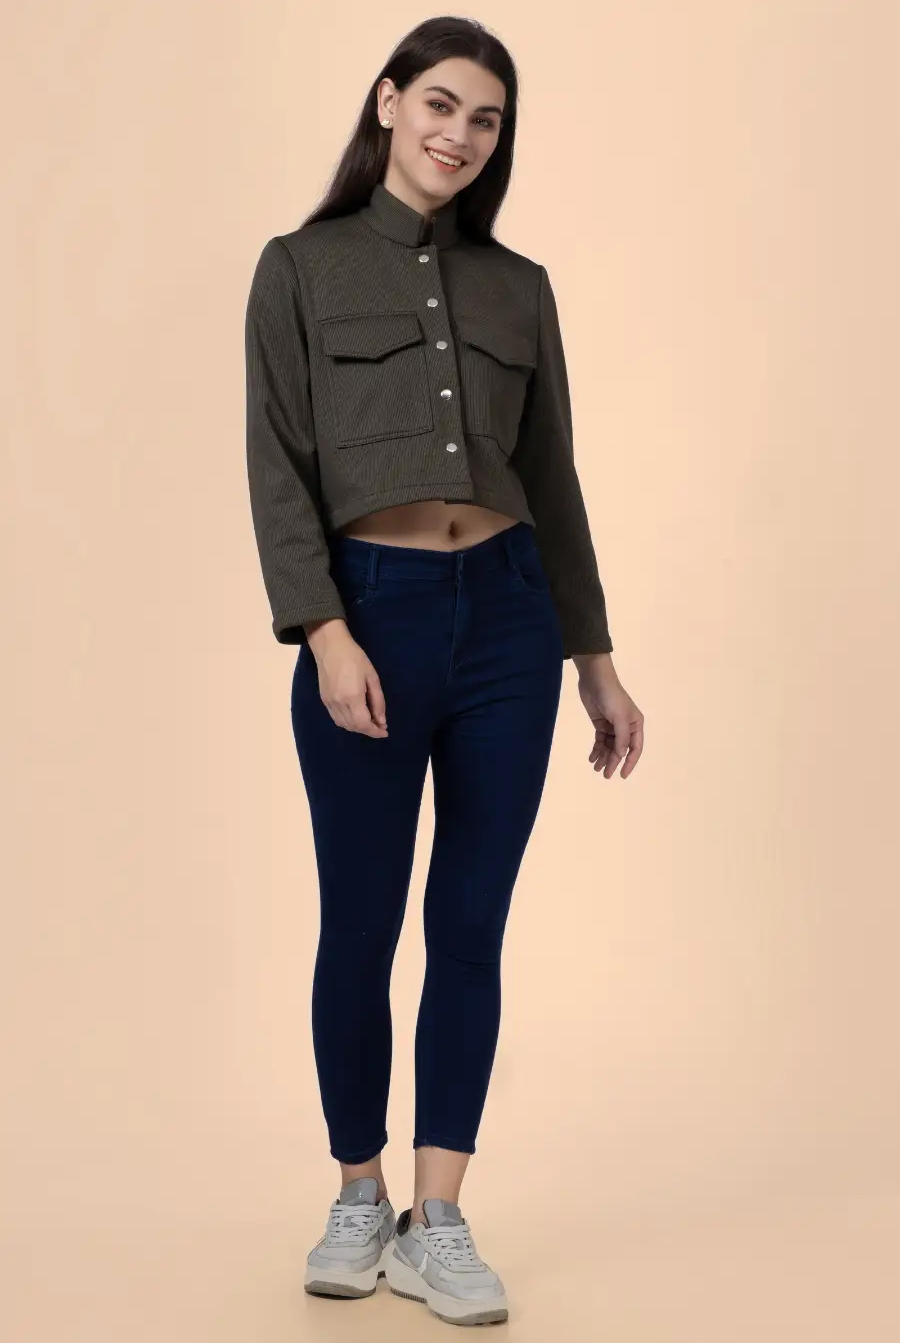
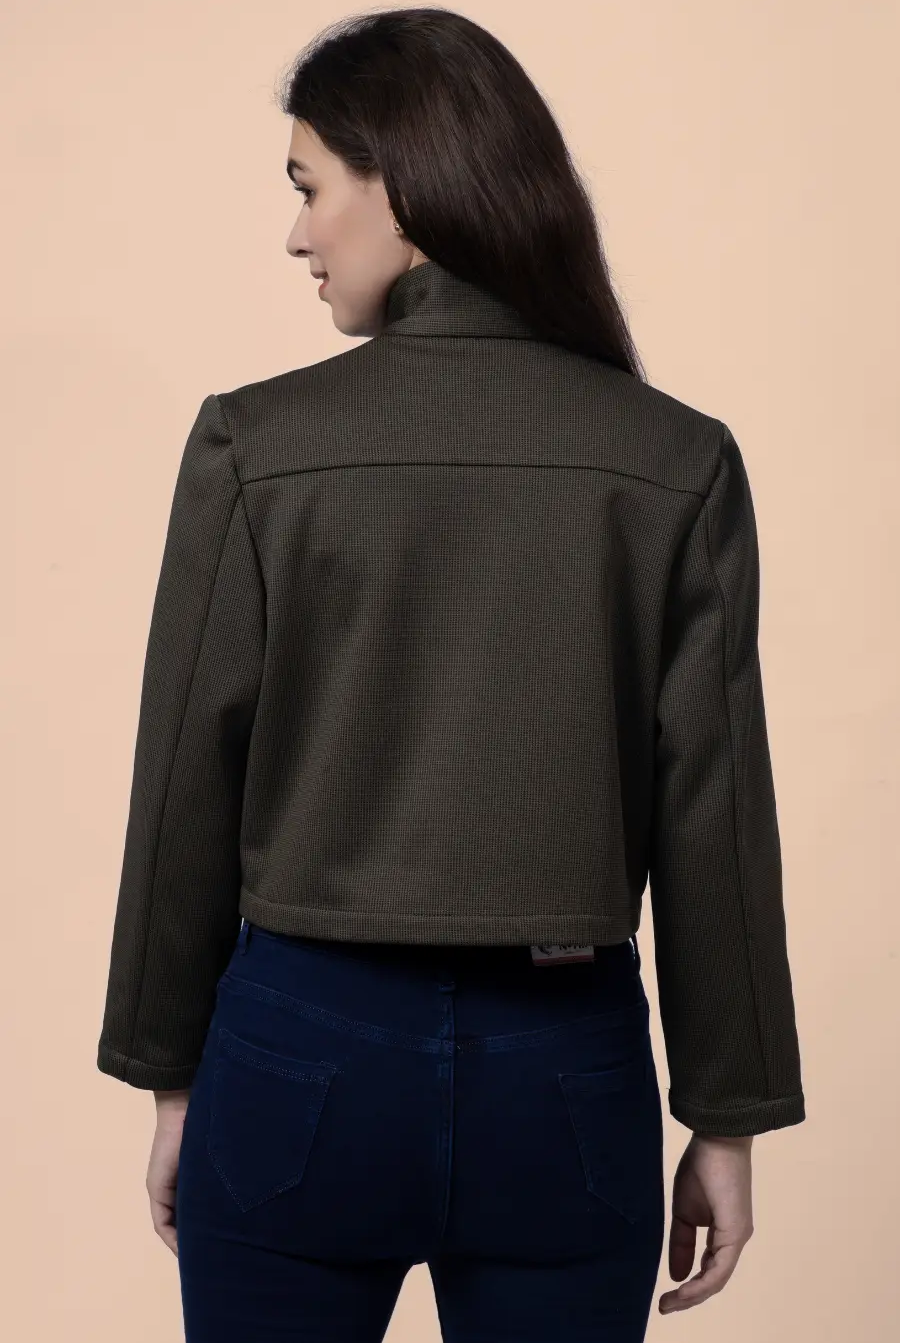
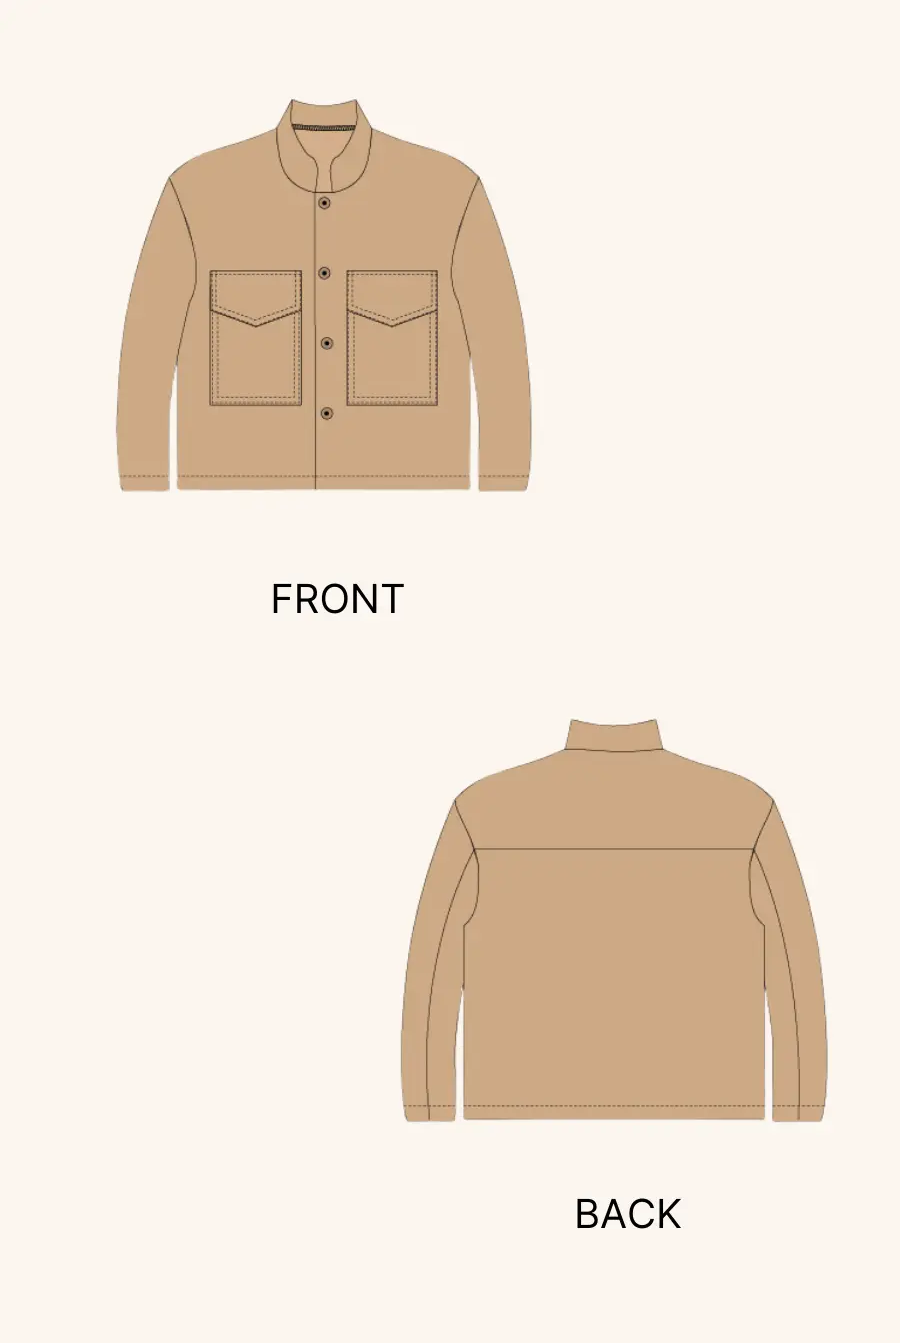
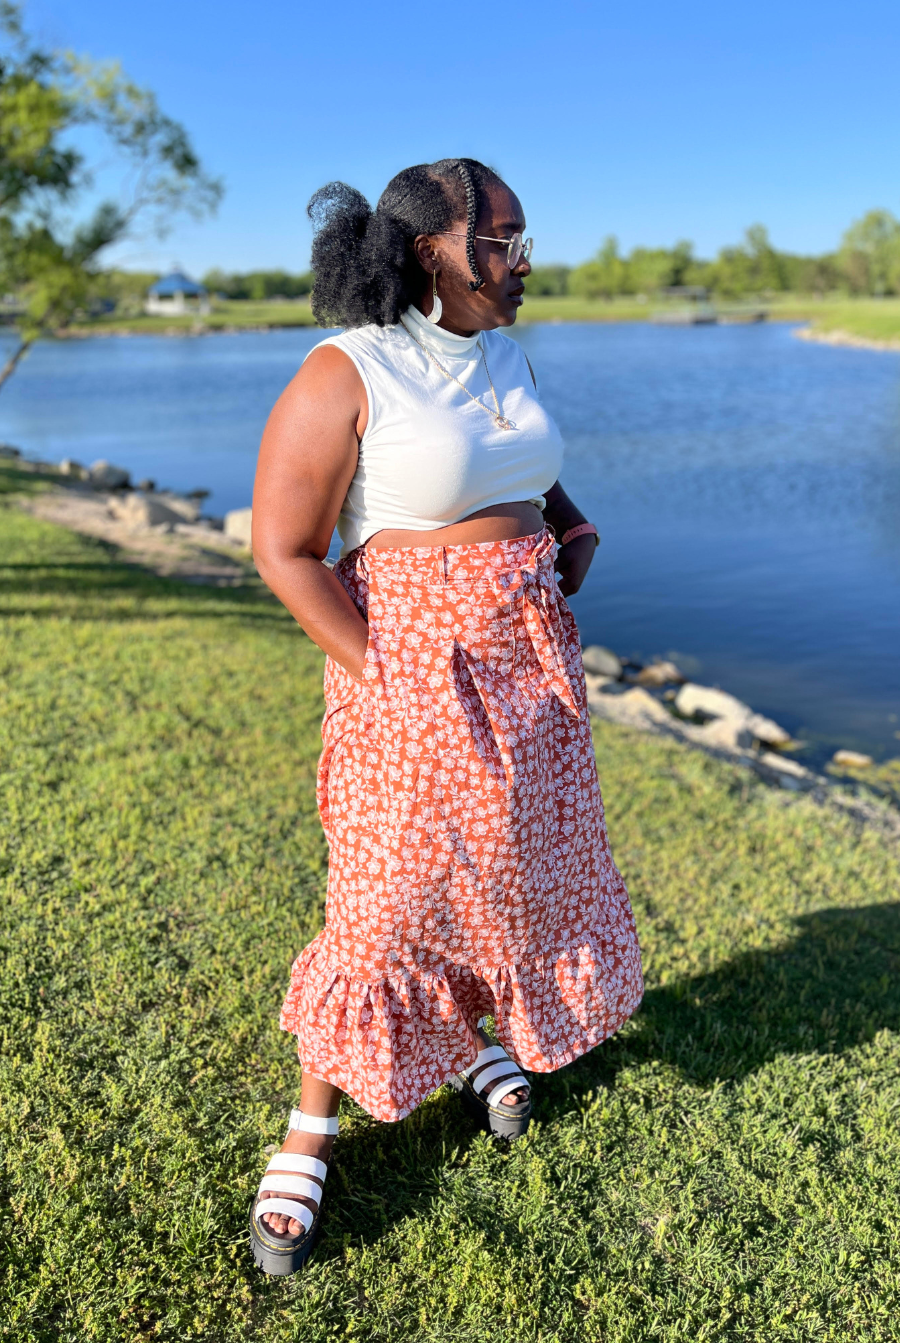
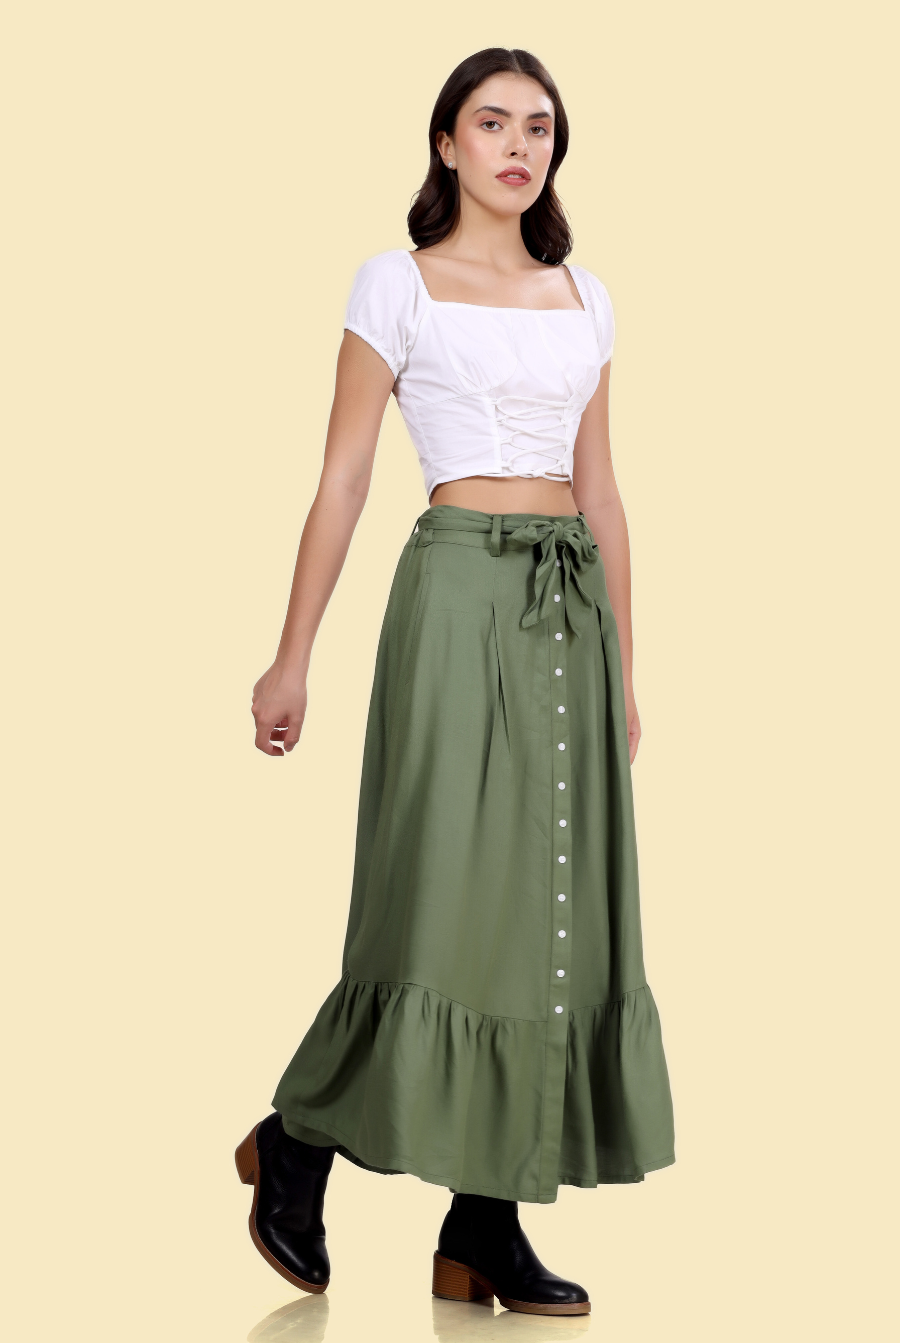
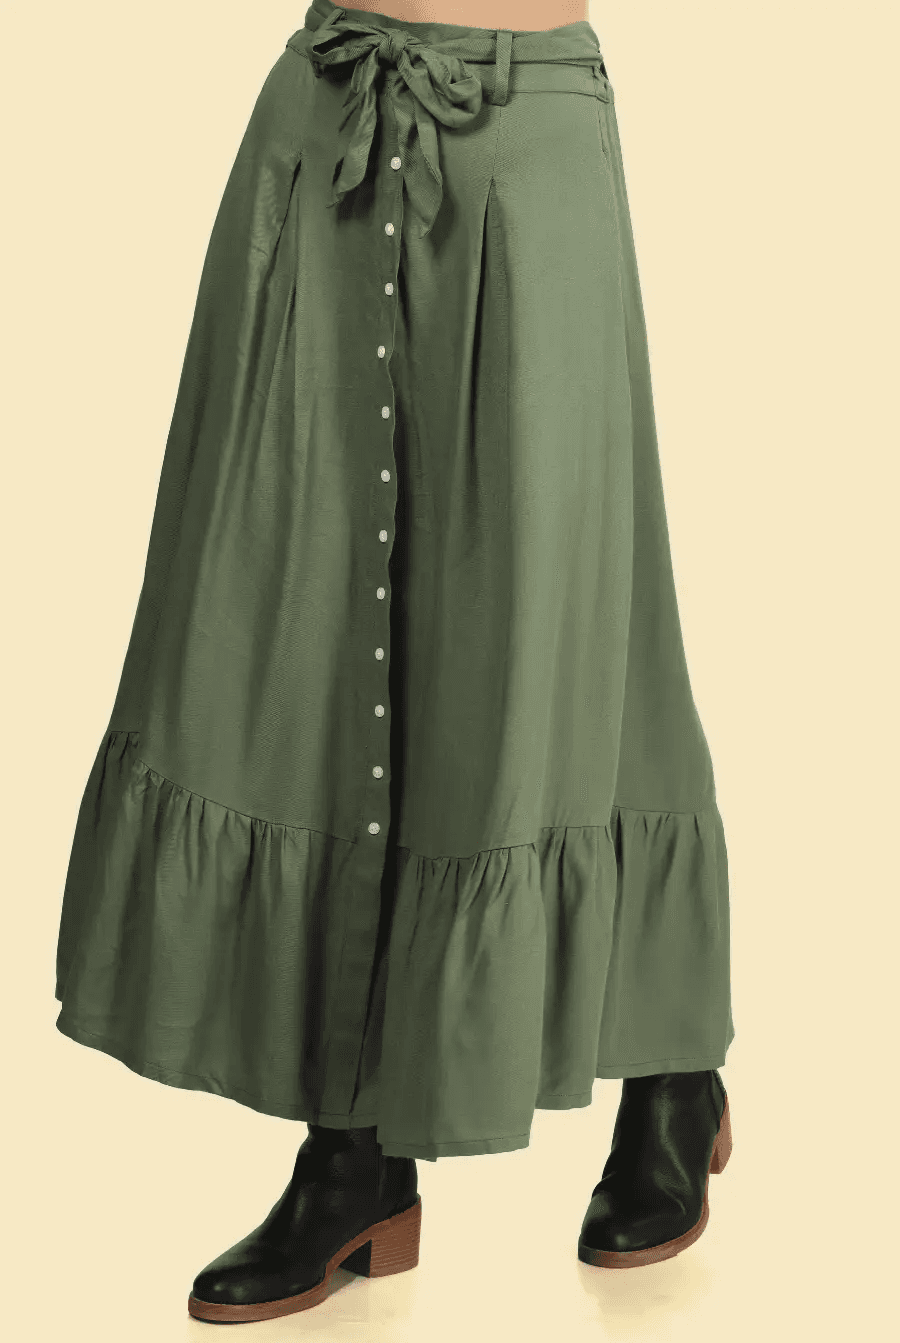
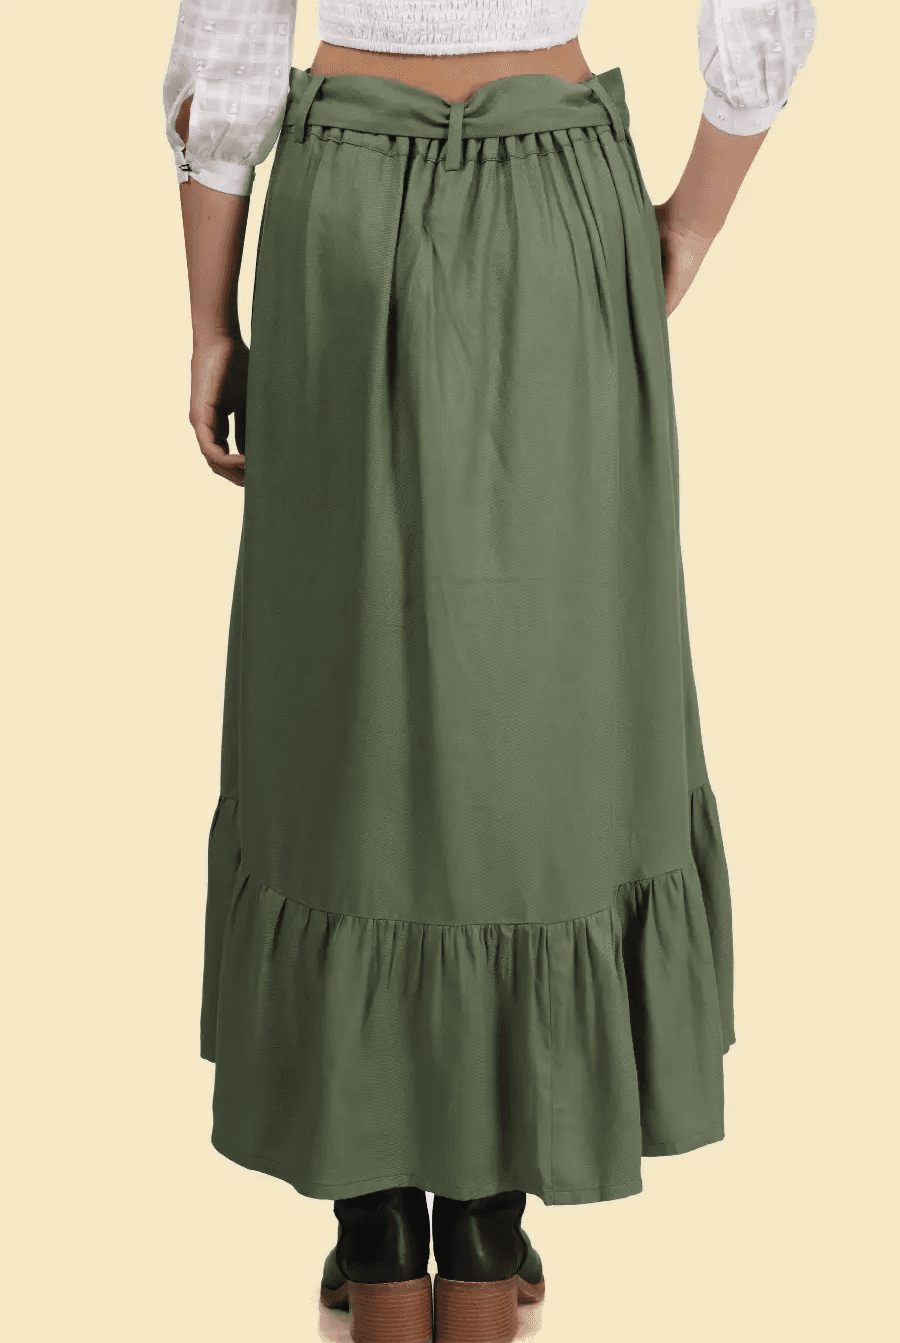
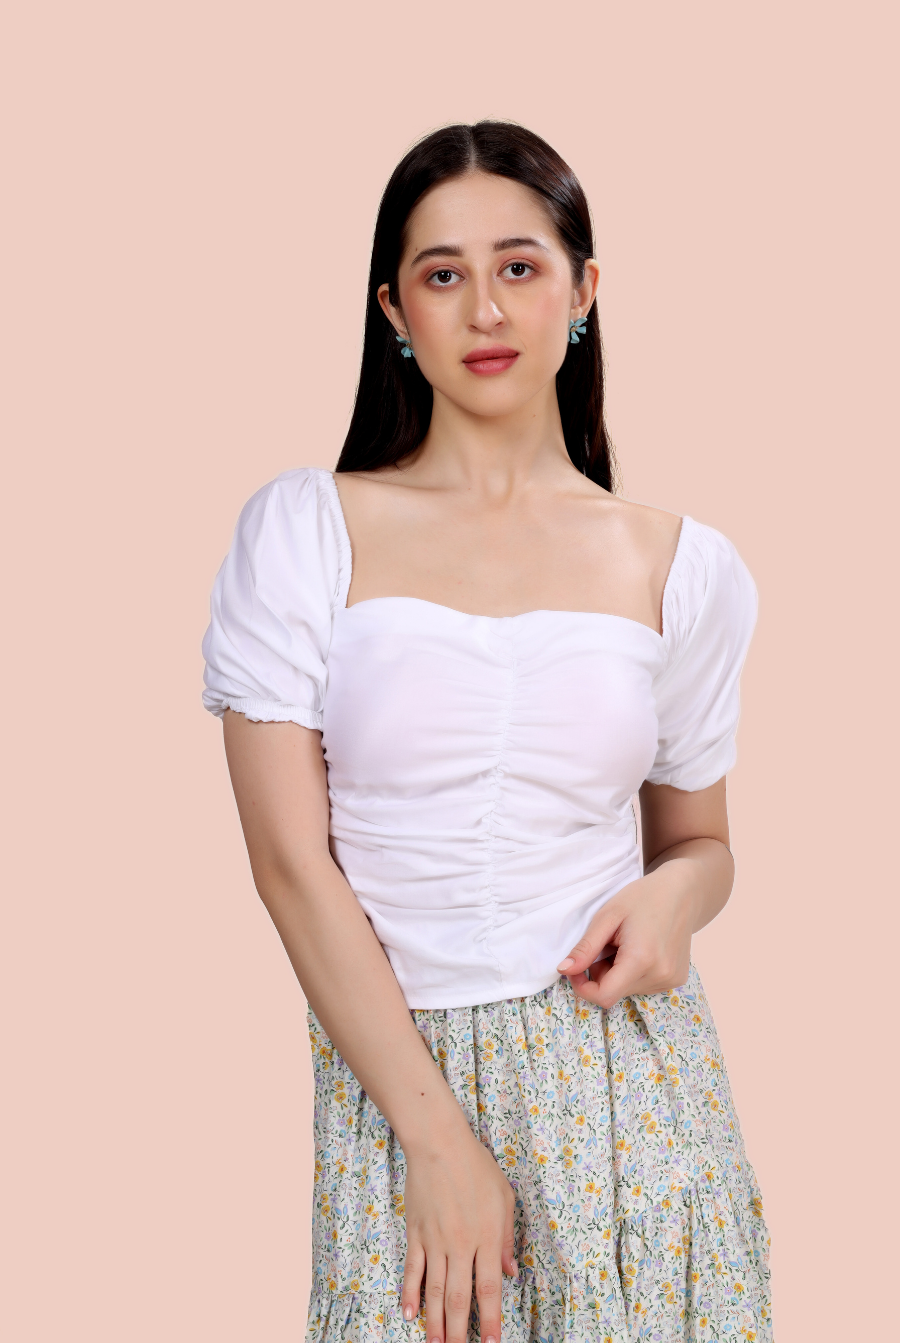
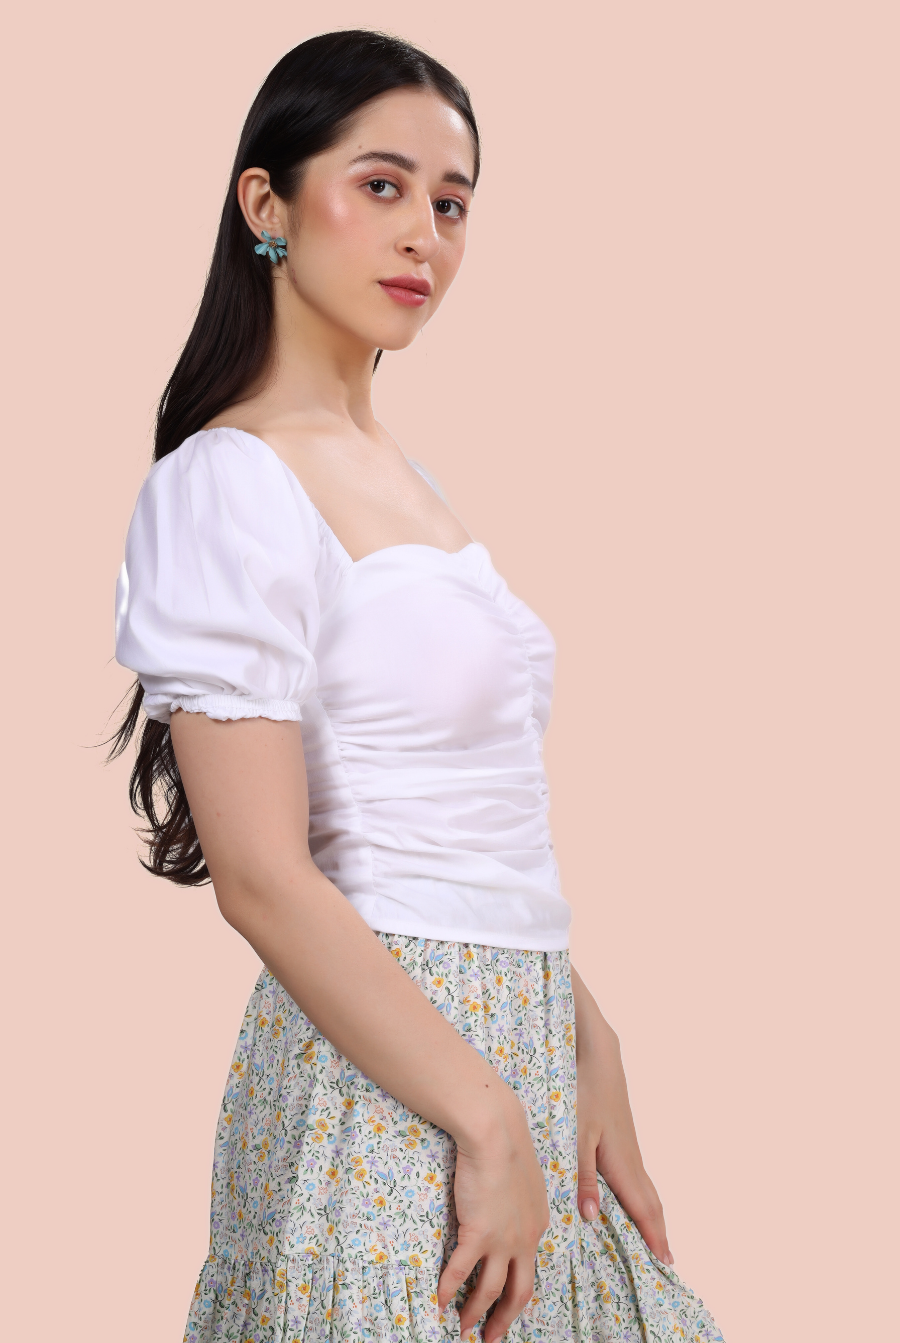
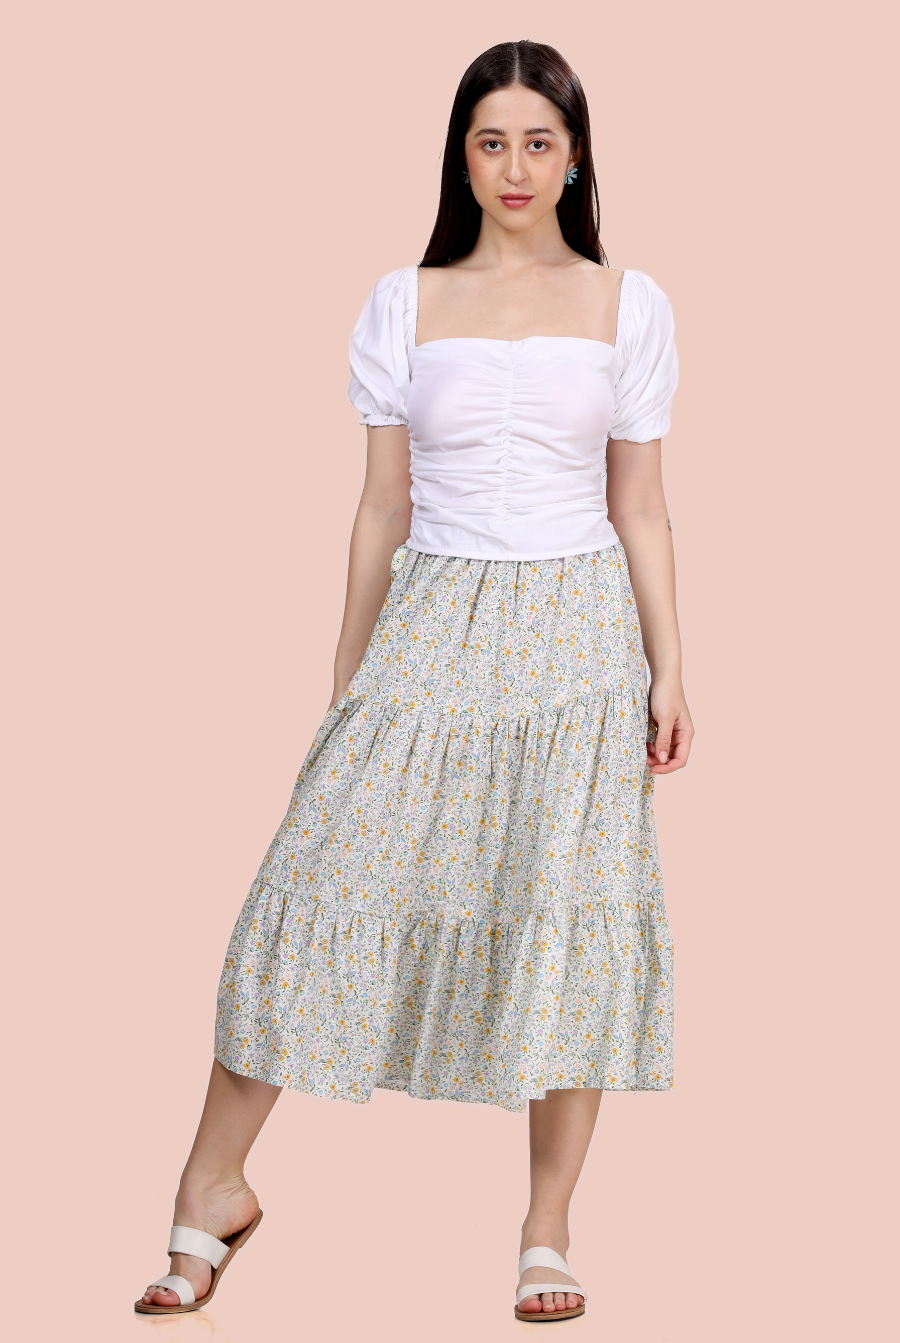
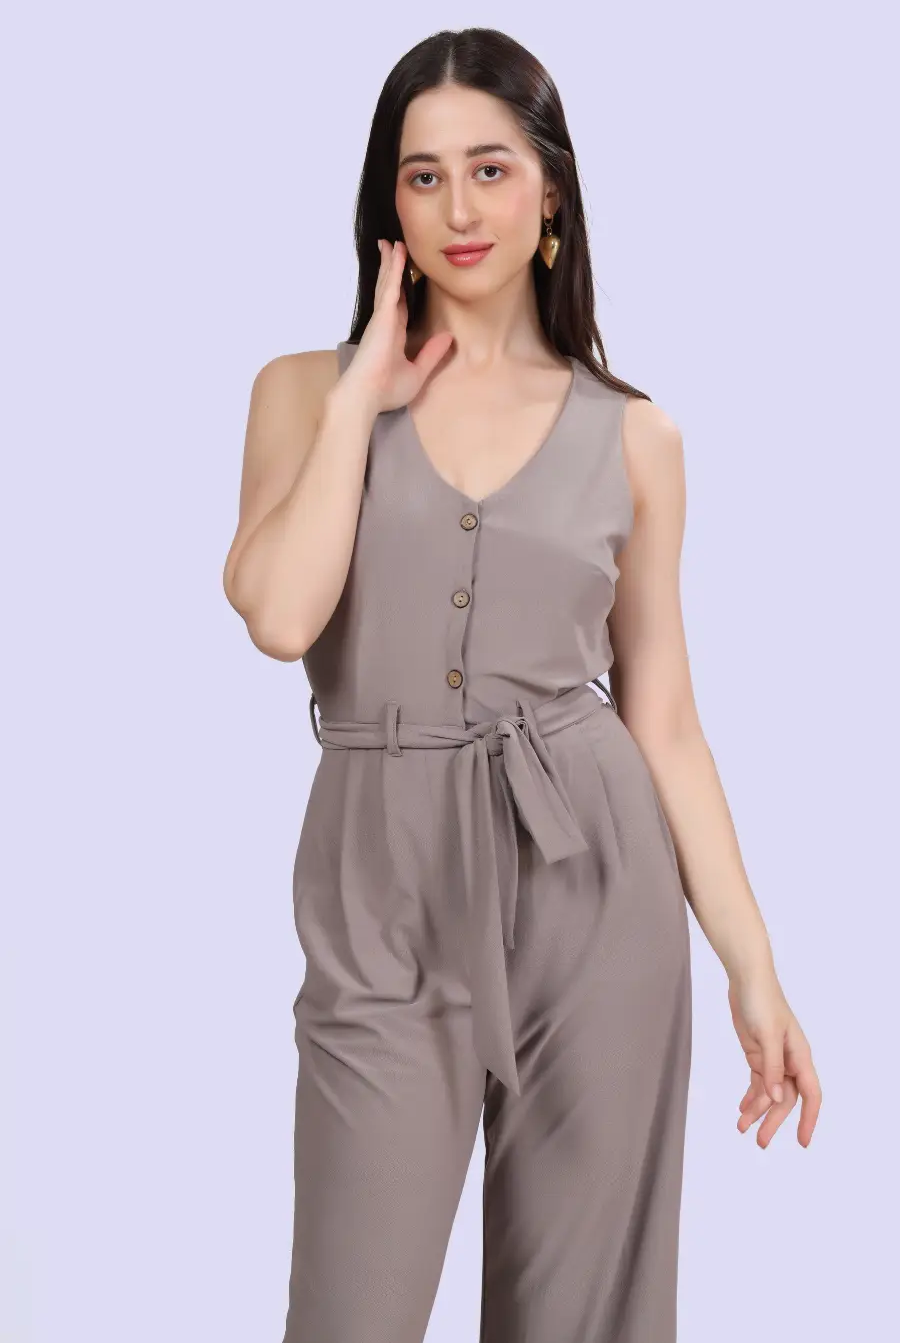
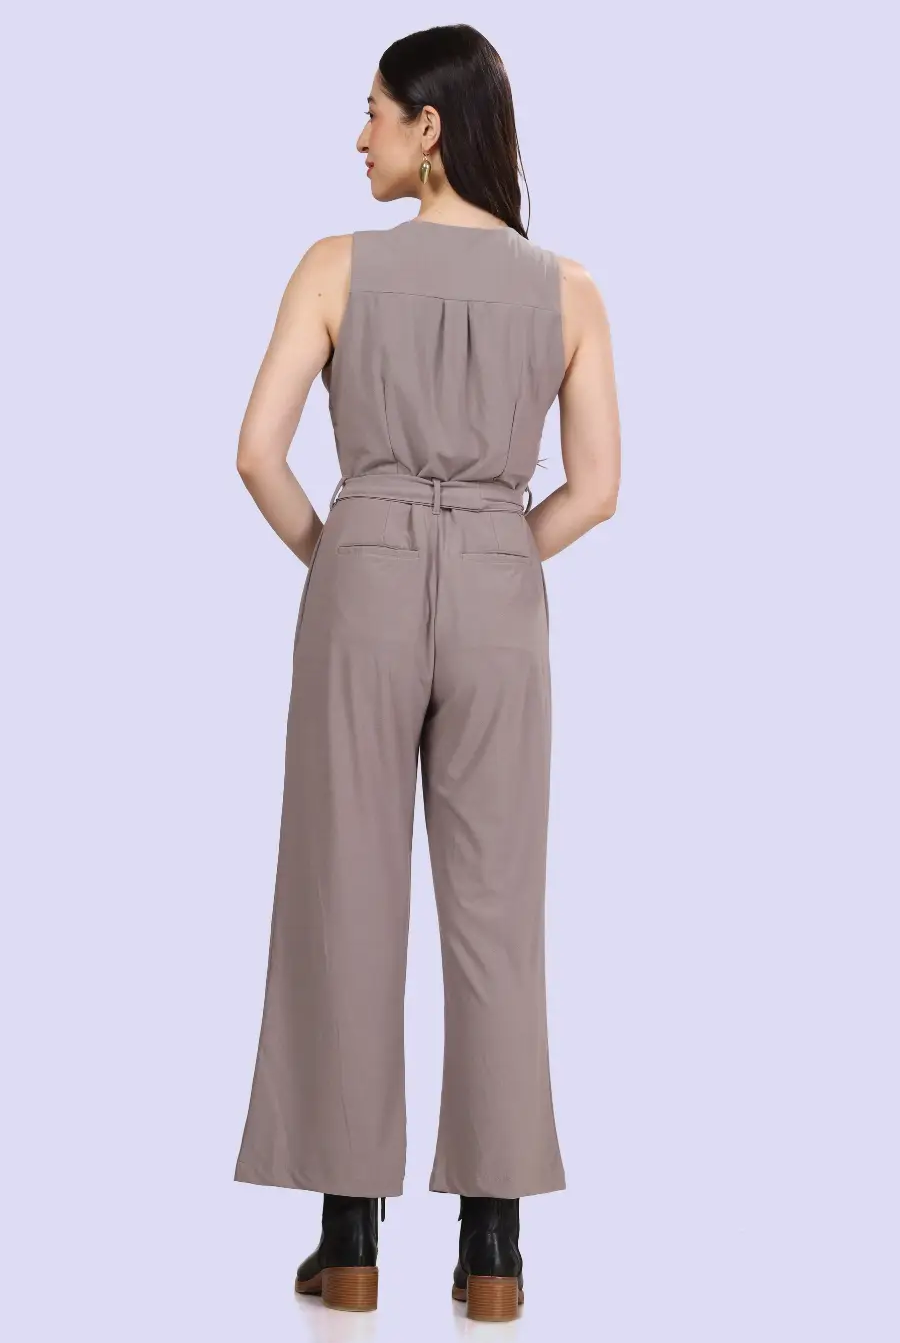
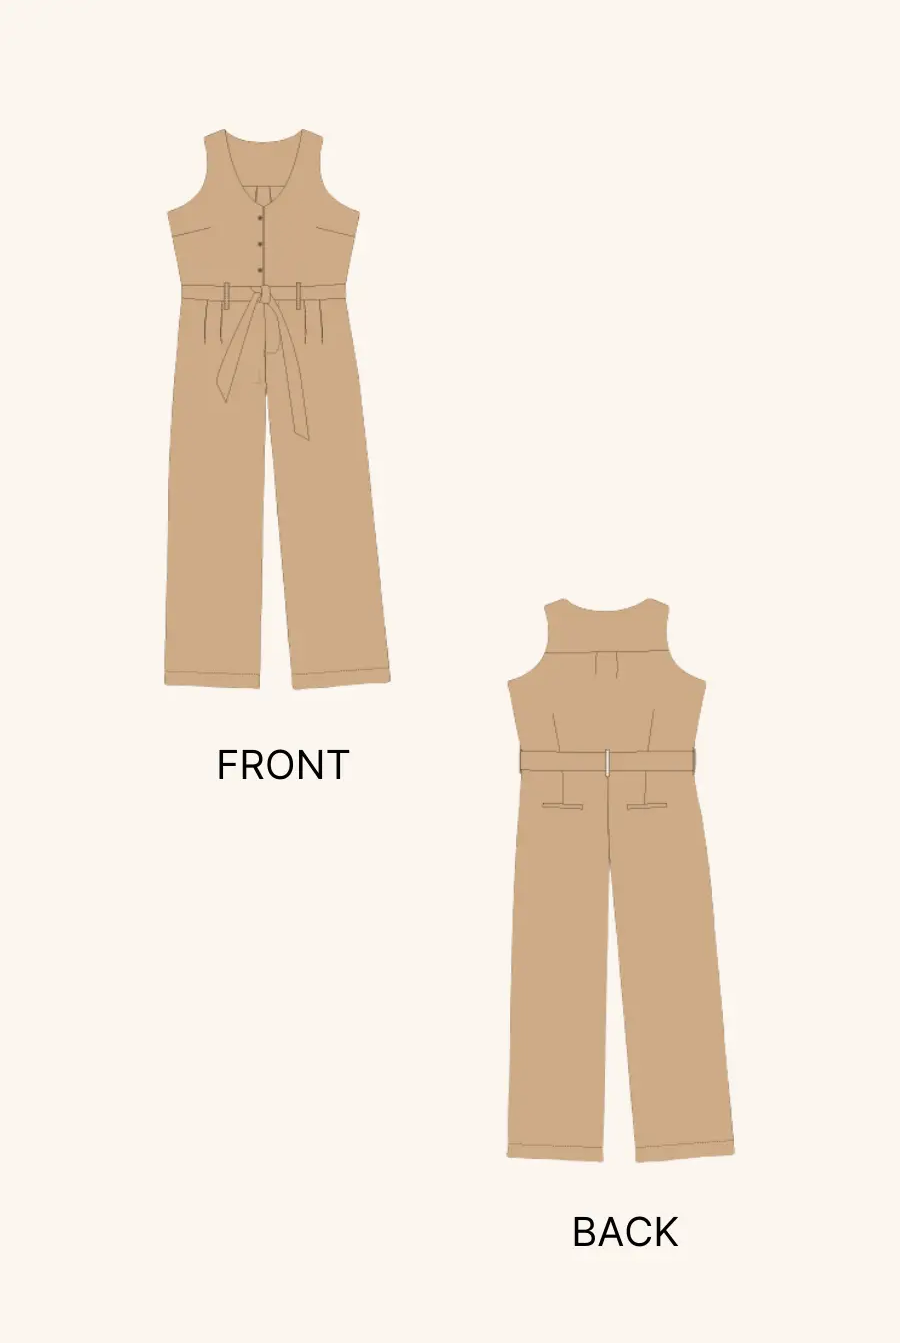
A beautifully sewn short sleeve blouse is an easy, breezy staple for summer. If you love the look of tailored button-fronts but want a soft, feminine twist, this project is for you.
If you’re looking for an elegant button-down with delicate gathered details, the Winslet’s Bliss Short Sleeve Blouse Sewing Pattern is a stellar choice. This guide covers every stage: from pattern marking and inventory, through all sewing steps—including placket, elastic gathering, collar, and hem—so you never miss a detail.
Why Sew a Short Sleeve Blouse?
-
Effortless summer style: Lightweight, breathable, with a pretty silhouette for warm days.
-
Skill builder: Practice plackets, gathered details, elastic application, and a crisp mandarin collar.
-
Wardrobe versatility: Pairs as easily with trousers or jeans as with skirts.
-
Easy care and comfort: Linen (and recommended alternatives) is cool, soft, moisture-wicking, and beautifully textured.
-
Customization: Choose your color, button style, and fabric for a blouse as unique as you.
Why Choose the Winslet’s Bliss Blouse Pattern?
-
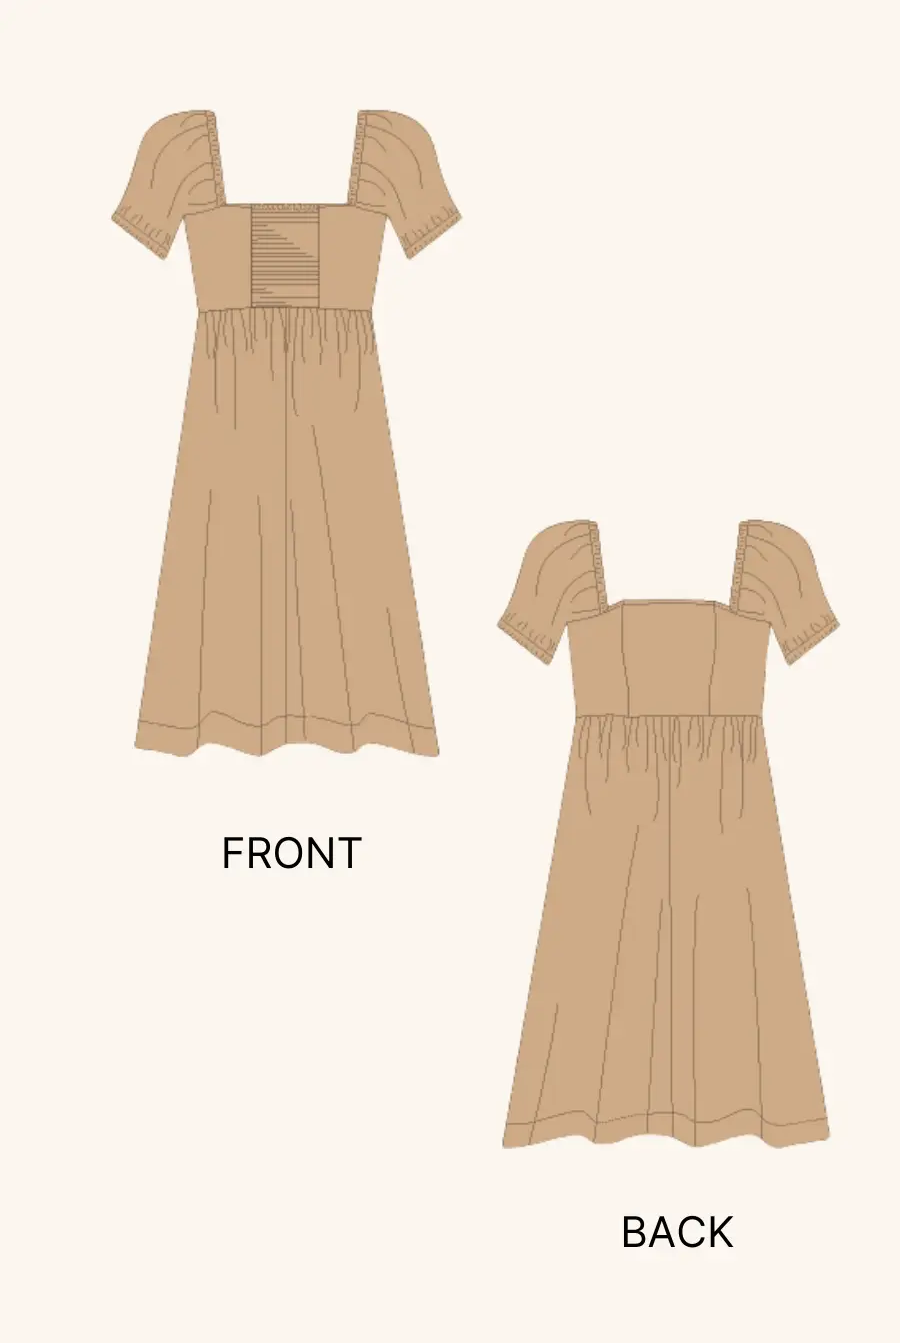
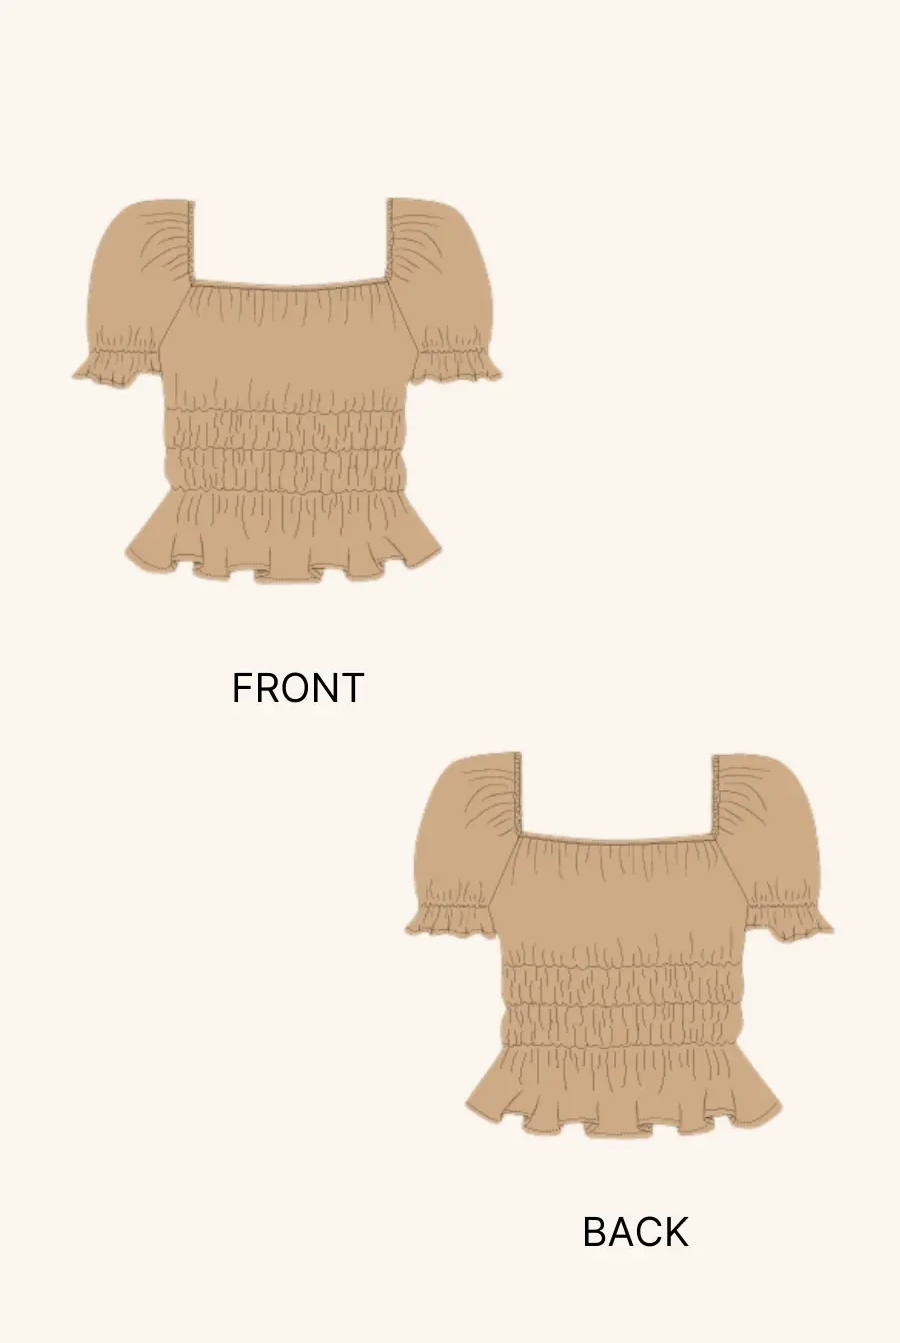
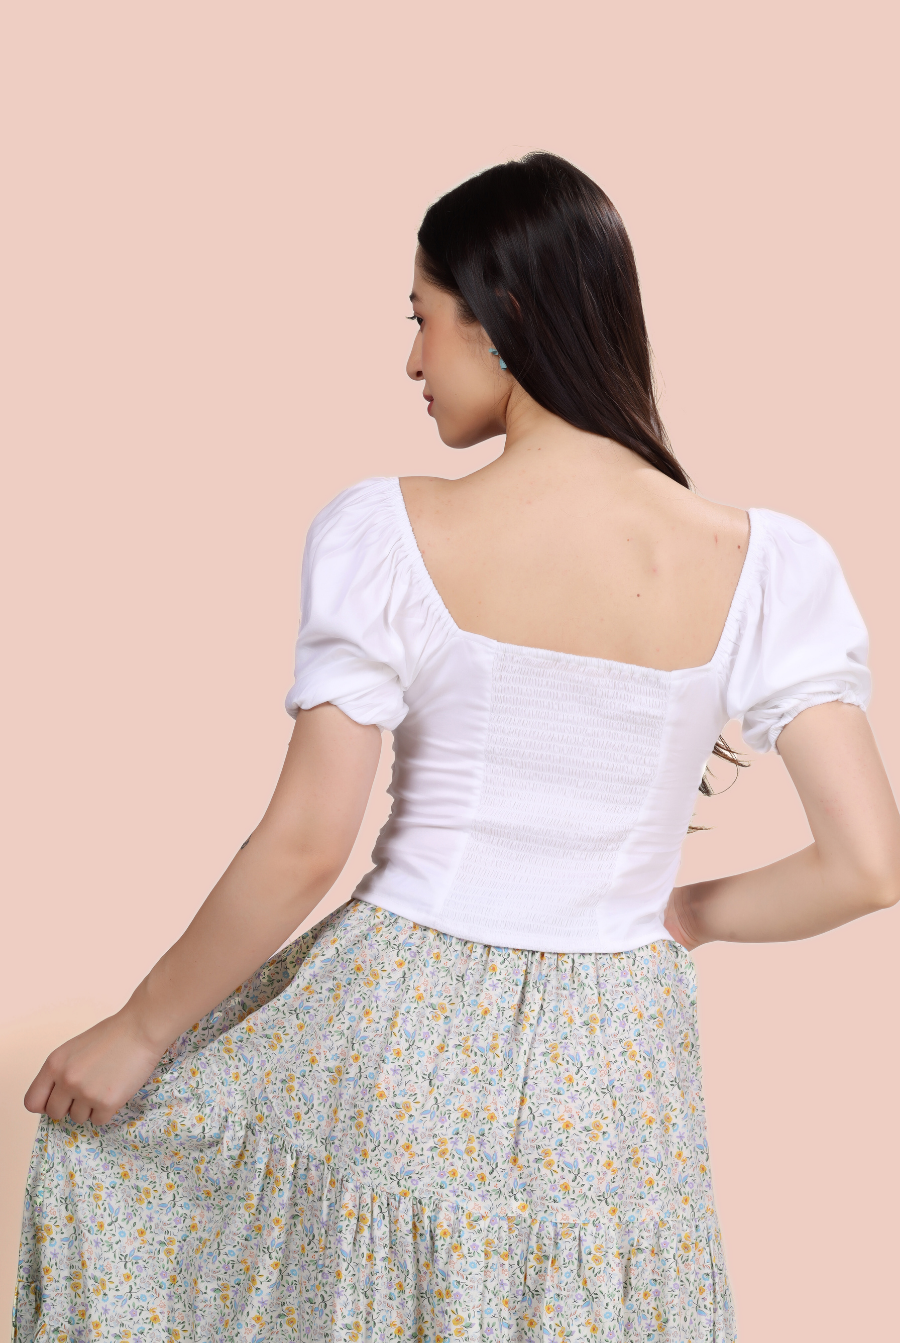
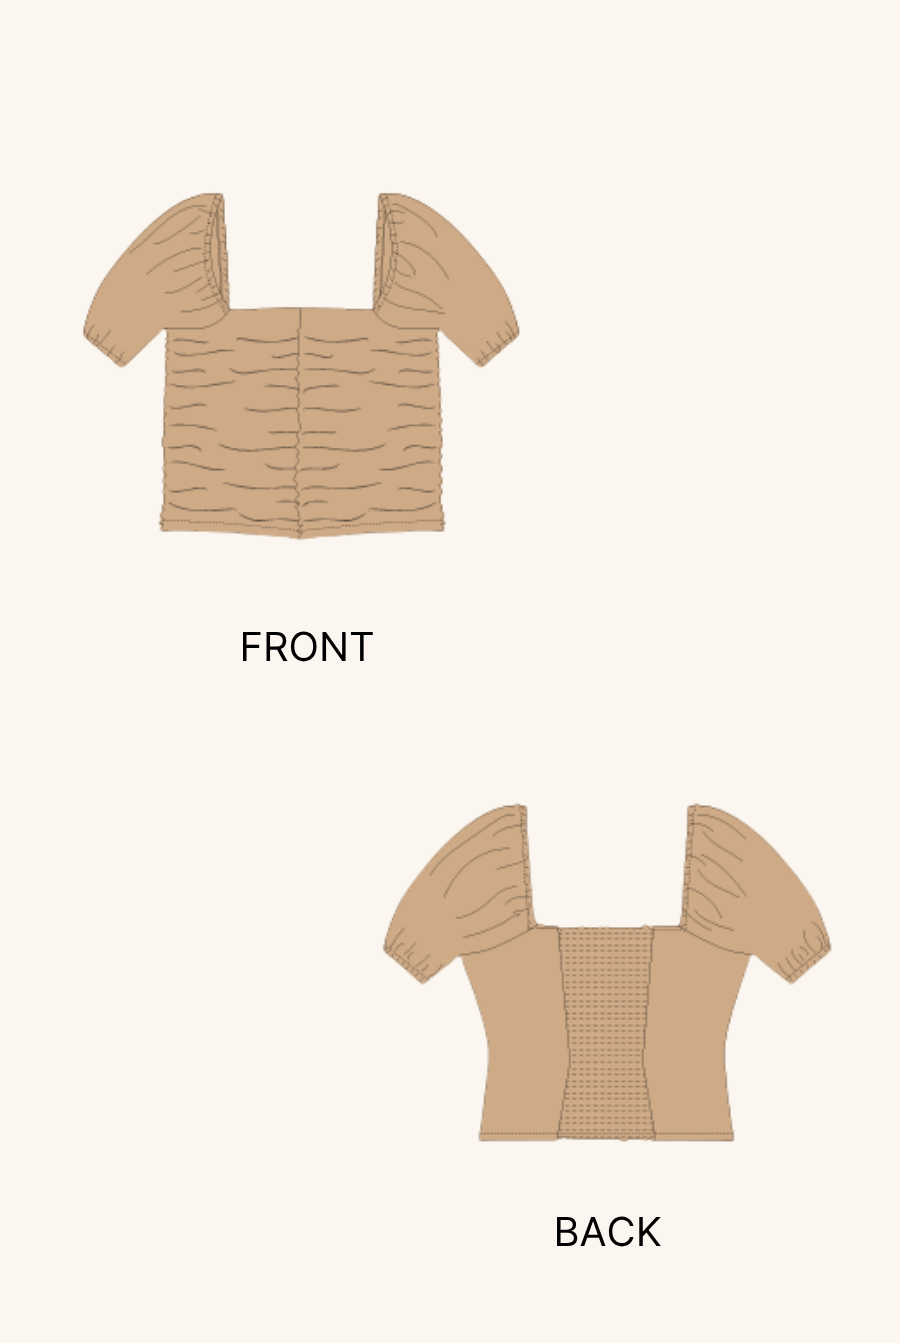
Thoughtfully drafted: Gathered detail at sleeve and back, gently shaped body, and a stand mandarin collar.
-
Beginner-friendly construction: Clear steps, color diagrams, and labeled pieces.
-
Great for linen and blends: Pattern works perfectly with 100% linen, cotton, viscose, or light blends.
-
All the details included: Includes elastic measurements, seam allowances, and correct interfacing locations.
-
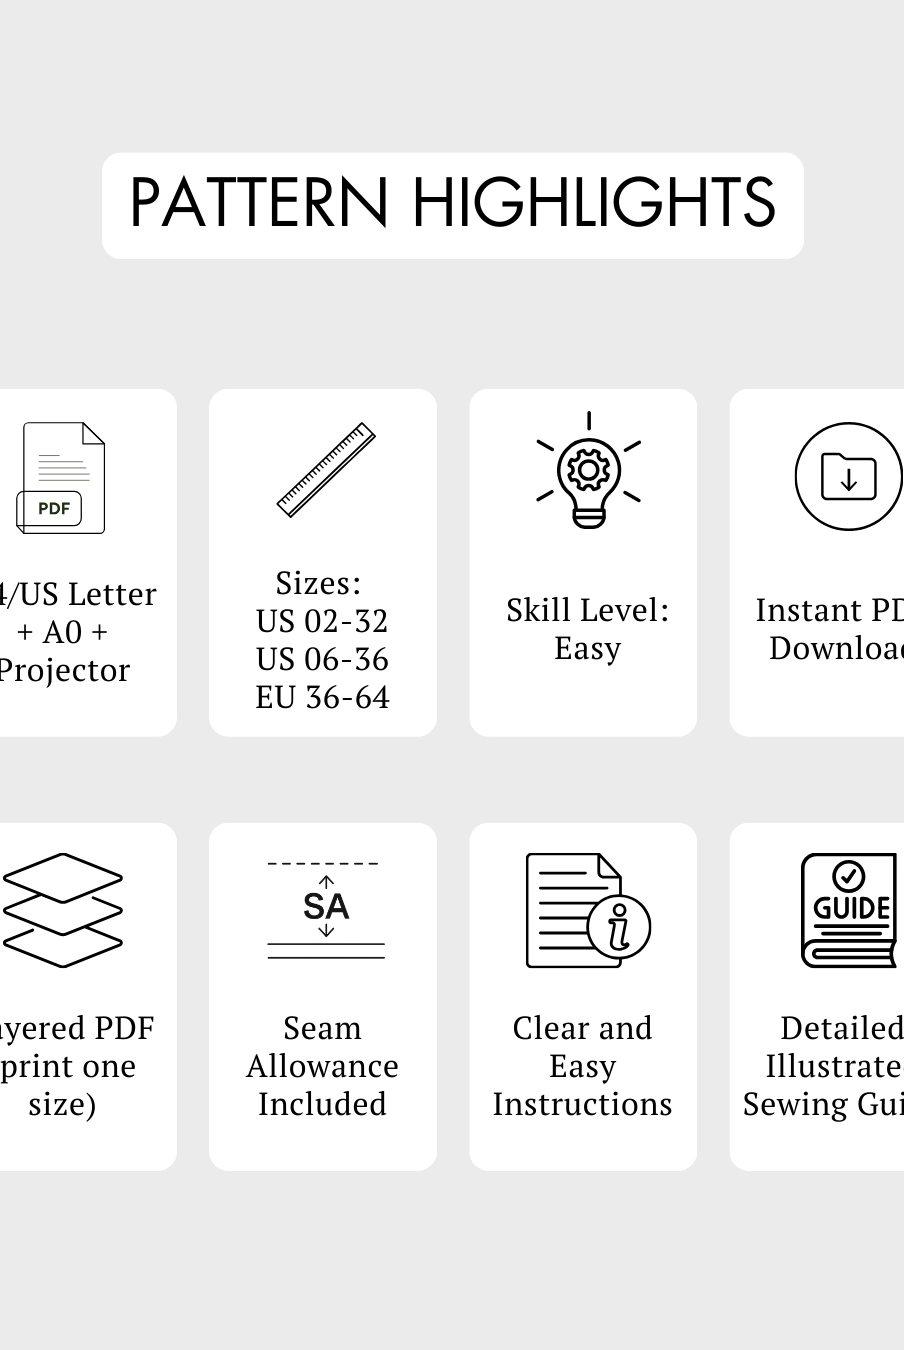
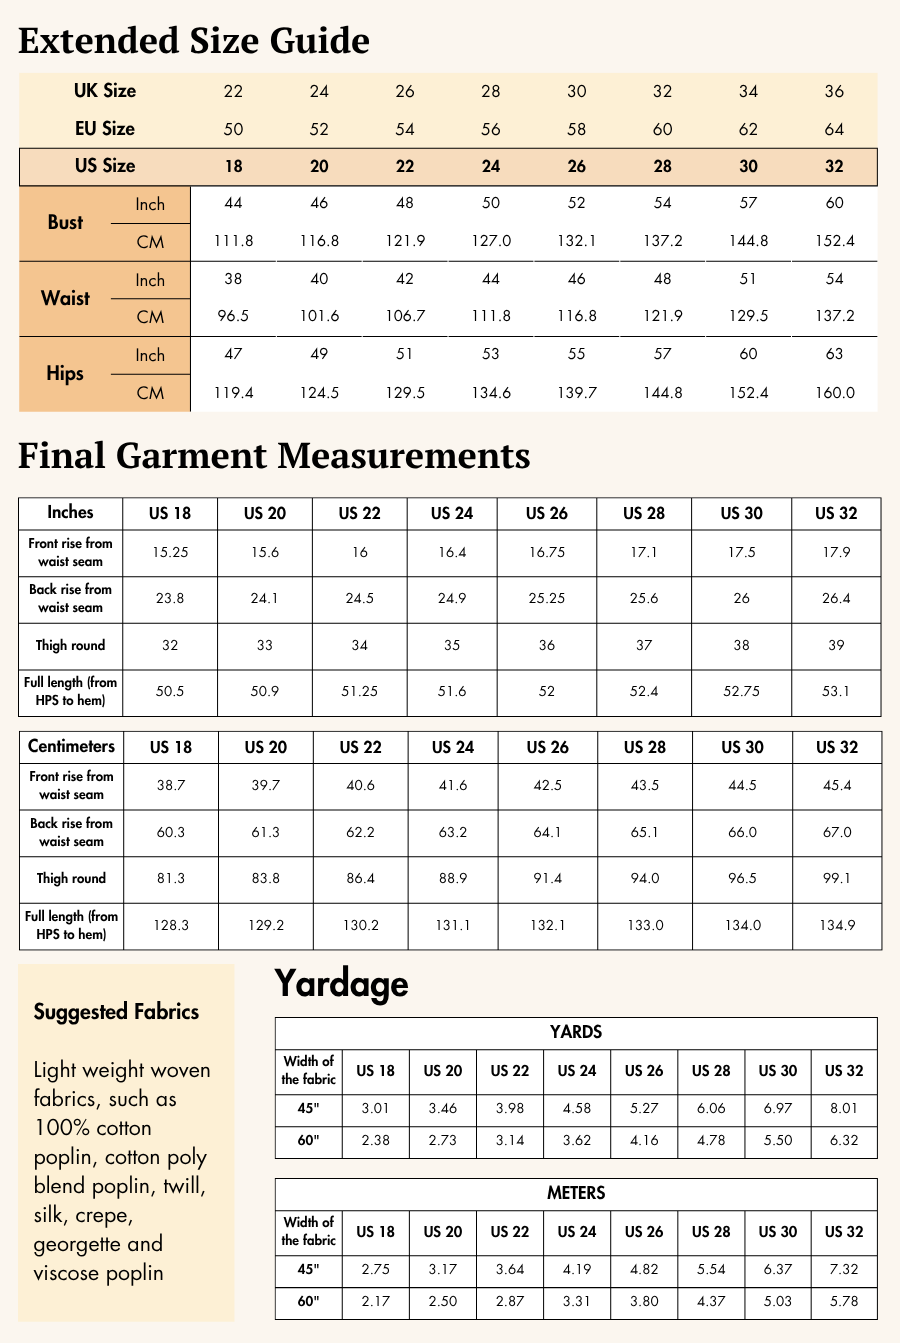
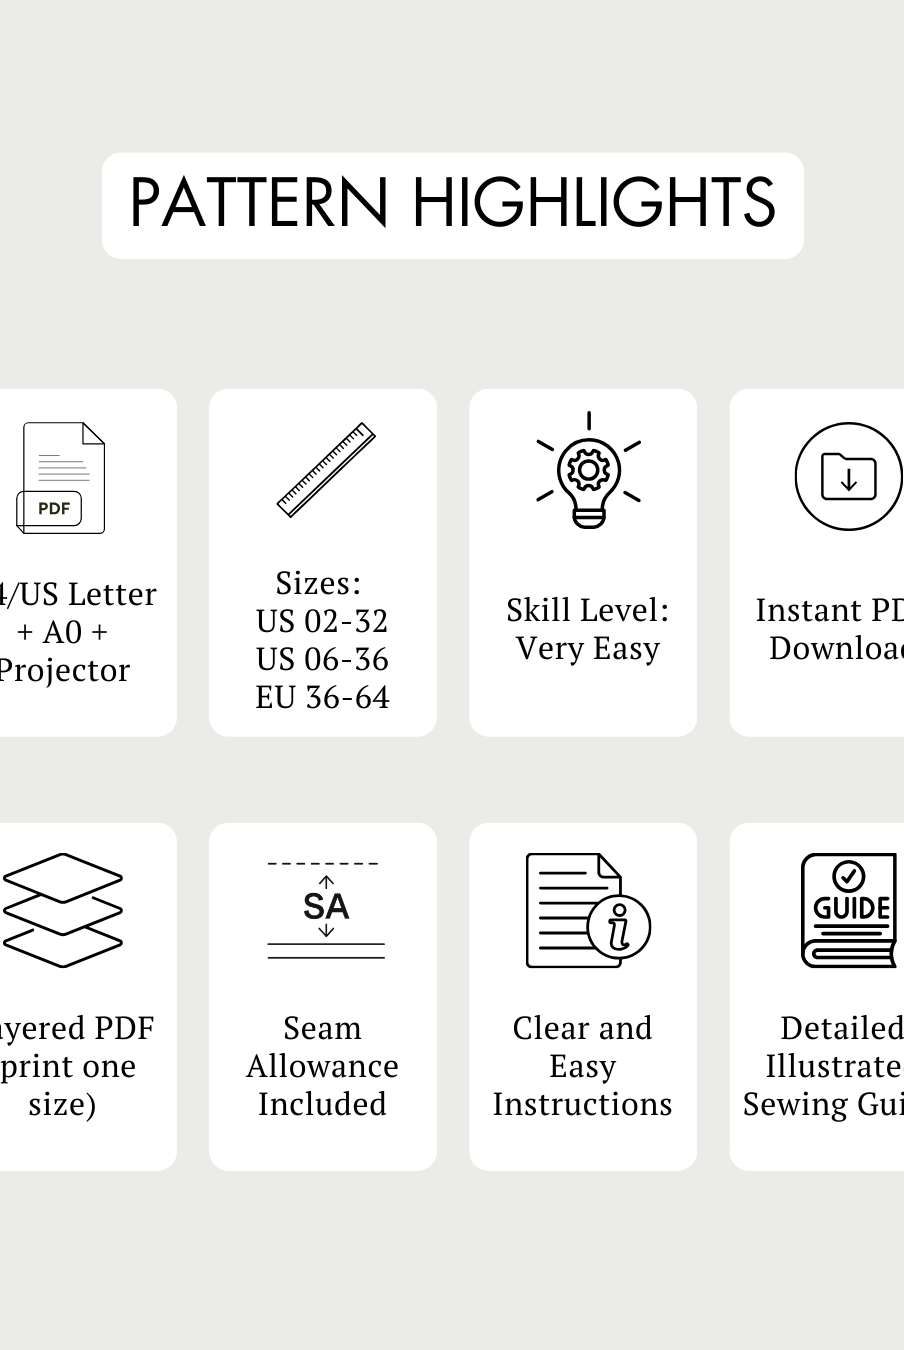
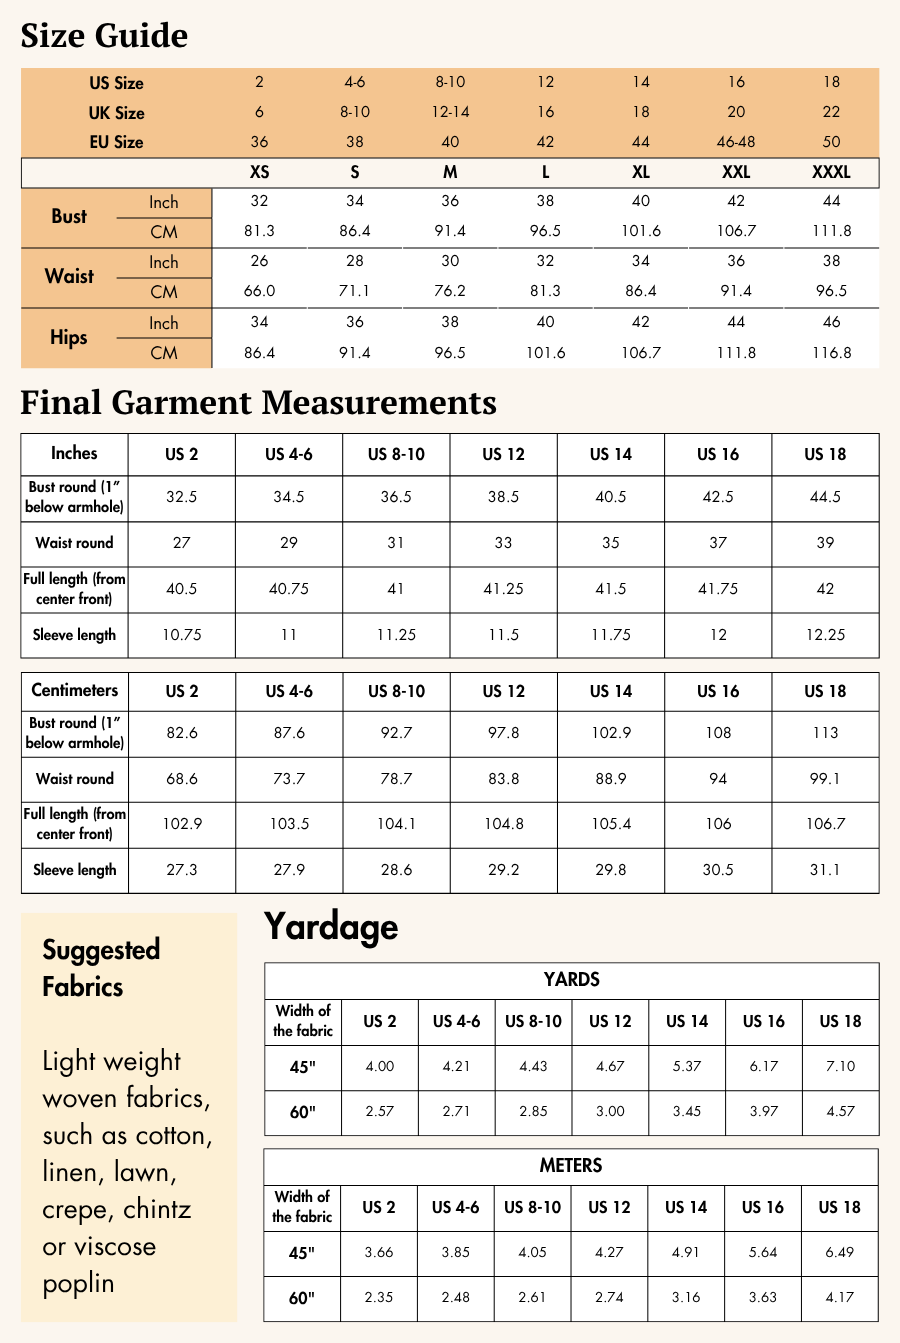
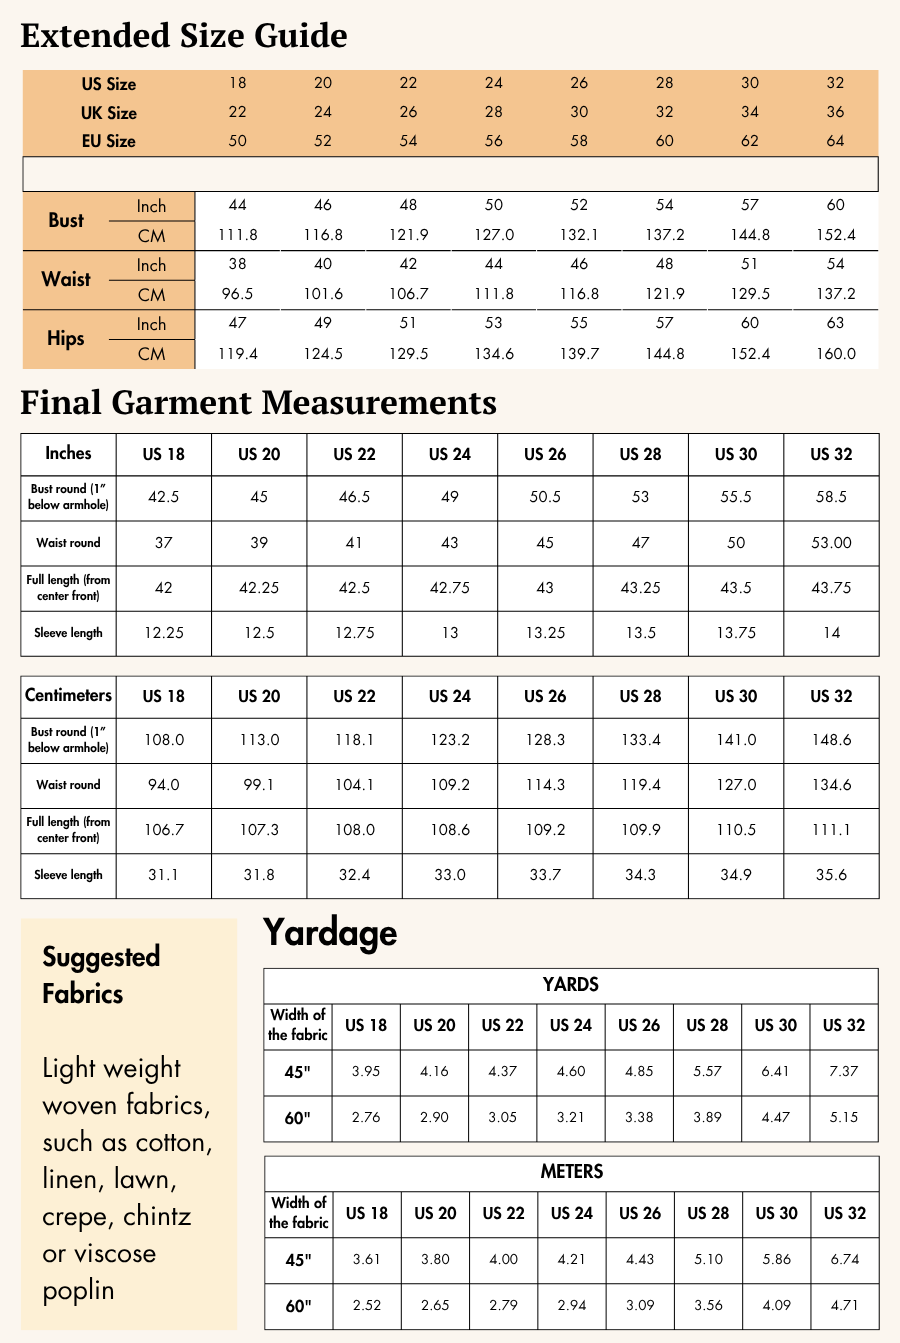
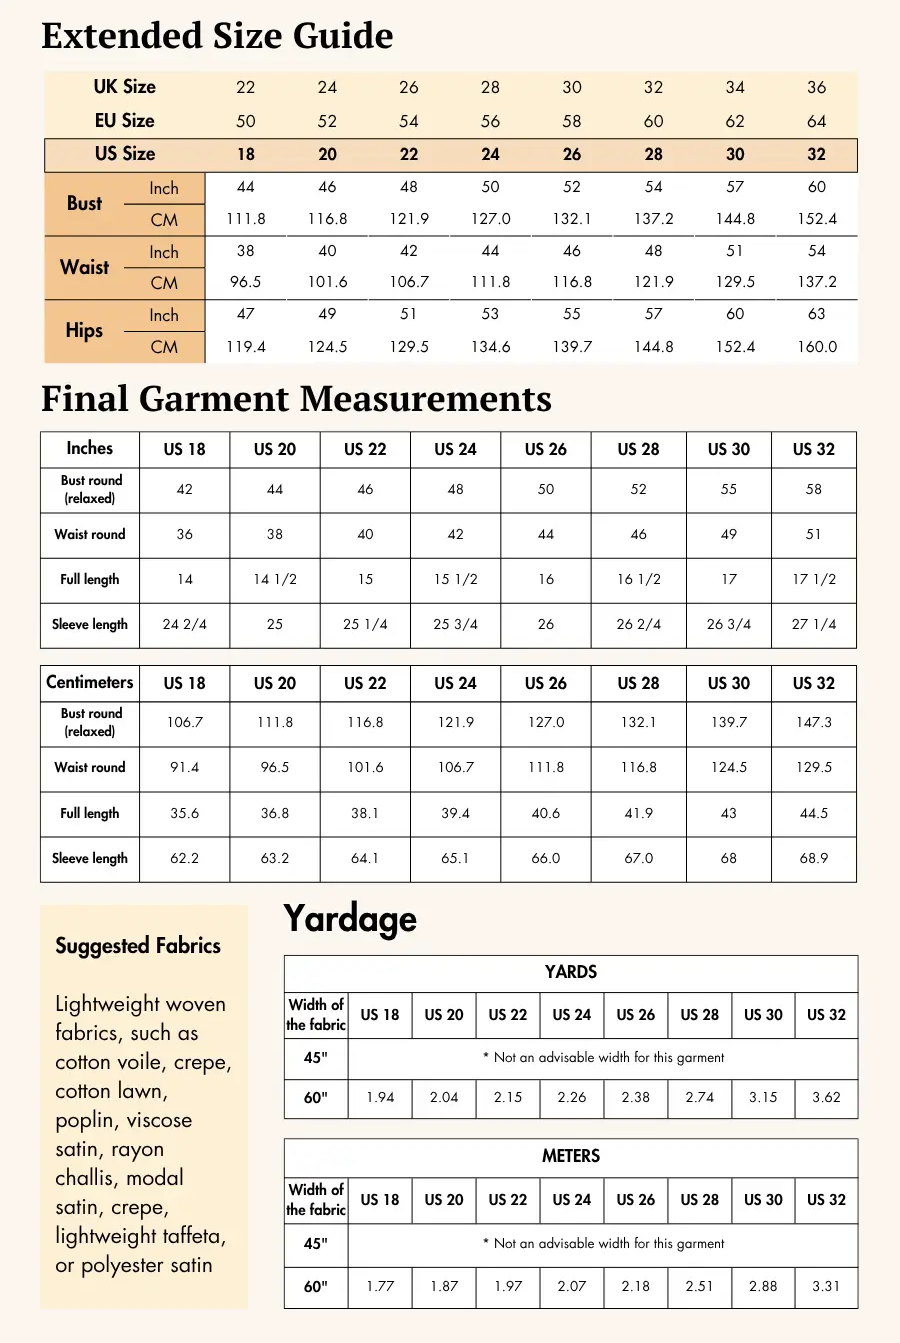
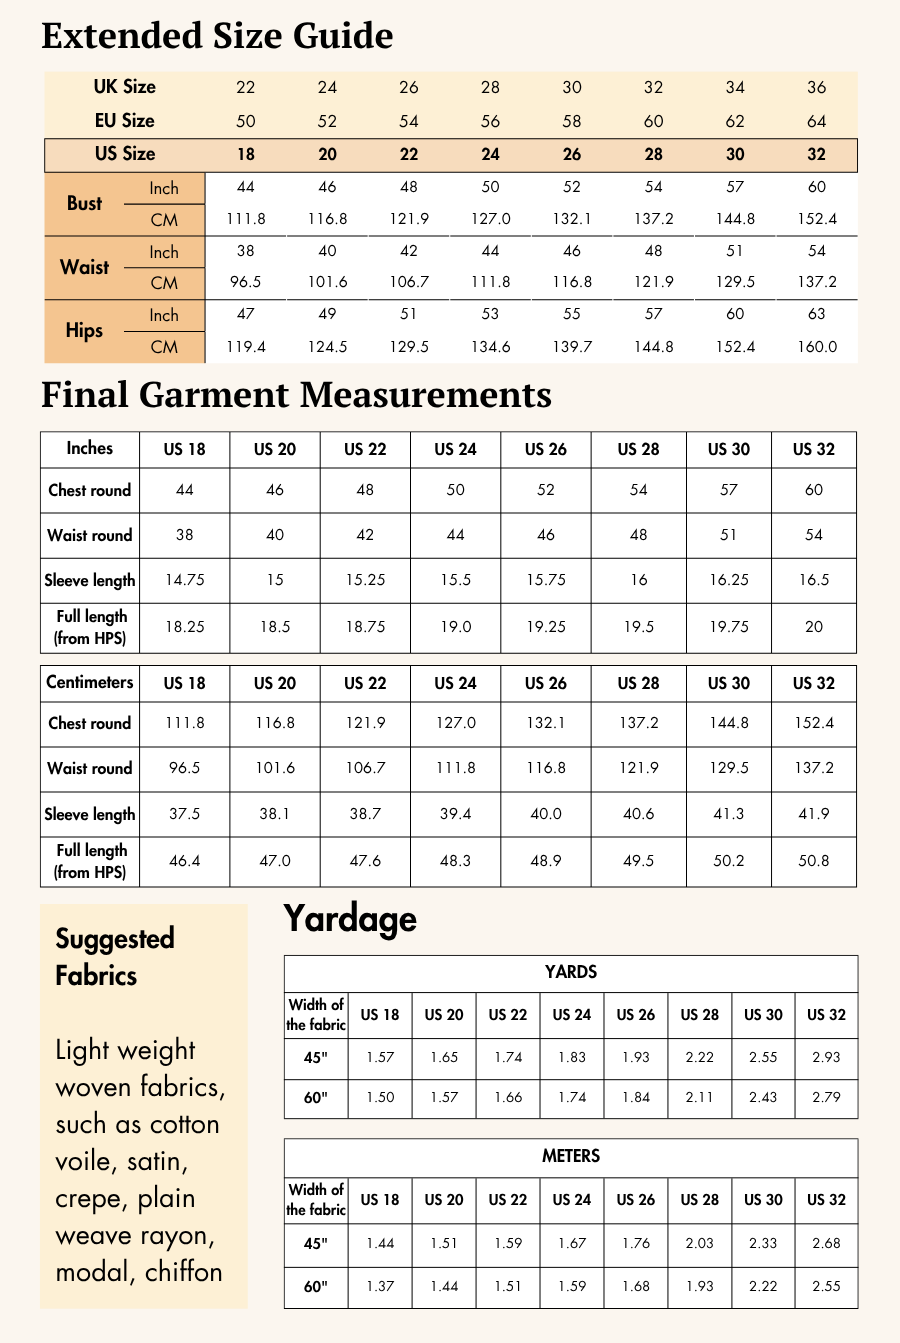
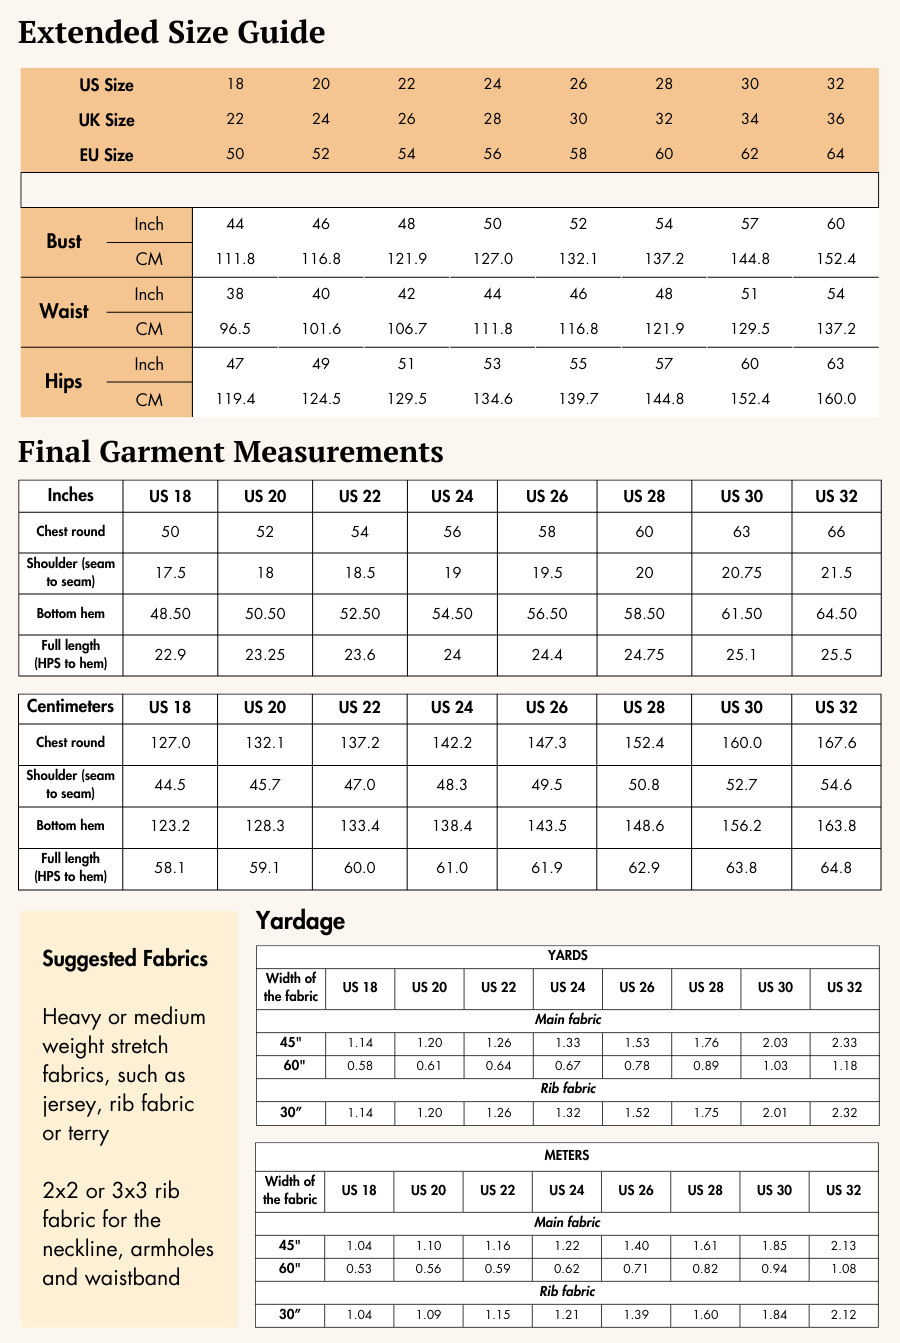
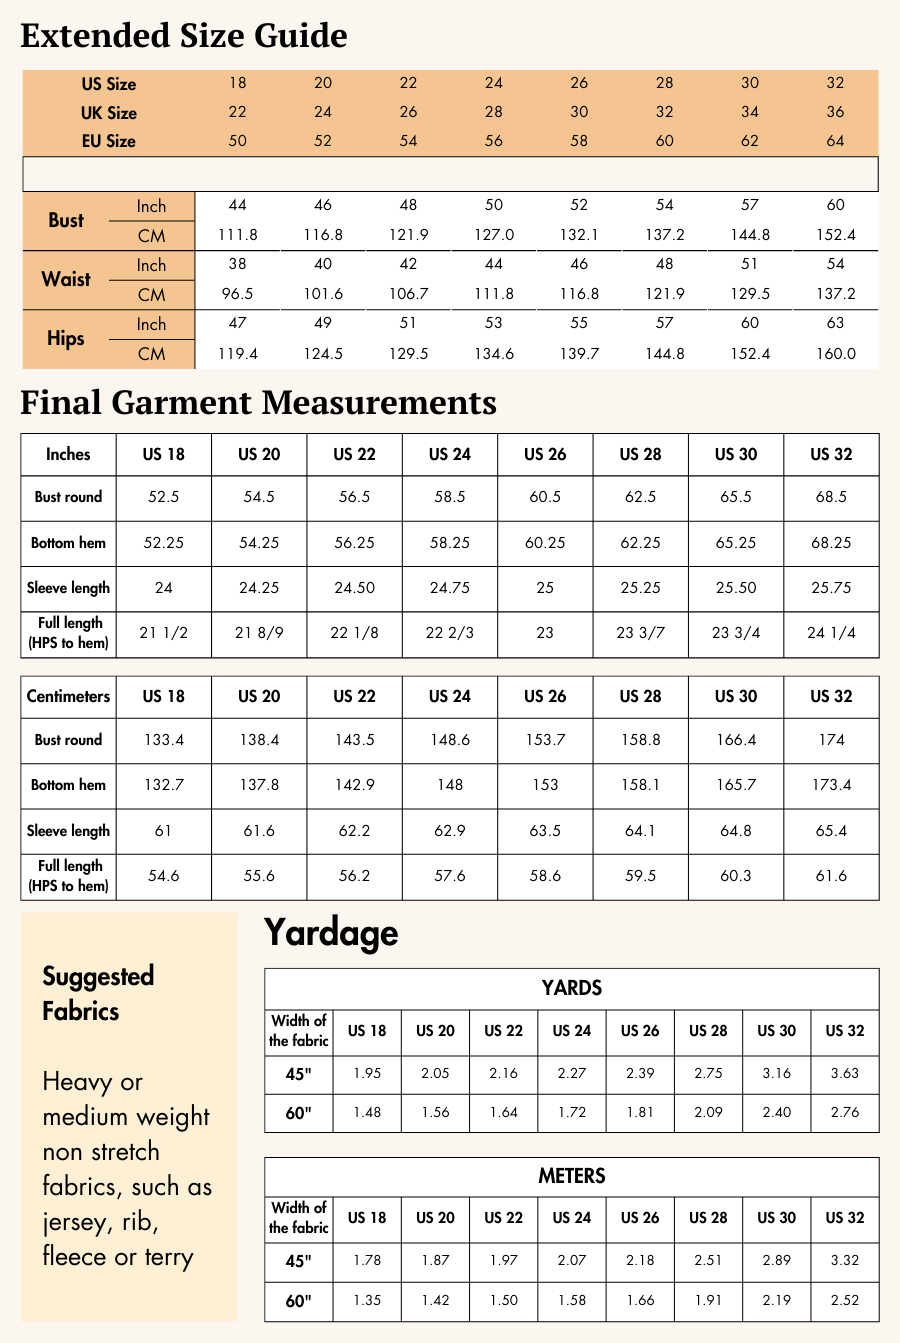
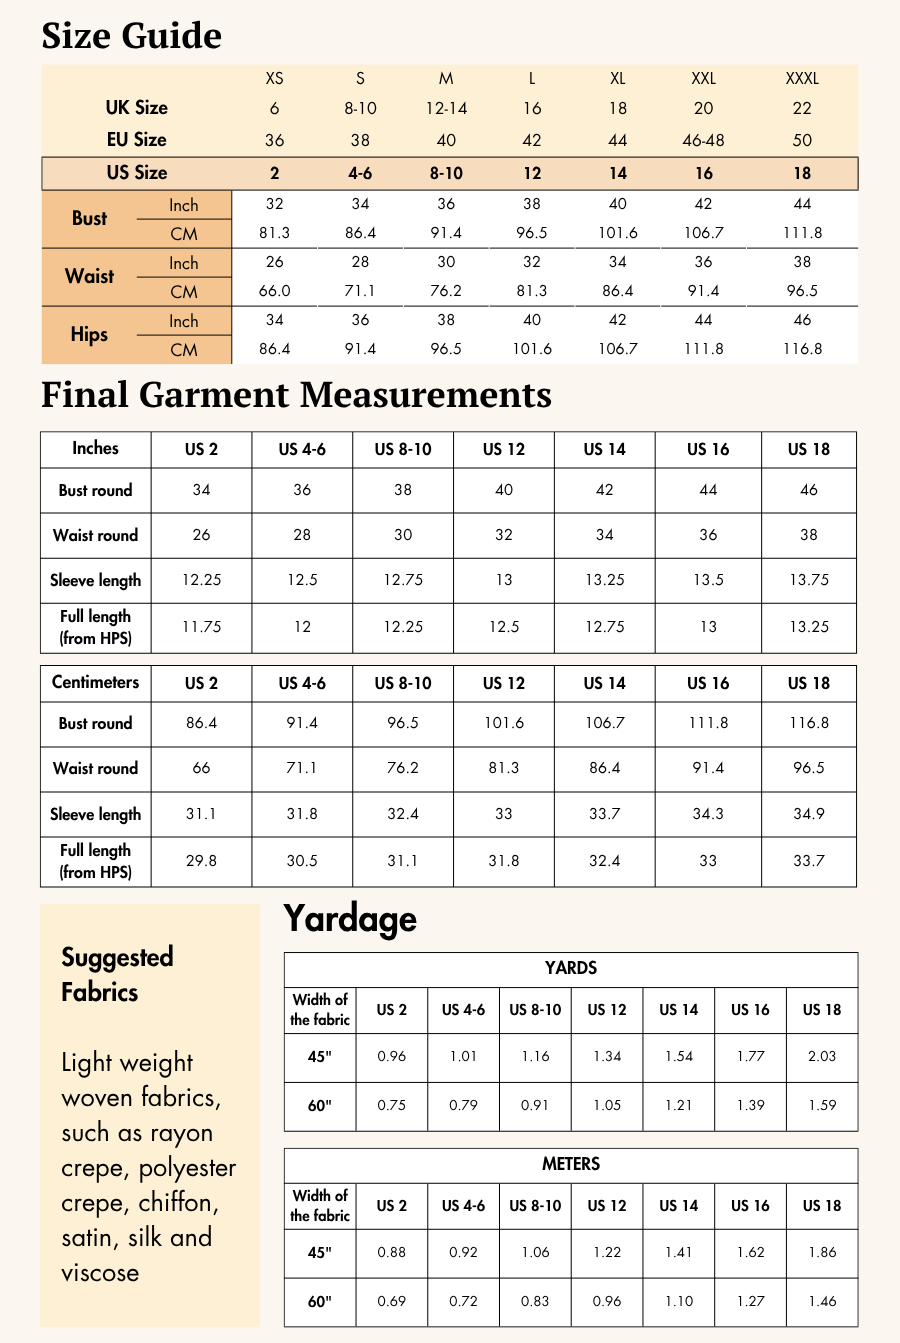
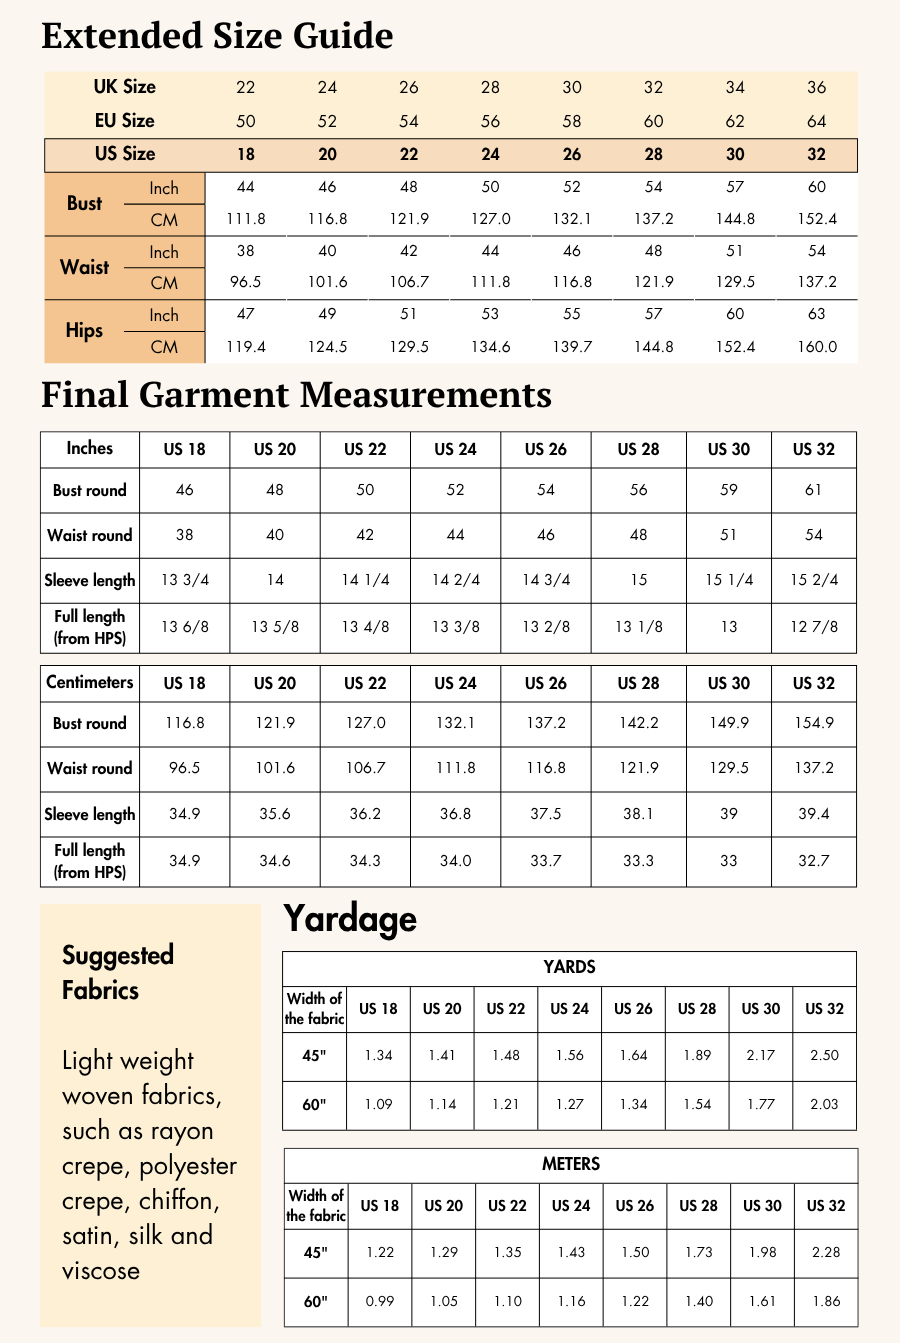
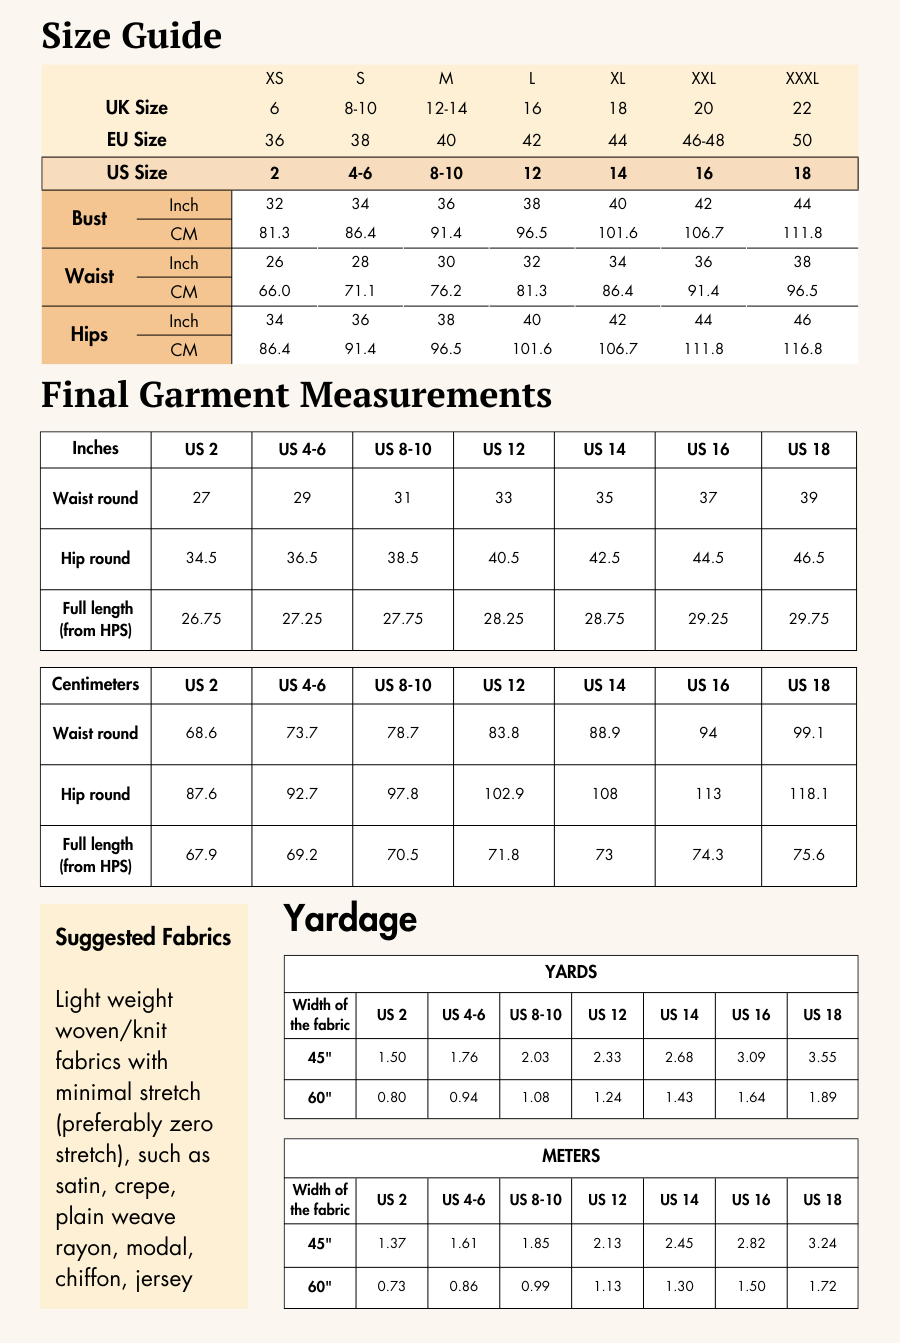
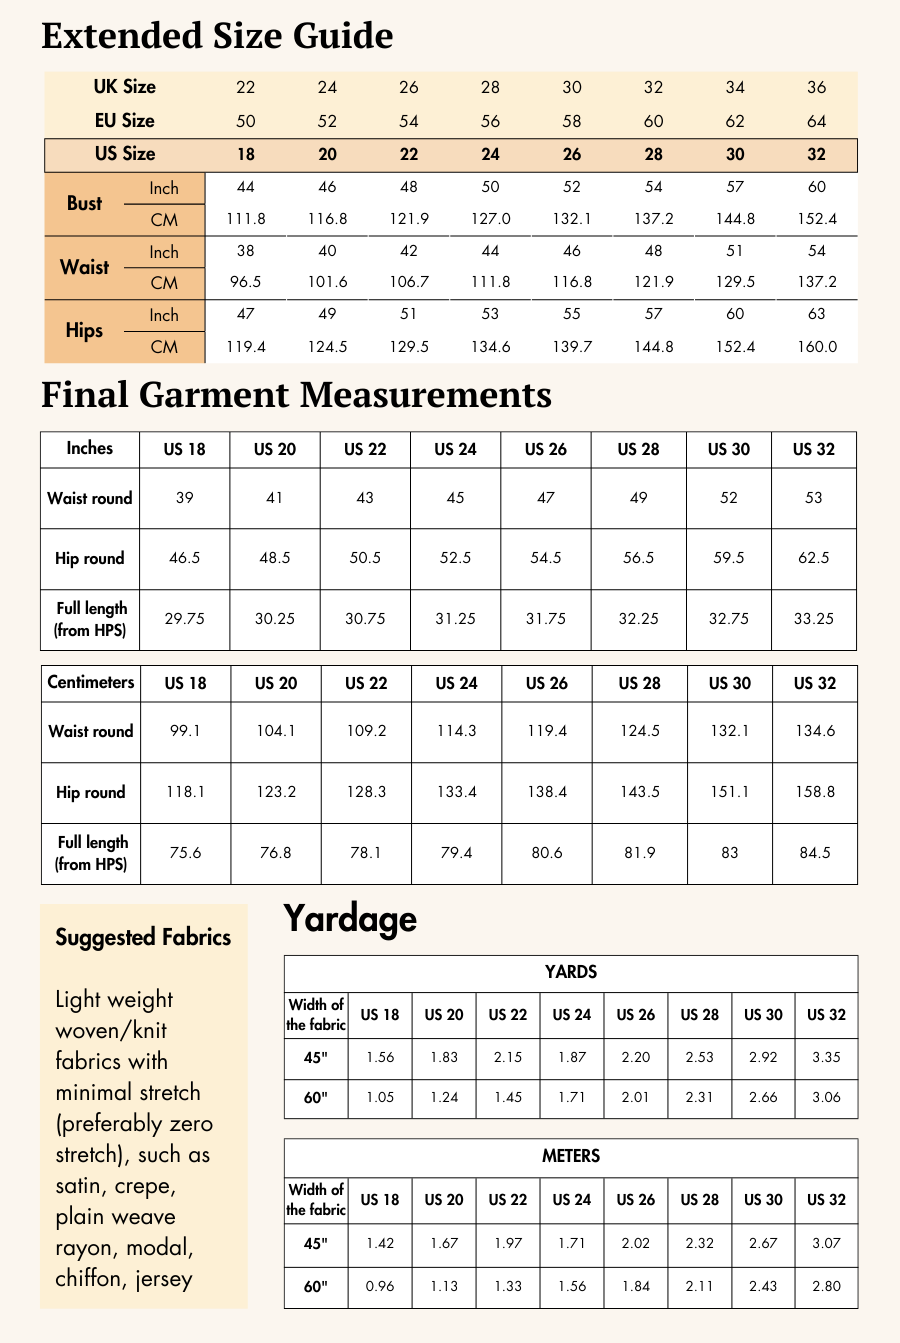
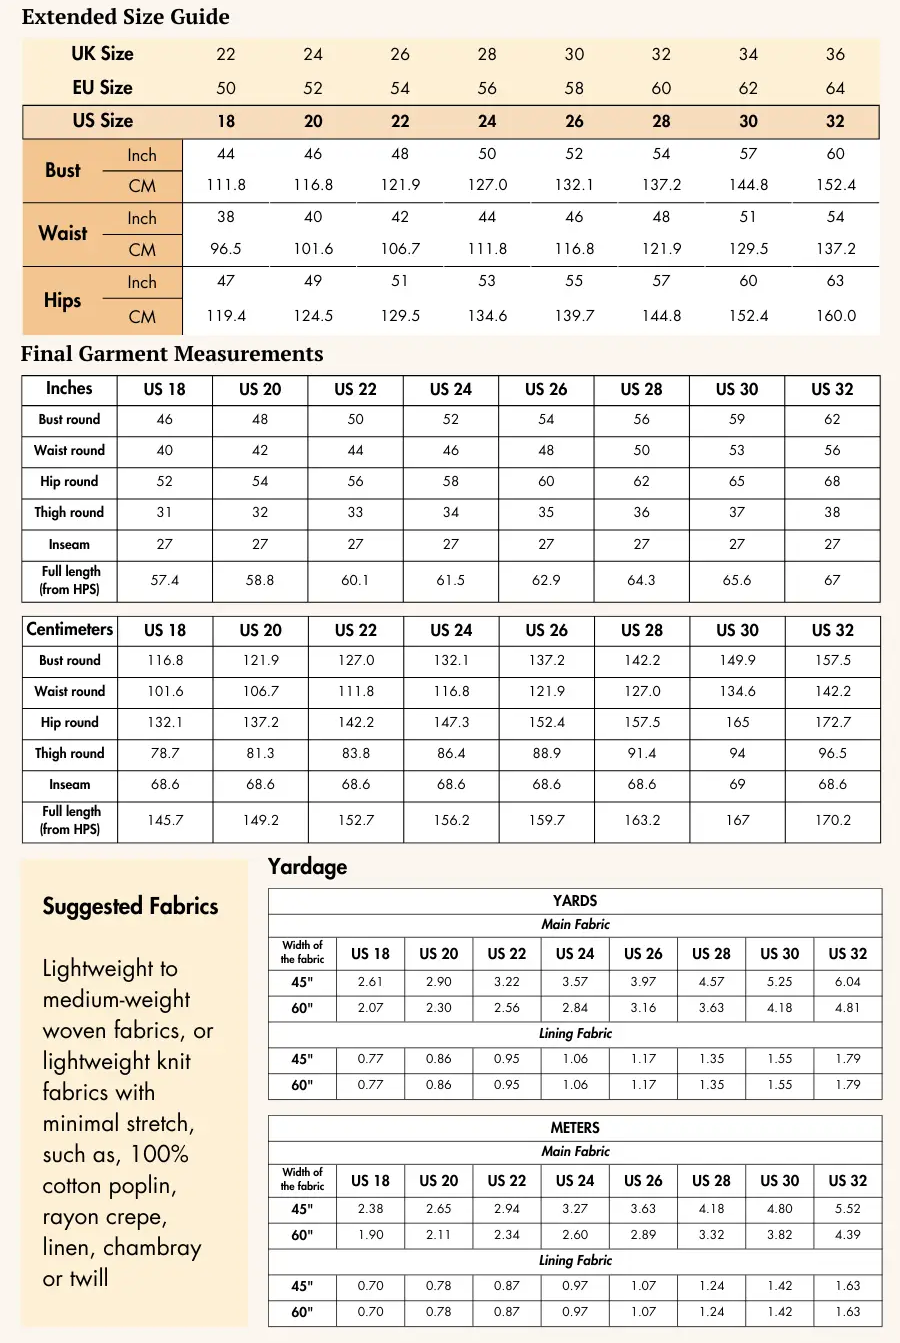
Inclusive sizing: Pattern runs from US 02 - US 32 | UK 06 - UK 36 | EU 36 - EU 64.
Supplies & Notions to sew a short sleeve blouse
- A short sleeve blouse pattern (I've used the Bliss Blouse from Winslet’s)
-
100% linen, viscose, cotton or cotton blends for summer comfort
-
Matching 3-ply polyester thread
-
Fusible interfacing (for placket and collar)
-
0.5" (1.27 cm) wide elastic band
-
Fabric shears/rotary cutter & thread cutter
-
Iron
-
Tape measure
-
Chalk/fabric marker/pencil
-
Pins and sewing needles
-
Sewing machine
Pro Tip: Linen is perfect for this blouse—breathable, moisture-wicking, with a beautiful drape.
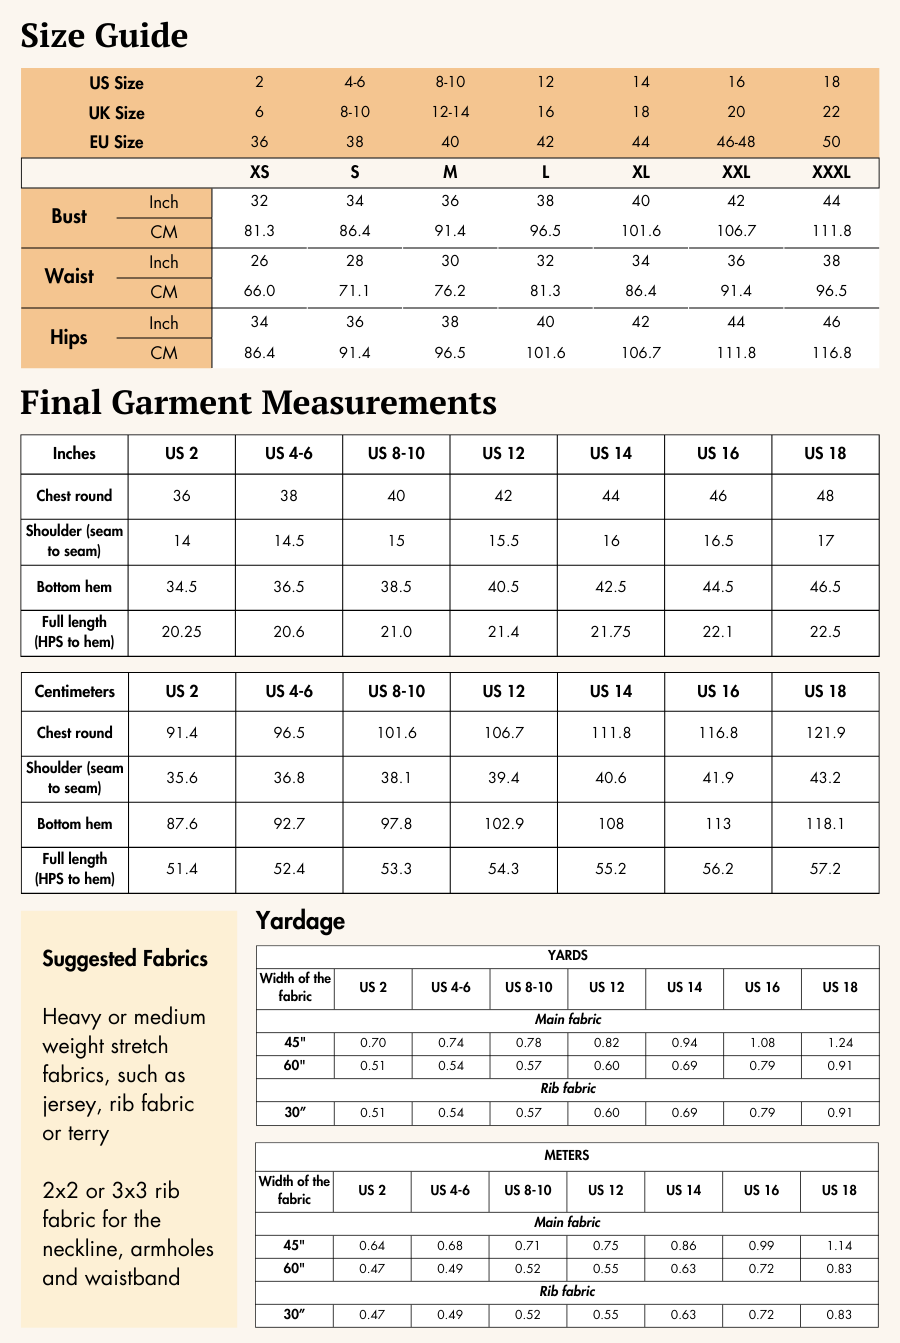
Size Charts for the short sleeve blouse
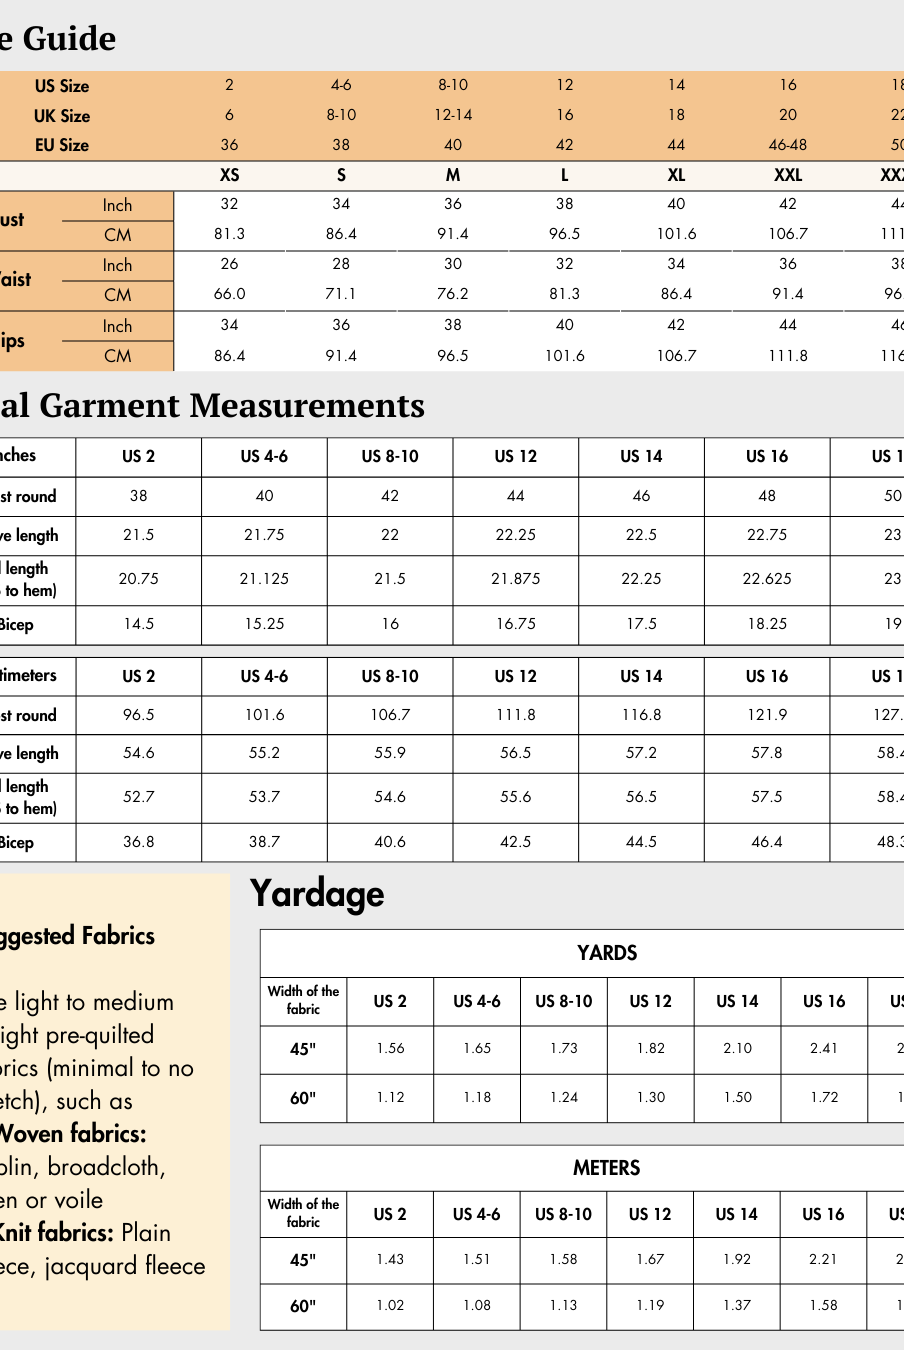
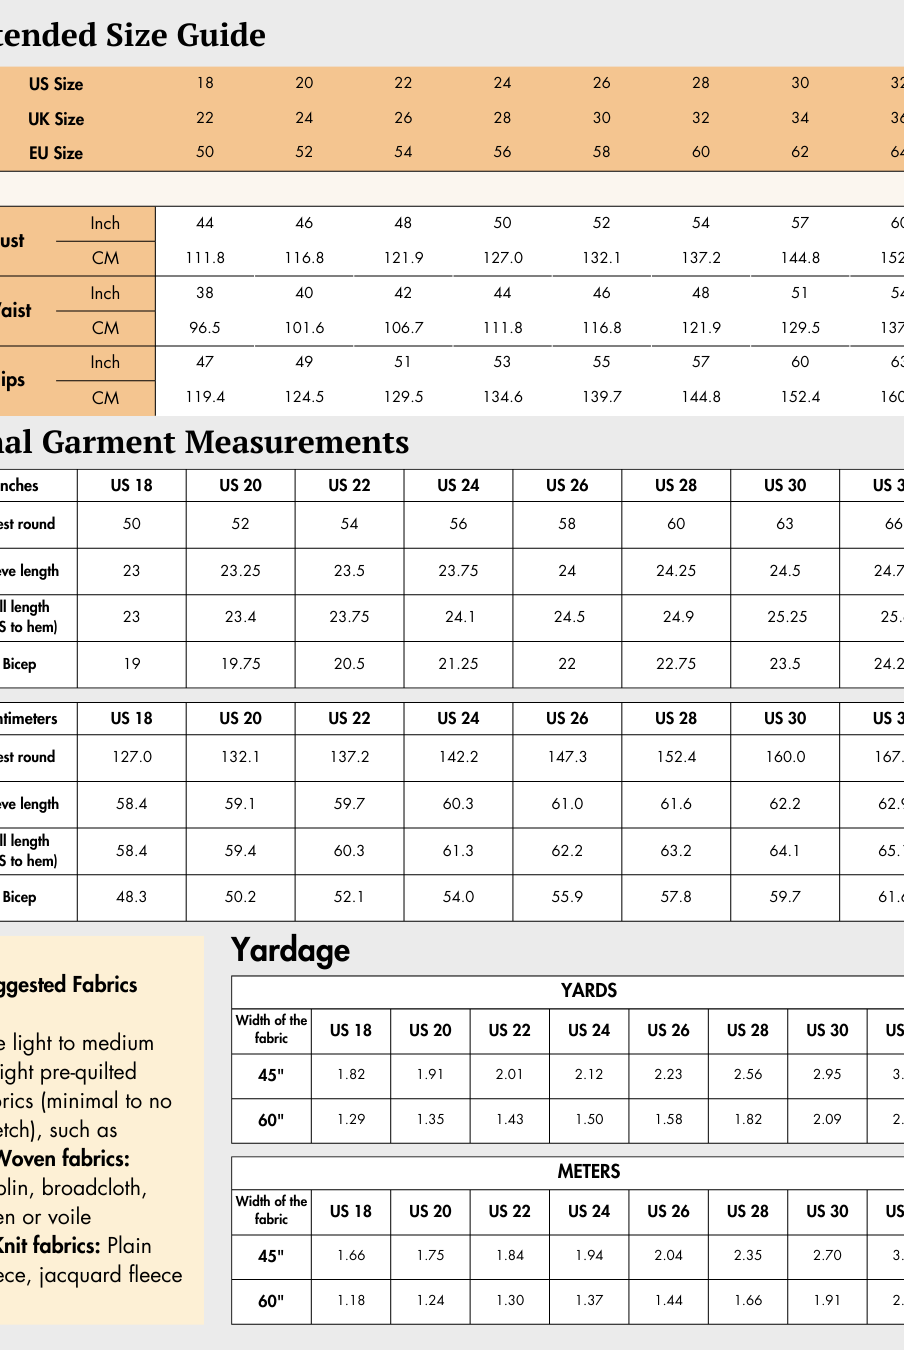
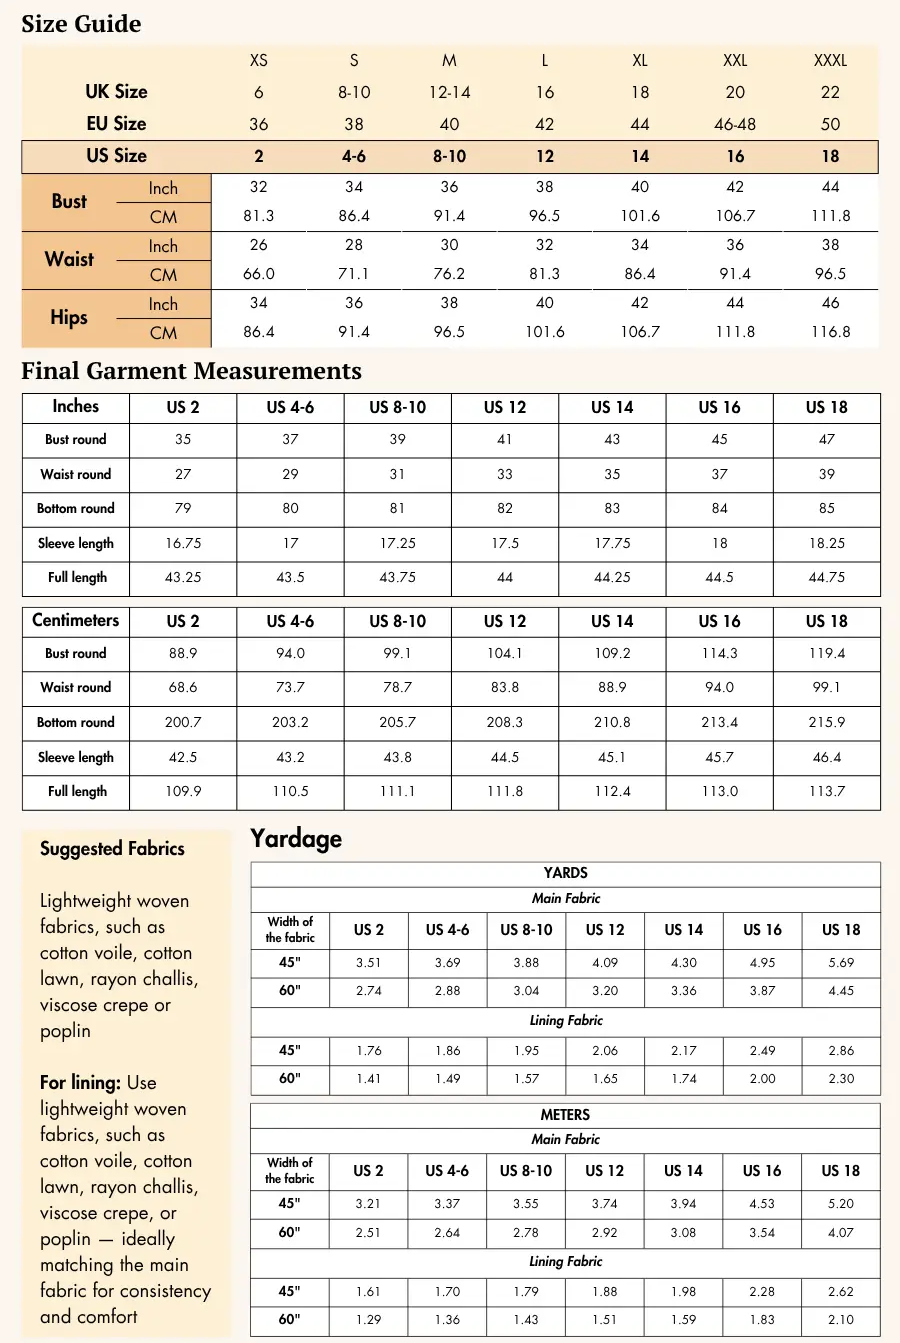
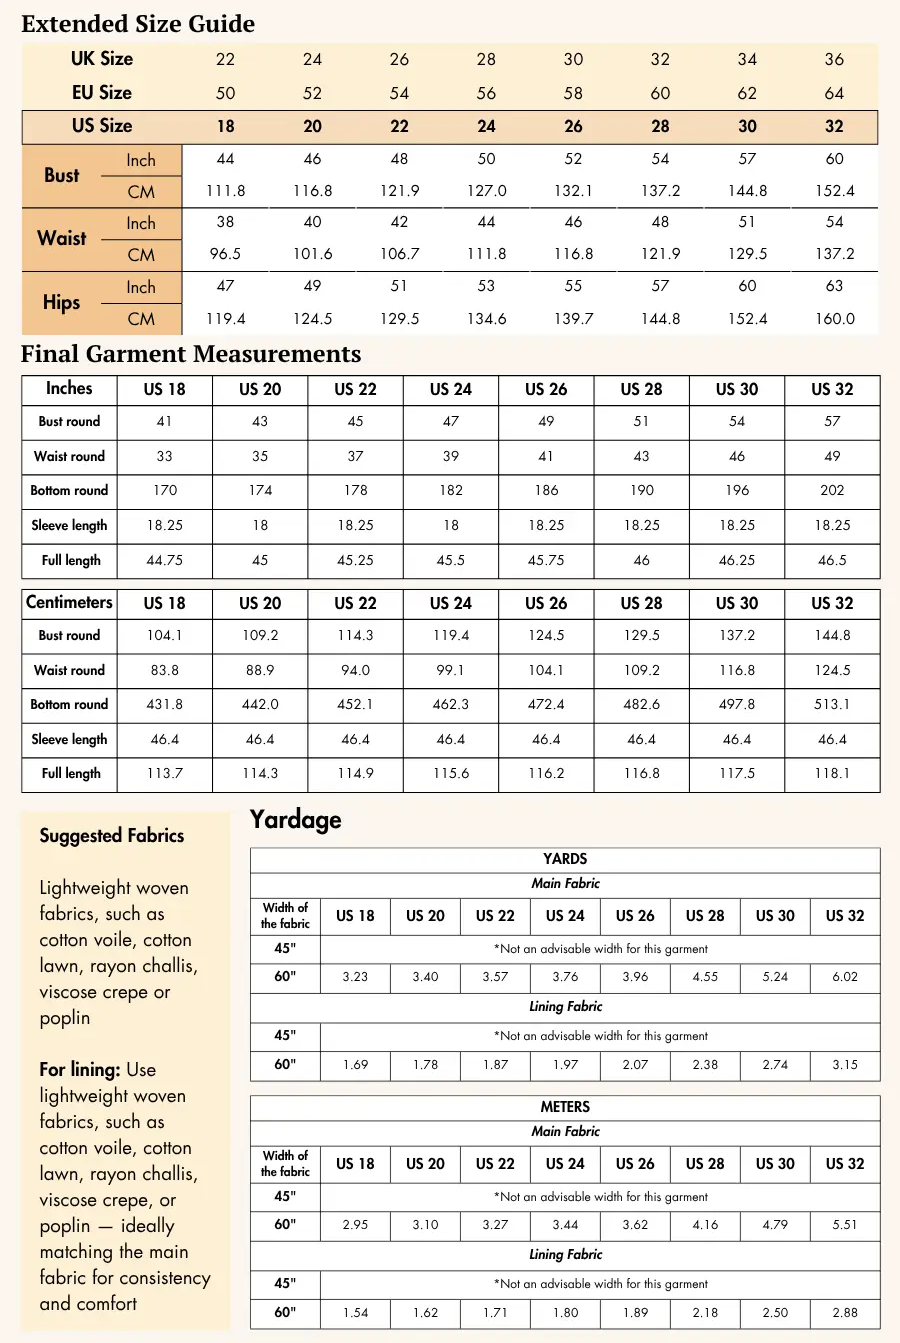
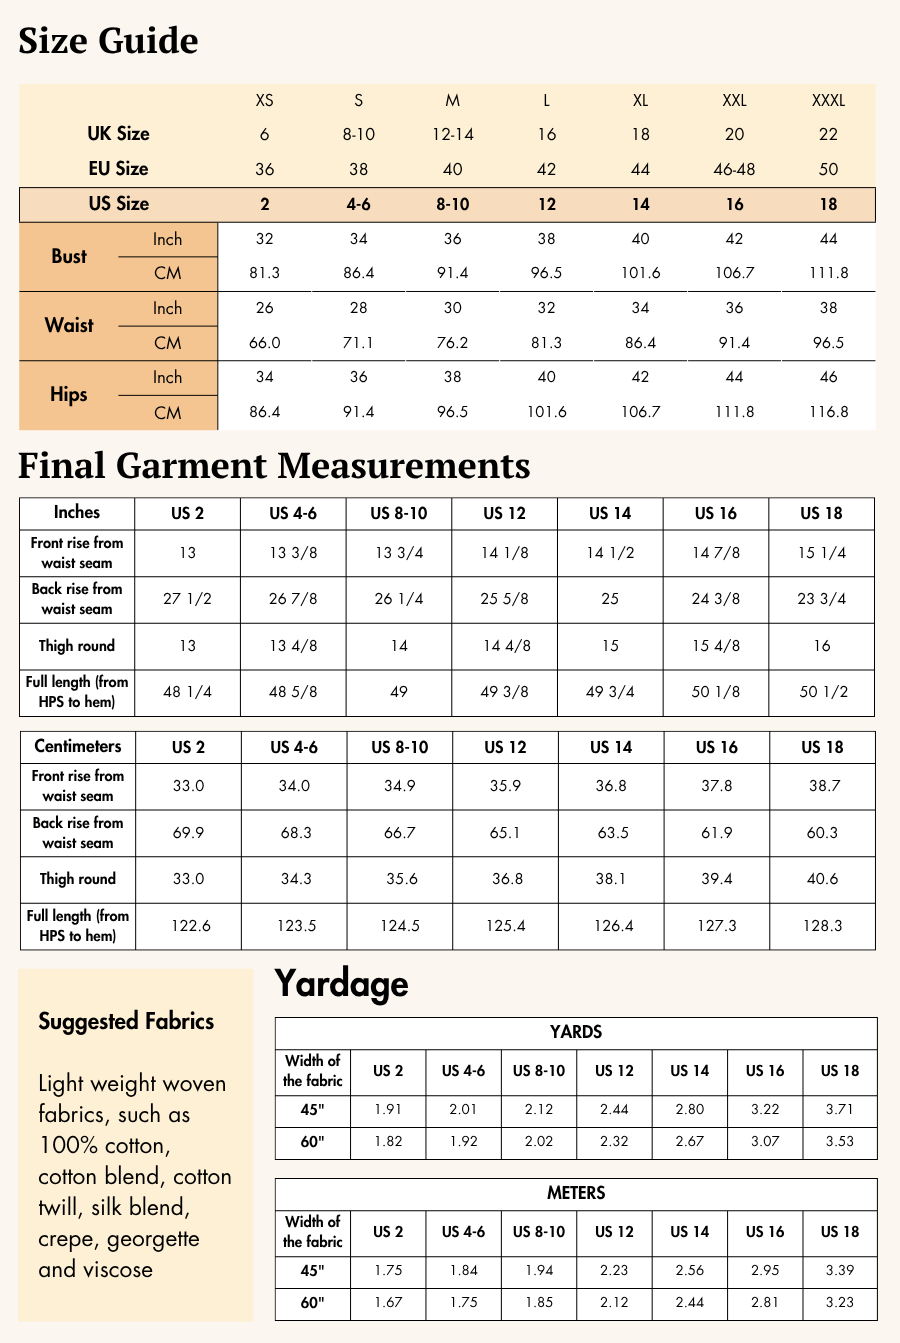
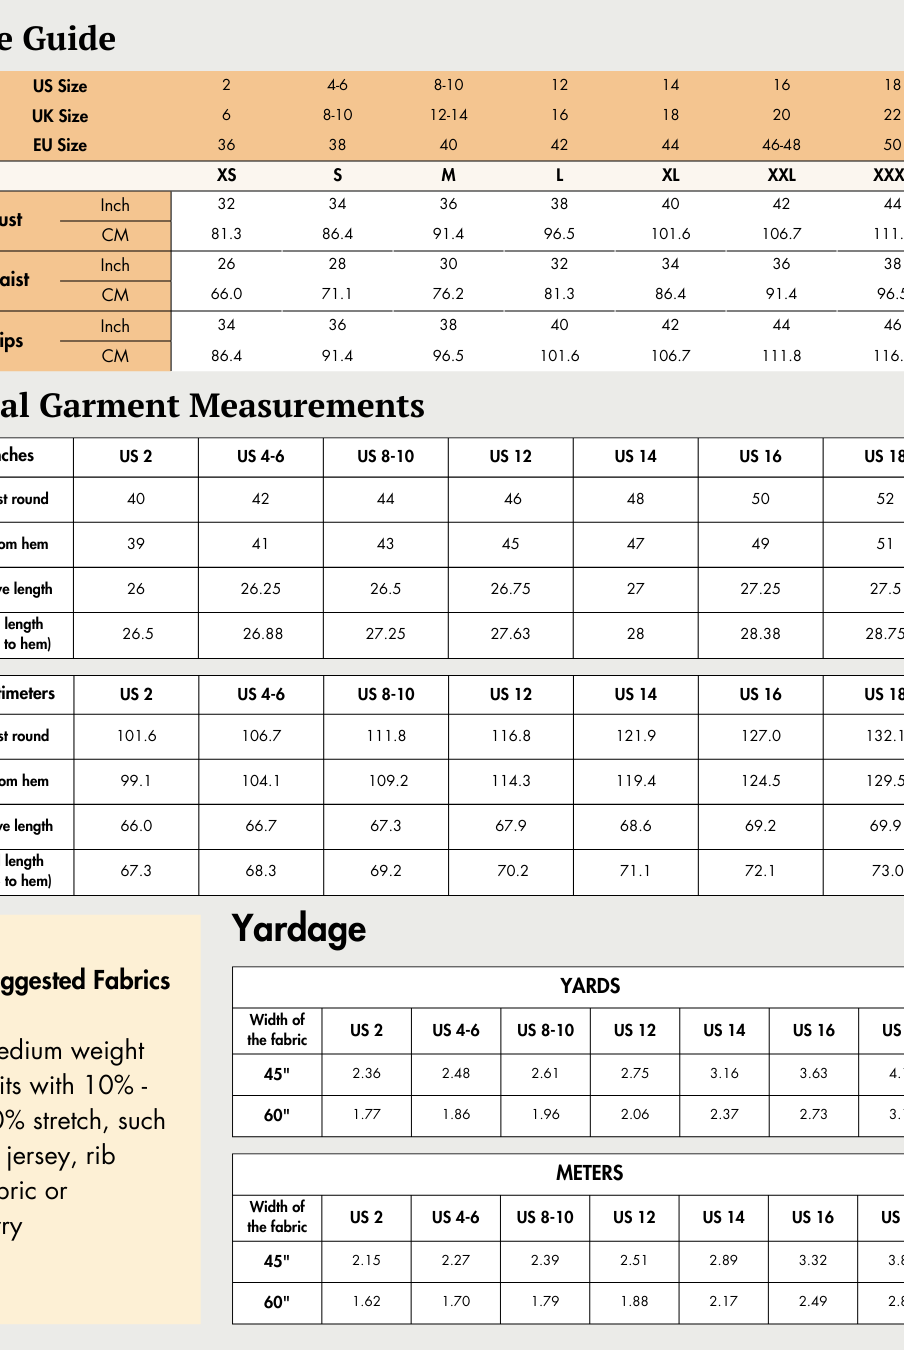
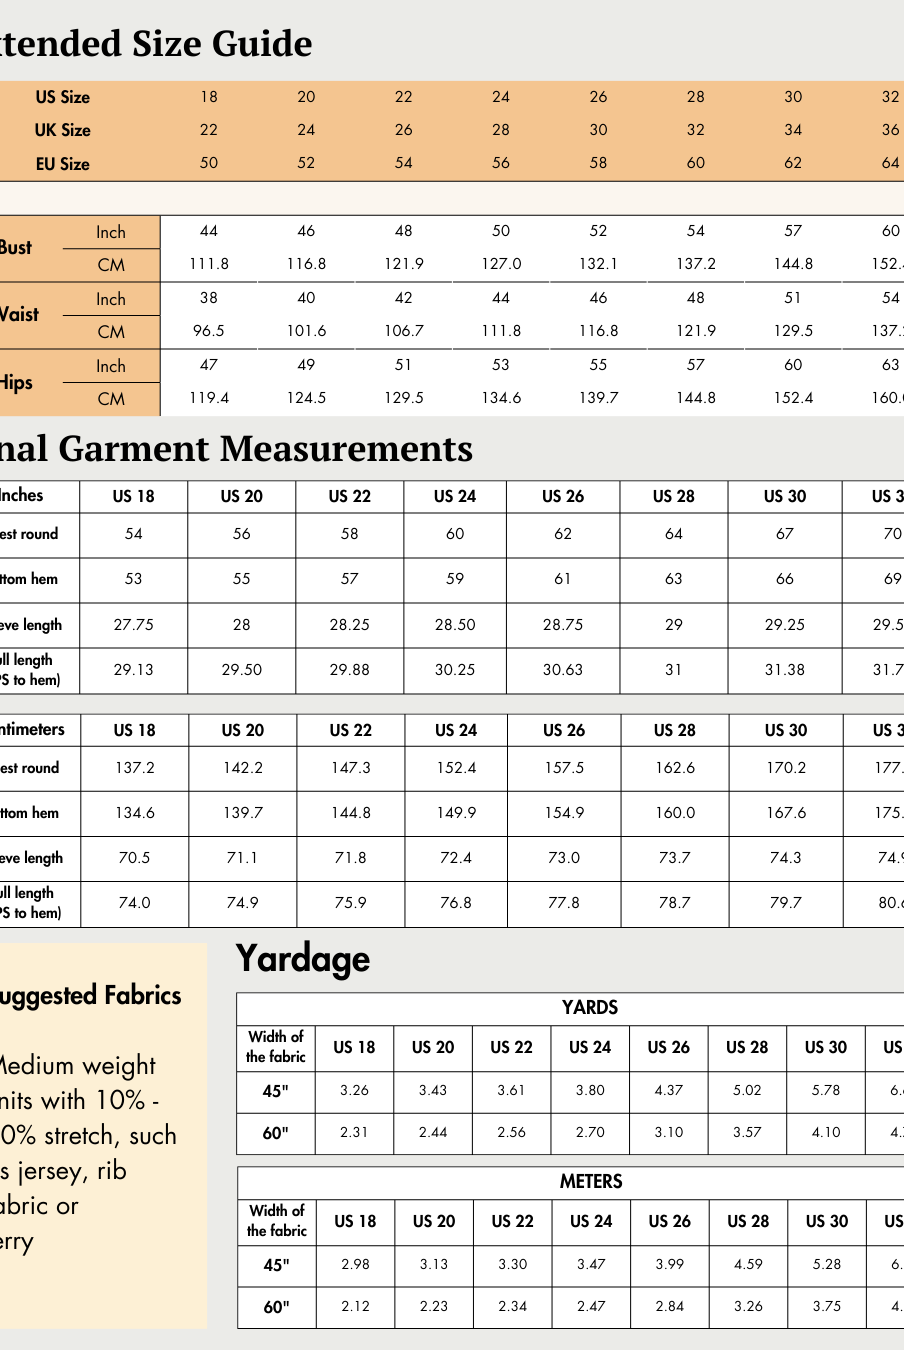
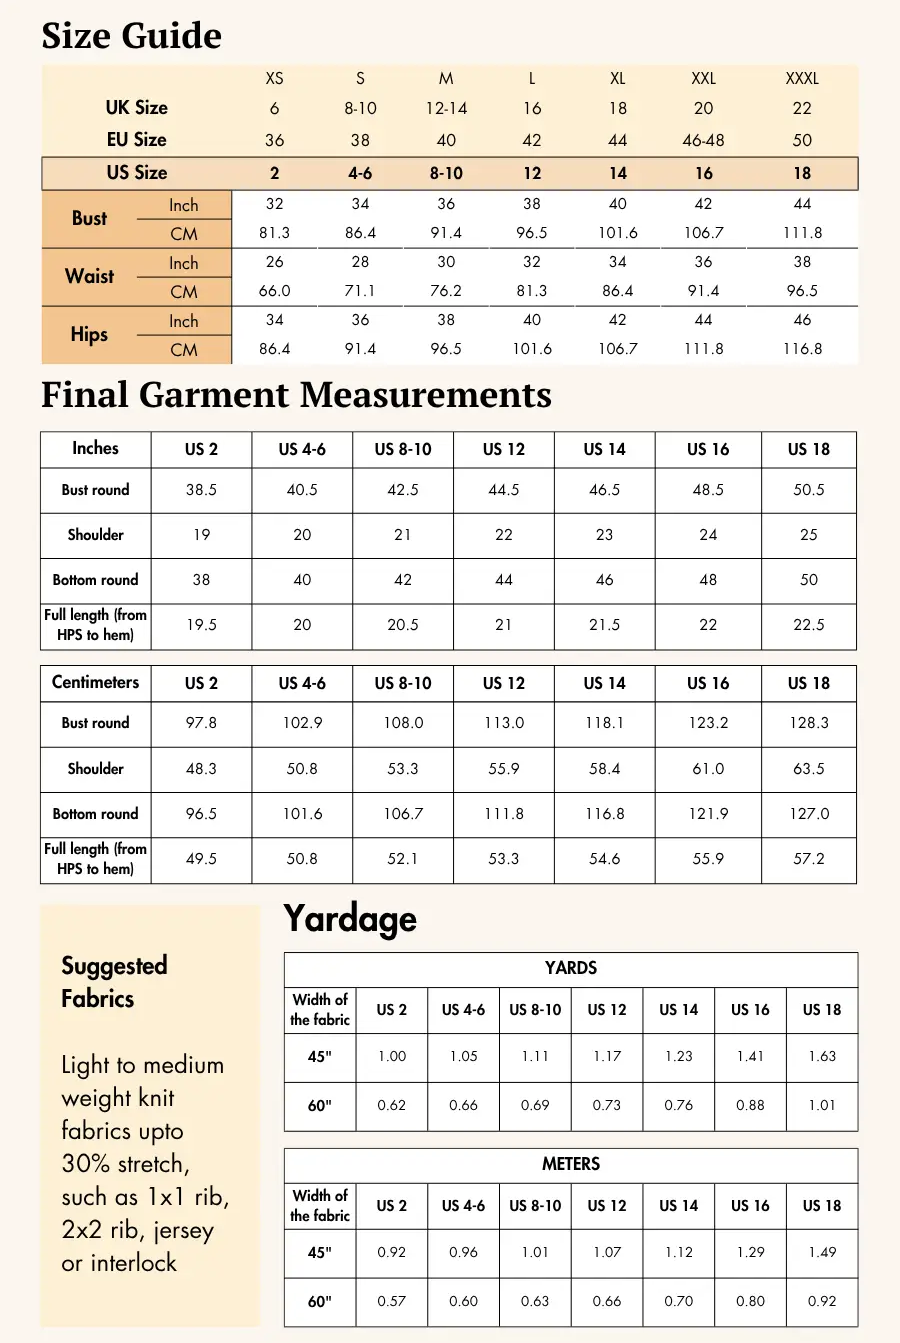
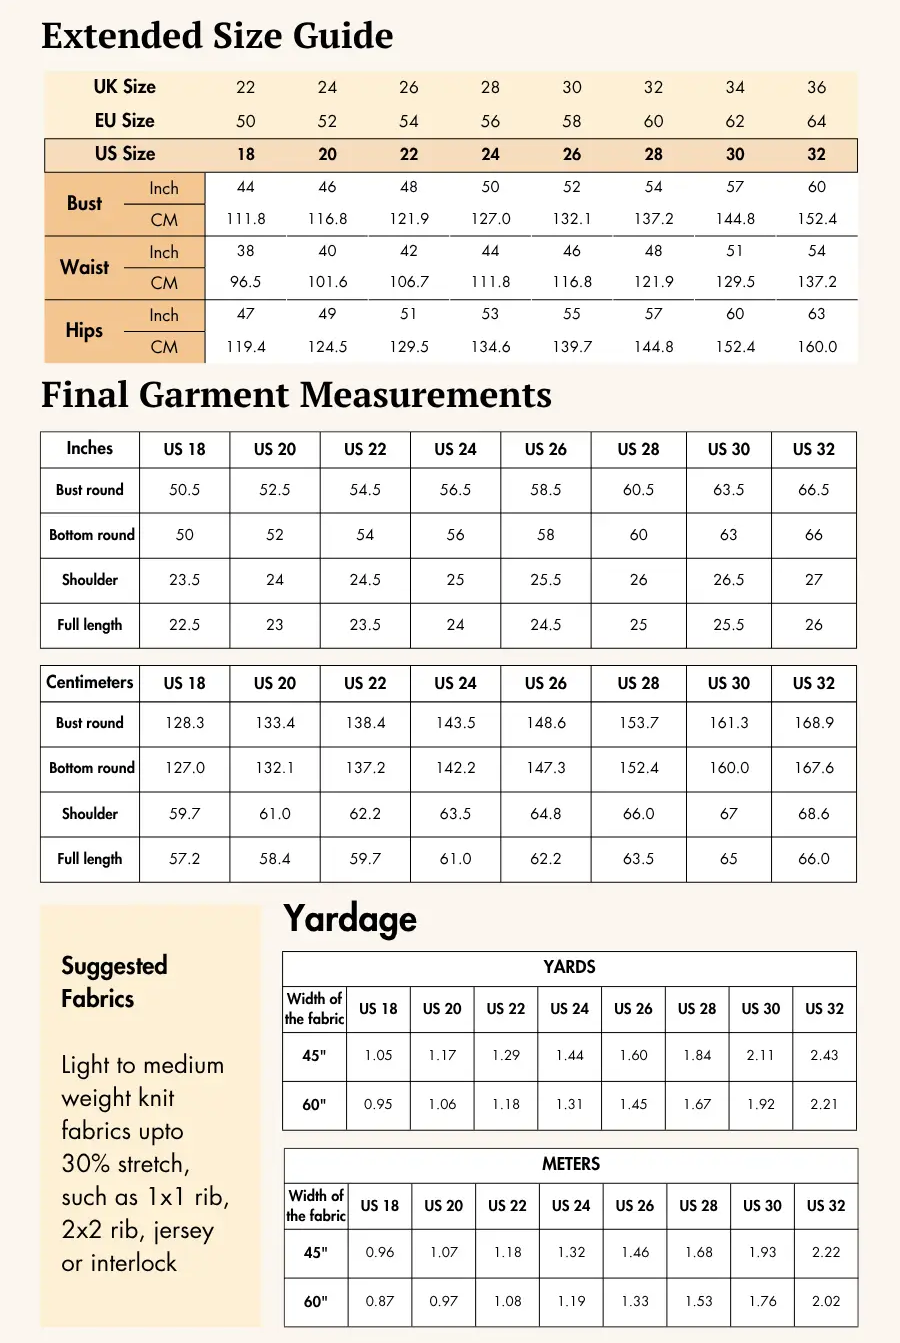
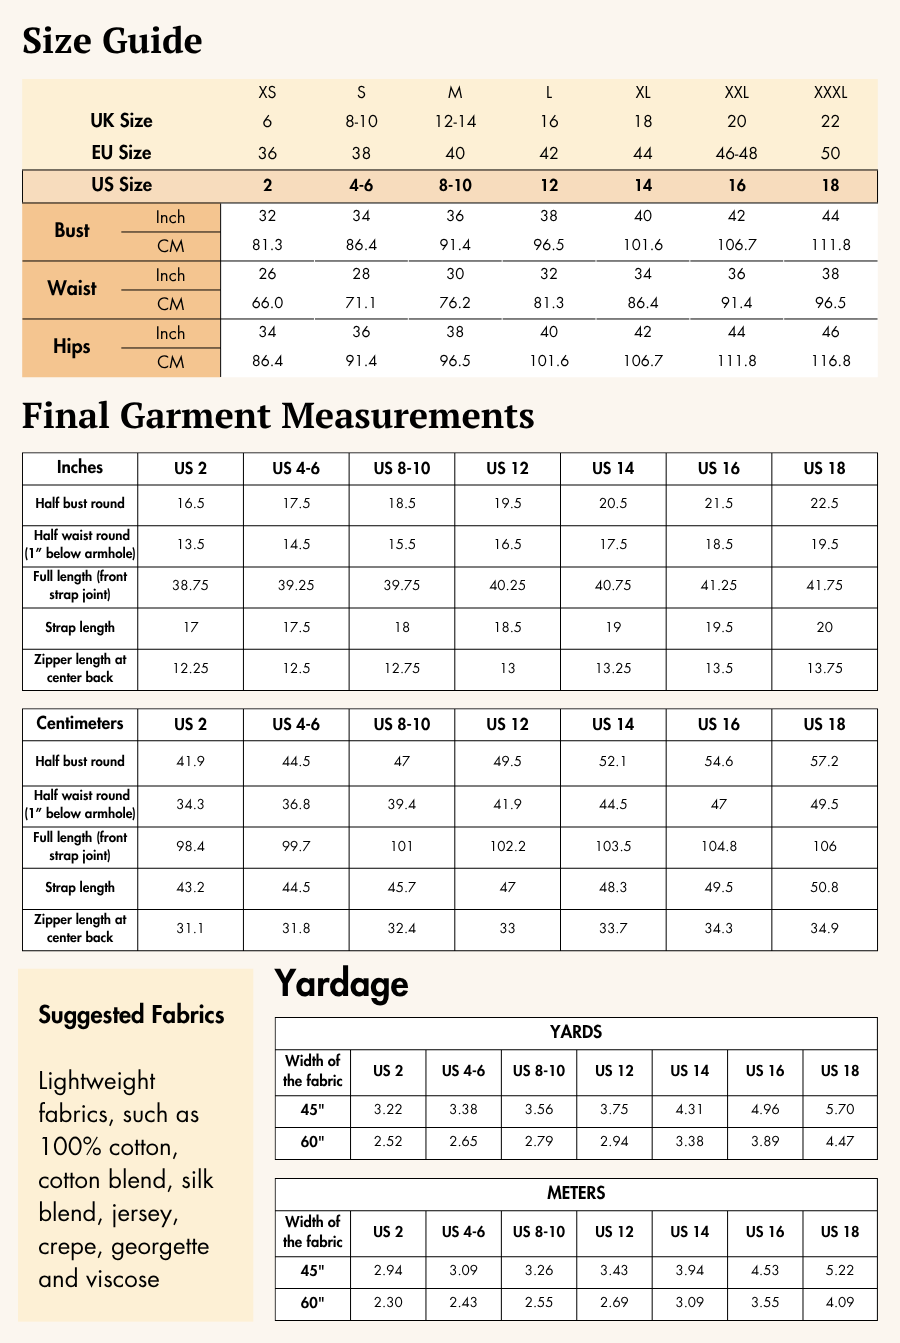
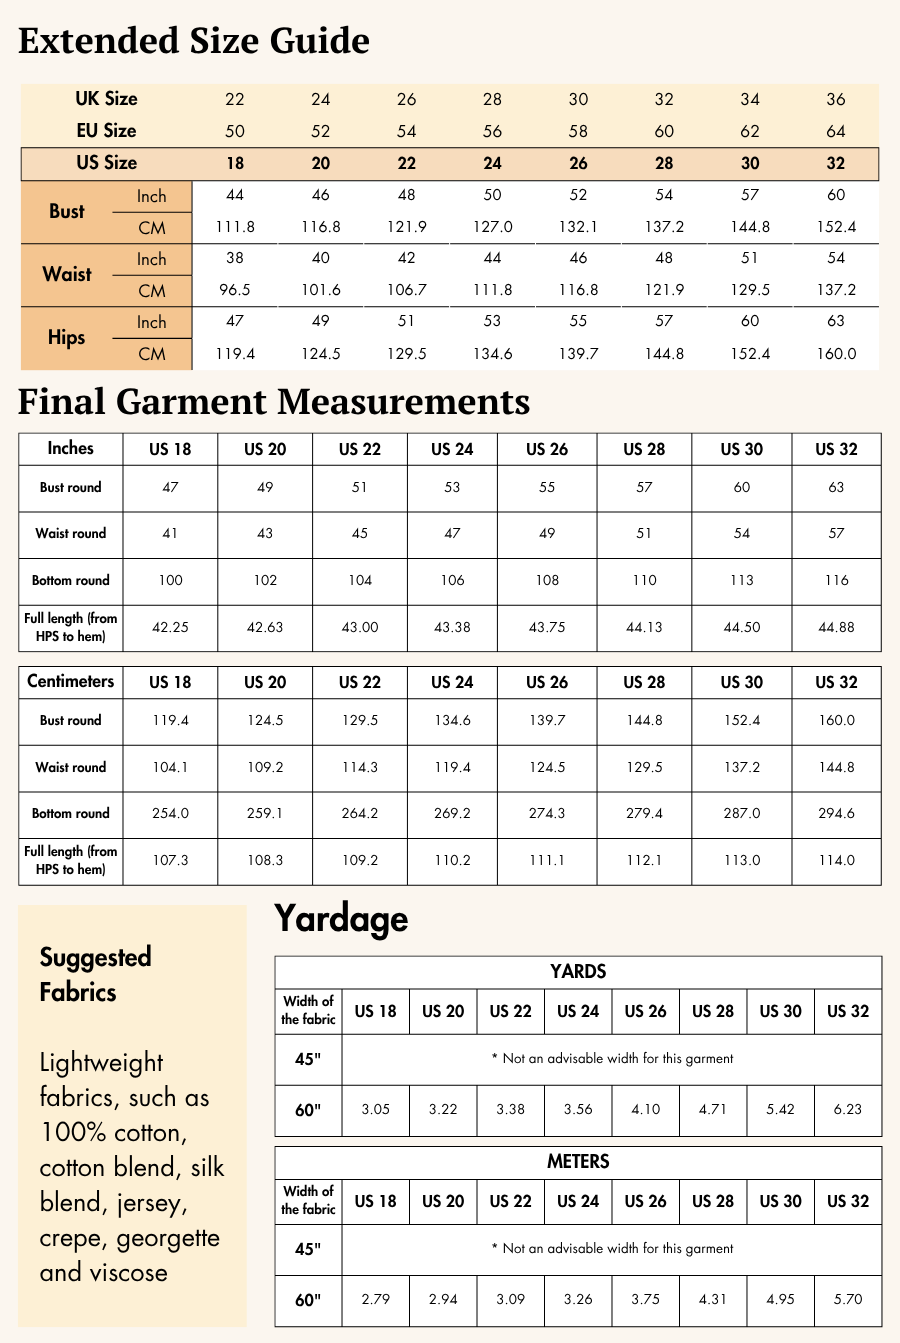
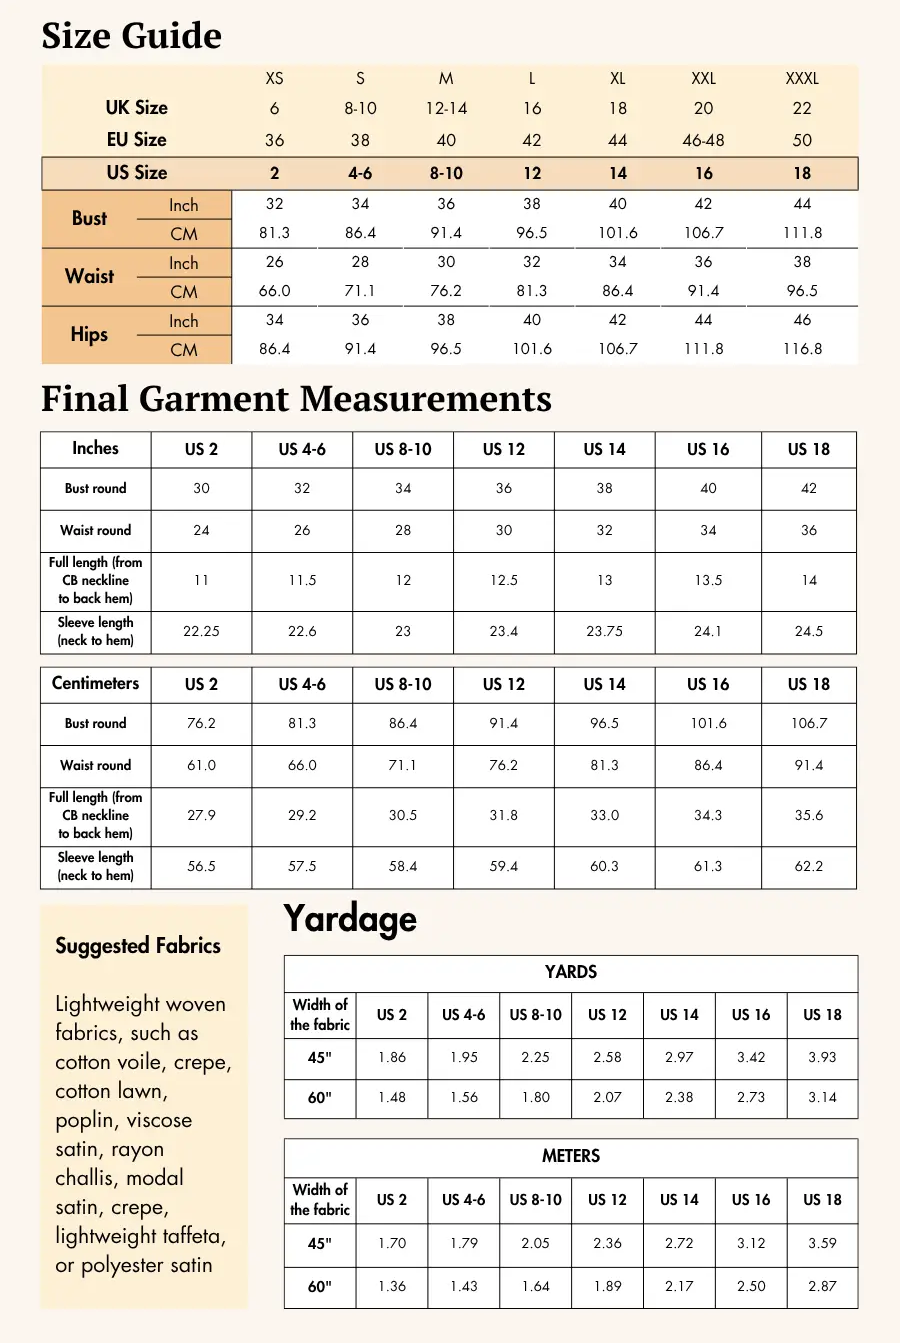
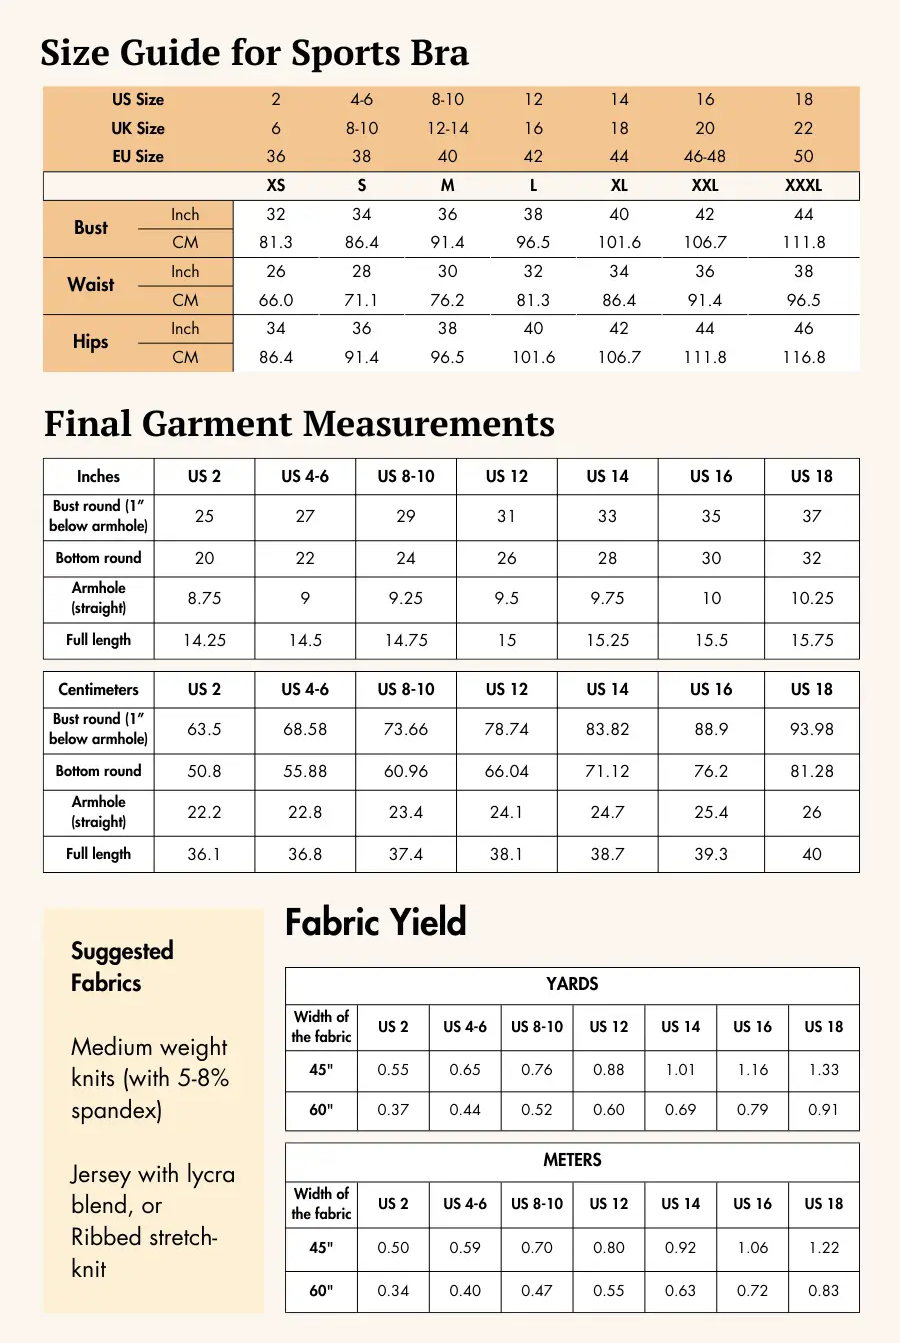
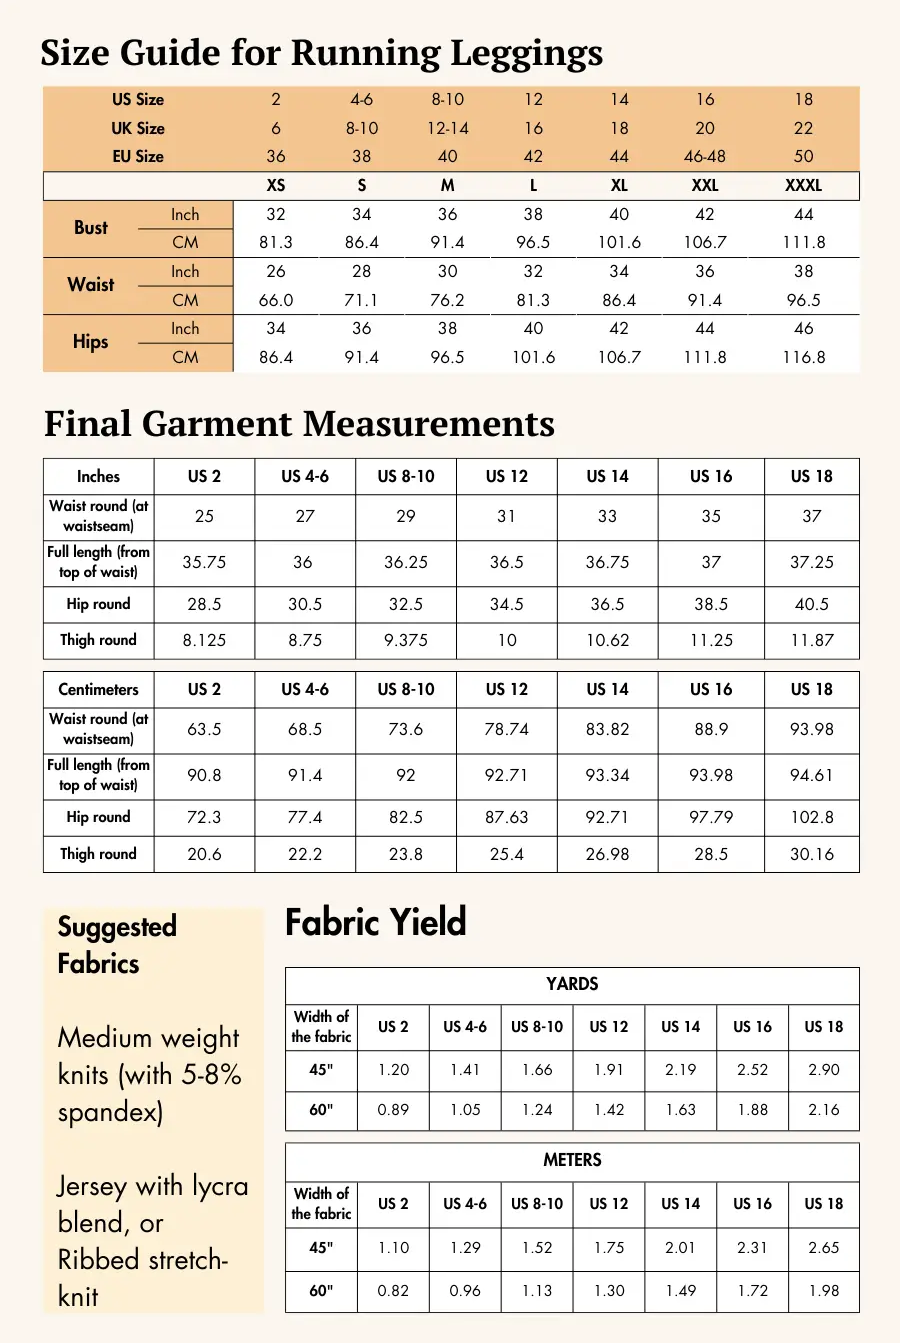
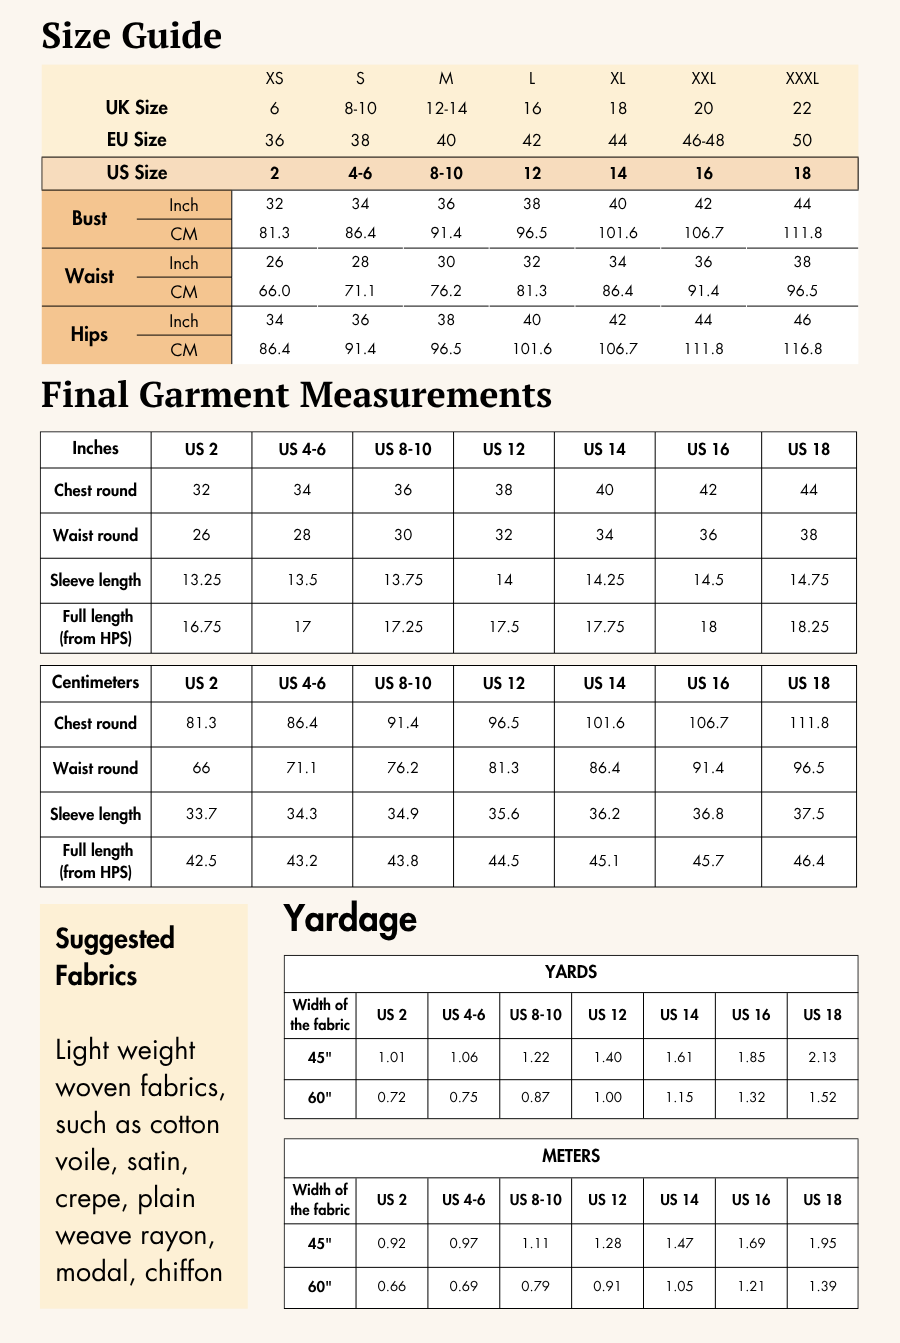
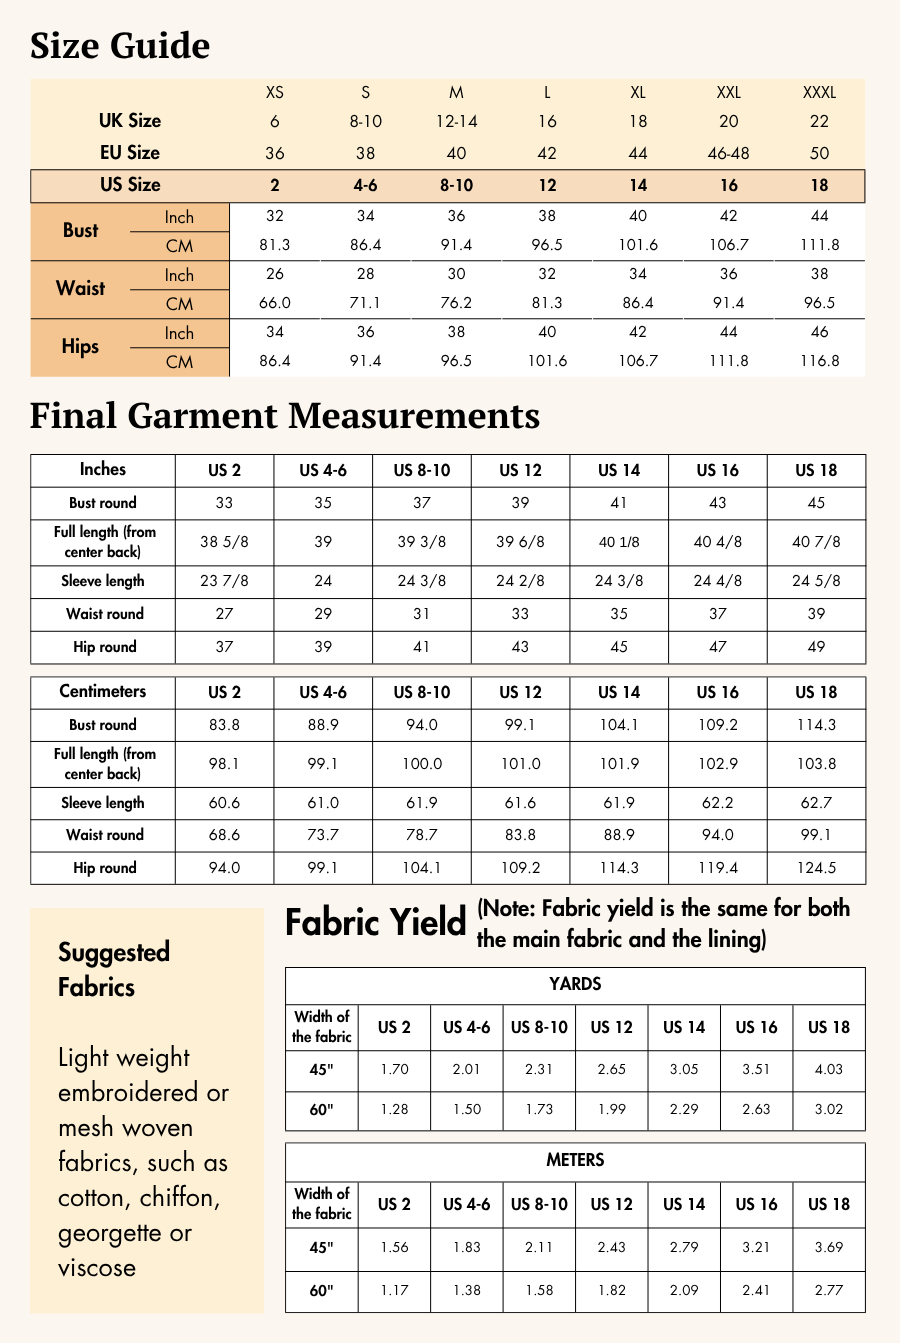
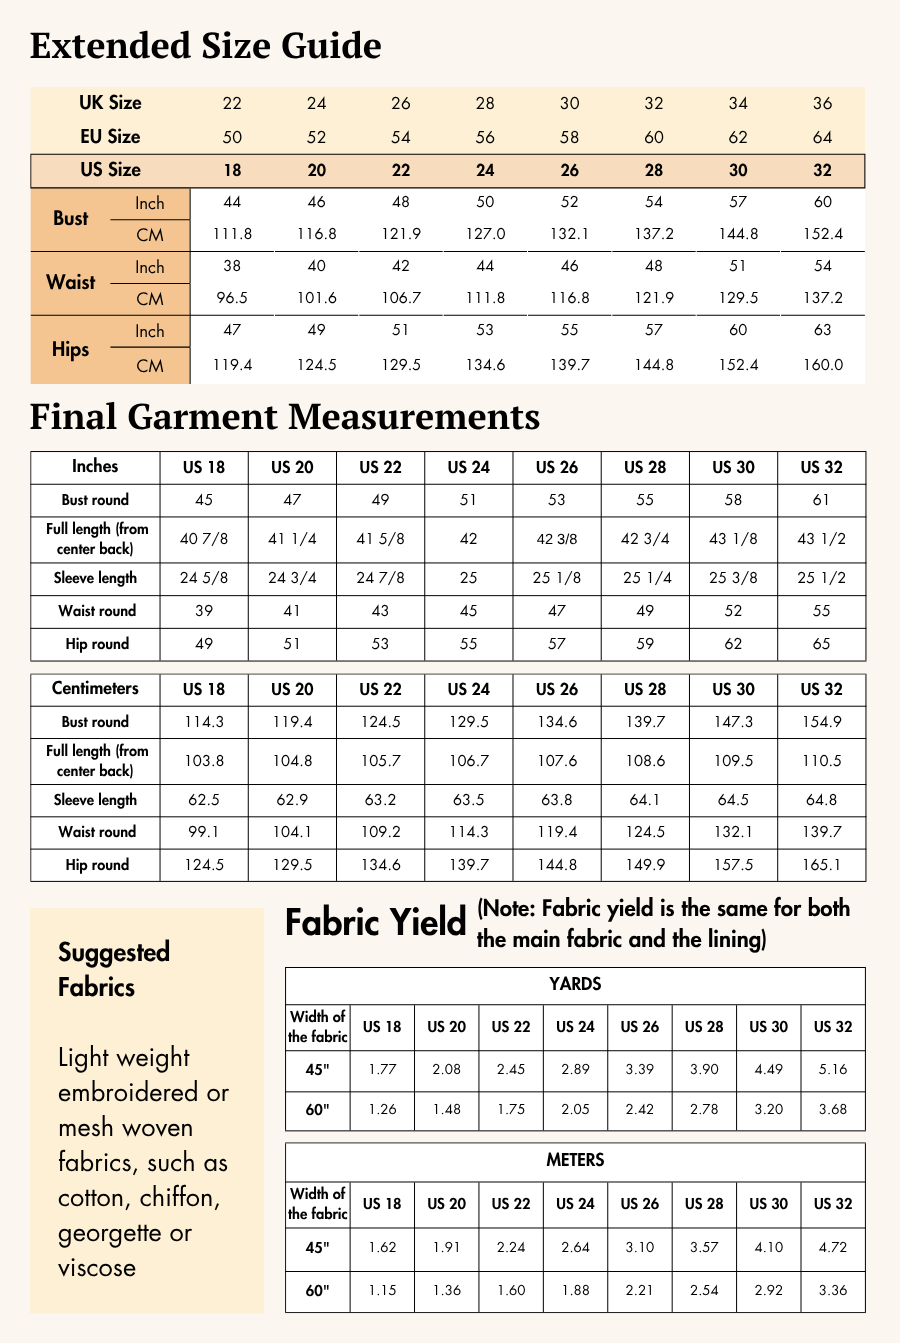
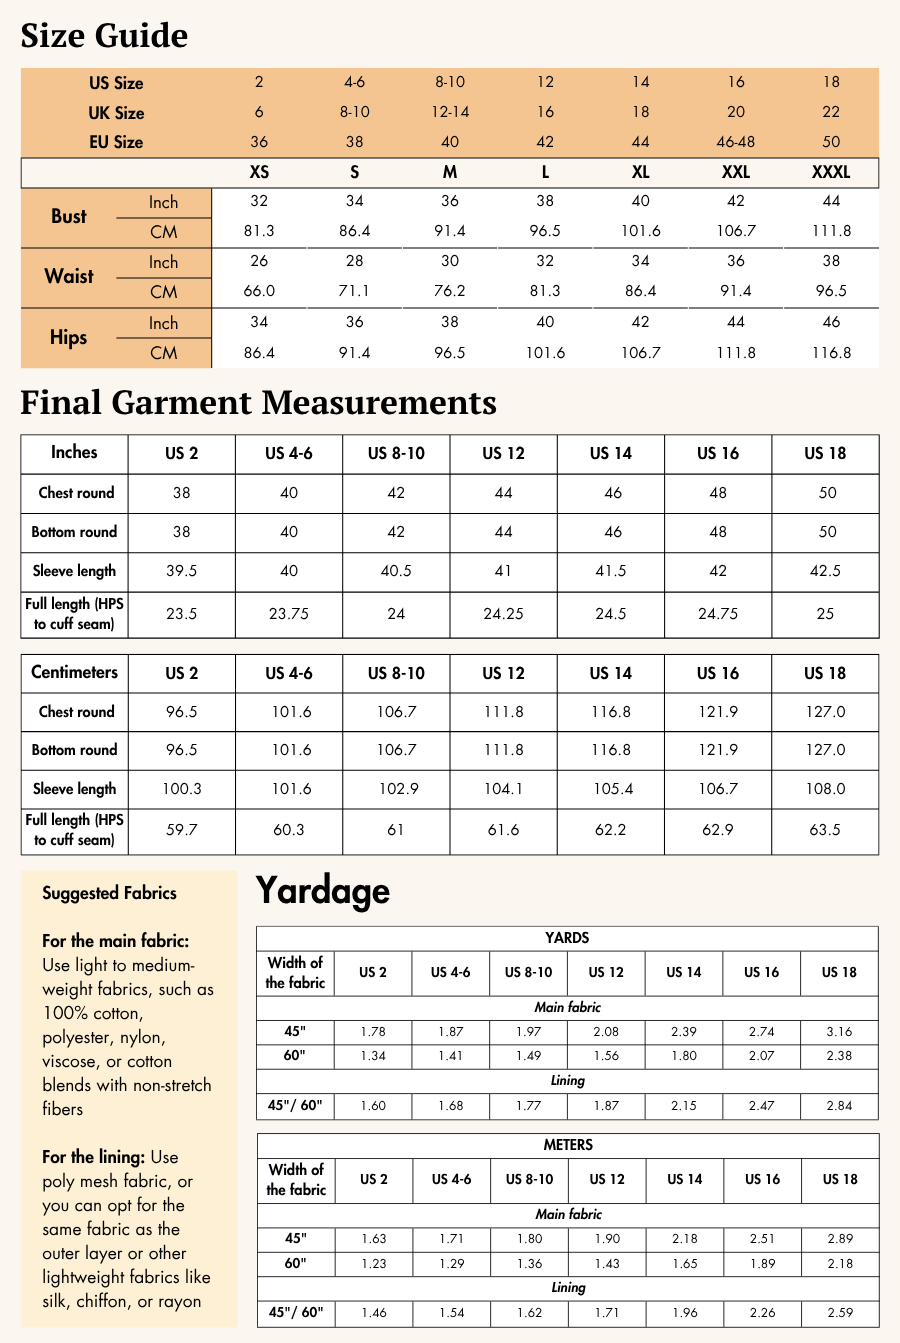
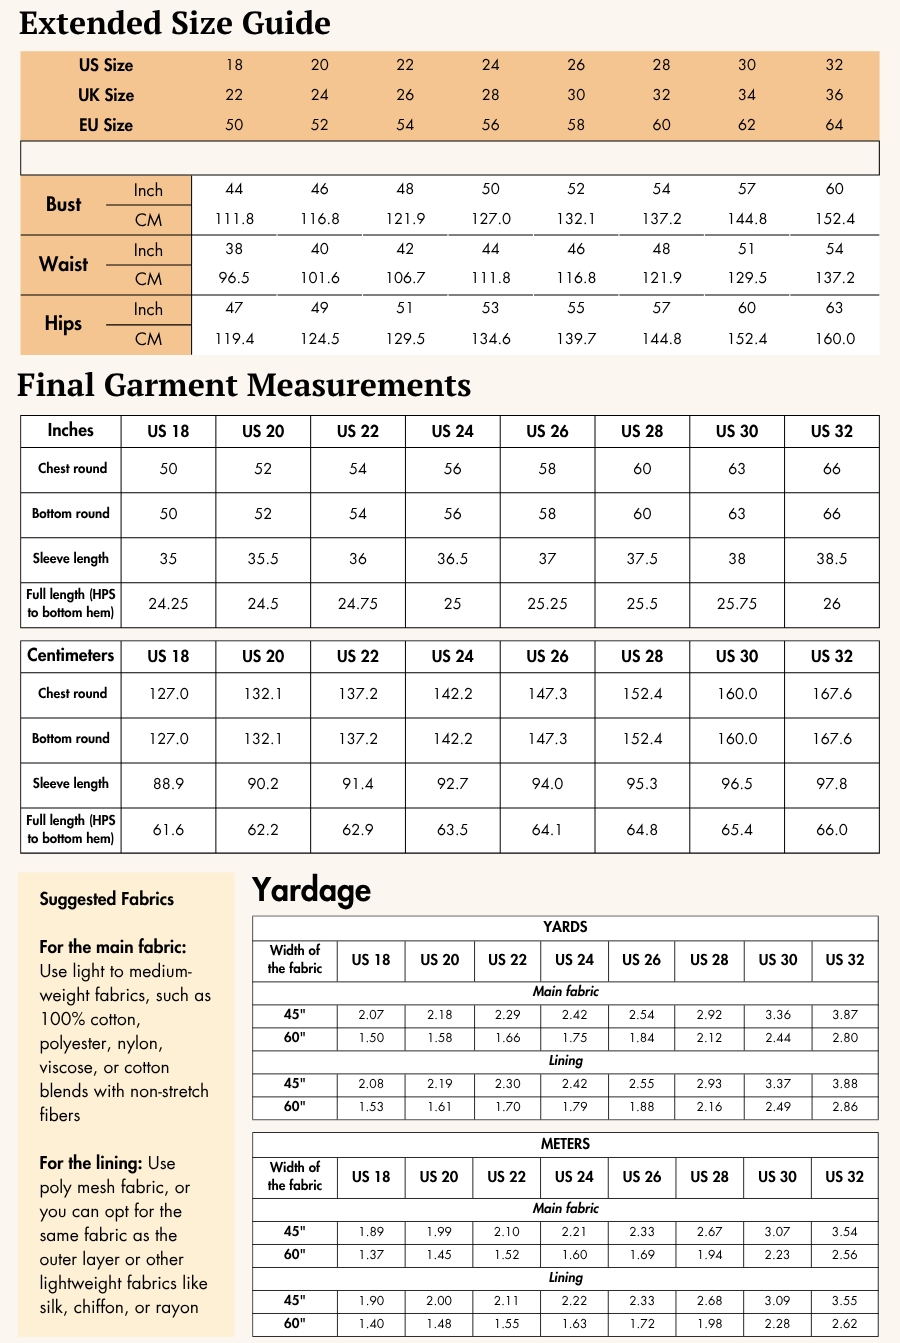
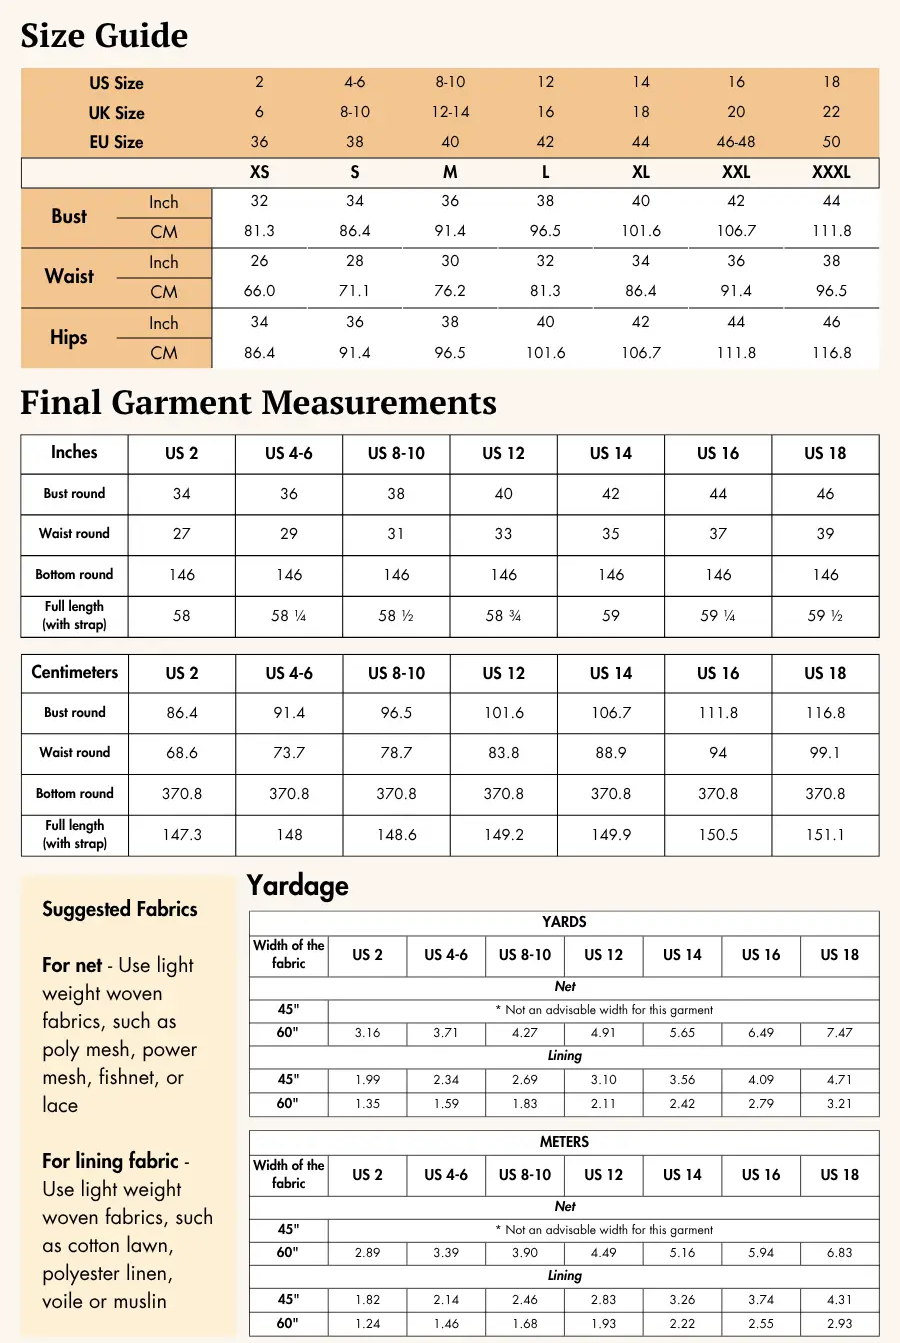
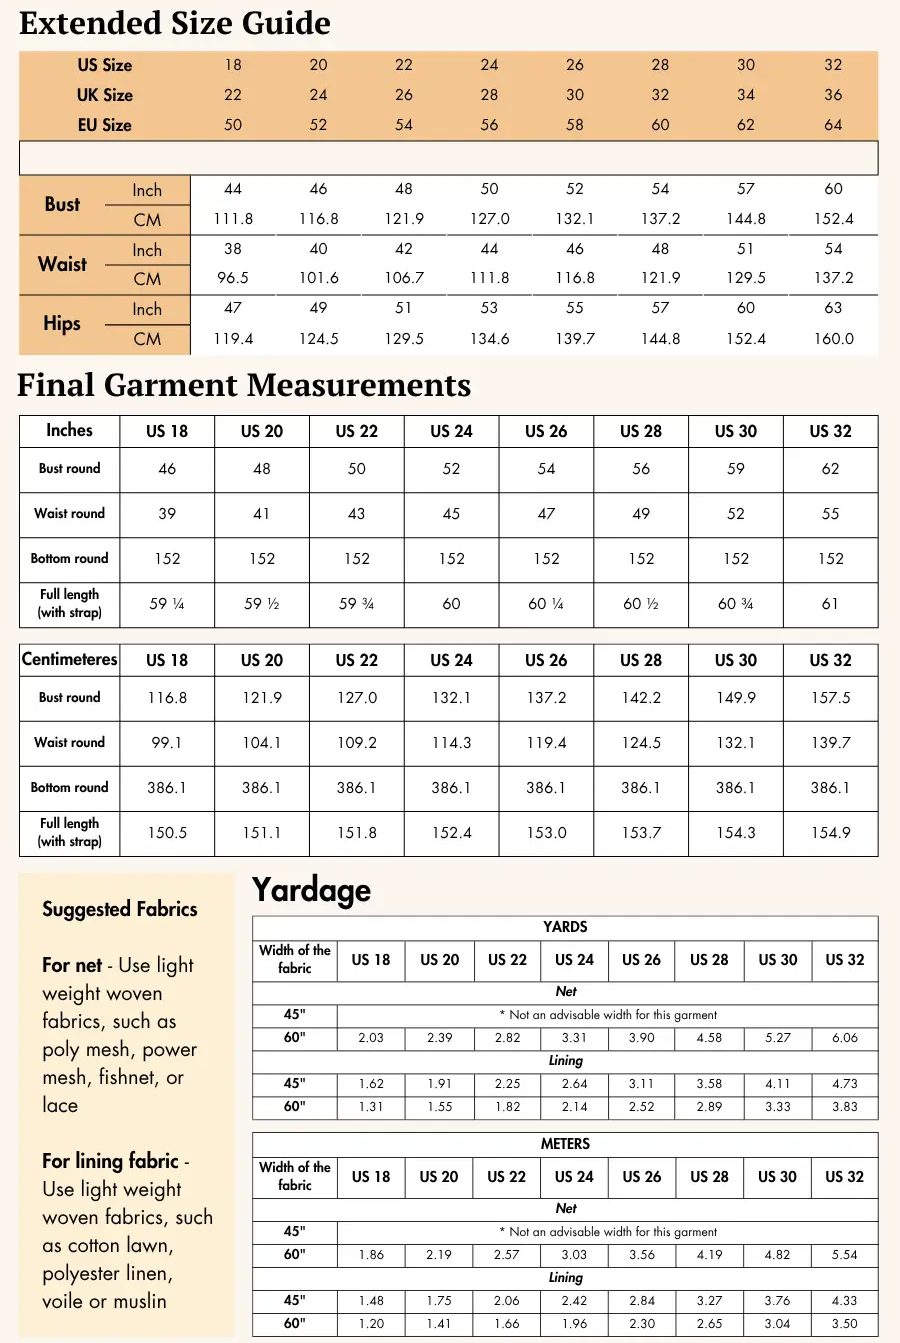
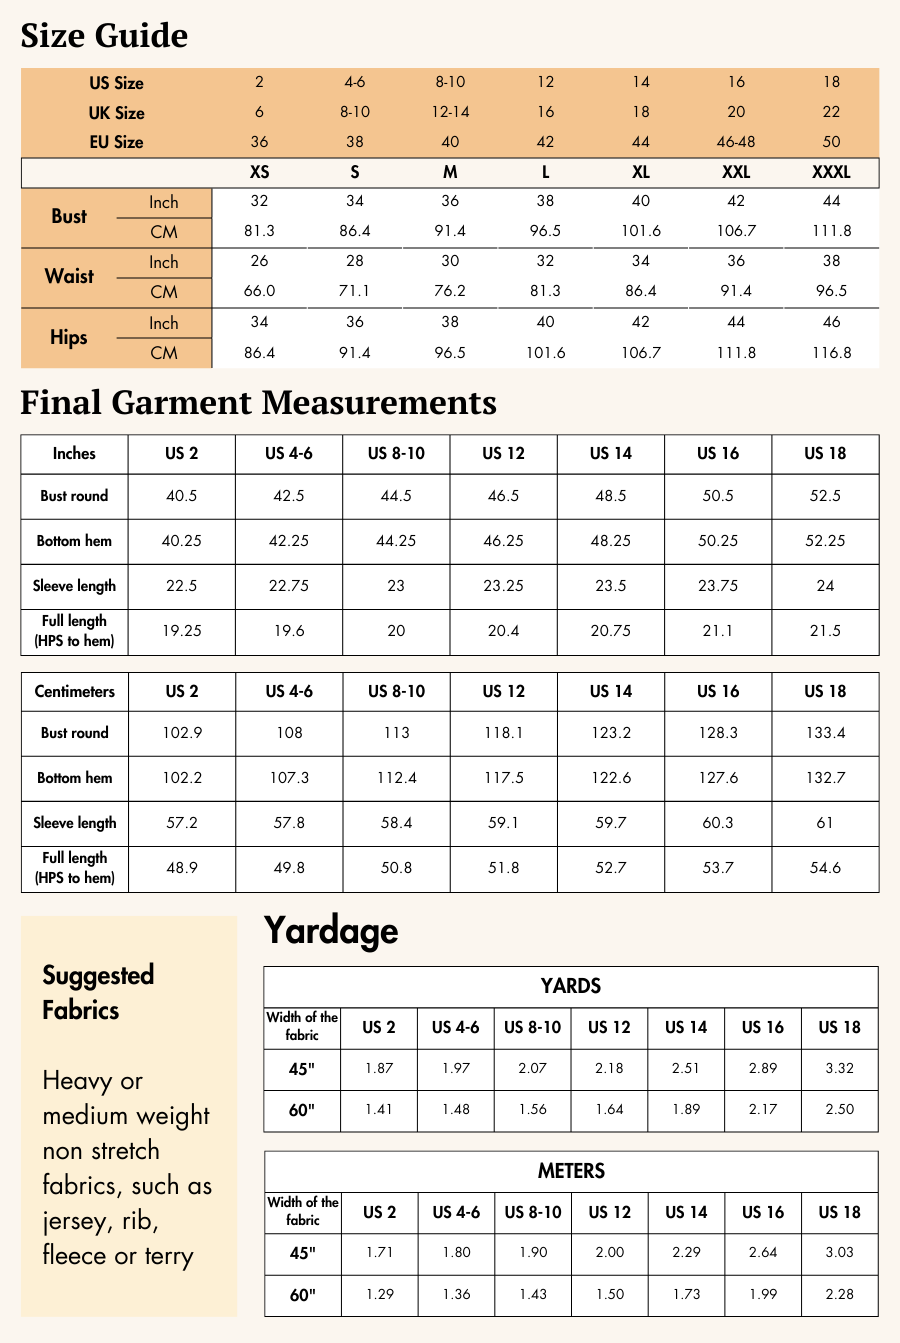
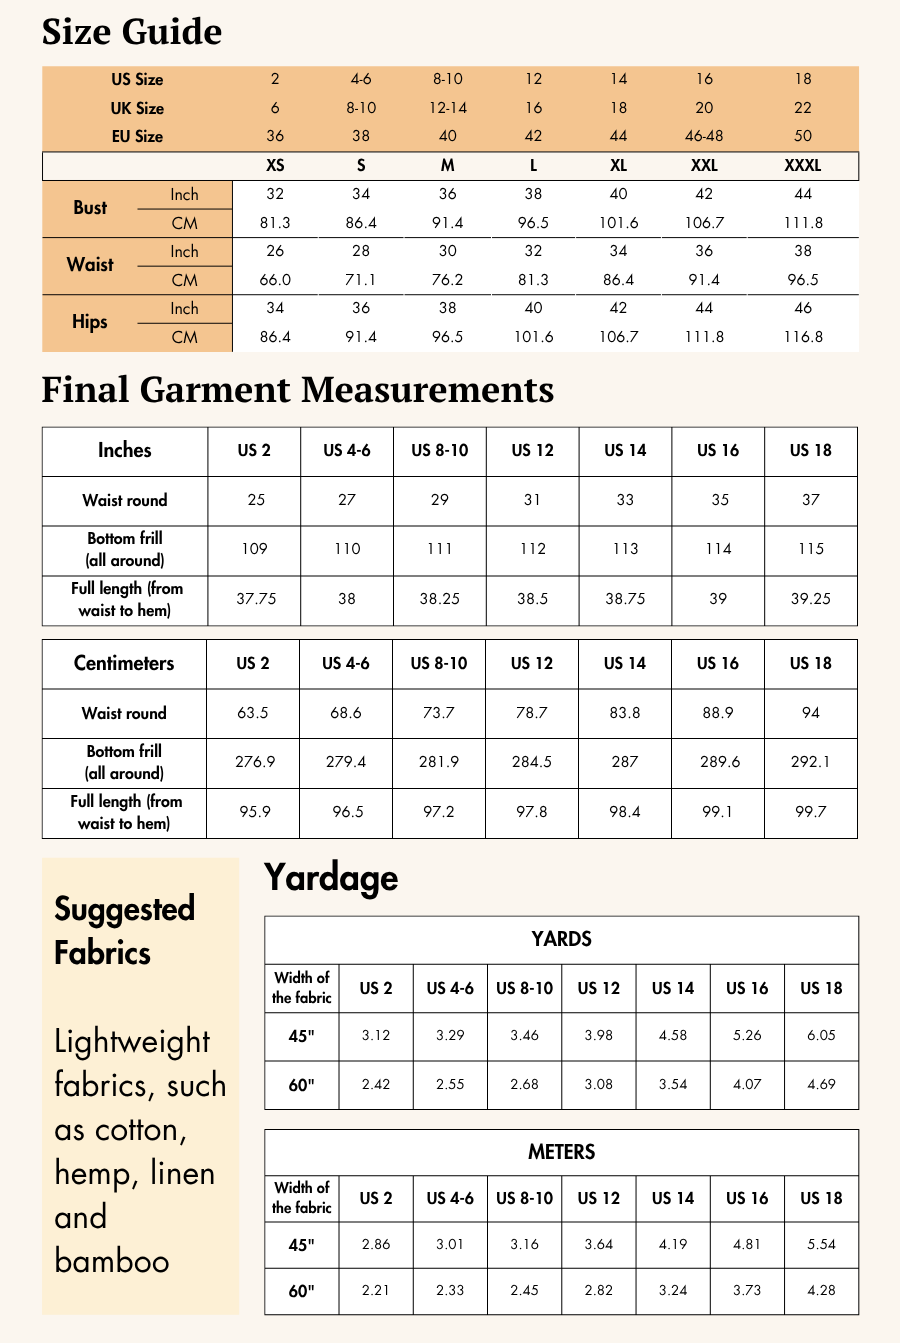
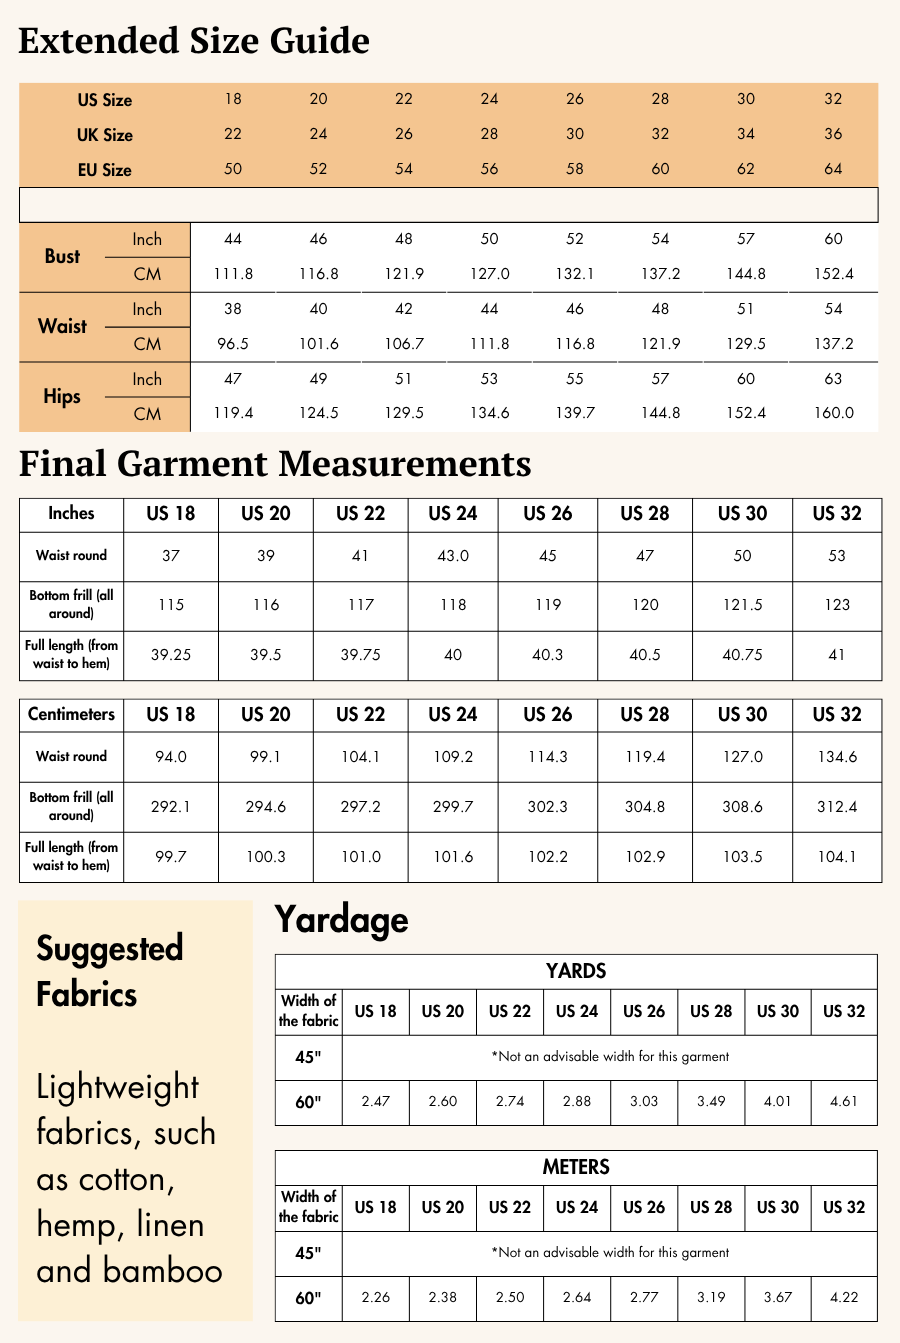
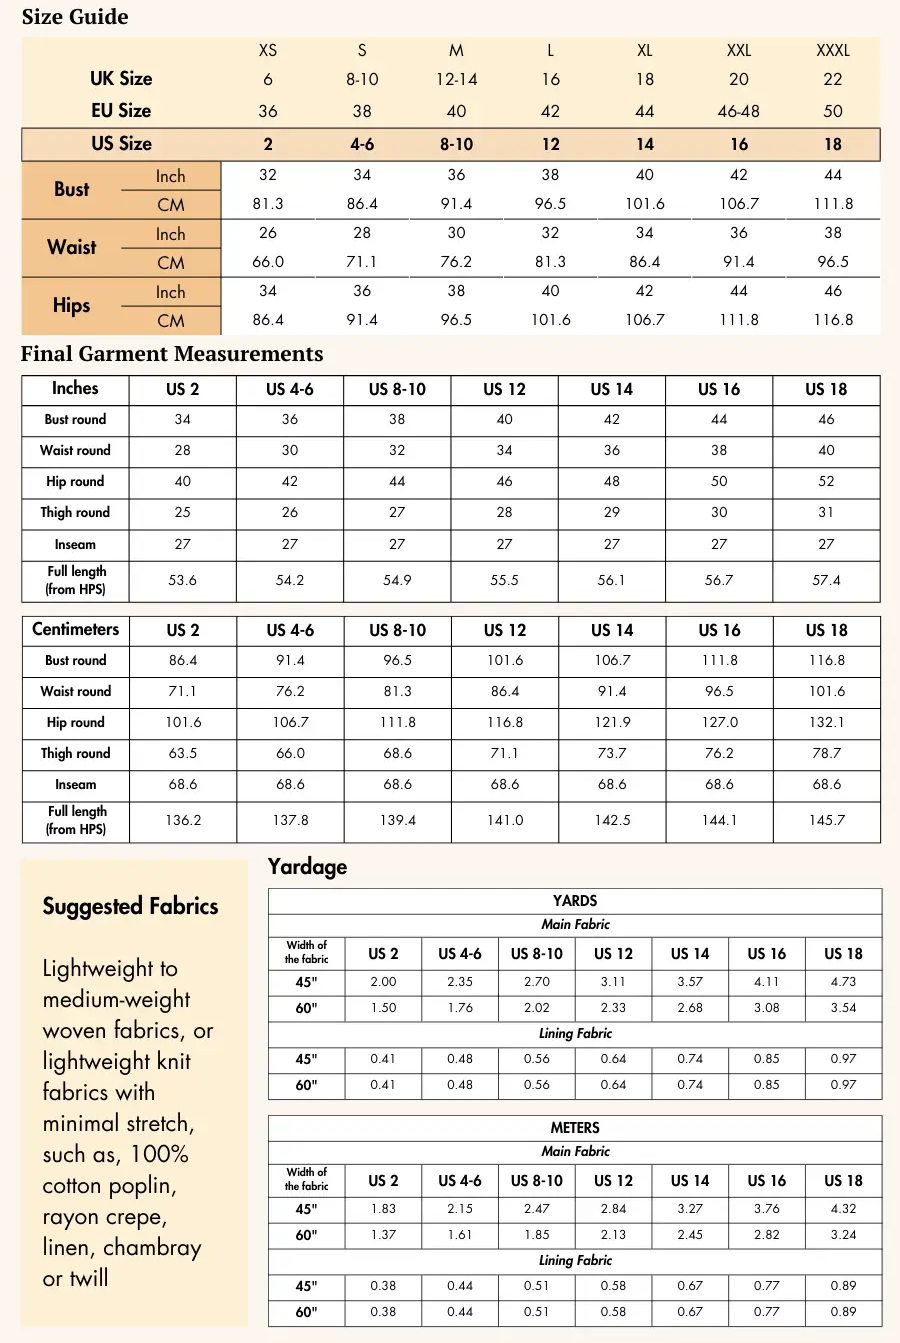
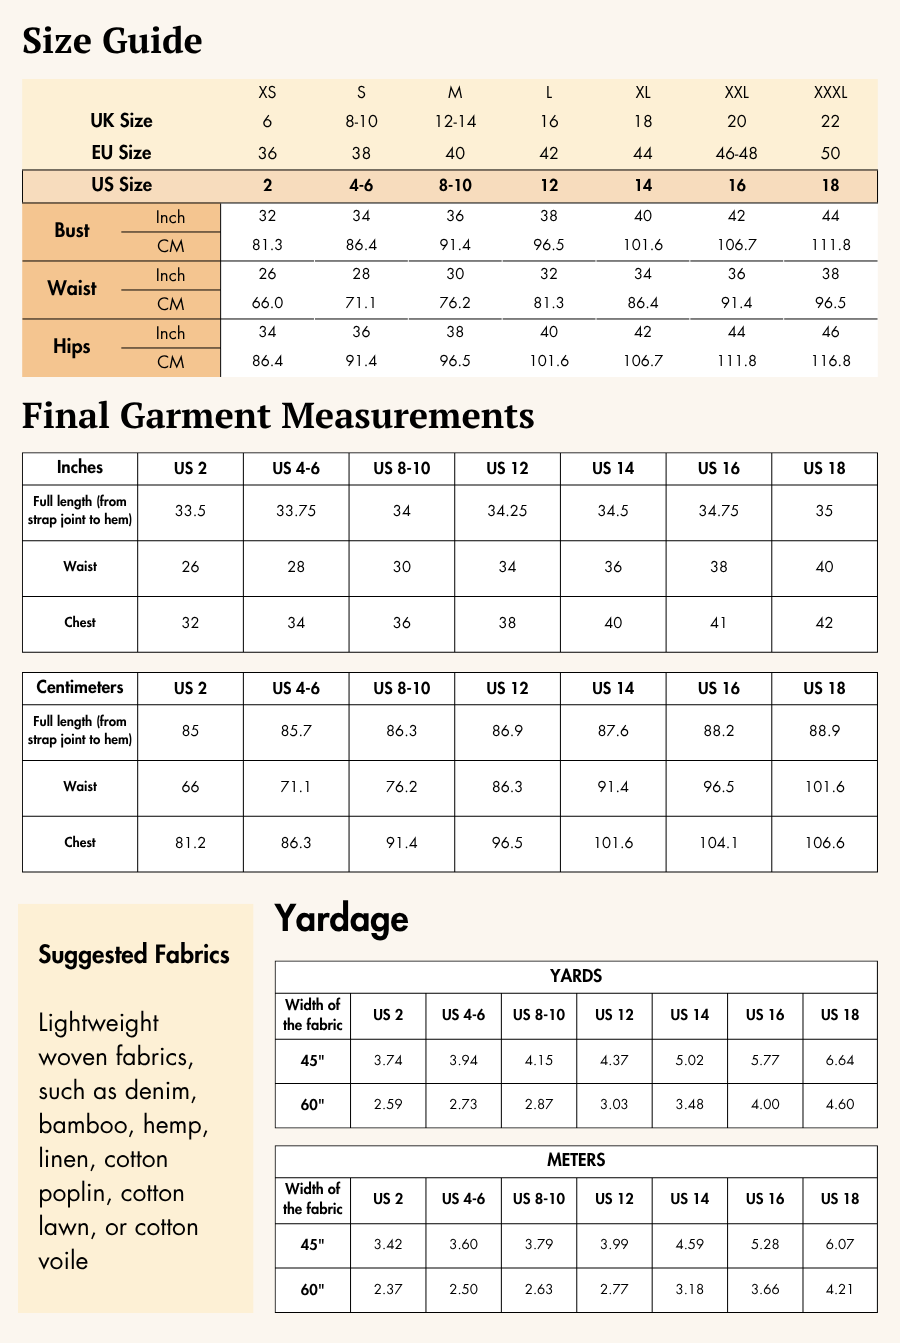
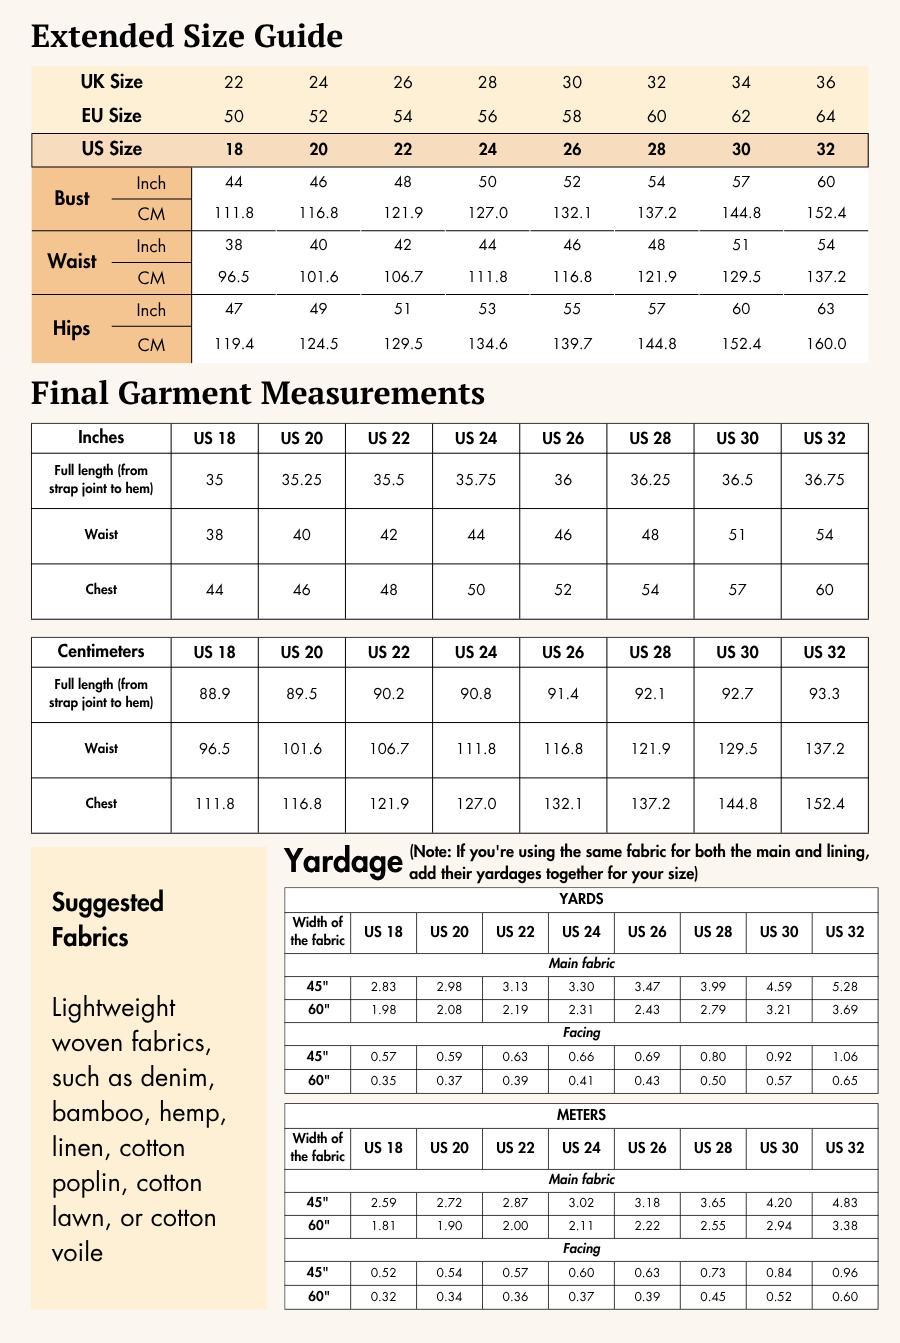
The Bliss Blouse pattern is available for sizes US 02 - US 32 | UK 06 - UK 36 | EU 36 - EU 64. Check the Bliss Blouse Size Chart and measure yourself to select the correct size (see the garment and body measurement tables).
Verify how much fabric you need by referencing the fabric yield table.
Printing Your Digital Sewing Pattern
Before cutting your fabric, print your digital pattern at 100% scale on the correct paper size (usually A0 or A4/US Letter). Once printed, trim and tape the pages together following the pattern guide. Now your pattern is ready to use!
If you want to learn more about how to Print Digital Sewing Patterns, click here.
Pattern Inventory: What Pieces to Prepare to sew a short sleeve blouse
For sewing the Bliss Short Sleeve Blouse, cut all of these pieces:
- Front - cut x1 fabric (A)
- Back - cut x1 fabric (B)
- Back side panel - cut x2 fabric (C)
- Front placket - cut x4 fabric (D)
- Collar band - cut x2 fabric (E)

Pattern Marking

-
Lay out all pattern pieces as shown in the cutting layout diagrams; grainline arrows must run parallel to the fabric selvage to maintain shape.
-
Transfer all markings: Notches, grainlines, placket lines, gather guidelines, elastic placement, collar guidelines, circles, and fold lines to the wrong side of your fabric using chalk/pen/tailor’s tacks.
-
Cut notches at each marked spot. Also mark center front on all pieces cut on the fold for accuracy.
Cutting Layout
- Reference the correct layout diagram in the Bliss Sewing Guide for your chosen size and fabric width (45” or 60”).


-
If your fabric has nap or printed direction, buy extra and align accordingly.
-
Pin or use pattern weights for accuracy.
-
Cut all pieces and transfer markings before starting construction.
Fabric Cutting and Preparation
-
Using fabric shears or rotary cutter, cut out all needed pieces for your blouse in your selected size.
-
Cut all notches as shown on the pattern edges.
-
Double-check your pieces and markings; ensure you have all components for smooth assembly.
Seam allowance: Follow the seam allowances as indicated on the pattern file layers. These are provided specifically for each piece to ensure accurate construction. This pattern uses a 1 cm (or 3/8" inch) seam allowance all around and 1.27 cm (or 0.5 inch) at the hem and
at the front neck.
Step-by-Step Sewing Instructions to Sew a Short Sleeve Blouse

1. Prepare and Attach the Placket
1a. Cut the fusing according to the front placket pattern without including any seam allowance.
1b. Position the fusing placket piece with the adhesive side against the wrong side of the fabric. Iron them thoroughly to fuse the fusing onto the front placket. Repeat the same with one more placket piece such that we have 2 fused placket pieces and 2 not fused.

1c. Place the fused placket piece and non-fused placket piece right side together, aligning the indicated side edge in fig. 6c. Sew along the seamline. Clip the seam allowance throughout. Turn the placket right side out.

1d. Fold the unstitched edge seam allowance of the fused placket piece to the wrong side, iron to crease and pin. Do not fold the top or bottom edges. Then, fold the placket in half lengthwise with wrong sides together and iron again to crease along the center line. This step is to prepare the folds — the placket will be opened again in the next step for stitching. Repeat the same process for the other two placket pieces.

Place the opened right placket over the wrong side of the front panel, aligning the edge of the unfolded seam allowance of placket with the placket marking on the front. Stitch along the seamline, overlapping the seam allowance of the placket with the seam allowance along the placket marking on the front panel. Repeat the same process for the left placket but ensure to stitch till 1” below the v-neck point as shown in fig 1d’.

1e. Trim along the center front, from the v-neck point to the 1” down.

1f. Fold the plackets in half along the center crease and flip the placket to the right side of front panel, through the center front.

1g. Align the folded seam allowance edge of the left placket to the left placket guideline. Stitch from top placket to same 1” end placket from v-point and turn the stitchline perpendicular and stitch till the end of the placket. Trim the remaining length of the placket below the perpendicular stitchline, leaving 1 cm seam allowance.

1h. Align the folded seam allowance edge of the right placket to the right placket guideline and then, place the right placket over the left placket, aligning them perfectly. Pin them. Ensure both plackets lie flat and overlap cleanly. Sew till the cross-ornamental guideline top.

1i. Topstitch from the cross-ornamental top down to the bottom edge of the placket, then continue stitching up the outer edge to the neckline.
1j. Sew the cross stitchline the base of the placket as marked on the guideline to secure it in place.

2. Prepare Gathers on the Front and Back Panels
2a. Use basting stitches along the neckline between the given notches of the front panel, following the marked gather guidelines.
2b. Carefully pull the thread to gather the fabric, evenly distributing the gathers to match the required measurement for the collar neckline.
2c. Secure the gathers in place by stitching over the basting area. Repeat the same process for the back panel.

3. Attach Back Elastic
Cut the required length of elastic, referring to fig. 3.
3a. Place the elastic along the given markings on the back panel, starting stitching from one side. Make sure to pull the elastic while stitching to create gathers. Set the machine dial to 4 or 5, which corresponds to 3 to 4 stitches per inch.

4. Assemble the Bodice Back
Place the side back panel on the back panel, facing right sides together, aligning the joining seam, and stitch along the seamline. Repeat for the other back side panel. Flat open the seams to achieve figure 4a.

5. Join the Front and Back at the Shoulders
Place front panel on back panel facing right sides together and align the shoulder and stitch along the seamline.

6. Attach Elastic to Sleeve
Cut the required length of elastic, referring to fig. 6a.
6b. Place the elastic along the given markings on the sleeve. Start stitching from one side of the marking, ensuring to pull the elastic while stitching to create gathers. Keep the machine dial set to 4 or 5, which corresponds to 3 to 4 stitches per inch.

7. Prepare and Attach the Collar
7a. Cut the fusing according to the collar pattern without including any seam allowance.
7b. Position the fused collar piece with the adhesive side against the wrong side of the fabric. Iron them thoroughly to fuse the fusing onto the collar.
7c. Position two collar pieces aligning the upper collar part with right sides together, and stitch along the seamline ends. Clip the seam allowance.
7d. Turn the collar right side out. Fold one collar seam allowance neckline seam allowance inside and iron.

7e. Align and pin the collar neckline seam with the bodice neckline seam, with the right sides together. Start stitching from the edge of the neckline, following the curved seamline and ensure the given notches are matched together.
7f. Flip the collar across the stitchline to wrong side, and then carefully iron it for a smooth finish. Align the folded edge to the stitchline. Tuck the stitched seam allowance inside and pin carefully such that collar look finished. Topstitch at the edge of the folded seam allowance to complete the collar.

8. Assemble and Finish the Sides
Place front panel on back panel facing right side together and align the side seams and stitch along the seamline.

9. Finish Hem and Sleeve Edges
Finish the hem round and sleeve hem by folding the bottom edge of the fabric twice towards the wrong side. Top stitch along the folded hem, ensuring to secure it with a backstitch at the end. Remember to tuck the fabric’s edge inside to prevent fraying.

Pressing & Final Touches
-
Iron all seams, placket, gathers, collar, and hems for a sharp, crisp appearance.
-
Trim and tidy any stray threads.
-
Try on your new blouse, admire the softly gathered shape, and adjust for optimal comfort.
Winslet’s Sewing Guide for Bliss Blouse includes clear diagrams that walk you through each step, making it easy to follow and complete your project with confidence.
For an overview of Winslet’s Sewing Guides, click here.
Ready to Make Your Own Short Sleeve Blouse?
If you’re looking for the most direct, beginner-friendly path to a soft, stylish summer blouse, try the Winslet’s Bliss Short Sleeve Blouse Sewing Pattern. With clear construction, refined details, and pro-level instructions, you’ll be wearing this modern classic again and again.
Purchase your Bliss Short Sleeve Blouse pattern today and enjoy every step of creating a beautiful handmade blouse!
Join the Community & Get Support
Show your creation on Instagram or Facebook with #MadeWithWinslets for a chance to be featured! For any questions or issues, email the Winslet’s support team at support@winslets.com.
