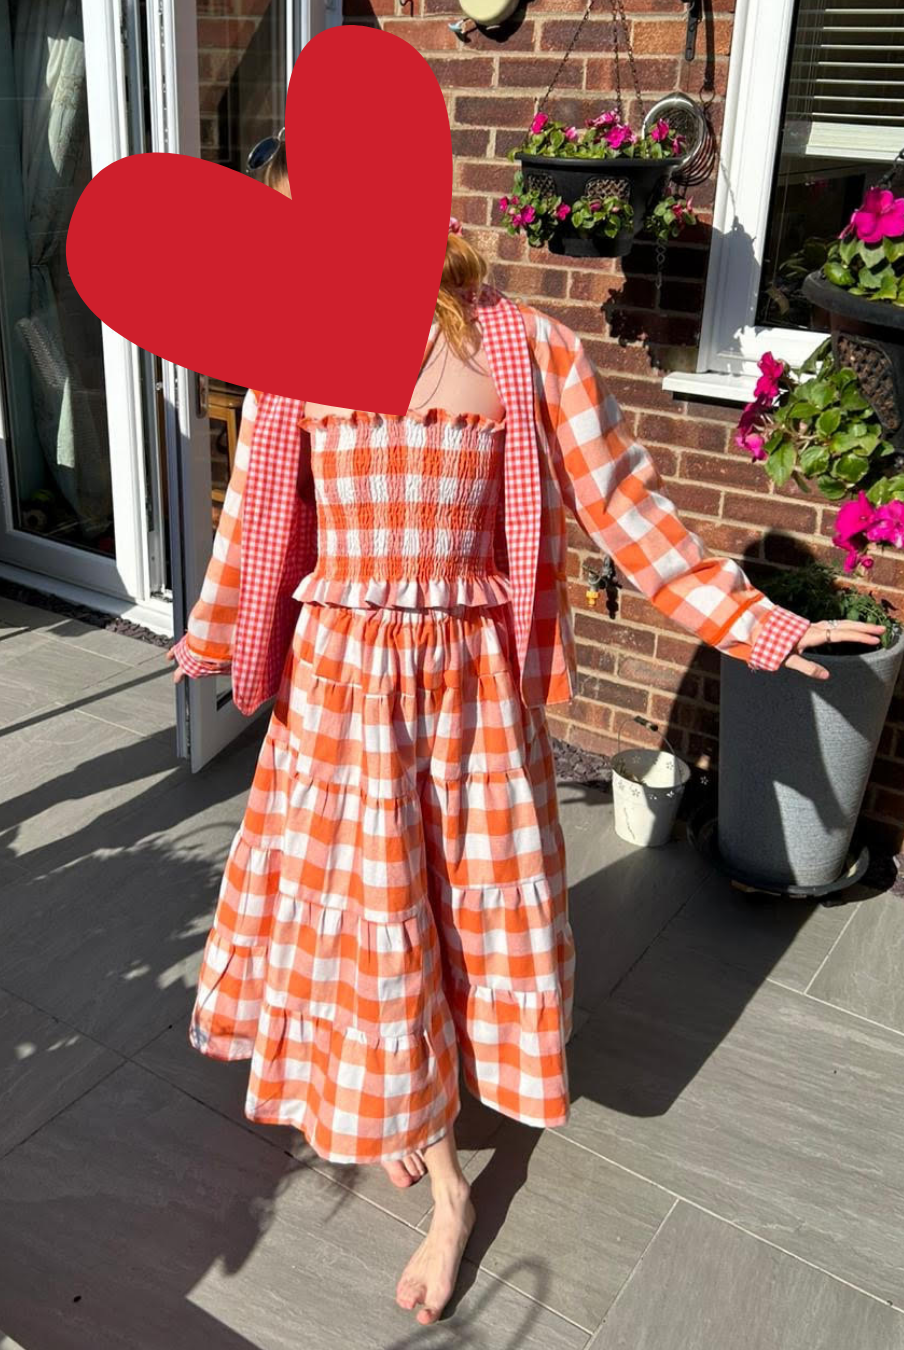
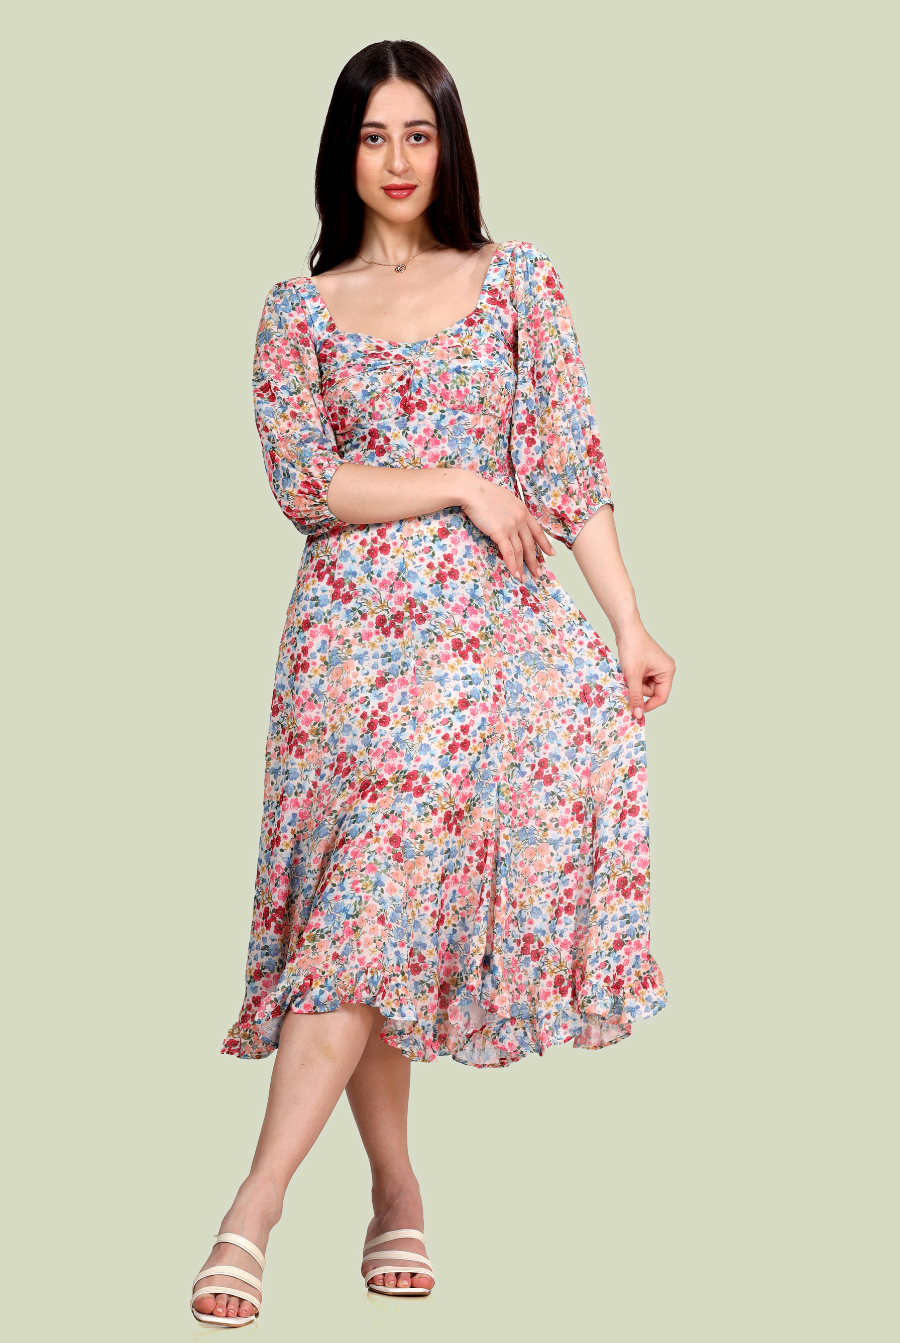
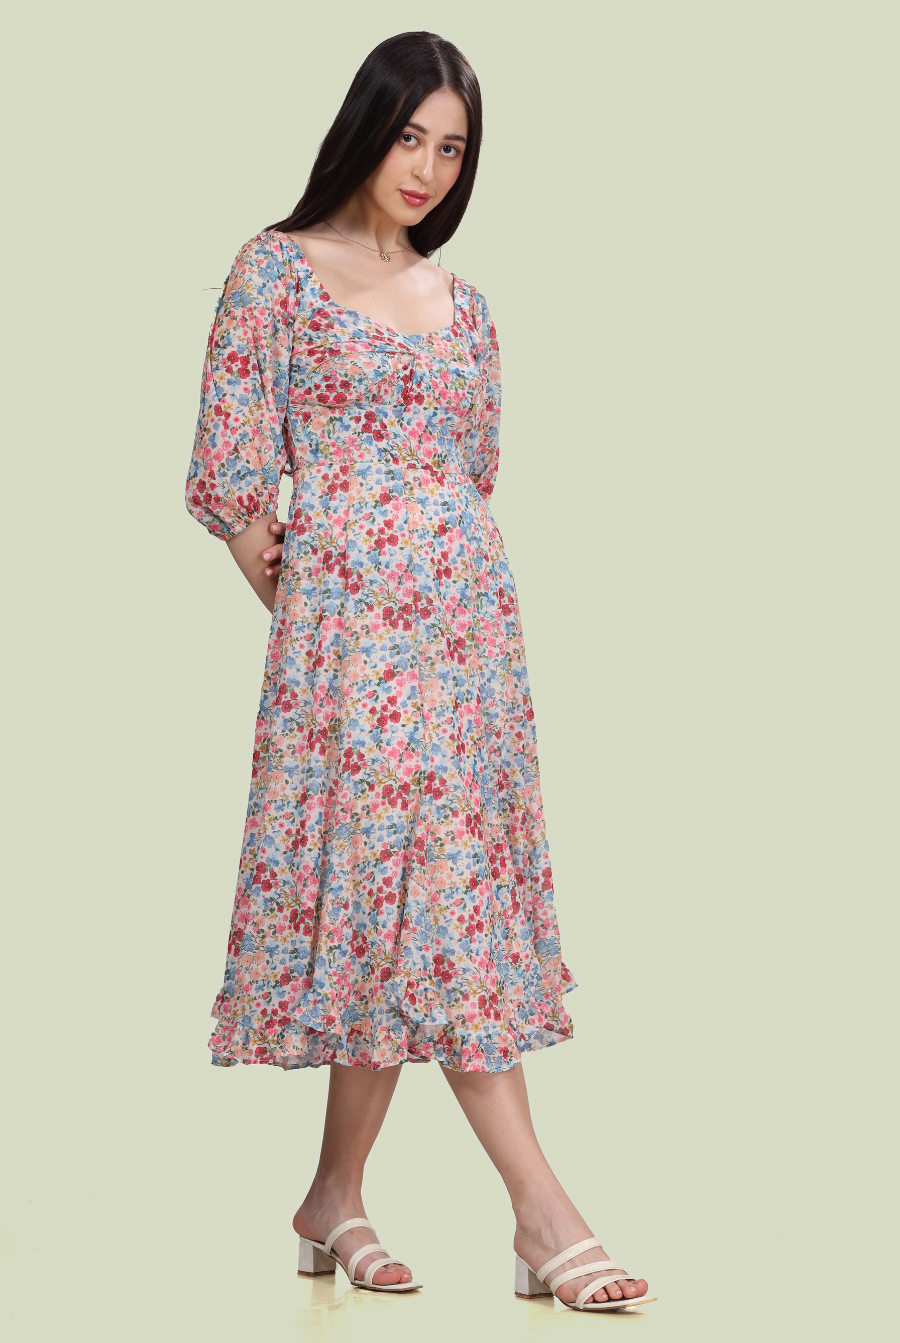
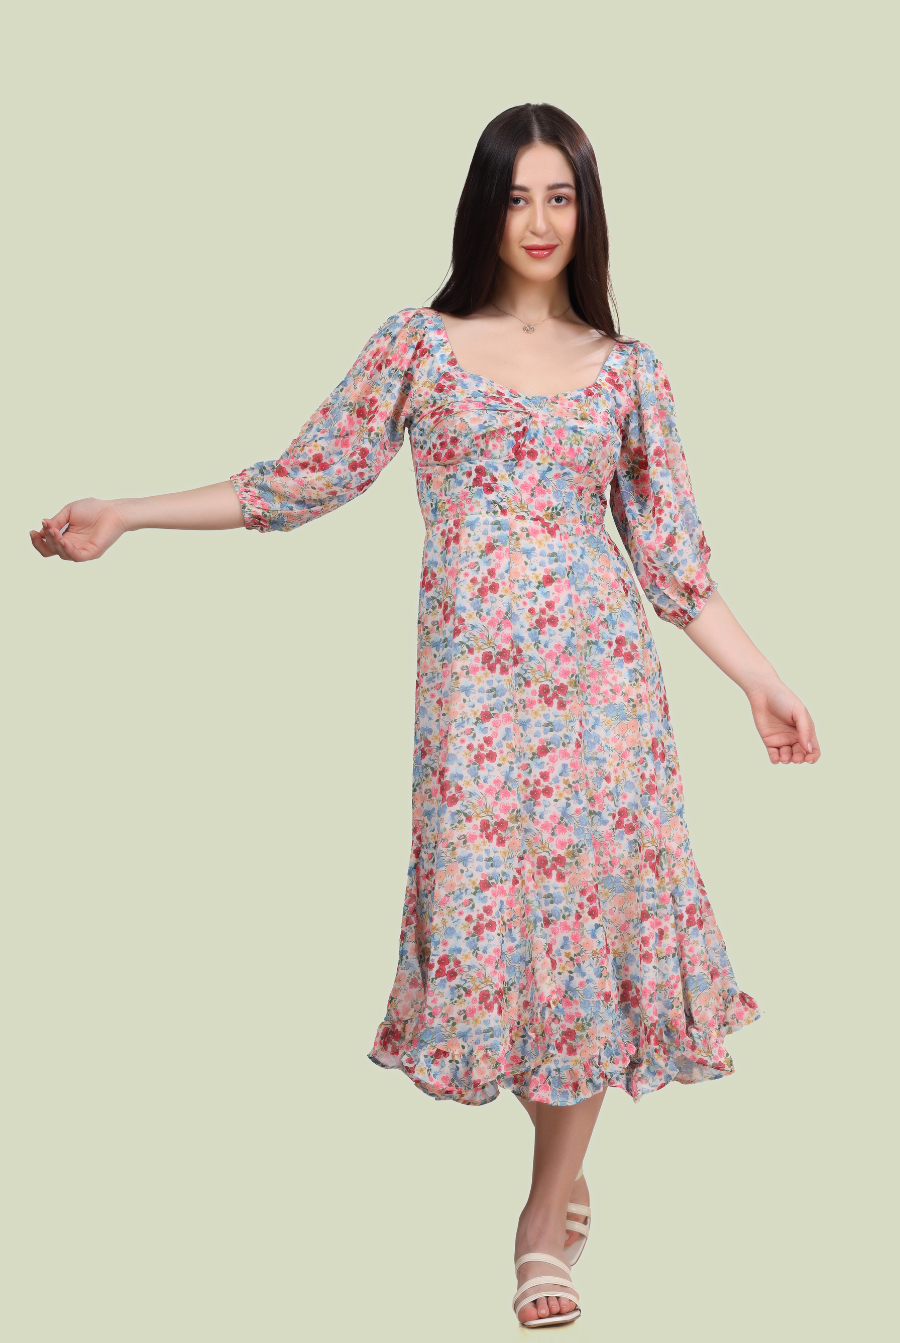
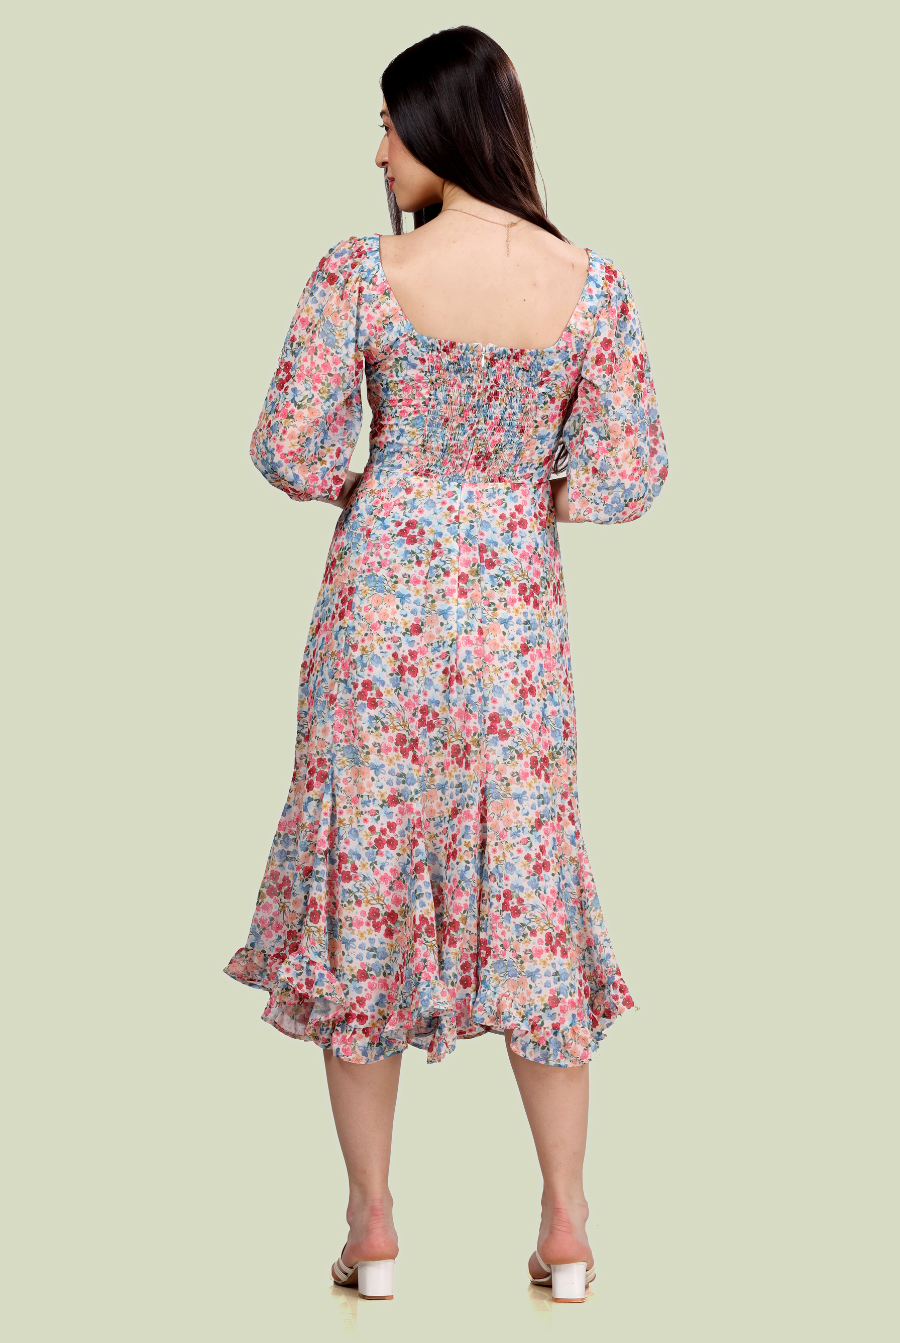
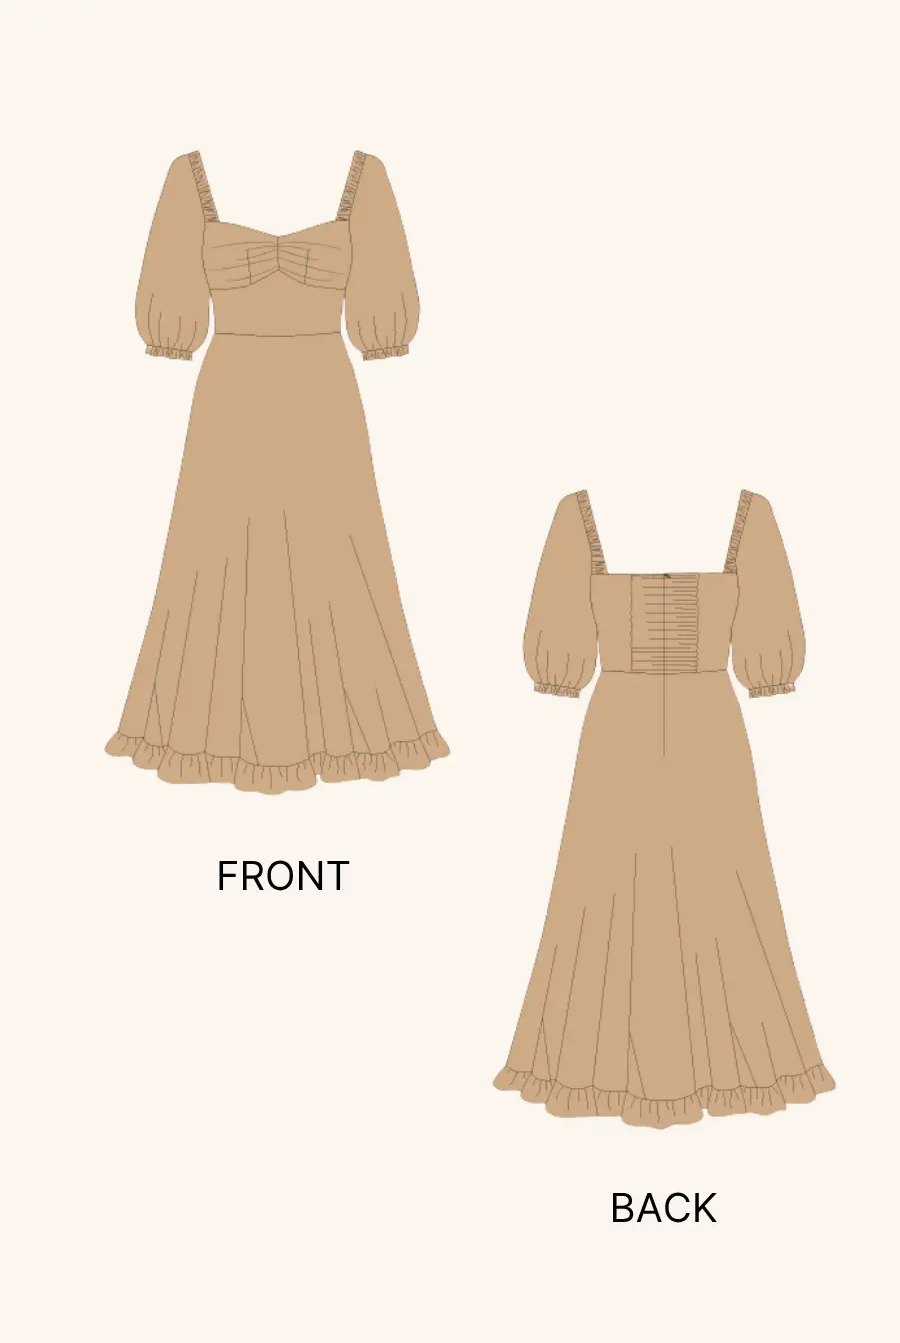
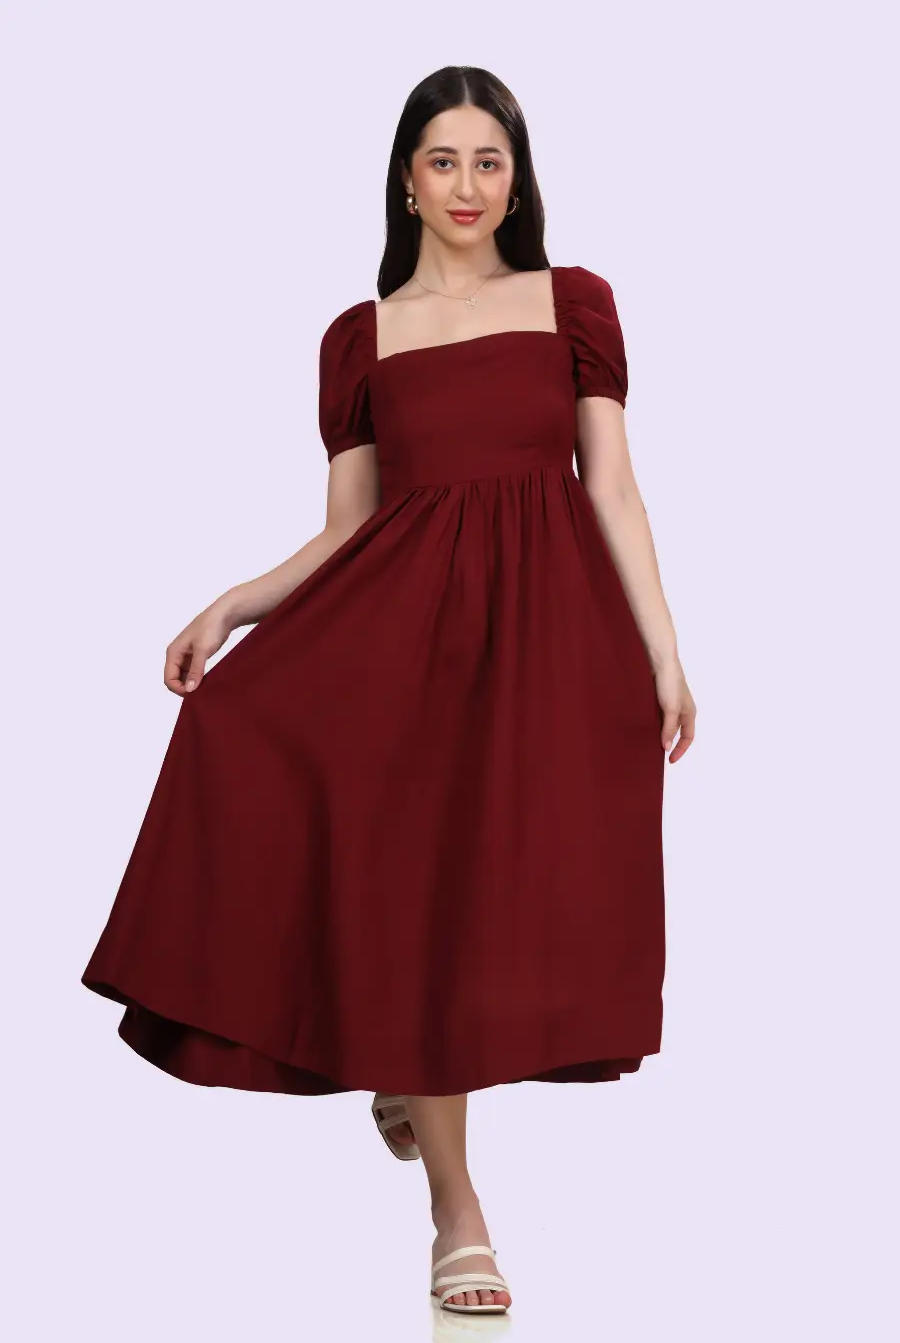
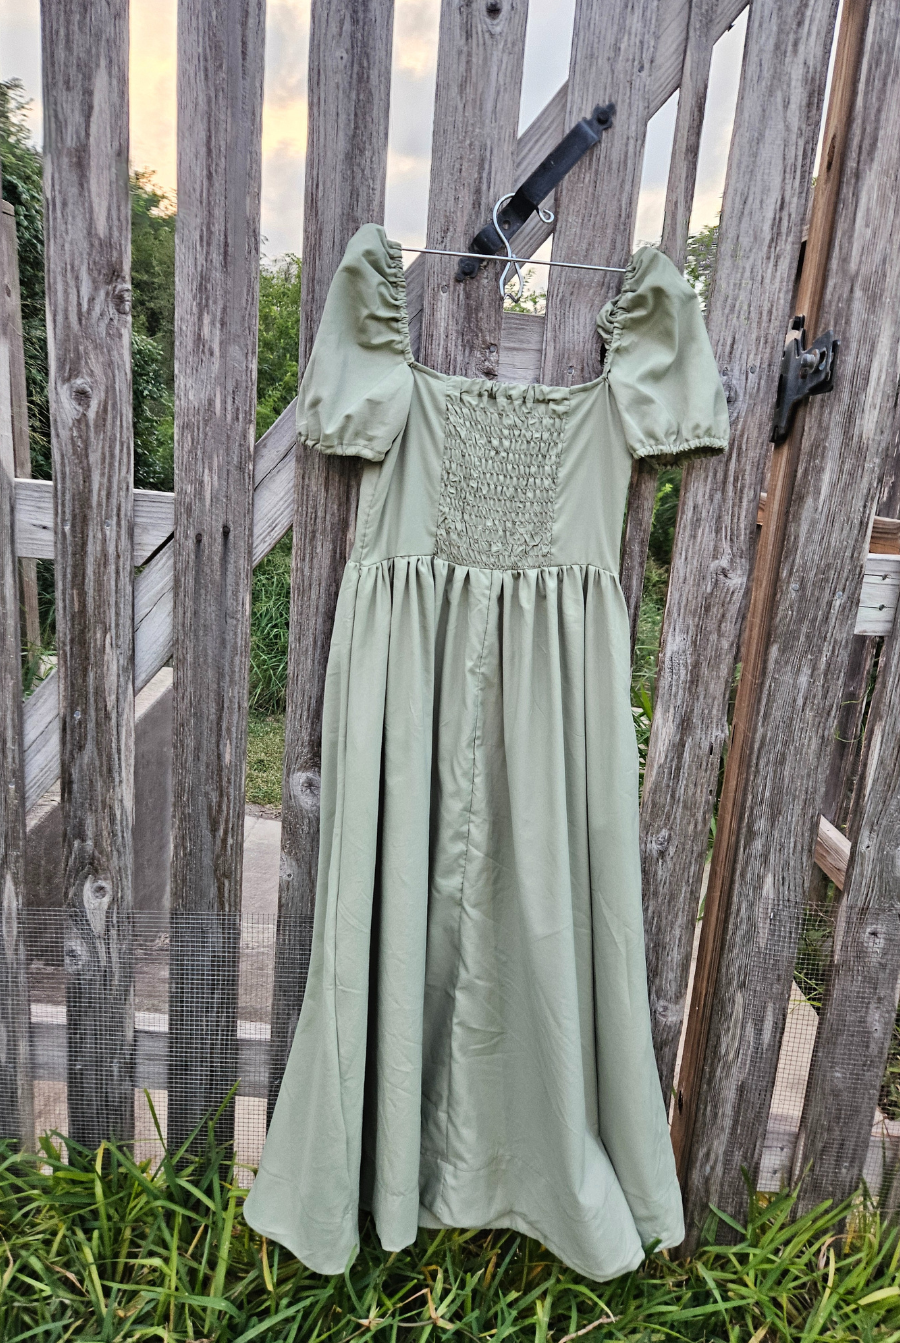
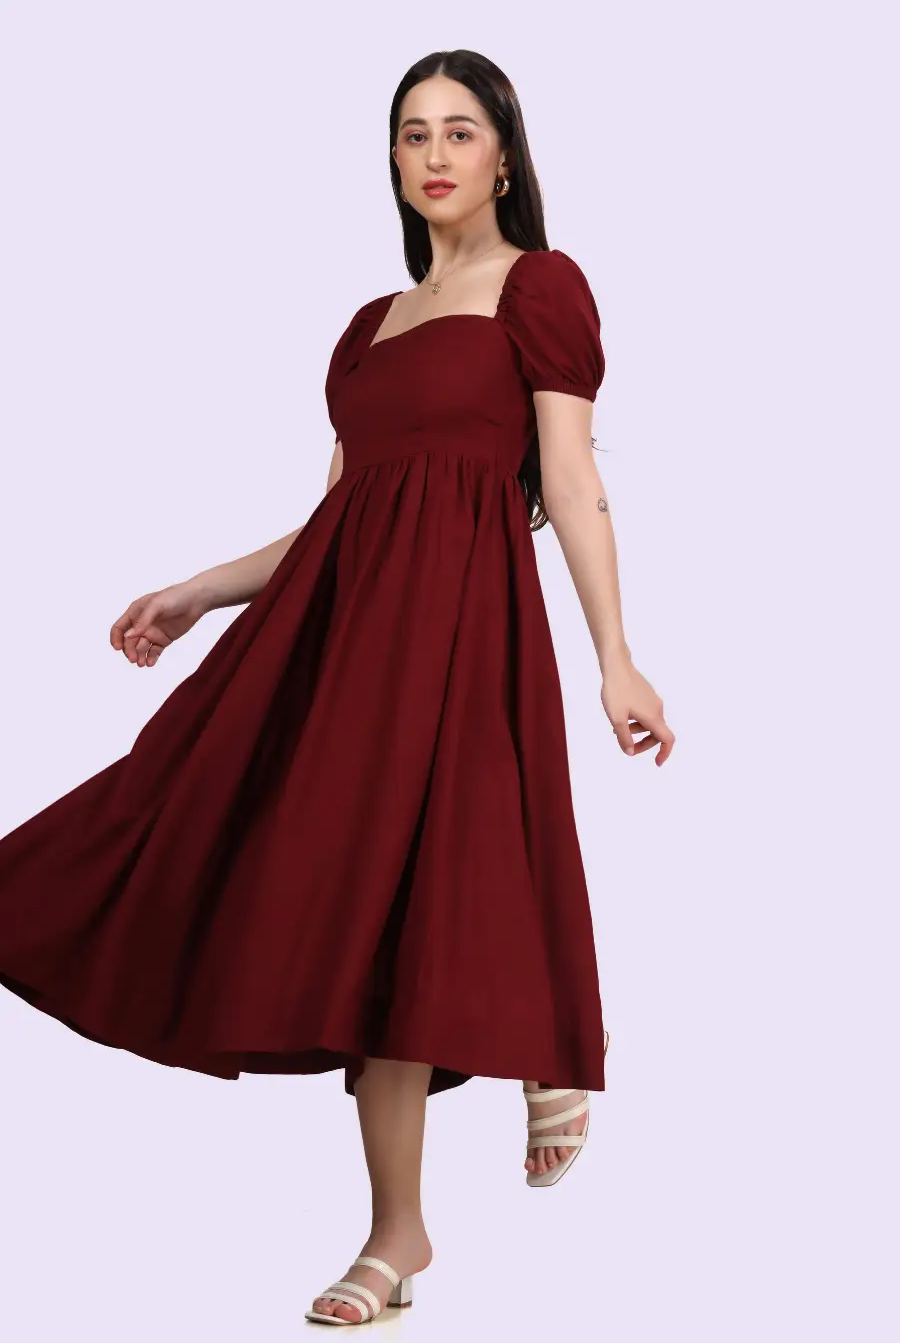
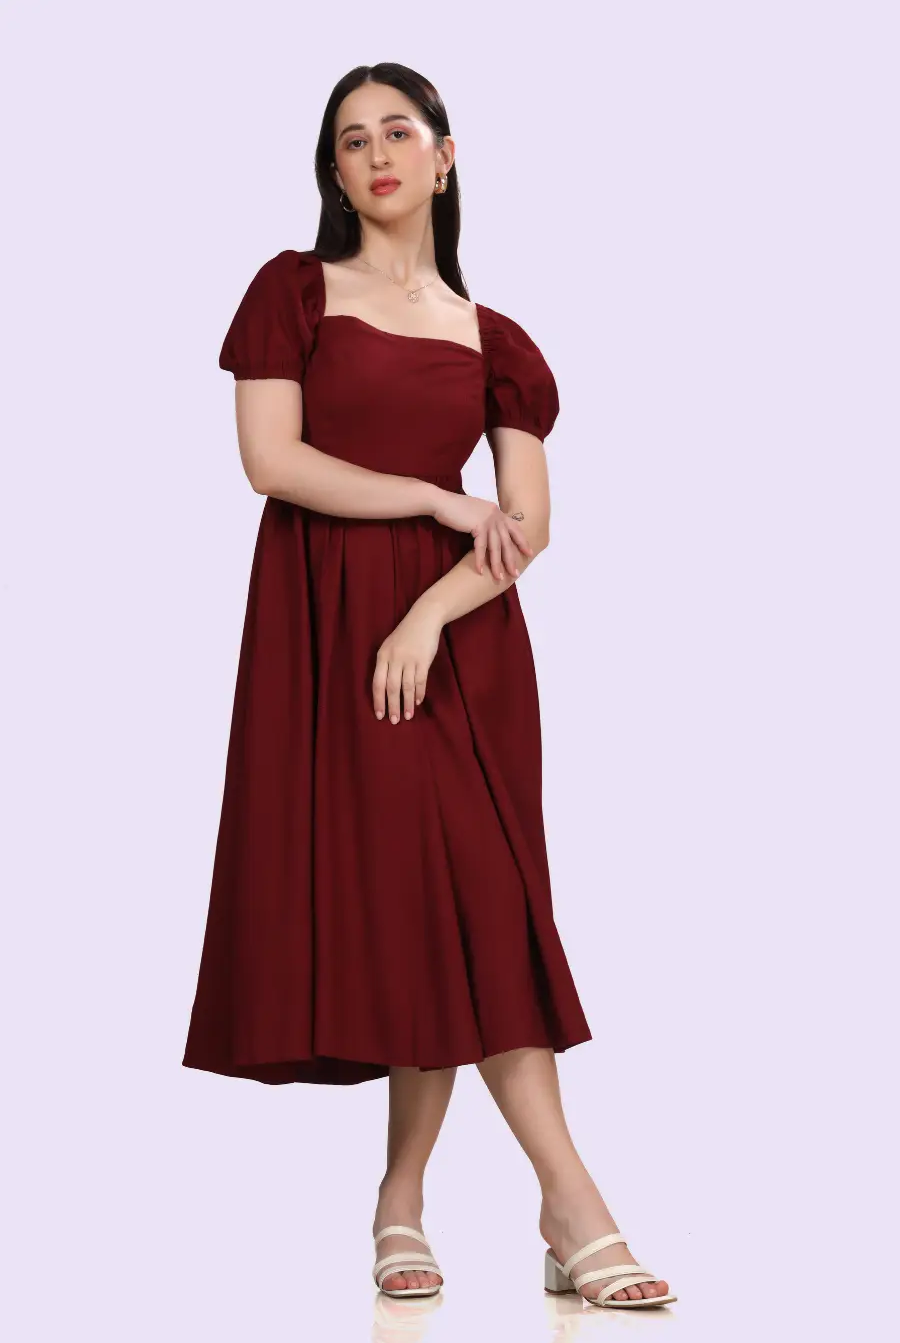
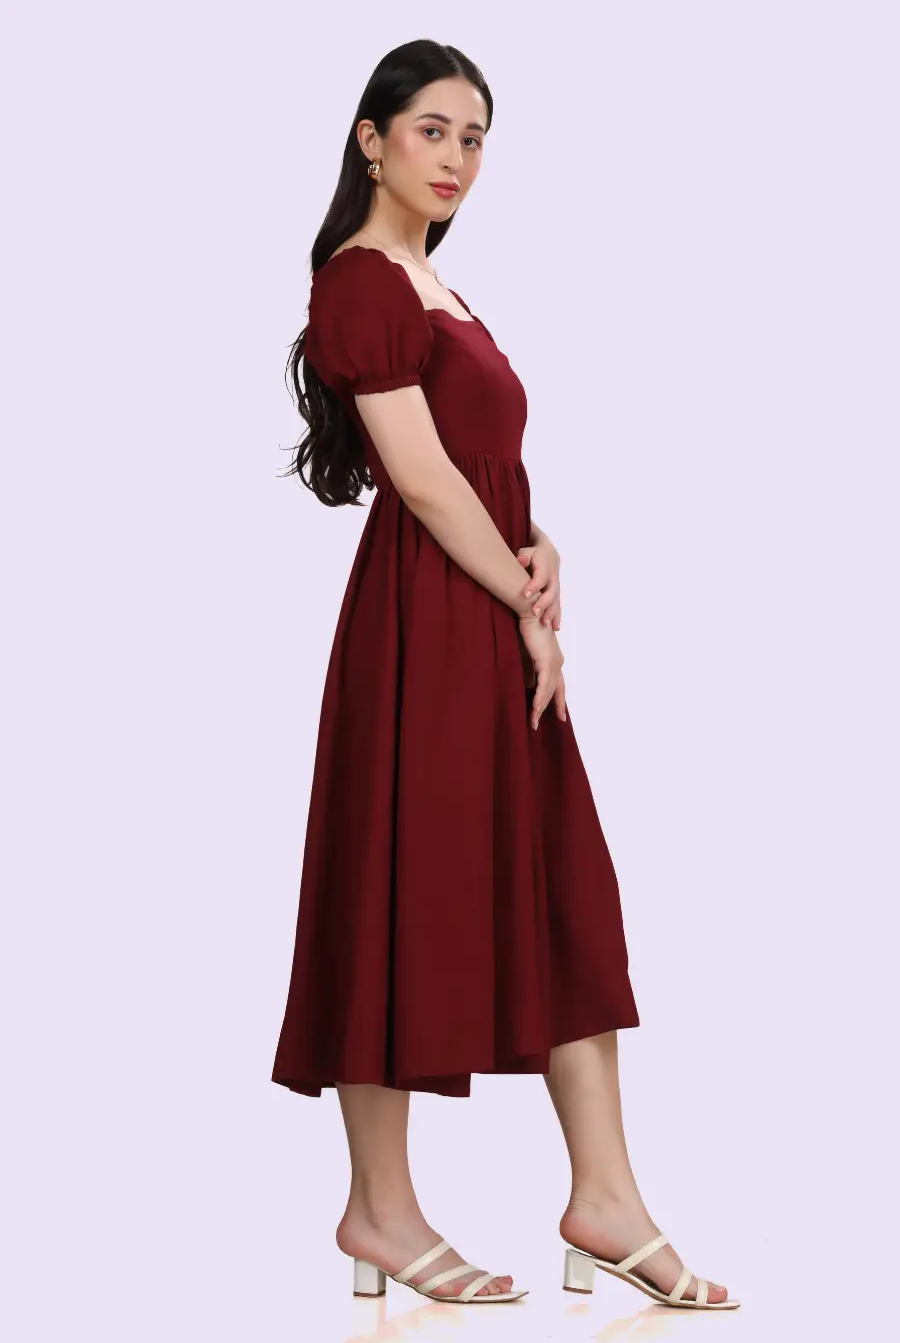
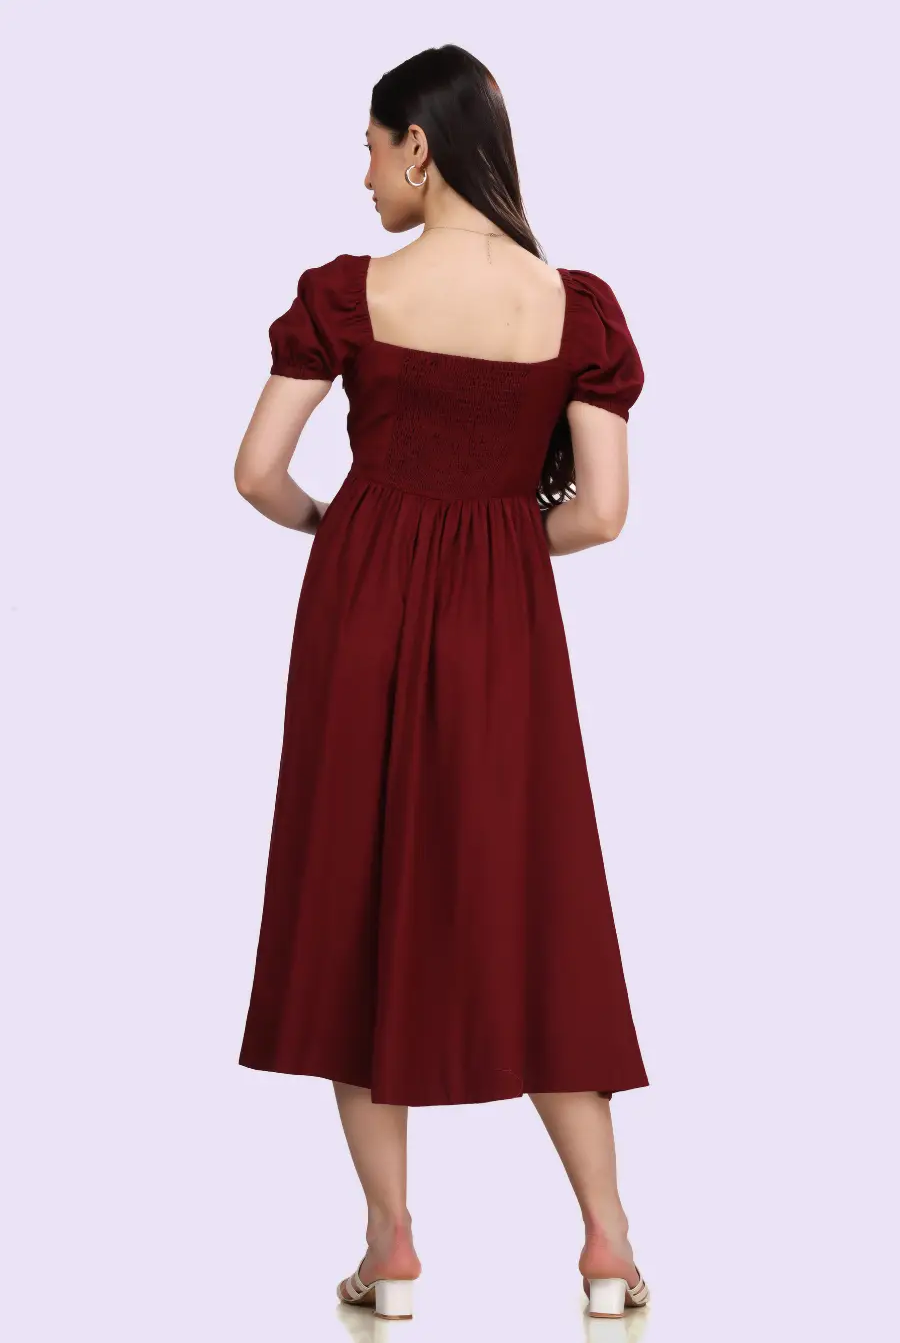
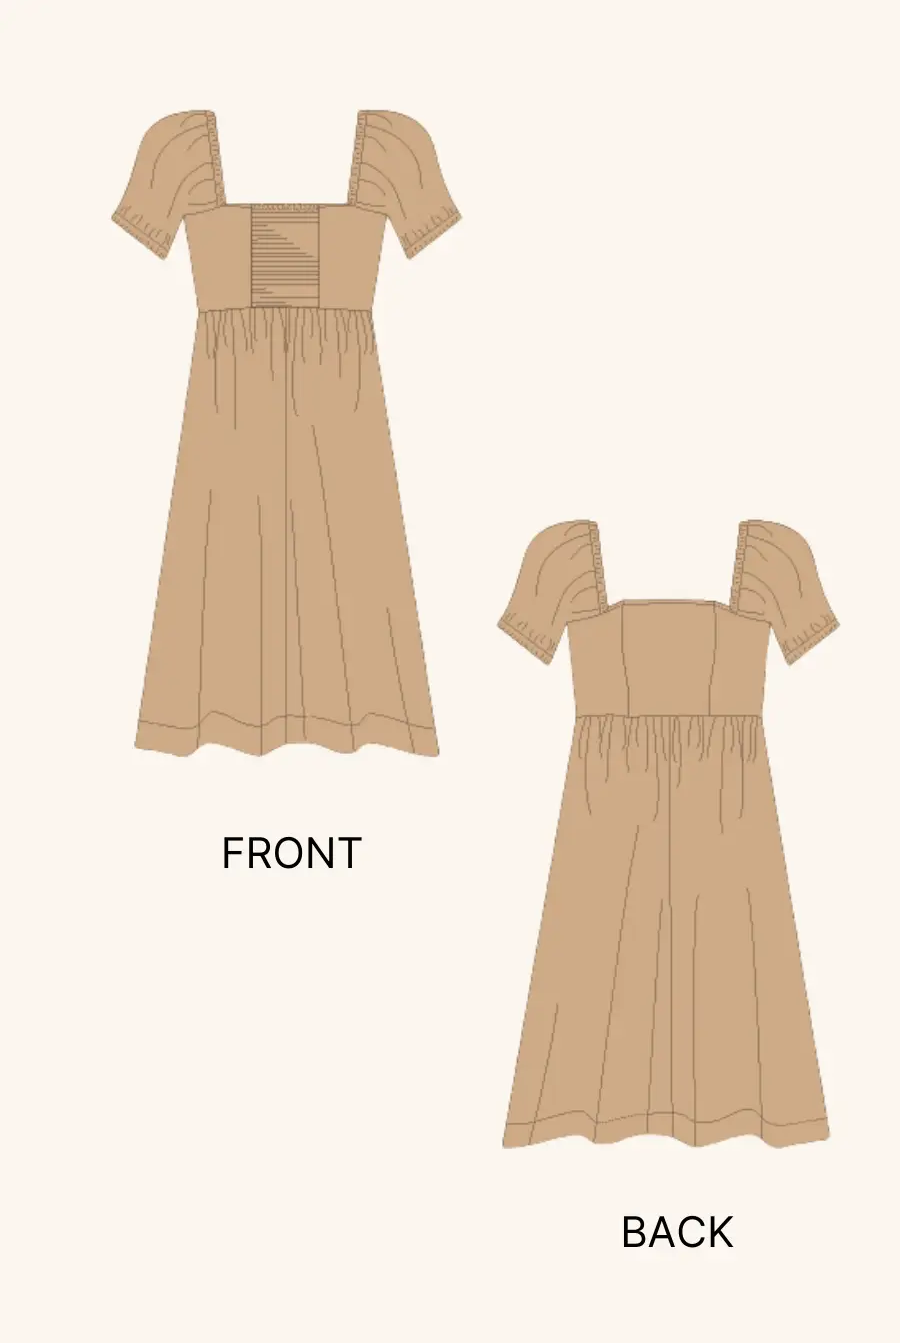
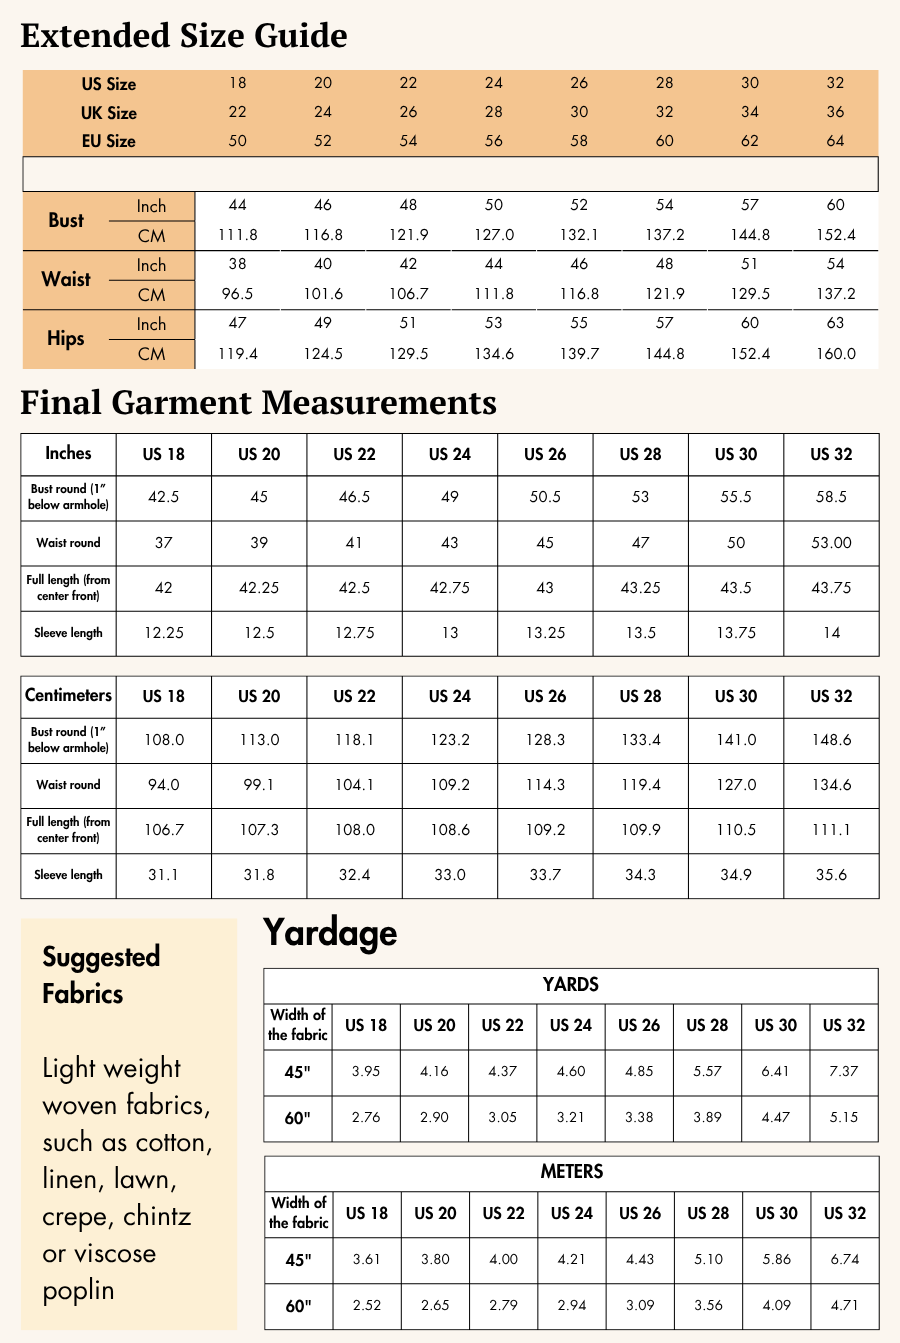
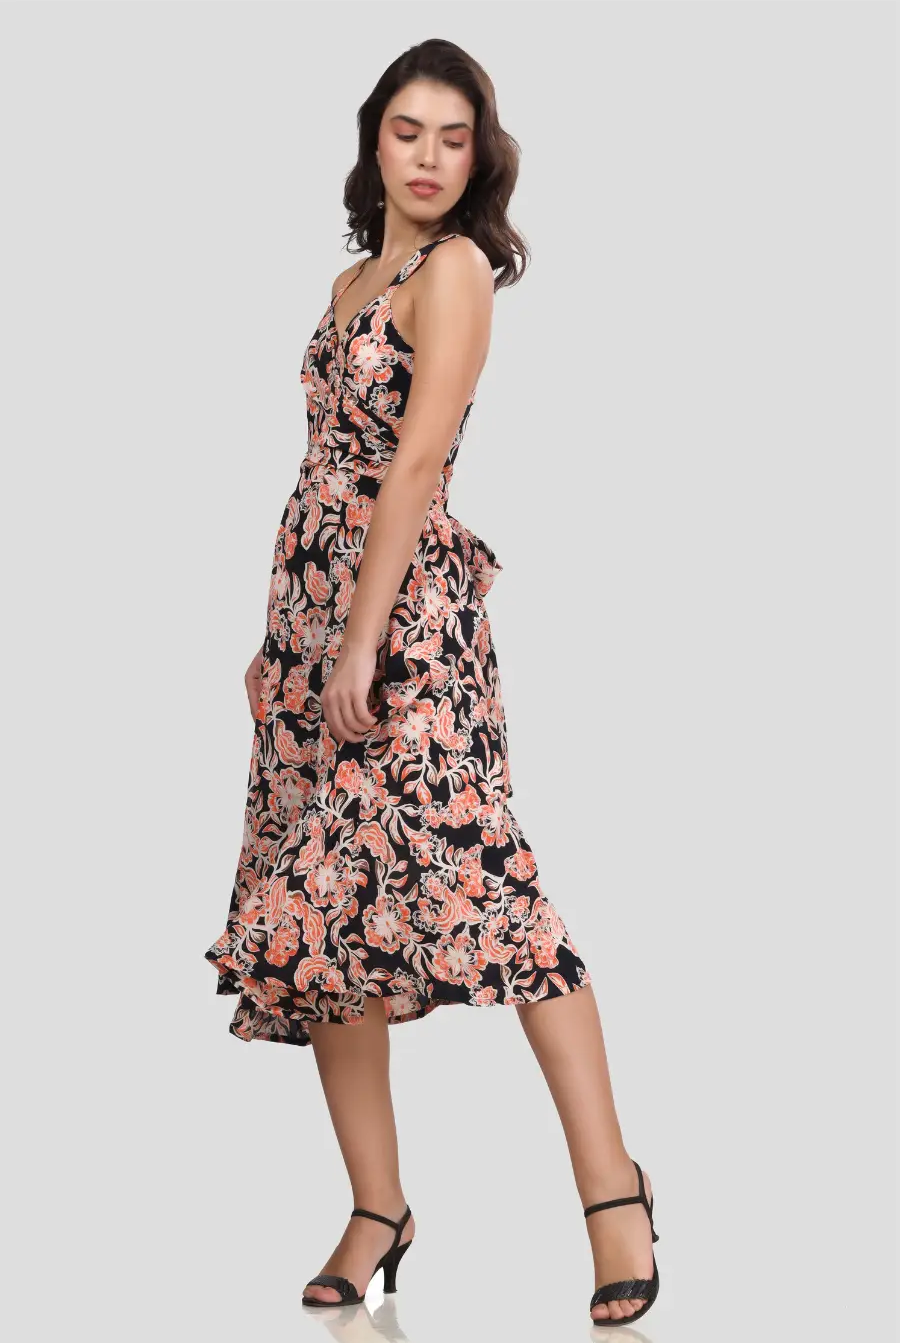
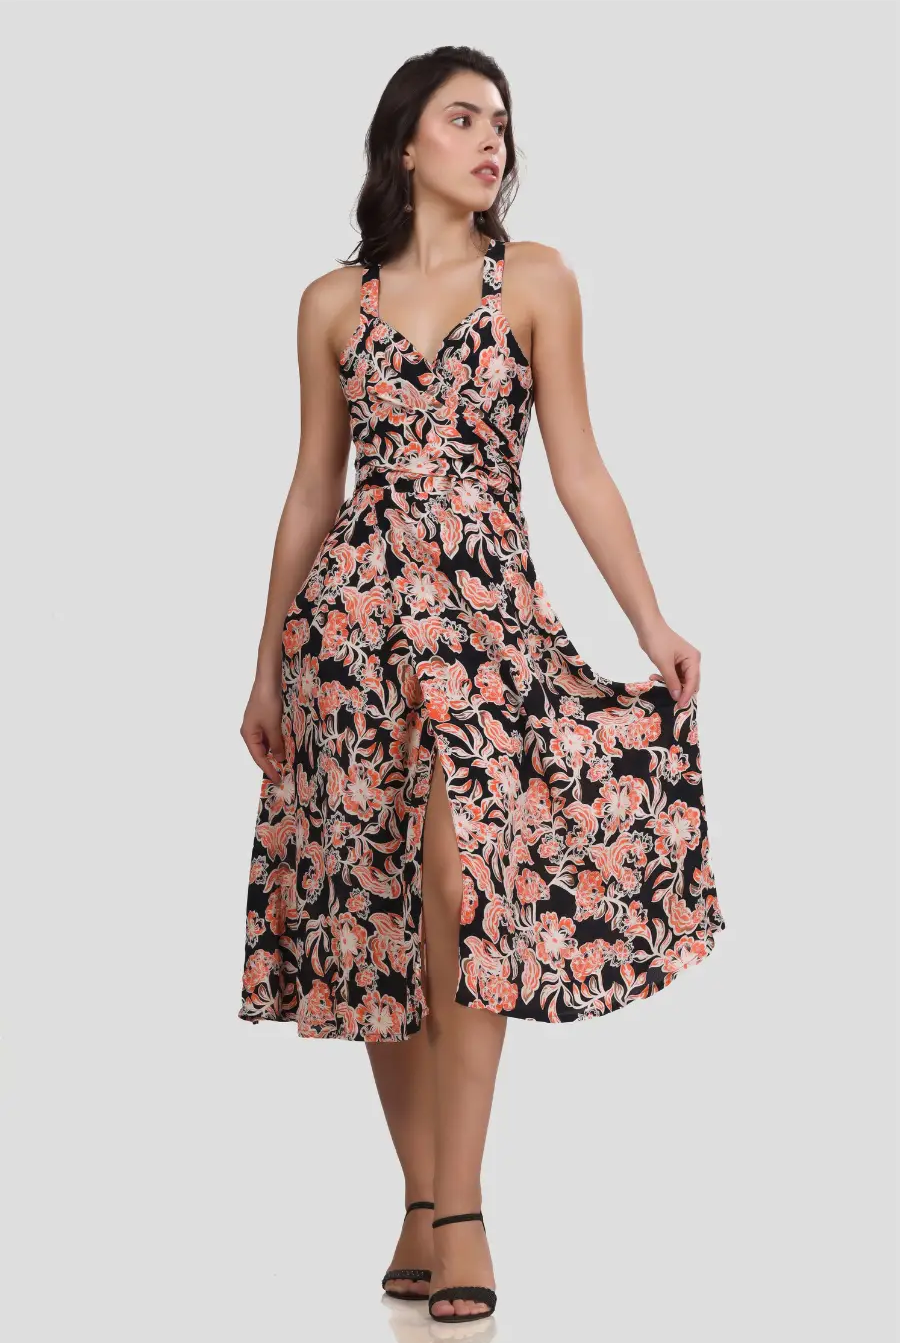
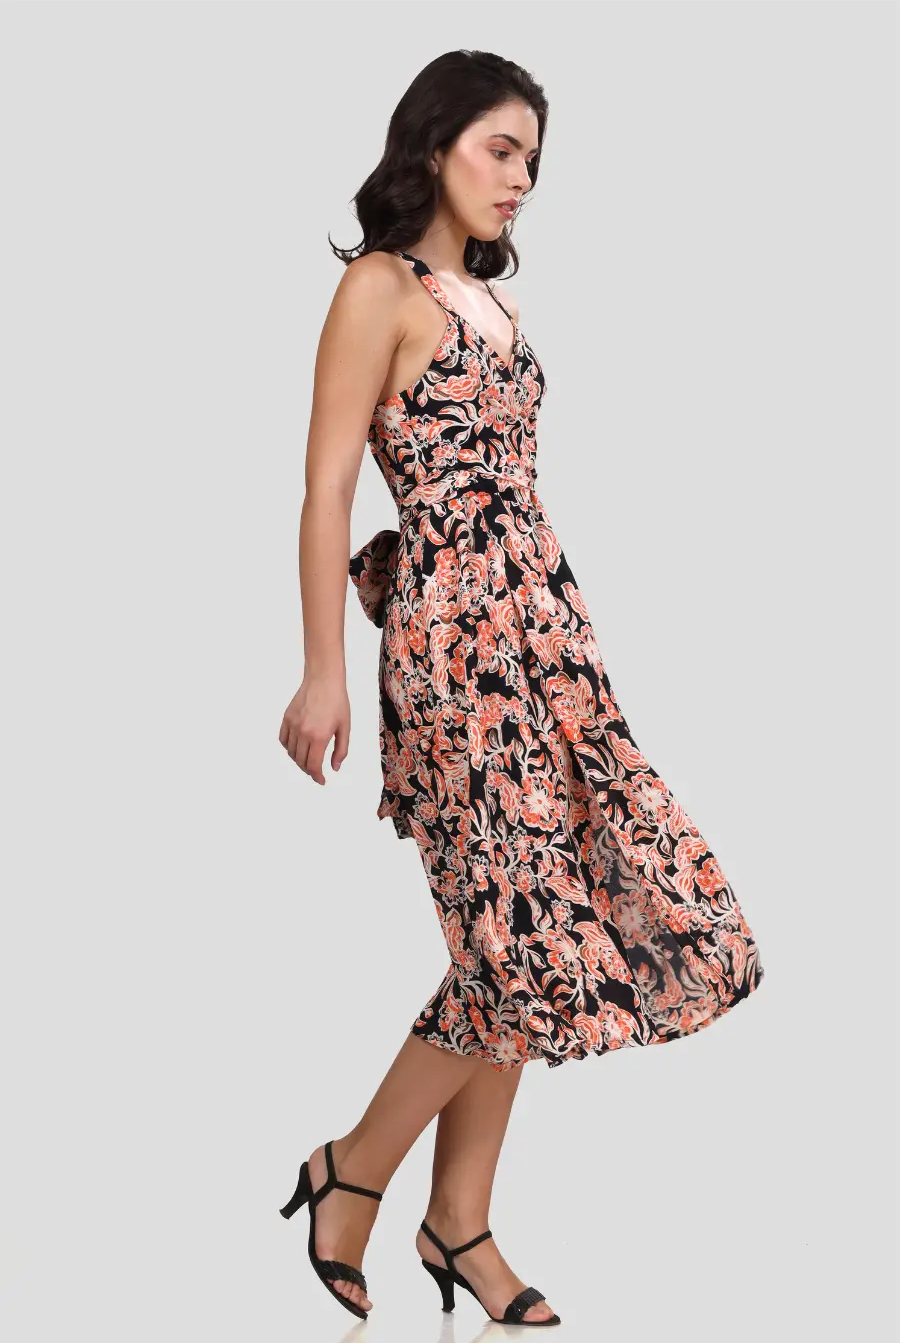
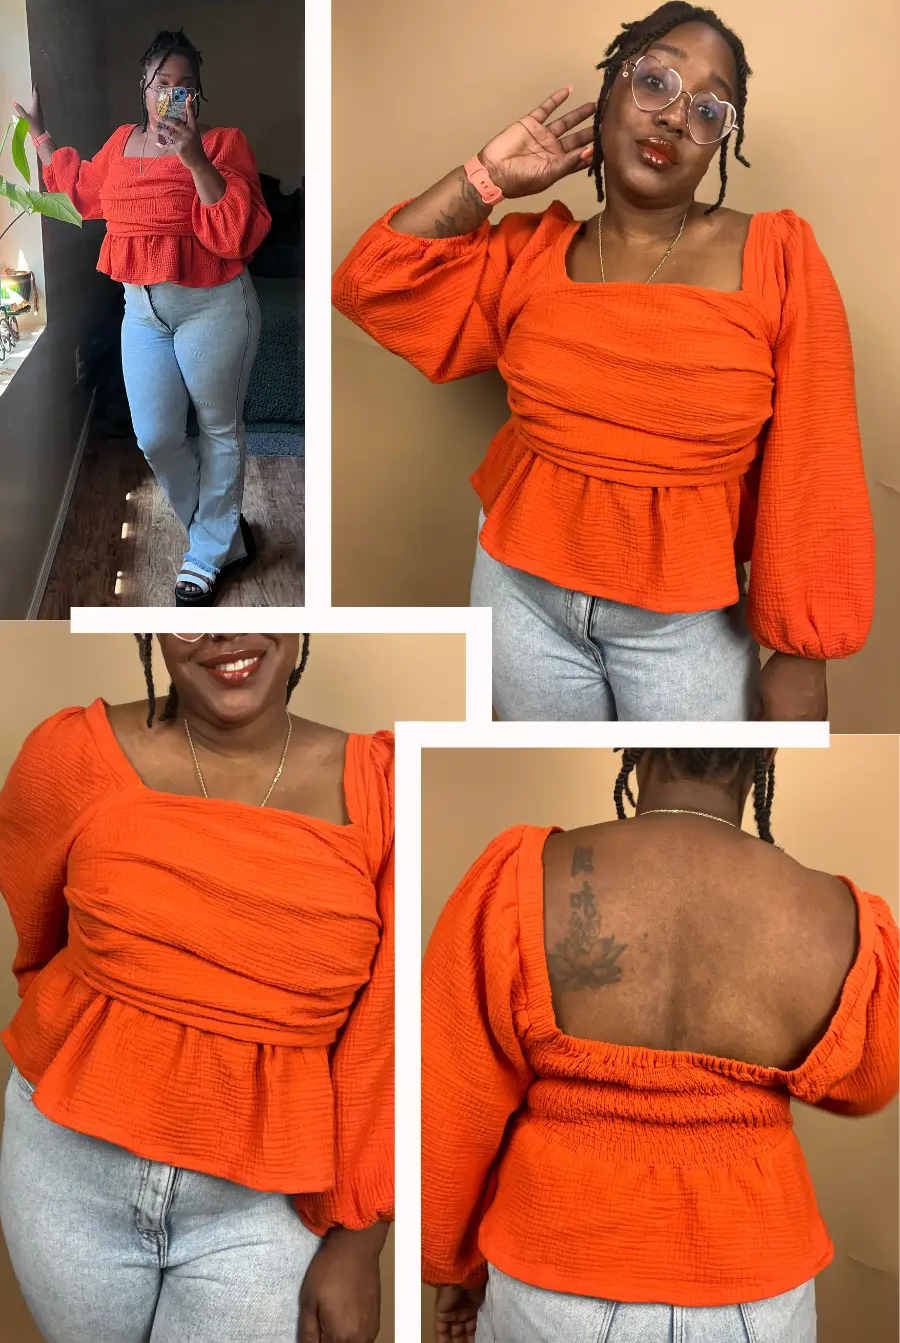
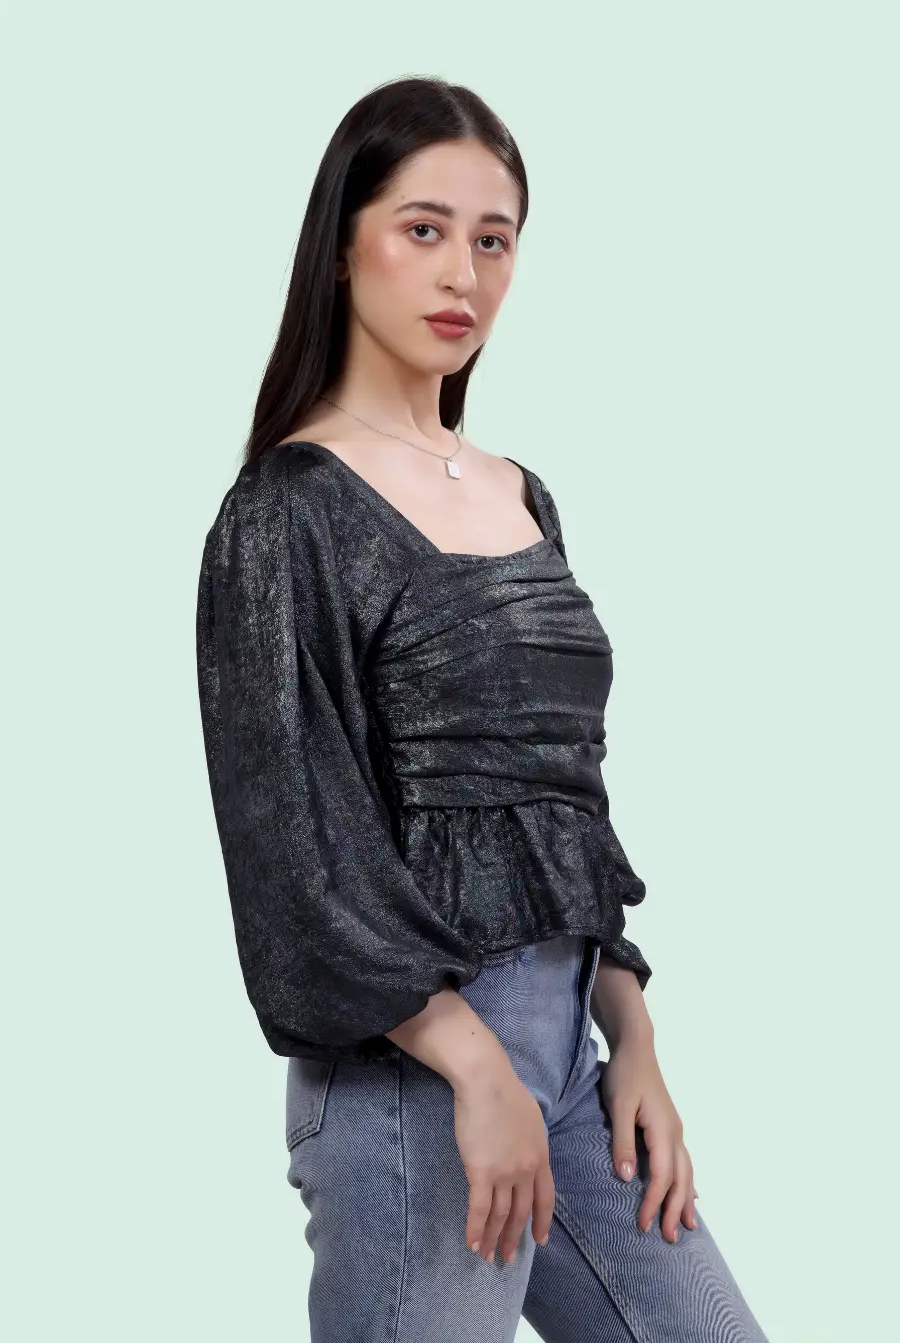
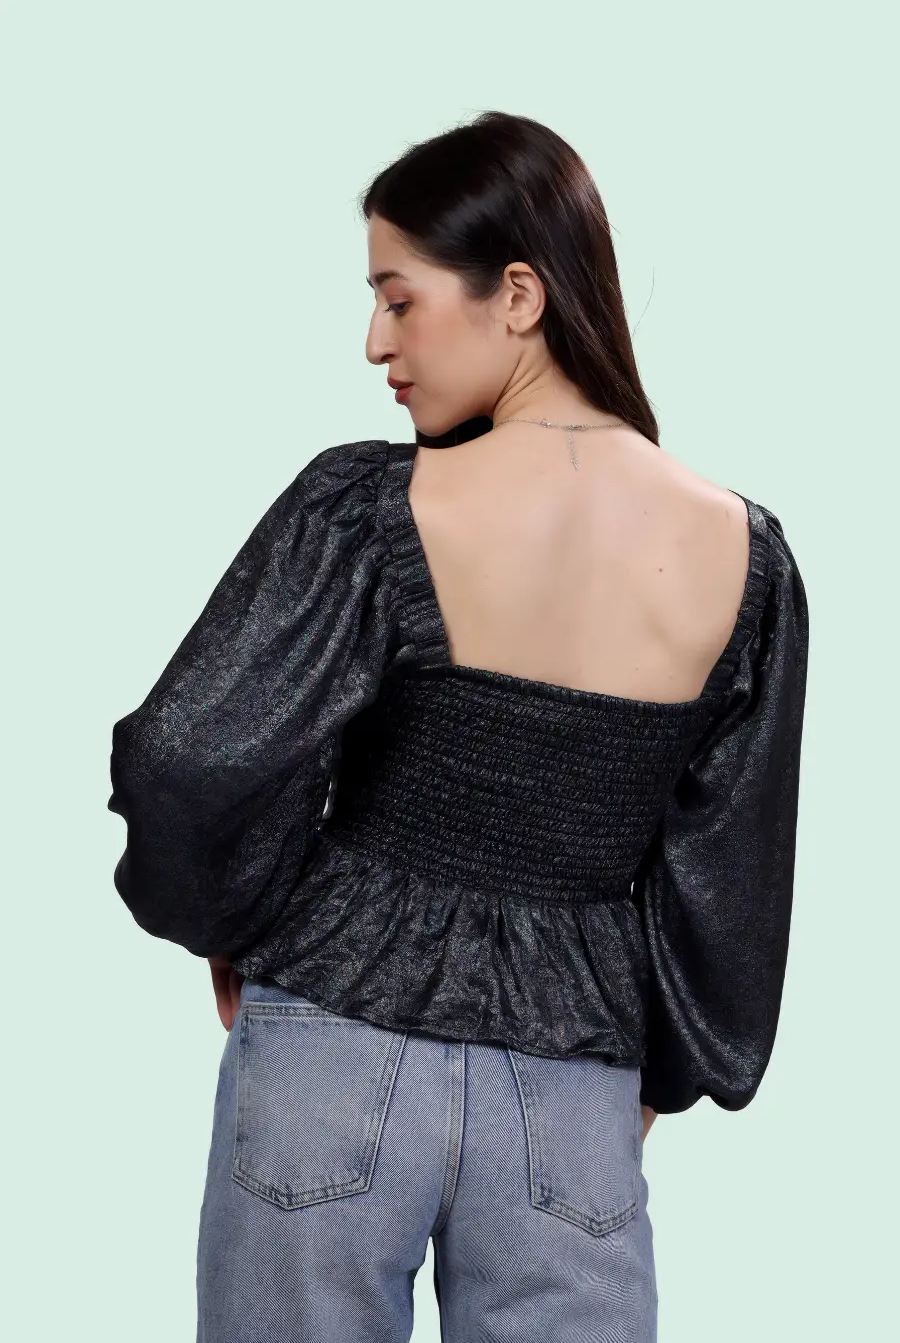
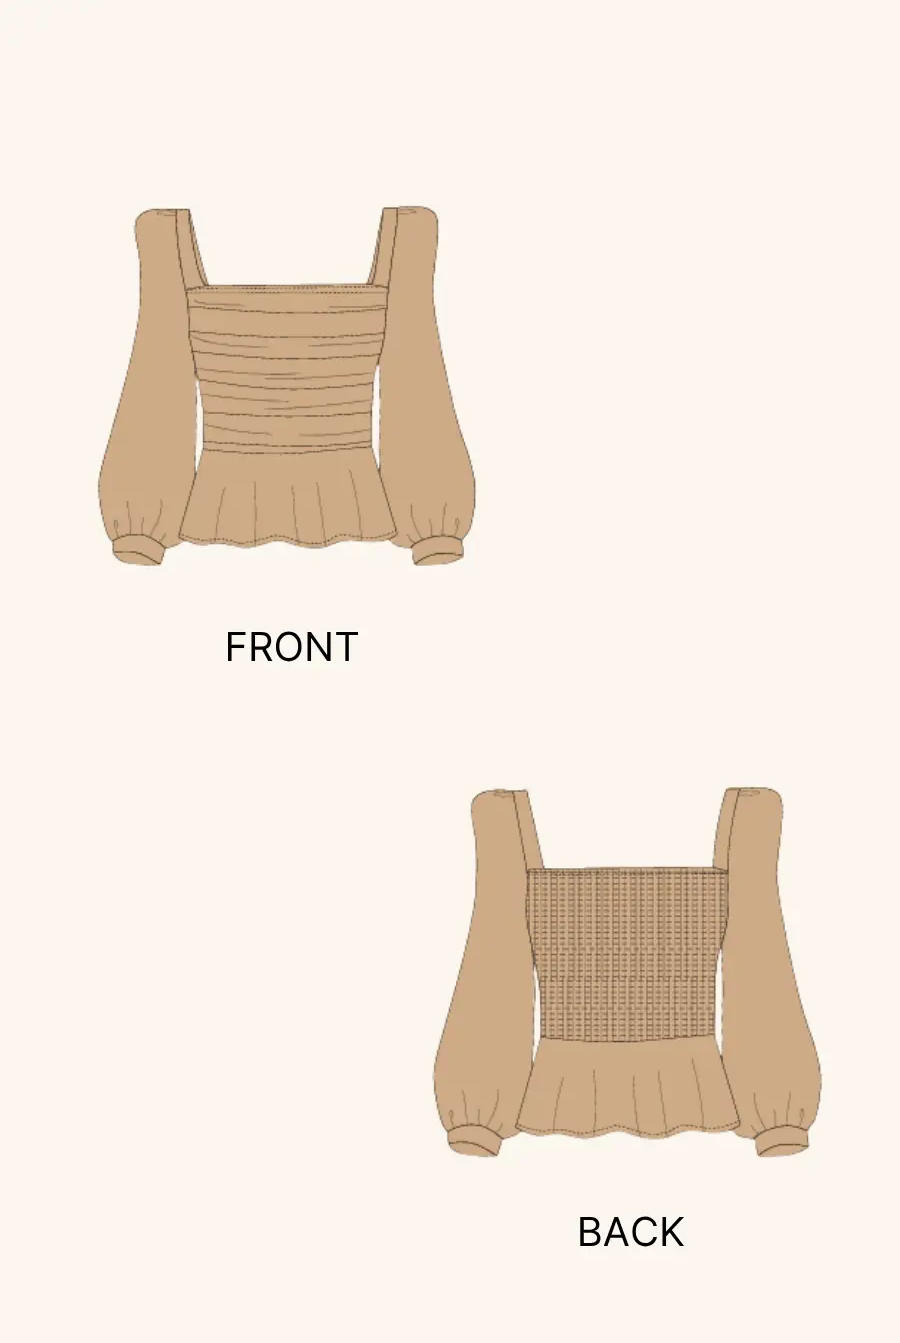
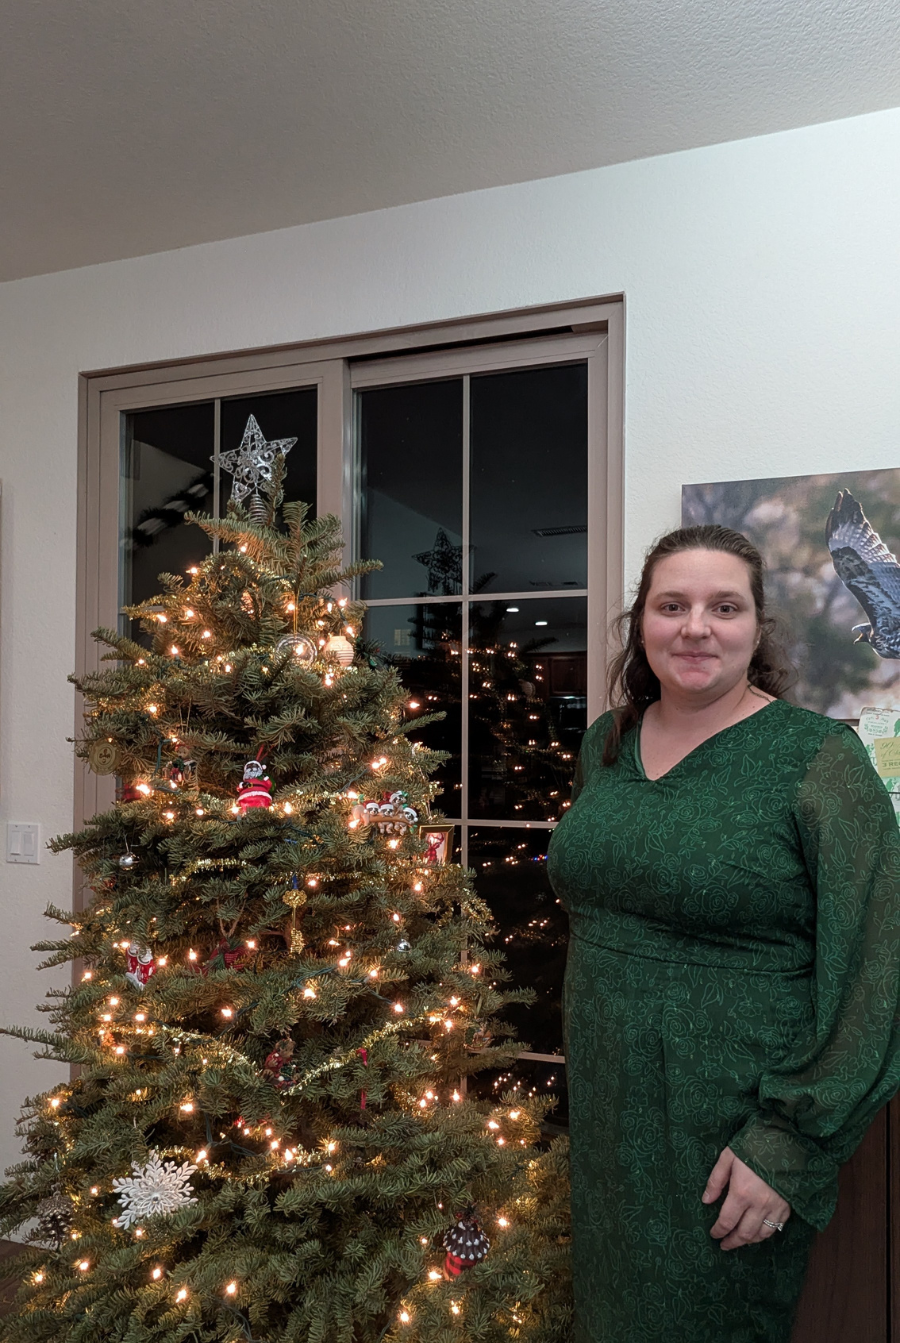
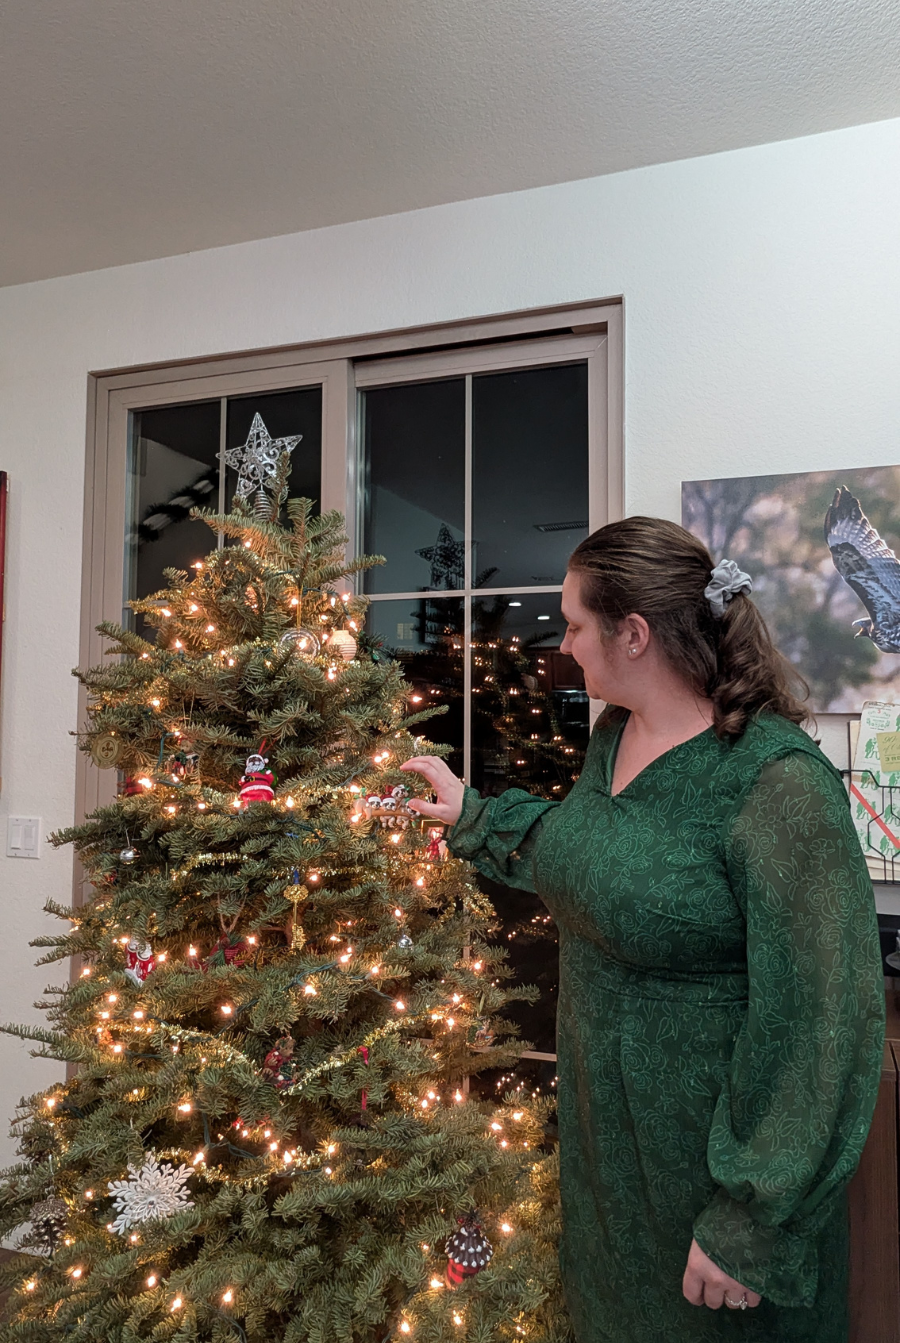
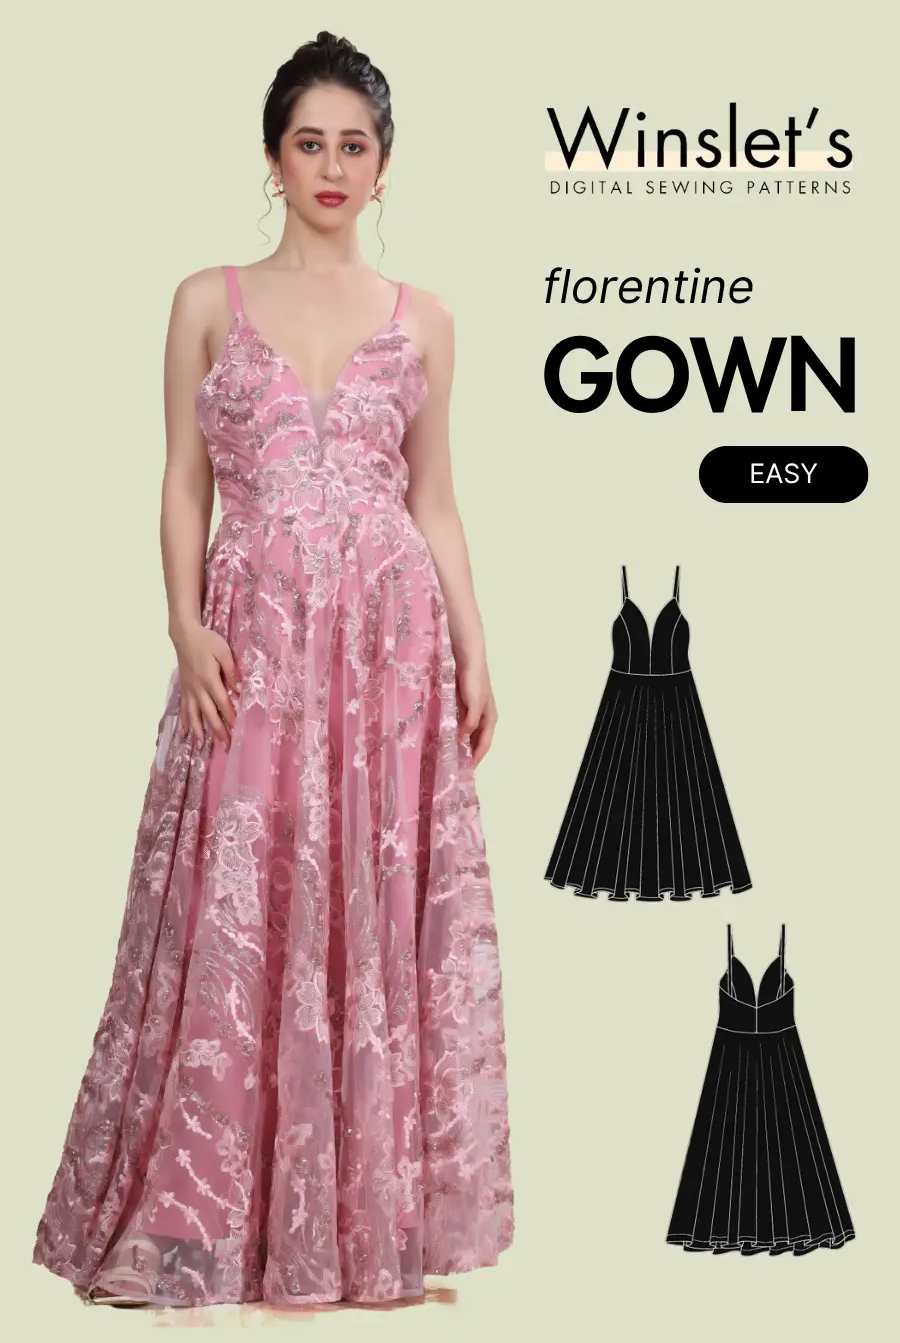
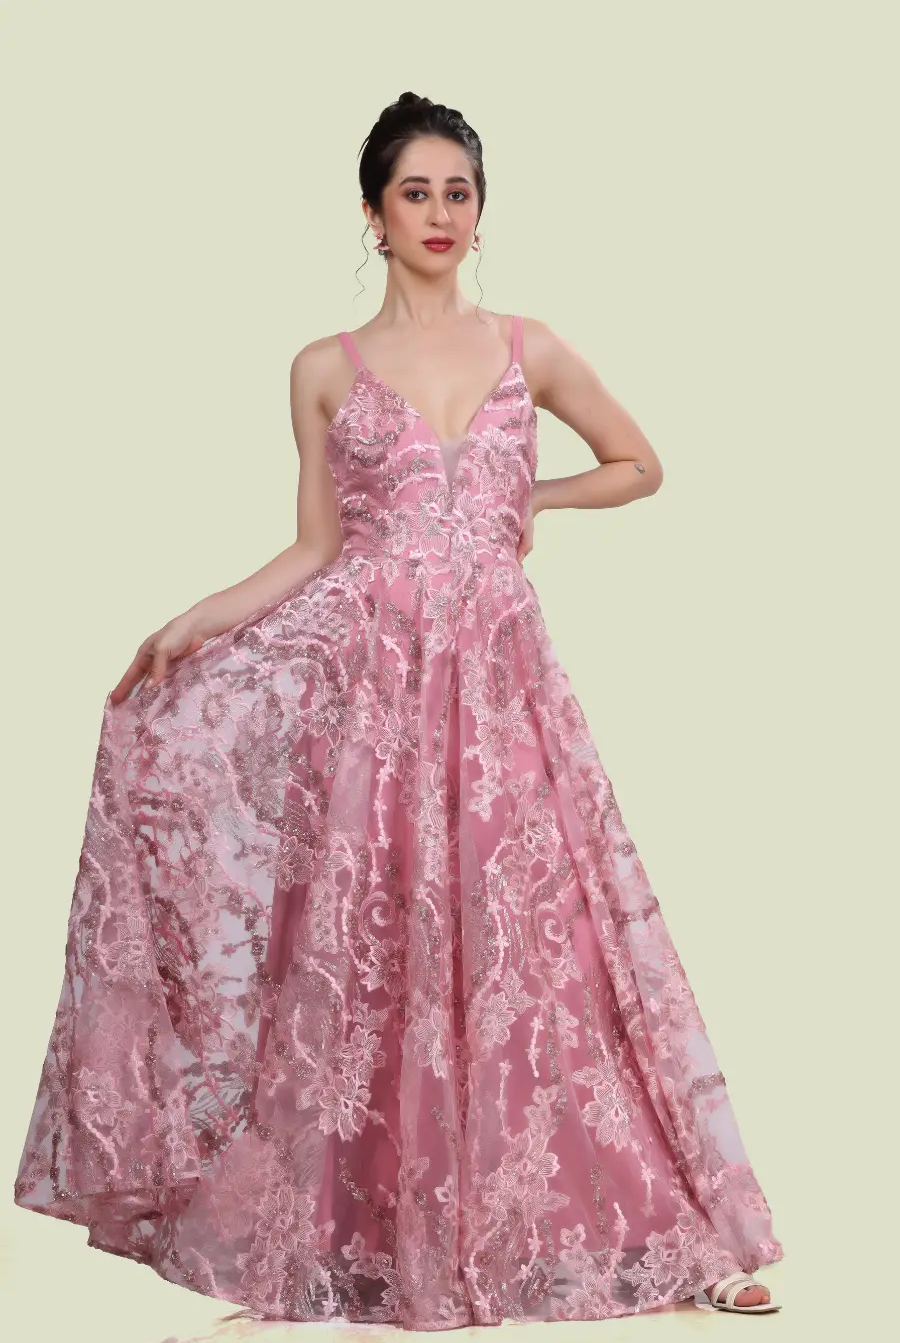
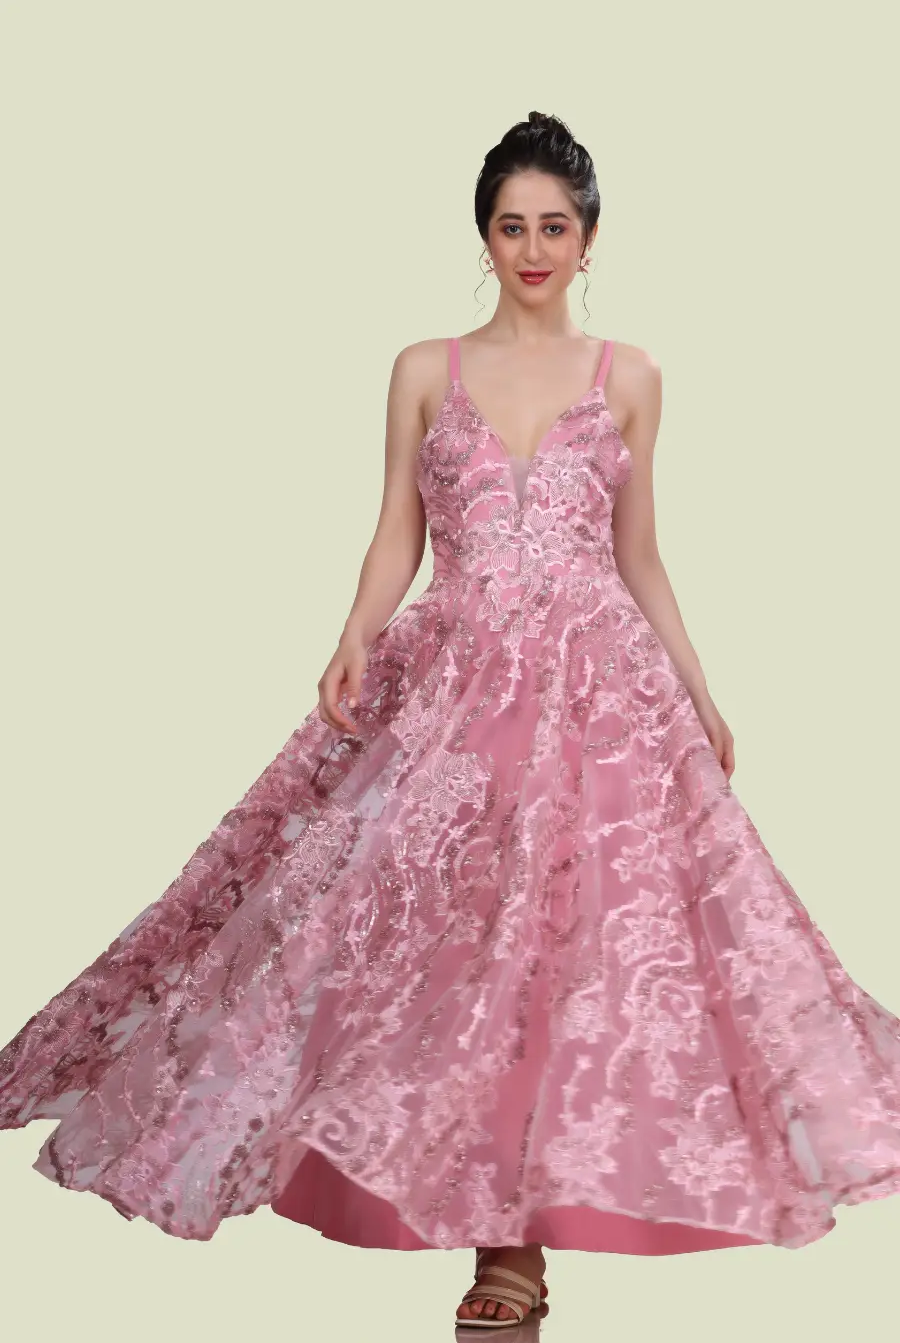
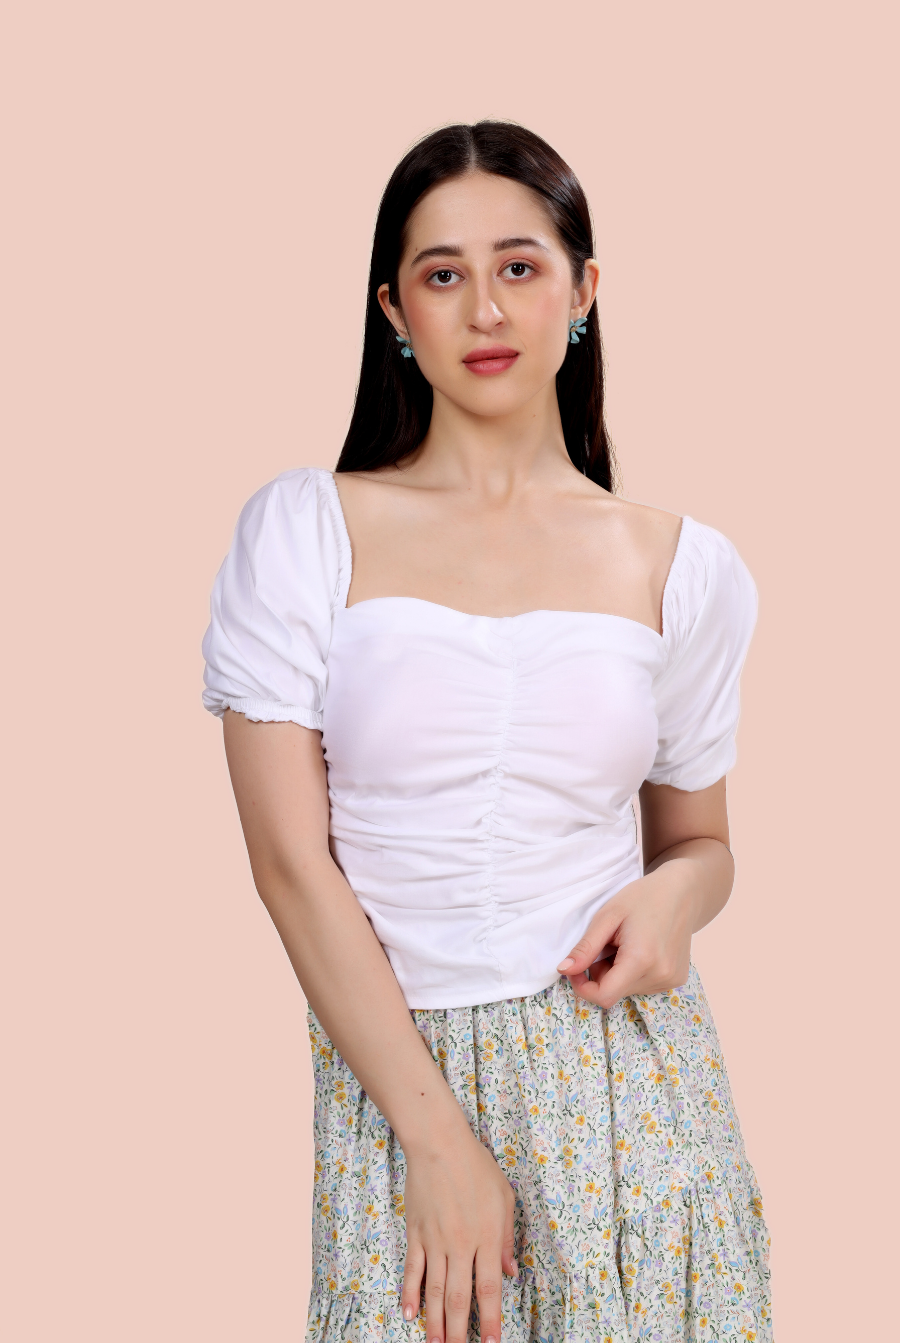
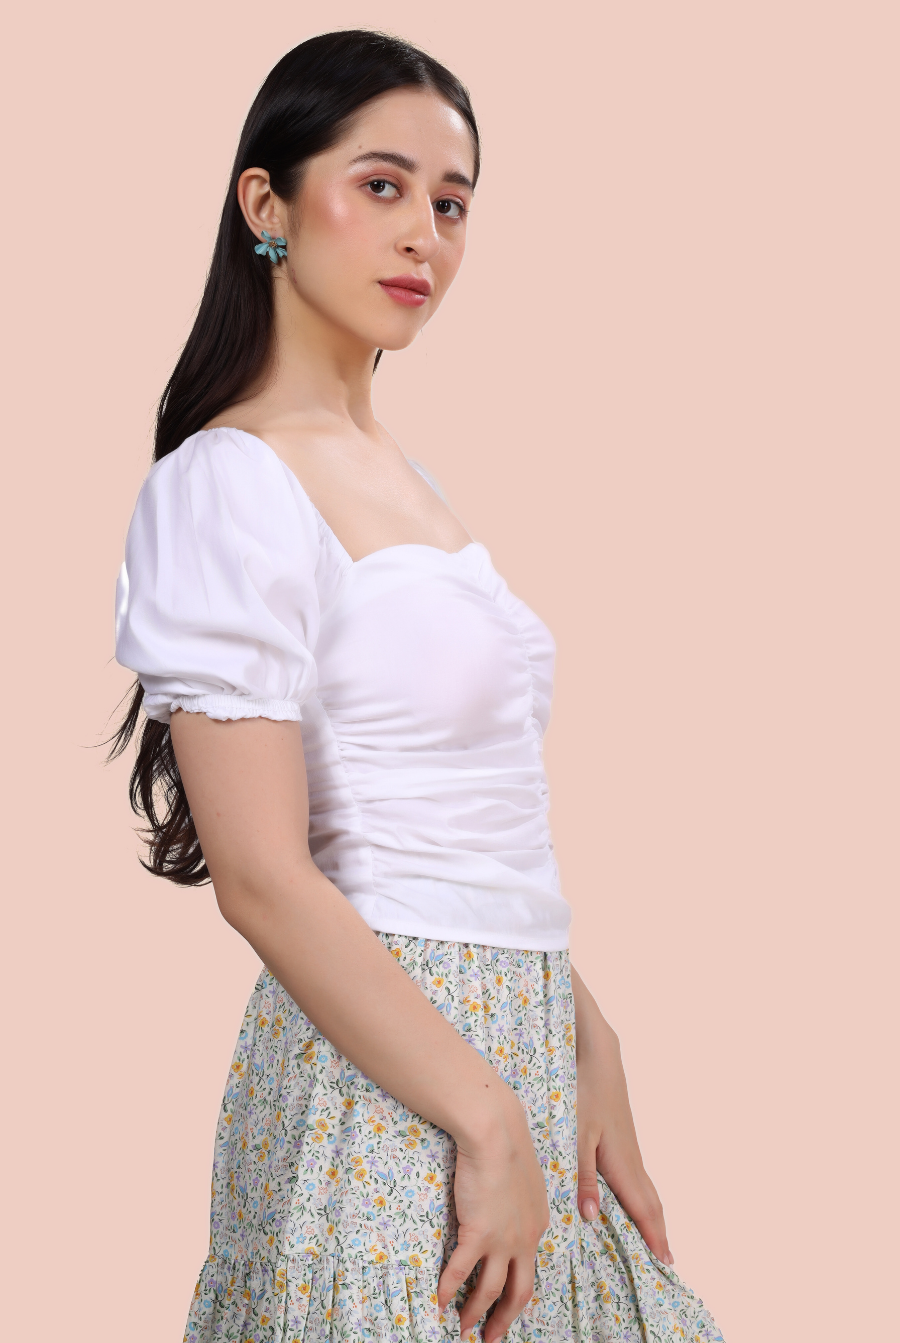
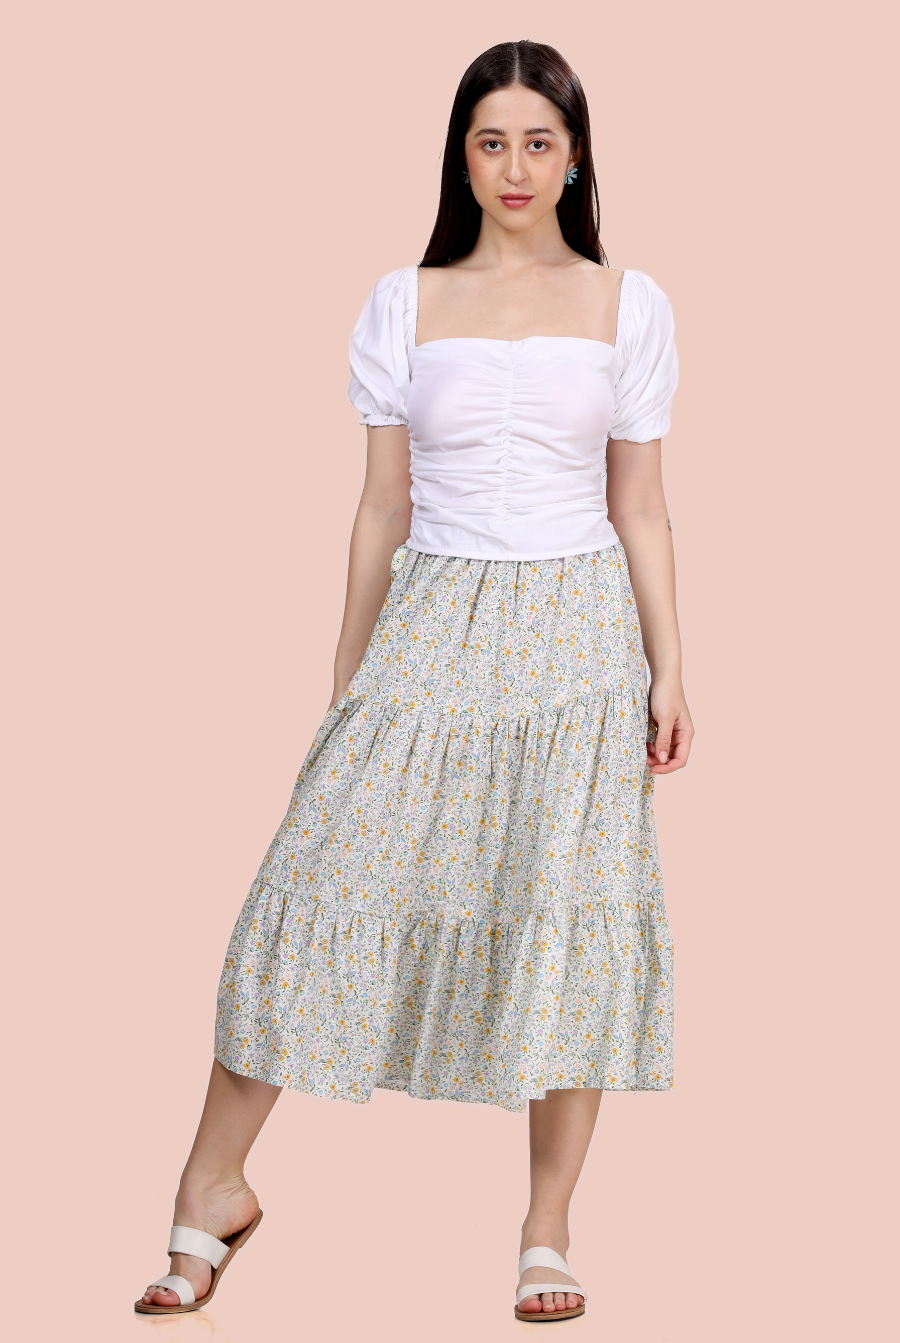
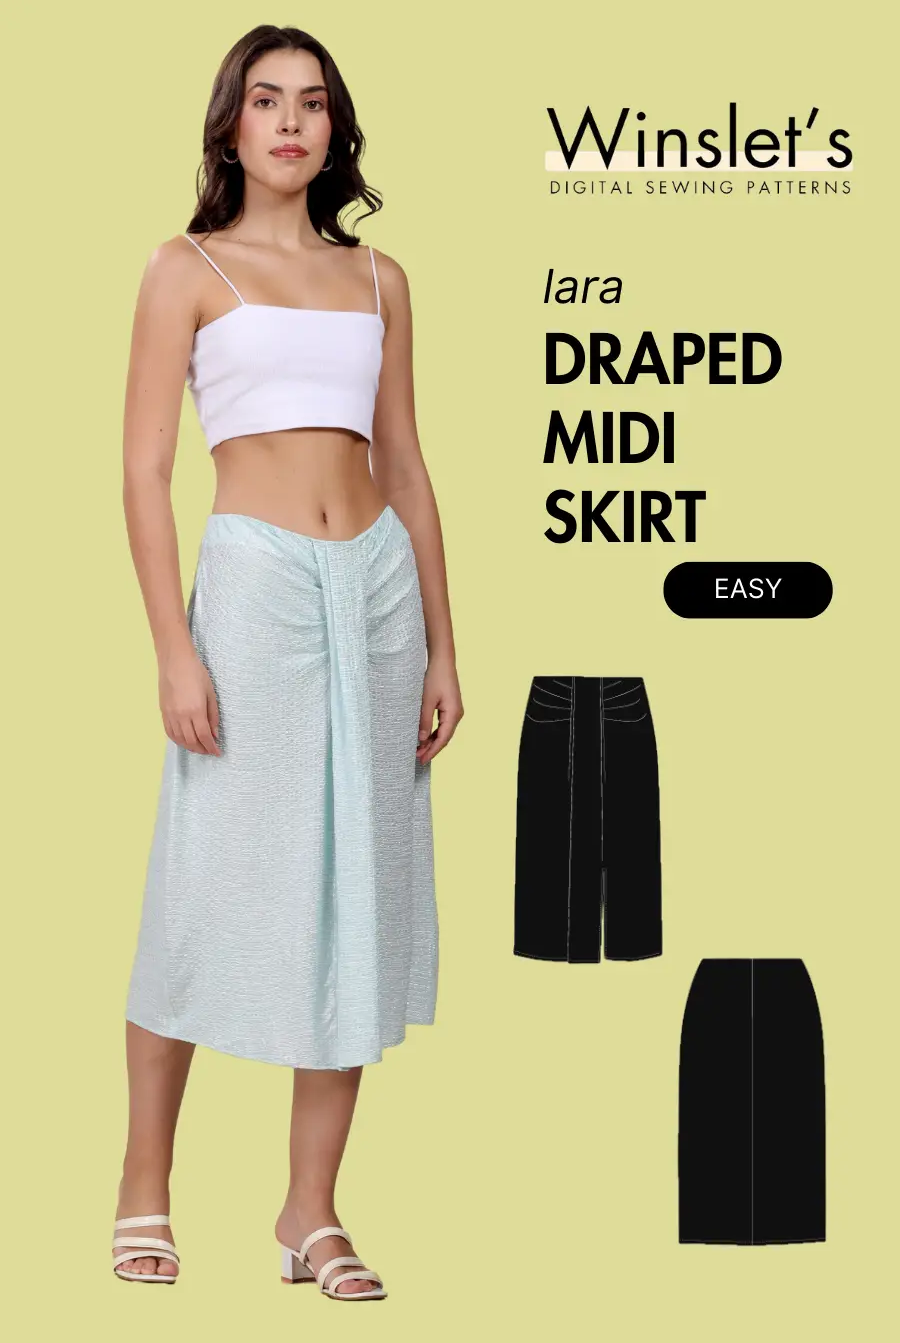
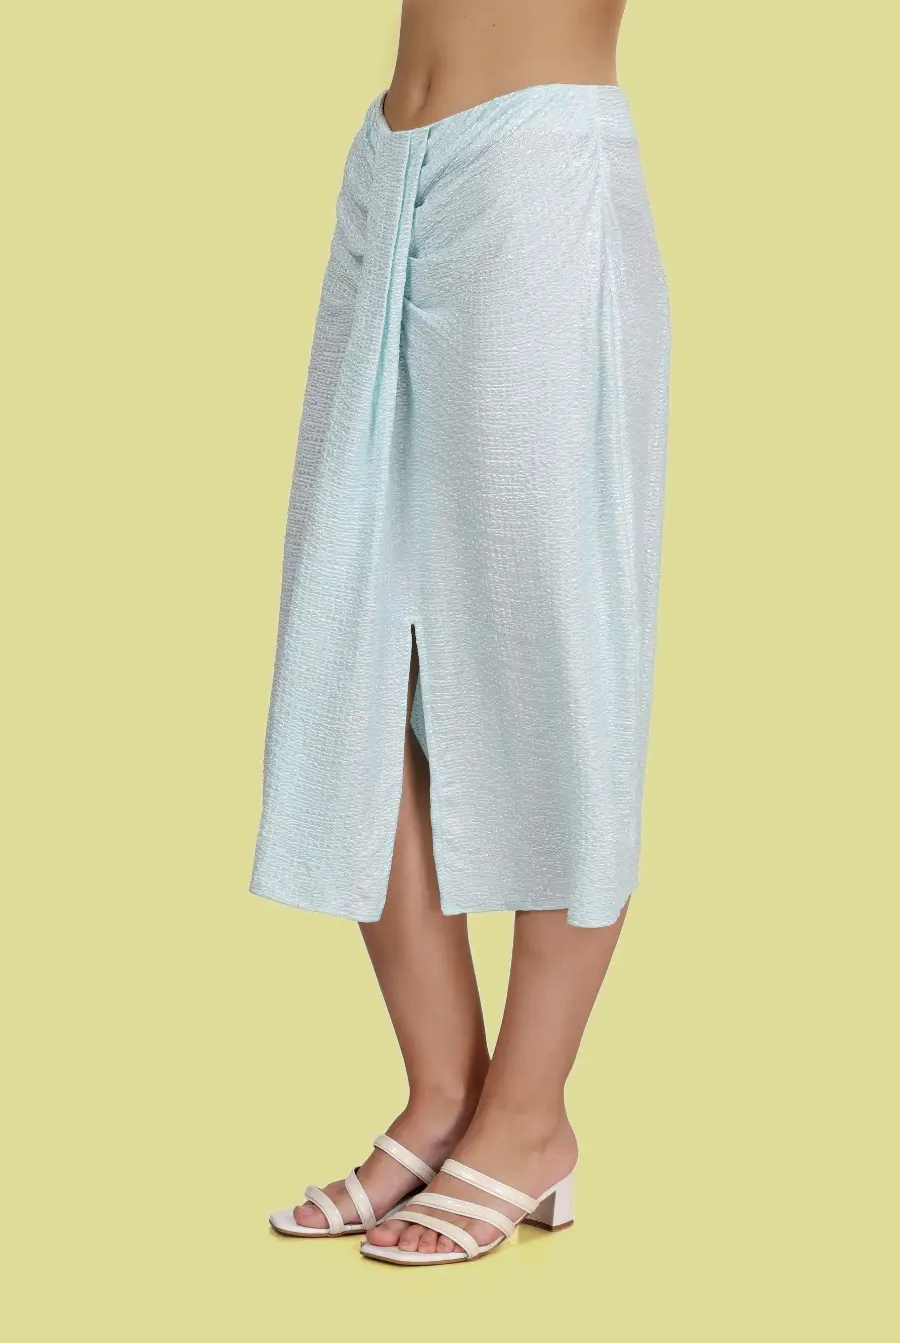
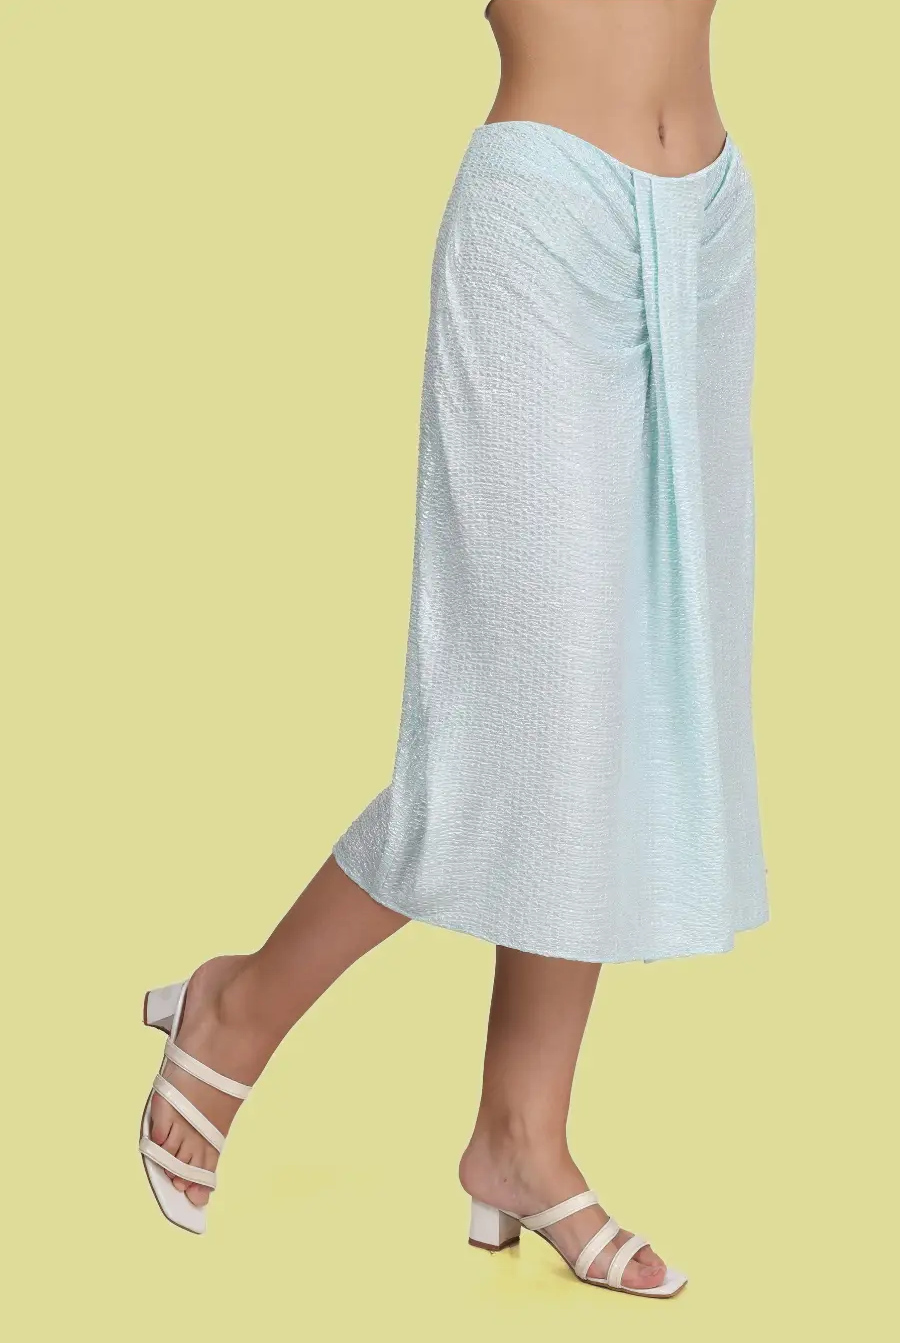
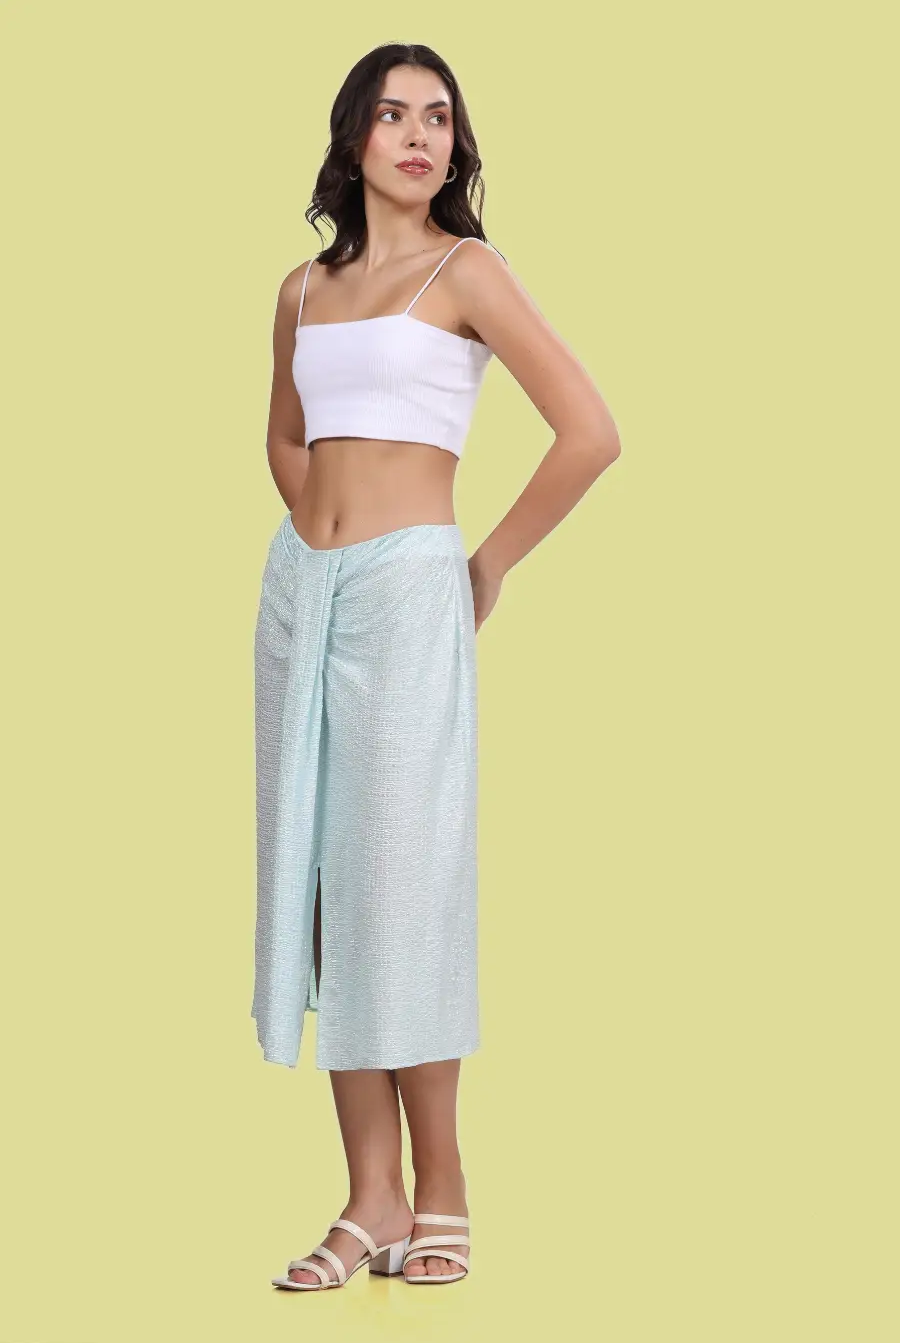
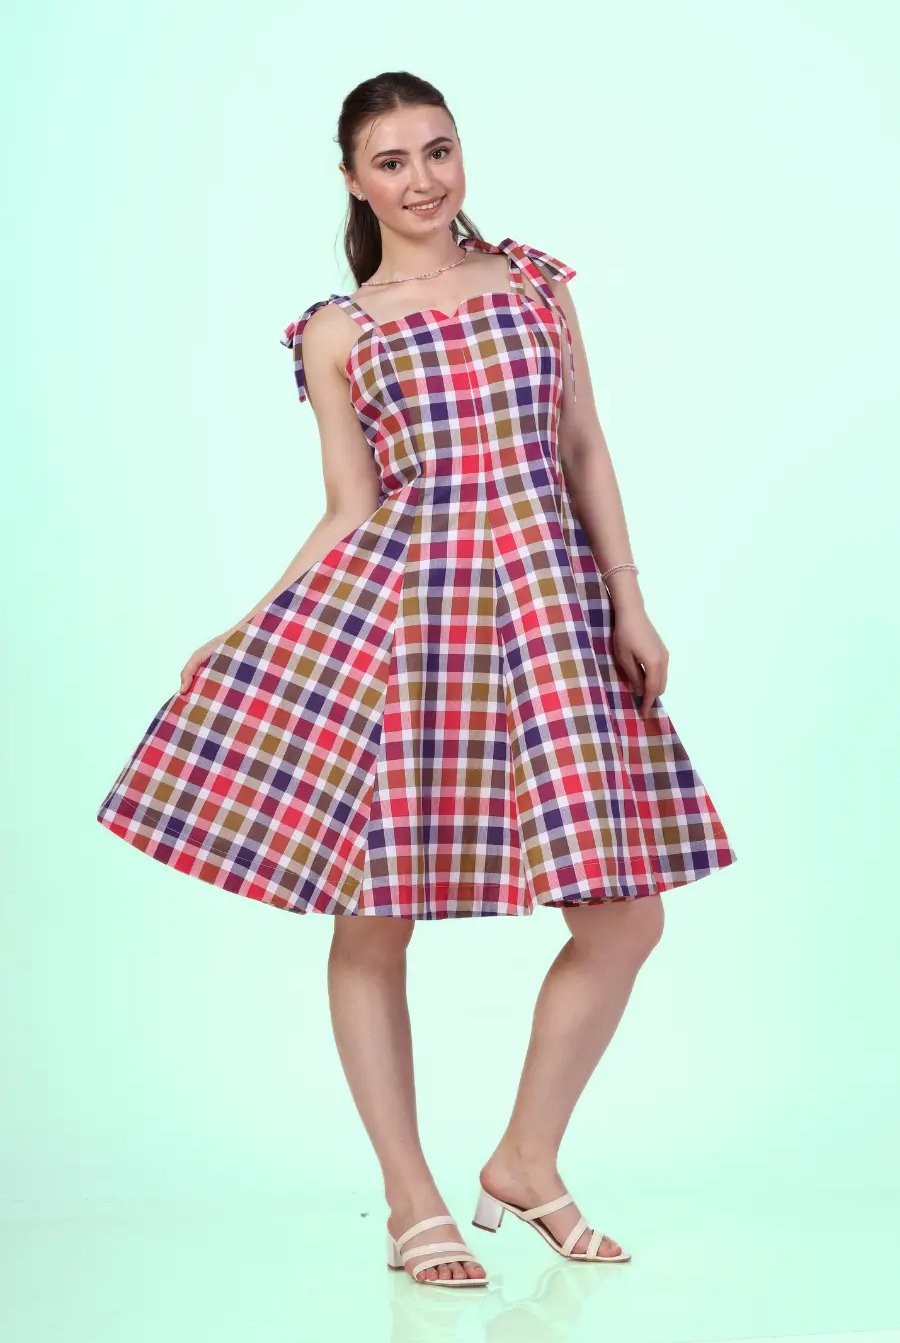
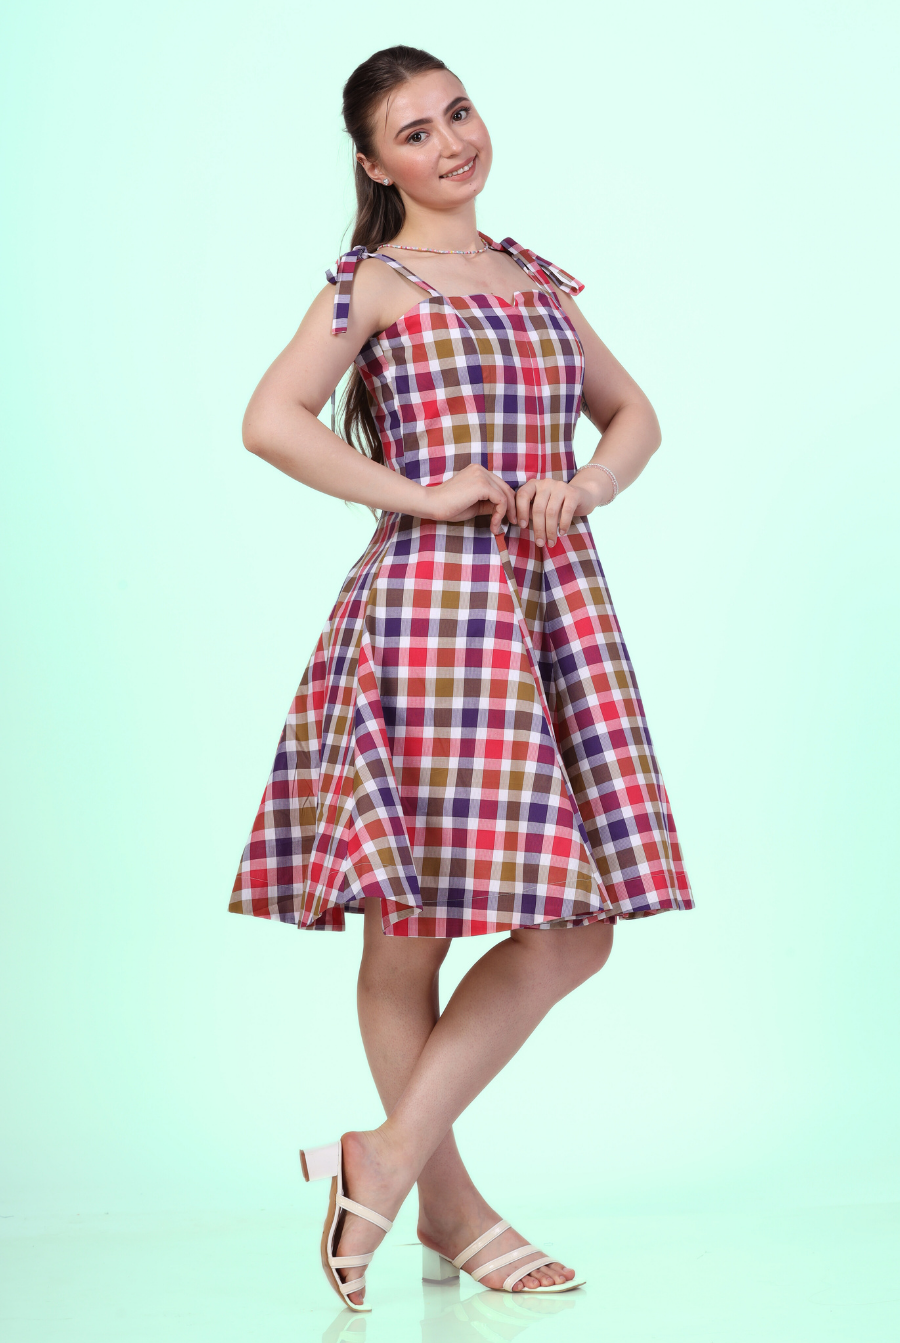
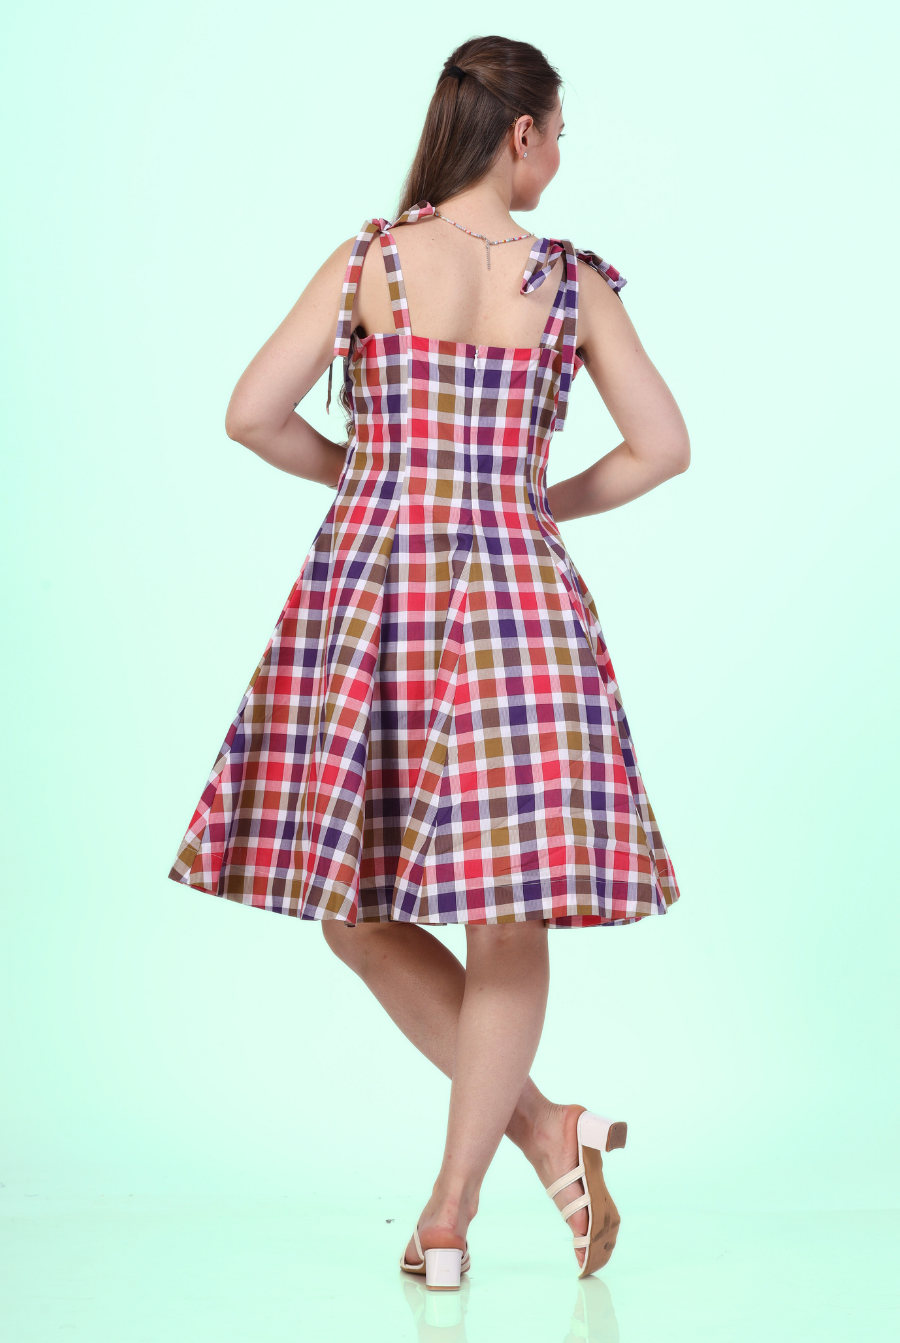
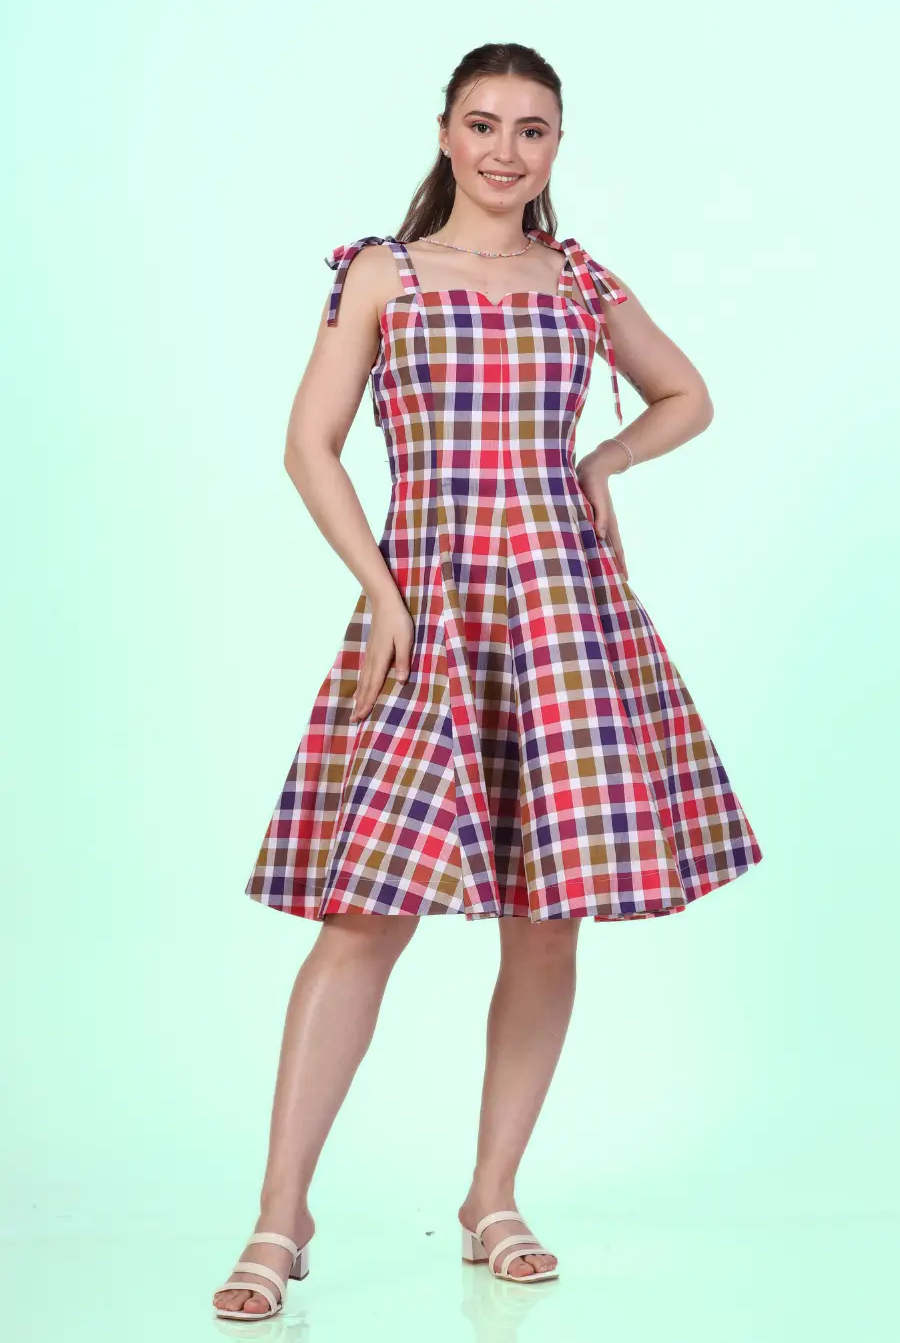
If you're looking for a skirt sewing project that’s breezy and elegant, a cottagecore maxi skirt should be at the top of your list. With its gathered panels, flattering high waist, and easy fit, this skirt is ideal for summer days, layering in cooler months, or simply twirling through life in style.
In this guide, we’ll show you how to sew a cottagecore maxi skirt step by step—plus share why Winslet's Maple Cottagecore Maxi Skirt Pattern is our go-to for this flattering, pocket-equipped silhouette.
 Get the Maple Cottagecore Maxi Skirt Pattern
Why You’ll Love a Cottagecore Maxi Skirt
-
Flattering high waist that cinches without feeling tight
-
Flowy silhouette with gathered panels for beautiful movement
-
Functional pockets—because every skirt needs them
-
Easy construction that’s perfect for beginners and up
-
Endless styling options from boho to minimal chic
Step 1: Choose Your Fabric to sew a cottagecore maxi skirt
A cottagecore skirt looks best in light to medium-weight woven fabrics that drape well. Some great options include:
-
Viscose twill
-
Cotton lawn or cotton poplin
-
Linen blends
-
Rayon challis
-
Bamboo or Tencel
These fabrics offer breathability, structure, and a soft feel—perfect for twirl-worthy skirts.
Step 2: Use a Pattern That Balances Ease and Detail for a cottagecore maxi skirt
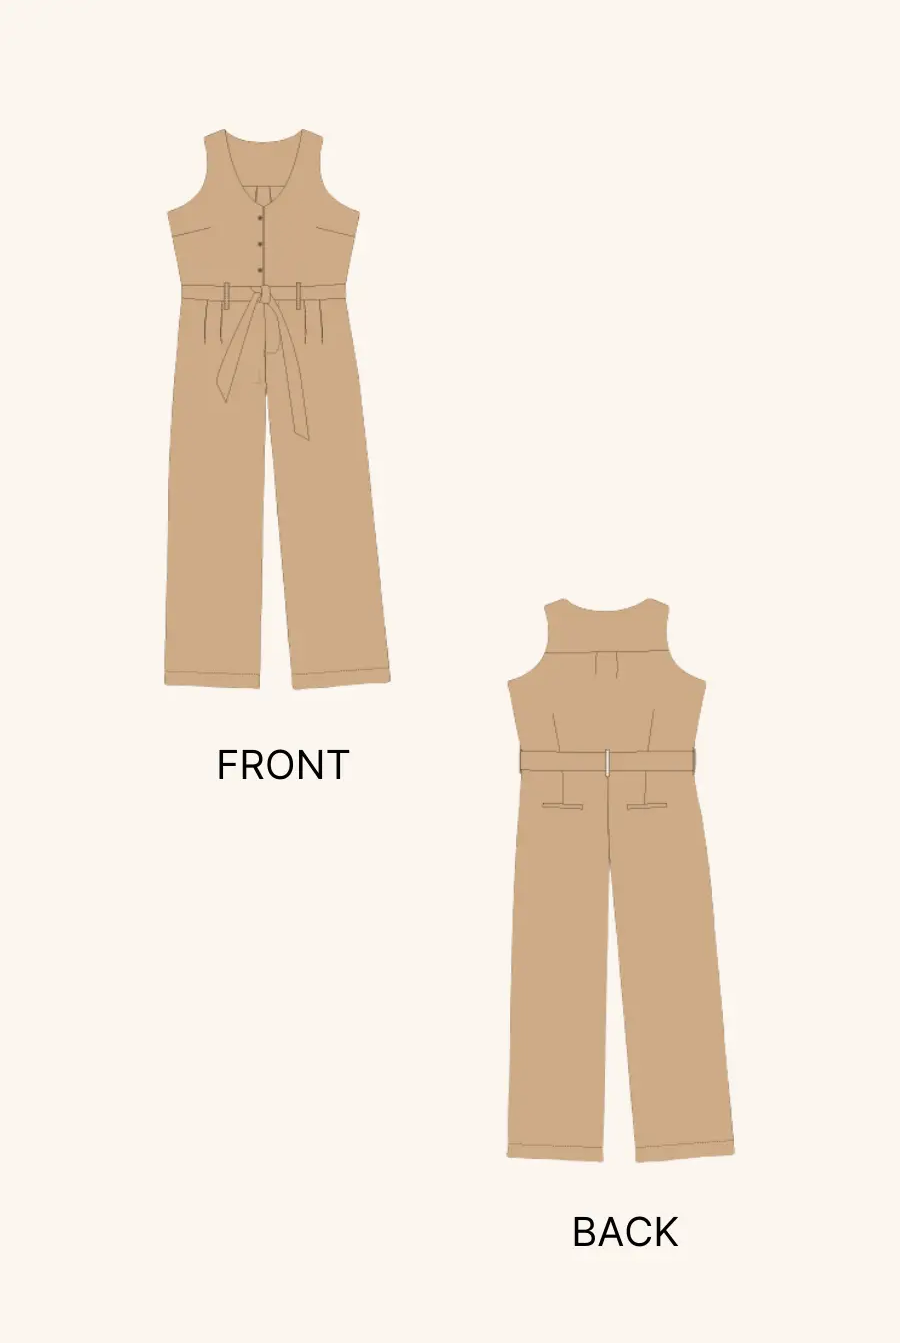
The Maple Cottagecore Maxi Skirt Pattern by Winslet’s includes:
-
Gathered tiers for volume and drama
-
A flat front waistband with elastic back for comfort
-
Side-seam pockets (yes, even with frills!)
-
A button-down front placket
-
Optional waist tie belt and loops
-
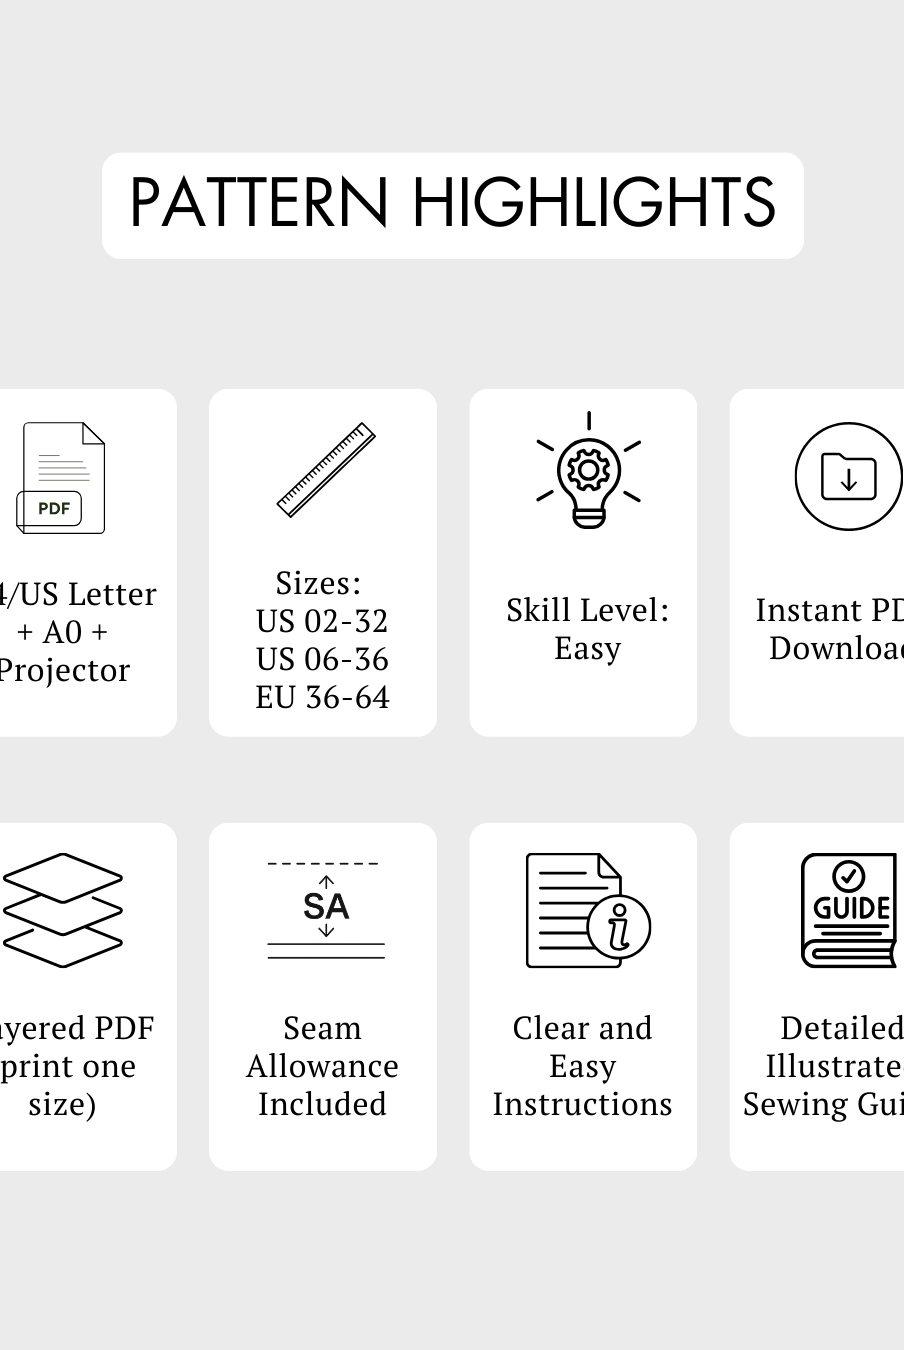
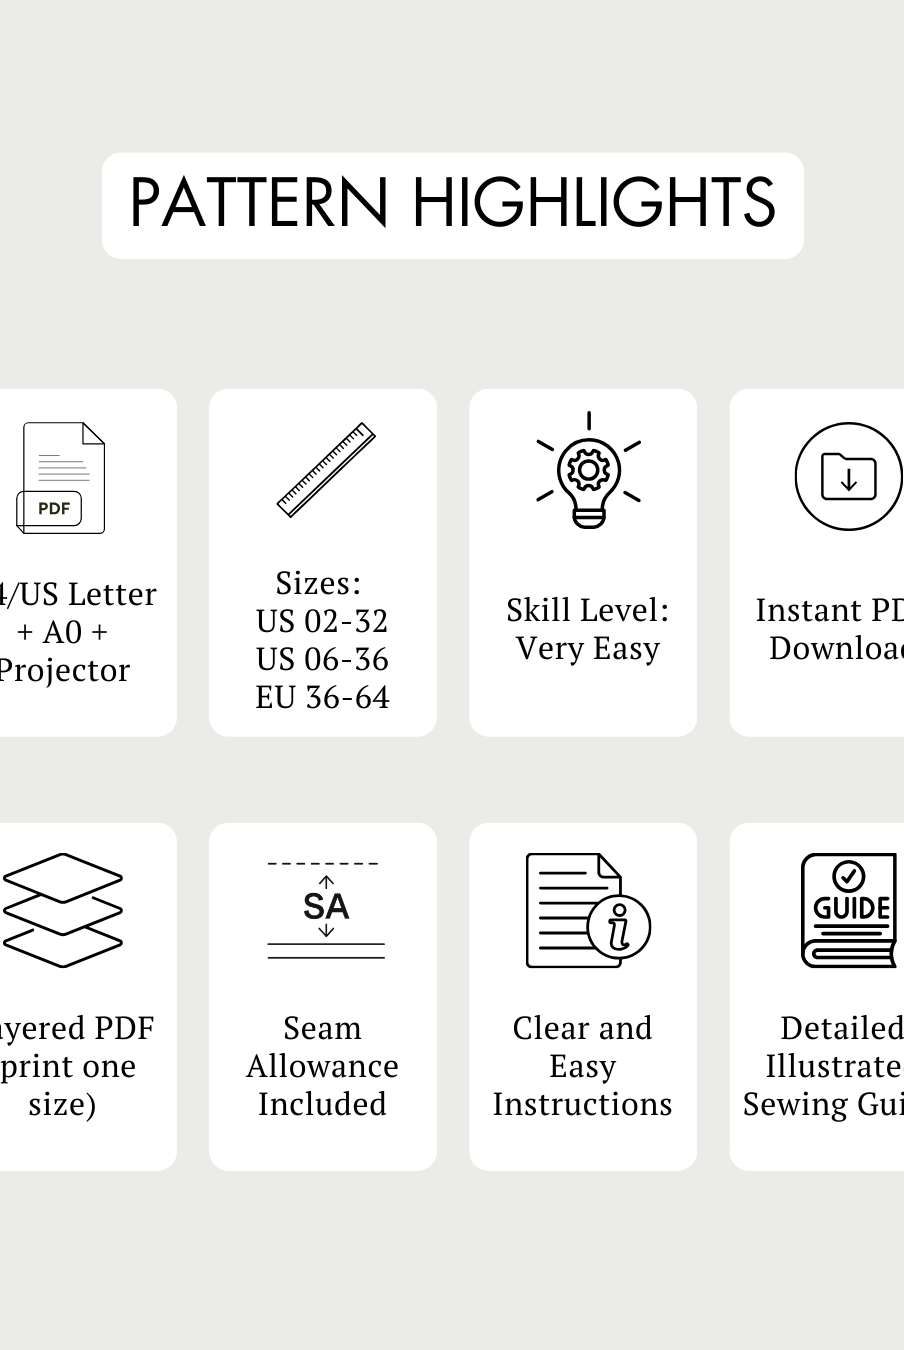
Sizes US02-US32 with printable formats: A0, A4, US Letter and Projector
Step 3: Size Charts
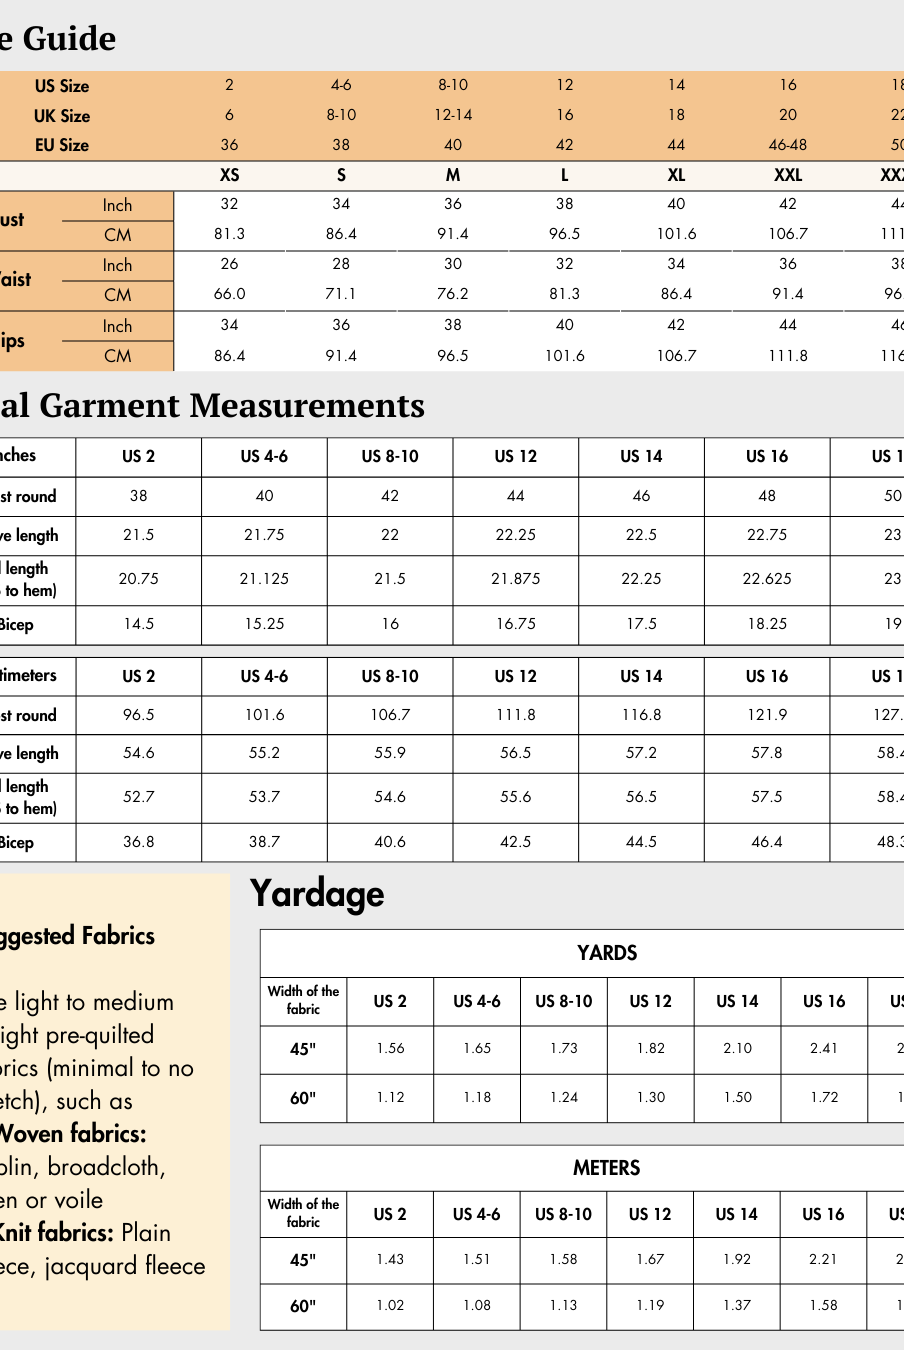
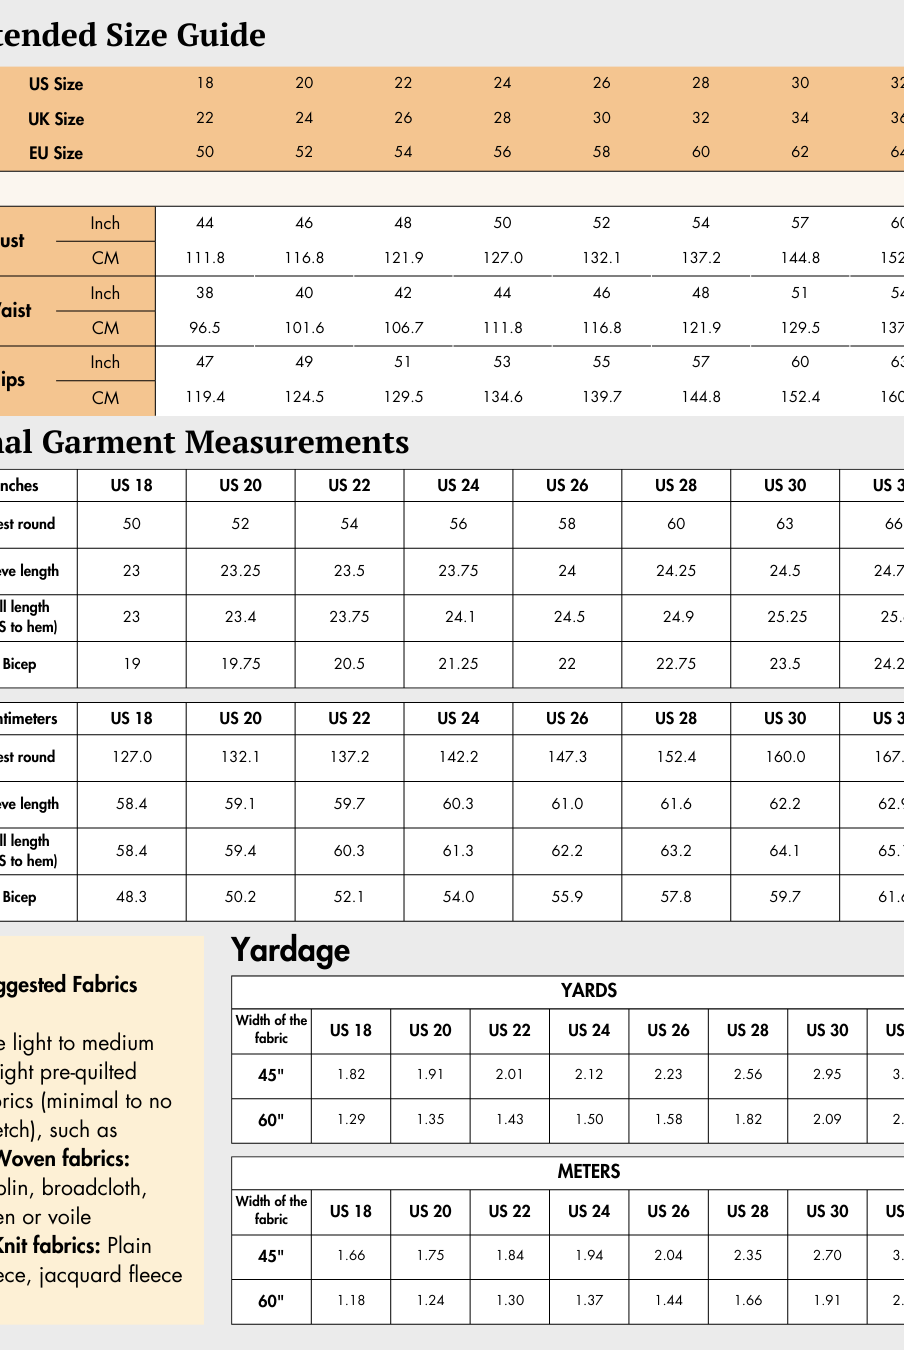
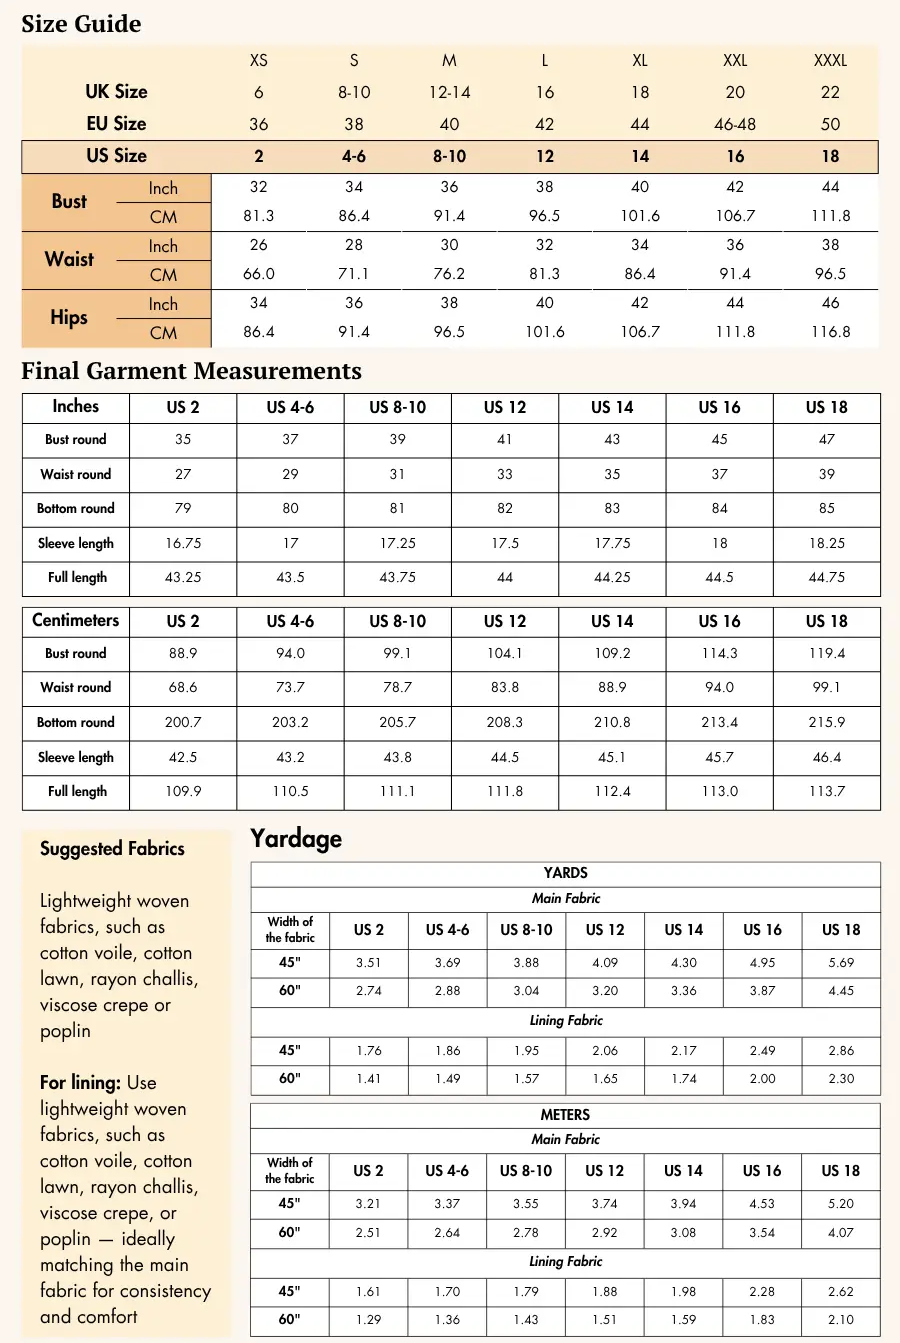
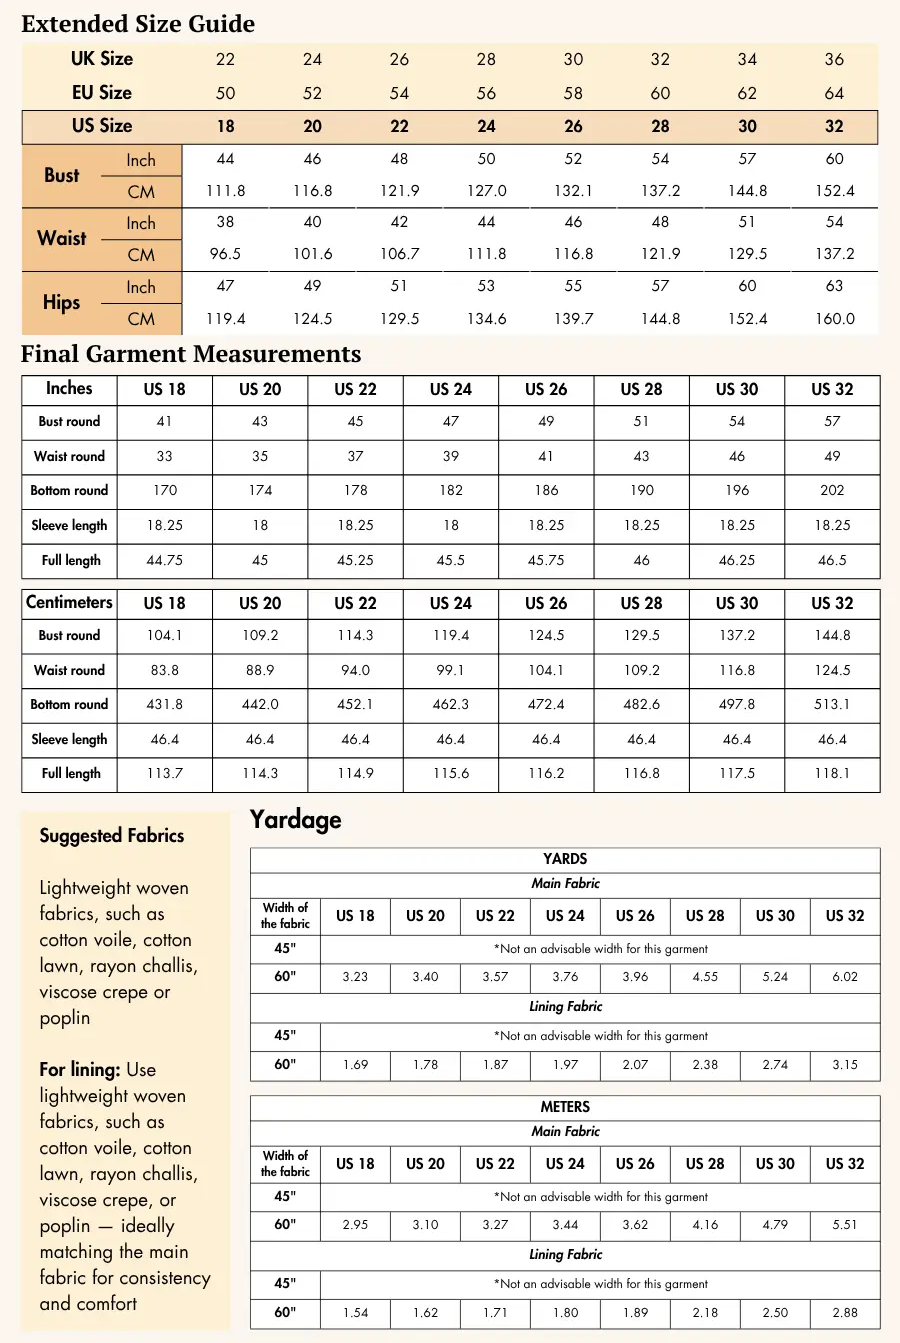
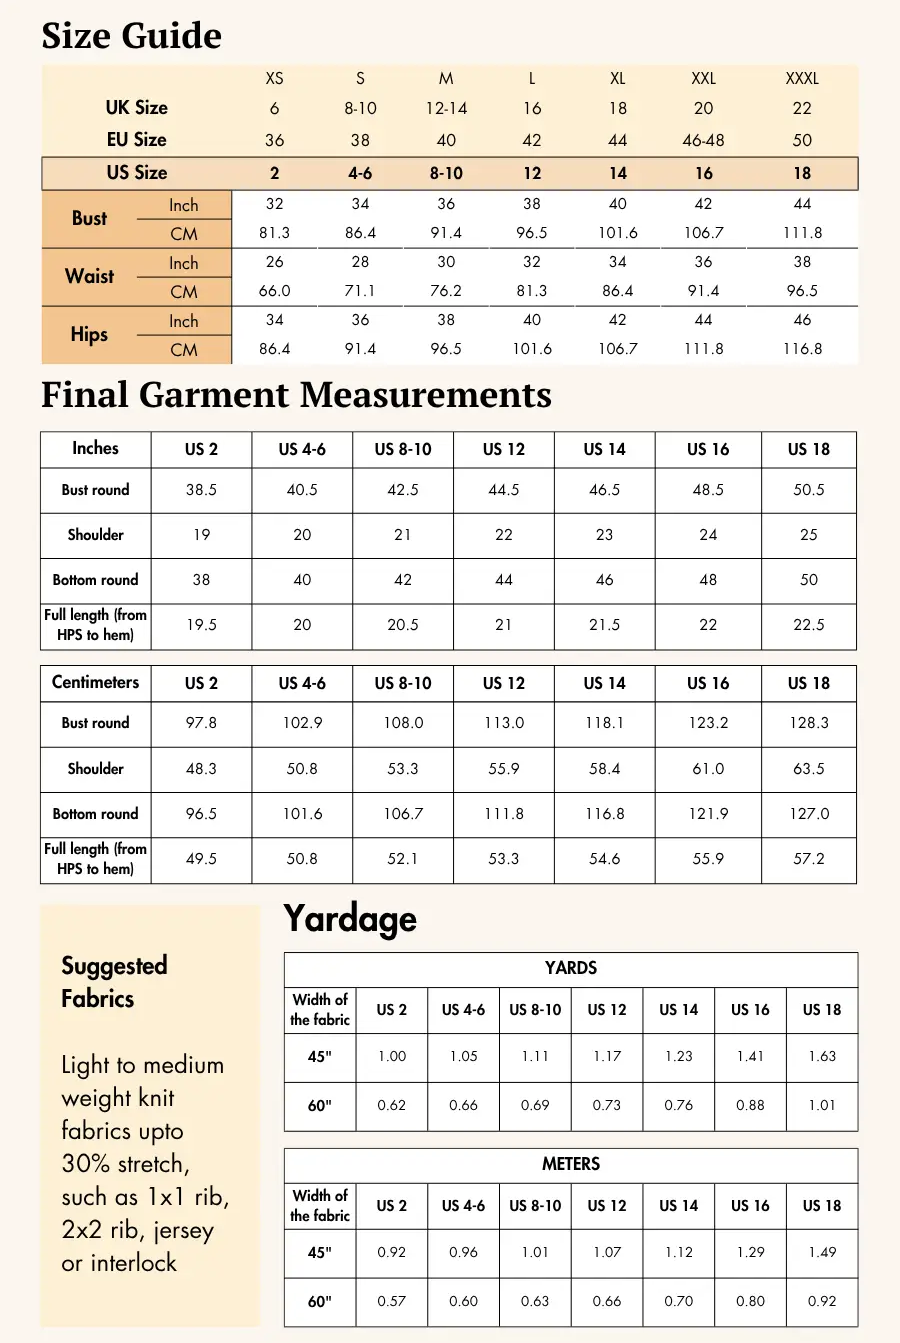
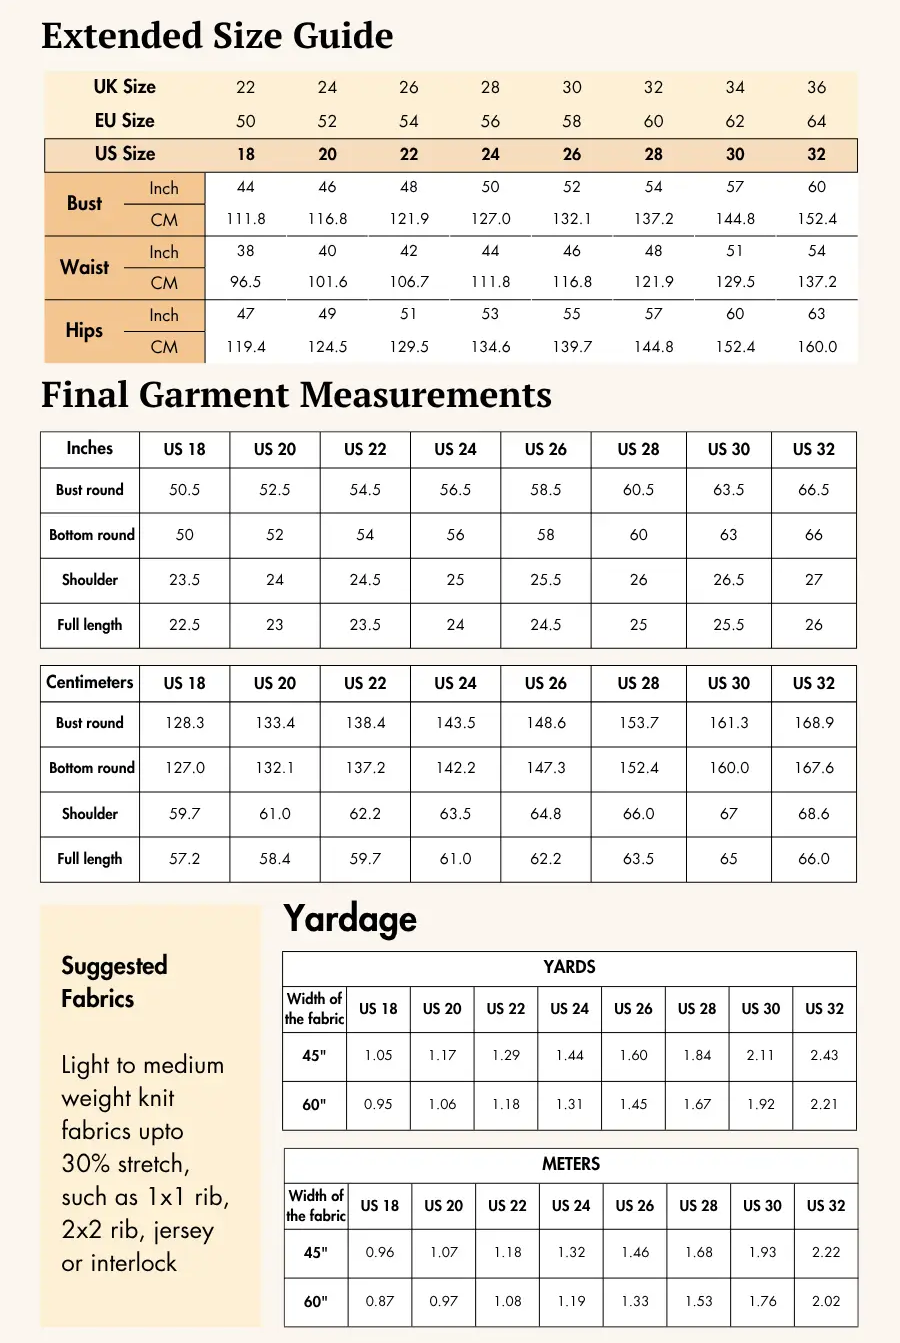
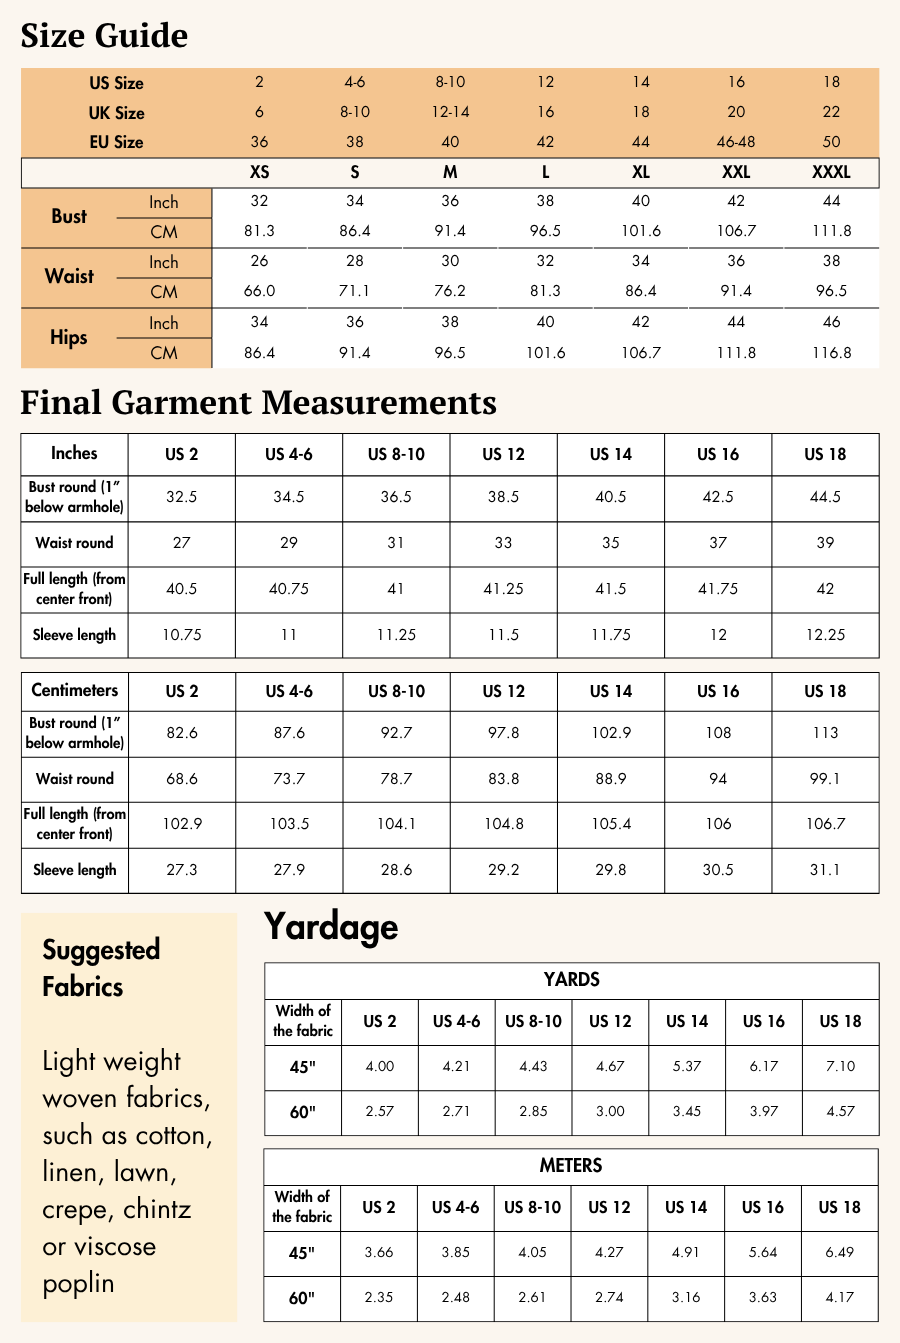
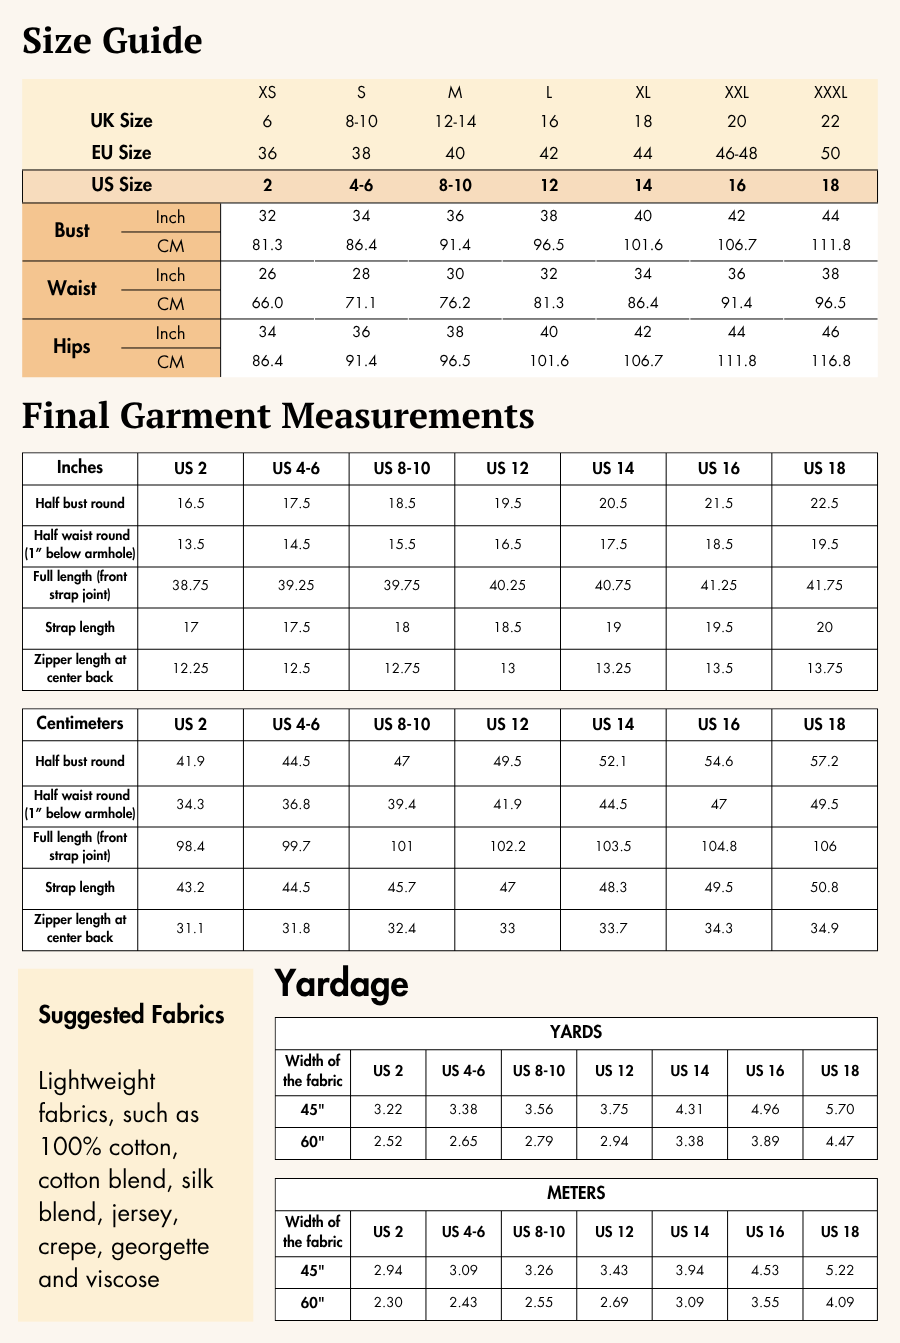
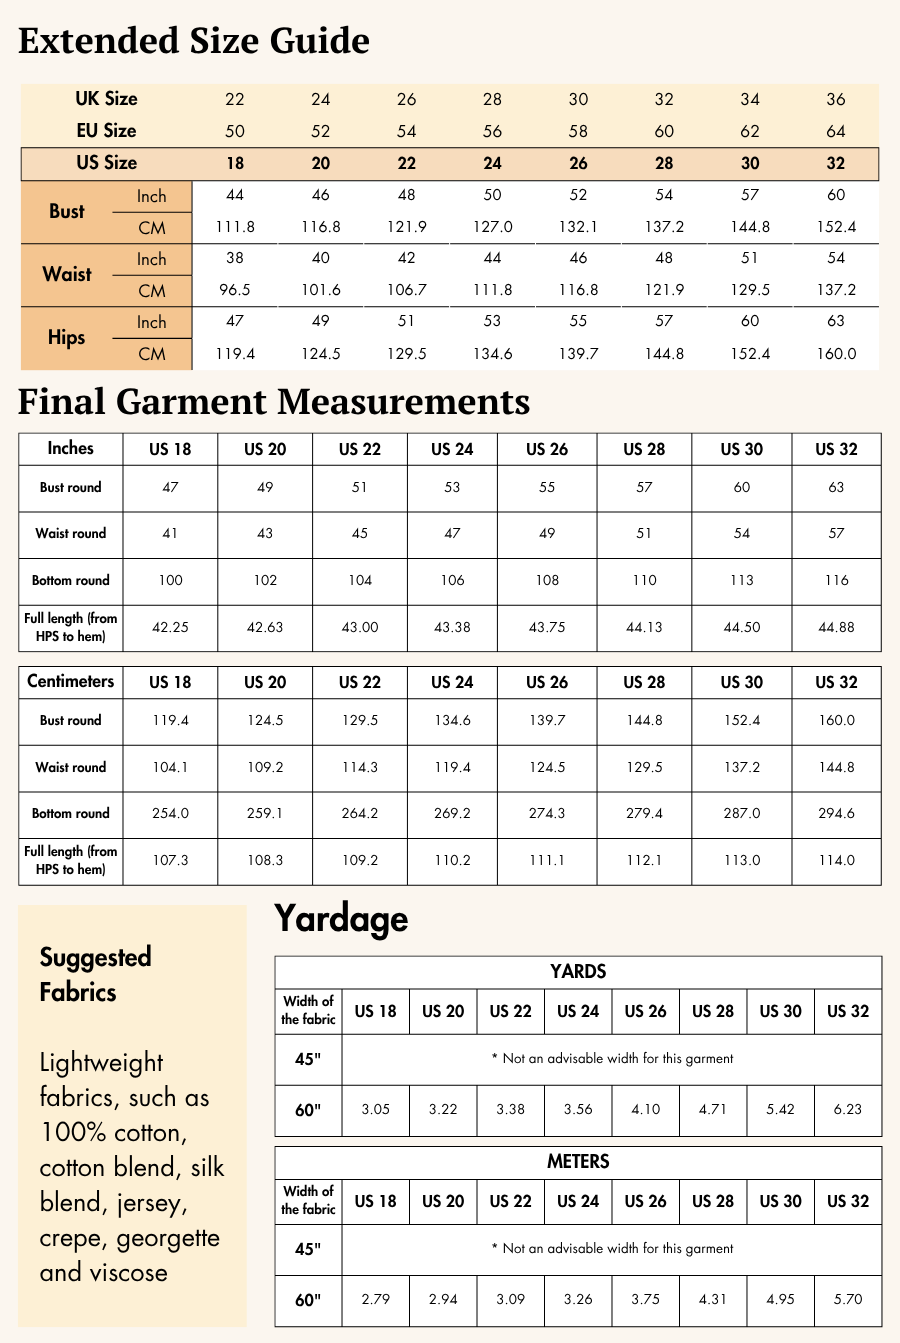
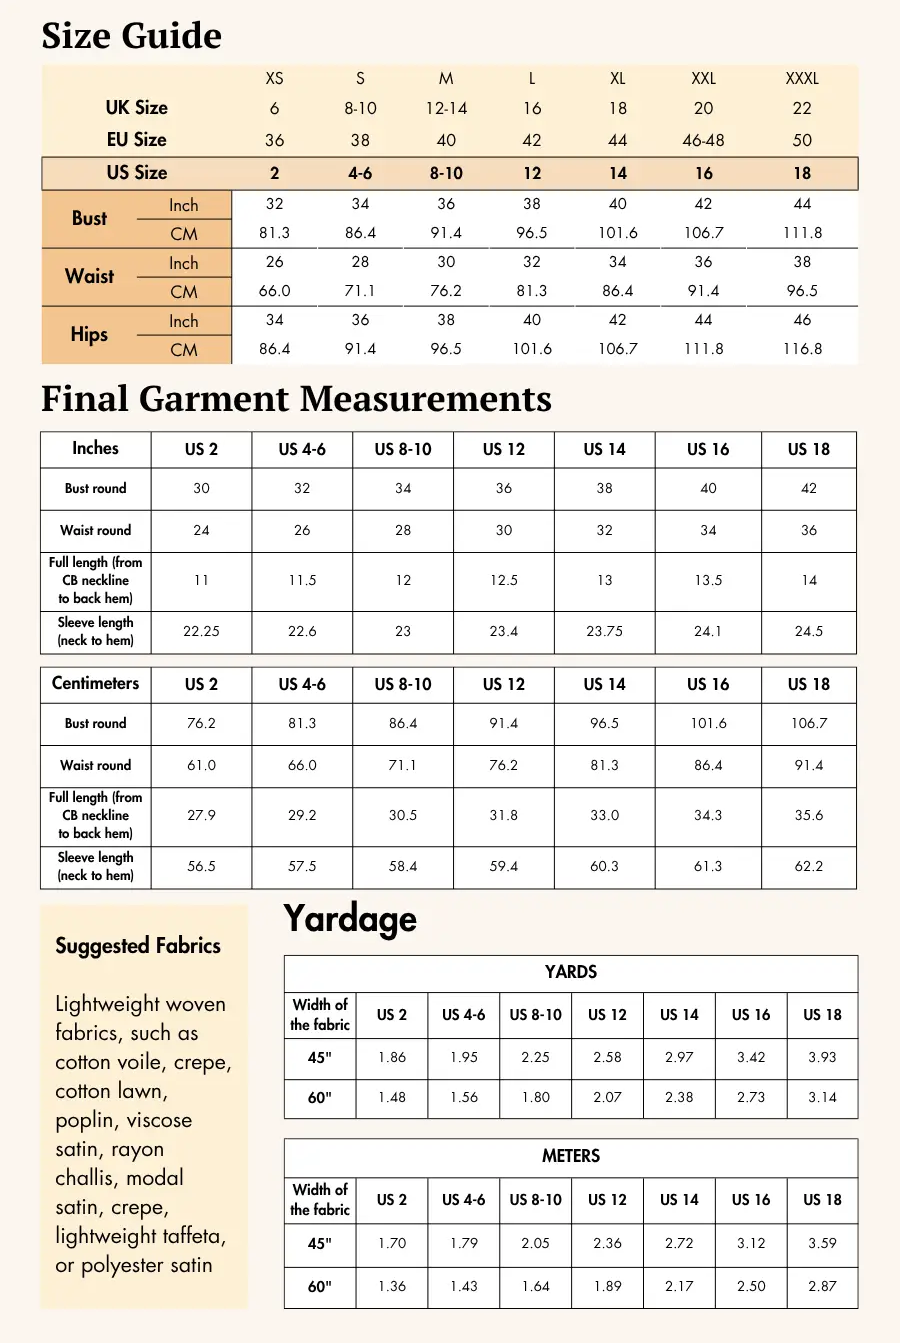
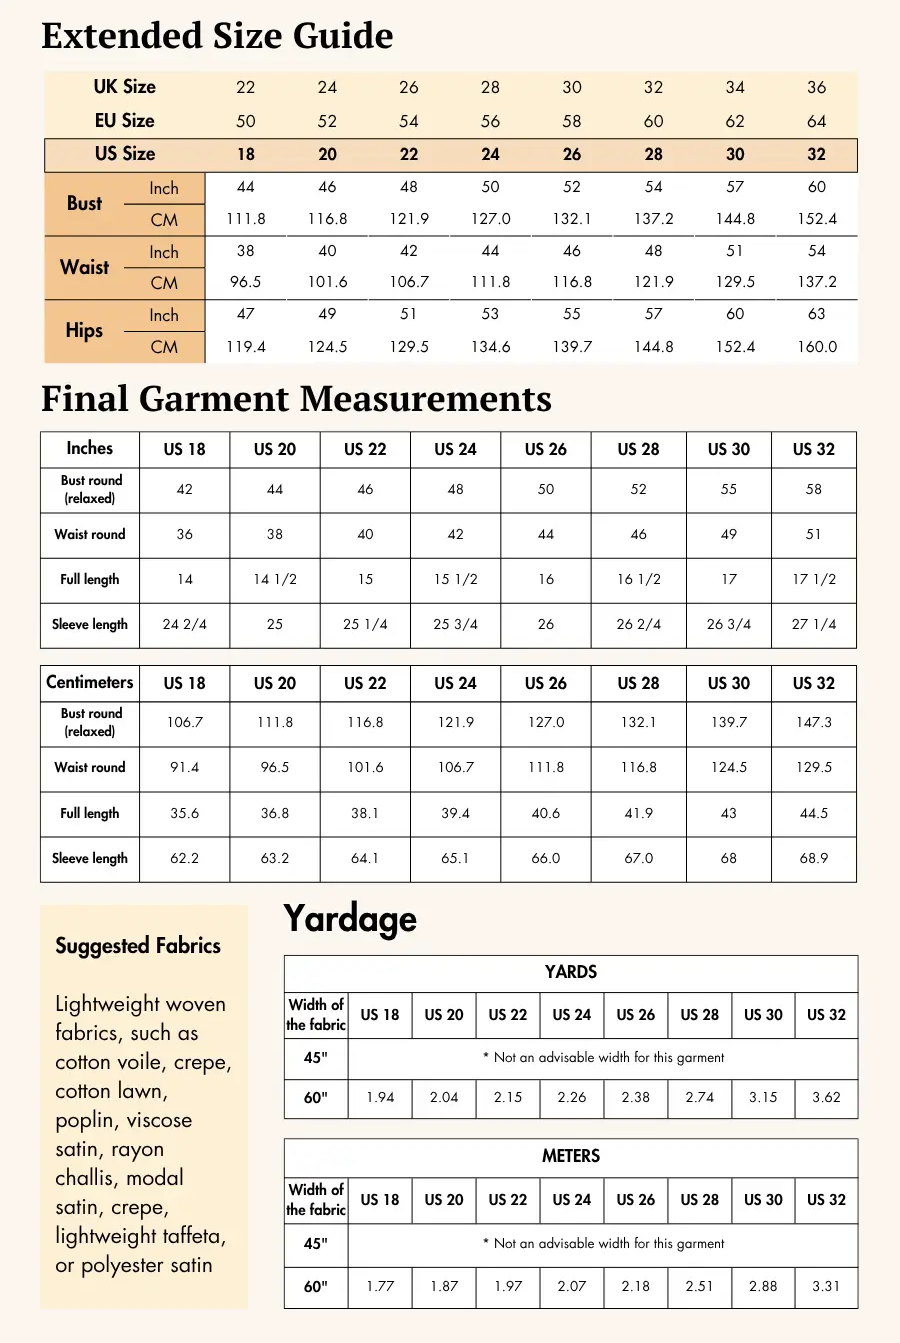
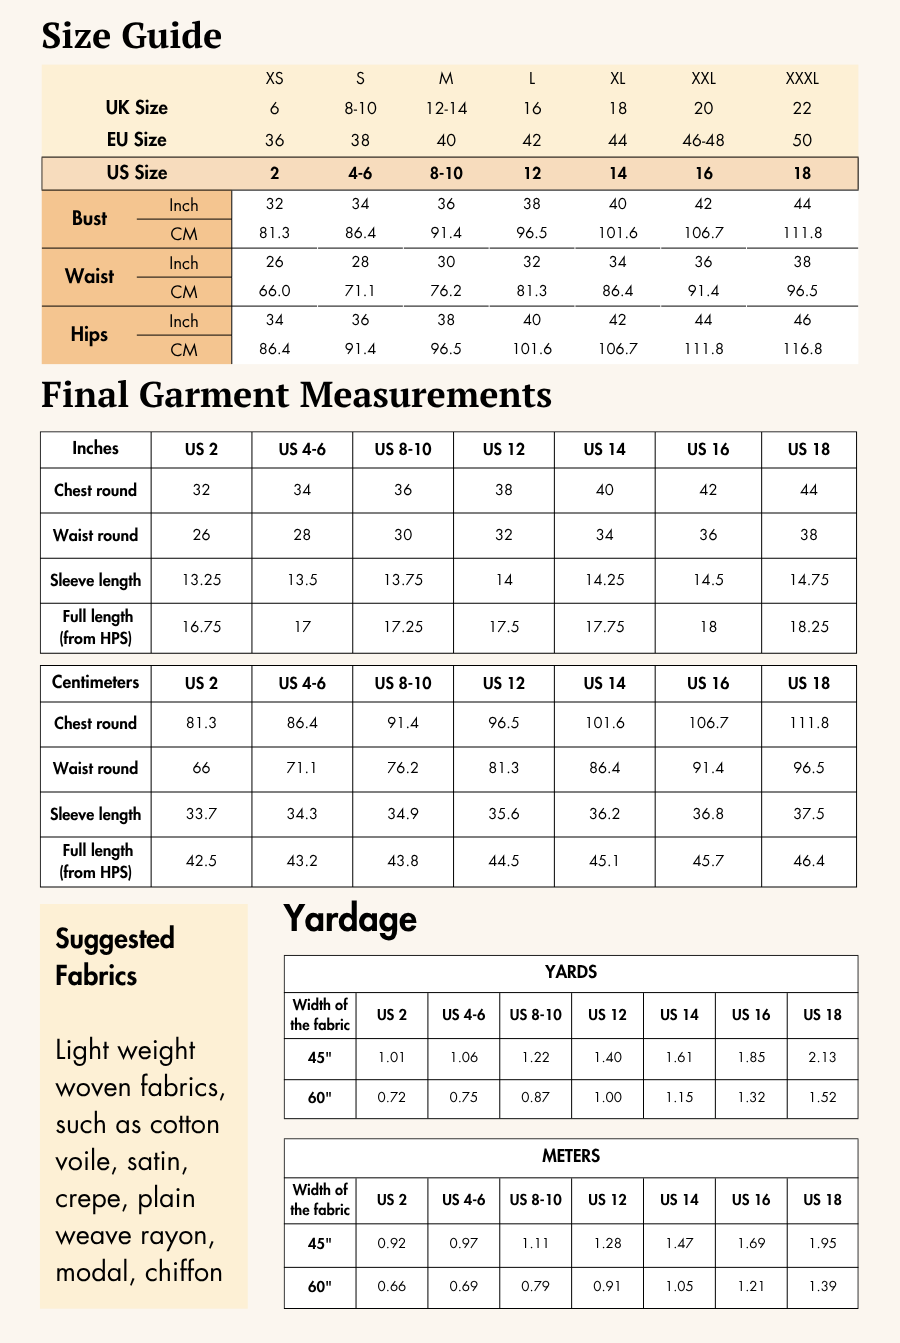
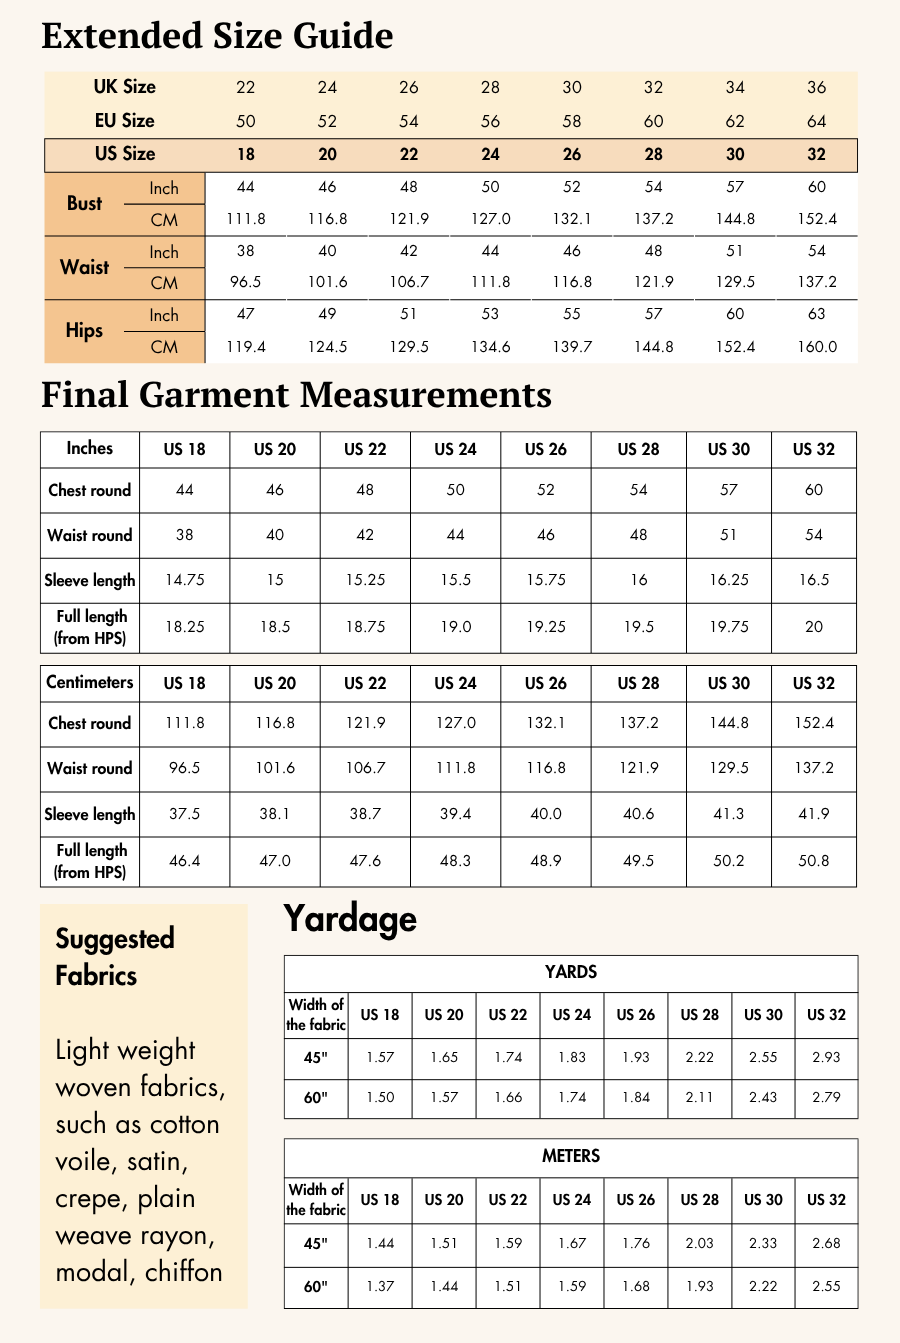
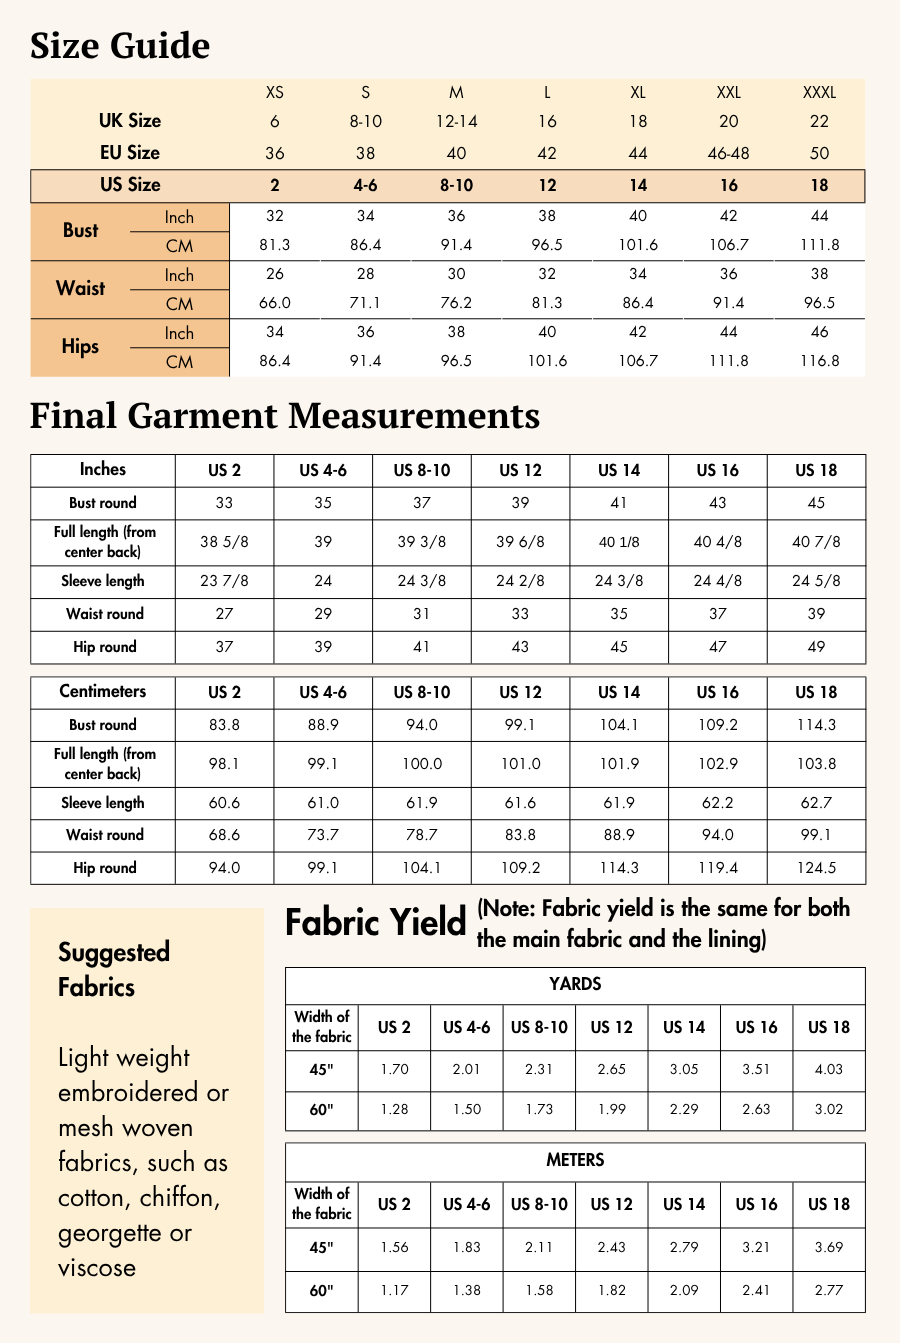
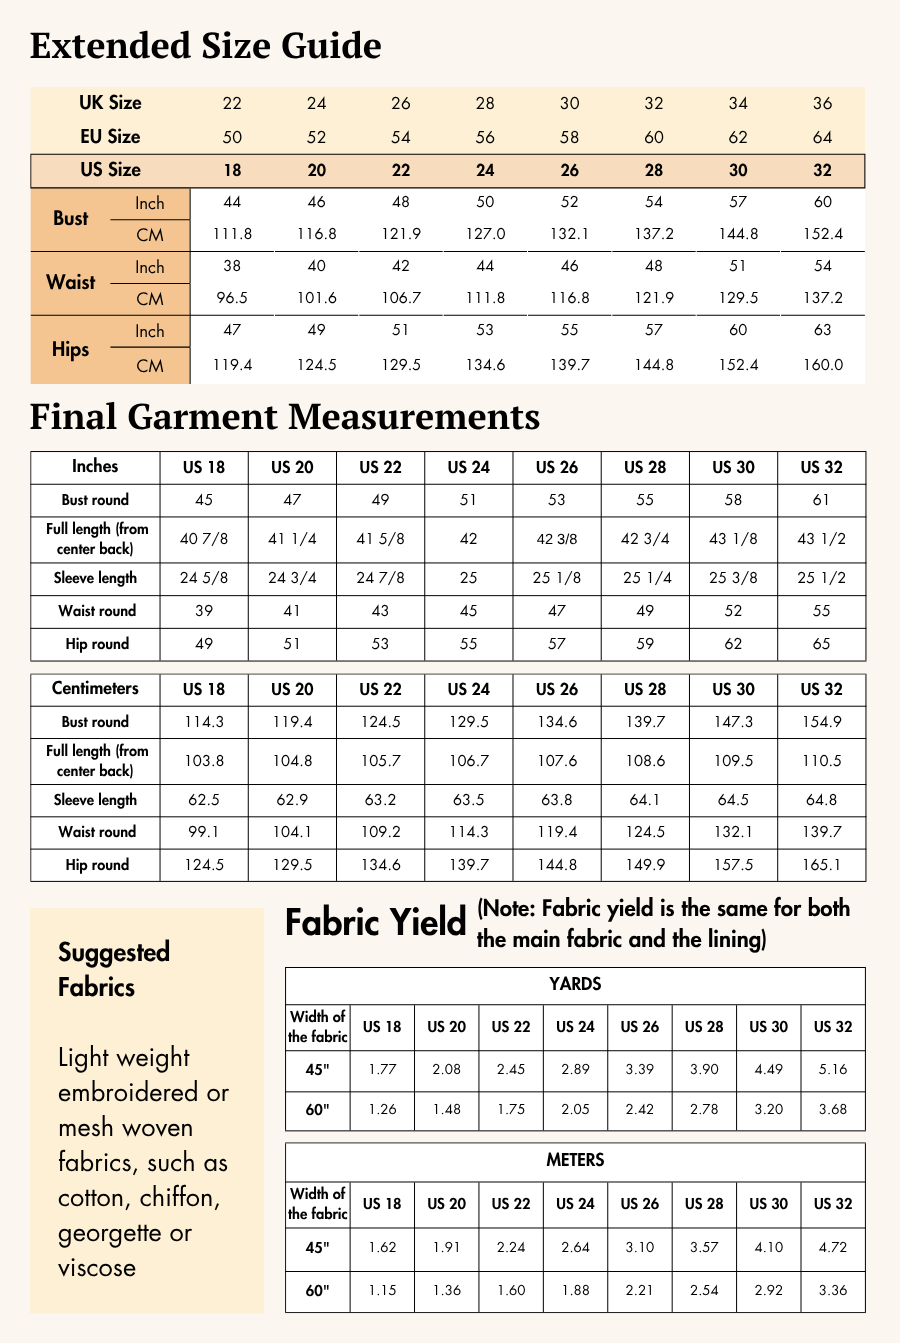
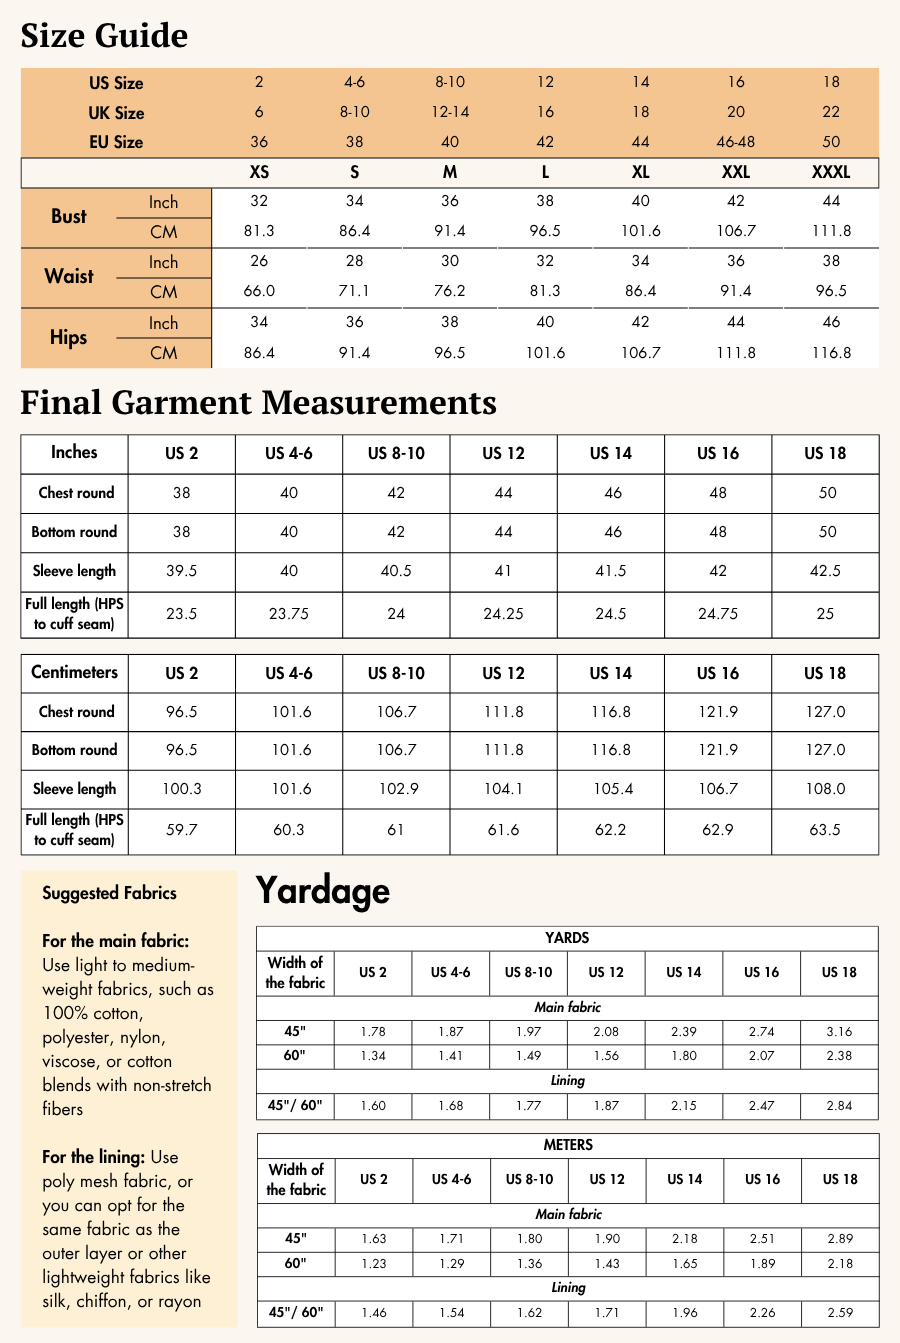
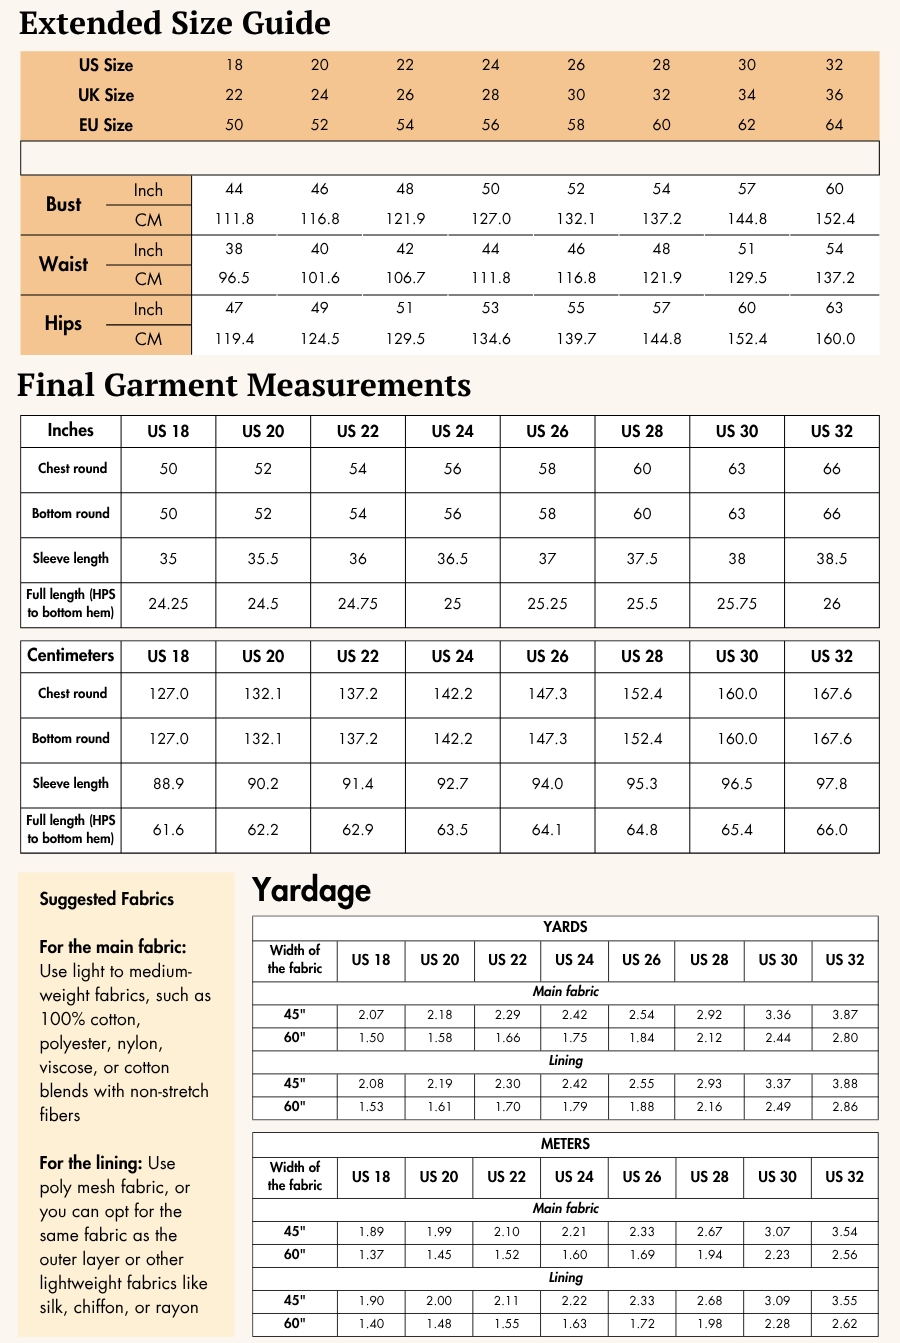
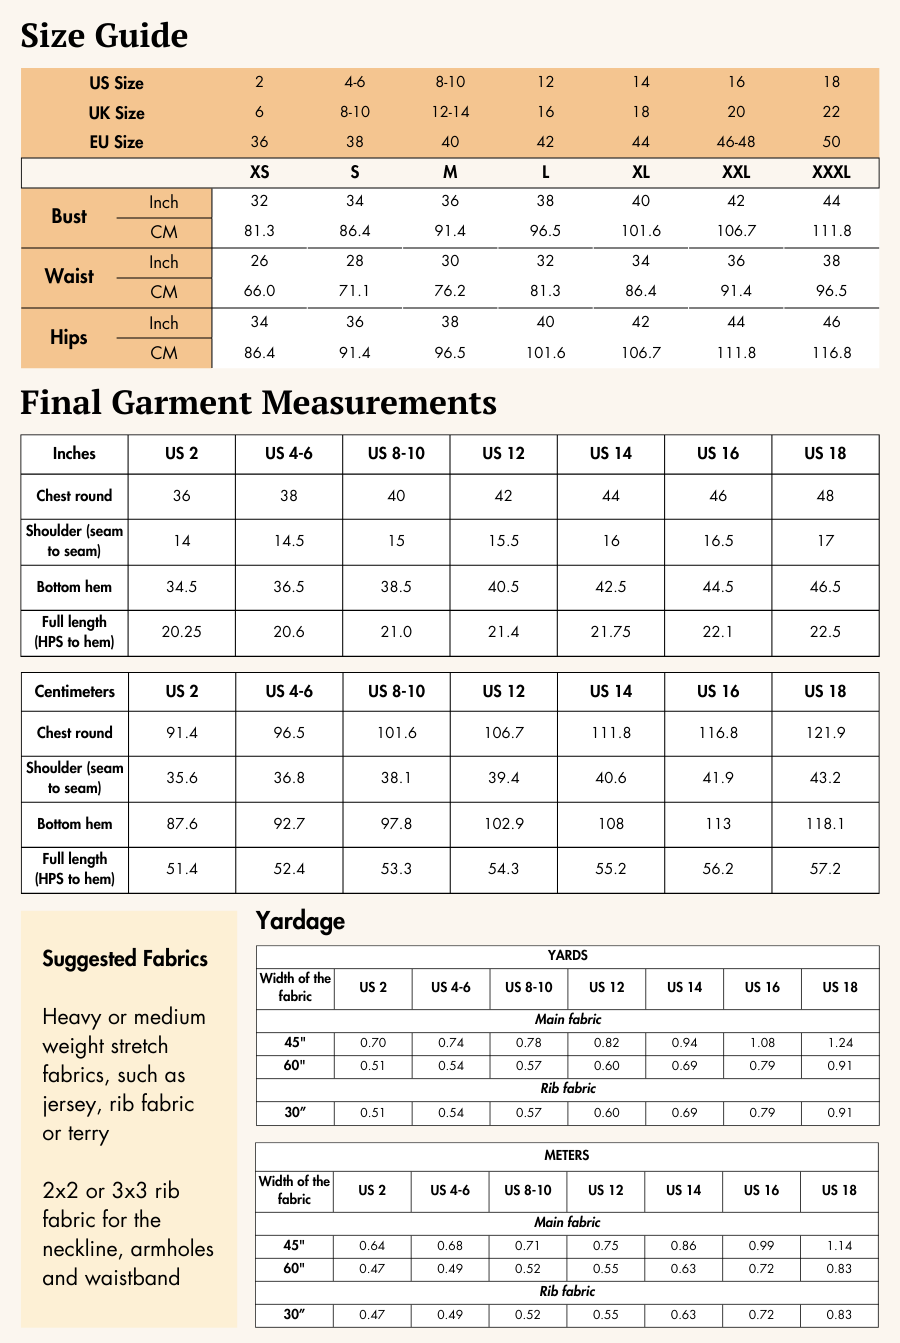
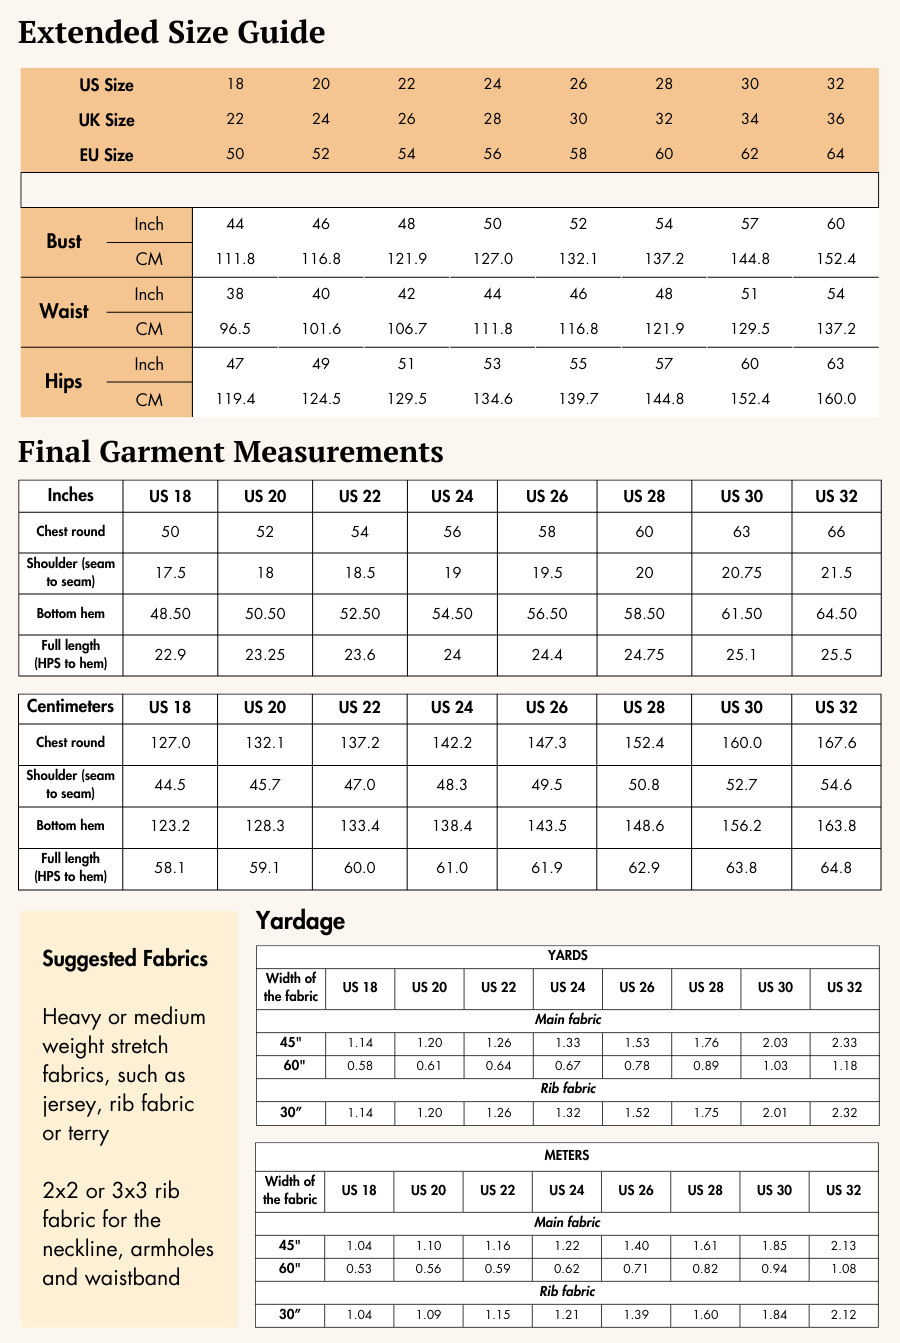
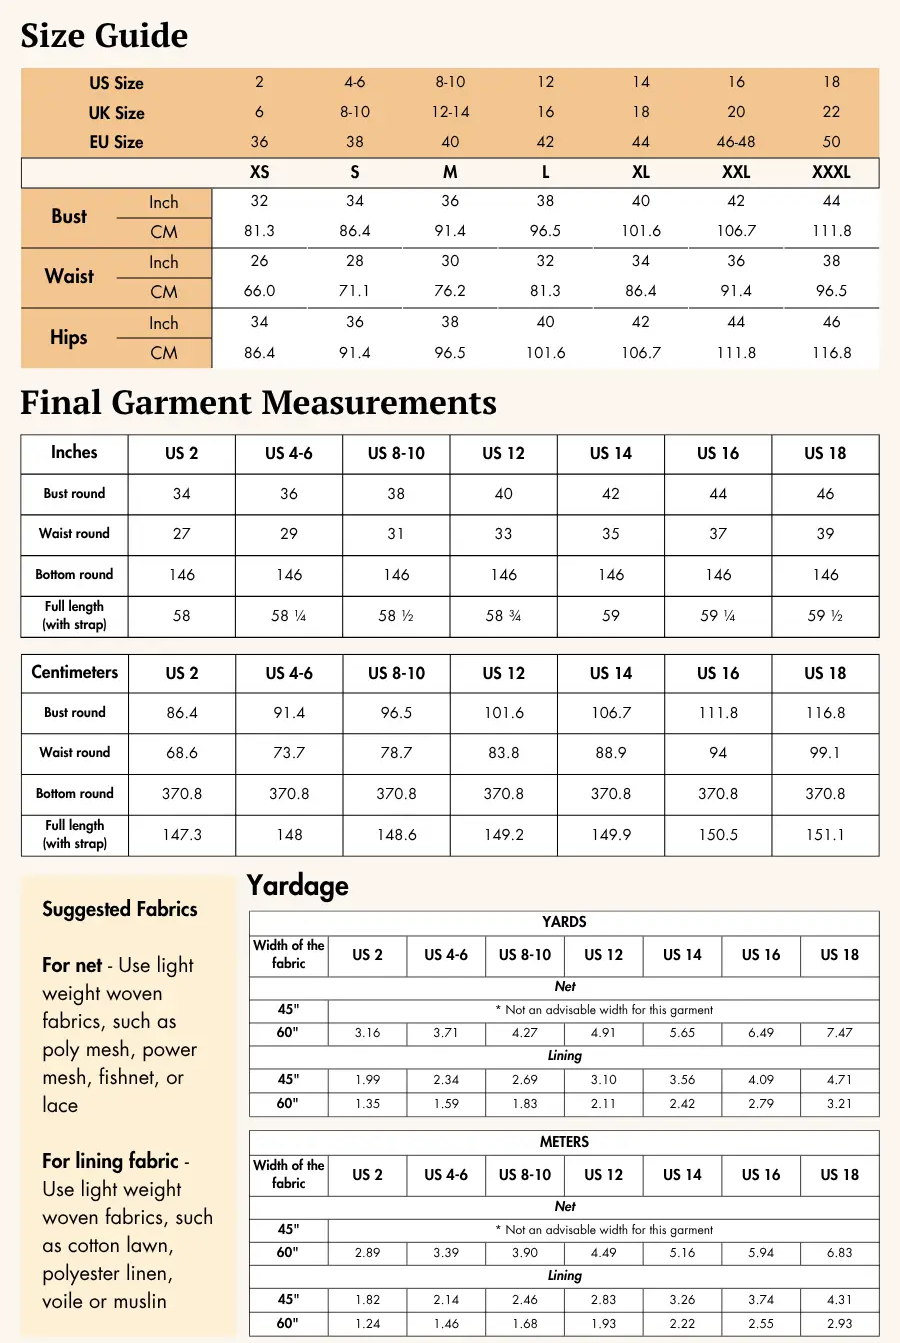
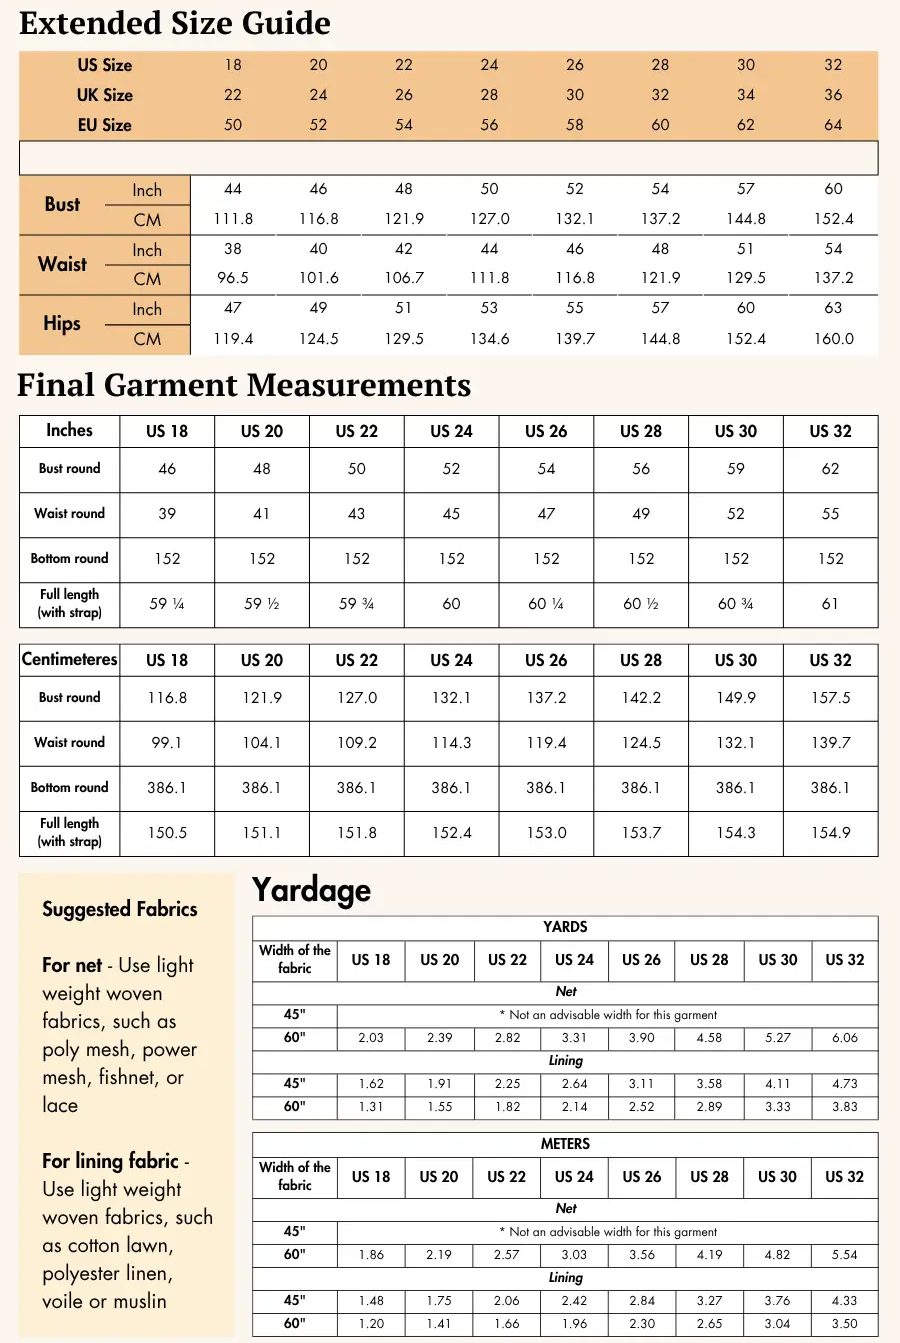
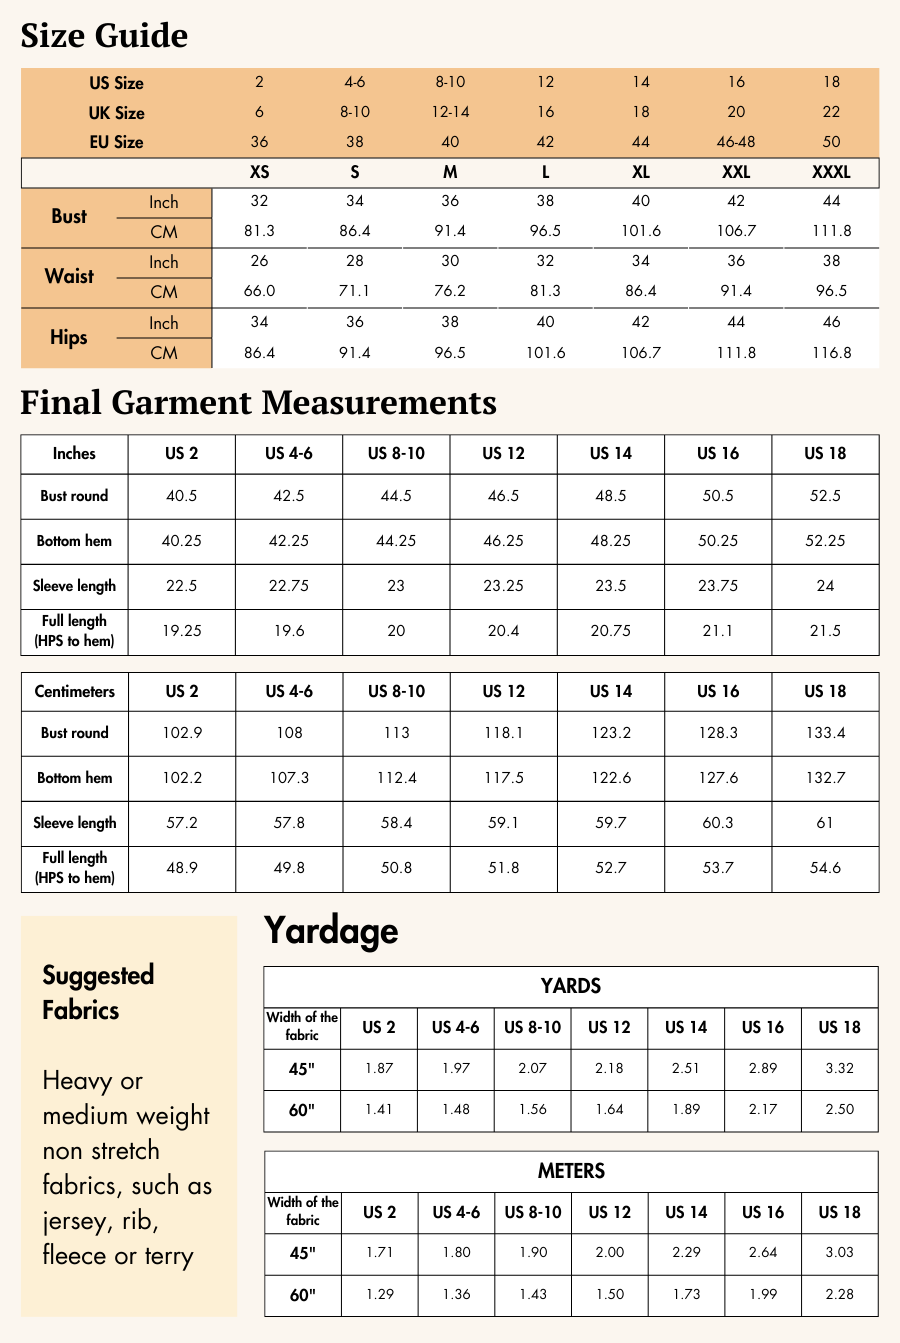
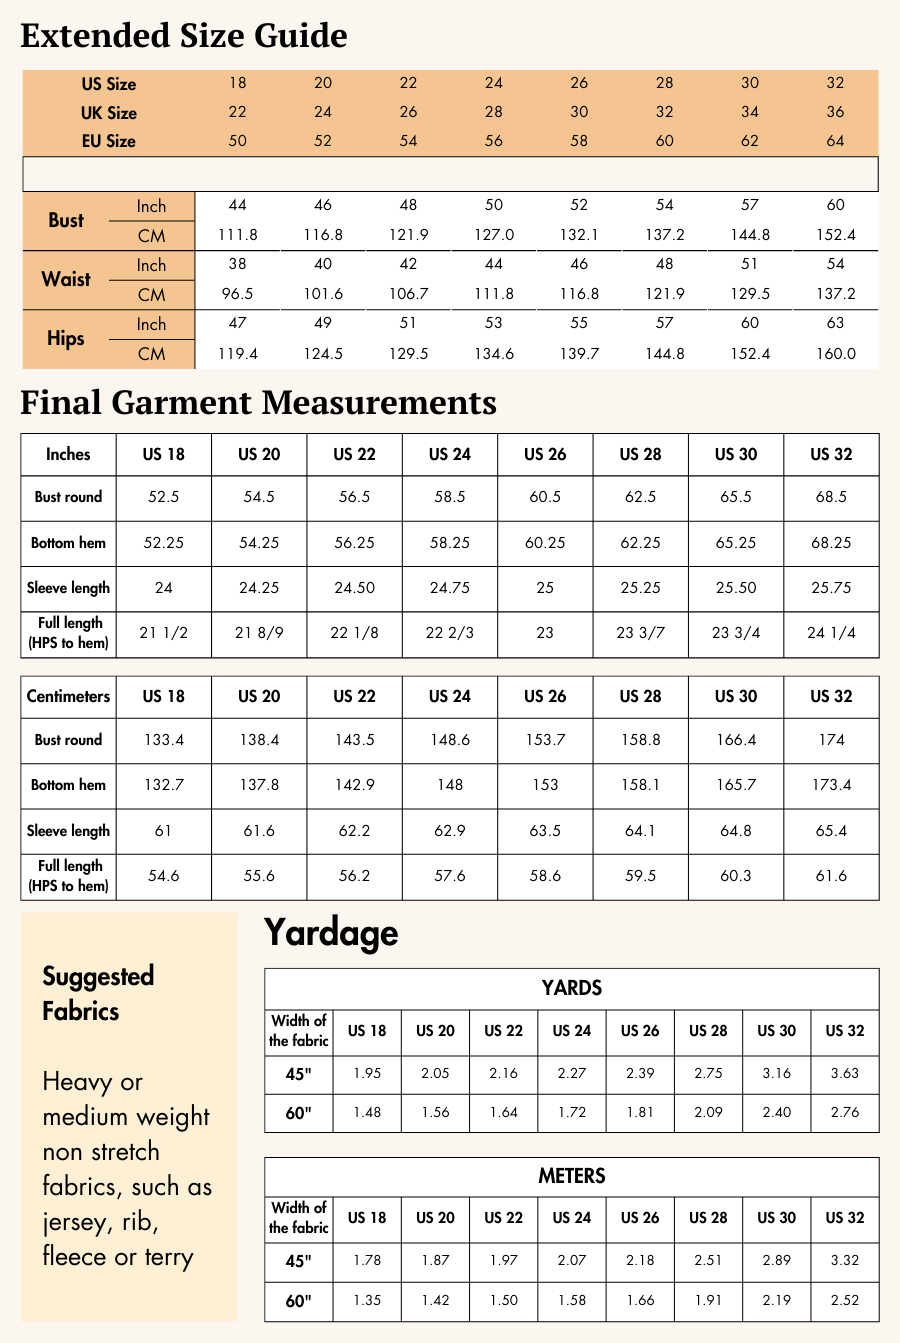
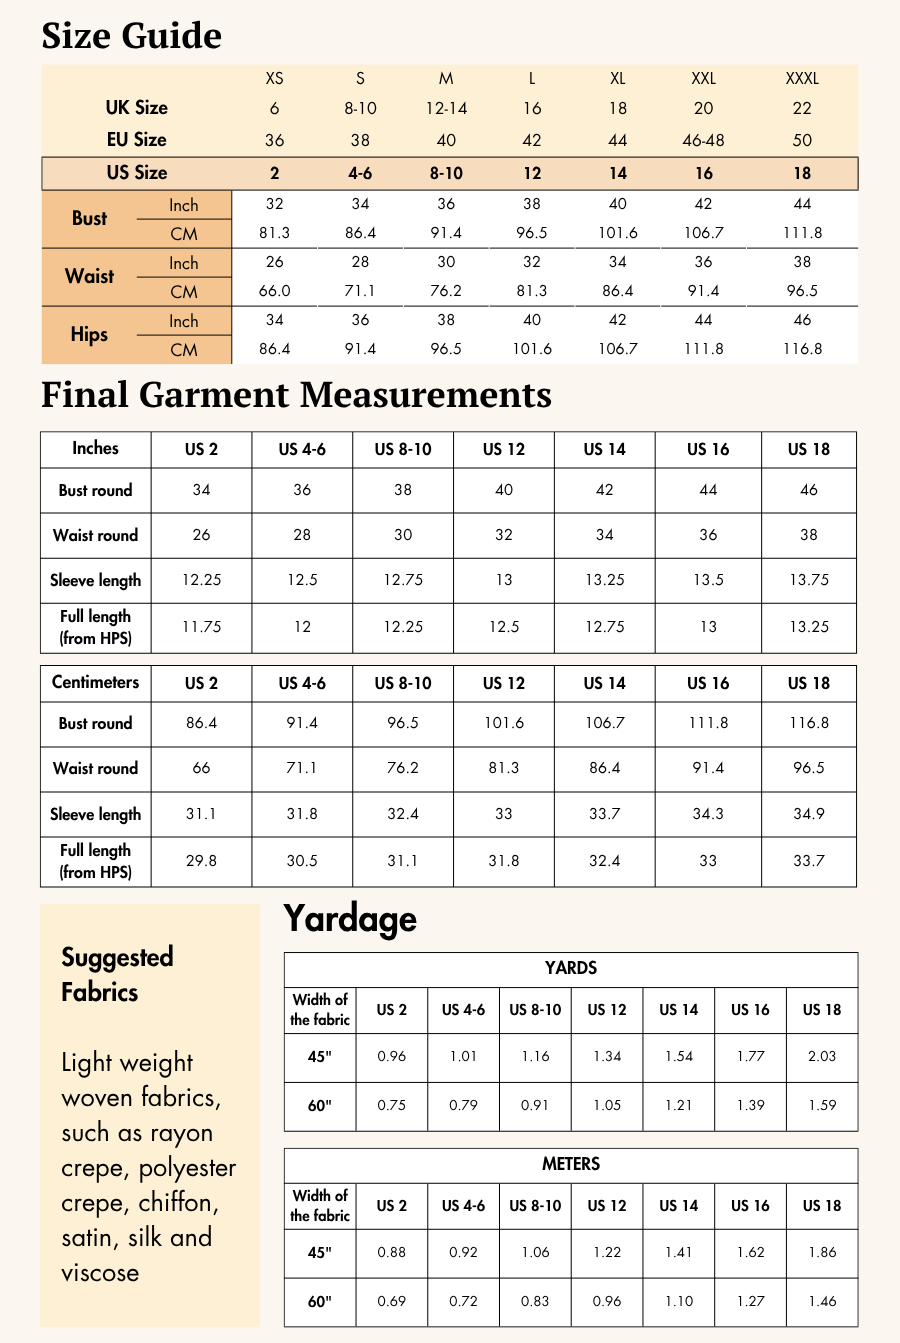
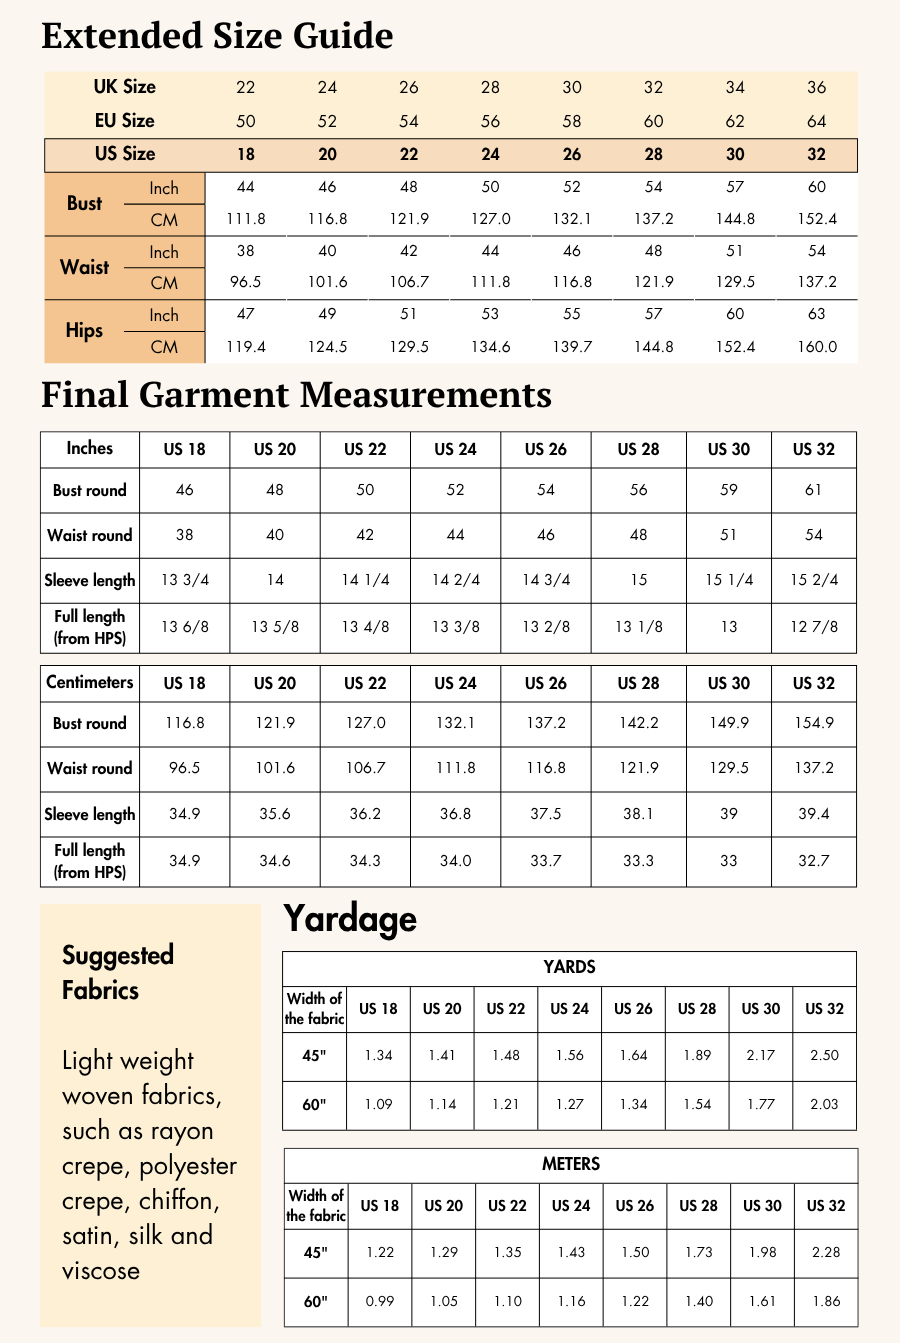
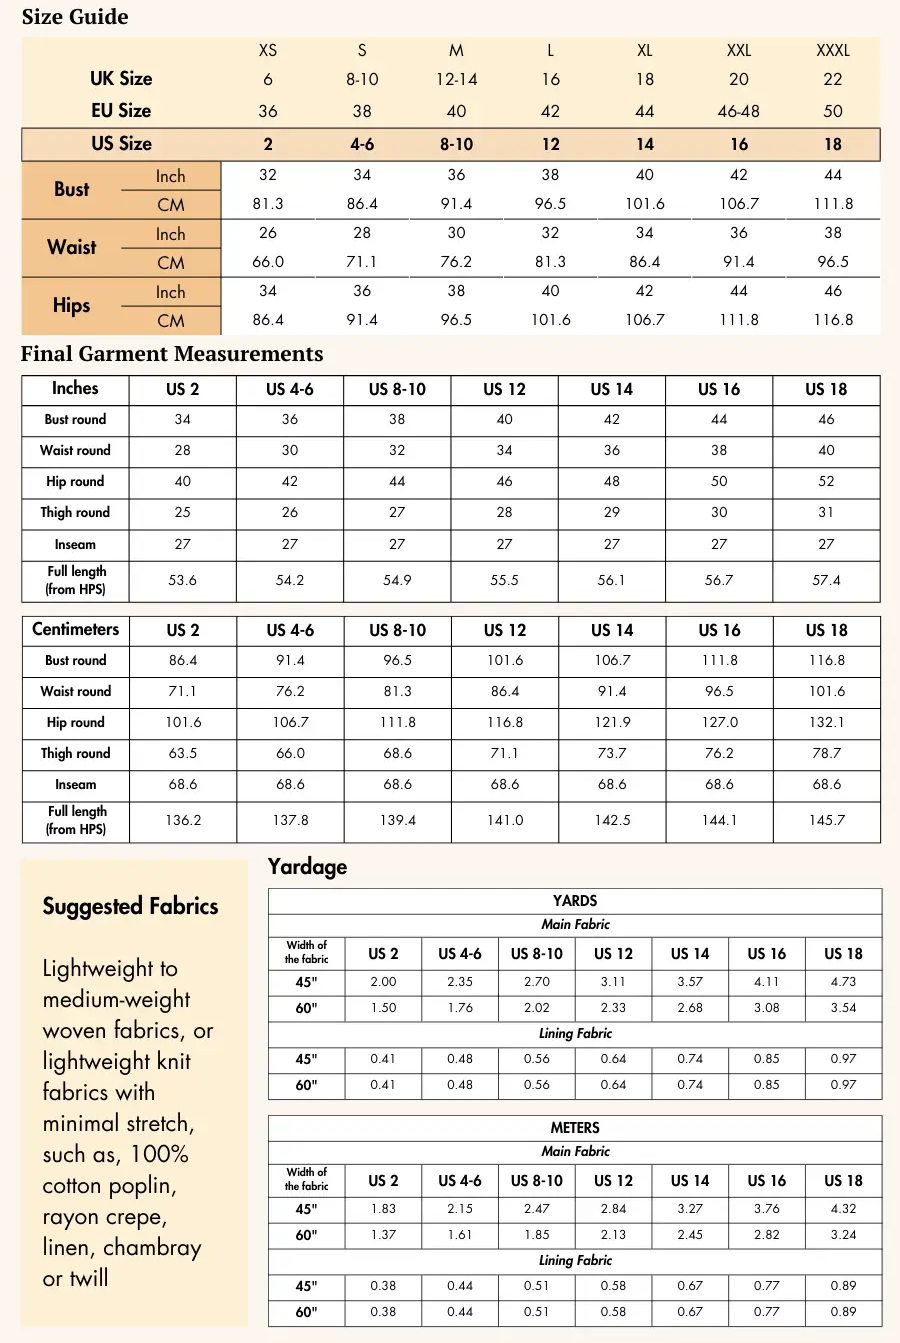
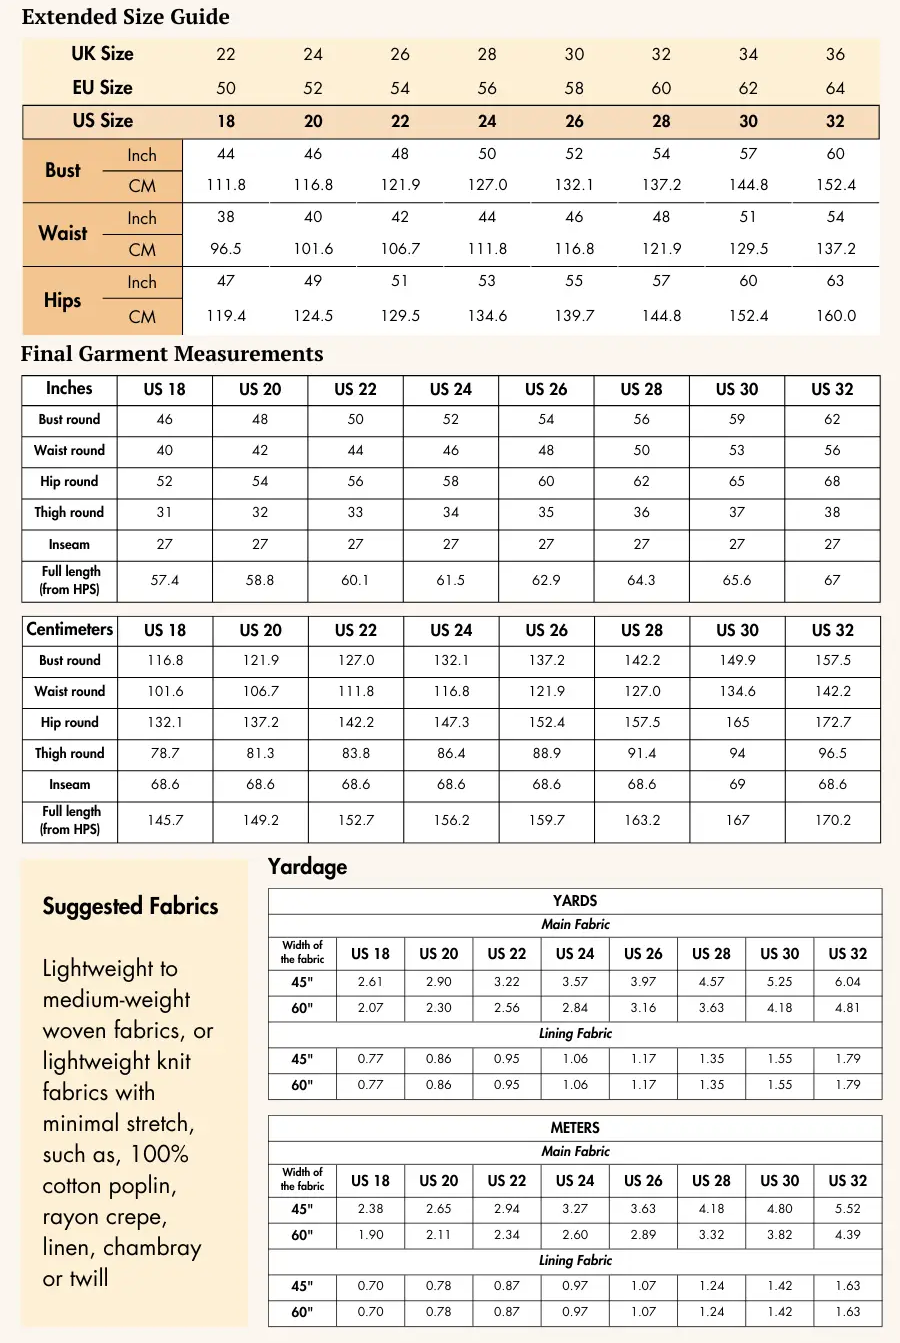
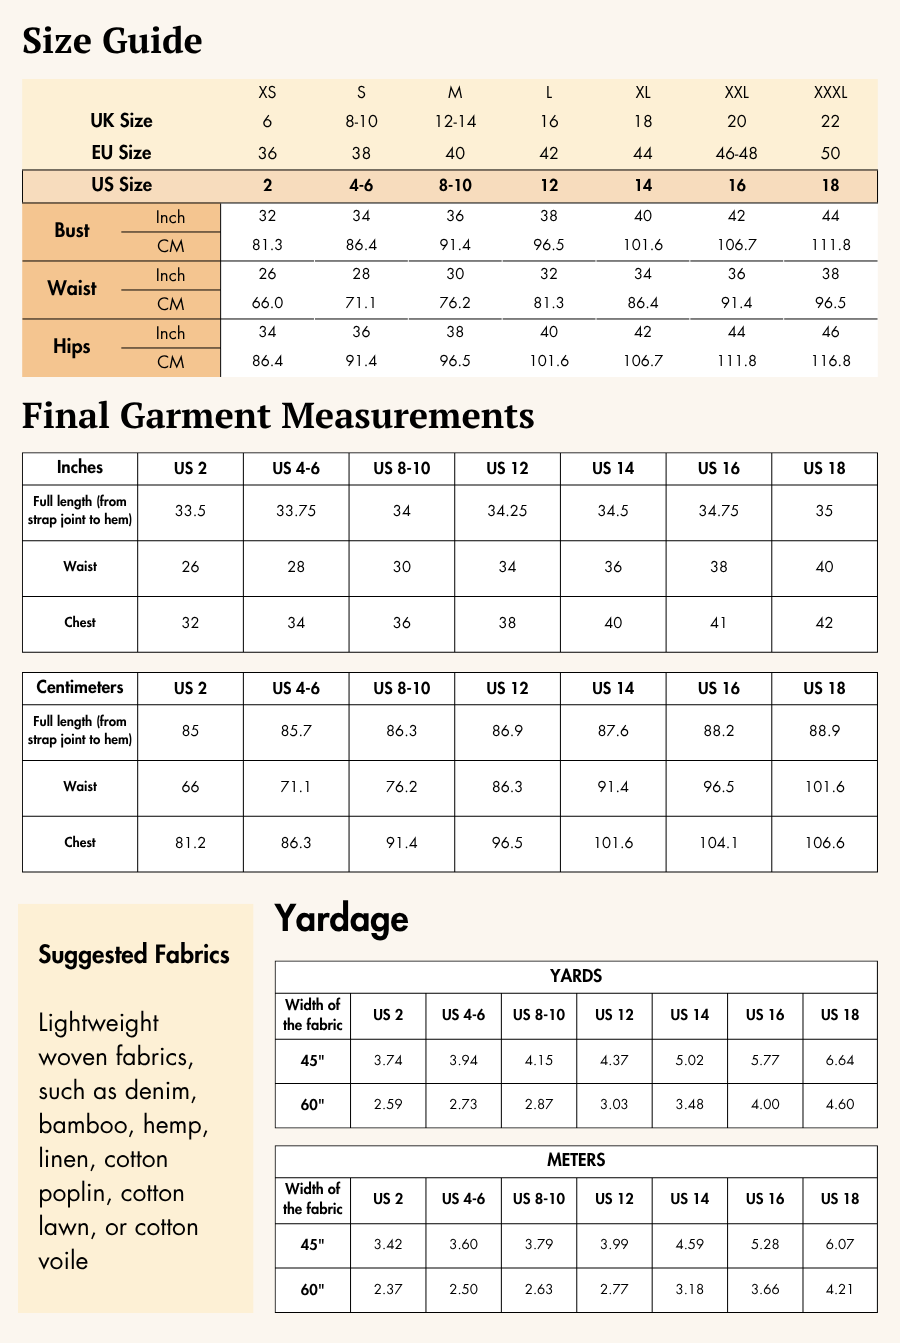
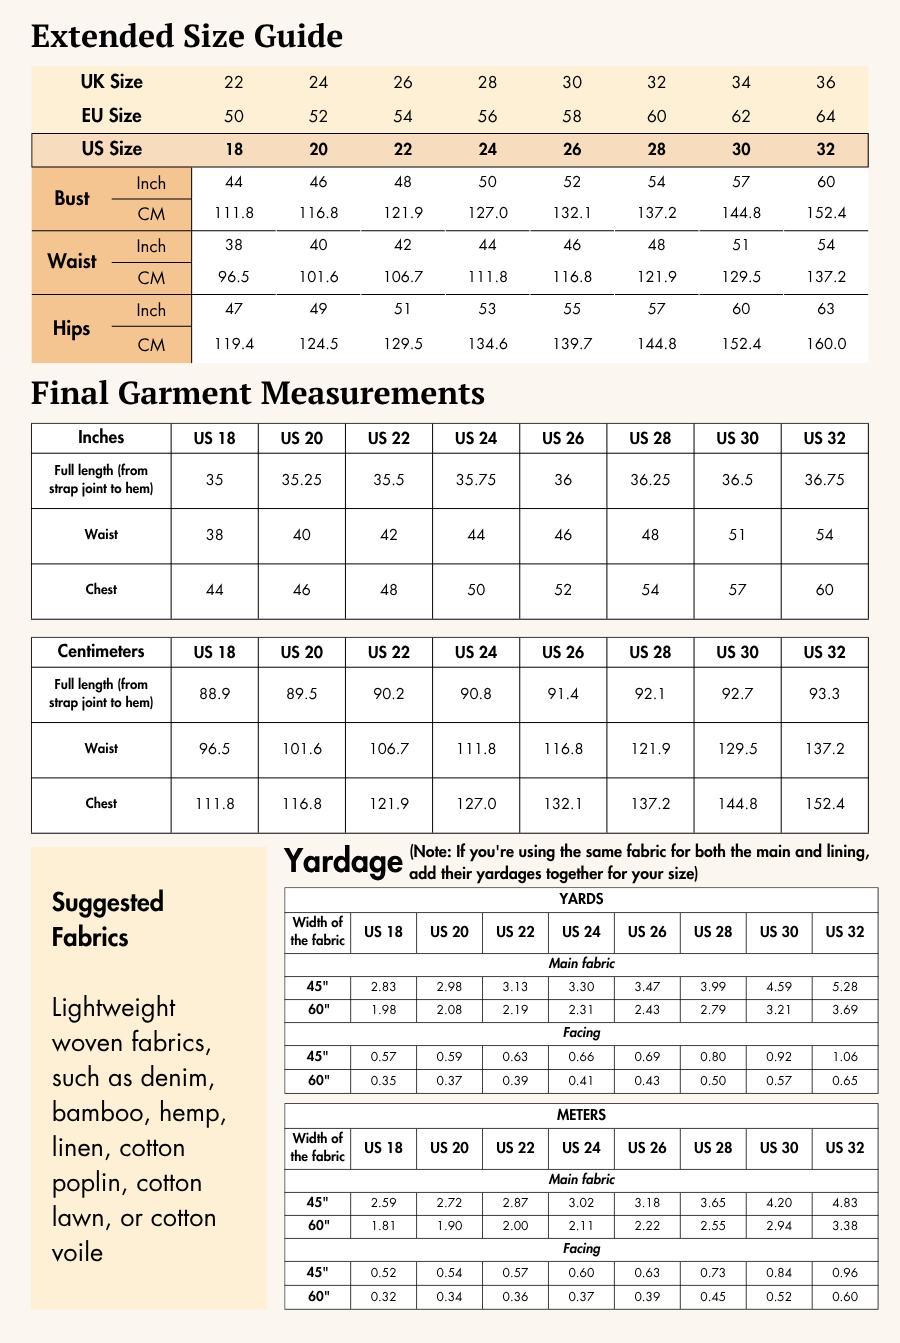
The Maple Skirt pattern is available for sizes US 02 - US 32 | UK 06 - UK 36 | EU 36 - EU 64. Check the Maple Skirt Size Chart and measure yourself to select the correct size (see the garment and body measurement tables).
Verify how much fabric you need by referencing the fabric yield table.
Step 4: Pattern Inventory
For sewing the Maple Skirt, cut all of these pieces:
- Front LHS- cut x1 fabric (A)
- Front RHS- cut x2 fabric (B)
- Back - cut x1 fabric (C)
- Front belt - cut x1 fabric (D)
- Back belt - cut x1 fabric (E)
- Hem frill - cut x4 fabric (F)
- Front placket - cut x1 fabric (G)
- Side pocket - cut x4 fabric (H)
- Belt loop - cut x1 fabric (I)
- Belt - cut x2 fabric (J)

Step 5: Pattern Marking


-
Lay out all pattern pieces according to the cutting diagrams. Ensure the grainline arrow for each piece runs parallel to the selvage for best drape.
-
Transfer all markings: Notches, grainlines, center fronts/backs, fold lines, circles, buttonholes, and strap/zipper placements, using chalk, pen, or tailor’s tacks onto the wrong side of your fabric.
-
Cut notches anywhere they appear on the pattern edge—these are crucial for proper alignment and assembly.
-
Mark the center front on all pieces cut on the fold.
Step 6: Cutting Layout
- Reference the correct layout diagram in the Maple Sewing Guide for your chosen size and fabric width (45” or 60”).


-
If using fabric with nap or a directional print, buy extra yardage and align pattern pieces accordingly.
-
Pin or use pattern weights to secure each piece for accurate cutting.
-
Trace the shapes and cut along the outlines, carefully removing any marking lines after cutting.
Step 7: Fabric Cutting and Preparation
-
Cut out every required piece per your size from your main fabric. For pieces needing two cuts, fold fabric as shown in cutting diagram.
-
Cut all notches as shown on the pattern.
-
Double-check that you have all pieces before you start sewing.
Seam allowance: Follow the seam allowances as indicated on the pattern file layers. These are provided specifically for each piece to ensure accurate construction. This pattern uses a 1 cm (or 0.5 inch) seam allowance all around and 2 cm (or 0.75 inch) at the hem.
Step 8: Steps to Sew the Cottagecore Maxi Skirt

1. For creating box pleats:
1a. Fold at the center pleat line on the front piece such that the side pleats are over each other, from right side. Pin them. Sew along the side pleat marking, from the waistline to the pleat end.

1b. Then, open the pleat and flat-press it from the center line. Repeat the same for the other sewn pleats.
1c. Use a basting stitch to sew on the seam allowance of the waistline to hold the pleat in place. Repeat the same process for the other front piece.

2. For attaching the pockets:
2a. Place the pocket piece over the front piece with their right sides together and the pocket notches aligned. Sew along the seamline between the pocket notches, attaching
the pocket piece to the front. Clip the seam allowance of the pocket notches.

2b. Spread open the pocket from the stitch line and press it down to create a crease. Sew on the edge of the pocket seamline between the notches.
2c. Turn the pocket piece towards the wrong side of the front piece and sew along the pocket opening.
2d. Place another pocket piece over the attached one such that their right sides are facing together. Sew along the pocket curve from one notch to the other to create a pocket bag. Ensure that you are not stitching over the front piece.

3. For preparing bottom frill:
3a. Place two bottom frill pieces with right sides facing each other, ensuring the gather guidelines are aligned.
3b. Sew along one side seam and spread open the seamline.
3c. Add the third frill by placing it right sides together with the previously sewn frills. Align the edges and sew along the seamline.
3d. Repeat the same process for the fourth frill, aligning and sewing it to the other frills.
3e. Spread open all seamlines to finish the frill assembly.

4. For creating gathers:
4a. Keep the sewing machine setting on a 5-7mm stitch length. Sew between the seam allowance of the gather guidelines on the prepared bottom frill piece.
4b. Tie the threads of the basting stitch at one end. Pull the thread from the other end to create gathers.

5. Place the front LHS and front RHS piece on the back piece facing right sides together. Align the side seams (fig.5a). Sew along the side seams to achieve figure 5.

6. For attaching the prepared bottom frill:
Place the prepared bottom frill on the skirt bottom hem. Align the gathers evenly to the length of the hem and pin them together (fig.6a). Sew along the seamline of the hem.

7. For attaching the placket:
7a. Fold the placket in half from the center notches such that the wrong side is facing inside. Iron it well to crease the fold.

7b. Align the both front LHS and front RHS center line facing right sides together. Sandwich the placket open edge between the center seamlines.
7c. Sew them together.

8. For preparing the waistband:
8a. Take a 1-inch wide elastic, cut to the length of the back waistband, reduced by 1-2 inches or adjusted to your desired tightness.
8b. Place the elastic on the wrong side of the back waist seamline. Stretch the elastic to pin at the both sides of the back waistband piece. Sew the sides to secure it.
8c. Place the front waistband piece on the back waistband facing right sides together. Align the side’s of the waistband. Sew along the seamline.
8d. Align the other side of the front waistband to back waistband. Sew along the seamline to finish the waistband.
8e. Fold the waistband from the middle, along the length such that the wrong side of fabric is enclosed inside.
8f. Stretch back waistband to sew on the middle of the elastic to hold it position.

9. For making belt loops:
Fold both sides of the belt loops inside (fig.9a), then fold them again (fig. 9b). Iron it to create creases at every fold.
Sew them at both edges to achieve figure 9c.

Cut five belt loops each measuring 7.5 cm in length (fig. 9d).

10. For attaching prepared waistband with belt loops:
10a. Place the five belt loops on two pleats, two side seams and center back of the waistline. Pin them all.
Note: Press the placket towards the left side.

10b. Place the open edge of the prepared waistband on the waistline of the skirt. Sew along the seamline.

10c. Pull the waistband up. Iron down the waist seamline. Sew on edge of the waistband to secure its position.


11. Fold the hem of the skirt twice along the seamline and press it. Starting at the side seam, sew along the edge of the fold, continuing around the hem until you reach the starting point.

12. Use a button presser foot to sew all the buttons onto the placket, or you can hand-stitch them. A total of 13 buttons should be sewn on the placket, from the waistline to the top of the frill.

13. For preparing waistbelt:
13a. Place the waistbelt pieces over each other with their right sides together.
13b. Align the back center line. Sew them together.

13c. Spread open the belt.
13d. Fold in half from the middle line with the wrong side facing out. Align the open edges and sew along the bottom edge and one of the side seams.
13e. Turn the belt to right side out from open side seam.

13f. Fold the side seam seam allowance inside the belt to close the seam.
13g. Finish the belt by using either a blind stitch or top stitch.

Winslet’s sewing guide for Maple Skirt includes clear diagrams that walk you through each step, making it easy to follow and complete your project with confidence.
For an overview of Winslet’s Sewing Guides, click here.
Why You Should Use the Maple Cottagecore Maxi Skirt Pattern
The Maple Skirt pattern gives you everything you need to make a polished, wearable, and customizable tiered skirt—without any fuss.
✅ Beginner-friendly construction
✅ Flat front + elastic back waistband
✅ Includes pockets, placket, and belt
✅ Works beautifully in summer or transition fabrics
✅ Printable in multiple formats
👉 Download the Maple Cottagecore Maxi Skirt Pattern here and start sewing your dream skirt today.
Show Off Your Cottagecore Skirt
Show your creation on Instagram or Facebook with #MadeWithWinslets for a chance to be featured! For any questions or issues, email the Winslet’s support team at support@winslets.com.


