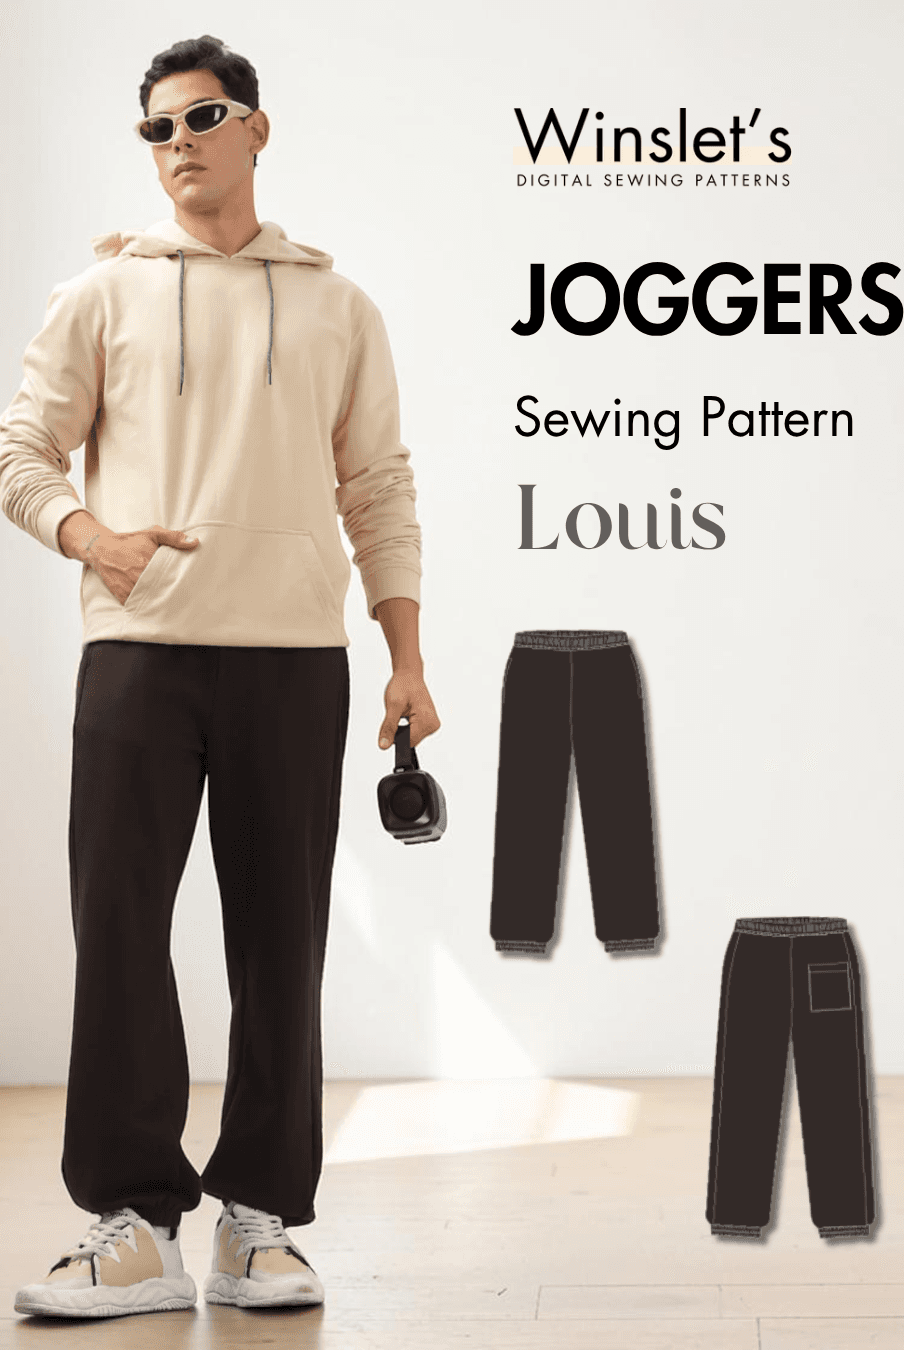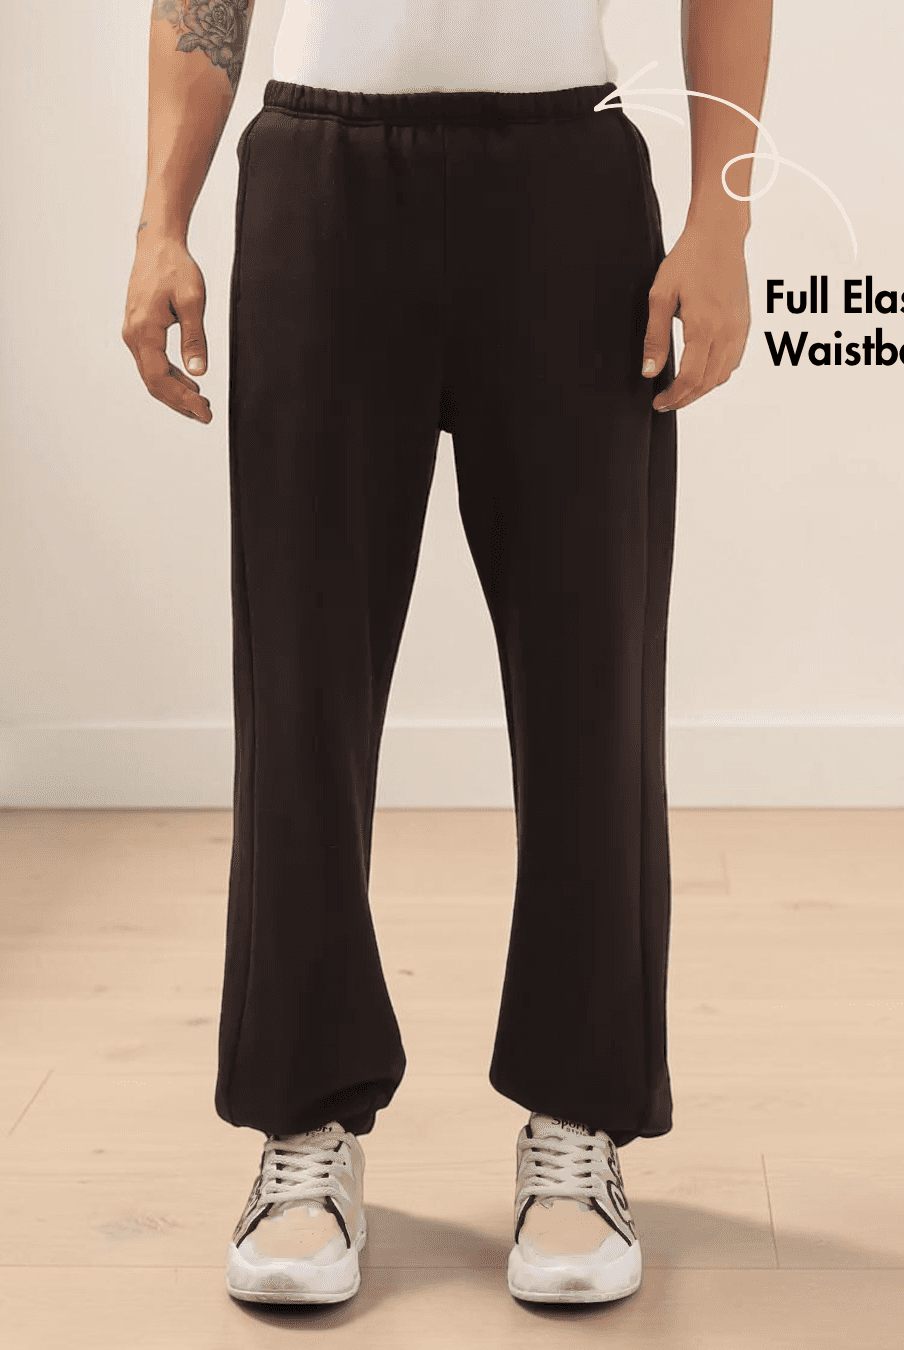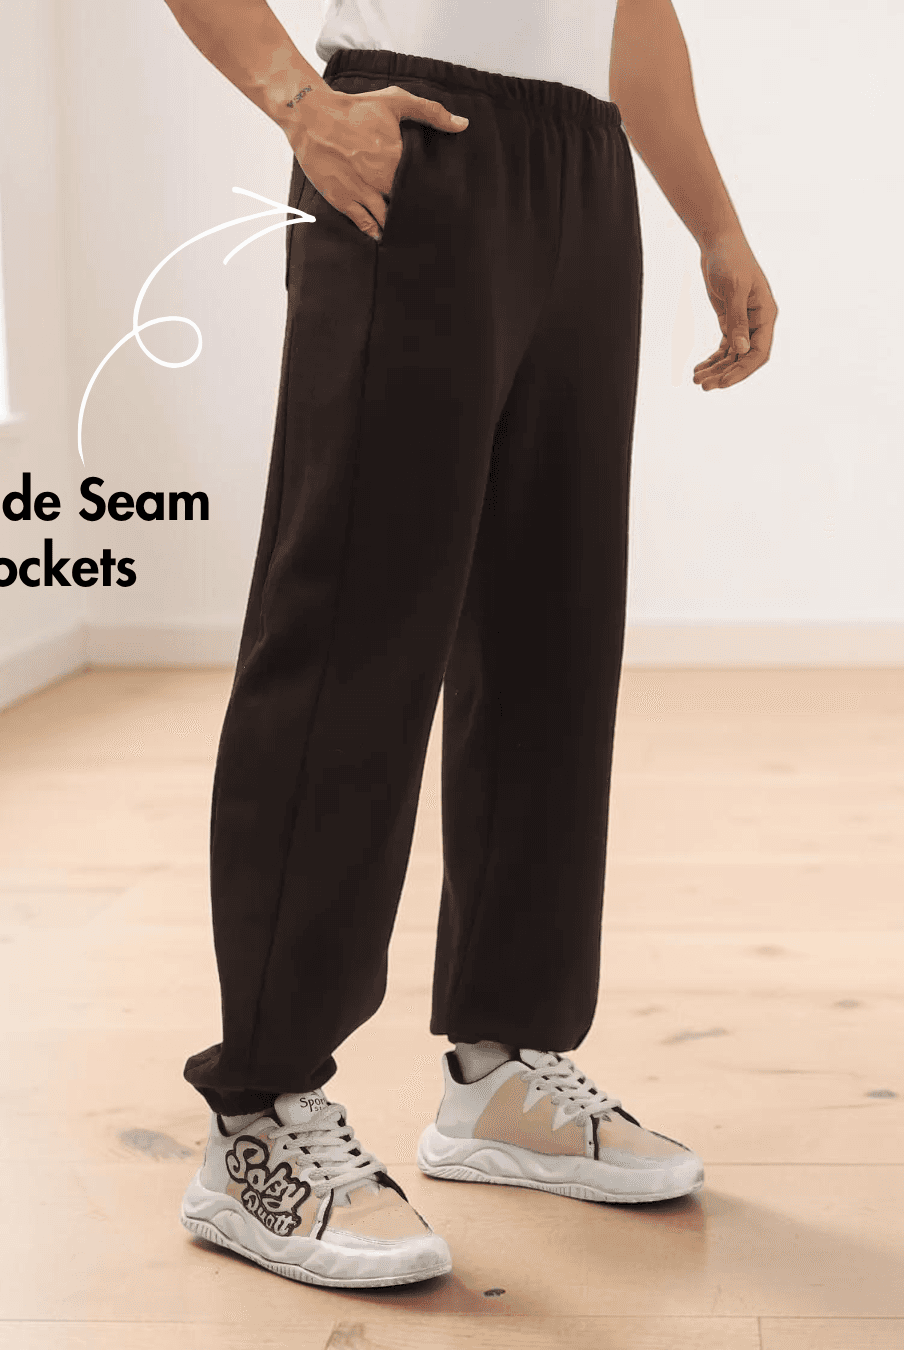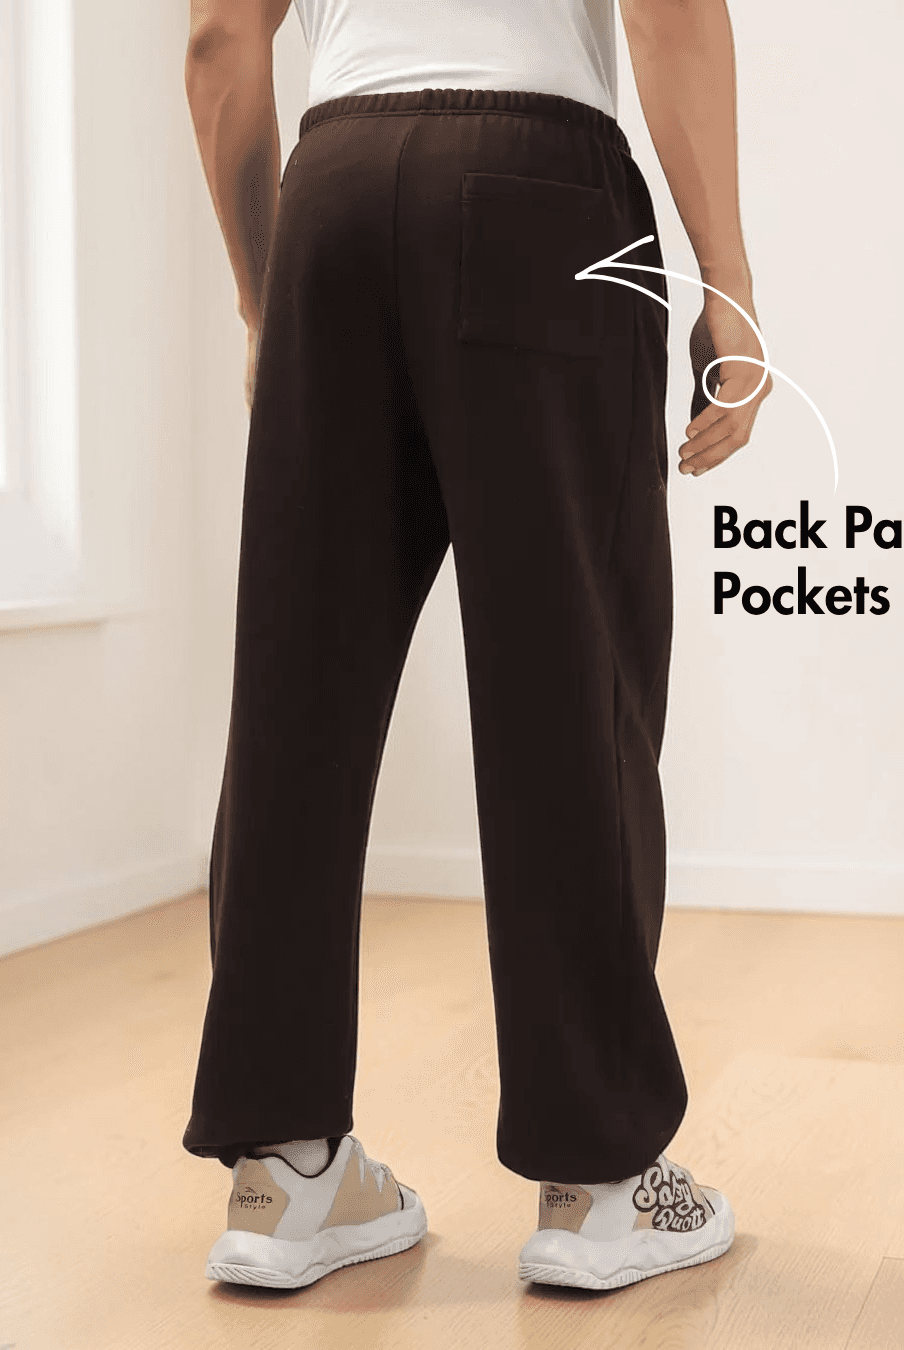
Athletic shorts are a wardrobe staple for workouts, running, hiking, and everyday casual wear. They combine comfort, freedom of movement, and practical features, making them a rewarding project for sewists looking to create activewear that's tailored to their own style and fit.
The Winslet's Maria Athletic Shorts Sewing Pattern is designed to help you sew a pair of comfortable athletic shorts with practical details and a professional finish. Suitable for confident beginners and intermediate sewists, this pattern includes clear step-by-step instructions to guide you through every stage of construction, from assembling the pockets to creating the elastic waistband and finishing the hems.

Why Sew Athletic Shorts?
- Create comfortable shorts designed for running, workouts, walking, and everyday wear.
- Enjoy a lightweight garment that allows excellent freedom of movement.
- Customize your shorts with your choice of athletic fabrics and colors.
- Learn useful sewing techniques including pocket construction, waistband assembly, and elastic insertion.
- Sew activewear that fits your body better than many ready-to-wear options.
- Build confidence working with stretch performance fabrics.
Why Choose the Winslet's Maria Athletic Shorts Pattern?

The Winslet's Maria Athletic Shorts Sewing Pattern is designed to help you create versatile athletic shorts that are comfortable enough for exercise while remaining stylish for casual wear.
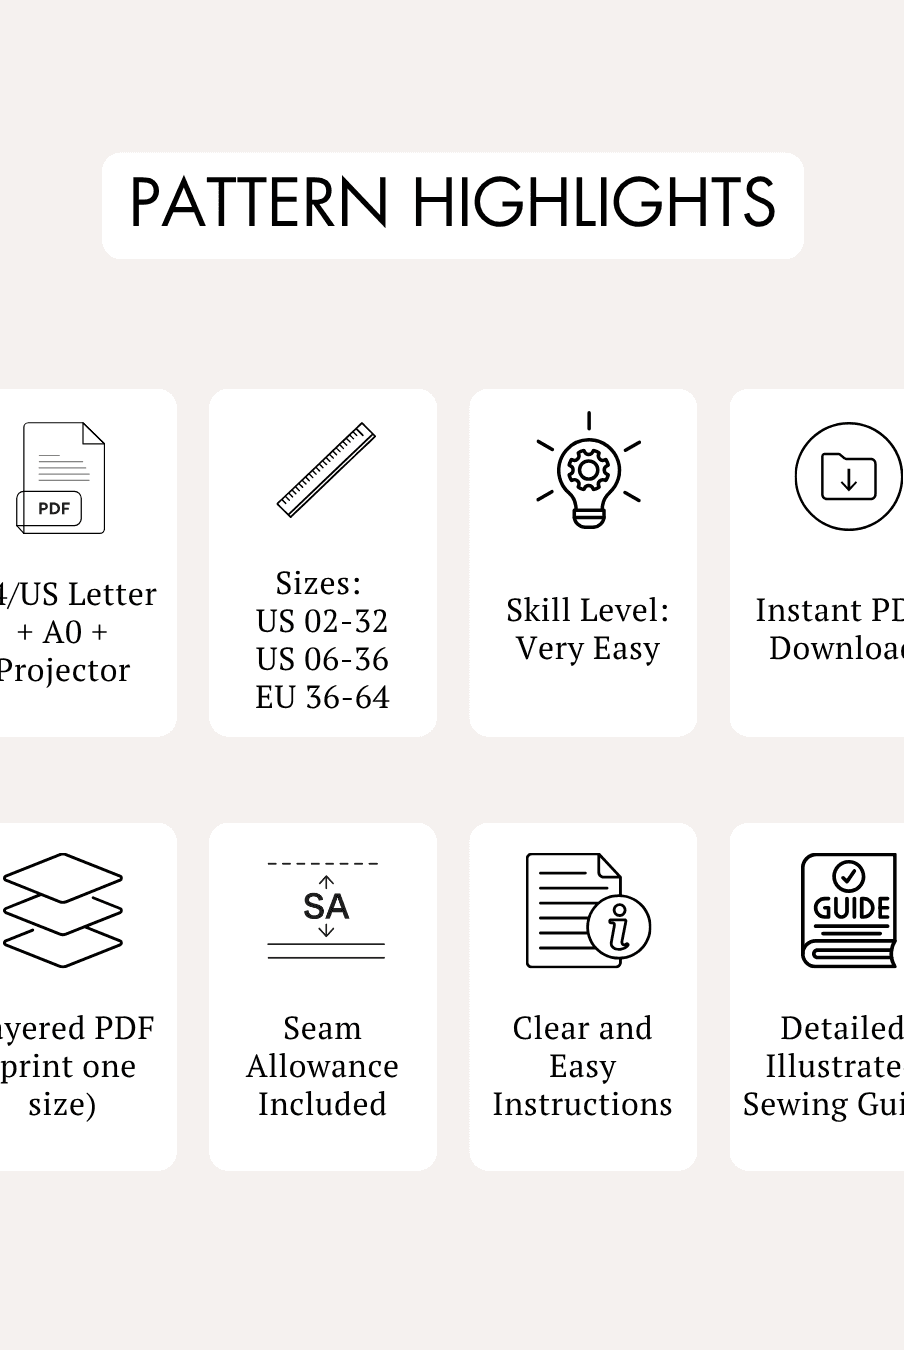
Features include:
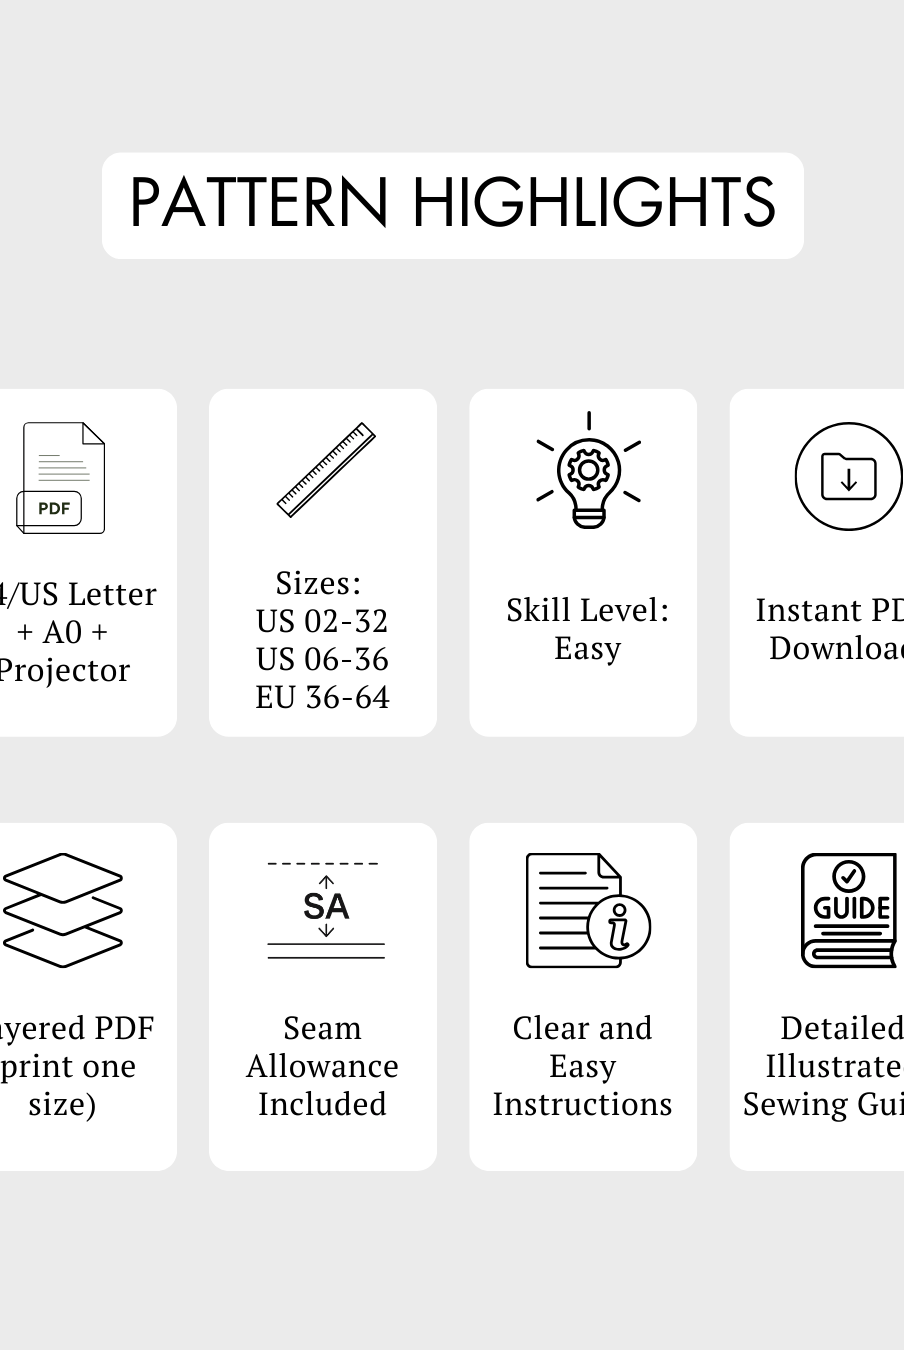
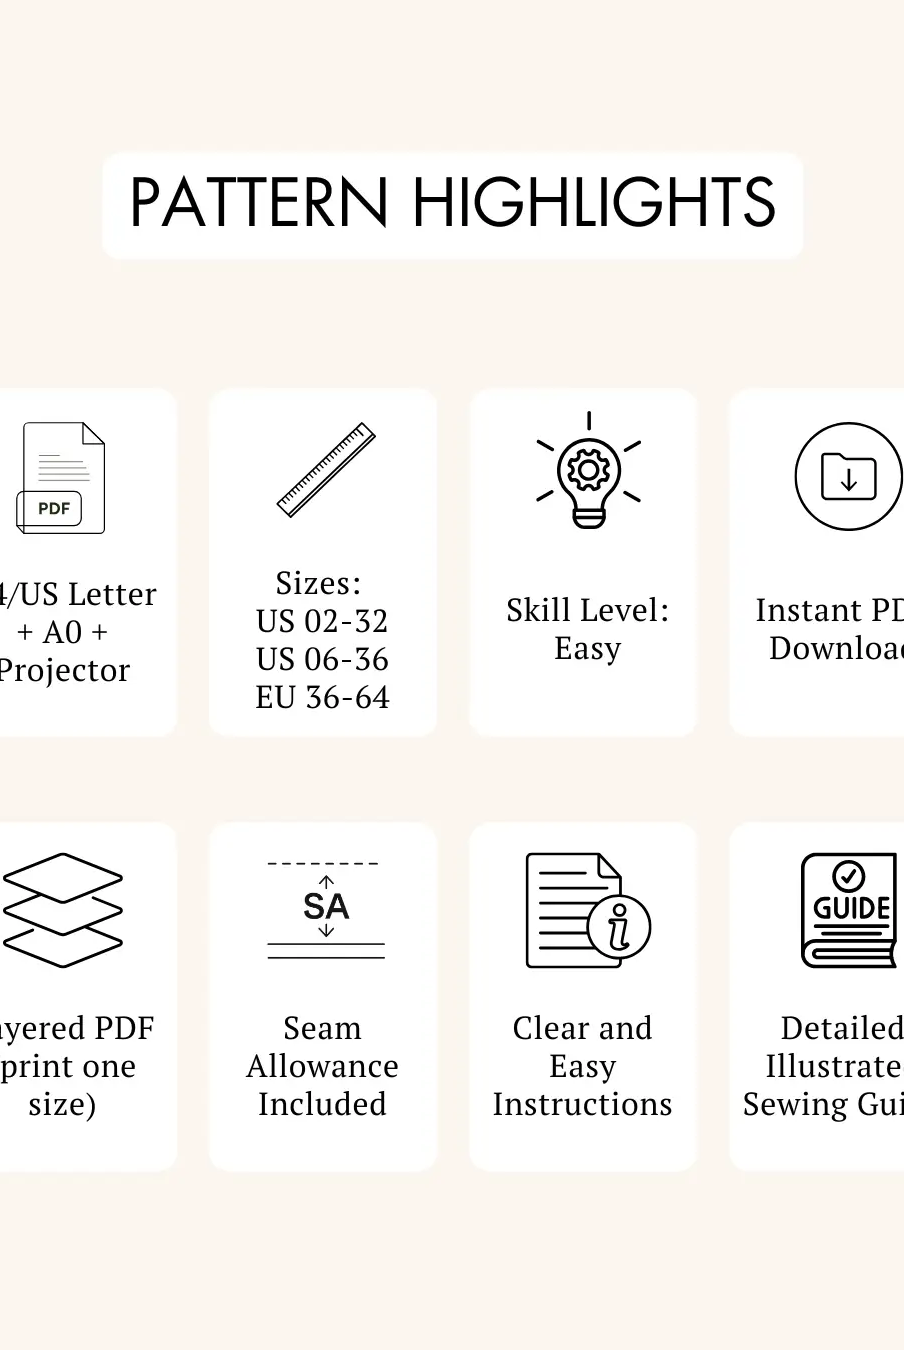
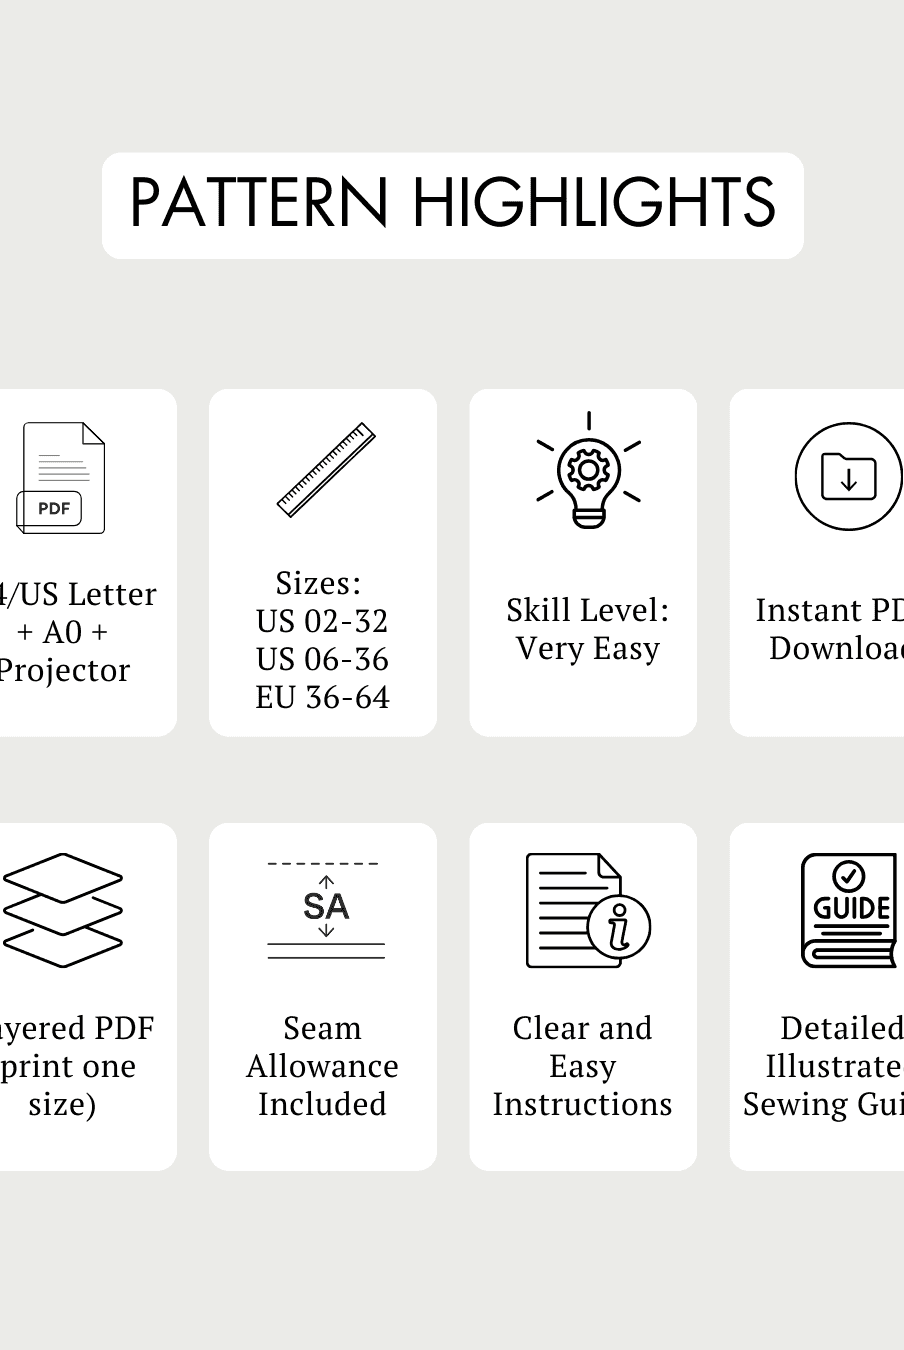
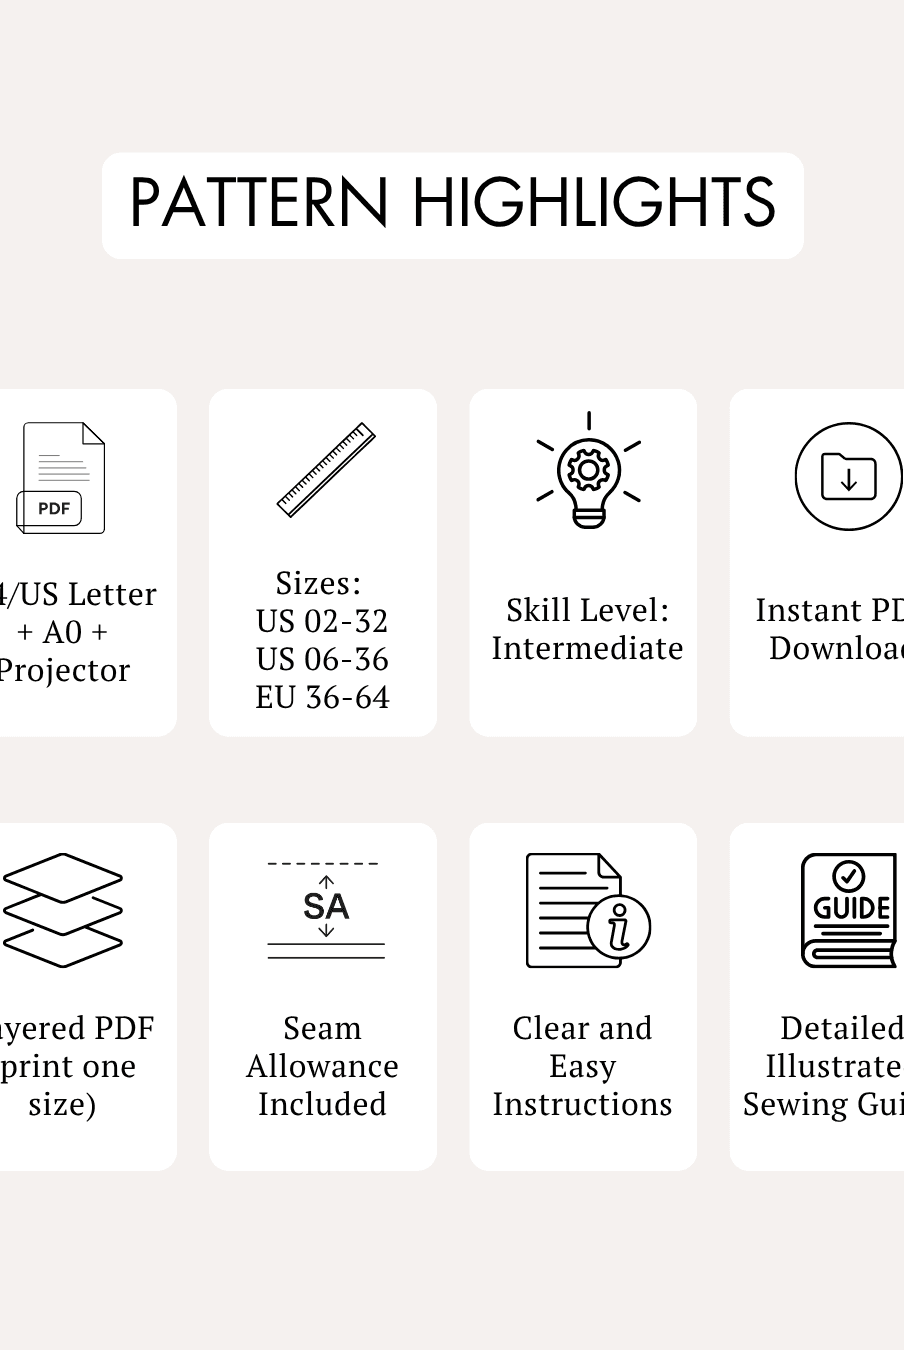
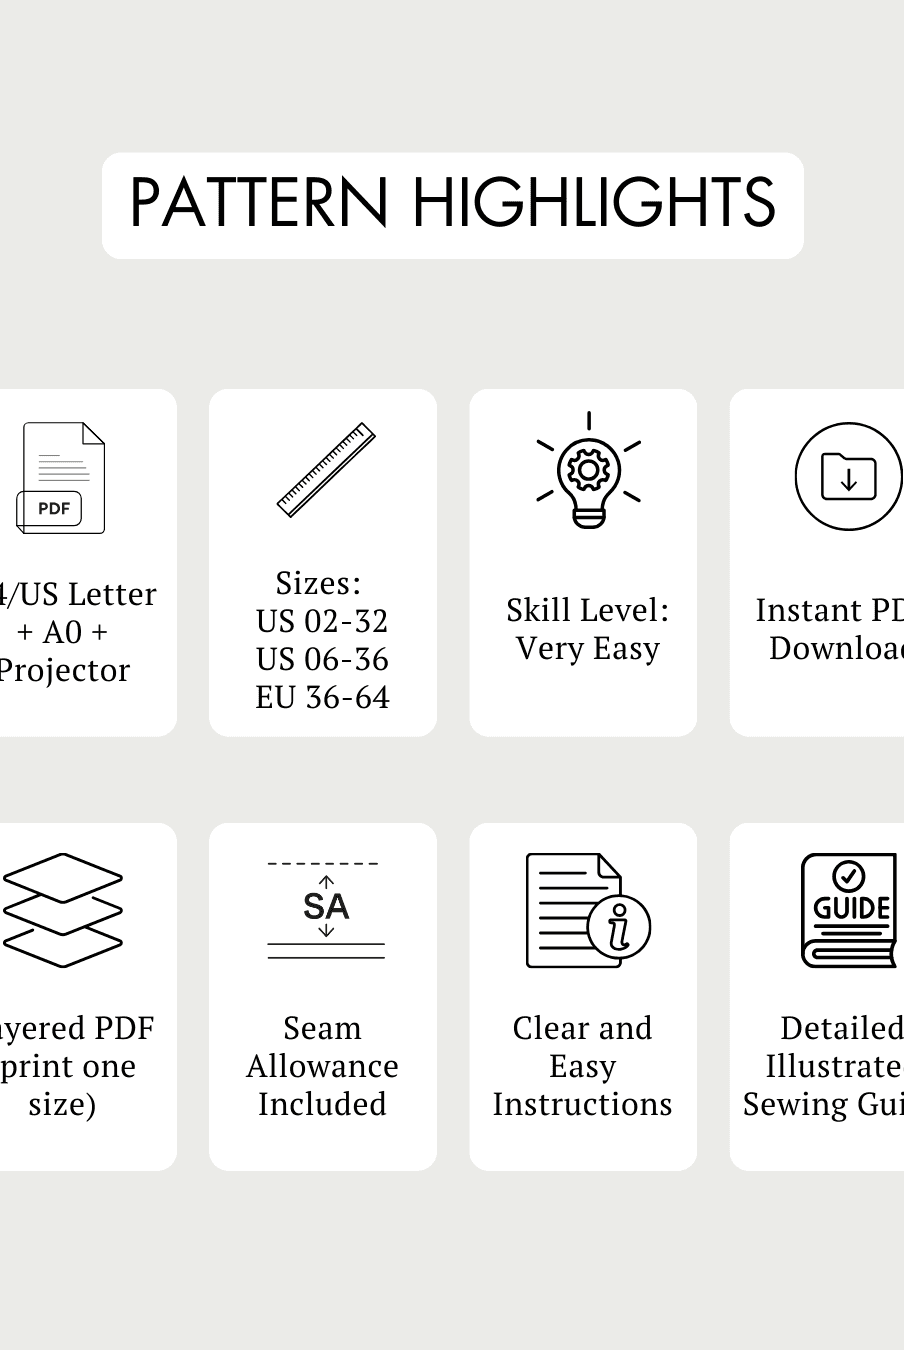
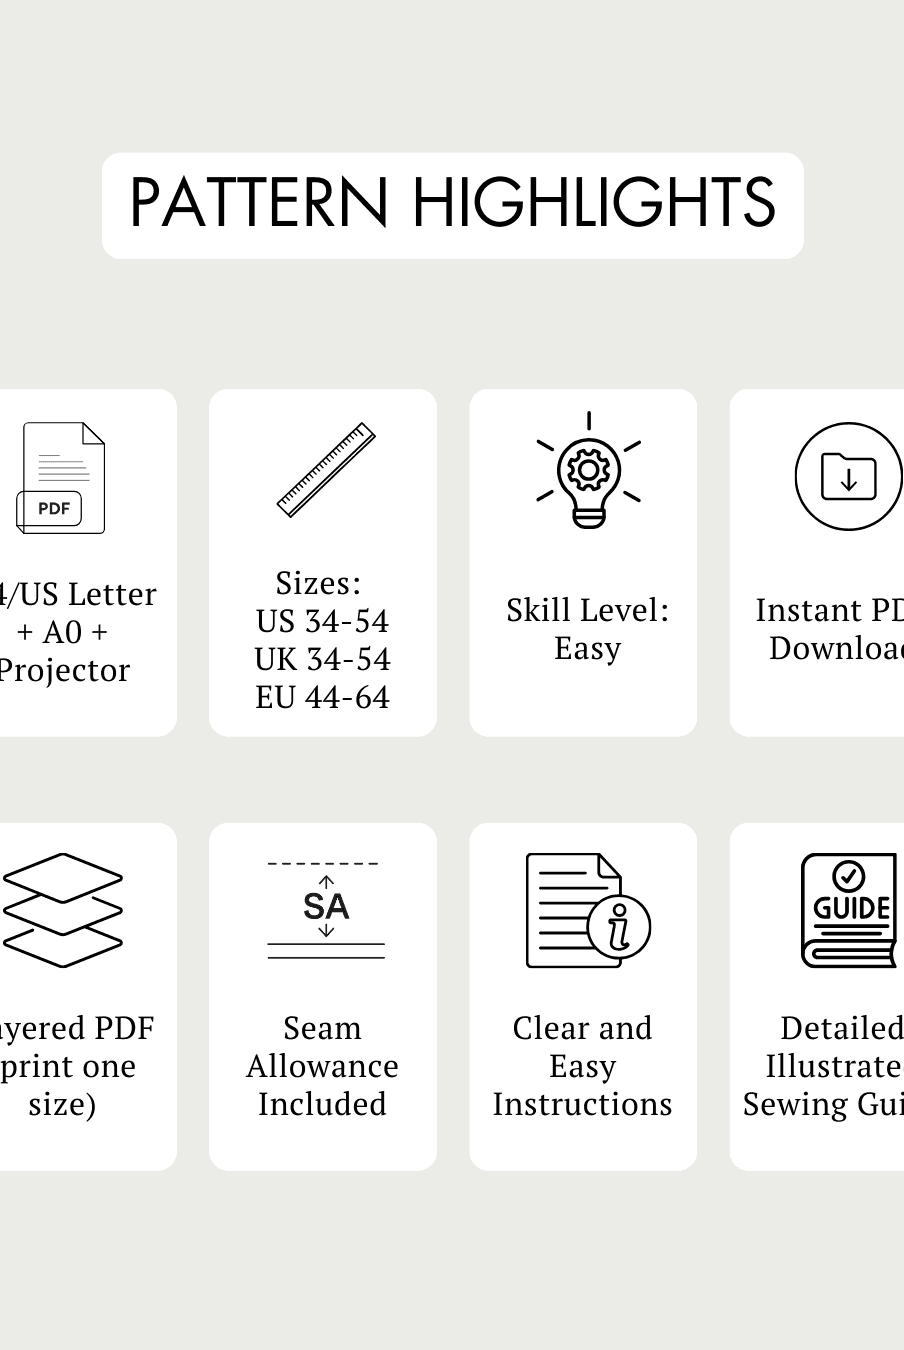
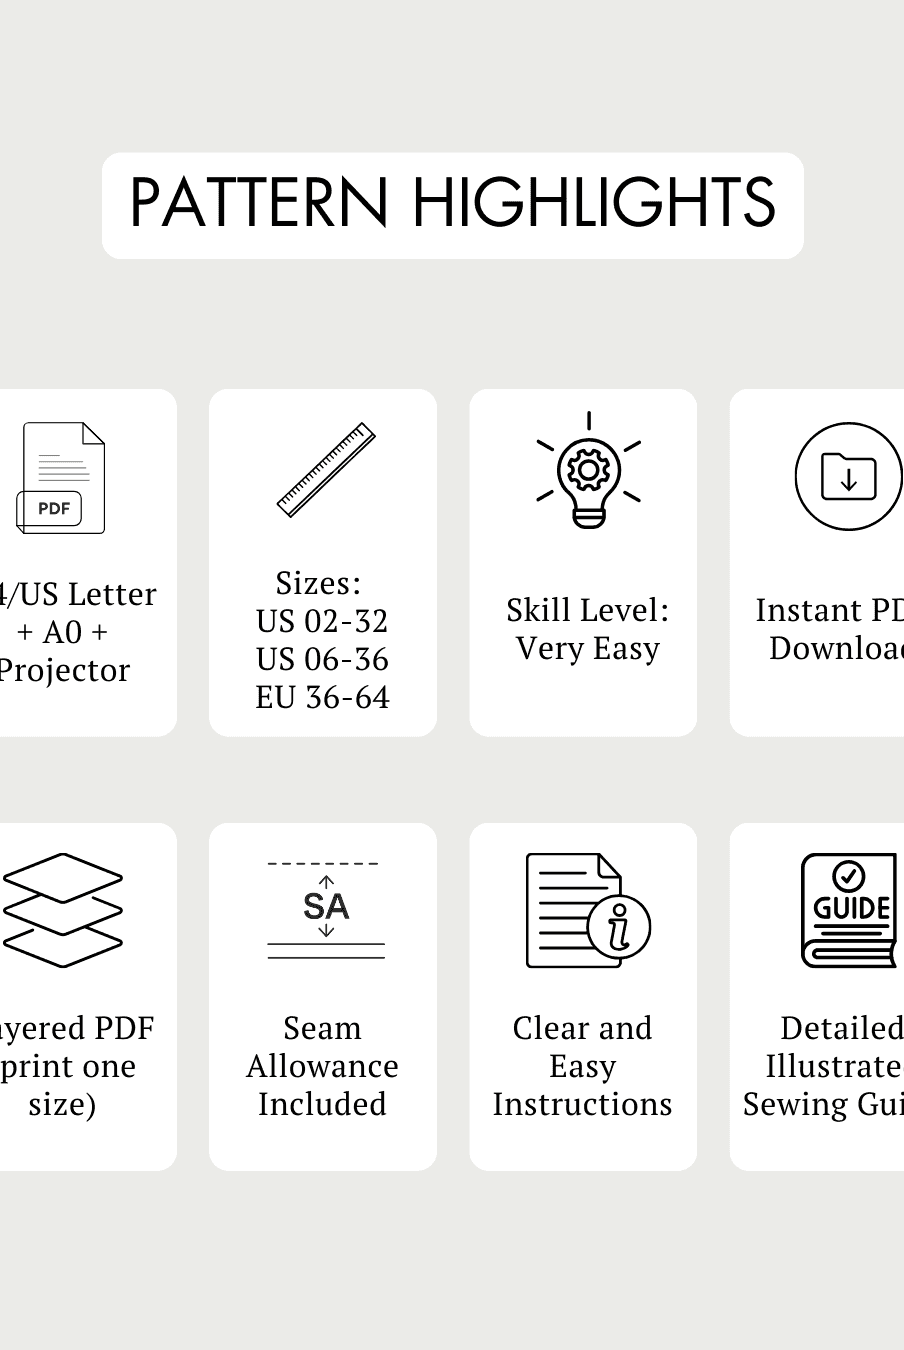
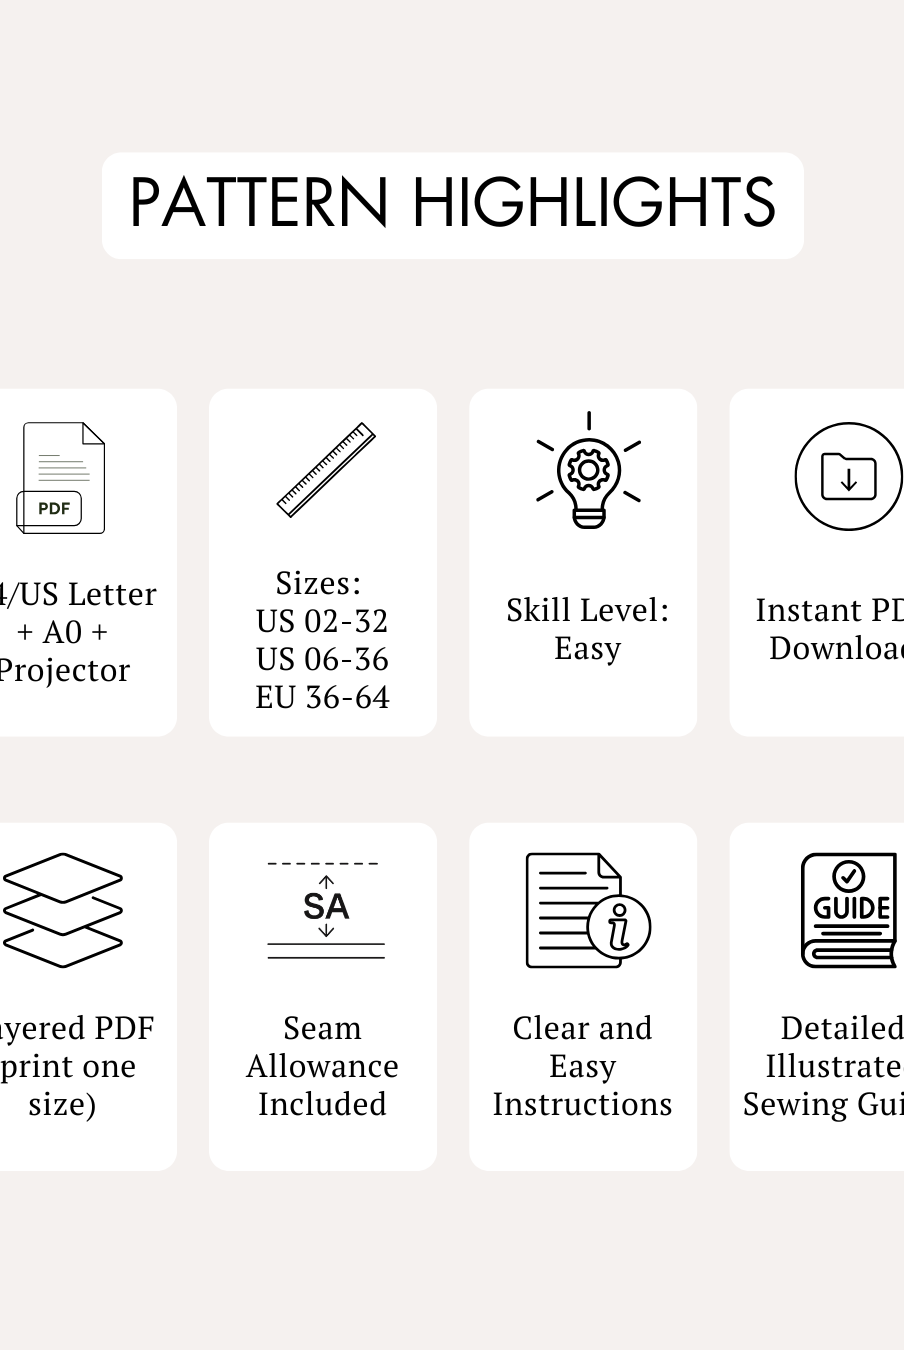
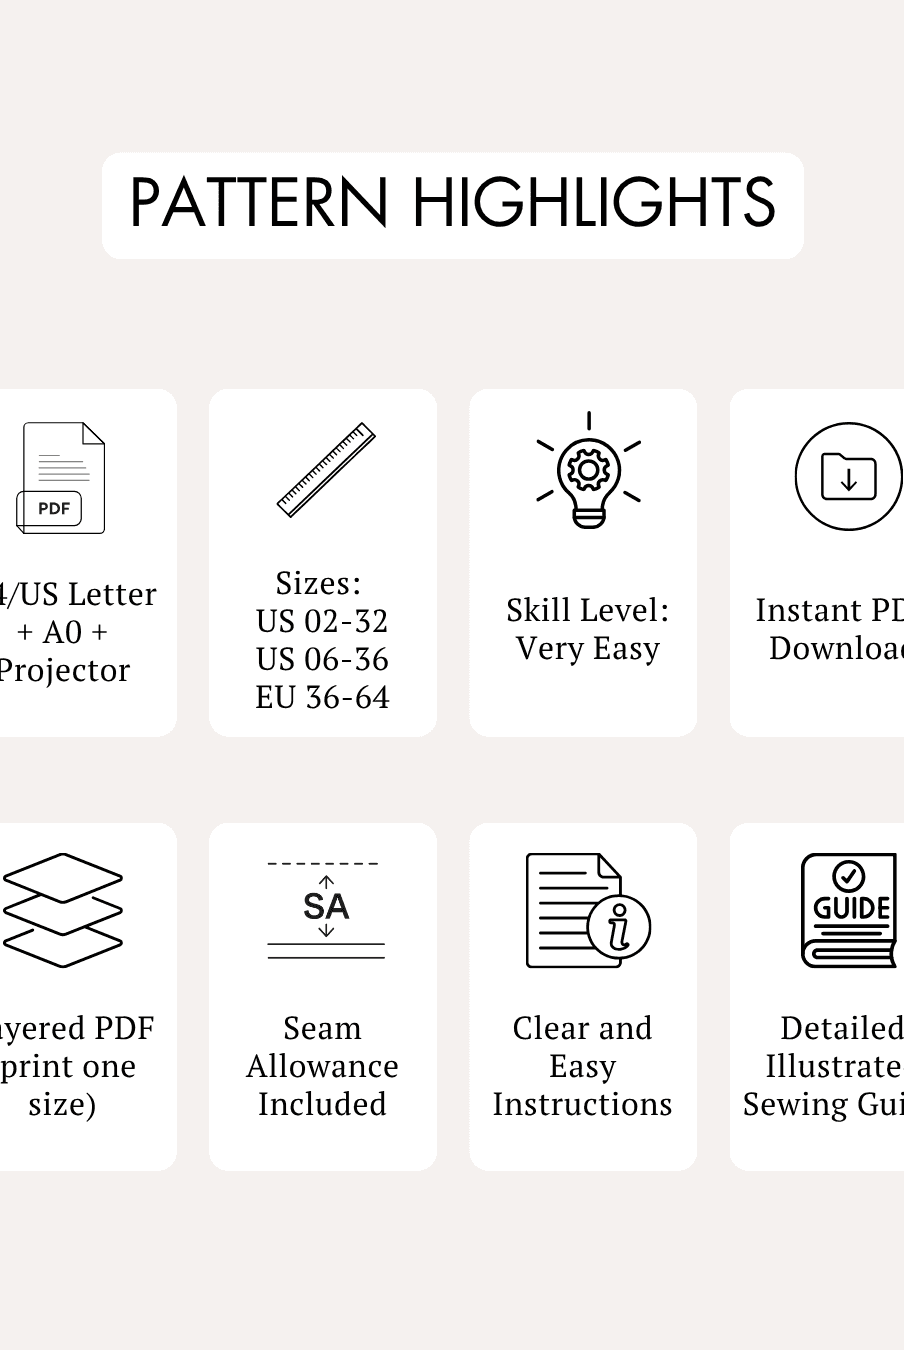
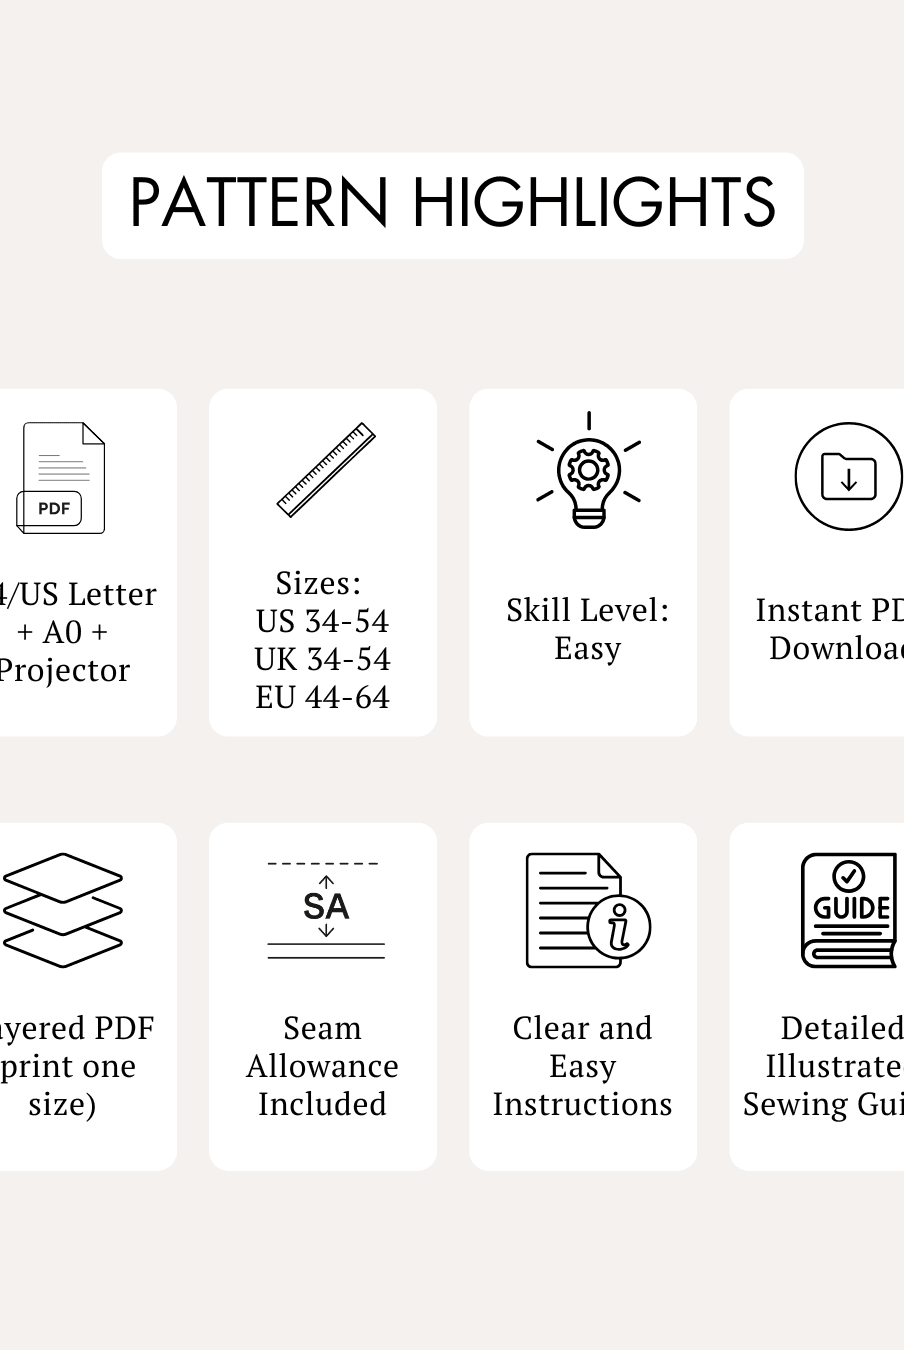
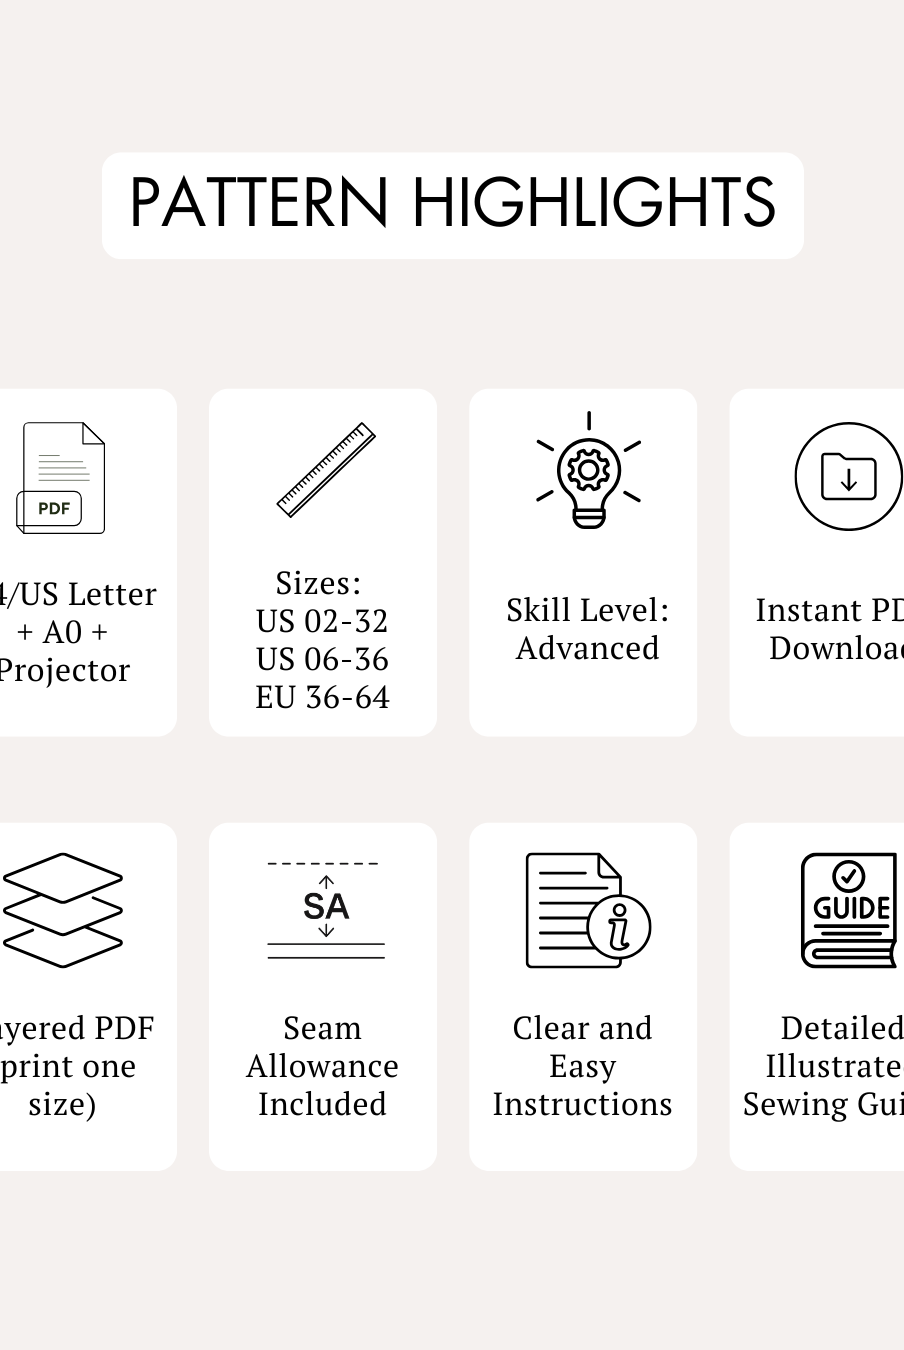
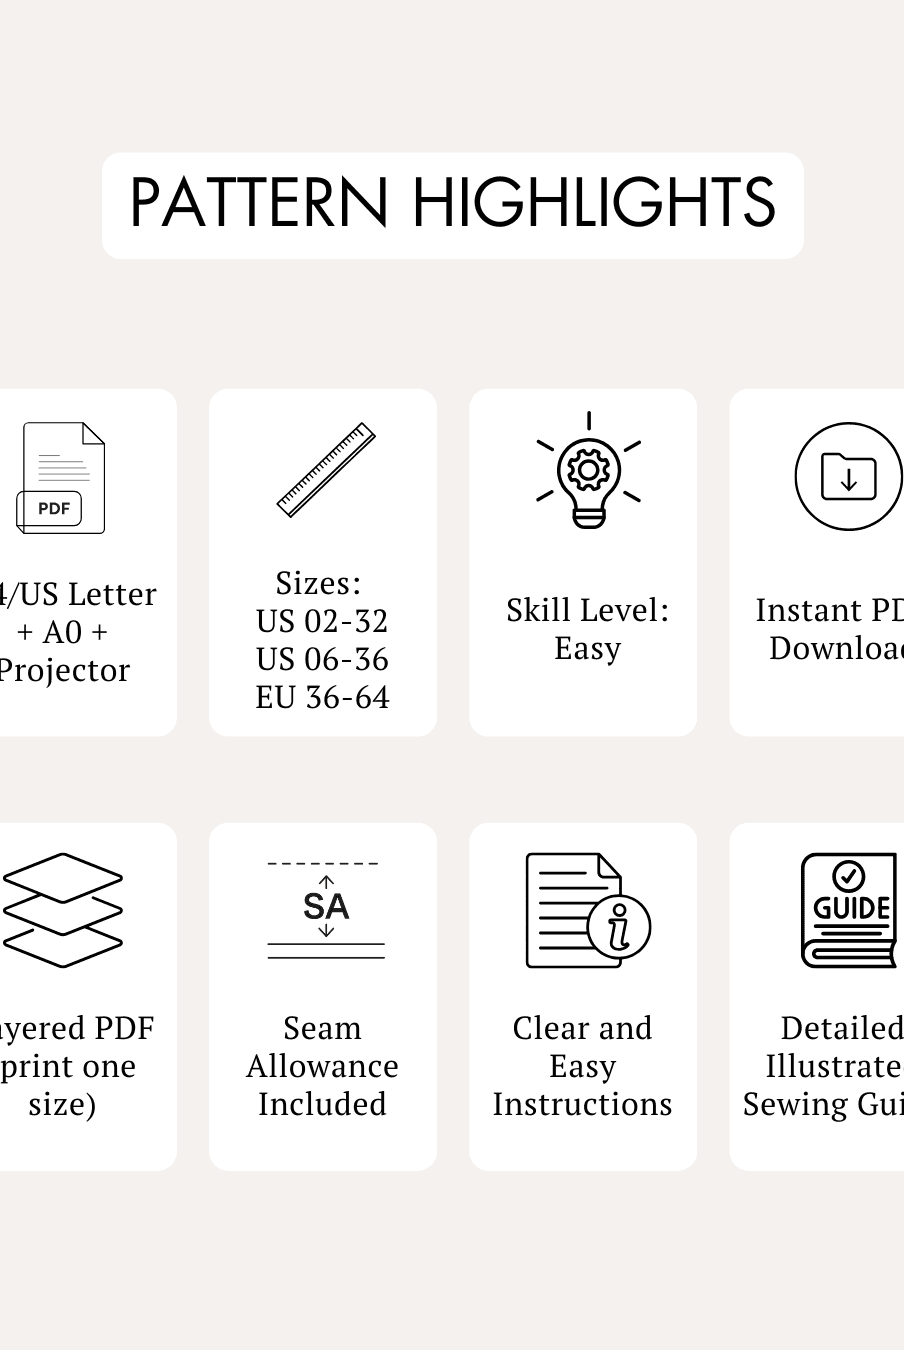
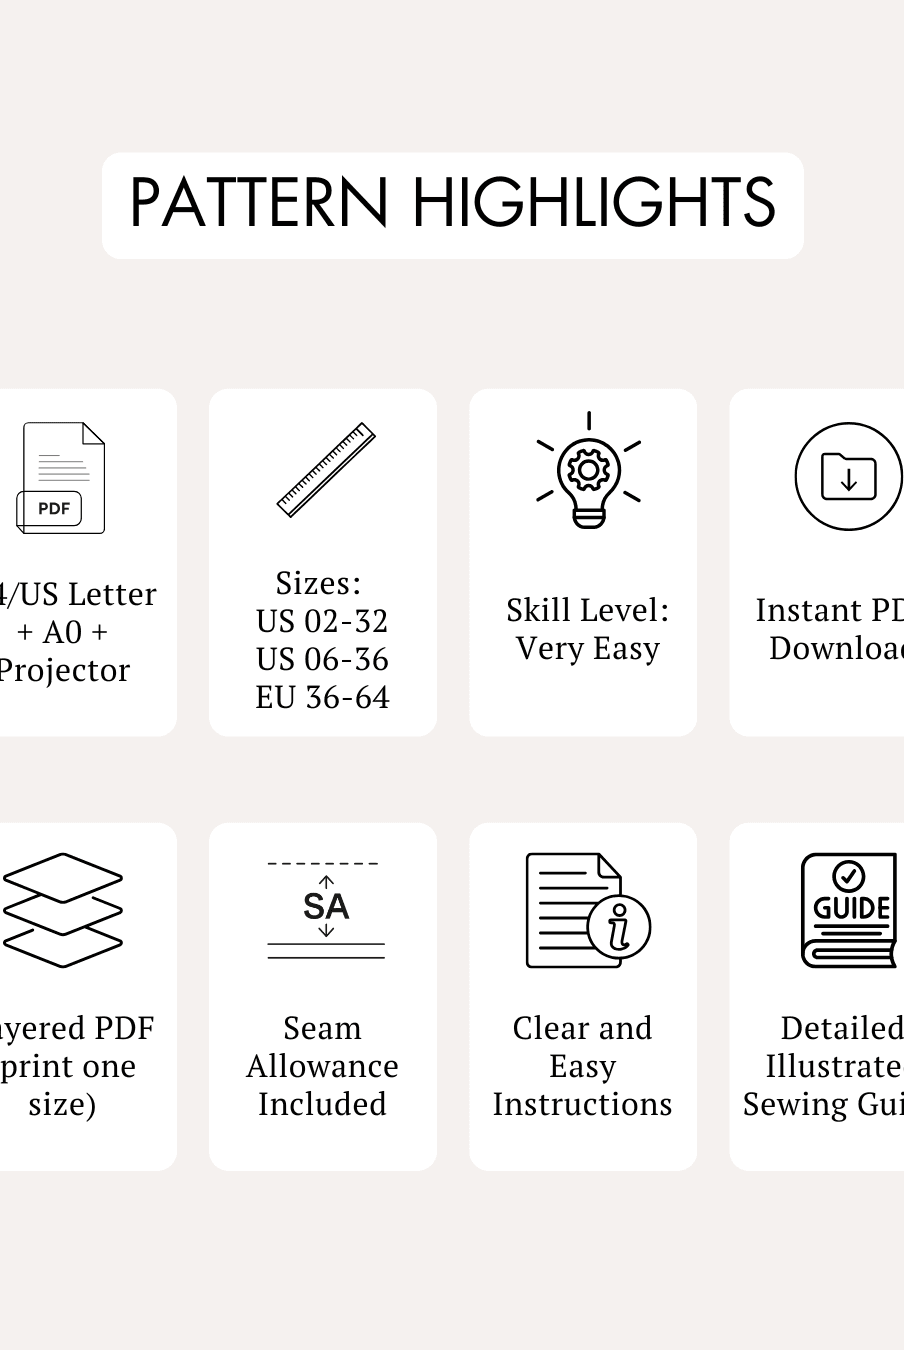
- Skill Level: Beginner
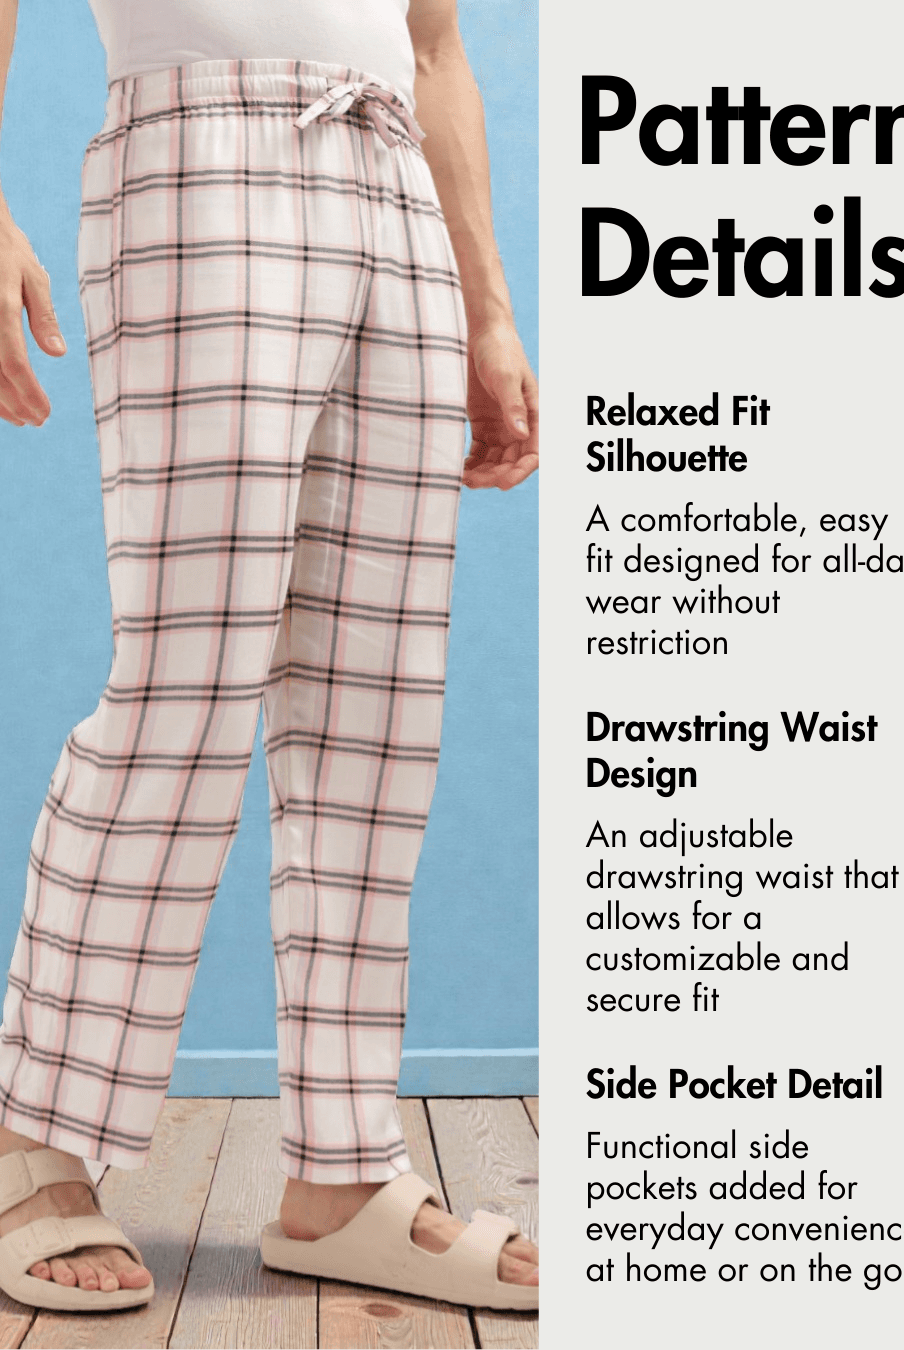
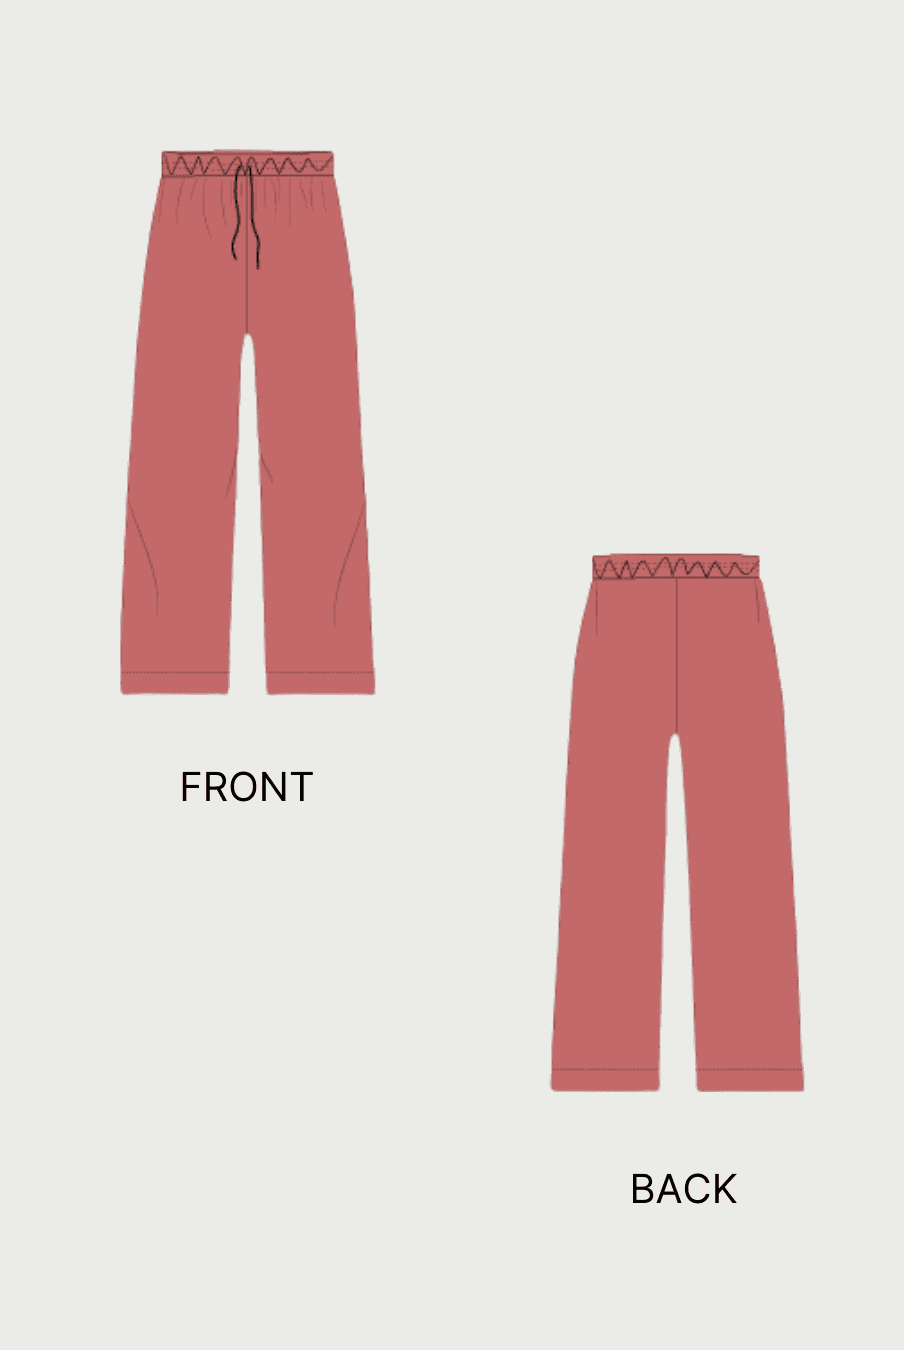
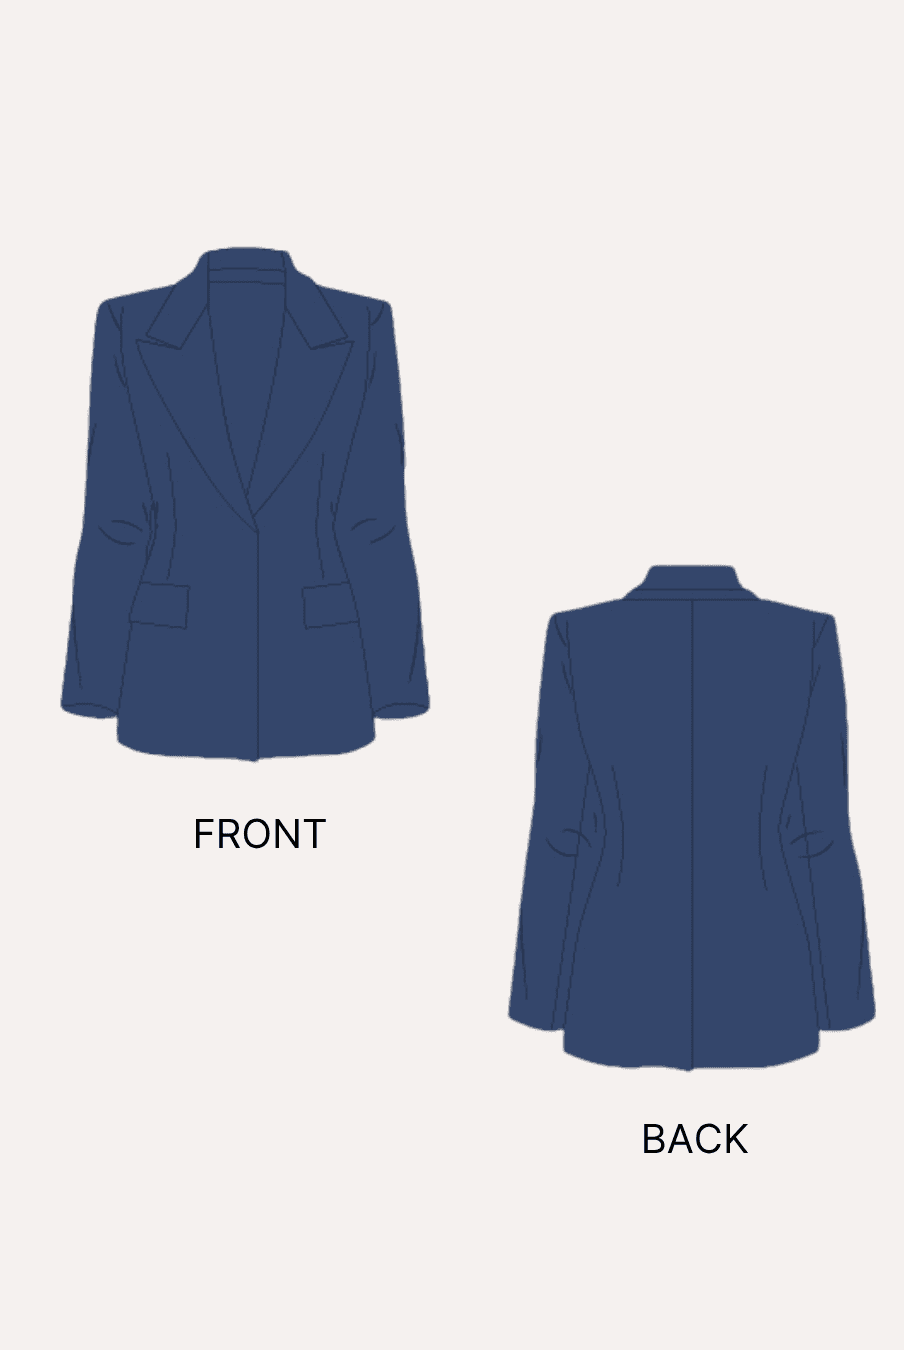
- High-waisted athletic shorts
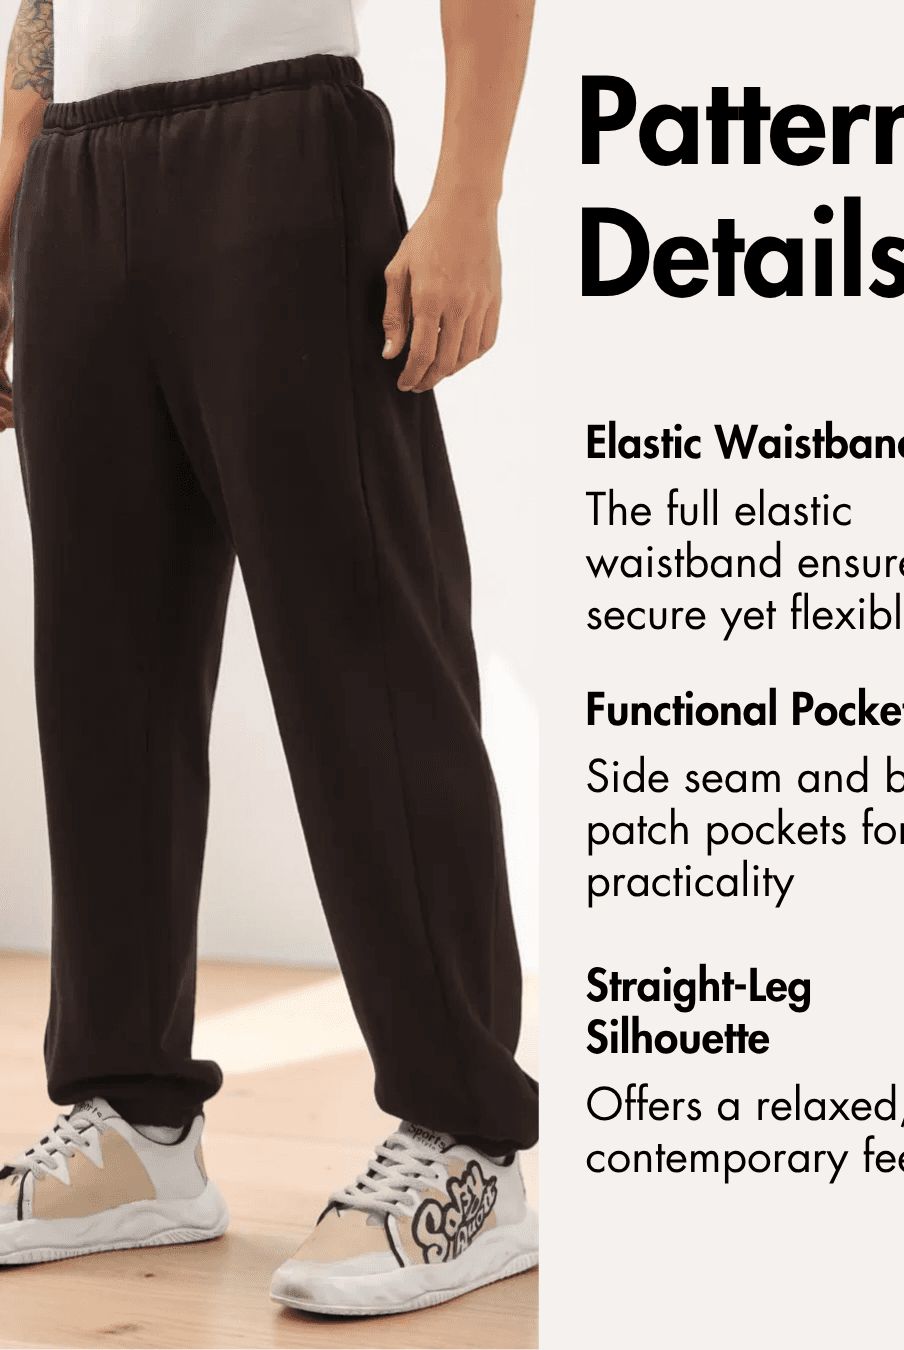
- Comfortable elastic waistband
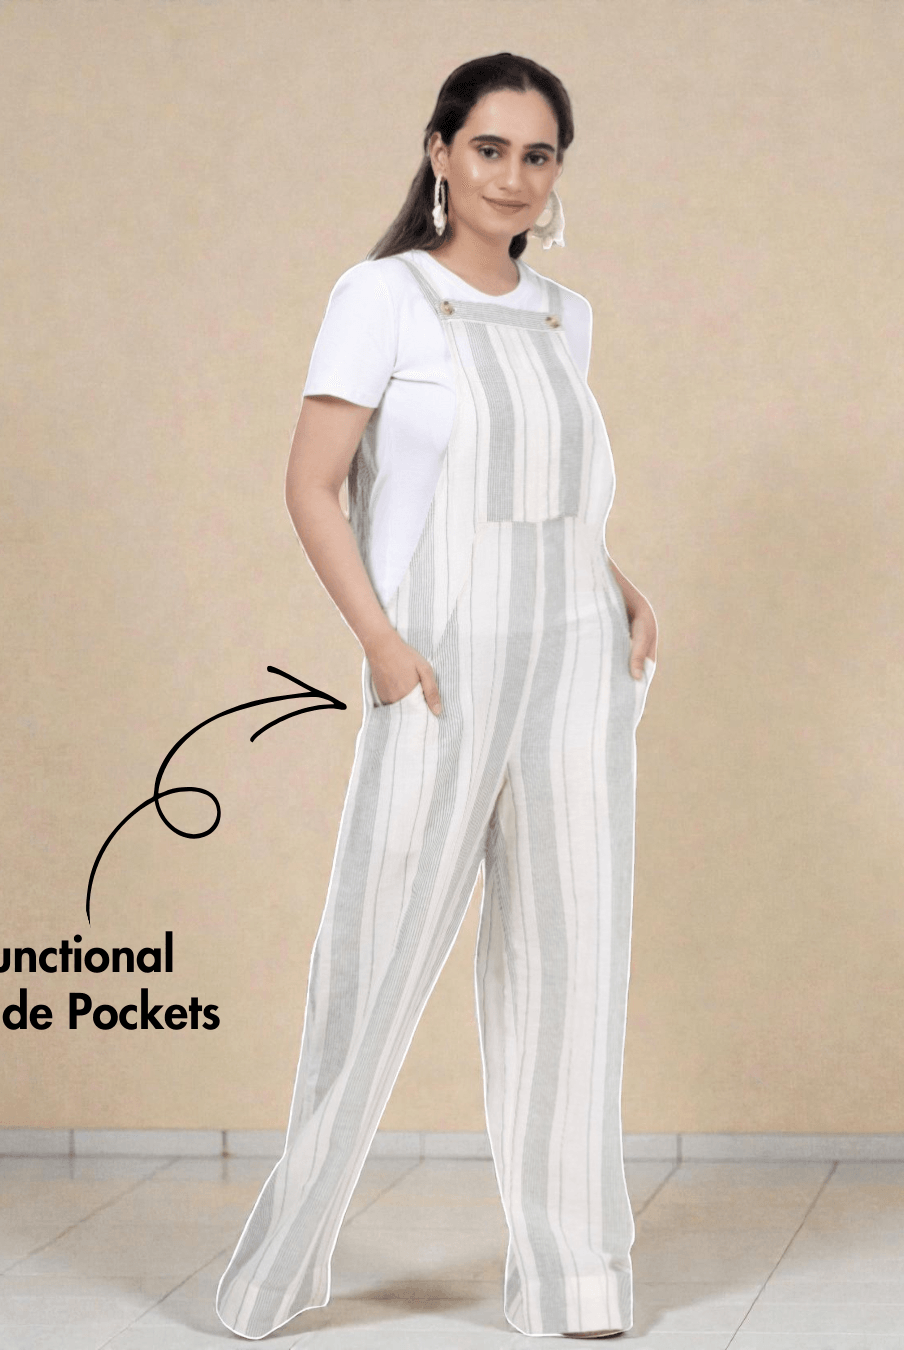
- Functional front pockets
- Side vents for improved mobility
- Clean, sporty silhouette suitable for active lifestyles
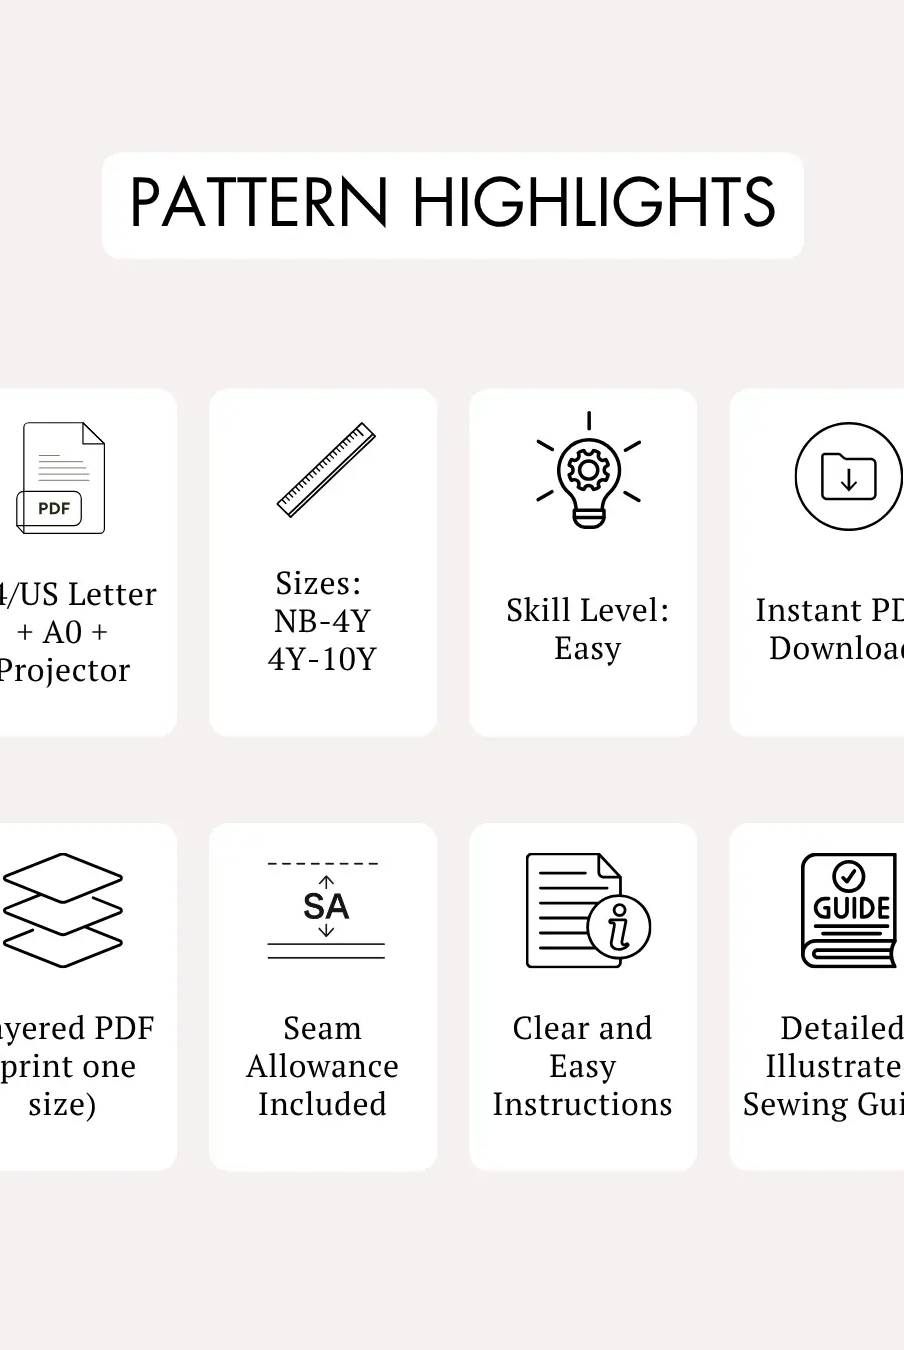
- Step-by-step illustrated sewing guide
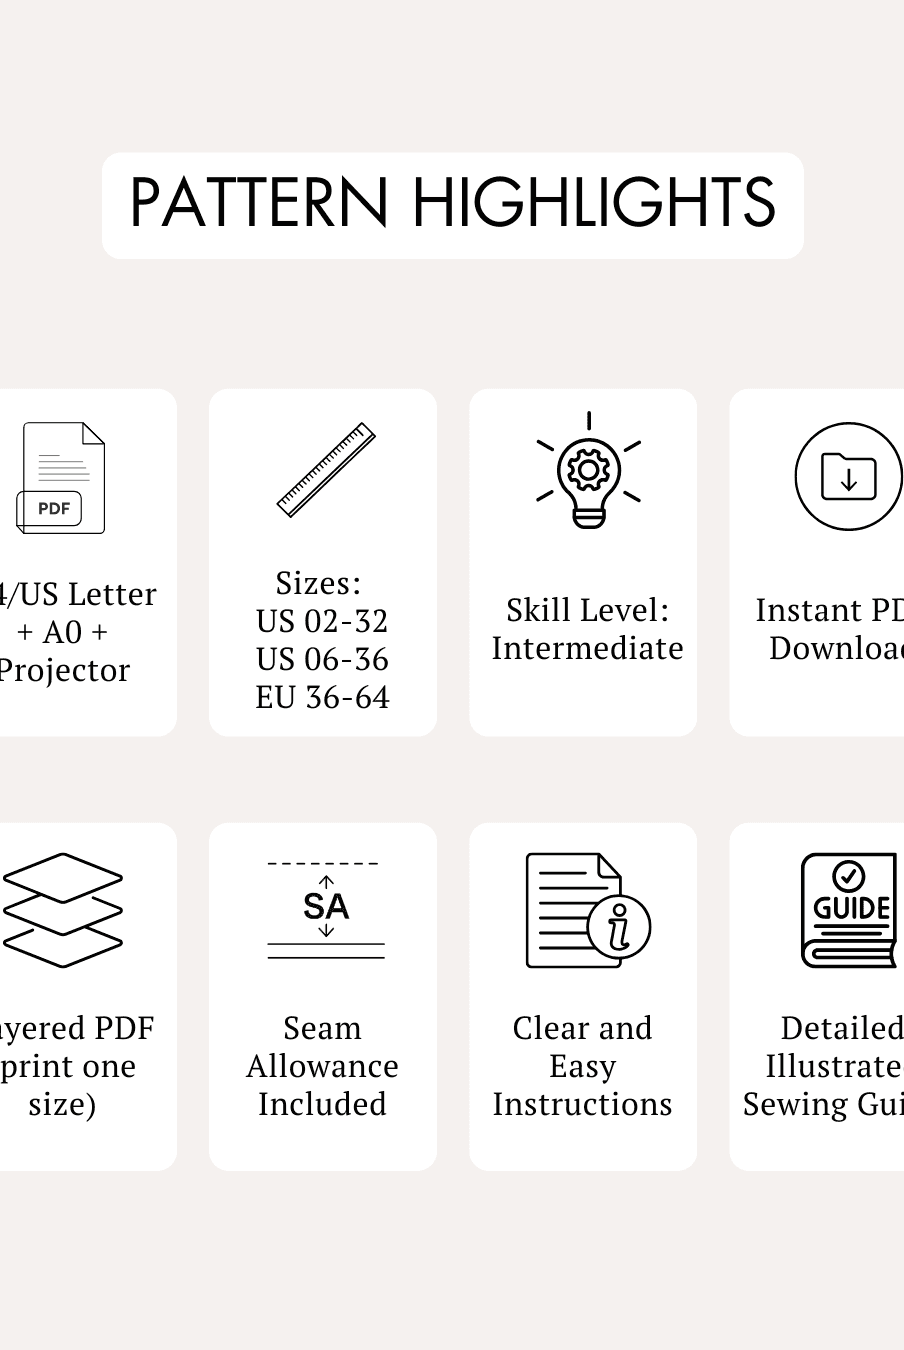
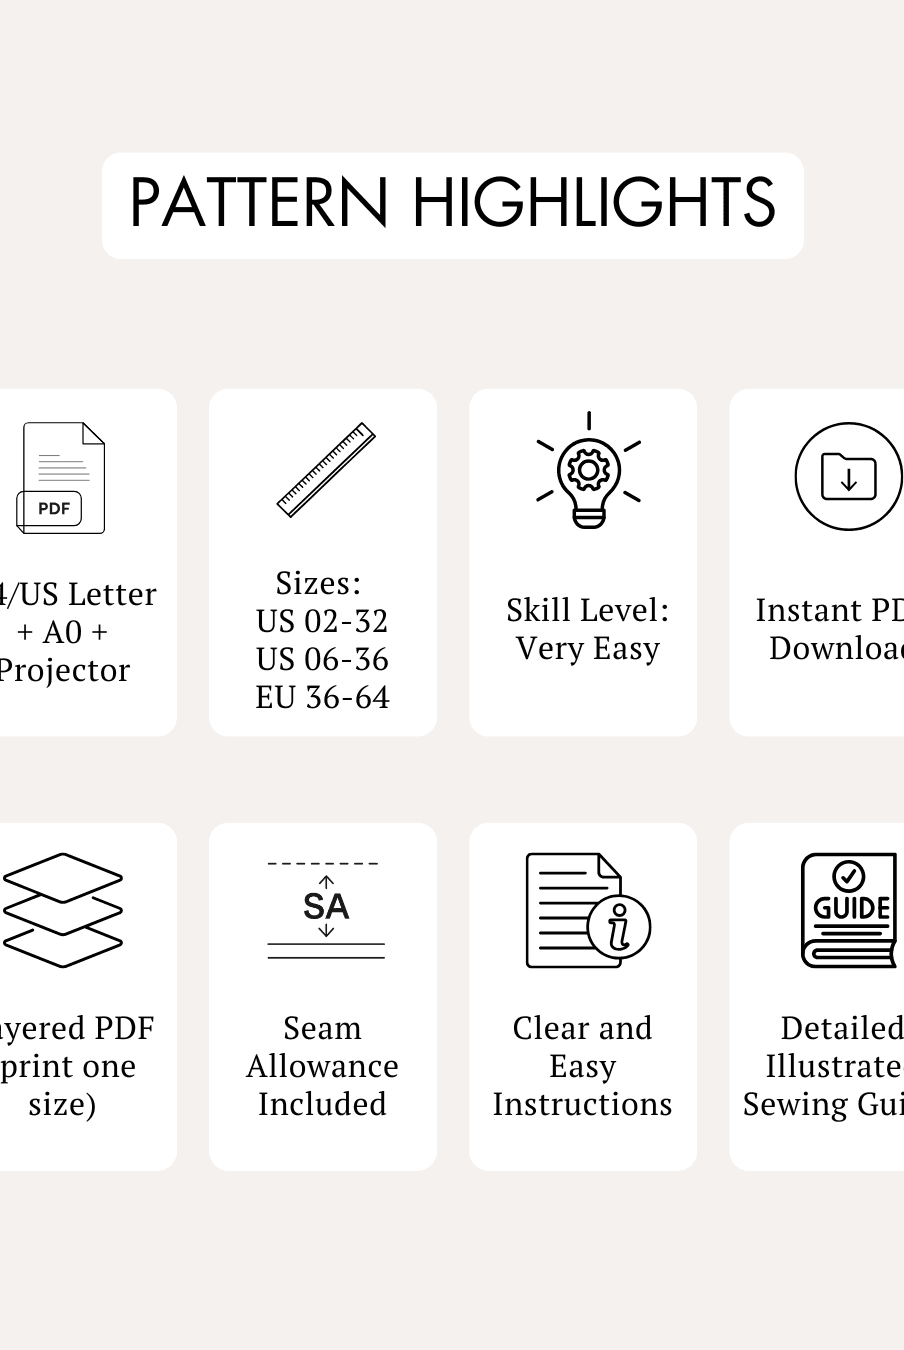
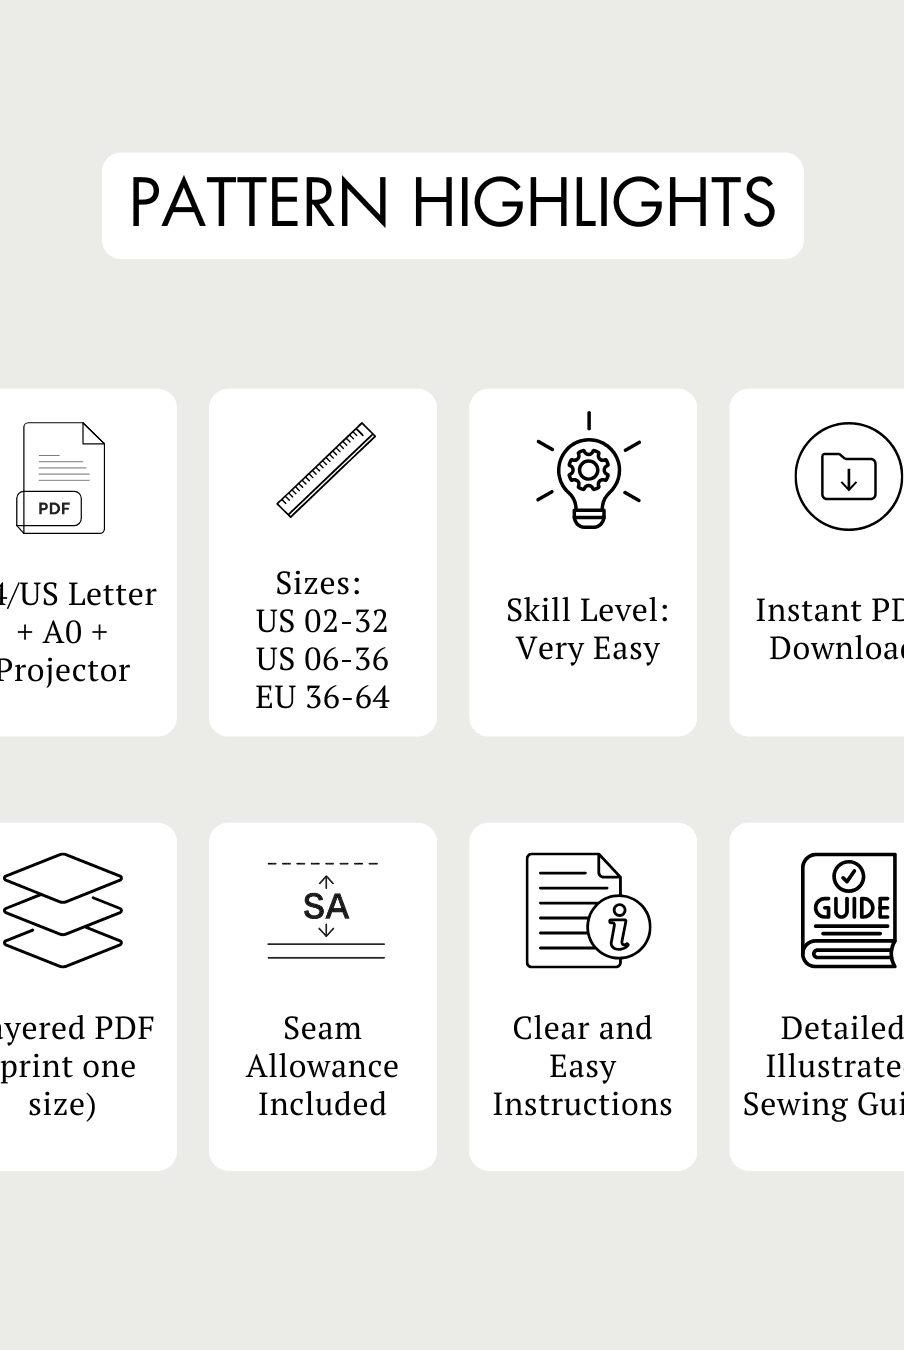
- Layered PDF files for convenient printing
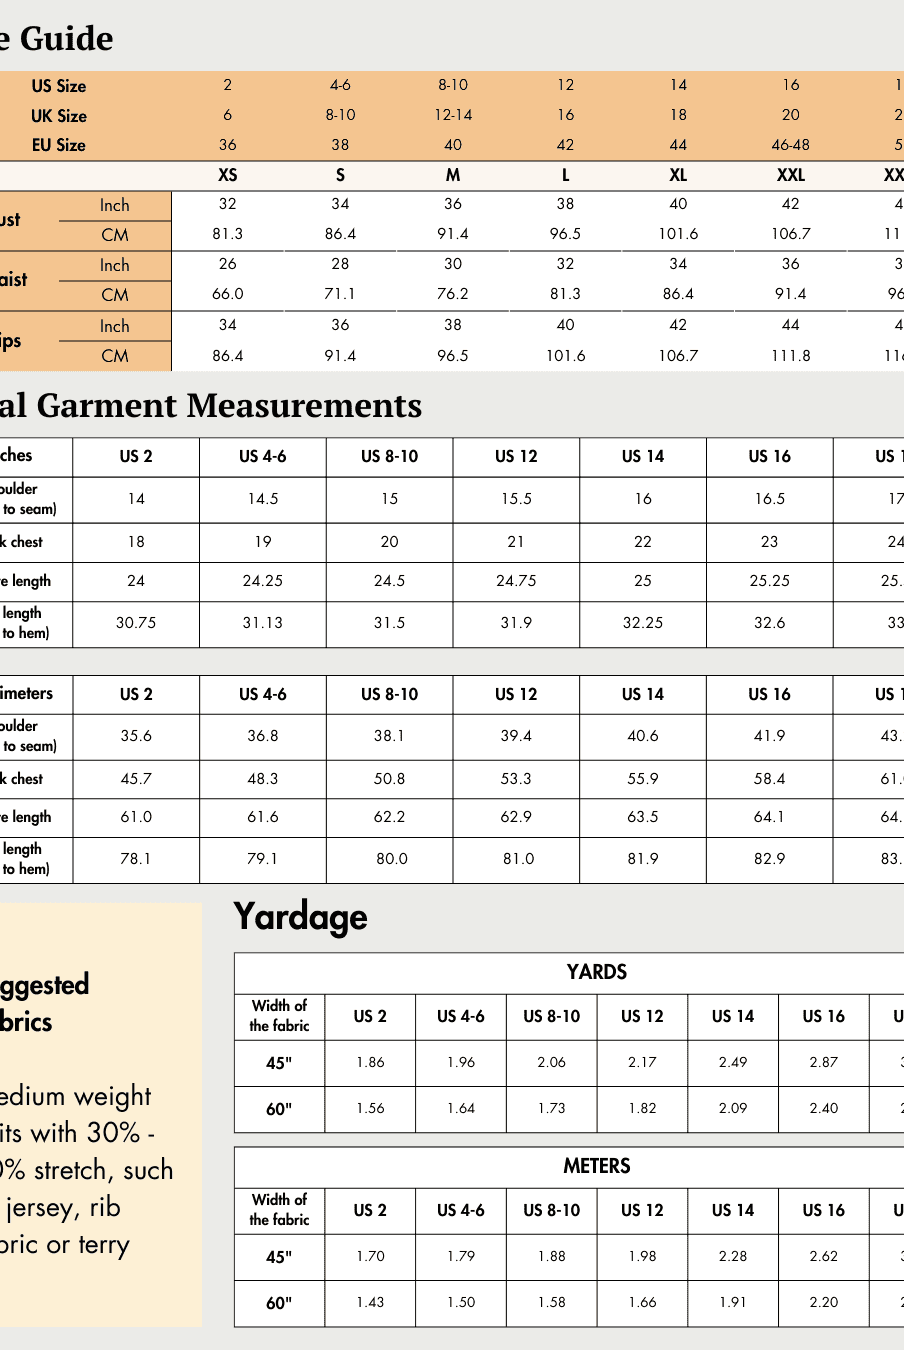
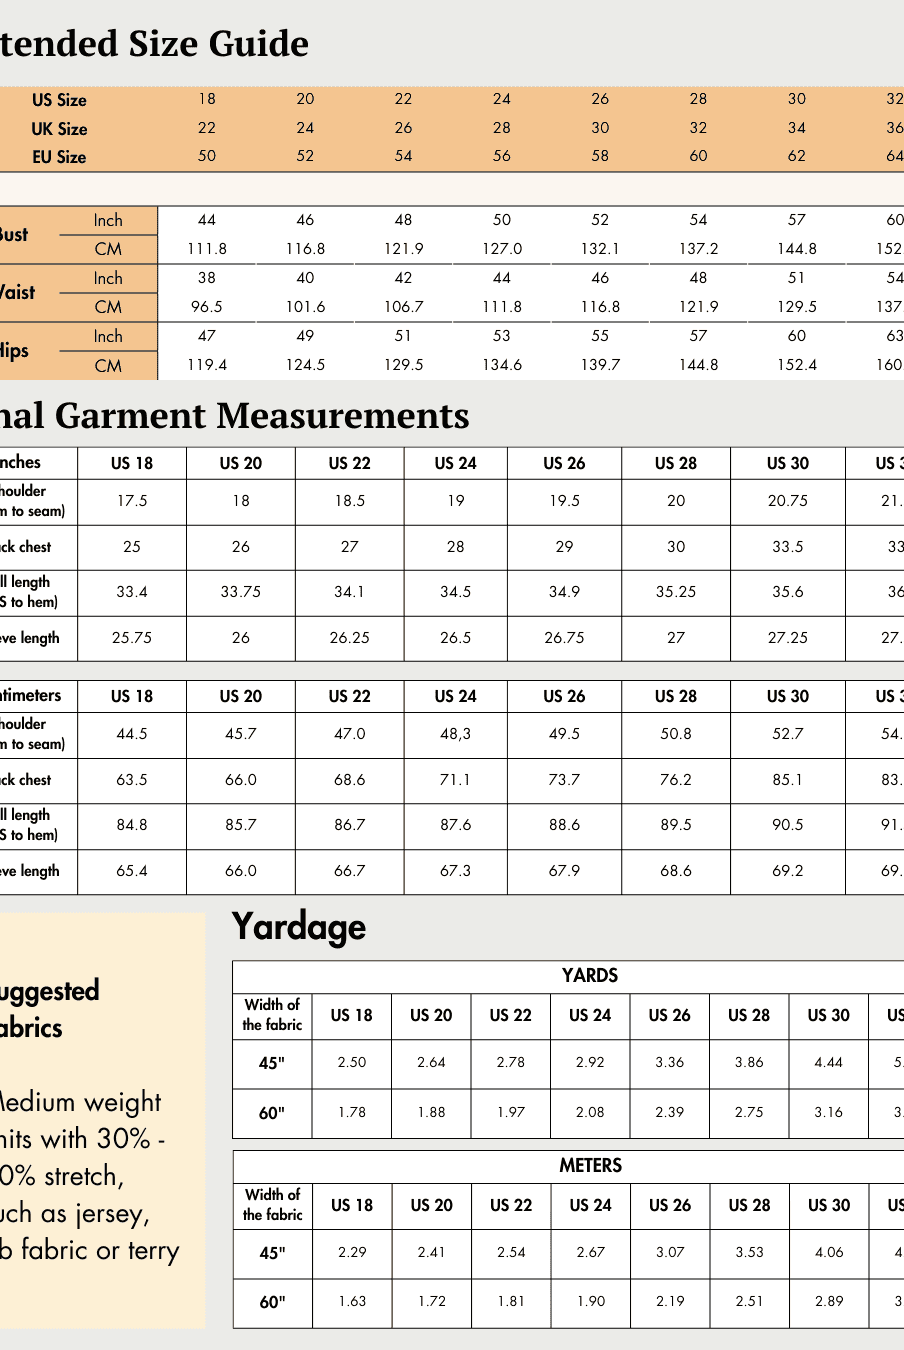
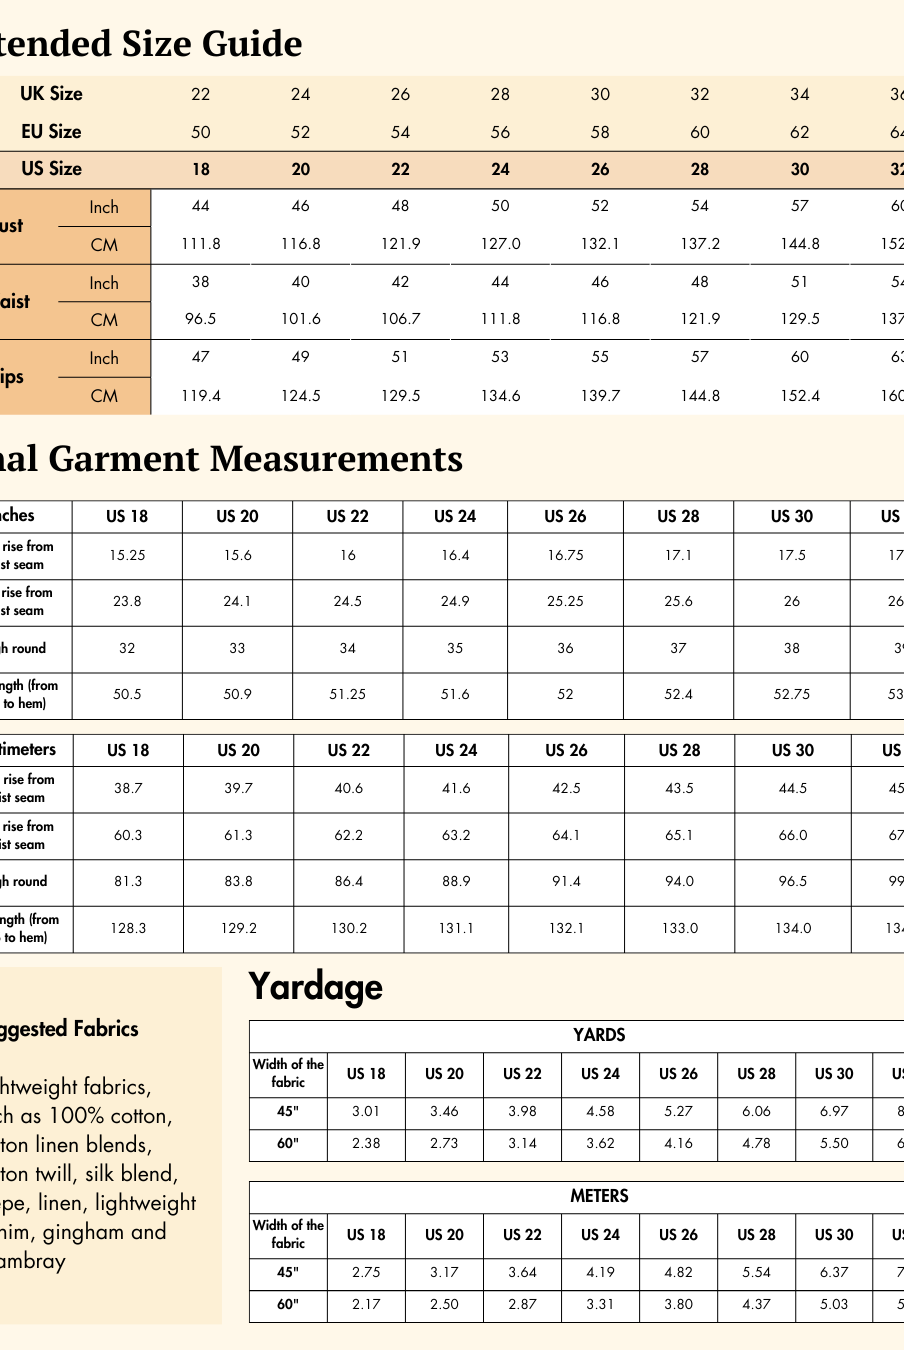
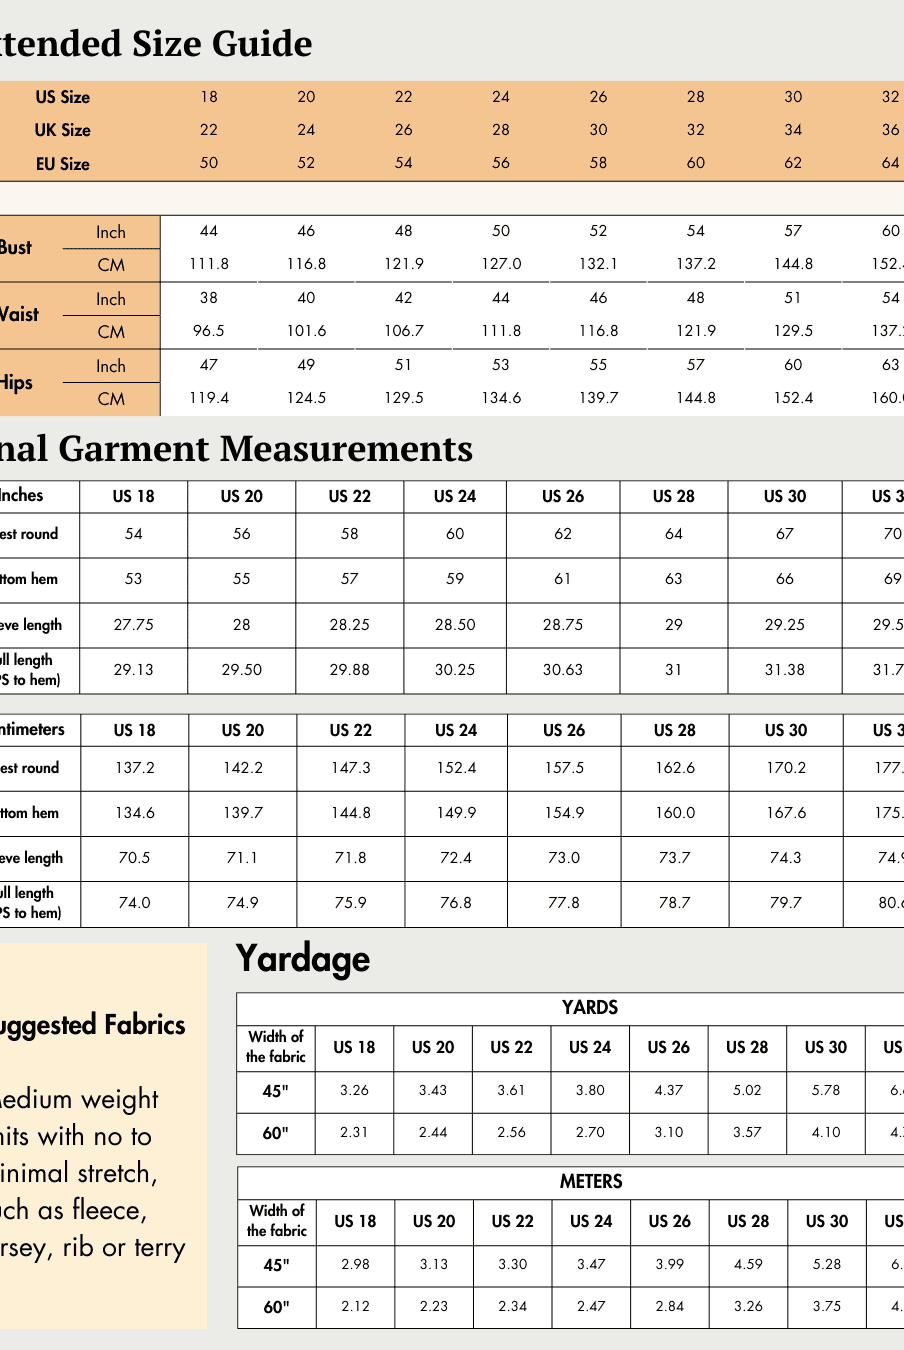
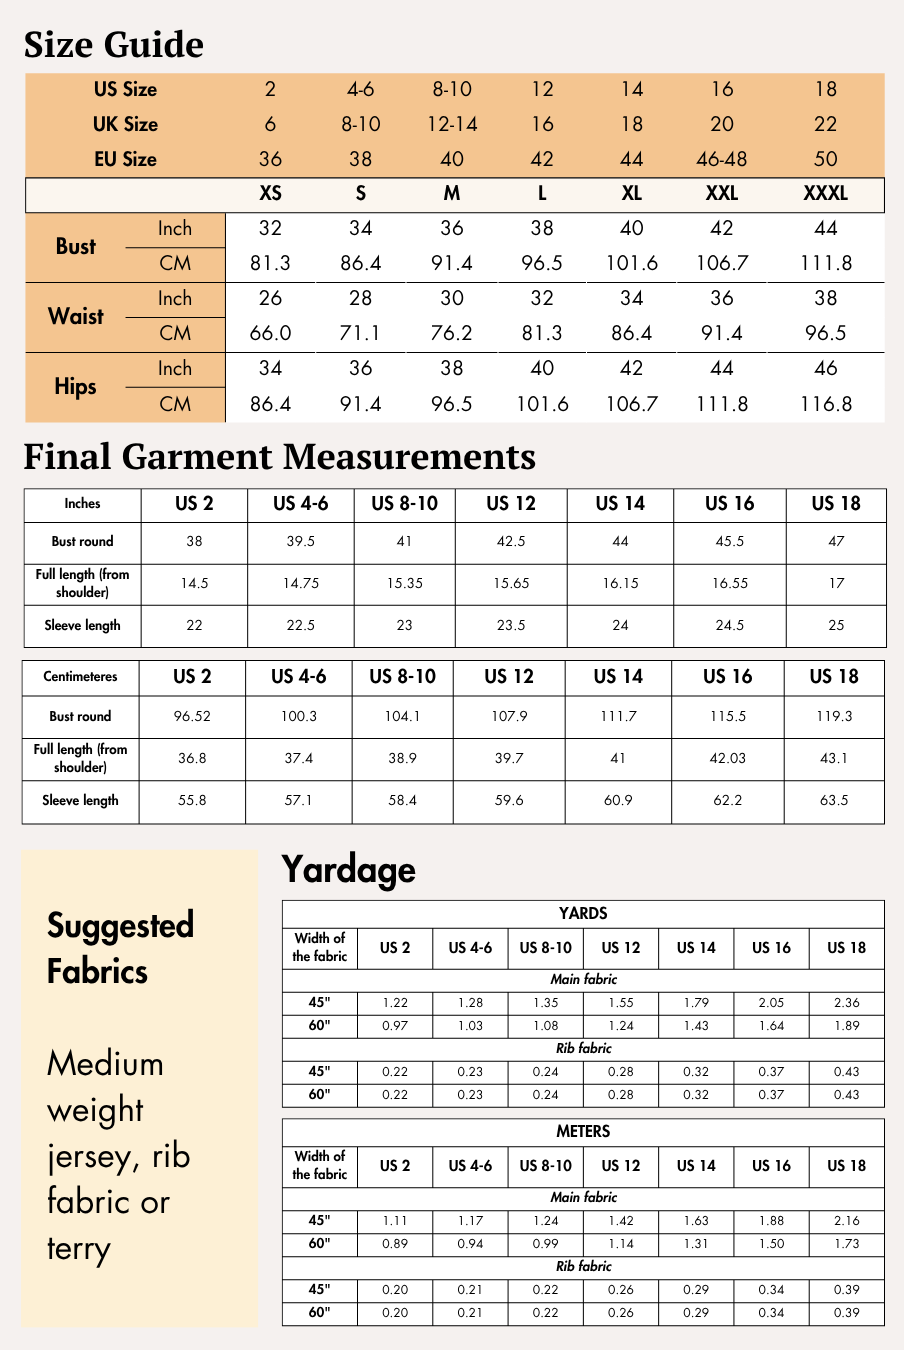
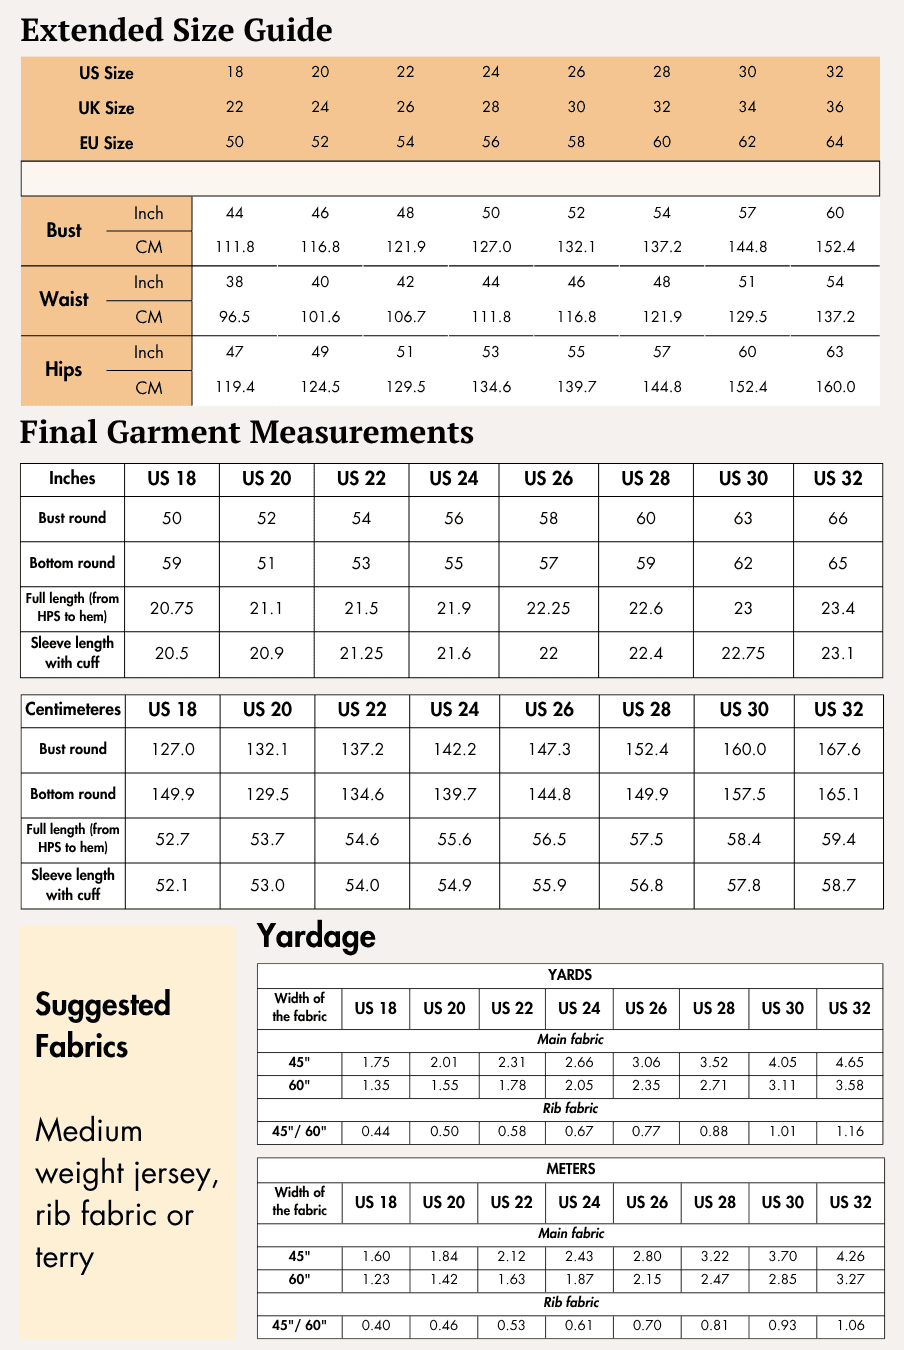
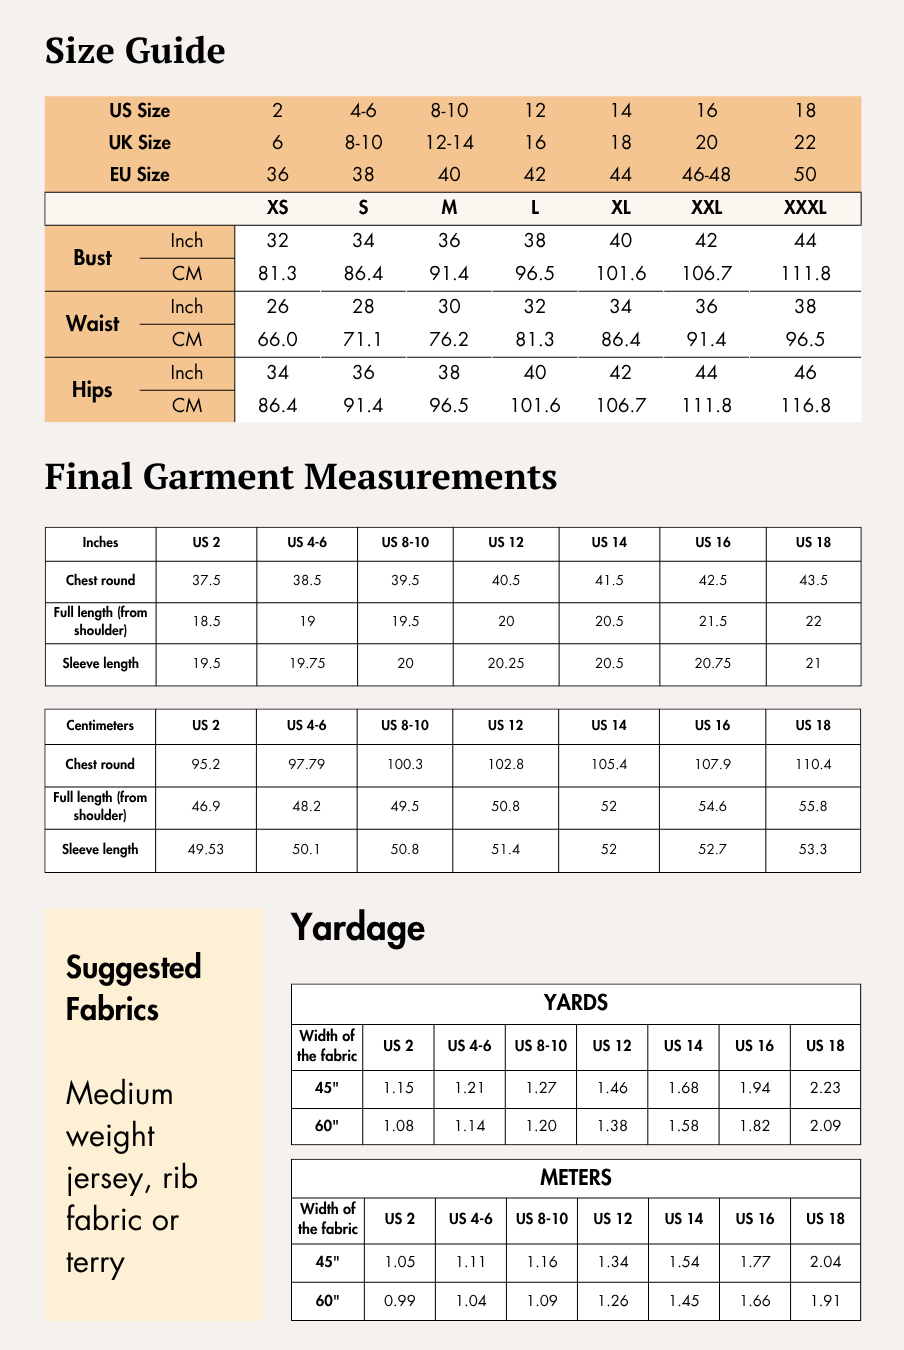
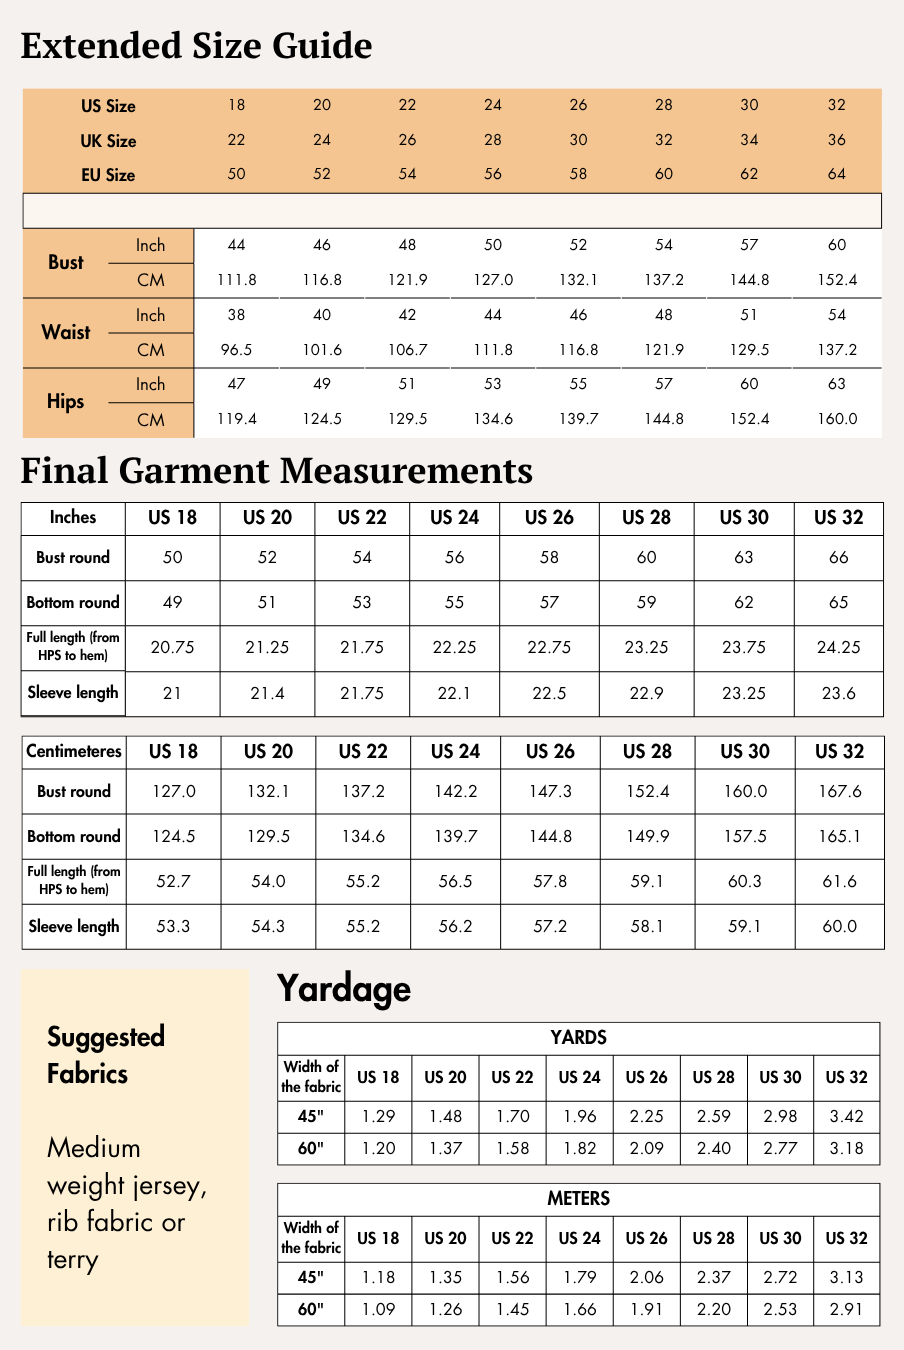
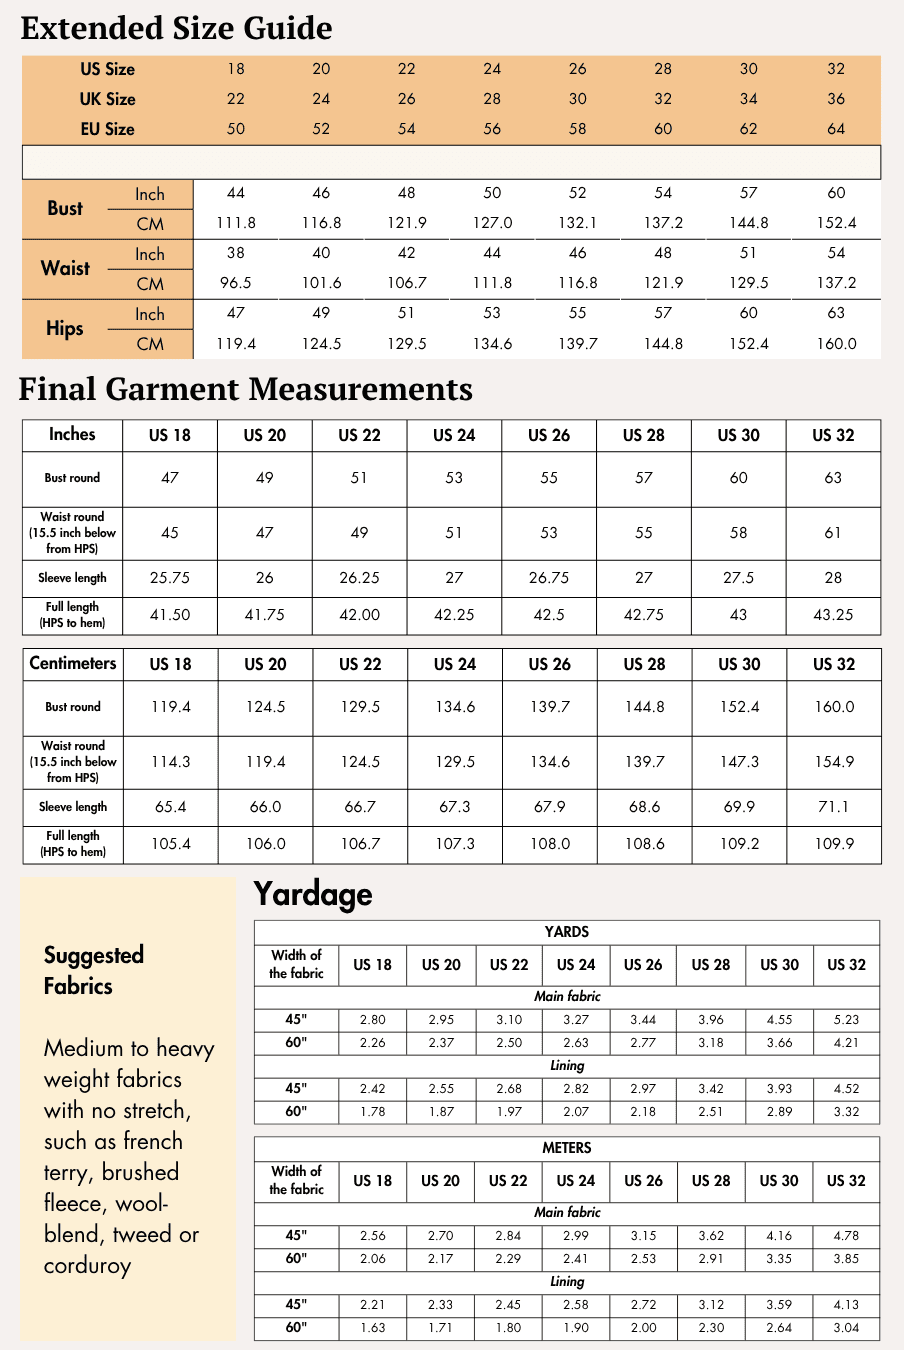
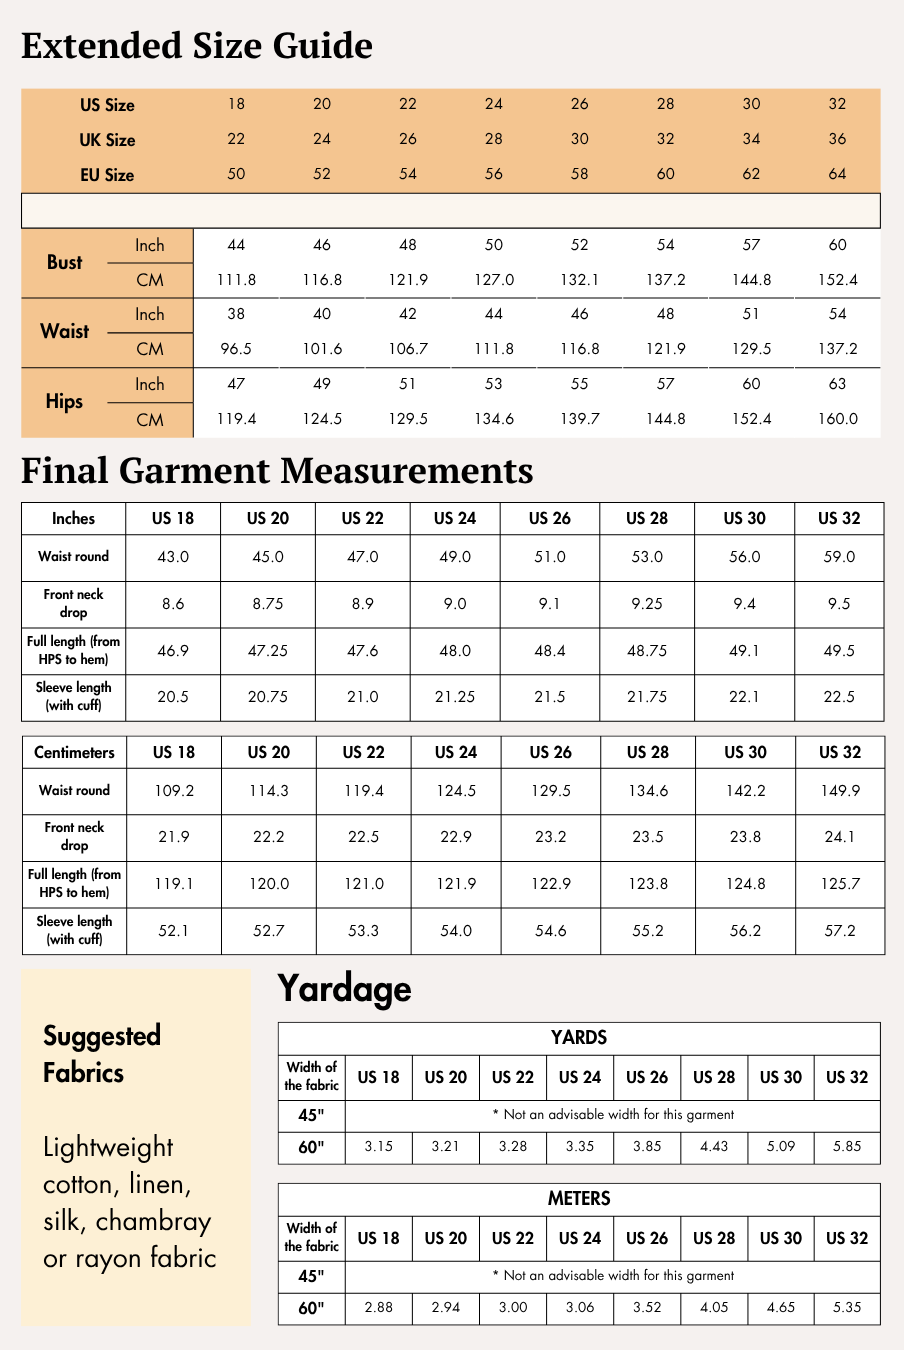
Available Sizes: US 02 - US 32 | UK 06 - UK 36 | EU 36 - EU 64
Supplies & Notions
Before you begin sewing, gather the following supplies listed in the sewing guide:
- Main fabric
- Pocket lining fabric (if required)
- Knit or woven elastic (according to the guide)
- Matching sewing thread
- Sewing machine
- Serger or overlocker (optional but recommended)
- Fabric scissors or rotary cutter
- Pins or sewing clips
- Measuring tape
- Fabric marker or tailor's chalk
- Iron and ironing board
- Safety pin or bodkin for inserting elastic
Fabric Recommendations
The sewing guide recommends lightweight fabrics suitable for activewear and casual shorts.
Recommended Fabrics:
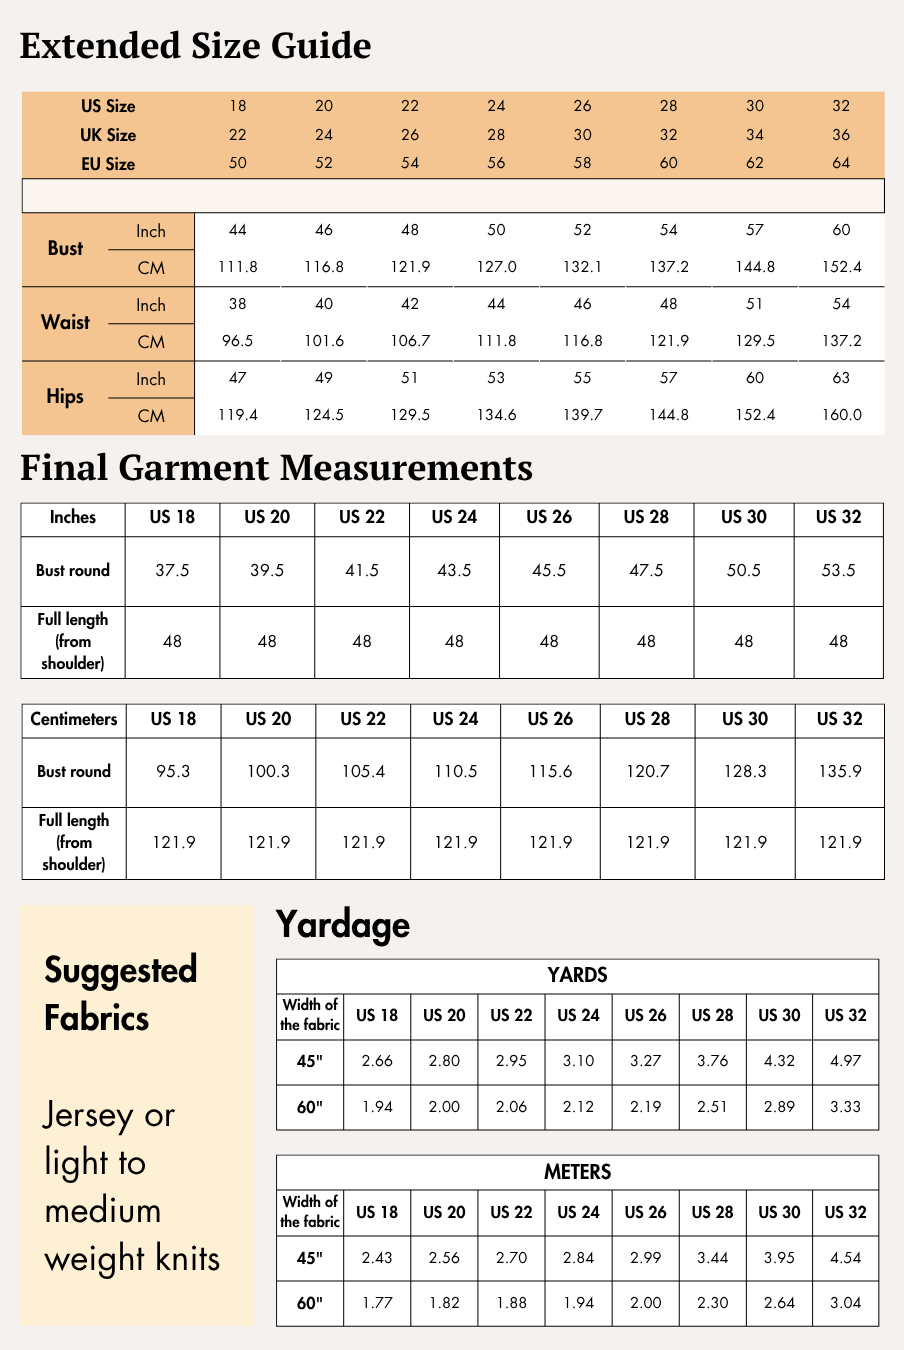
Light to medium weight knit fabrics, such as cotton blend jersey or poly knit.
Sample Fabric:
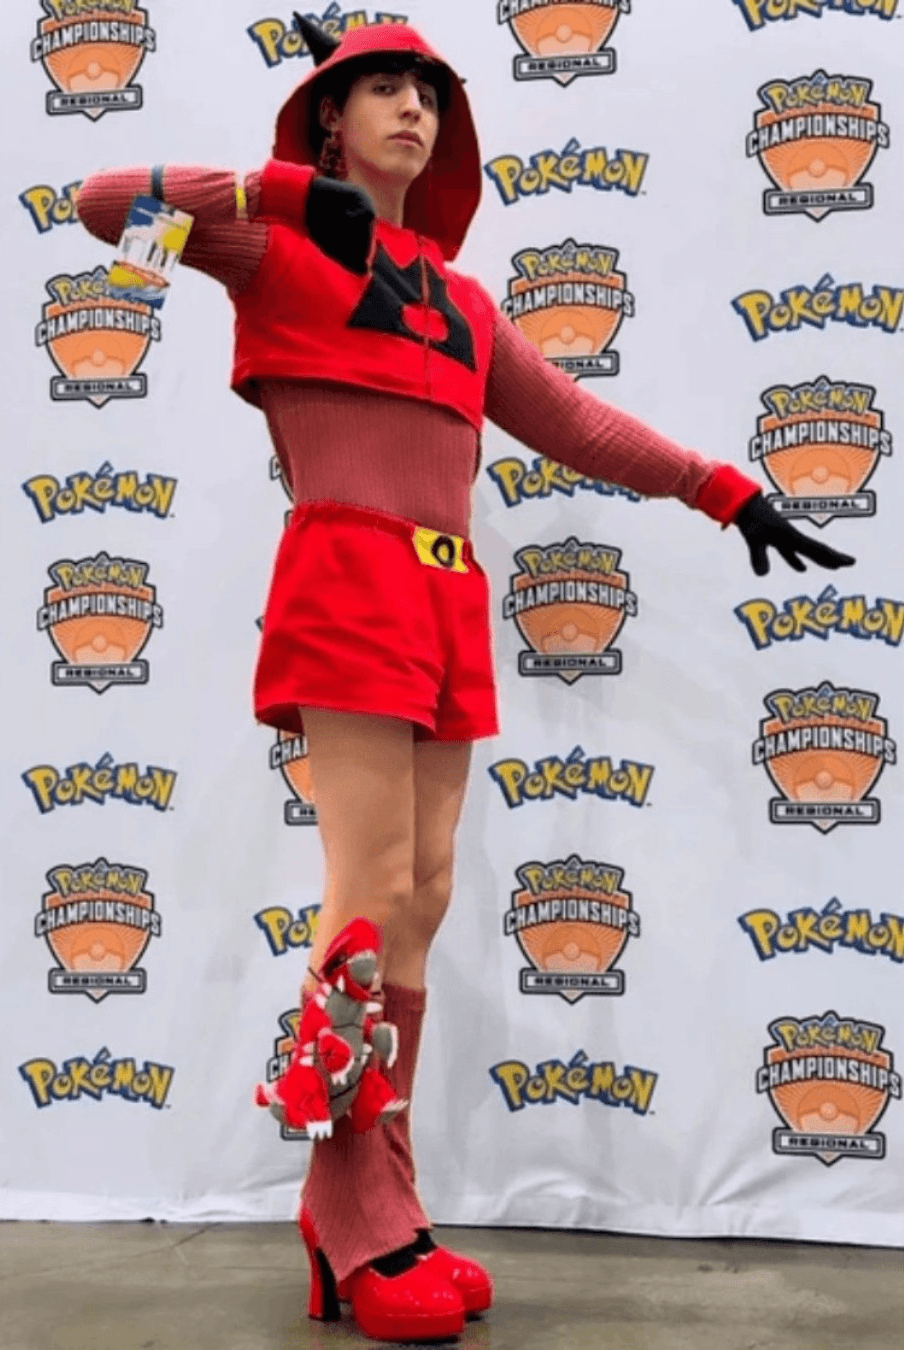
The model is wearing the shorts made of 5% polyester-spandex mesh fabric.
Additional Supplies:
Overlock & Flatlock Machine
Elastic Band
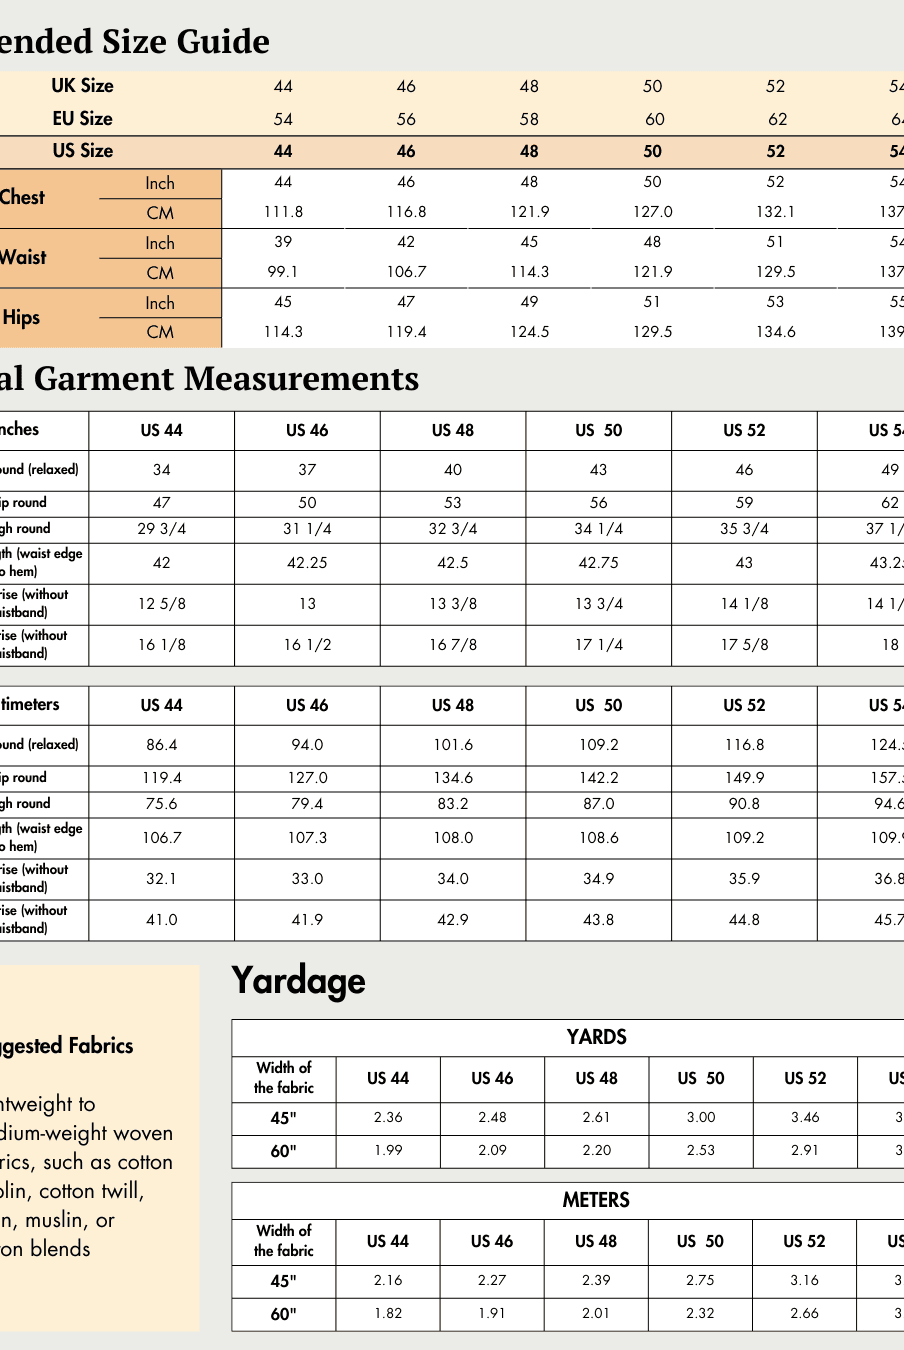
Size Charts
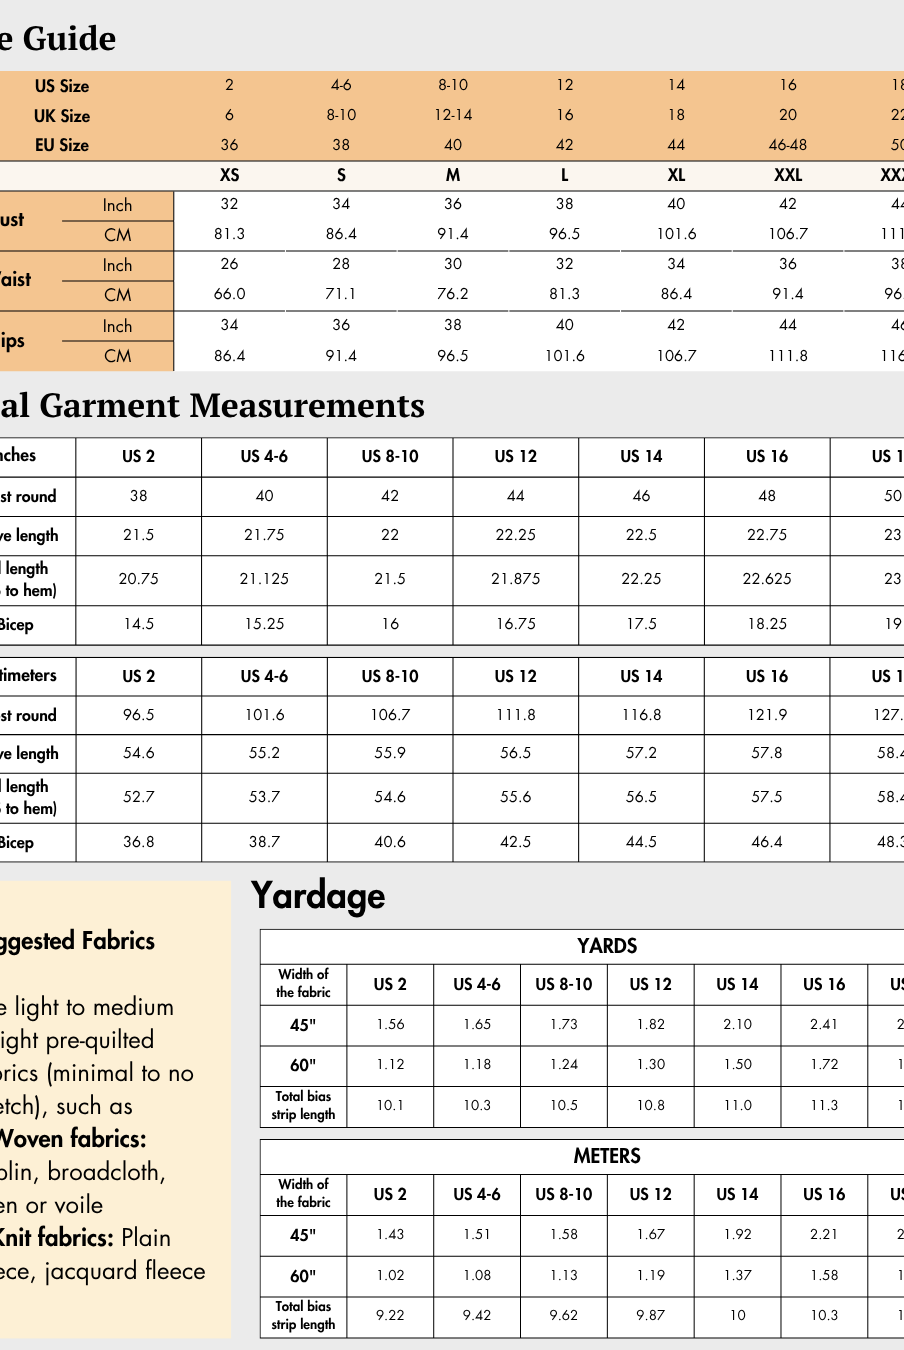
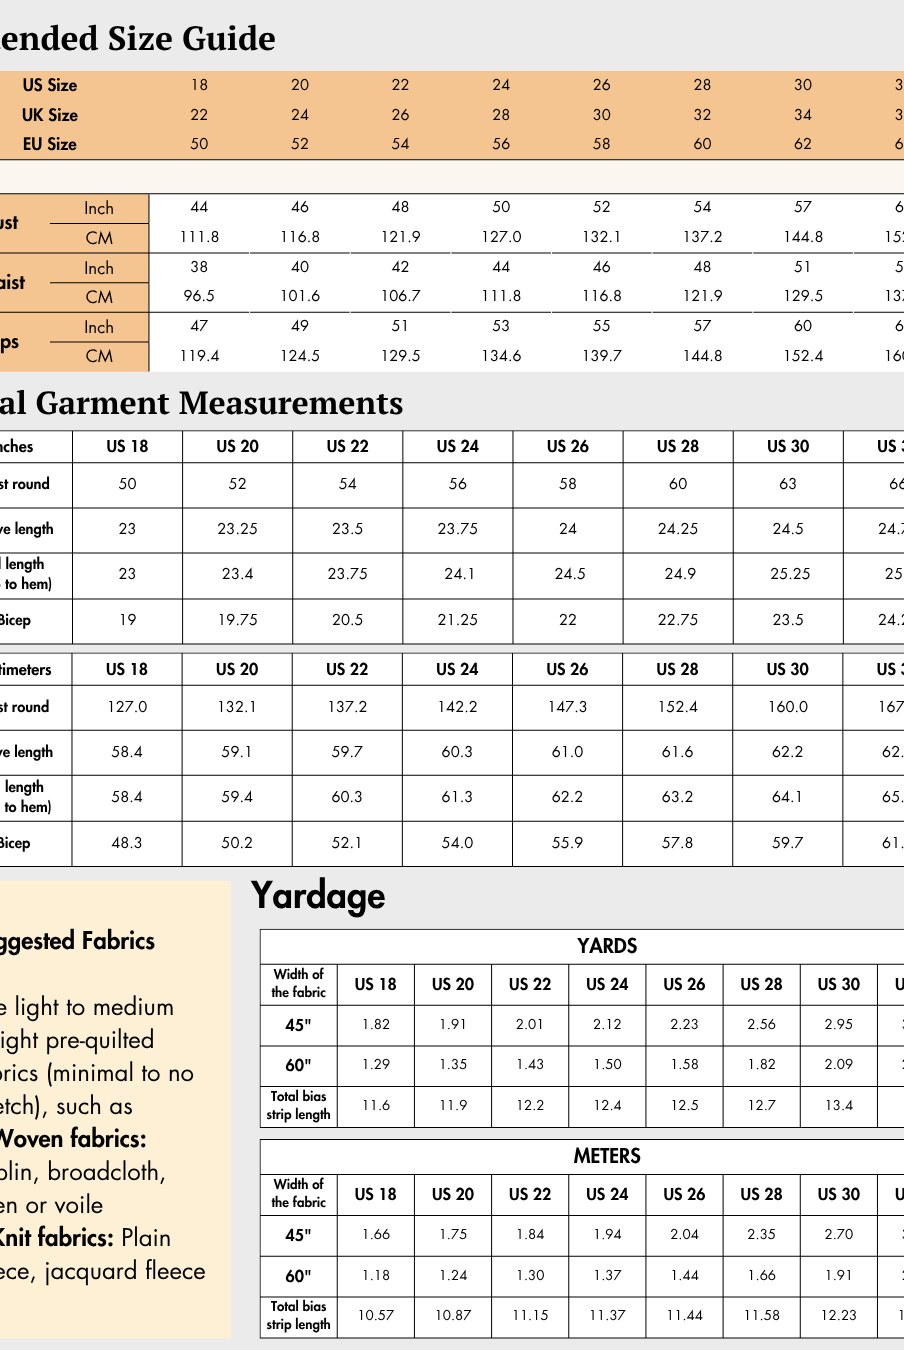
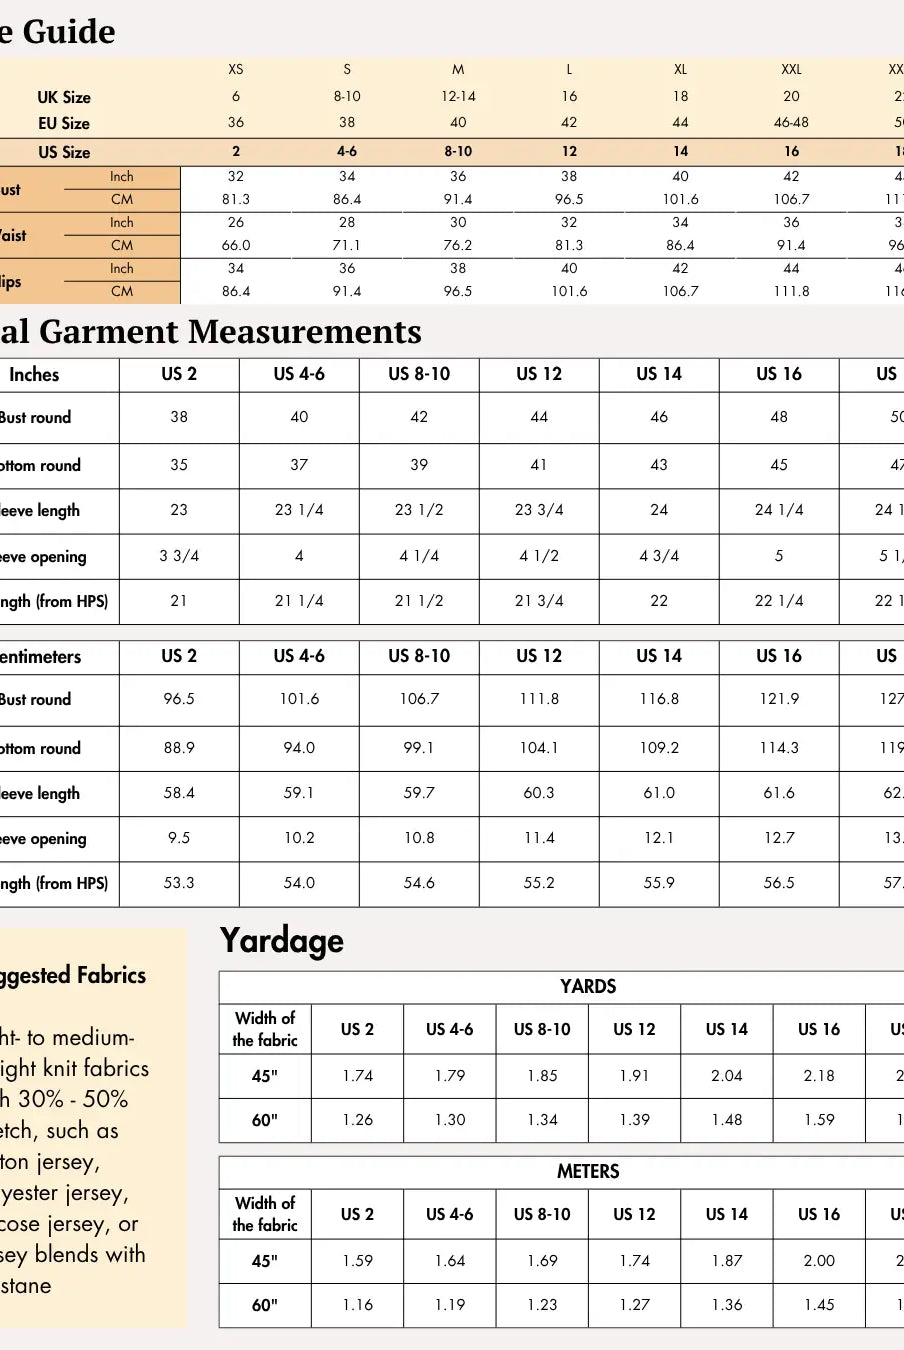
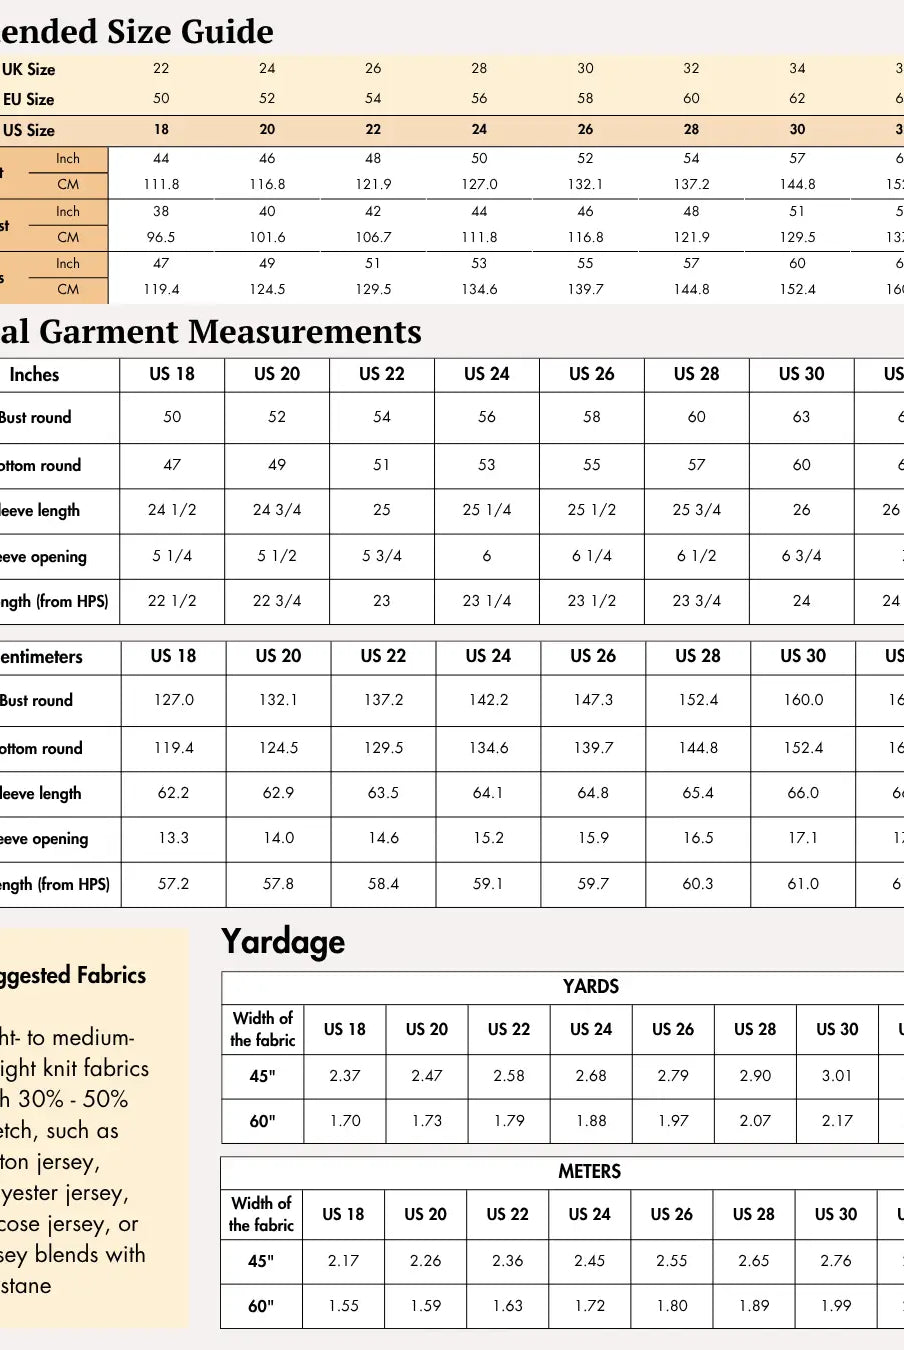
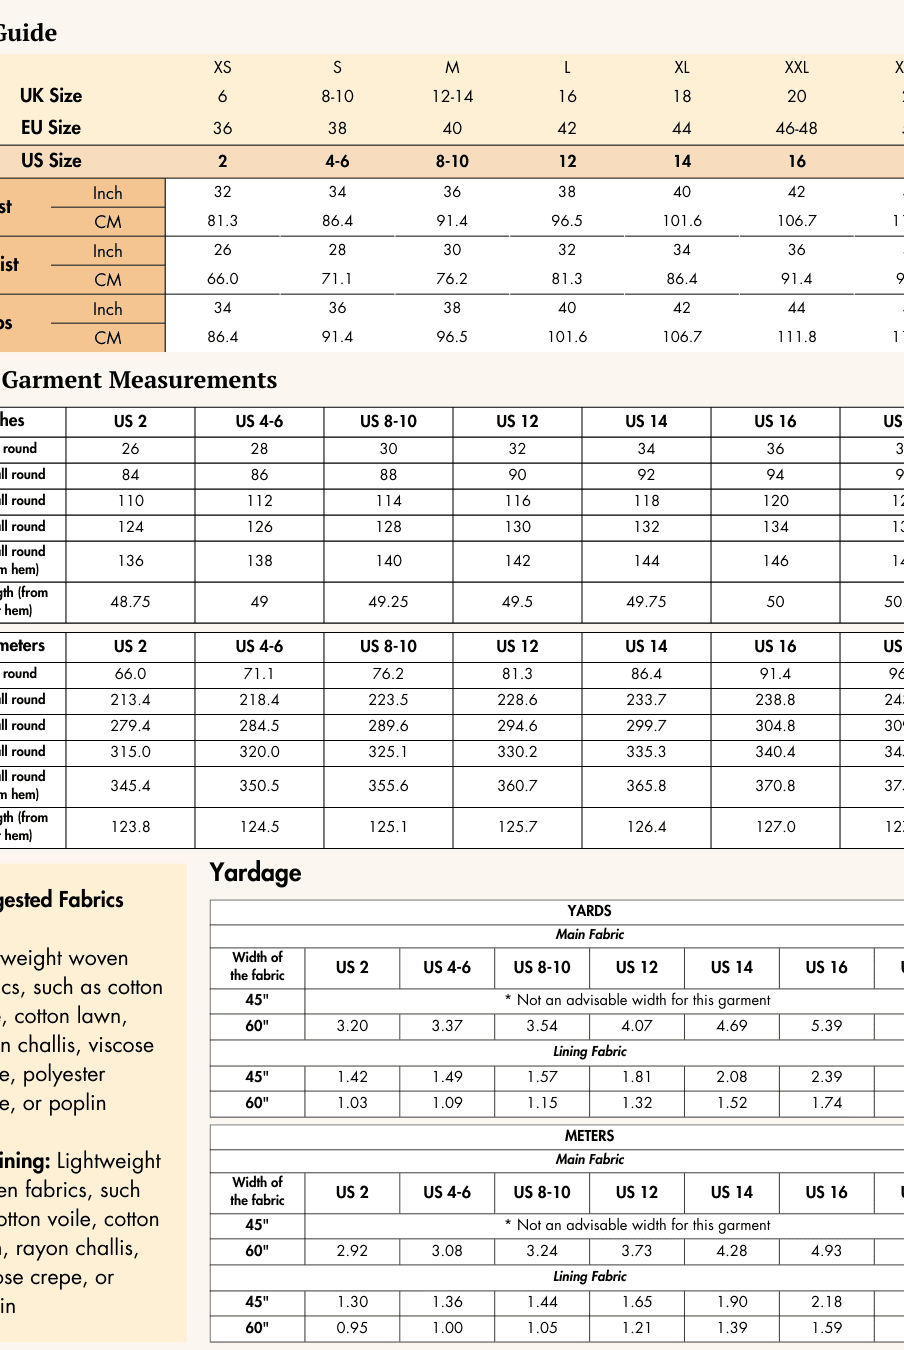
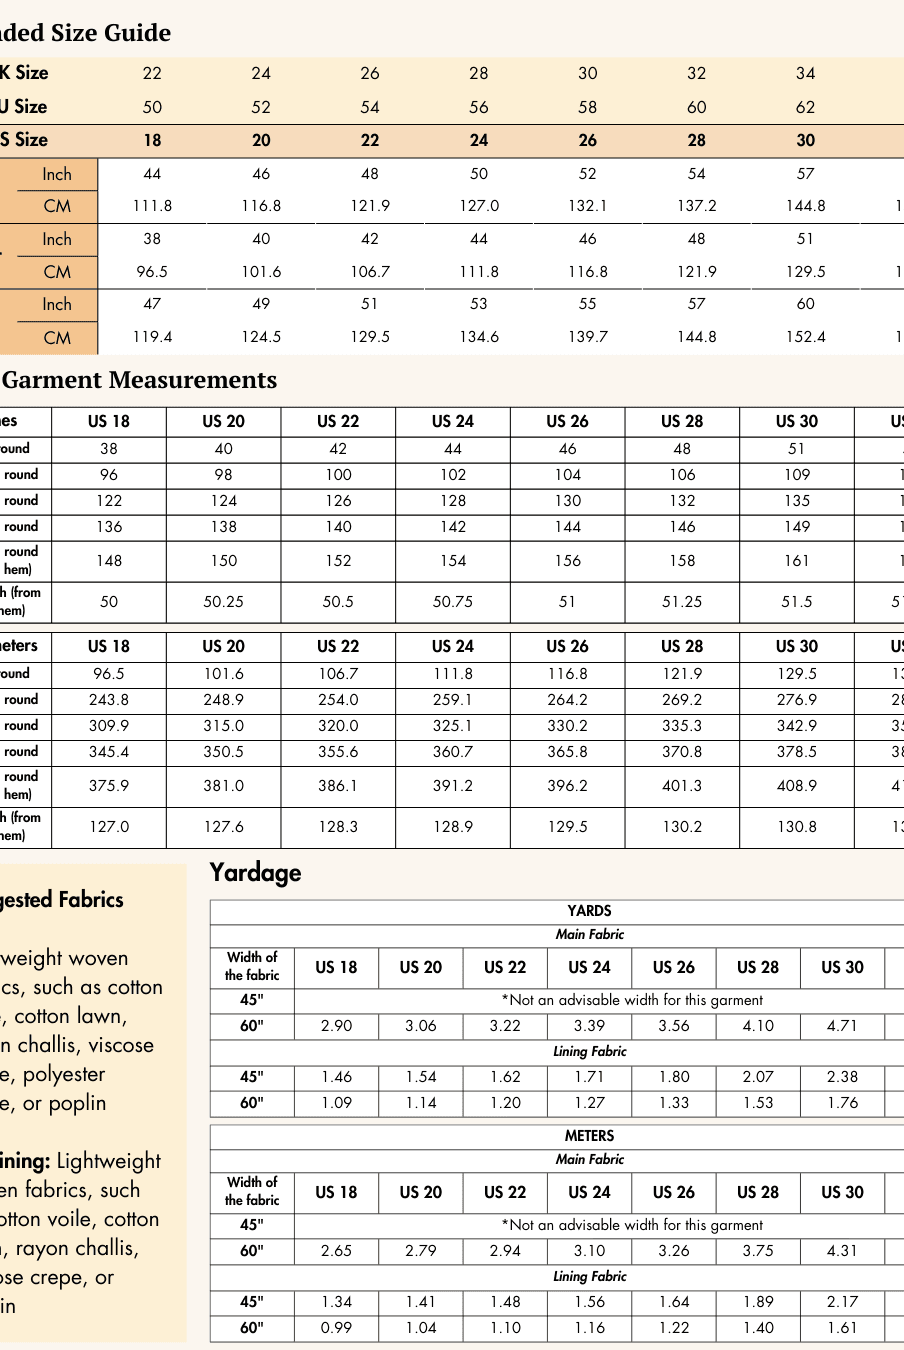
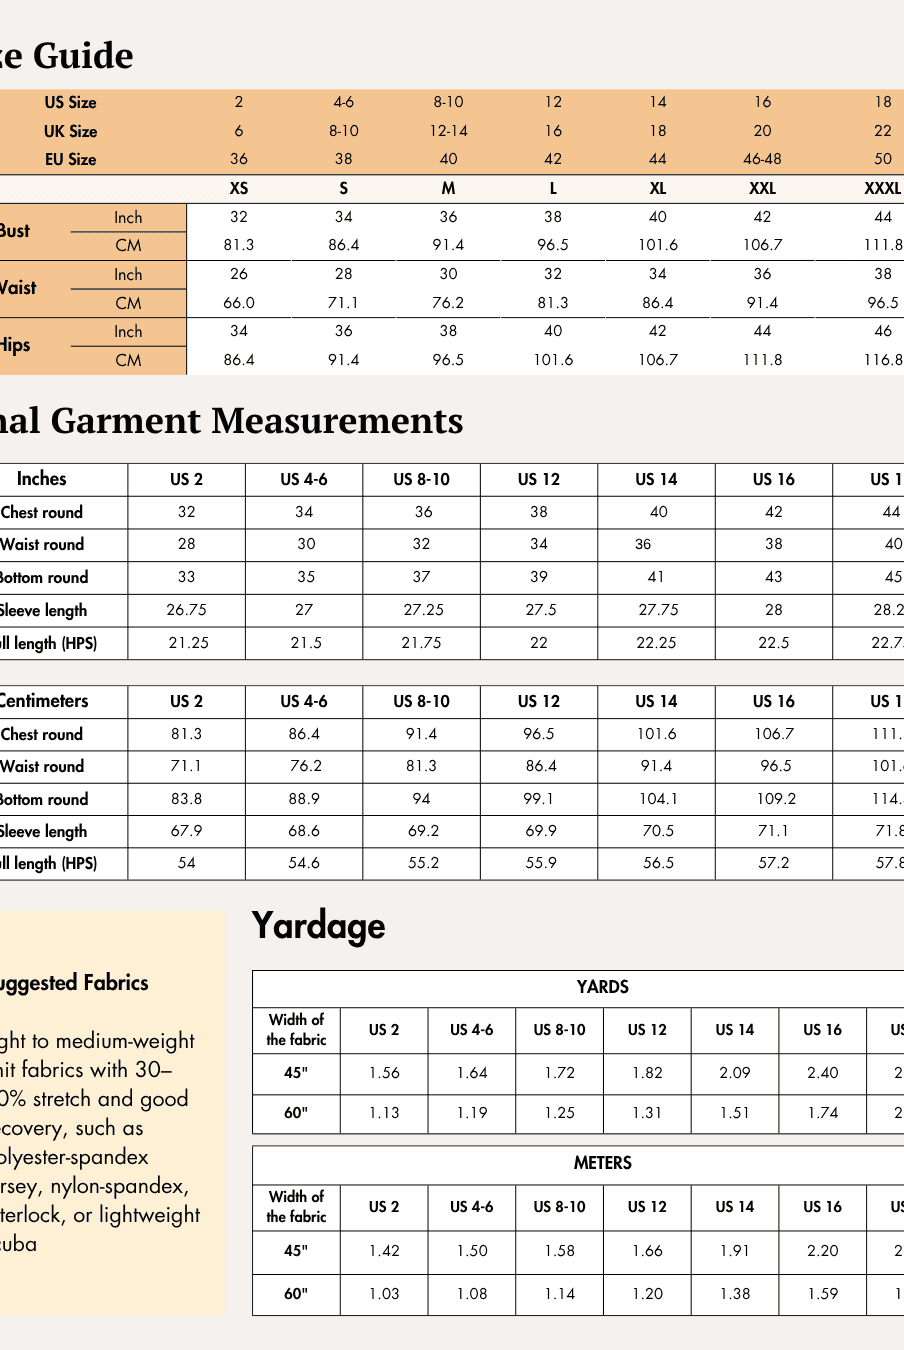
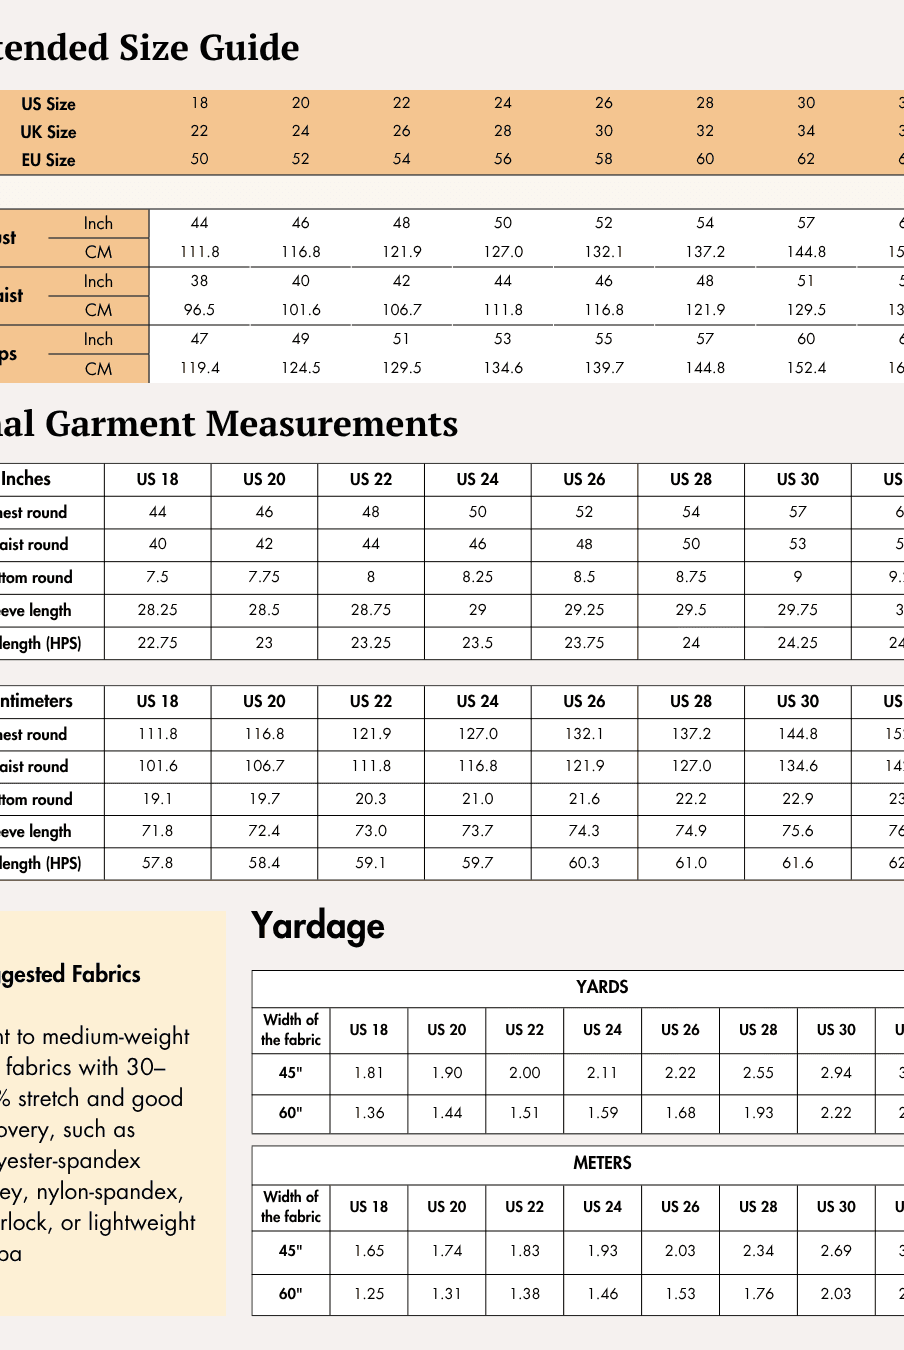
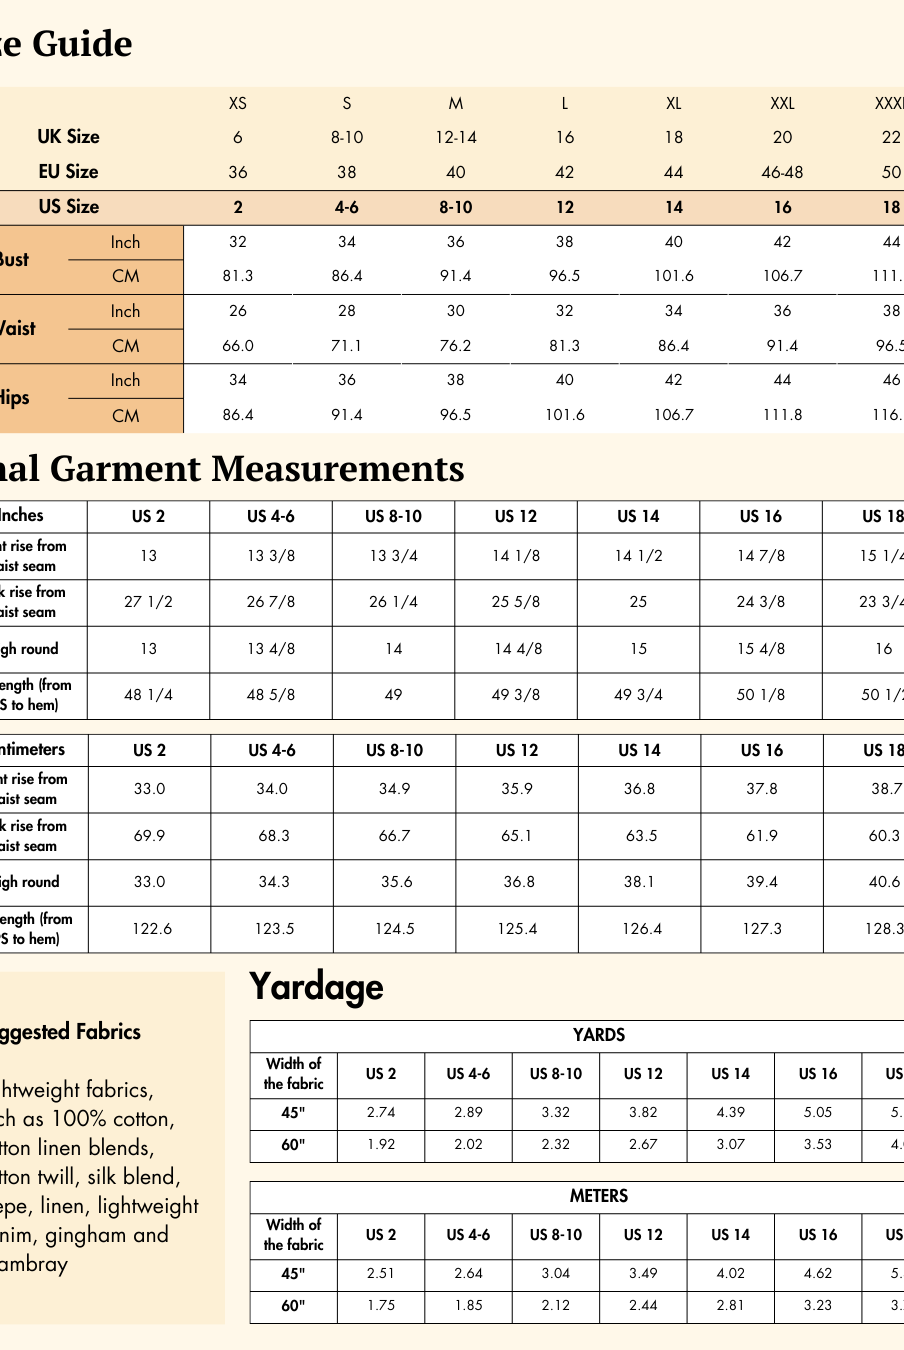
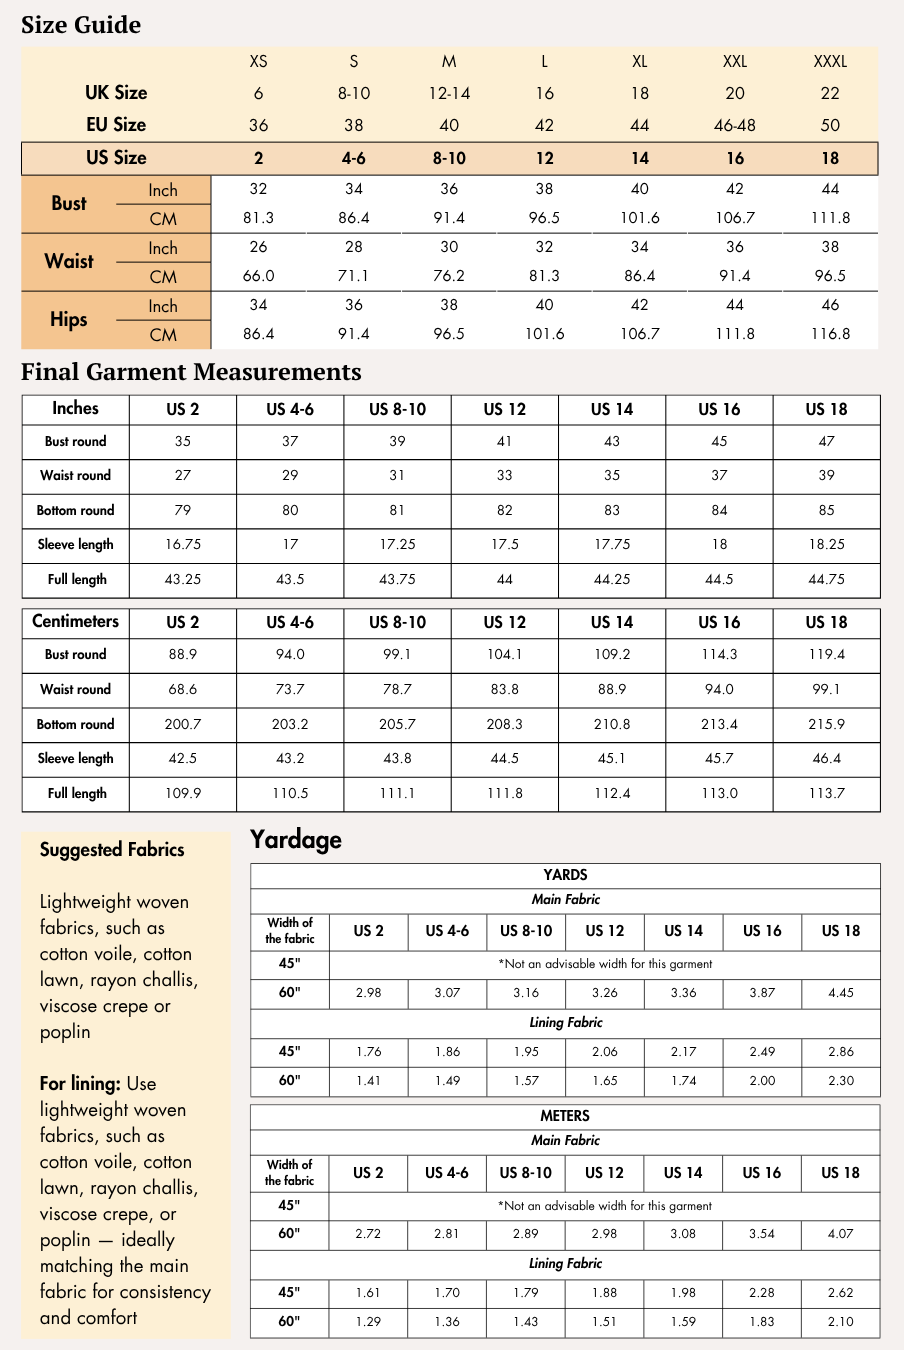
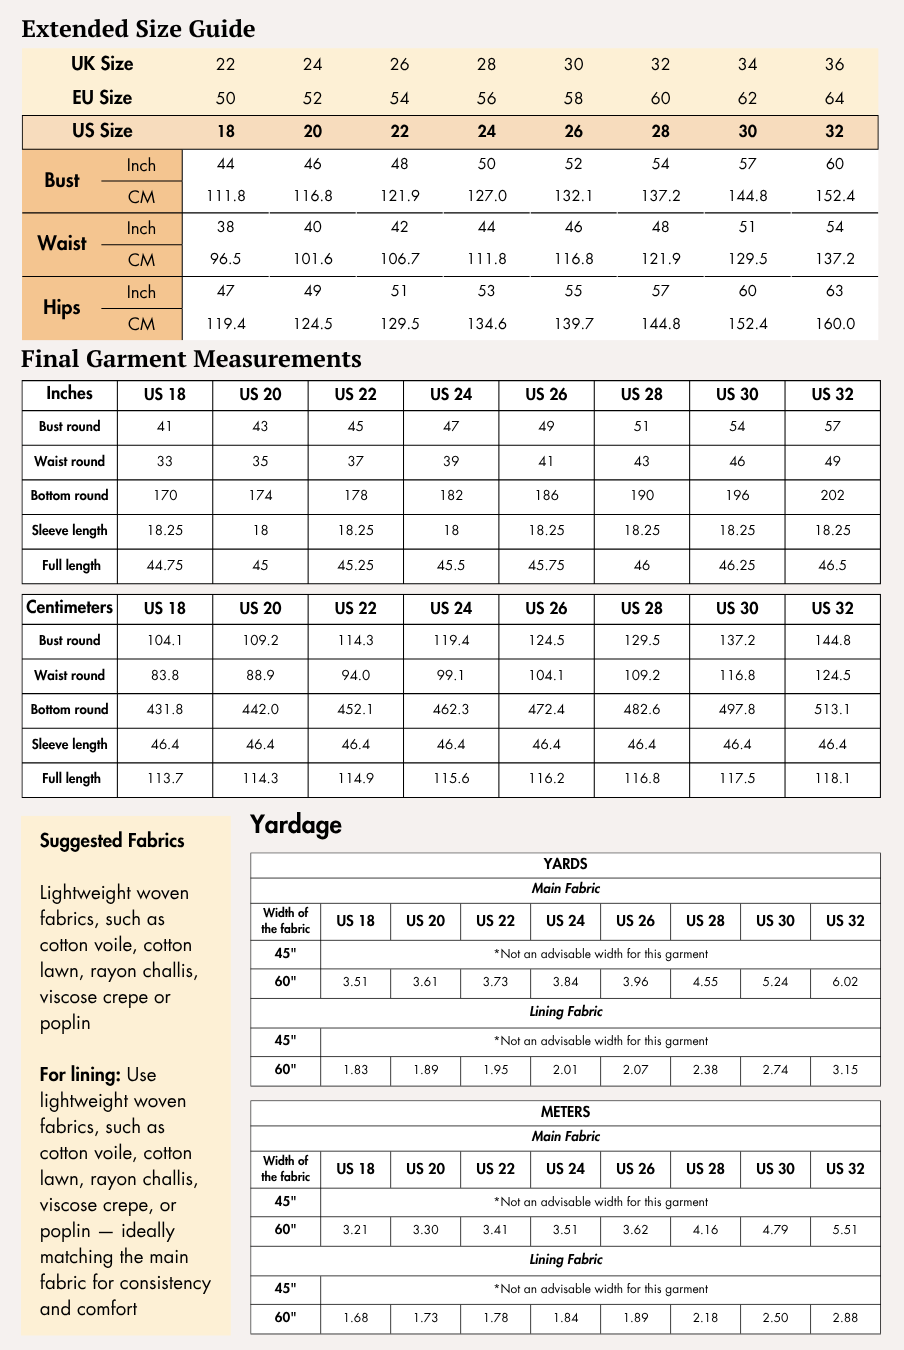
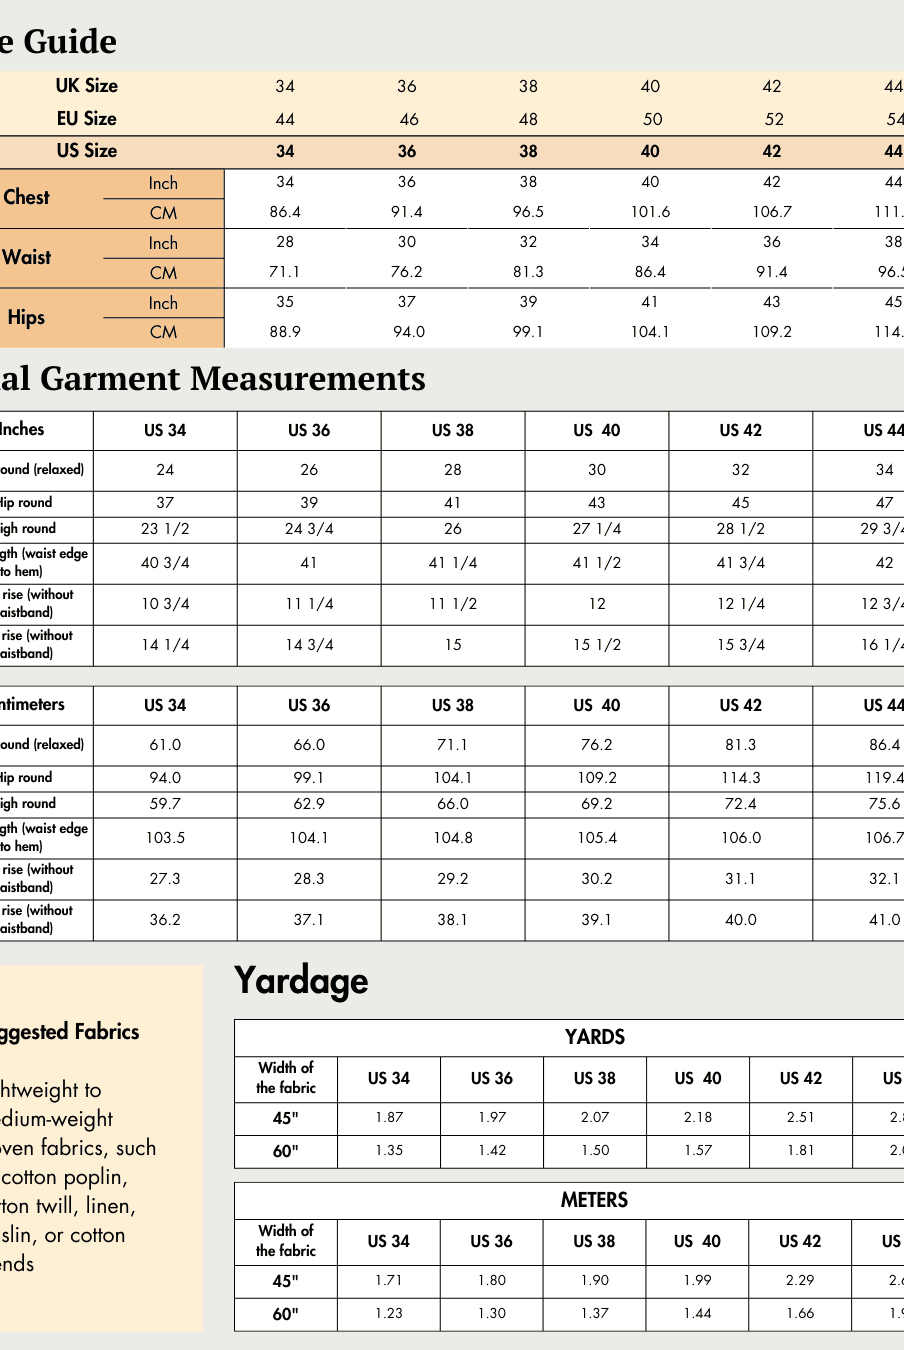
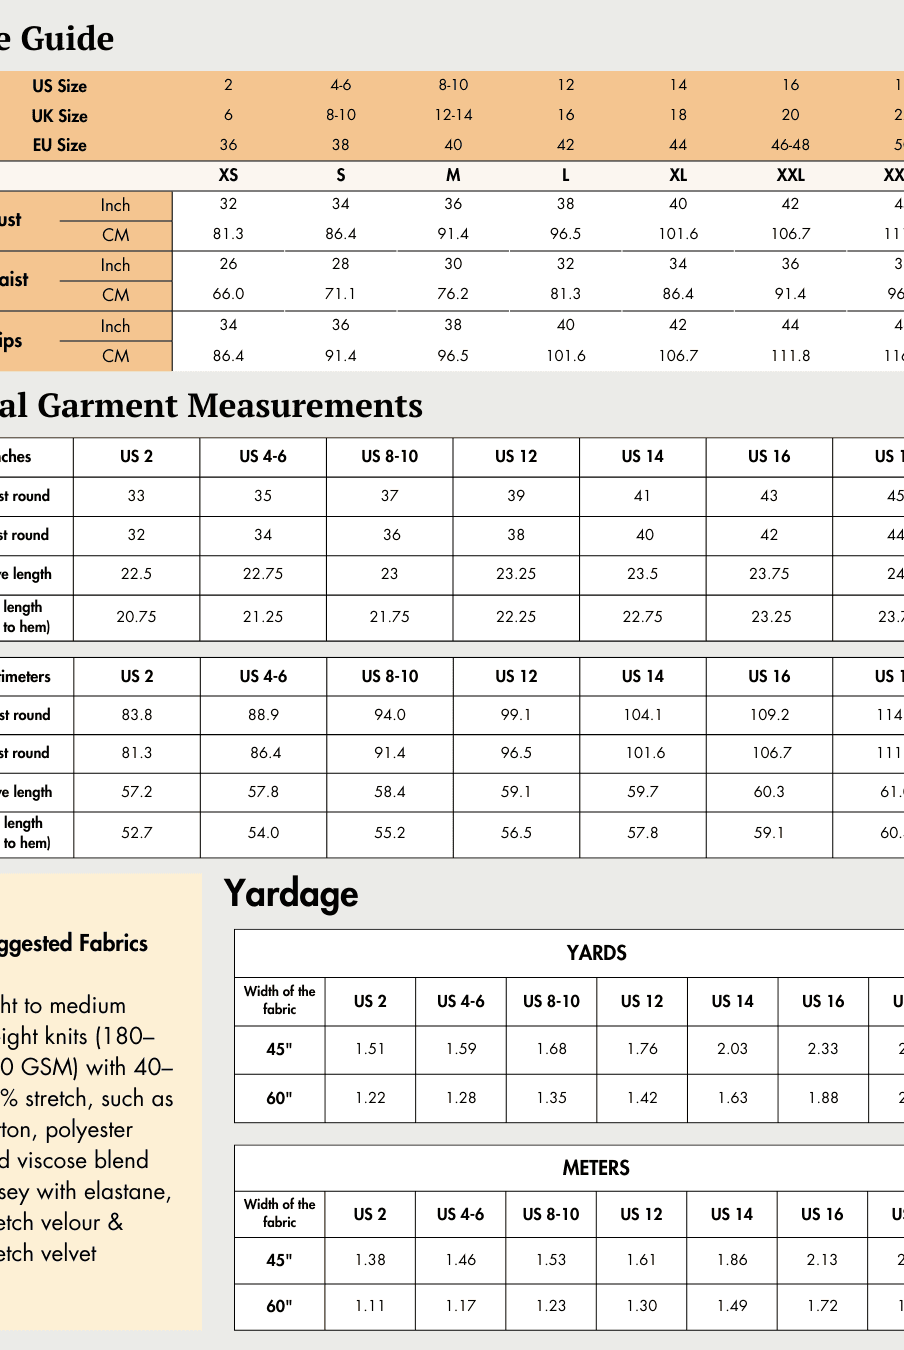
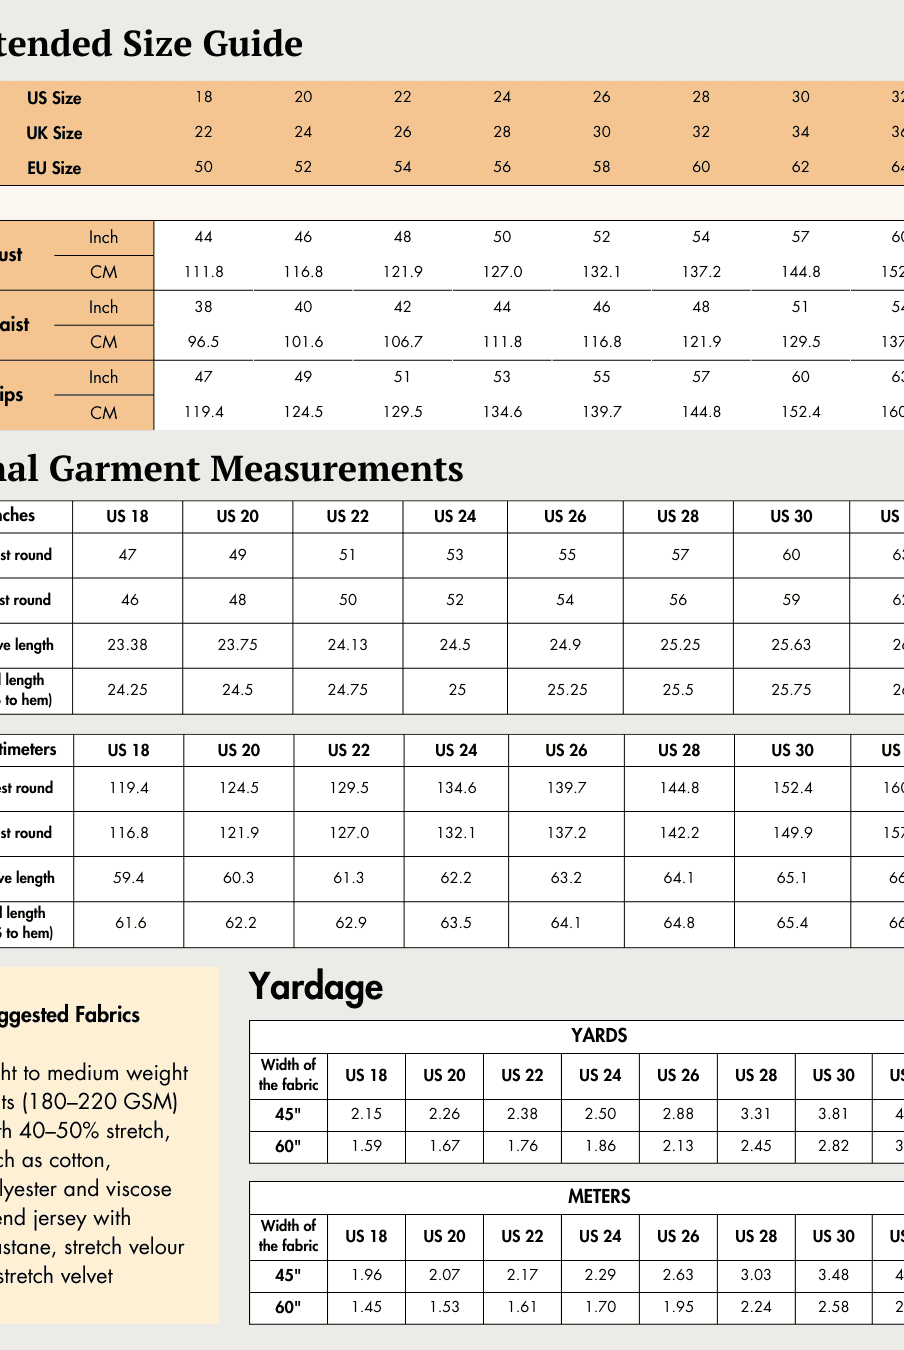
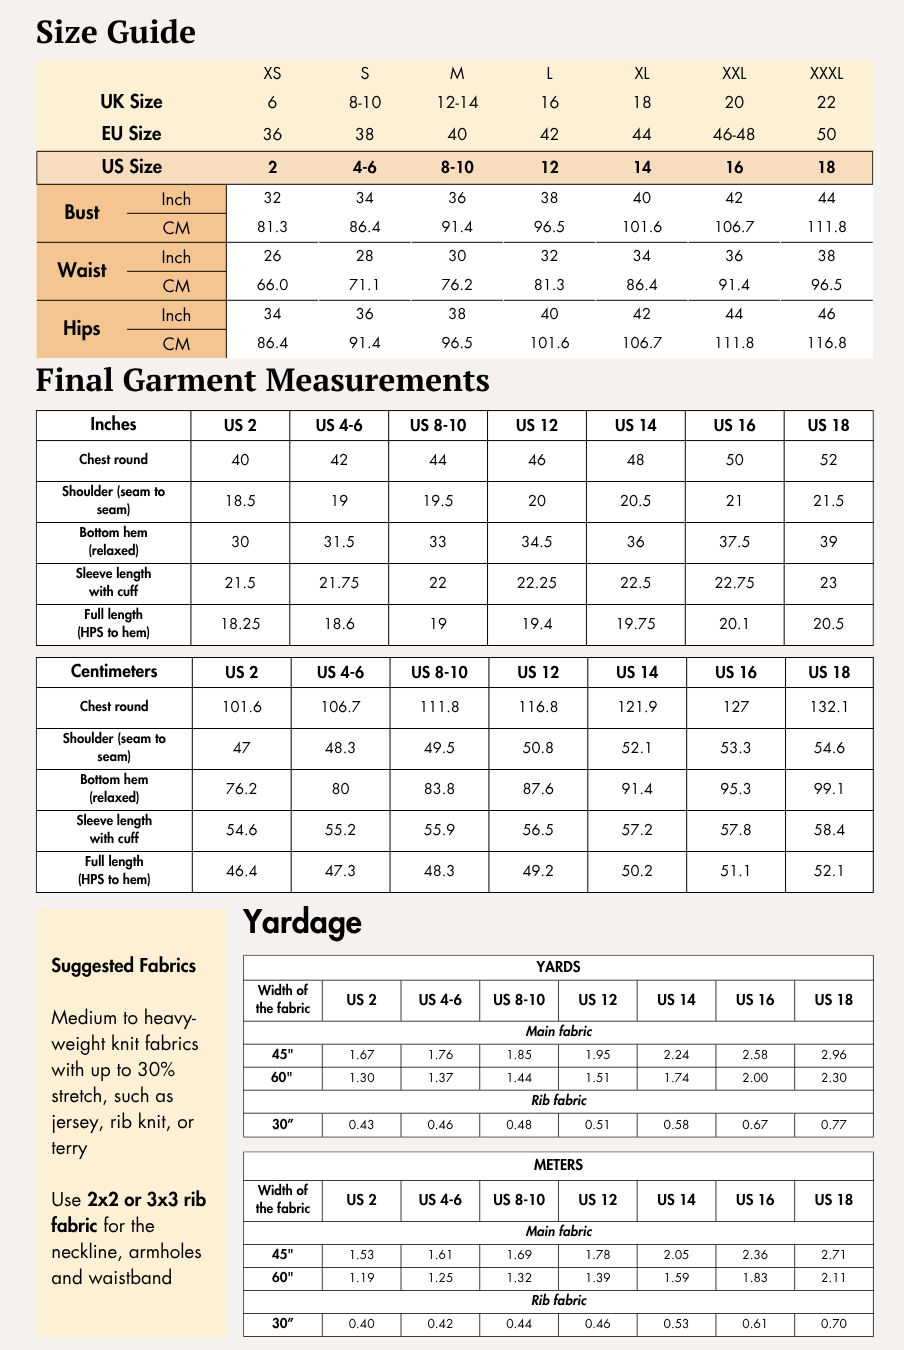
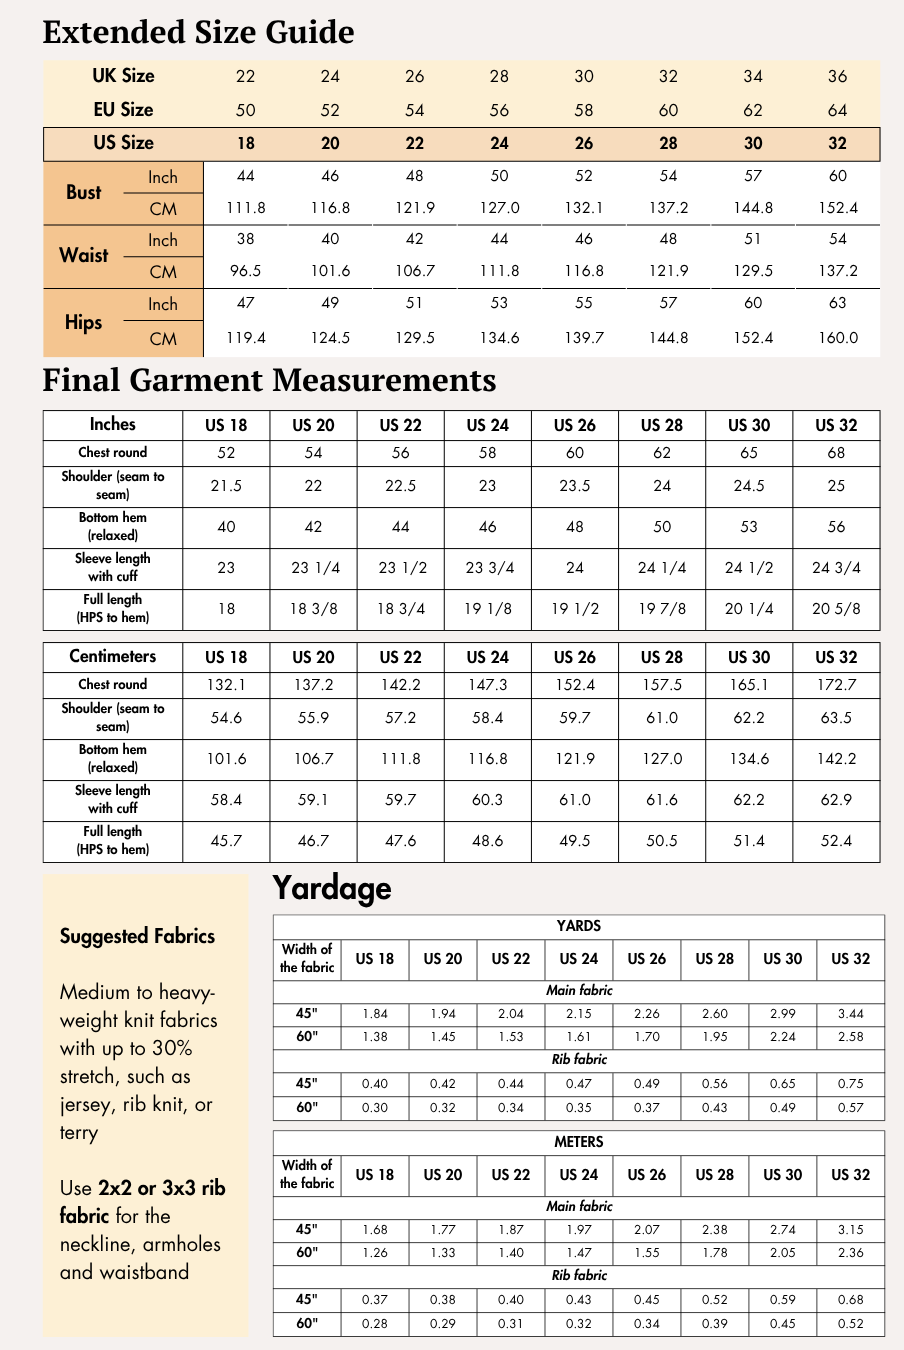
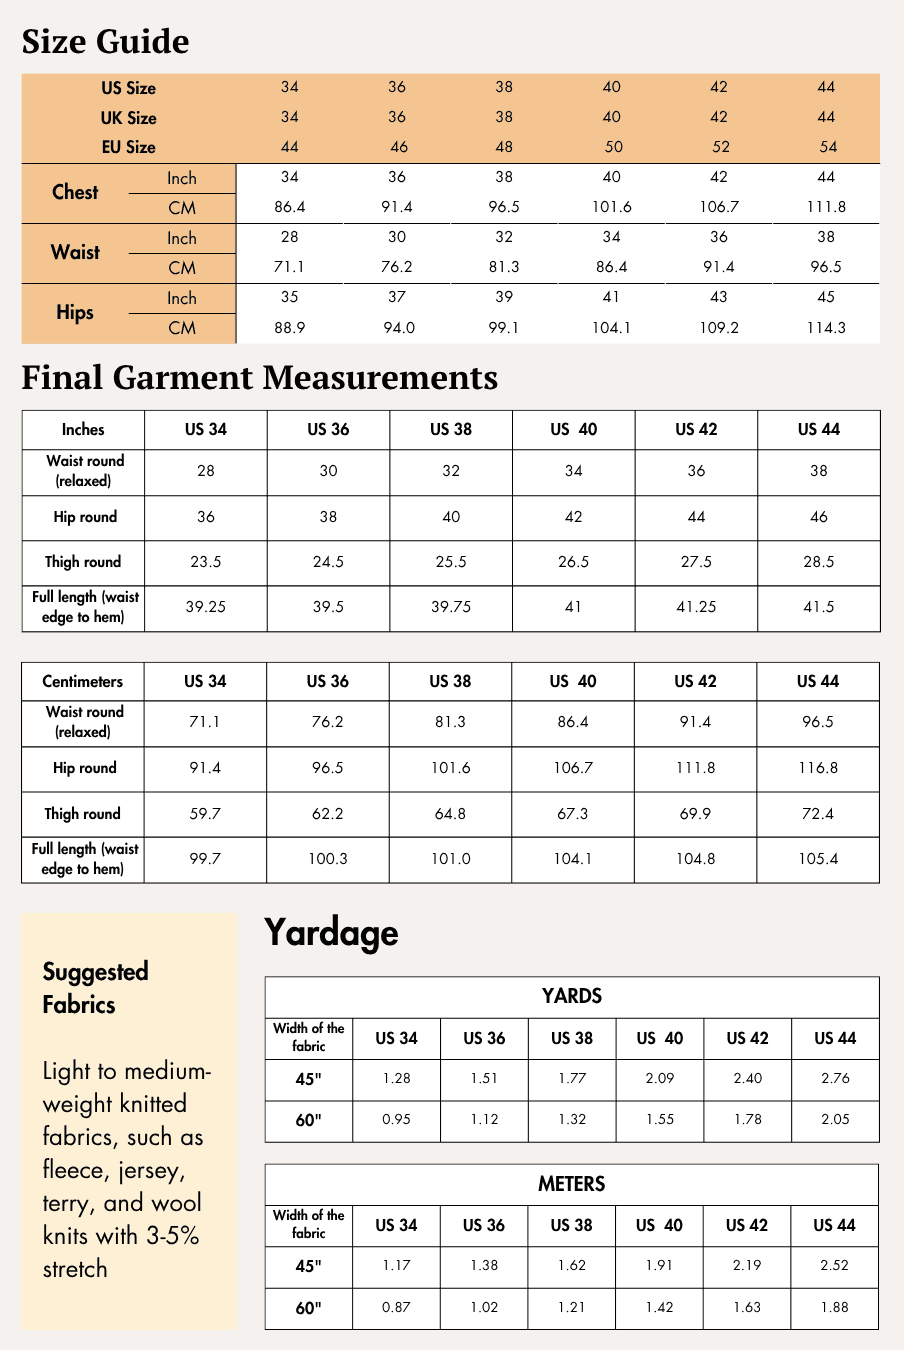
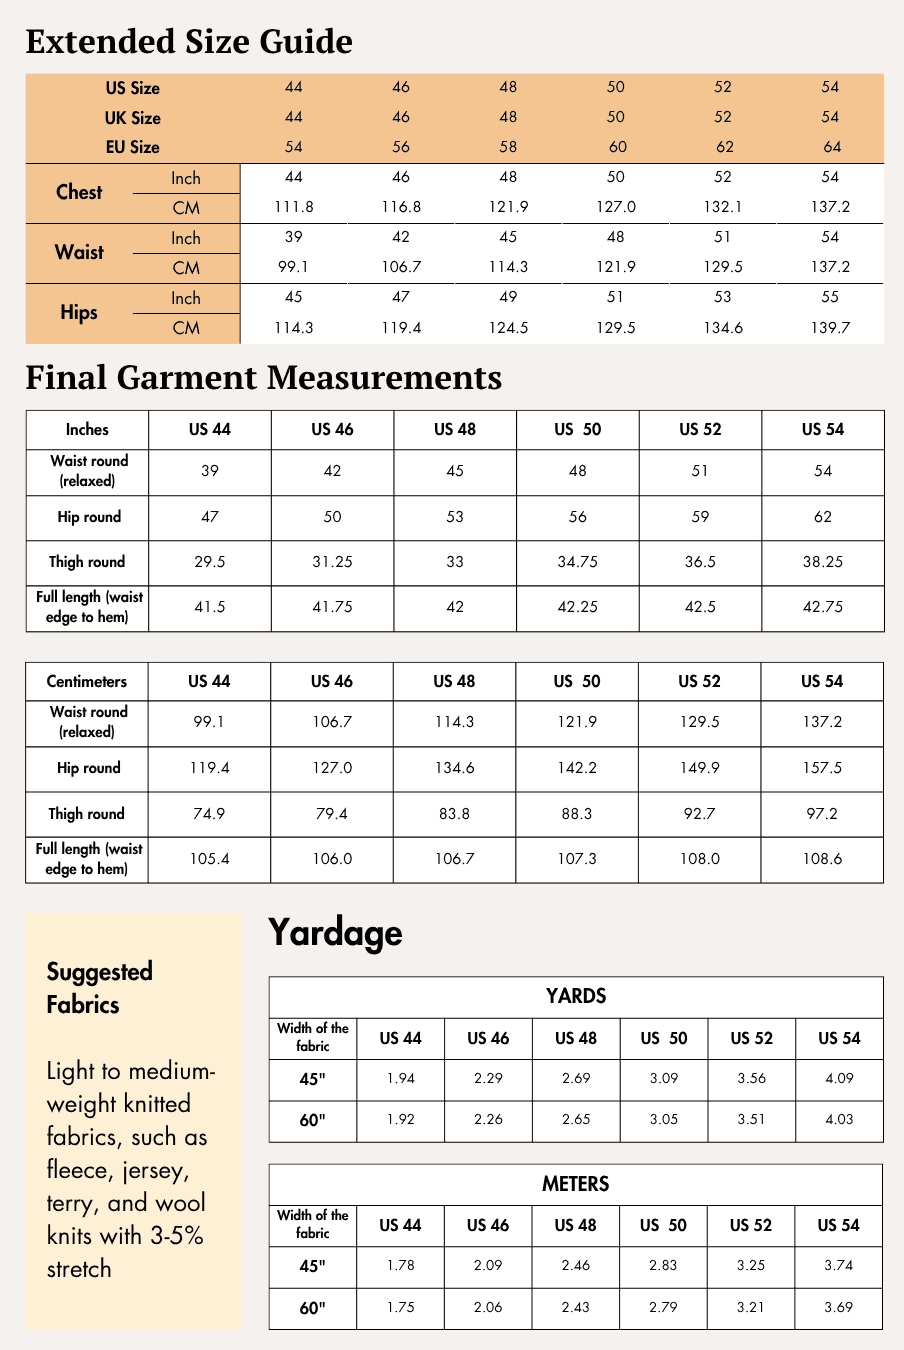
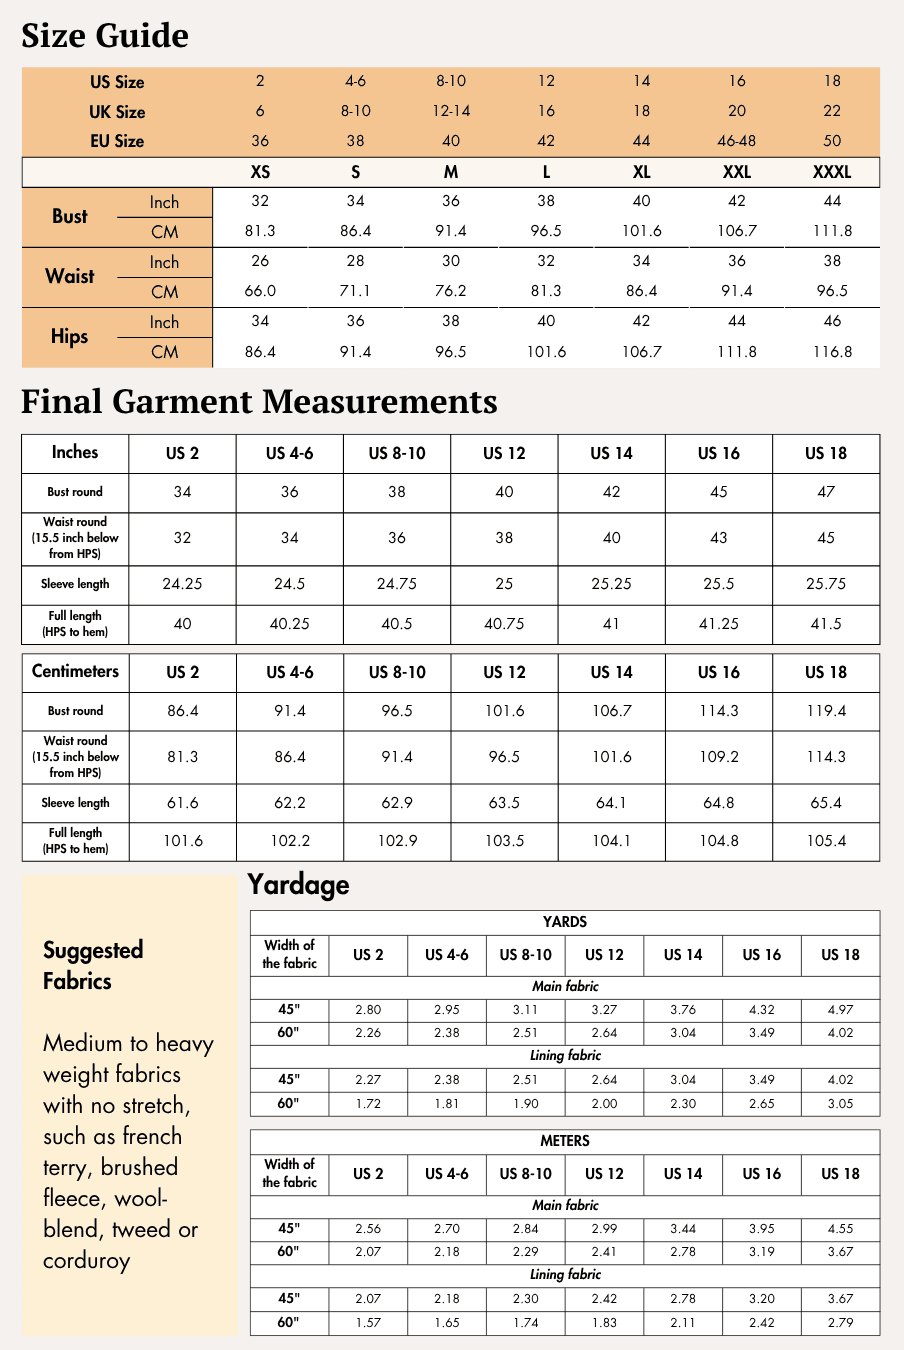
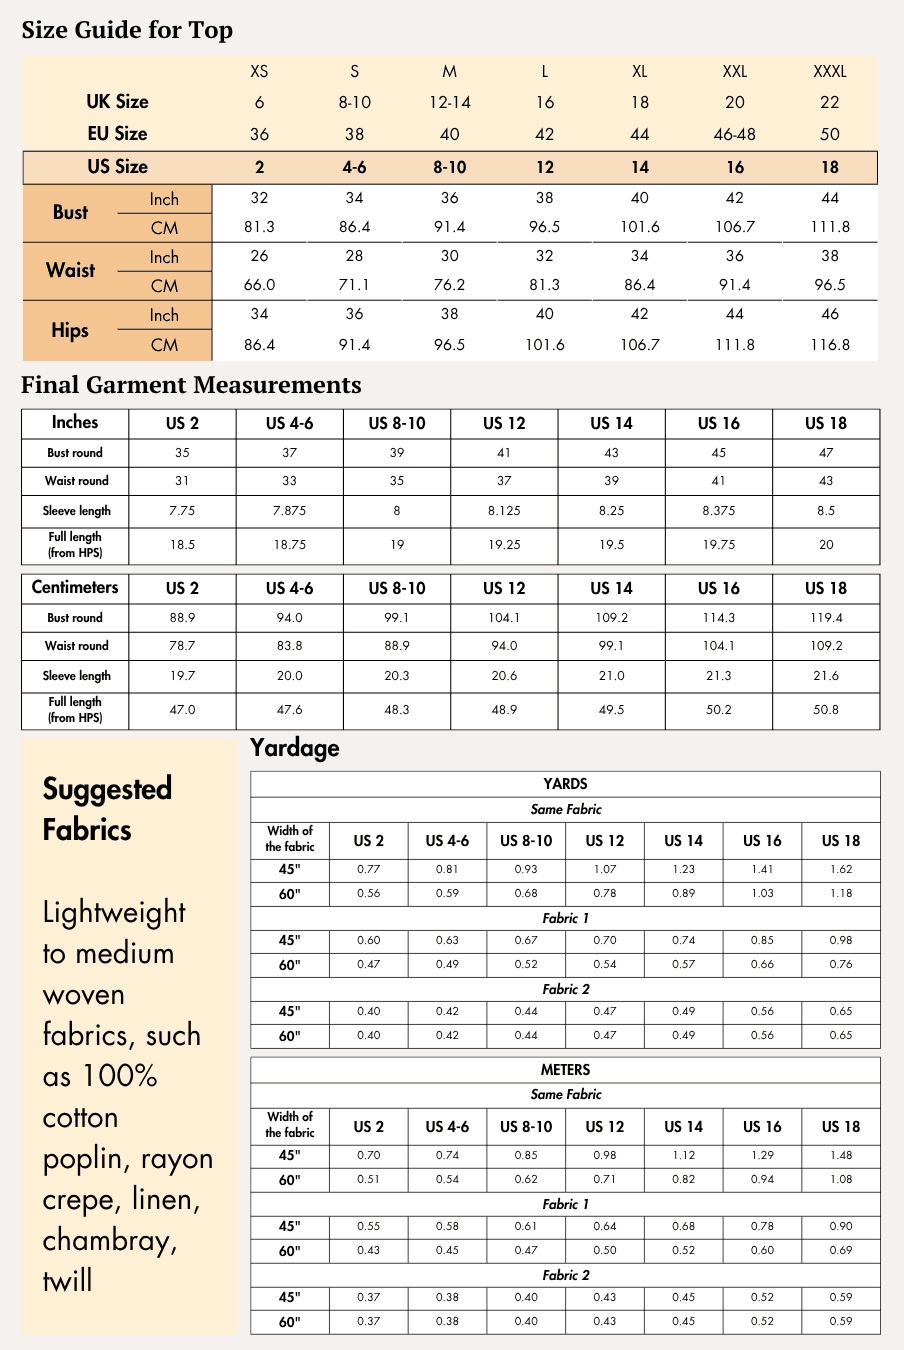
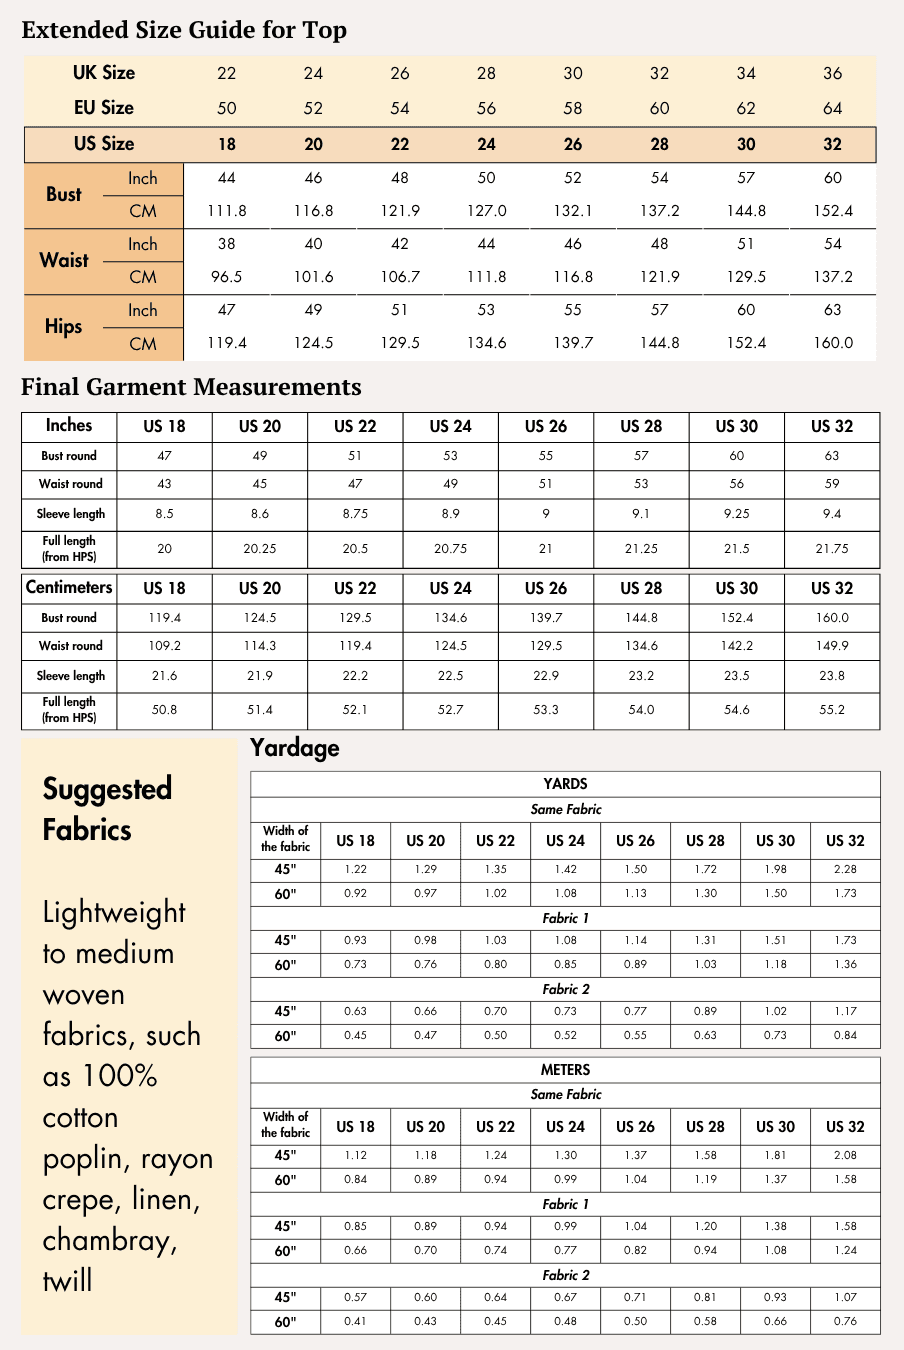
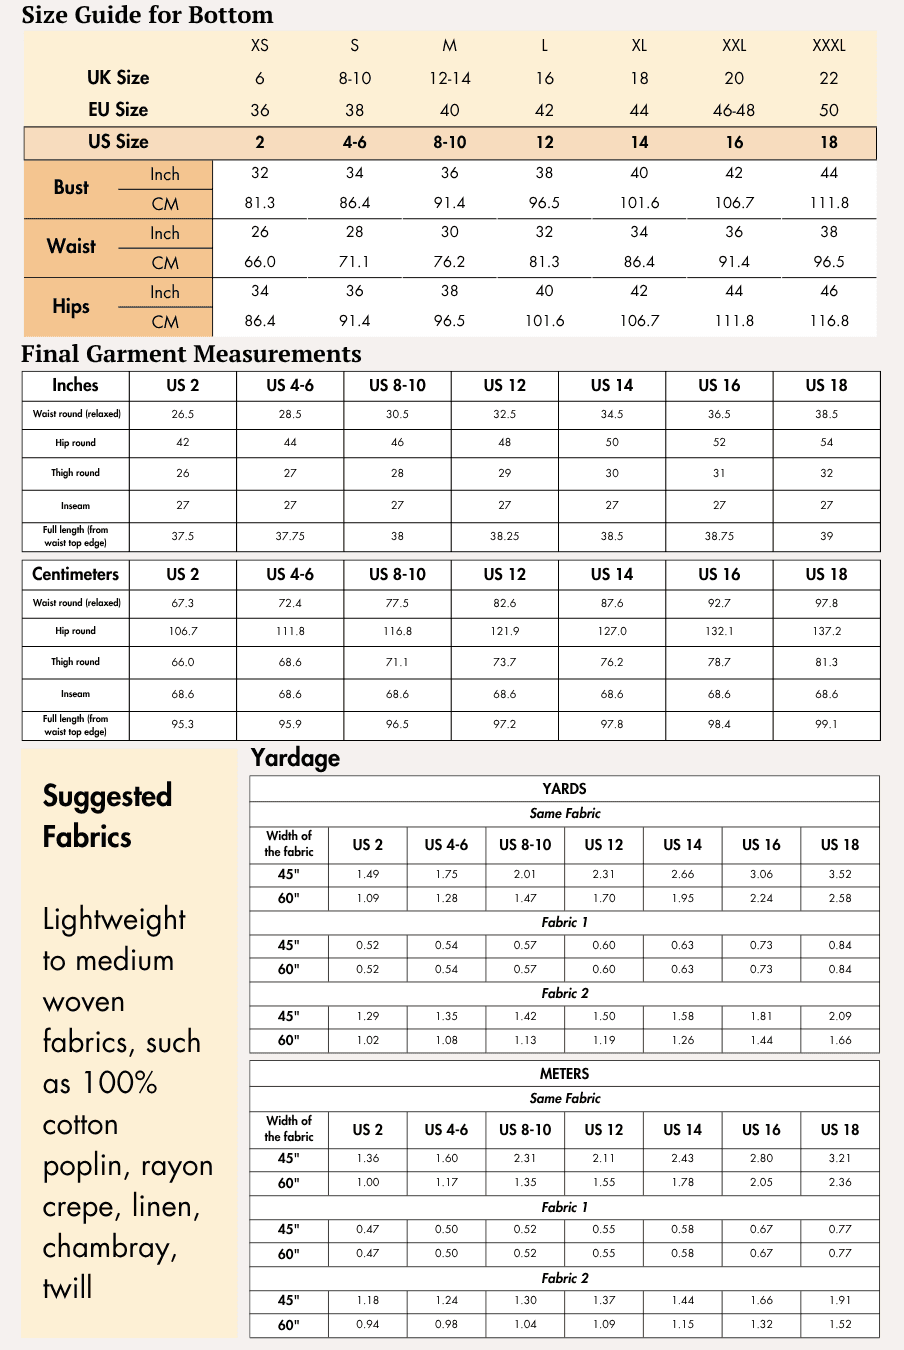
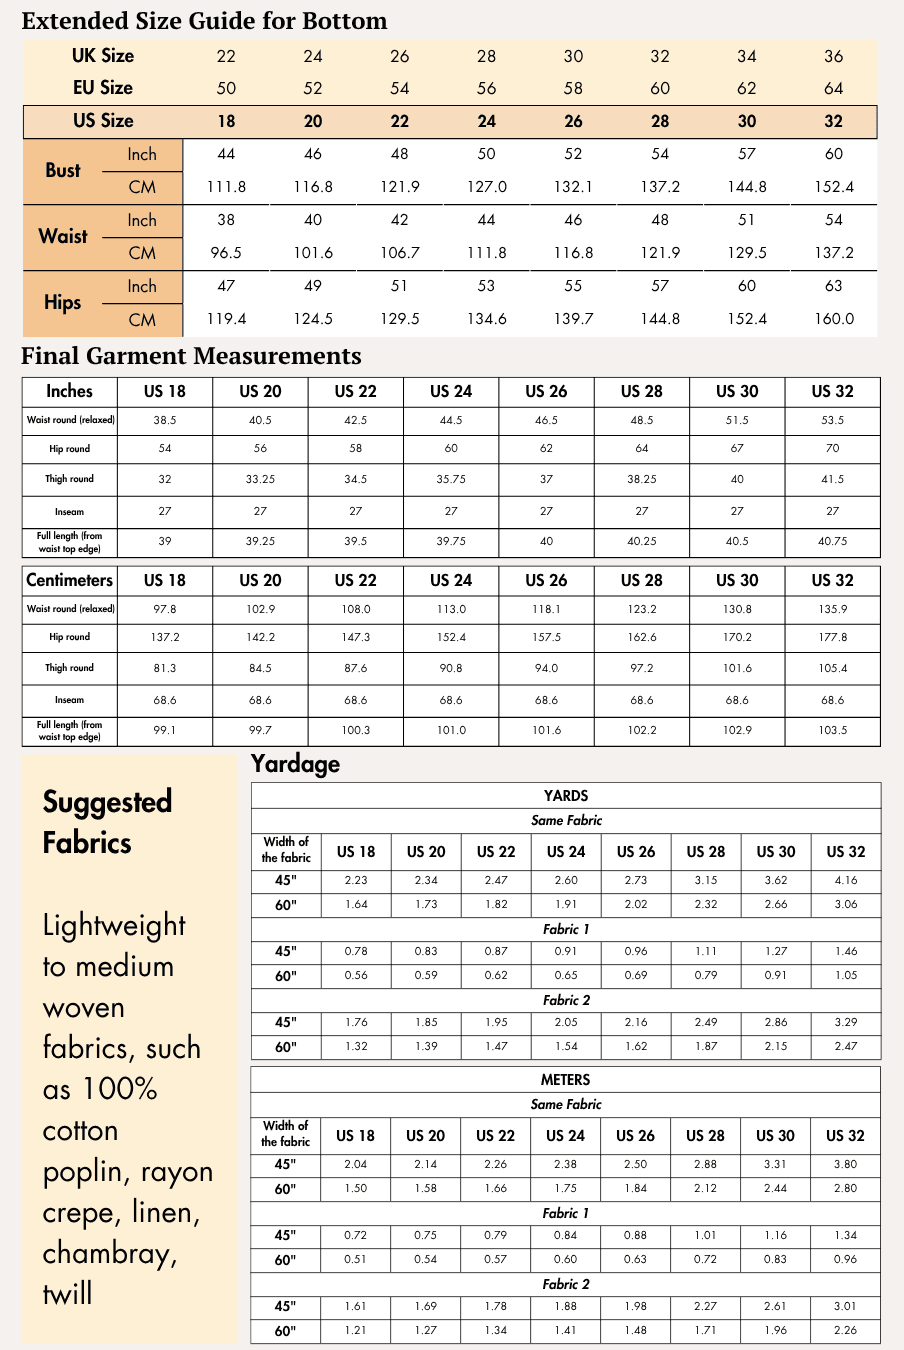
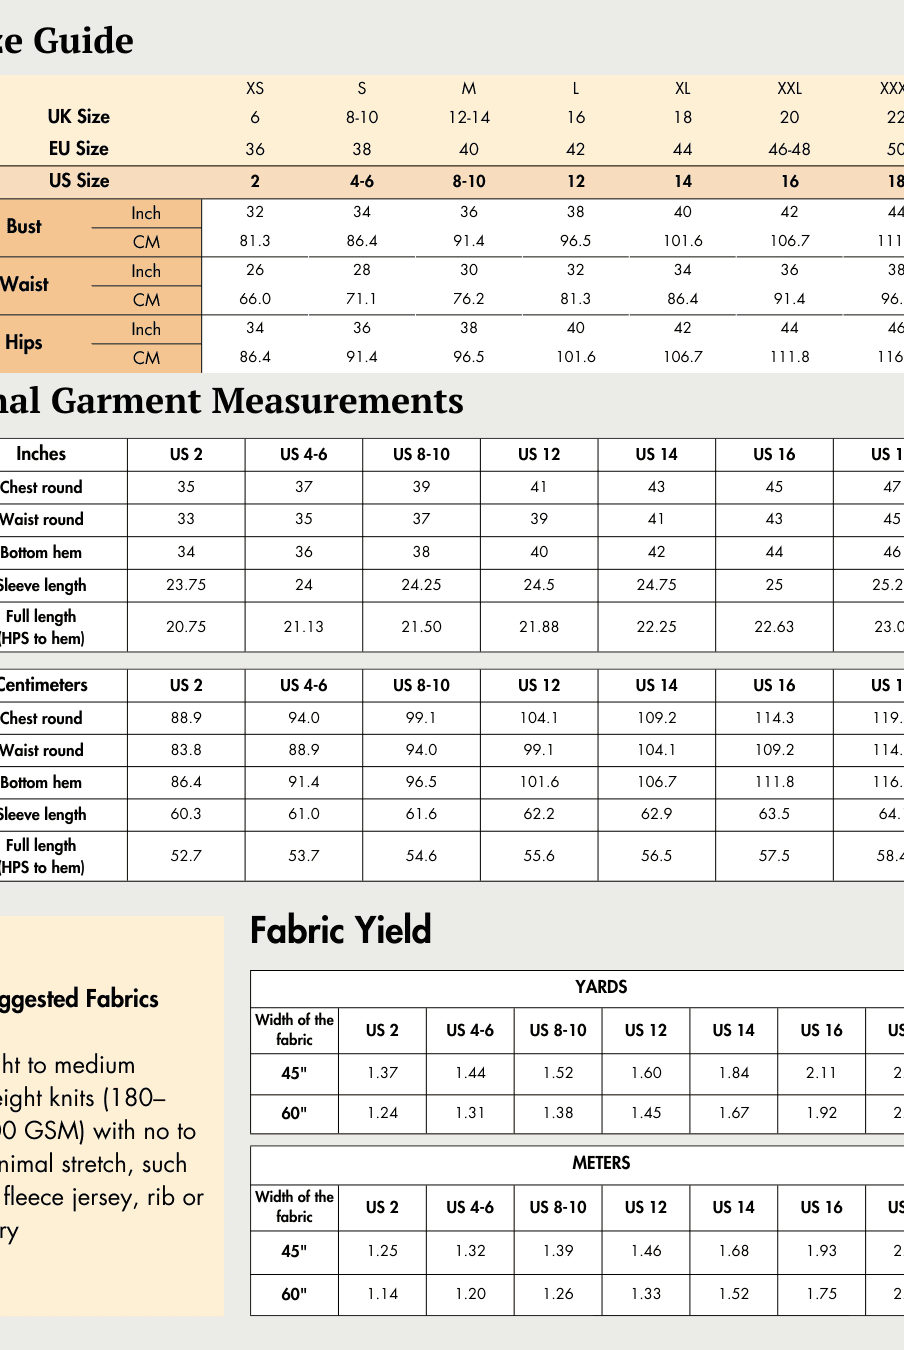
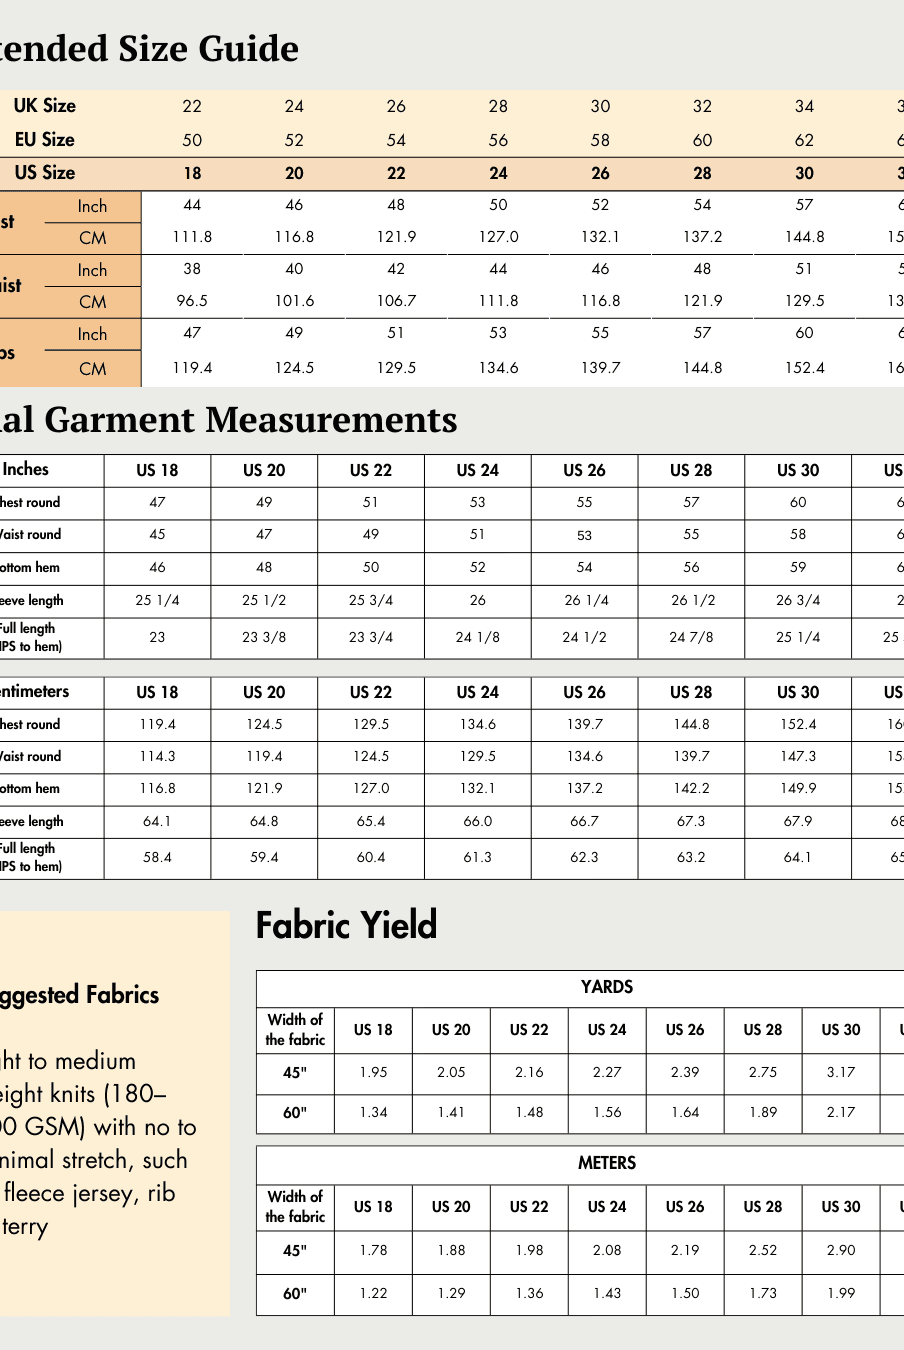
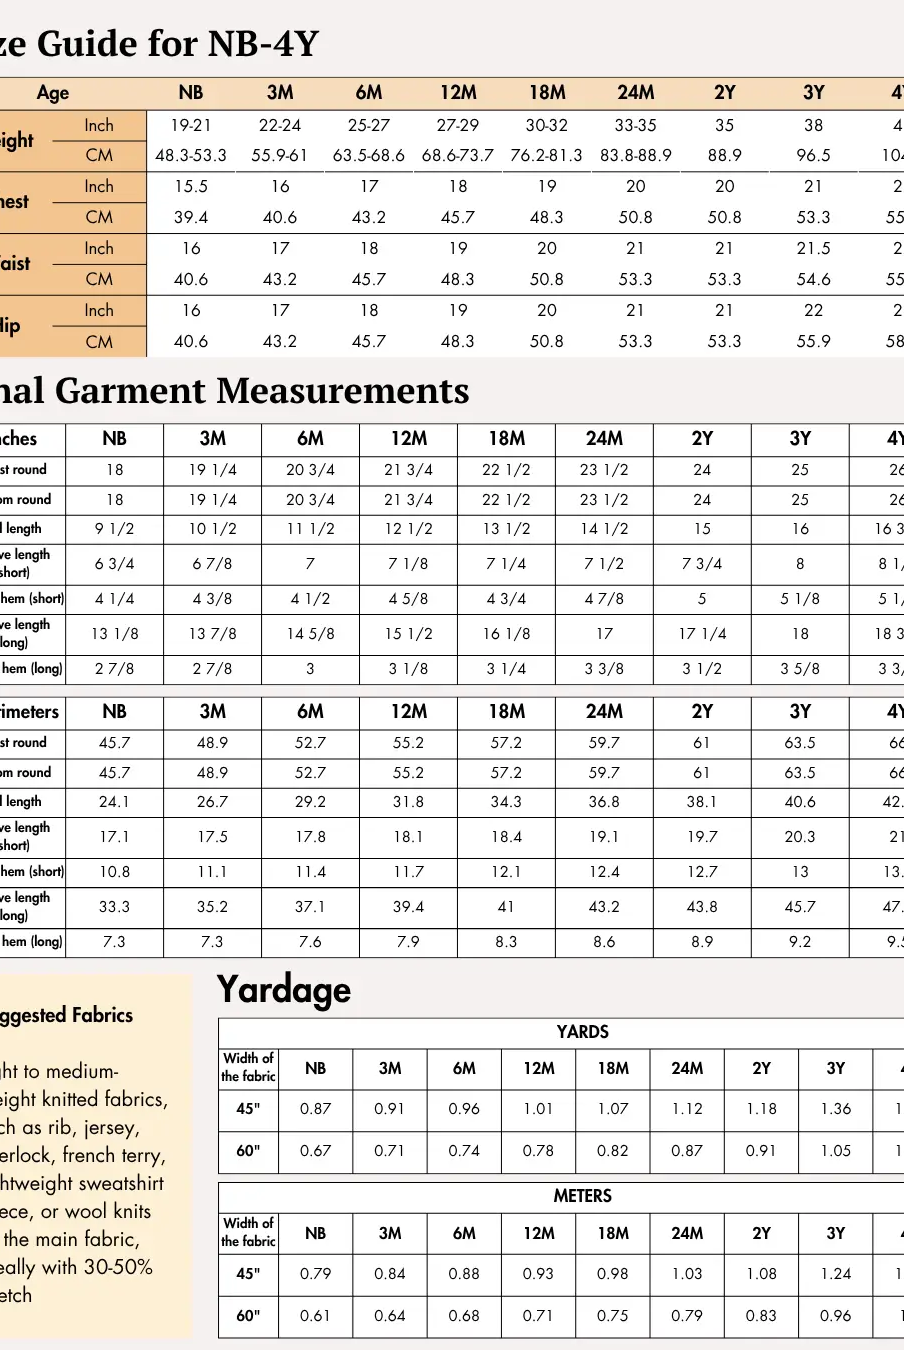
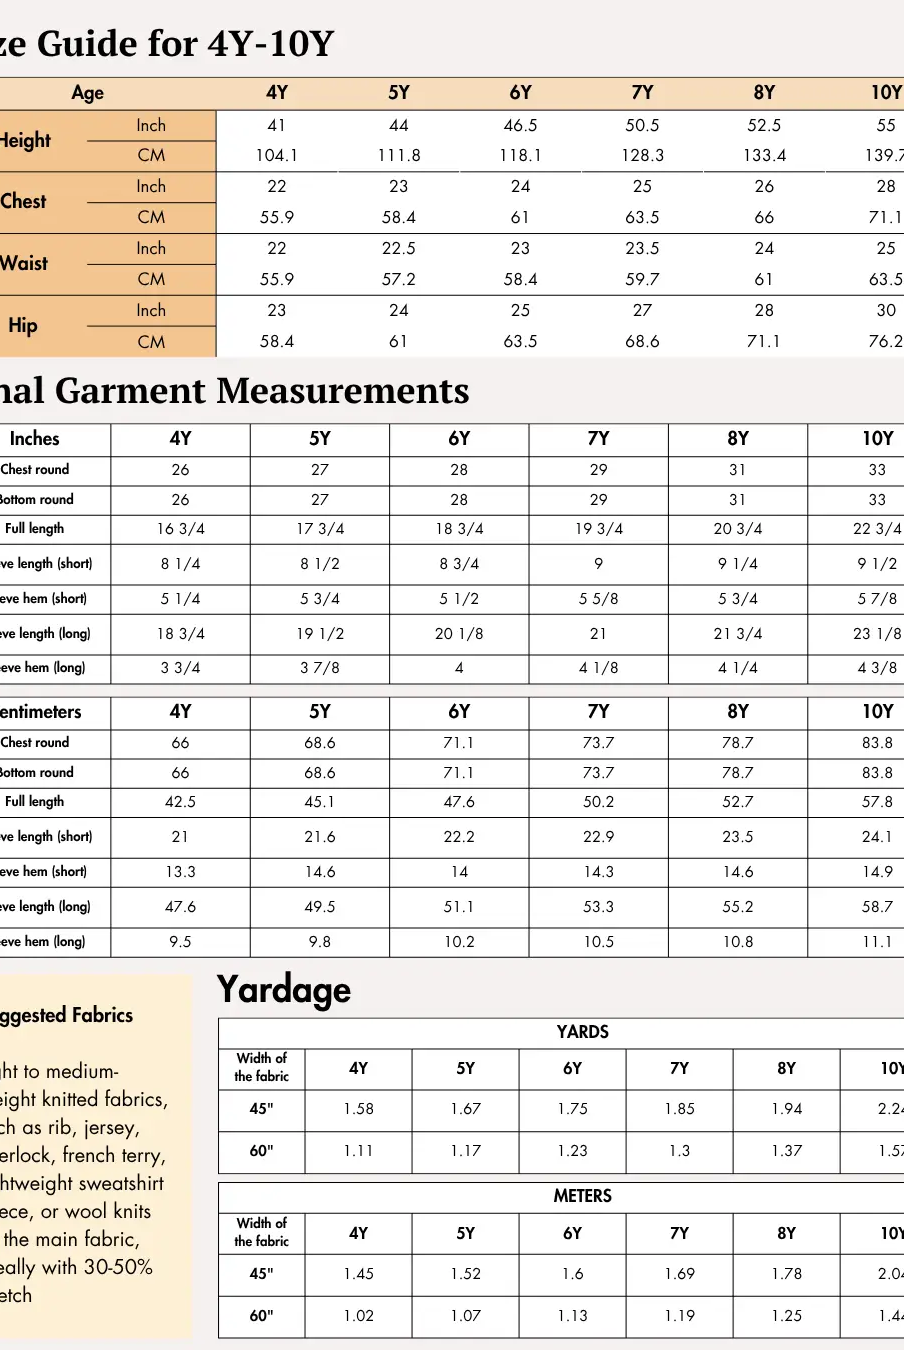
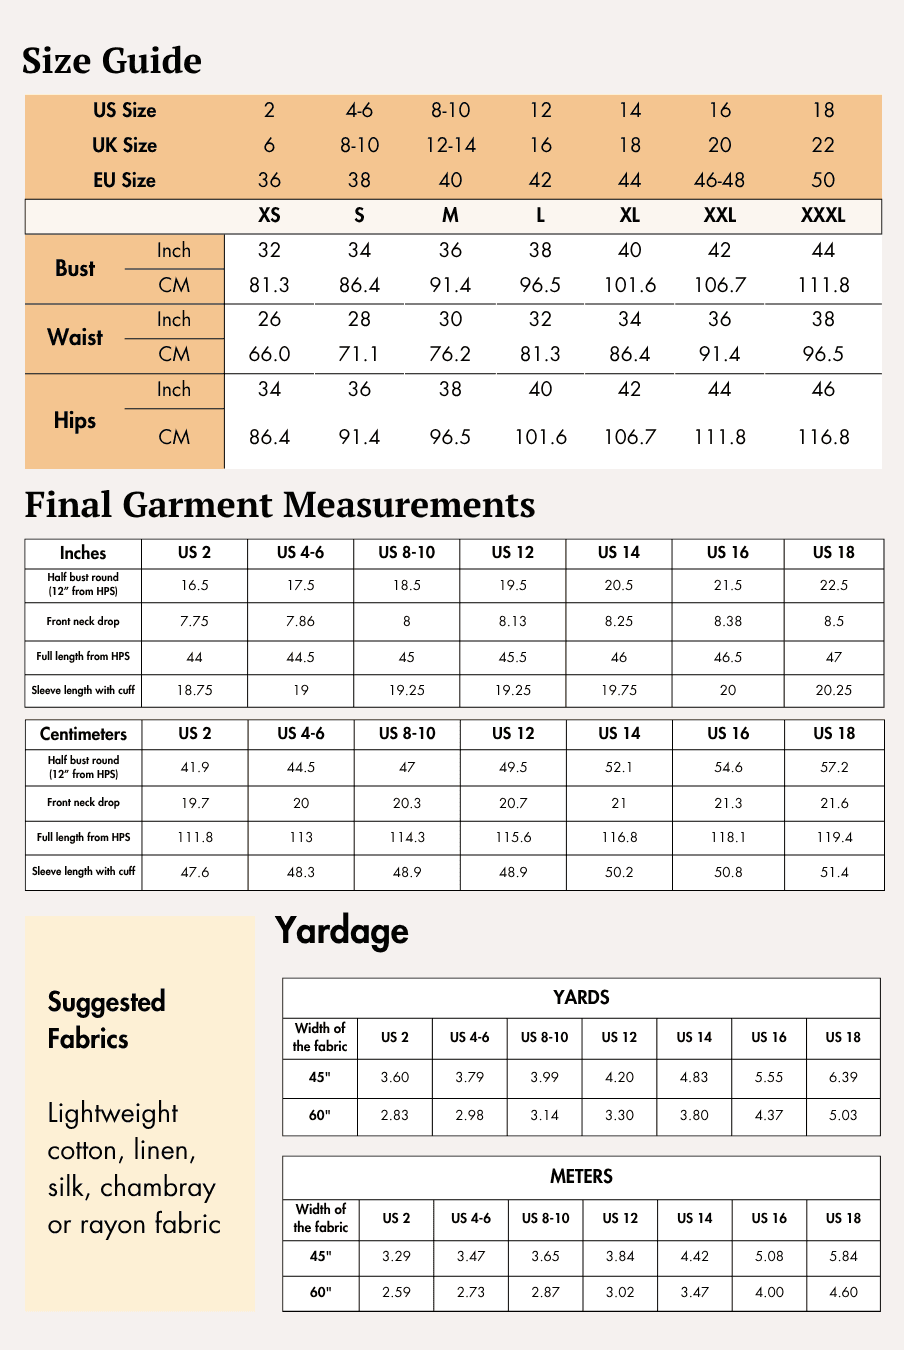
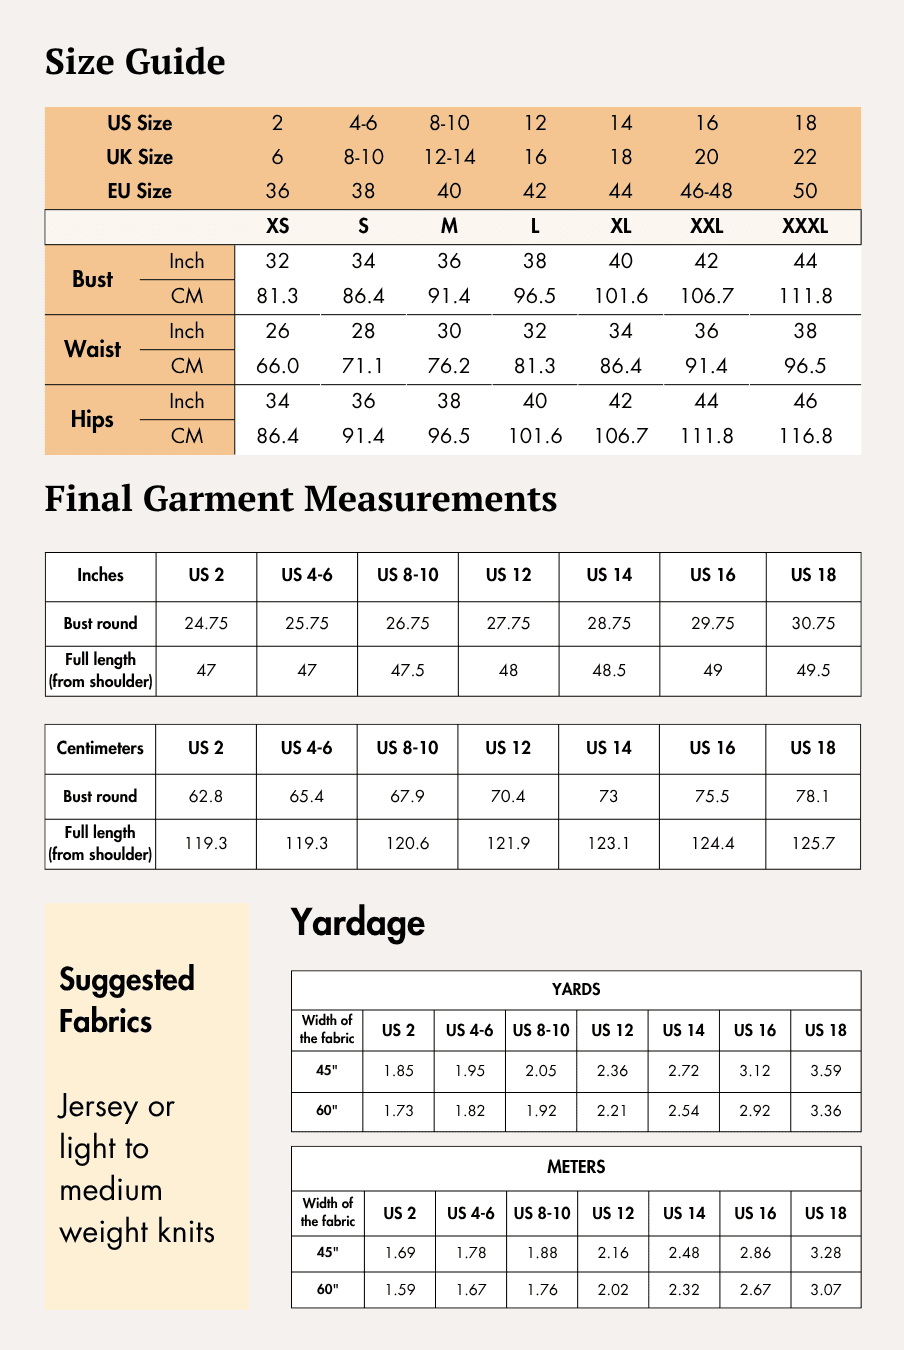
Check the size charts and measure yourself to select the correct size, using the garment and body measurement tables in the guide.
Verify how much fabric you need by referencing the fabric yield table in the guide.
Pattern Inventory: What Pieces to Prepare

Prepare the following pattern pieces before cutting your fabric:
- Front Shorts — Cut 2
- Back Shorts — Cut 2
- Pocket Piece — Cut 2
- Waistband — Cut according to the guide
- Additional pattern pieces as indicated in the sewing guide
Transfer all required markings before removing the paper pattern.
Pattern Marking

The sewing guide includes markings to help accurately assemble the shorts.
Pattern markings include:
- Grainlines
- Fold lines
- Notches
- Pocket placement markings
- Matching points
- Side vent markings
- Elastic placement guidance
- Stitching lines where applicable
Transfer all markings carefully using your preferred marking method to ensure accurate construction.
Cutting Layout


Before cutting your fabric:
- Pre-wash and press your fabric.
- Lay the fabric flat on a large cutting surface.
- Follow the cutting layouts provided in the sewing guide according to your fabric width.
- Observe the grainline direction for every pattern piece.
- Place pattern pieces efficiently to reduce fabric waste.
- Transfer all notches and construction markings before removing the pattern pieces.
Fabric Cutting and Preparation
Prepare your fabric before sewing by following the sewing guide:
- Pre-wash and dry your fabric using the same method you will use after the garment is finished.
- Press the fabric to remove wrinkles before cutting.
- Cut all required pattern pieces according to the cutting layout.
- Transfer all construction markings.
- Organize your fabric pieces before beginning assembly to make sewing easier.
Seam Allowance
Use the seam allowance provided in the sewing guide throughout the project.
Unless otherwise indicated, sew using the specified seam allowance shown in the pattern and follow any special seam allowance instructions included for individual construction steps.
Step-by-Step Sewing Instructions
1. Prepare the Pocket Pieces
- Place one pocket piece on one front shorts piece with right sides together, matching the pocket opening.
- Sew along the pocket opening seam allowance.
- Trim or clip the seam allowance if needed.
- Turn the pocket piece to the wrong side and press the seam flat.
- Topstitch along the pocket opening if instructed in the sewing guide.
- Repeat for the second front shorts piece.
2. Assemble the Front Pockets
- Place the second pocket piece on top of the attached pocket piece with right sides together.
- Match all raw edges and notches.
- Sew around the curved edge of the pocket bag.
- Finish the raw edges using a serger or zigzag stitch if desired.
- Baste the pocket pieces to the front shorts along the side seam and waist edge to keep them in place.
- Repeat for the second front shorts piece.
3. Sew the Front and Back Shorts
- Place one front shorts piece and one back shorts piece right sides together.
- Match the side seams.
- Sew the side seam.
- Finish the seam allowance.
- Repeat for the opposite side.
4. Create the Side Vents
4a.
Finish the raw edges of the side vent opening as instructed in the sewing guide.
4b.
Press the seam allowances neatly toward the wrong side along the vent opening.
4c.
Topstitch the vent edges to secure the folds and create a clean finish.
4d.
Repeat the same process for the second side vent.
5. Sew the Inseams
- Place the front and back shorts right sides together.
- Match the inseams carefully.
- Sew both inseams.
- Finish the seam allowances.
- Press the seams toward the back.
6. Sew the Crotch Seam
- Turn one shorts leg right side out.
- Place it inside the other leg so the right sides are together.
- Match the center front, center back, and inseams.
- Sew the crotch seam in one continuous stitch.
- Finish the seam allowance.
- Press the seam toward one side.
7. Prepare the Waistband
- Sew the short ends of the waistband right sides together to form a loop.
- Press the seam open or to one side as instructed in the sewing guide.
- Fold the waistband in half lengthwise with wrong sides together.
- Press the folded edge to create a crisp crease.
- Mark the waistband into equal quarters.
8. Attach the Waistband
- Divide the top edge of the shorts into equal quarters.
- Match the waistband quarter markings with the shorts quarter markings, keeping the raw edges aligned.
- Pin or clip the waistband evenly around the waist opening.
- Stretch the waistband evenly between the quarter marks while sewing.
- Sew the waistband to the shorts using the seam allowance specified in the sewing guide.
- Finish the seam allowance if required.
9. Insert the Elastic
- Leave the opening indicated in the sewing guide for inserting the elastic.
- Attach a safety pin or bodkin to one end of the elastic.
- Thread the elastic evenly through the waistband casing, making sure it does not twist.
- Overlap the elastic ends by the amount specified in the sewing guide and stitch securely.
- Distribute the gathers evenly around the waistband.
- Close the waistband opening with a line of stitching.
10. Finish the Hem
- Fold the hem allowance toward the wrong side following the measurements given in the sewing guide.
- Press the fold neatly.
- Stitch close to the folded edge around each leg opening.
- Press the finished hems.


Ready to Sew Your Own Athletic Shorts?


The Maria Athletic Shorts Sewing Pattern is a fun project that combines practical construction techniques with a comfortable, sporty design. From sewing functional pockets to attaching the elastic waistband and finishing the side vents, you'll create a pair of shorts that are ready for workouts, outdoor activities, or everyday casual wear.
With clear step-by-step instructions and a beginner-friendly construction process, this pattern is an excellent way to build your confidence while creating handmade activewear you'll reach for again and again.
Ready to start sewing? Pick up the Maria Athletic Shorts Sewing Pattern and enjoy making your own comfortable athletic shorts.
Explore More Sewing Patterns
Browse our Shorts Sewing Pattern Collection for more handmade shorts designs, from casual everyday styles to sporty activewear patterns that are perfect for warm-weather wardrobes.
Join the Community & Get Support
Share your finished Maria Athletic Shorts Sewing Pattern on social media with #MadeWithWinslets. If you have questions, feedback, or customization requests, contact the Winslet's team at support@winslets.com.