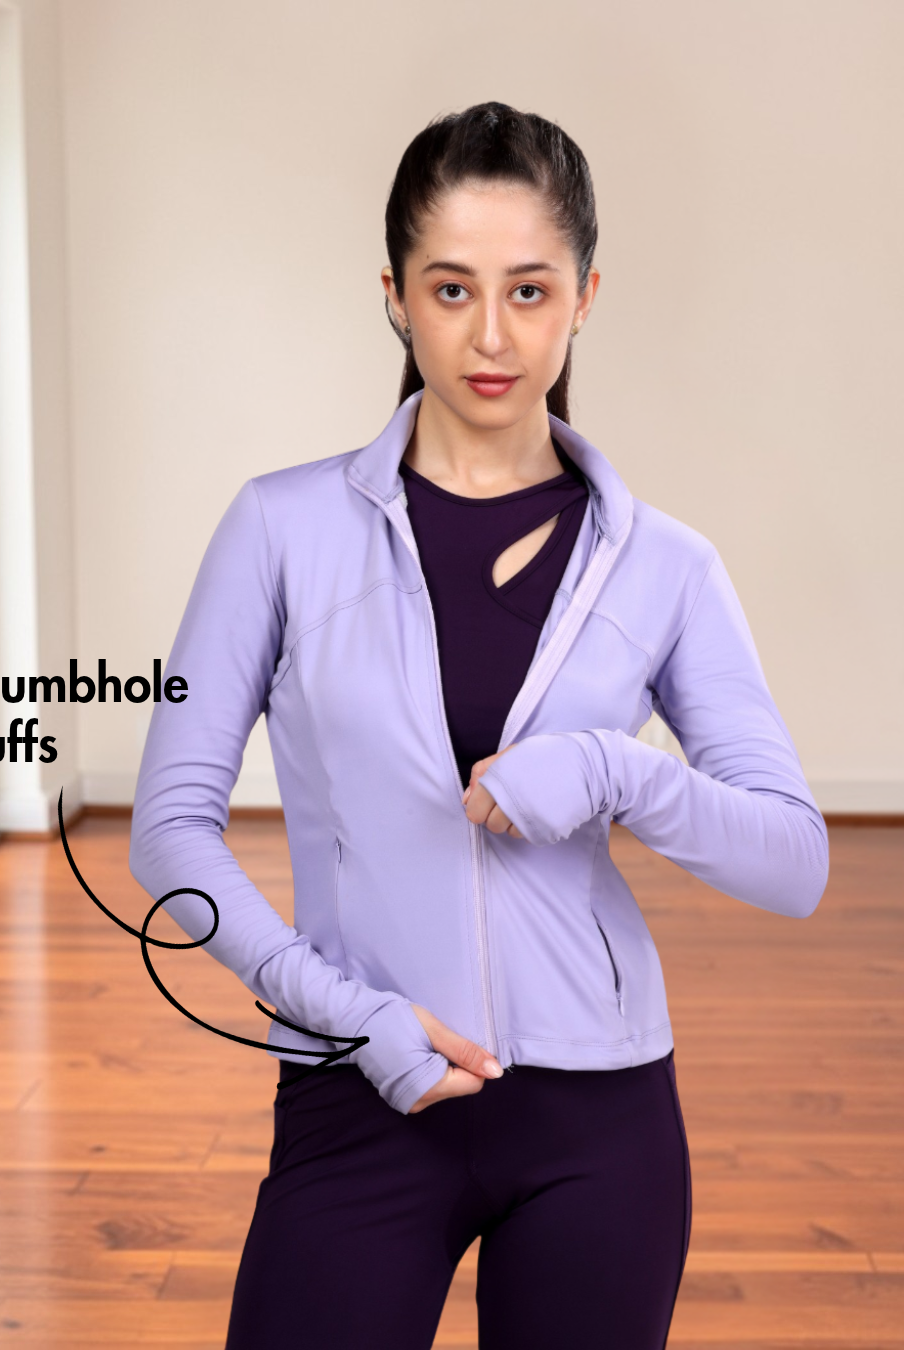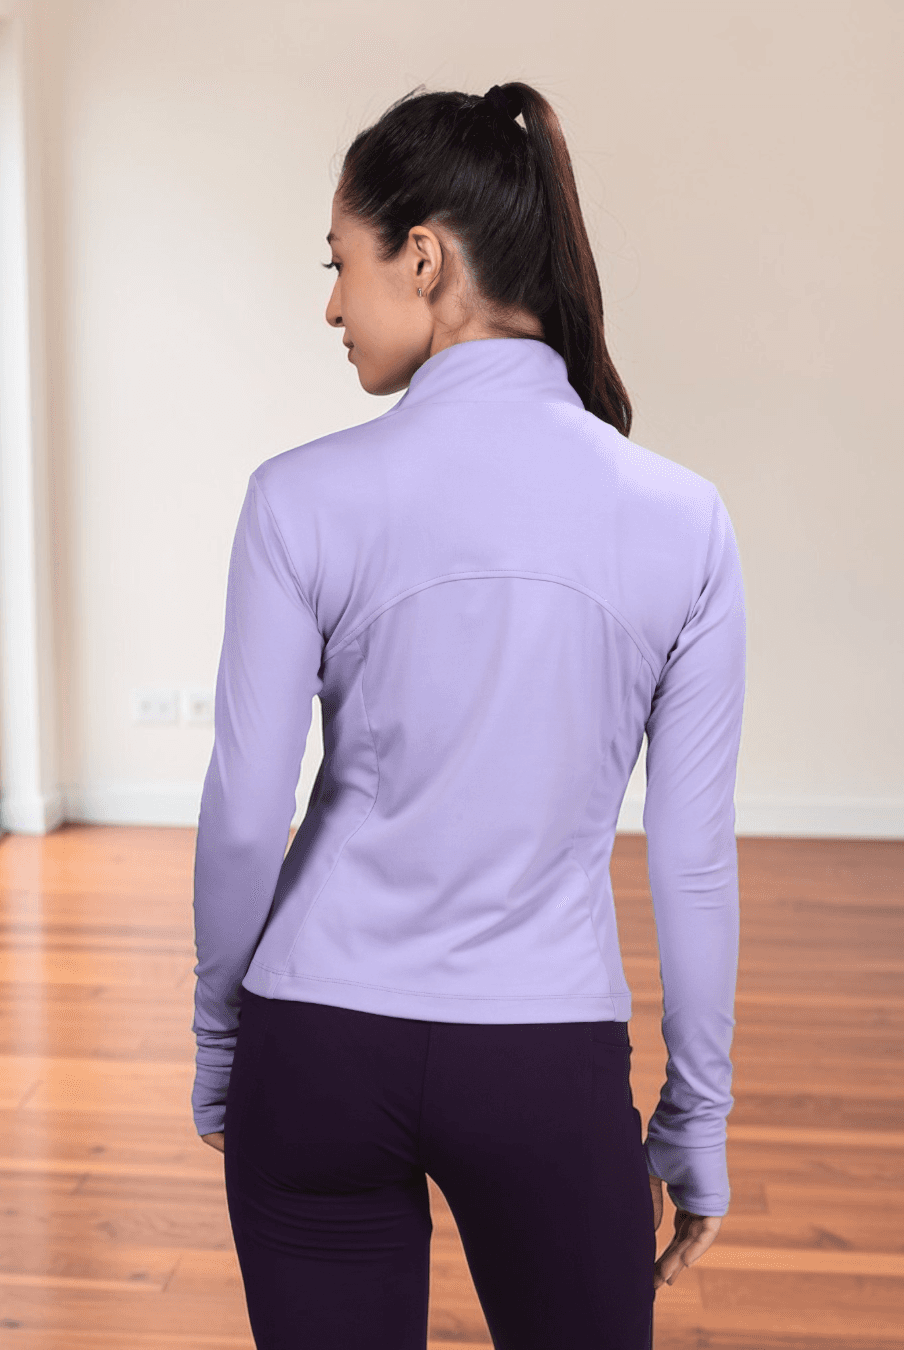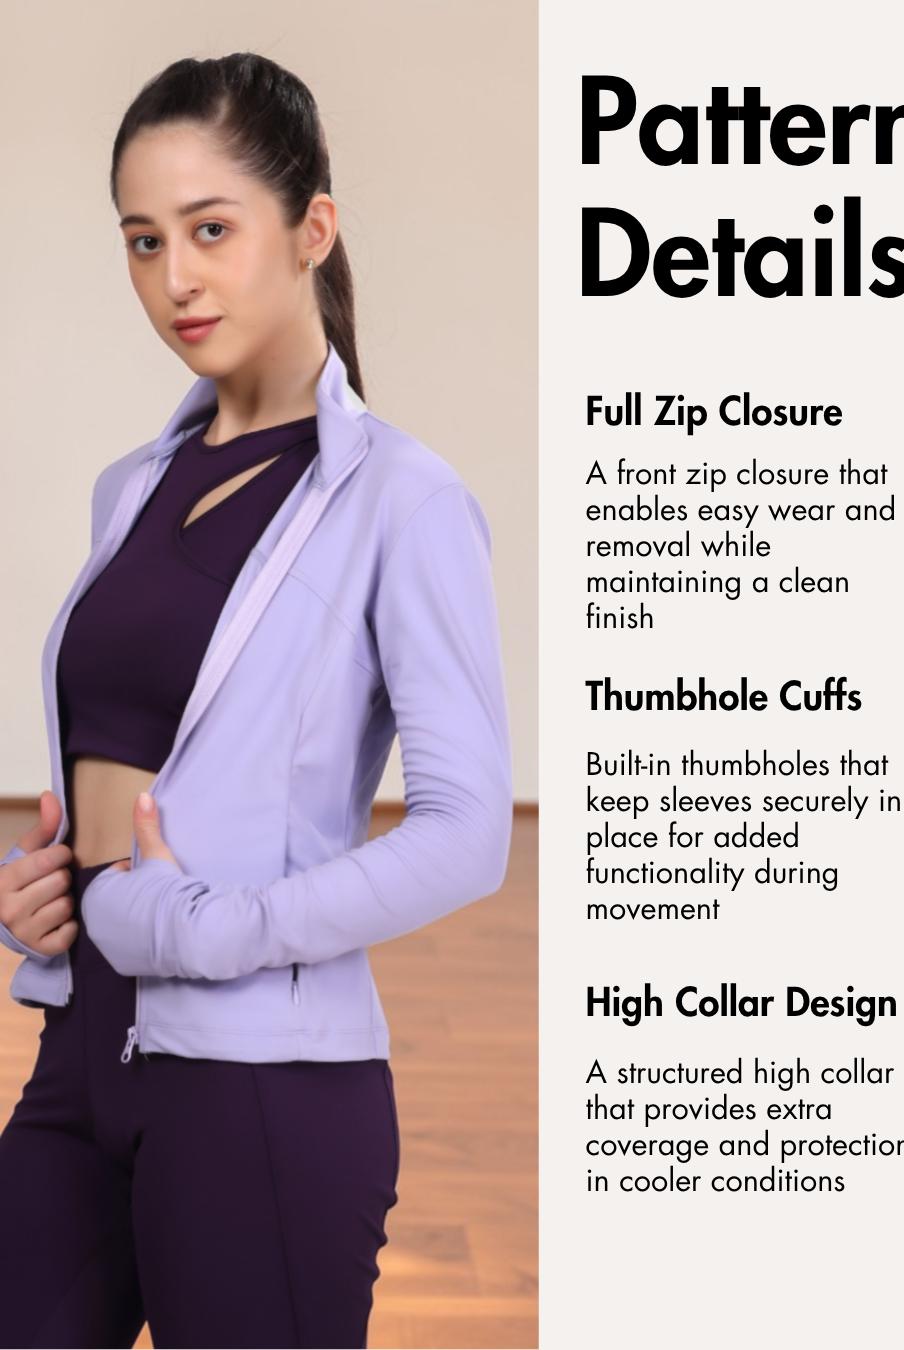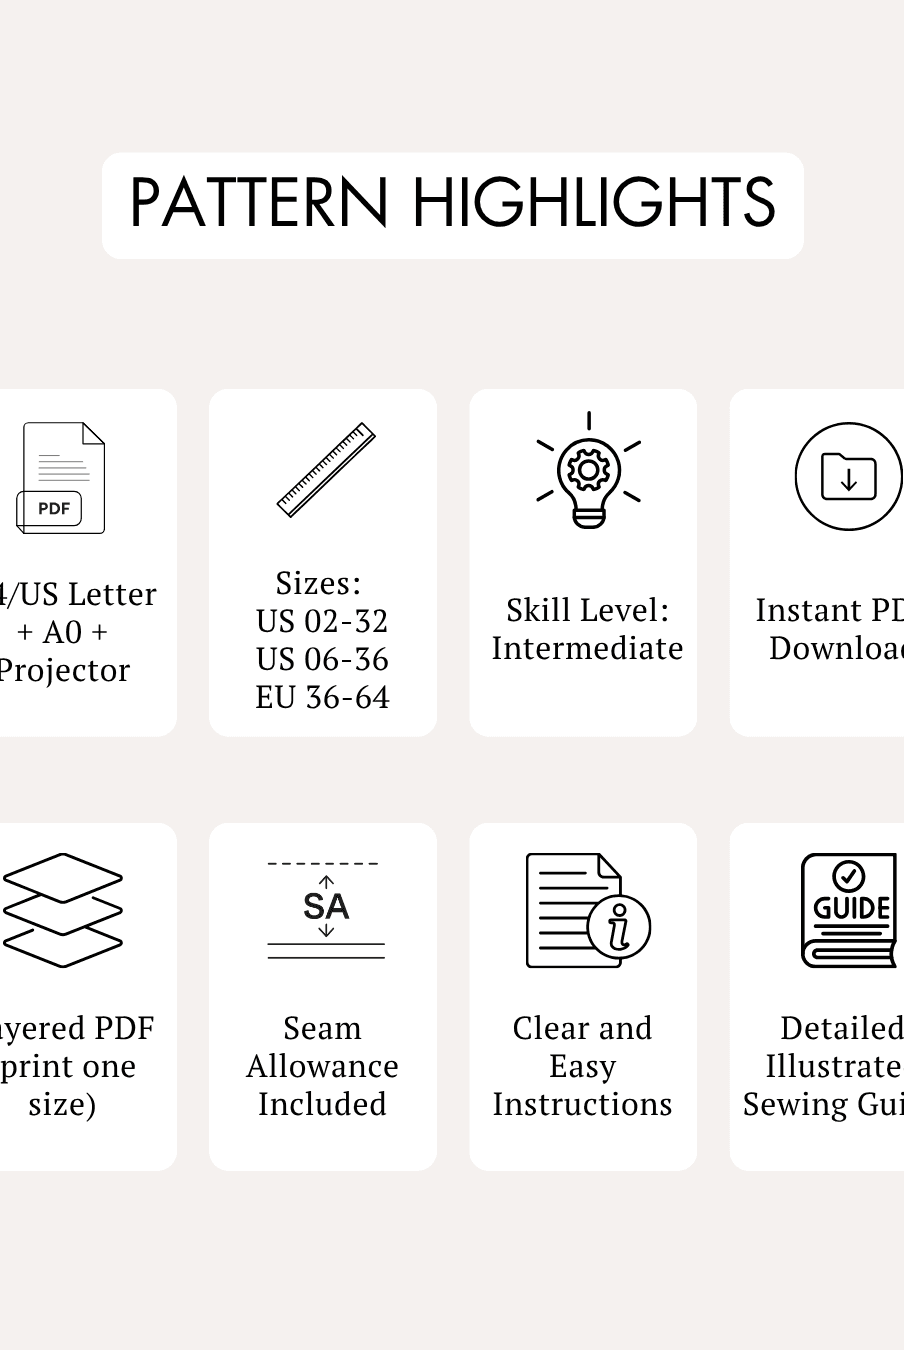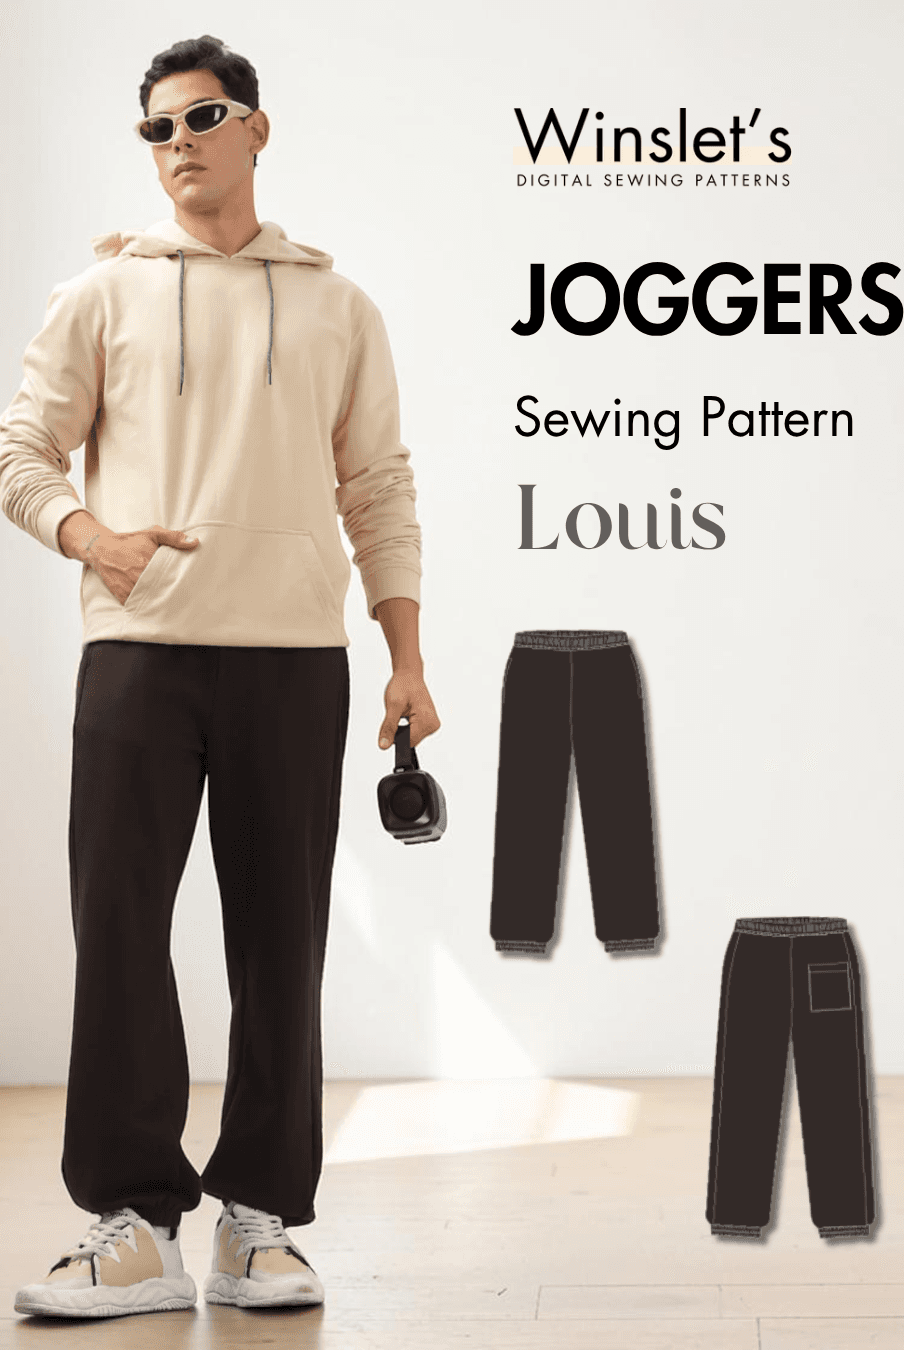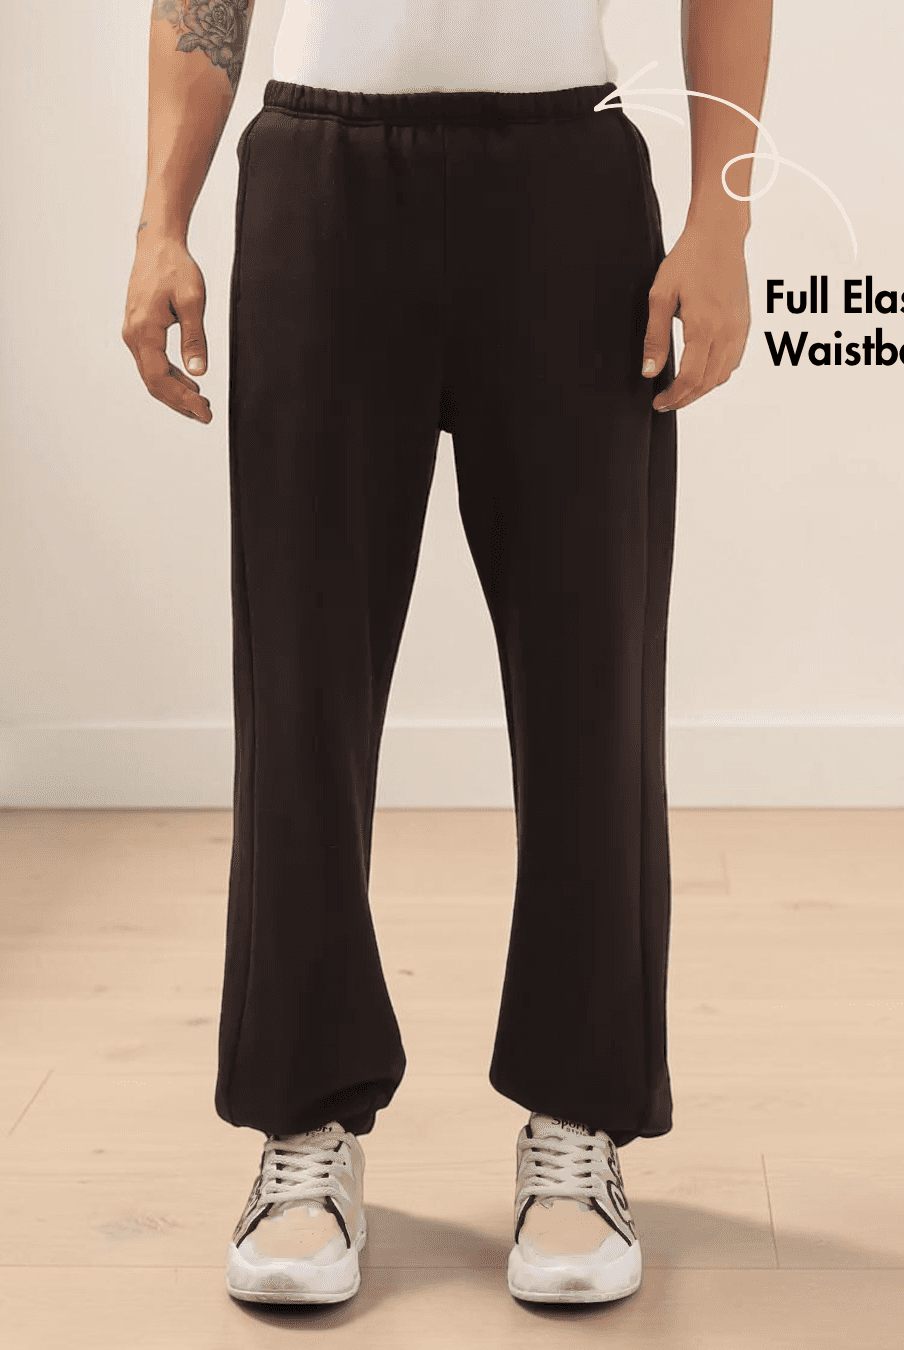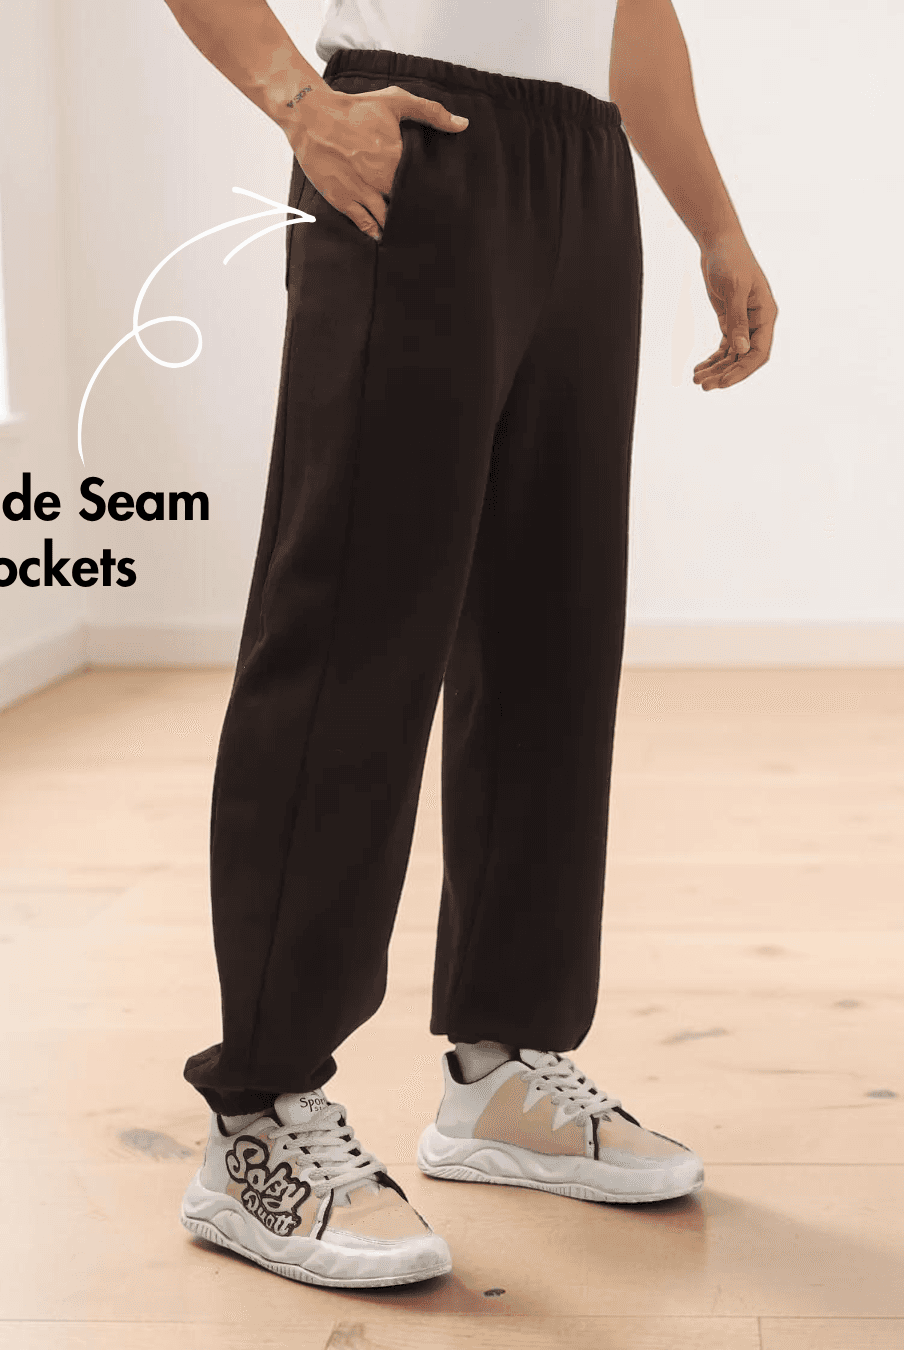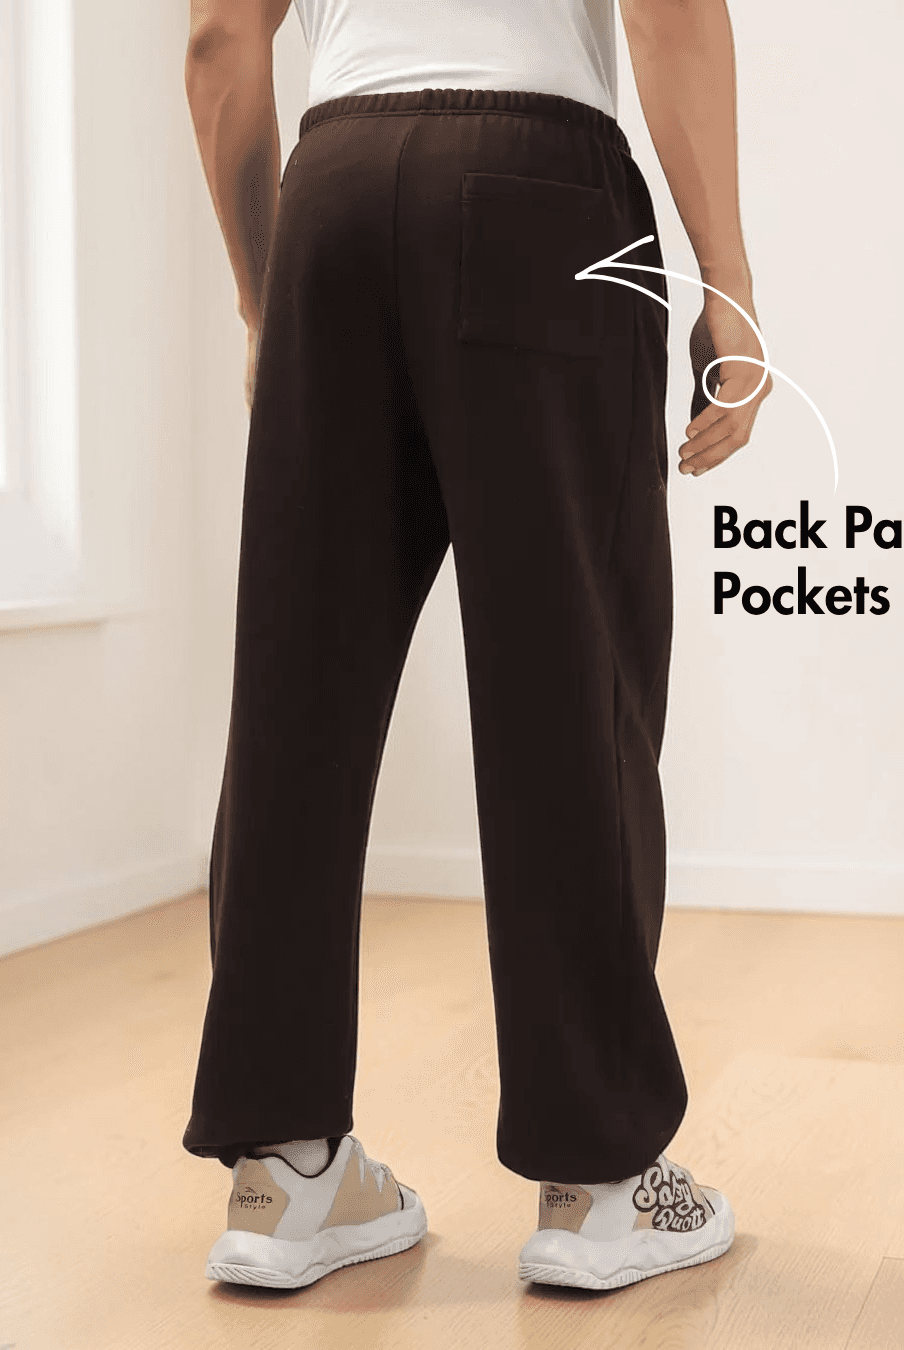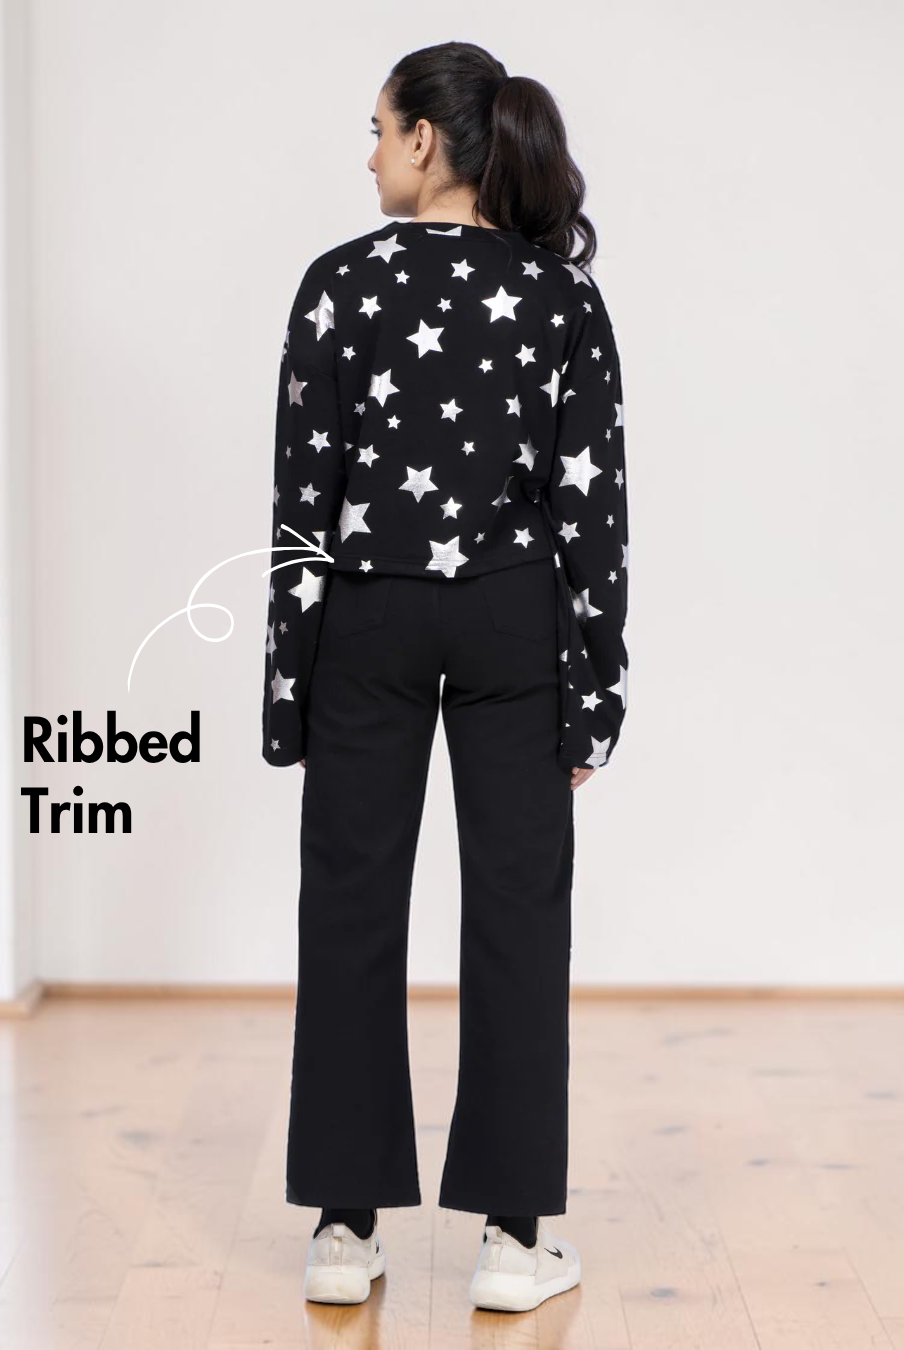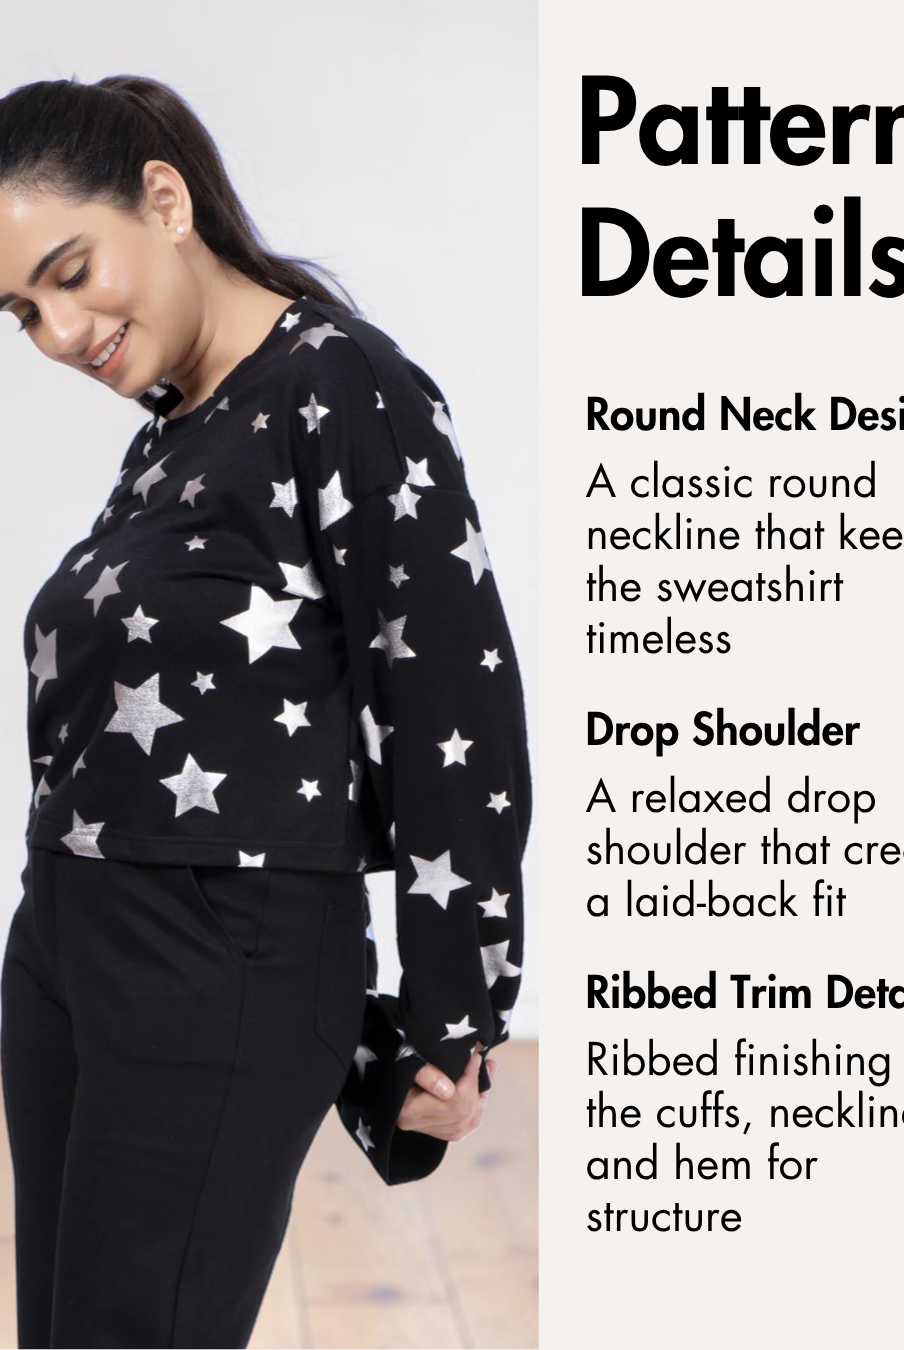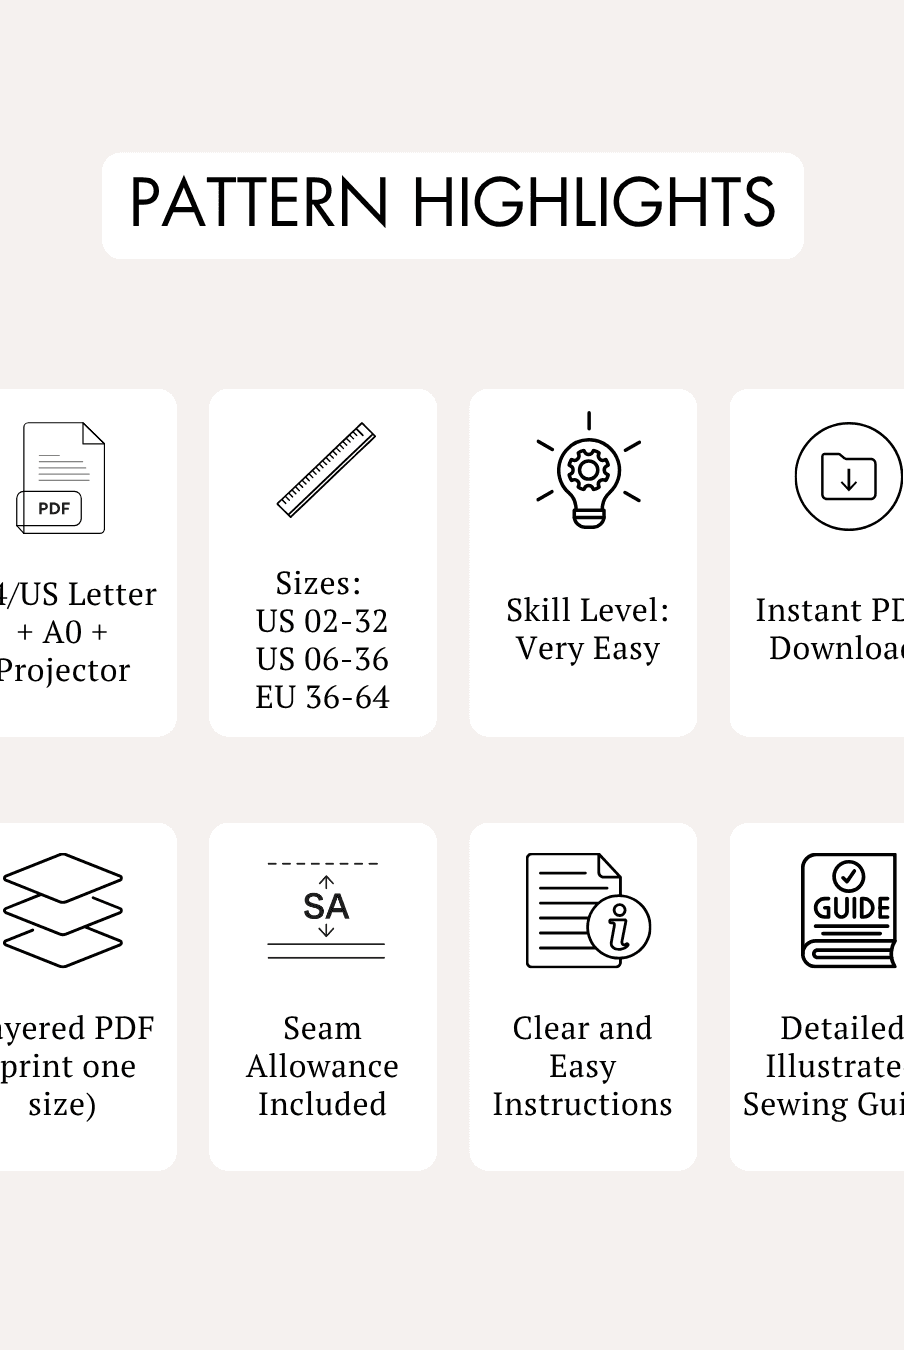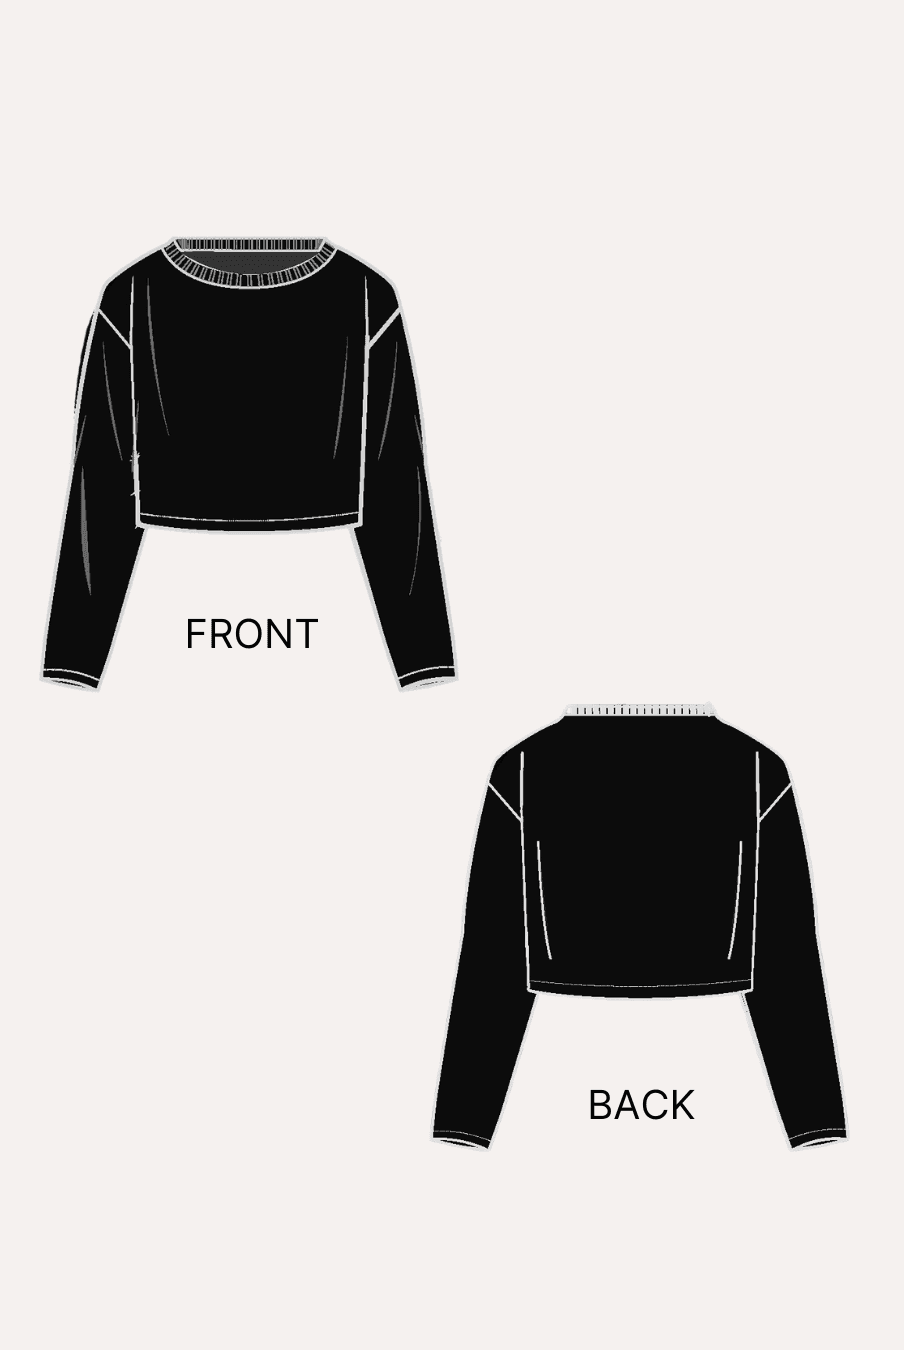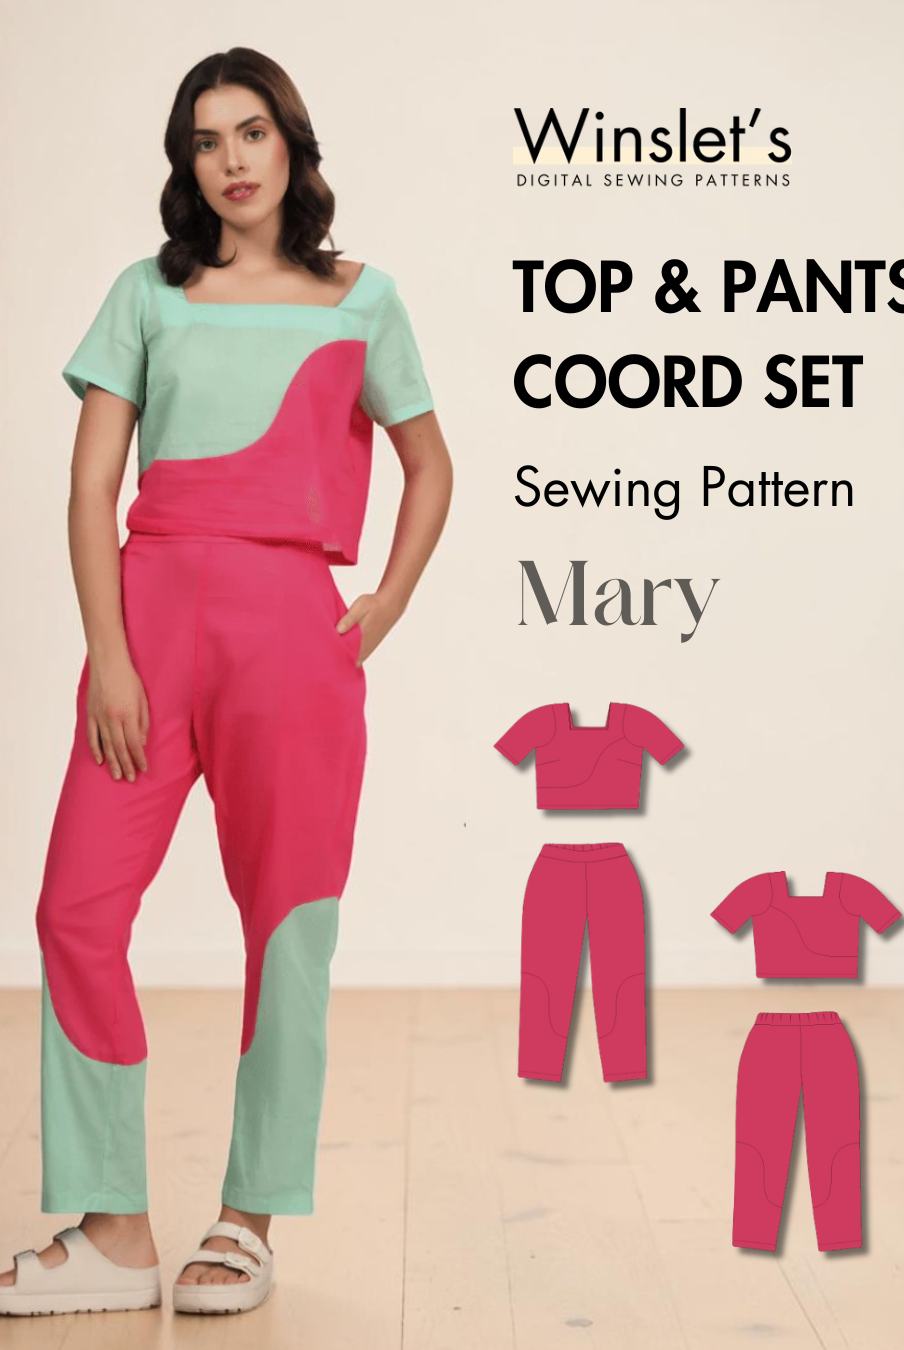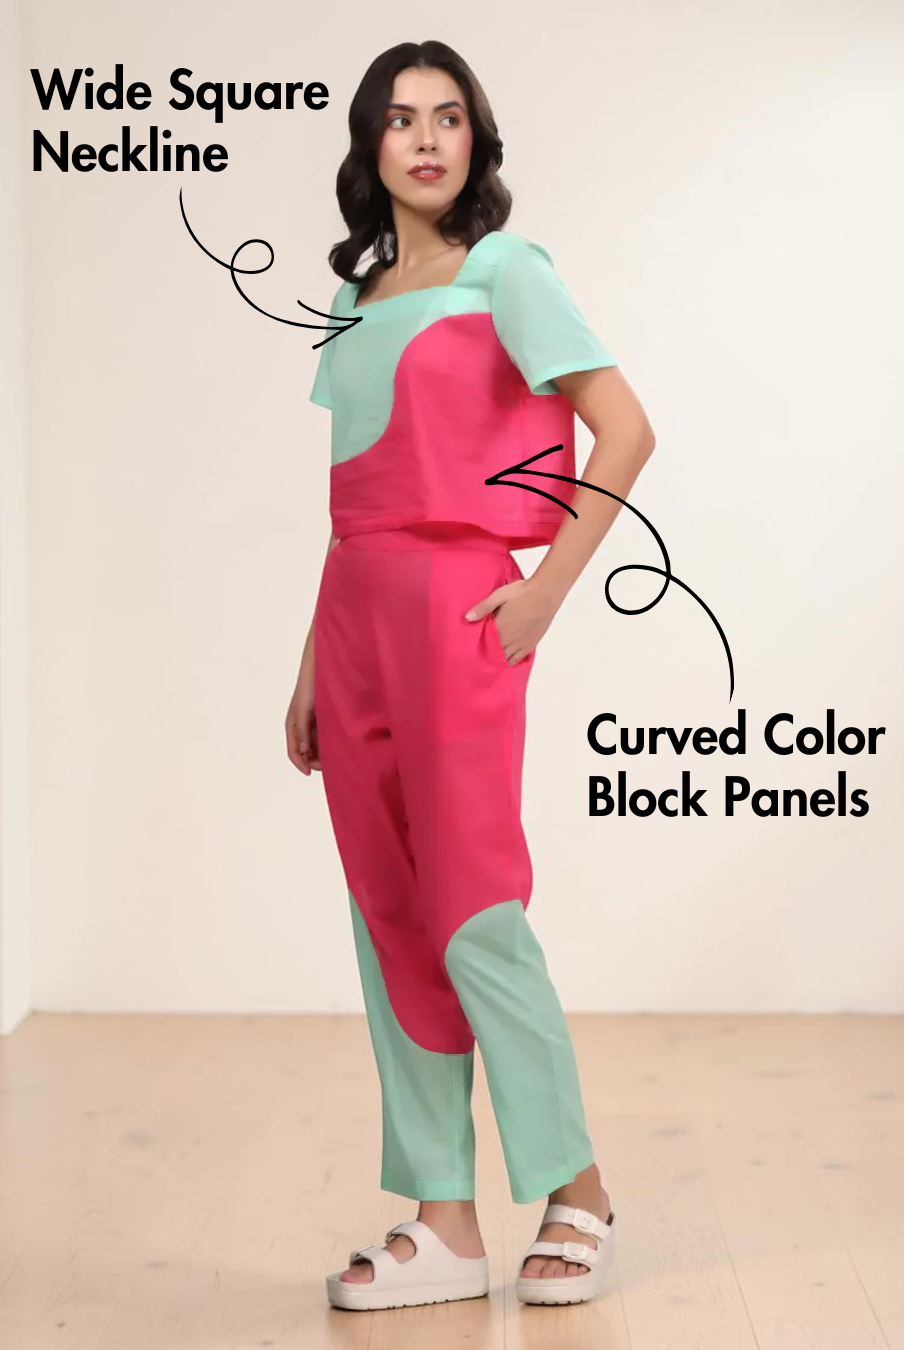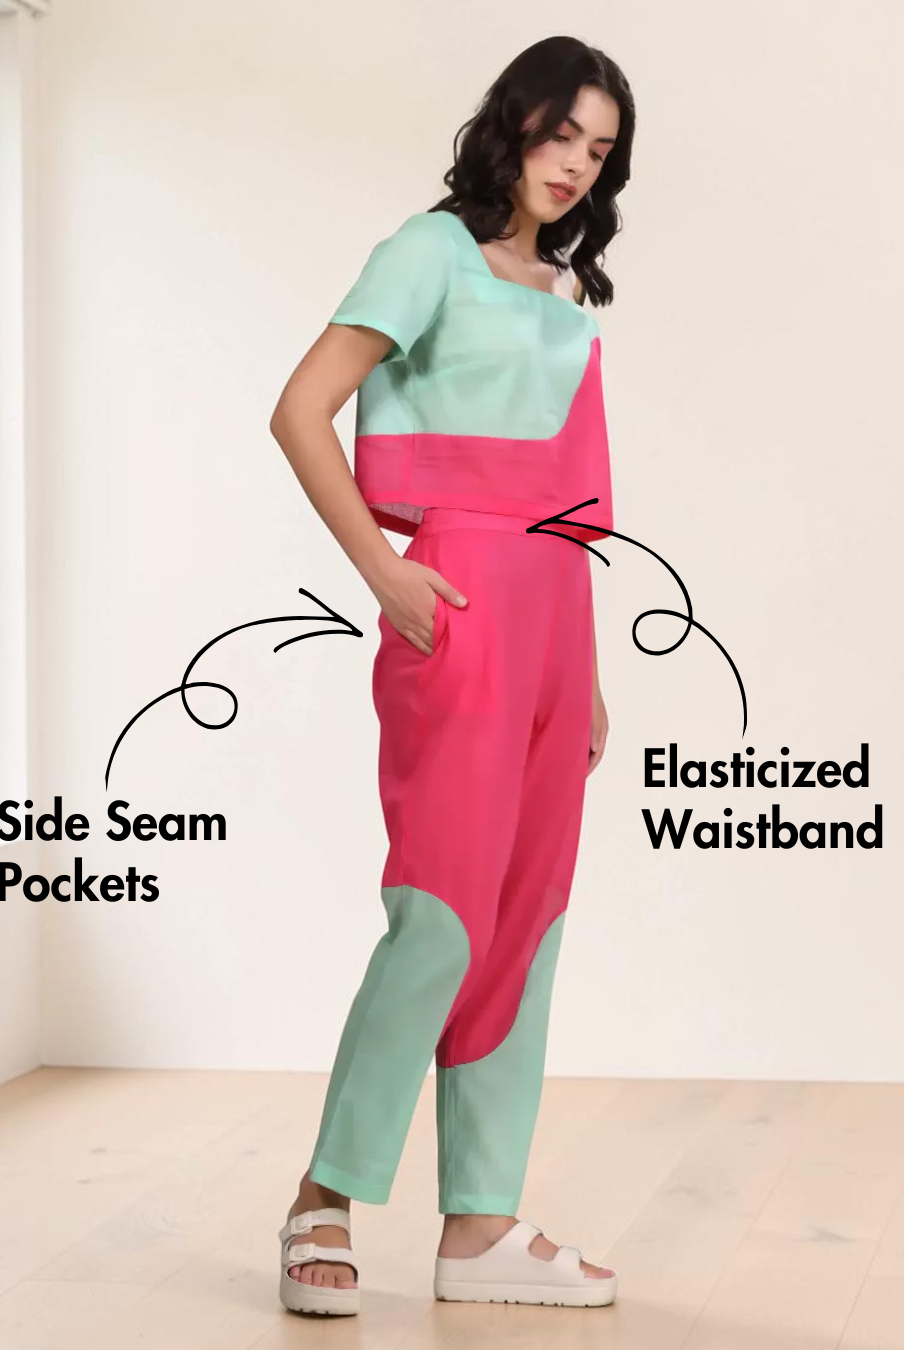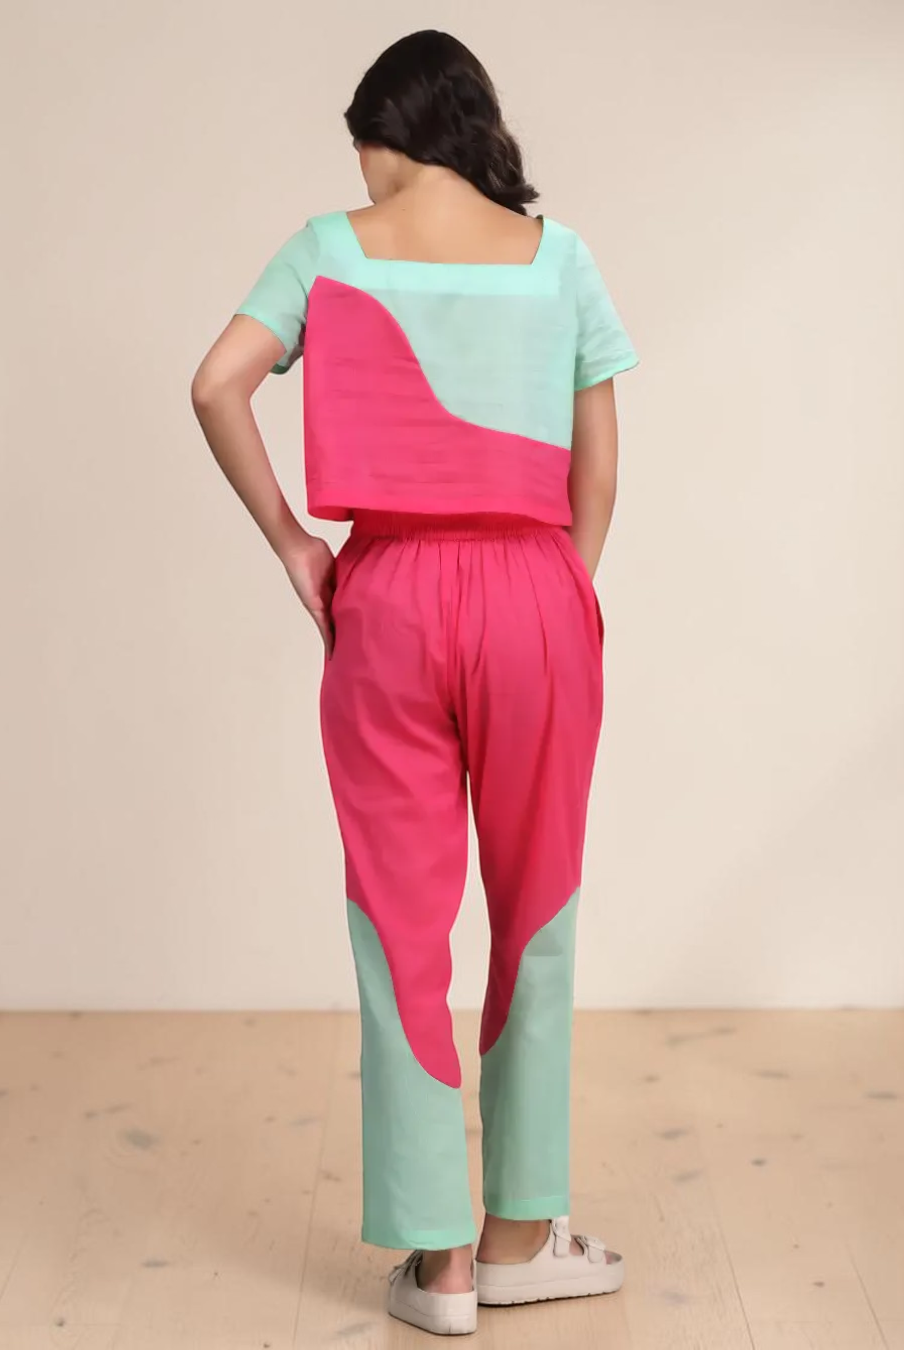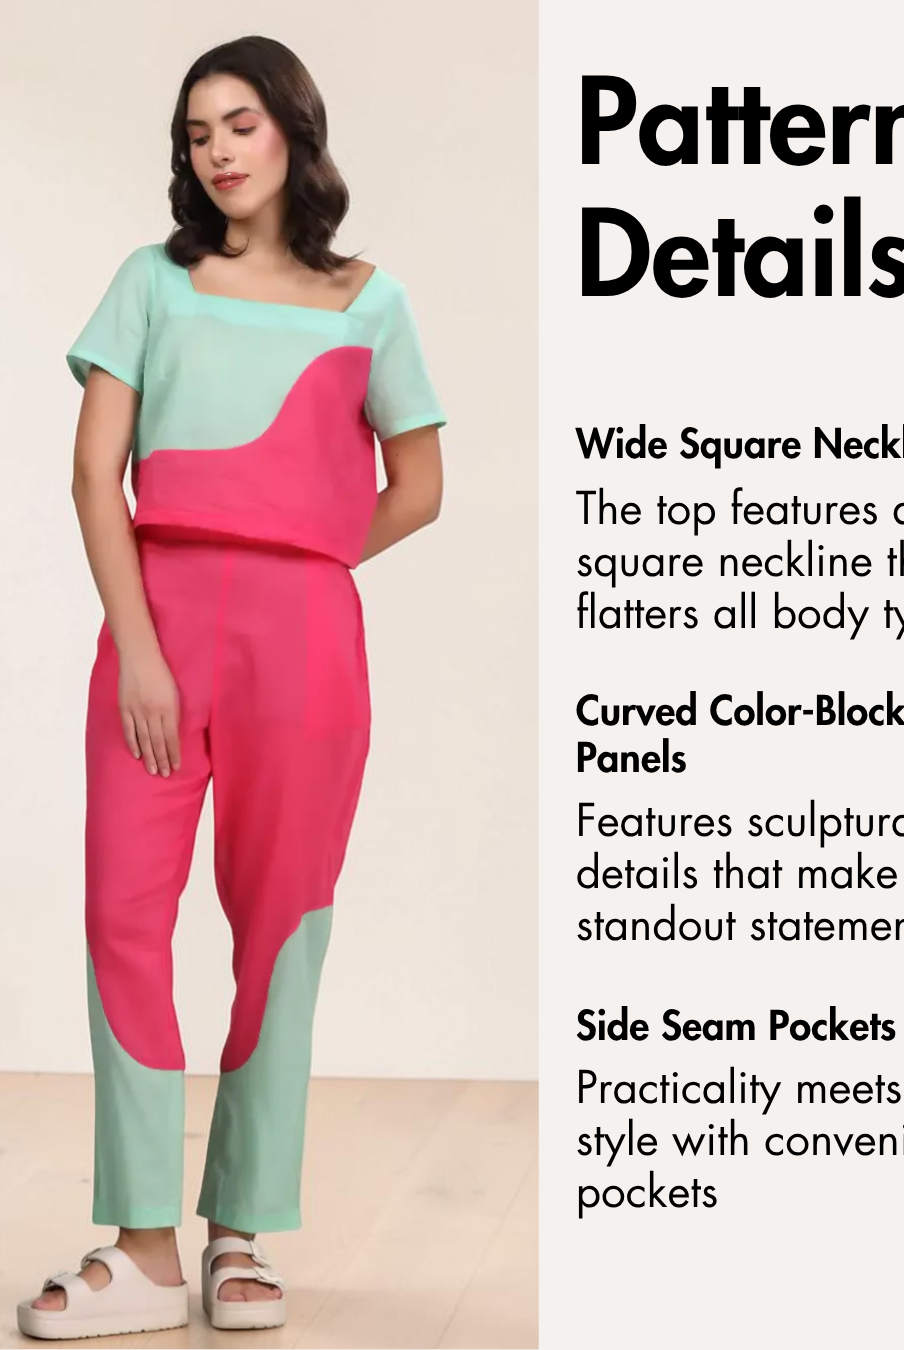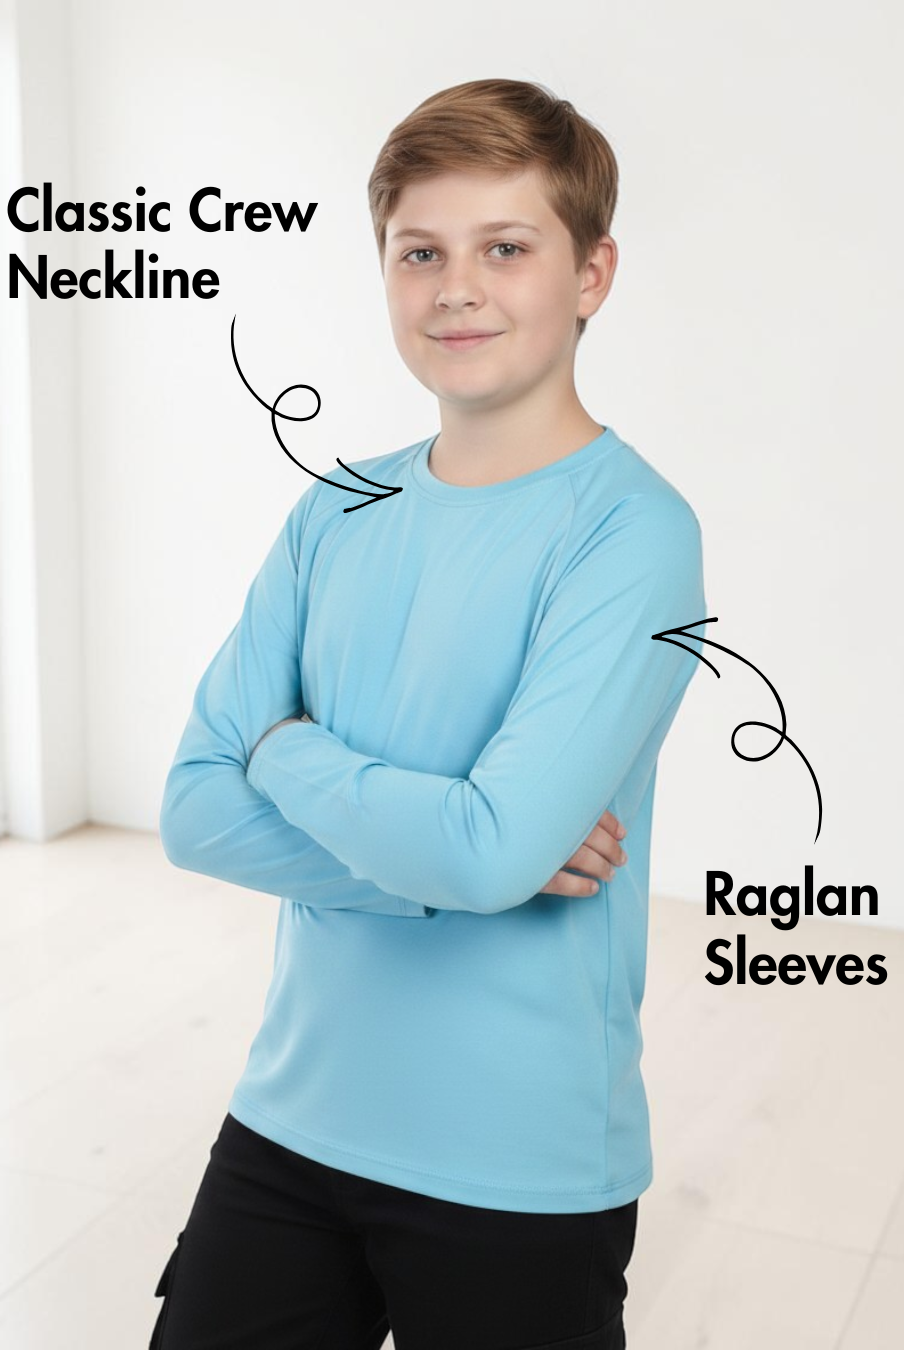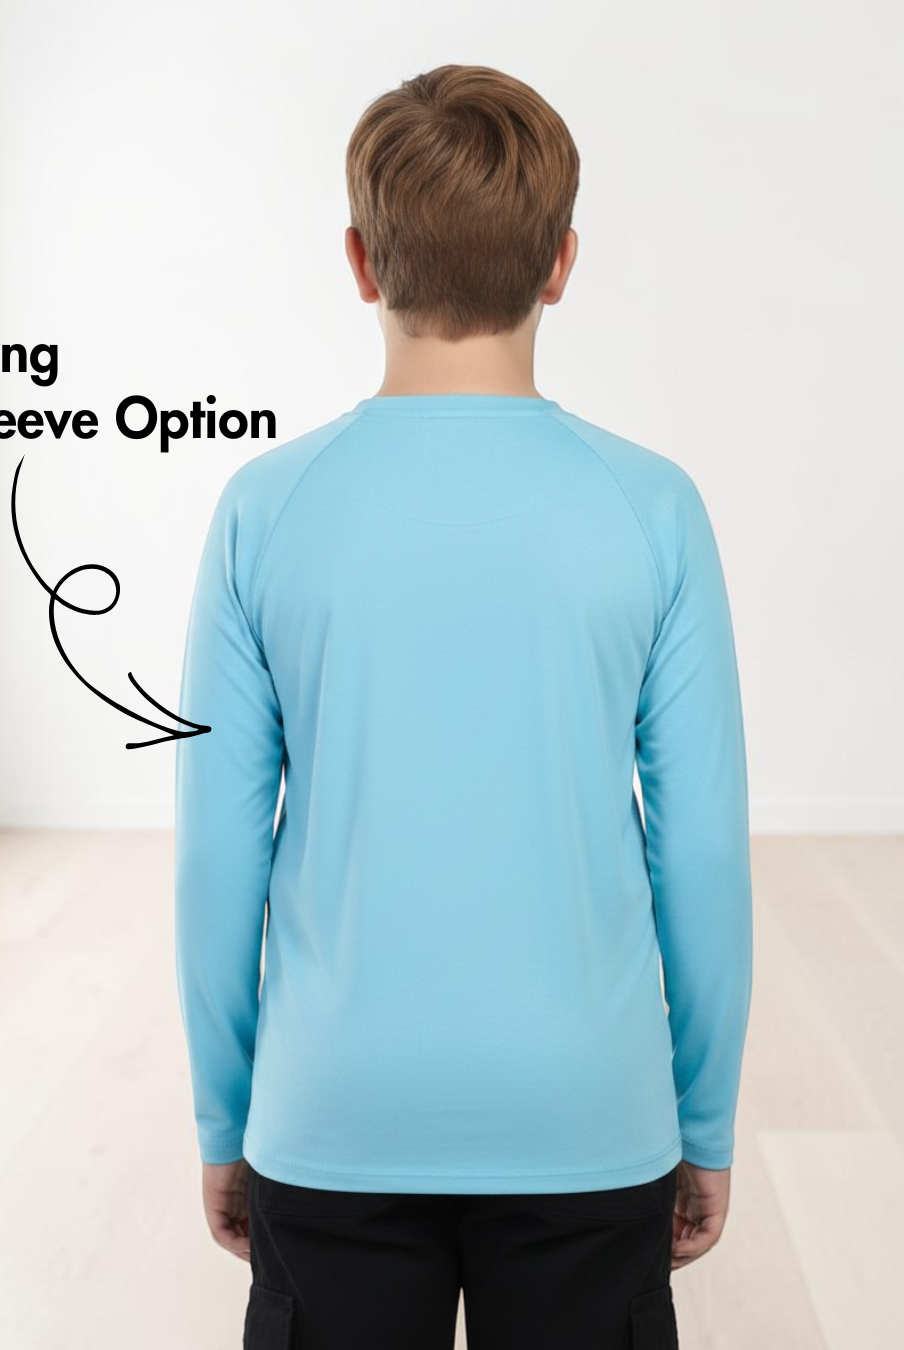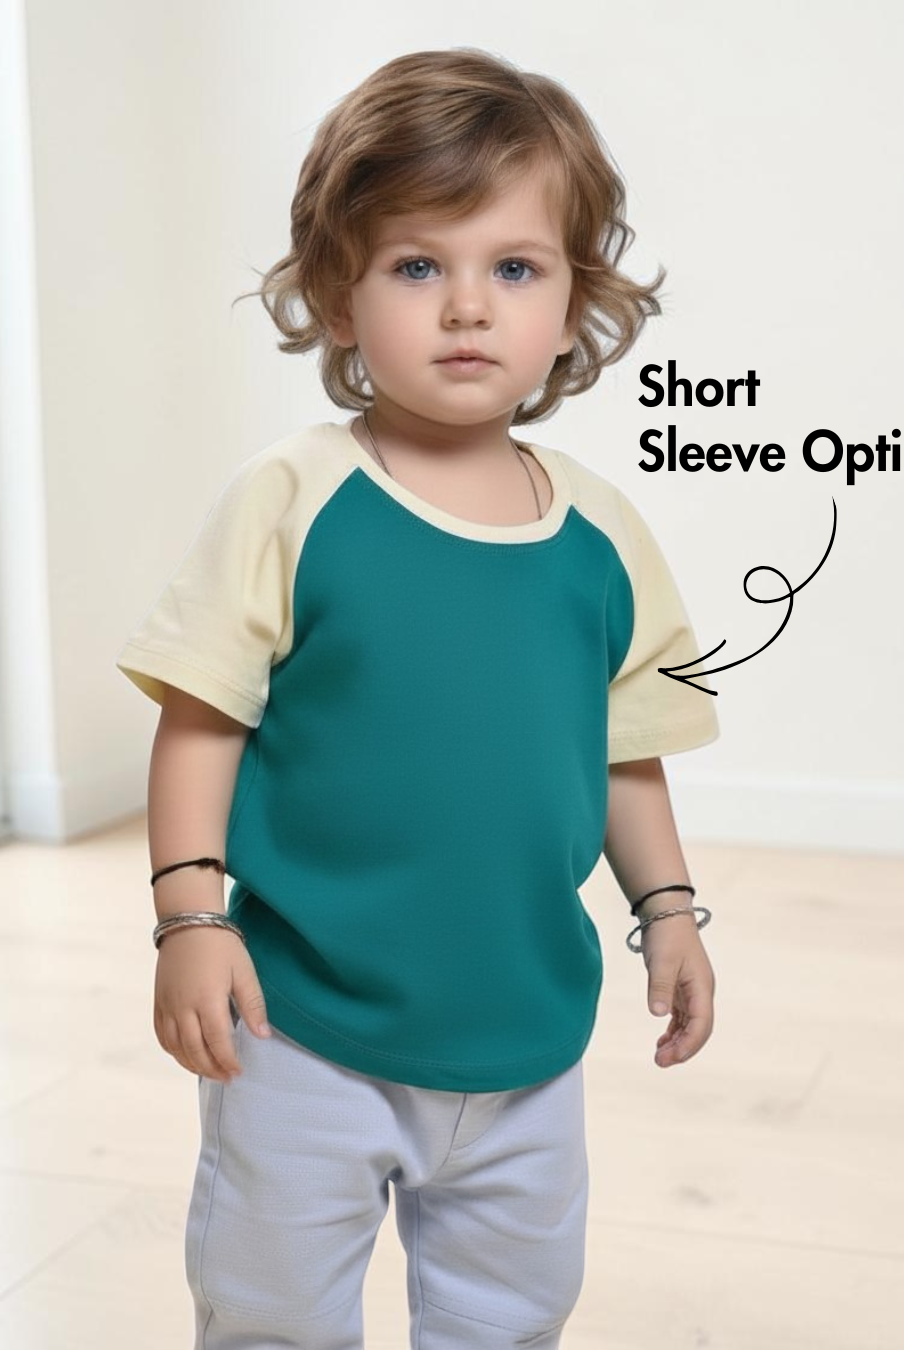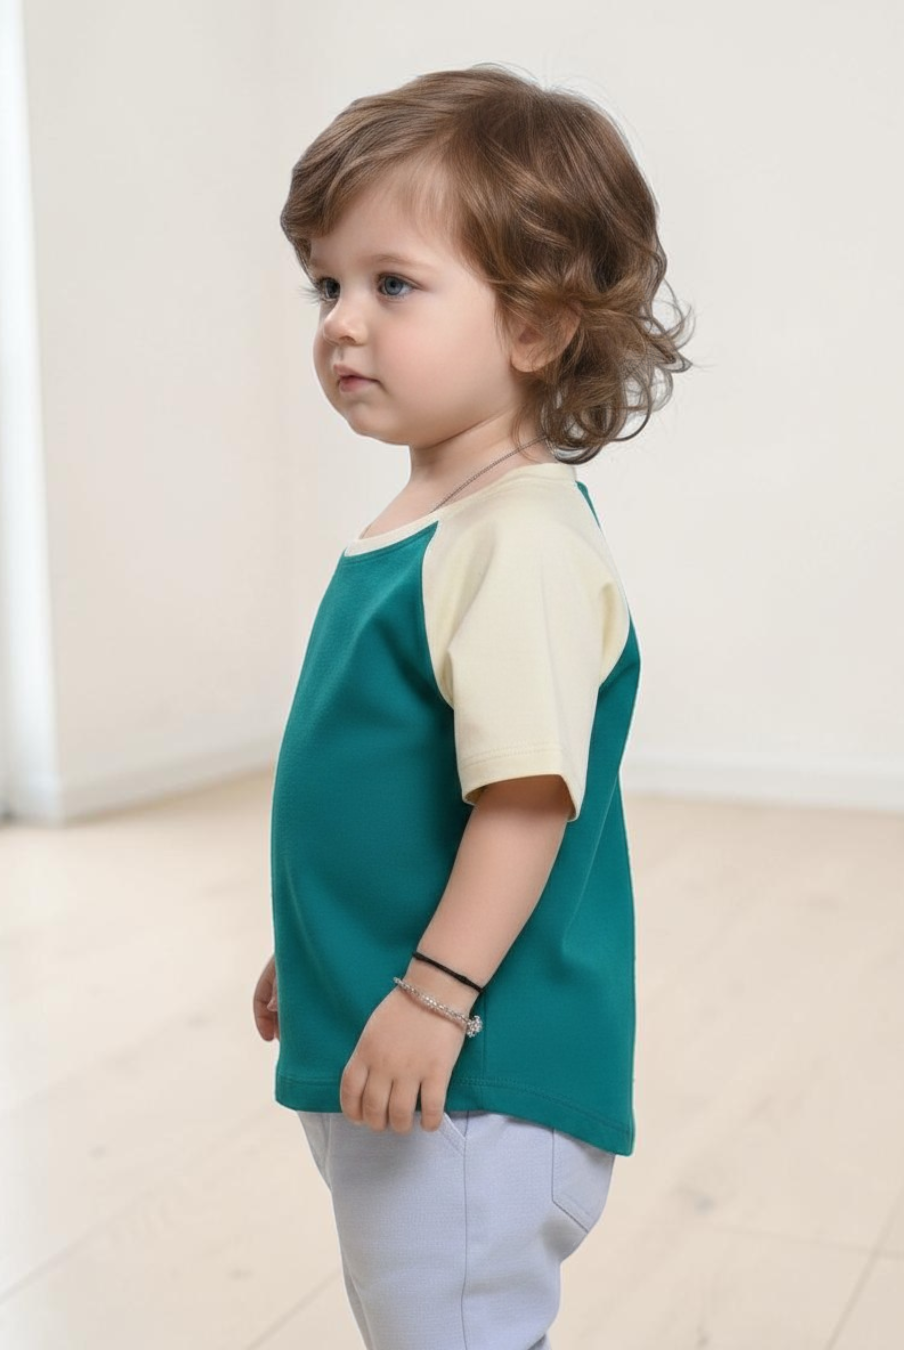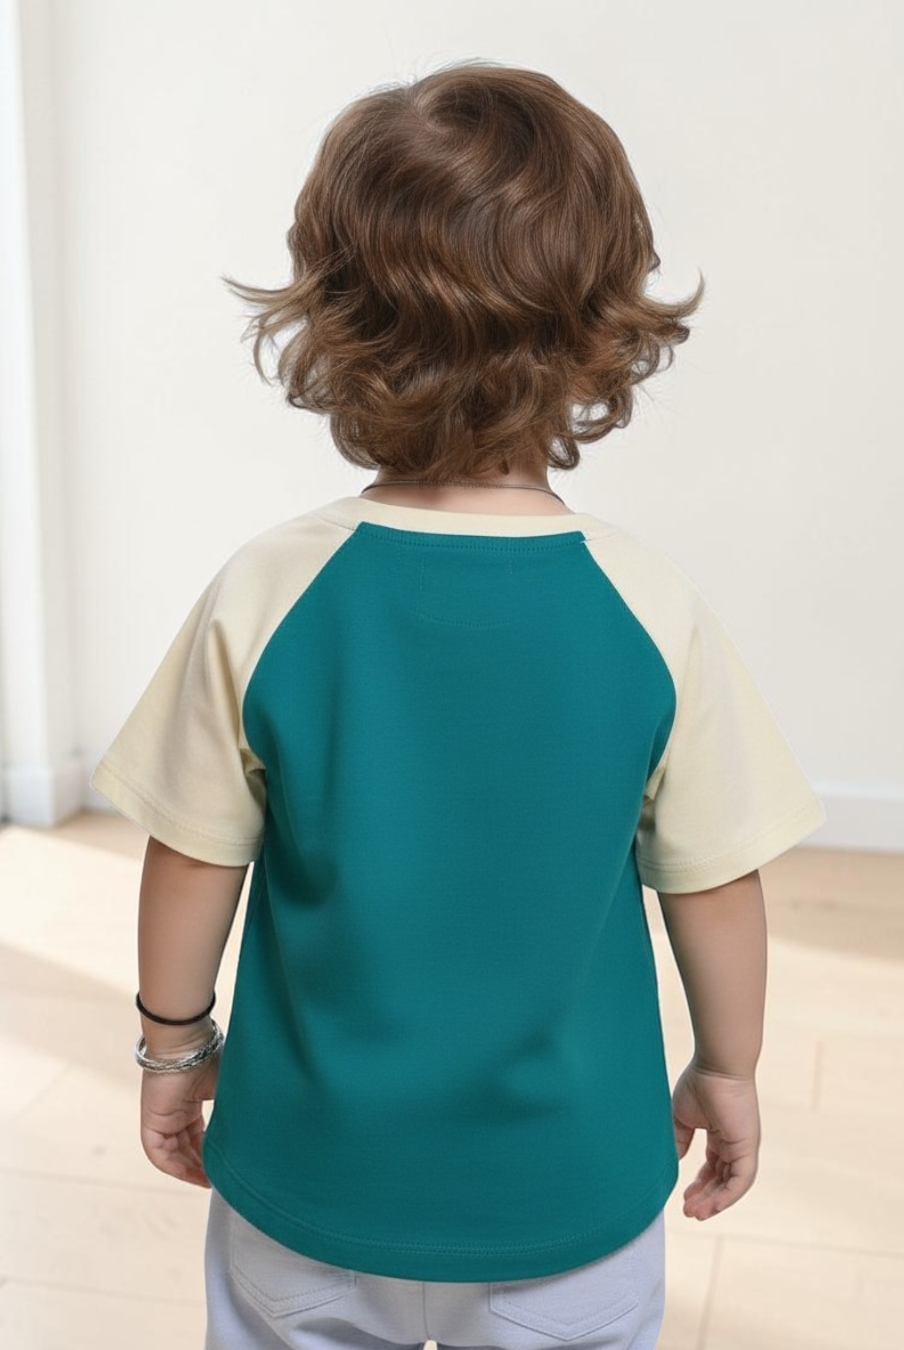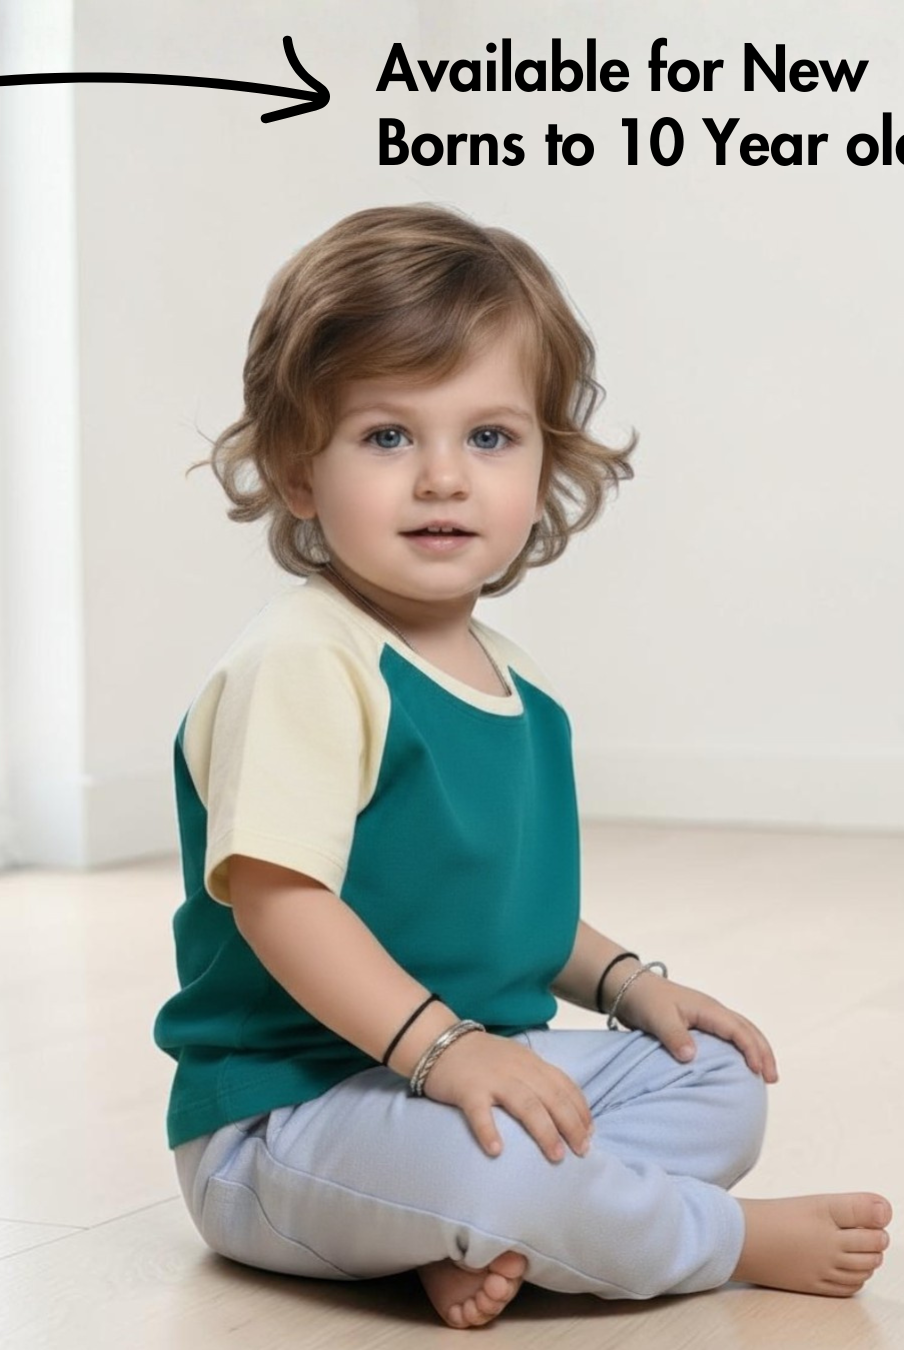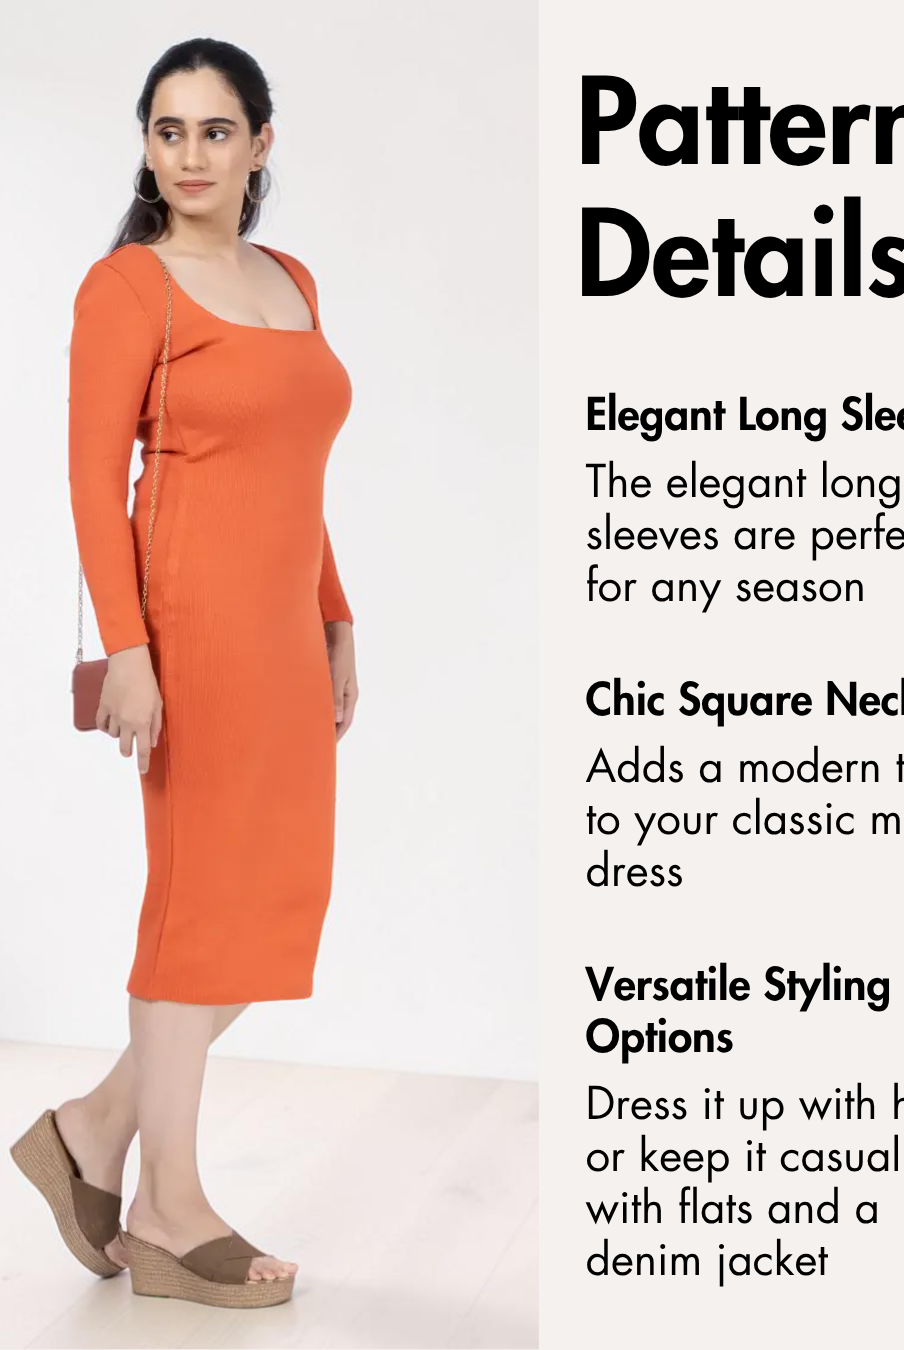
An activewear coord set is one of the most rewarding activewear projects to sew. Creating a matching top and shorts allows you to customize the fit, choose performance fabrics that suit your activities, and build a versatile outfit that works for workouts, outdoor adventures, or everyday athleisure.
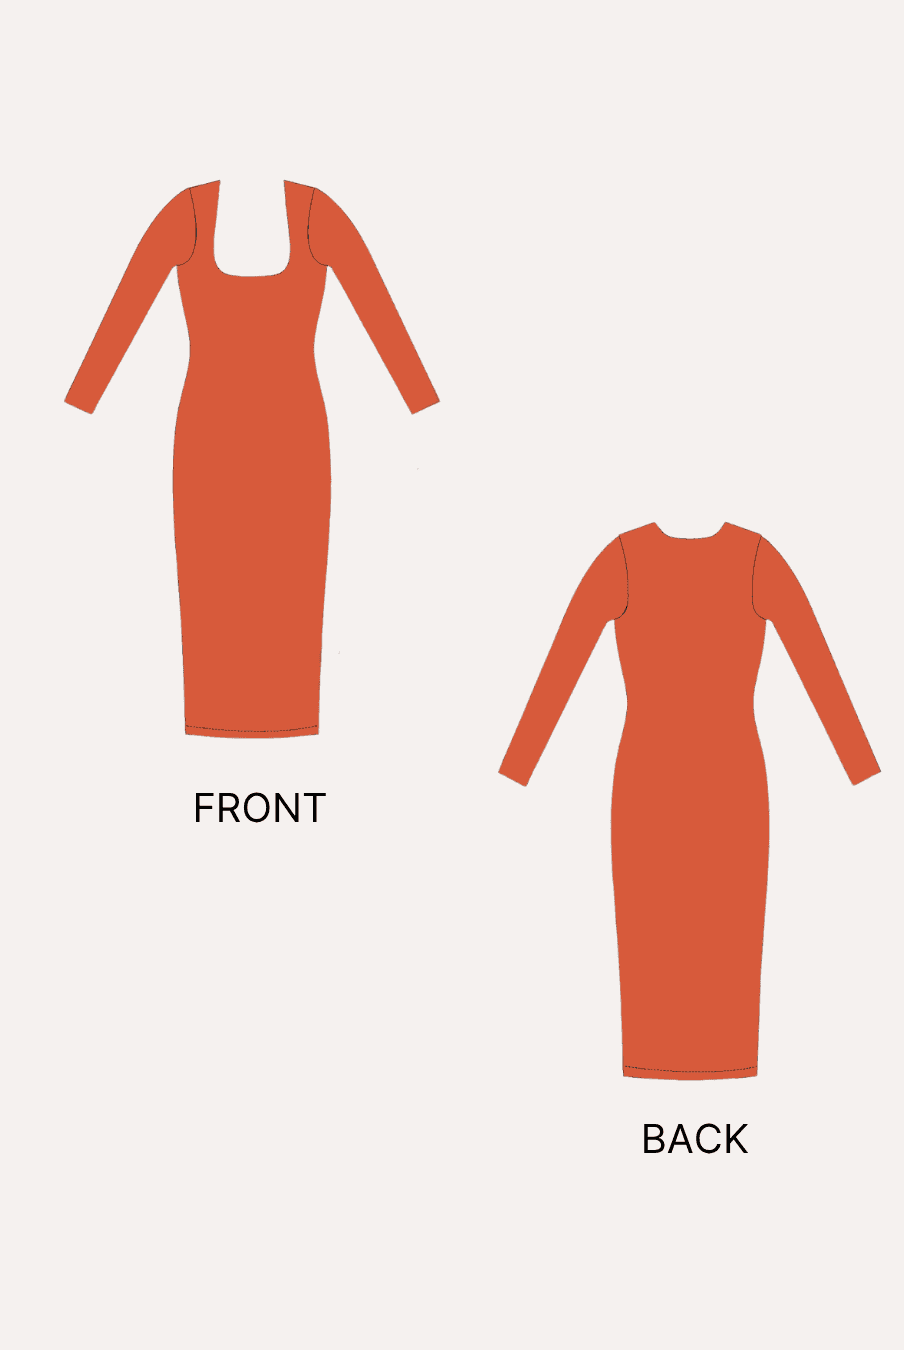
The Winslet's Maria Activewear Coord Set Sewing Pattern combines the Maria Raglan T-Shirt and Maria Training Shorts into a coordinated activewear set. Designed with beginner-friendly construction and comfortable knit fabrics in mind, this pattern makes it easy to sew a practical outfit you'll reach for again and again.

Why Sew a Activewear Coord Set?
- Create a coordinated athletic outfit with a matching raglan sports T-shirt and double-layer training shorts.
- Customize the fit, fabric, and color combination to suit your personal style.
- Enjoy breathable, stretchy garments that are comfortable for workouts and everyday wear.
- Sew separates that can be worn together or mixed with other wardrobe staples.
- Build confidence sewing knit fabrics using a beginner-friendly project.
Why Choose the Winslet's Maria Activewear Coord Set Sewing Pattern?


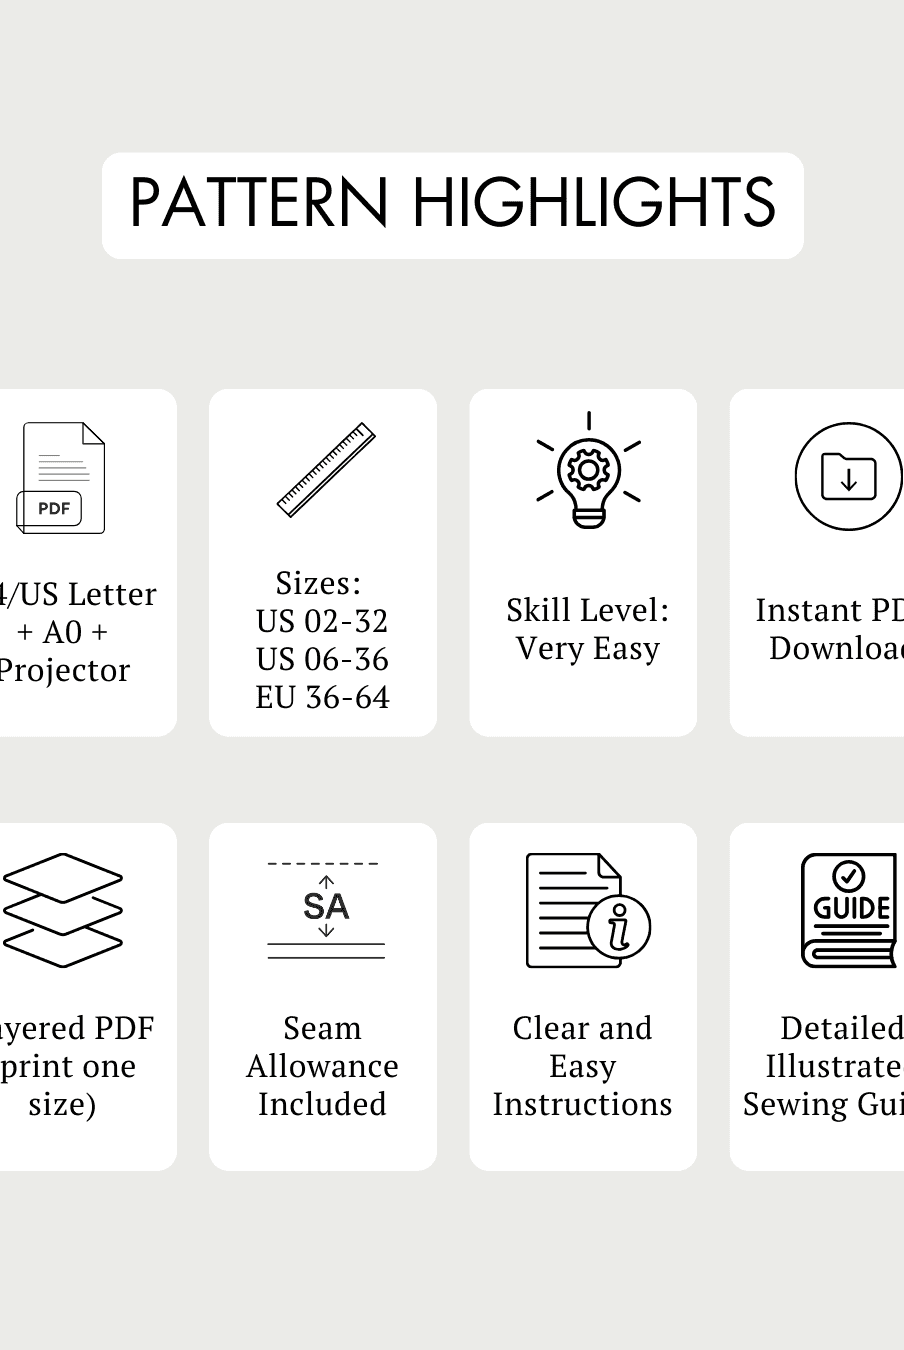
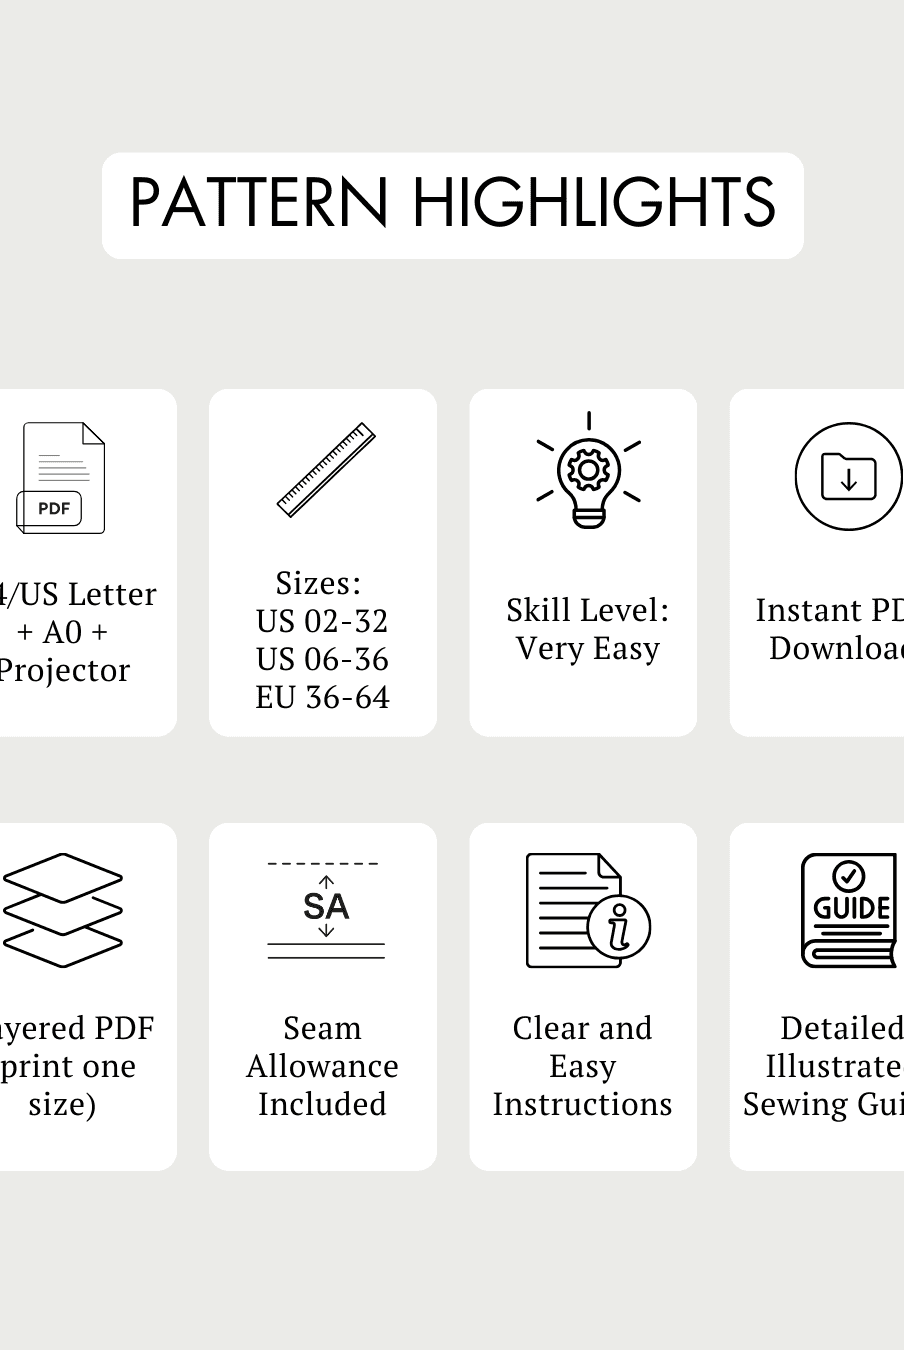
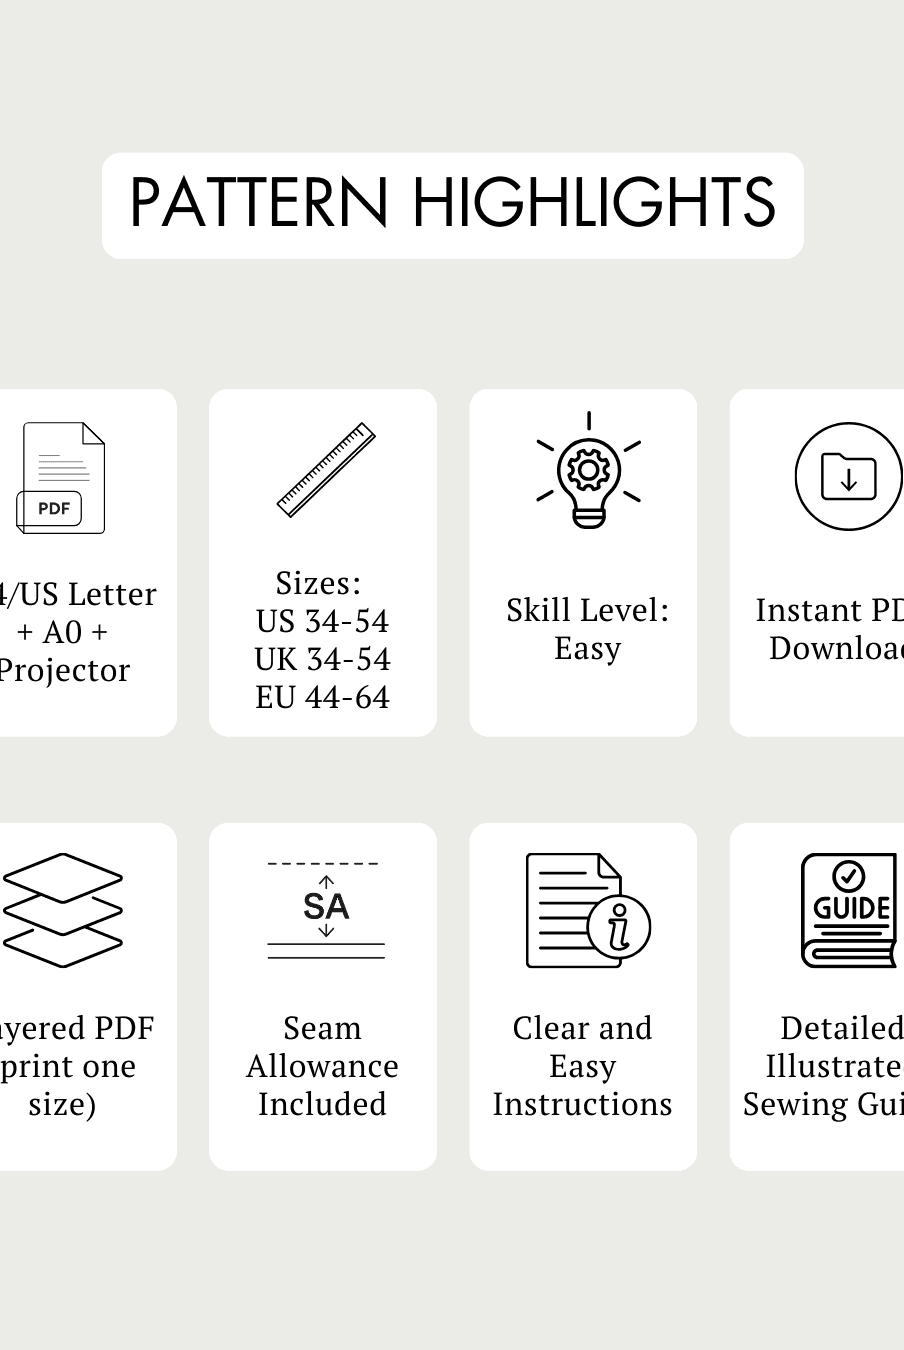
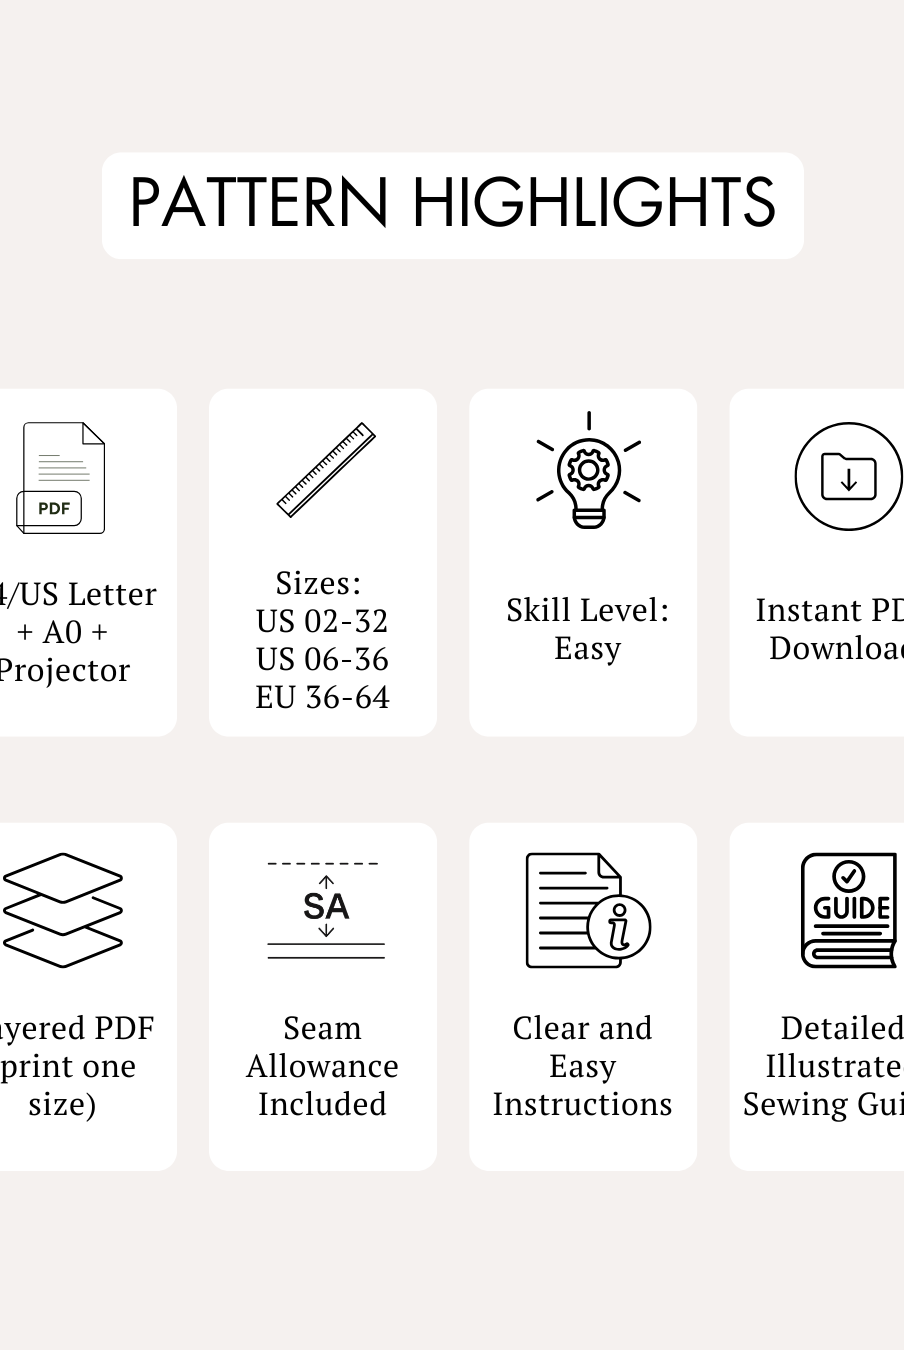
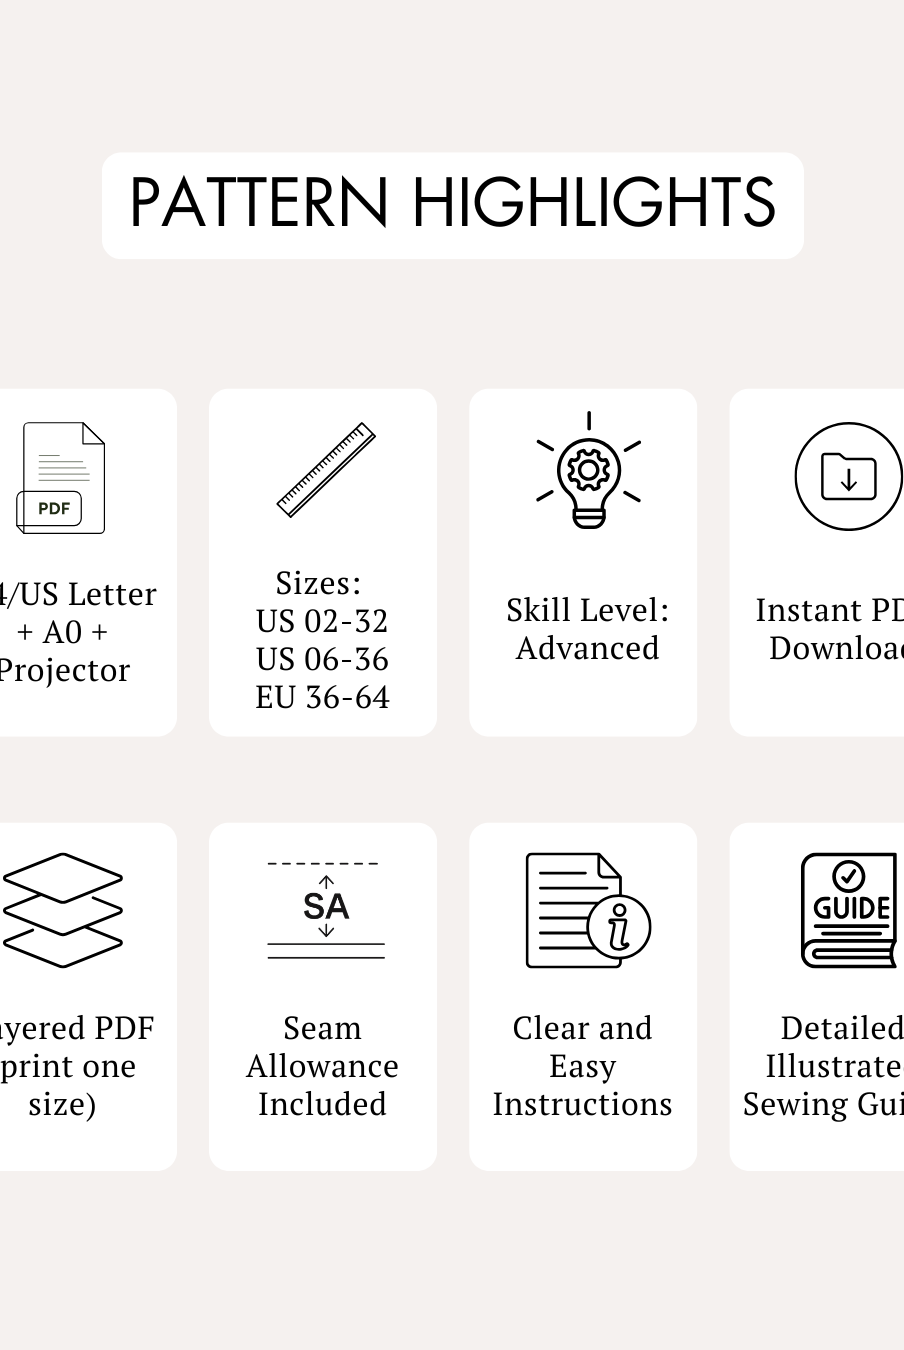
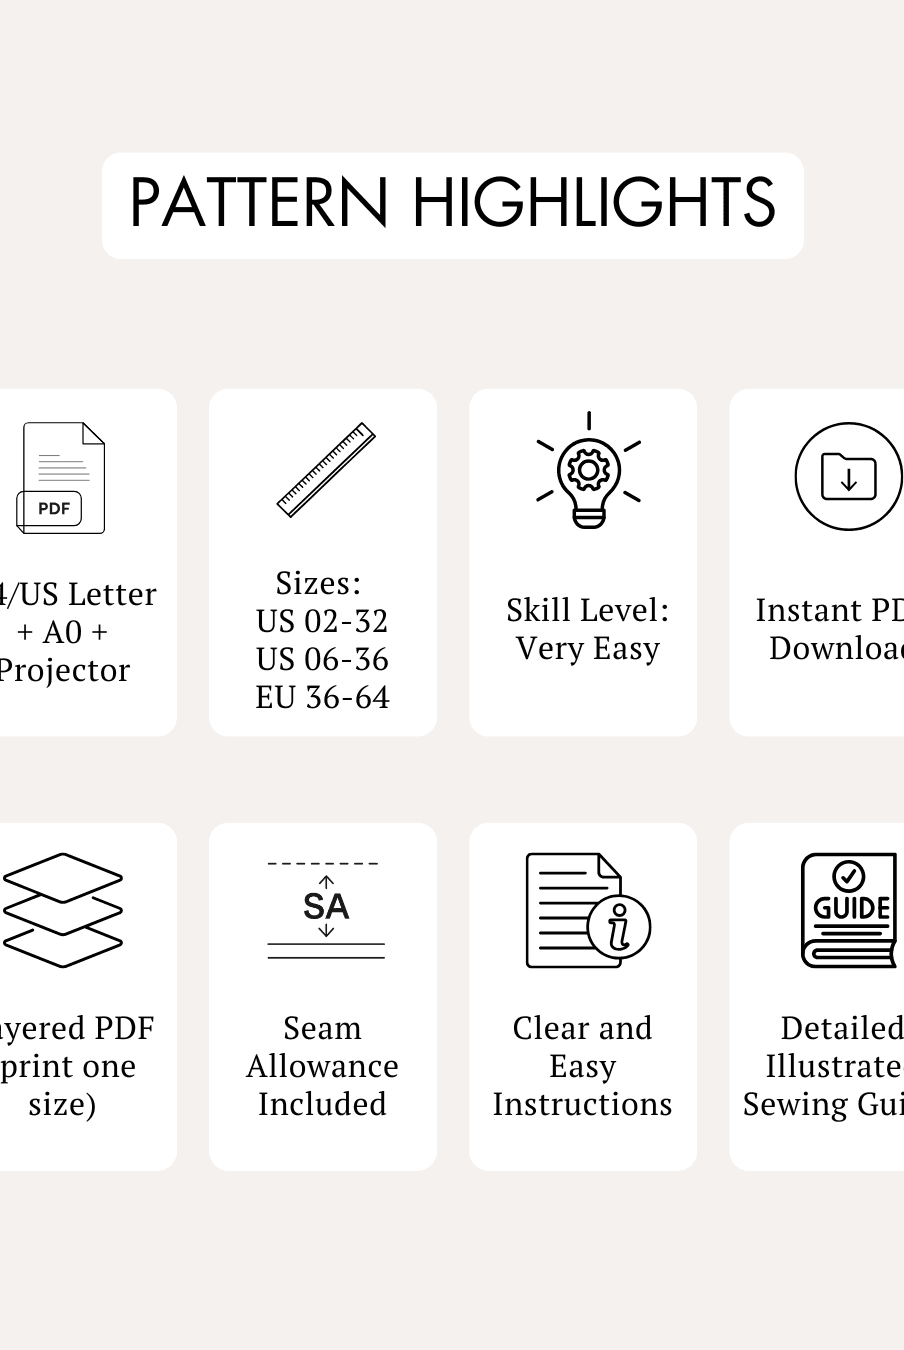
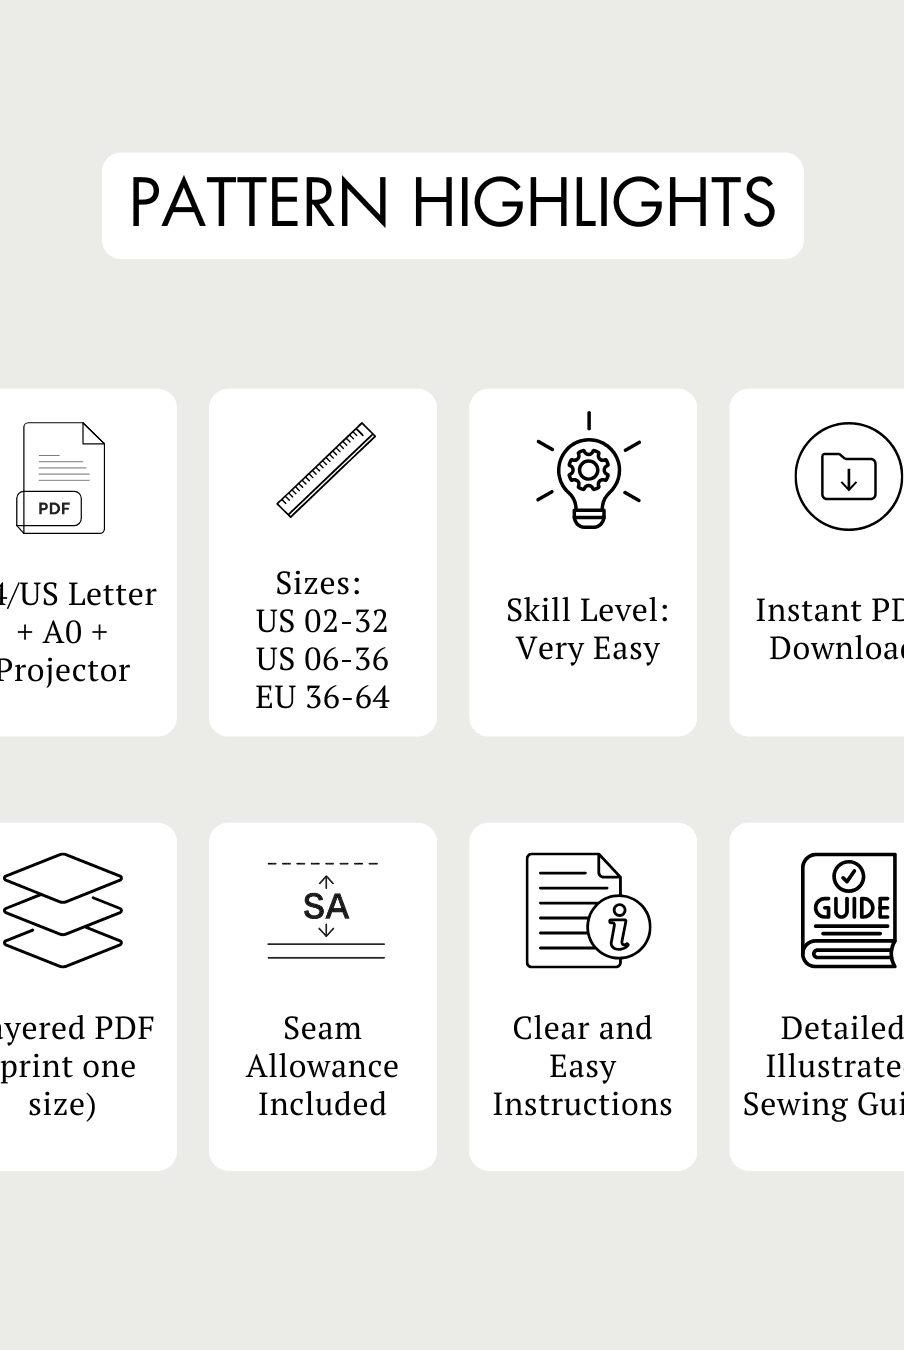
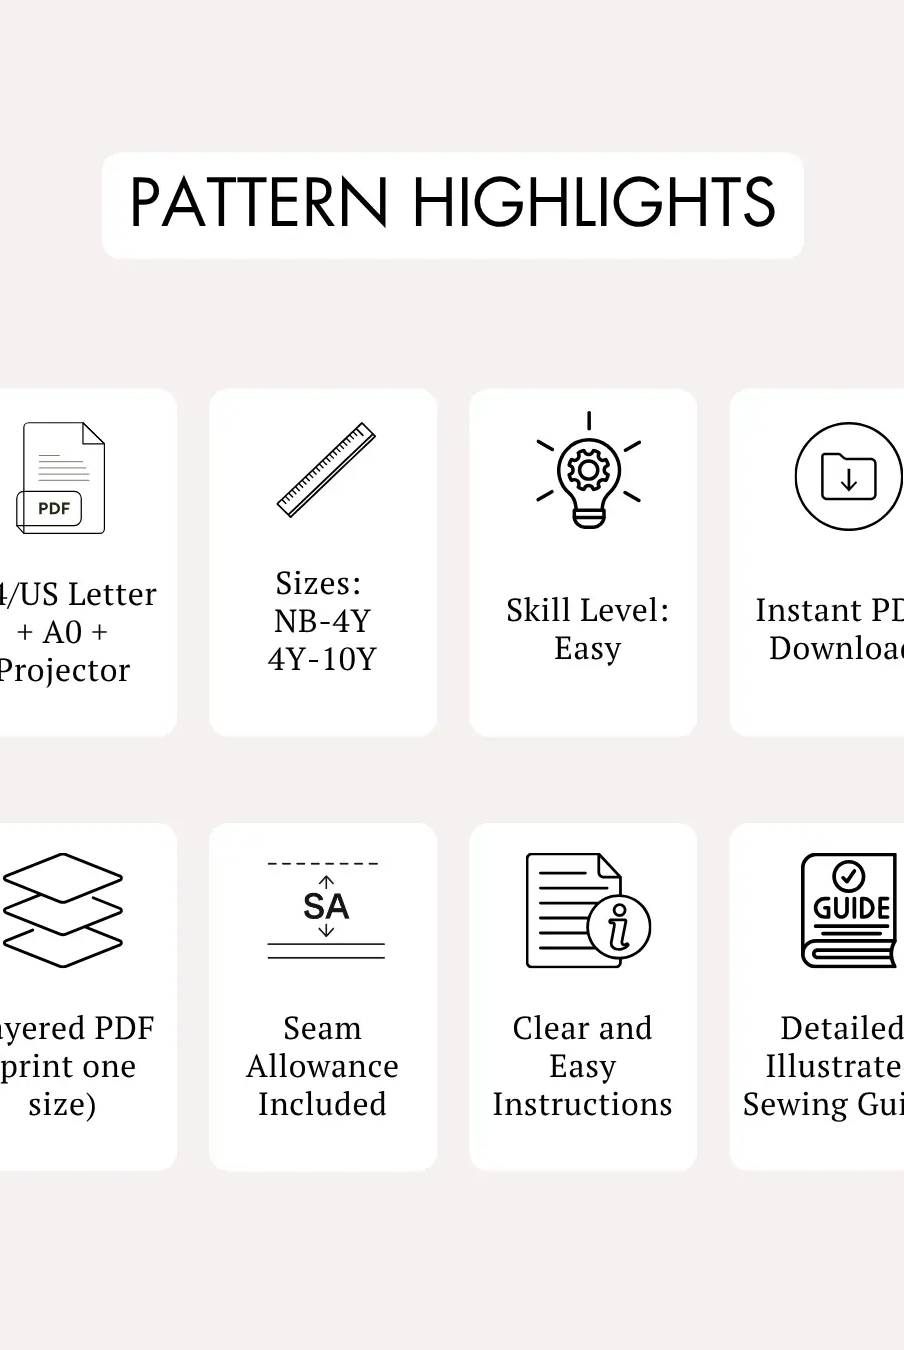
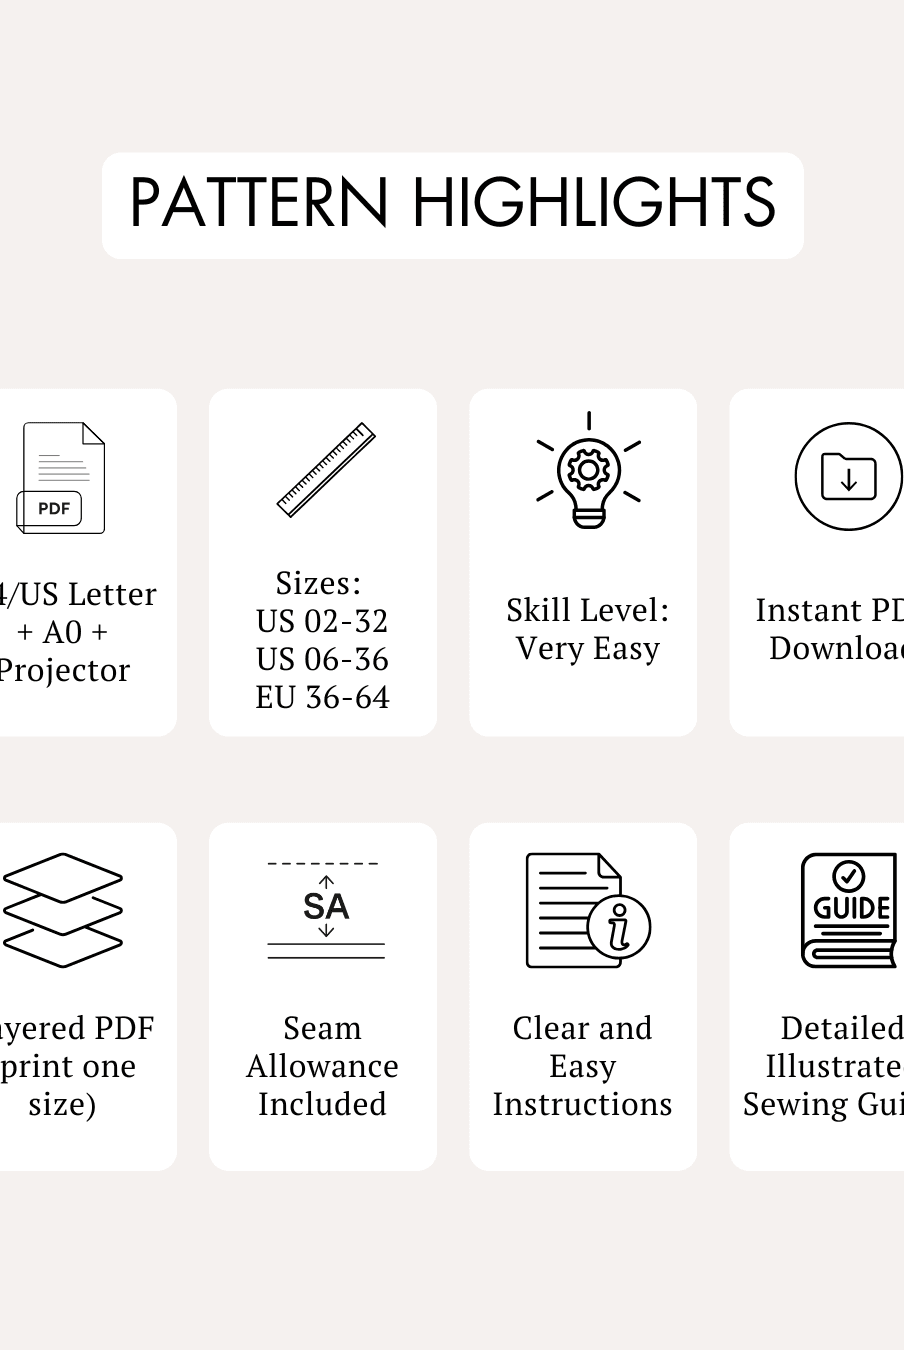
- Skill Level: Very Easy
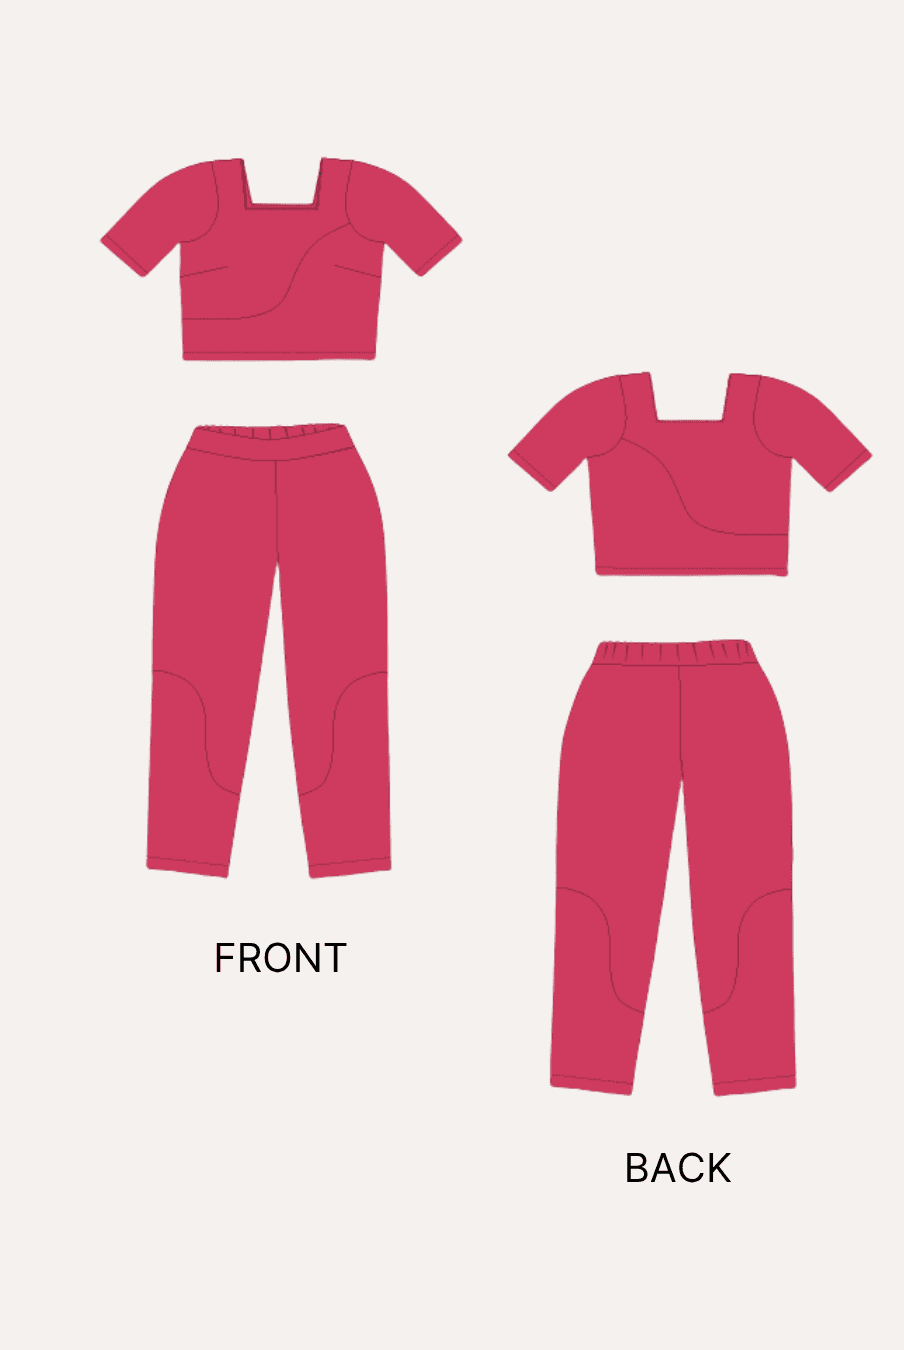
- Includes a relaxed-fit raglan sleeve sports T-shirt and double-layer training shorts.
- The shorts feature an elastic waistband with a comfortable layered construction designed for active movement.
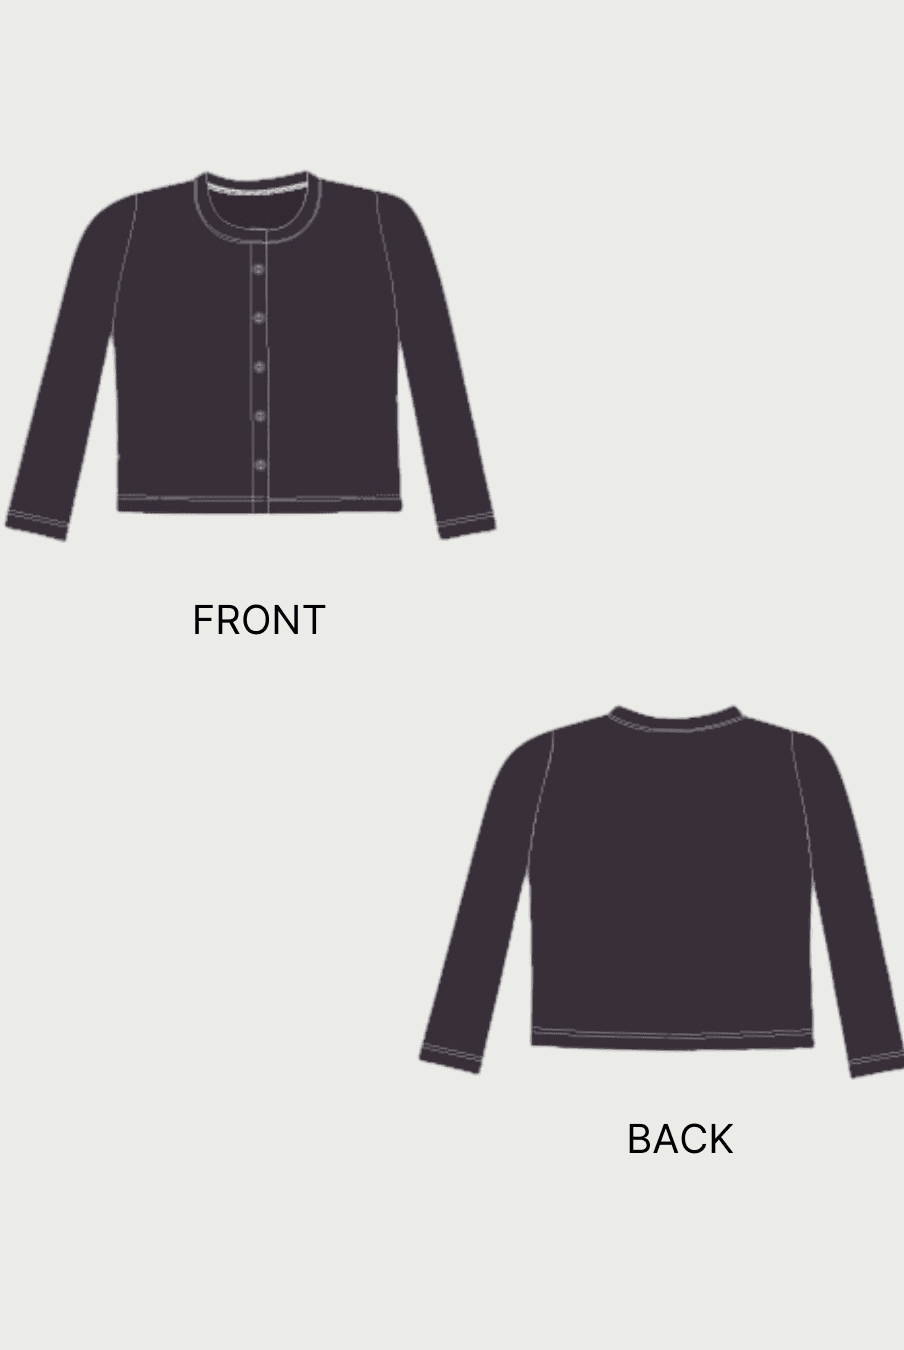
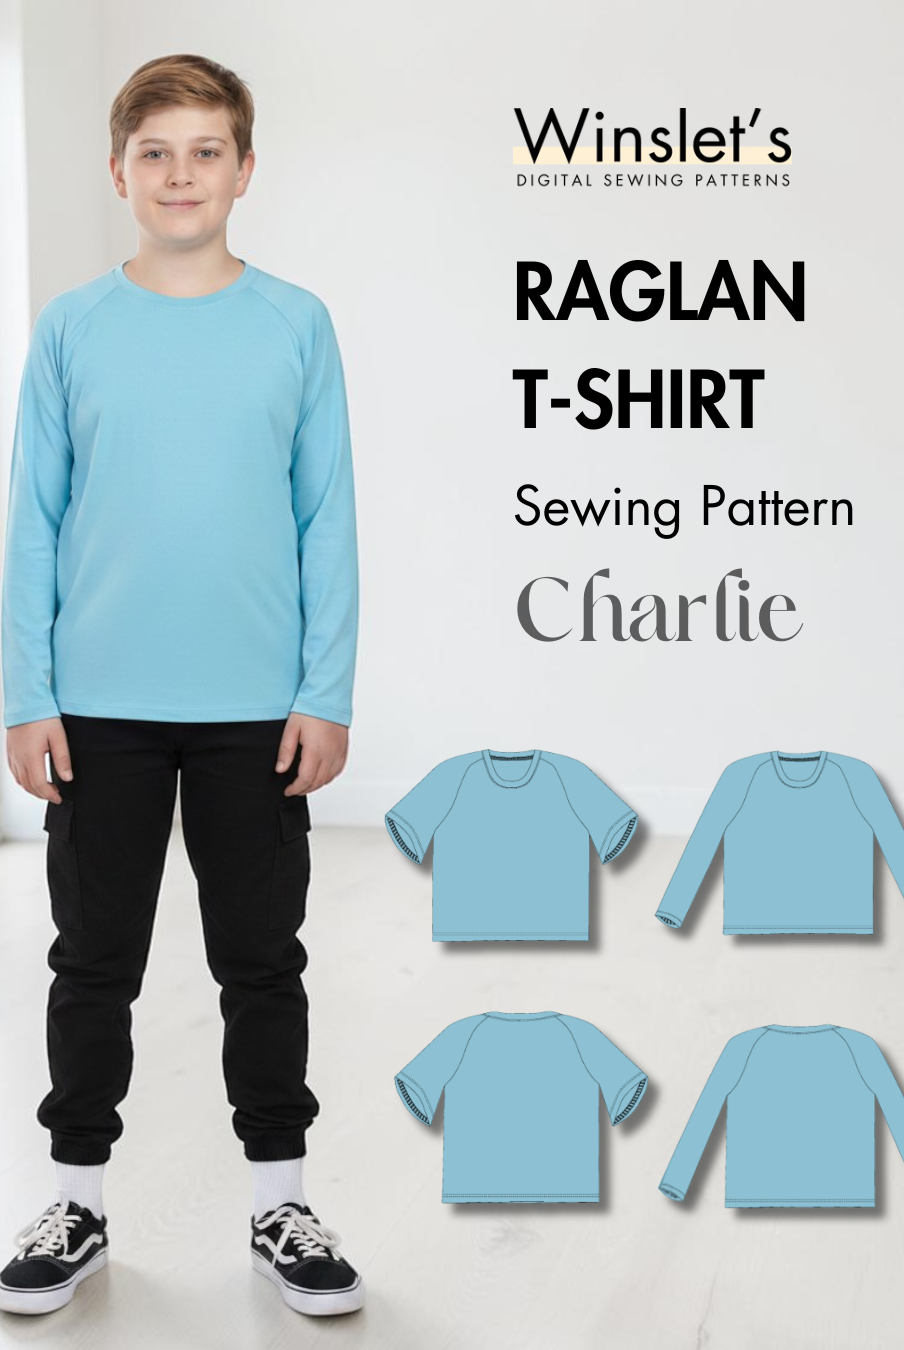
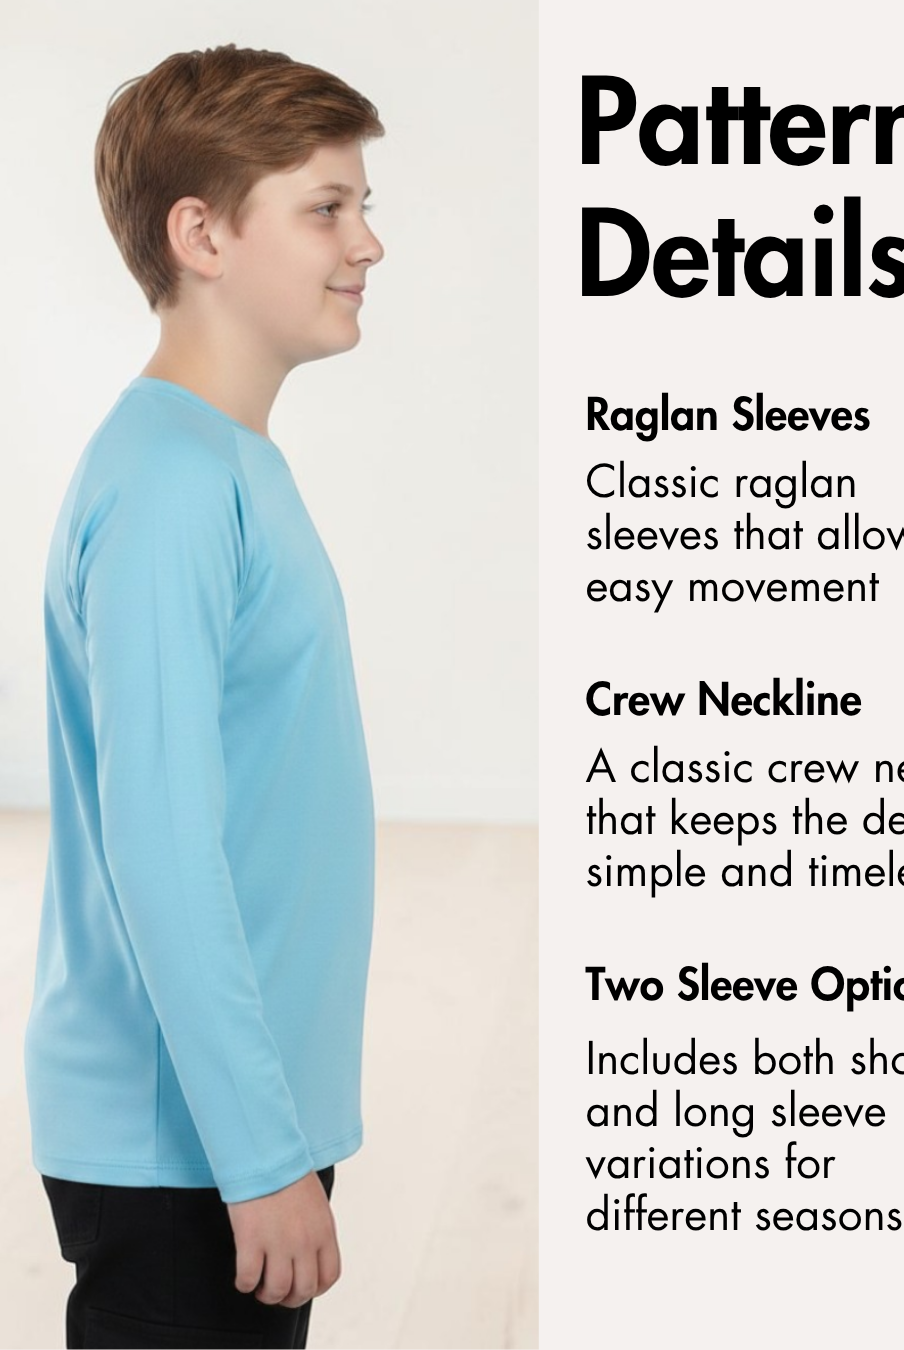
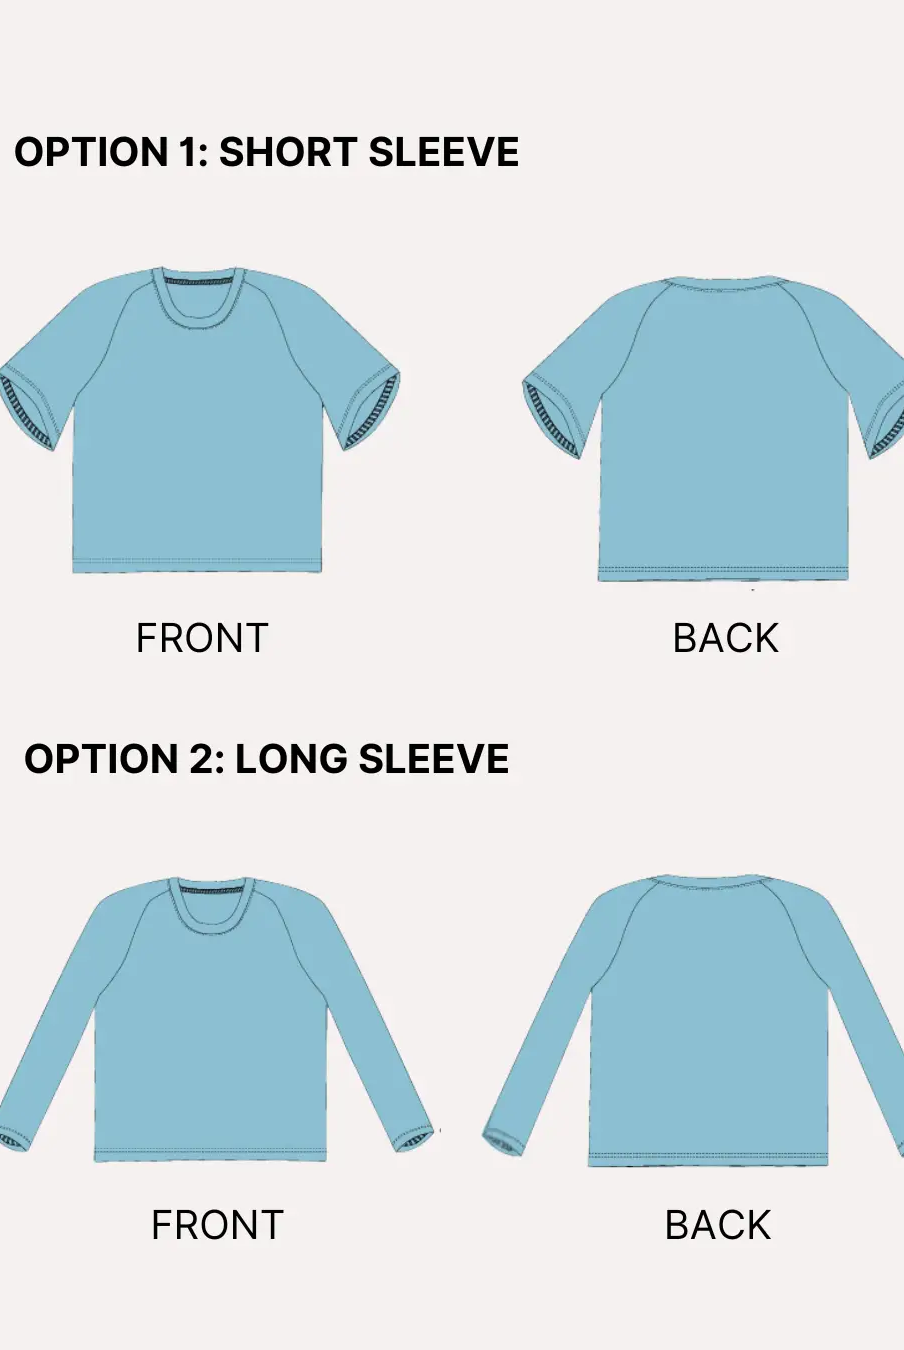
- The raglan T-shirt offers a classic athletic silhouette with short raglan sleeves and a neckband finish.
- Designed specifically for knit performance fabrics with clear, beginner-friendly instructions.
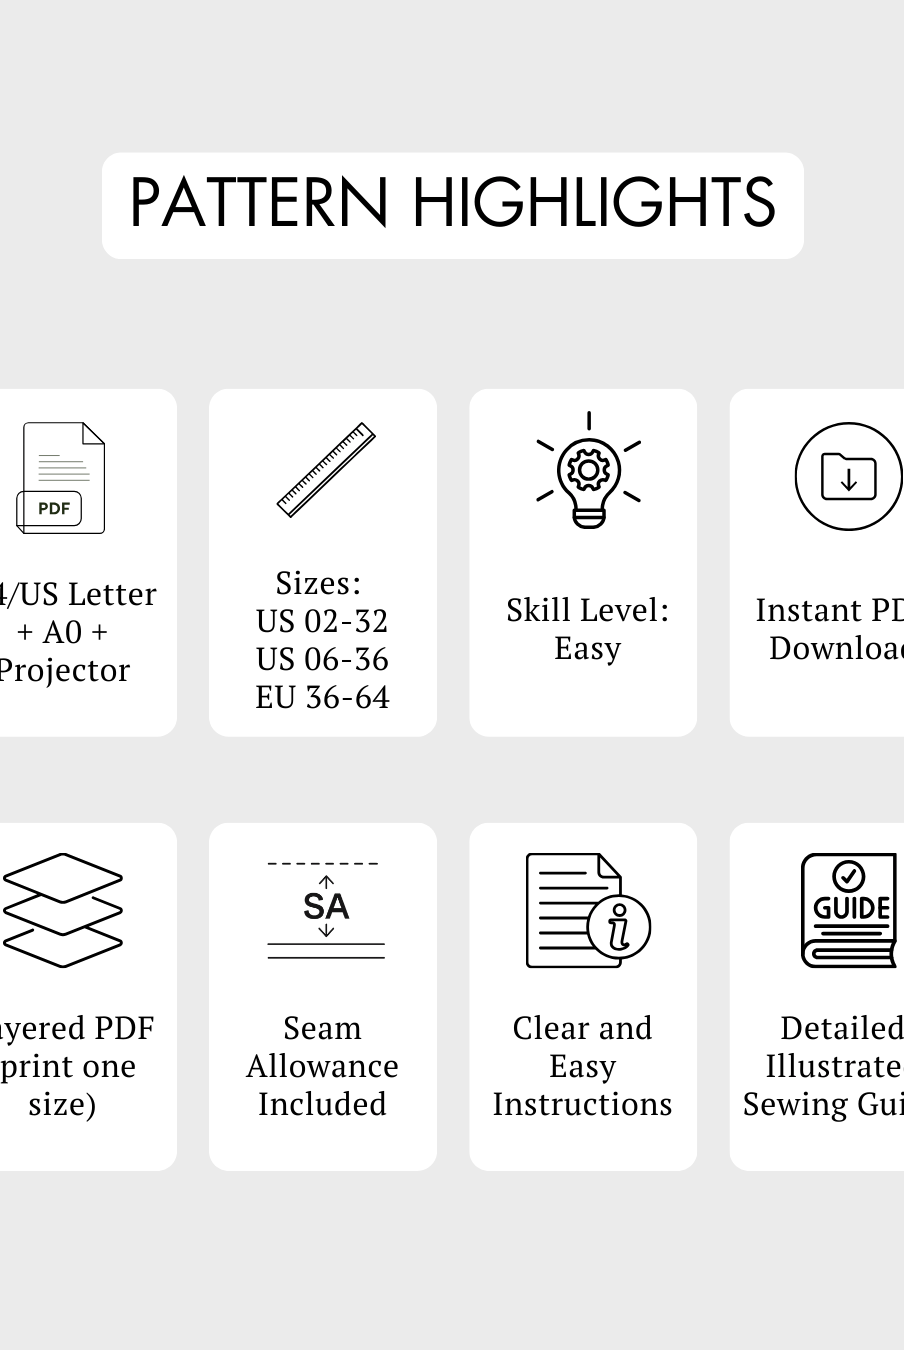
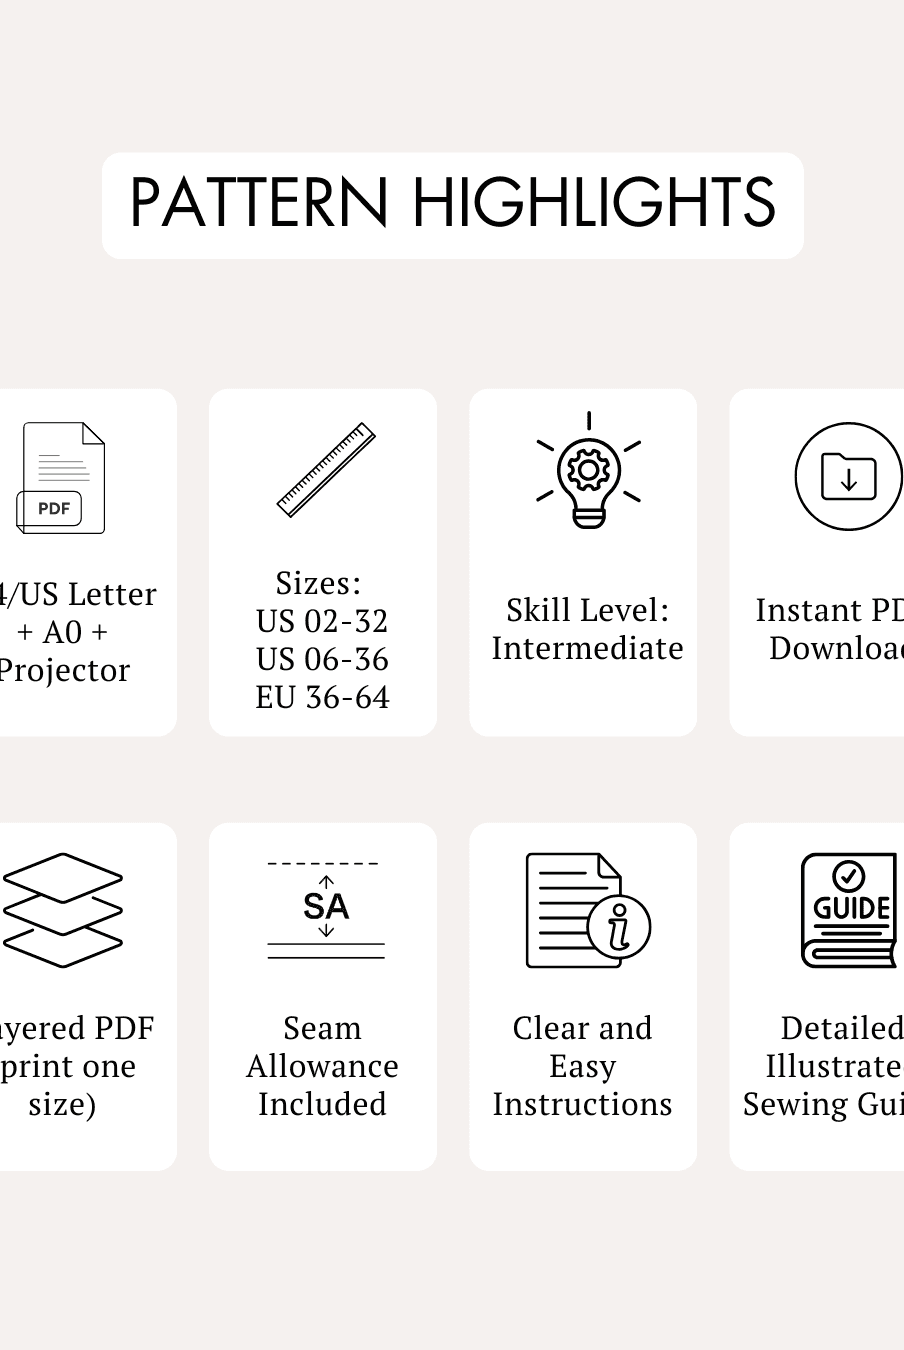
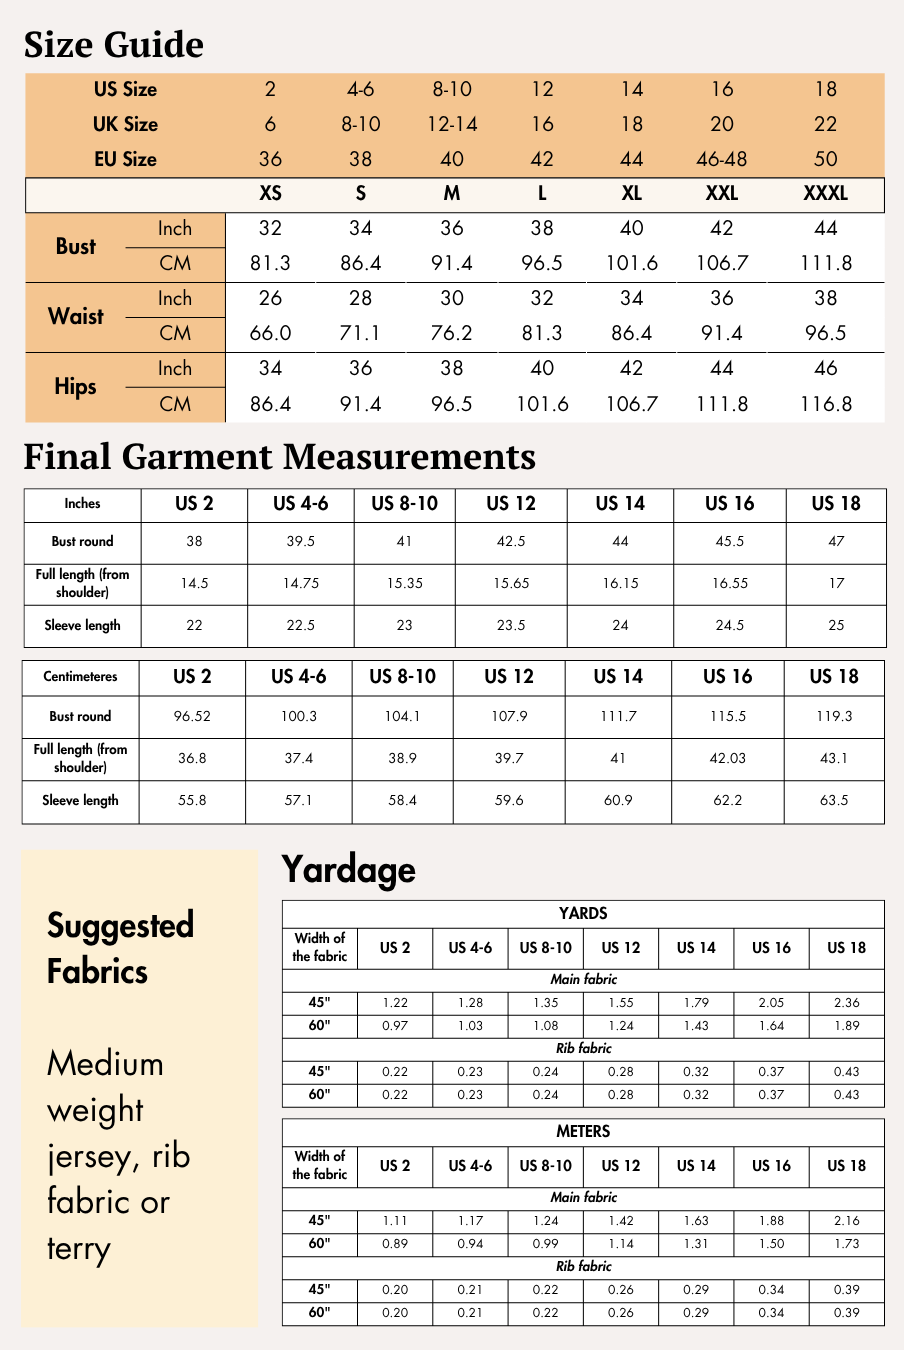
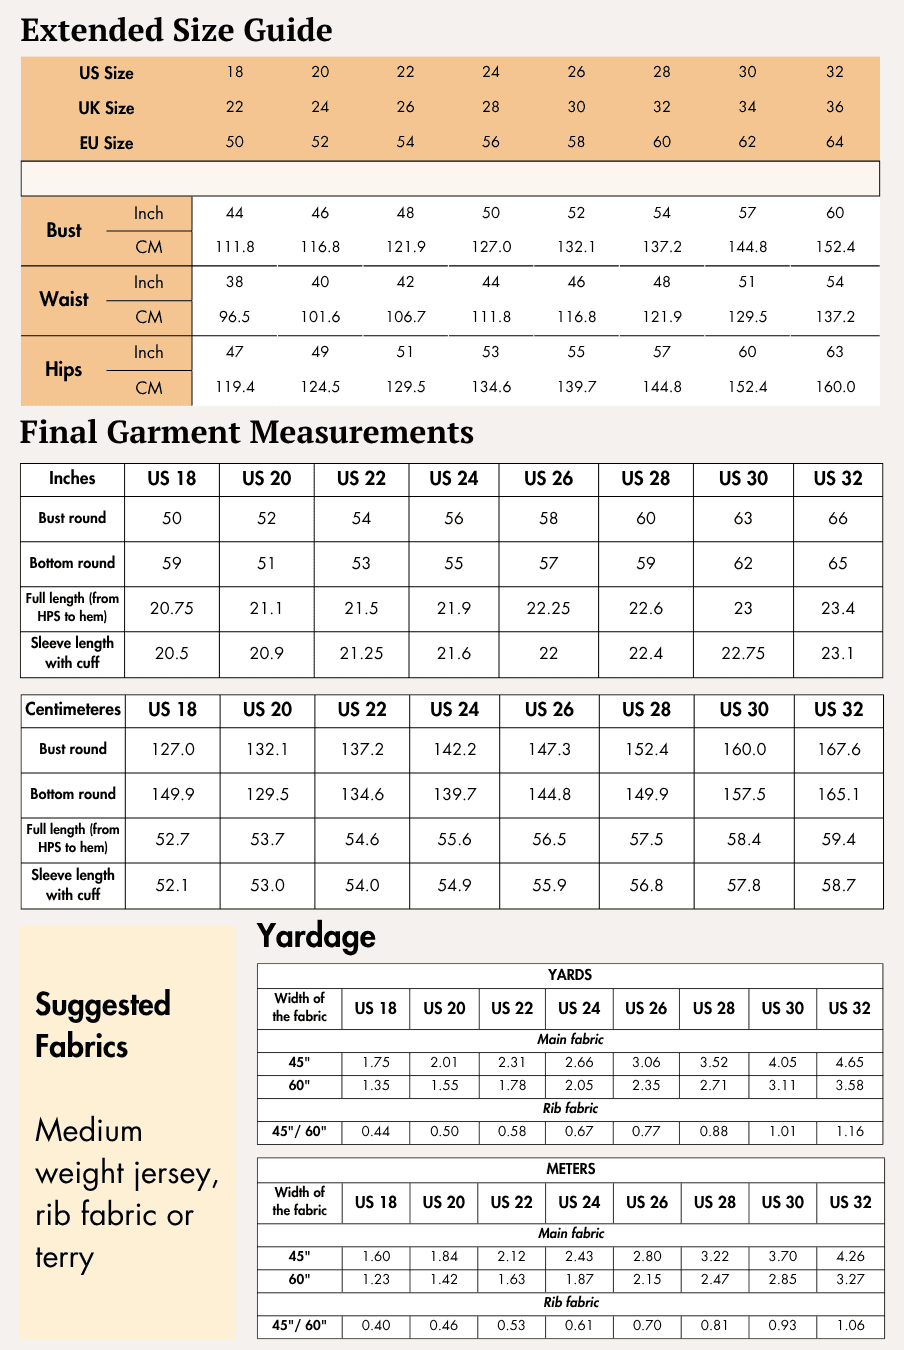
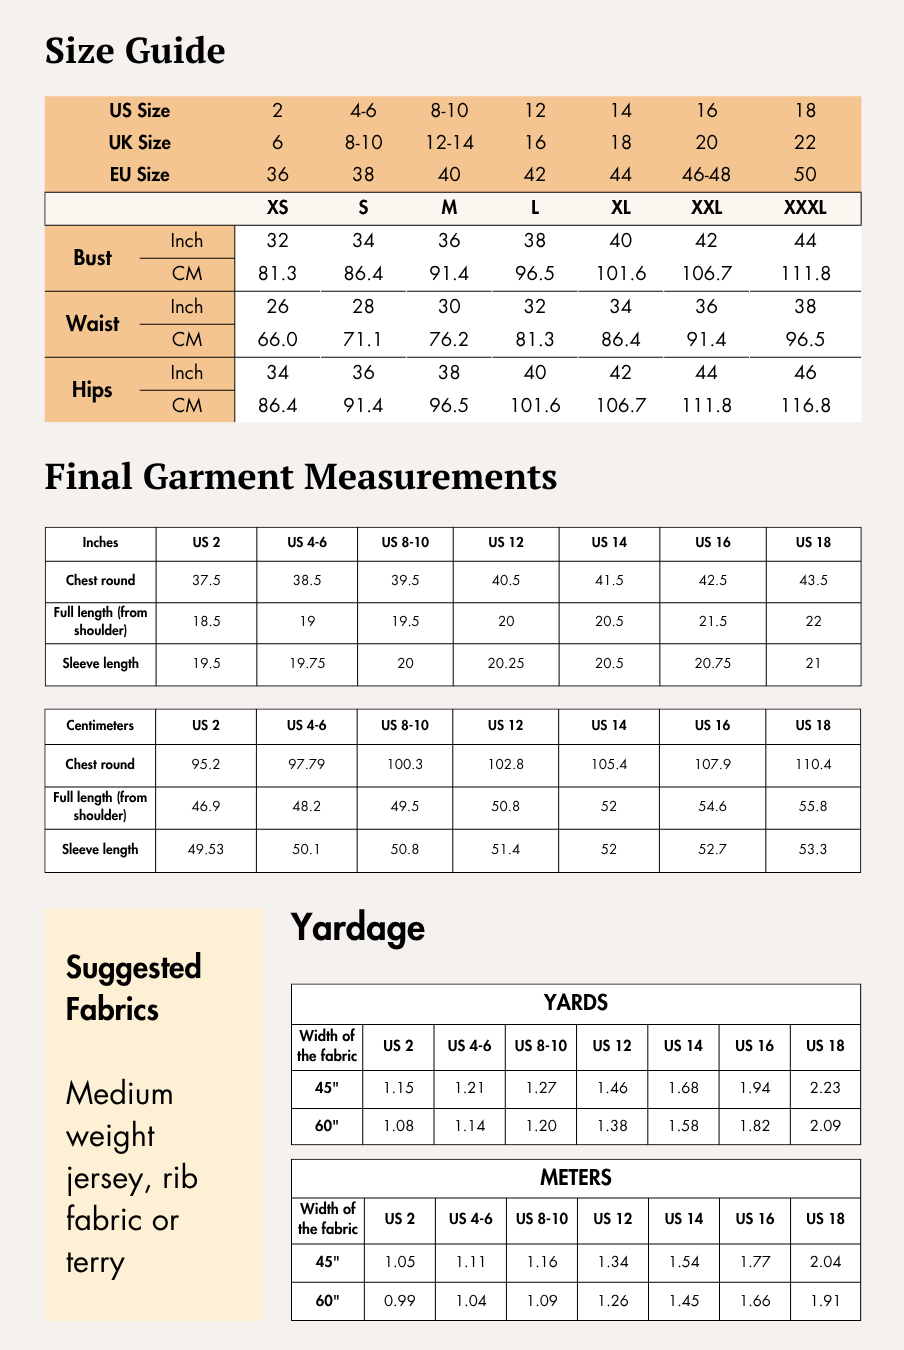
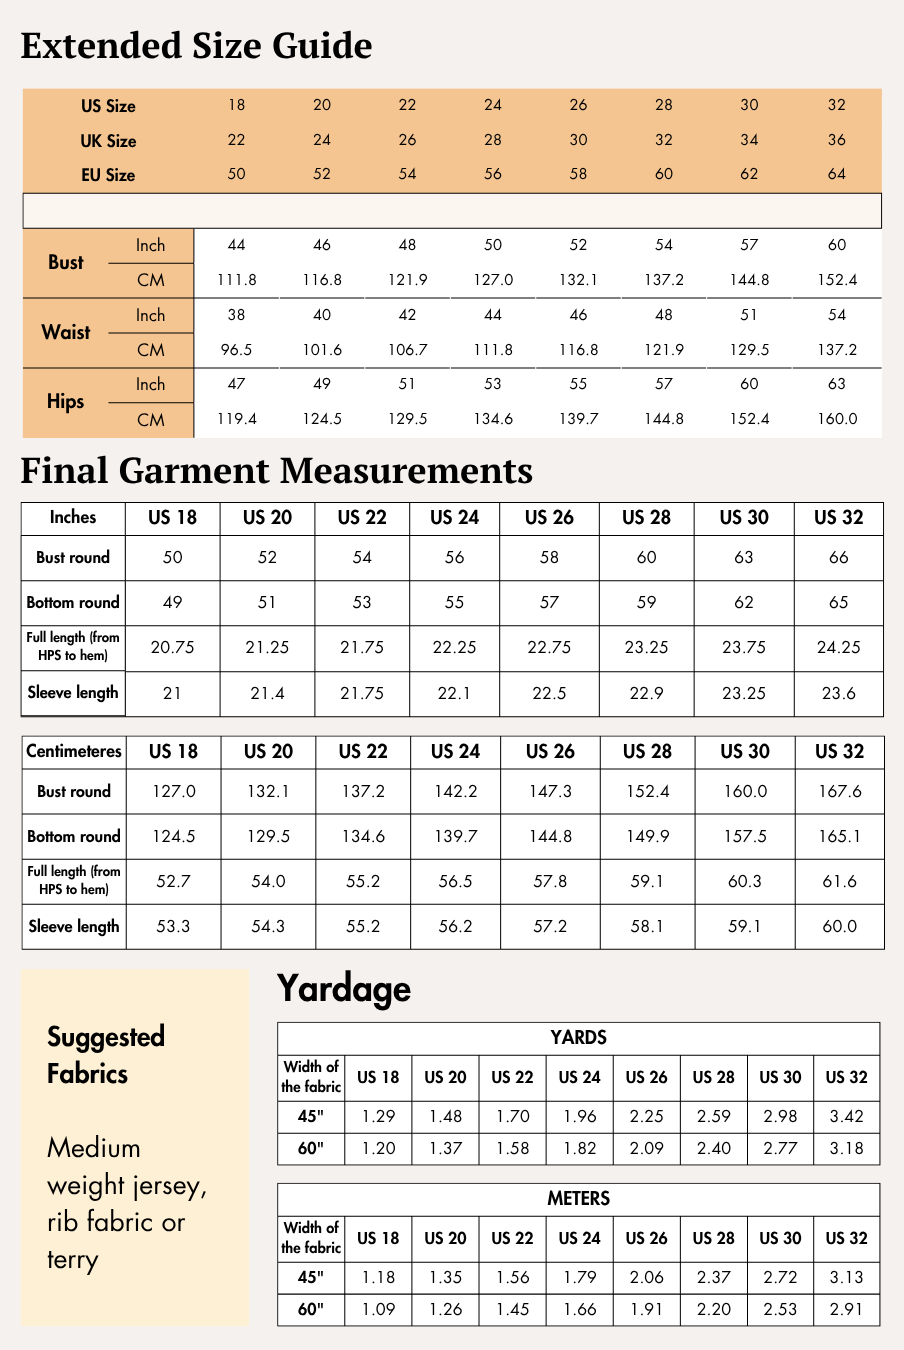
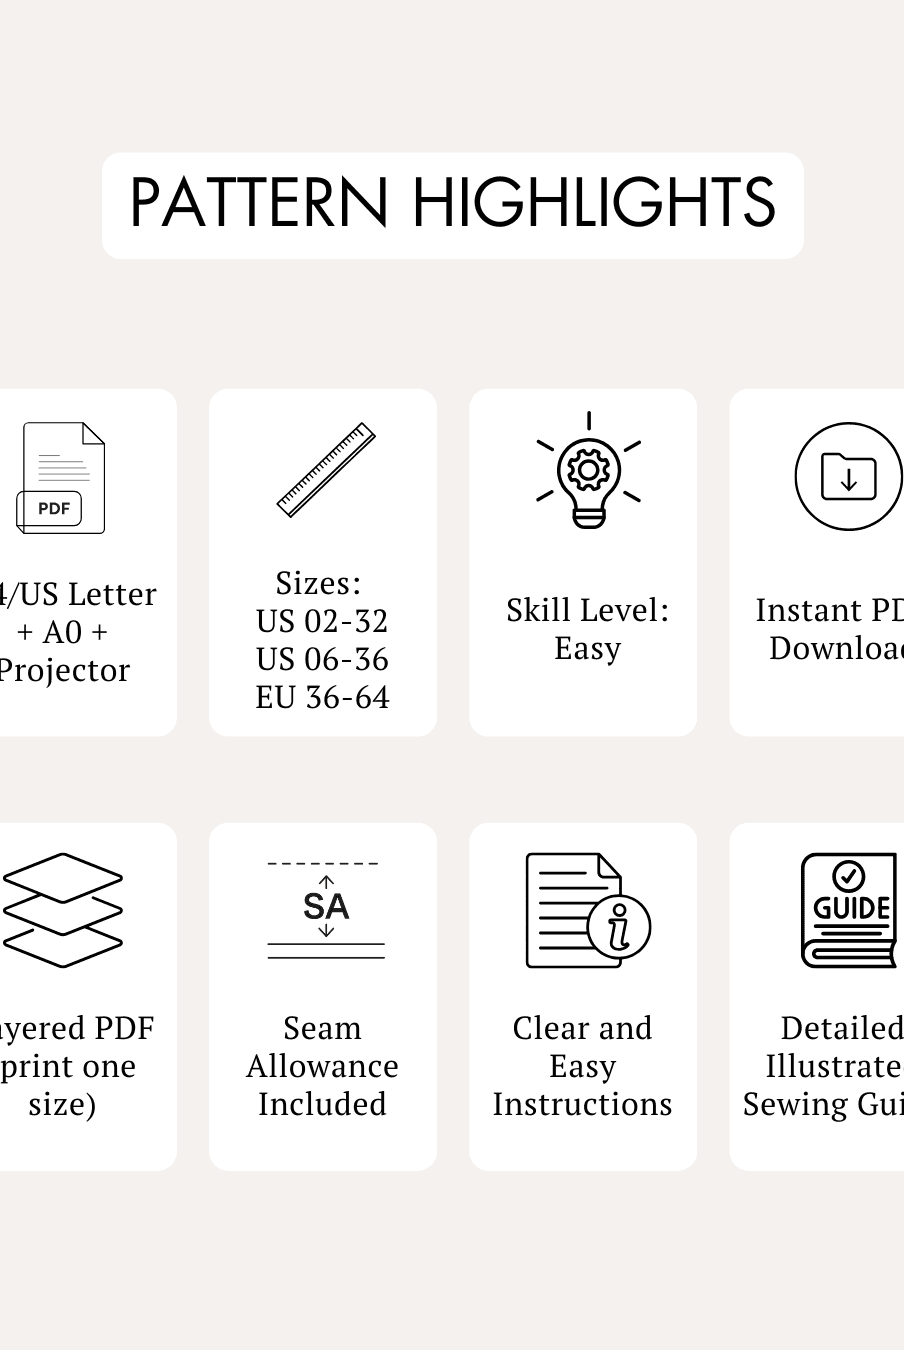
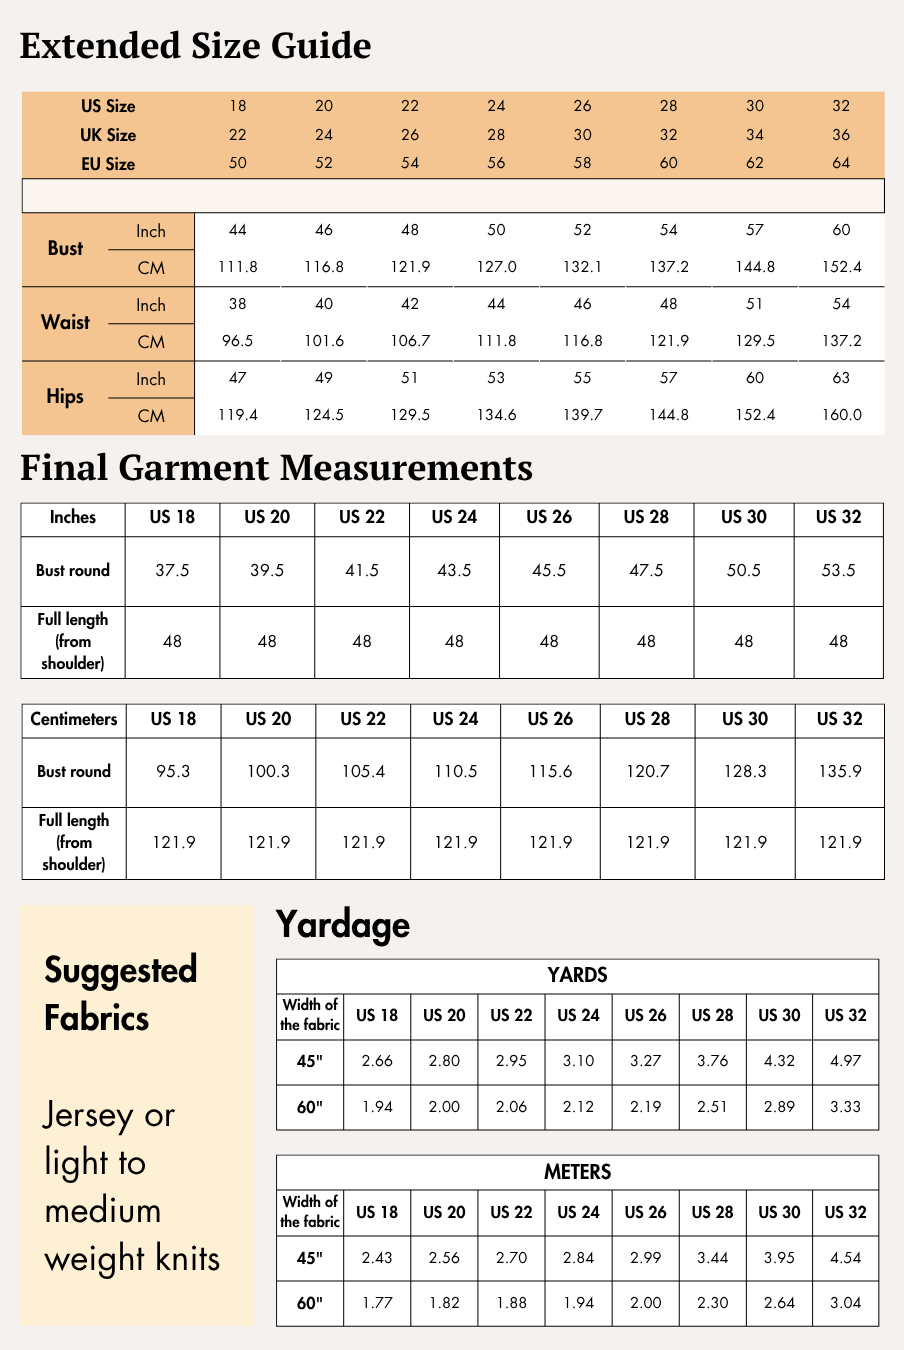
- Available Sizes: US 02 - US 32 | UK 06 - UK 36 | EU 36 - EU 64
Supplies & Notions
You will need:
- Main knit fabric
- Knit lining fabric (for the shorts)
- Elastic waistband
- Matching 3-ply polyester thread
- Sewing machine
- Serger/overlocker (or a zig-zag stitch alternative)
- Flatlock machine or twin needle (optional)
- Sewing needles suitable for knit fabrics
- Tape measure
- Fabric shears
- Thread snips
- Pins or clips
- Fabric chalk or washable fabric marker
- Iron
Always test your stitch settings on a fabric scrap before sewing your final garment.
Fabric Recommendations
For the Maria Raglan T-Shirt, use light to medium-weight knit fabrics such as:
- Cotton blend jersey
- Poly knit
The sample garment is sewn in 5% polyester-spandex mesh fabric, chosen because it is:
- Easy to wash
- Breathable
- Durable
- Crease-resistant
For the Maria Training Shorts, use light to medium-weight knit fabrics such as:
- Cotton blend jersey
- Poly knit
The sample outer shorts are sewn in 5% polyester-spandex mesh fabric, which offers excellent breathability, durability, and wrinkle resistance.
For the lining, use a 5–8% spandex knit fabric or another light to medium-weight knit fabric containing Lycra or spandex for stretch and comfort.
Size Charts
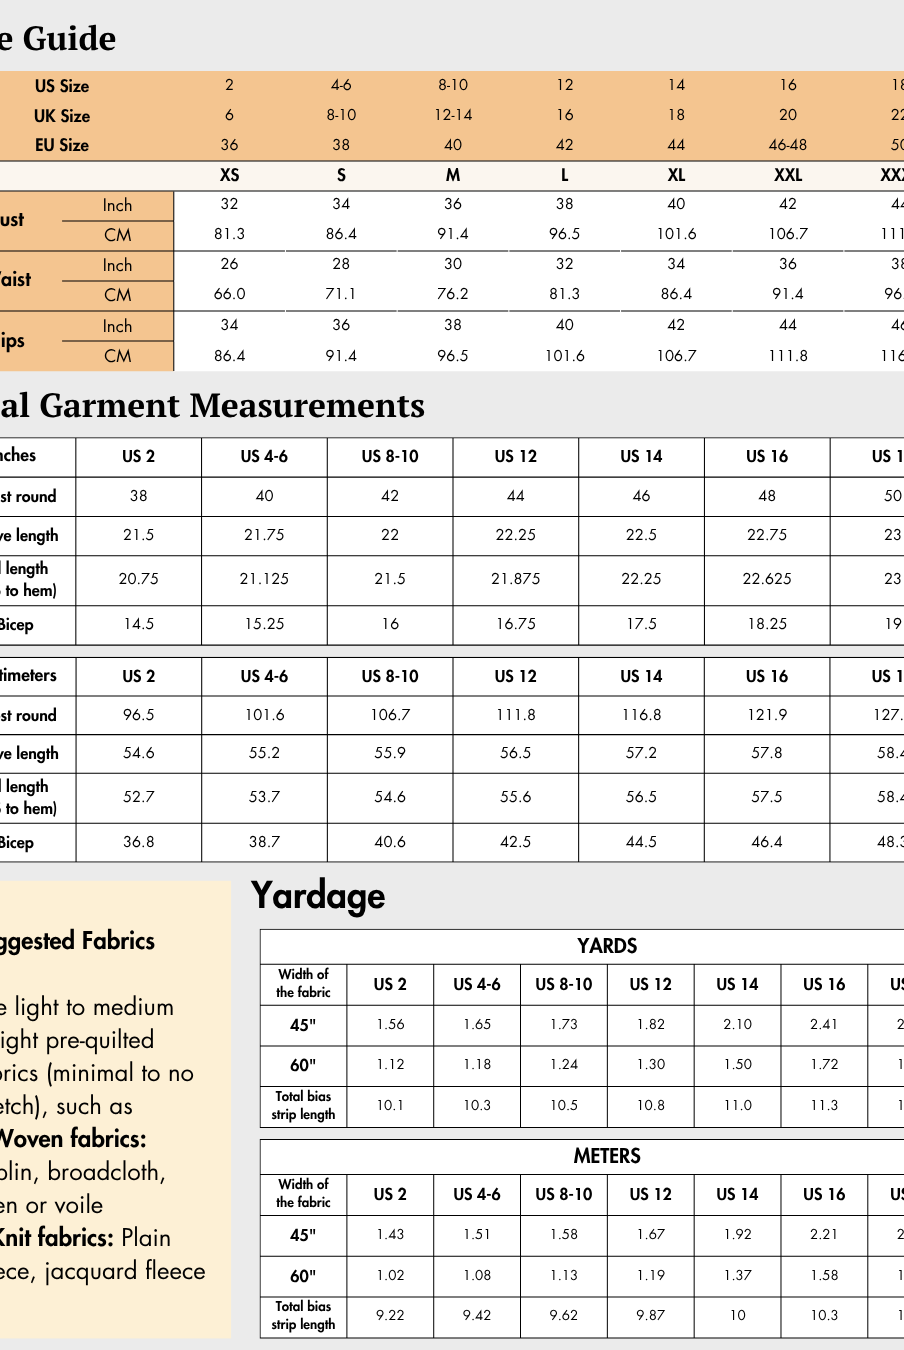
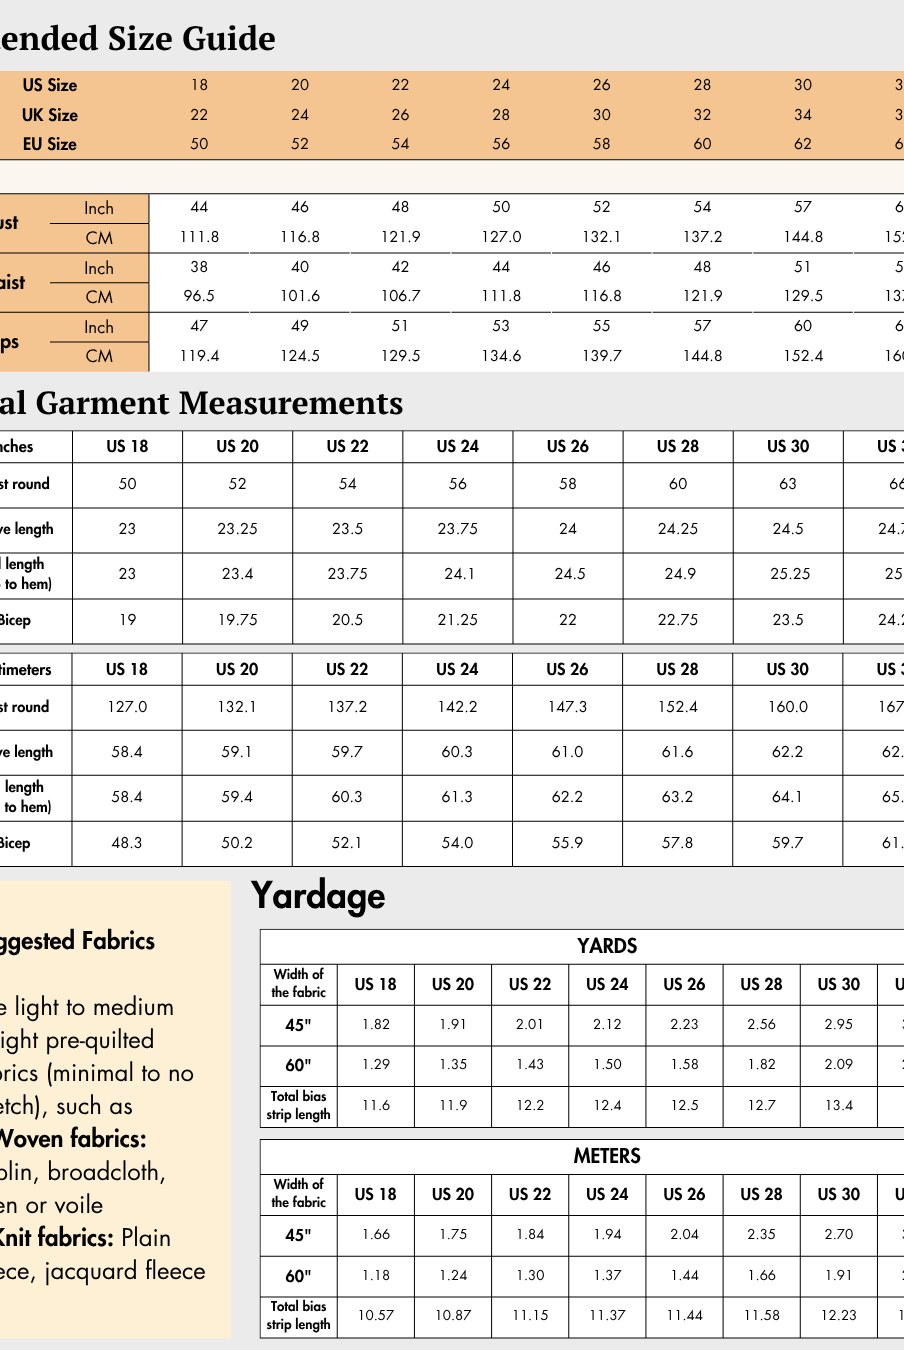
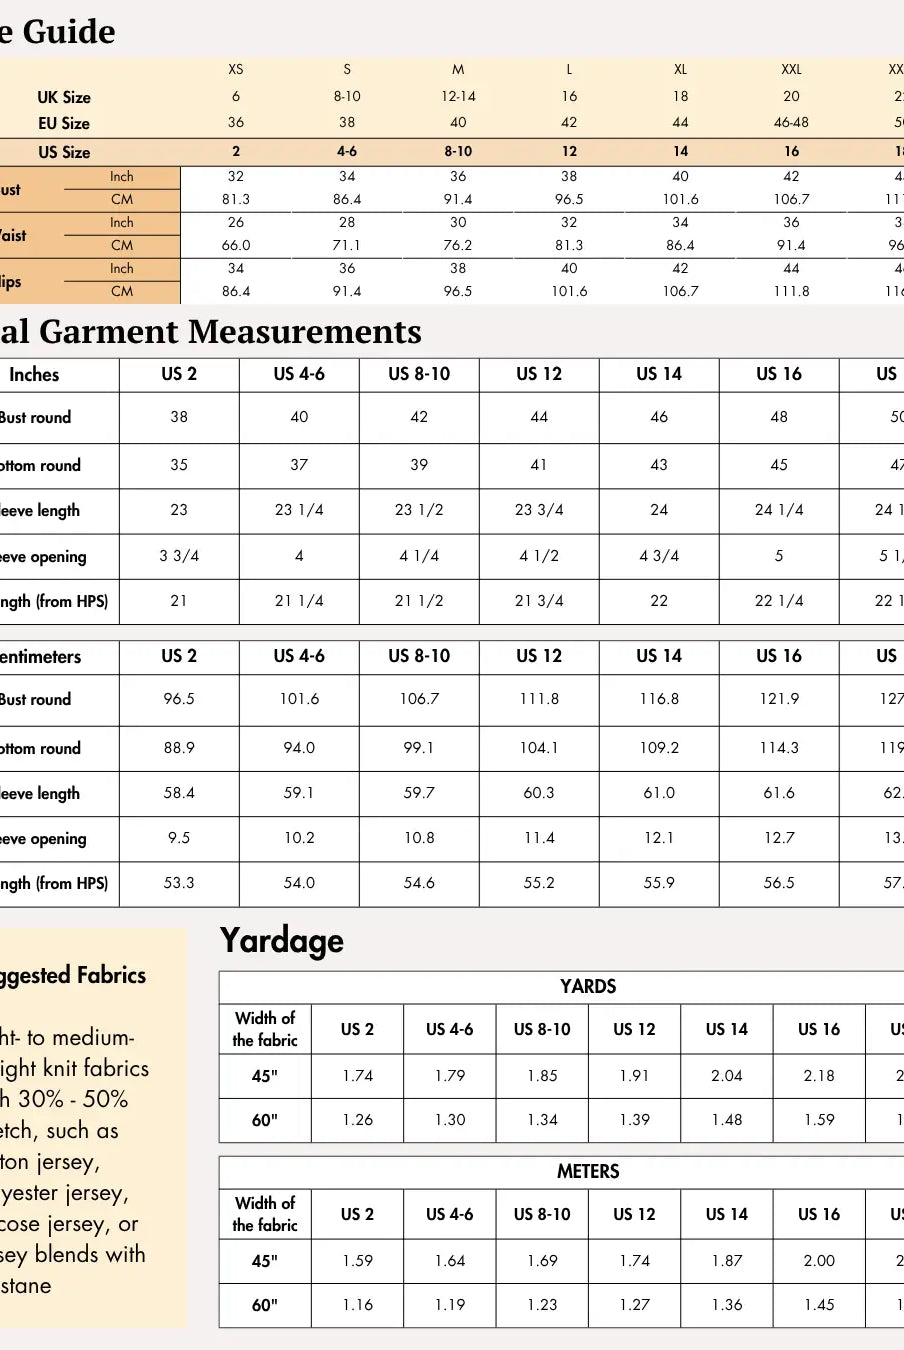
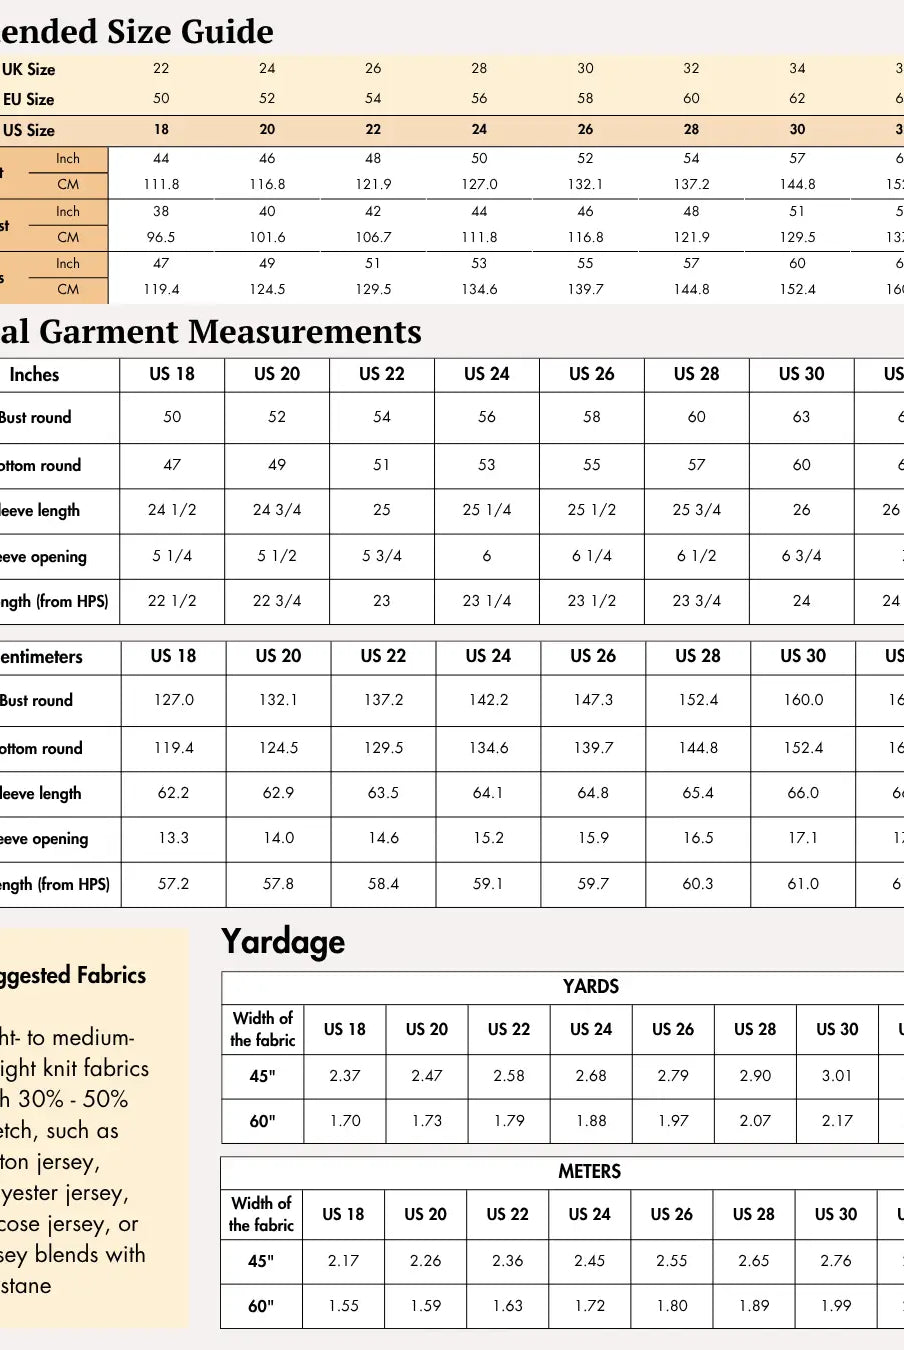
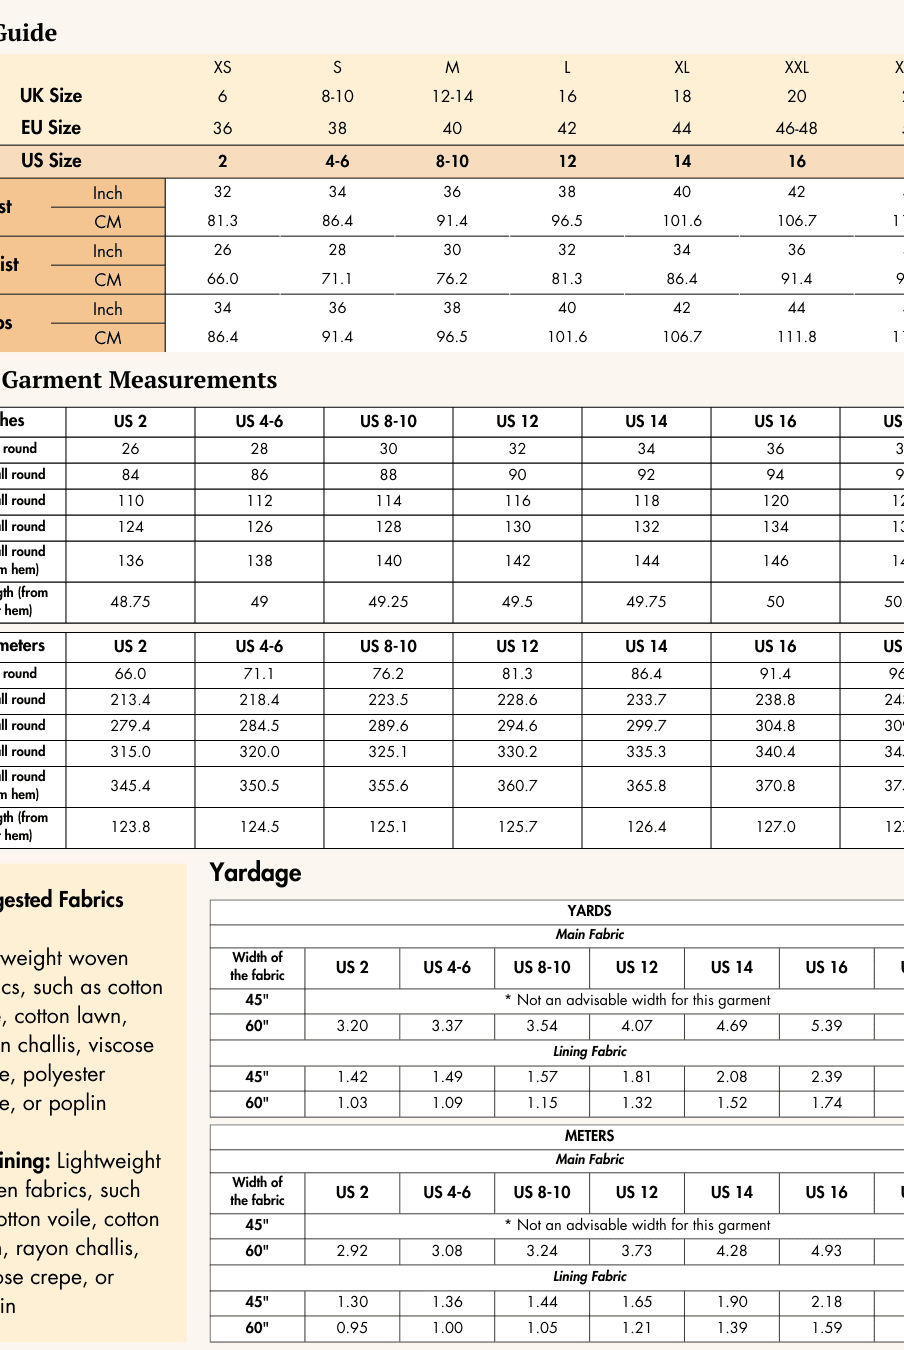
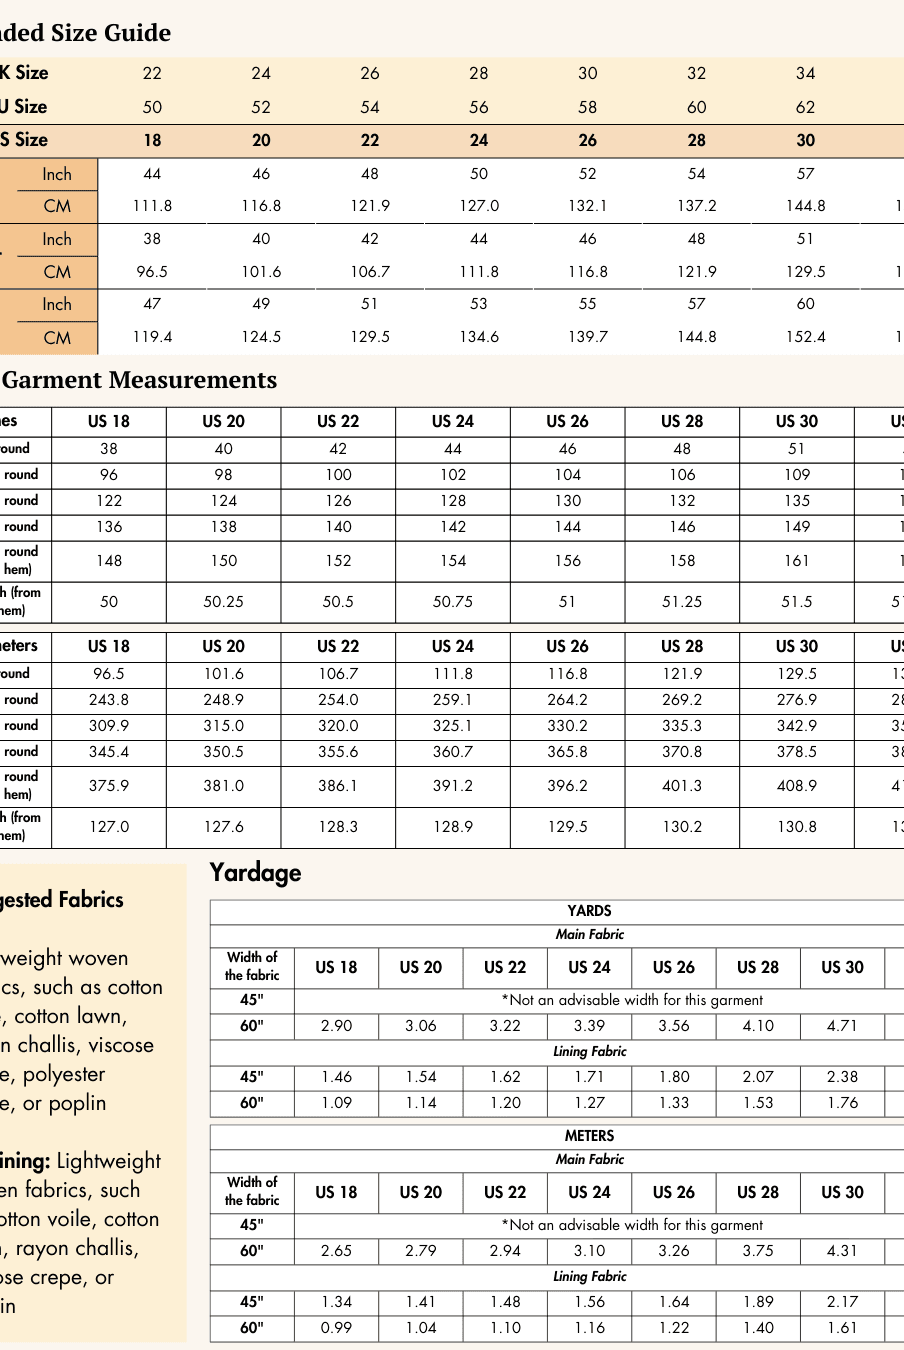
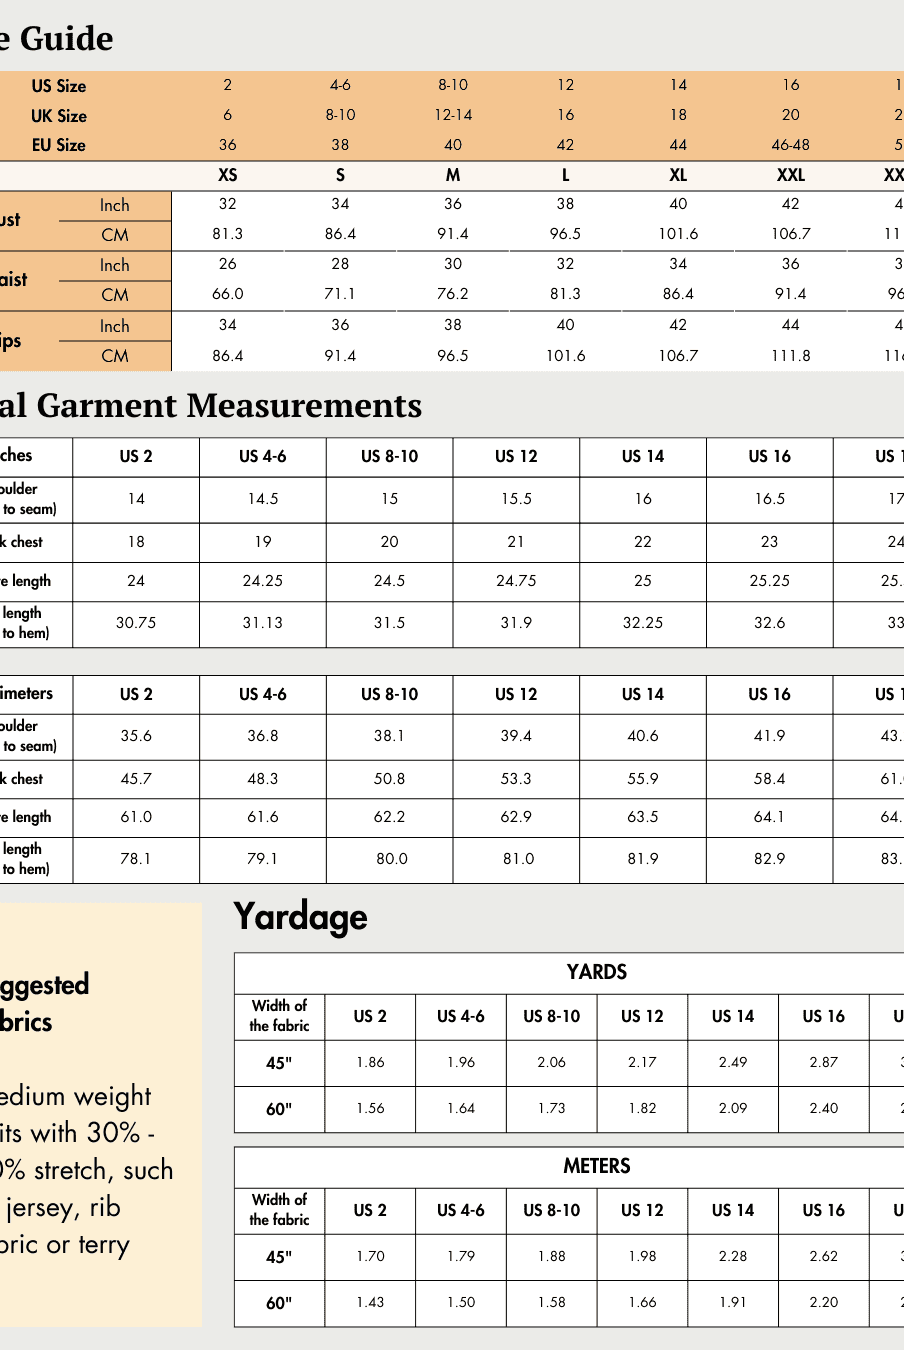
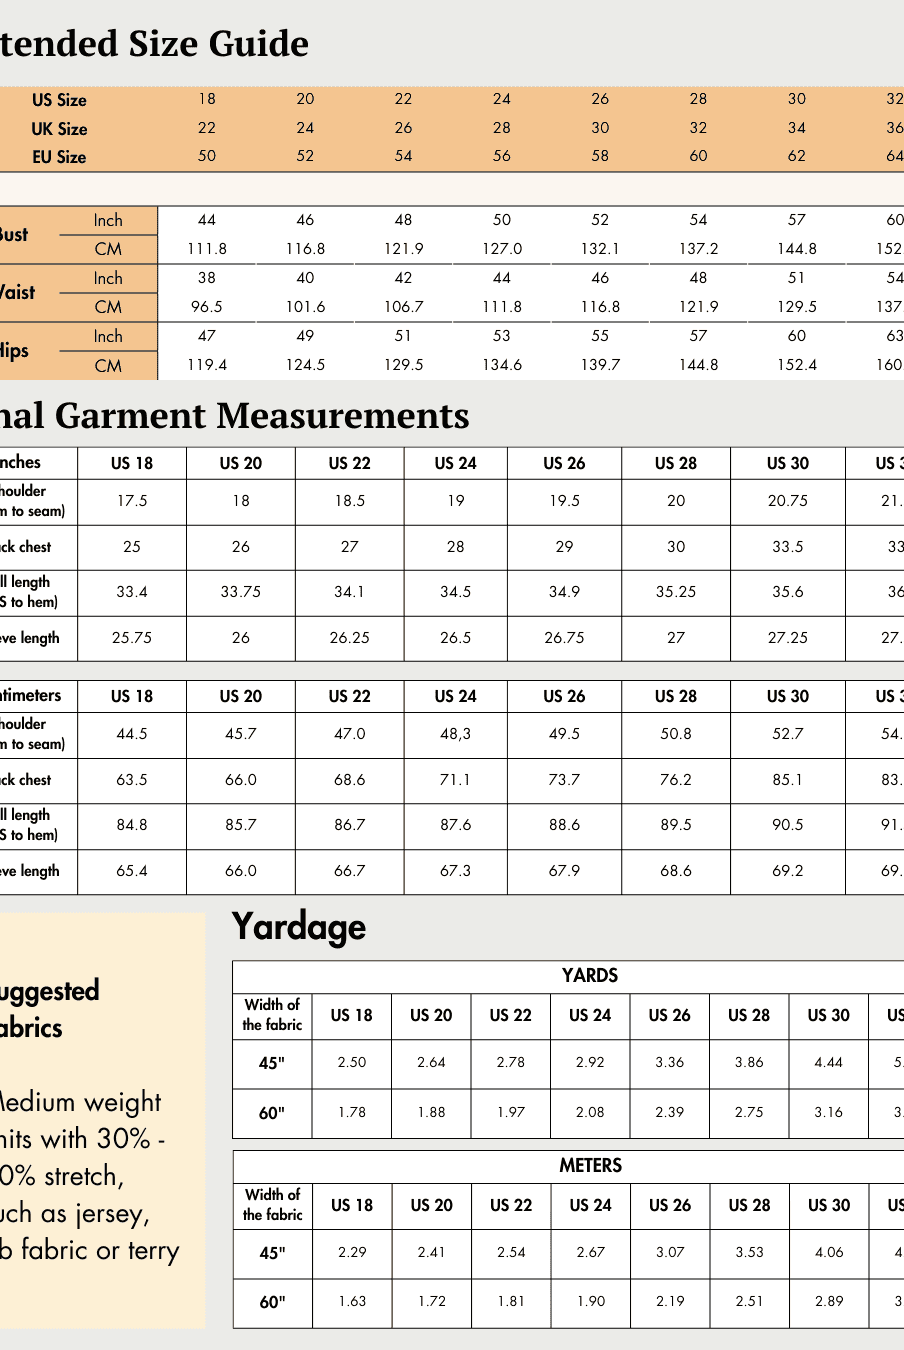
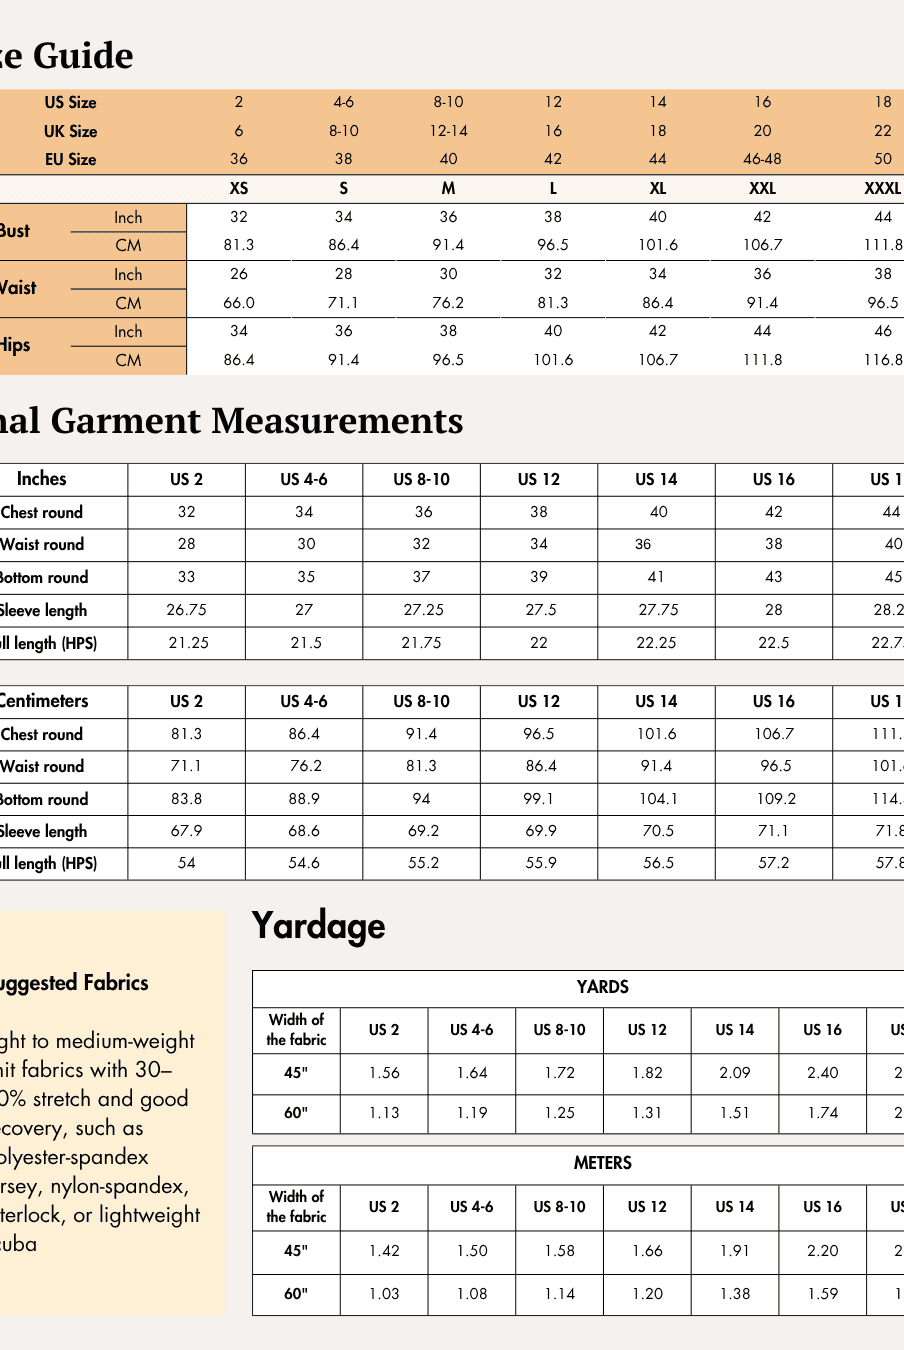
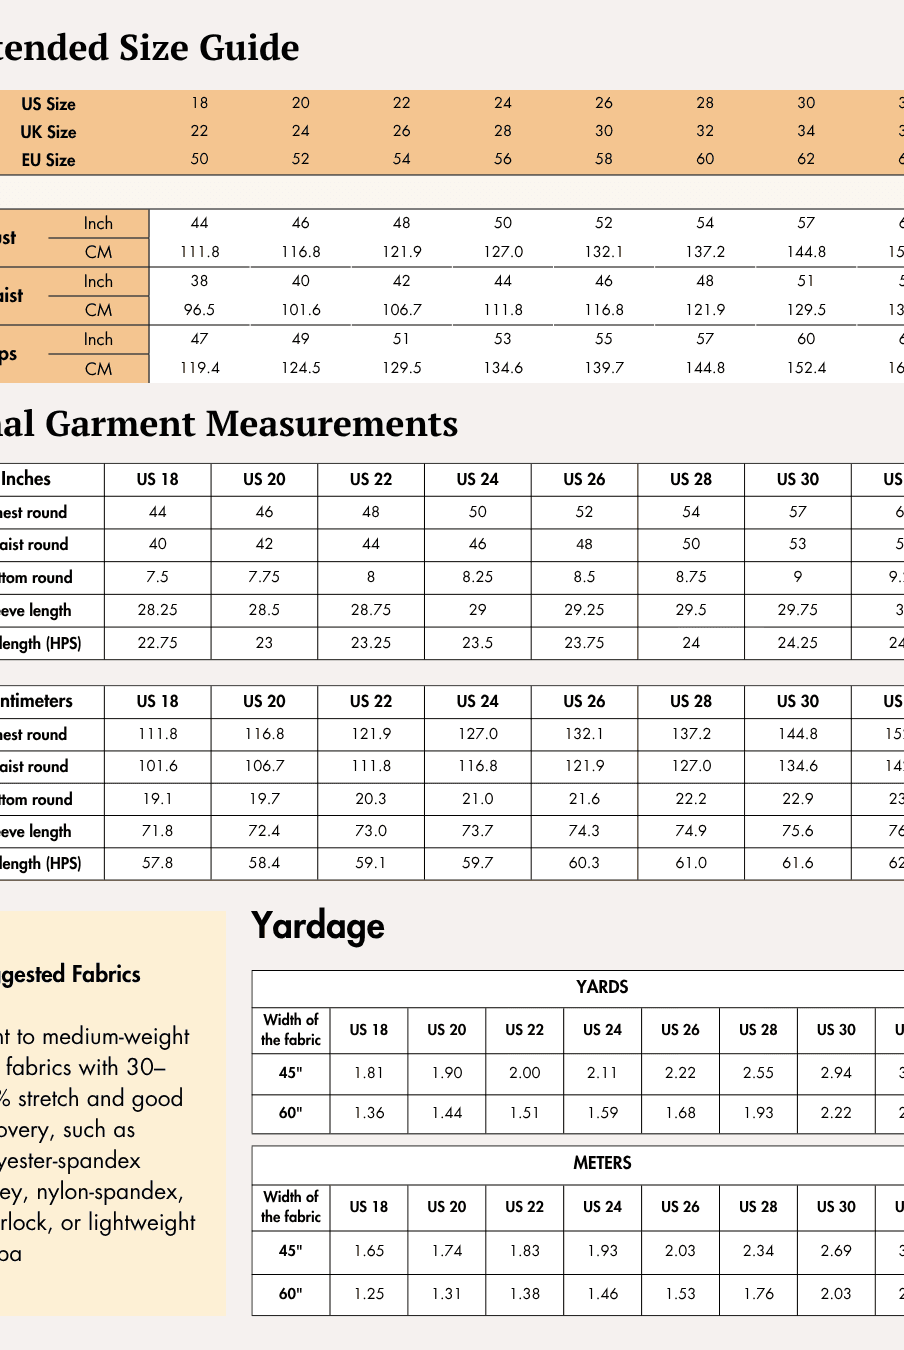
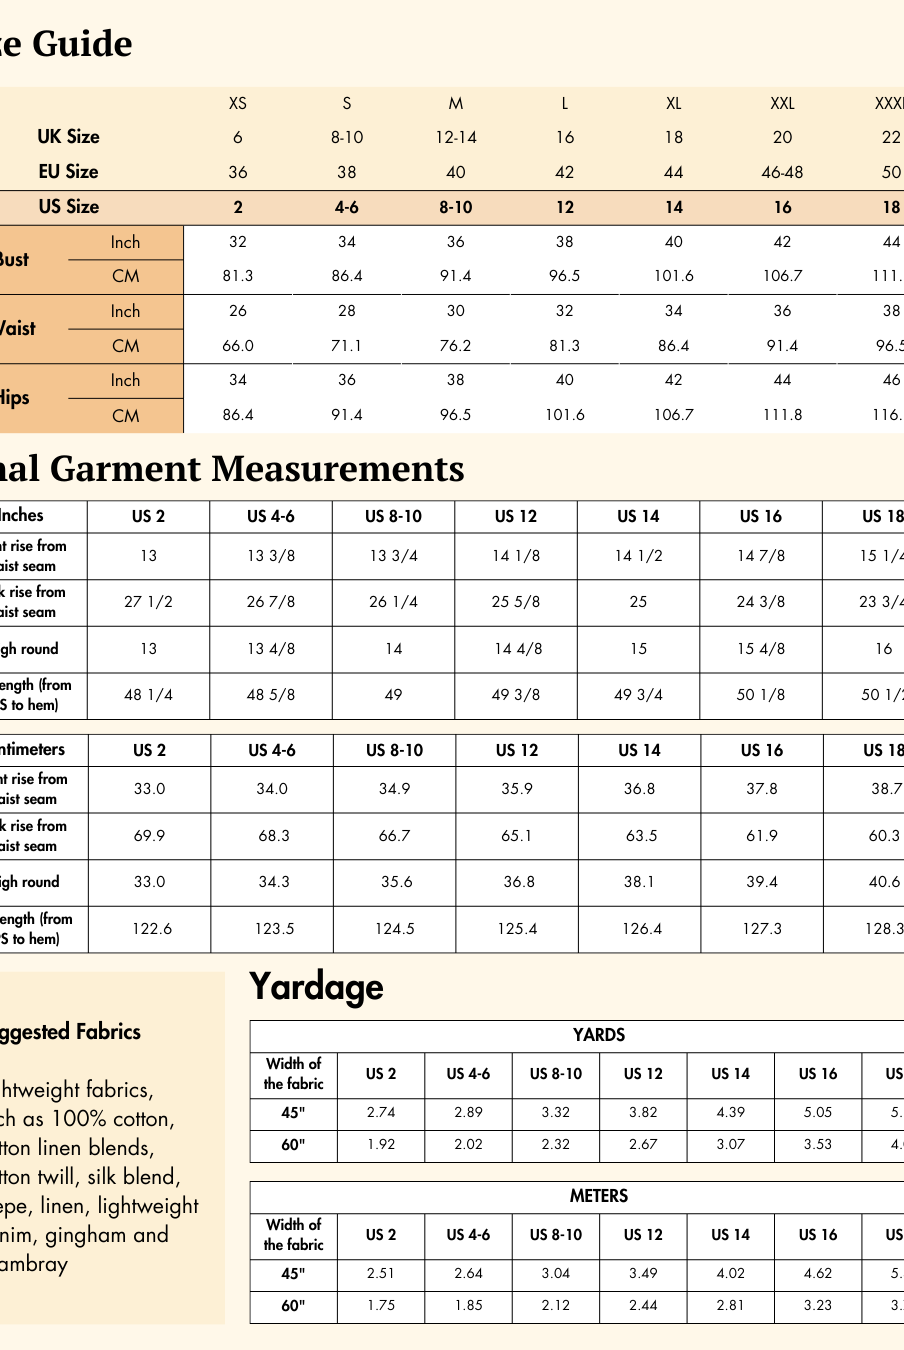
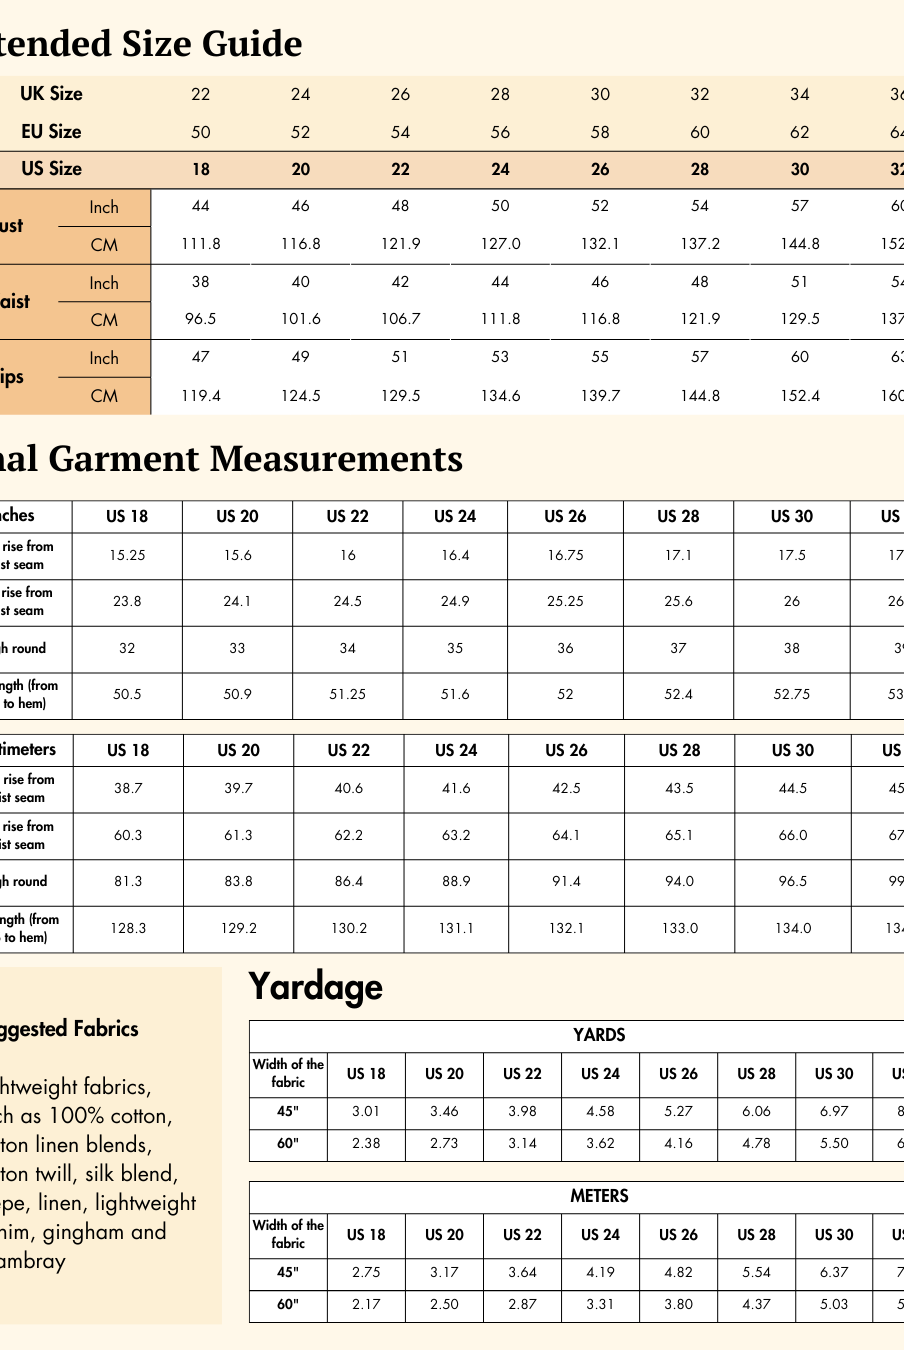
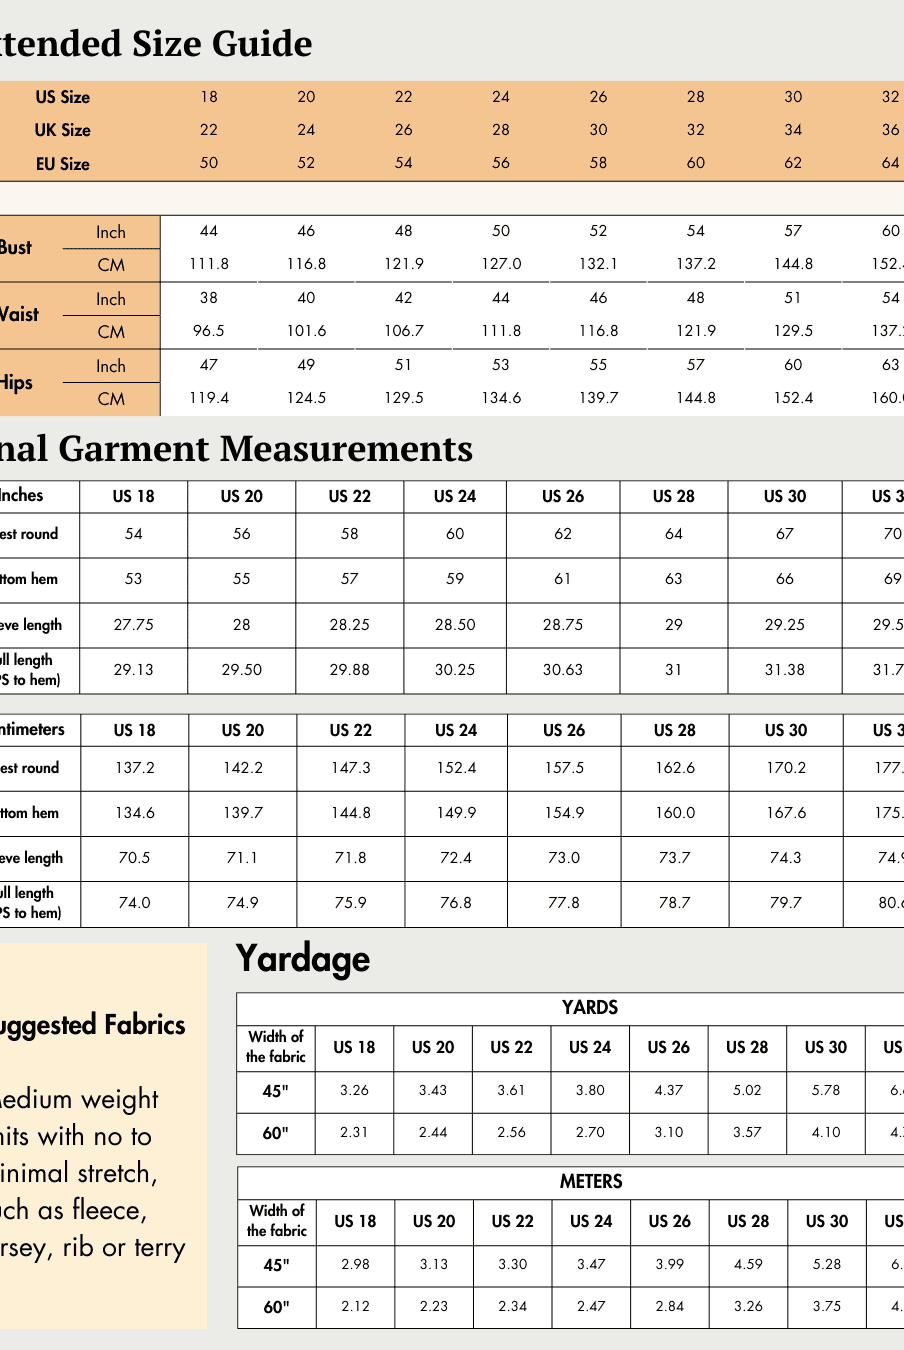
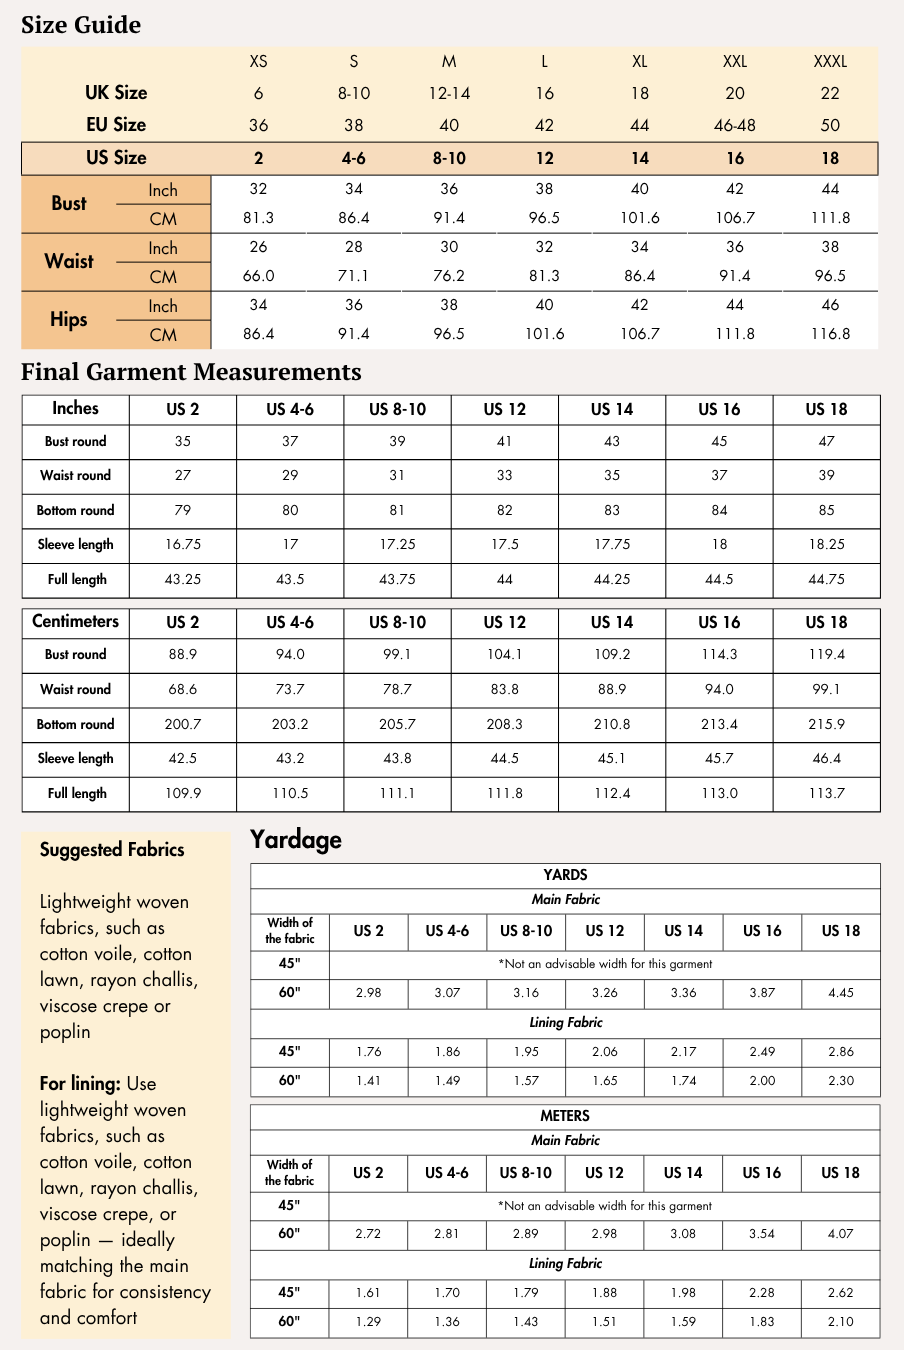
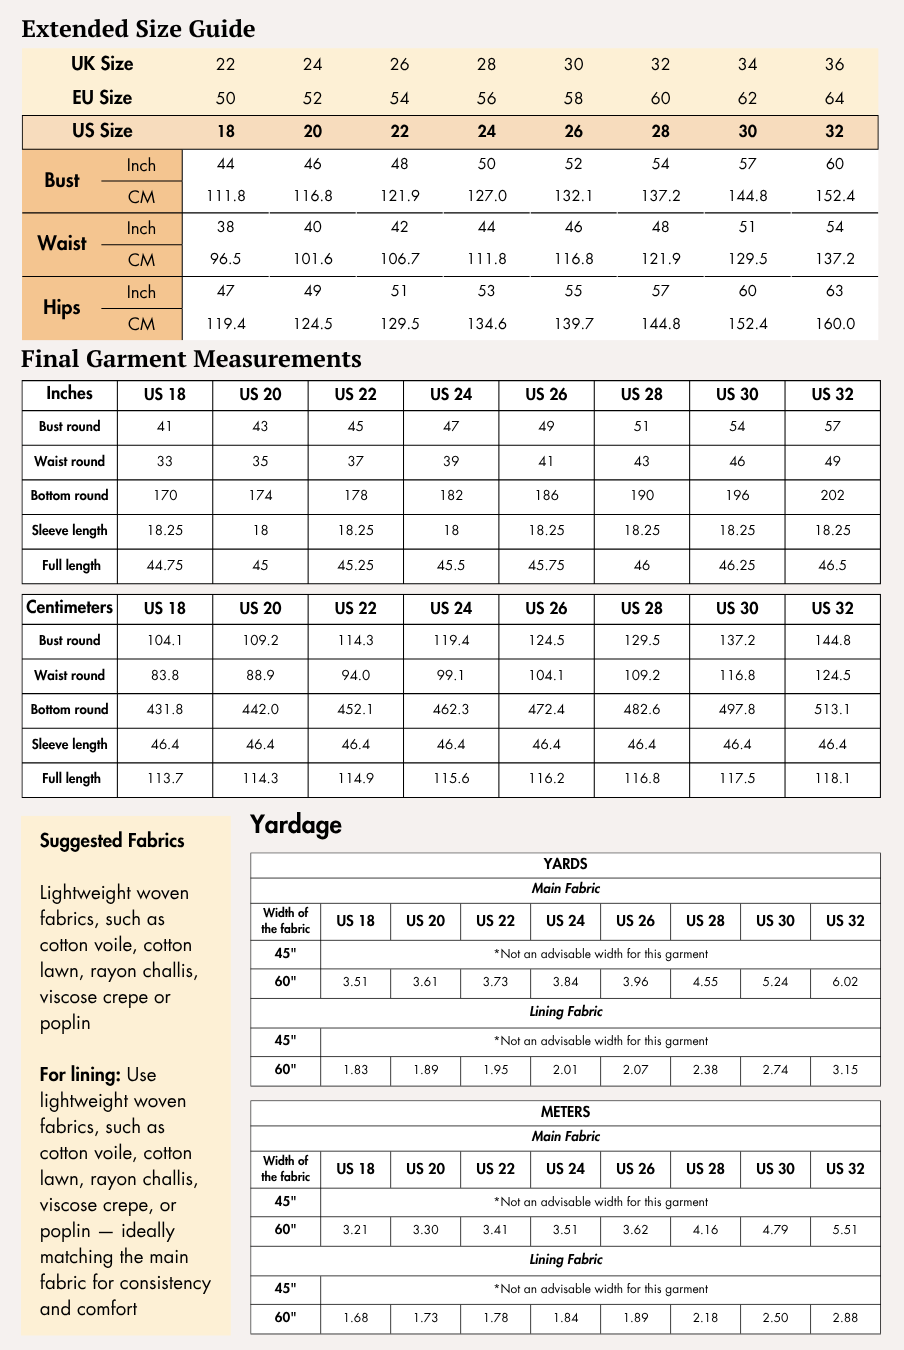
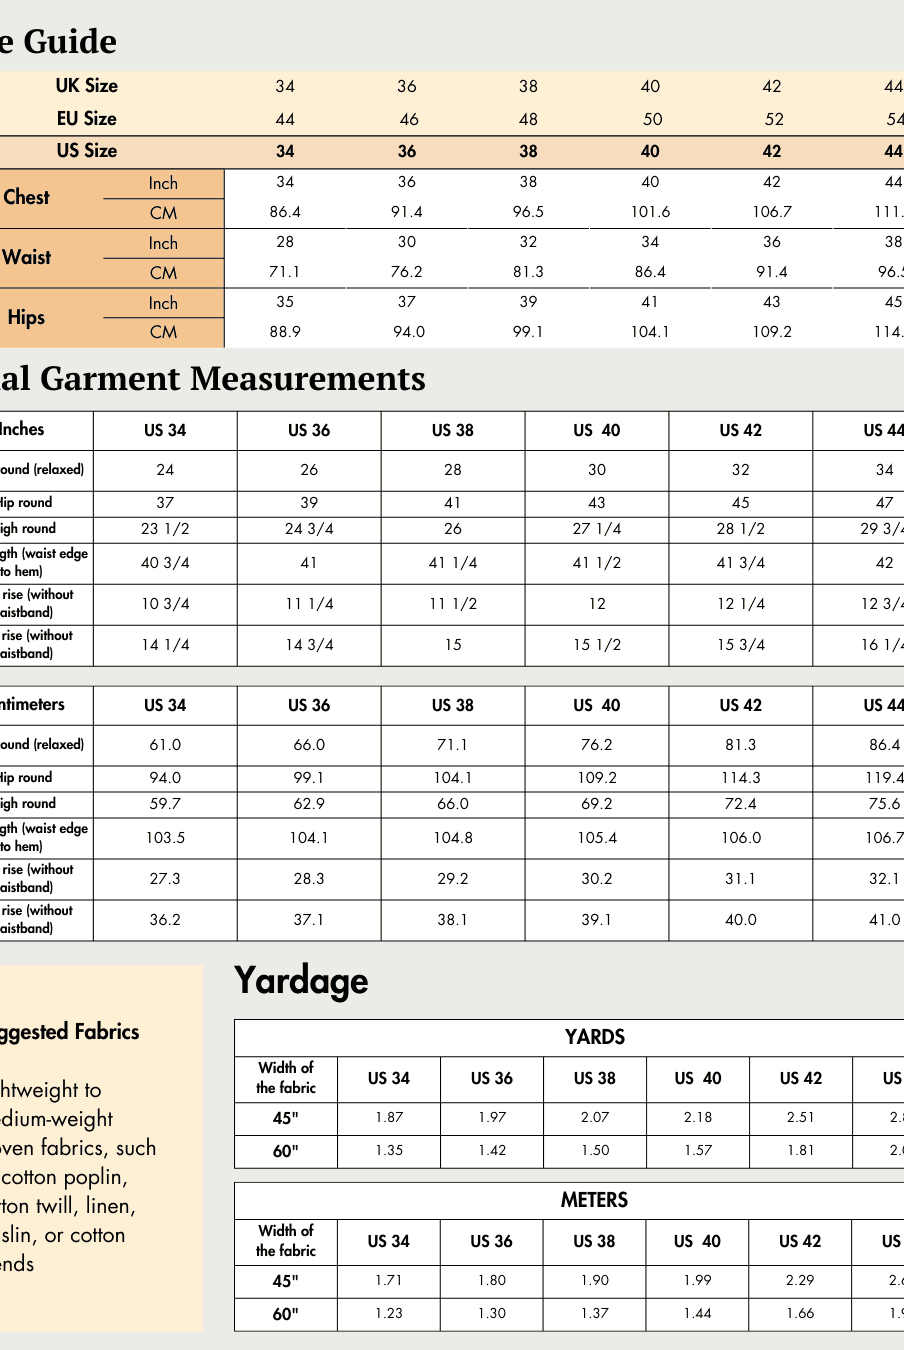
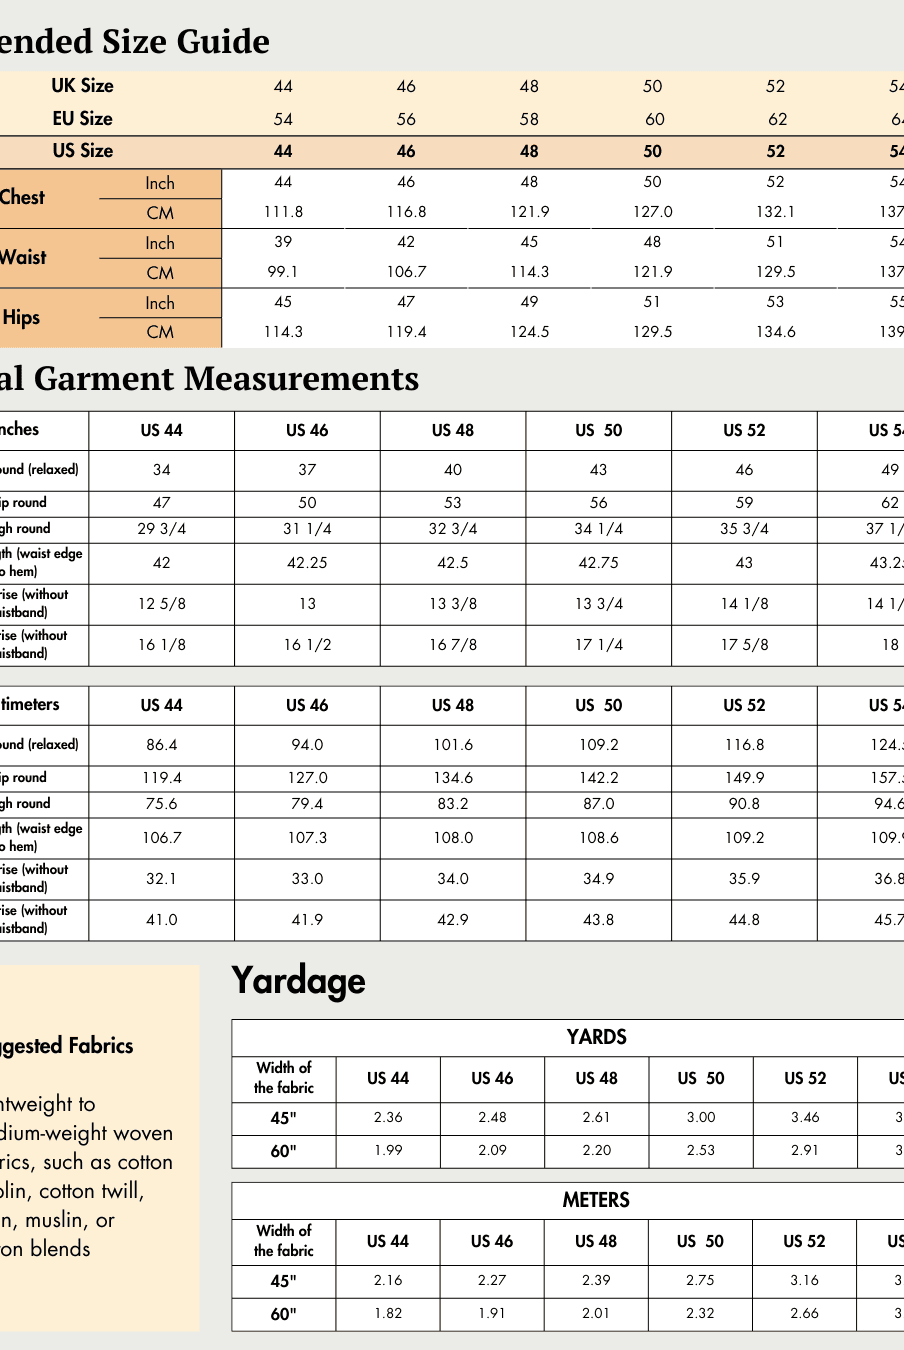
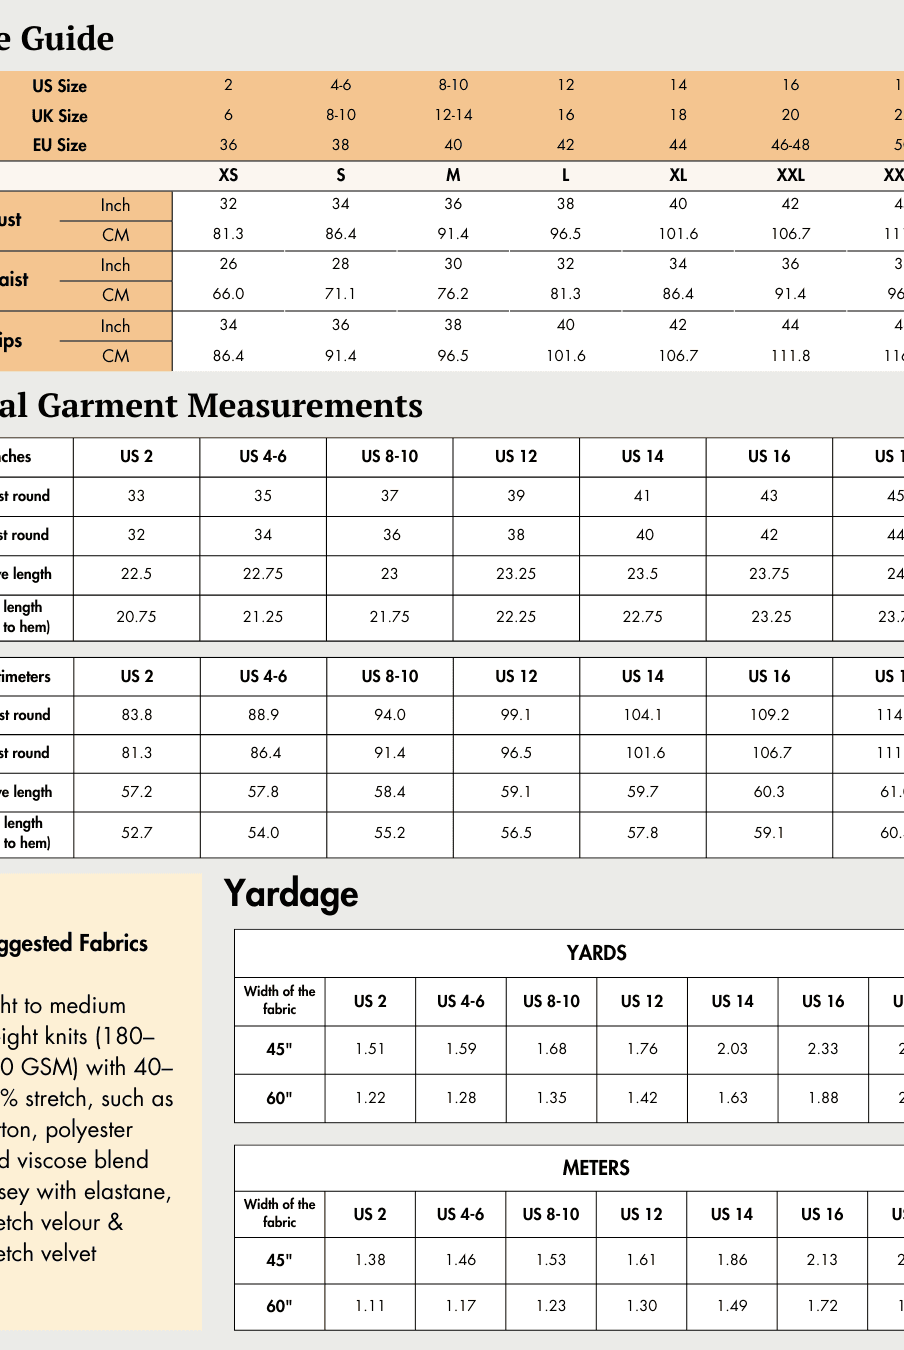
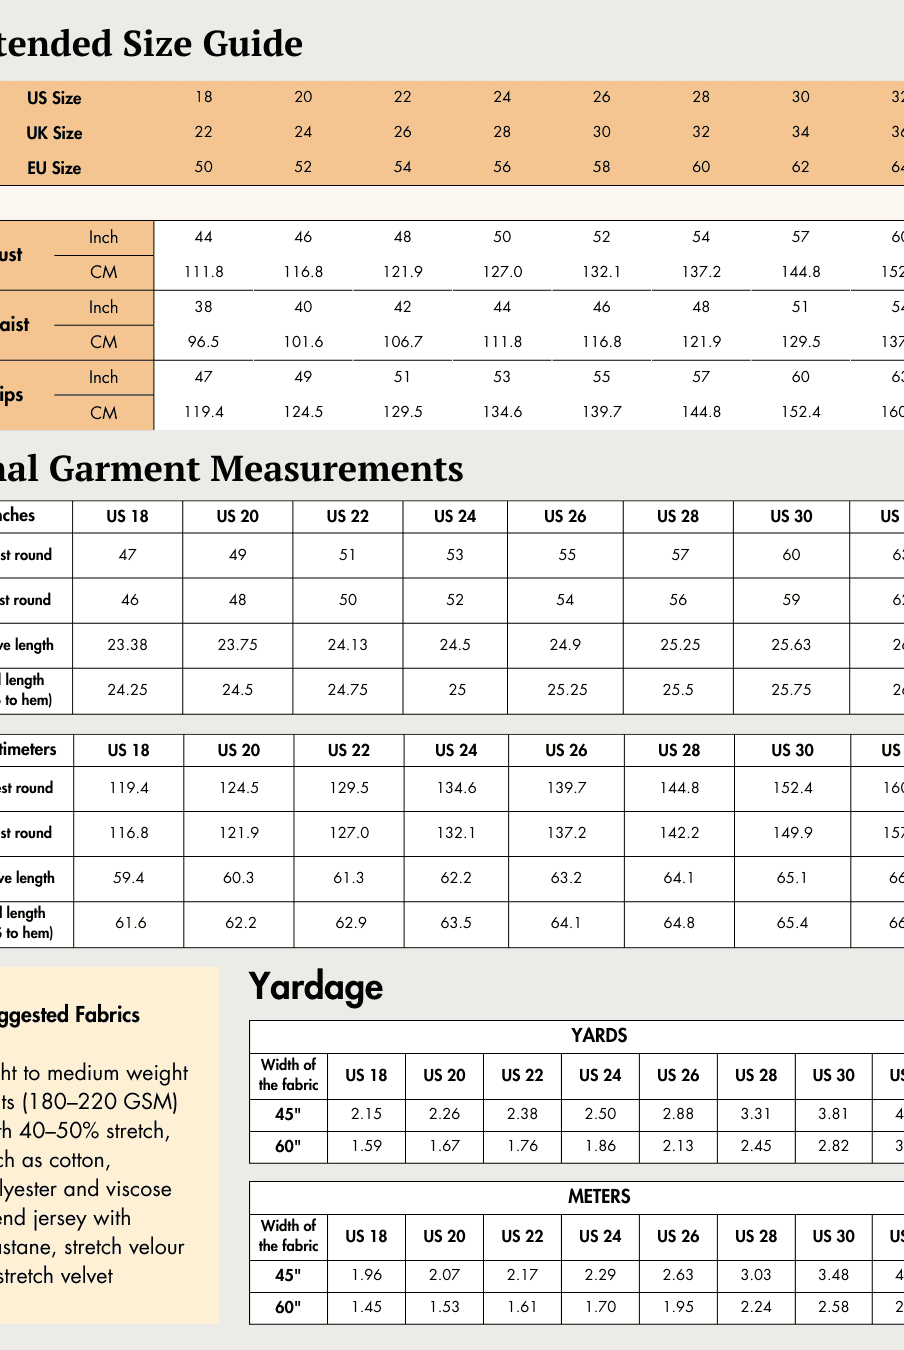
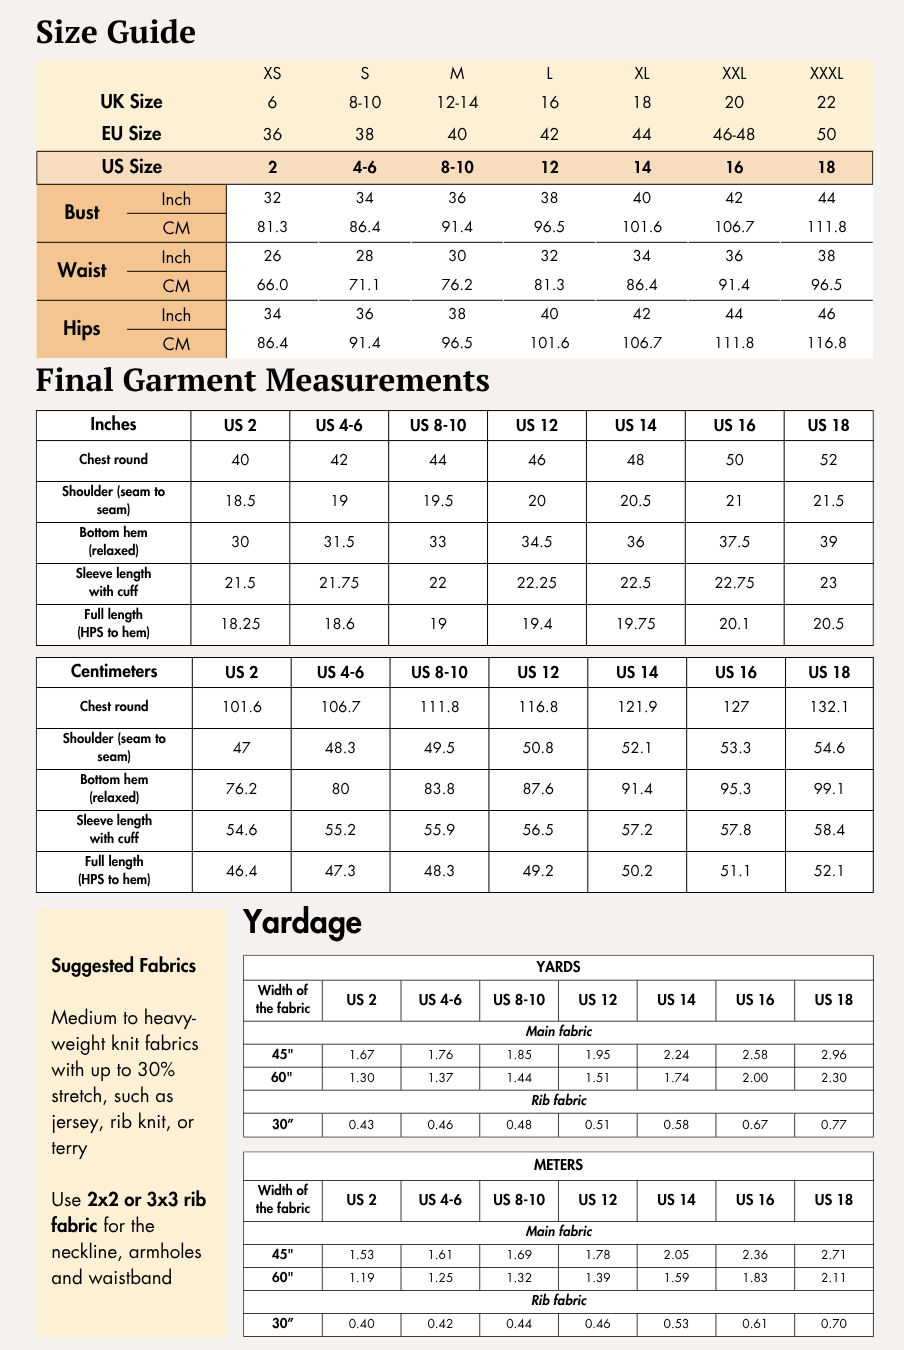
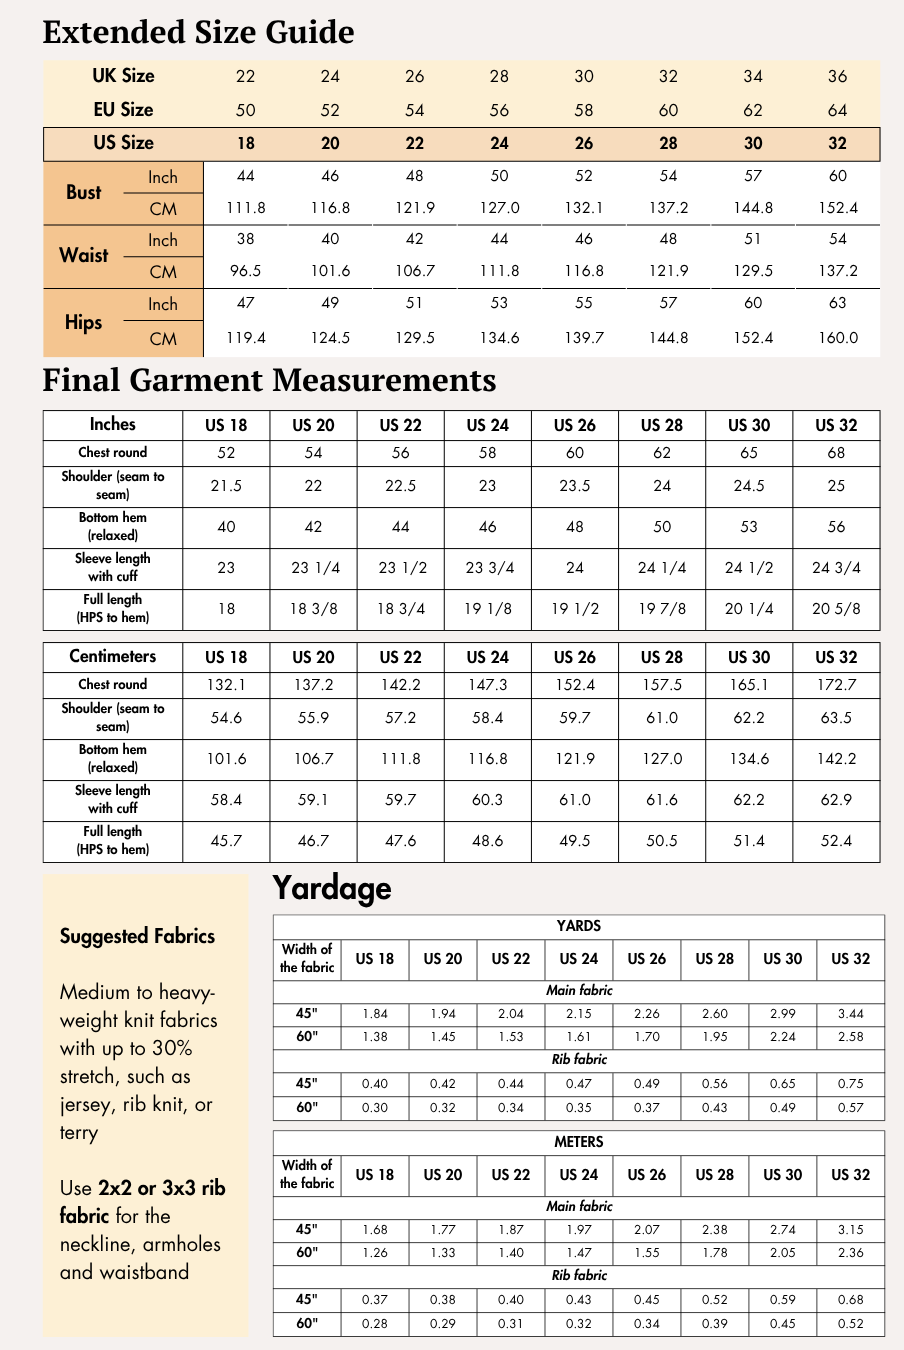
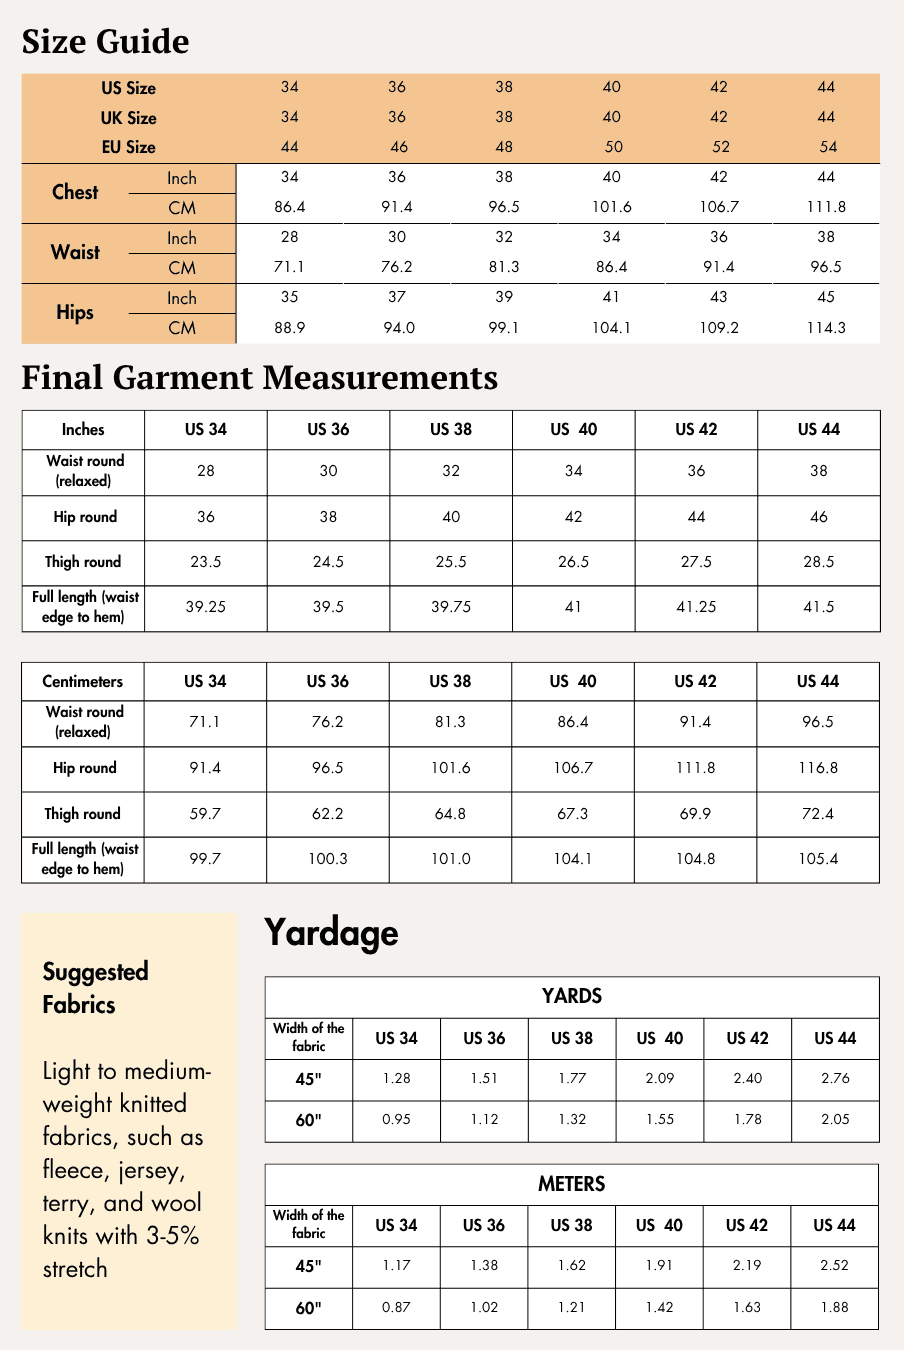
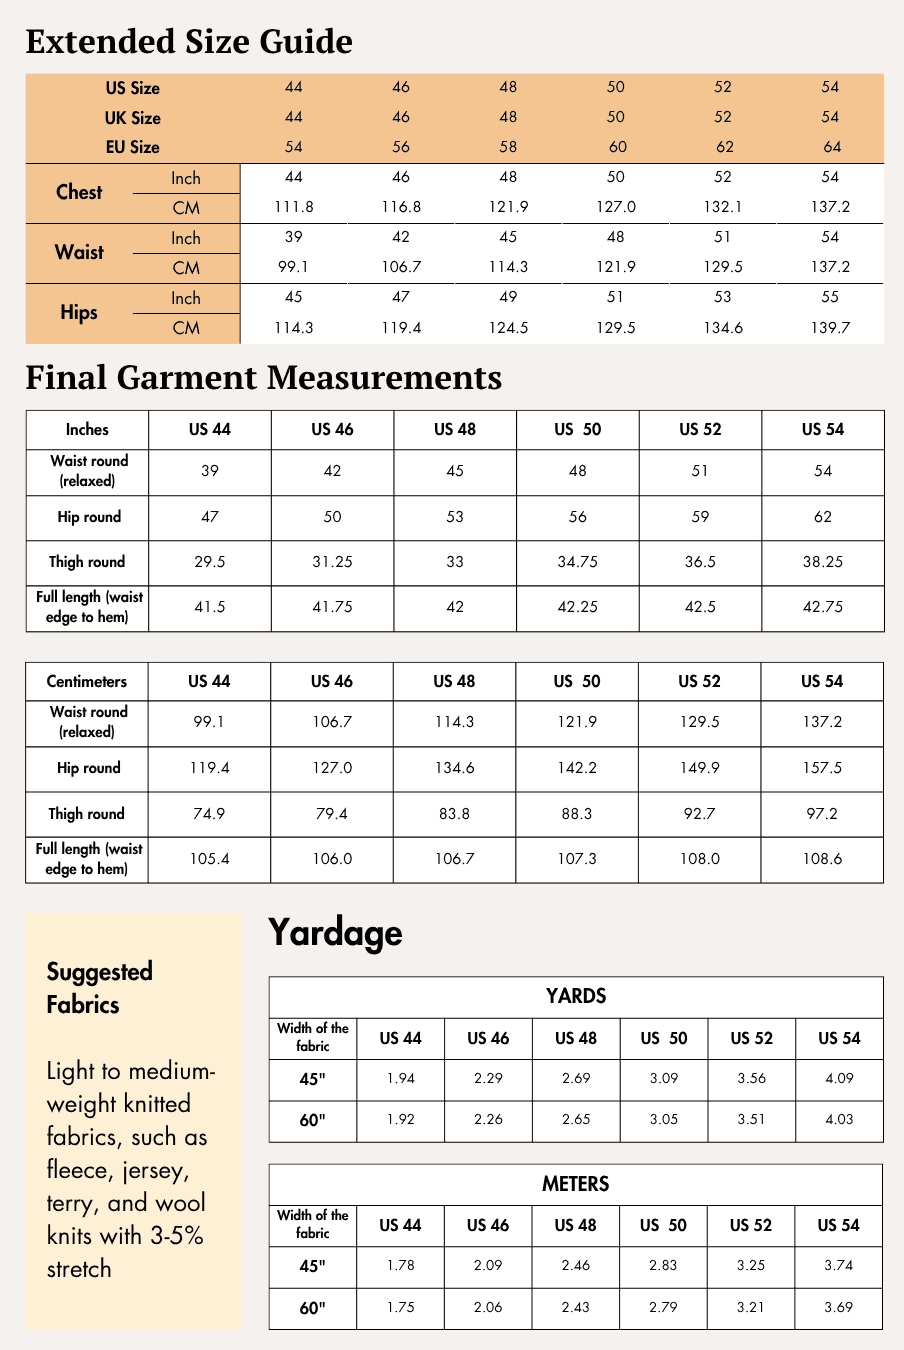
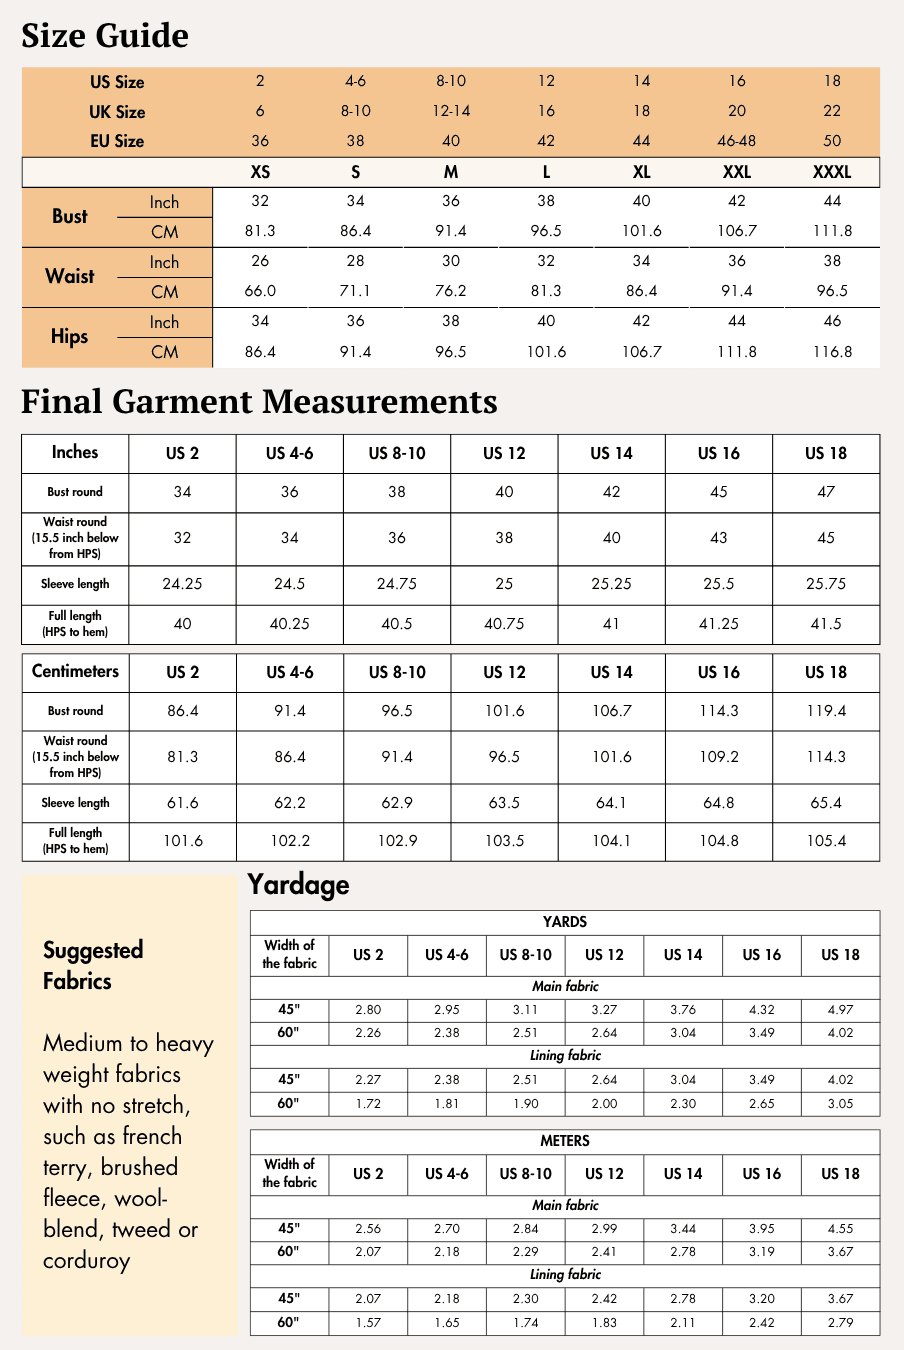
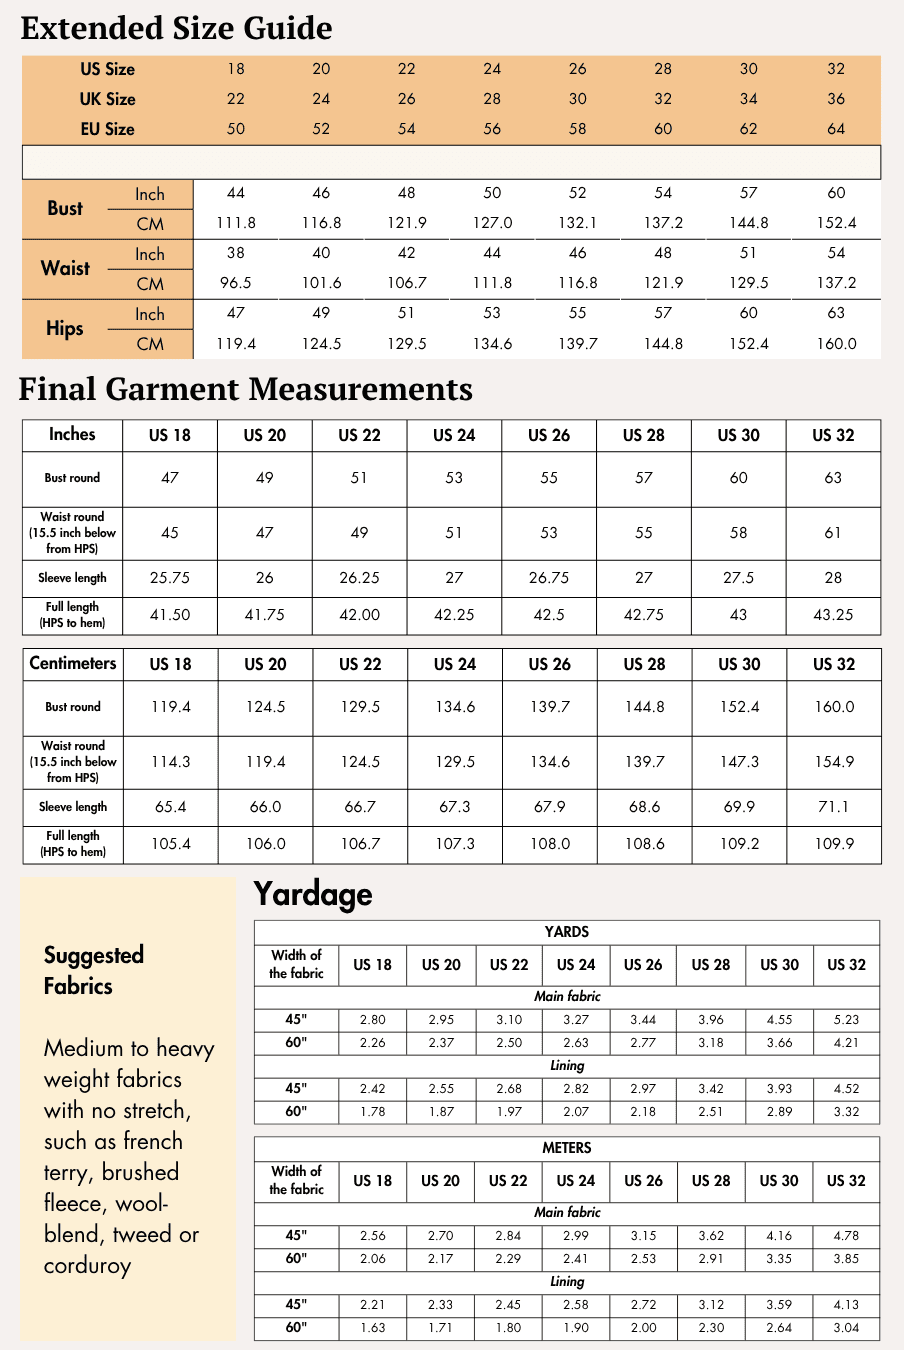
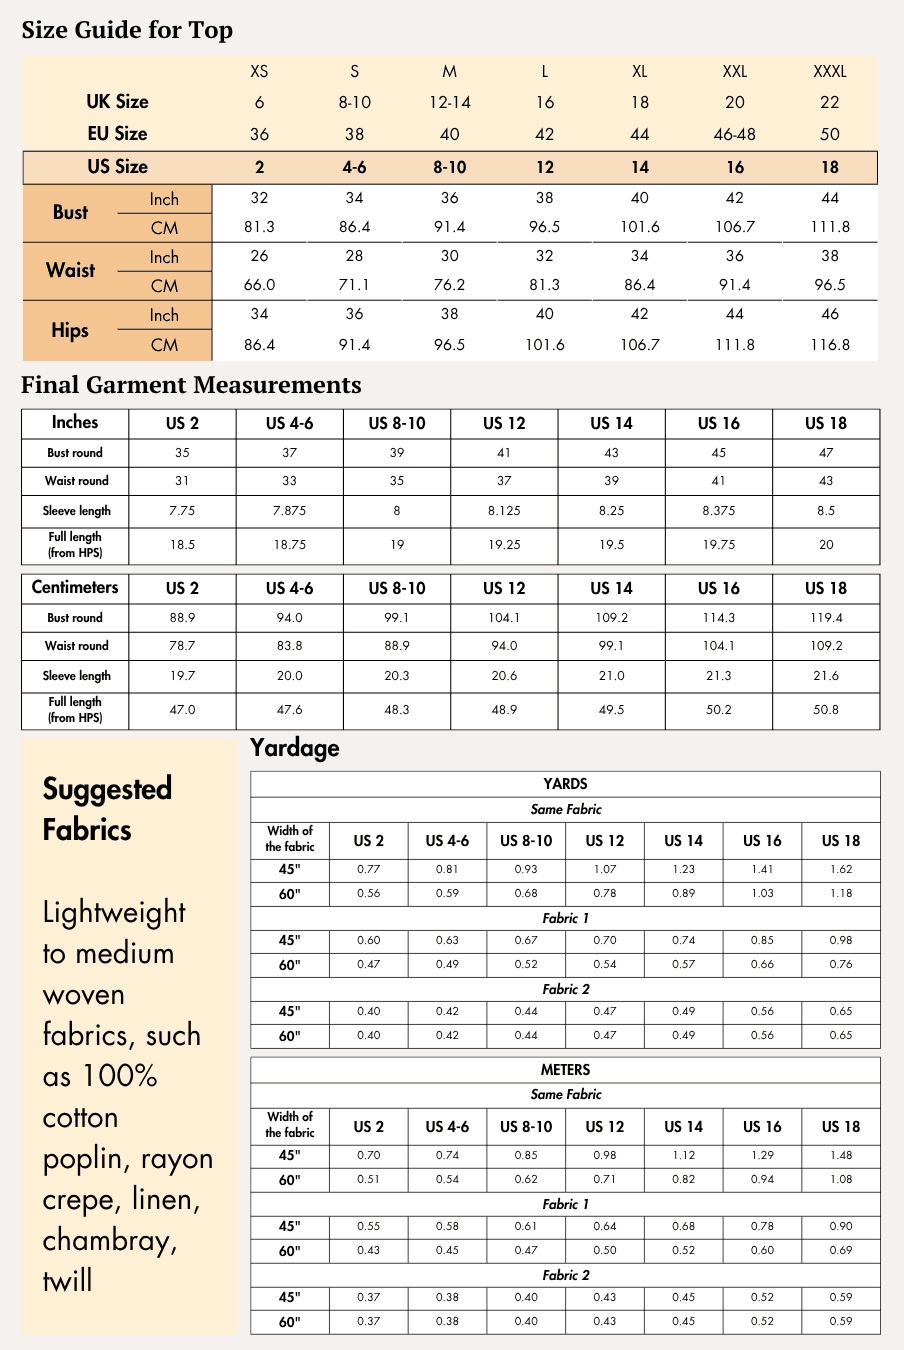
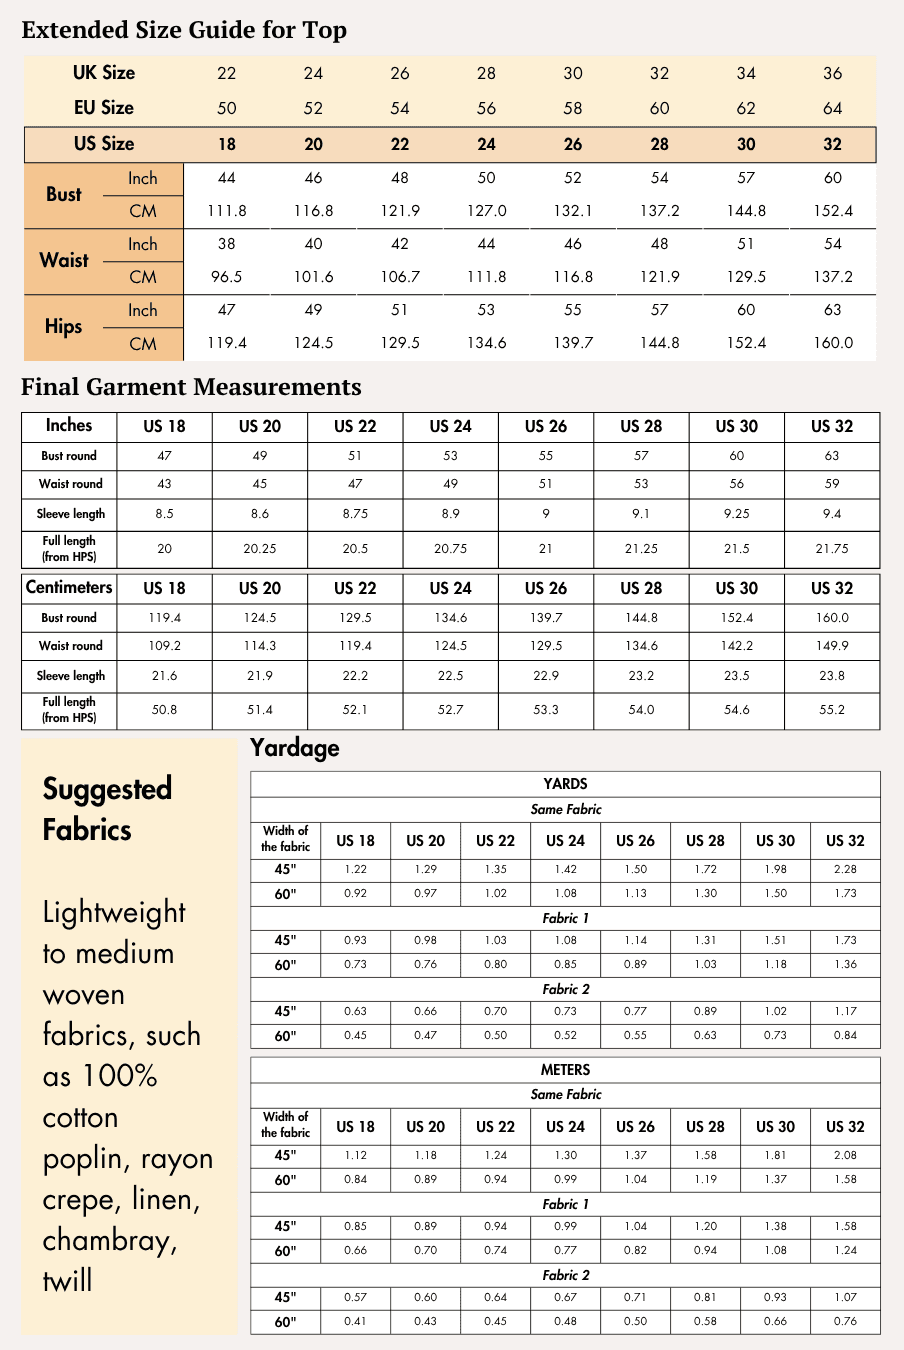
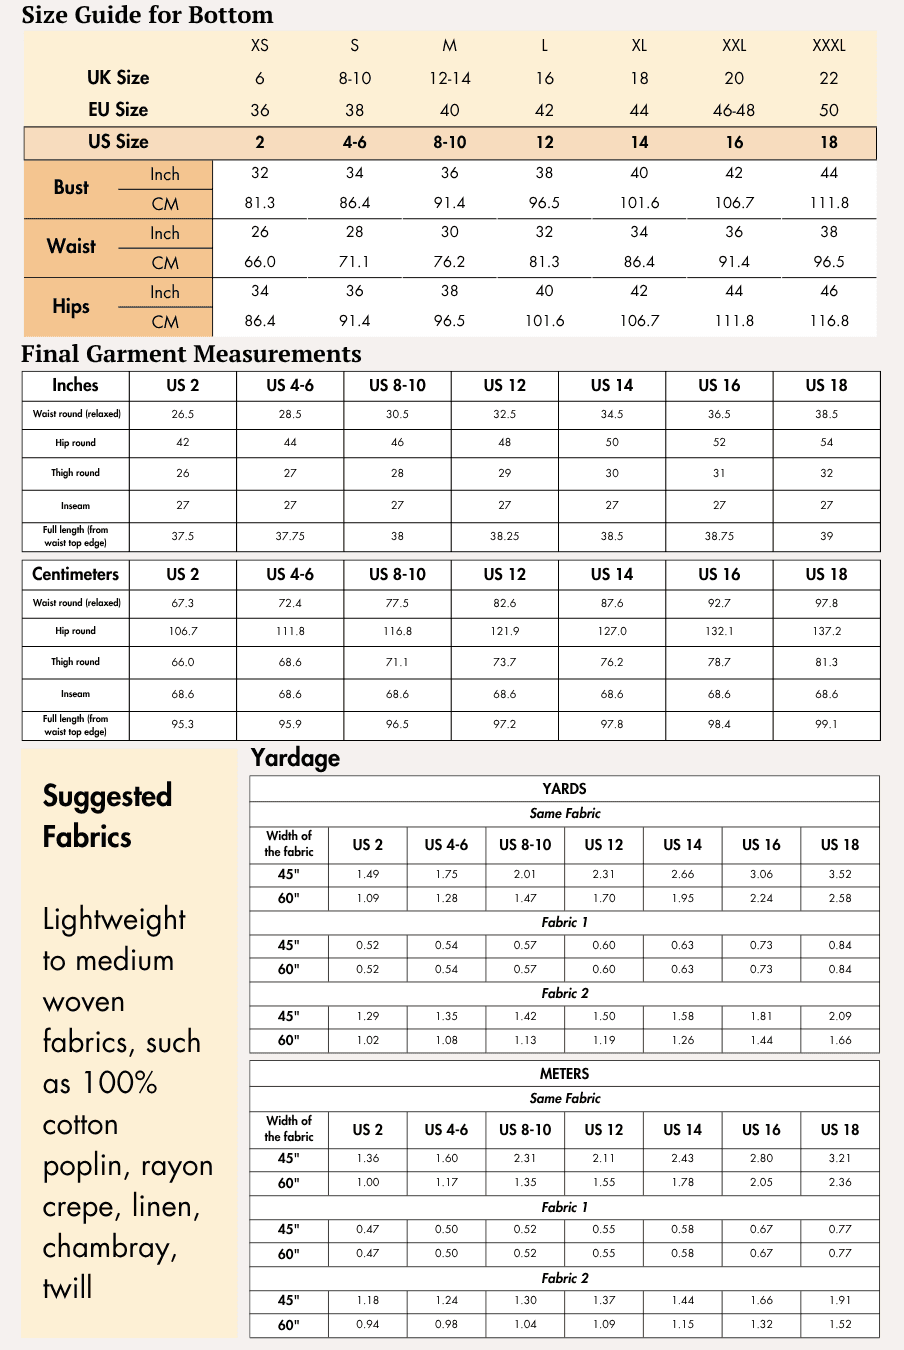
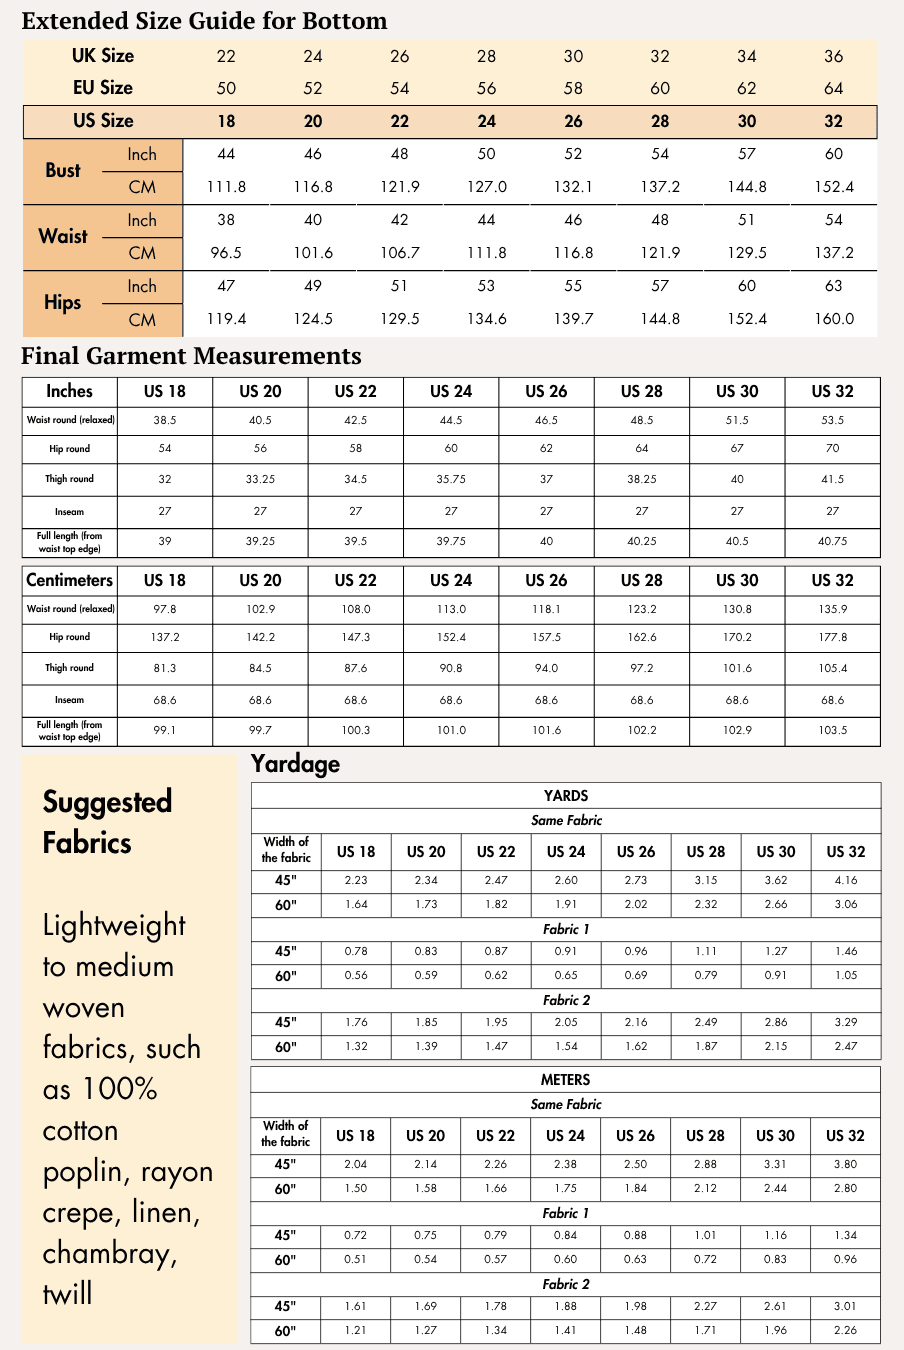
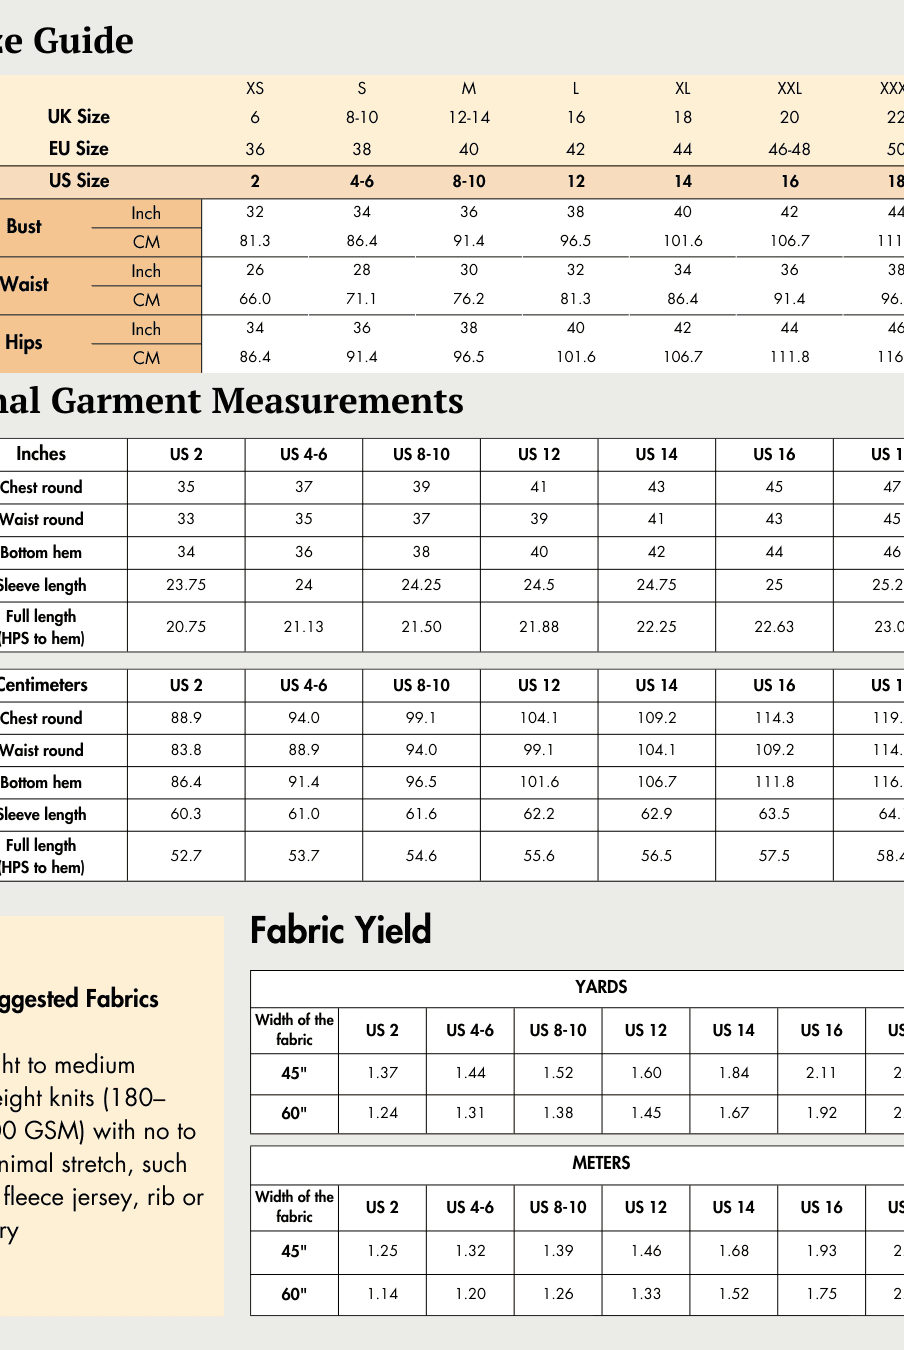
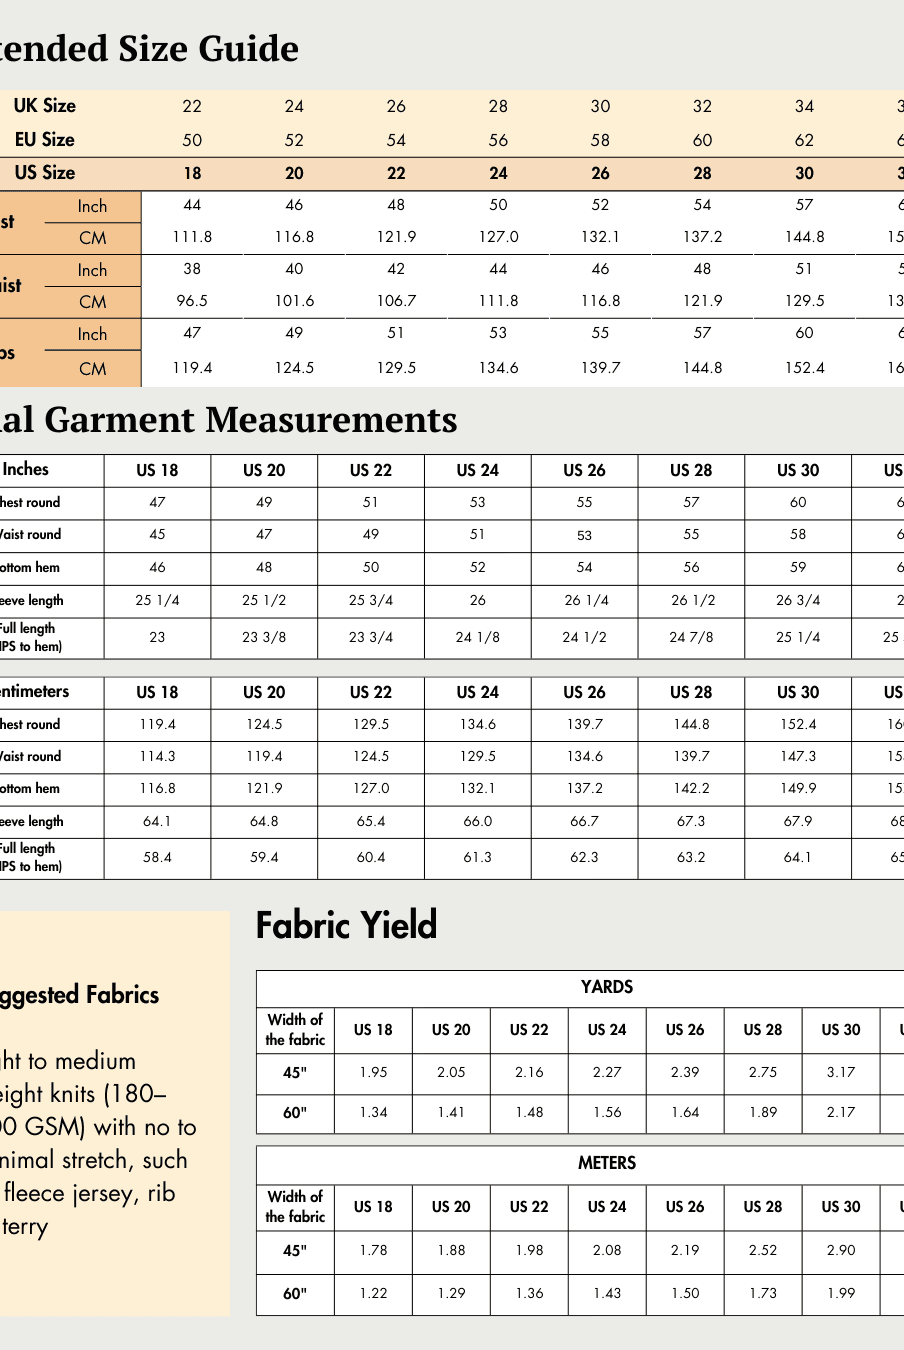
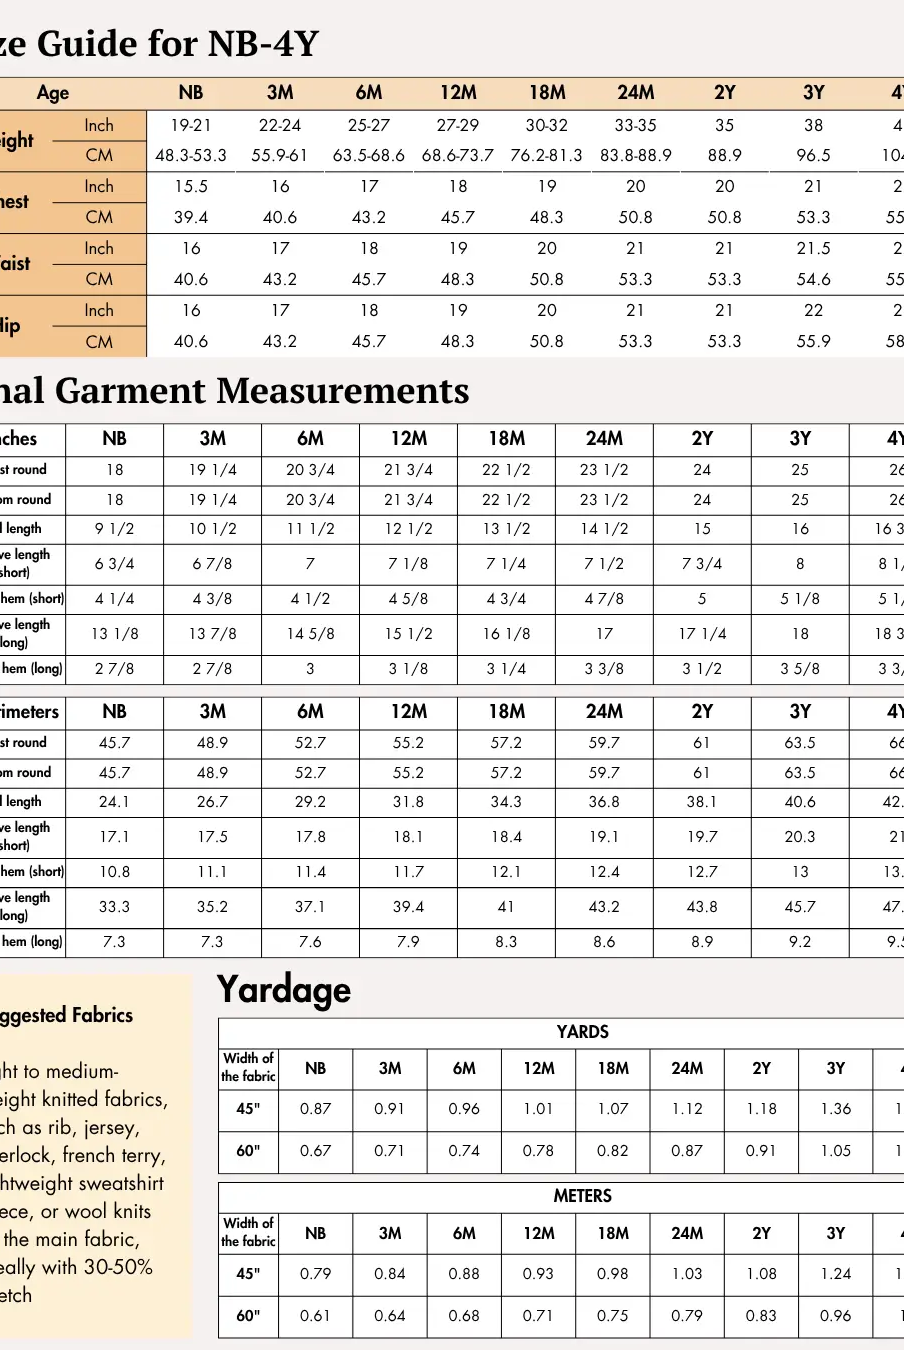
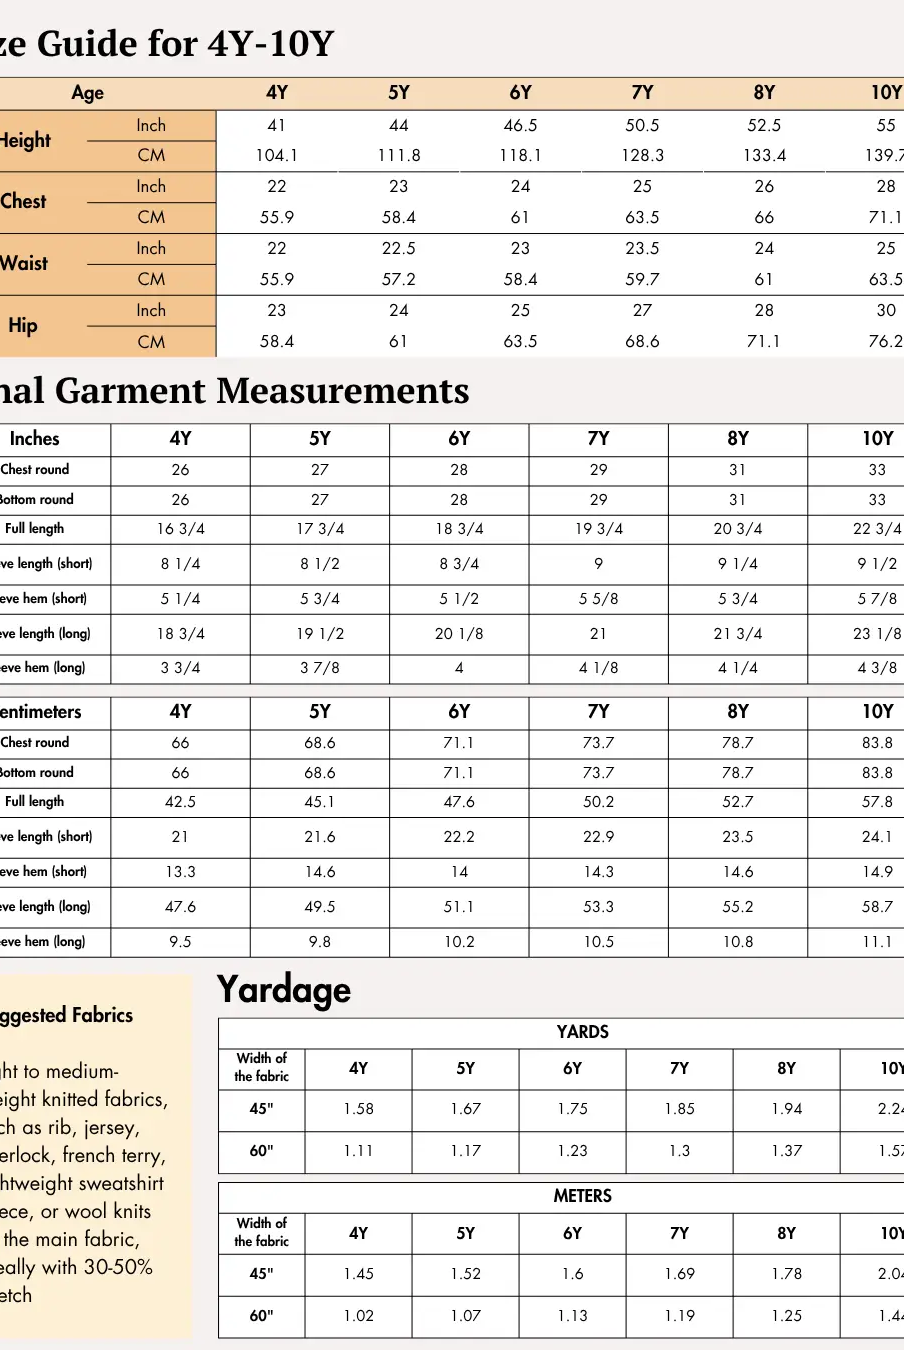
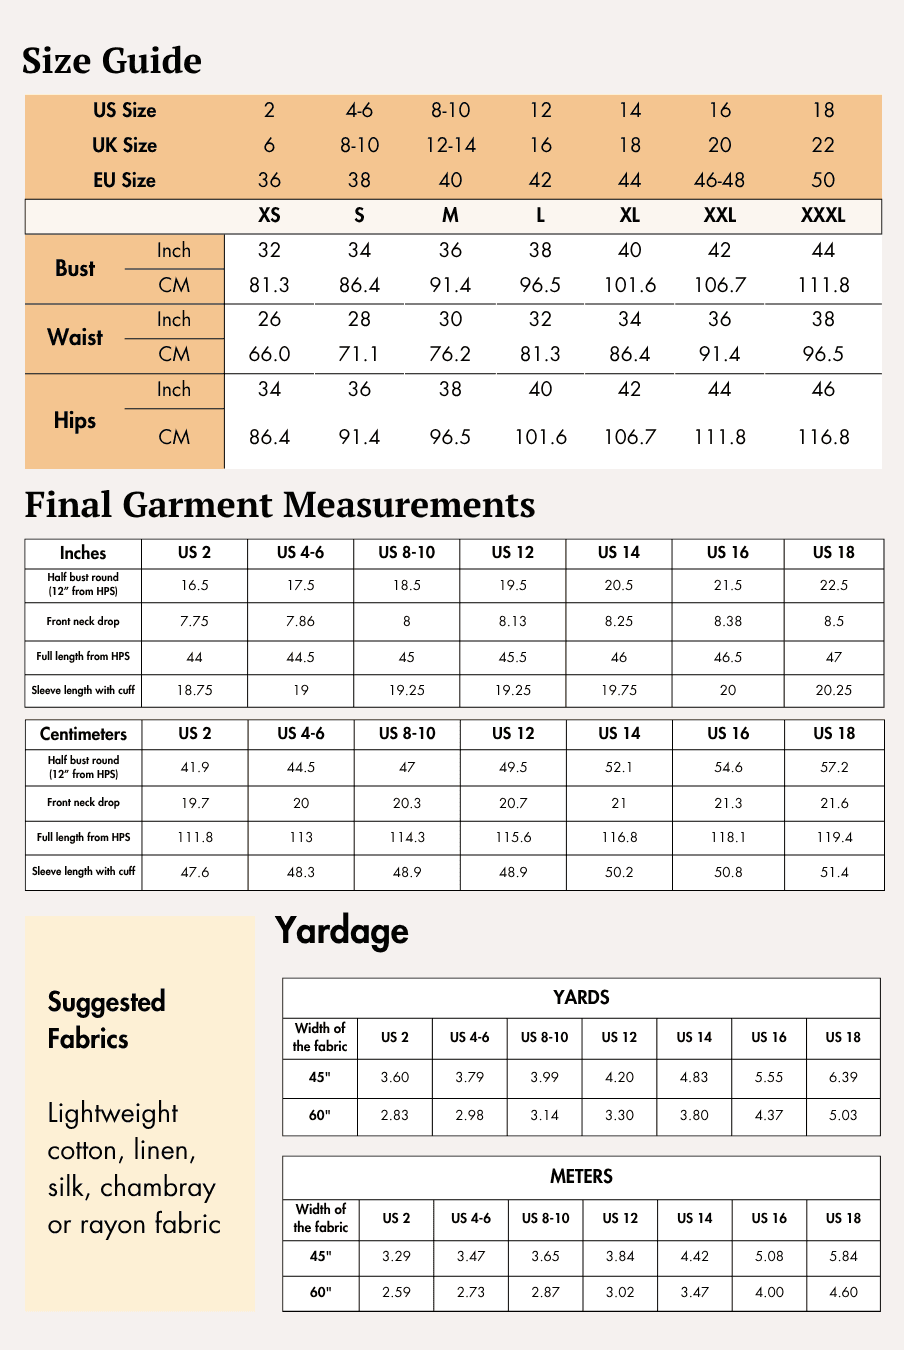
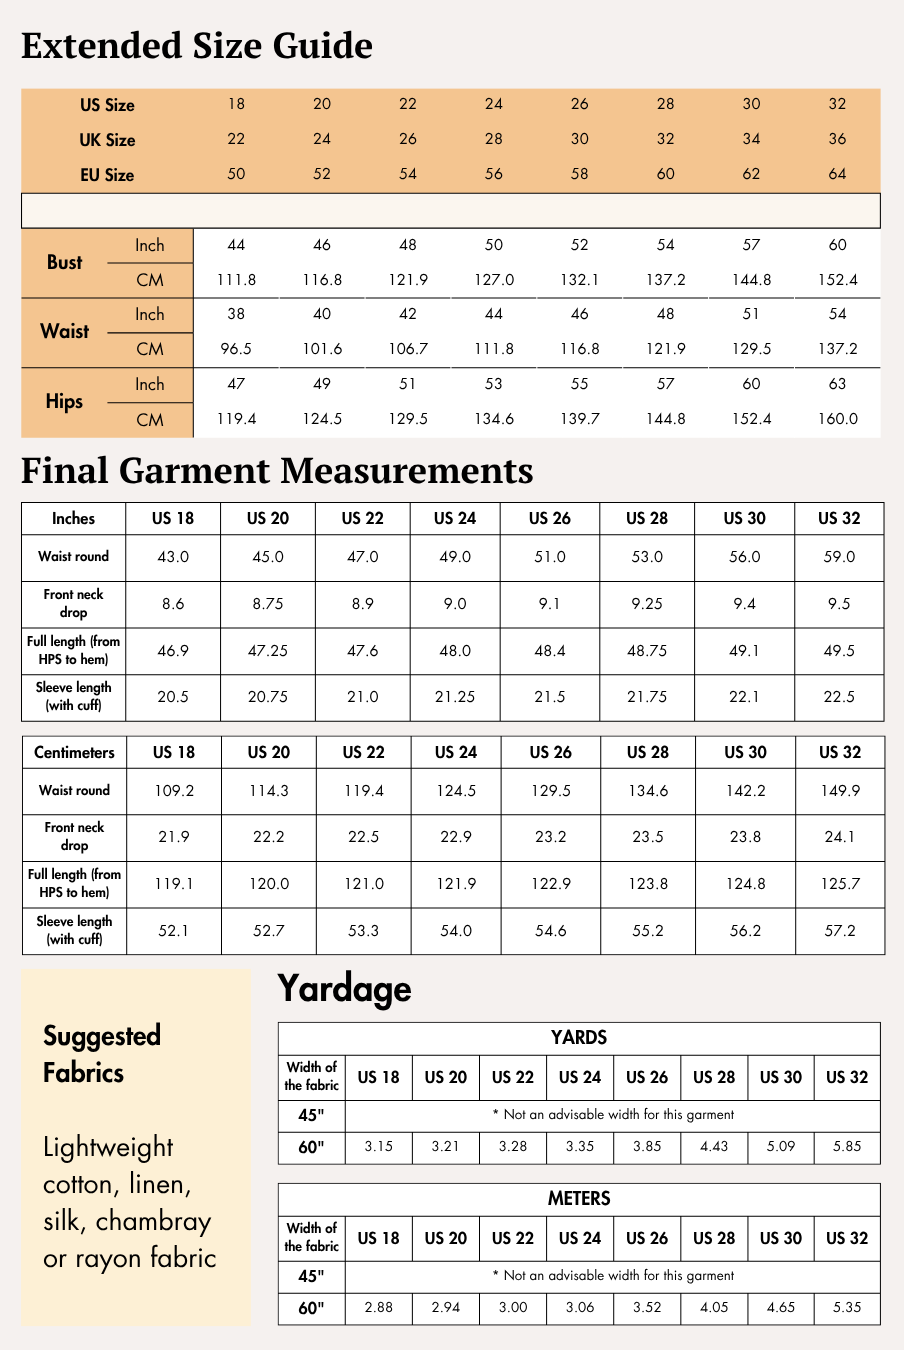
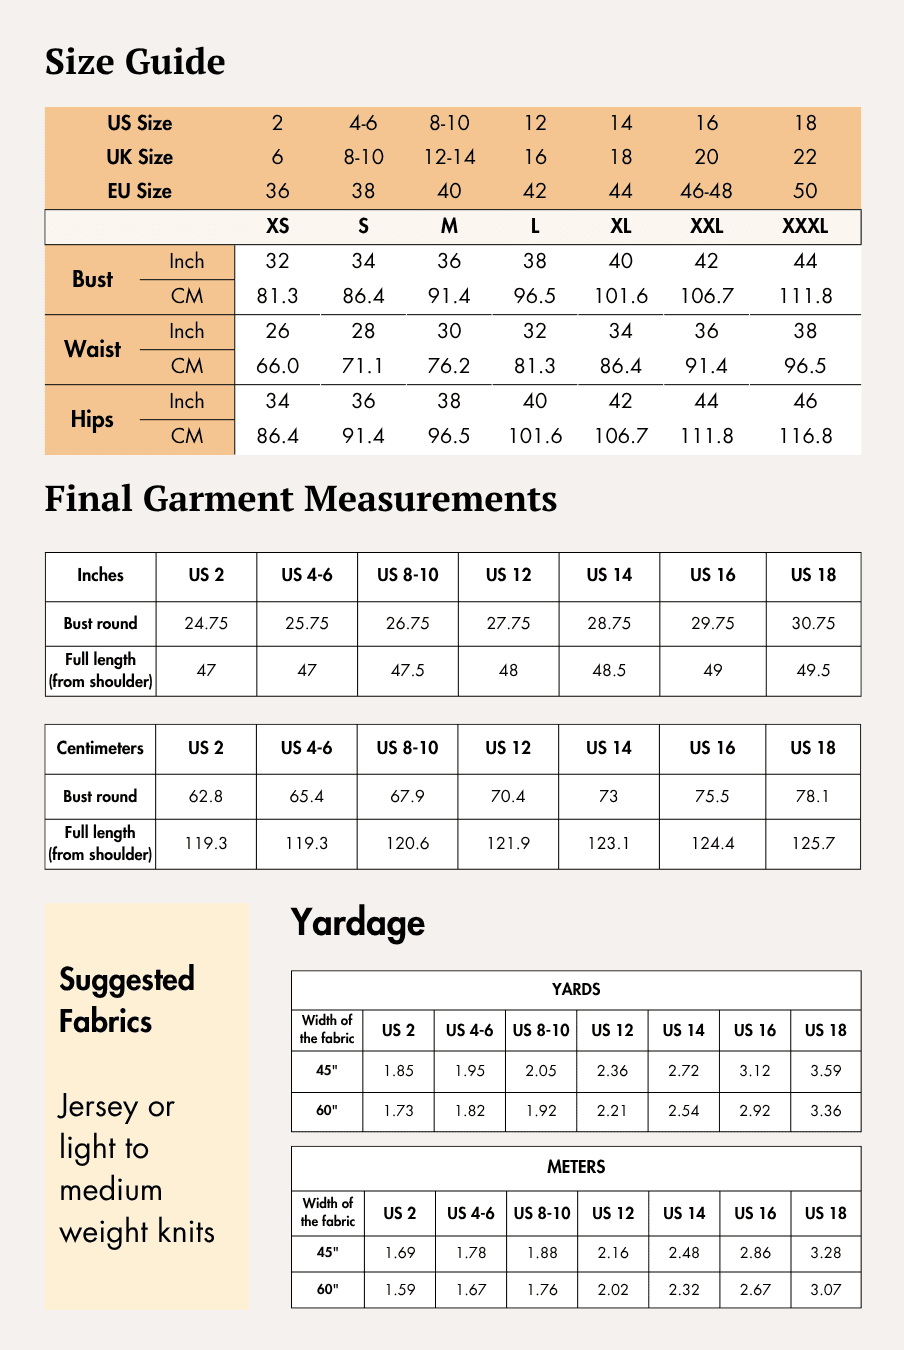
Check the size charts and measure yourself to select the correct size, using the garment and body measurement tables in the guide.
Verify how much fabric you need by referencing the fabric yield table in the guide.
Pattern Inventory: What Pieces to Prepare
Maria Raglan T-Shirt

- Front Bodice — Cut 1
- Back Bodice — Cut 1
- Sleeve — Cut 2
- Neck Trim — Cut 1
Maria Training Shorts

- Front Lining Leg — Cut 2
- Front Leg — Cut 2
- Side Front Leg — Cut 2
- Back Lining Leg — Cut 2
- Back Leg — Cut 2
- Fabric Waistband — Cut 1
- Elastic Waistband — Cut 1
The pattern includes both A4/US Letter files for home printing and A0 files for copy shop printing.
Pattern Marking
The sewing guides include clear pattern markings to help align and assemble each garment accurately.
Maria Raglan T-Shirt

For the T-shirt, markings include:
- Grainlines
- Neckline
- Front armhole
- Back armhole notches
- Side seams
- Hemline
- Seam allowance
Maria Training Shorts

For the shorts, markings include:
- Grainlines
- Front and back waistlines
- Front and back crotch
- Front and back inseams
- Side seams
- Side front notch
- Hemlines
Transfer all markings to your fabric before sewing to ensure accurate assembly.
Cutting Layout
Maria Raglan T-Shirt


Maria Training Shorts


The cutting layouts are designed to help position every pattern piece correctly on the fabric grain while minimizing fabric waste.
The guides include layouts for both 45-inch and 60-inch fabric widths. They recommend:
- Following the grainline direction carefully.
- Pinning pattern pieces securely before cutting.
- Purchasing extra fabric when using directional prints or fabrics with nap.
- Using the illustrated layouts as a guide (small or medium sizes are shown for reference).
Fabric Cutting and Preparation
Before cutting:
- Arrange all pattern pieces according to the cutting layout diagrams.
- Keep every grainline parallel to the fabric selvage.
- Trace and cut carefully if using fabric shears.
- Cut all notches accurately.
- Transfer important pattern markings, including fold lines and alignment marks, to the wrong side of the fabric.
- Mark center lines where indicated to simplify garment assembly.
Proper preparation will make sewing both garments much easier and improve the final finish.
Seam Allowance
Please follow the seam allowances as indicated on the pattern file layers. These are provided specifically for each piece to ensure accurate construction.
Maria Raglan T-Shirt
- 1 cm (0.38") seam allowance throughout
- 2.54 cm (1") hem allowance
- 2.2 cm (0.88") sleeve hem allowance
Maria Training Shorts
- 1 cm (0.38") seam allowance throughout
- 2.54 cm (1") hem allowance
- 1.27 cm (0.5") on the fabric waistband side seams
Step-by-Step Sewing Instructions
Maria Raglan T-Shirt
1. Attach the Sleeves to the Bodice
1a. Place one sleeve on the front bodice with right sides facing together. Align the front sleeve armhole to the front bodice armhole and sew along the seamline using an overlock stitch.
1b. Align the same sleeve’s back armhole with the back bodice armhole, with right sides facing together. Match the notch and stitch along the seamline.
Repeat the same process for the second sleeve.
2. Prepare and Attach the Neck Trim
2a. Fold the neck trim in half lengthwise, aligning the side seams with right sides facing together. Overlock stitch along the side seam.
2b. Open the sewn neck trim into a tubular shape. Fold it in half from the top edge with the right sides facing outward.
2c. Turn the T-shirt right side out. Position the neck trim’s open edge on the neckline of the T-shirt. Attach it using an overlock stitch along the neckline seam.
3. Sew the Side Seams
Turn the T-shirt wrong side out.
Align the side seams of the bodice and sleeves.
Overlock the side seam starting from the sleeve hem and ending at the bodice hem.
4. Finish the Hems
Finish the bodice hem and sleeve hems by folding them from the hemline toward the wrong side of the fabric.
Secure the folded edges using a flatlock stitch, starting from one of the side seams to achieve a clean and polished finish.


Step-by-Step Sewing Instructions
Maria Training Shorts
1. Prepare the Pocket Pieces
- Place one pocket piece on one front shorts piece with right sides together, matching the pocket opening.
- Sew along the pocket opening seam allowance.
- Trim or clip the seam allowance if needed.
- Turn the pocket piece to the wrong side and press the seam flat.
- Topstitch along the pocket opening if instructed in the sewing guide.
- Repeat for the second front shorts piece.
2. Assemble the Front Pockets
- Place the second pocket piece on top of the attached pocket piece with right sides together.
- Match all raw edges and notches.
- Sew around the curved edge of the pocket bag.
- Finish the raw edges using a serger or zigzag stitch if desired.
- Baste the pocket pieces to the front shorts along the side seam and waist edge to keep them in place.
- Repeat for the second front shorts piece.
3. Sew the Front and Back Shorts
- Place one front shorts piece and one back shorts piece right sides together.
- Match the side seams.
- Sew the side seam.
- Finish the seam allowance.
- Repeat for the opposite side.
4. Create the Side Vents
4a.
Finish the raw edges of the side vent opening as instructed in the sewing guide.
4b.
Press the seam allowances neatly toward the wrong side along the vent opening.
4c.
Topstitch the vent edges to secure the folds and create a clean finish.
4d.
Repeat the same process for the second side vent.
5. Sew the Inseams
- Place the front and back shorts right sides together.
- Match the inseams carefully.
- Sew both inseams.
- Finish the seam allowances.
- Press the seams toward the back.
6. Sew the Crotch Seam
- Turn one shorts leg right side out.
- Place it inside the other leg so the right sides are together.
- Match the center front, center back, and inseams.
- Sew the crotch seam in one continuous stitch.
- Finish the seam allowance.
- Press the seam toward one side.
7. Prepare the Waistband
- Sew the short ends of the waistband right sides together to form a loop.
- Press the seam open or to one side as instructed in the sewing guide.
- Fold the waistband in half lengthwise with wrong sides together.
- Press the folded edge to create a crisp crease.
- Mark the waistband into equal quarters.
8. Attach the Waistband
- Divide the top edge of the shorts into equal quarters.
- Match the waistband quarter markings with the shorts quarter markings, keeping the raw edges aligned.
- Pin or clip the waistband evenly around the waist opening.
- Stretch the waistband evenly between the quarter marks while sewing.
- Sew the waistband to the shorts using the seam allowance specified in the sewing guide.
- Finish the seam allowance if required.
9. Insert the Elastic
- Leave the opening indicated in the sewing guide for inserting the elastic.
- Attach a safety pin or bodkin to one end of the elastic.
- Thread the elastic evenly through the waistband casing, making sure it does not twist.
- Overlap the elastic ends by the amount specified in the sewing guide and stitch securely.
- Distribute the gathers evenly around the waistband.
- Close the waistband opening with a line of stitching.
10. Finish the Hem
- Fold the hem allowance toward the wrong side following the measurements given in the sewing guide.
- Press the fold neatly.
- Stitch close to the folded edge around each leg opening.
- Press the finished hems.


Ready to Sew Your Own Activewear Coord Set?


The Maria Activewear Coord Set combines two comfortable activewear essentials into one versatile sewing project. Whether you're making workout clothes, casual athleisure, or comfortable everyday basics, this pattern offers simple construction, a relaxed fit, and easy-to-follow instructions that make it enjoyable for sewists of all experience levels.
If you're ready to expand your handmade wardrobe with a stylish matching set, the Winslet's Maria Activewear Coord Set Sewing Pattern is a fantastic project to add to your sewing list.
Explore More Sewing Patterns
Browse our Coord Set Sewing Pattern Collection for more stylish handmade workout wear, including leggings, sports bras, athletic tops, shorts, and matching coord sets designed for active lifestyles.
Join the Community & Get Support
Share your finished Maria Activewear Coord Set Sewing Pattern on social media with #MadeWithWinslets. If you have questions, feedback, or customization requests, contact the Winslet's team at support@winslets.com.