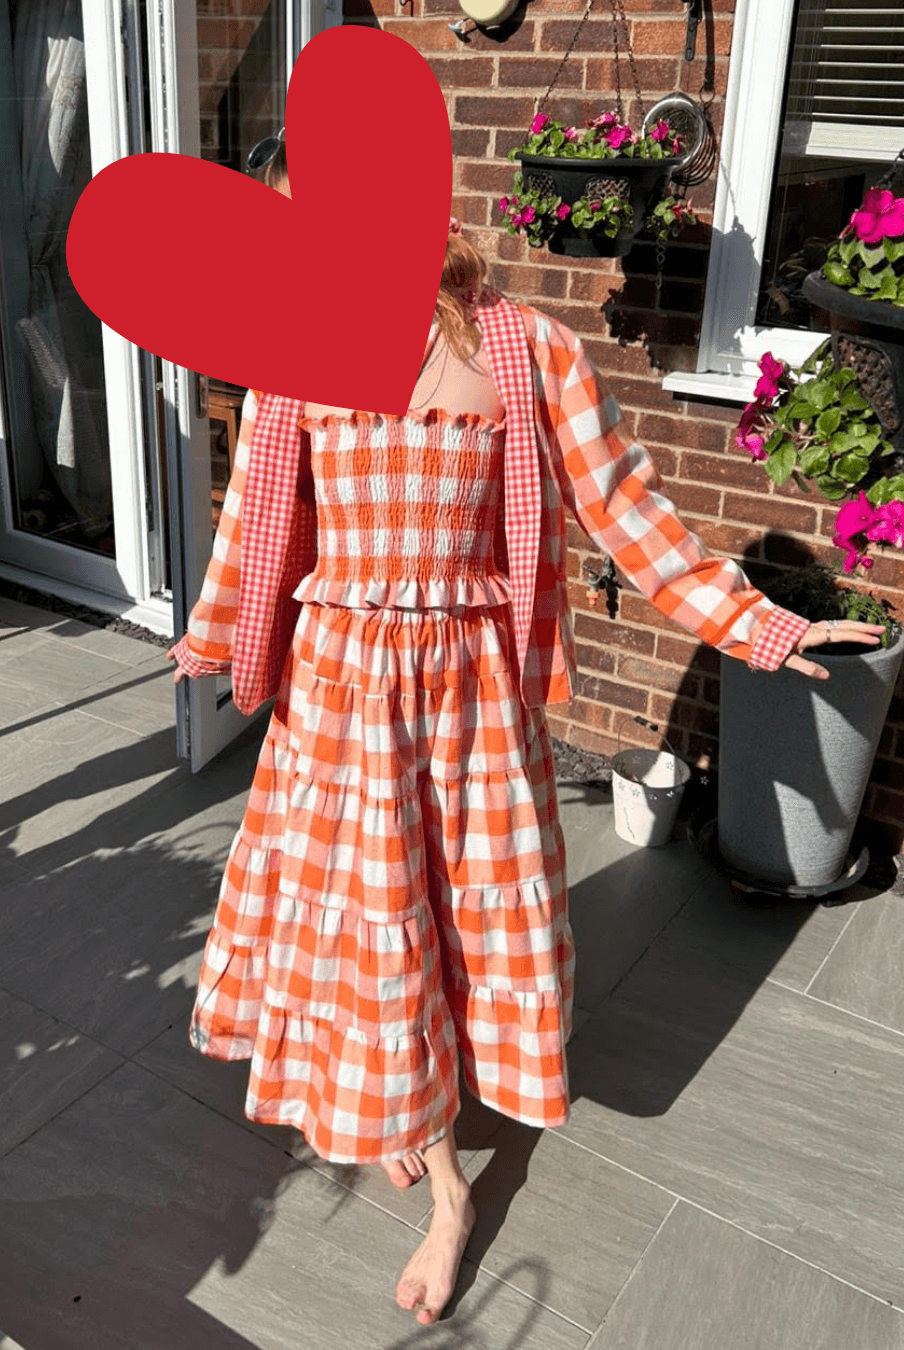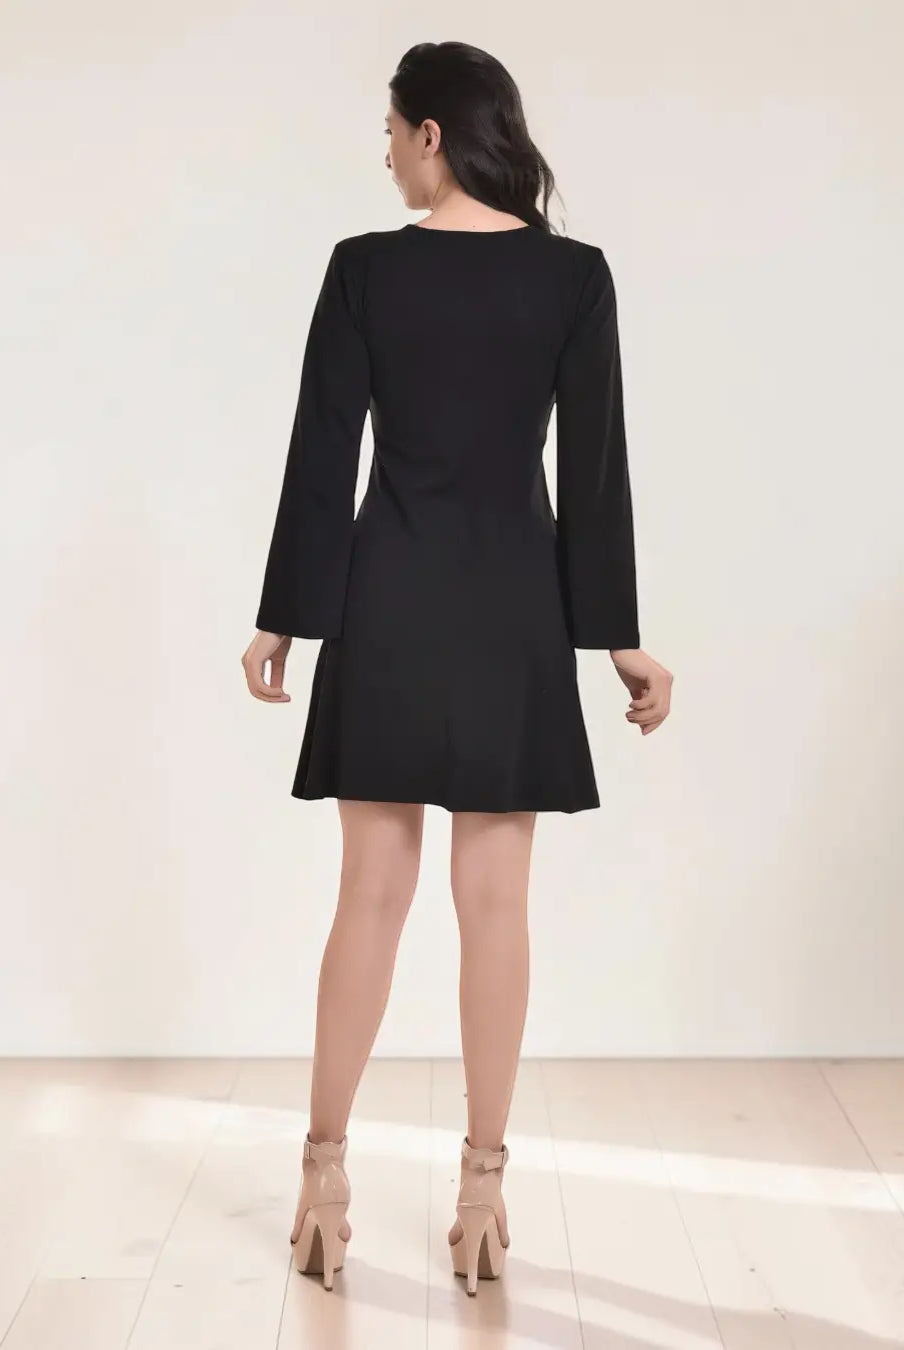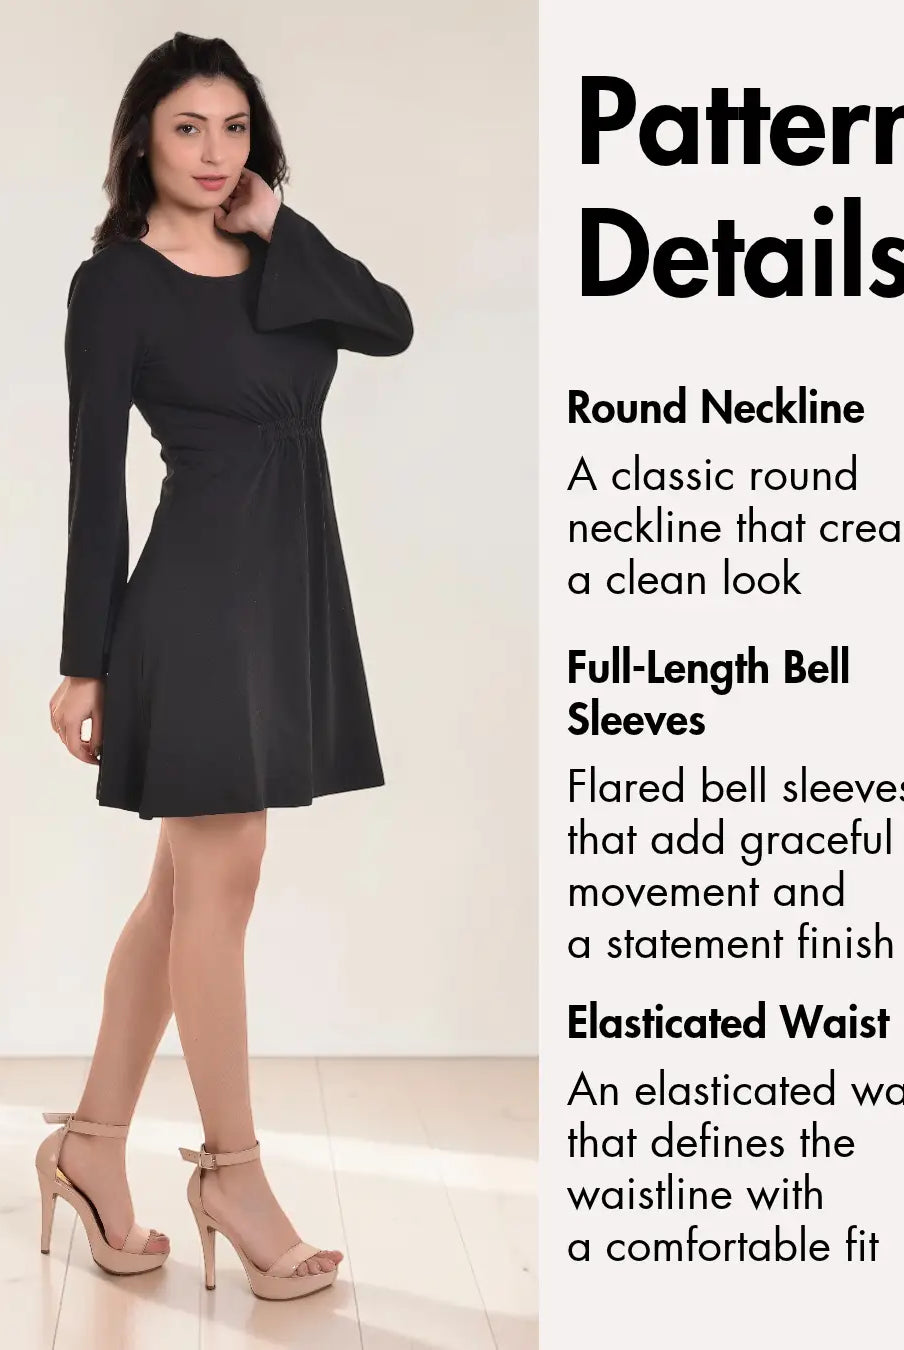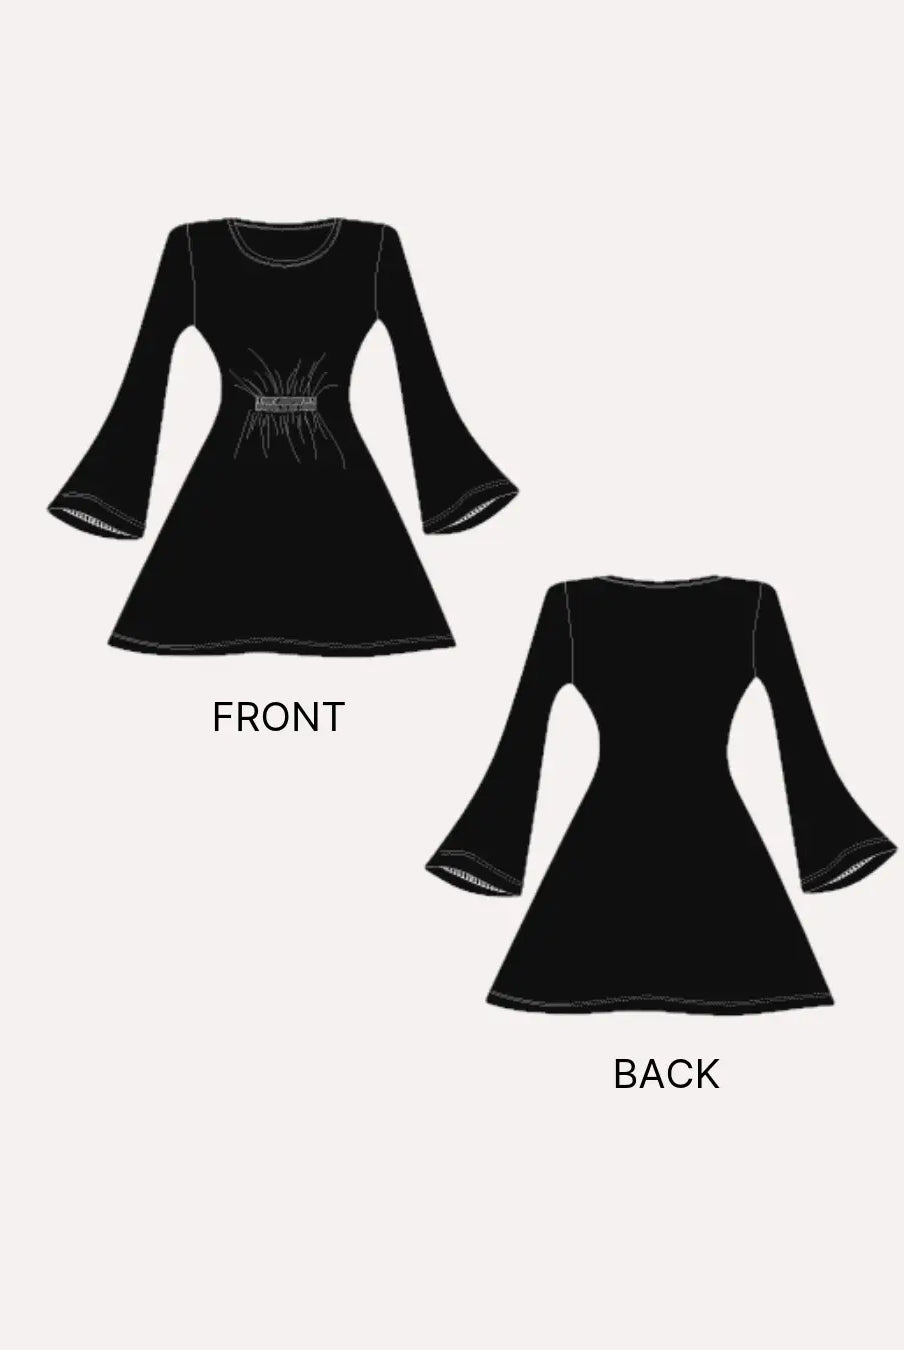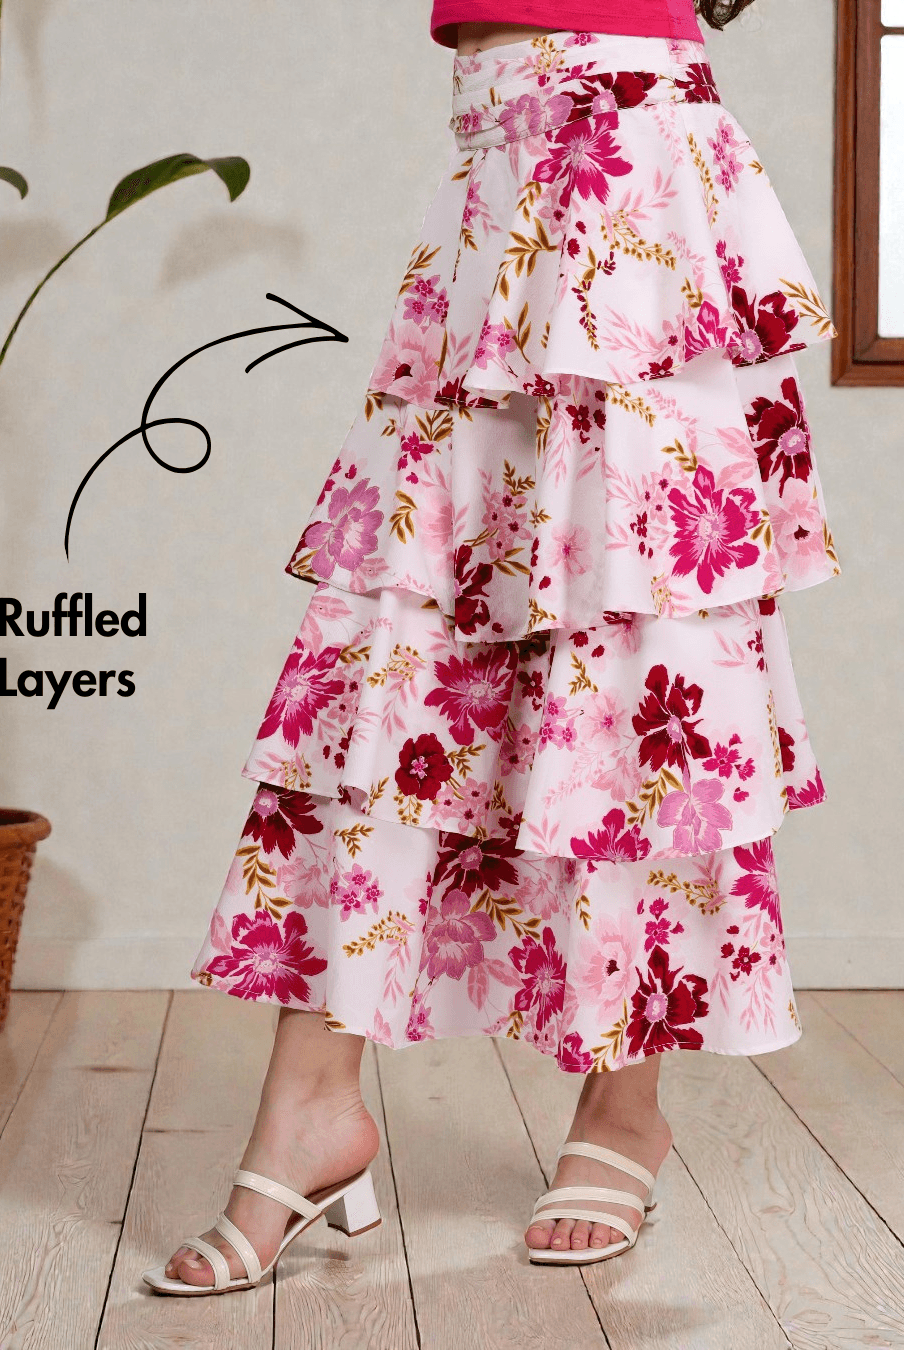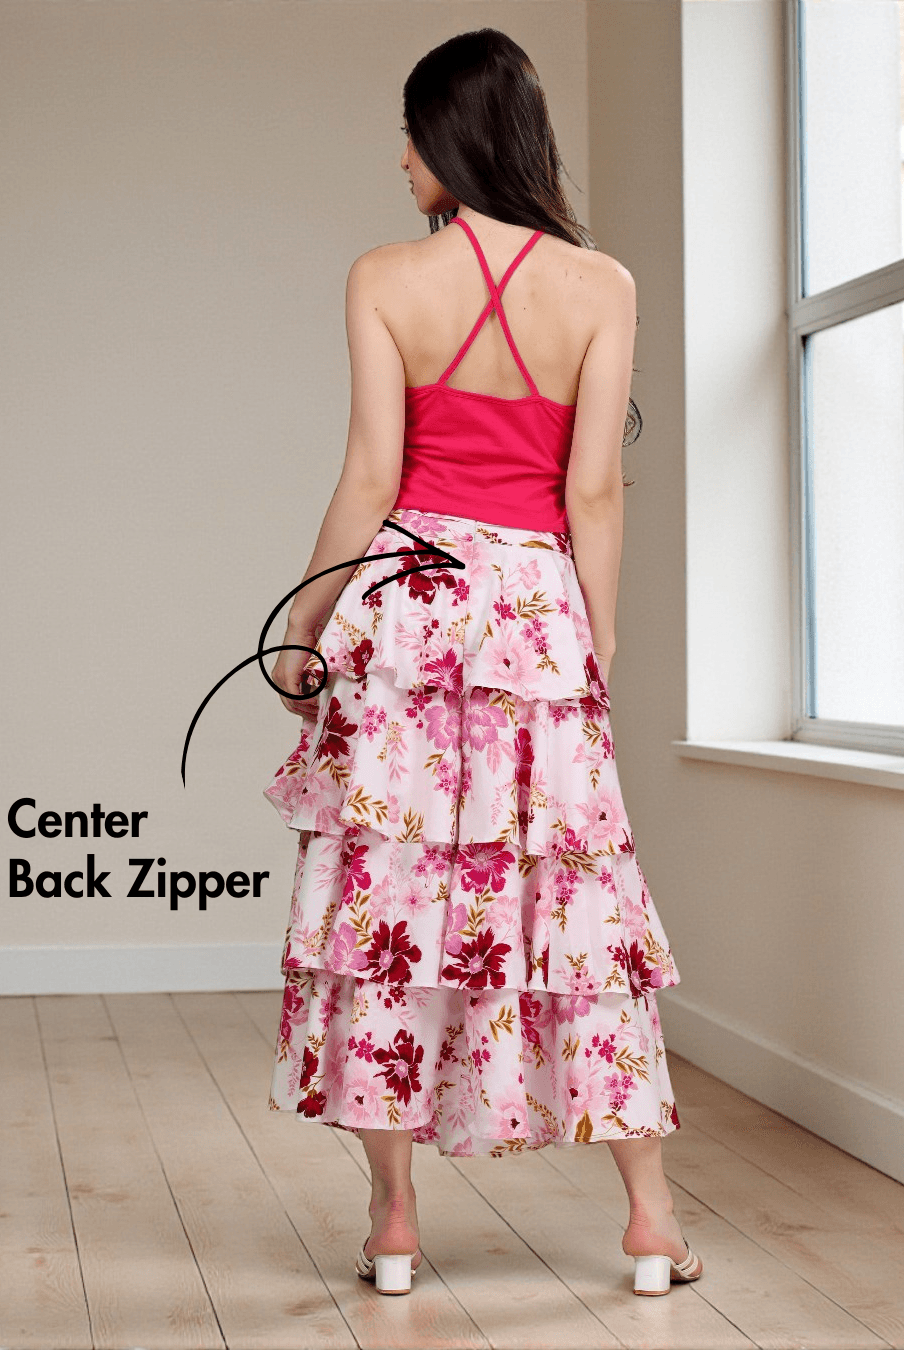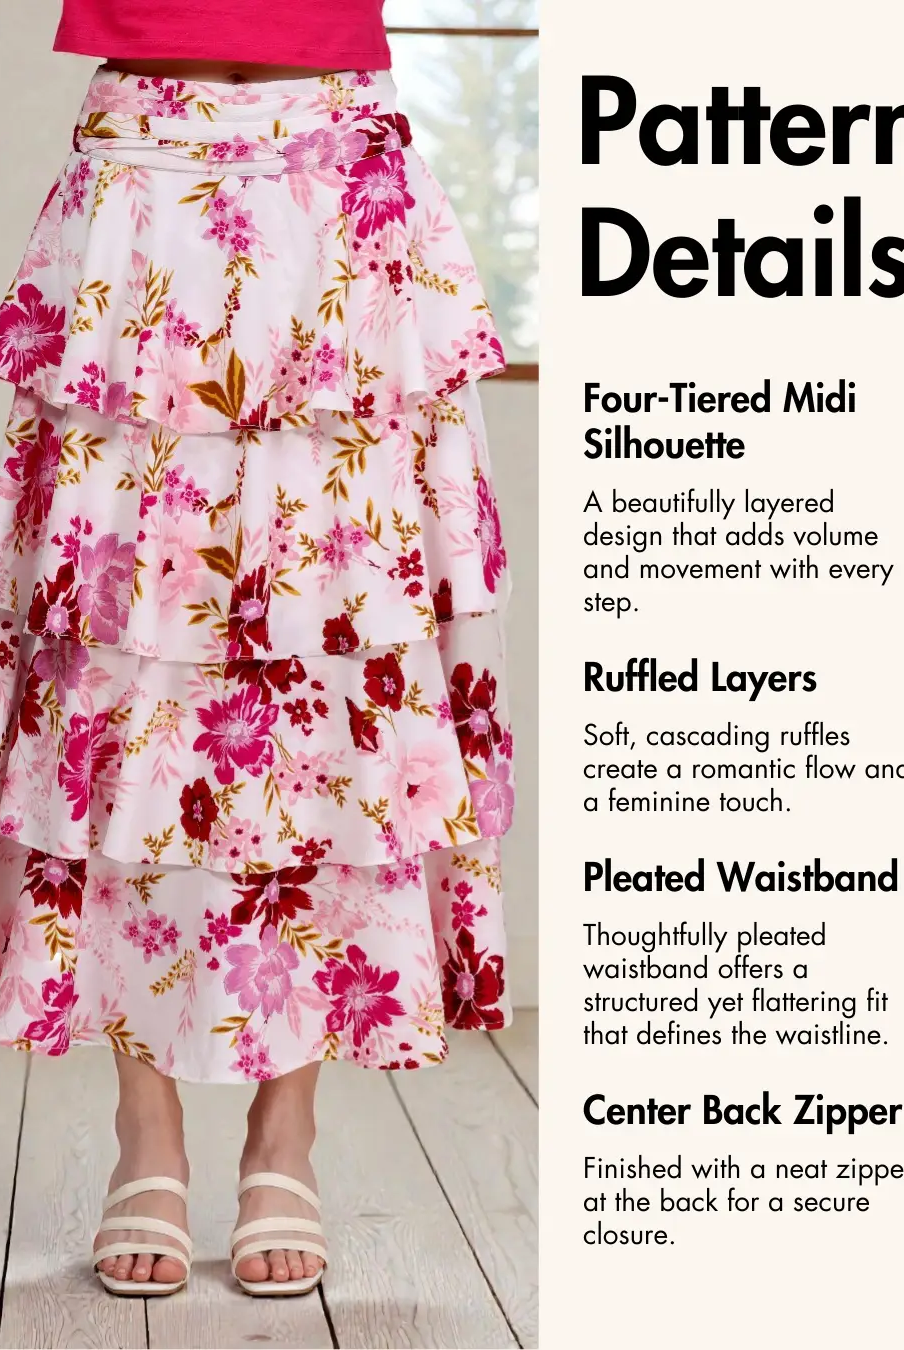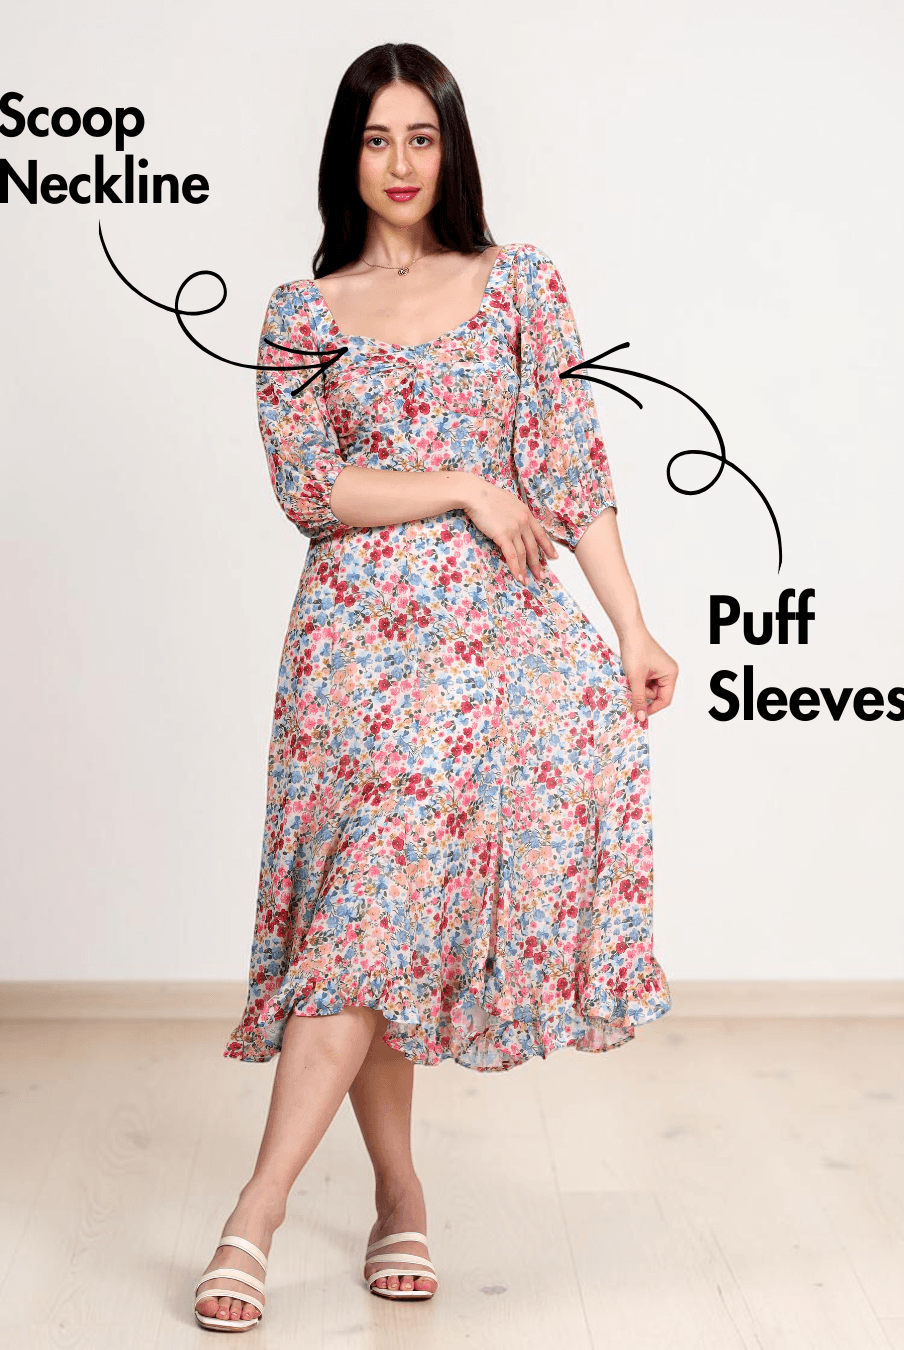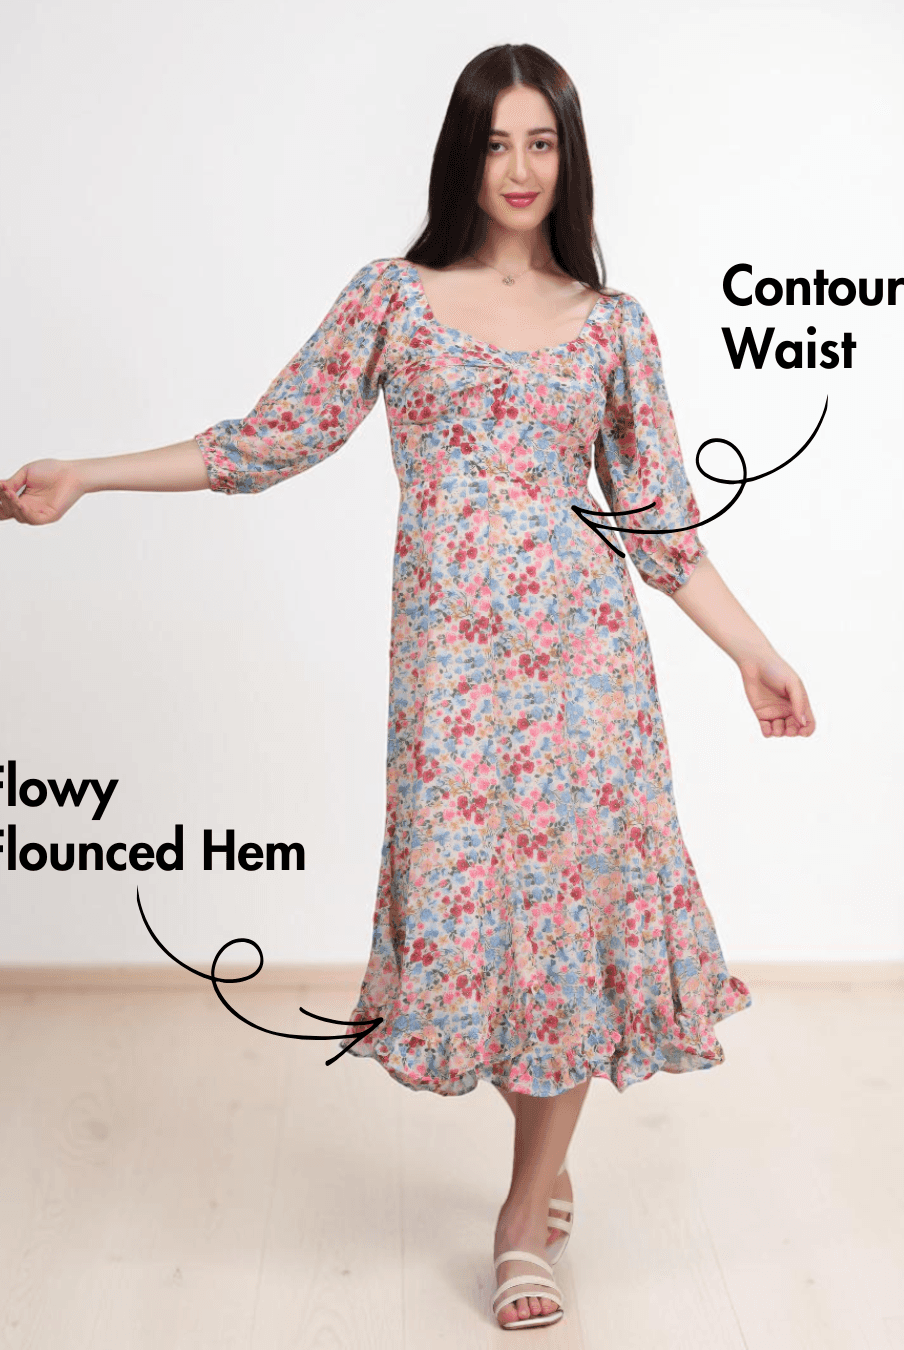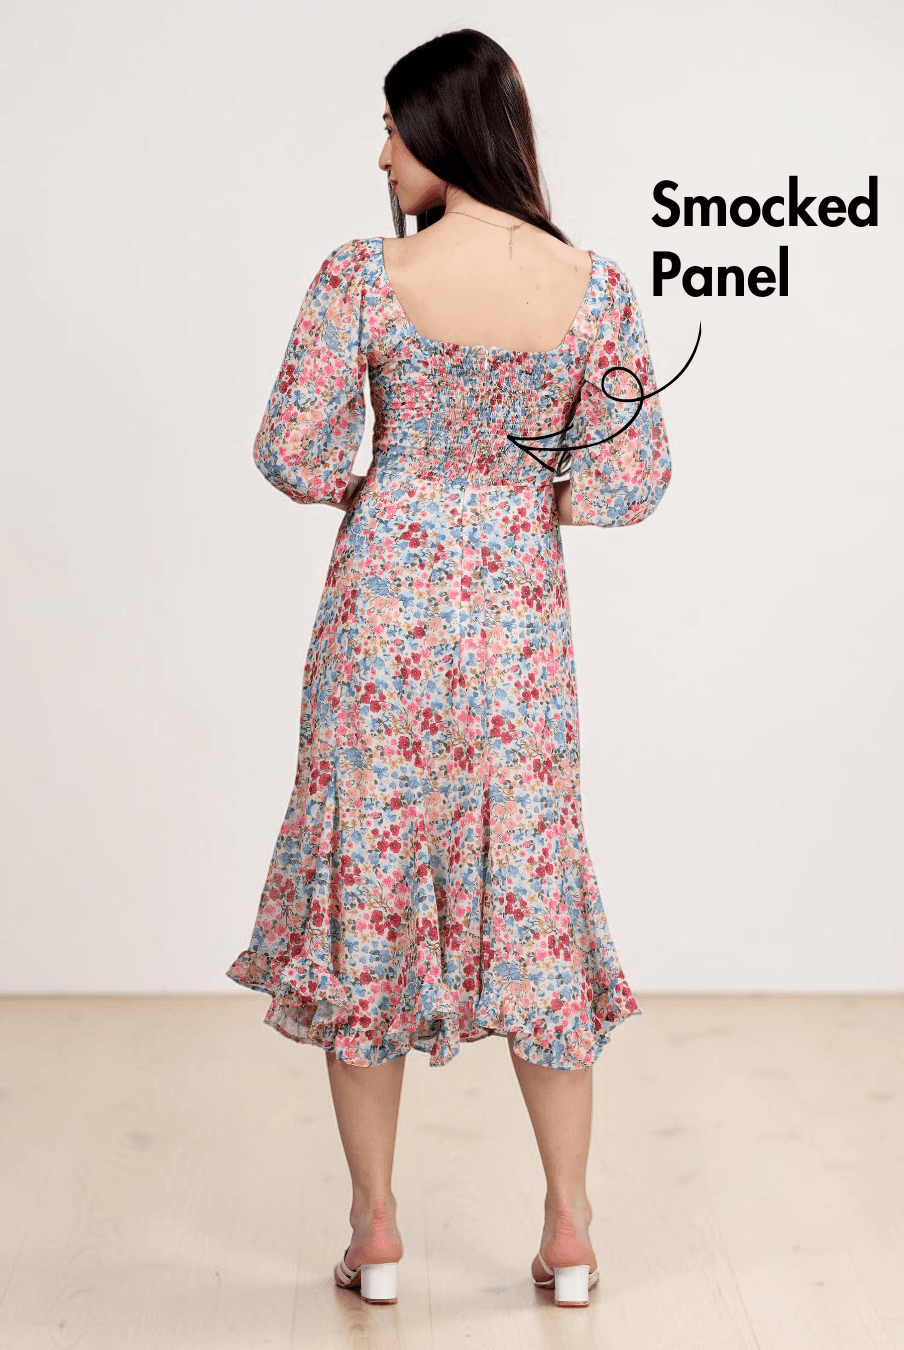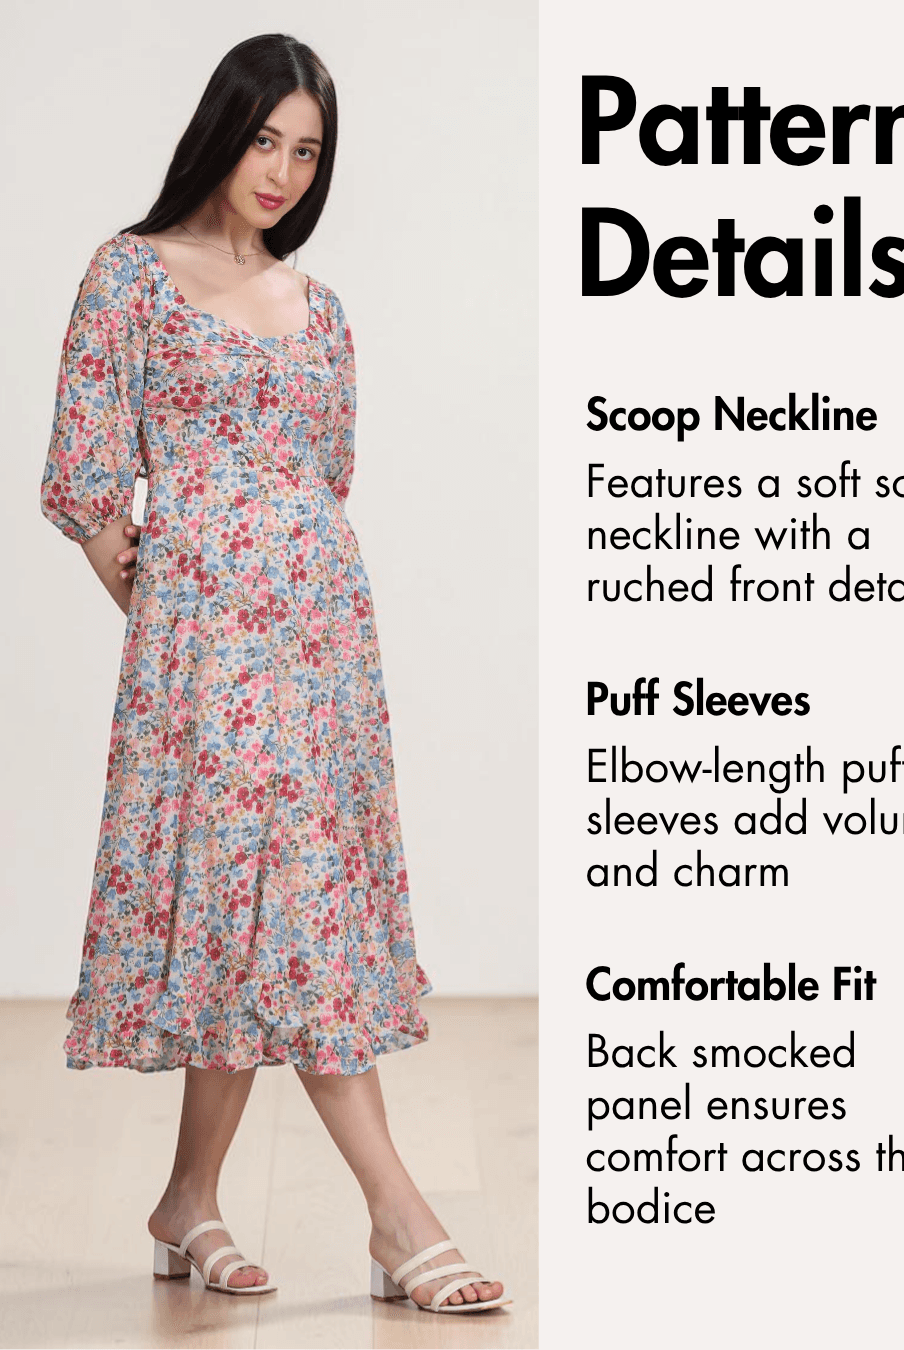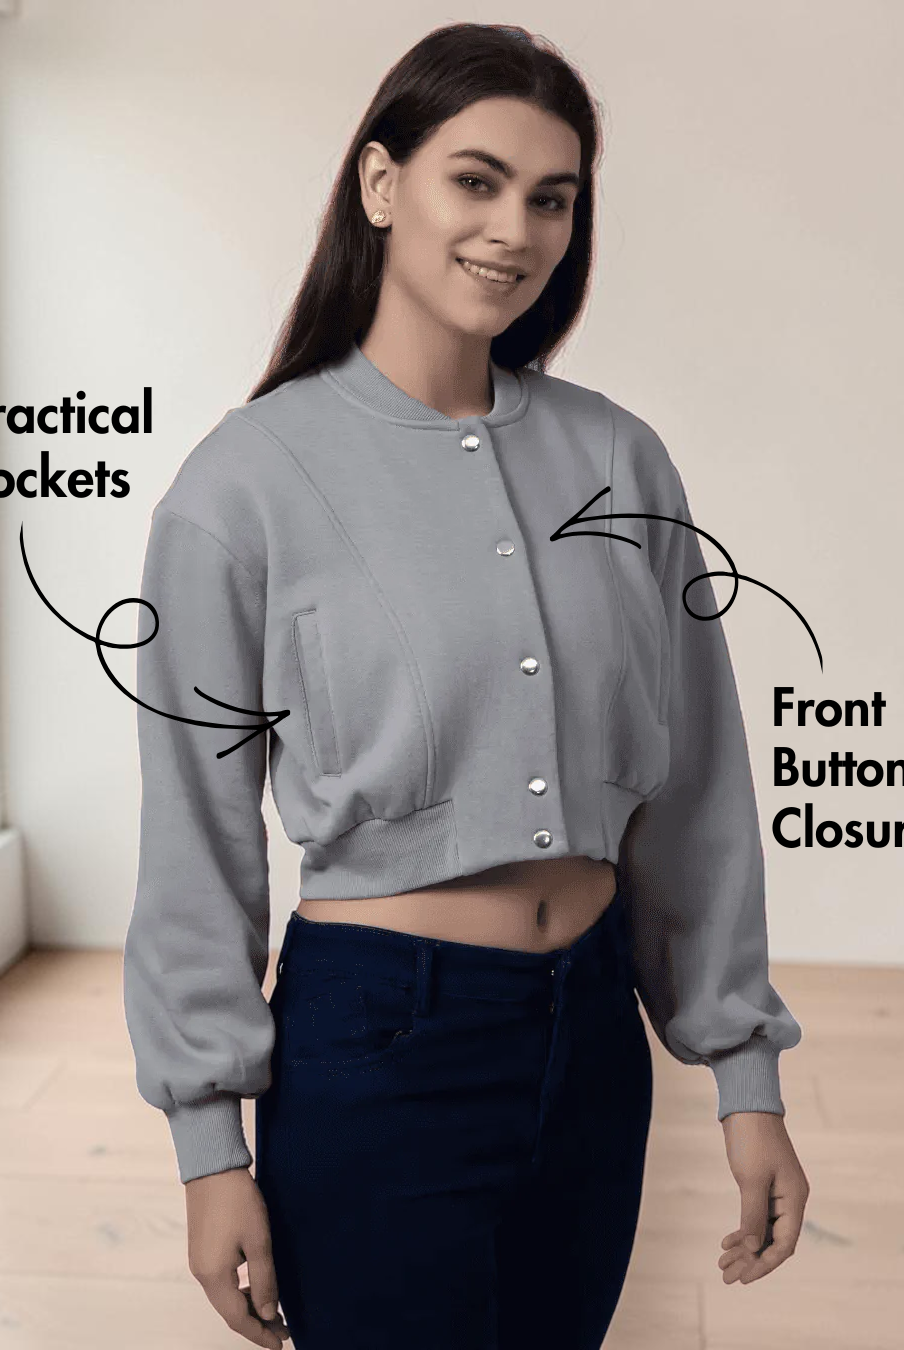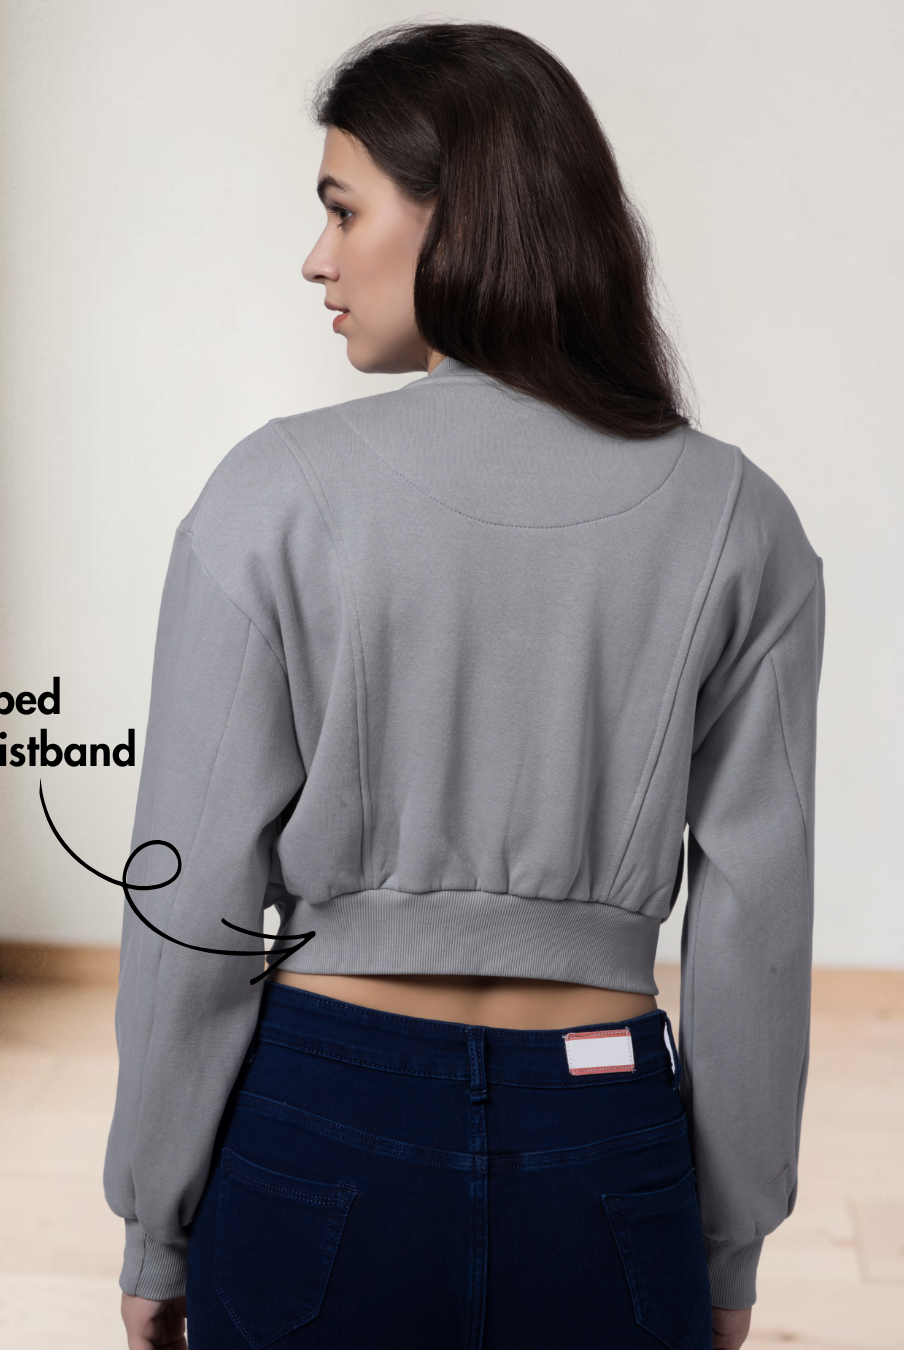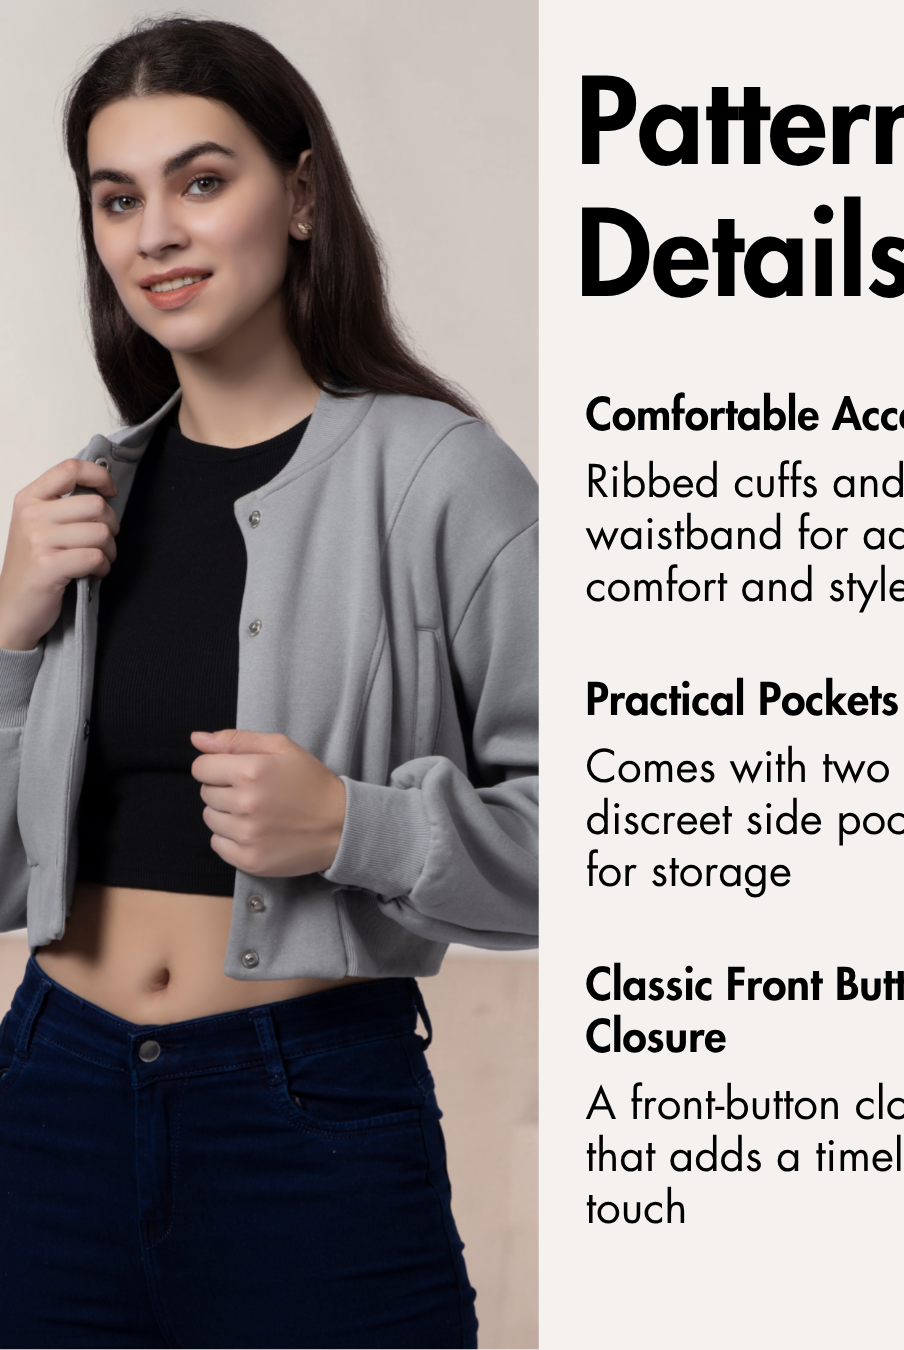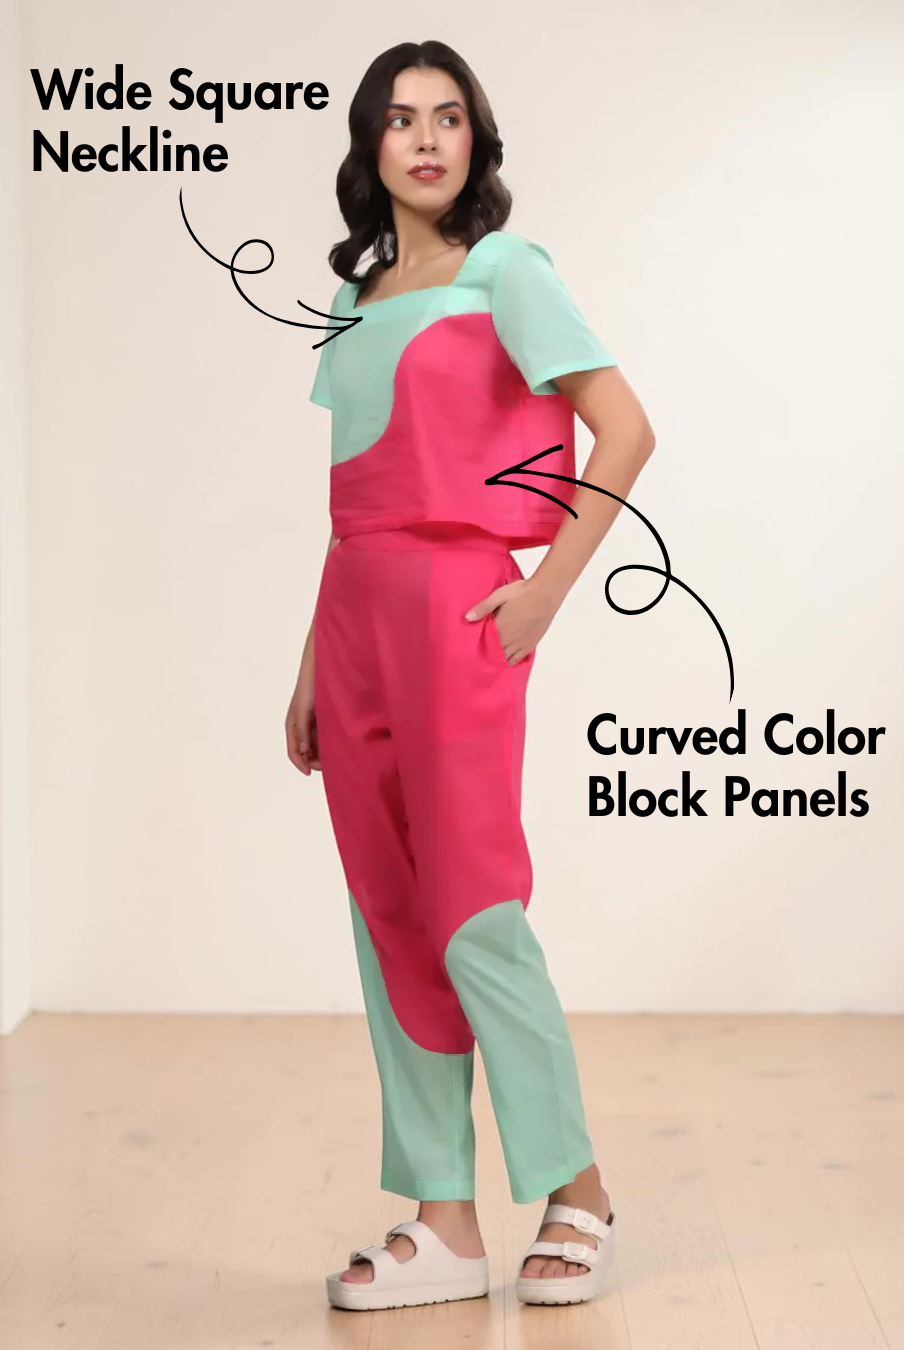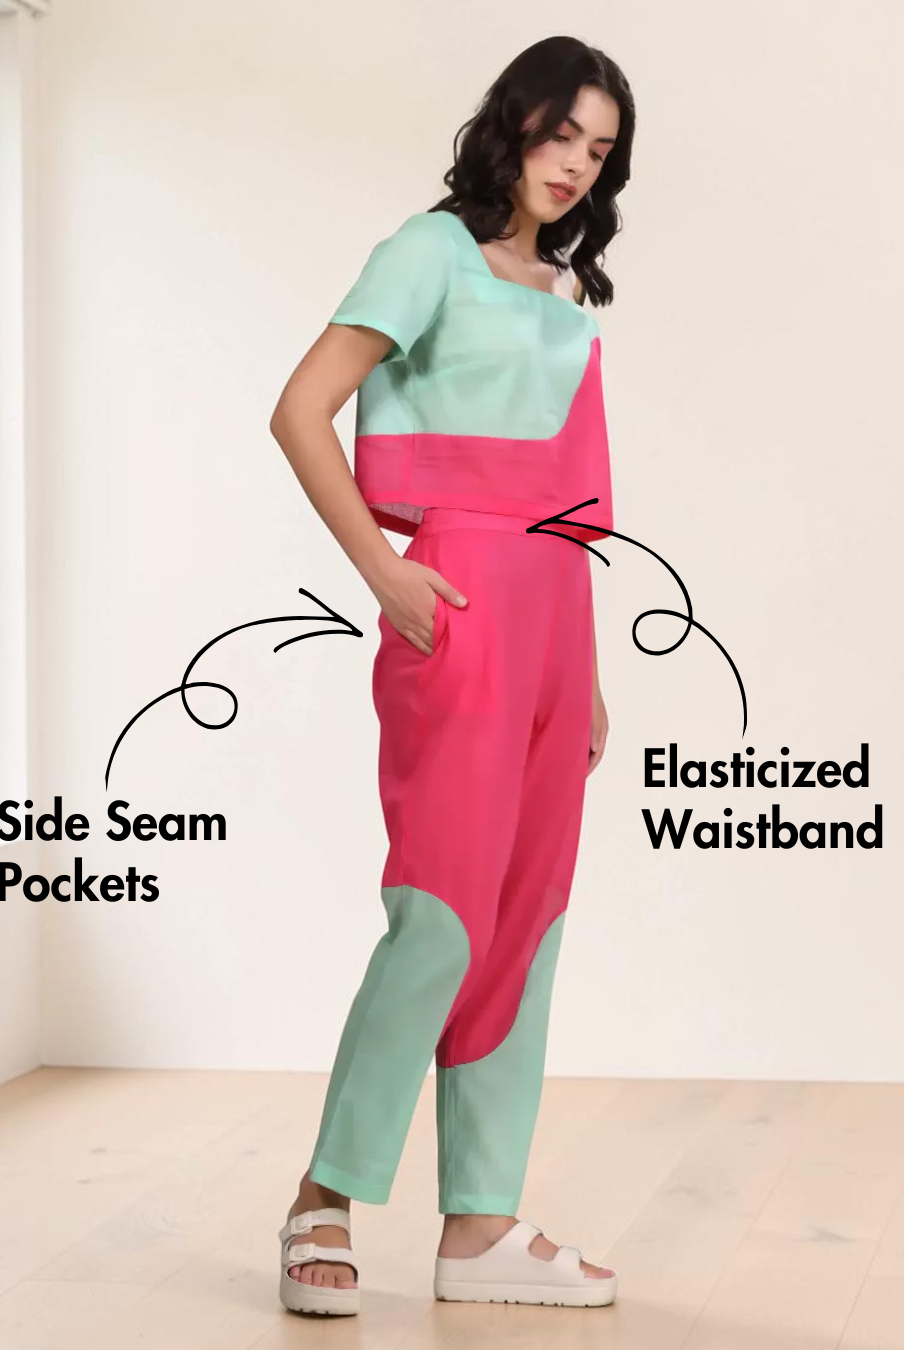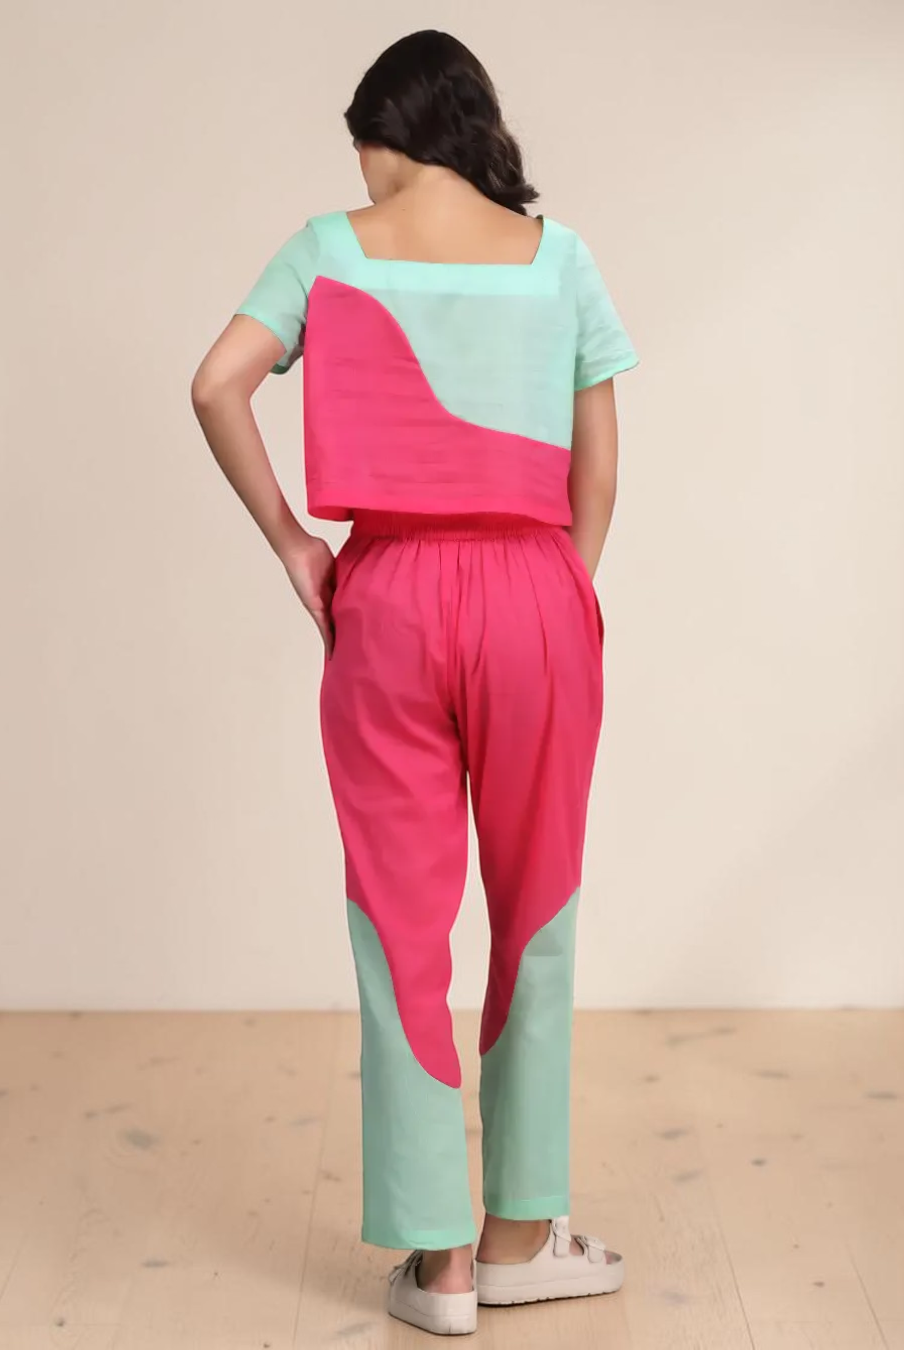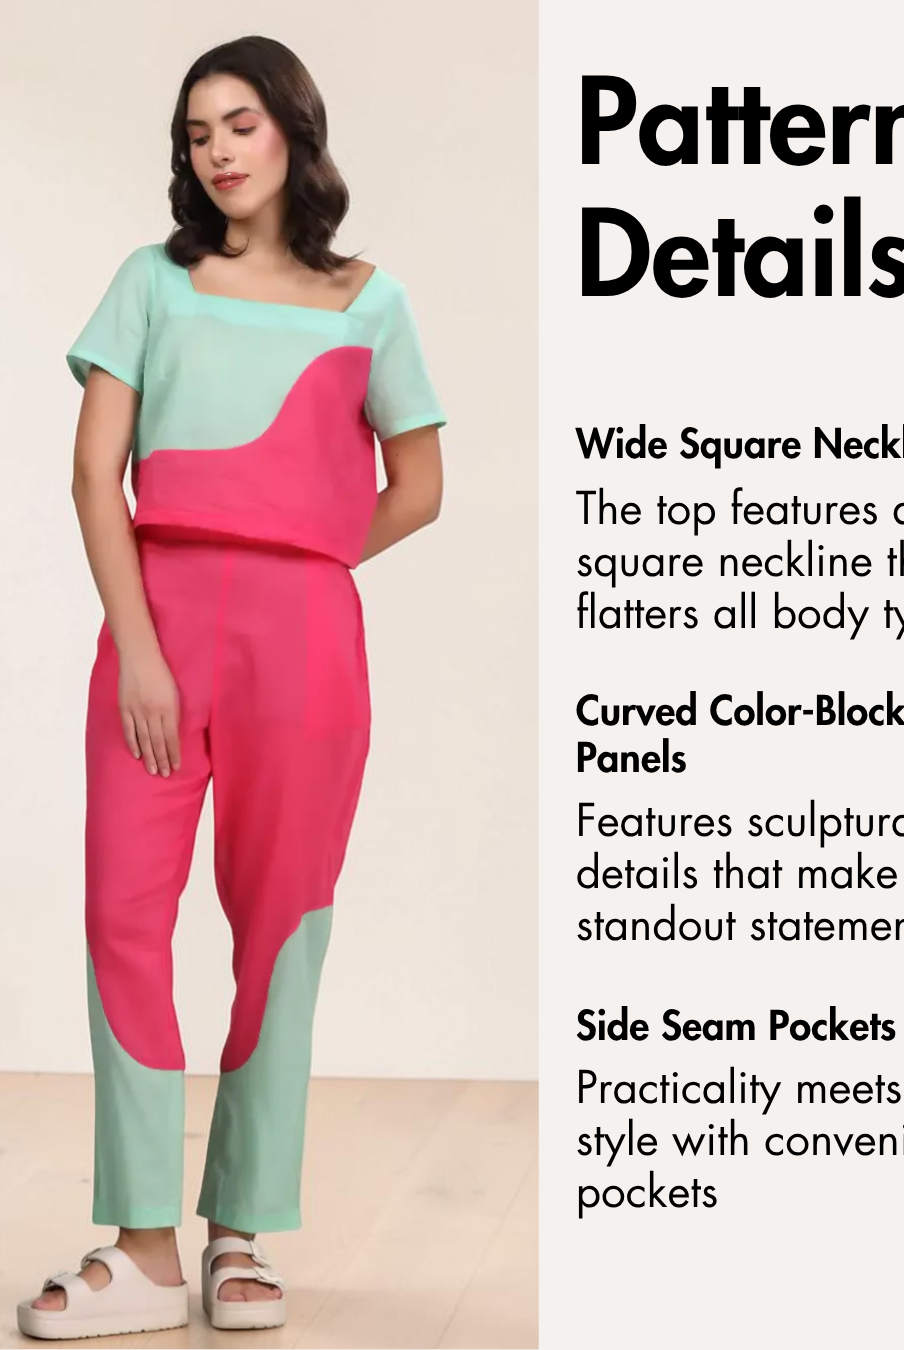
A cottagecore coord set is a rewarding sewing project because it combines two romantic wardrobe pieces that can be worn together or styled separately. Details such as gathered sleeves, ruching, smocking, tiered panels, and a flowing midi length make this type of set especially enjoyable for sewists who want to practice decorative construction techniques while creating an outfit suited to warm and mild weather.
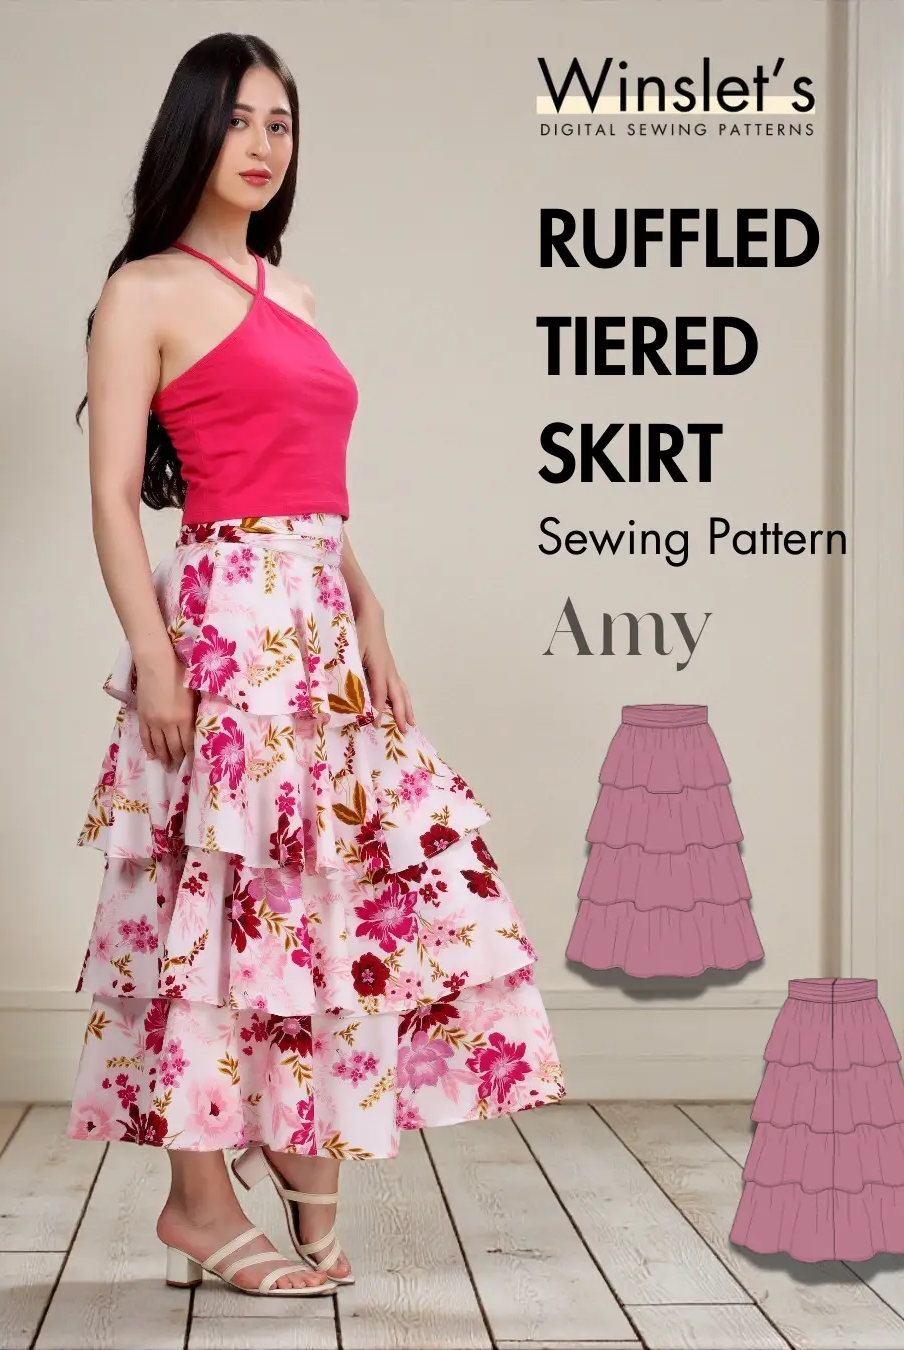
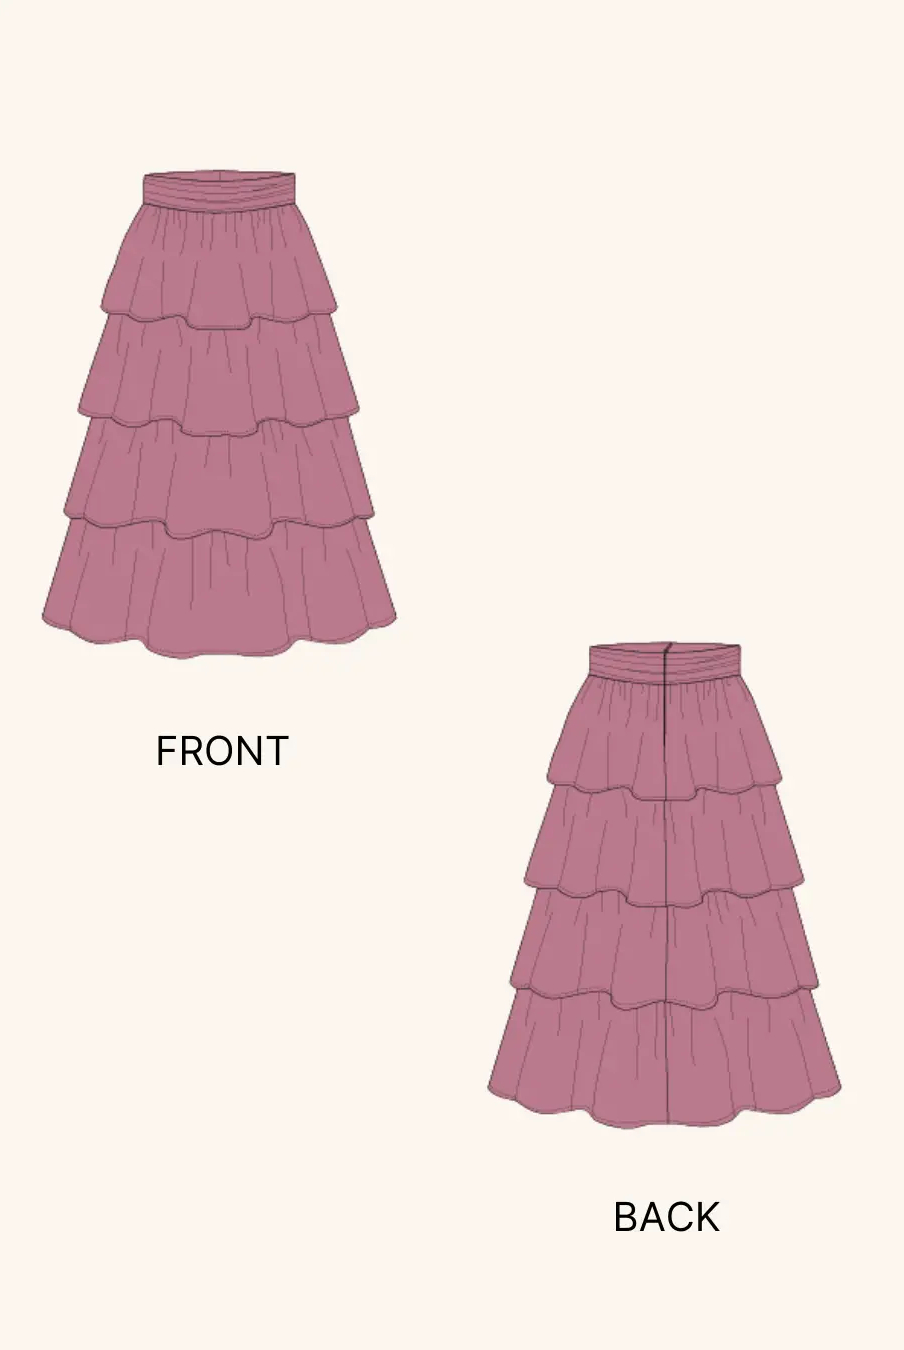
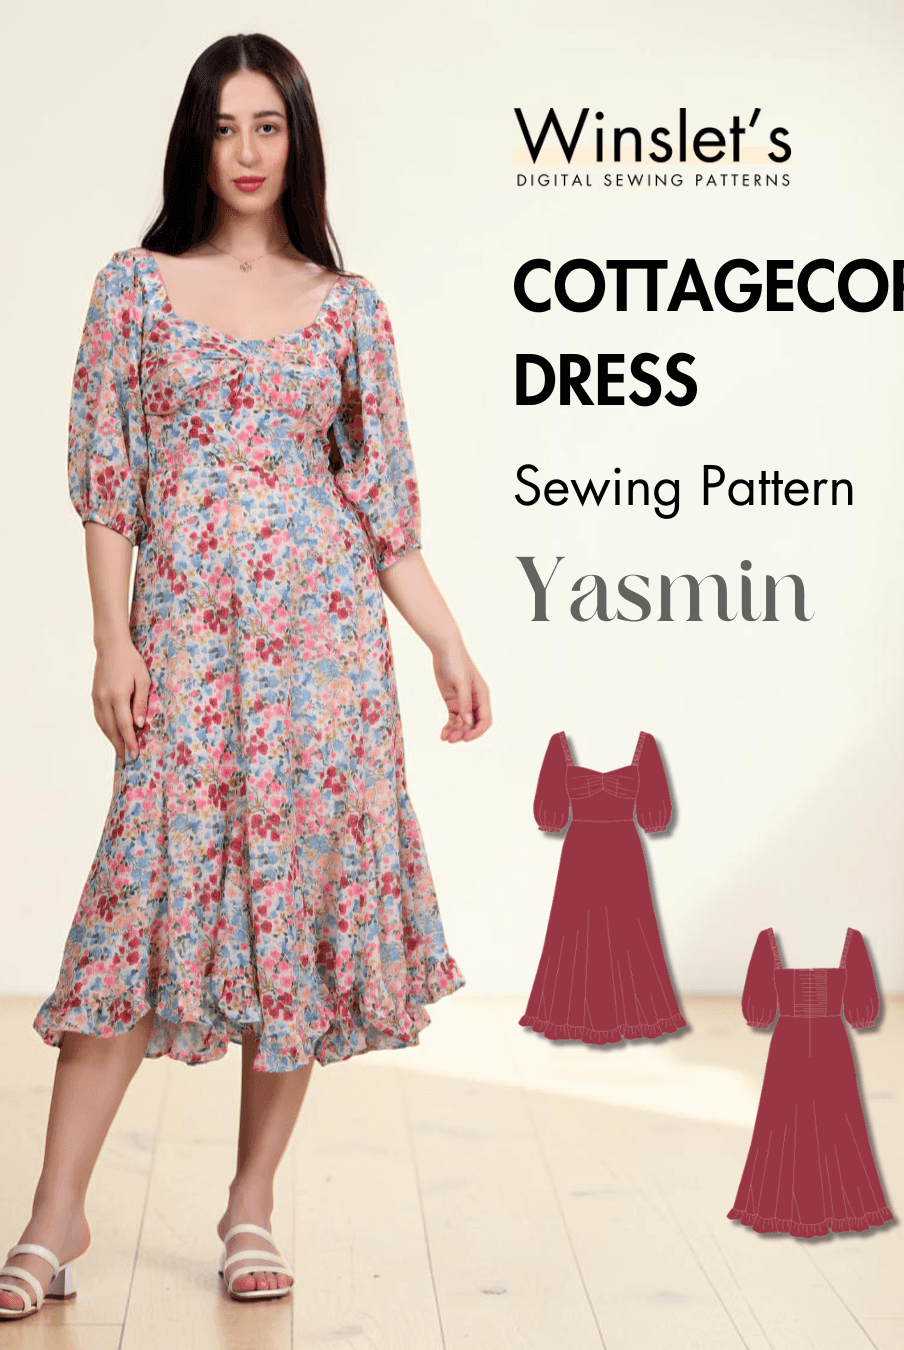
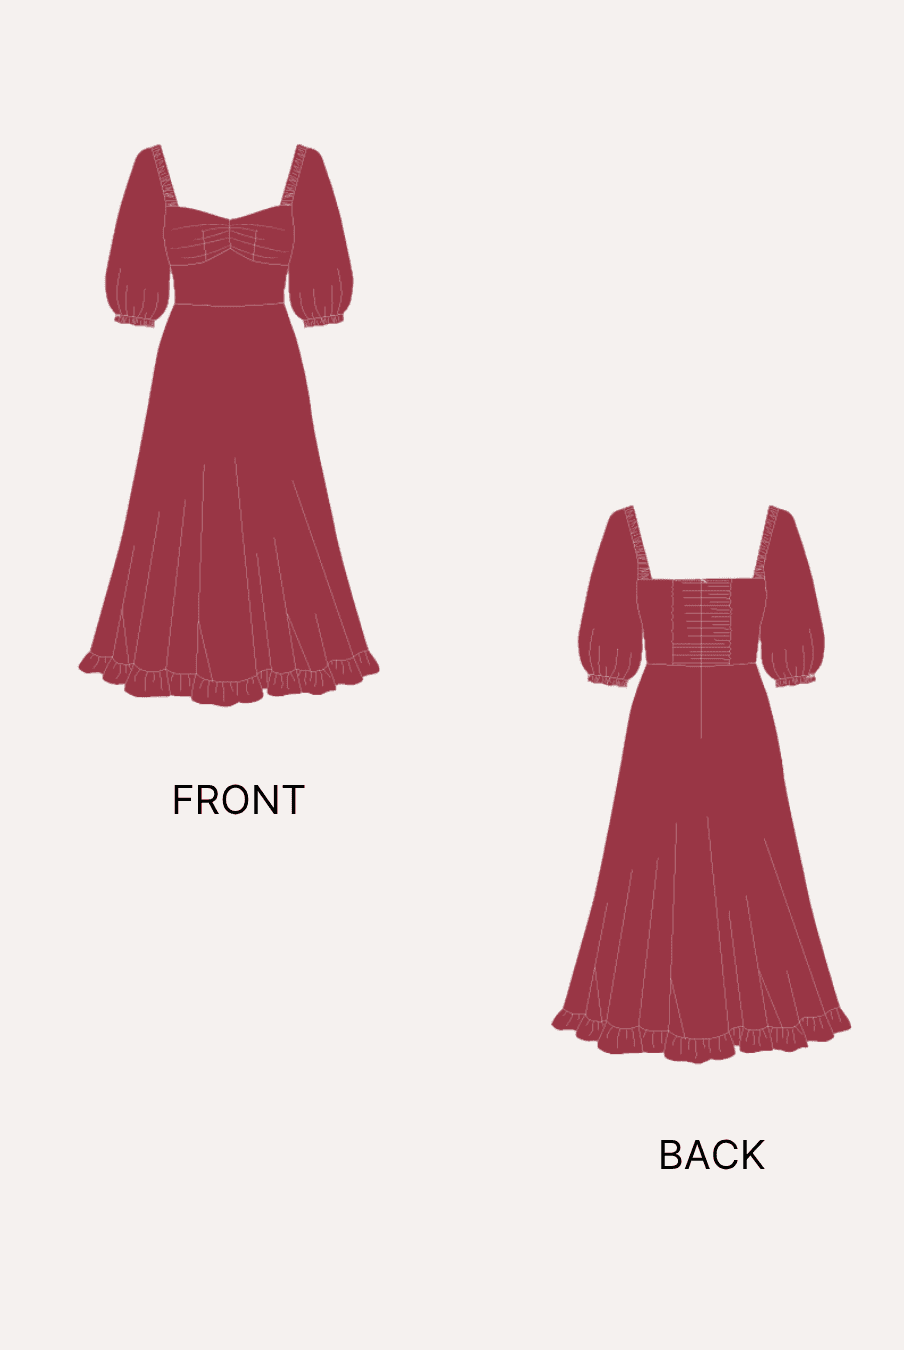
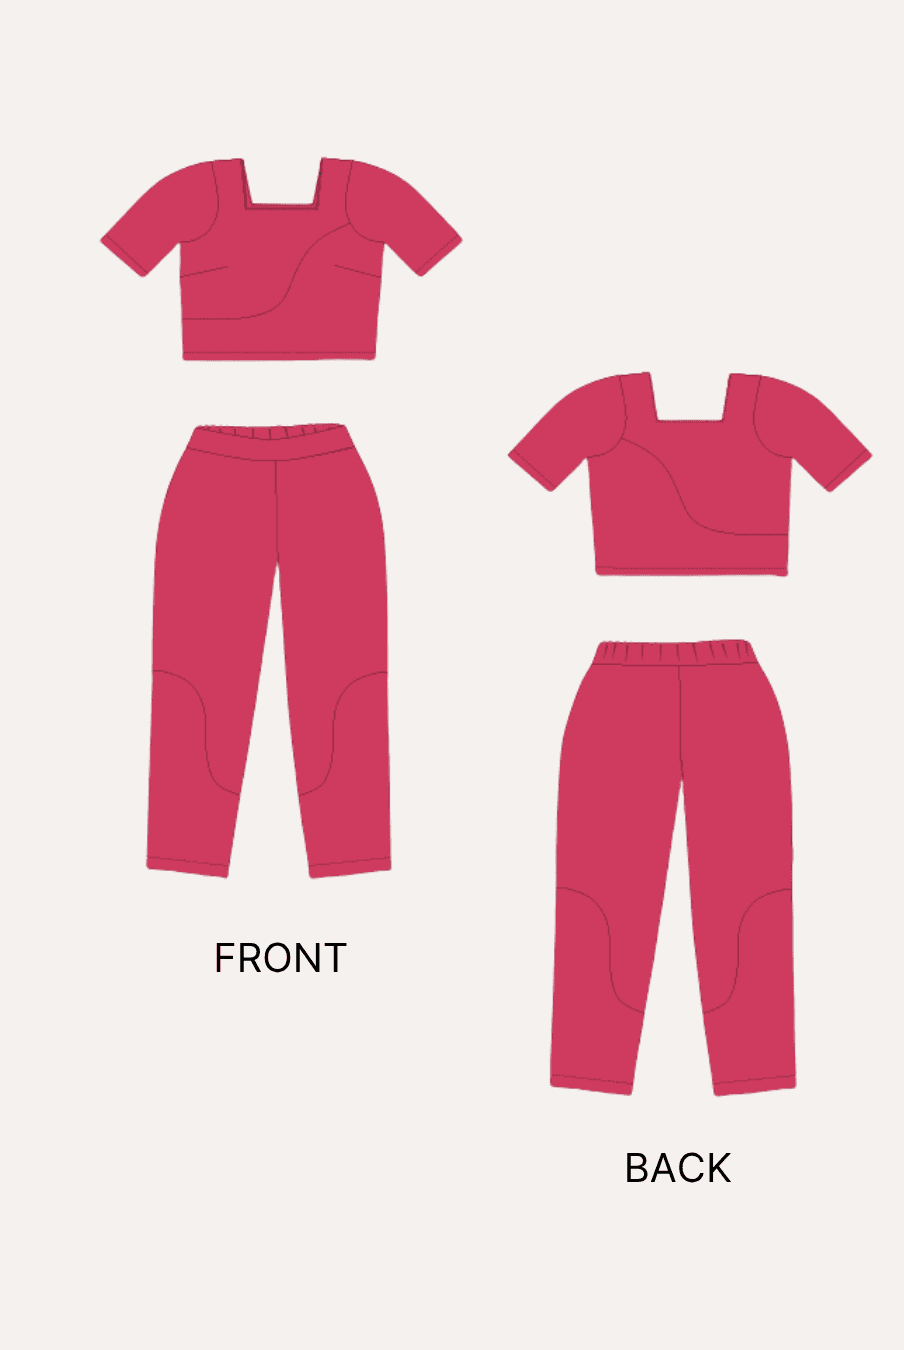
The Winslet's Cottagecore Set Sewing Pattern pairs a square-neck puff sleeve top with a flowy tiered midi skirt. The top has a semi-fitted silhouette with a ruched front and smocked back, while the skirt sits at the waist with an elastic waistband and falls into a relaxed midi shape. The complete set is rated Intermediate.

Why Sew a Cottagecore Coord Set?
- Create two coordinating garments that can be worn together or mixed with other wardrobe pieces.
- Practice gathering and ruching techniques while sewing the fitted puff sleeve top.
- Learn smocking with elastic thread to create stretch and shaping through the back of the top.
- Build confidence sewing gathered tiers and an elastic waistband on the midi skirt.
- Create a comfortable outfit designed for spring, summer, vacations, picnics, garden outings, and relaxed daytime occasions.
- Enjoy a combination of a semi-fitted top and relaxed, flowing skirt for a balanced handmade outfit.
Why Choose the Winslet's Cottagecore Set Sewing Pattern?


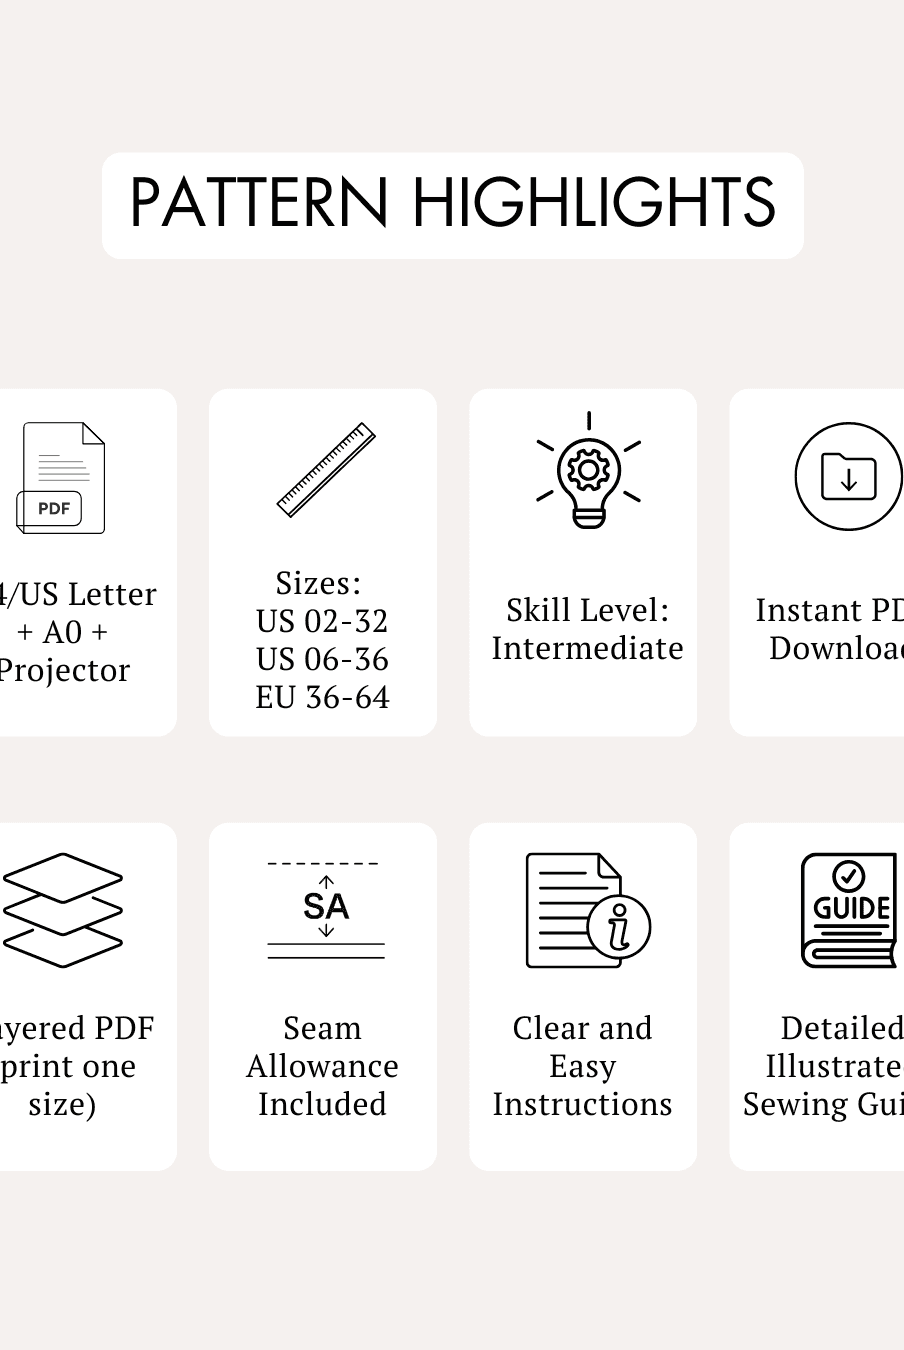
Skill Level: Intermediate
Major Design Features:
- Square-neck top
- Softly gathered puff sleeves
- Ruched front
- Smocked back
- Semi-fitted top silhouette
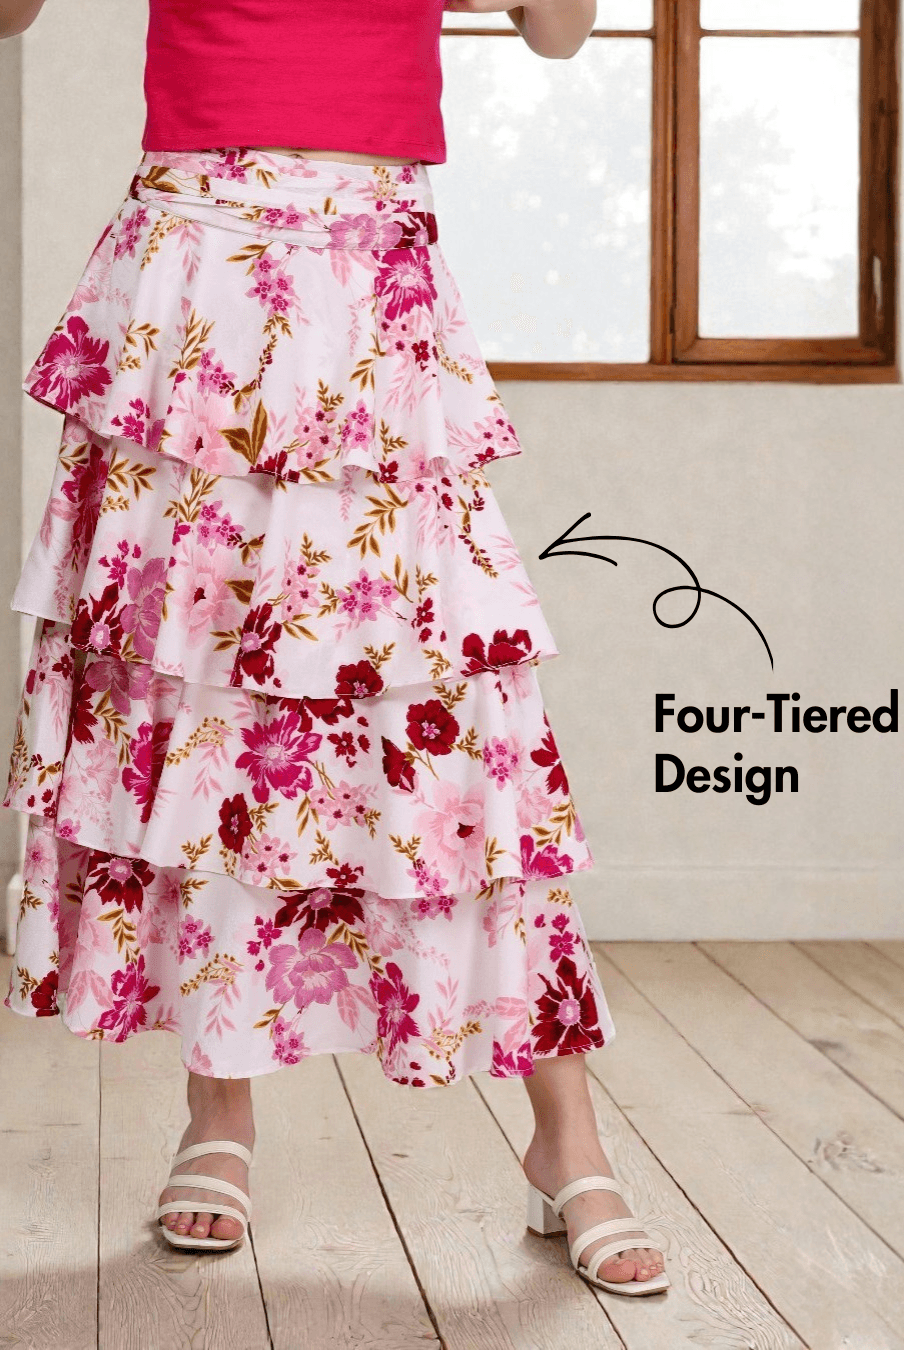
- Multi-tiered midi skirt
- Elastic waistband
- Relaxed, flowy skirt silhouette
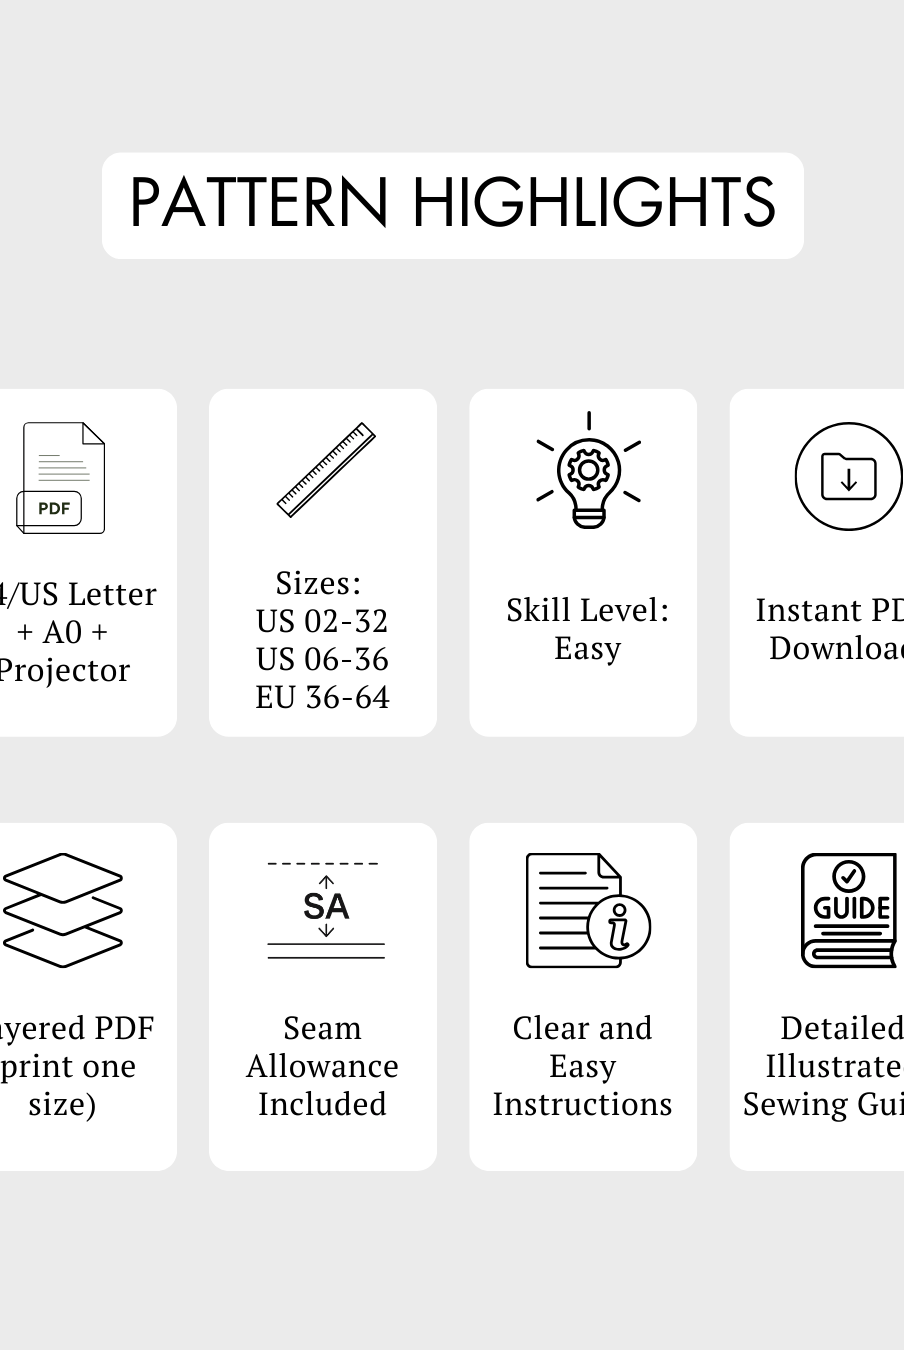
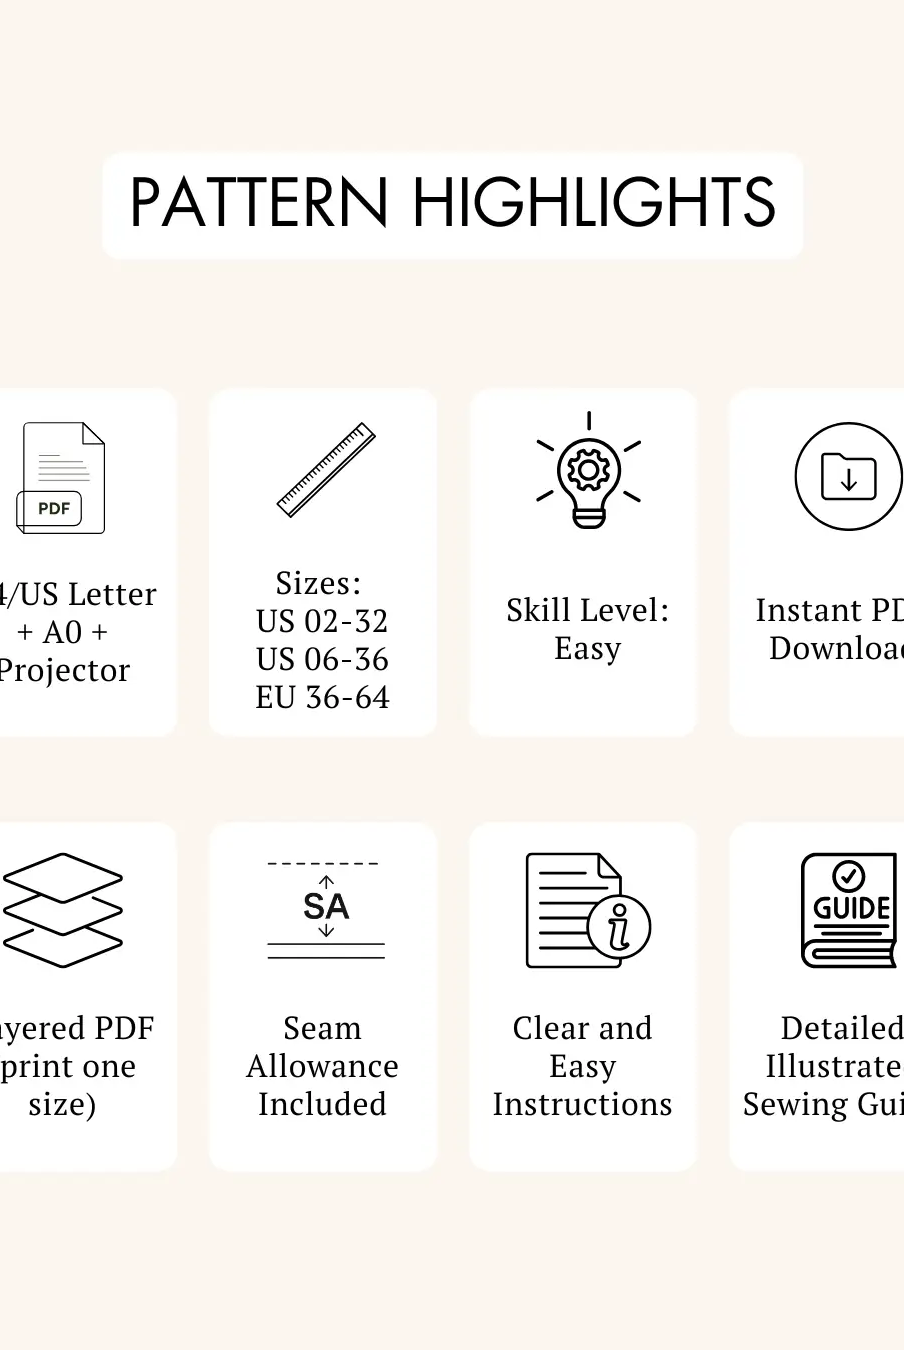
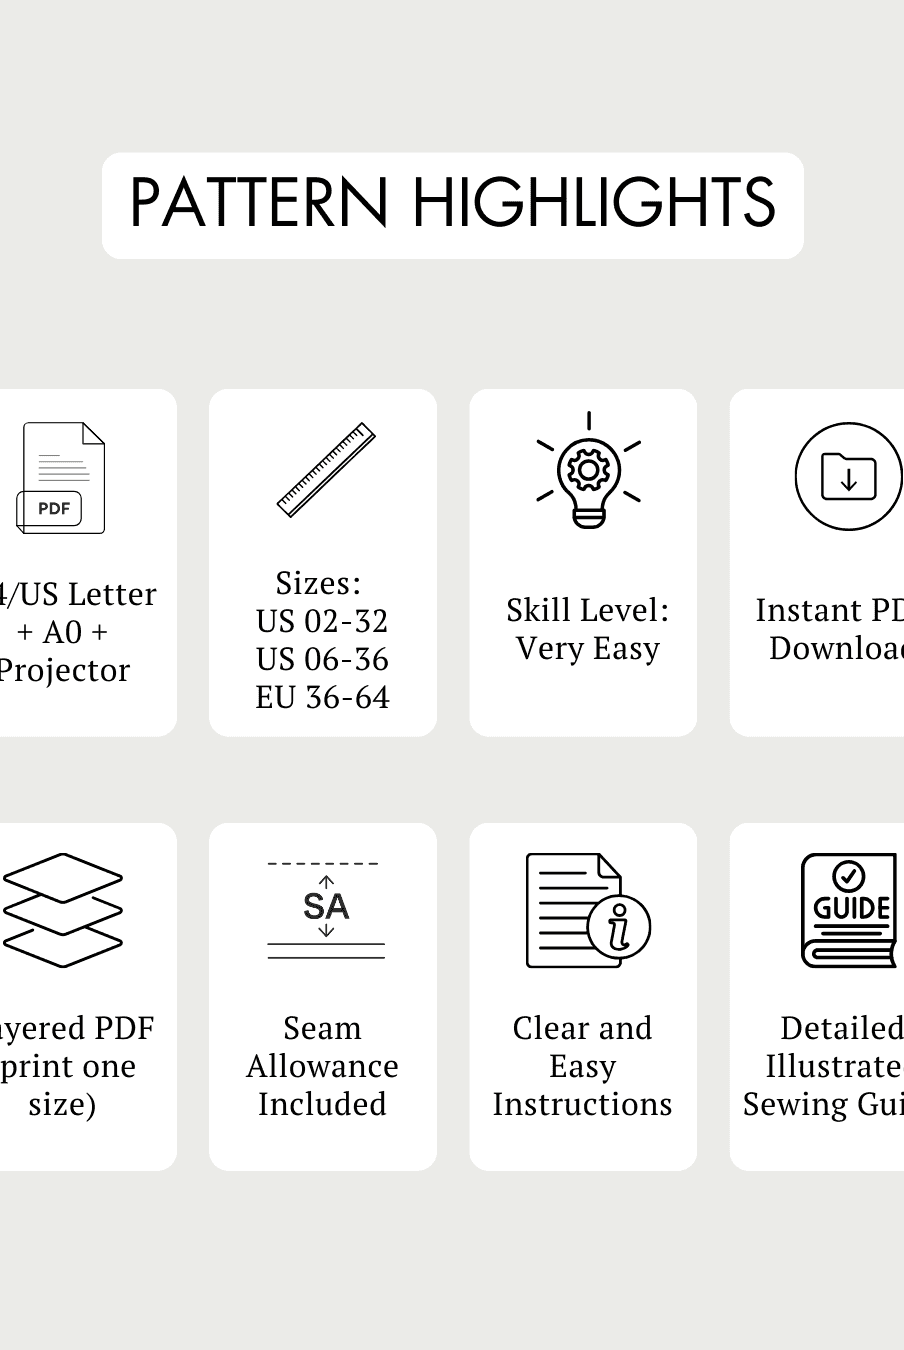
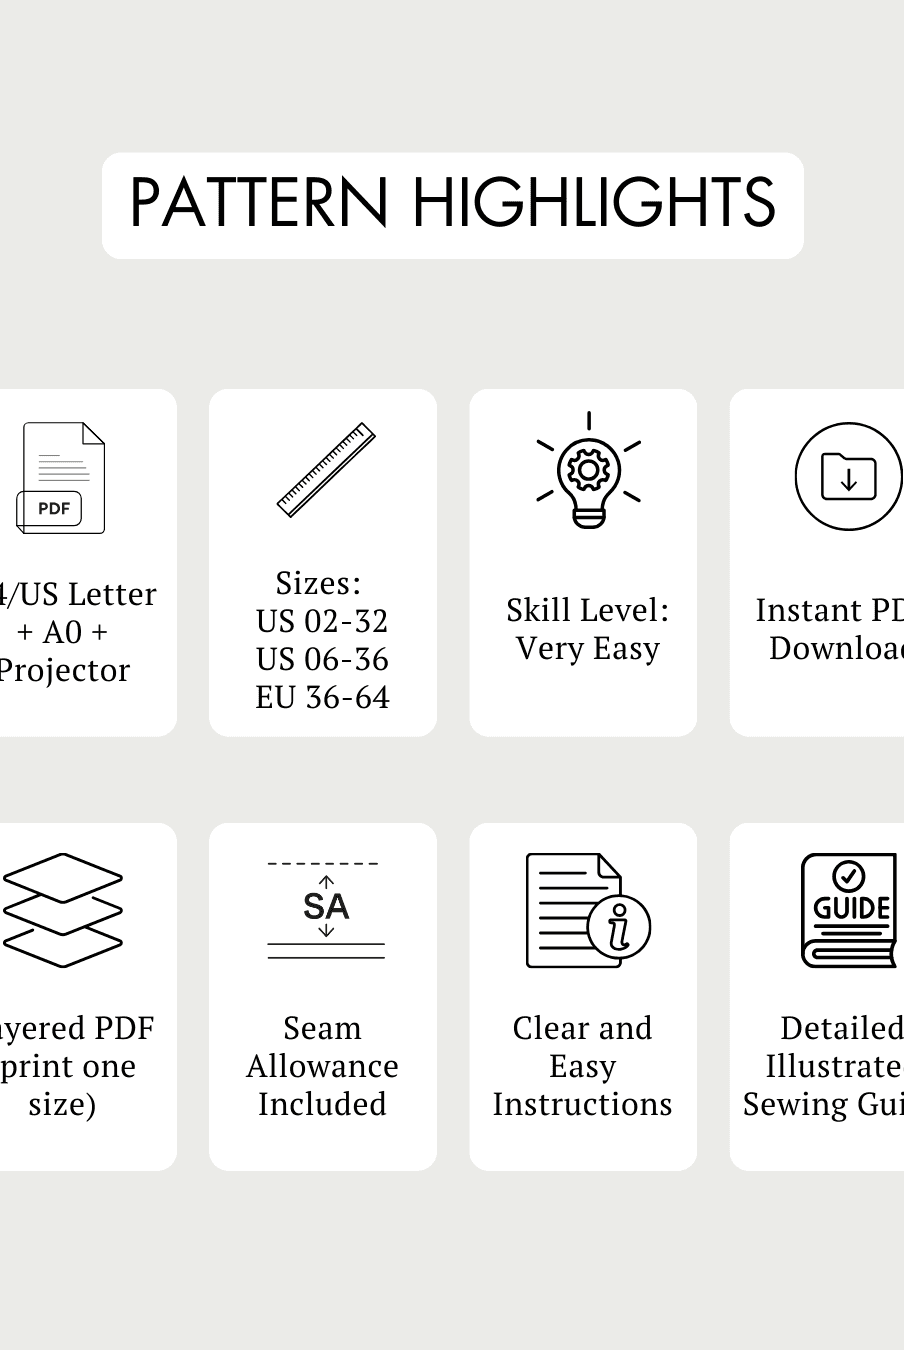
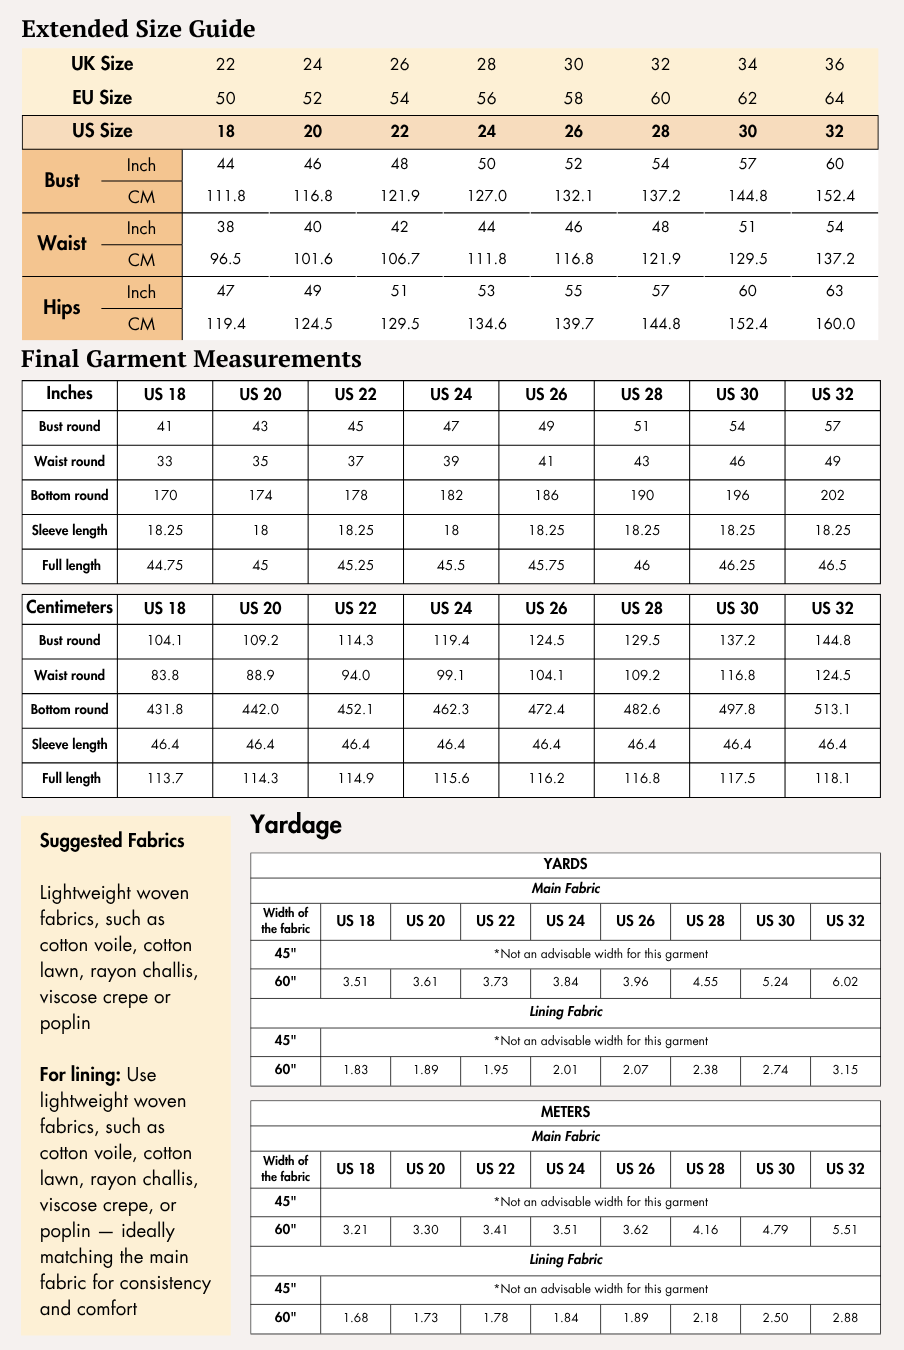
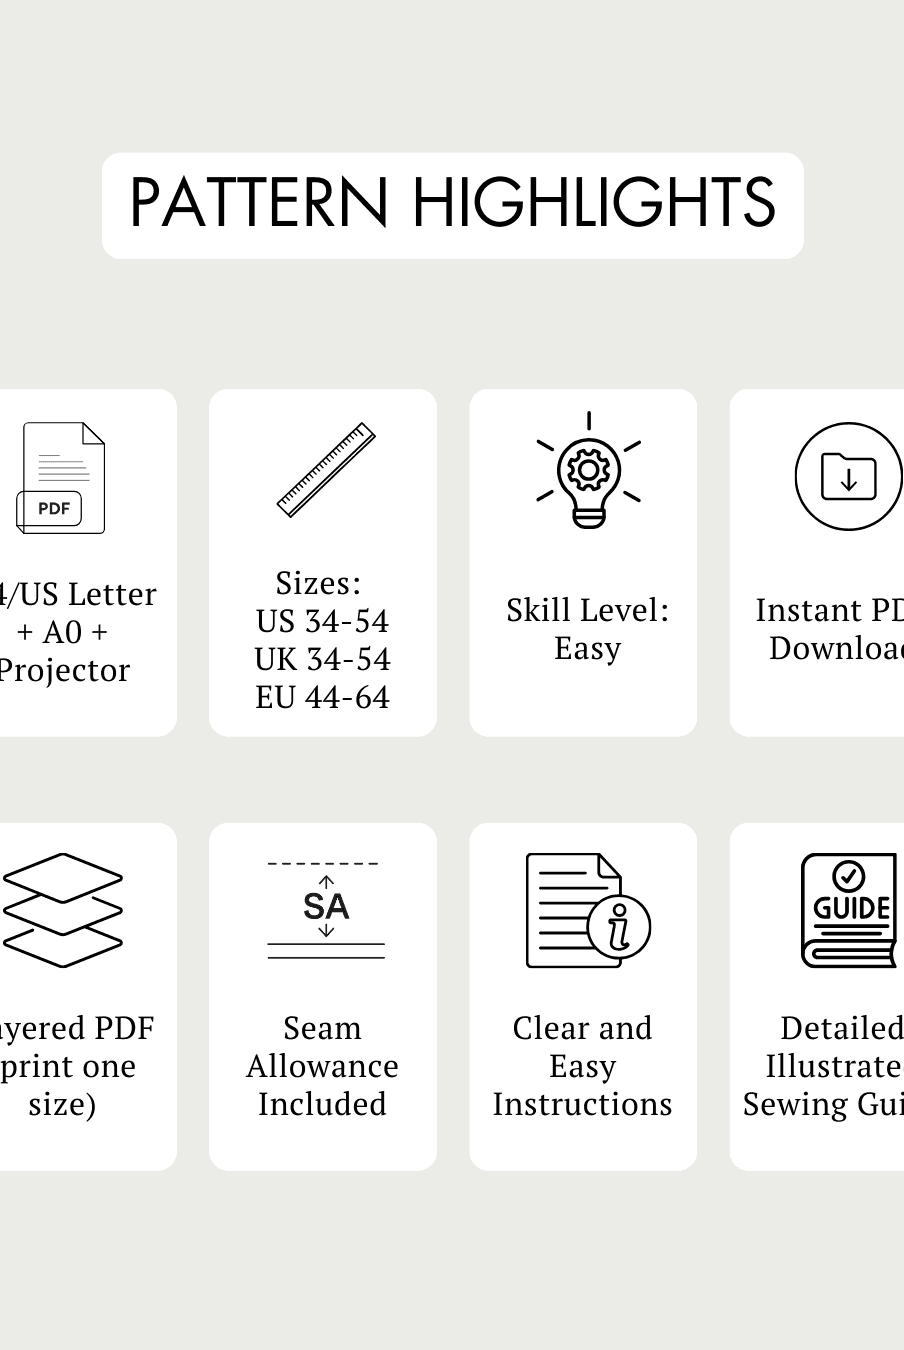
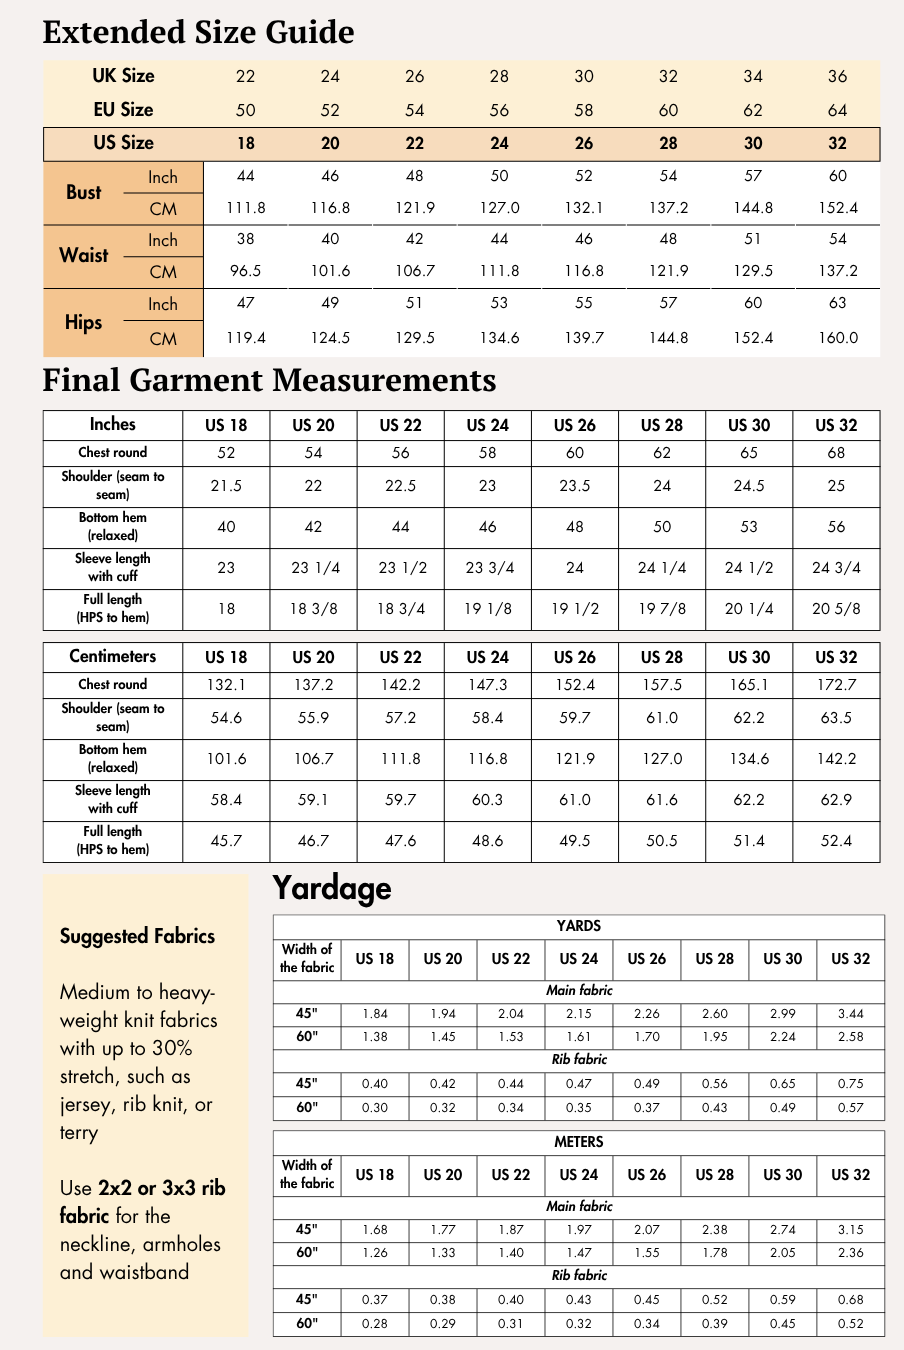
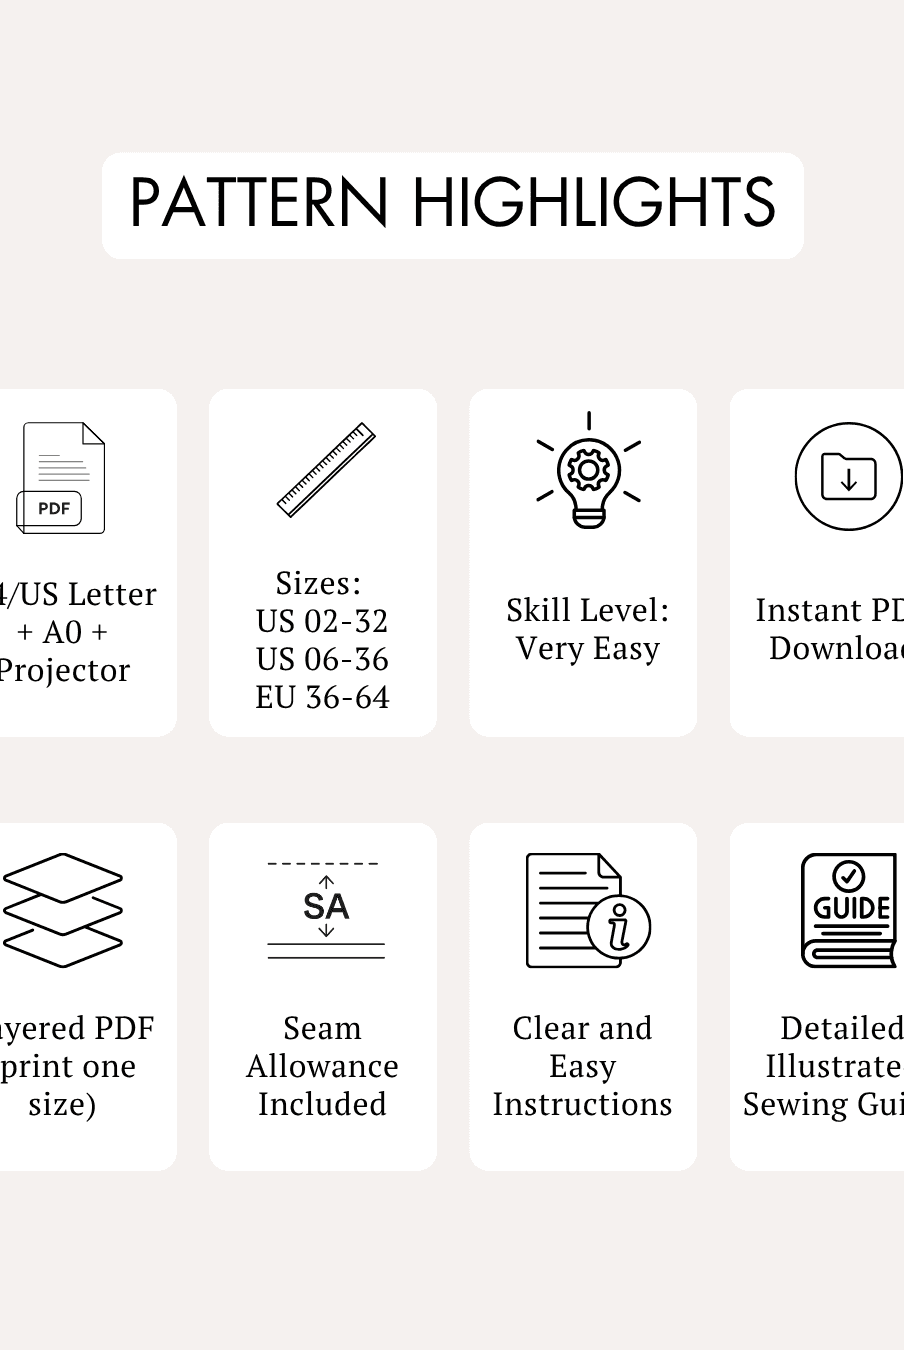
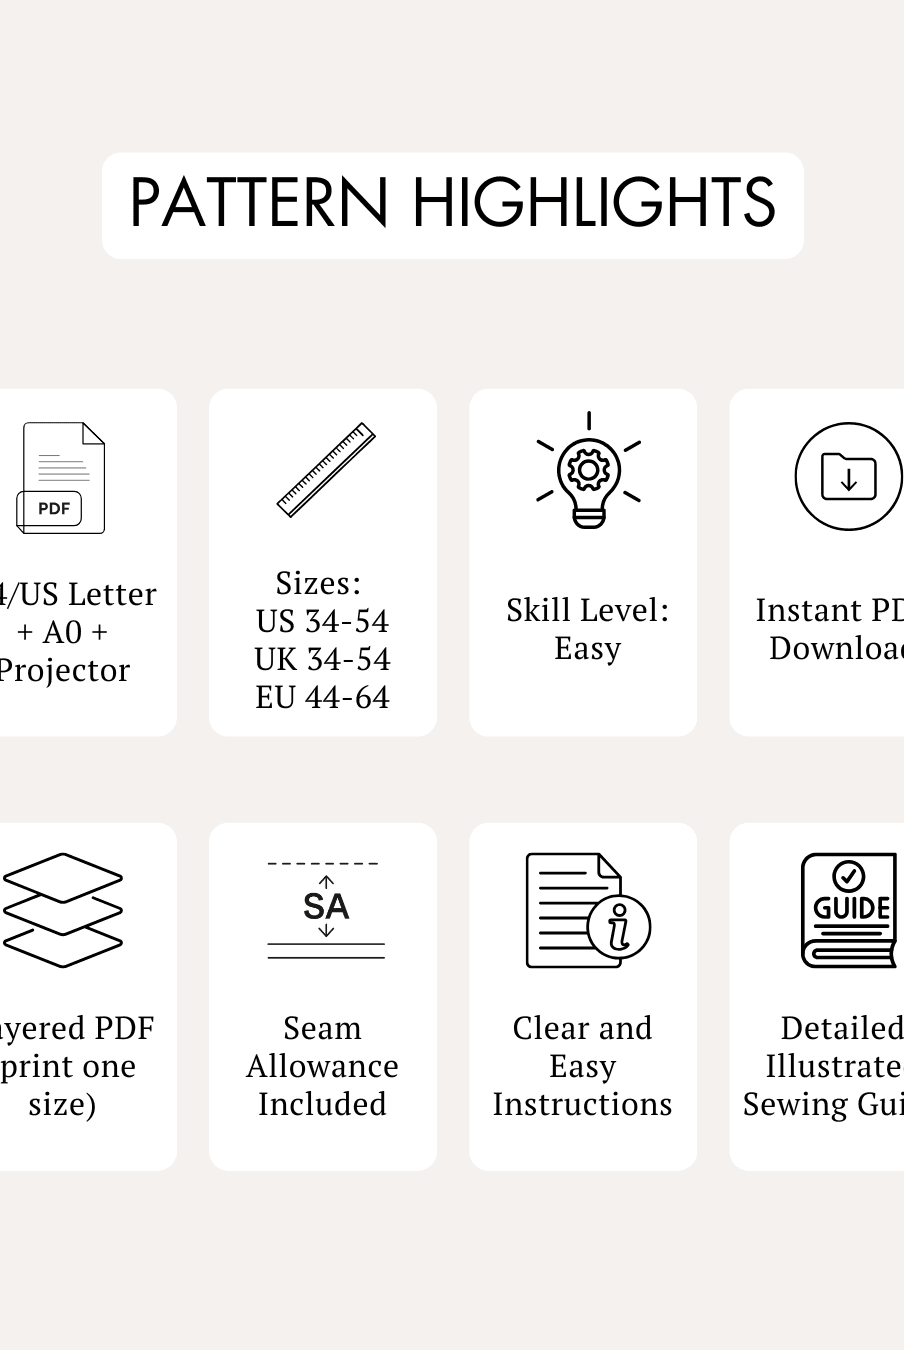
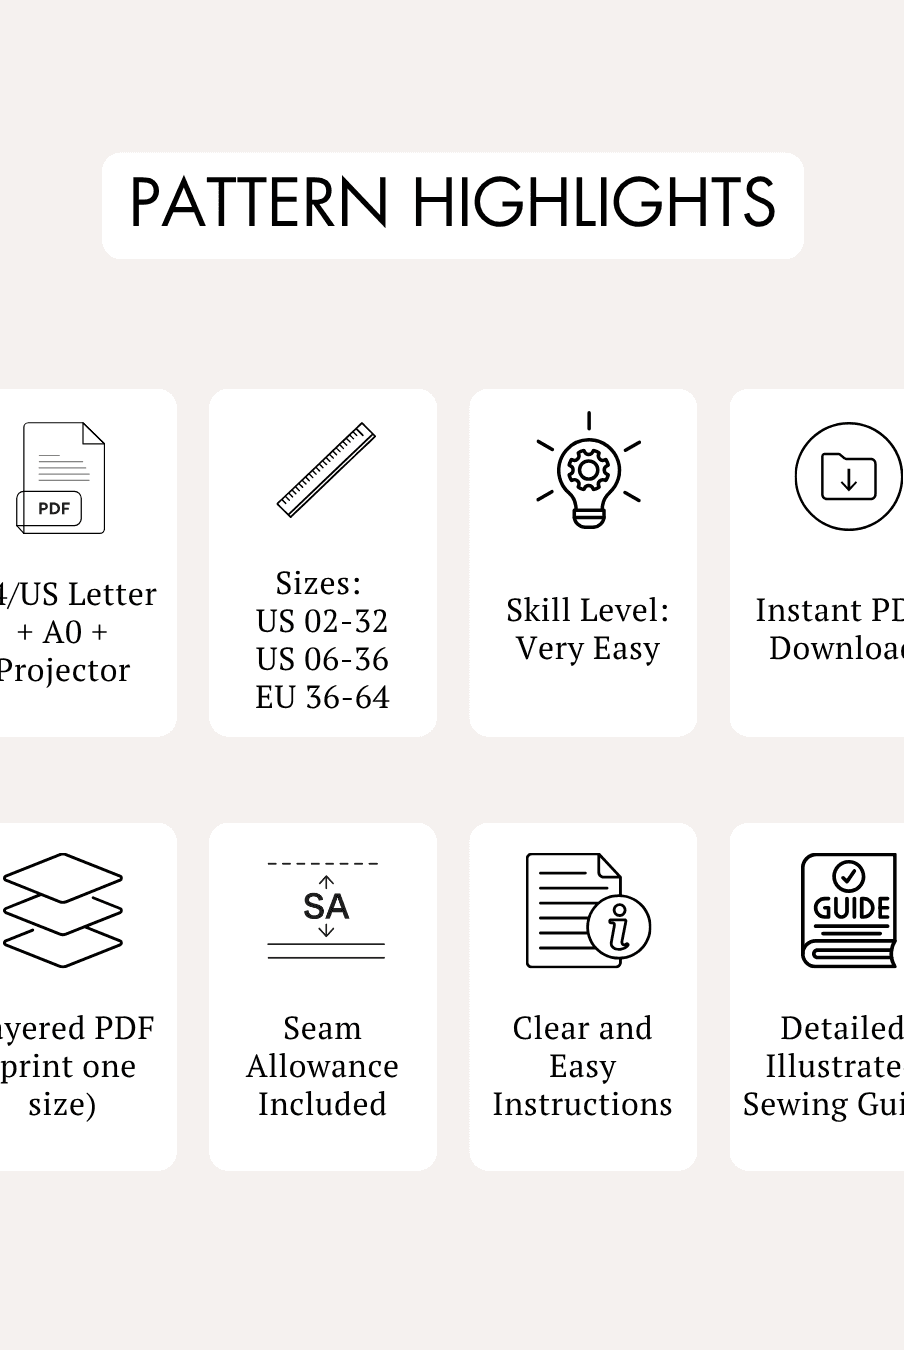
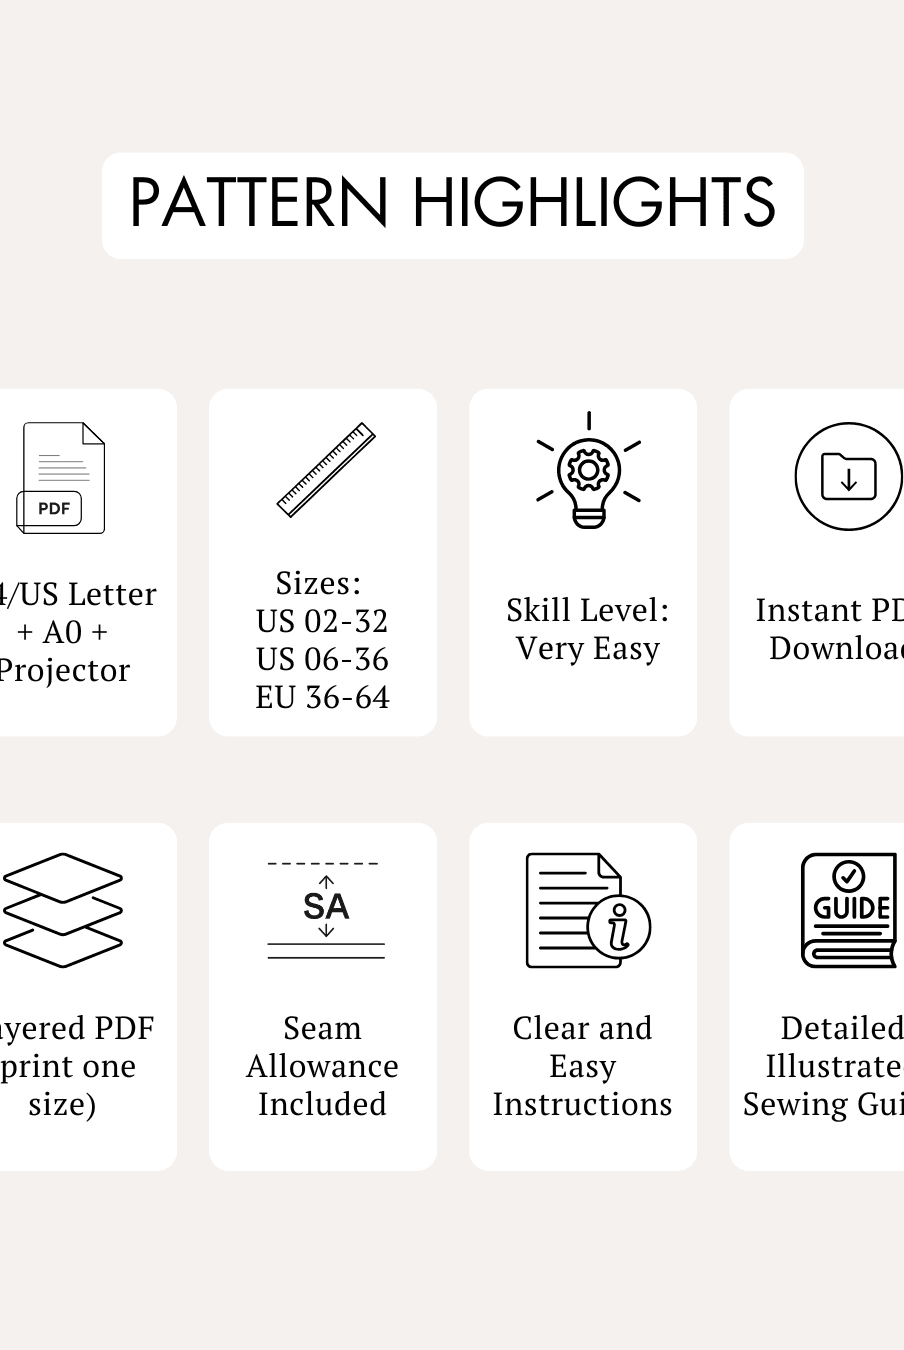
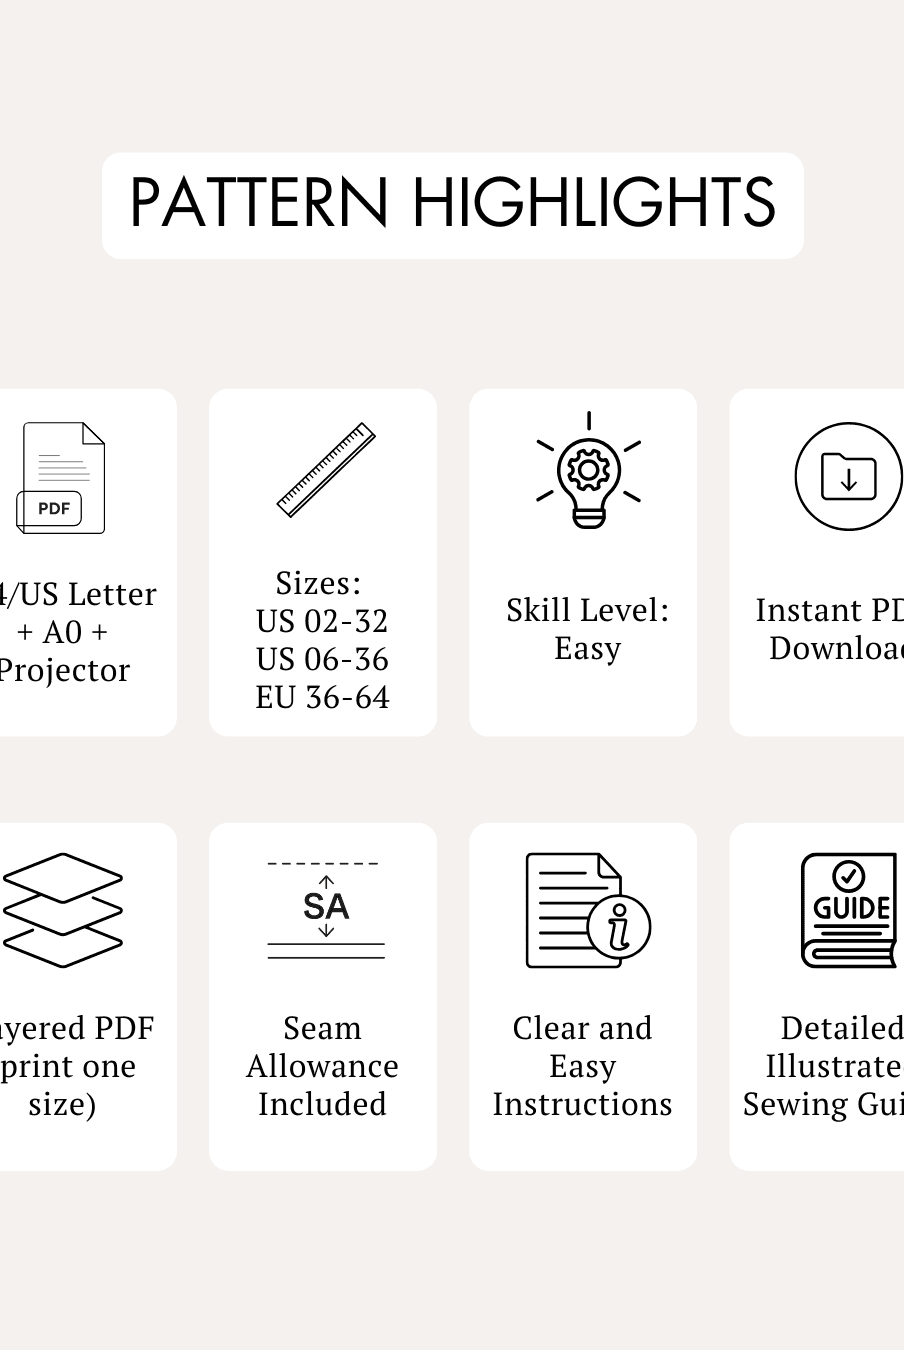
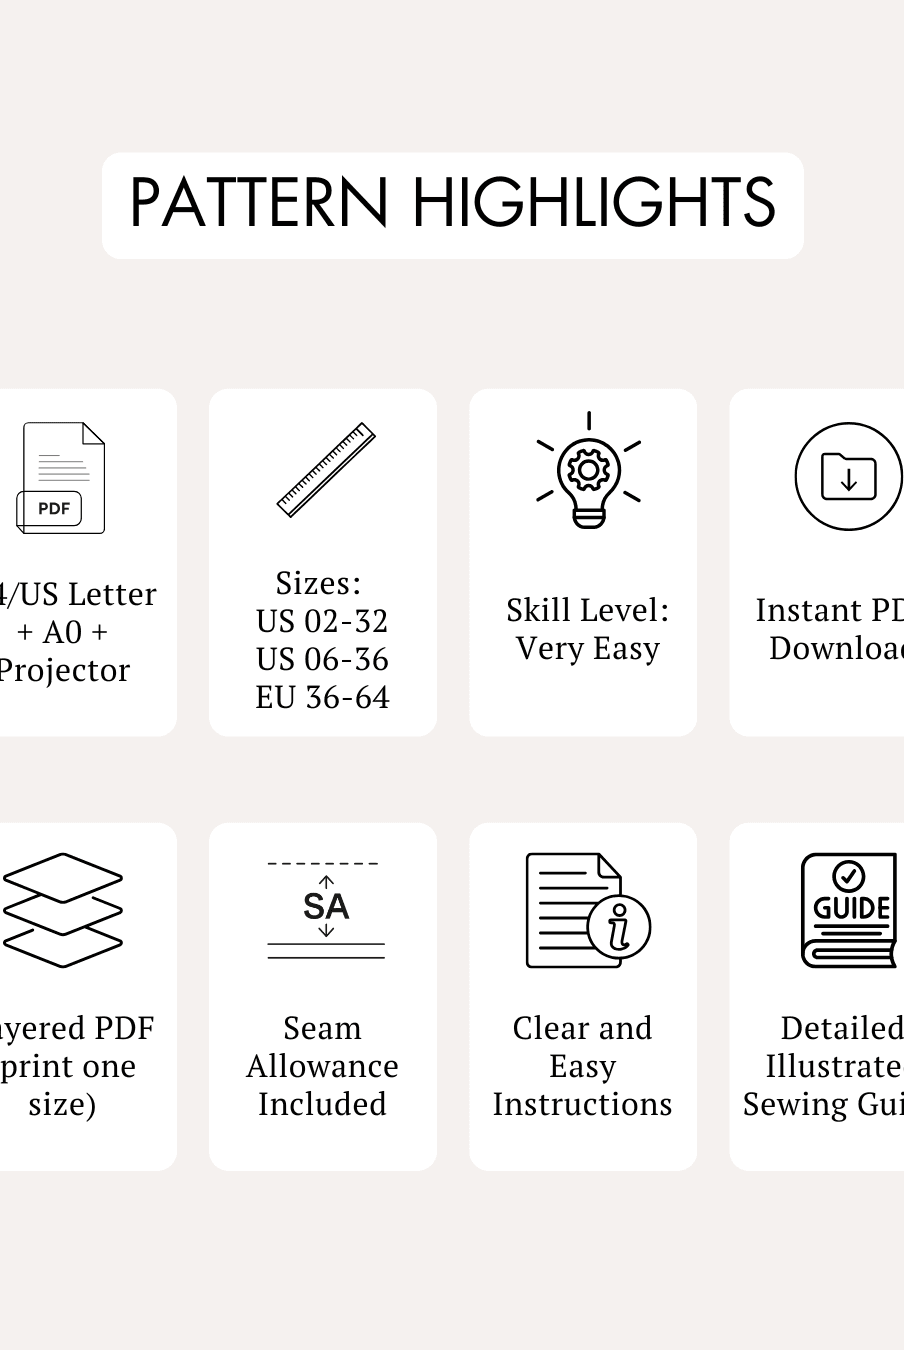
Available Sizes: US 02 - US 32 | UK 06 - UK 36 | EU 36 - EU 64
Supplies & Notions
Puff Sleeves Ruched Top
Gather the following before beginning the top:
- Main fabric
- Tape measure
- Fabric shears
- Iron
- 3-ply polyester thread
- Chalk
- Thread cutter
- Pins
- Sewing needles
- Sewing machine
- Elastic thread
- Elastic band
Tiered Midi Skirt
For the skirt, prepare:
- Main fabric
- Tape measure
- Fabric shears
- Iron
- 3-ply polyester thread
- Chalk
- Thread cutter
- Pins
- Sewing needles
- Sewing machine
- Elastic band
Fabric Recommendations
Puff Sleeves Ruched Top
The sewing guide recommends lightweight woven fabrics including:
- Rayon crepe
- Polyester crepe
- Chiffon
- Satin
- Silk
- Viscose
The sample top is made from plain modal satin fabric. The guide recommends it because it is soft on the skin, durable, breathable, and easy to care for.
Tiered Midi Skirt
Recommended lightweight fabrics include:
- Cotton
- Linen
- Silk
- Crepe
- Polyester
- Viscose
The sample skirt is made from rayon fabric. According to the guide, rayon is soft against the skin, has a shiny texture, absorbs moisture, feels comfortable, is durable and breathable, and is suitable for summer wear.
Size Charts
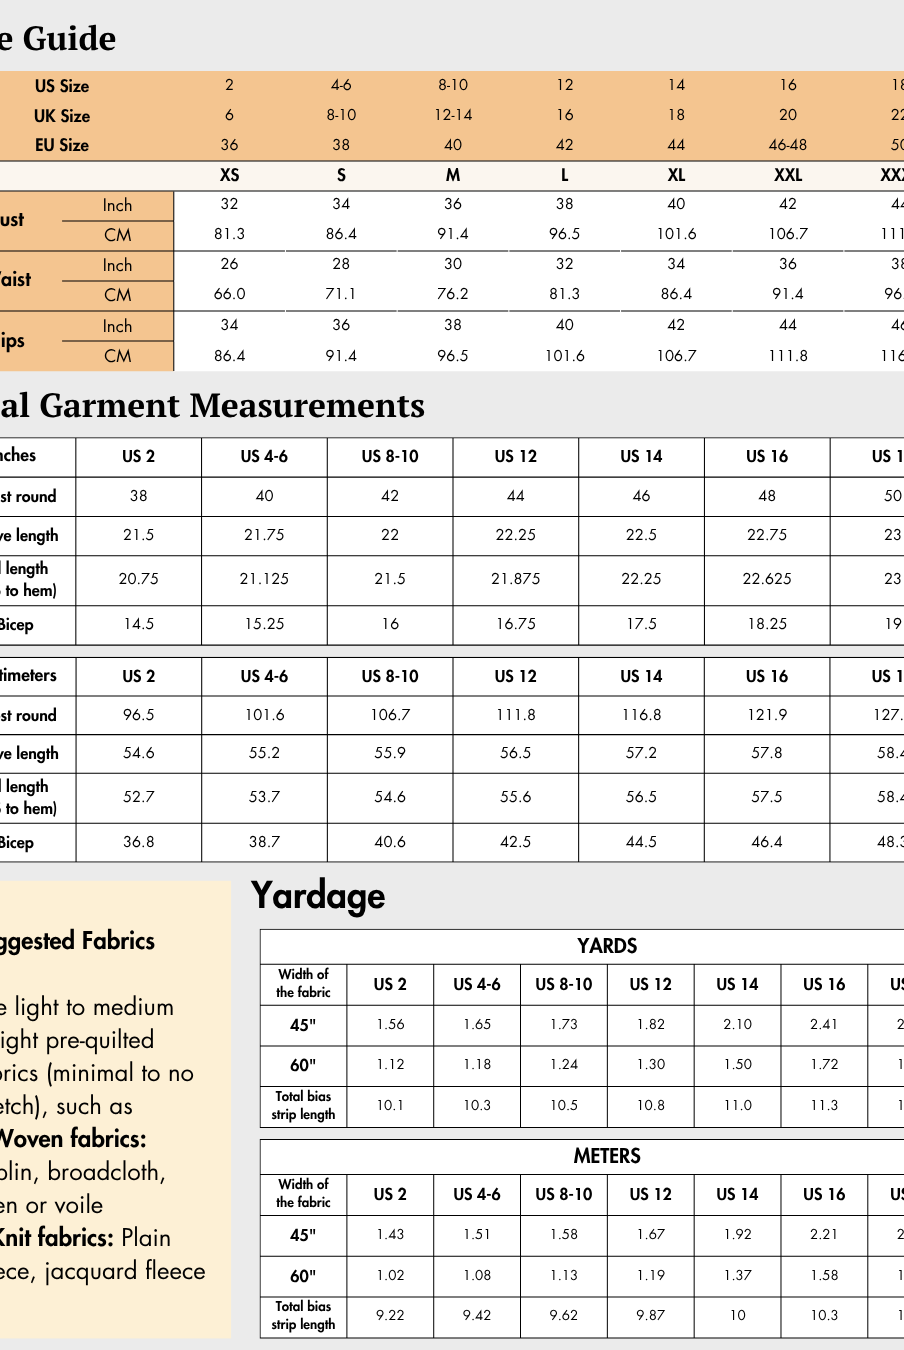
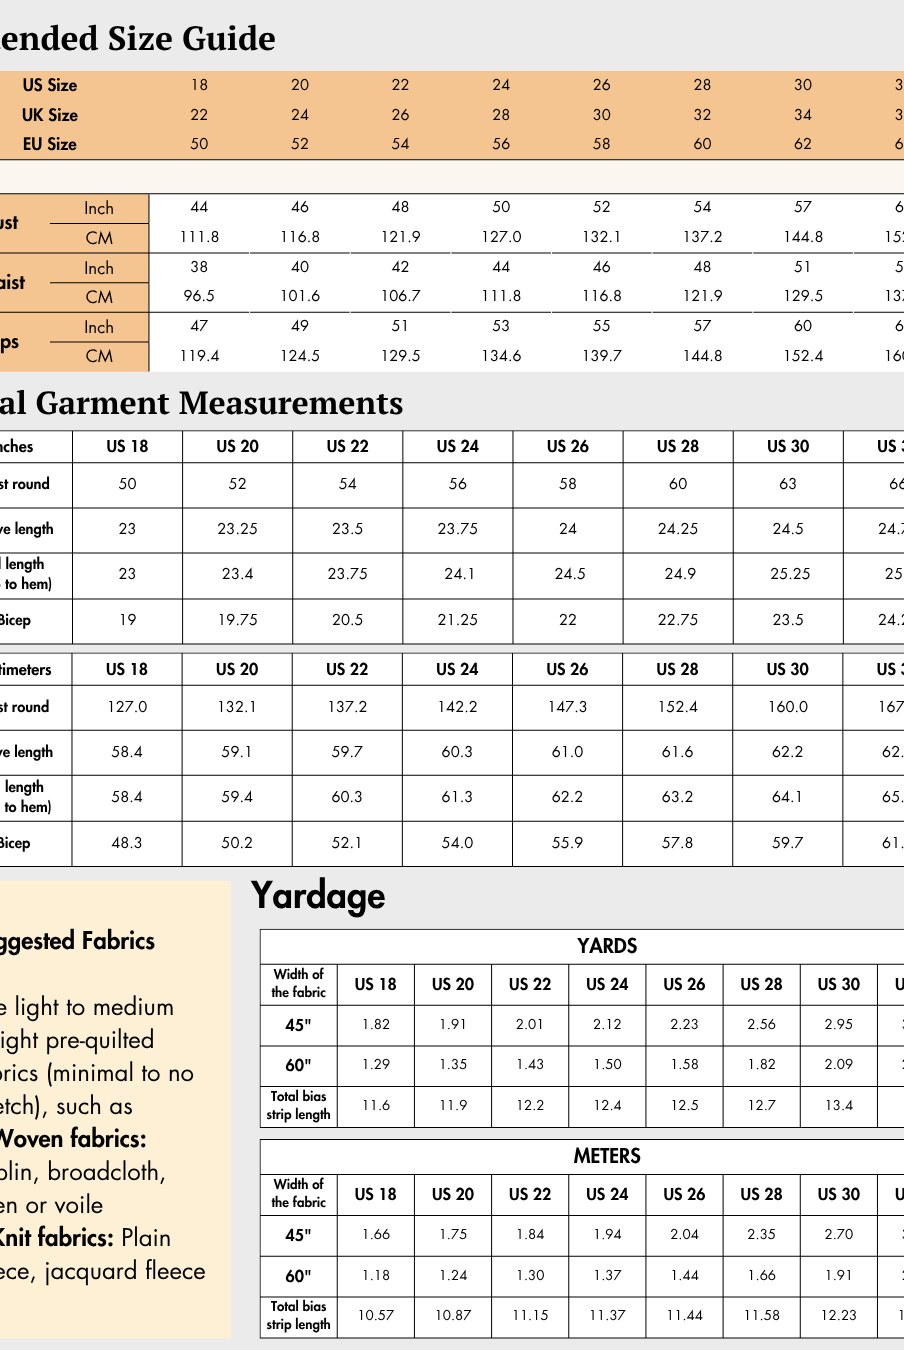
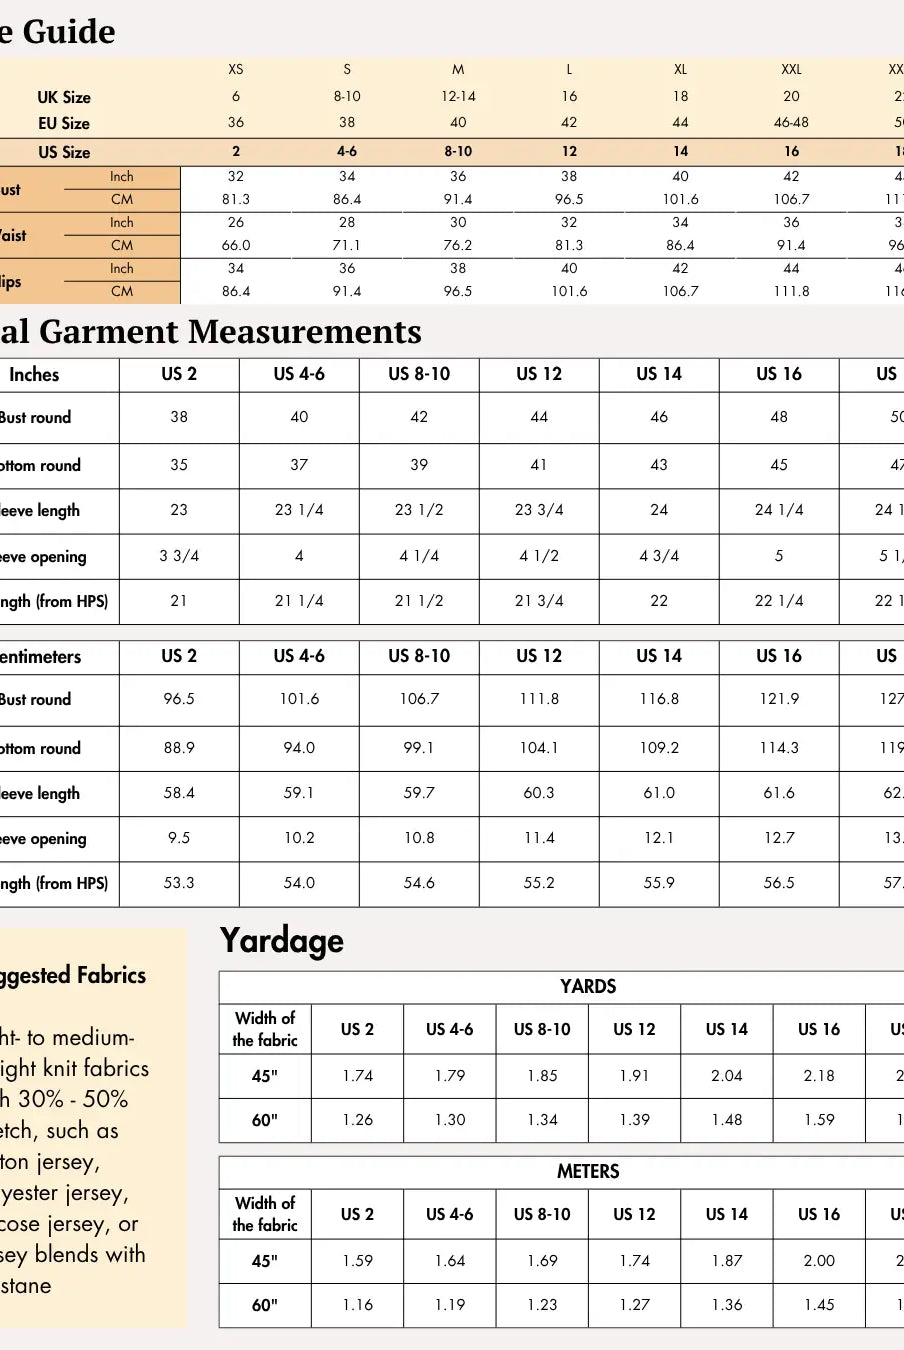
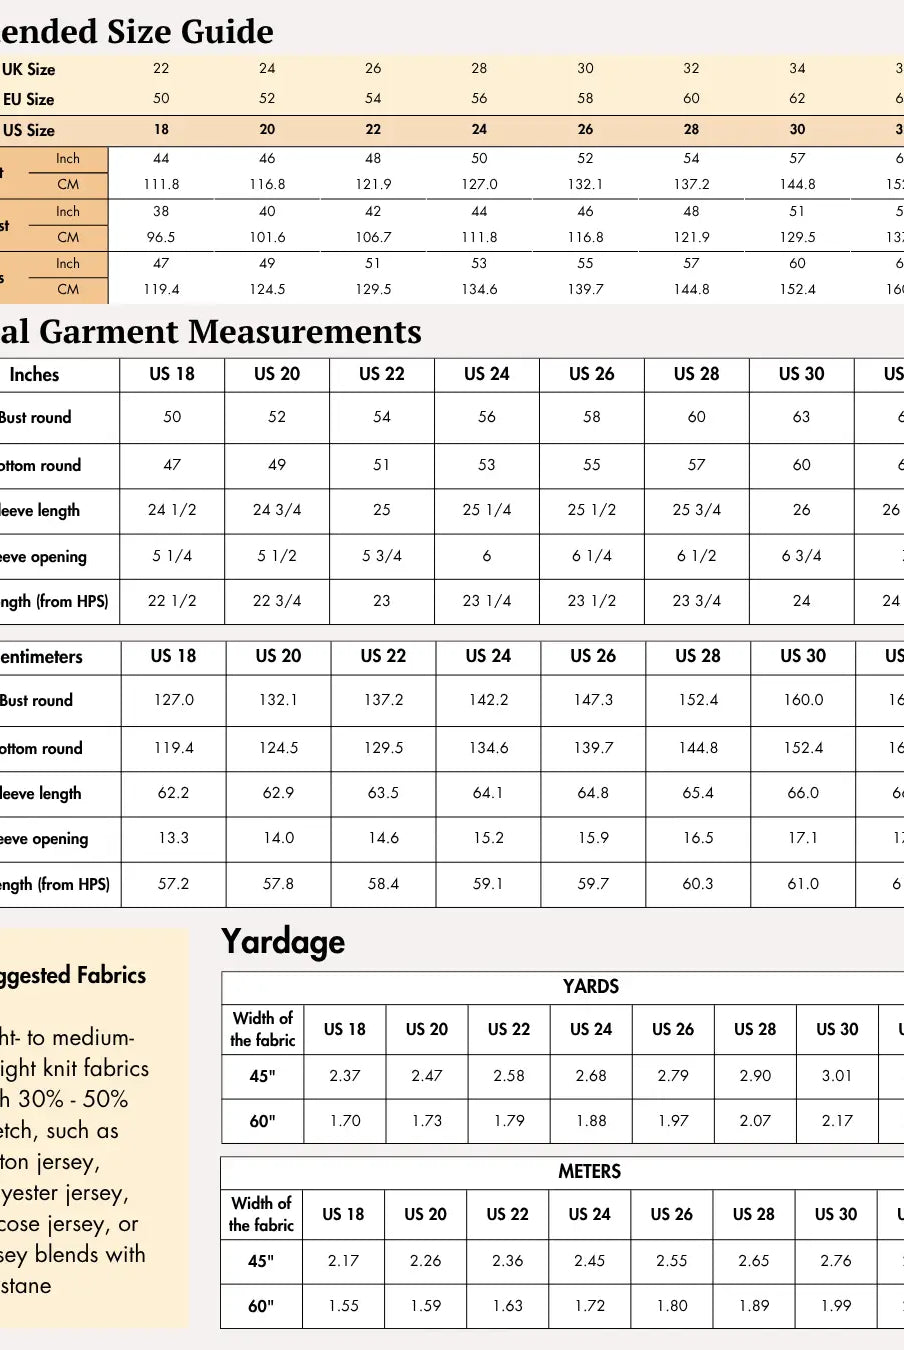
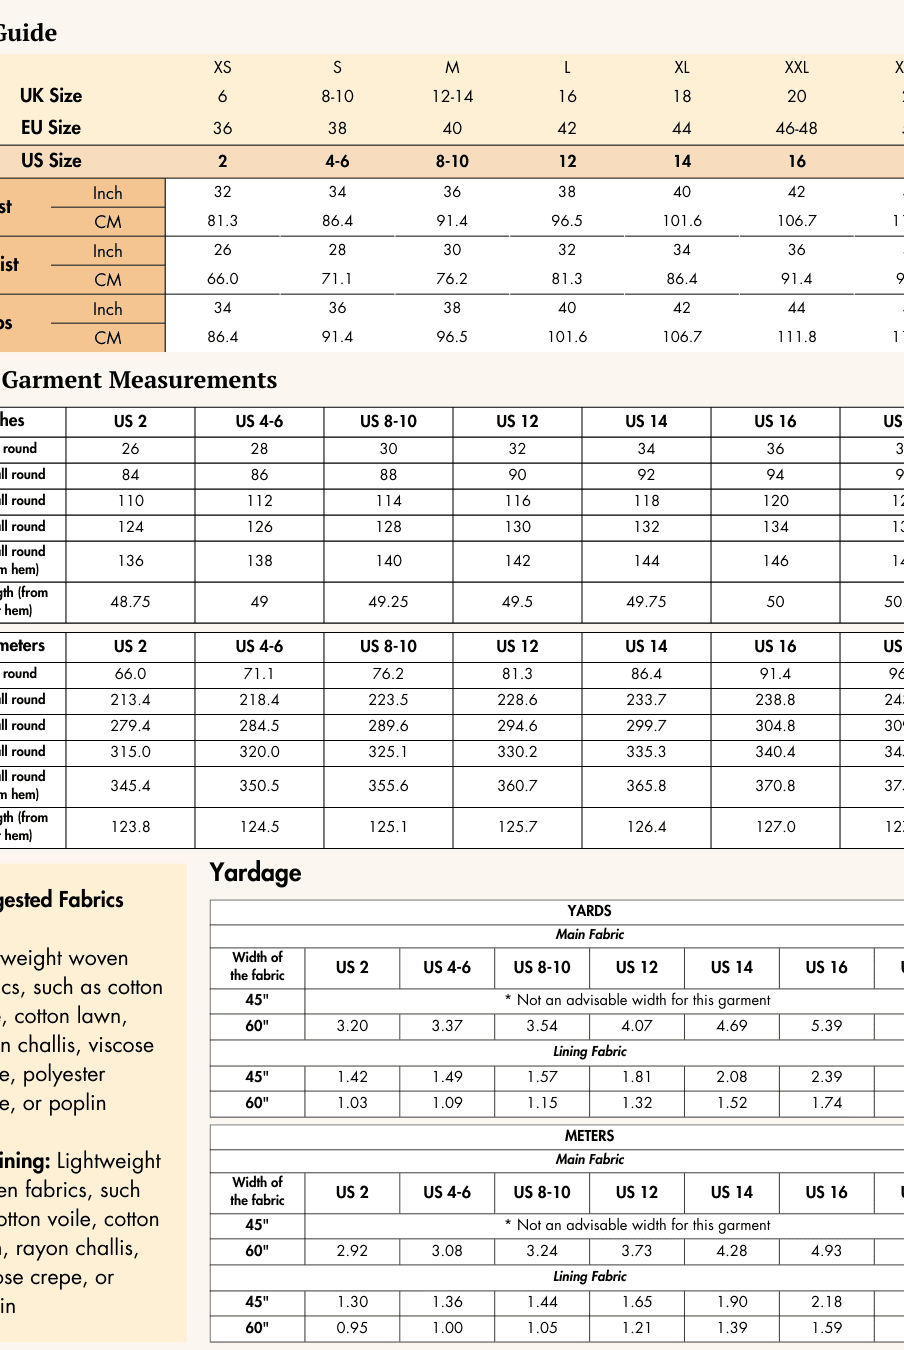
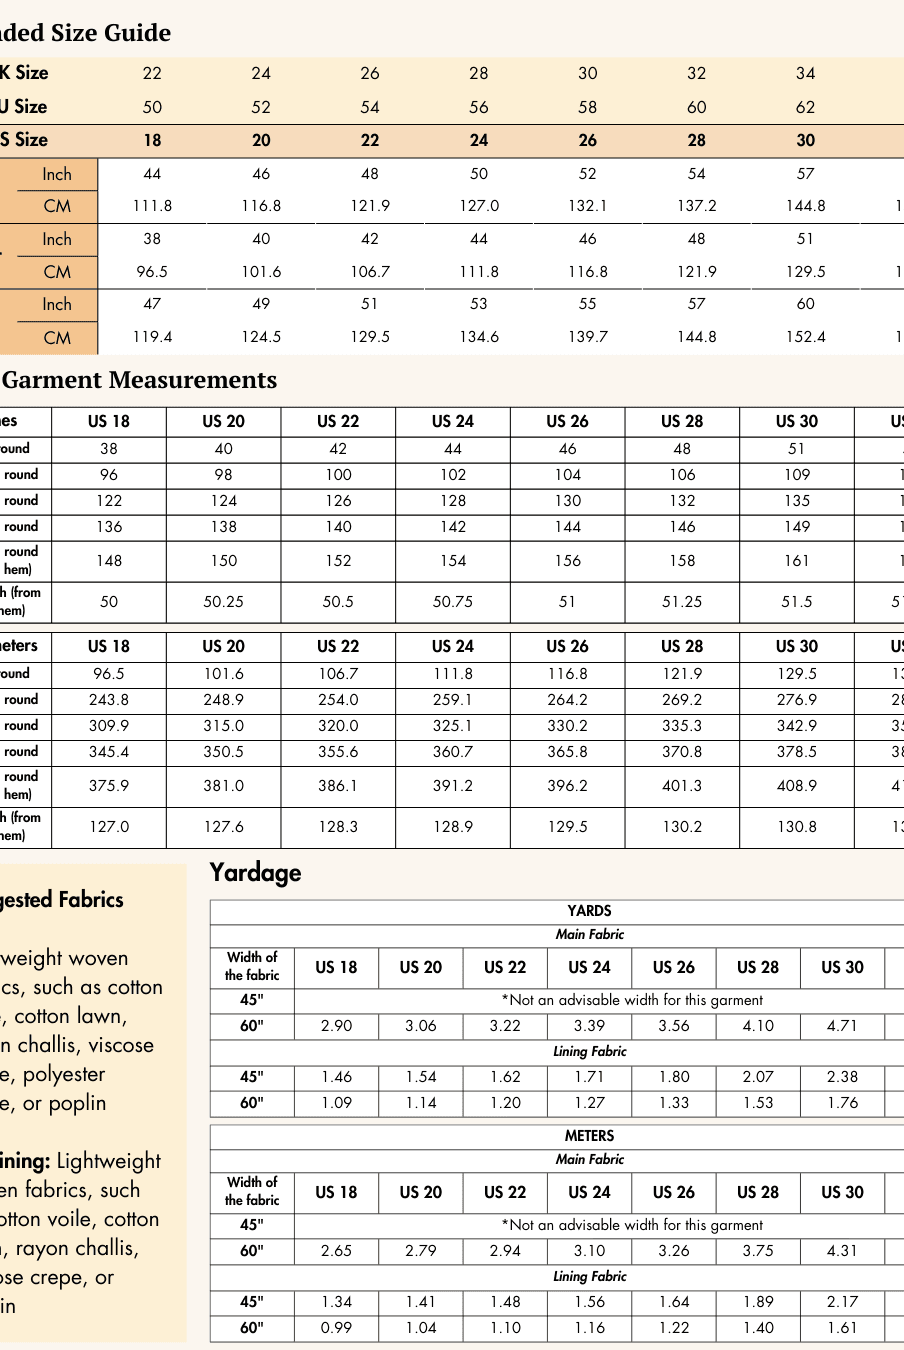
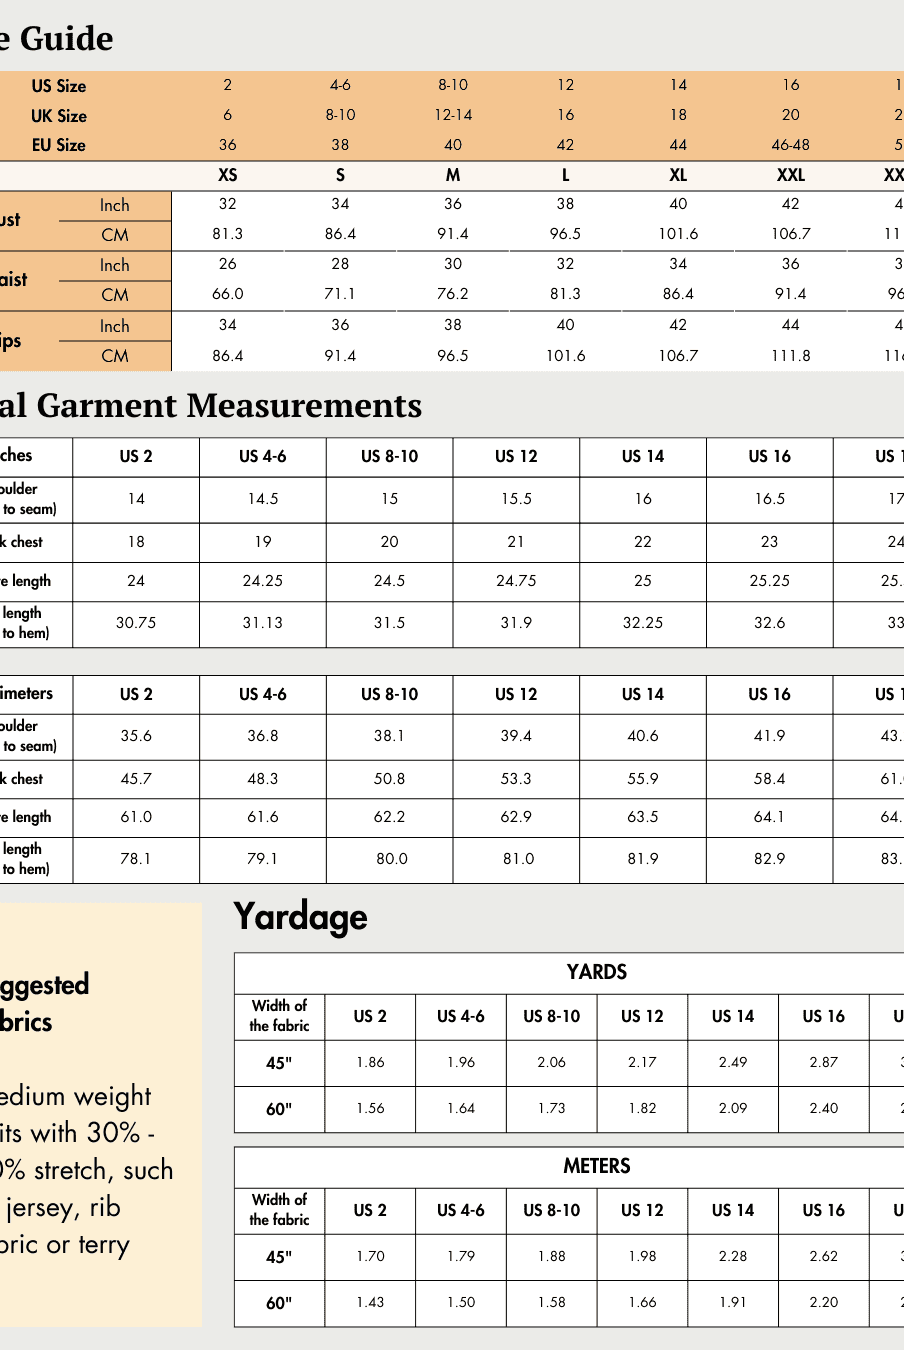
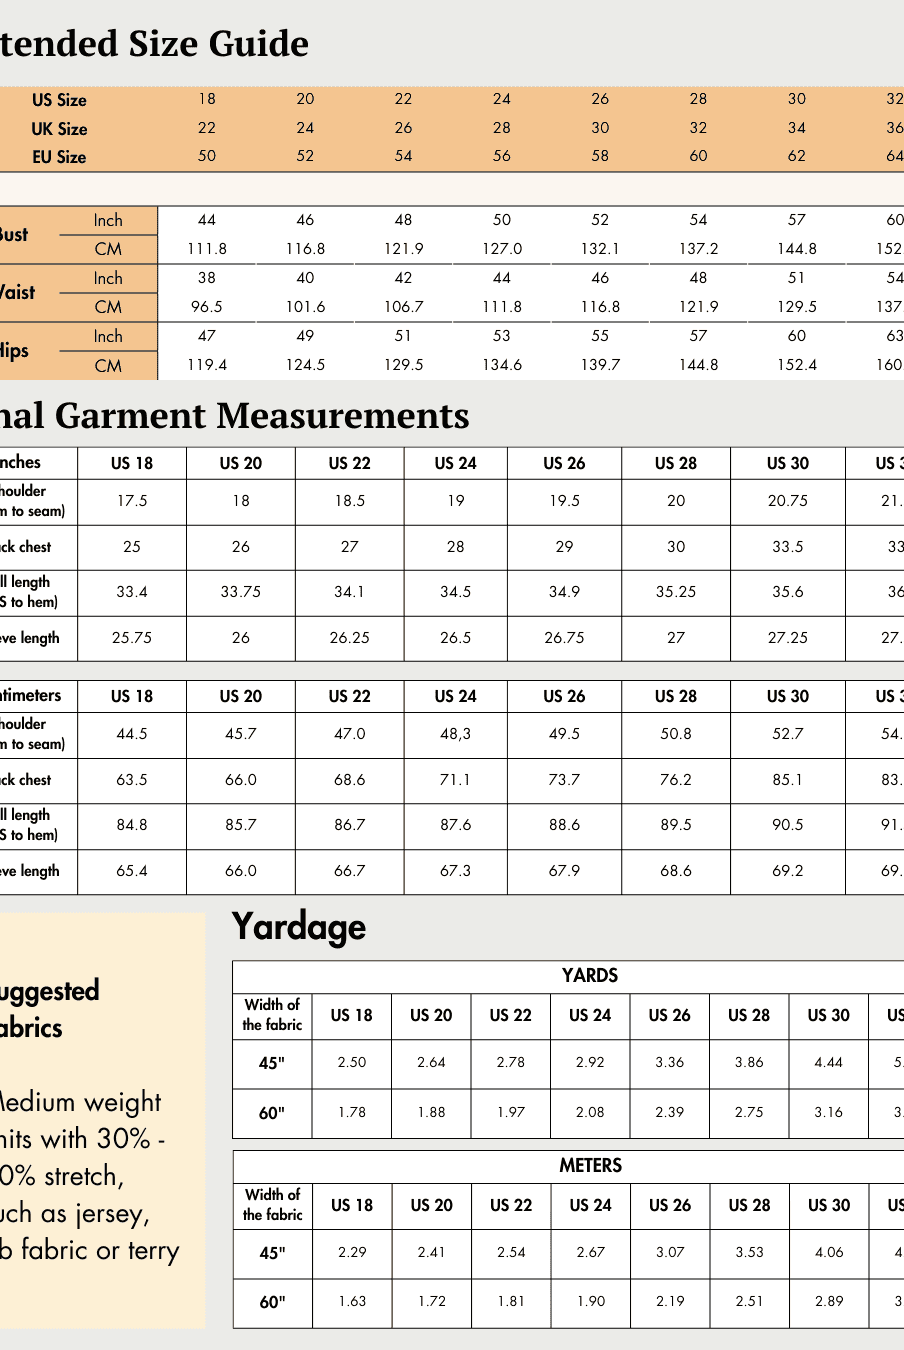
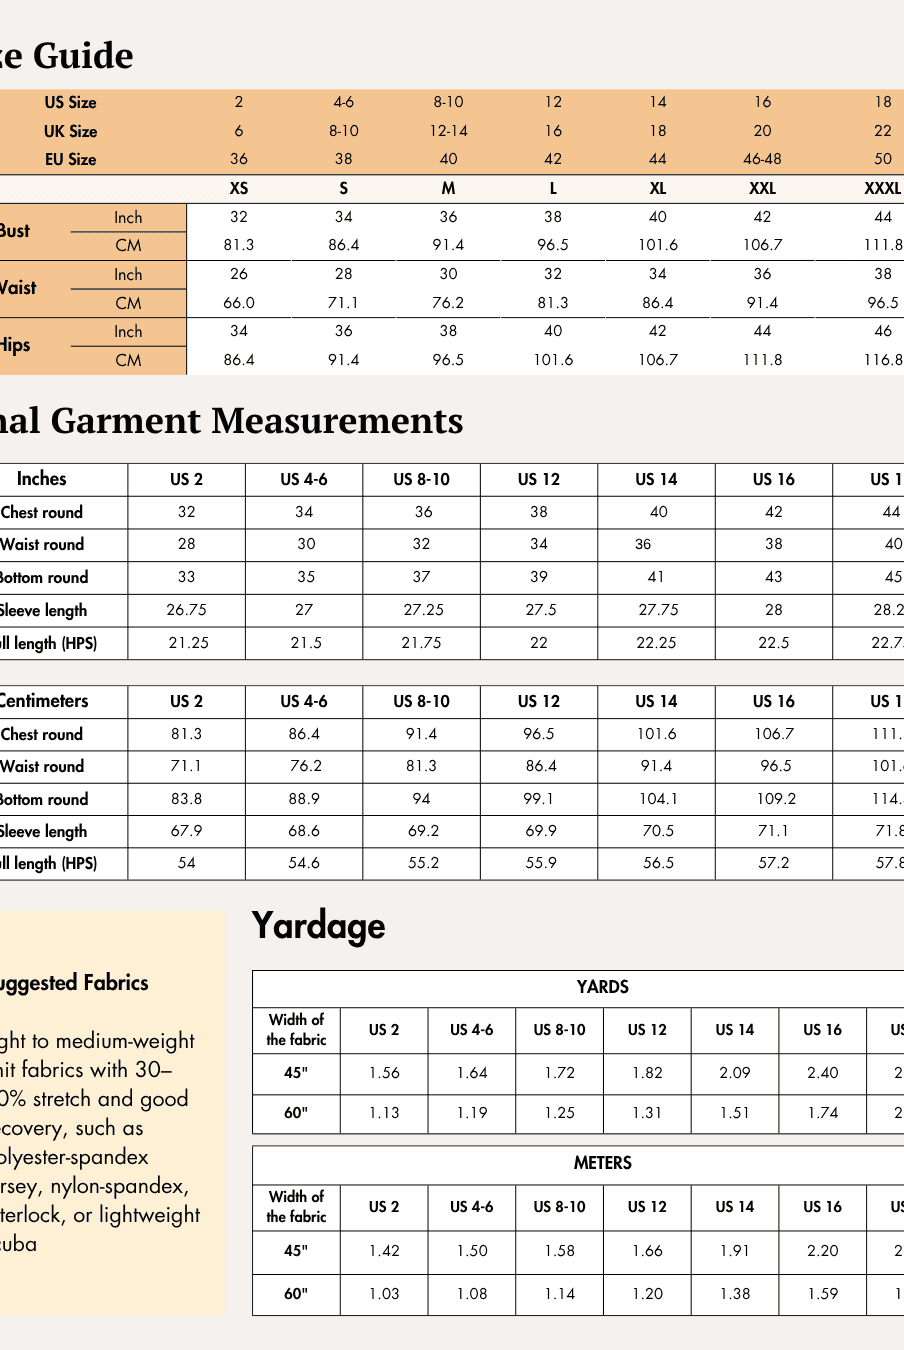
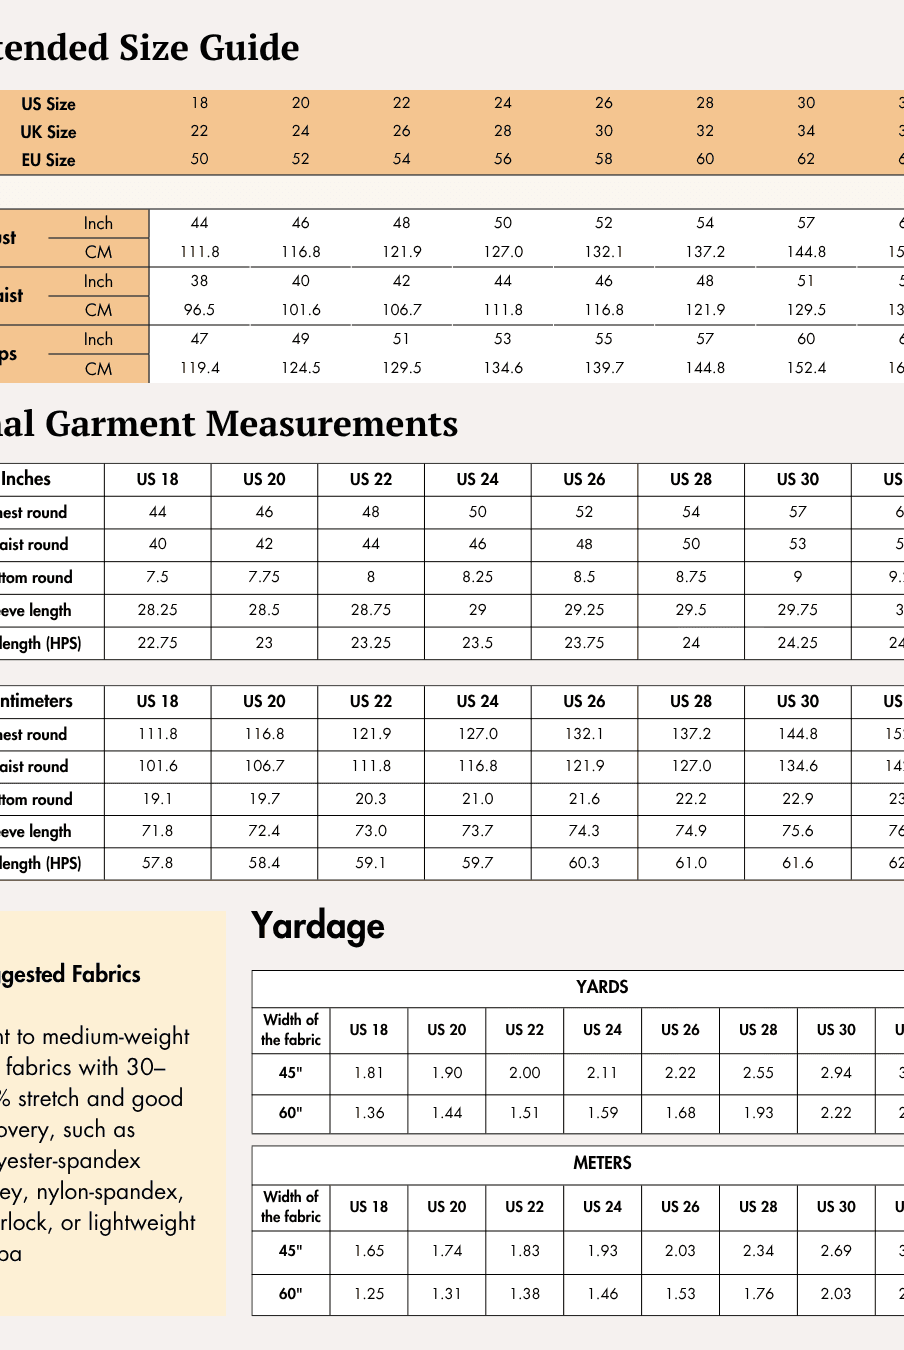
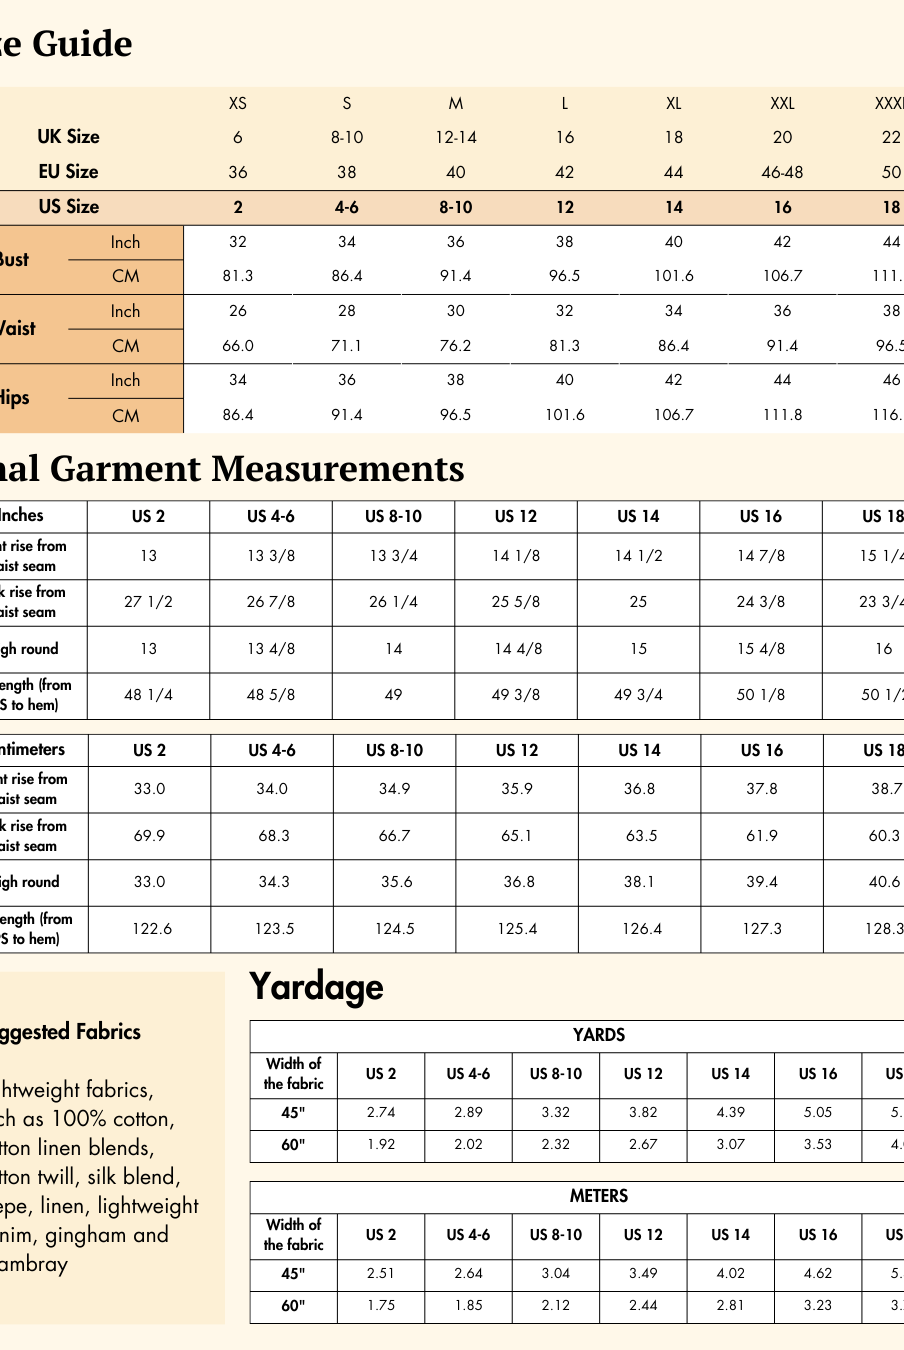
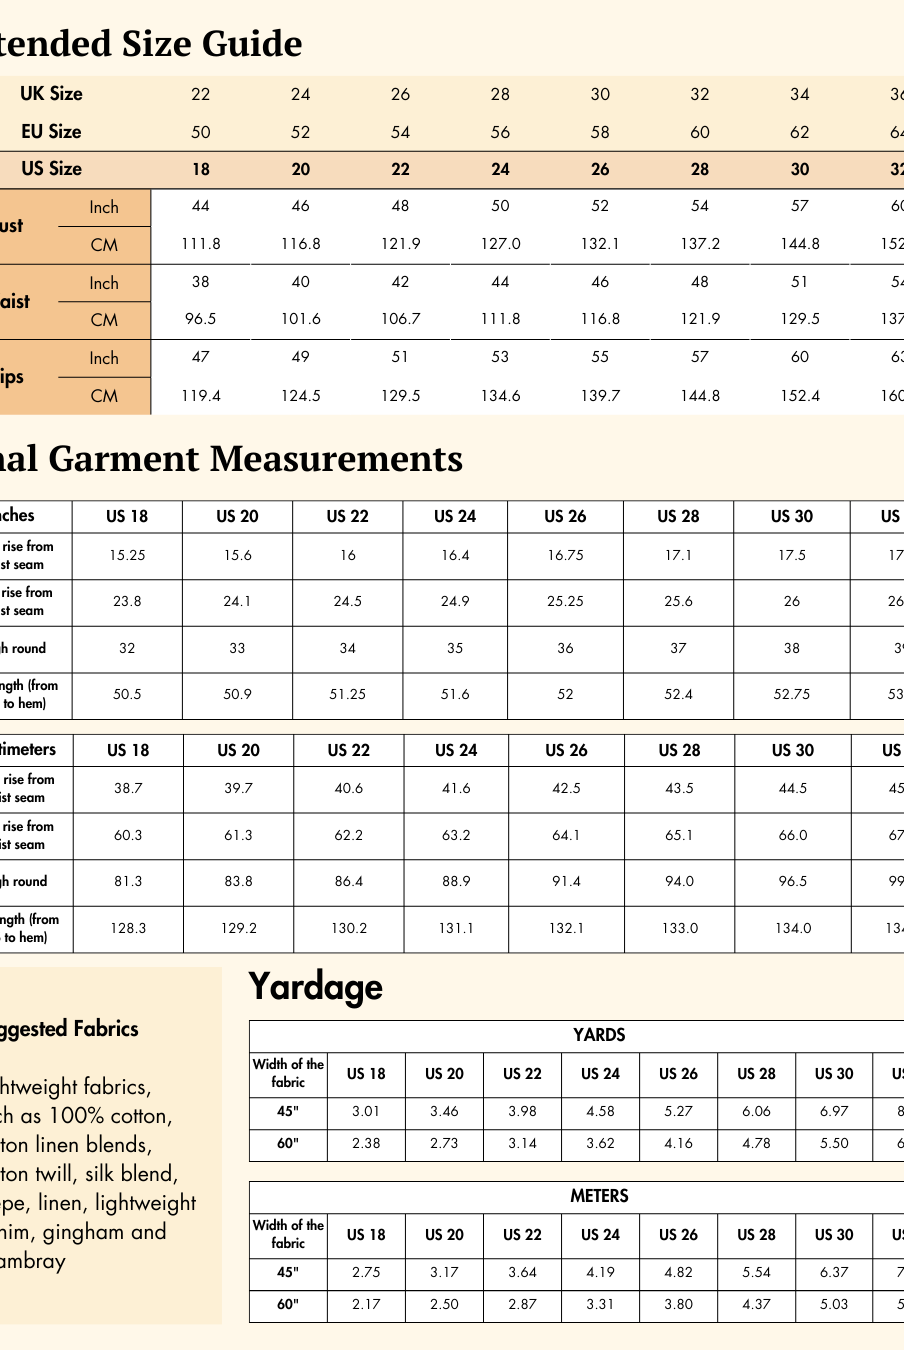
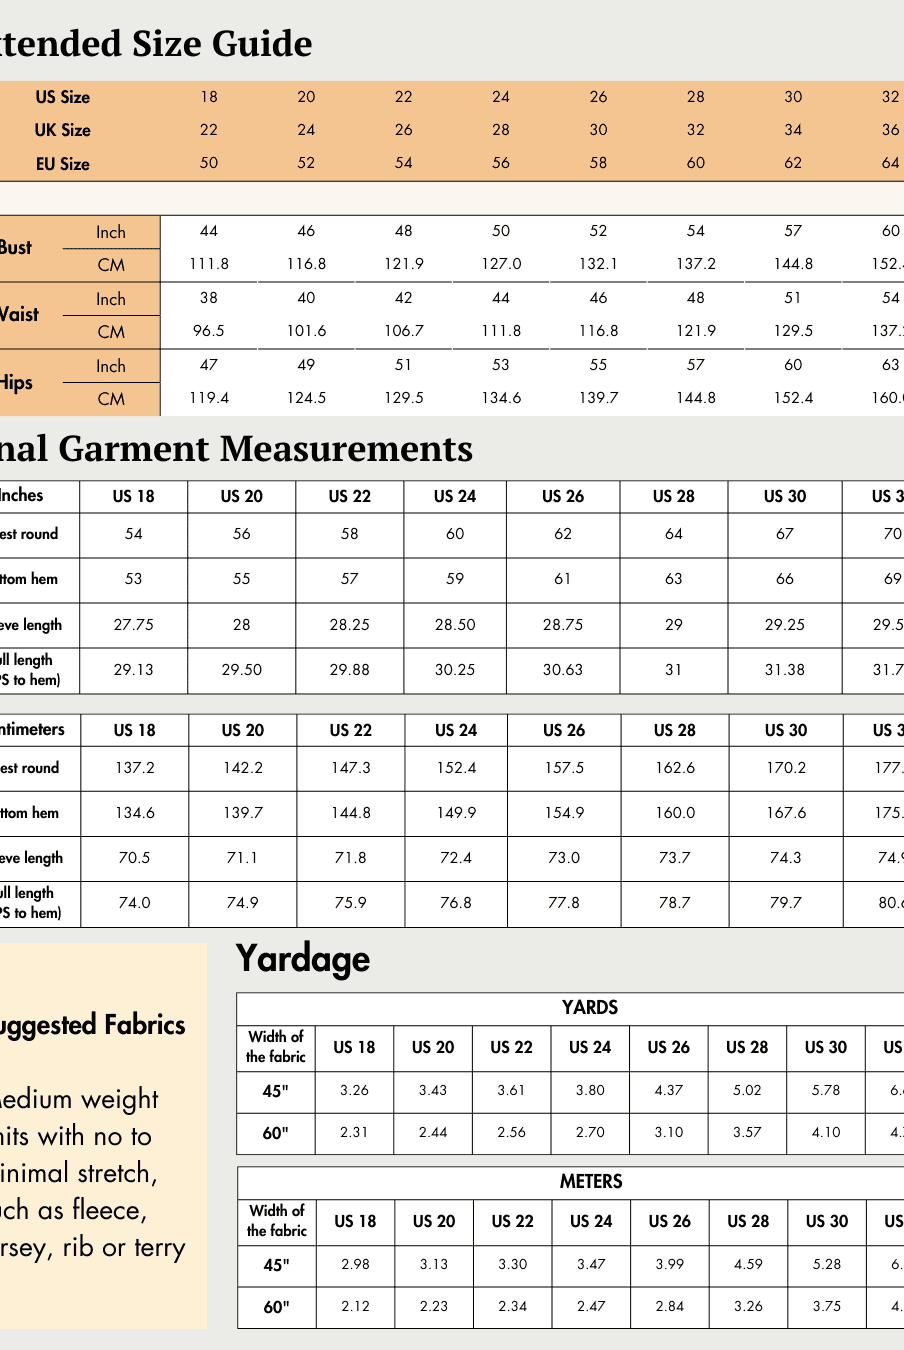
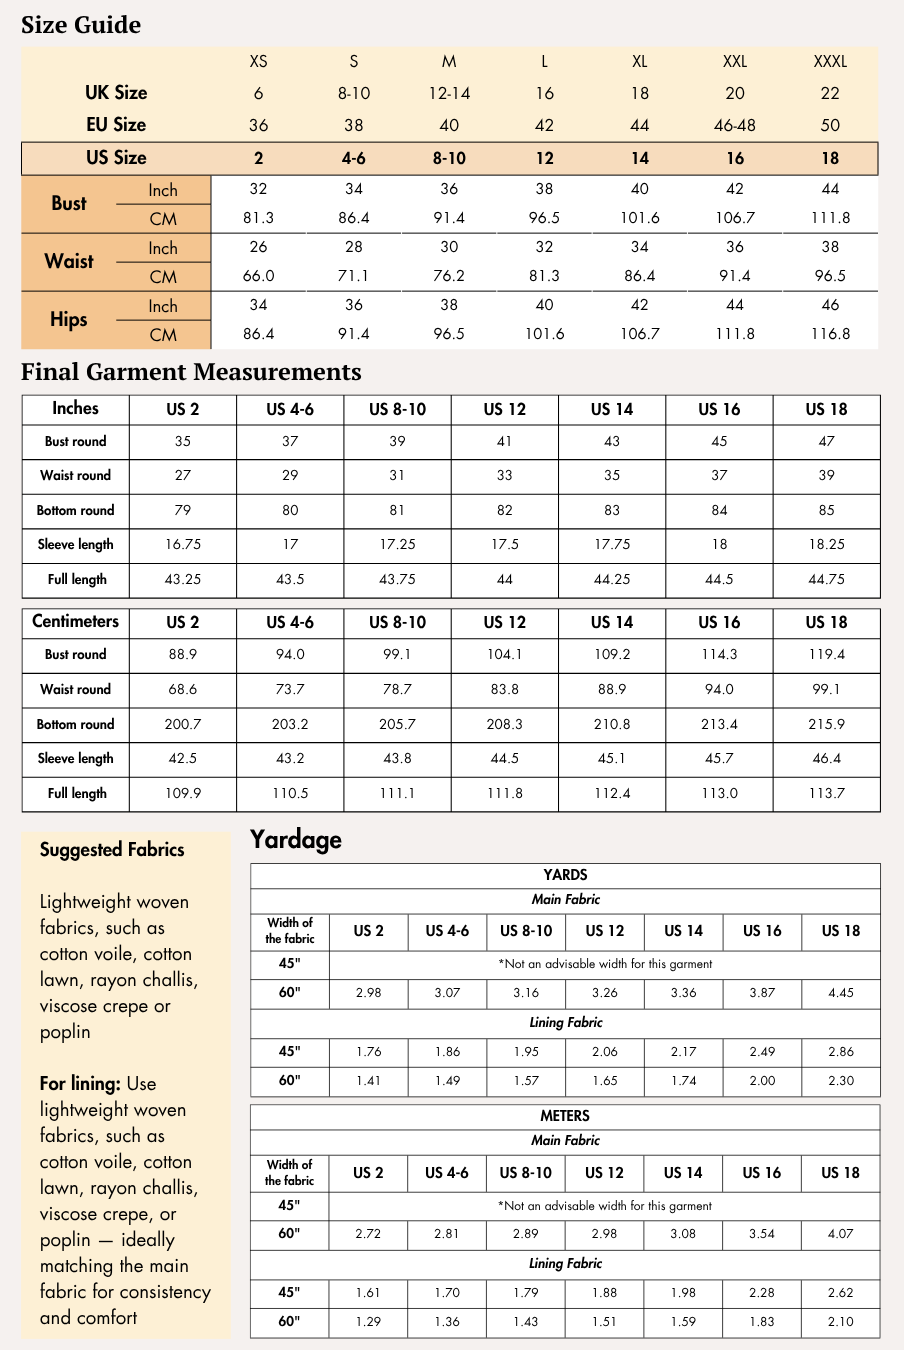
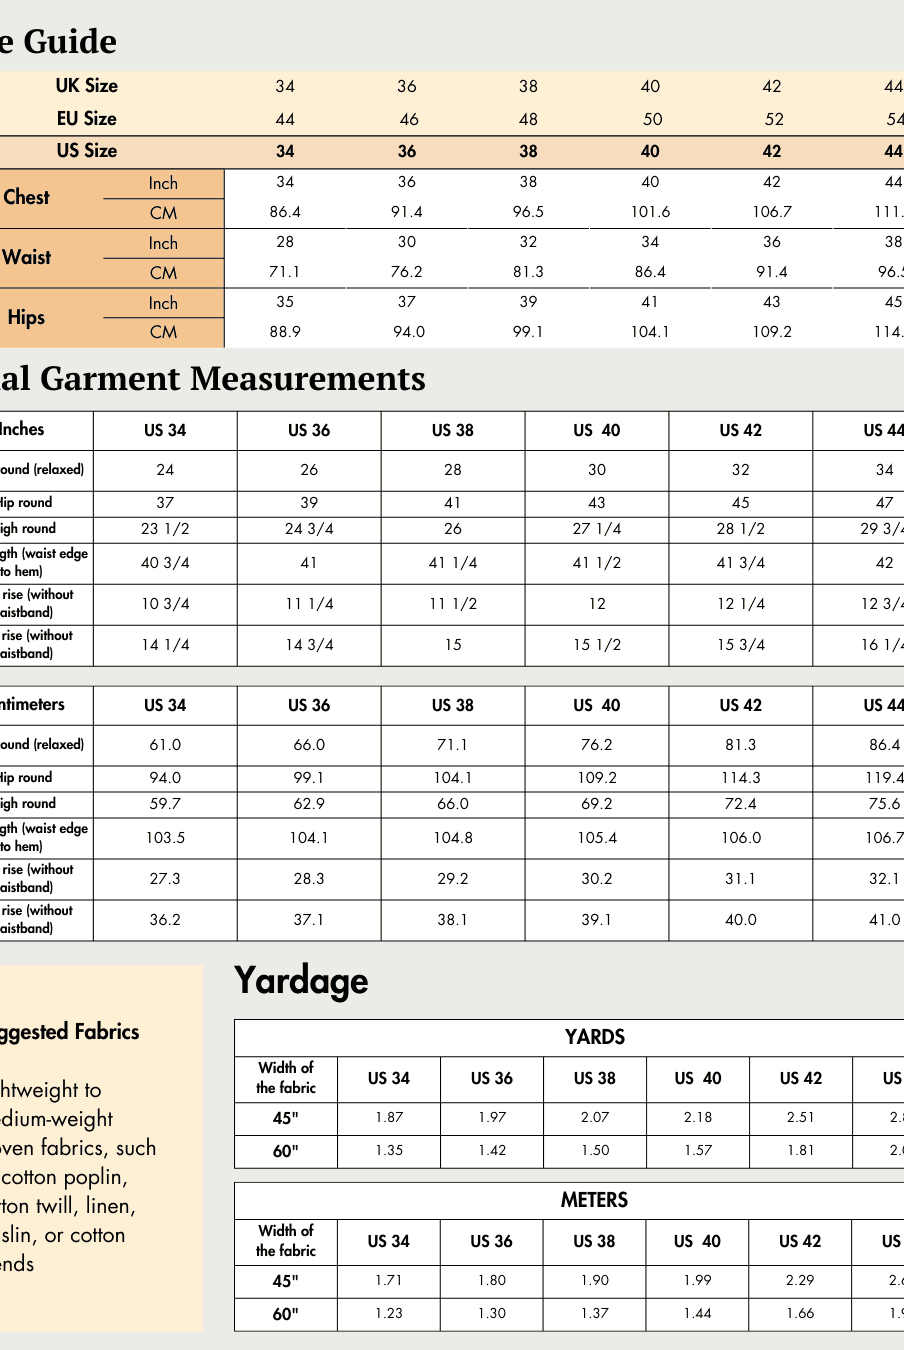
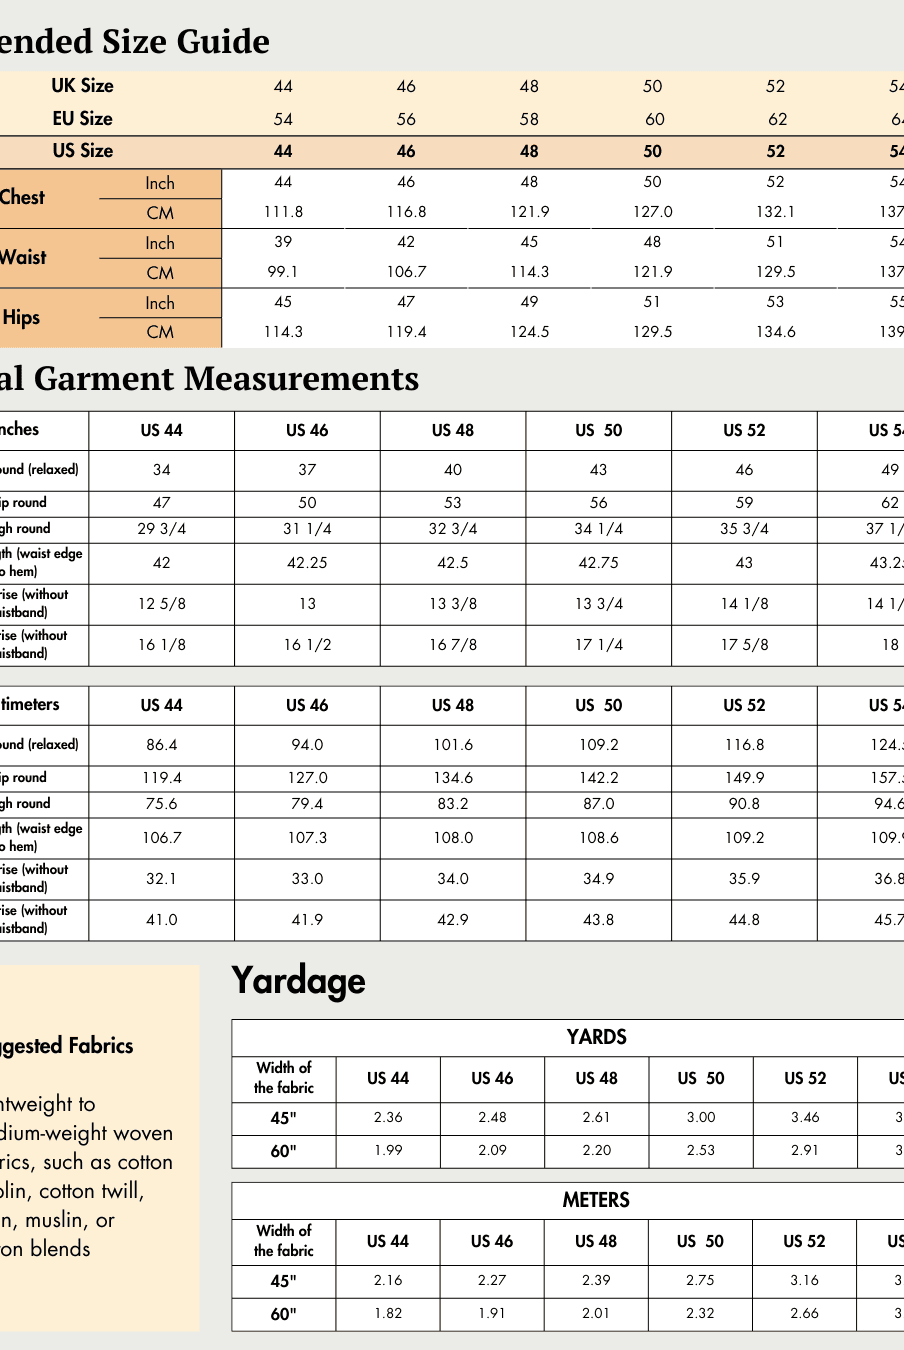
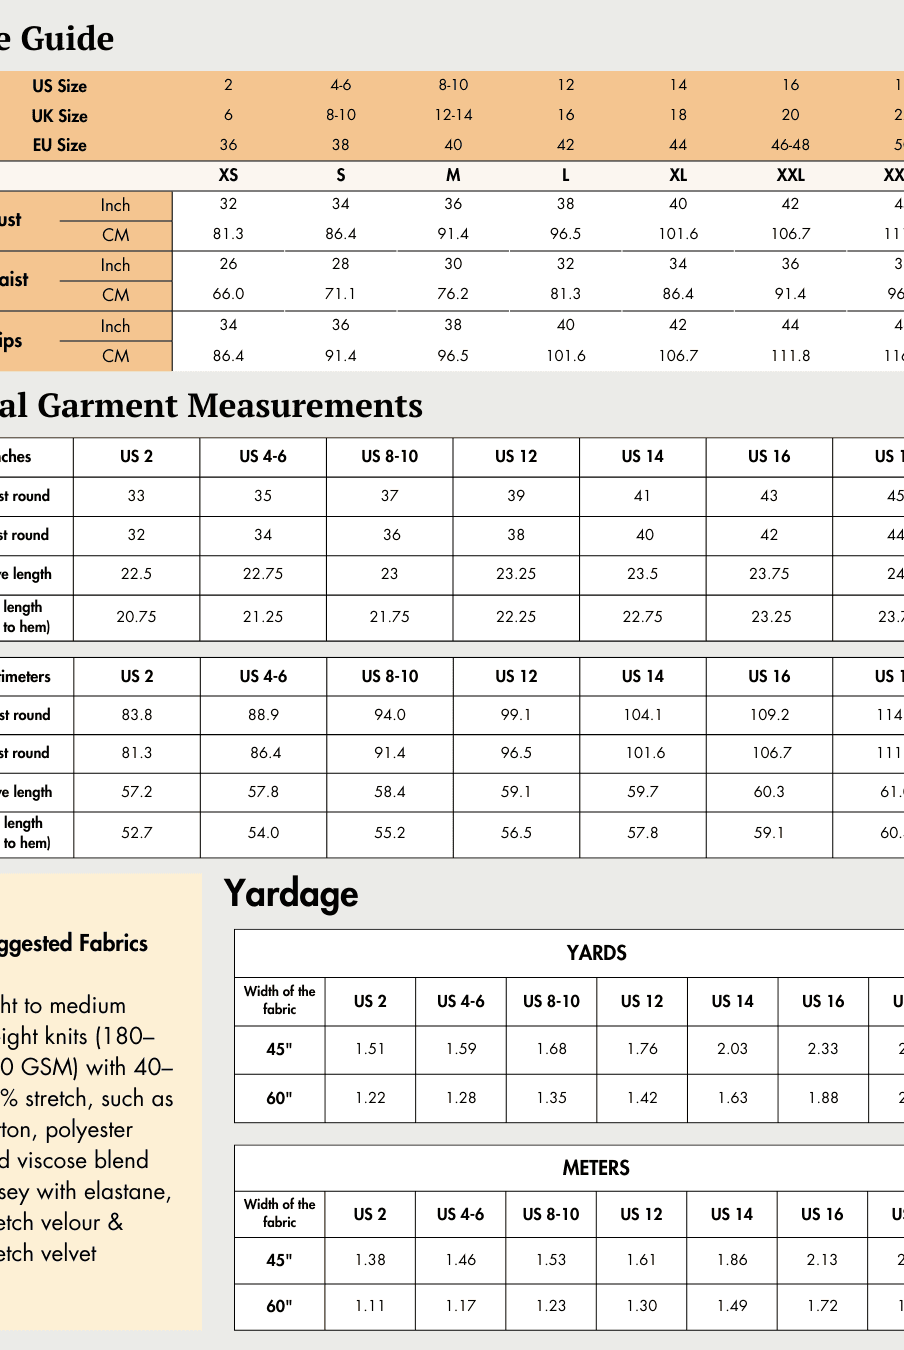
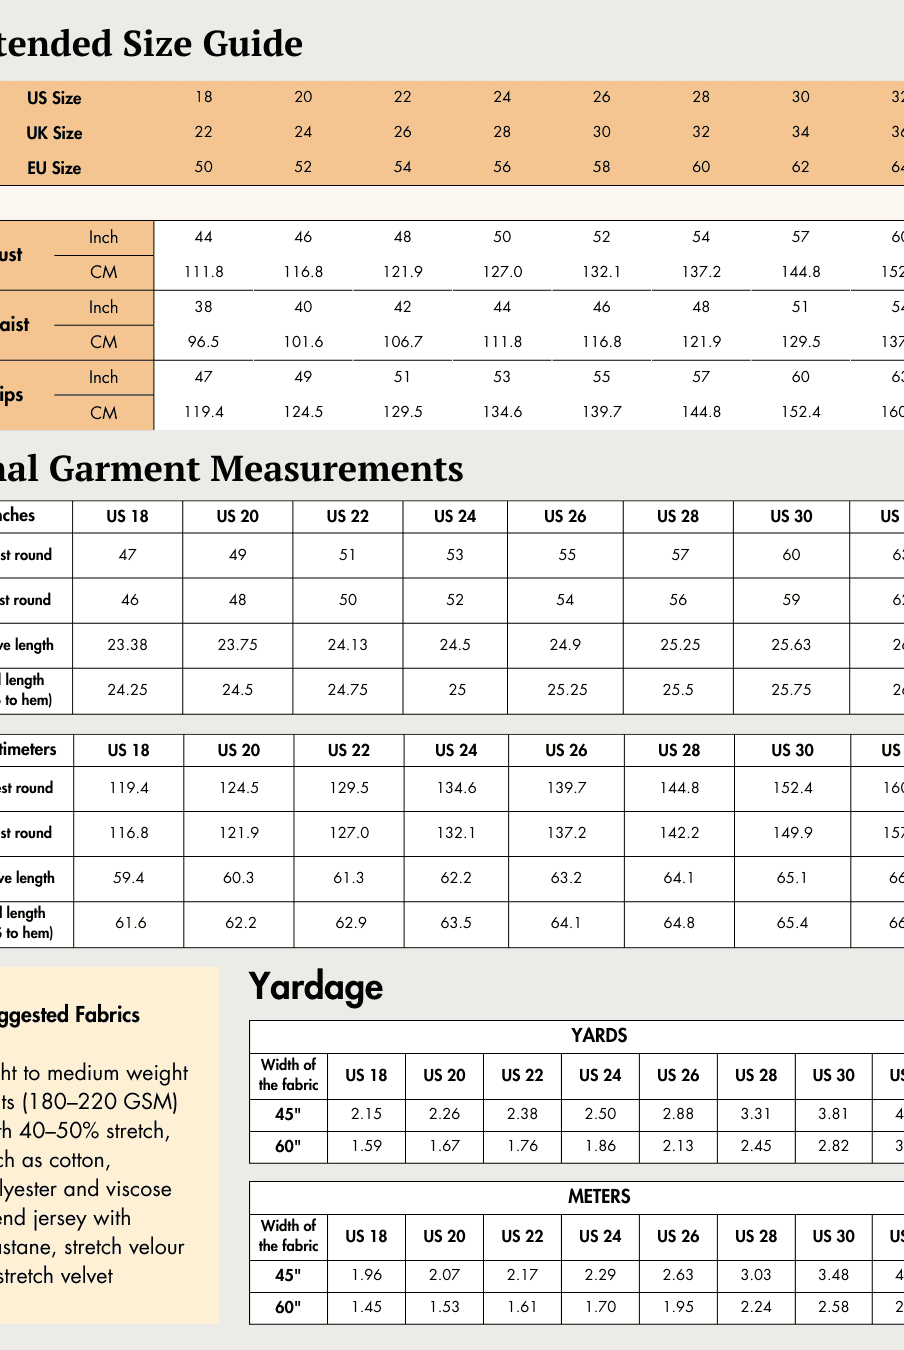
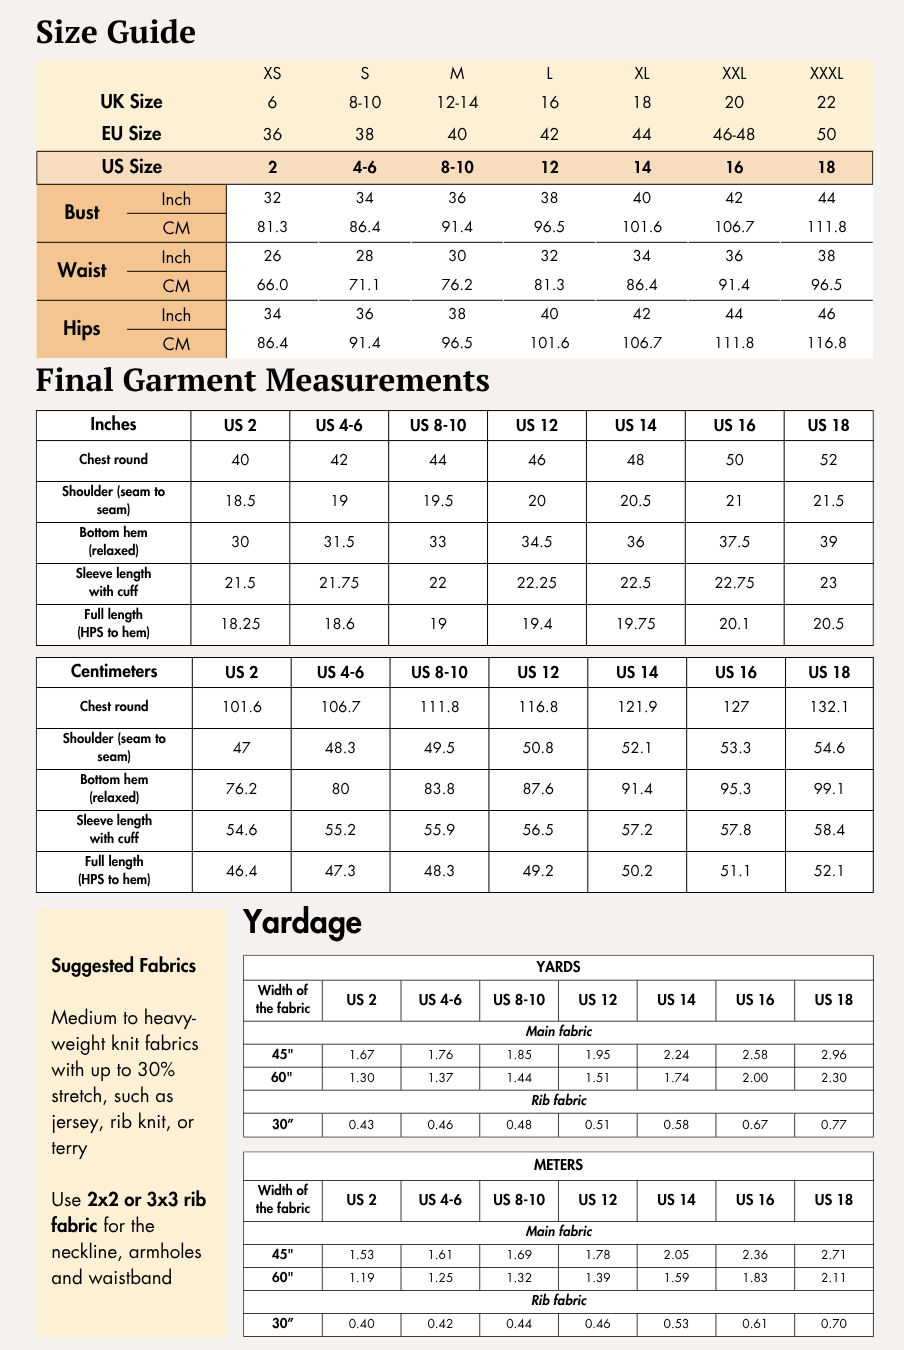
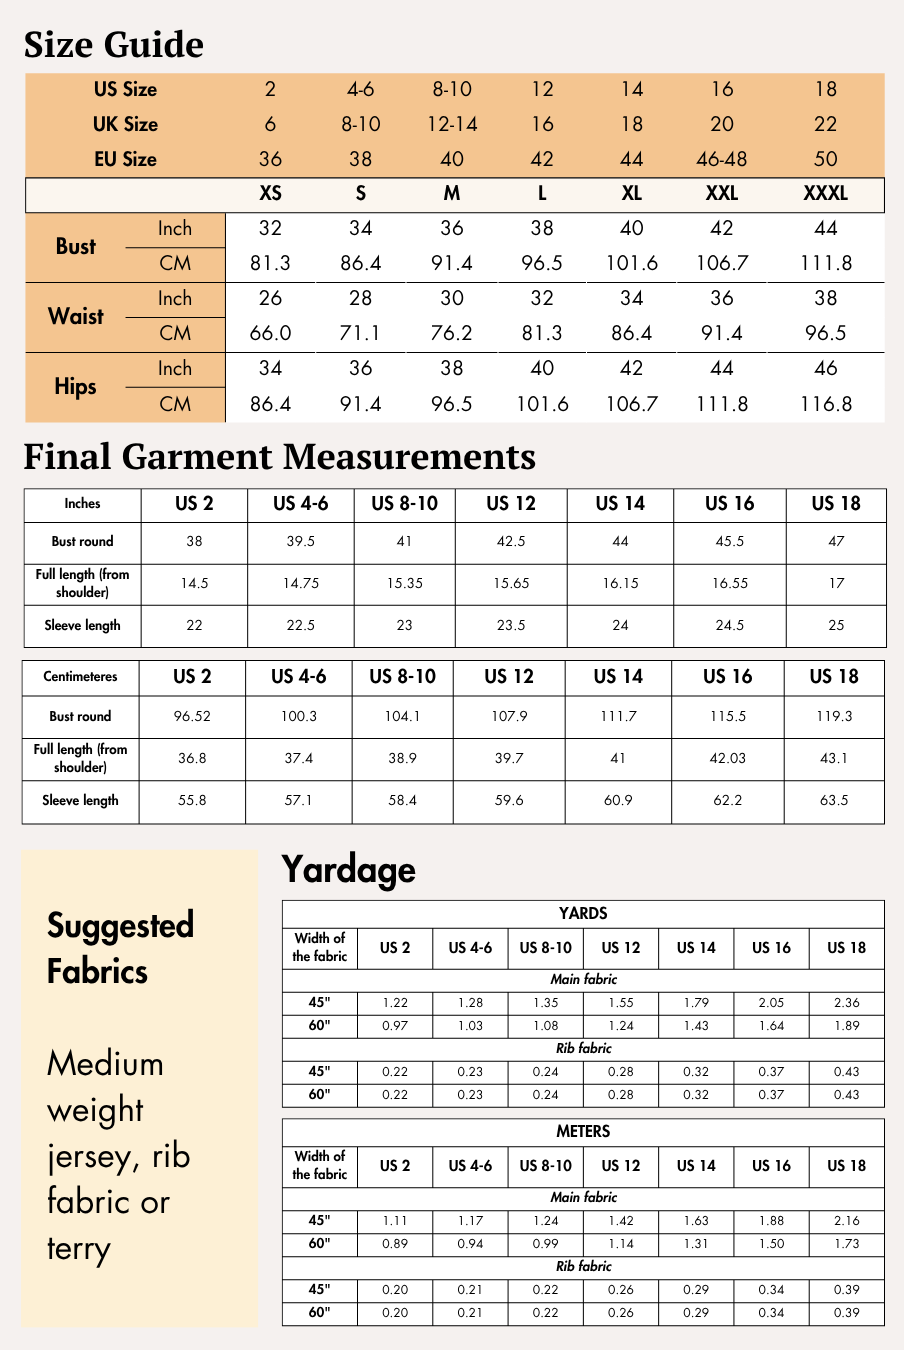
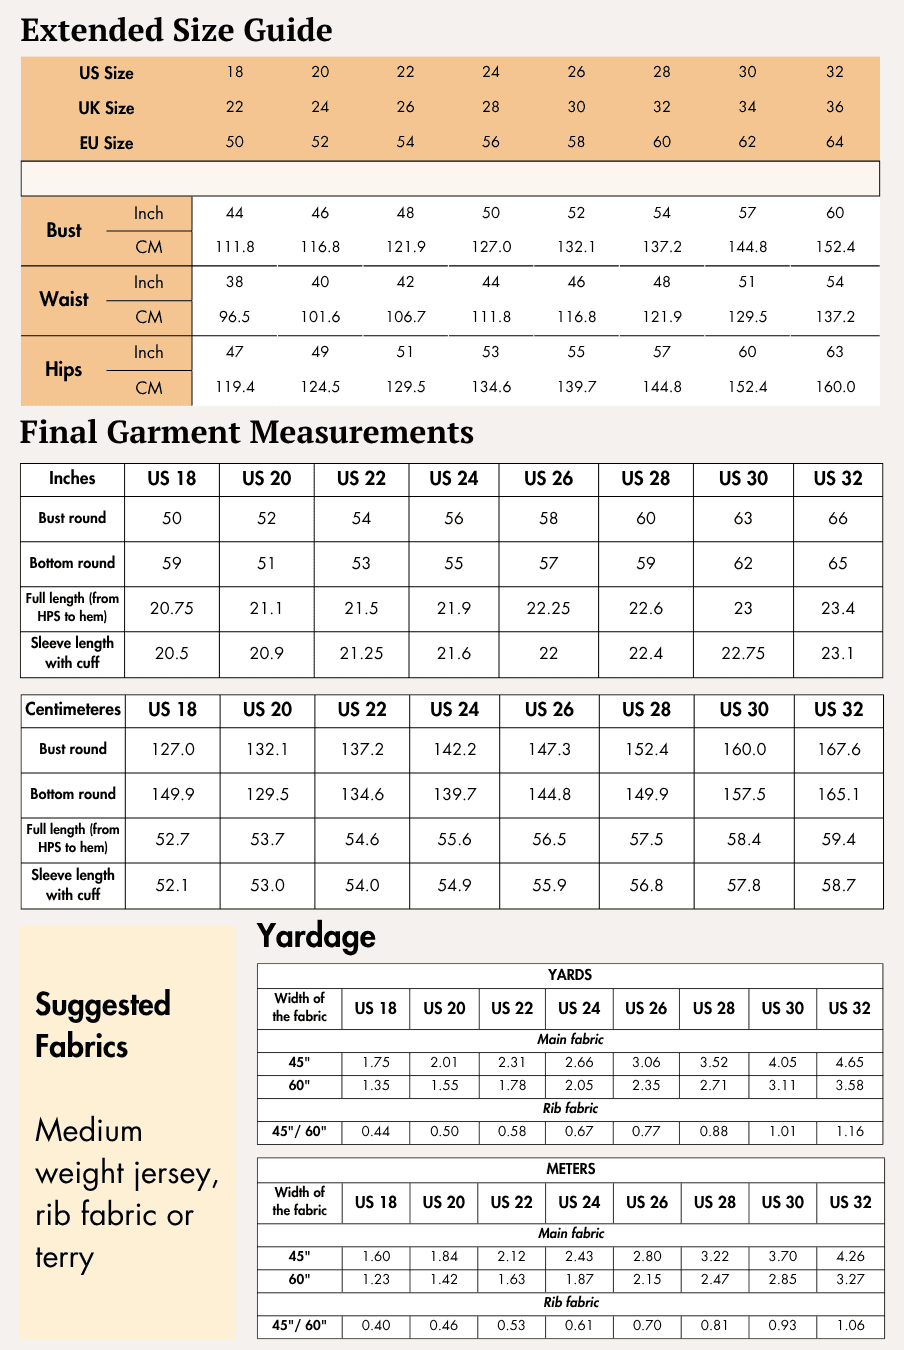
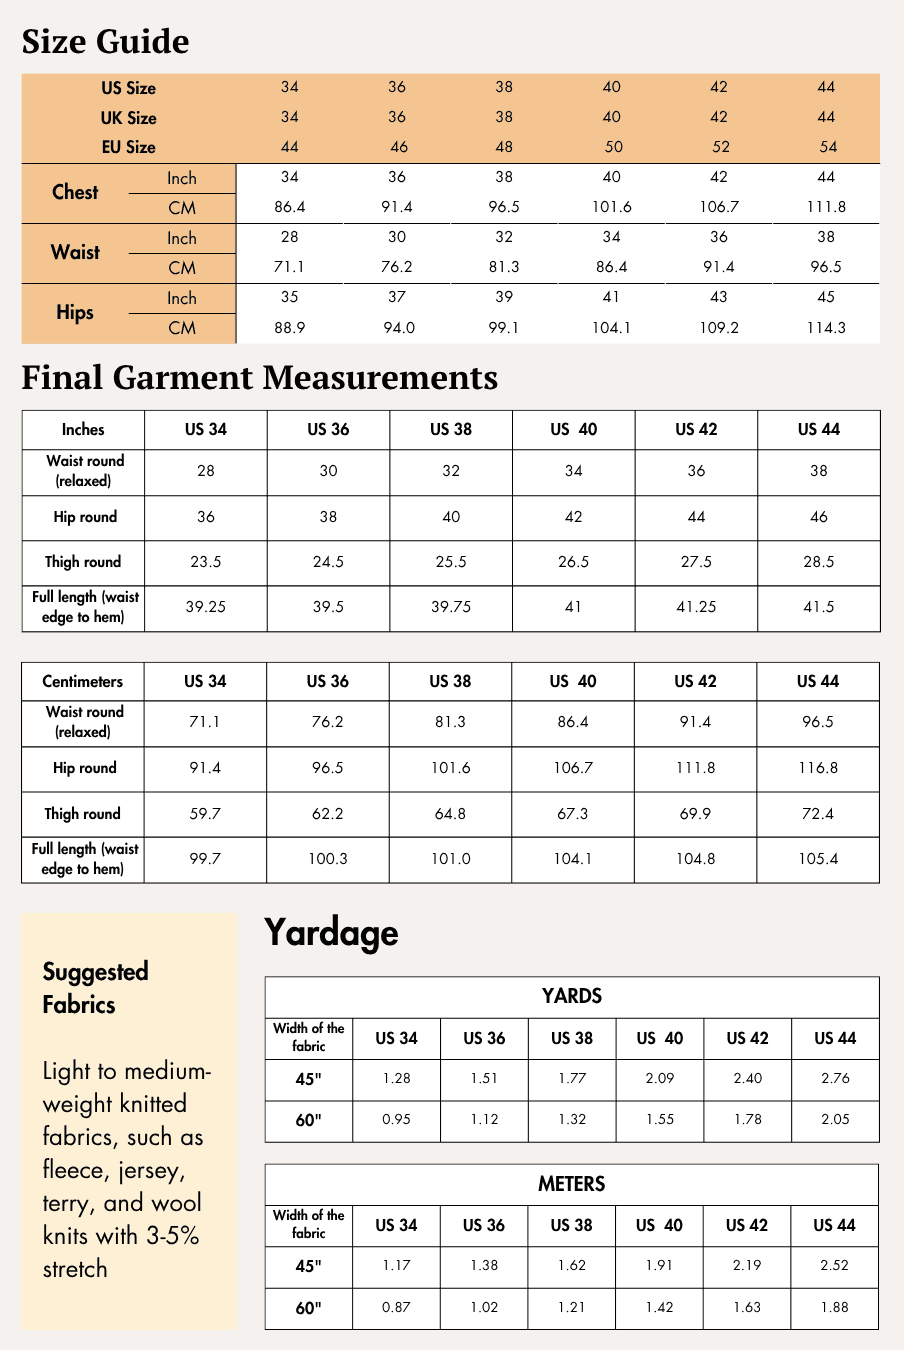
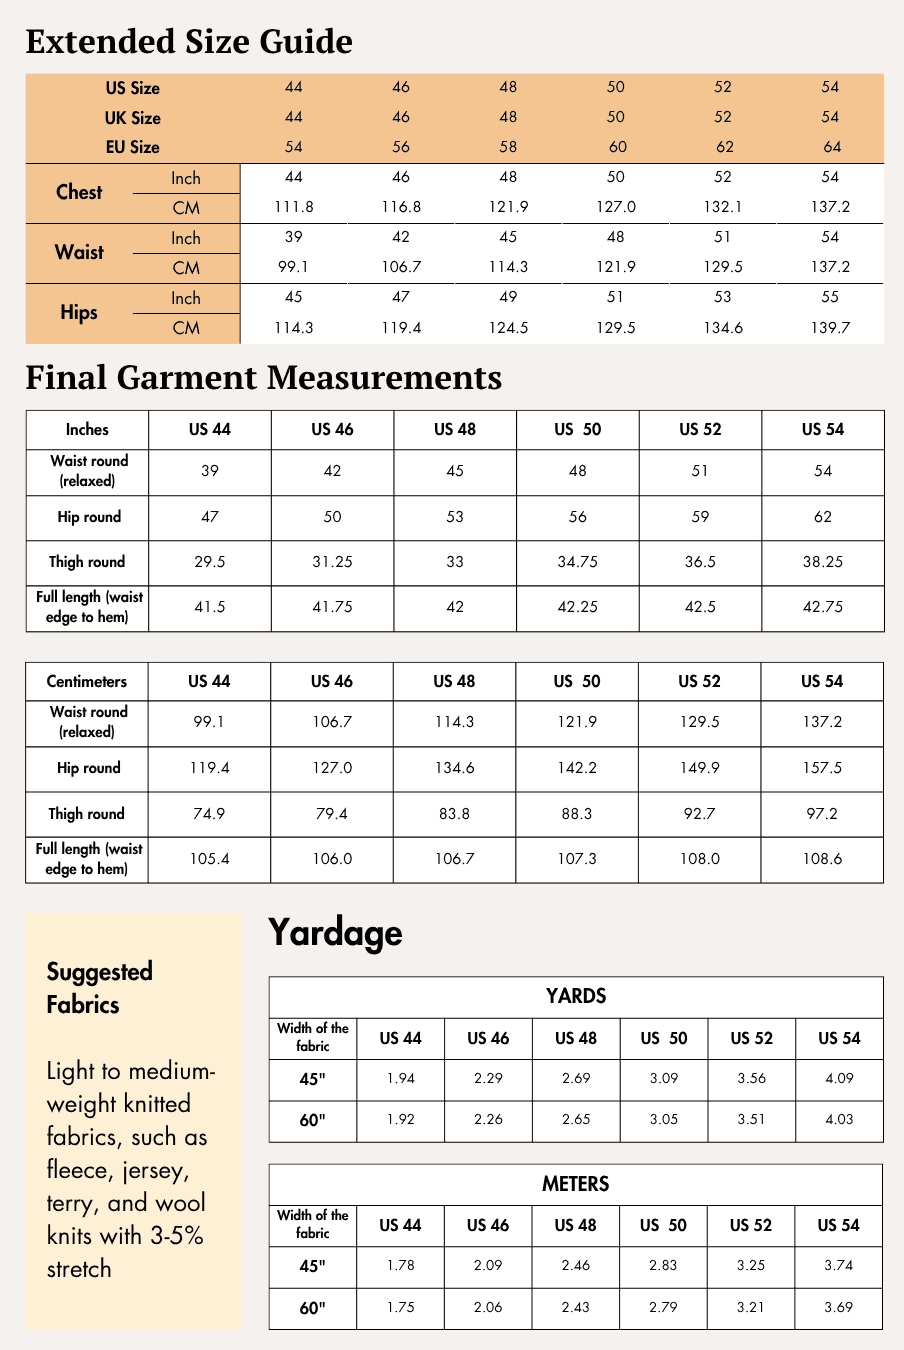
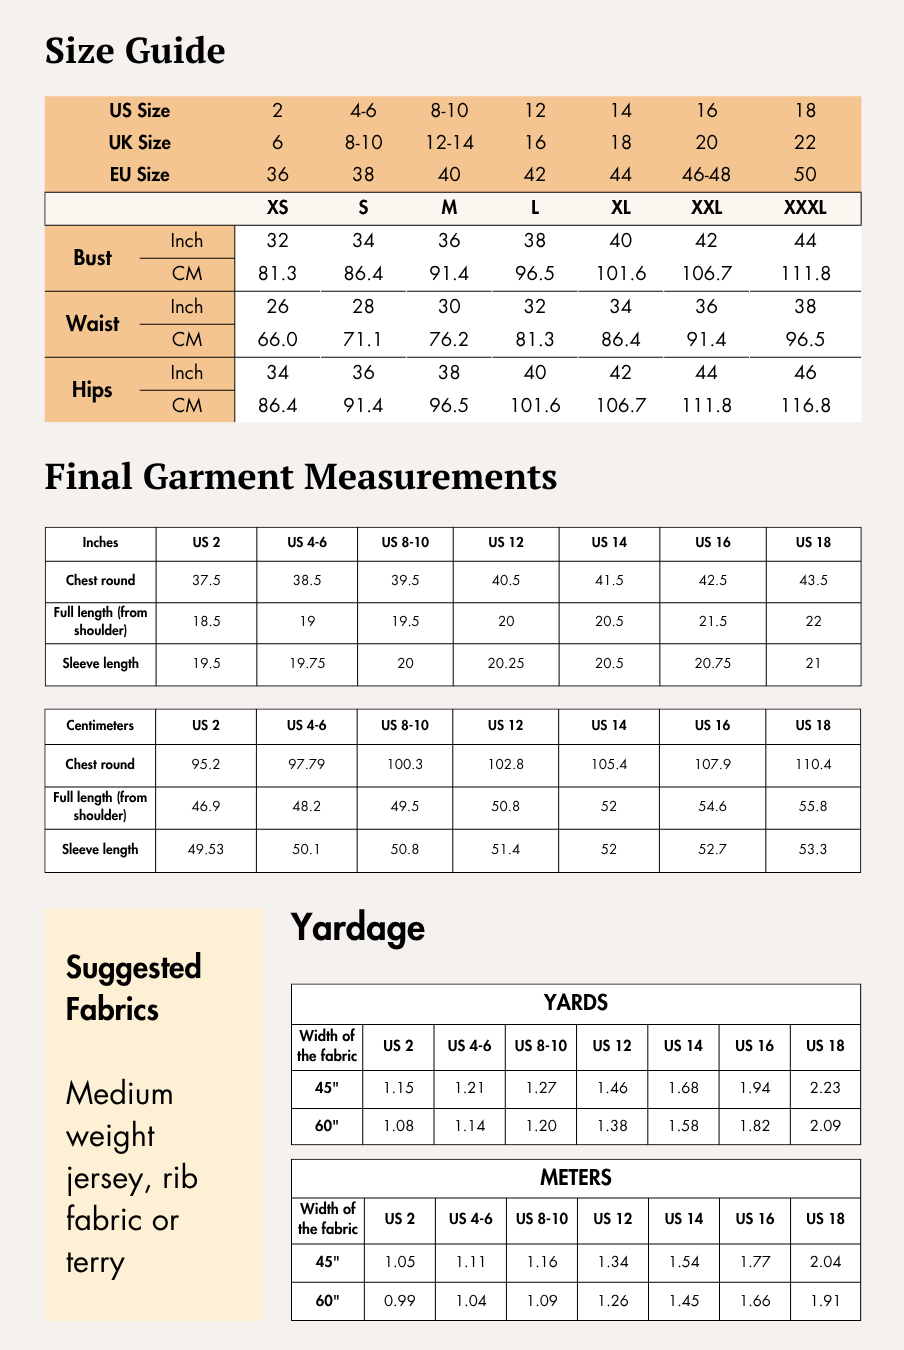
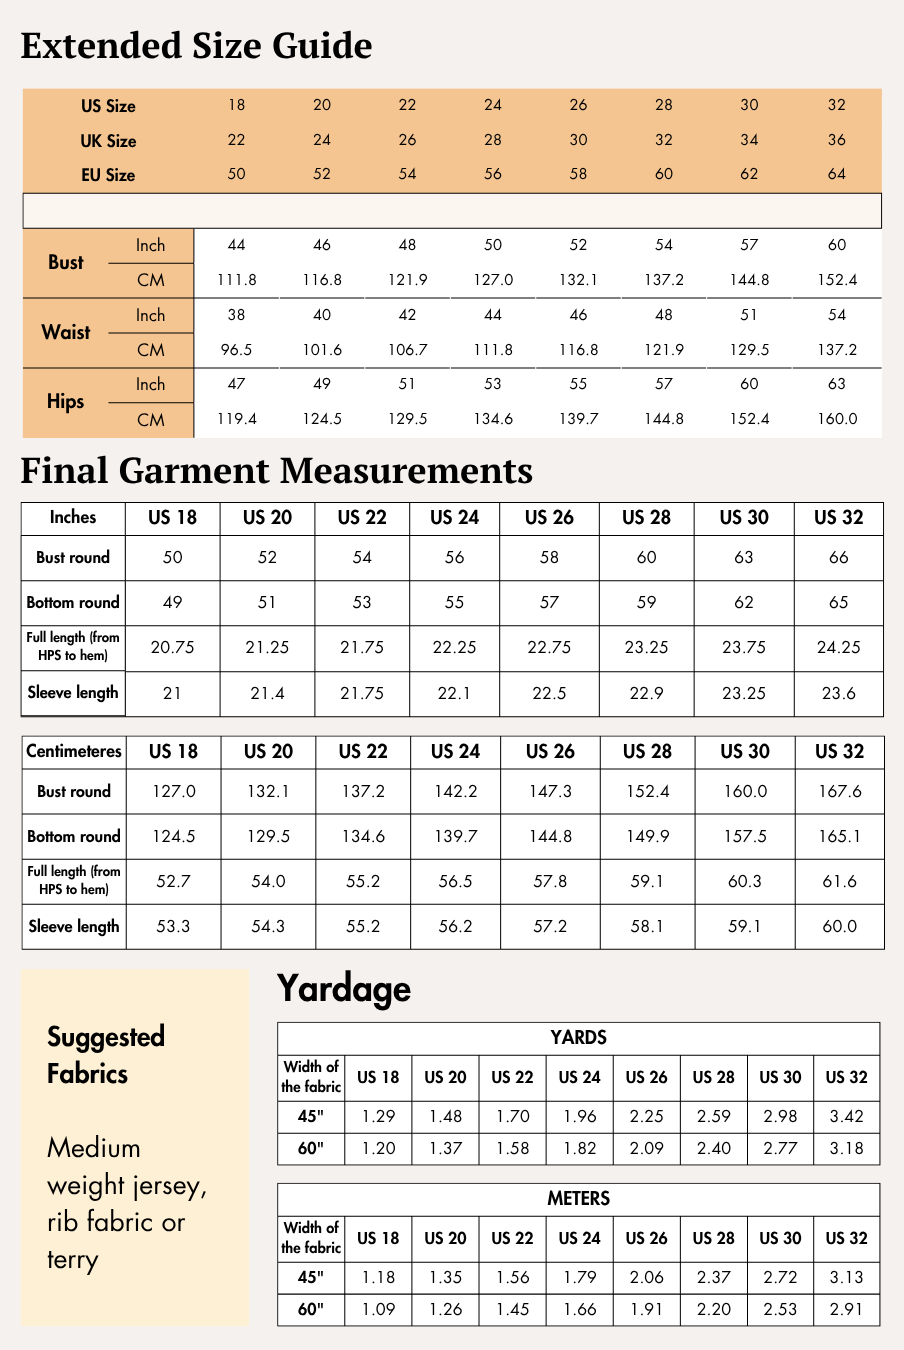
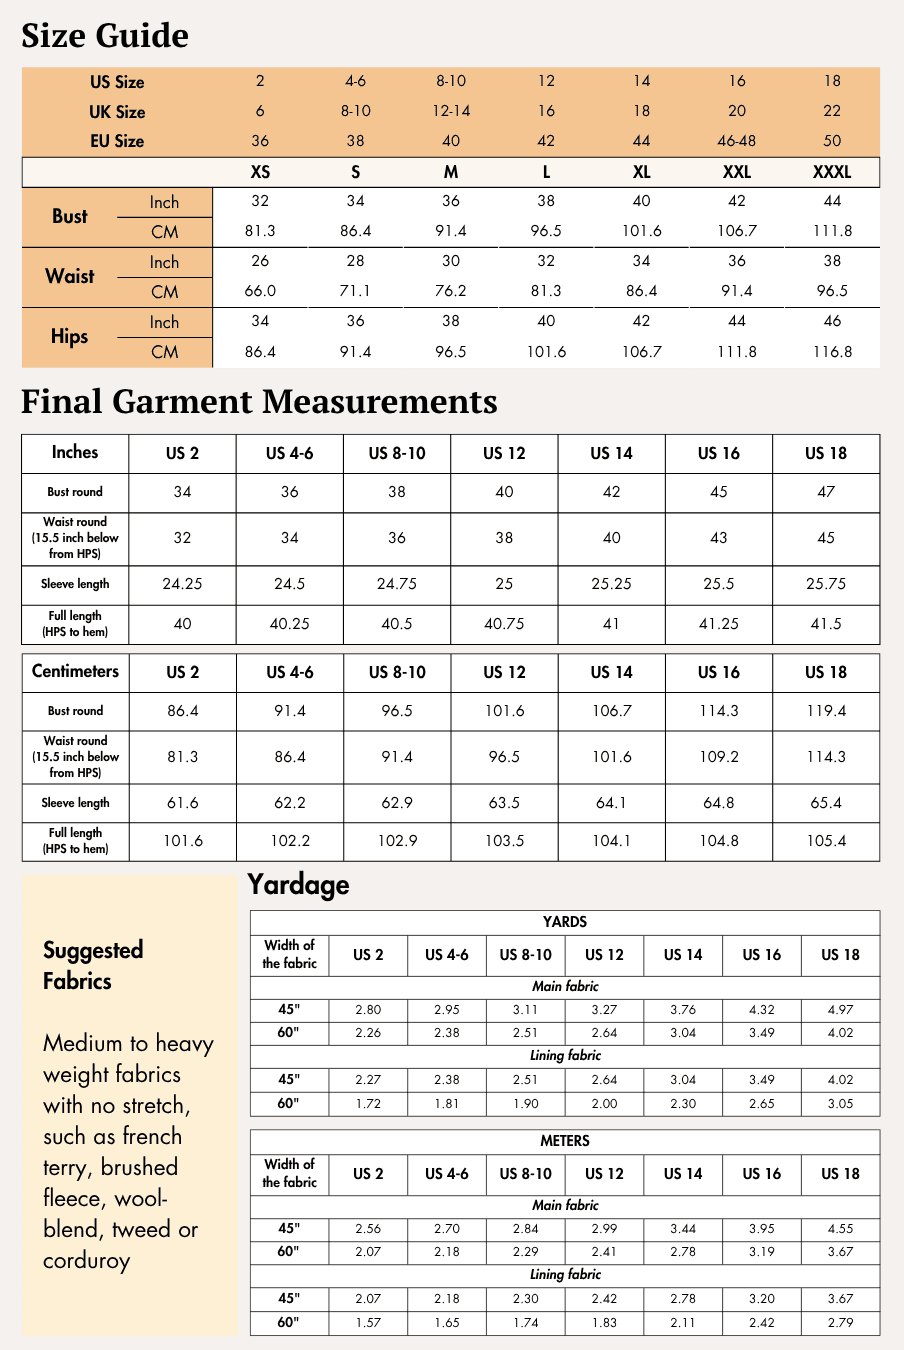
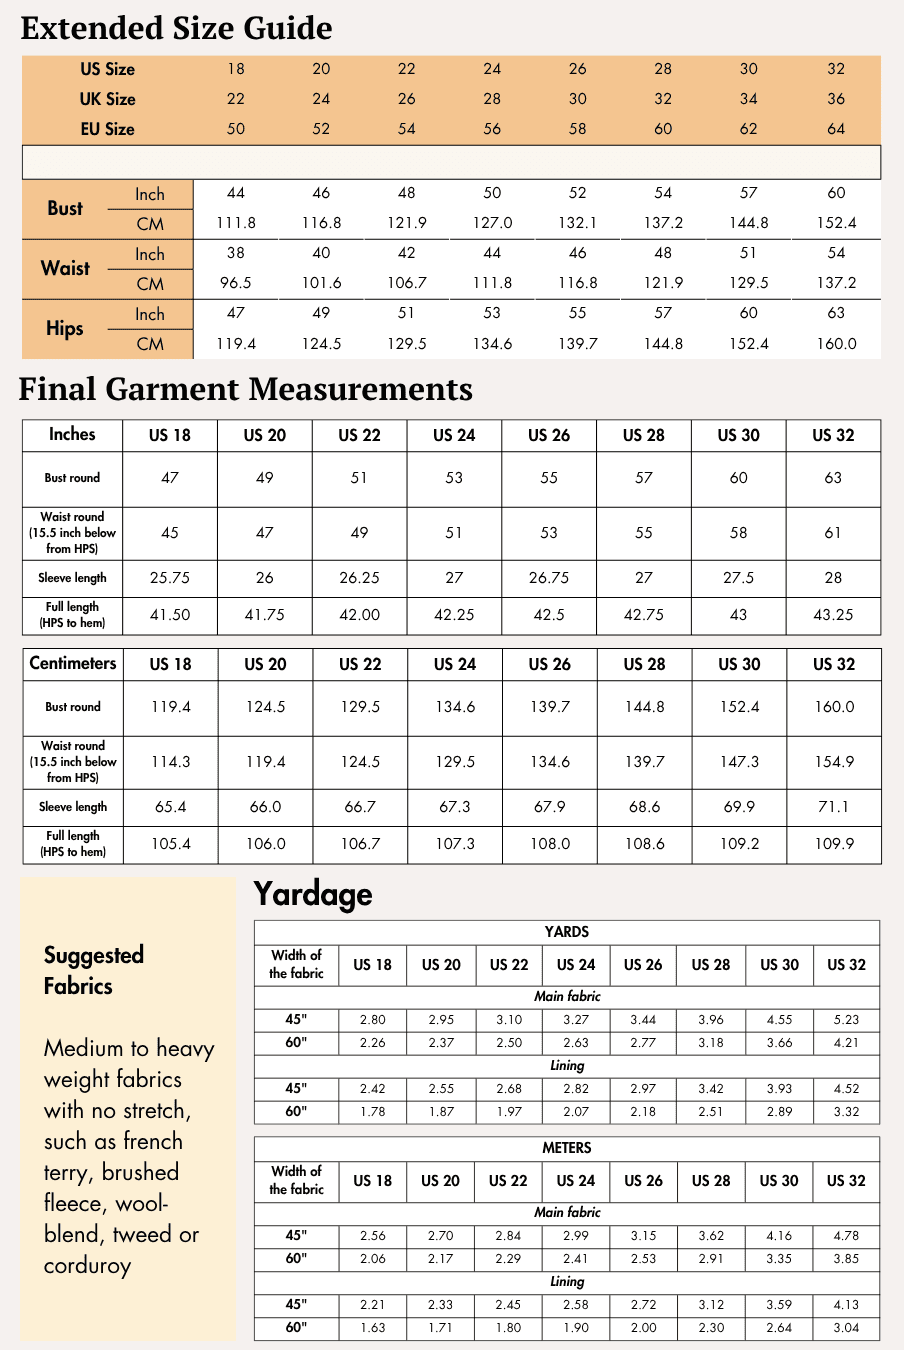
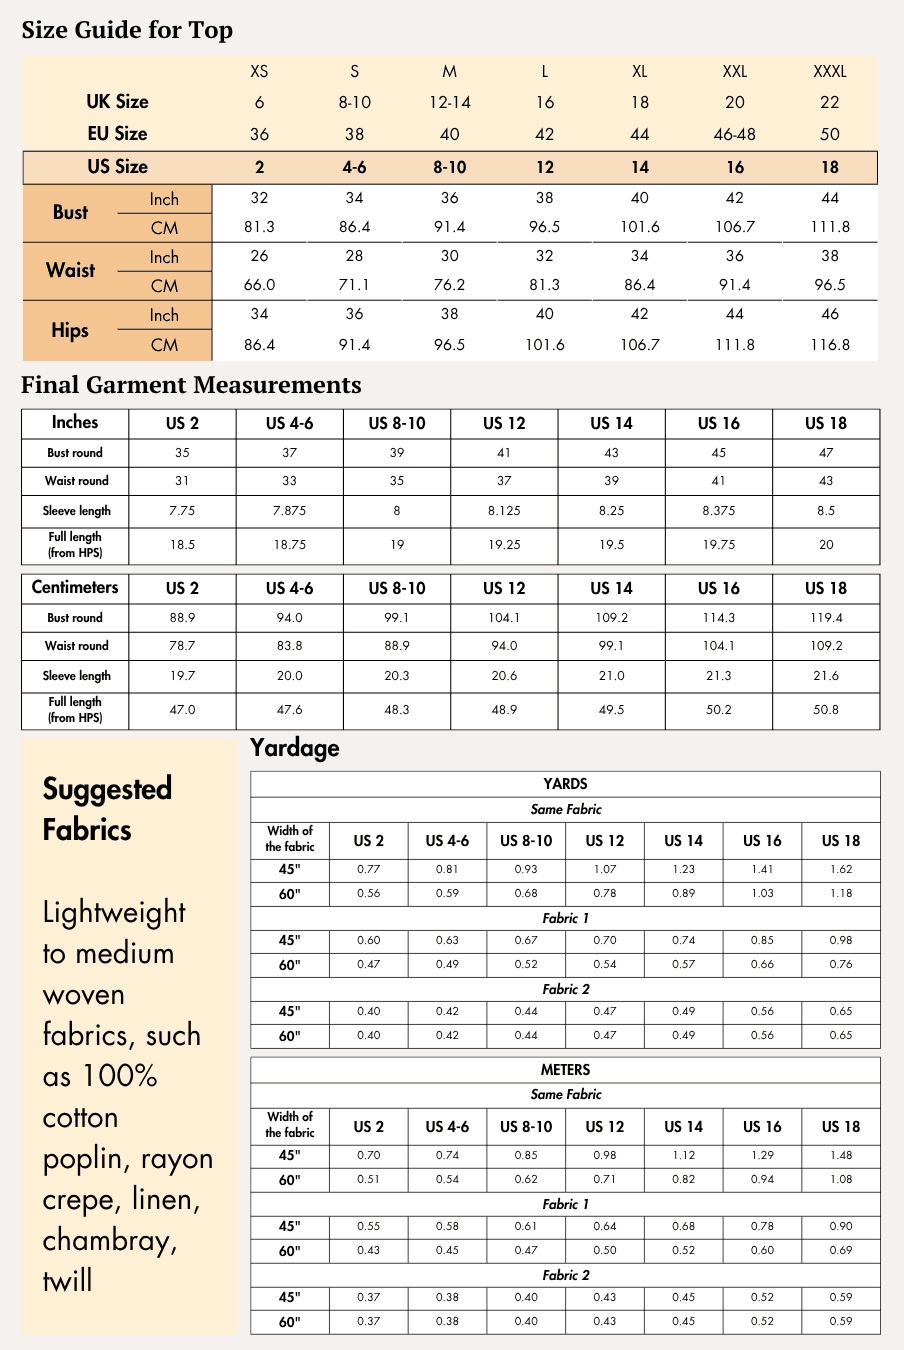
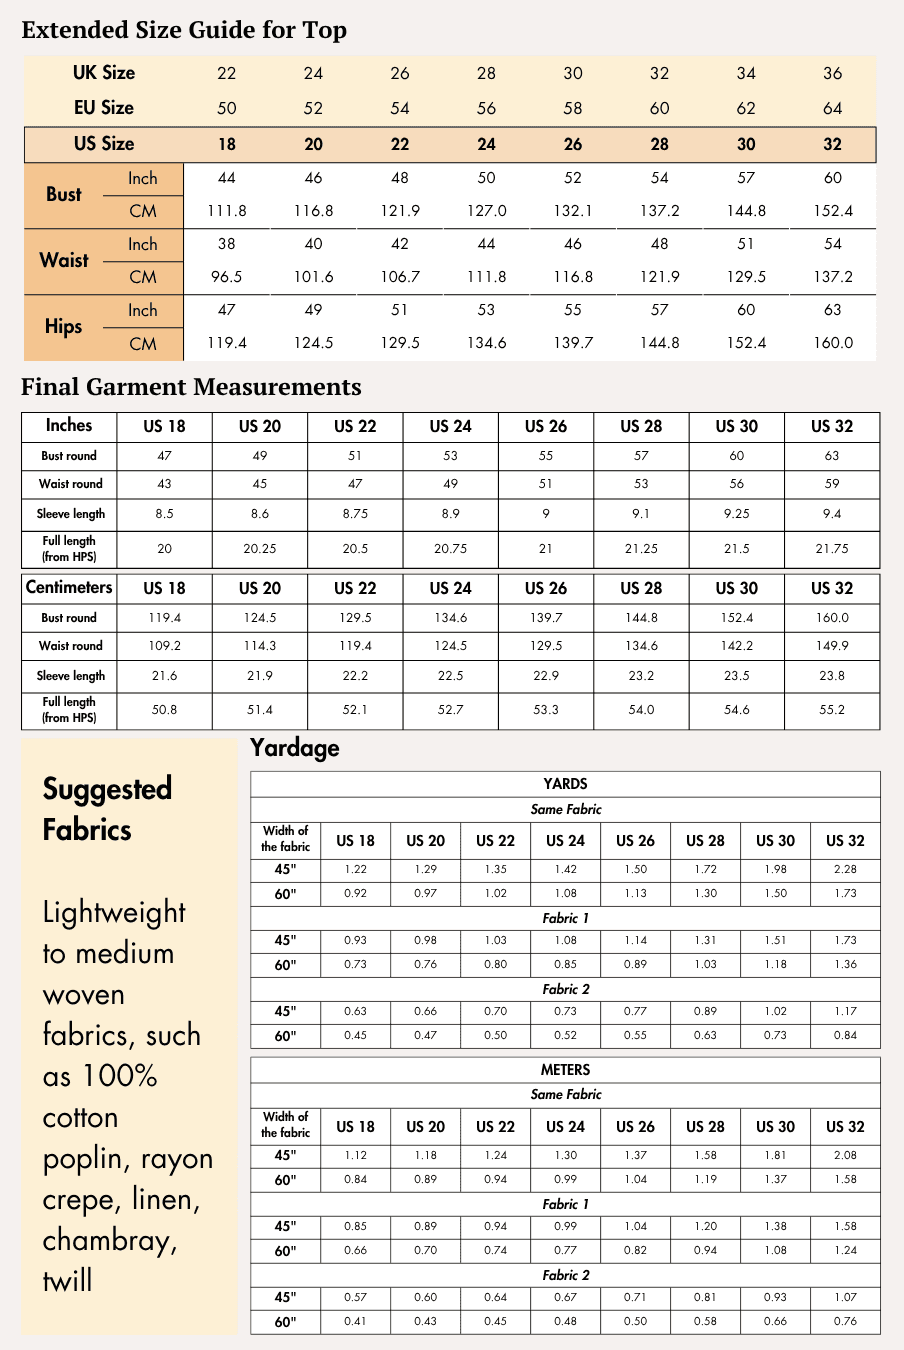
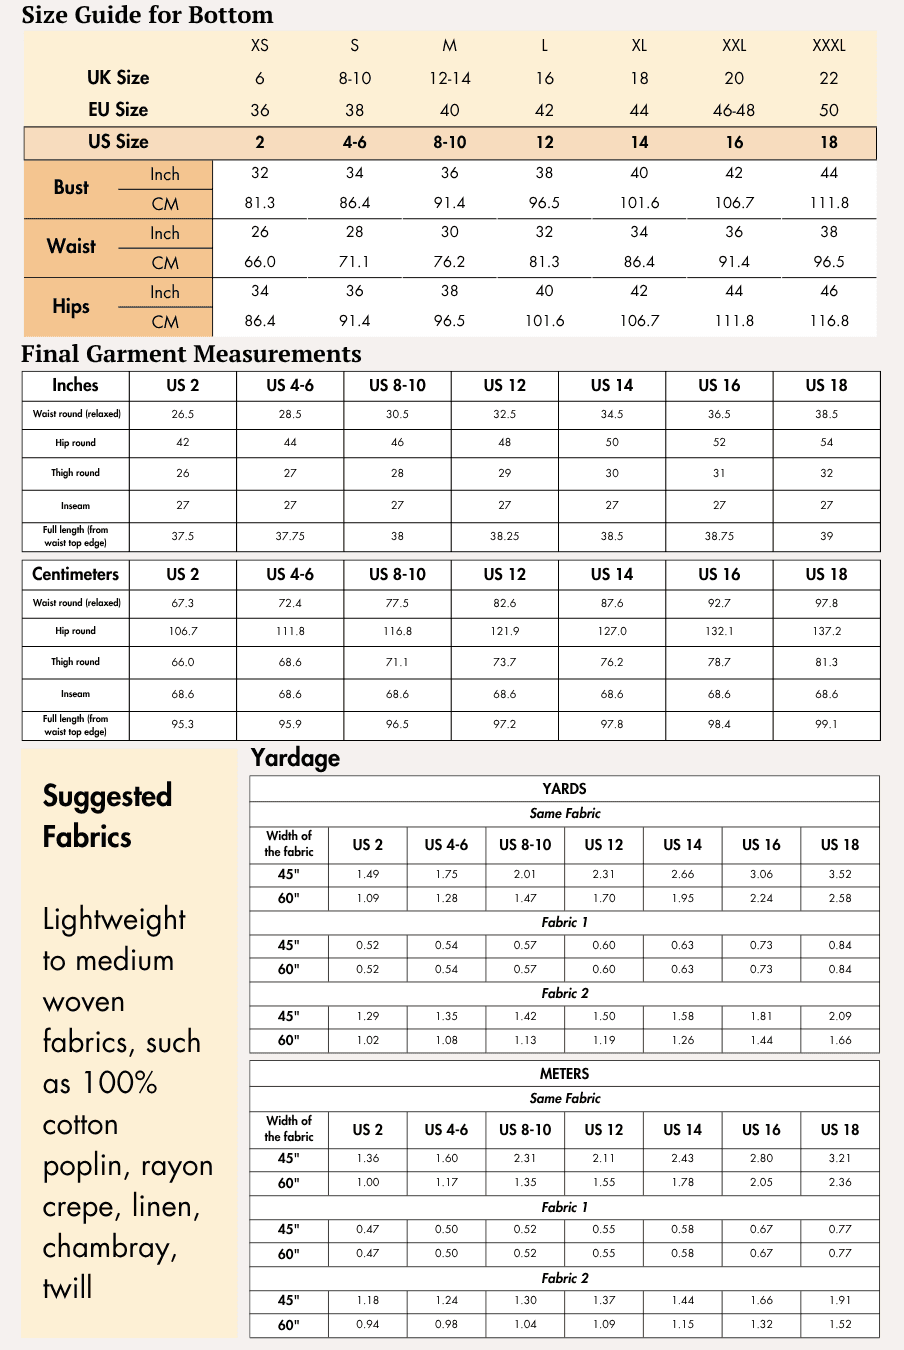
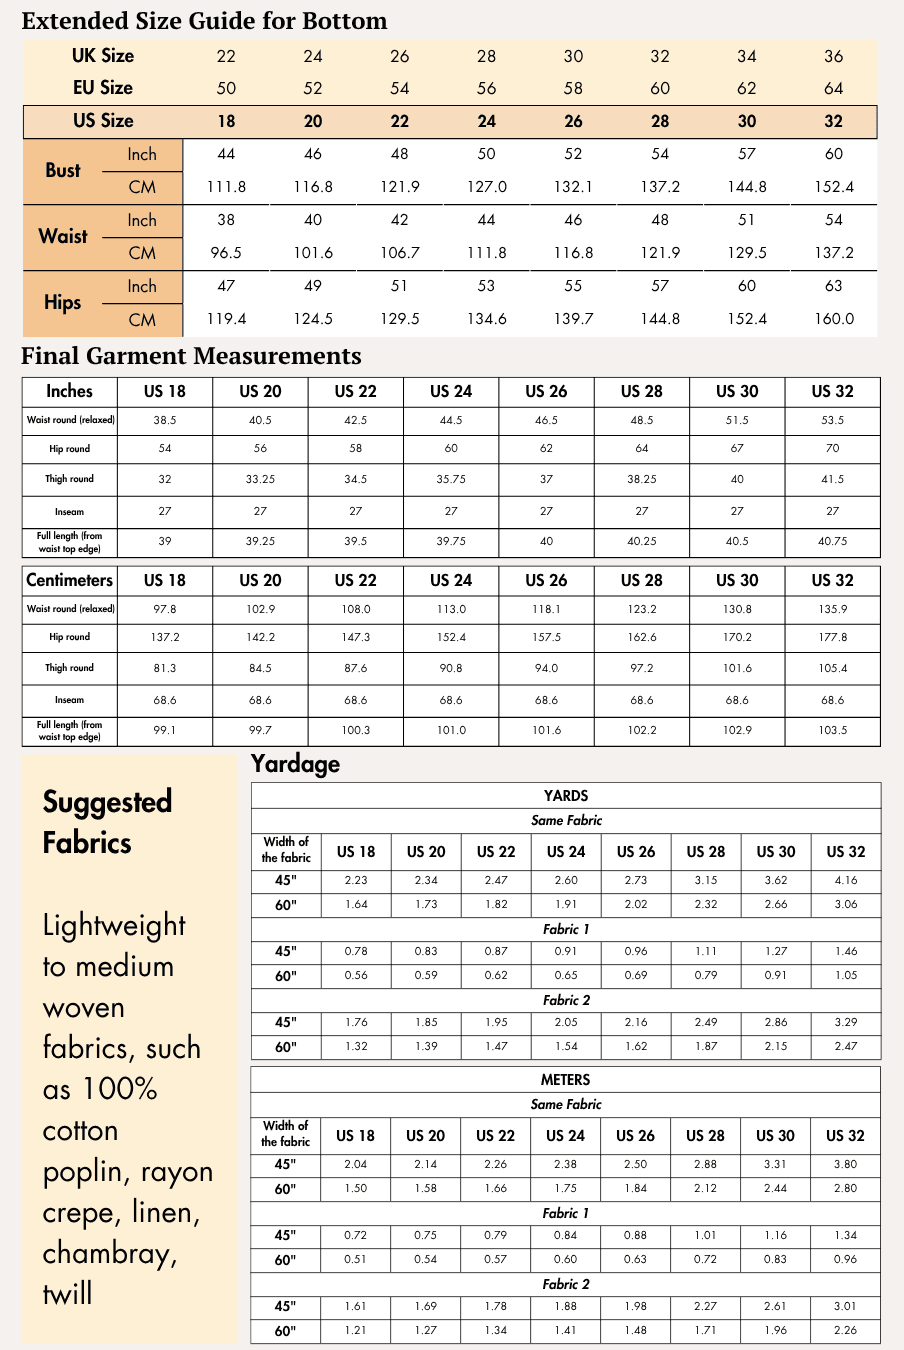
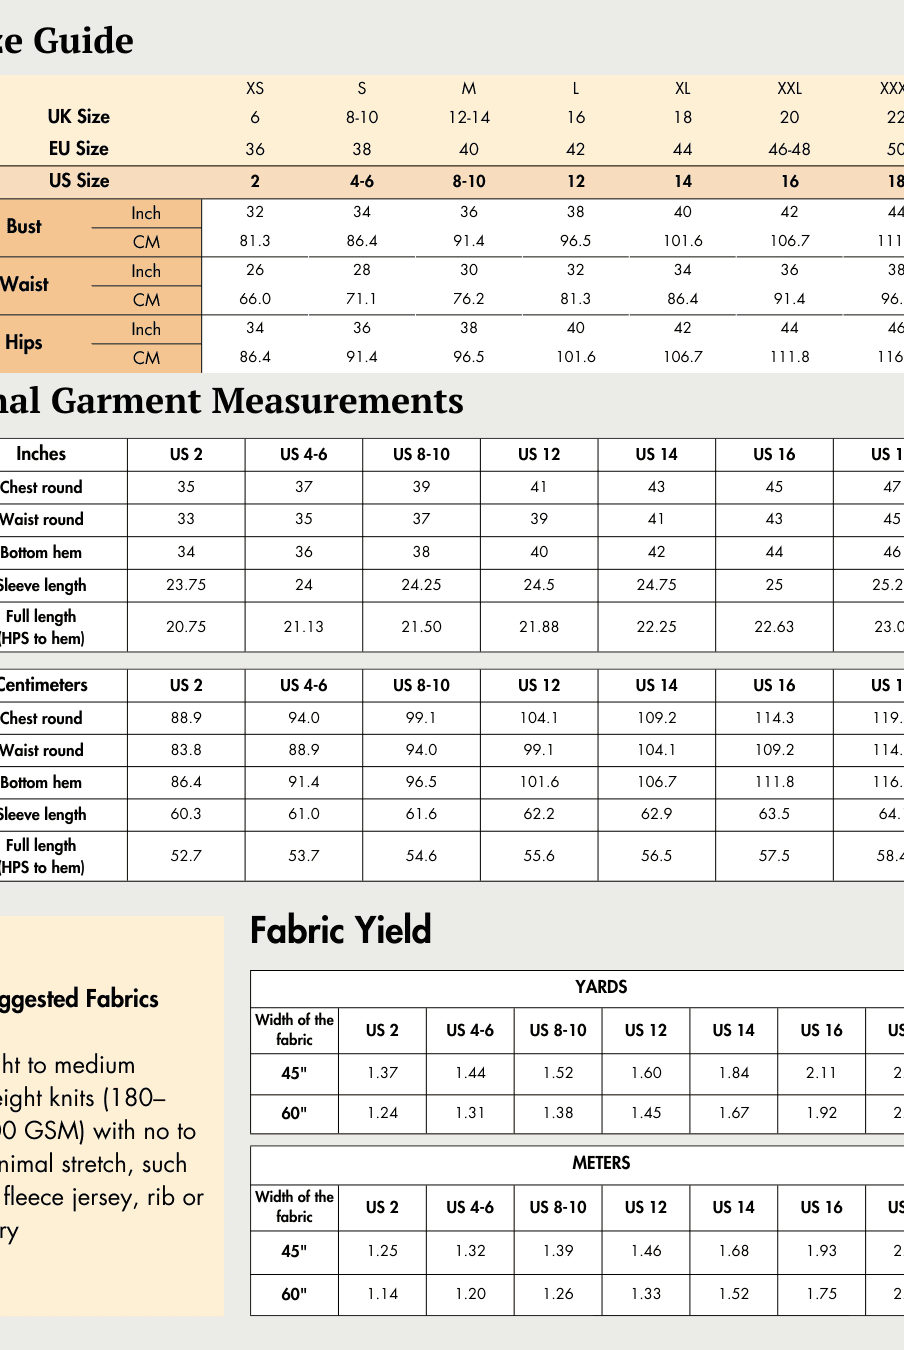
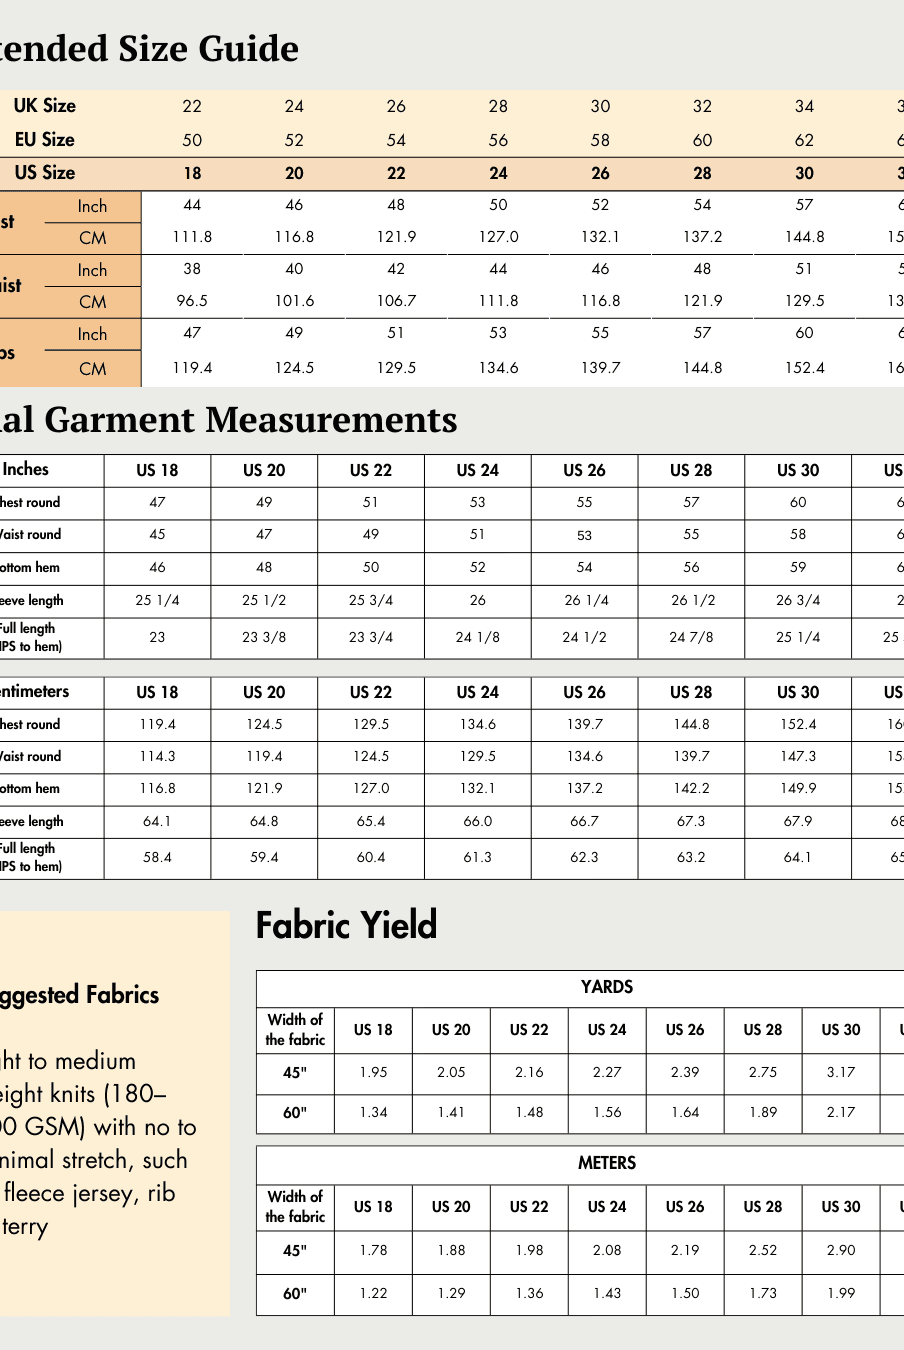
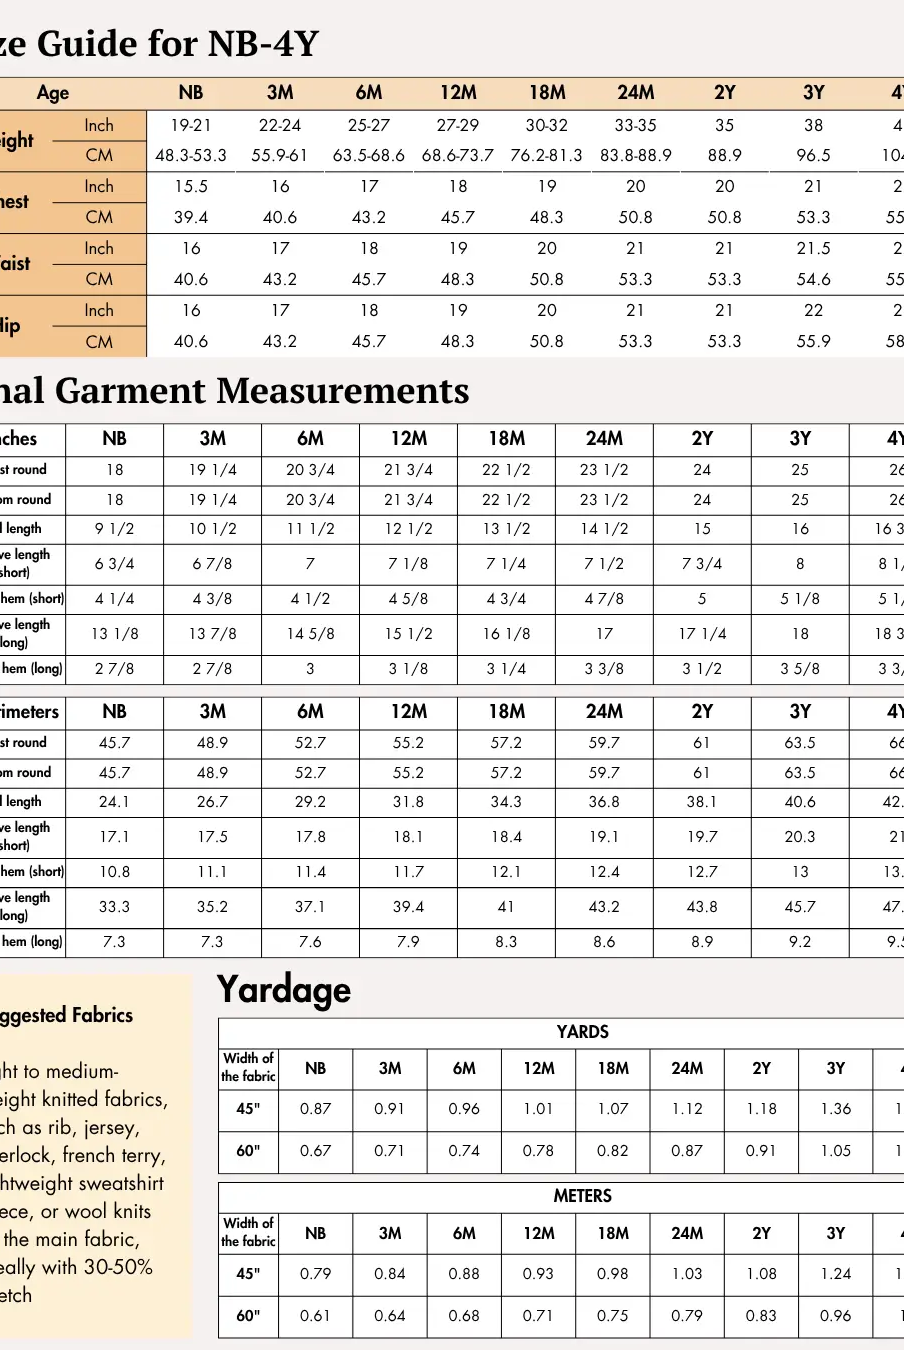
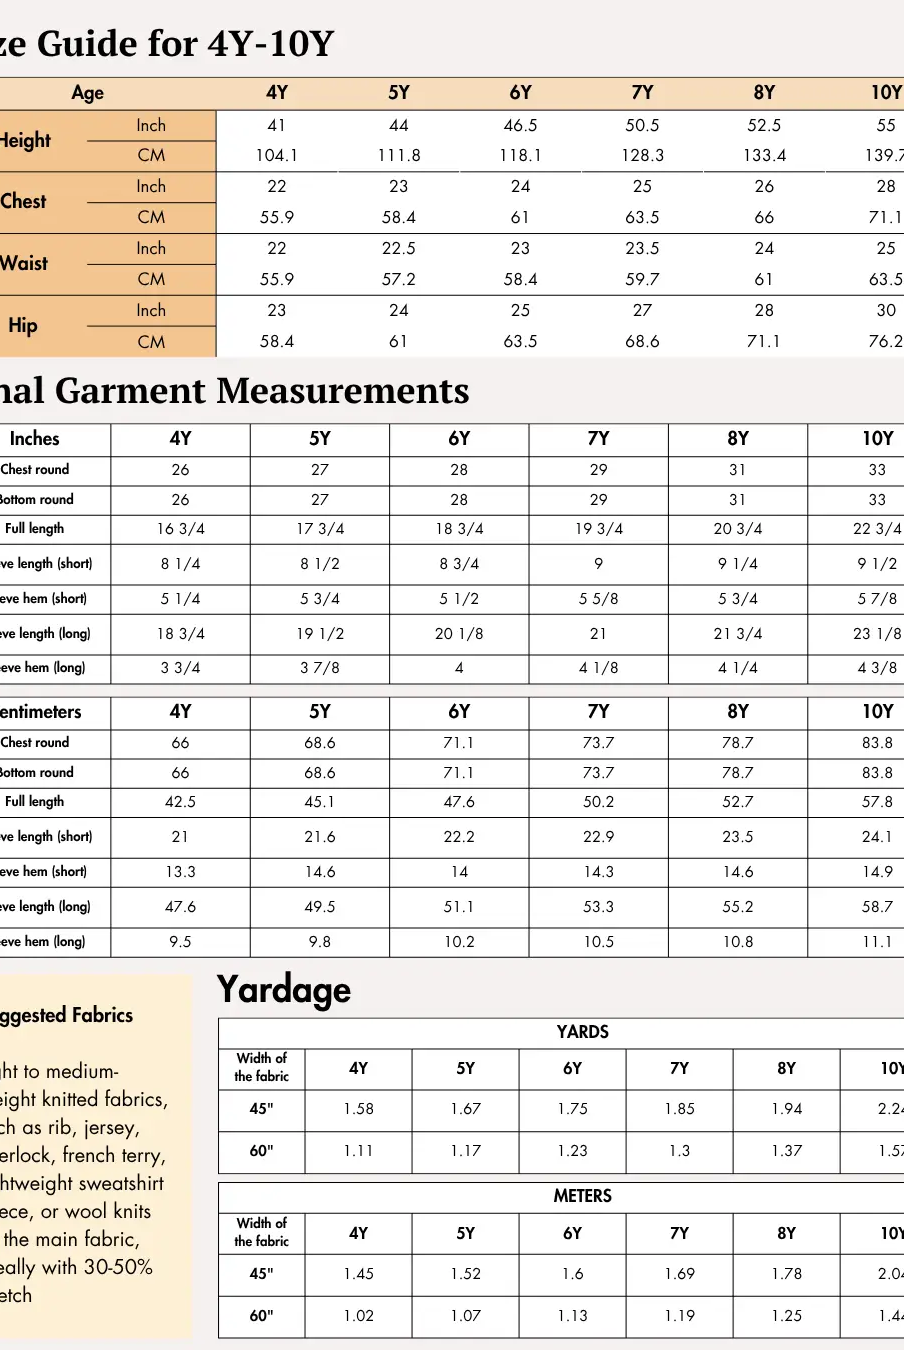
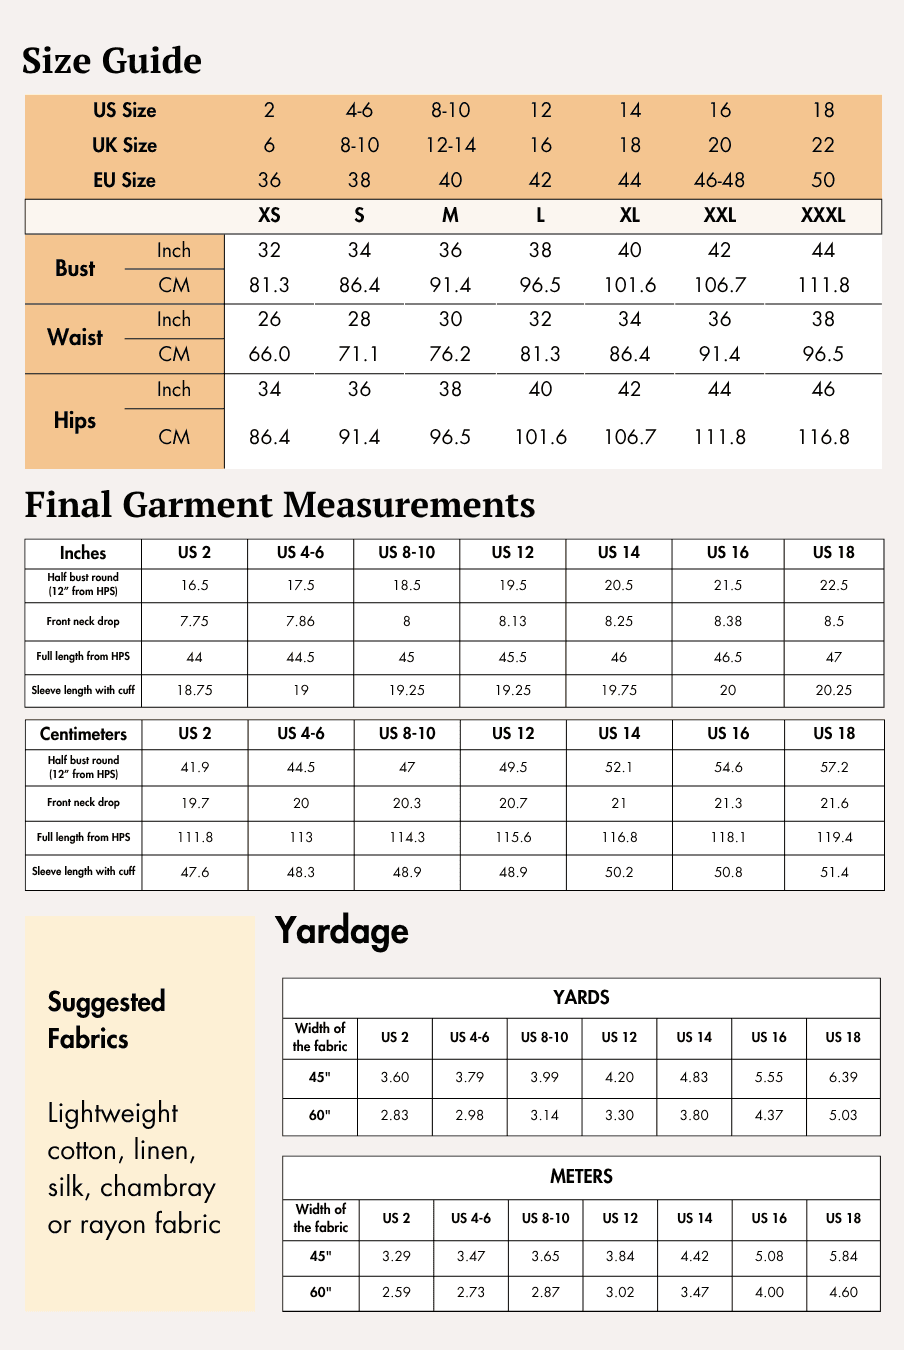
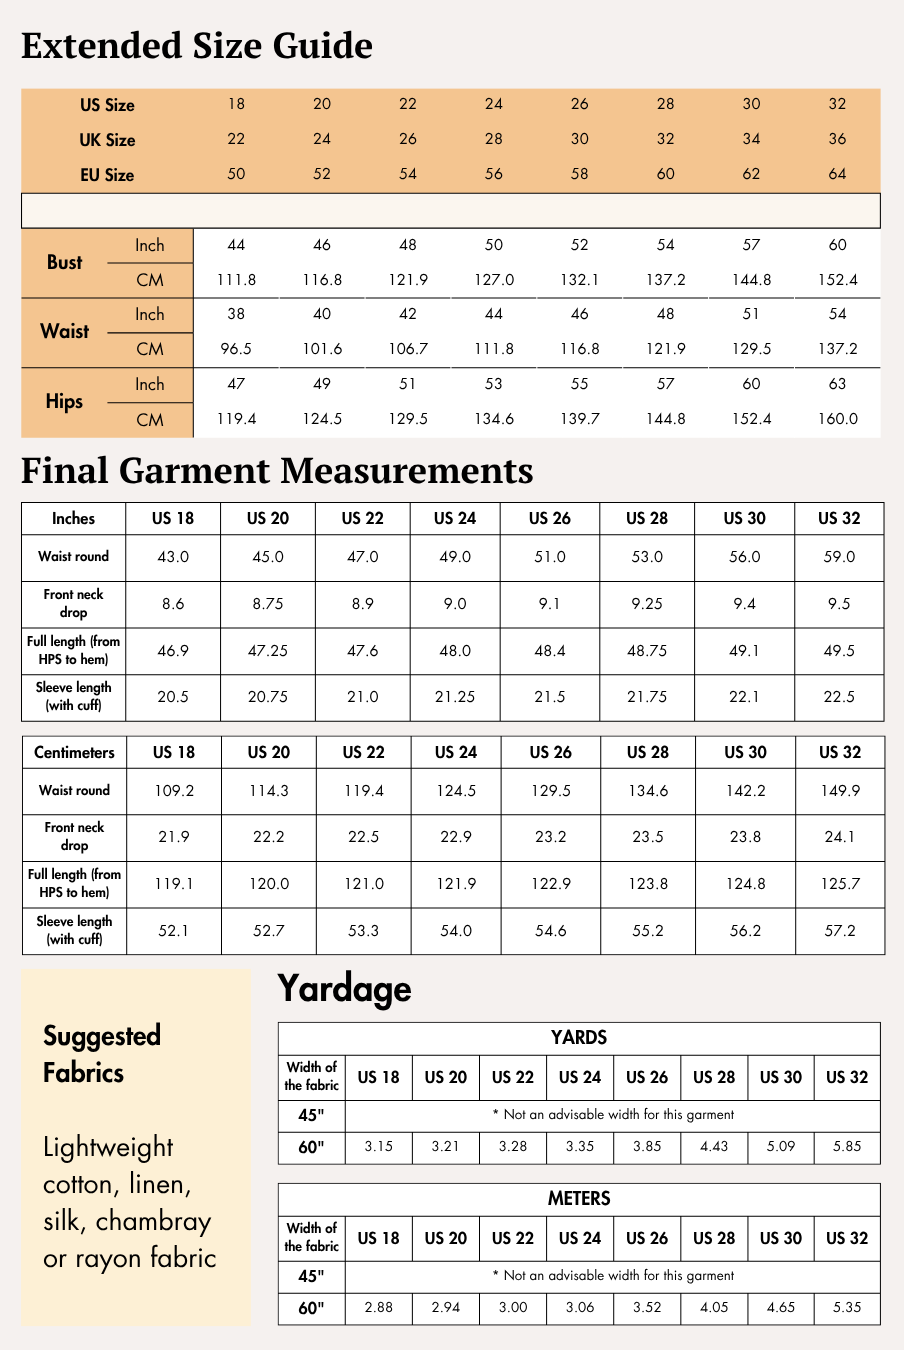
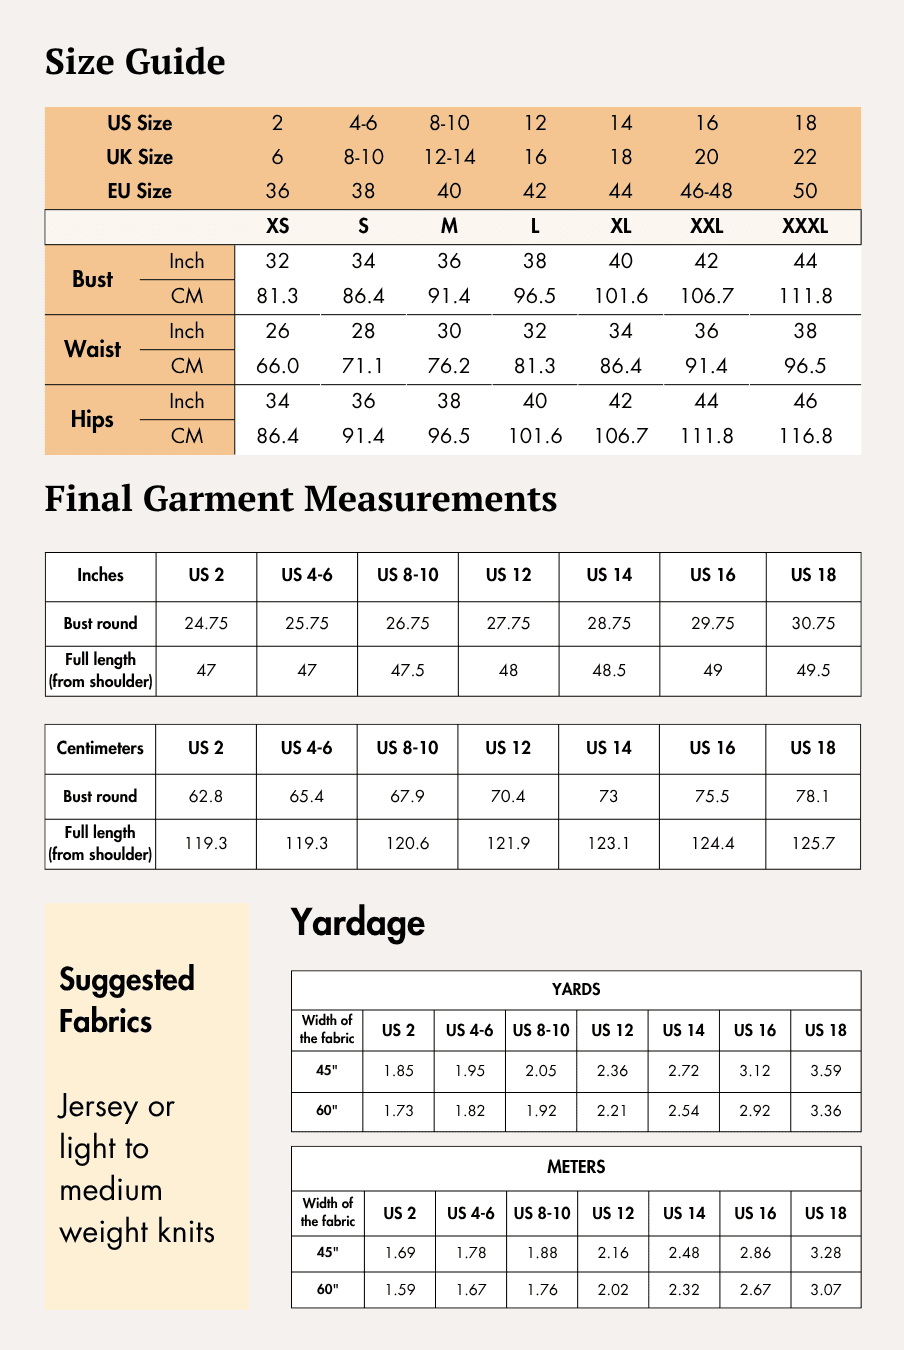
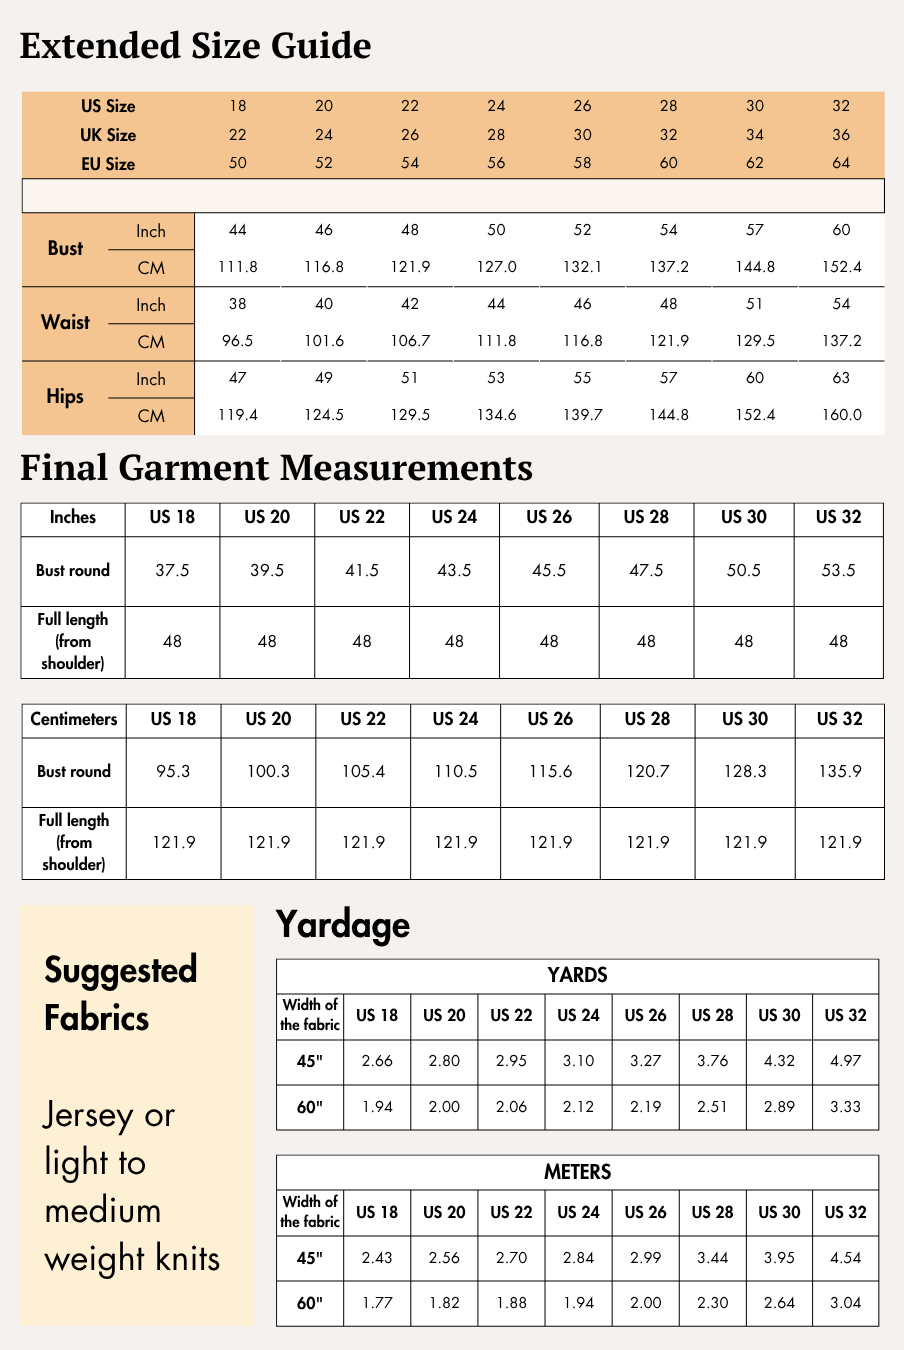
Check the size charts and measure yourself to select the correct size, using the garment and body measurement tables in the guide.
Verify how much fabric you need by referencing the fabric yield table in the guide.
Pattern Inventory: What Pieces to Prepare
Puff Sleeves Ruched Top

Prepare the following pattern pieces exactly as listed in the guide:
- A. Front — cut x2 fabric
- B. Back smocking block — cut x1 fabric
- C. Side back — cut x2 fabric
- D. Center back smocking ready — cut x0 fabric
- E. Sleeve — cut x2 fabric
Pattern D is used to measure the correct smocking panel size after the back smocking block has been sewn.
Tiered Midi Skirt

Prepare:
- A. Front frill — cut x2 fabric
- B. Second frill — cut x2 fabric
- C. Third frill — cut x4 fabric
- D. Waistband — cut x2 fabric
Both guides provide A4/US Letter pattern files for home printing and A0 pattern files for copy-shop printing.
Pattern Marking
Puff Sleeves Ruched Top

The top includes markings for:
- Grainline
- Seam allowance
- Center front
- Neckline
- Neckline fold line
- Across back
- Side seams
- Panel notch
- Armhole notches
- Front and back armholes
- Center sleeve notch
- Gather markings
- Hem
Tiered Midi Skirt

The skirt includes:
- Grainlines
- Seam allowances
- Waistlines
- Center waist notches
- Side seams
- Gather markings
- Panel line 1
- Panel line 2
- Hem 1
- Hem 2
- Hem 3
Cutting Layout
The Puff Sleeves Ruched Top guide provides cutting layouts for 45-inch and 60-inch fabric widths. The small size is used to illustrate both layouts.


The Tiered Midi Skirt guide also provides layouts for 45-inch and 60-inch fabric widths, with the large size used for representation.

For both garments, arrange the pieces so the grainline remains parallel to the selvage. The guides state that the layouts are non-directional and recommend purchasing additional fabric when working with nap or directional prints.
Fabric Cutting and Preparation
Arrange the pattern pieces according to the provided cutting layouts, making sure each grainline arrow runs parallel to the fabric selvage.
If you're cutting with fabric shears, trace the pattern pieces first and then cut them out, cutting away any remaining pen, pencil, or chalk lines. Remember to cut all notches because these help align the pieces during construction.
Transfer markings such as circles, buttonholes, and fold lines to the wrong side of the fabric using a suitable marking tool. Mark the center front on any pieces cut on the fold to help with accurate alignment.
Seam Allowance
For the Puff Sleeves Ruched Top:
Please follow the seam allowances as indicated on the pattern’s file layers. These are provided specifically for each piece to ensure accurate construction.
This pattern uses 1 cm (3/8") seam allowance all around, 1.3 cm (1/2") at the armhole of the side back, 3.8 cm (1 1/2") all around of the back smocking block and 2 cm (3/4") at the sleeve hem and sleeve armhole.
For the Tiered Midi Skirt:
Please follow the seam allowances as indicated on the pattern file layers. These are provided specifically for each piece to ensure accurate construction.
This pattern uses a 1 cm (or 0.5 inch) seam allowance all around and 2.5 cm (or 1 inch) at the hem.
Step-by-Step Sewing Instructions
Puff Sleeves Ruched Top
1. For creating gathers
1a. Set your sewing machine to a 5–7 mm stitch length. Sew within the seam allowance of the front piece (Pattern A) where the gather notches are marked.
1b. Tie the basting threads at one end. Pull the thread from the opposite end to create gathers. Adjust the gathered front until its side seam length matches the side seam of the back piece (Pattern C).
2. For finishing the top of the smocking block
2a. Place a 1/4" elastic strip on top of the seam allowance of the back smocking block (Pattern B). The elastic can match the length of the smocking pattern or be shortened by 0.5"–1" for a tighter fit.
2b. Fold the hem seam allowance twice to encase the elastic, or sew a casing first and insert the elastic afterward.
3. For creating smocking
Use elastic thread in the bobbin for the smocking or shirring lock stitches and decrease the sewing machine thread tension. Test the technique on a fabric sample before working on the final garment.
The guide allows you to use as many smocking lines as desired. The sample garment has 32 lines of smocking across the back. Mark 32 evenly spaced lines, secure the loose elastic thread end, and sew the smocking lines across the back smocking block.
Use the Center Back Smocking Ready piece (Pattern D) as a guide to trim the completed smocking block to the correct size.
4. For creating the back top panel
4a. Place one Side Back piece (Pattern C) onto the prepared smocking block with the elastic in the casing, right sides together. Match the panel notches.
4b. Sew along the panel seamline.
4c. Open the pieces along the seamline and press.
4d. Repeat Steps 4a–4c with the second Side Back piece on the opposite side of the back smocking block.
5. For preparing the sleeves
5a. Place a 0.3" (8 mm) elastic strip along the armhole of the sleeve (Pattern E). Shorten the elastic by 1"–2", depending on the desired tightness.
5b. Fold the armhole seam allowance twice to enclose the elastic, or create a casing and insert the elastic afterward.
5c. For the sleeve hem, use a 1/4" (6 mm) elastic strip shortened by 0.5"–1", depending on the desired tightness.
5d. Fold the sleeve hem seam allowance to enclose the elastic, or prepare a casing beforehand.
Repeat the same process for the second sleeve.
6. For attaching sleeves to the gathered front and prepared back top
6a. Place the front armhole of the sleeve onto the gathered front armhole with right sides together. Match the armhole notches.
6b. Fold the gathered front along the neckline fold line toward the right side and place it on the wrong side of the sleeve. Sew the pieces together.
6c. Place the back armhole of the sleeve onto the armhole of the prepared back top.
6d. Align the seamline and sew the pieces together.
6e. Keep the top wrong side out.
7. Align the side seam of the sleeve with the front and back panels of the top. Sew the side seam together.
8. Repeat Steps 6 and 7 on the opposite side of the top to attach the second sleeve.
9. For attaching the center front of the top
Place the front pieces right sides together and align the seamlines. Sew them together.
Attach a 6 mm wide elastic strip that is 5 inches shorter than the center front length to the seam allowance, stretching it evenly while stitching. Alternatively, the elastic and center-front seamline can be sewn together in one step.
10. Use a zig-zag stitch to finish the raw edge of the front fold-line hem.
11. Fold the across-back edge twice along the seamline and press. Sew to finish the raw edge. Repeat on the opposite across-back edge.
12. Place a 1/4" elastic strip along the hem of the back smocking panel and pin it in place. Fold the top hem twice along the seamline and press. Starting at a side seam, sew along the folded edge and continue around the hem until you reach your starting point.


Tiered Midi Skirt
1. For creating first frill and second frill panels
1a. Place the first frill pieces right sides together.
1b. Sew the side seams on both sides.
1c. Repeat the same process for the second frill pieces.
2. For creating the third frill
2a. Place two third frill pieces right sides together.
2b. Sew one side seam.
2c. Repeat the process for the remaining two third frill pieces, then spread both prepared panels open.
2d. Place the two prepared panels right sides together and sew both side seams.
4. For creating gathers
4a. Set your sewing machine to a 5–7 mm stitch length. Sew within the seam allowance of the first frill where the gather notches are marked.
4b. Tie the basting threads at one end and pull from the opposite end to form gathers.
4c. Repeat the same gathering process for the second and third frill panels.
5. For attaching all frill panels
5a. Insert the first frill panel inside the second frill panel. Align the first frill Hem 1 with the second frill Panel Line 1, keeping right sides together.
5b. Sew the pieces together.
5c. Turn the joined first and second frill panels right side out.
5d. Repeat the same process by aligning the prepared skirt hem with the third frill Panel Line 2, then sew the pieces together.
6. For attaching elastic waistband
6a. Take a 1-inch-wide elastic band. Use an elastic length approximately 2–4 inches shorter than your waist circumference, depending on the desired tightness.
6b. The sewing guide gives two methods for joining the elastic:
i. Cut a muslin piece 1.5 inches long and the same width as the elastic. Place it underneath the elastic ends where they meet and use a zig-zag stitch to secure the join.
ii. Add a 1 cm seam allowance to each elastic end, overlap the ends, and secure them using a zig-zag stitch. The guide notes that this method may create extra thickness when using a heavier elastic.
6c. Place the elastic band on the wrong side of the waistband.
6d. Fold the waistband lengthwise with the elastic enclosed inside.
6e. Place the raw waistband edge along the skirt waistline and pin. Align the waistband seam with the center back. Sew around the waistline, gently stretching the waistband to match the skirt waist as you sew.
6f. Sew along the waistband seam allowance and waistline edge to understitch the seam allowance. This step is optional.
7. Fold the skirt hem twice along the seamline and press. Beginning at a side seam, sew along the folded edge and continue around the entire hem until you return to the starting point.


Ready to Sew Your Own Cottagecore Coord Set?


The Winslet's Cottagecore Set Sewing Pattern combines a romantic square-neck ruched top with a relaxed tiered midi skirt, giving you two versatile pieces from one sewing project. Techniques such as ruching, smocking, elastic insertion, gathering, and tier assembly make it a satisfying project for intermediate sewists looking to expand their skills.
Once finished, wear the top and skirt together for the complete cottagecore look or mix them with other handmade wardrobe pieces. Download the pattern, choose your favorite lightweight woven fabrics, and enjoy creating a coord set designed for warm, relaxed days.
Explore More Sewing Patterns
Browse our Coord Set Sewing Pattern Collection for more handmade matching sets that can be worn together or mixed and matched with other pieces in your wardrobe.
Join the Community & Get Support
Share your finished Cottagecore Set Sewing Pattern on social media with #MadeWithWinslets. If you have questions, feedback, or customization requests, contact the Winslet's team at support@winslets.com.