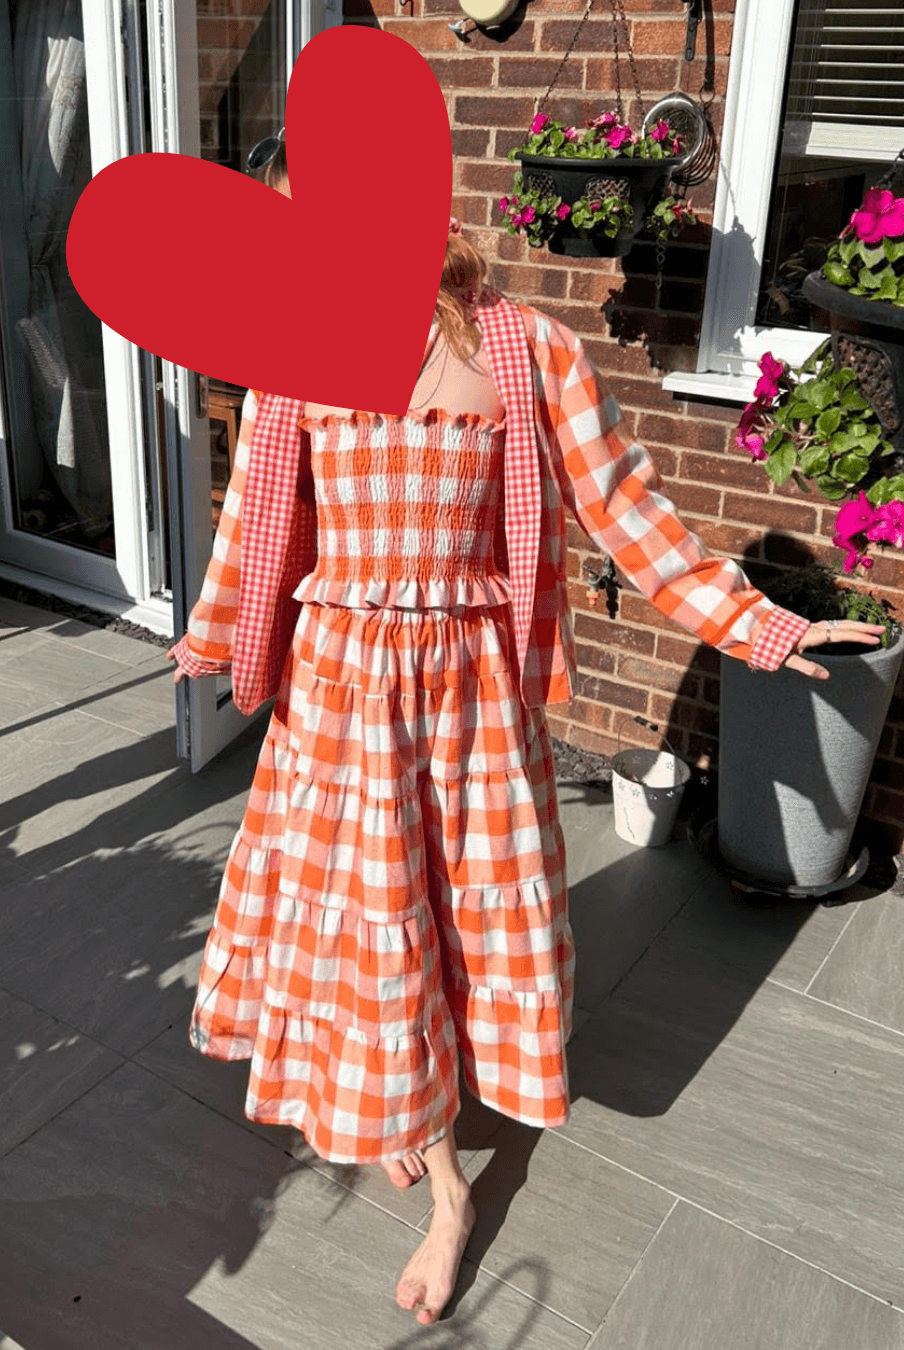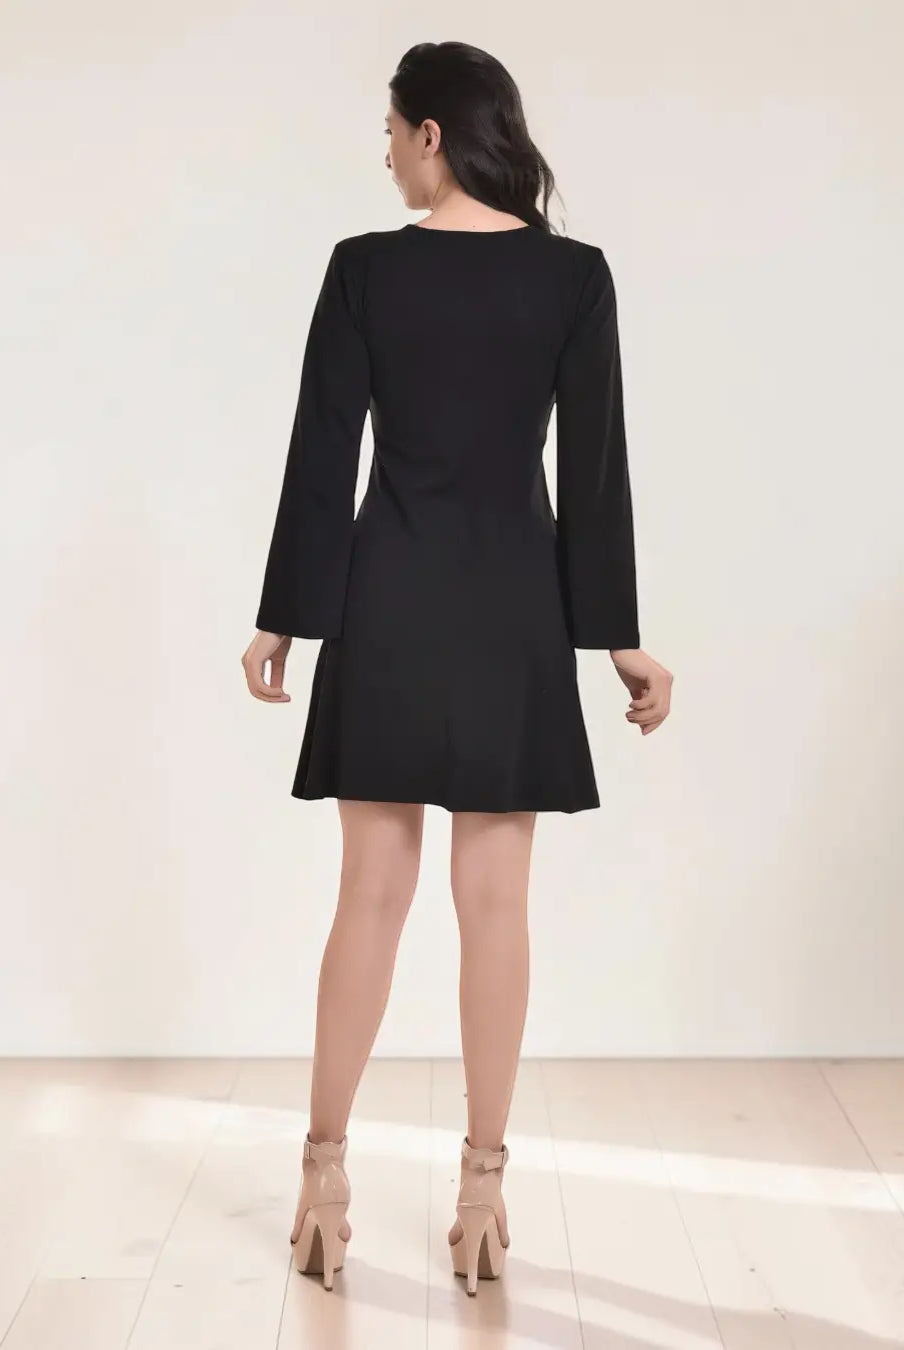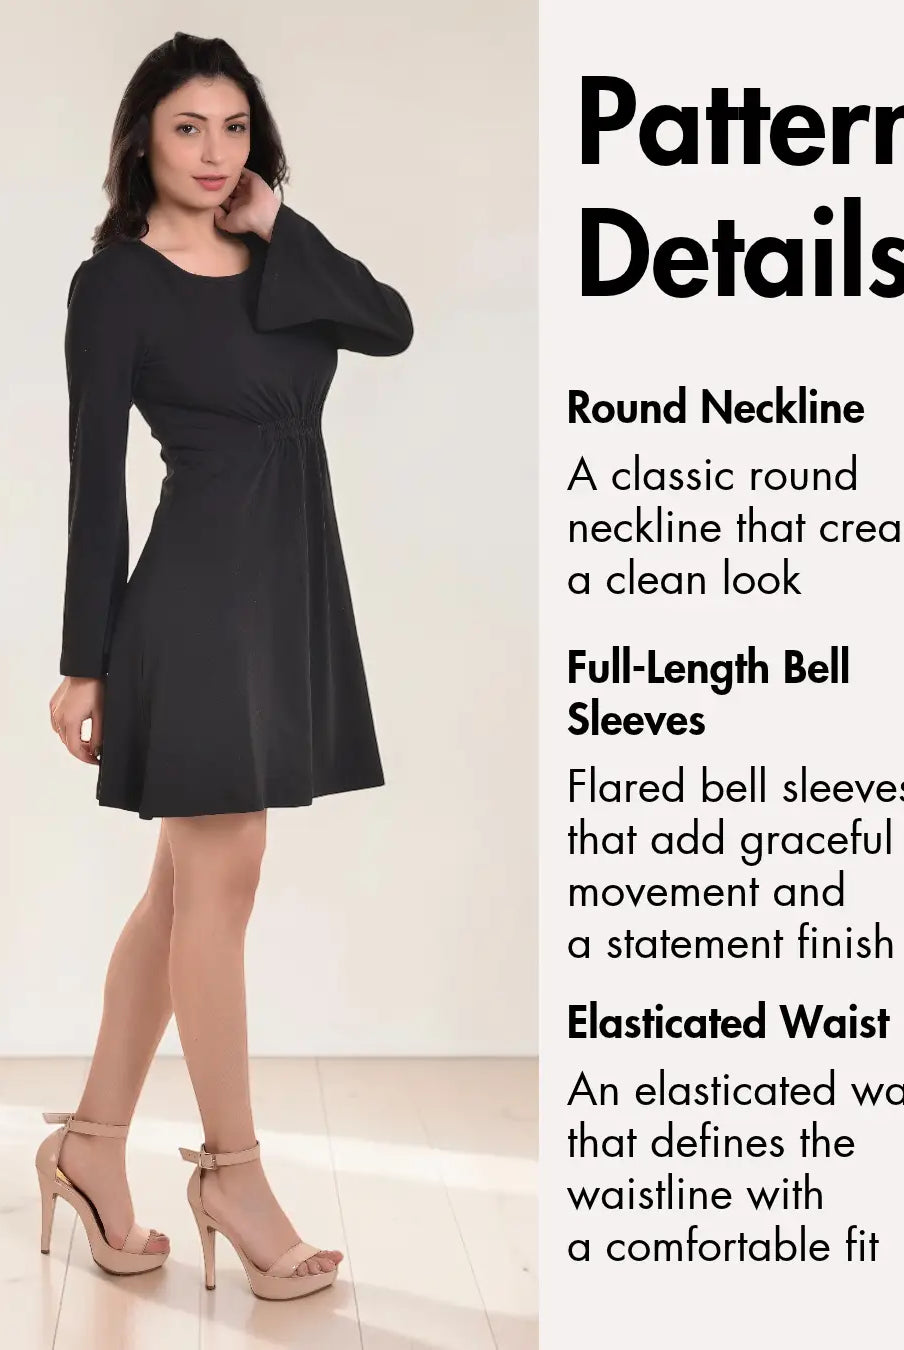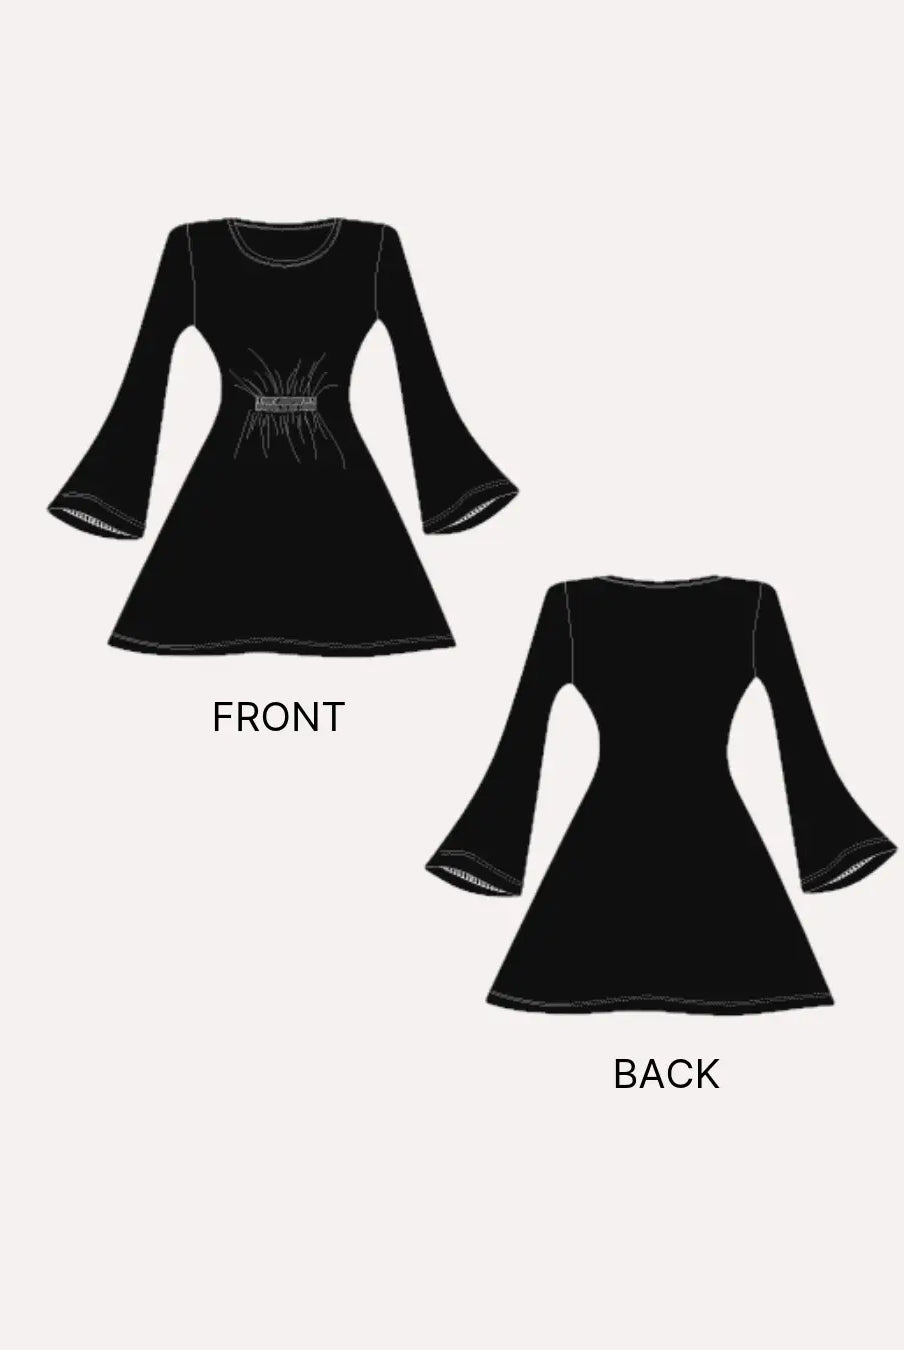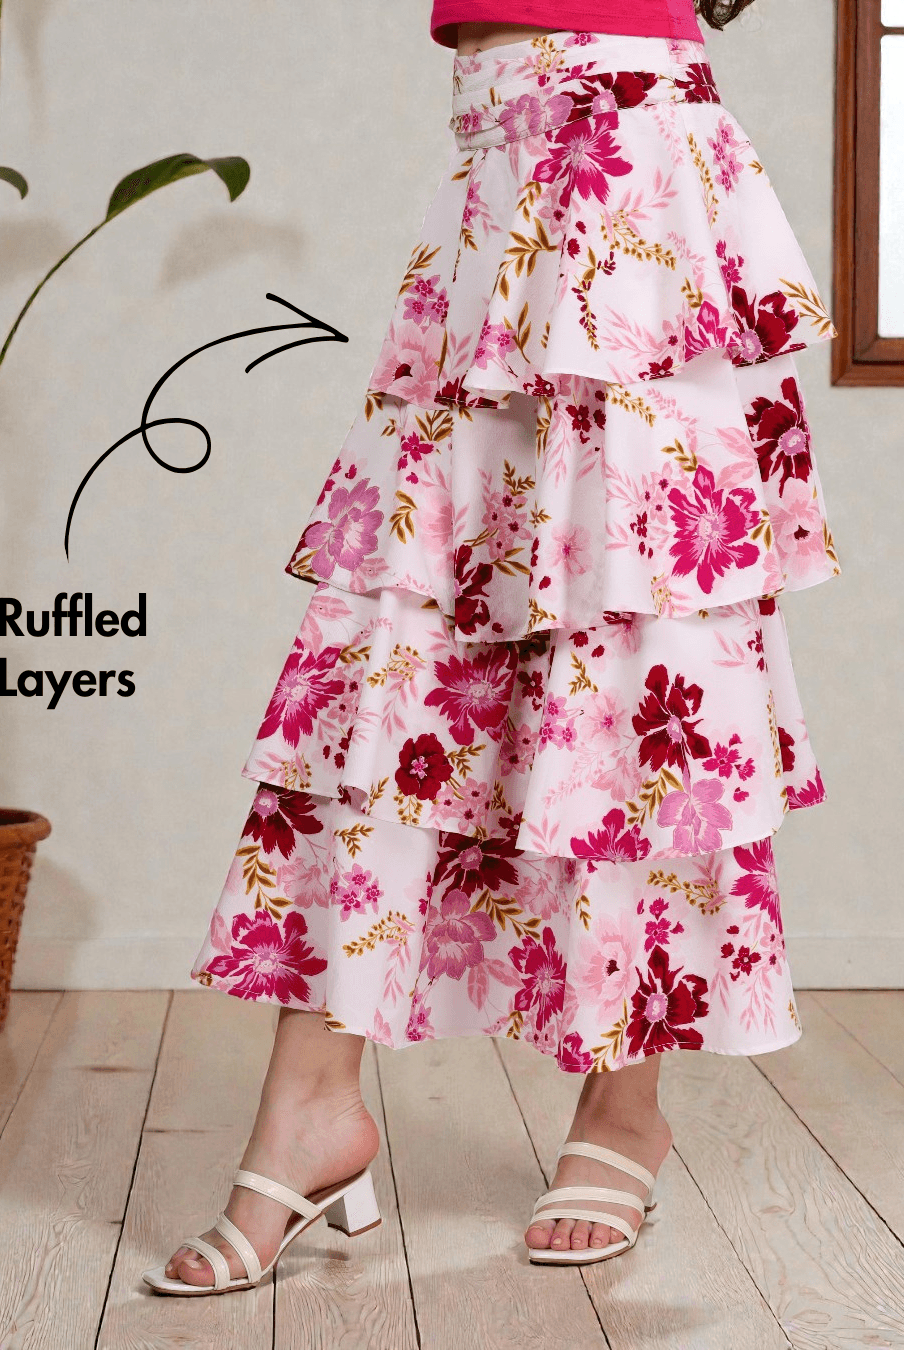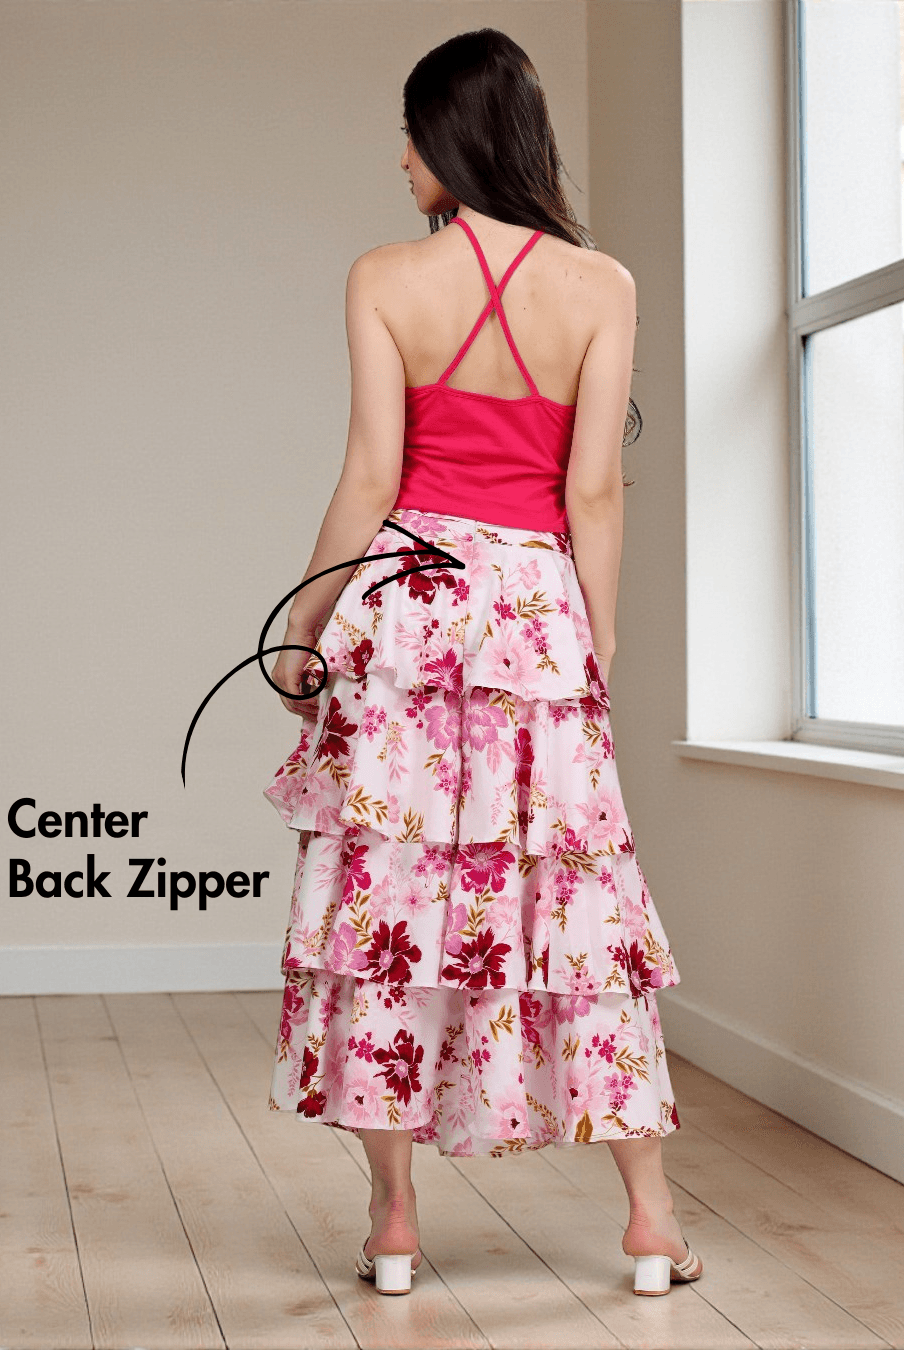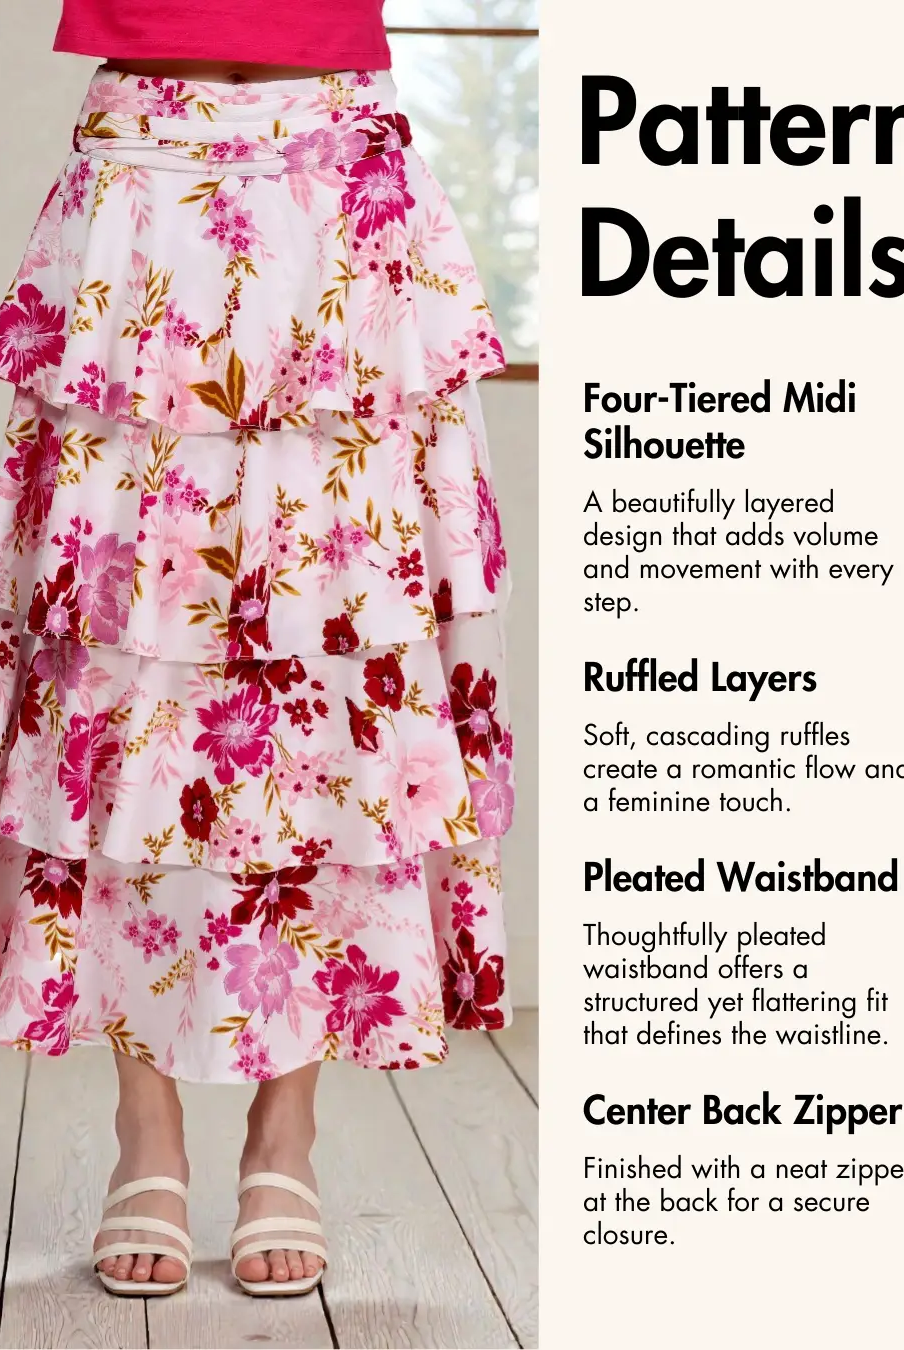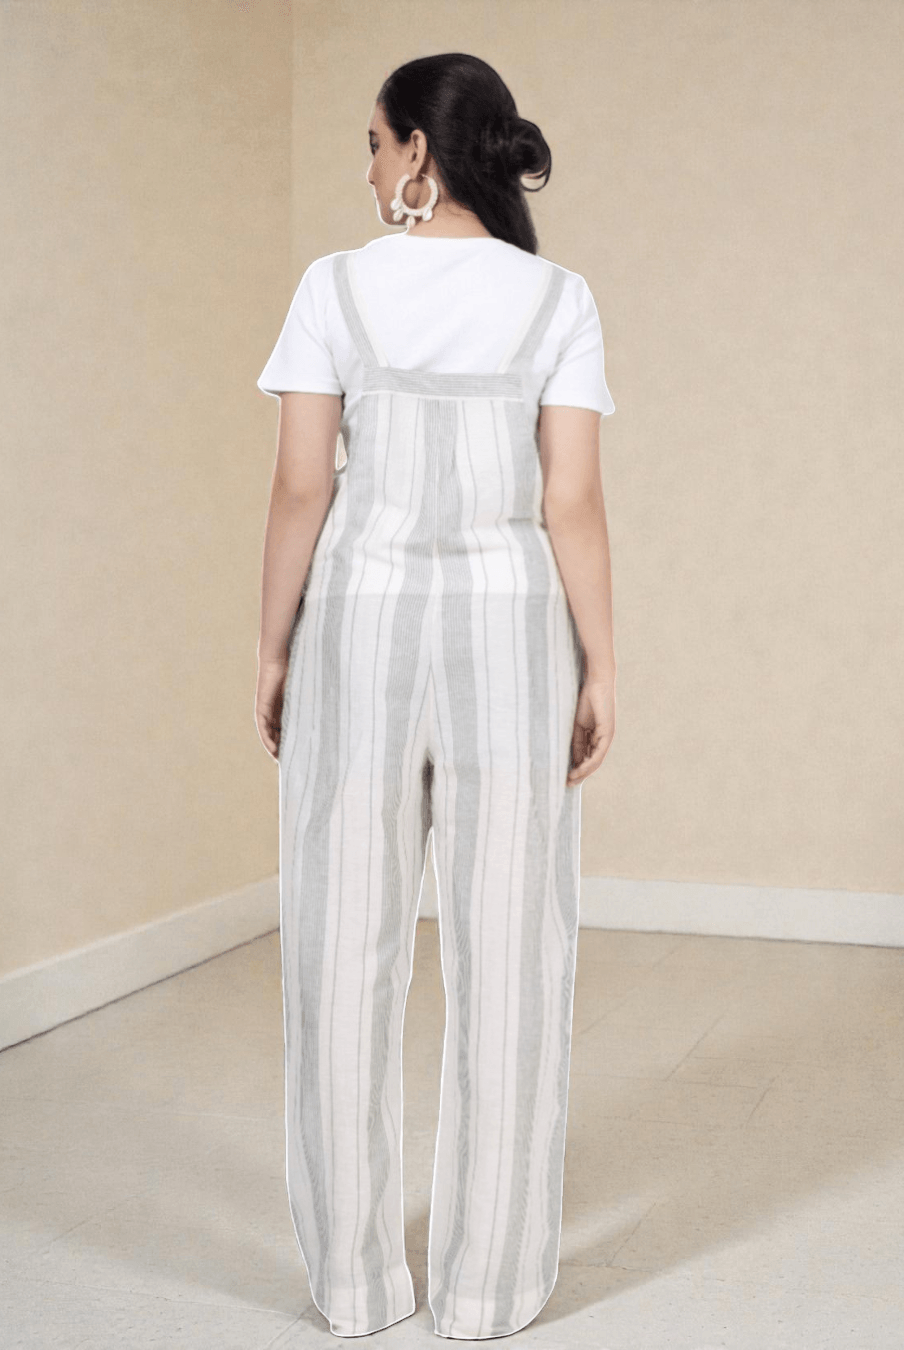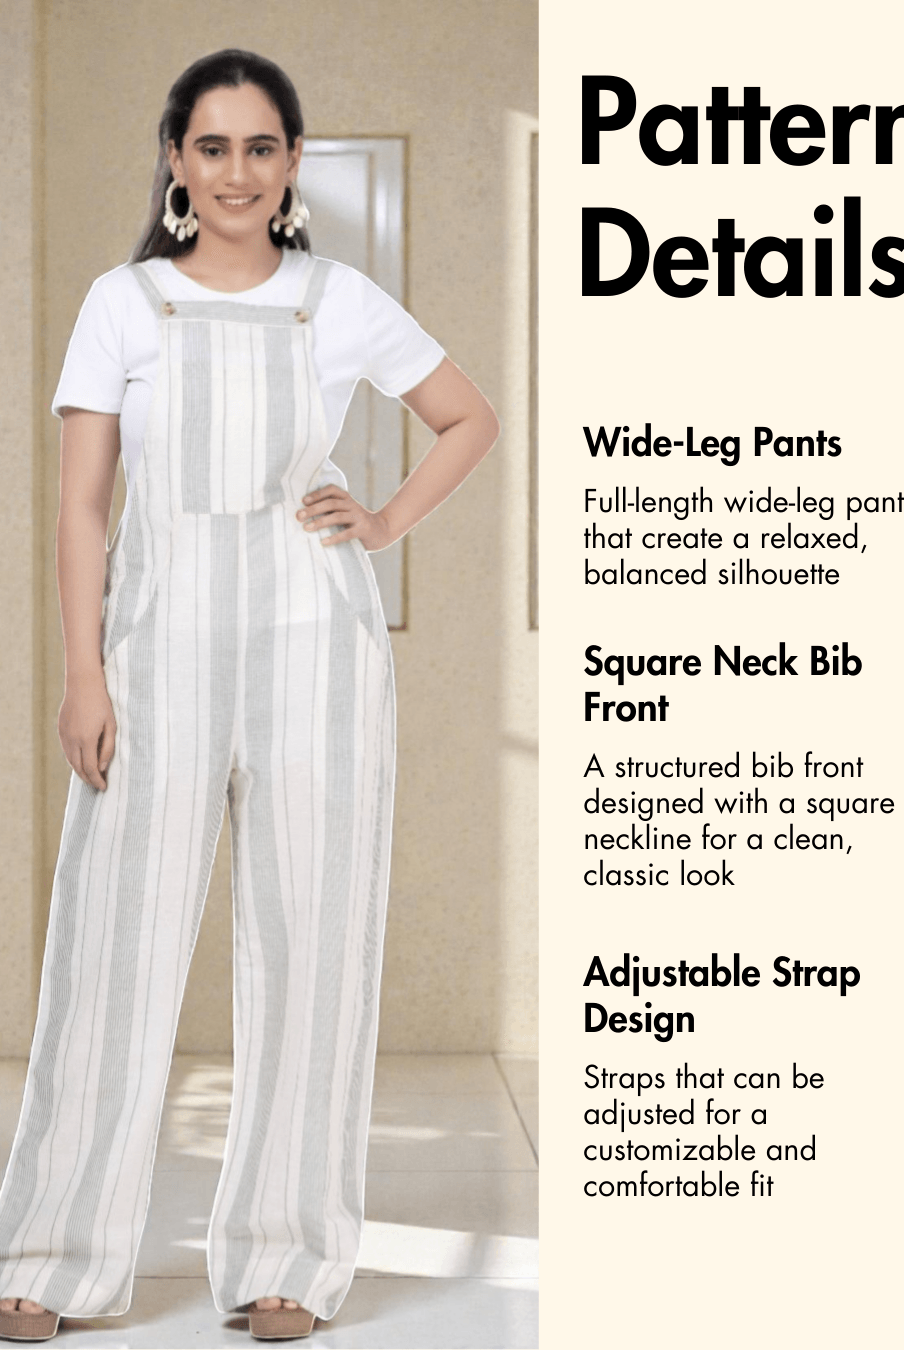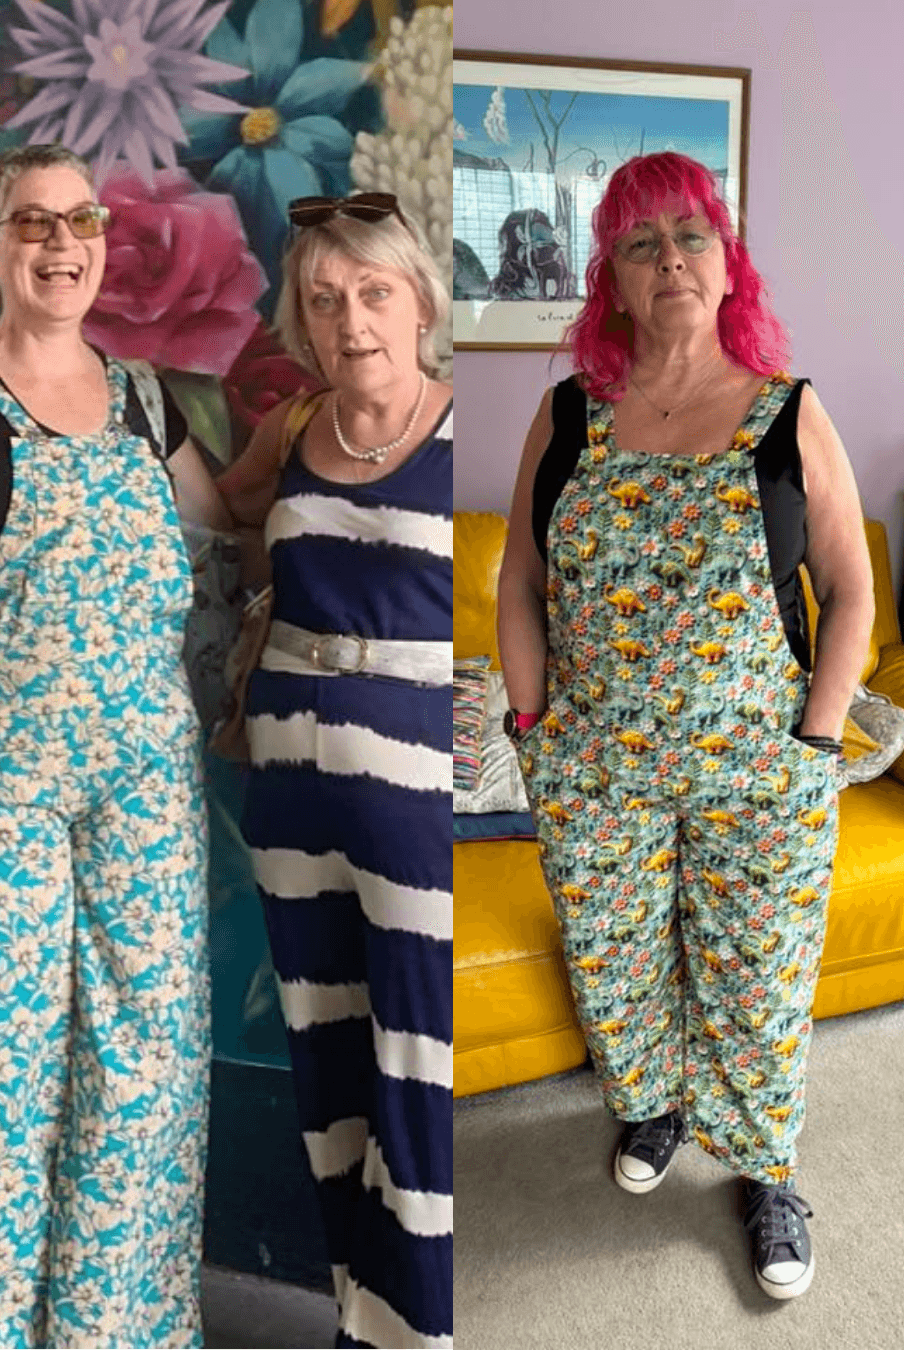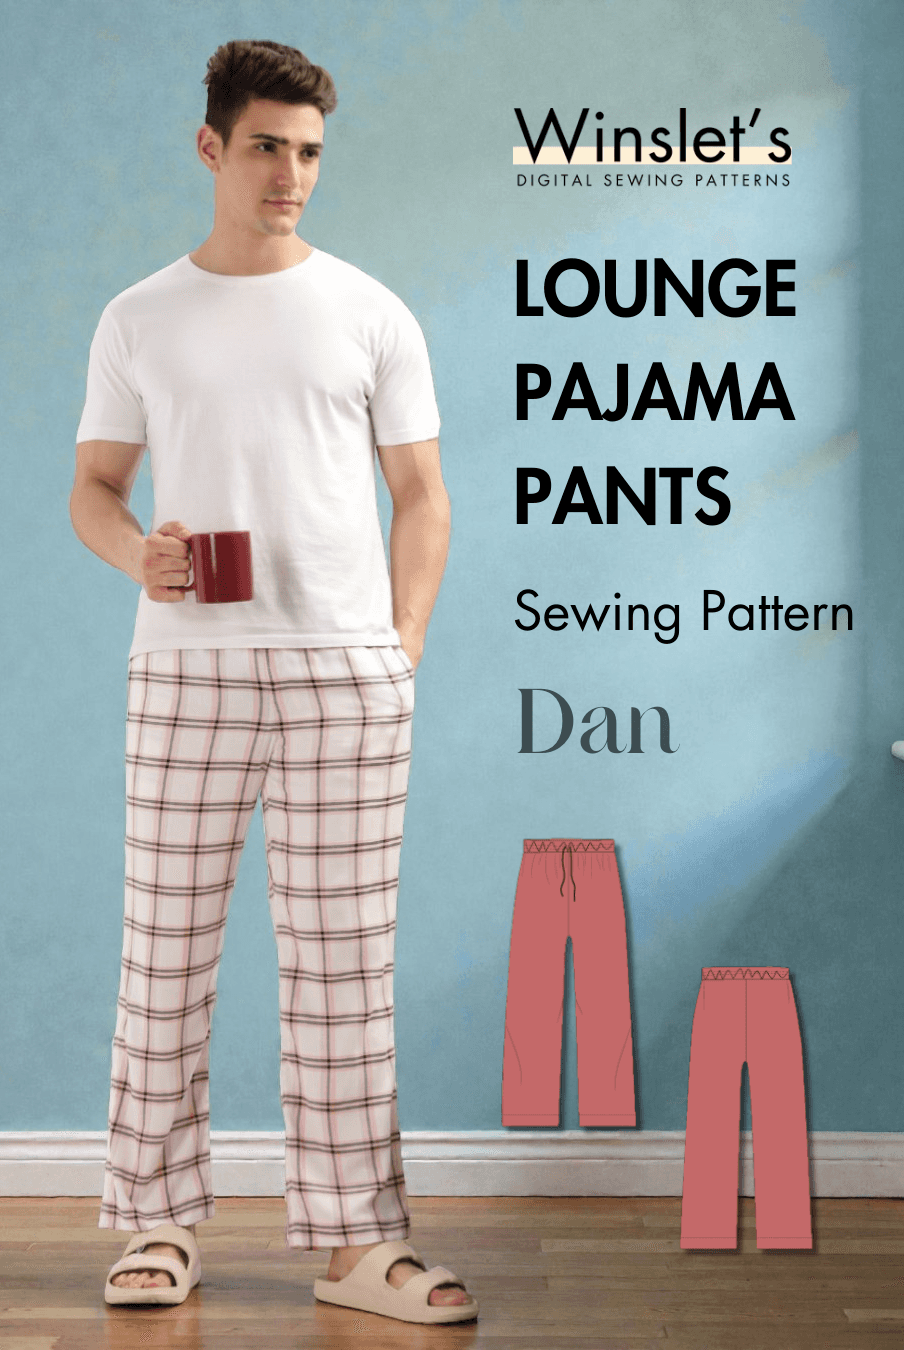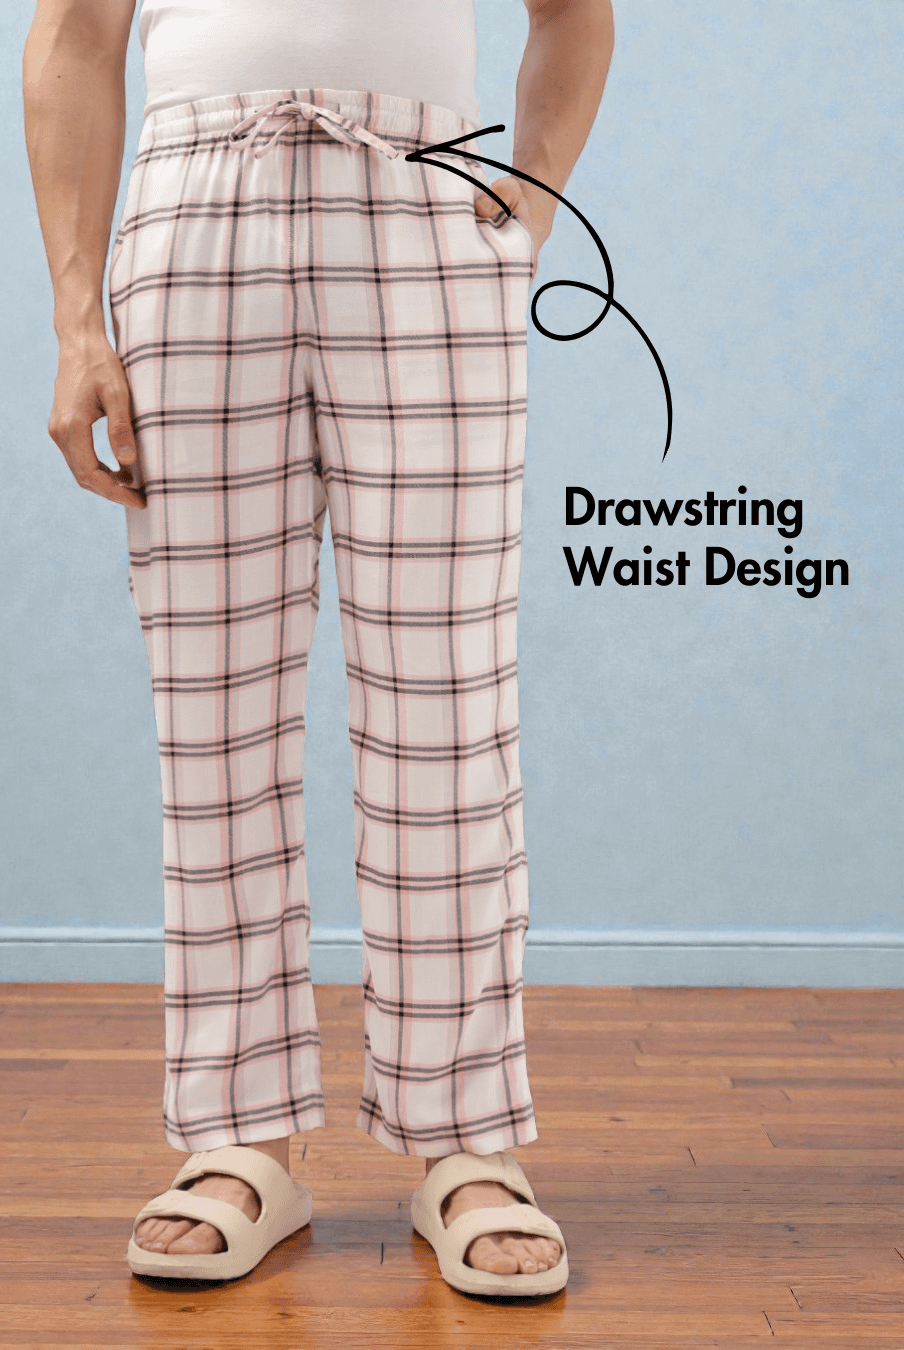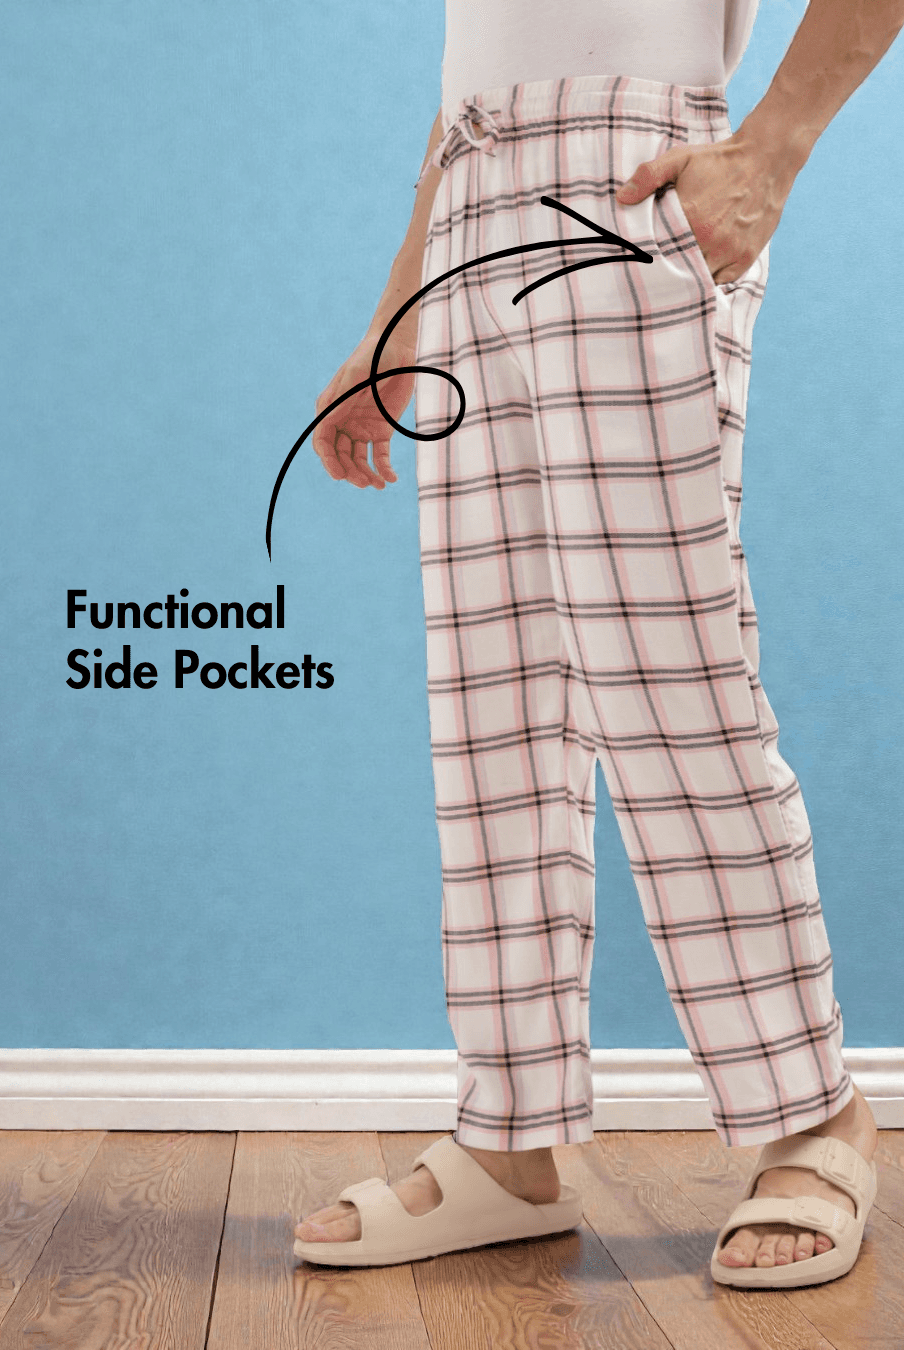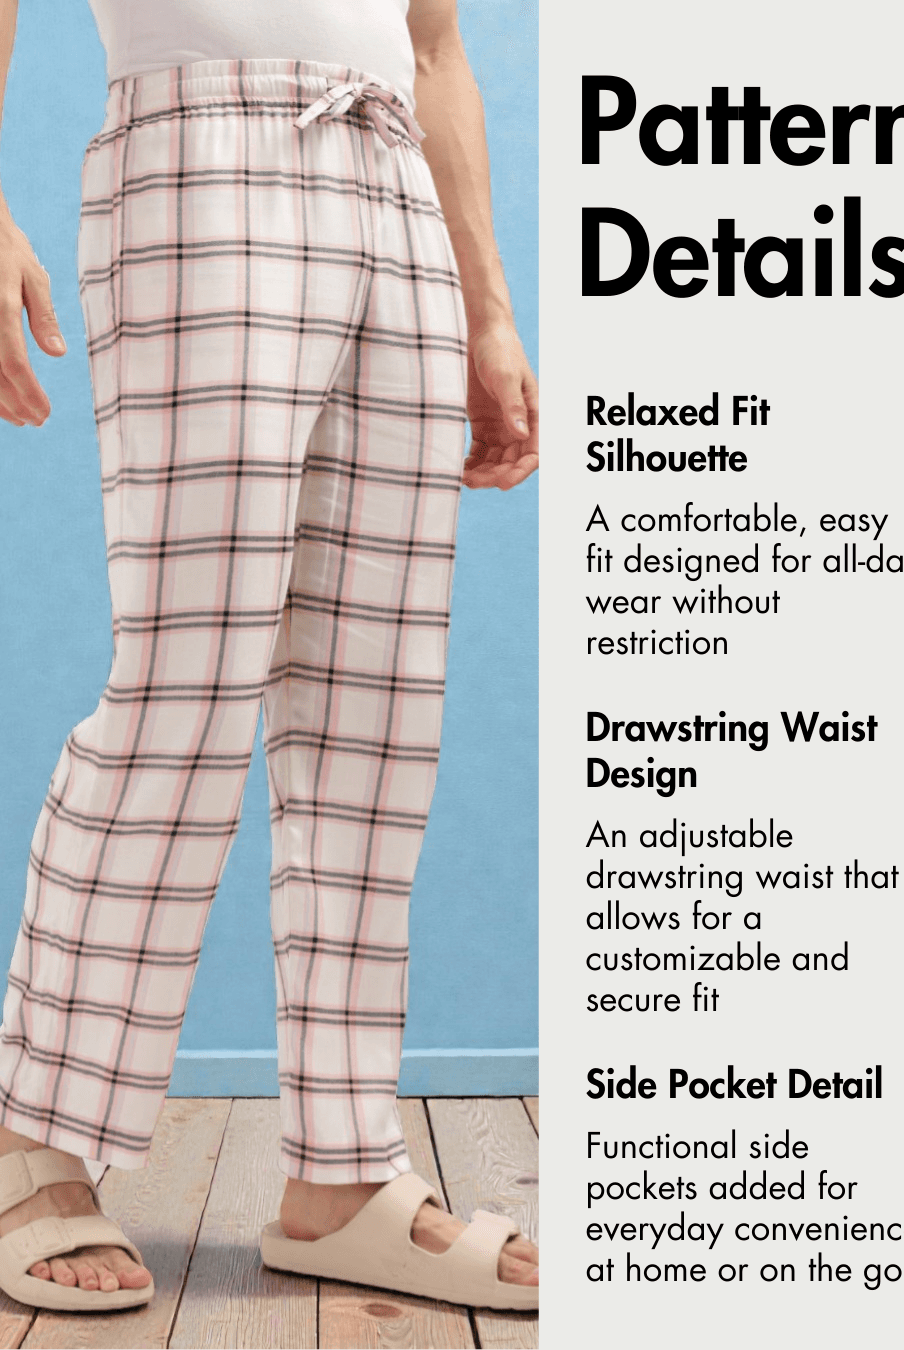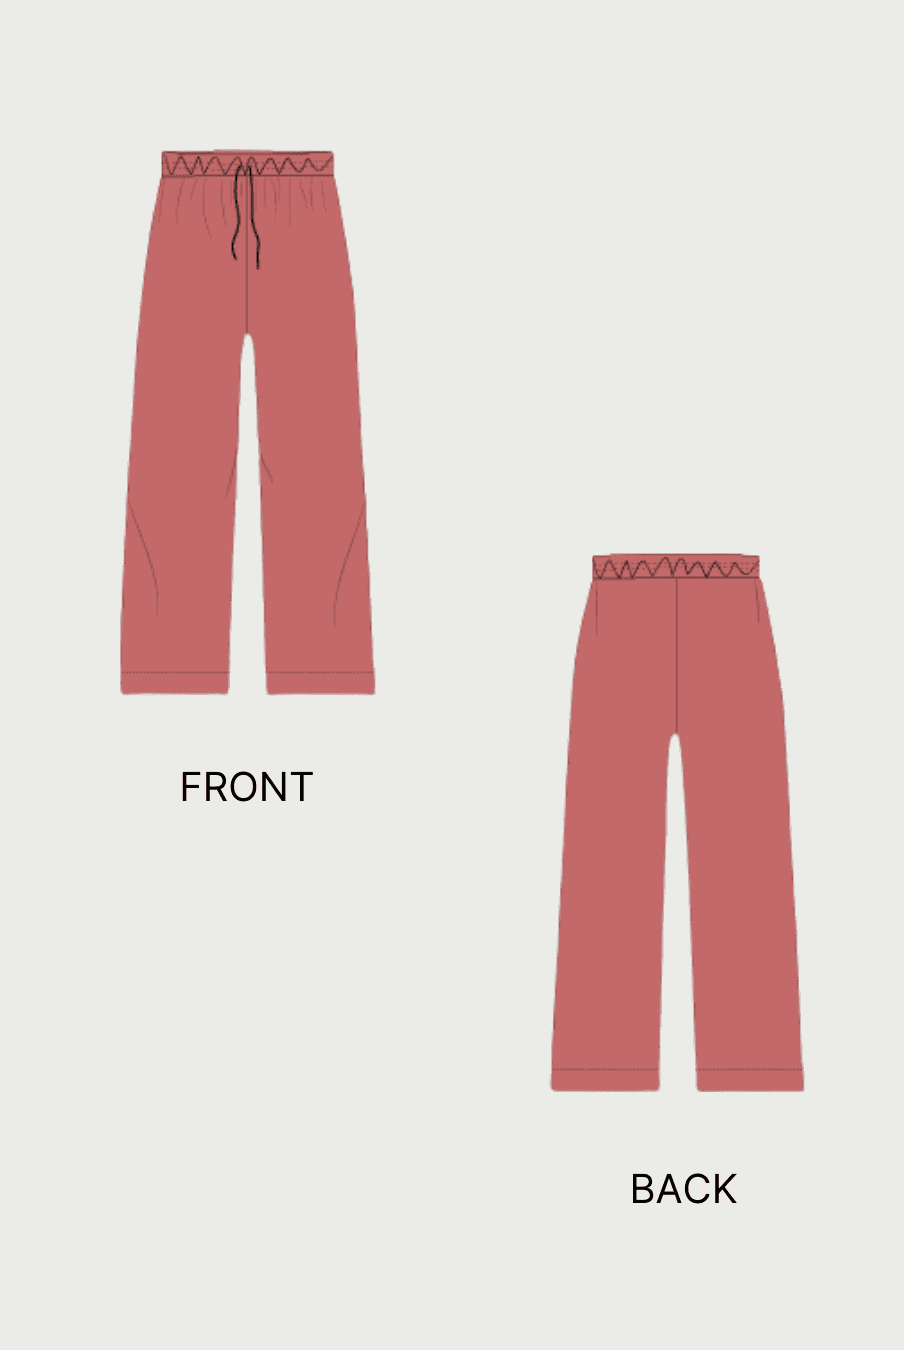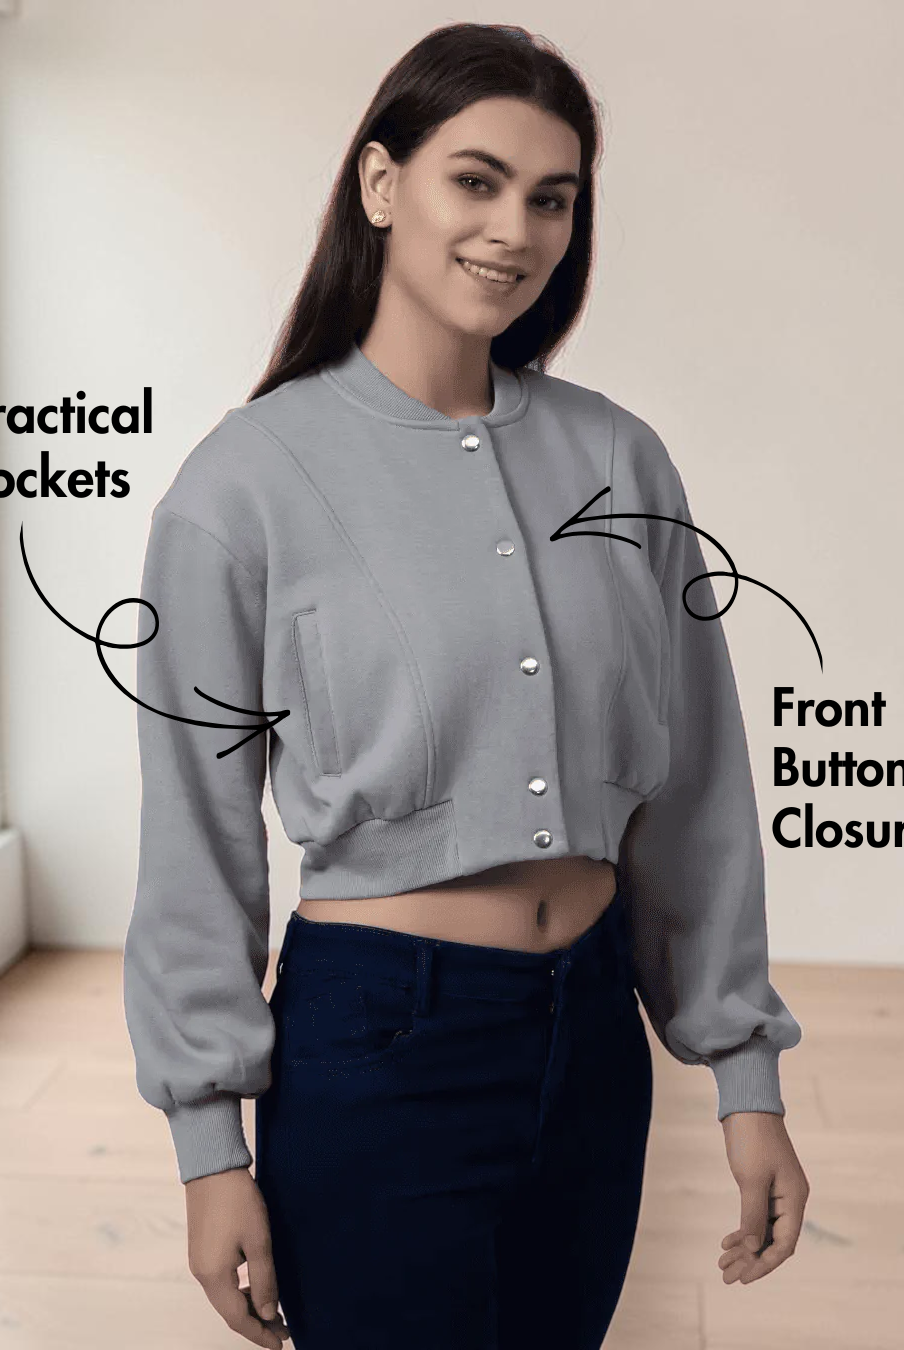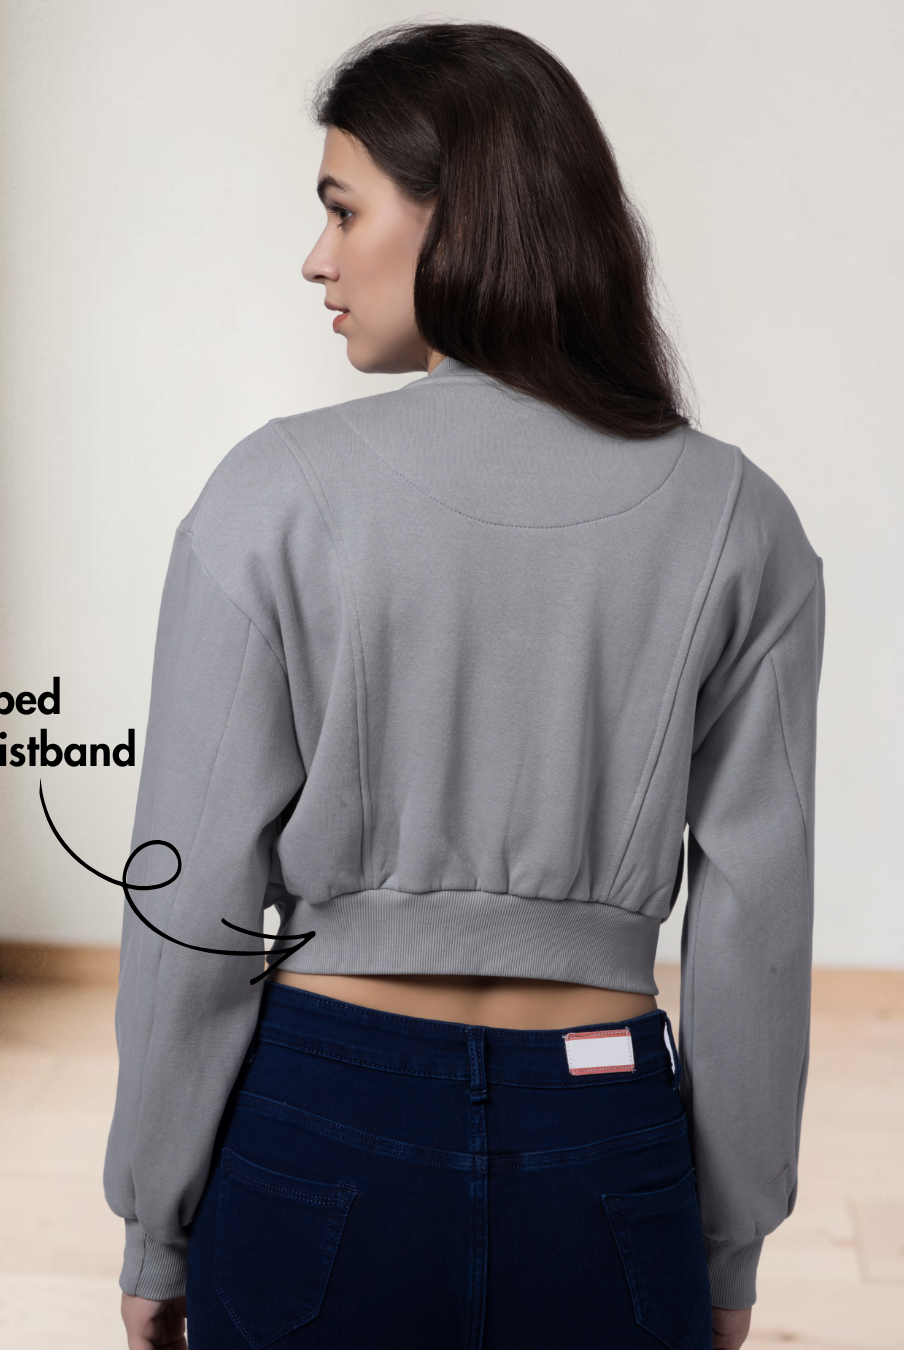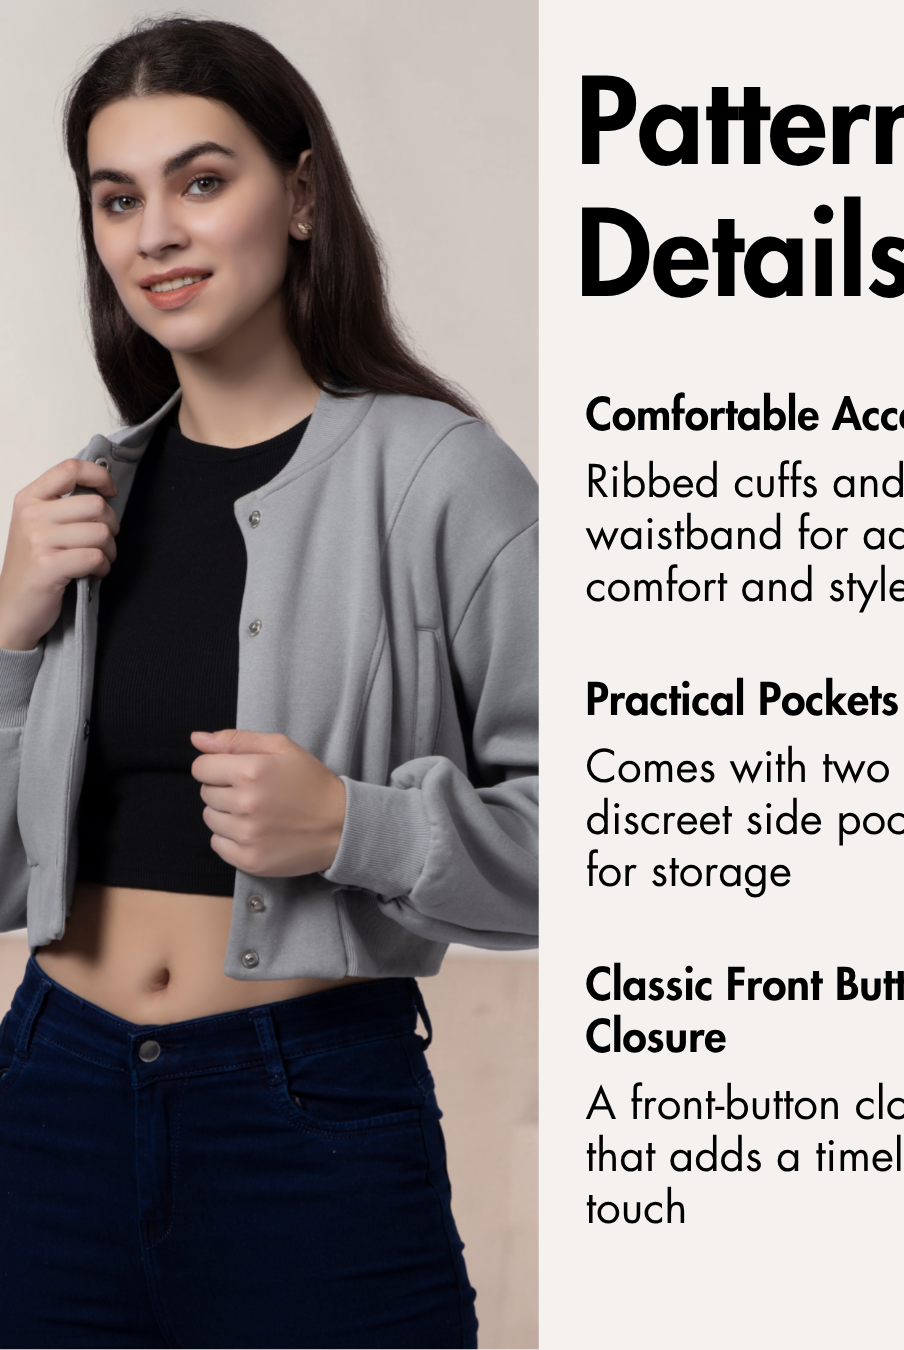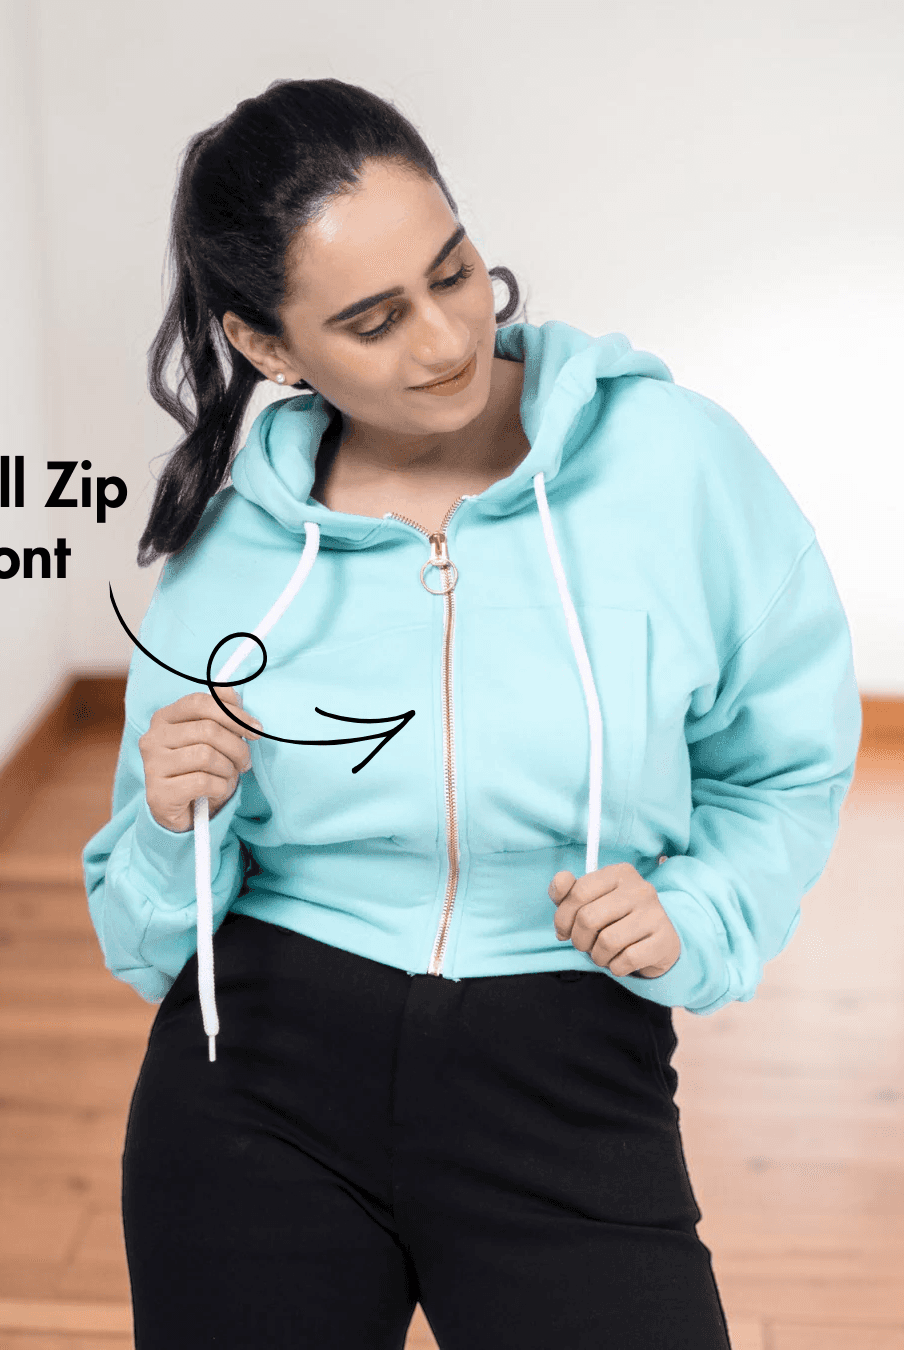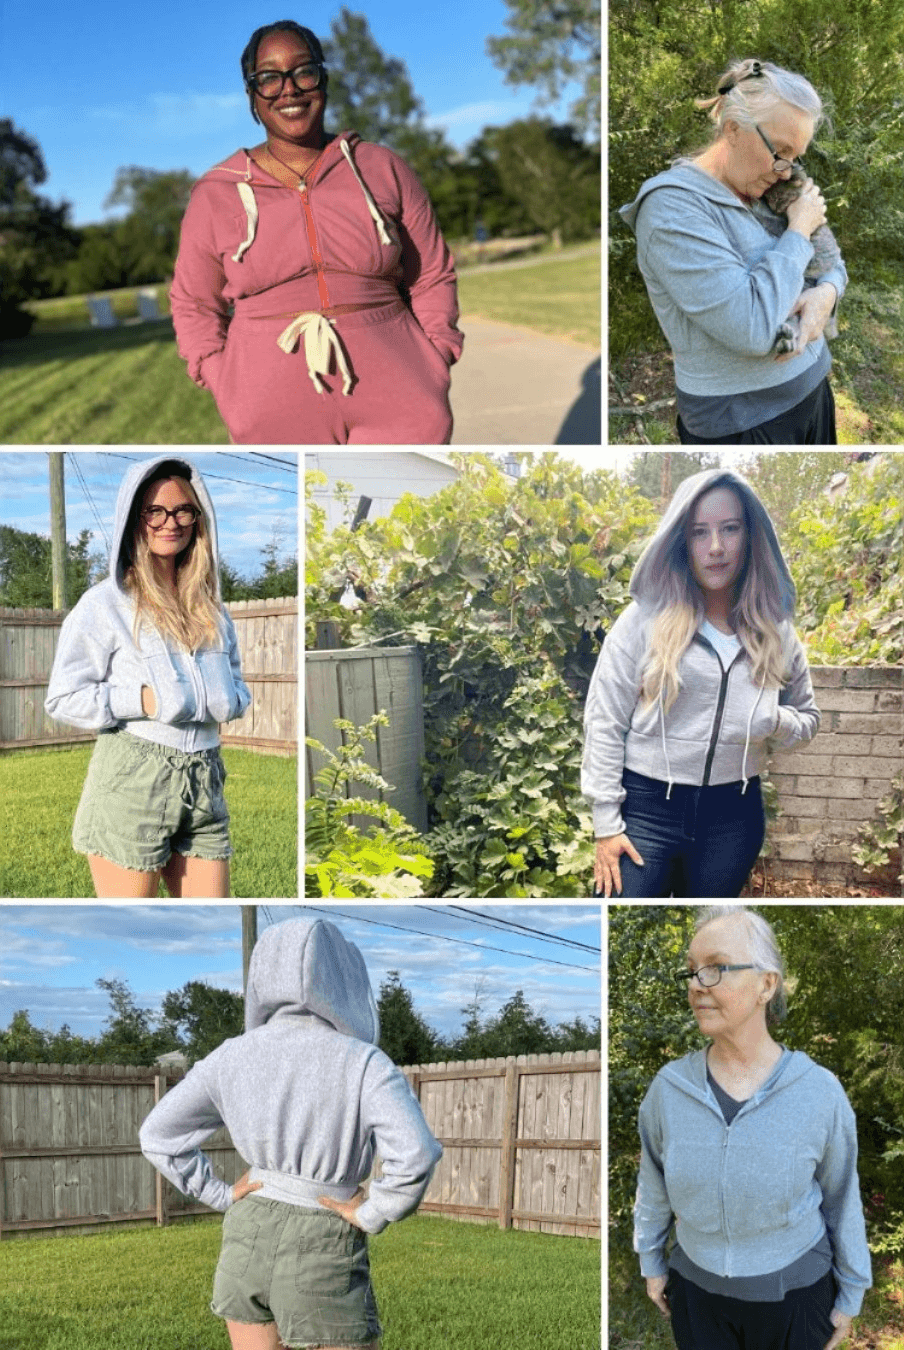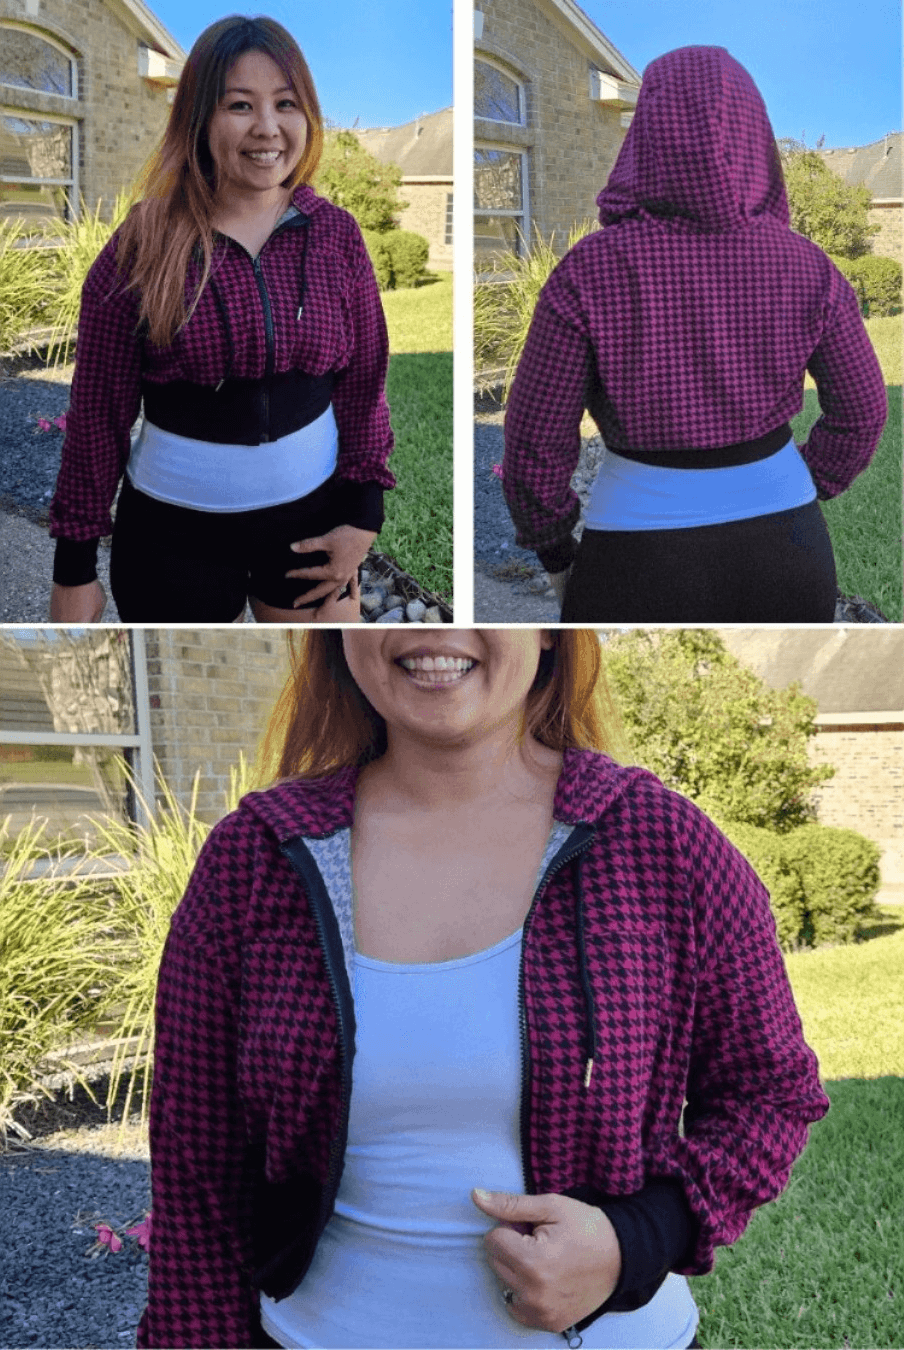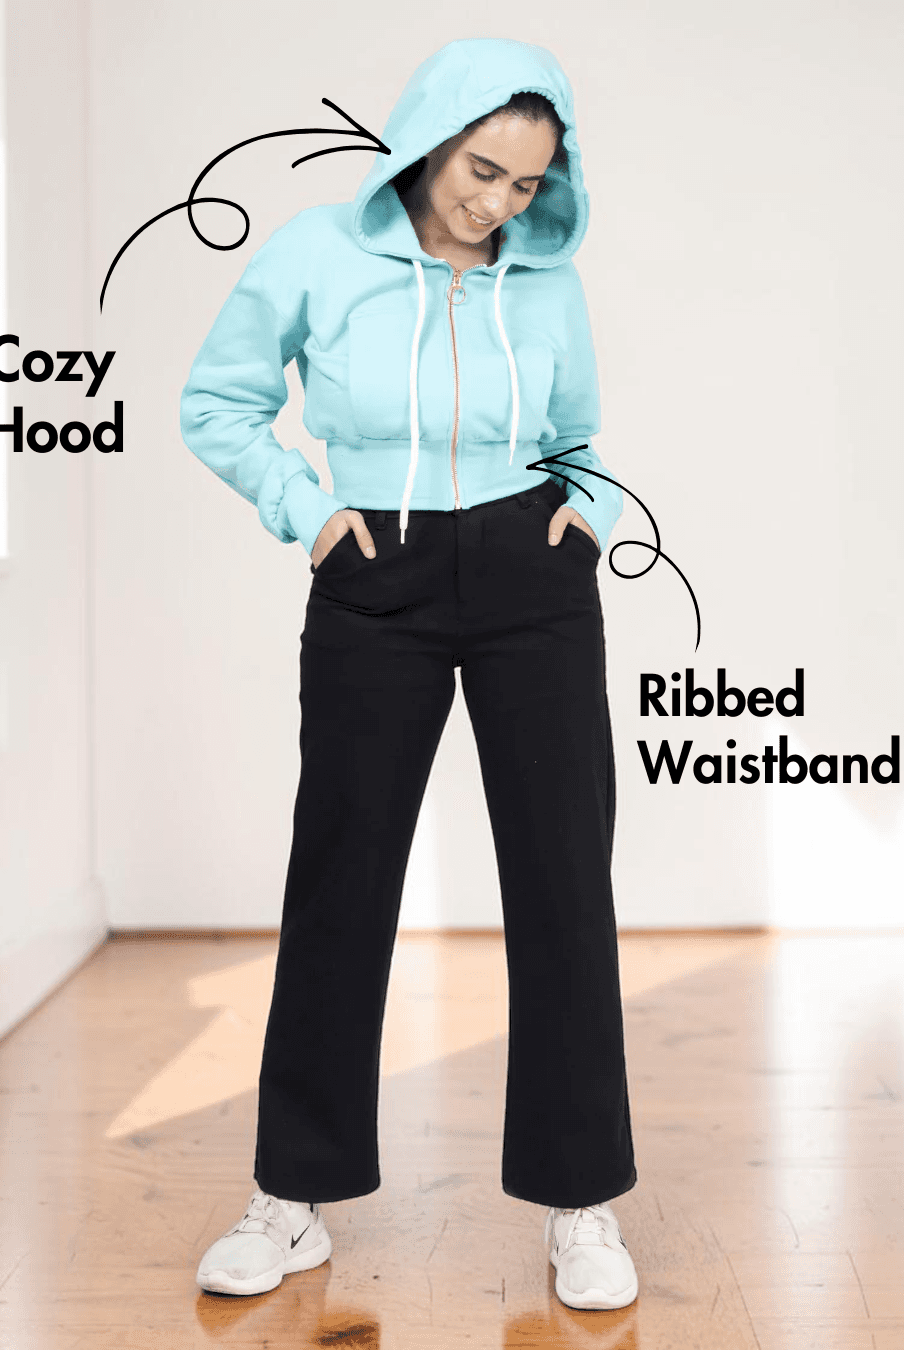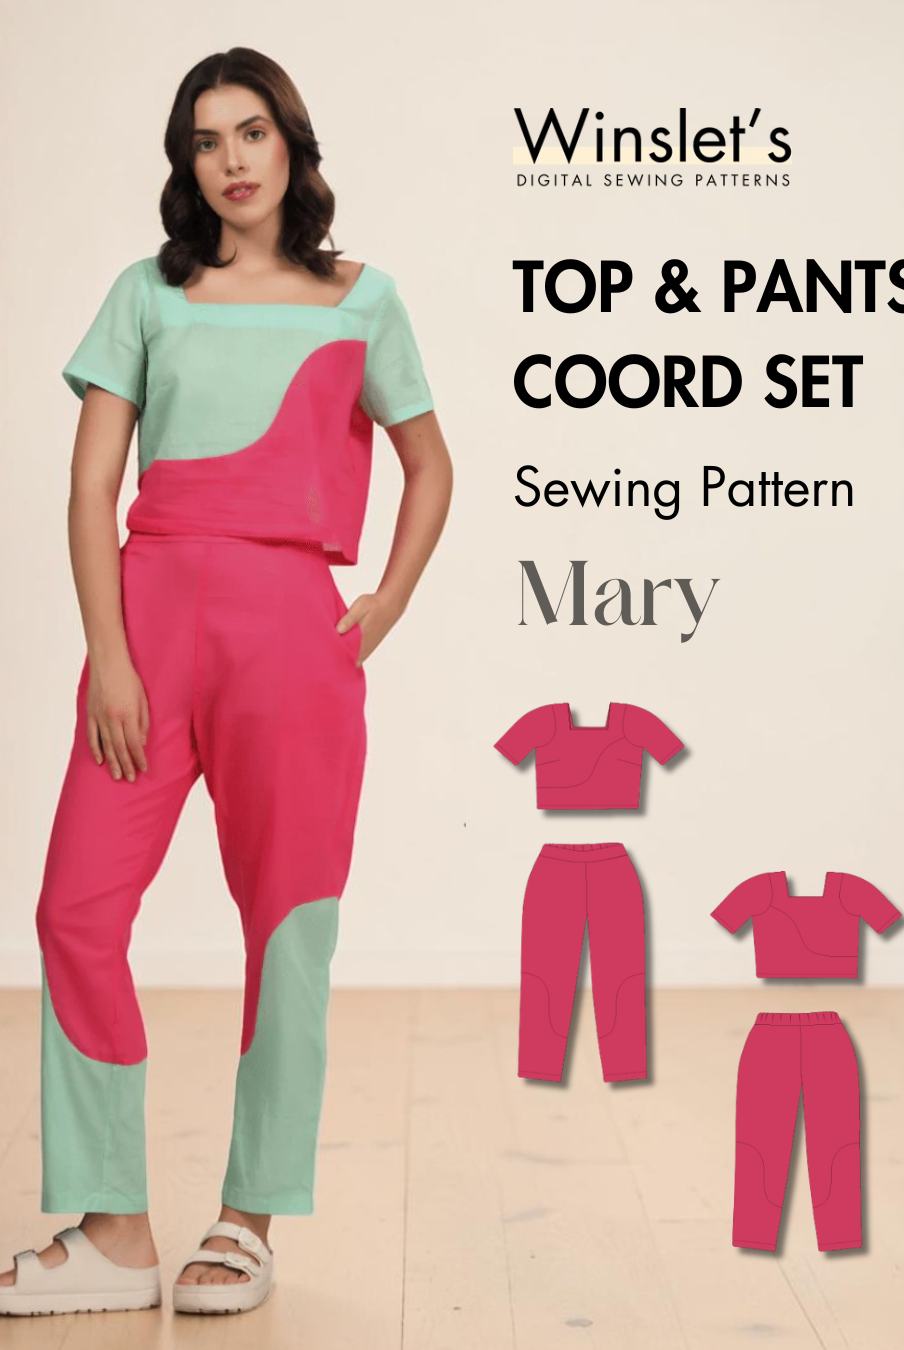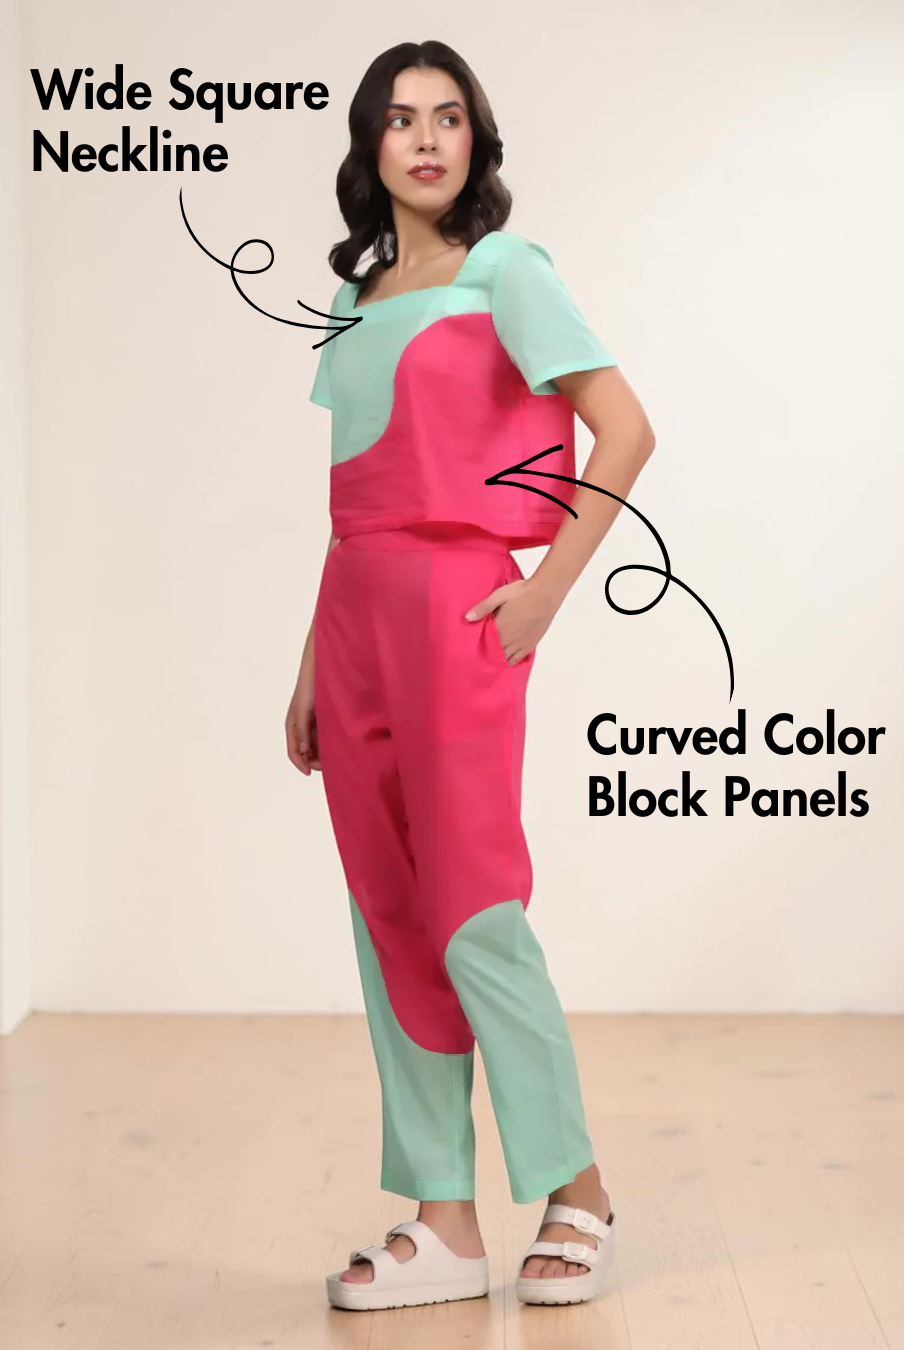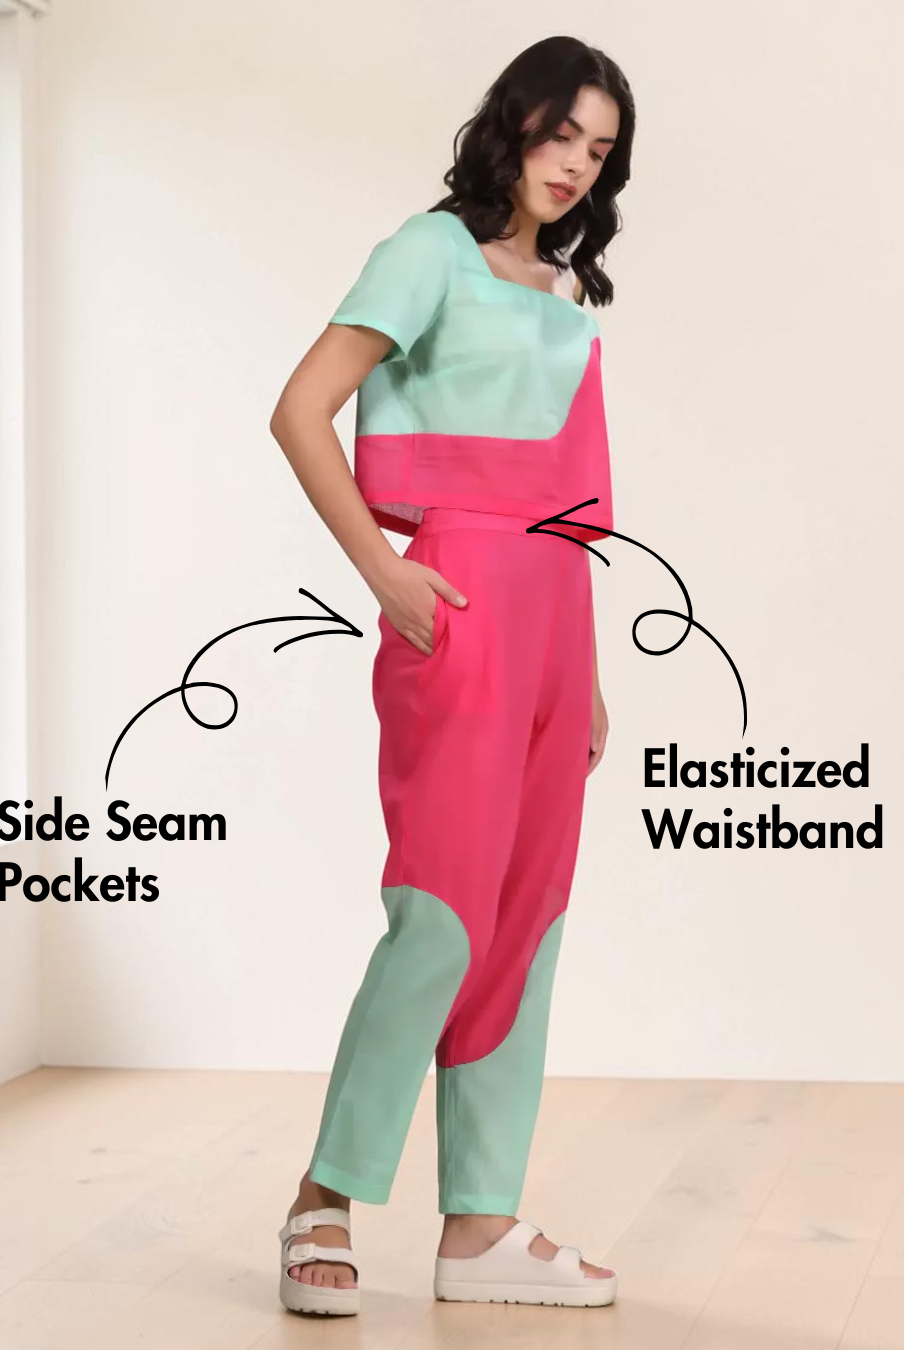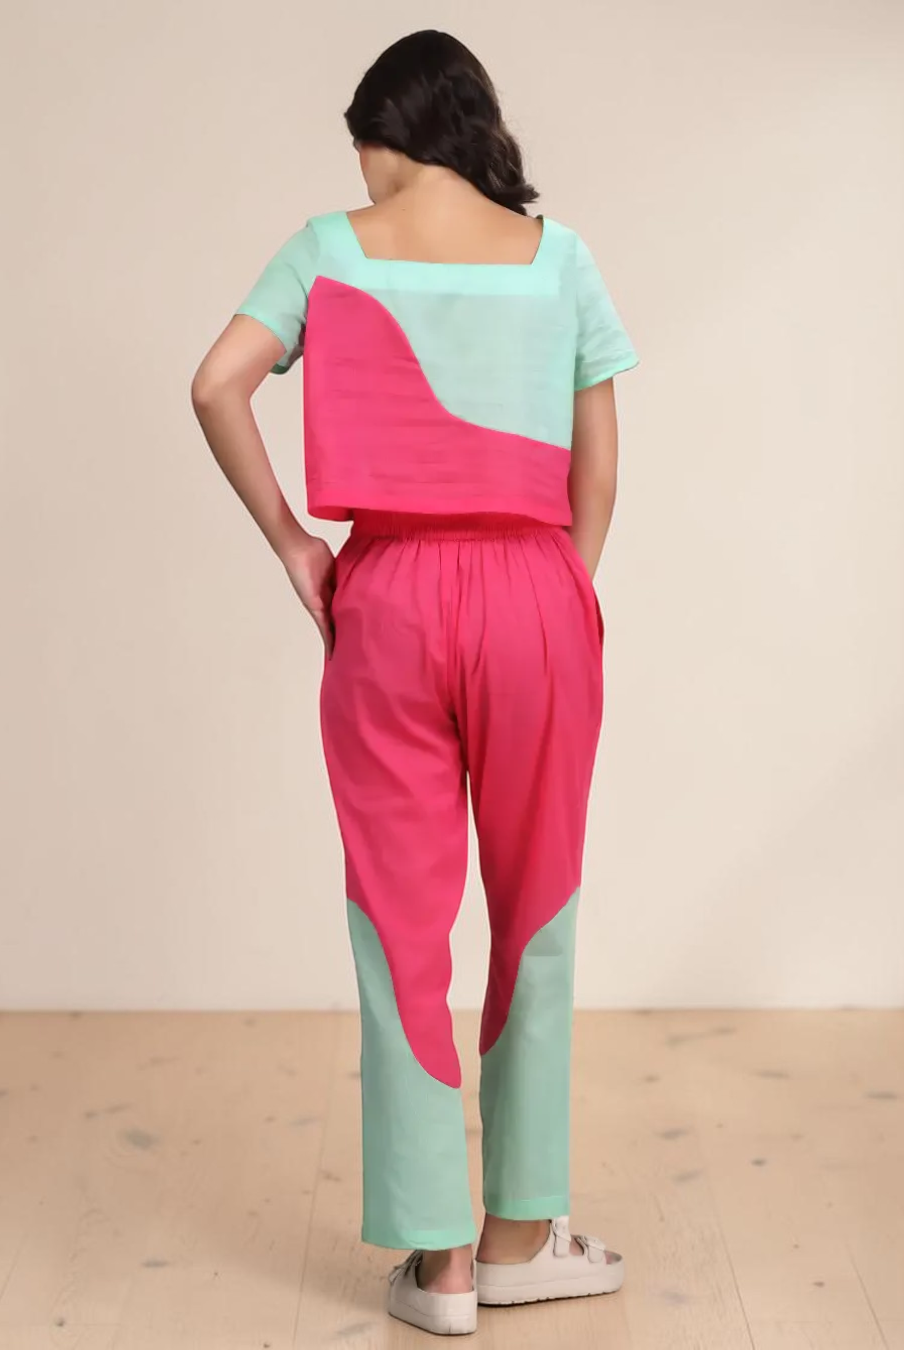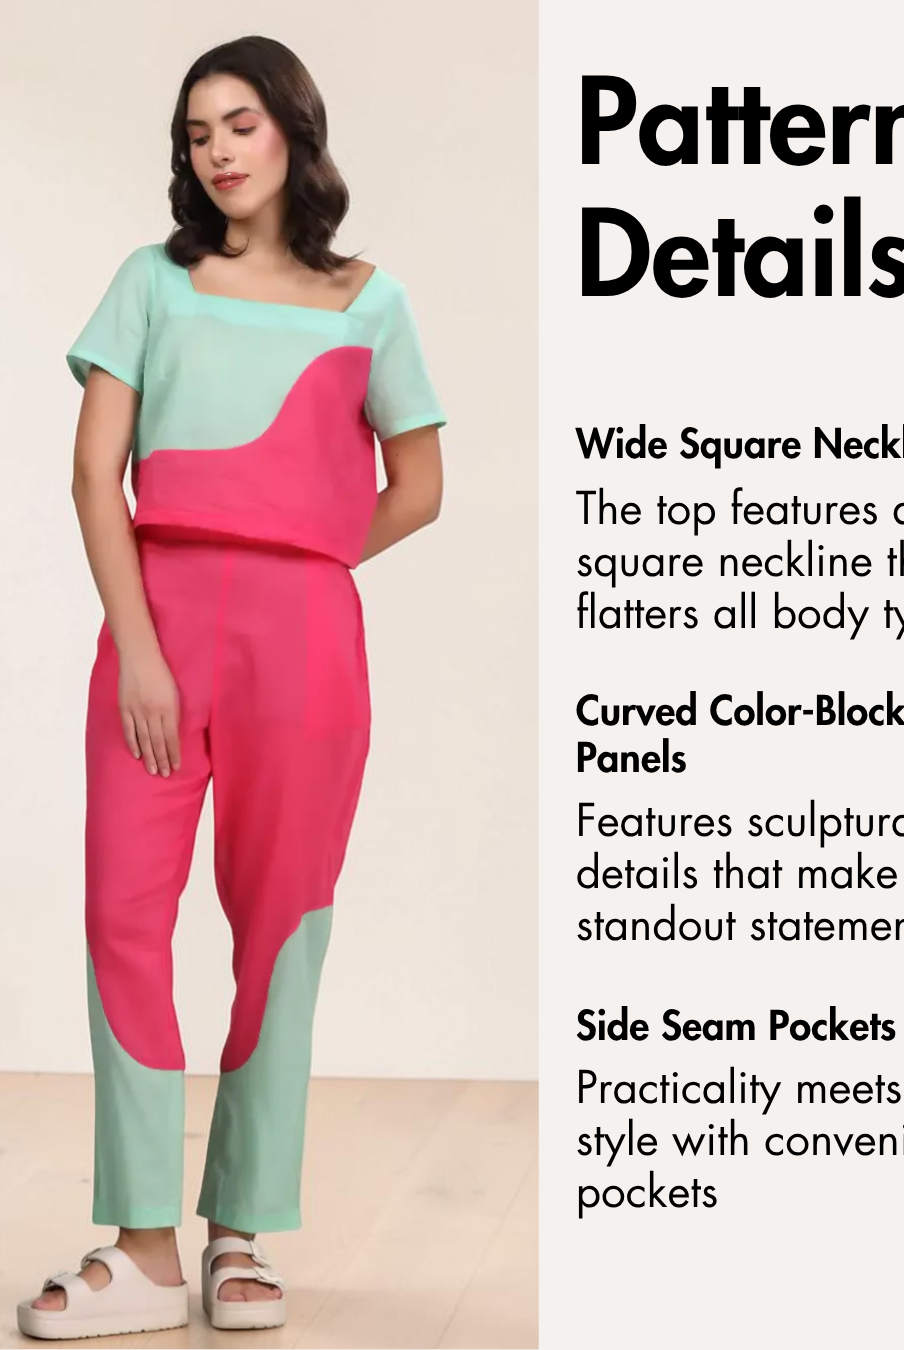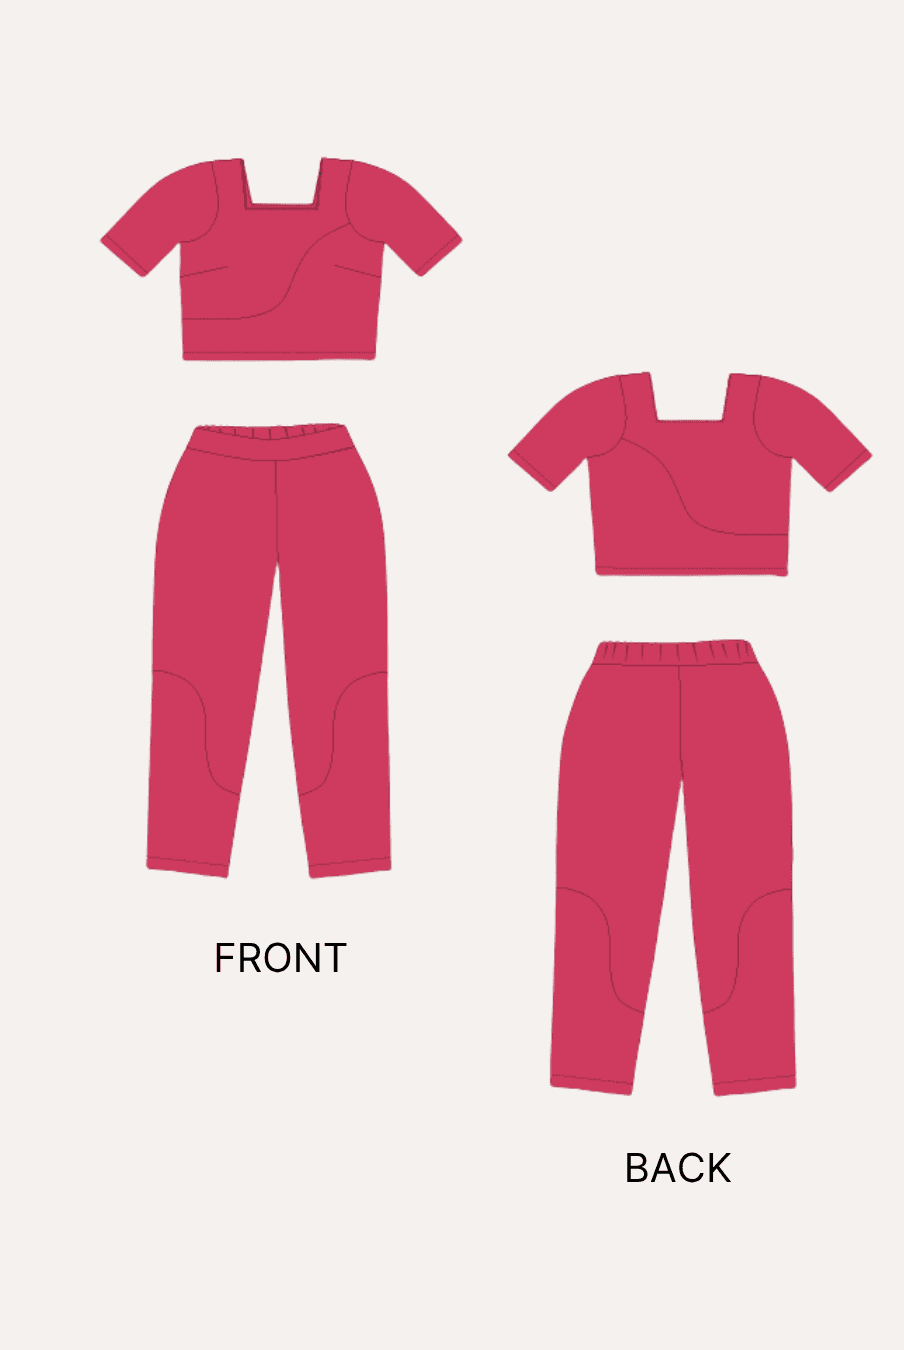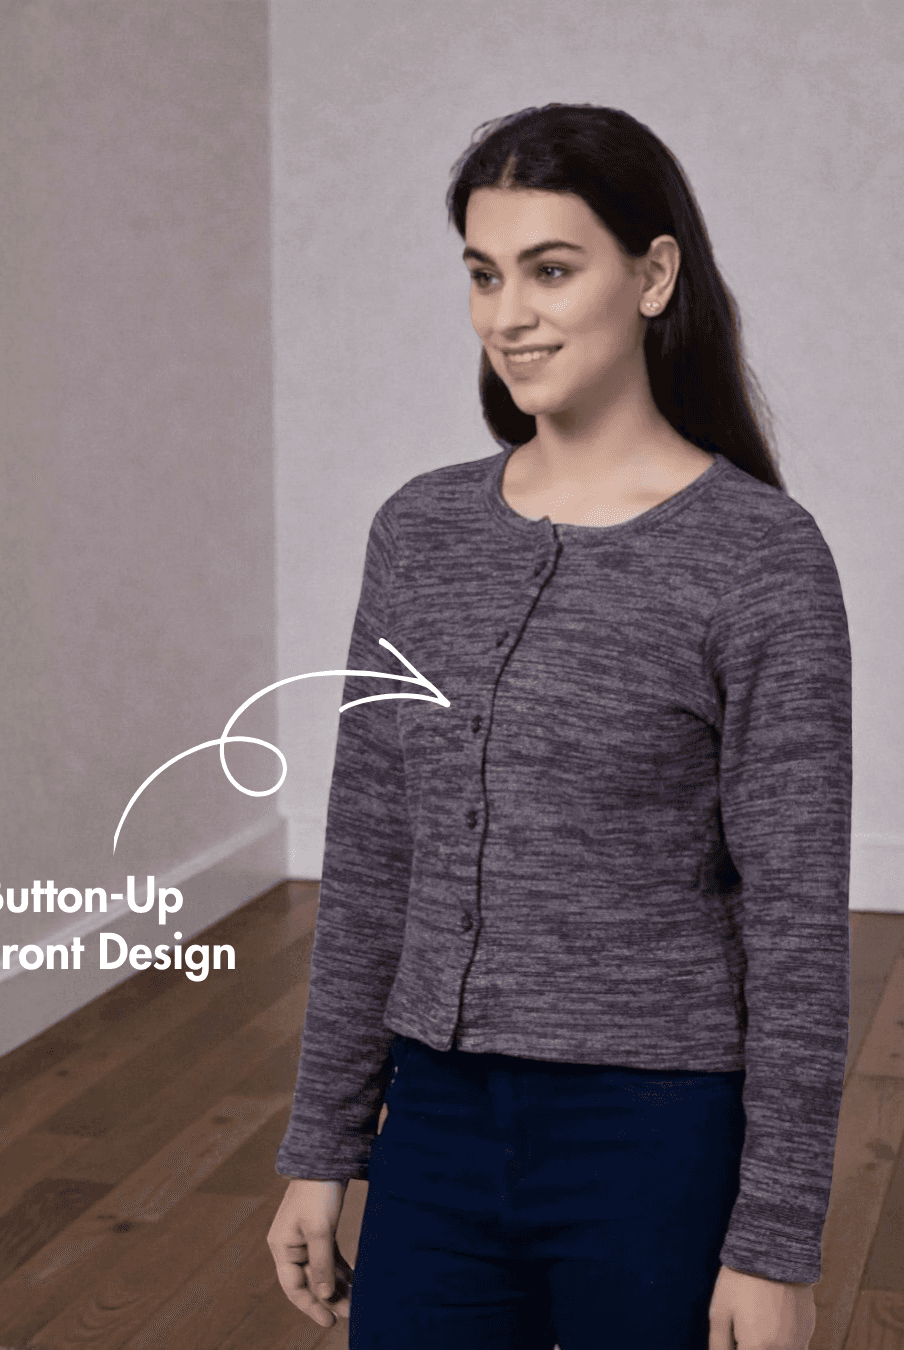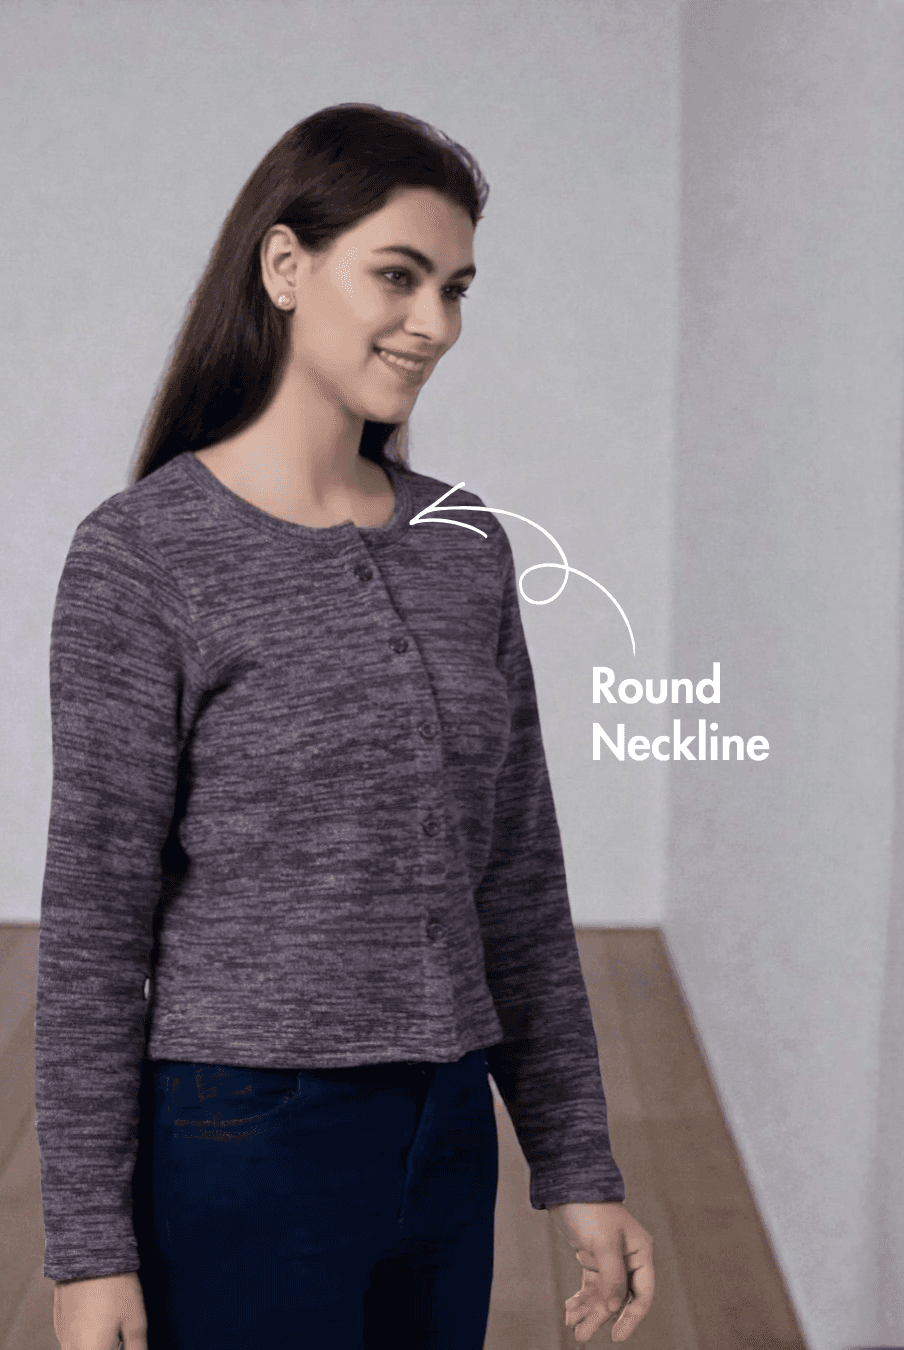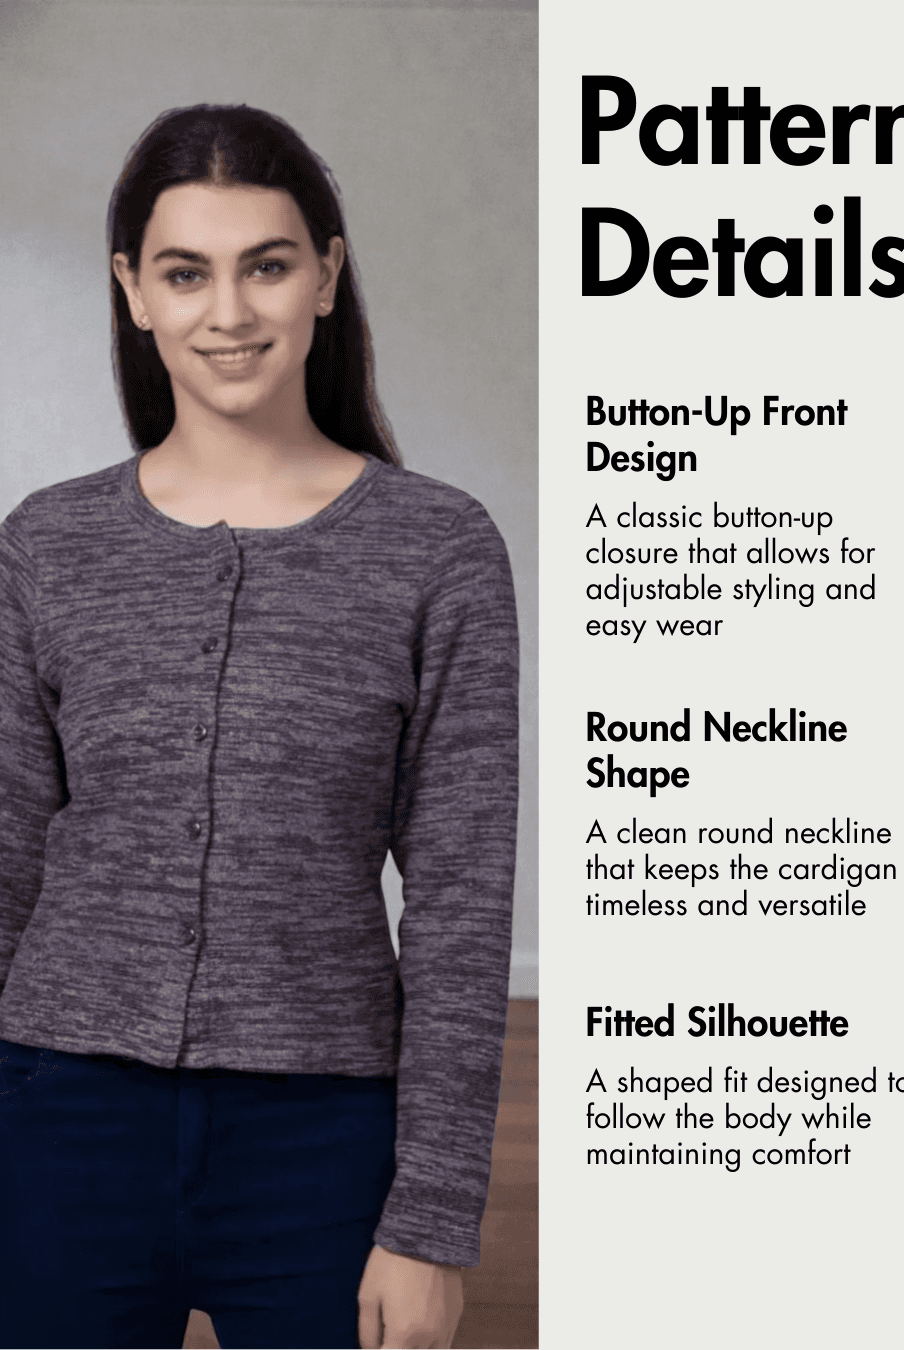
There’s something satisfying about sewing a matching coord set. Instead of creating just one garment, you finish with a complete outfit that can be worn together or mixed with other wardrobe staples. Coord sets are perfect for warm weather, vacations, lounging, and everyday casual wear, making them a rewarding project for sewists of all skill levels.
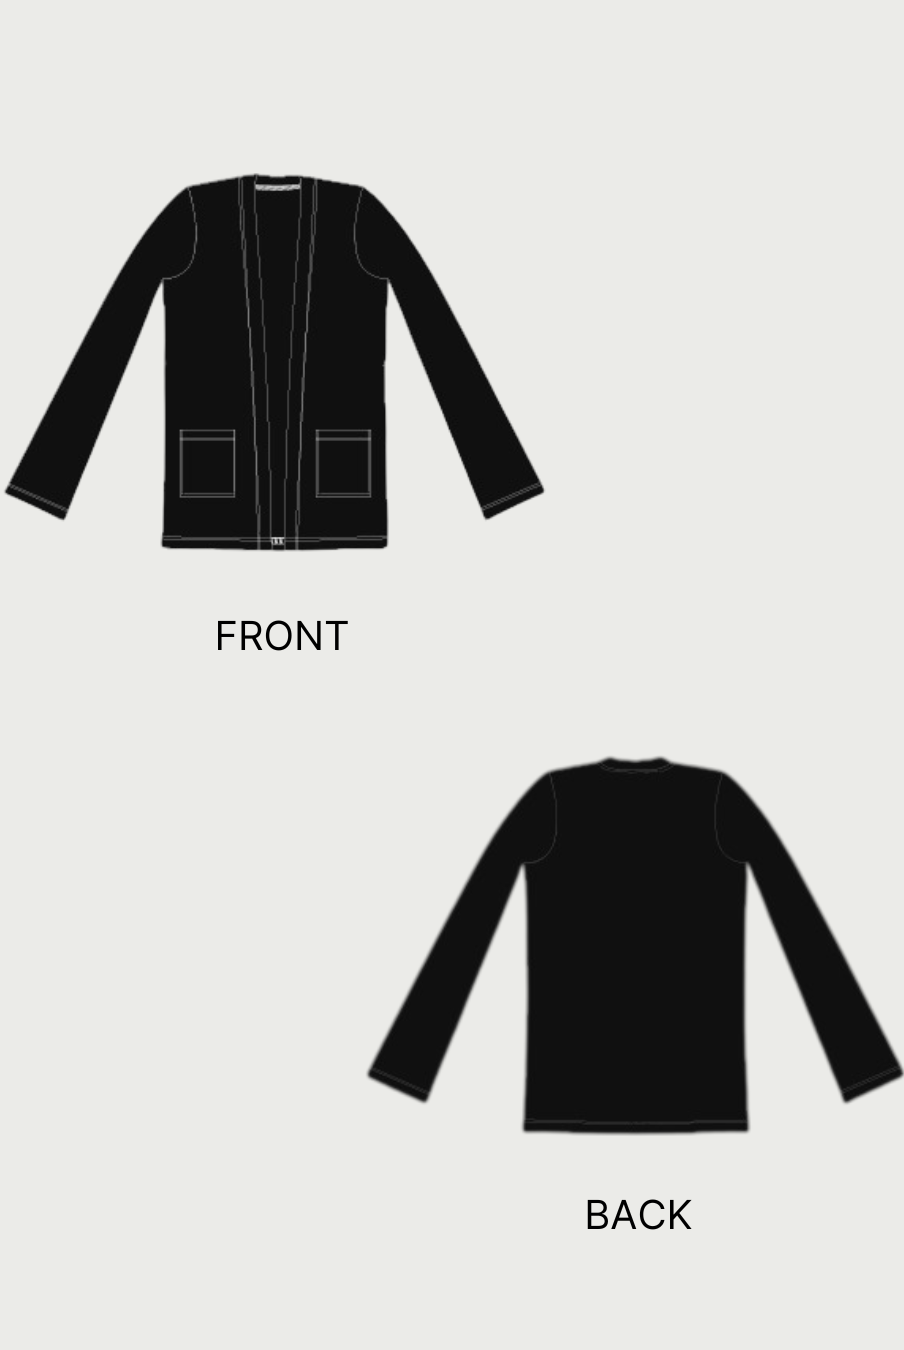
The Winslet's Lounge Coord Set Sewing Pattern combines the elegant Tulip Braided Halter Top with the comfortable Marina Drawstring Shorts into one versatile outfit. The relaxed halter top features a braided neckline and keyhole back, while the high-waisted shorts include an adjustable drawstring waistband and practical side pockets for everyday comfort.

Why Sew a Lounge Coord Set?
- Create a complete handmade outfit from a single sewing project.
- Wear the braided halter top and drawstring shorts together or style each piece separately.
- Sew a lightweight outfit that's ideal for lounging, vacations, summer days, and casual outings.
- Enjoy comfortable garments with relaxed silhouettes that are easy to wear.
- Personalize the set with your favorite woven fabrics and prints.
Why Choose the Winslet's Lounge Coord Set Sewing Pattern?


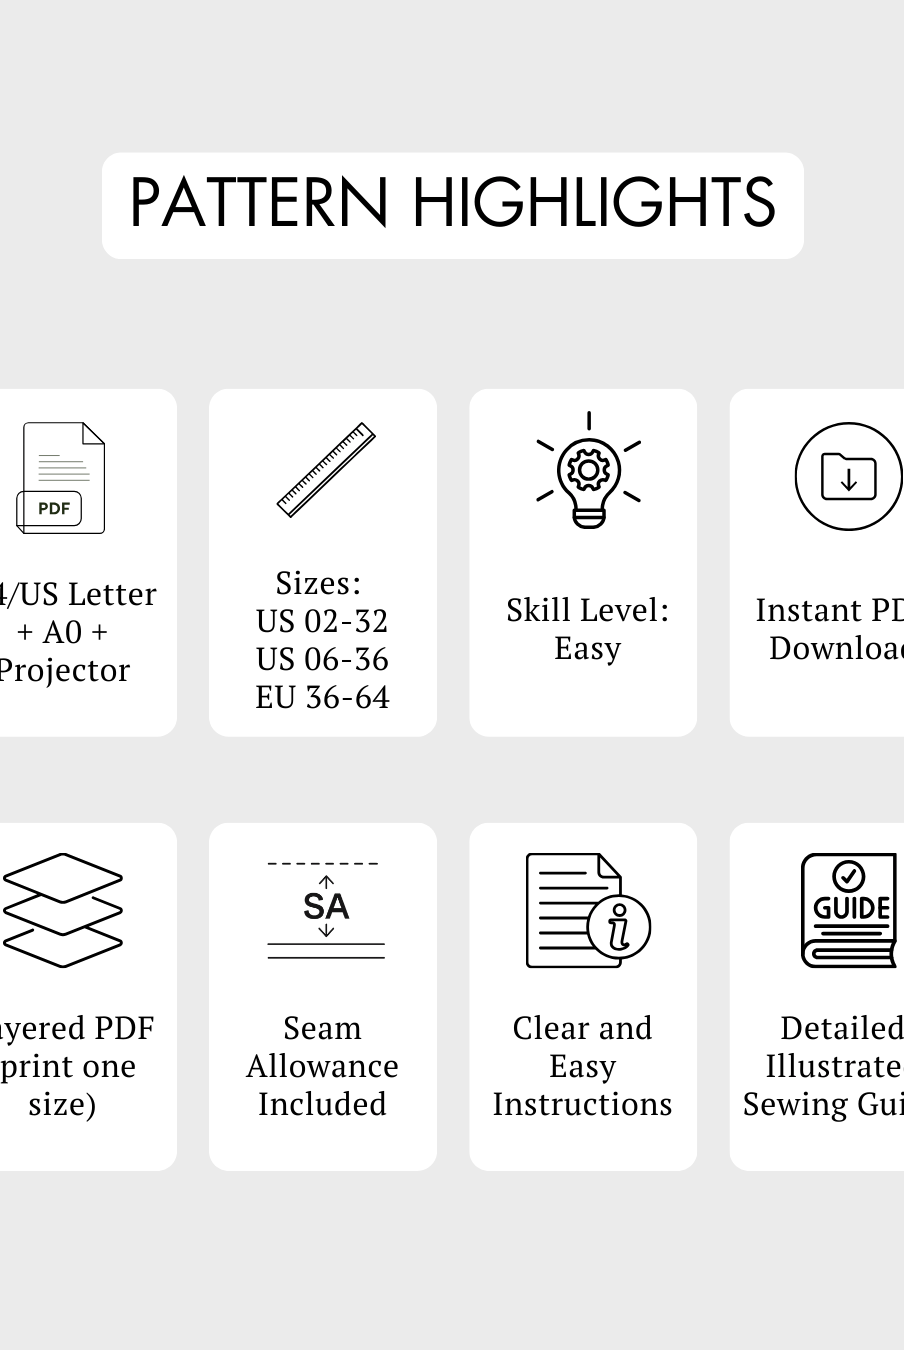
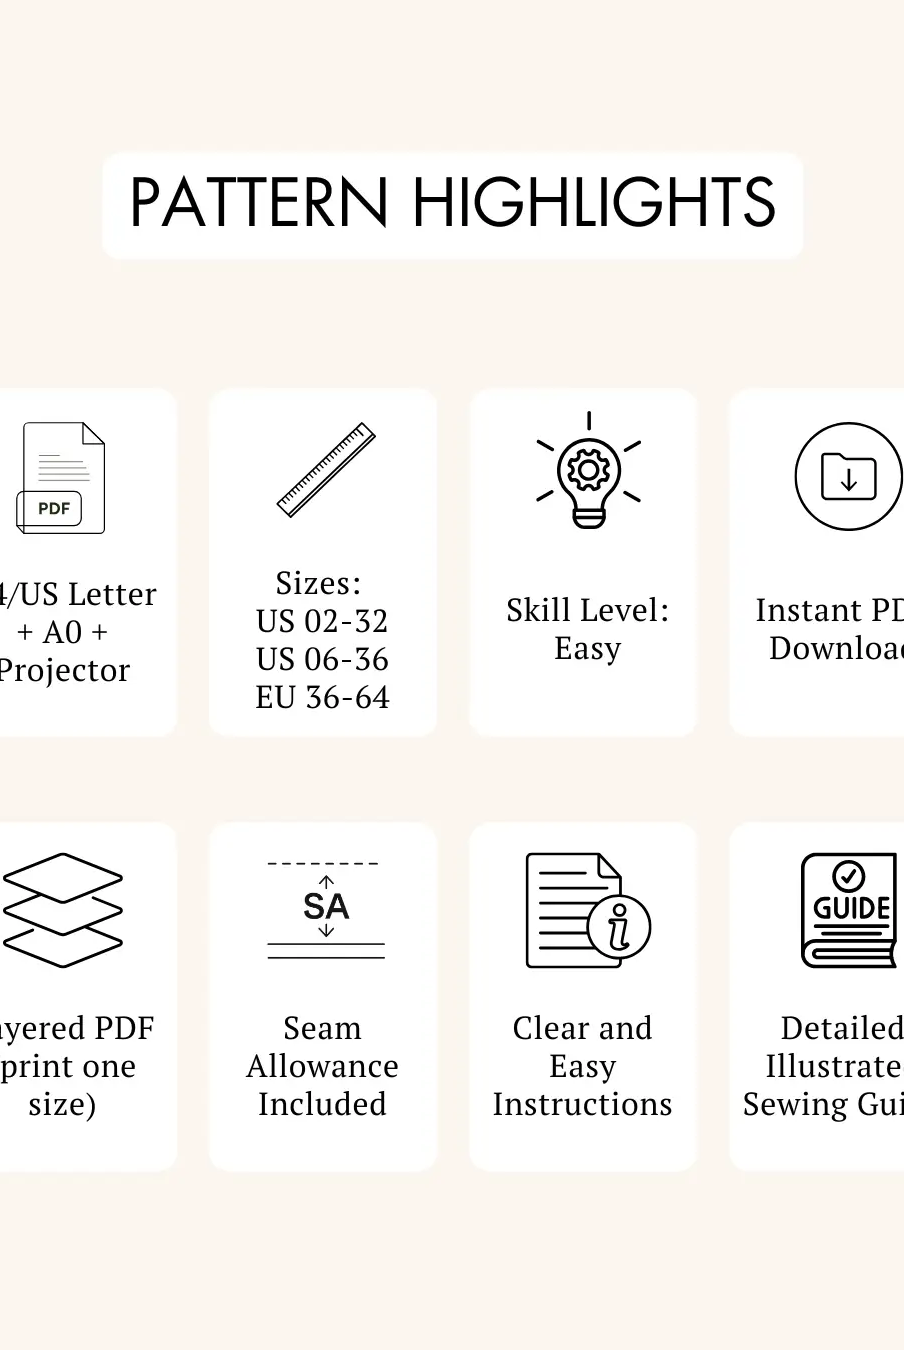
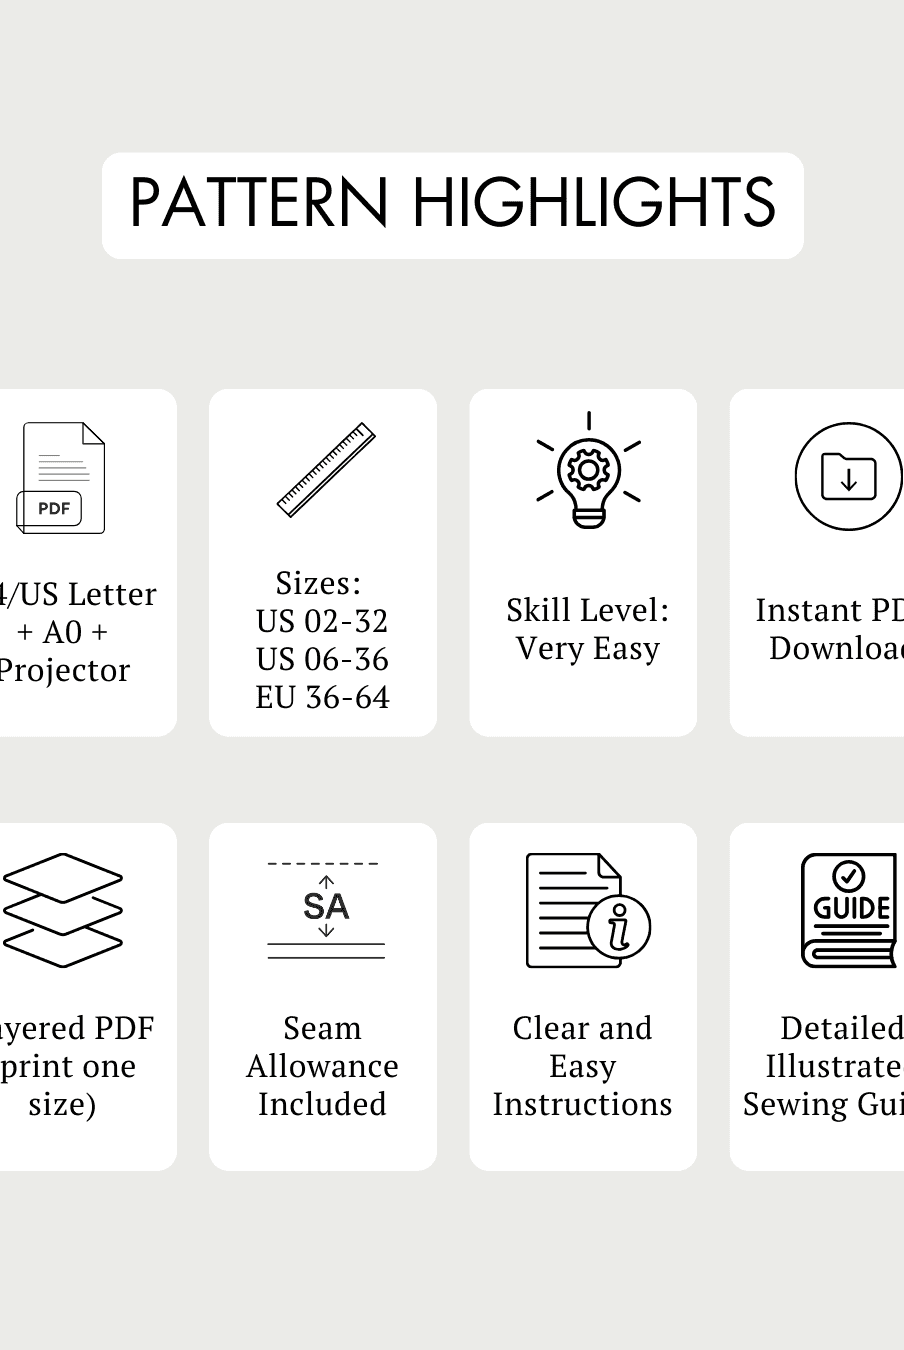
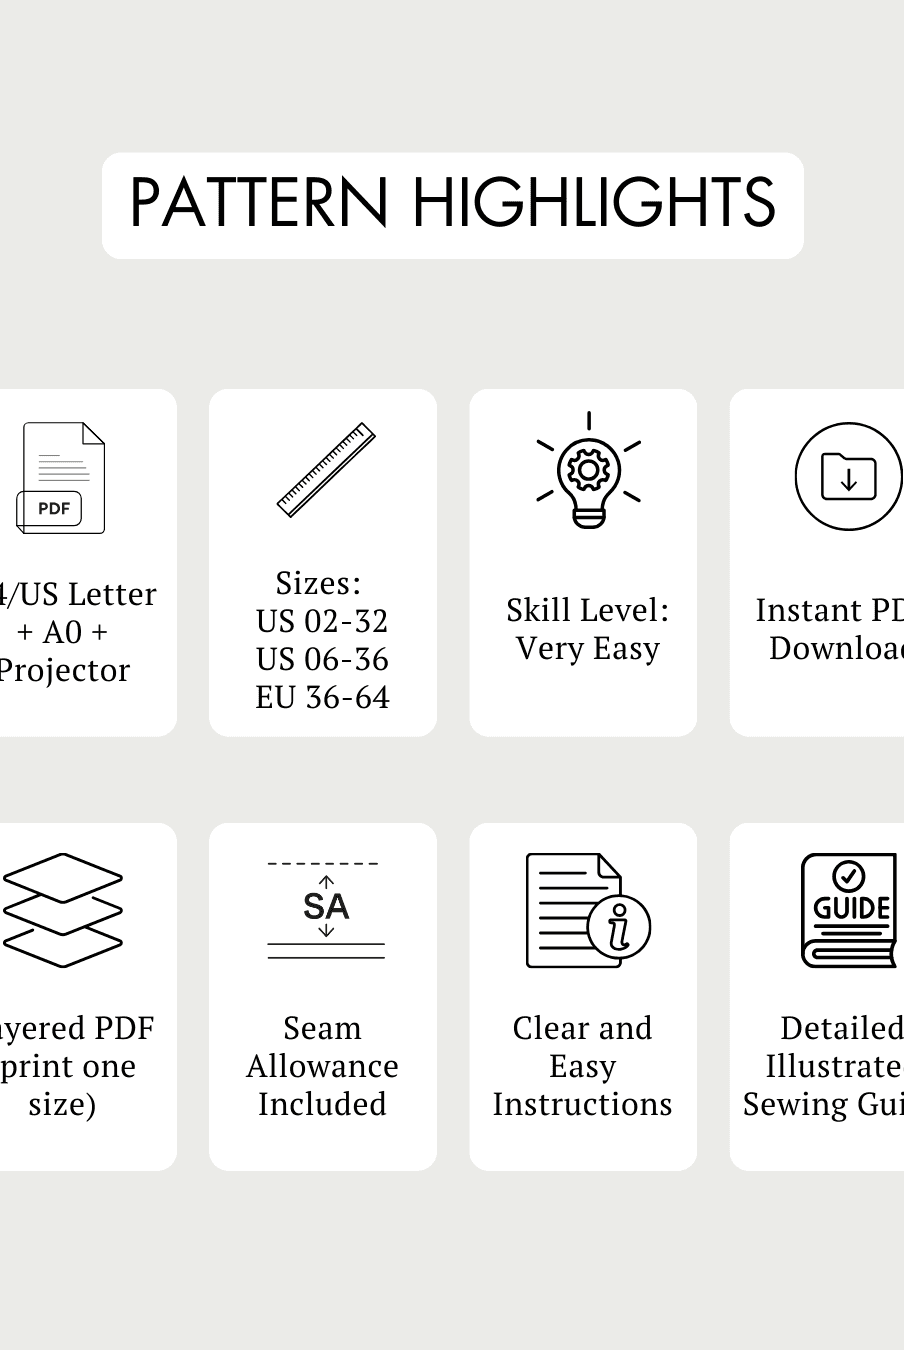
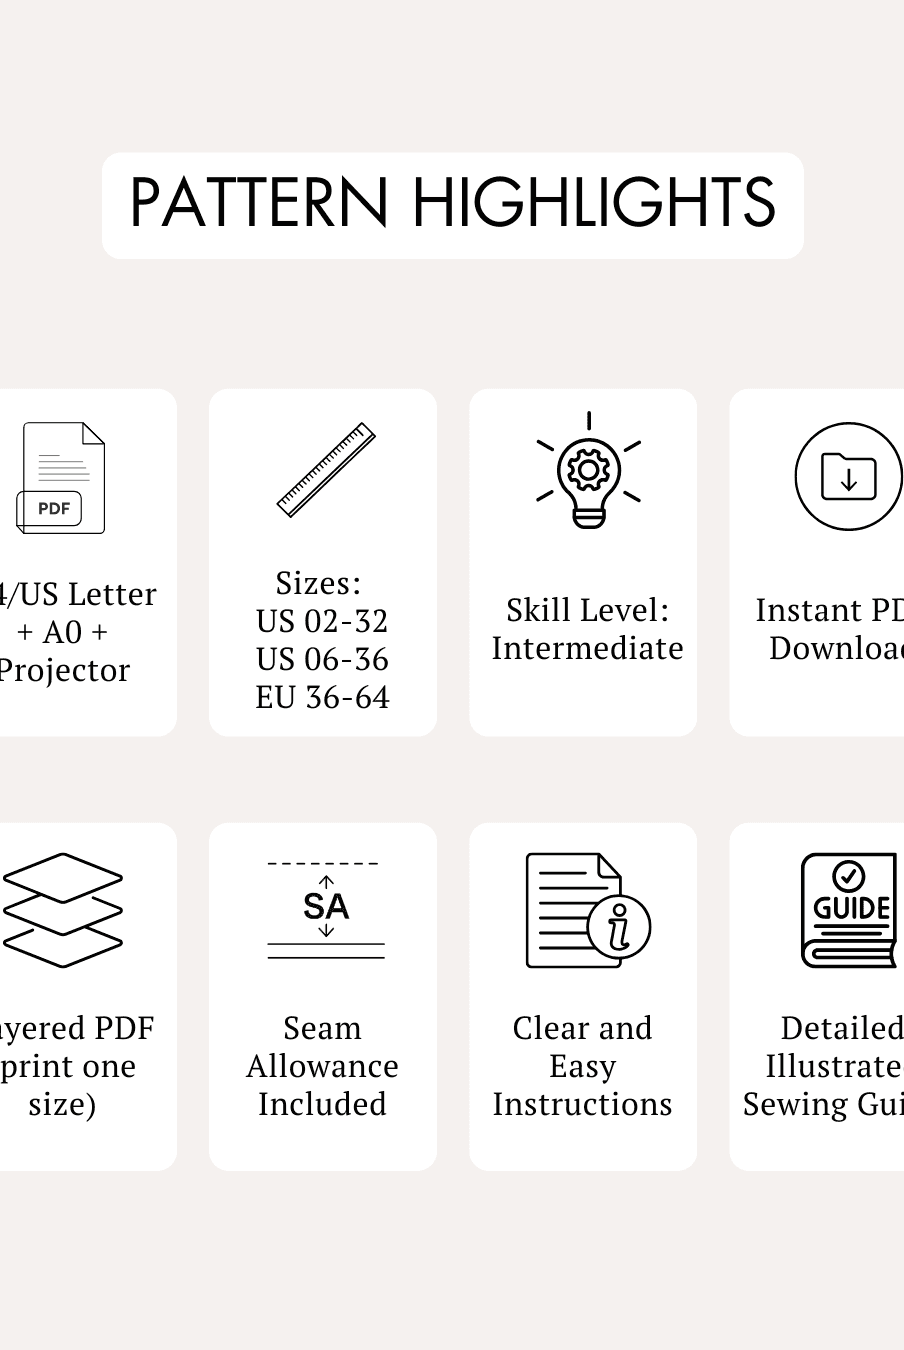
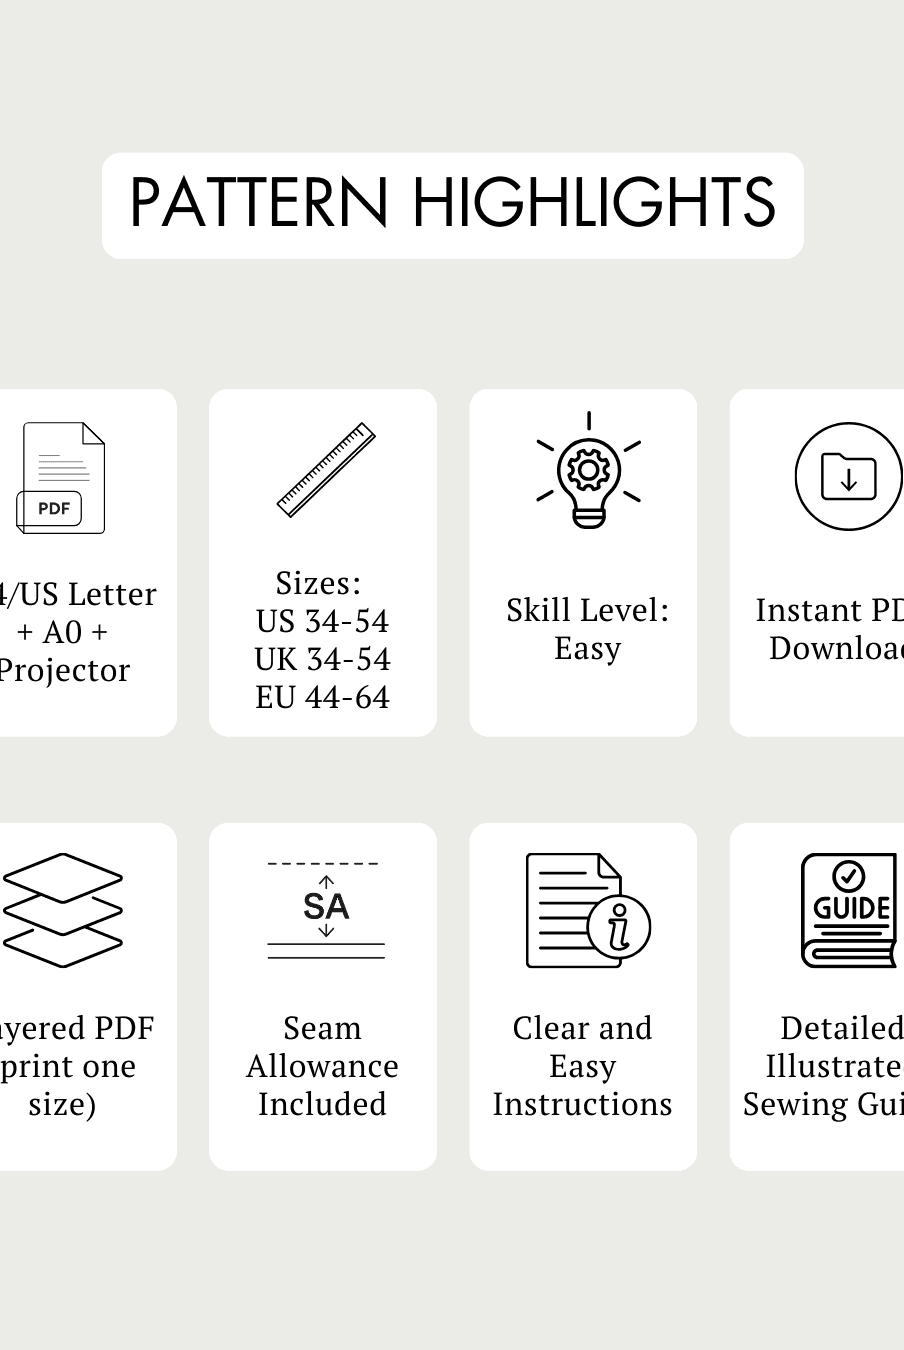
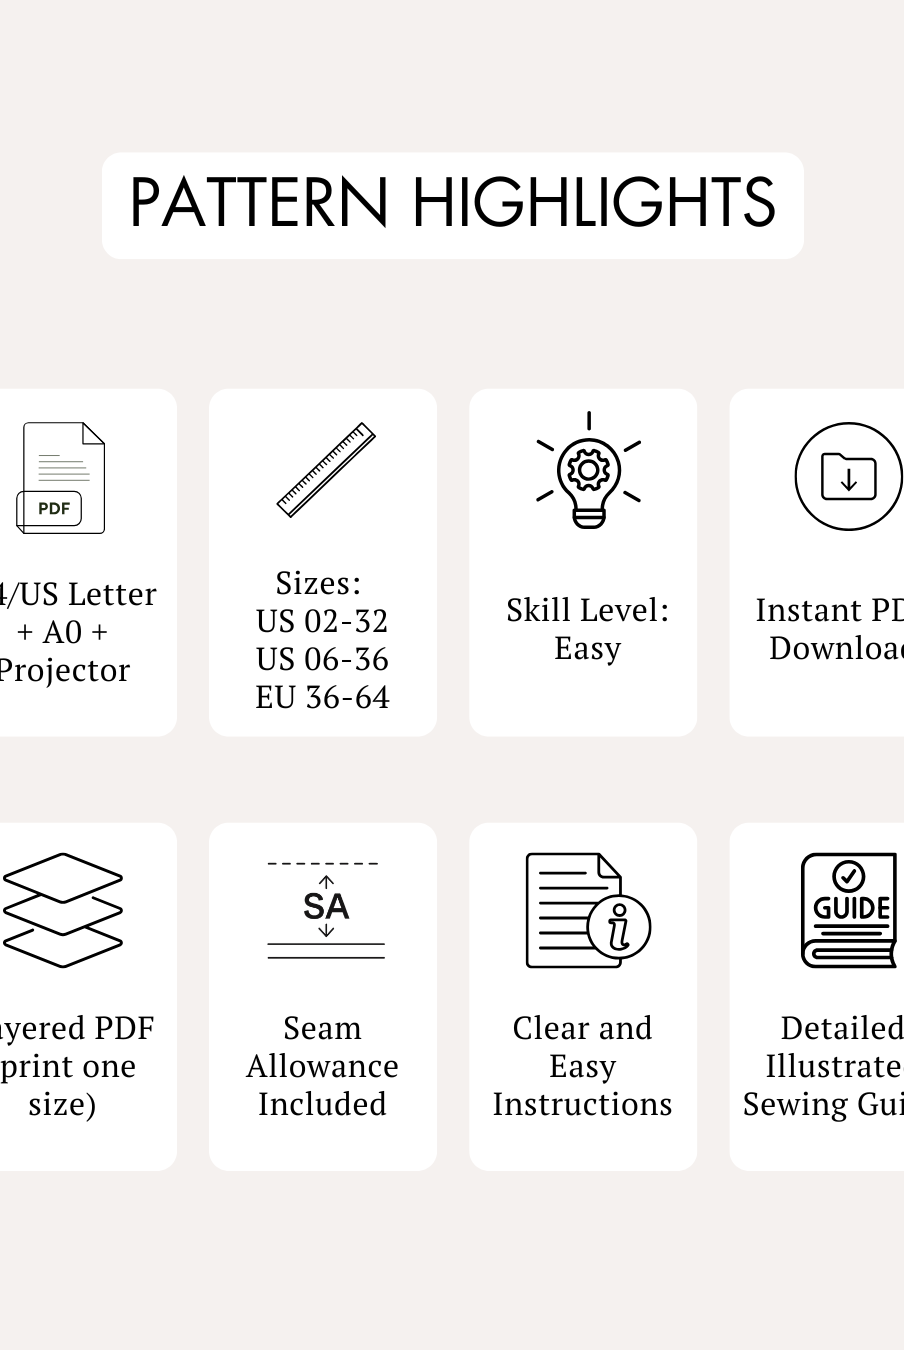
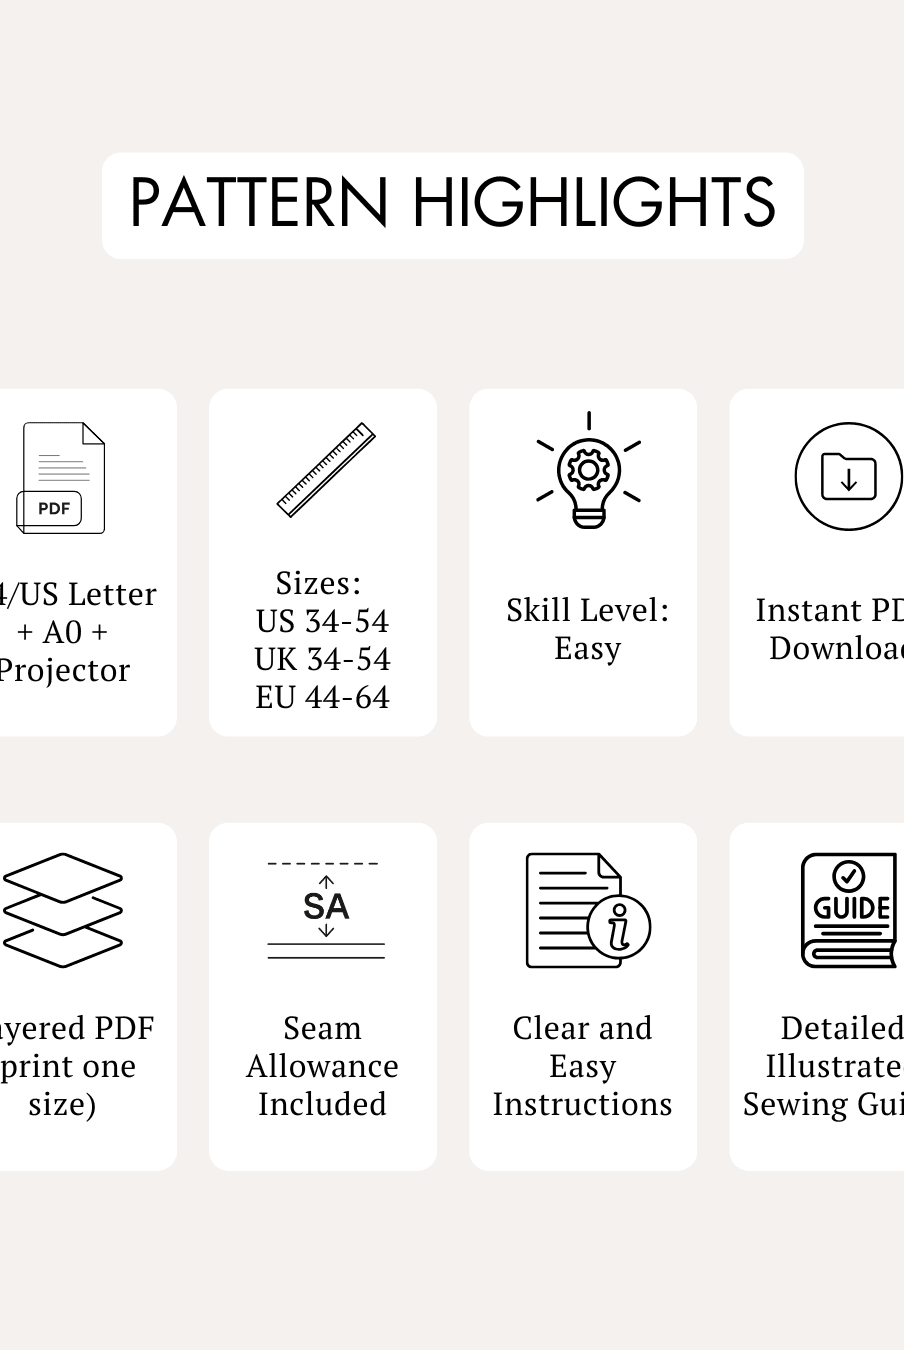
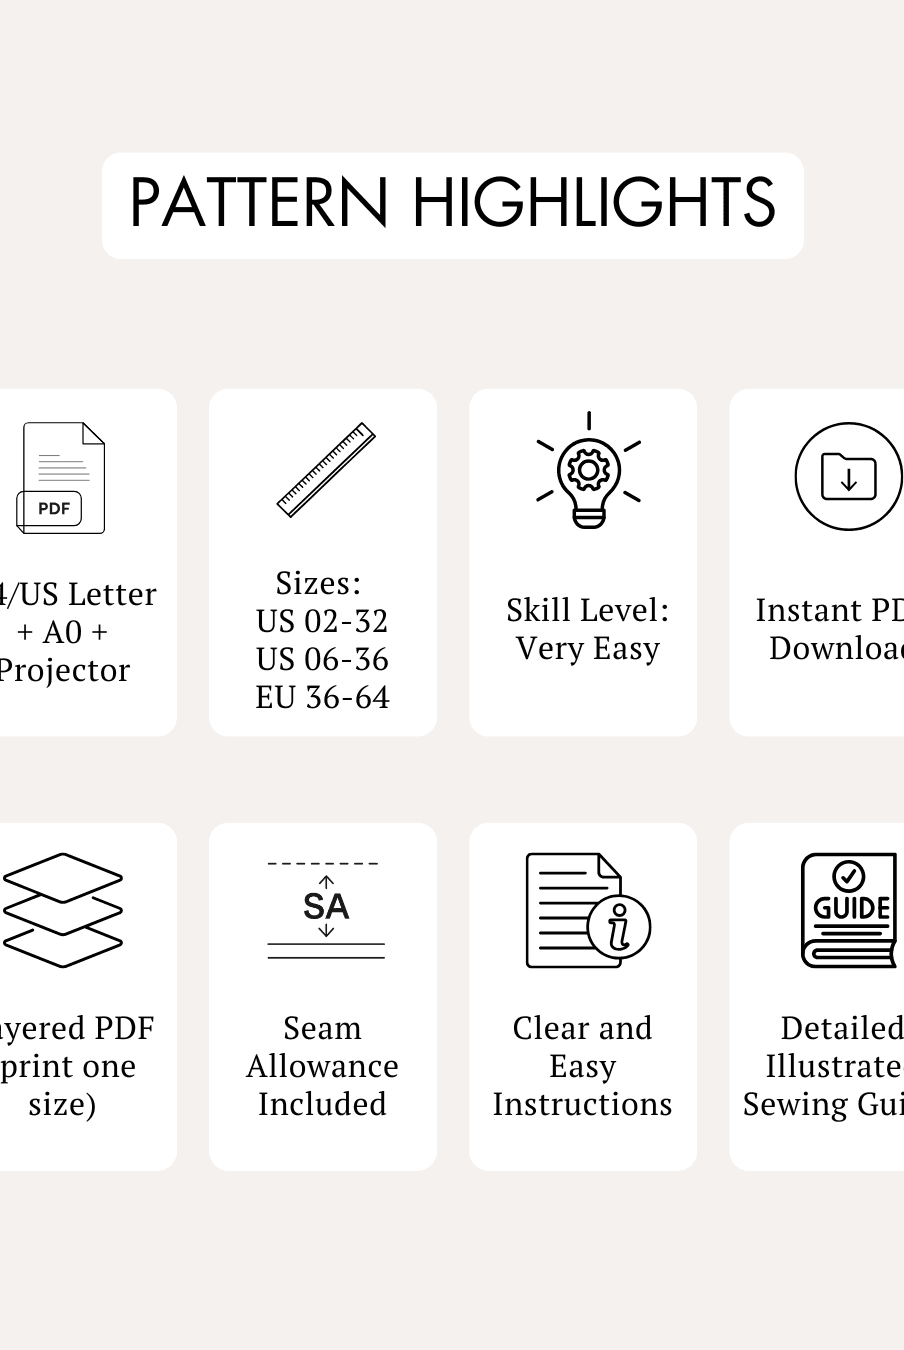
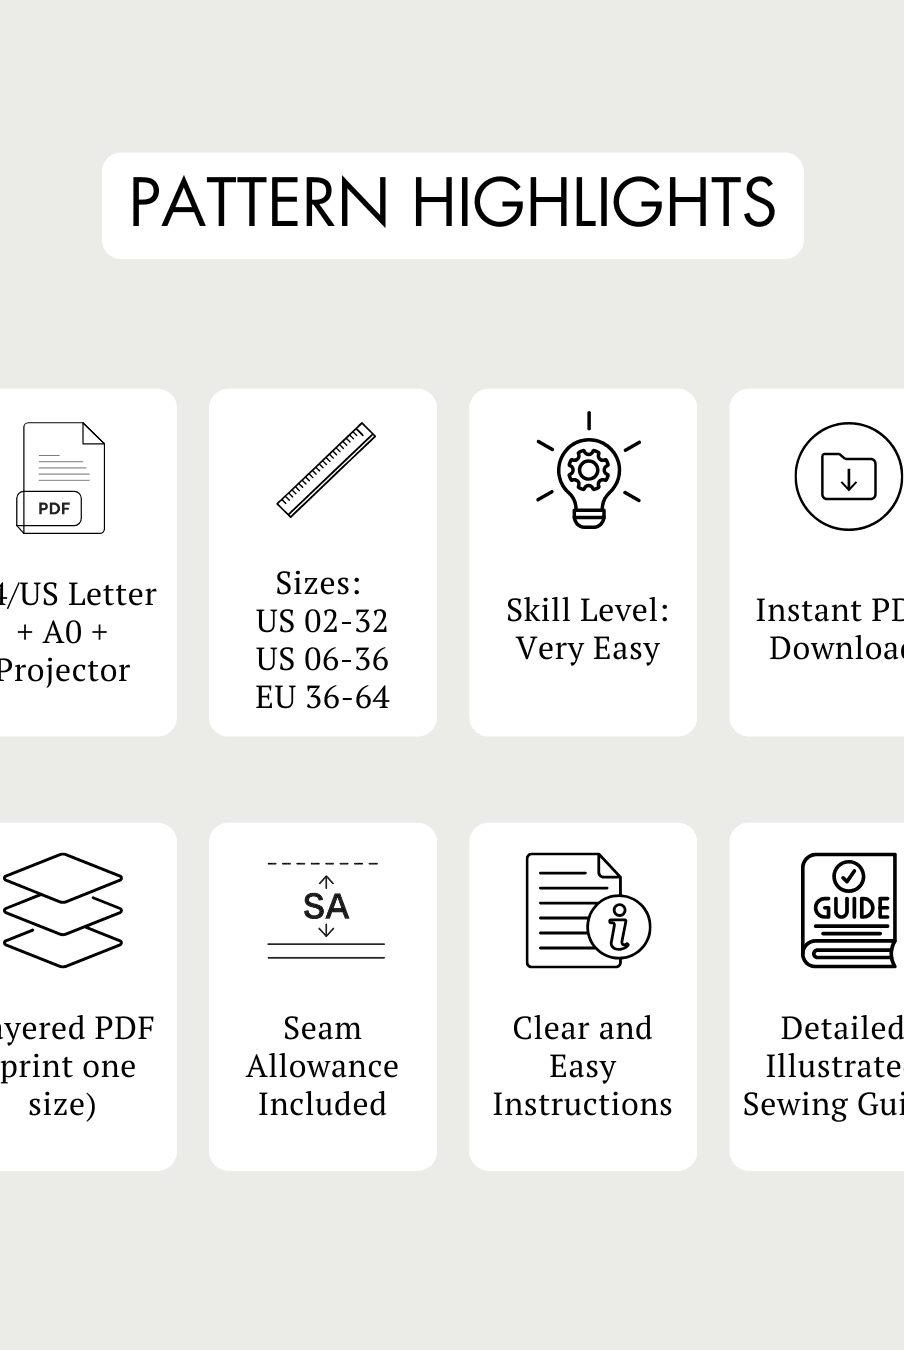
- Skill Level: Easy.
-
Major Design Features:
- Braided halter neckline.
- Draped front with a stylish keyhole back.
- Relaxed-fit halter top.
- High-waisted drawstring shorts.
- Adjustable waistband for a customized fit.
- Practical side pockets.
- Both garments can be worn together or mixed with other wardrobe pieces.
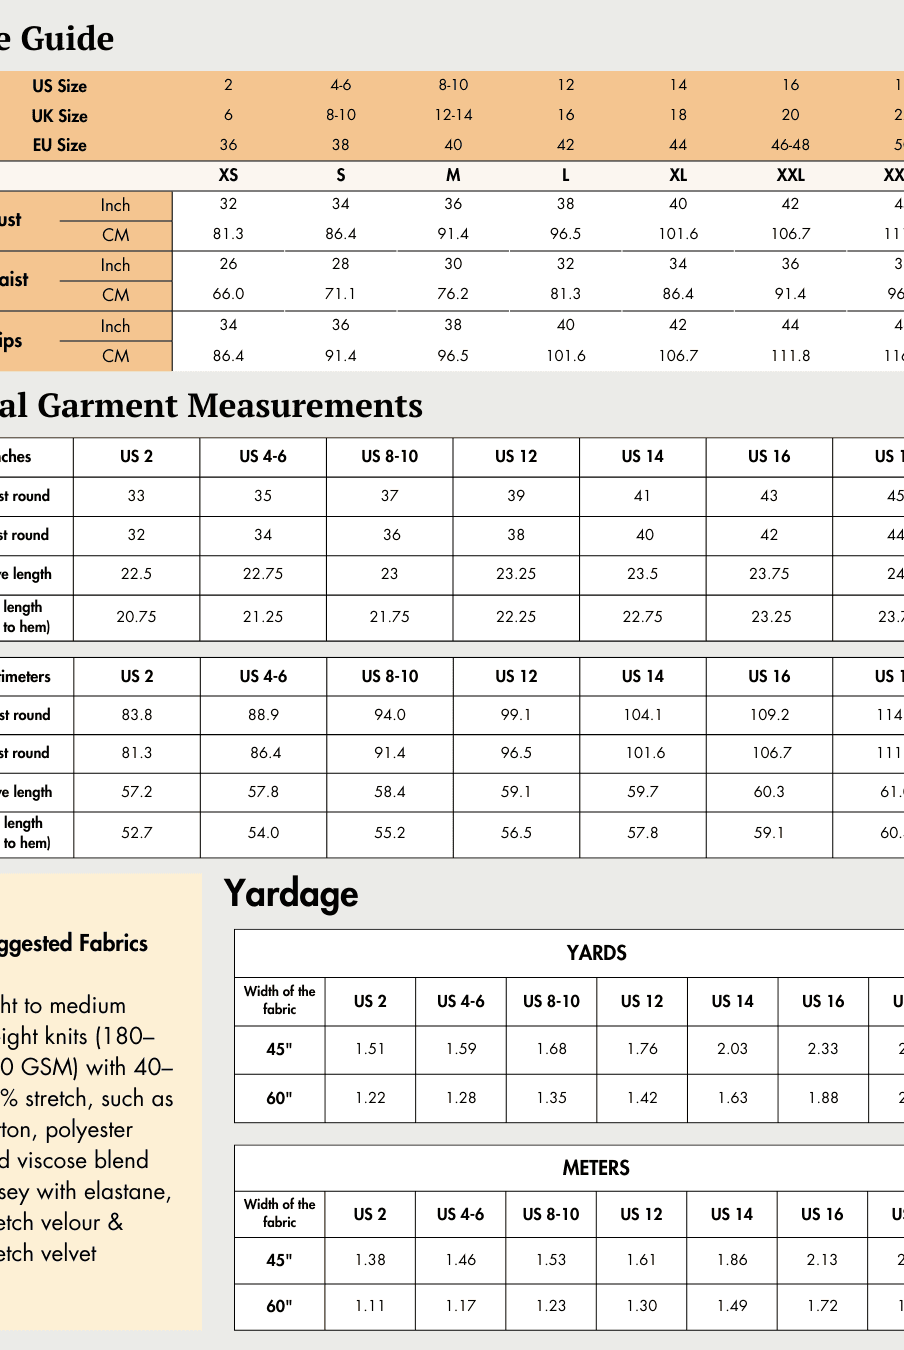
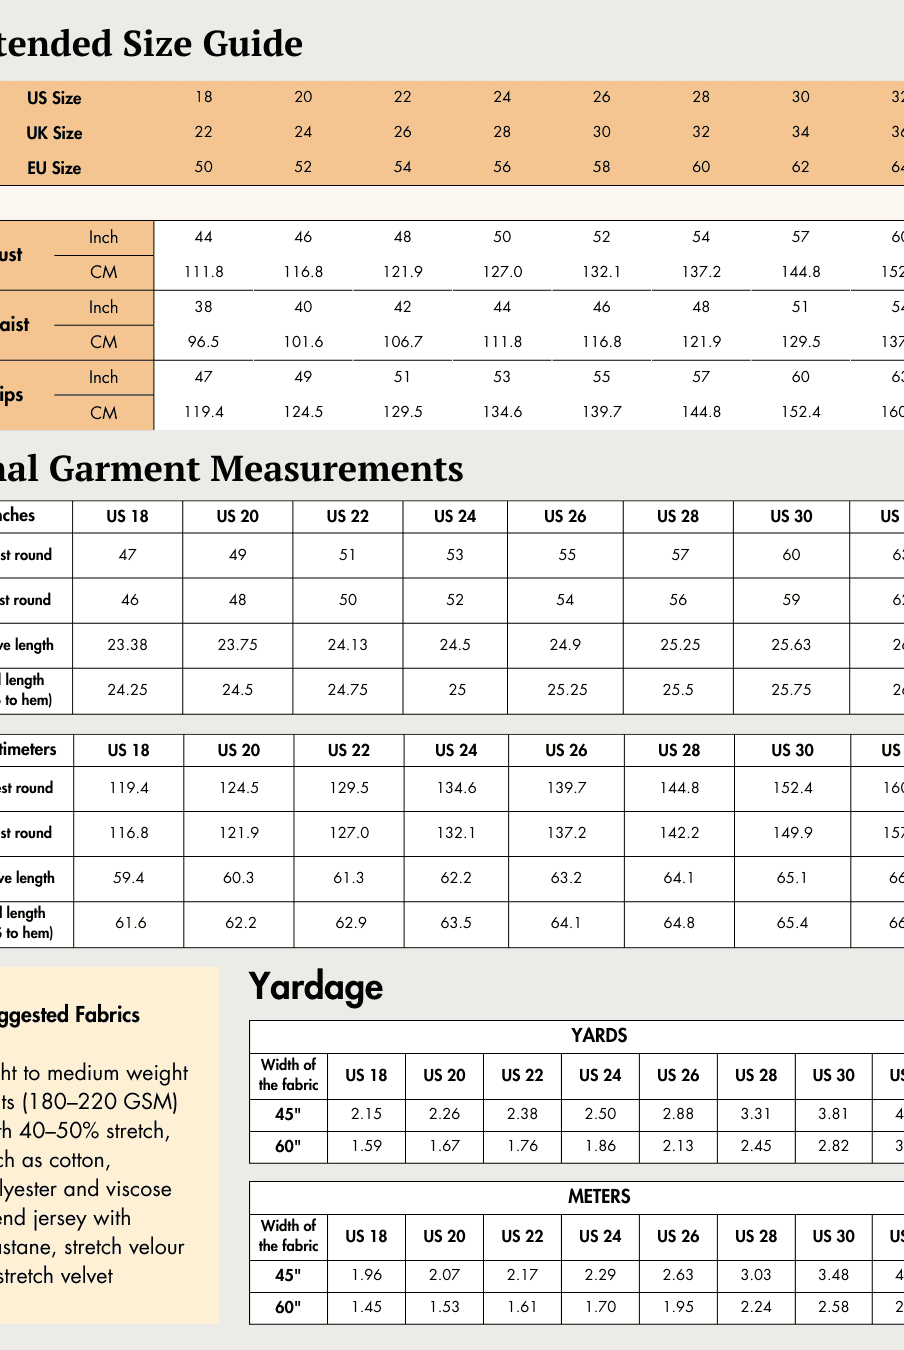
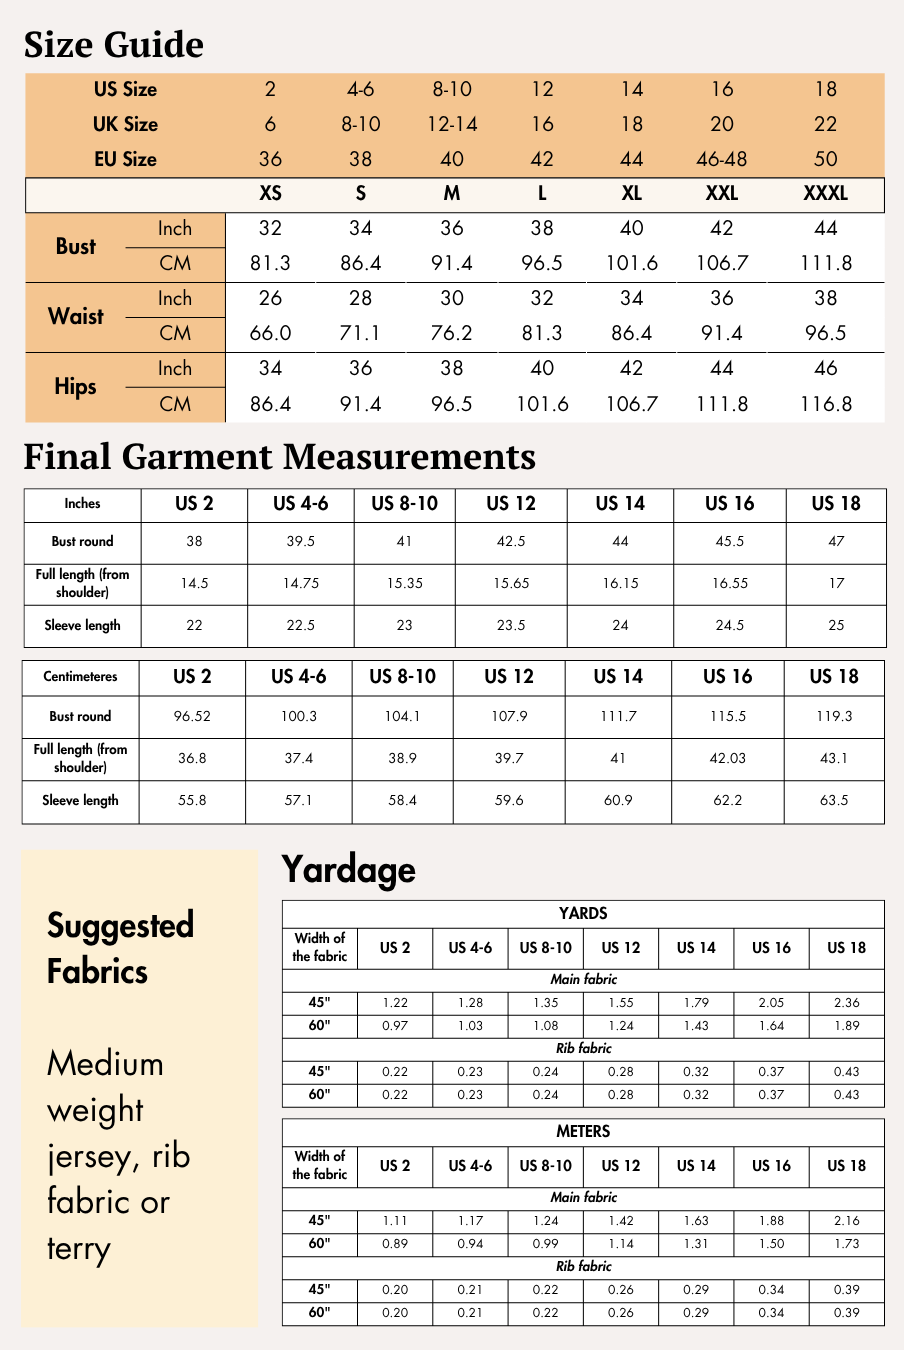
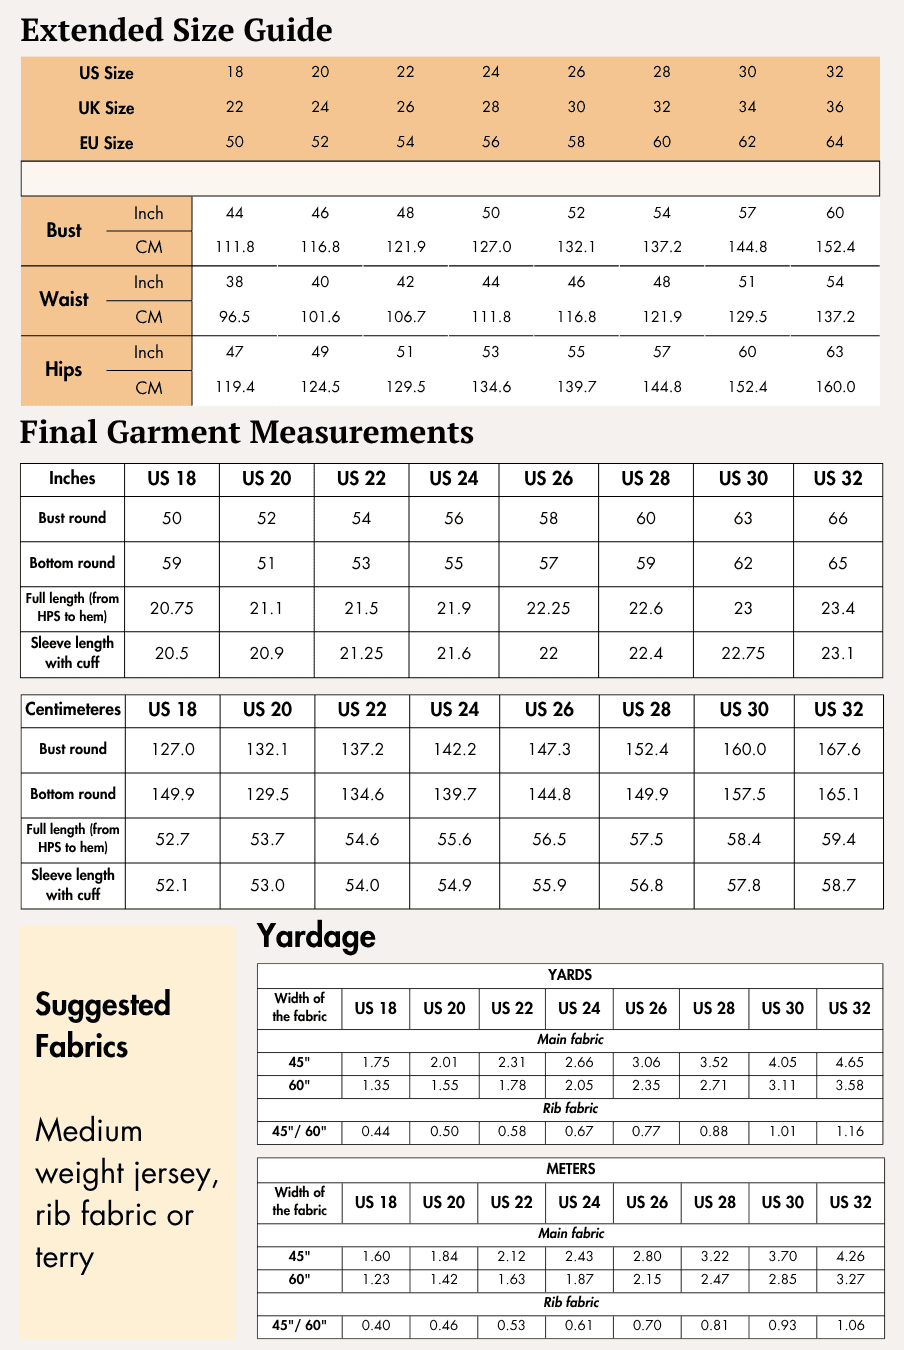
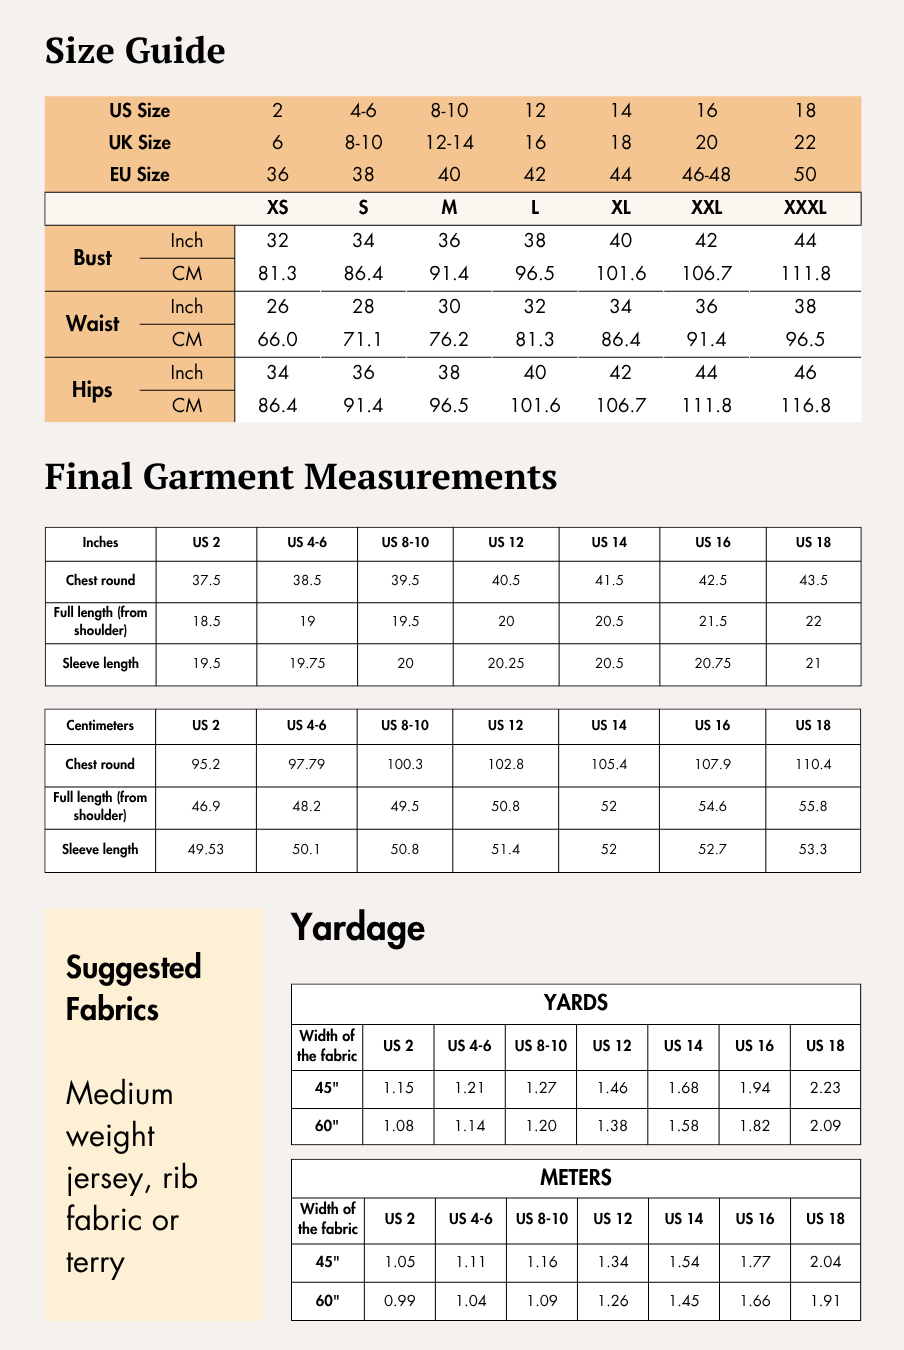
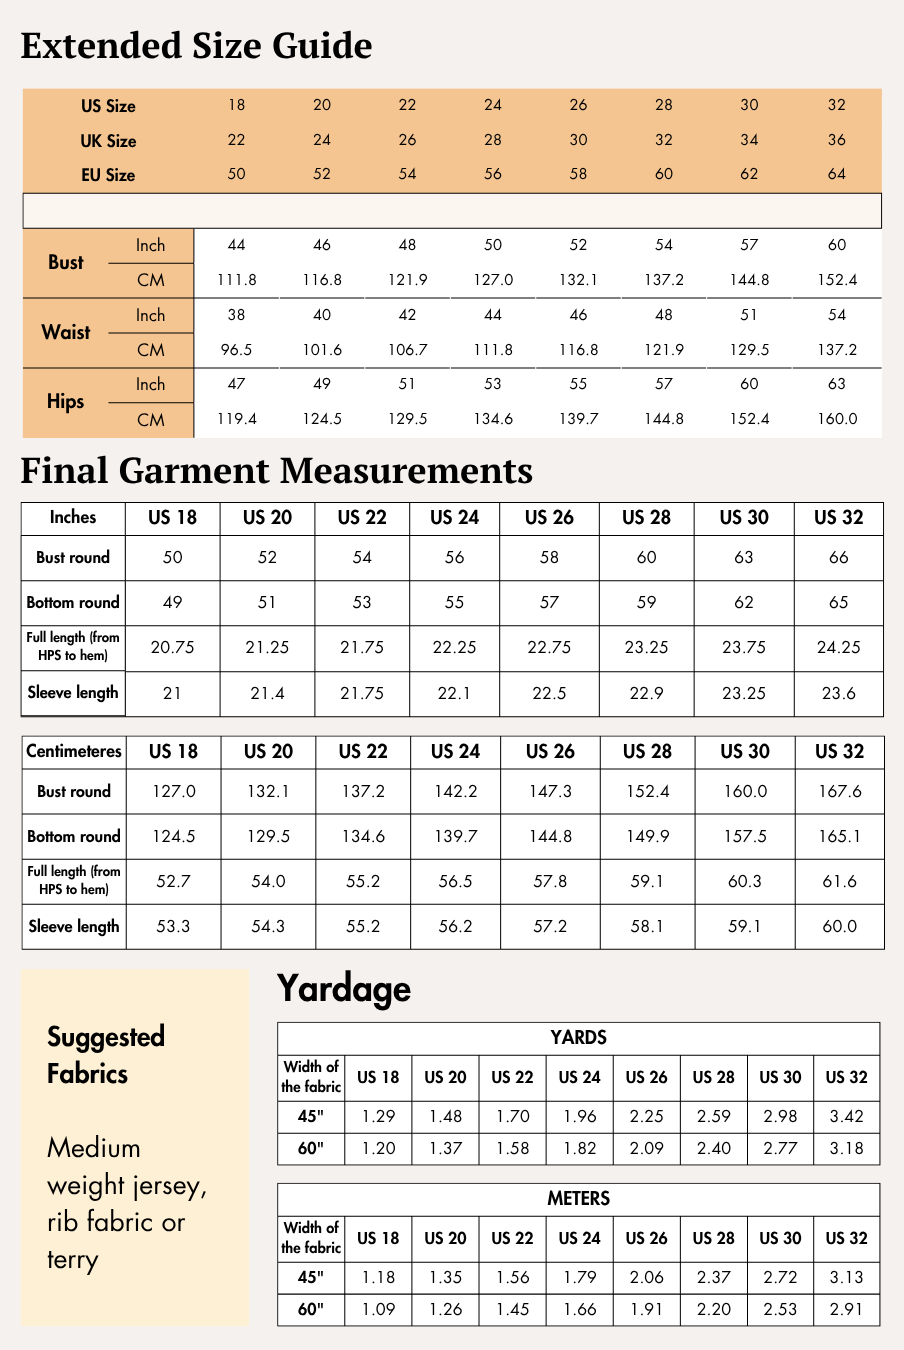
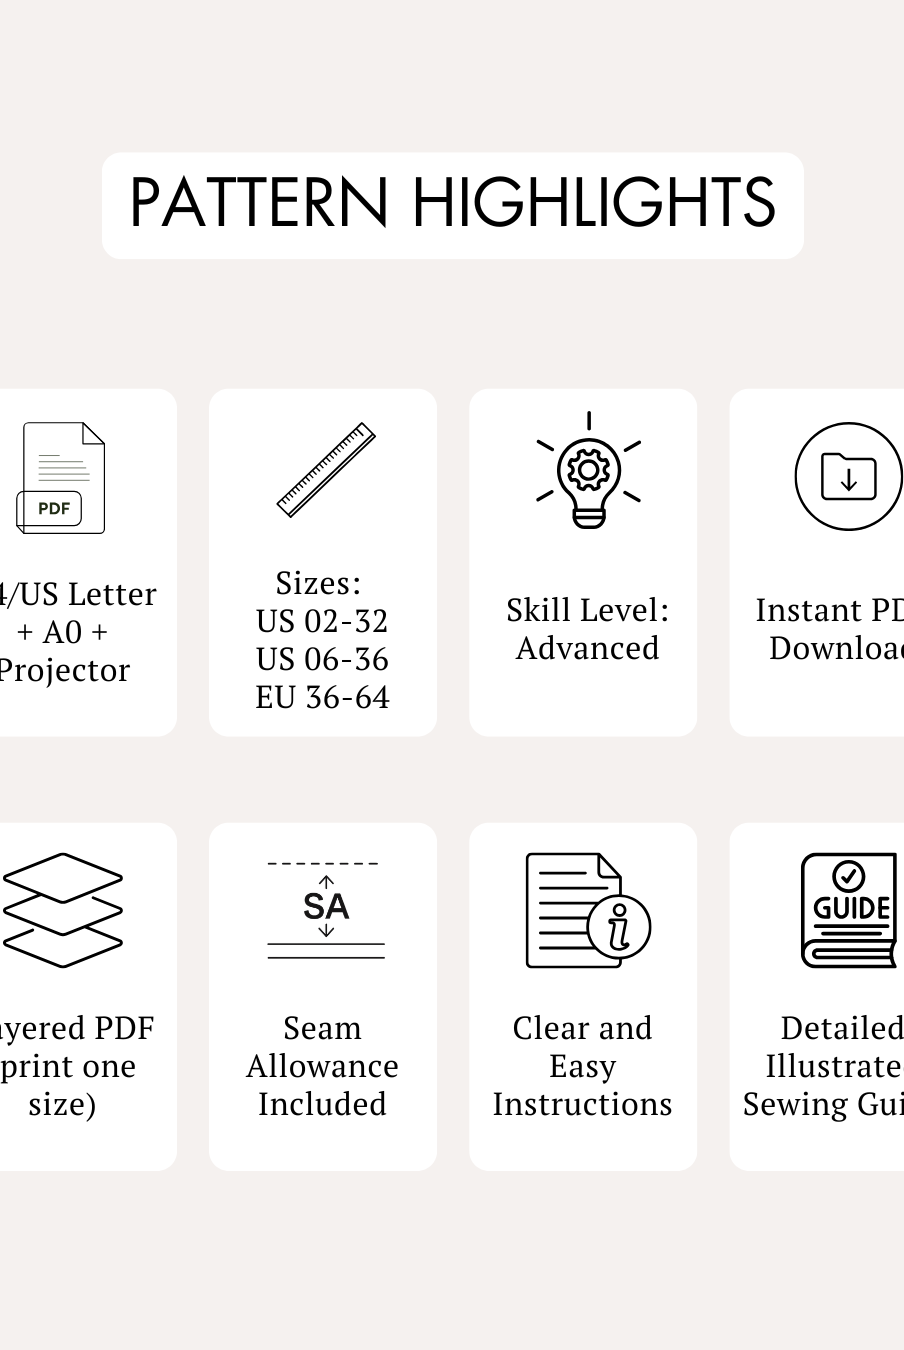
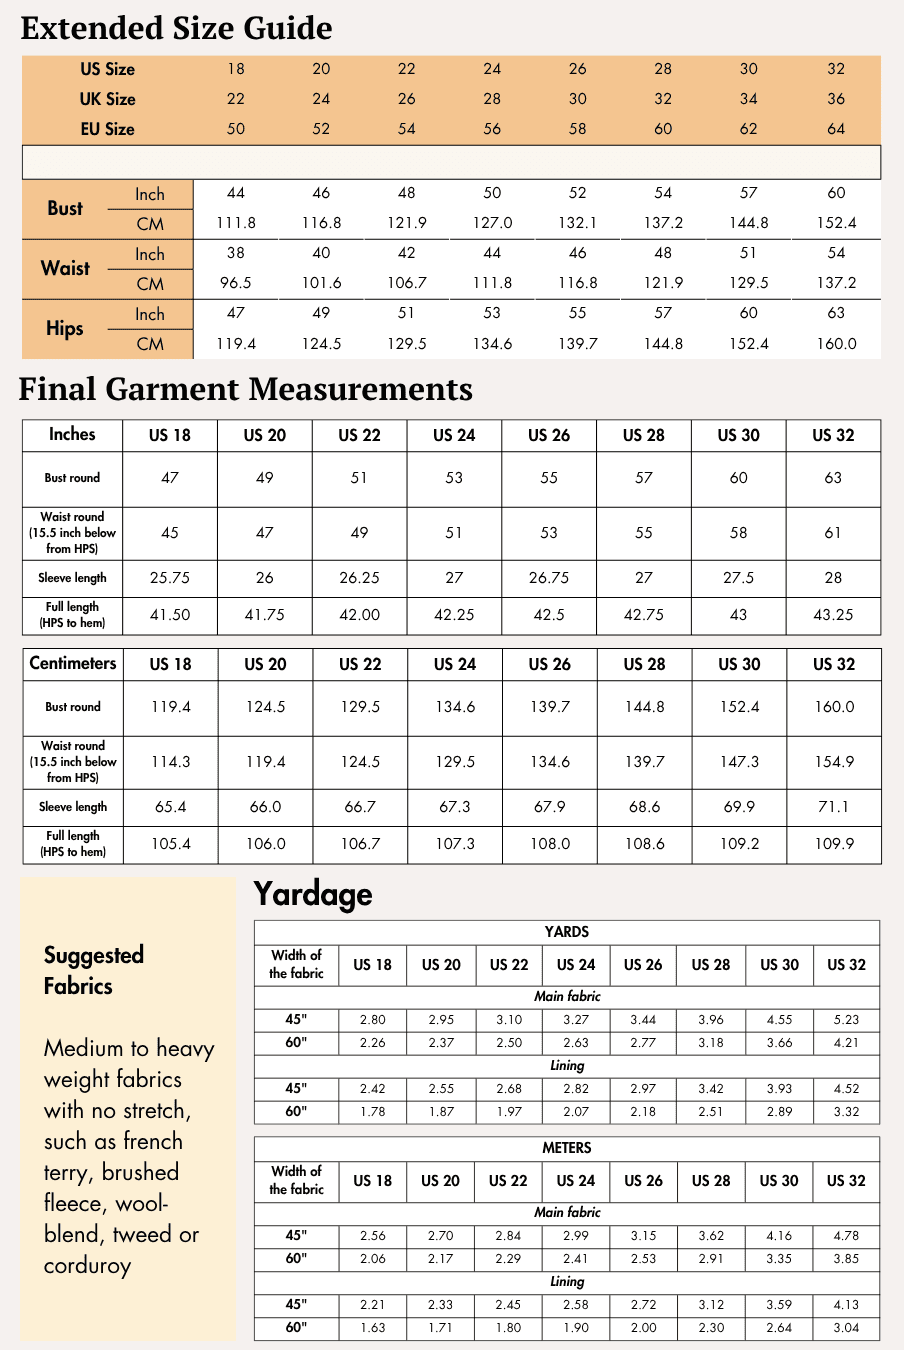
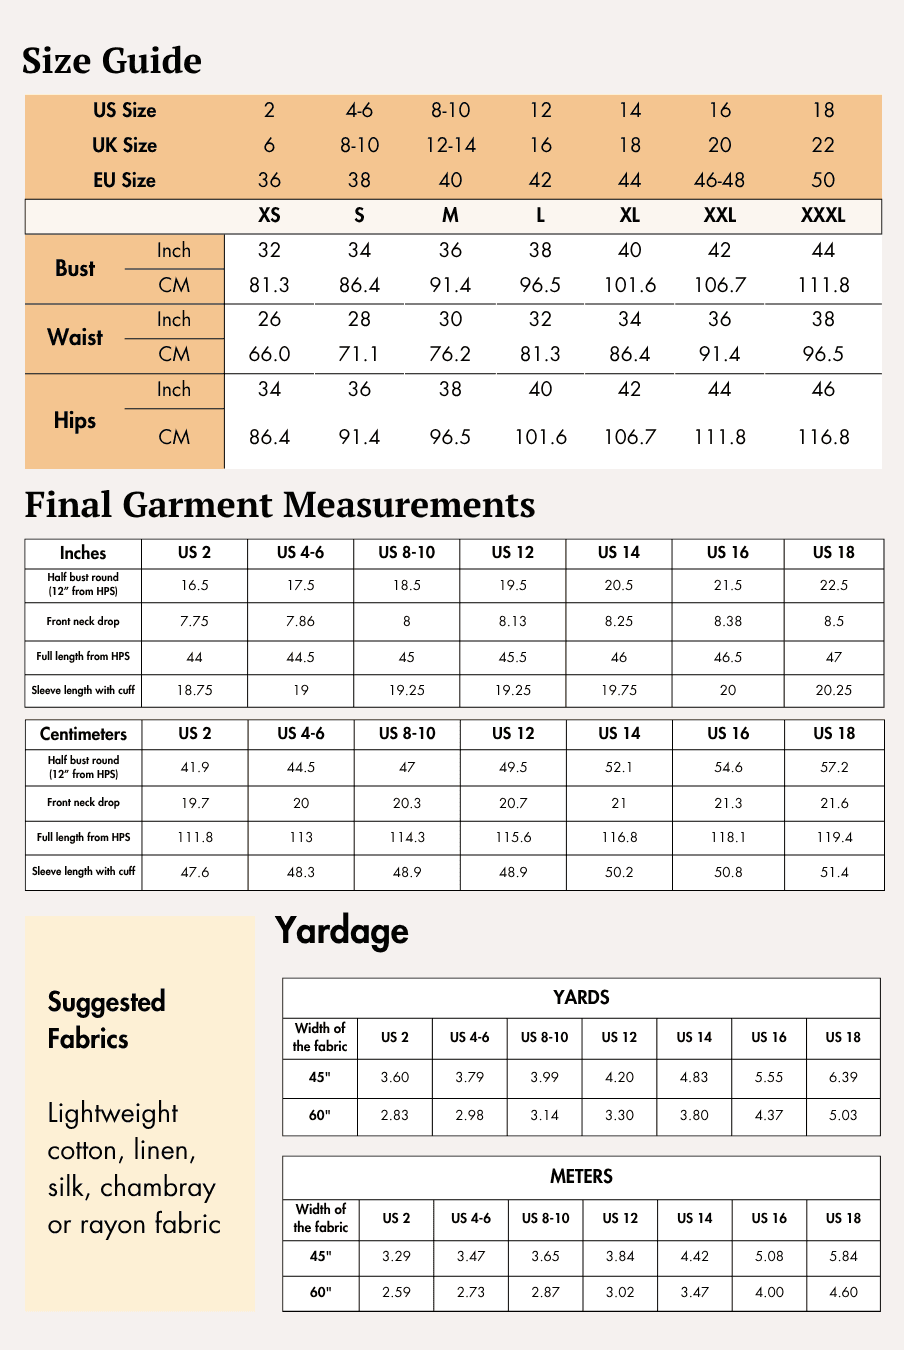
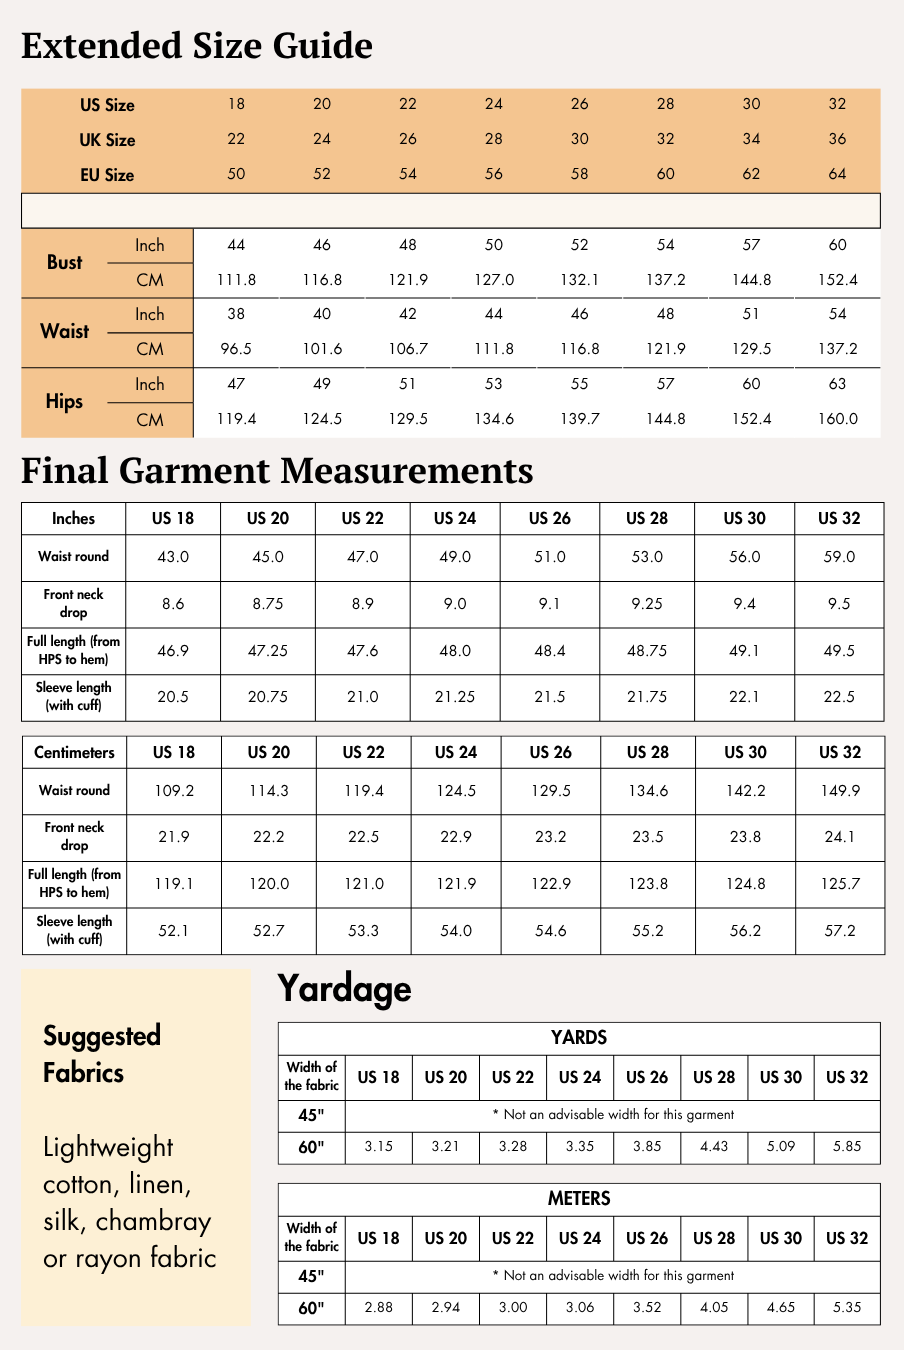
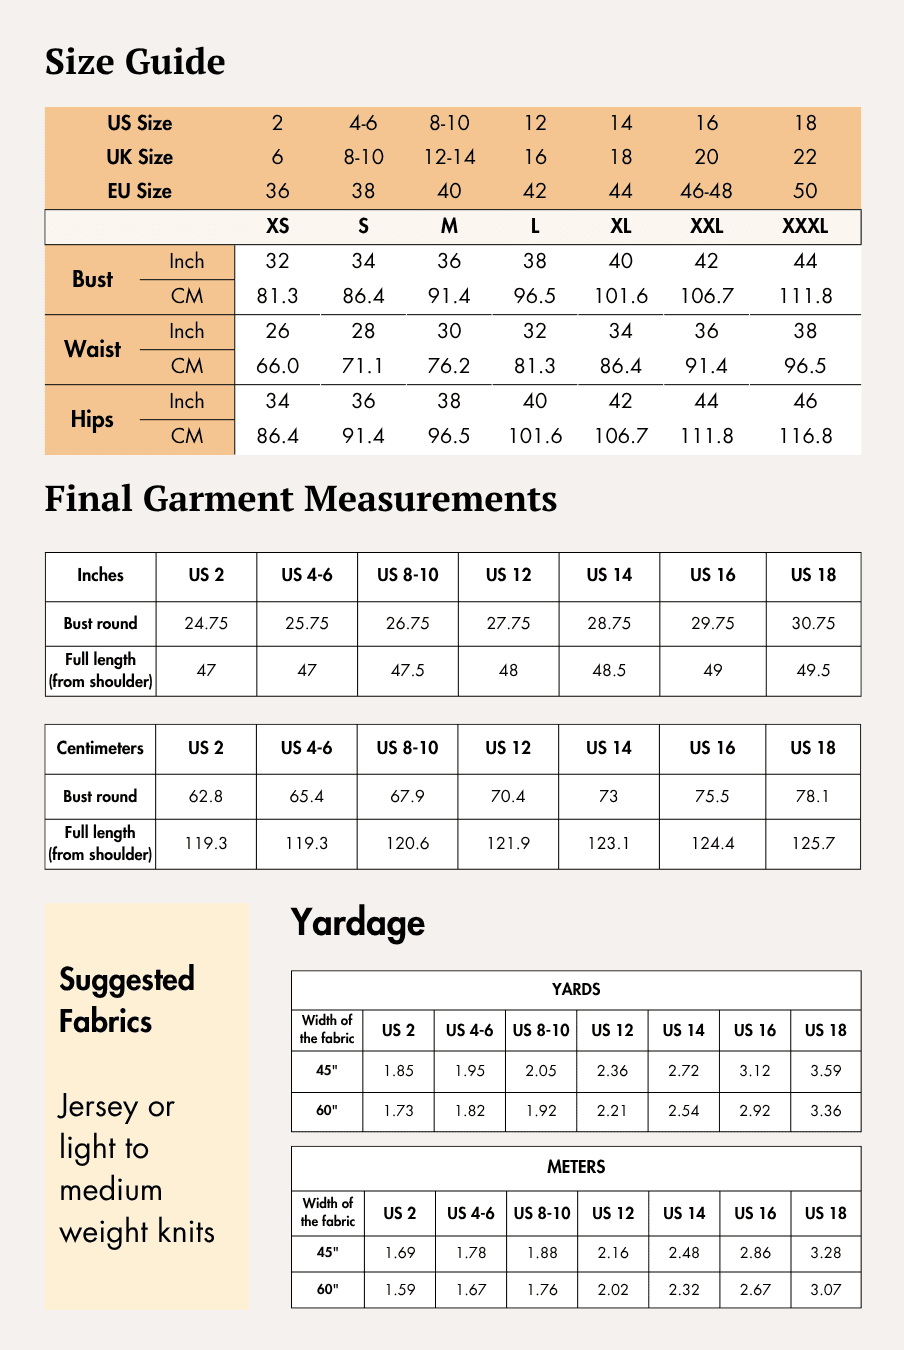
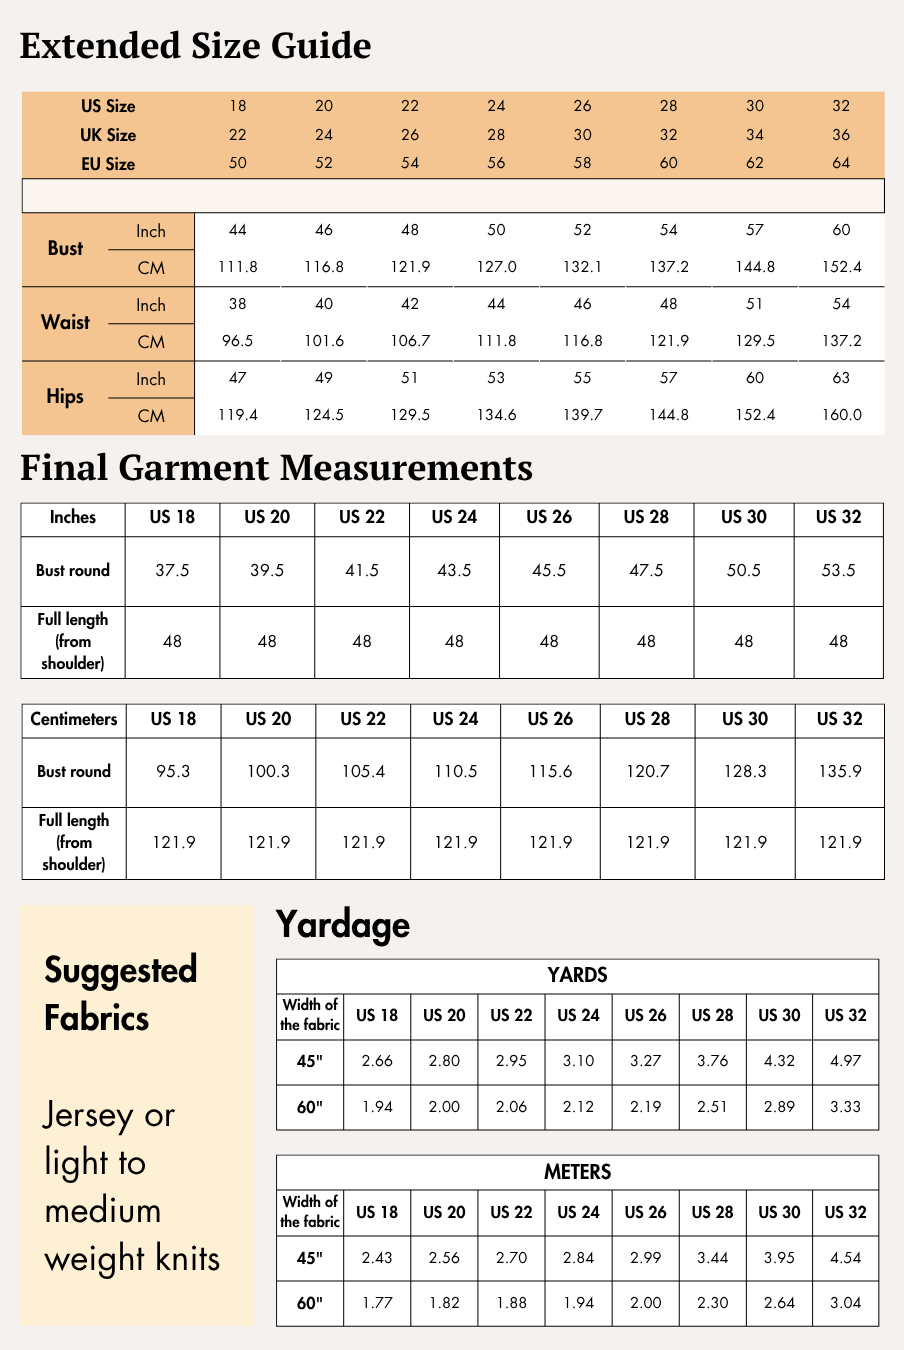
- Available Sizes: US 02 - US 32 | UK 06 - UK 36 | EU 36 - EU 64
Supplies & Notions
Braided Halter Top
Prepare the following:
- Lightweight woven fabric
- 3-ply polyester thread
- Sewing machine
- Sewing needles
- Tape measure
- Fabric shears
- Fabric chalk
- Pins
- Thread cutter
- Iron
Drawstring Shorts
Prepare the following:
- Medium-weight woven fabric
- 2" wide elastic band
- 3-ply polyester thread
- Sewing machine
- Sewing needles
- Tape measure
- Fabric shears
- Fabric chalk
- Pins
- Thread cutter
- Iron
Fabric Recommendations
Braided Halter Top
Recommended fabrics include:
- 100% cotton
- Cotton blends
- Silk blends
- Jersey
- Crepe
- Georgette
- Viscose
The sample garment is sewn using plain linen fabric. The guide recommends this fabric because it is:
- Light to medium weight
- Smooth in texture
- Stretchy
- Durable
- Breathable
- Crease-resistant
Drawstring Shorts
Recommended fabrics include:
- Medium-weight jersey
- Cotton
- Viscose blends
The sample shorts are sewn using linen fabric, which is recommended because it:
- Is easy to sew, making it suitable for beginners.
- Is ideal for summer garments.
Size Charts
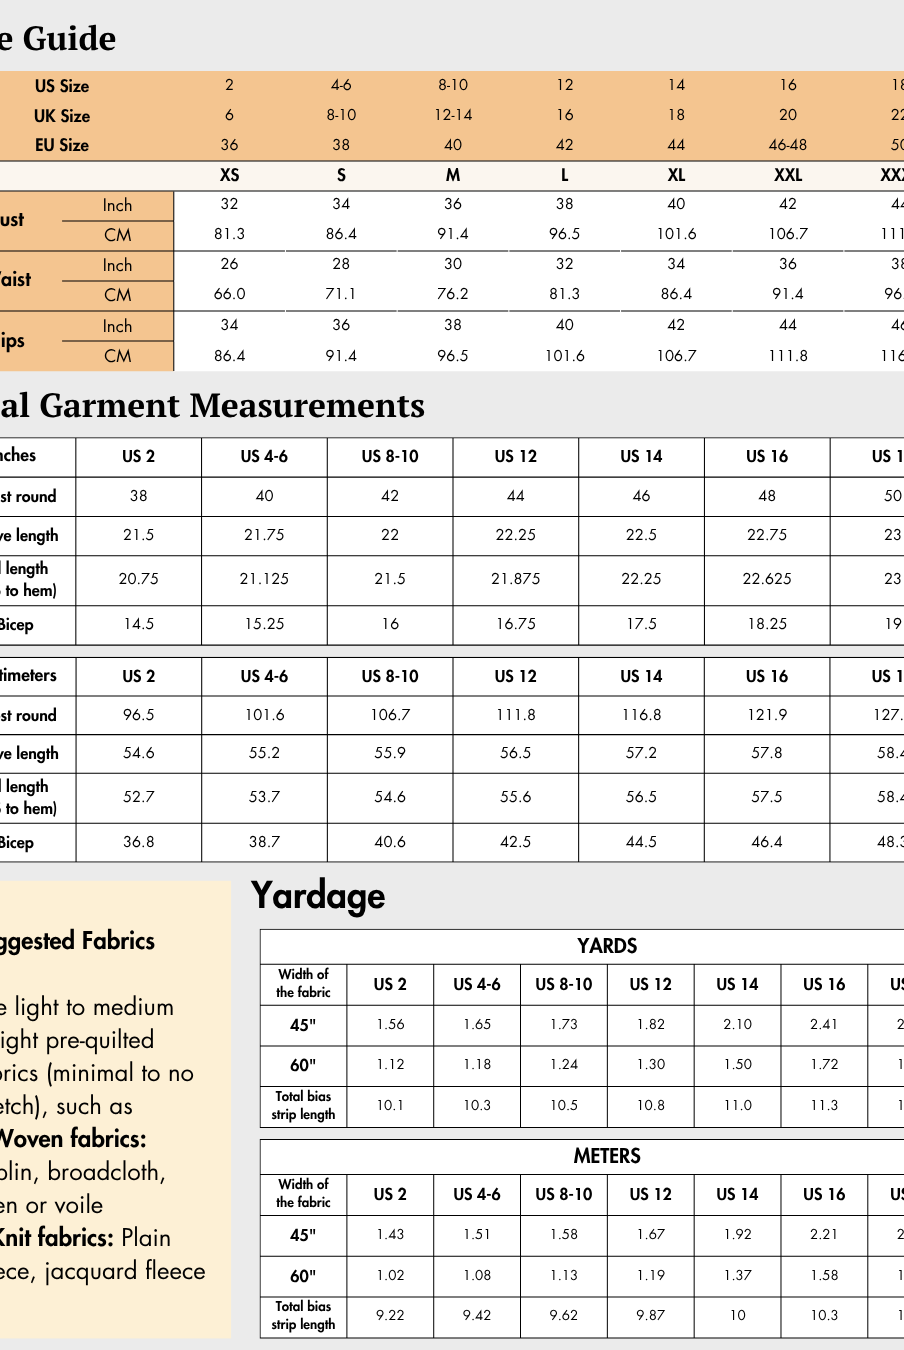
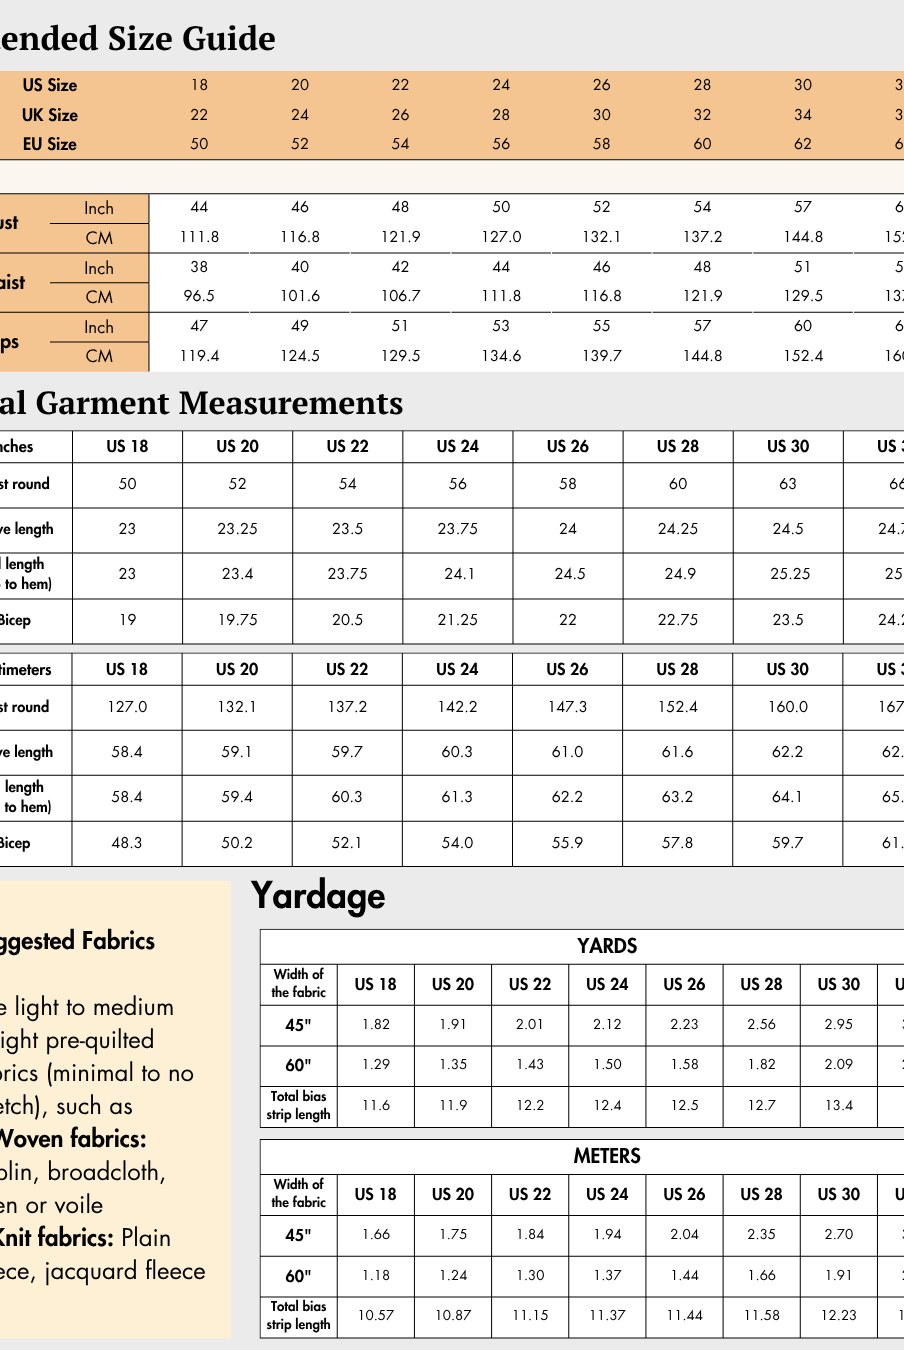
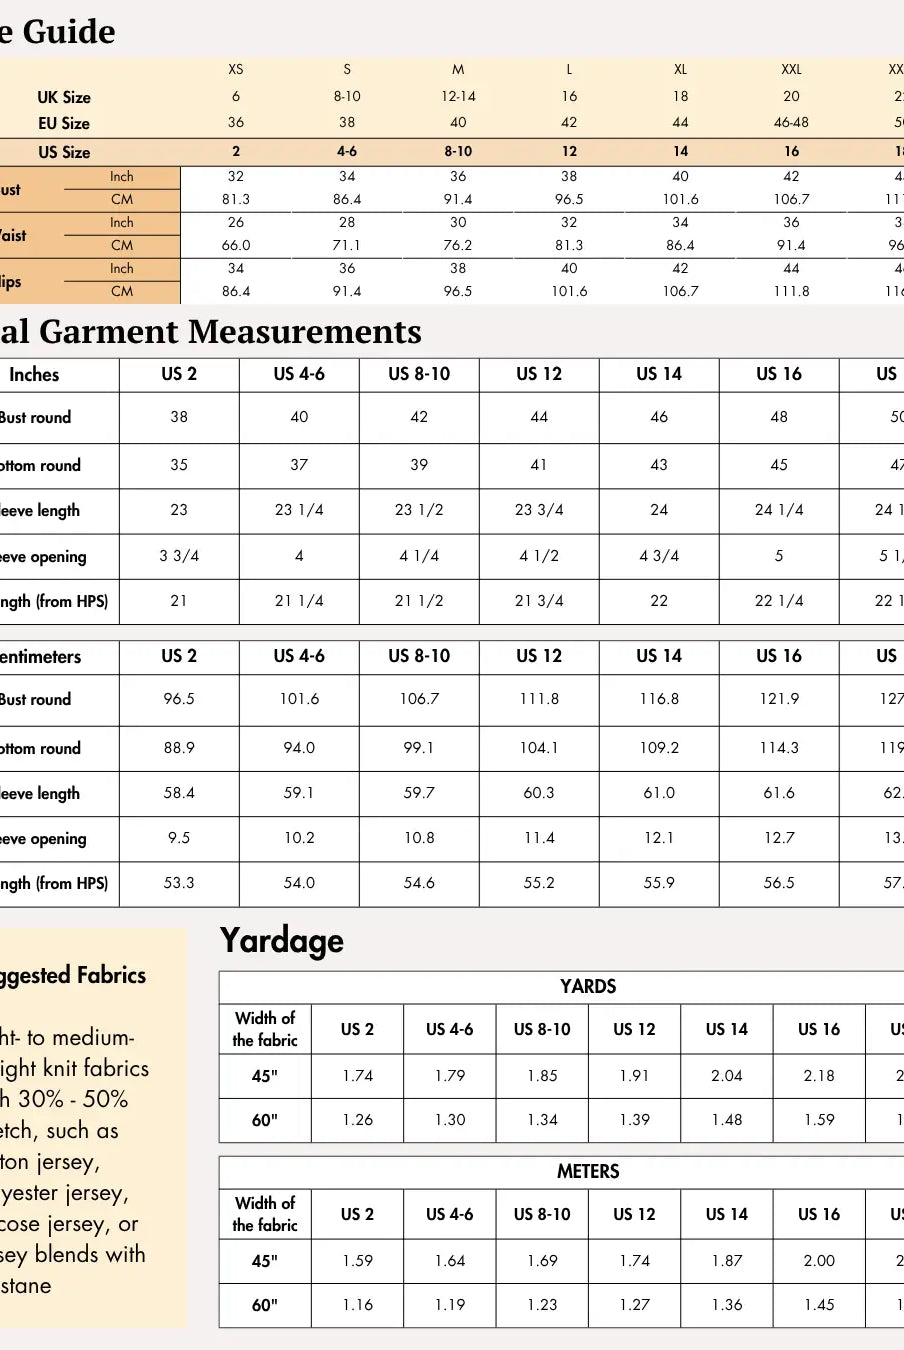
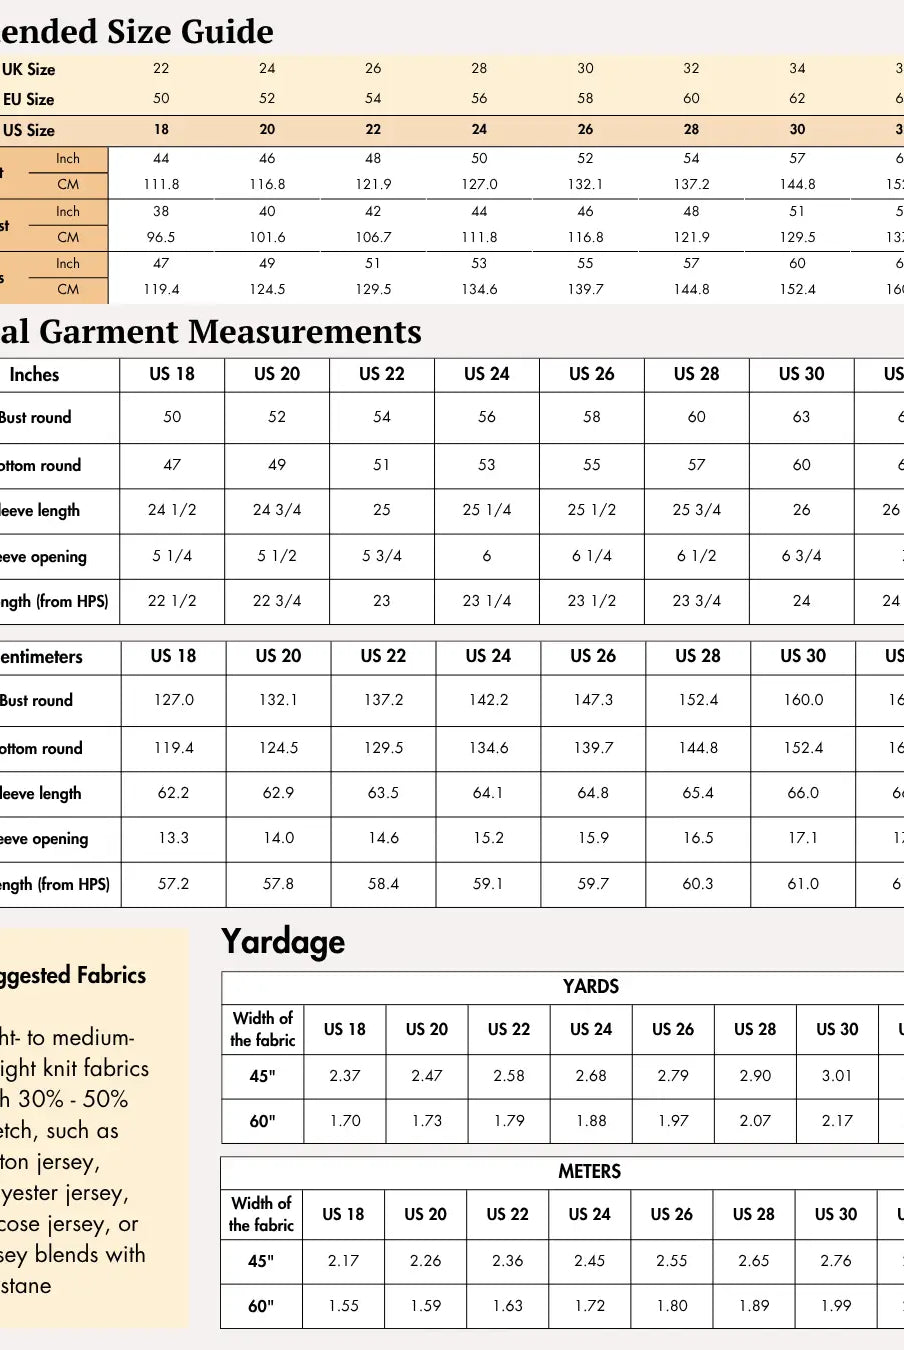
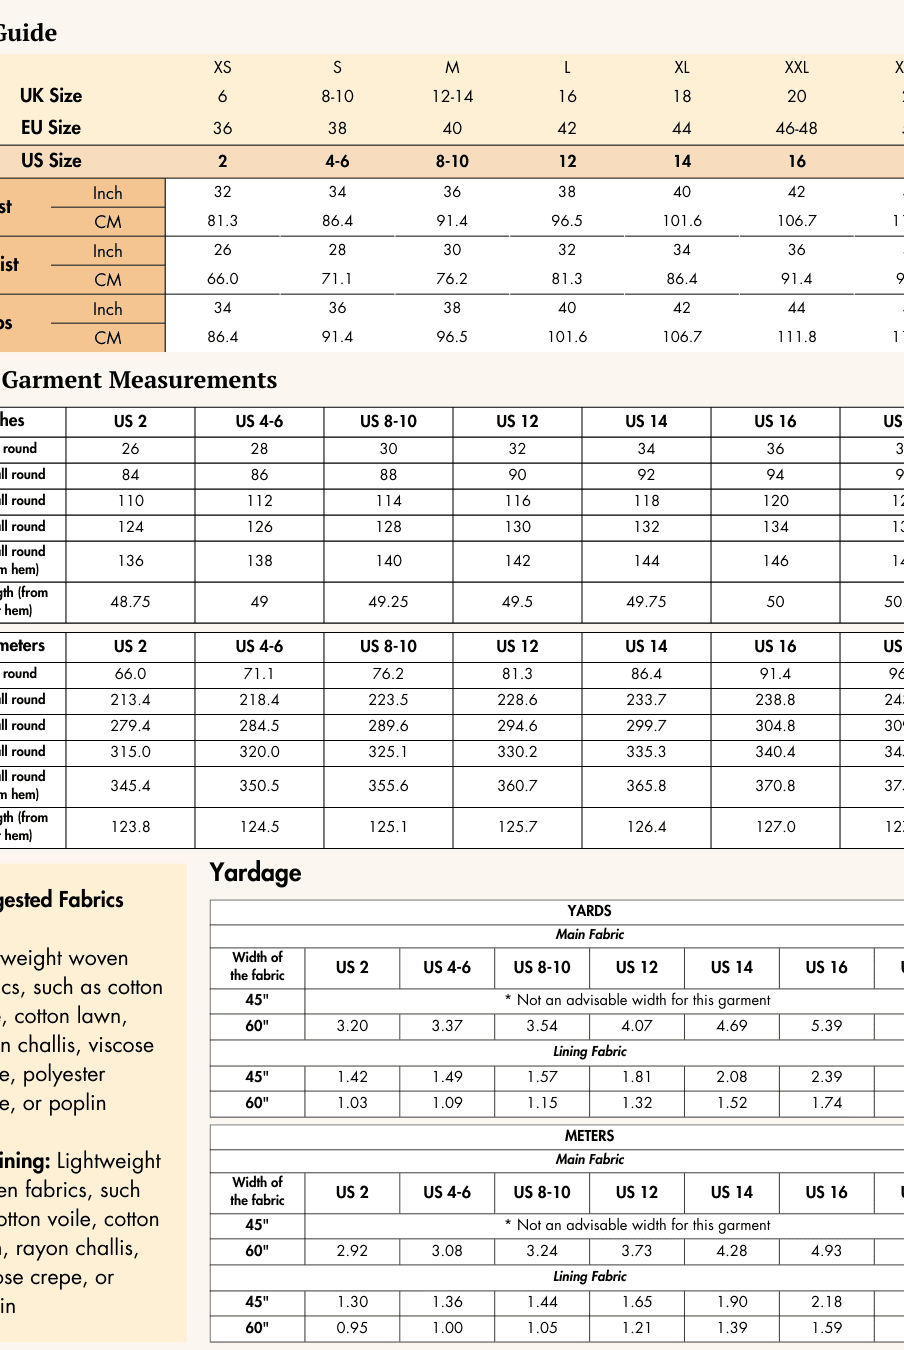
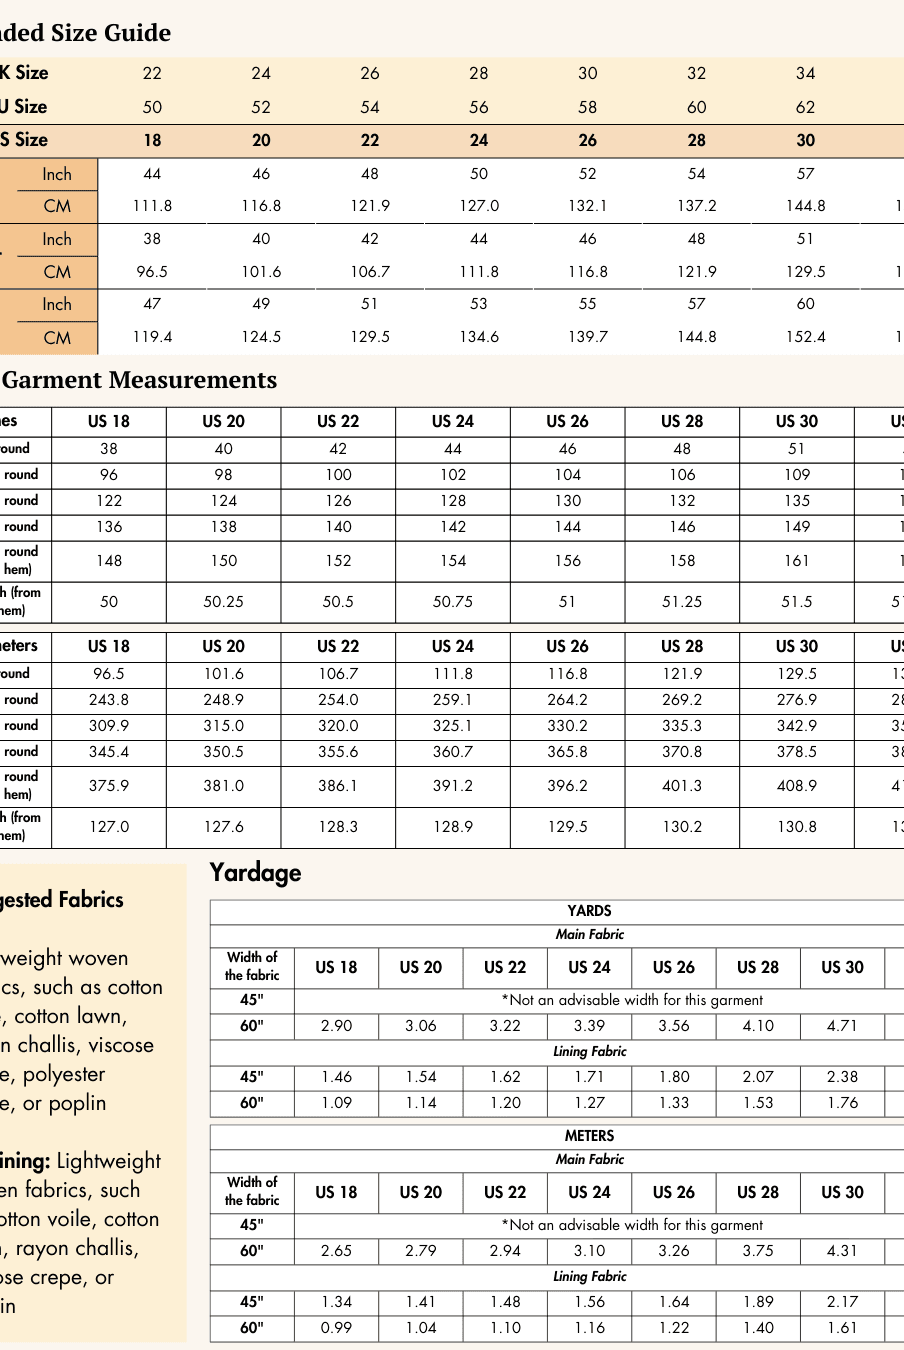
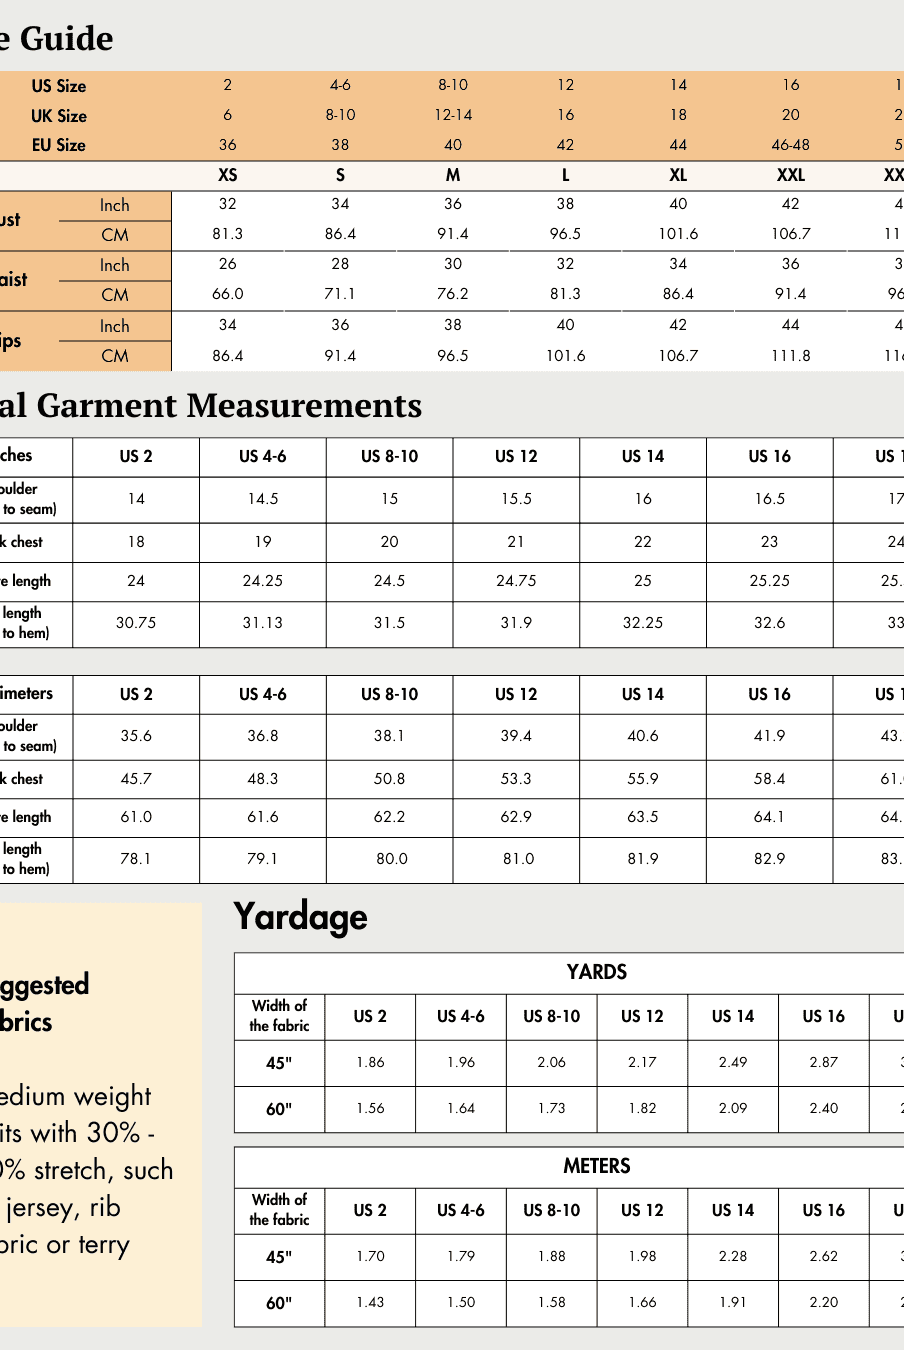
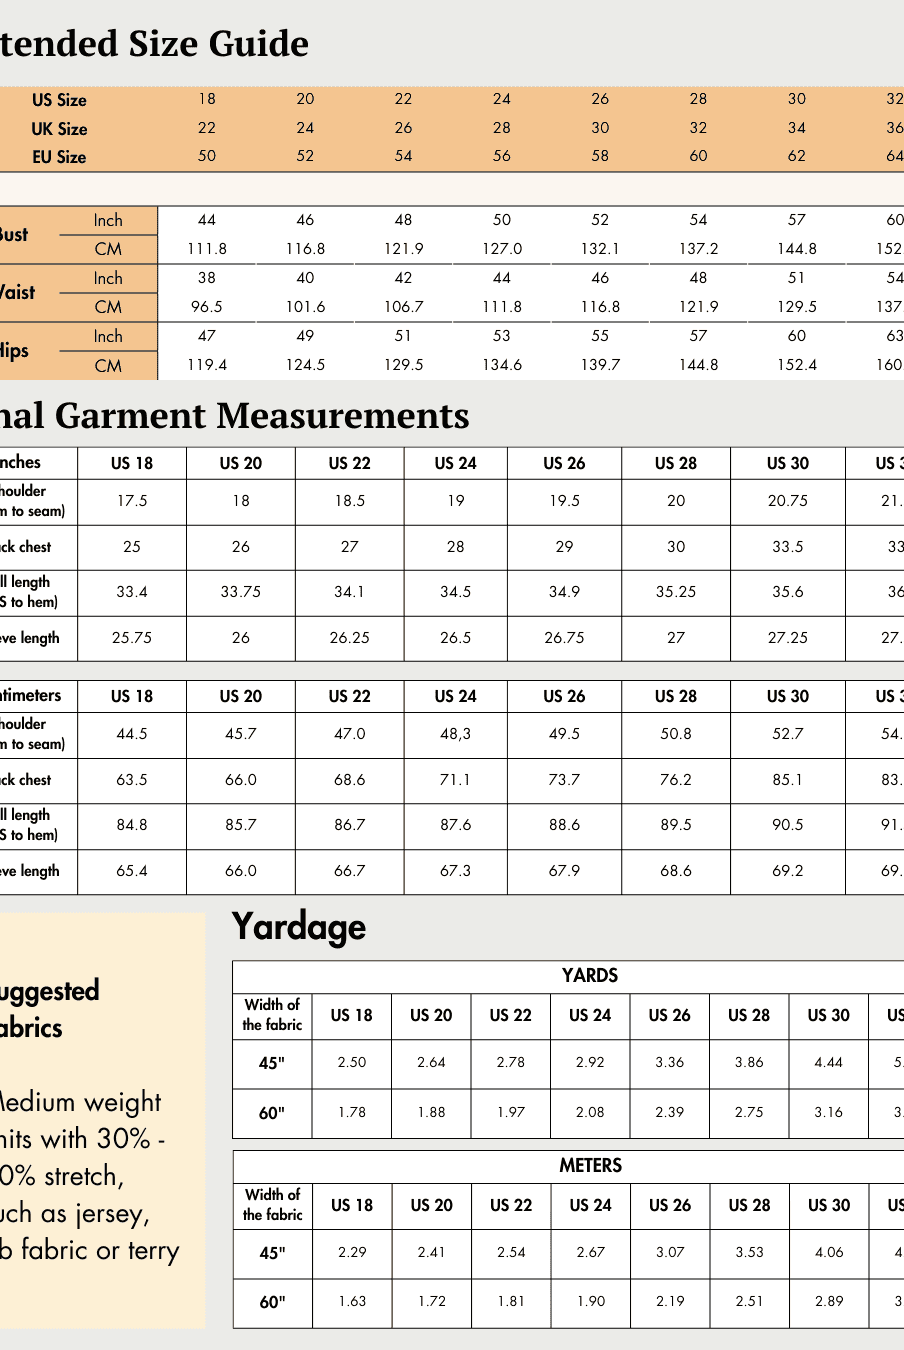
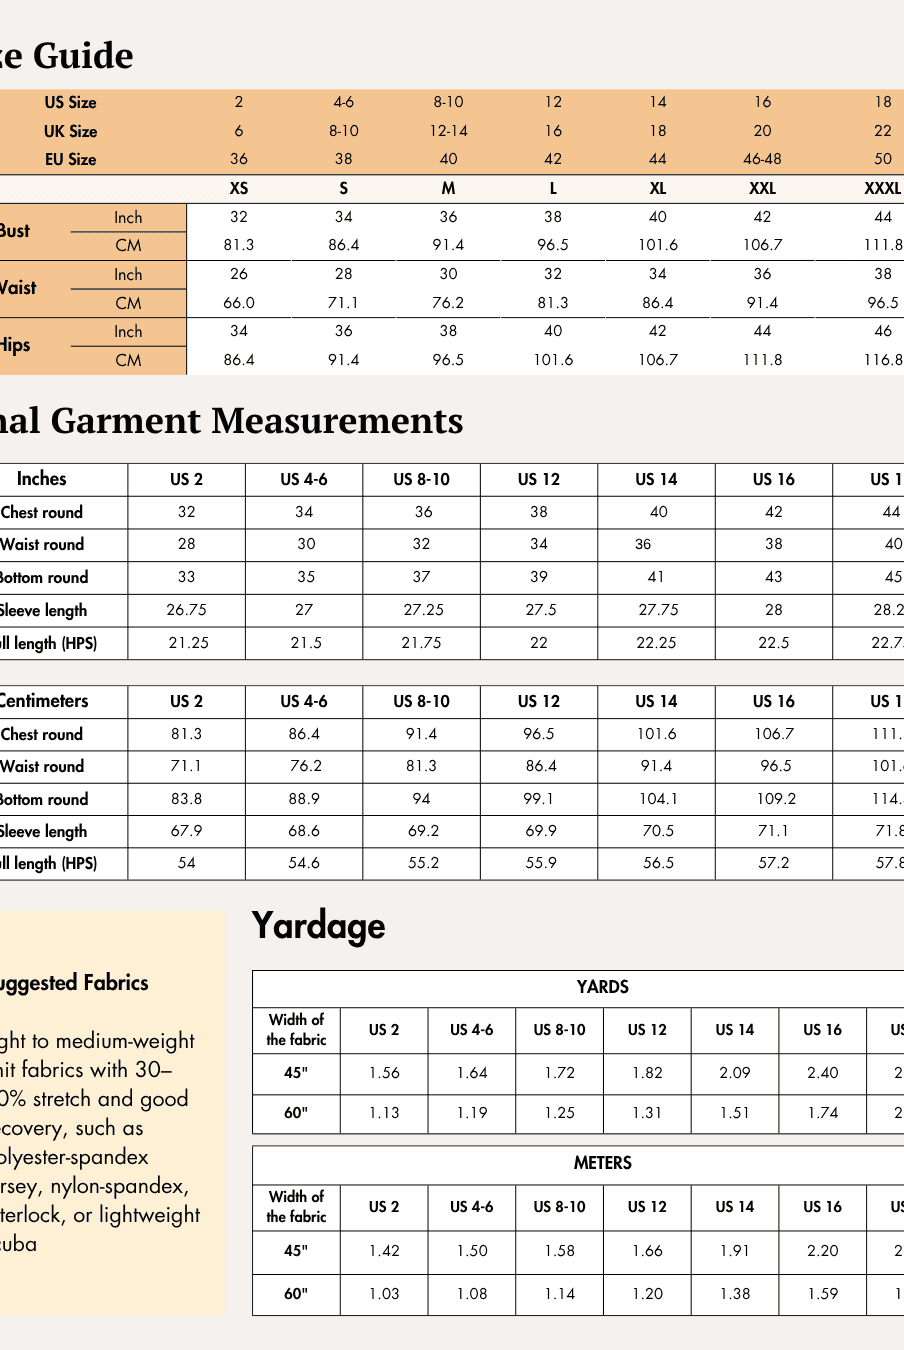
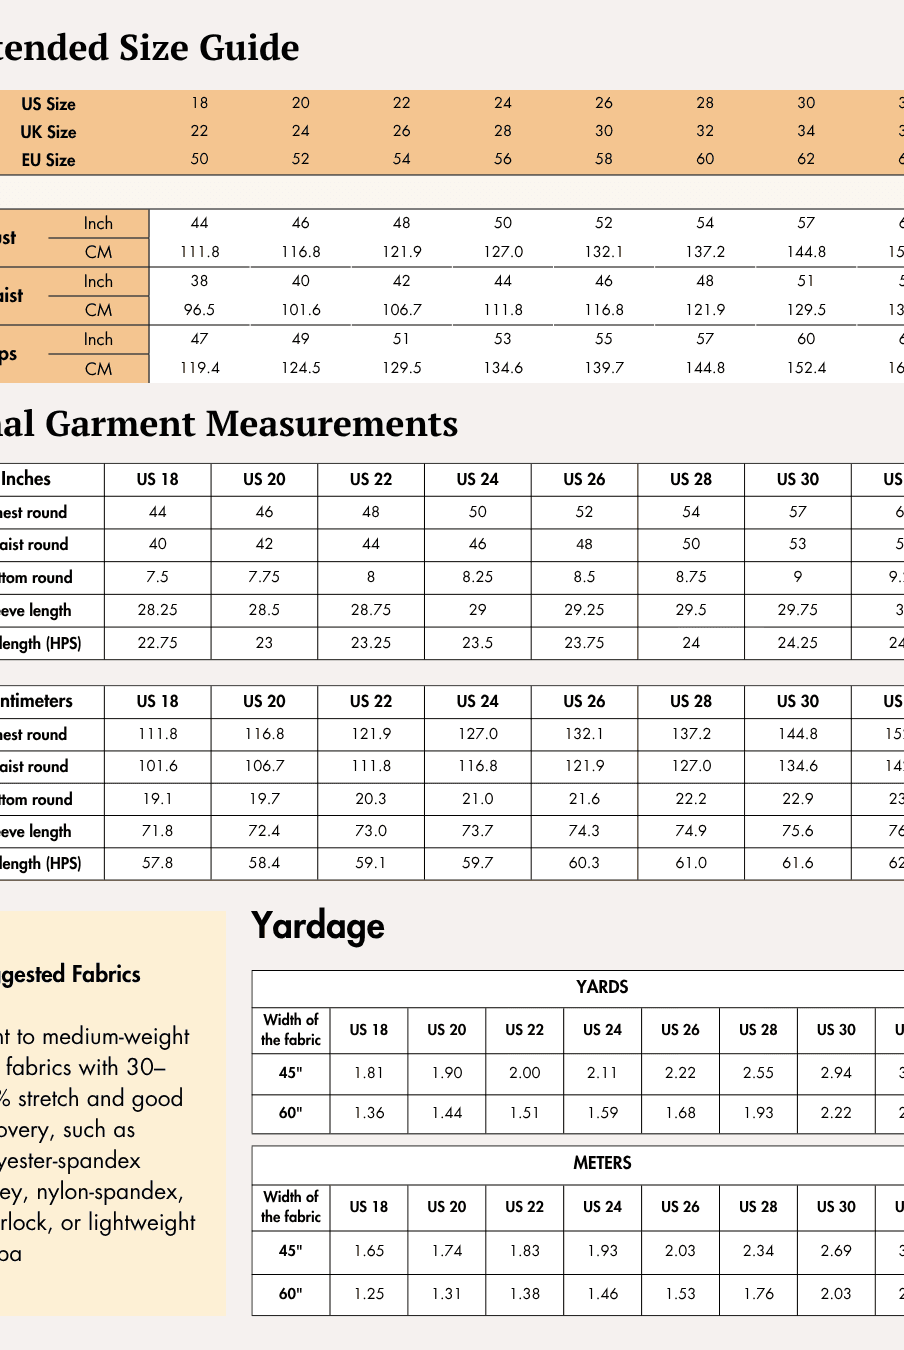
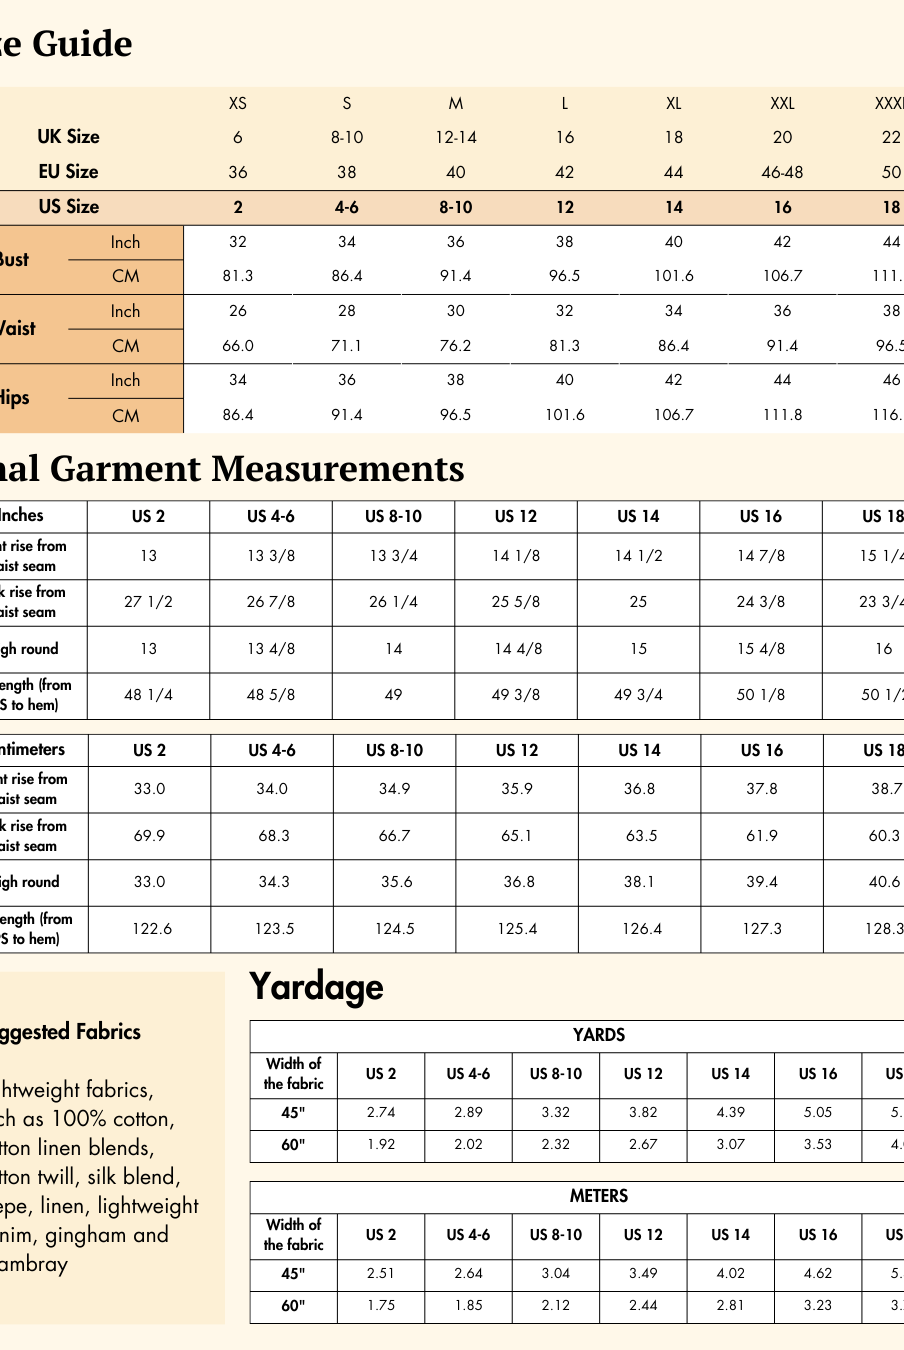
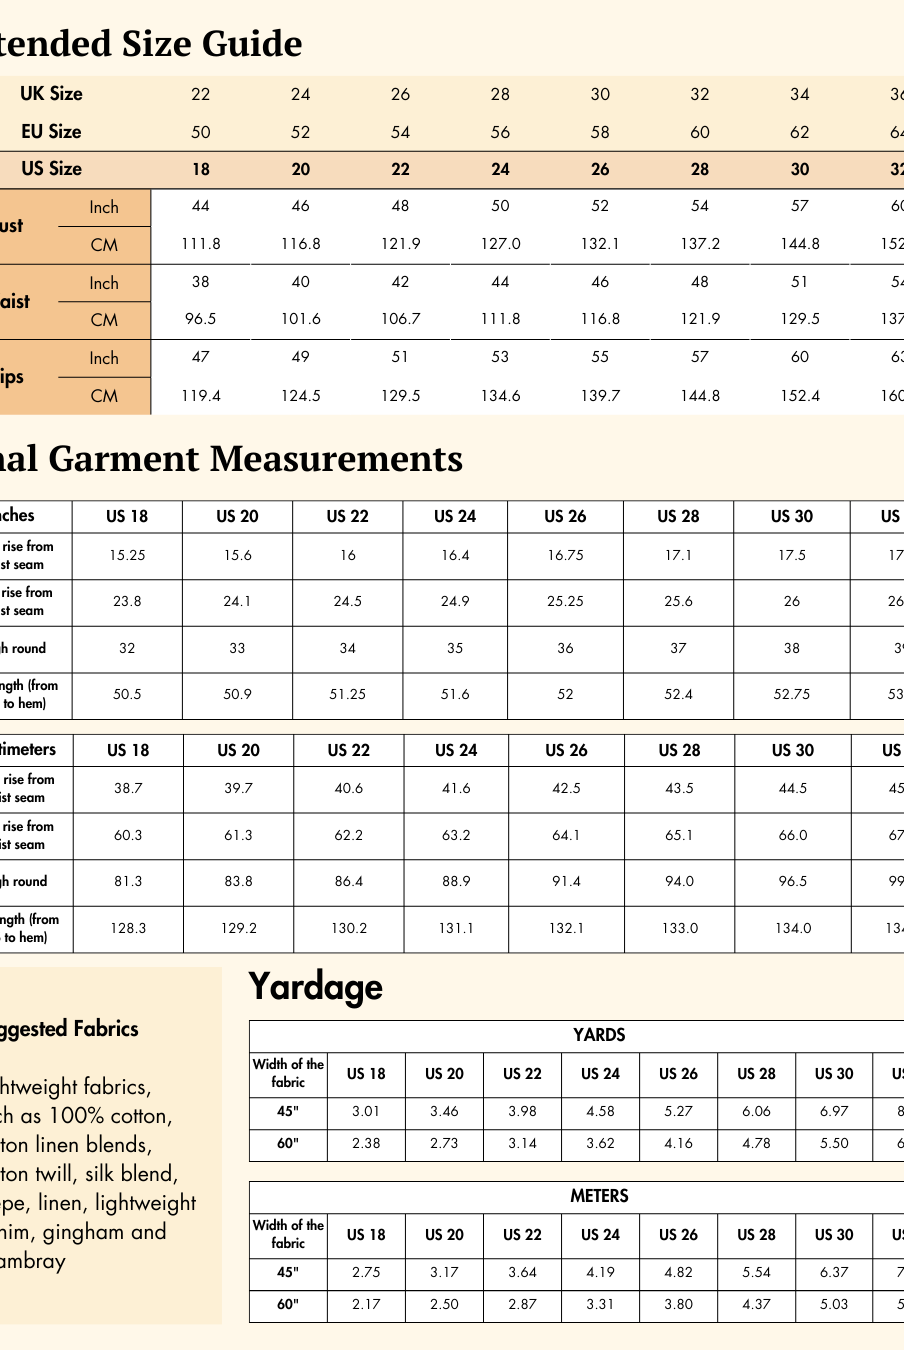
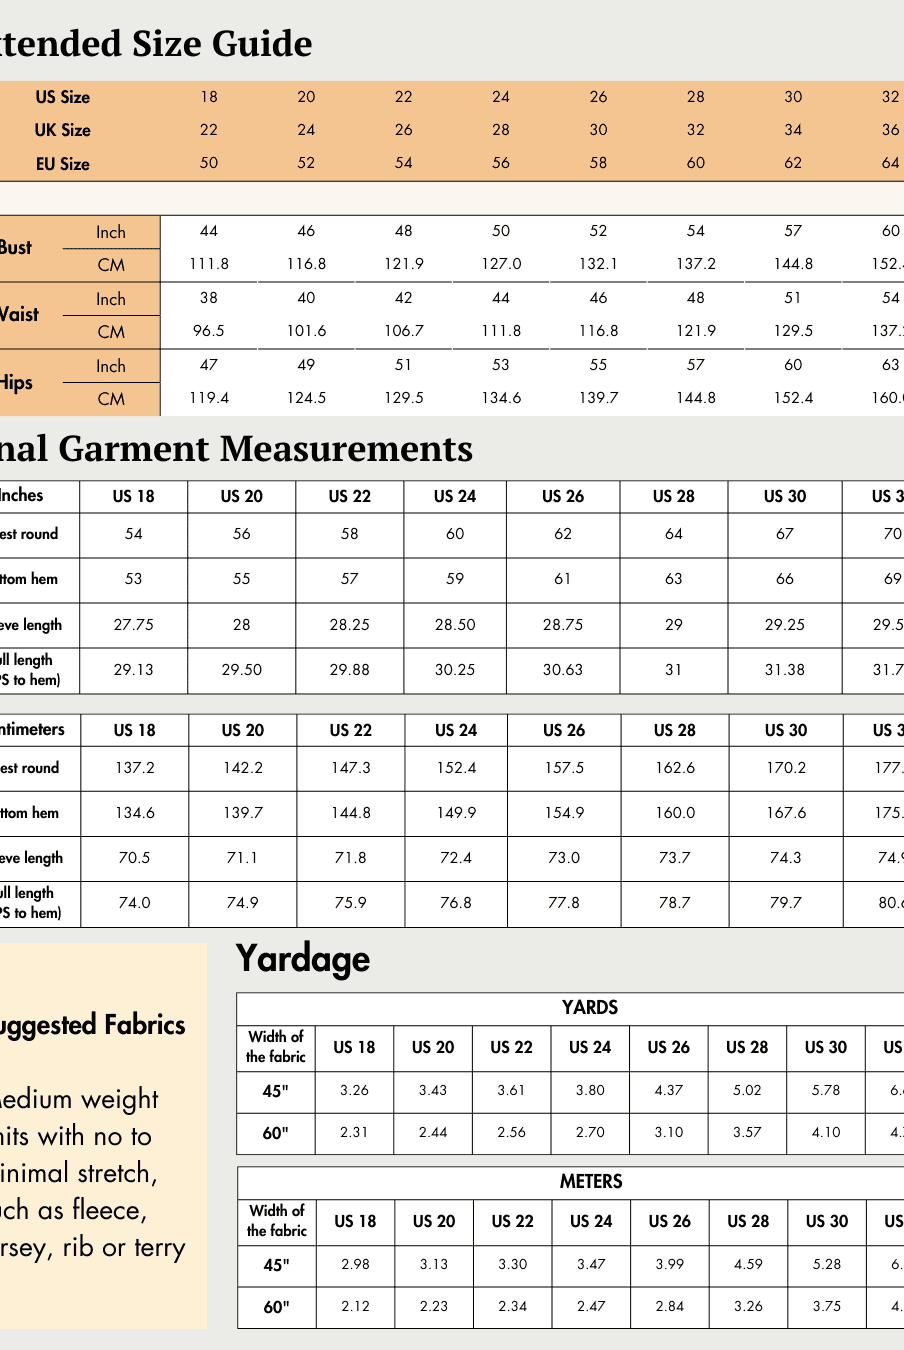
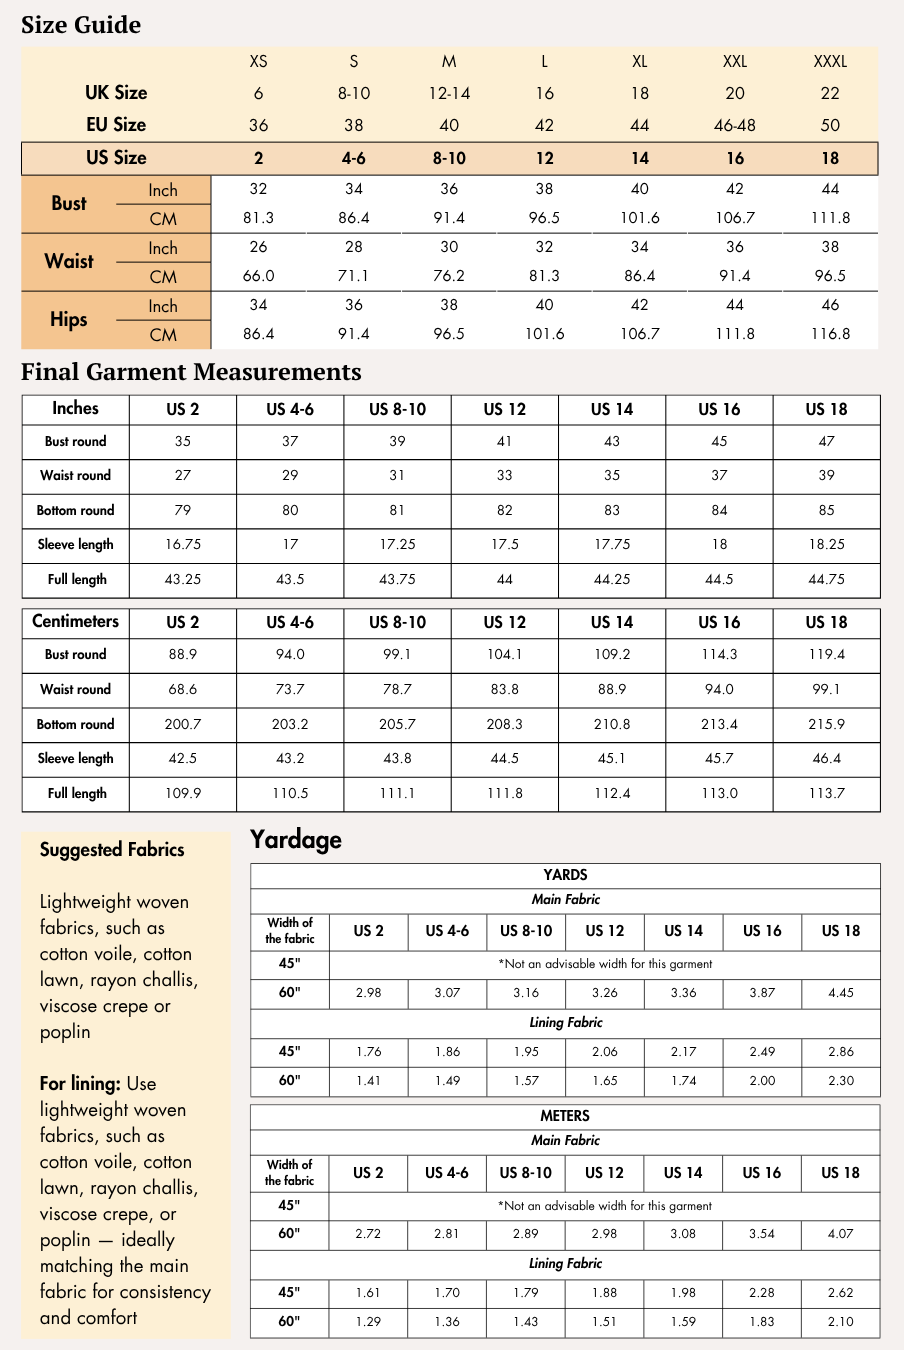
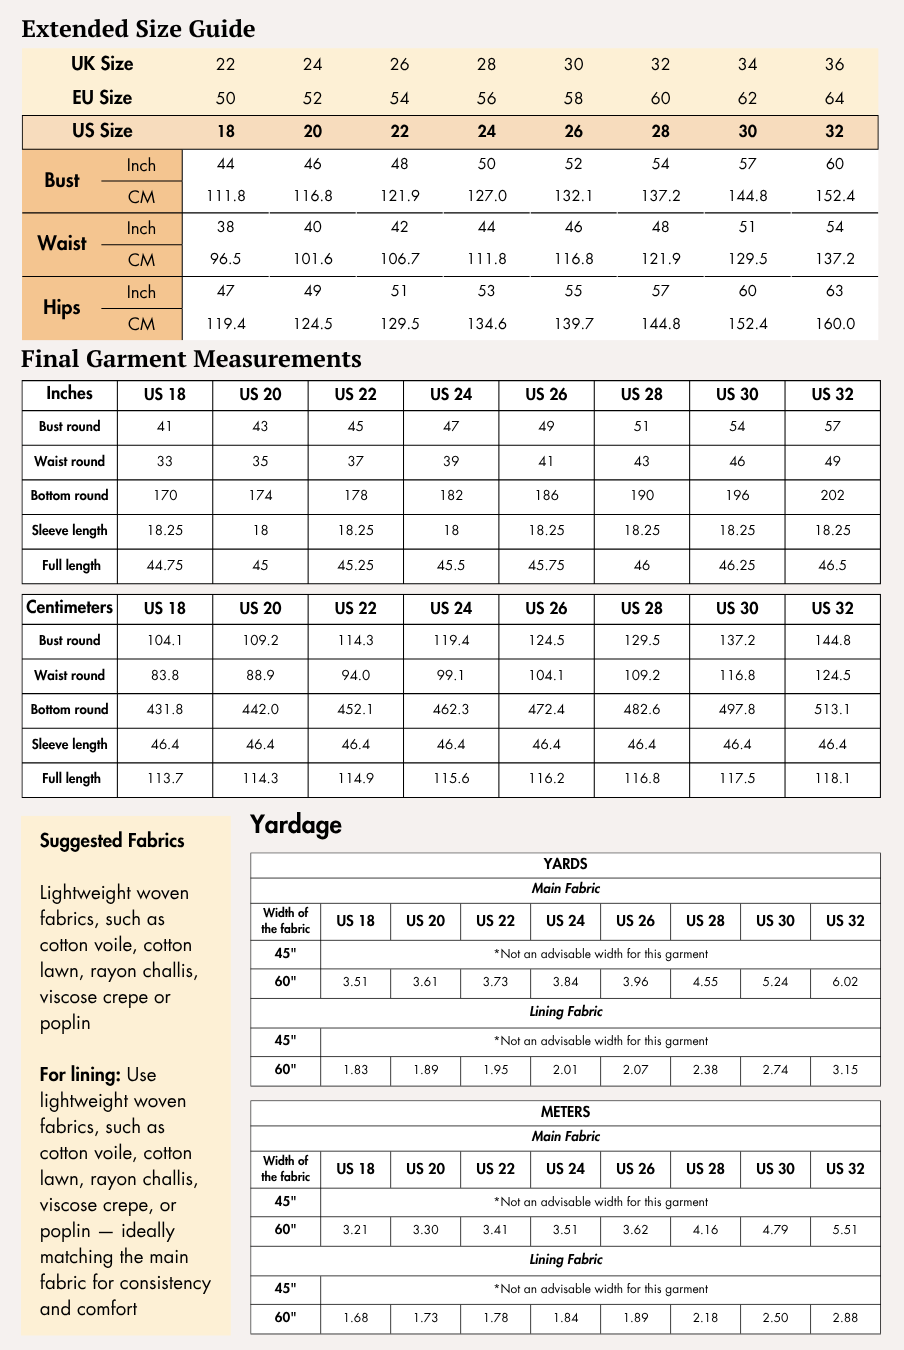
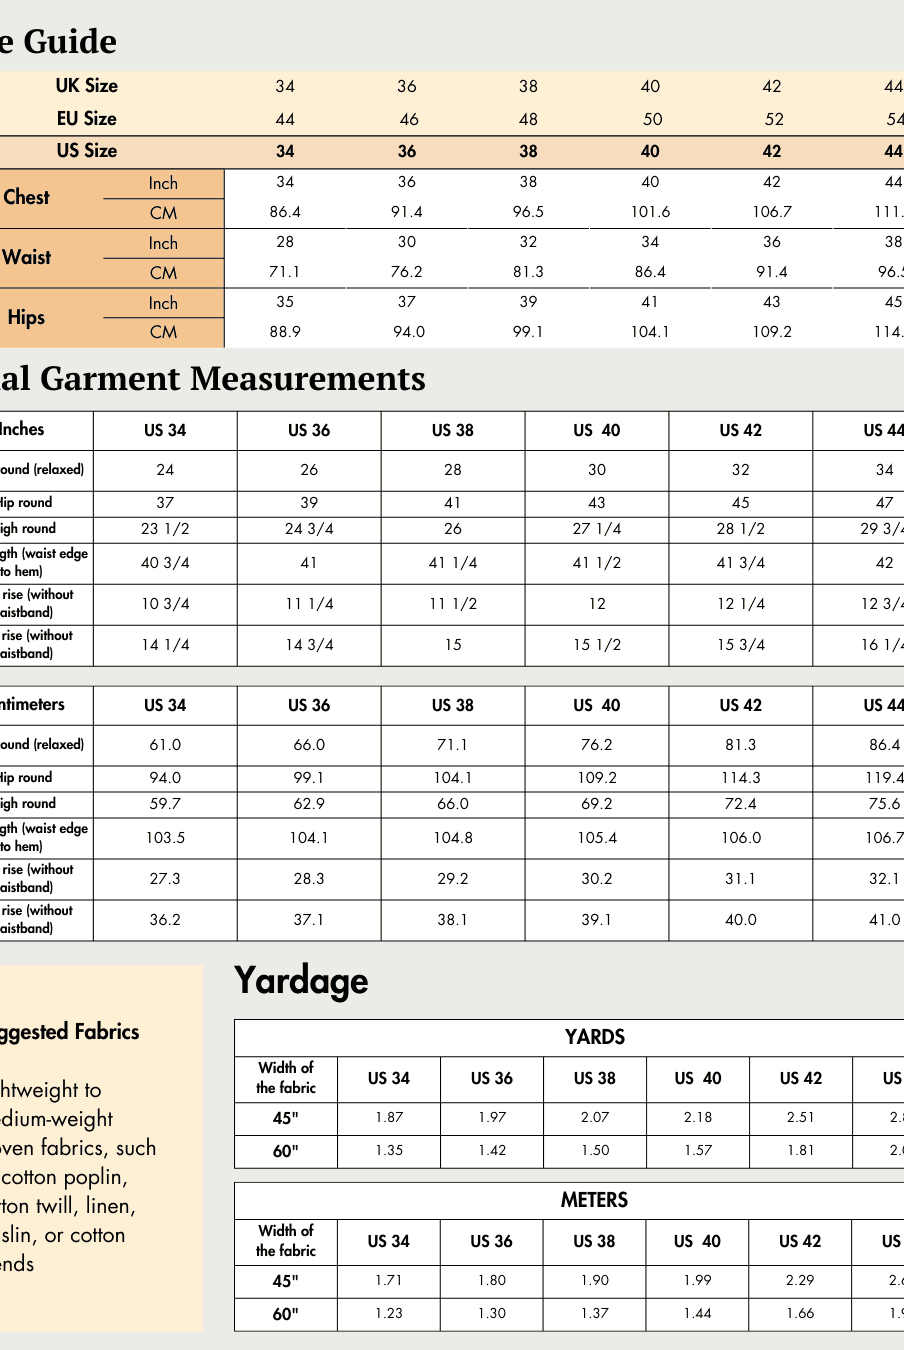
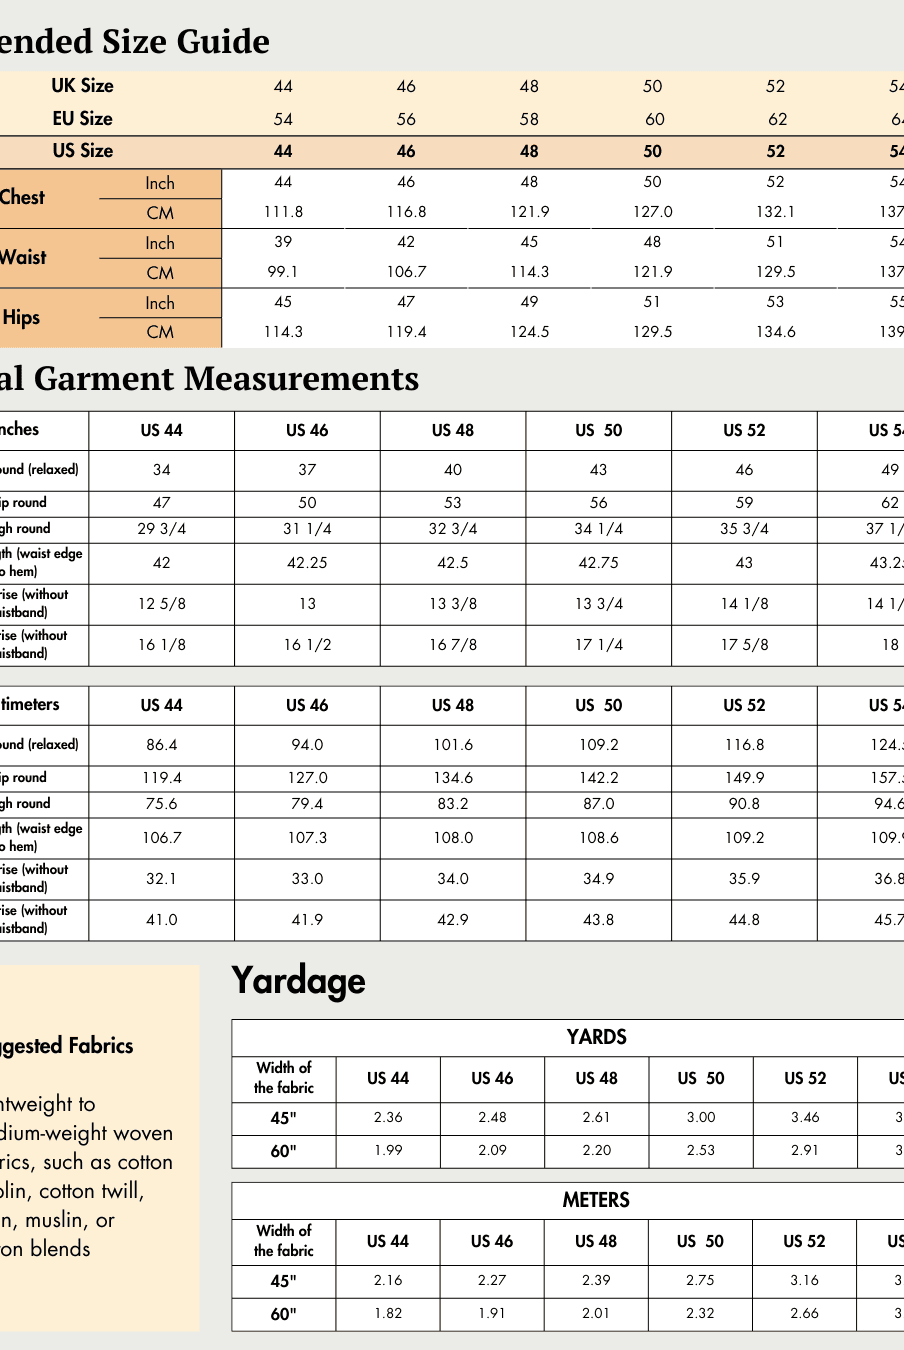
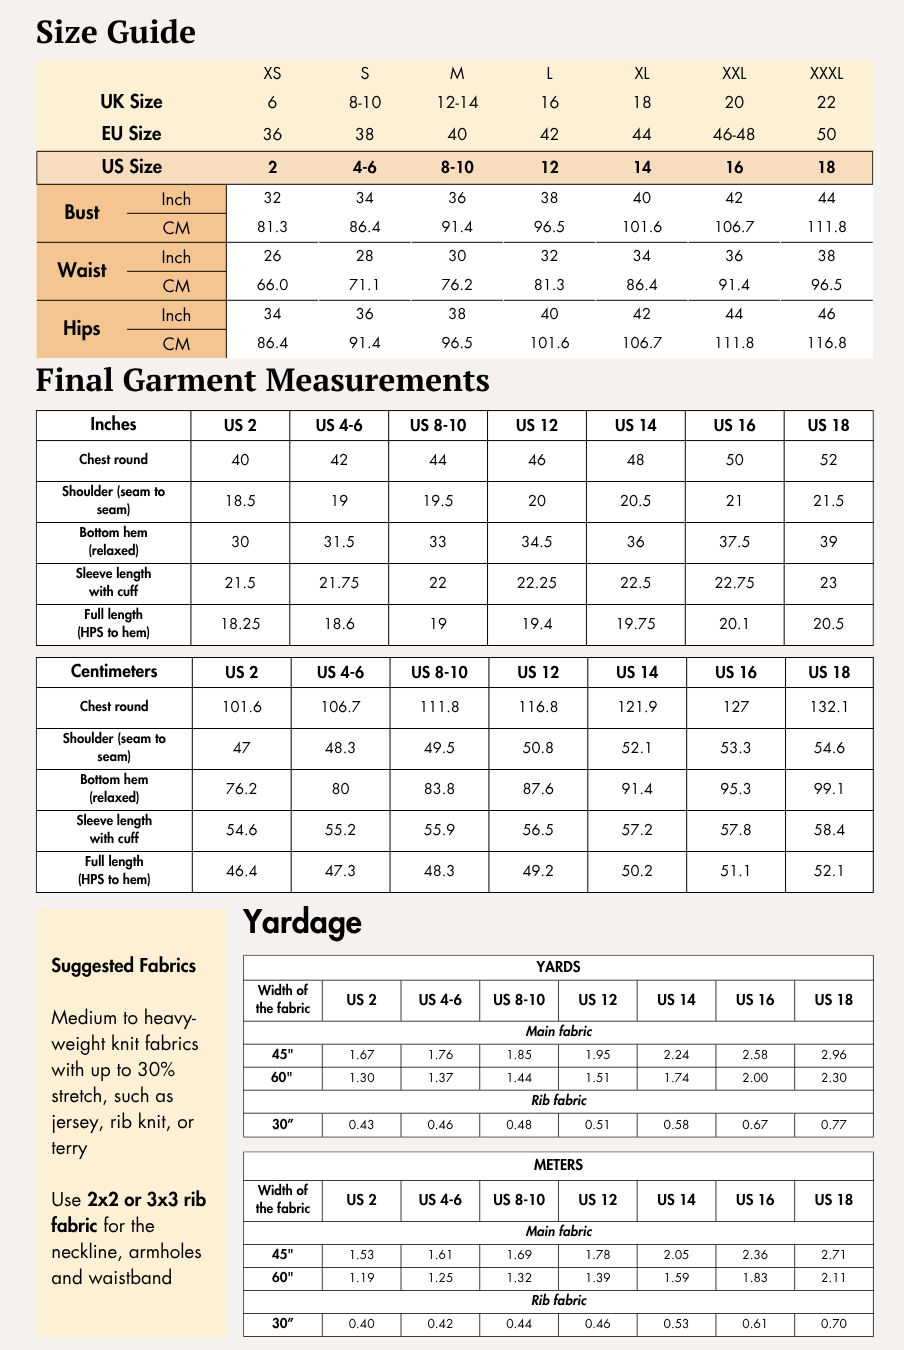
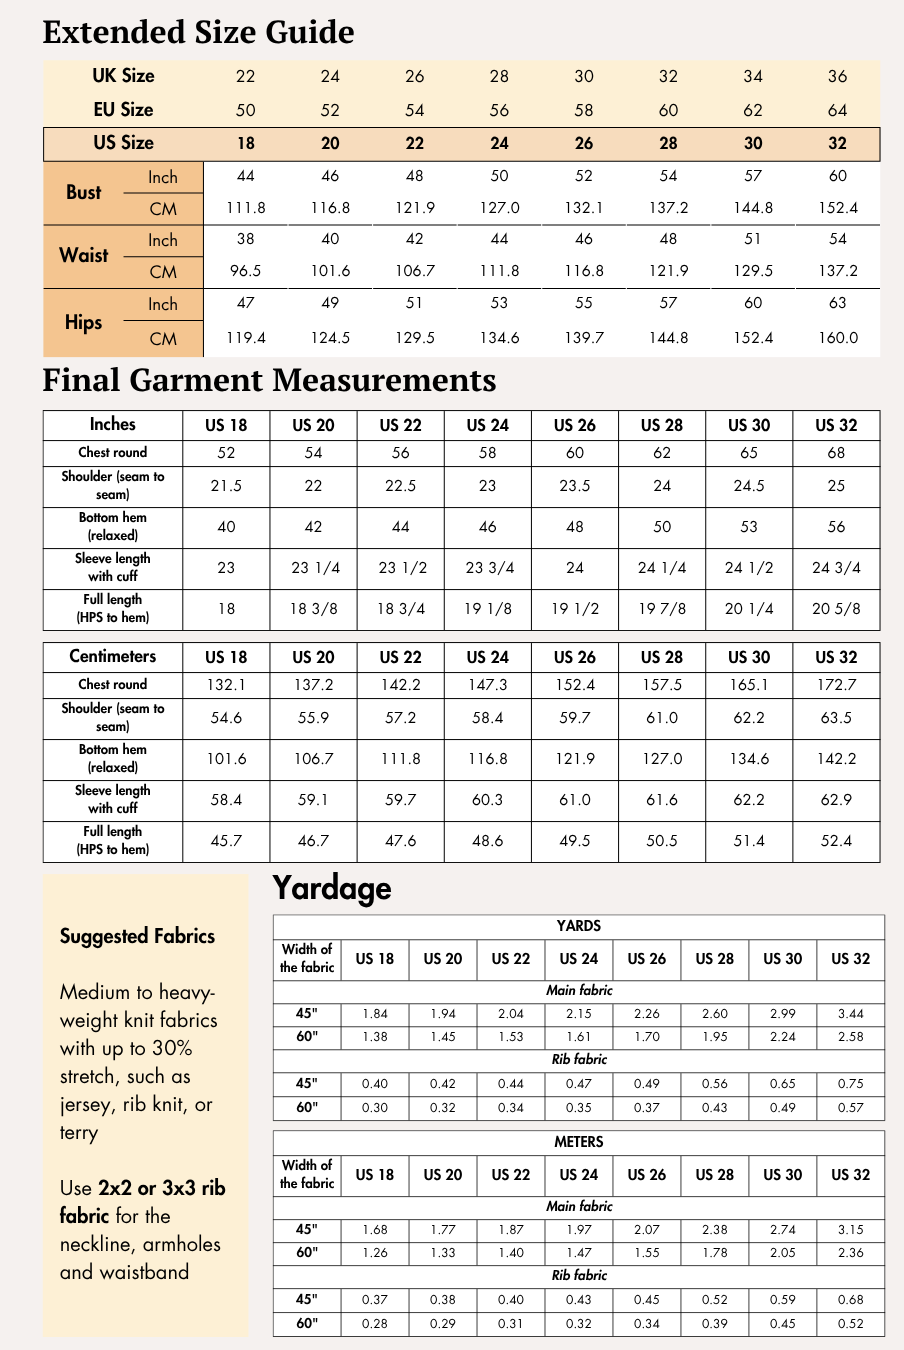
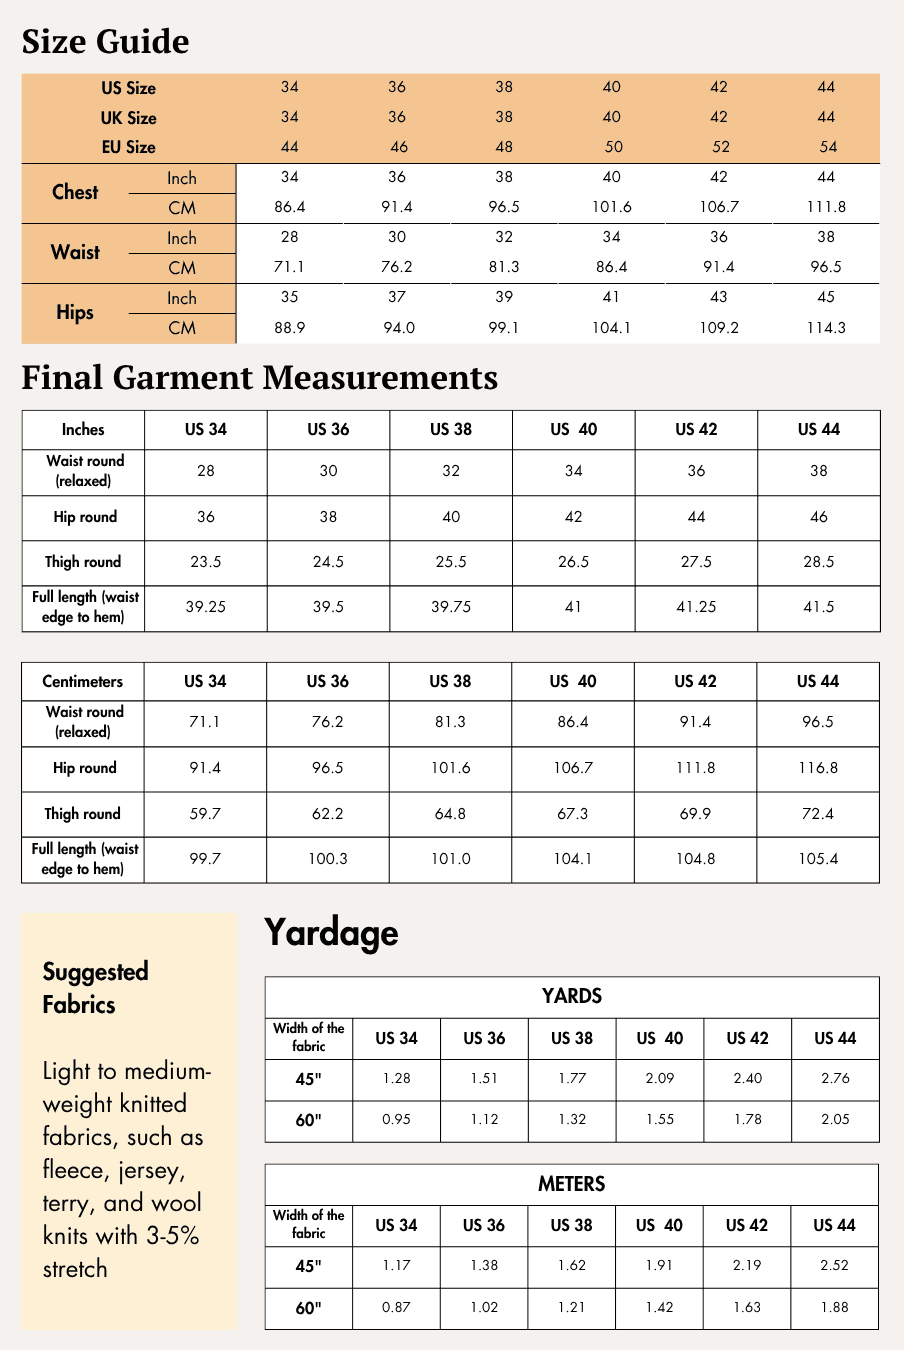
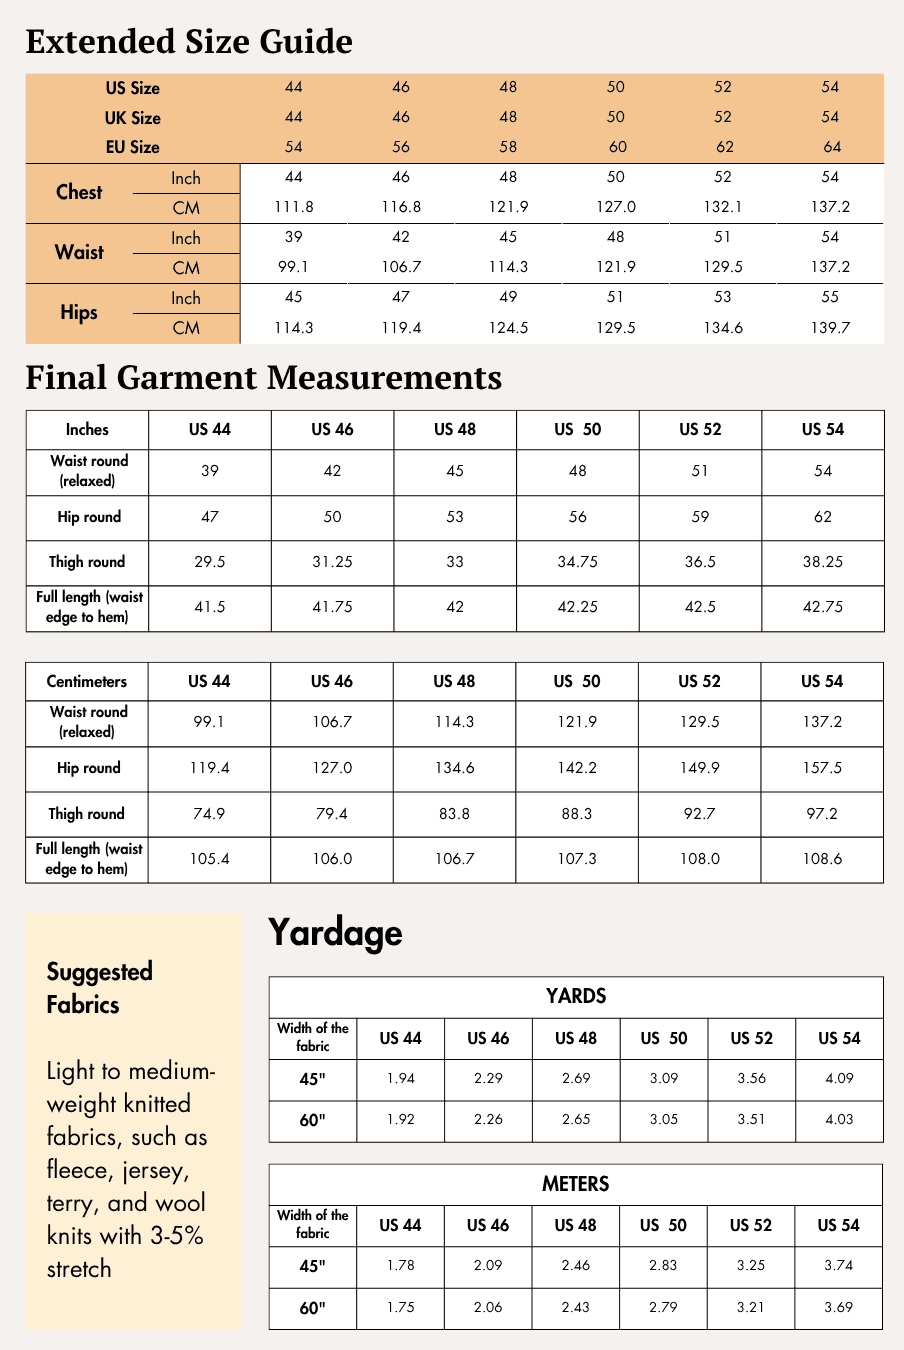
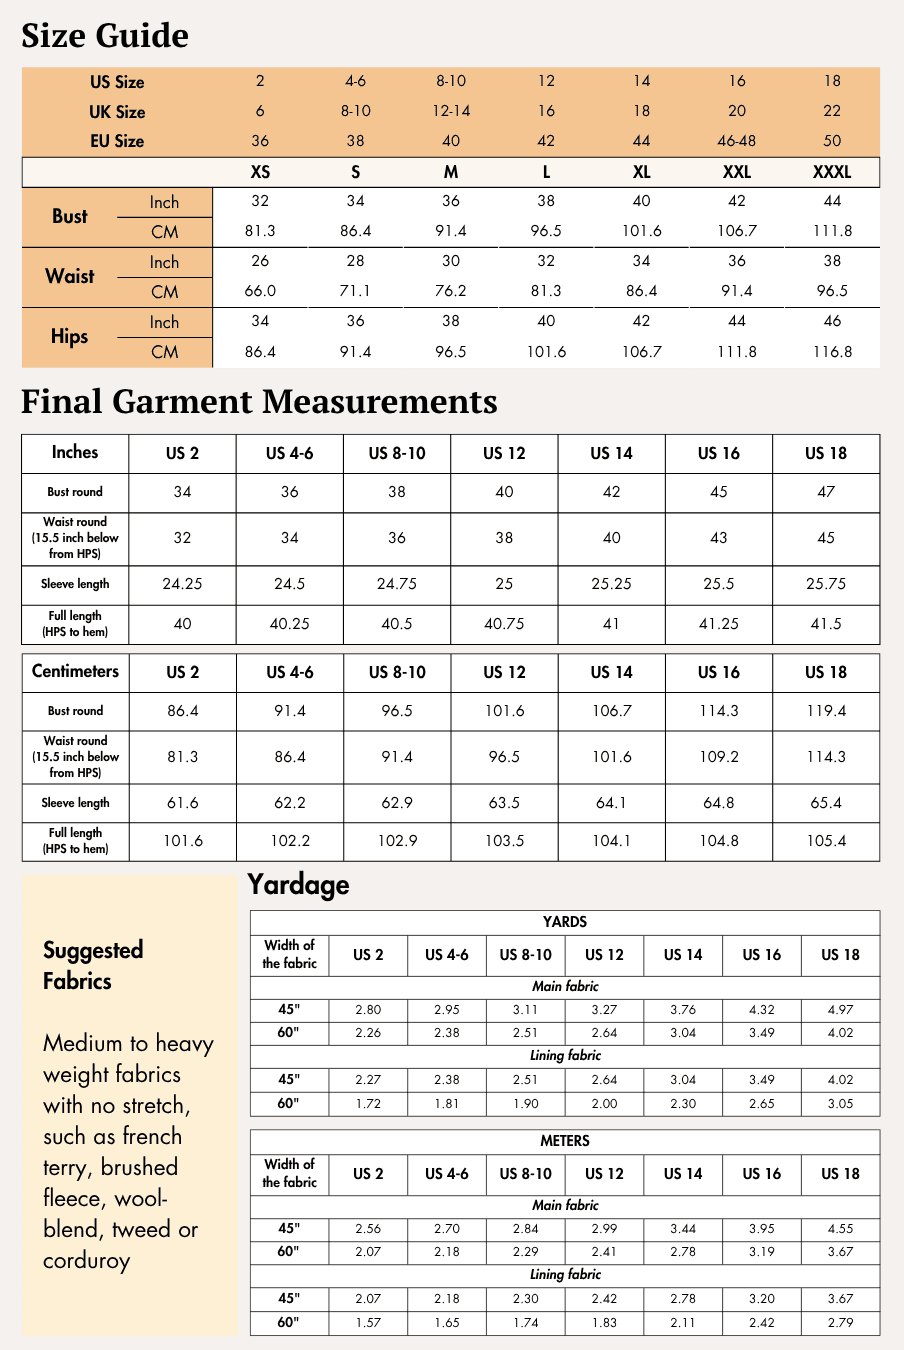
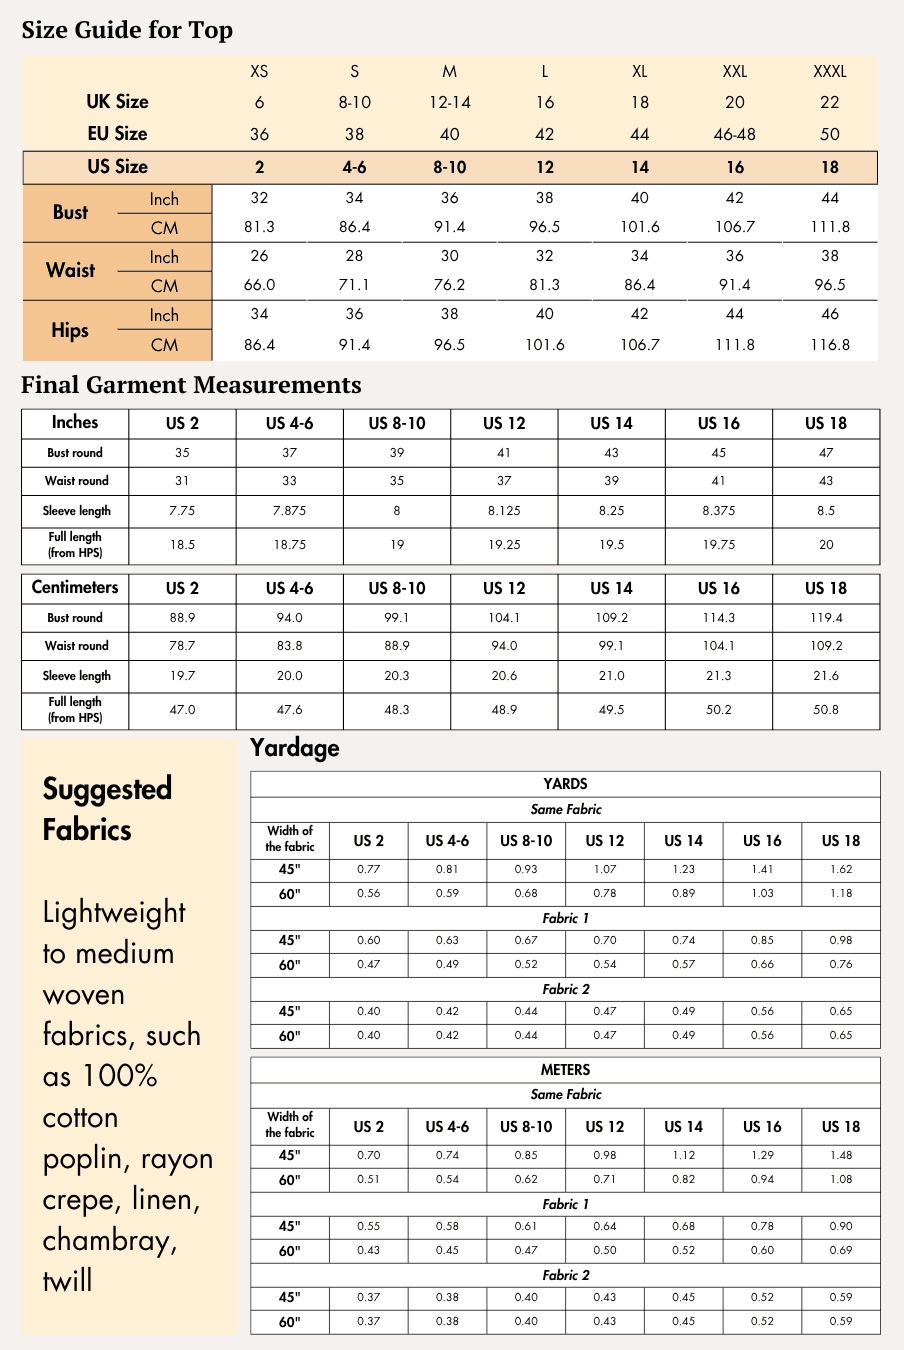
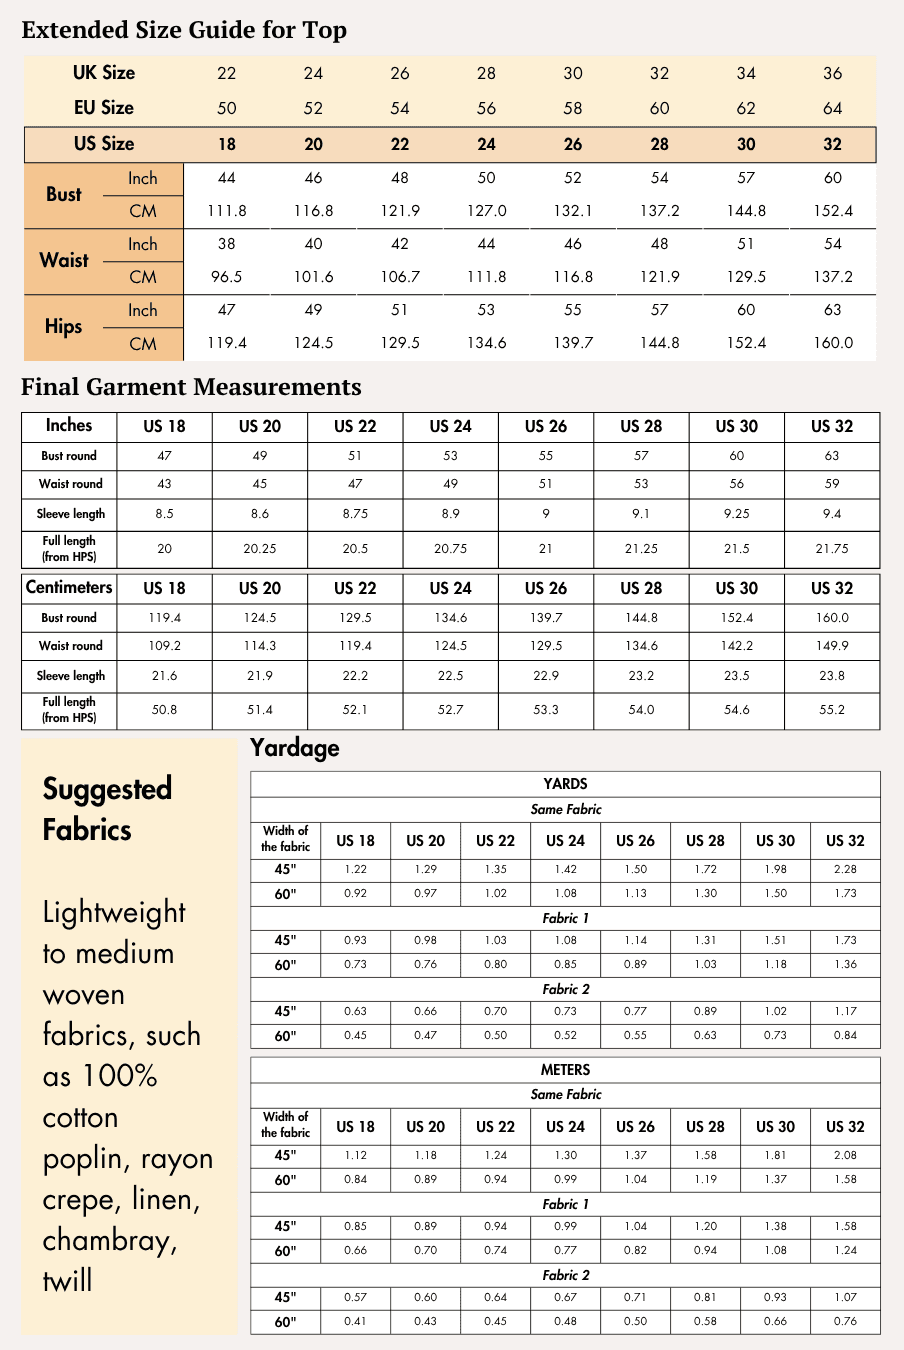
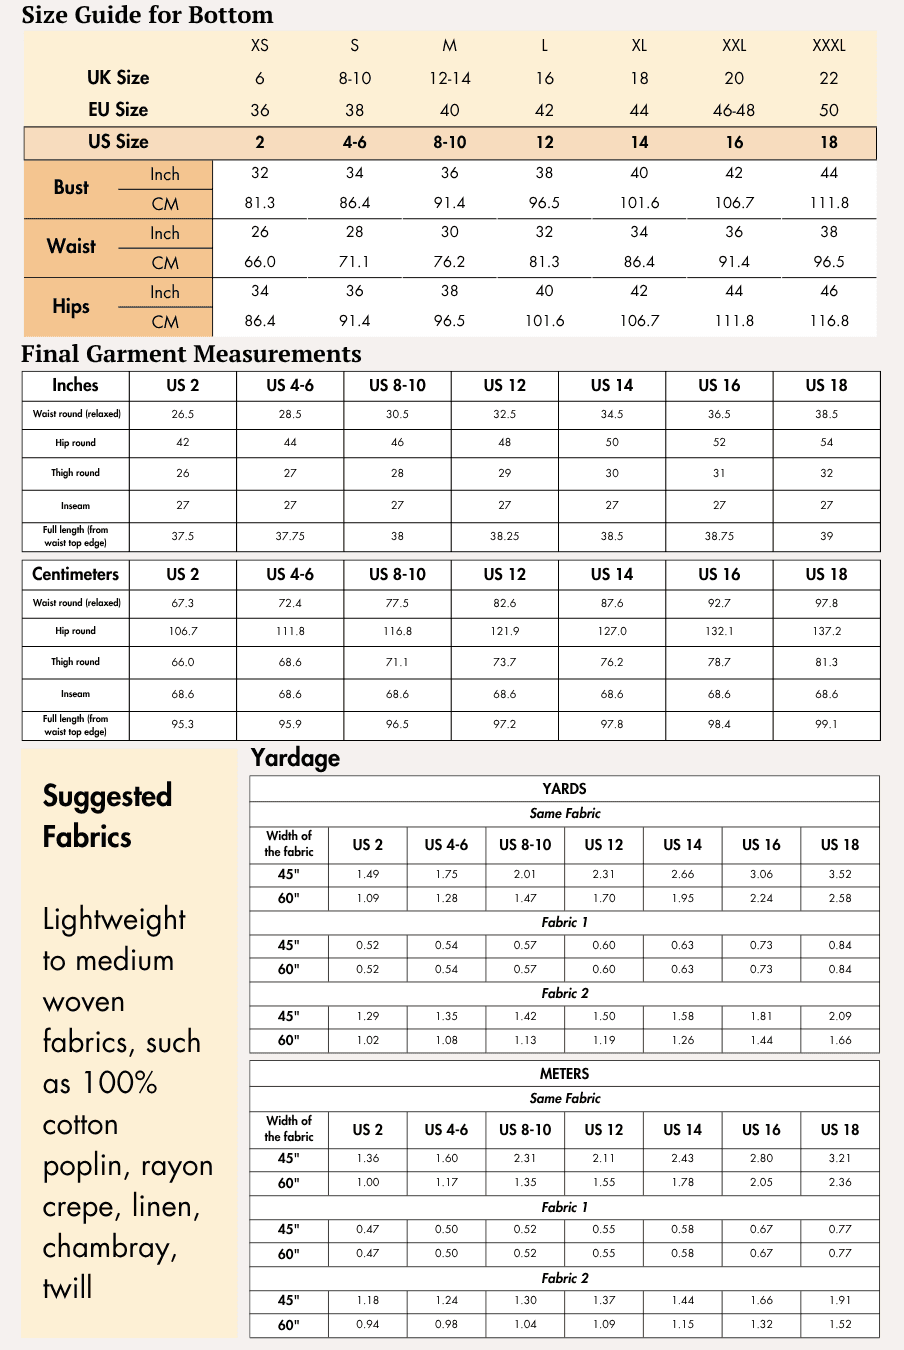
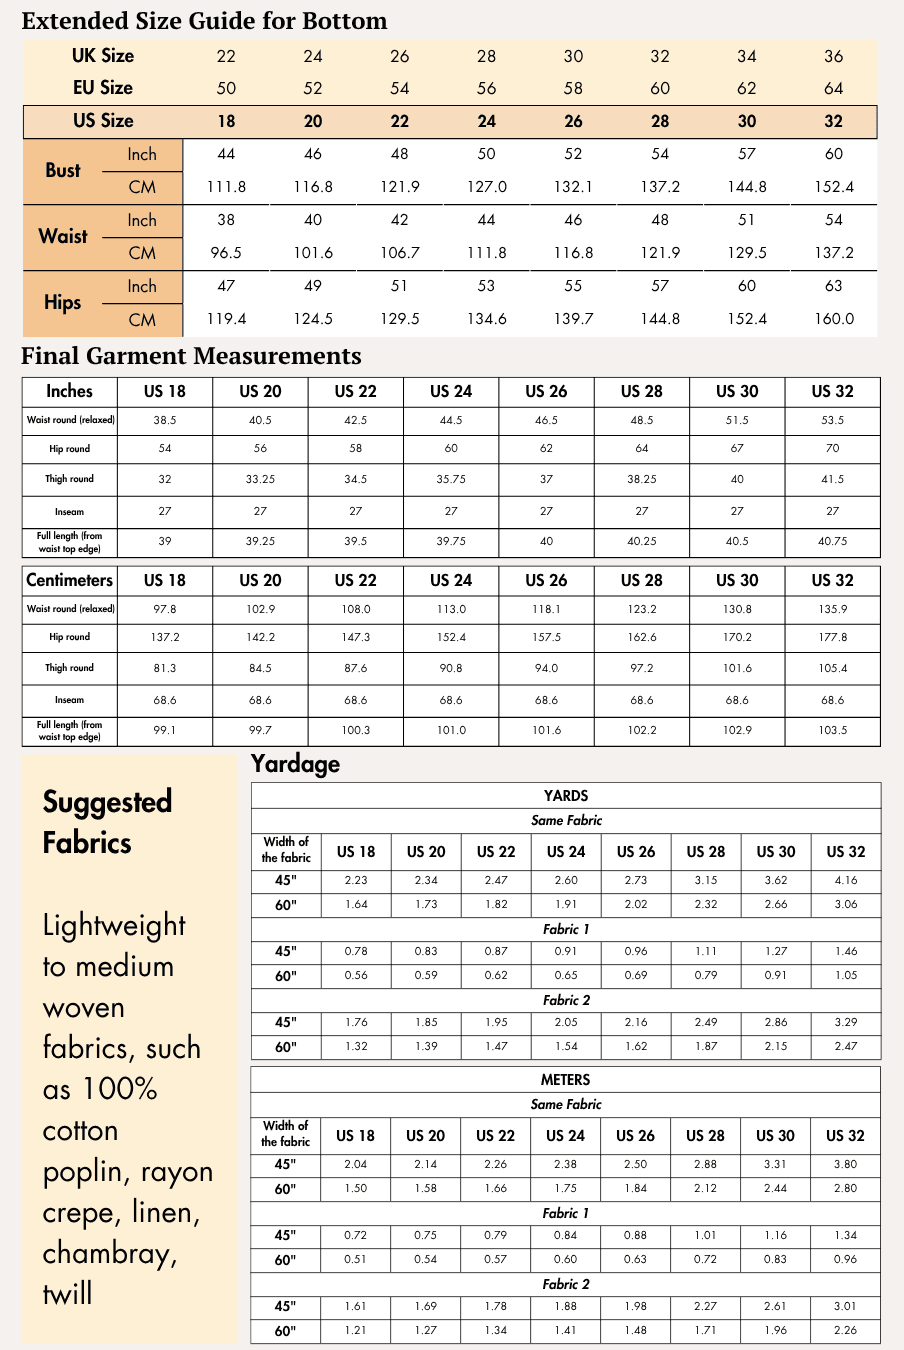
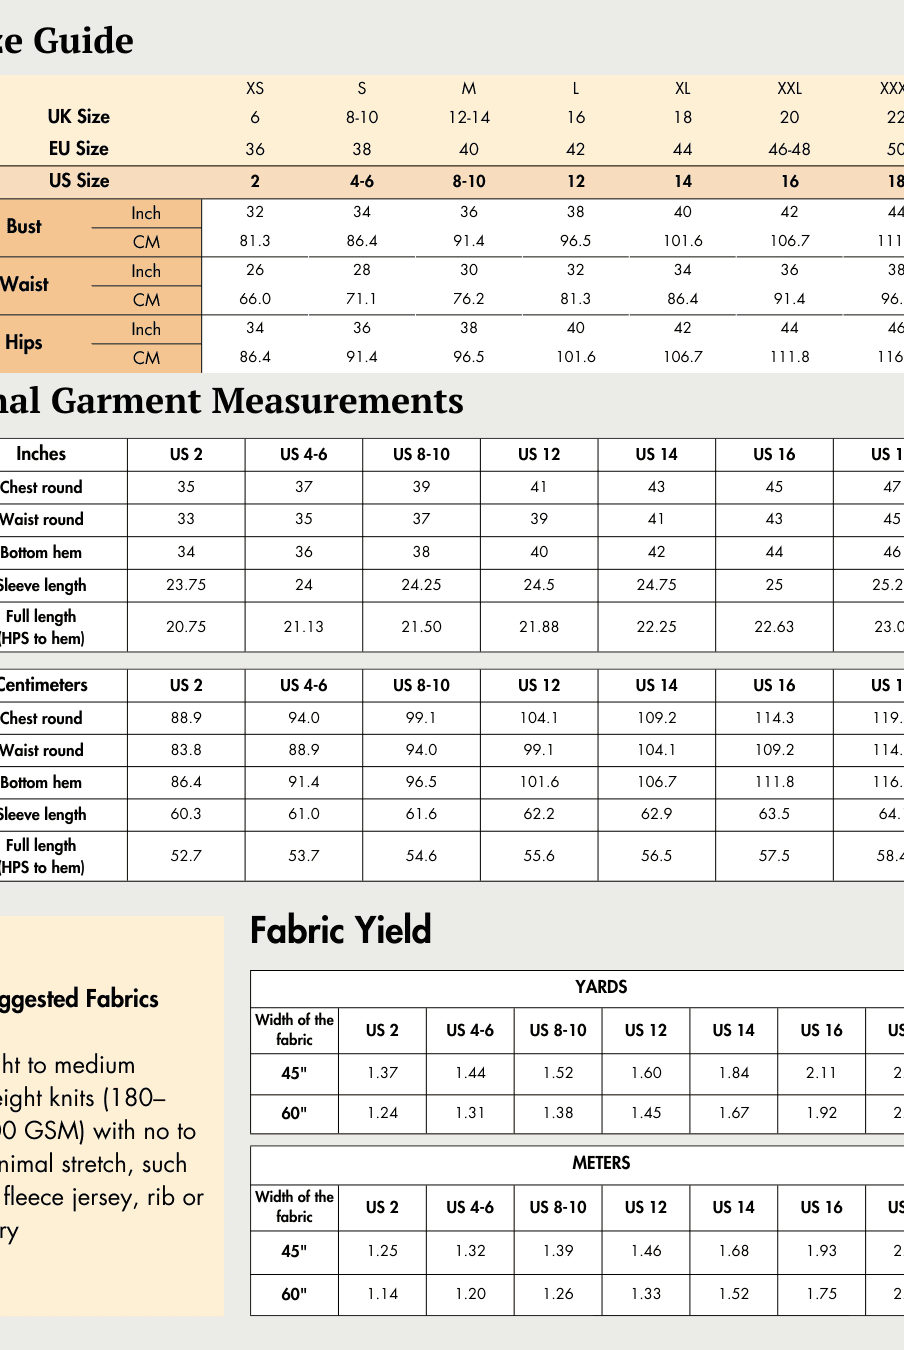
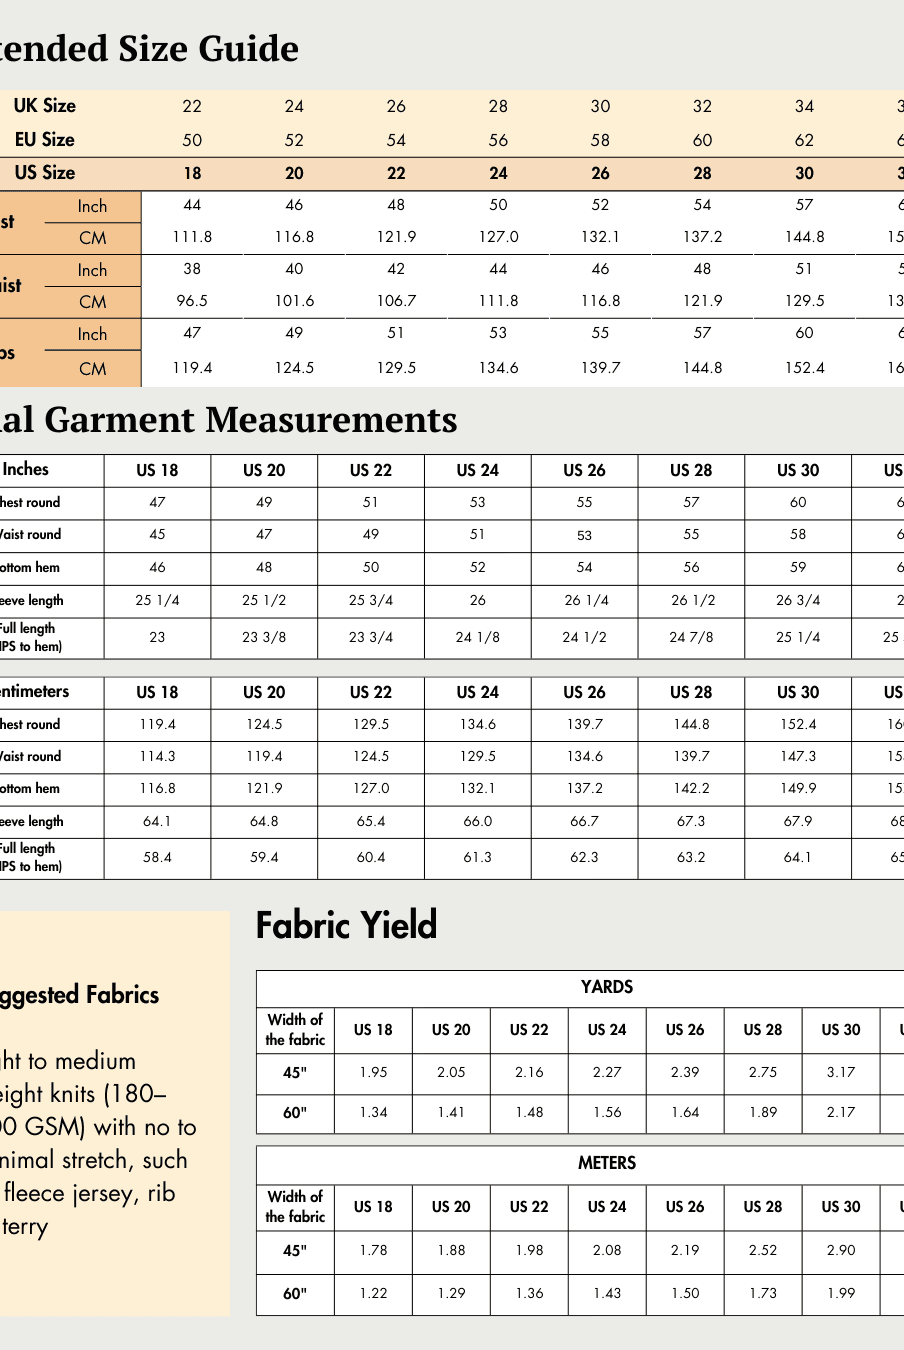
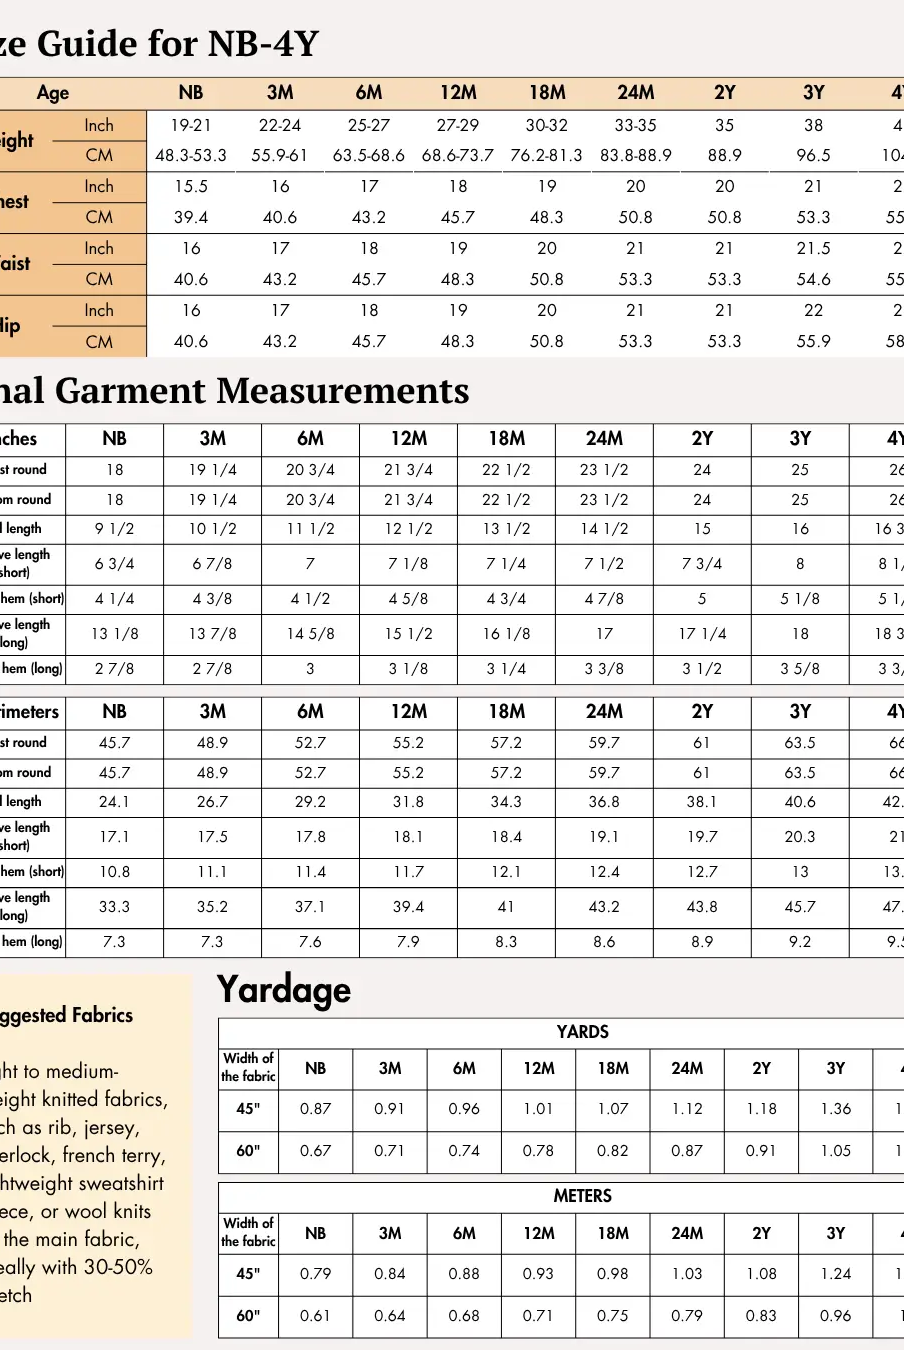
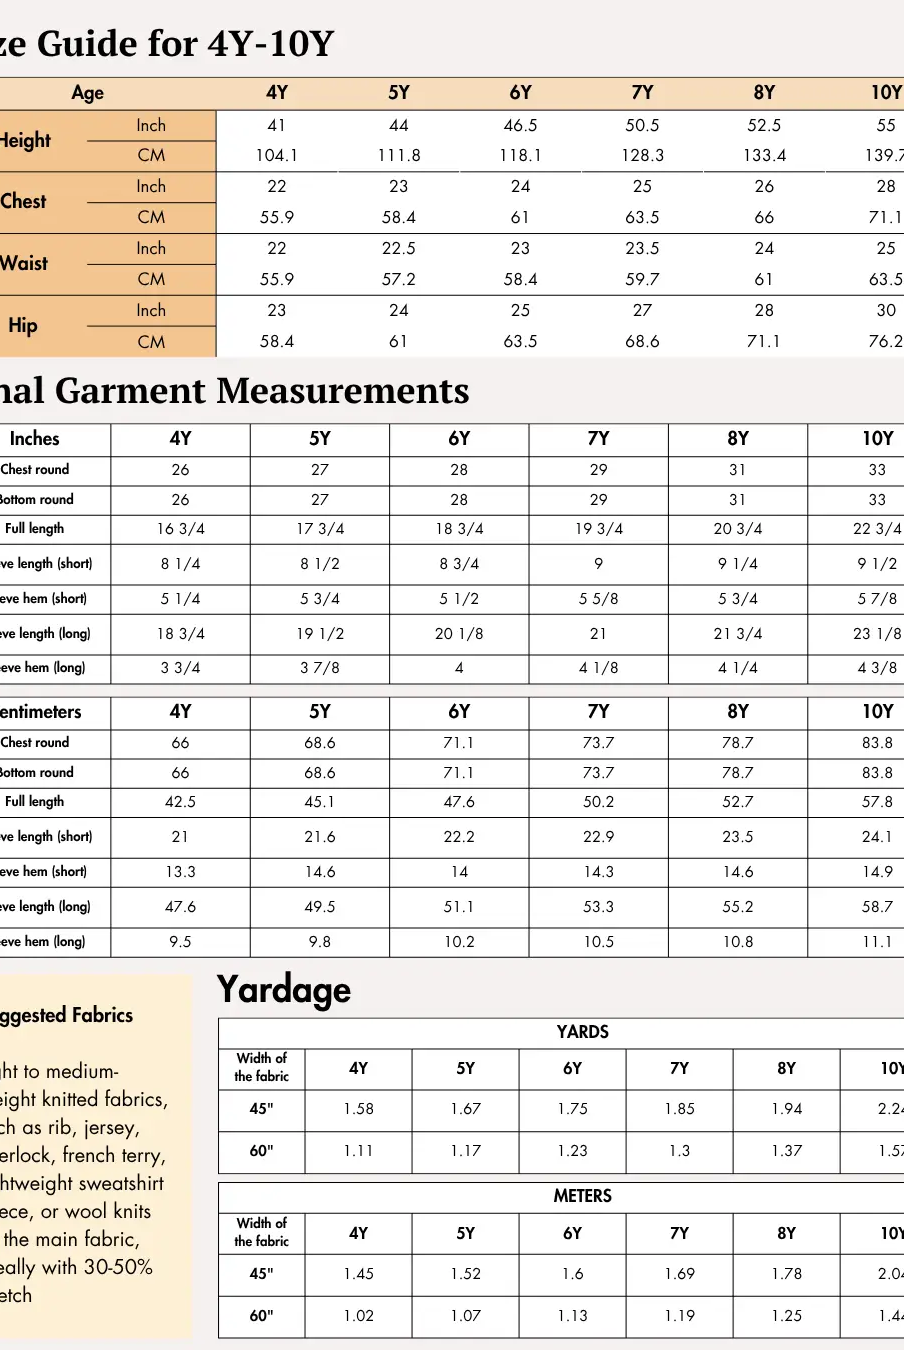
Check the size charts and measure yourself to select the correct size, using the garment and body measurement tables in the guide.
Verify how much fabric you need by referencing the fabric yield table in the guide.
Pattern Inventory: What Pieces to Prepare
Braided Halter Top

Prepare the following pattern pieces:
- Front — cut x2 fabric
- Back — cut x1 fabric
- Back strap — cut x2 fabric
- Front neck facing — cut x1 fabric
- Neckband for braiding — cut x3 fabric
- Armhole binding — cut x2 fabric
Drawstring Shorts

Prepare the following pattern pieces:
- Front leg — cut x2 fabric
- Back leg — cut x2 fabric
- Side pocket — cut x2 fabric
- Welt pocket — cut x2 fabric
- Drawstring — cut x1 fabric
- Welt pocket fusing — cut x2 fusing
Pattern Marking
Braided Halter Top

The pattern markings include:
- Grainlines
- Seam allowances
- Side seams
- Armholes
- Neckline
- Back across line
- Curve panel line
- Pleat marking lines
- Pleat direction markings
- Pleat notches
- Back strap notches
- Hemline
Drawstring Shorts

The pattern markings include:
- Grainlines
- Front and back waistlines
- Front and back side seams
- Front and back inseams
- Front and back crotch
- Hip line
- Elastic stitch lines
- Pocket notches
- Pocket opening guideline
- Welt pocket opening guideline
- Fold notches
- Fly marking
- Hemline
Cutting Layout
Braided Halter Top


Drawstring Shorts


Both sewing guides include cutting layouts for 45-inch and 60-inch fabric widths.
For accurate cutting:
- Keep grainlines parallel to the fabric selvage.
- Arrange pieces according to the layout diagrams.
- Pin pattern pieces securely before cutting.
- The layouts are non-directional.
- Purchase extra fabric when working with fabrics that have a nap or directional prints.
- The illustrated layouts use the small size for reference.
Fabric Cutting and Preparation
Before cutting your fabric:
- Arrange the pattern pieces according to the cutting layout diagrams.
- Keep every grainline parallel to the fabric selvage.
- Trace the pattern before cutting if using fabric shears.
- Cut out all notches to help align the garment during construction.
- Transfer circles, buttonholes, fold lines, and other pattern markings to the wrong side of the fabric.
- Mark the center front on pieces cut on the fold for easier assembly.
Seam Allowance
Braided Halter Top
Please follow the seam allowances as indicated on the pattern file layers. These are provided specifically for each piece to ensure accurate construction.
This pattern uses a 1 cm (0.38 inch) seam allowance all around.
Drawstring Shorts
Please follow the seam allowances as indicated on the pattern file layers. These are provided specifically for each piece to ensure accurate construction.
This pattern uses:
- 1 cm (0.38 inch) seam allowance all around
- 3.8 cm (1.5 inch) hem allowance
- 6.9 cm (2.75 inch) waist allowance
- 1.2 cm (0.5 inch) along the top edge of the side pocket
- 1 cm (0.38 inch) on the remaining three sides of the side pocket
Step-by-Step Sewing Instructions
Braided Halter Top
1. Create the Braided Neckline Strap
1a. Fold one Neckband for Braiding piece in half lengthwise with right sides together.
Sew along the long open edge, 0.25 inches from the raw edges. Turn the fabric tube right side out.
Repeat this process to create three fabric tubes for the neckline braid.
1b. Arrange all three straps parallel to one another and braid them as follows:
i. Place straps A, B, and C beside one another.
ii. Pass strap A over strap B. Then pass strap C over strap A.
iii. Pass strap B over strap C.
iv. Pass strap A over strap B.
v. Pass strap C over strap A.
vi. Pass strap B over strap C.
Continue passing each strap over the next in sequence until the neckline braid is complete.
2. Create the Front Pleats
Align the two pleat marking lines on one Front piece, following the pleat direction indicated on the pattern.
Press the pleat, pin it securely, and sew across the seam allowance to hold it in place.
Repeat the same process for both pleats and prepare the second Front piece in the same way.
3. Prepare the Front Neck Facing
Fold each side seam edge of the Front Neck Facing twice from the seamline and press.
Sew along both folded sides to enclose and finish the raw edges.
4. Bind the Front Armholes
4a. Place one Armhole Binding piece onto the armhole edge of one Front piece with right sides together.
Align the edges, pin the binding in place, and sew along the armhole seamline.
4b. Open the binding away from the armhole. Tuck the seam allowance underneath the binding and understitch close to the seam.
4c. Fold the binding twice to enclose the raw edge. Press, pin, and sew along the folded edge to secure it.
Repeat Steps 4a–4c to finish the armhole of the second Front piece.
5. Finish the Curved Front Edges
Fold the seam allowance along the curved panel edge twice toward the wrong side.
Press the fold along the seamline and sew close to the folded edge to enclose the raw edge.
Repeat the same process for the second Front piece.
6. Create the Front Neckline Casing and Join the Front Pieces
6a. Place the wrong side of one prepared Front piece onto the right side of the other Front piece.
6b. Place the right side of the prepared Front Neck Facing onto the layered Front pieces. Align the neckline and pin the layers together.
6c. Sew along the neckline.
6d. Fold the bottom seam allowance of the Front Neck Facing toward the wrong side and press the crease.
6e. Turn the facing toward the back of the neckline and press it.
6f. Pull the upper Front piece away toward the back so that the facing and lower Front piece are layered together.
Sew along the folded seam allowance of the facing to attach it to the lower Front piece. Make sure the upper Front layer is not caught in this stitching.
6g. Return the upper Front piece to its original position and press the neckline to complete the casing for the braided strap.
7. Create the Hoop for the Neckline and Back Strap
7a. Cut a fabric rectangle measuring 3.5 inches by 2.5 inches.
7b. Fold the rectangle lengthwise with right sides together.
7c. Sew along the long edge, 0.25 inches from the raw edge. Turn the tube right side out.
7d. Fold 0.3 inches of one end of the tube toward the inside.
7e. Insert the raw edge at the opposite end into the folded end of the tube.
7f. Sew across the folded edge to close the tube and form a hoop.
8. Hem the Back
Fold the bottom edge of the Back piece twice toward the wrong side.
Press the folds and sew along the folded edge to finish the hem.
9. Prepare the Back Strap
Place the two Back Strap pieces with right sides together.
Sew along both long edges, leaving the short ends open. Turn the strap right side out and press it flat.
10. Finish the Neckline
10a. Pass the prepared hoop through the middle of the Back Strap. Then pass the braided neckline strap through the hoop.
10b. Thread the braided neckline strap through the casing created at the front neckline.
10c. Place the top around your body and adjust the front neck drop according to your preference.
Trim the braided strap to the required length. Hand stitch the ends of the braid together to close the neckline loop.
11. Finish the Back Strap and Back Armholes
11a. Position the ends of the Back Strap on the right side of the Back piece at the marked strap locations.
11b. Place the Armhole Binding over the upper back edge with the right side of the binding facing down.
Sew along the back-across seamline, securing the Back Strap ends between the layers.
11c. Open the Armhole Binding and understitch it as you did for the front armholes.
11d. Fold the binding twice to enclose the seam allowances. Sew along the folded edge to secure the binding and finish the upper back edge.
12. Sew the Side Seams
12a. Place the prepared Front and Back pieces with right sides together. Match both side seams.
12b. Sew along each side seam.
Turn the top right side out and give it a final press to complete the Tulip Braided Halter Top.


Step-by-Step Sewing Instructions
Drawstring Shorts
Step 1: Create the Knife Pleats
1a.
Fold the front leg piece along the pleat start line so that it meets the pleat end line.
1b.
Press the knife pleat well and secure it temporarily with a basting stitch to keep it in place.
1c.
Lock stitch along the waistline to permanently secure the pleat. Repeat the same process for the remaining front leg piece.
Step 2: Make the Welt Pockets
2a.
Cut the welt pocket fusing using the pattern piece provided. Place the adhesive side of the fusing against the wrong side of the welt pocket and press with an iron until securely fused.
2b.
Place the welt pocket onto one back leg piece, aligning it with the marked pocket opening. Stitch along the marked pocket opening.
2c.
Cut inside the stitched pocket opening as shown in the guide.
2d.
Push the welt pocket through the opening to the wrong side of the back leg.
2e.
Working from the wrong side, create an accordion fold so the folded edge meets the top of the welt opening. Press the fold firmly, then fold the welt pocket in half, align the sides, and stitch along the seamline.
2f.
Turn the back leg right side out and topstitch around all four sides of the welt pocket opening. Repeat the same process for the second back leg piece.
Step 3: Attach the Side Pockets
3a.
Place a side pocket piece onto the front leg with right sides together, matching the pocket opening notches. Sew between the notches and clip the inside corner of the pocket.
3b.
Fold the pocket piece to the wrong side of the front leg along the stitch line and press to create a crisp crease. Topstitch along the pocket opening edge to secure the pocket.
3c.
Attach the other side of the pocket to the back leg by placing the pieces right sides together and matching the pocket opening notches. Sew between the notches.
3d.
Fold the pocket in half and stitch along the bottom seamline. Position the completed pocket between the front and back leg pieces with right sides together. Repeat the same process for the second side pocket.
Step 4: Sew the Side Seams
Place each front and back leg together with right sides facing. Stitch along the side seam, taking care not to sew across the pocket opening. Repeat for the second leg.
Step 5: Stitch the Crotch
5a.
Align the two front crotch seams together and stitch along the front crotch seamline. Repeat for the back crotch seam.
5b.
Turn the shorts right side out. Fold the fly toward the right side on the front and topstitch along the fly guideline to create the decorative fly detail.
Step 6: Sew the Inseams
Align the inseams of the front and back legs and stitch along the inseam seamline.
Step 7: Create the Drawstring Openings
Create two drawstring openings at the front waistline by measuring 2 inches from the crotch line. Make two vertical cuts, each measuring 0.5 inches.
7a.
Fold the raw edges of each opening to the wrong side and topstitch around the edges to finish them neatly.
7b.
Alternatively, finish the openings using rivets.
Step 8: Prepare and Attach the Elastic Waistband
8a.
Cut the elastic to the required length according to your size. Fold the elastic in half and join the ends using a zigzag stitch.
8b.
Finish the top edge of the shorts by overlocking the waistline.
8c.
Place the prepared elastic around the waistline of the shorts, aligning it evenly and securing it with pins.
8d.
Fold the waist downward to enclose the elastic and stitch all the way around the waistband.
Elastic Length Guide
| Size | Elastic Length |
|---|---|
| XS | 25 inches |
| S | 27 inches |
| M | 29 inches |
| L | 31 inches |
| XL | 33 inches |
| XXL | 35 inches |
| XXXL | 37 inches |
Step 9: Finish the Hem
Fold the hem toward the wrong side once by 0.25 inches, then fold again along the hemline. Stitch around the hem to secure it.
Alternatively, you may use a flatlock stitch for the hem finish.
Step 10: Make the Waist Drawstring
10a.
Fold the drawstring in half widthwise with right sides together.
10b.
Stitch along the top edge and one side edge.
10c.
Turn the drawstring right side out. Fold the raw edges of the remaining open end inside and topstitch to close it neatly.
10d.
Use a safety pin to thread the completed drawstring through the drawstring openings in the waistband.


Ready to Sew Your Own Lounge Coord Set?


The Lounge Coord Set Sewing Pattern brings together two versatile wardrobe staples into one stylish project. The braided halter top offers an elegant, relaxed silhouette, while the high-waisted drawstring shorts provide everyday comfort with practical details like side pockets and an adjustable waistband.
Whether you're sewing for a summer getaway, relaxing at home, or adding handmade separates to your wardrobe, this beginner-friendly coord set is an enjoyable project you'll reach for again and again. Download the pattern today and create a comfortable matching outfit you'll love to wear.
Explore More Sewing Patterns
Browse our Coord Set Sewing Pattern Collection for more stylish handmade matching sets that you can wear together or mix and match with your favorite wardrobe pieces.
Join the Community & Get Support
Share your finished Lounge Coord Set Sewing Pattern on social media with #MadeWithWinslets. If you have questions, feedback, or customization requests, contact the Winslet's team at support@winslets.com.