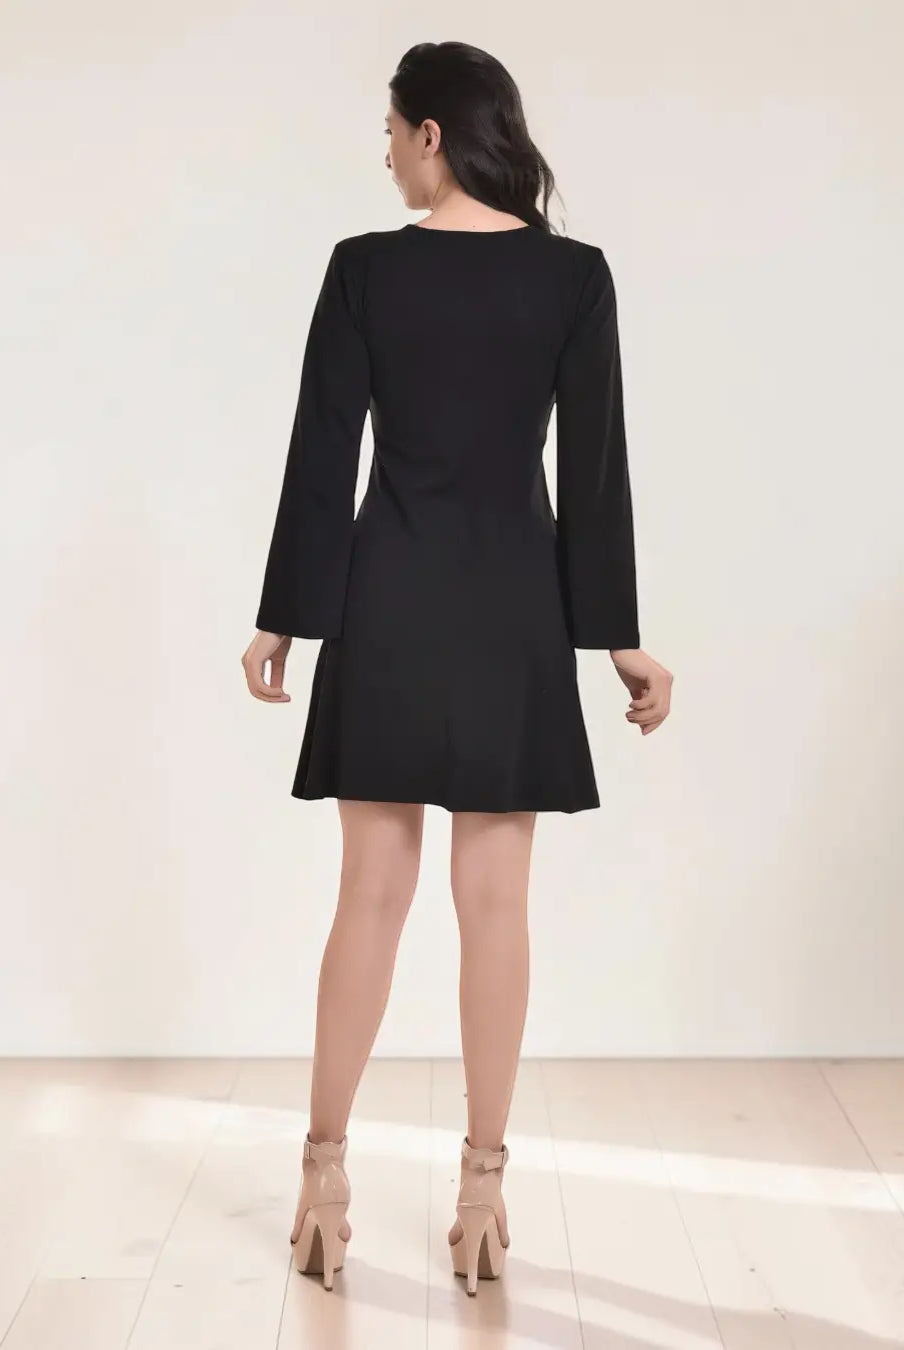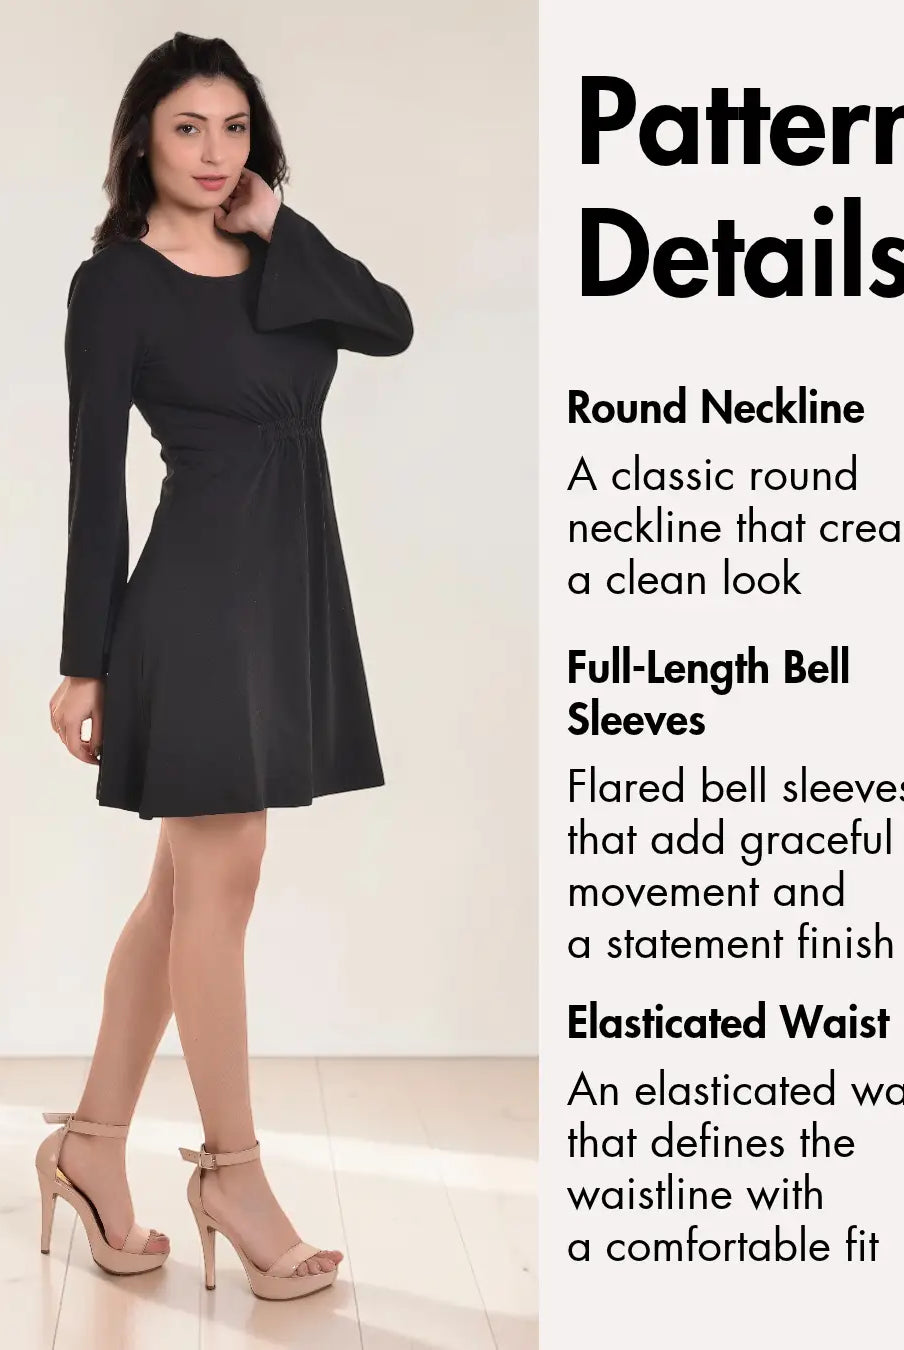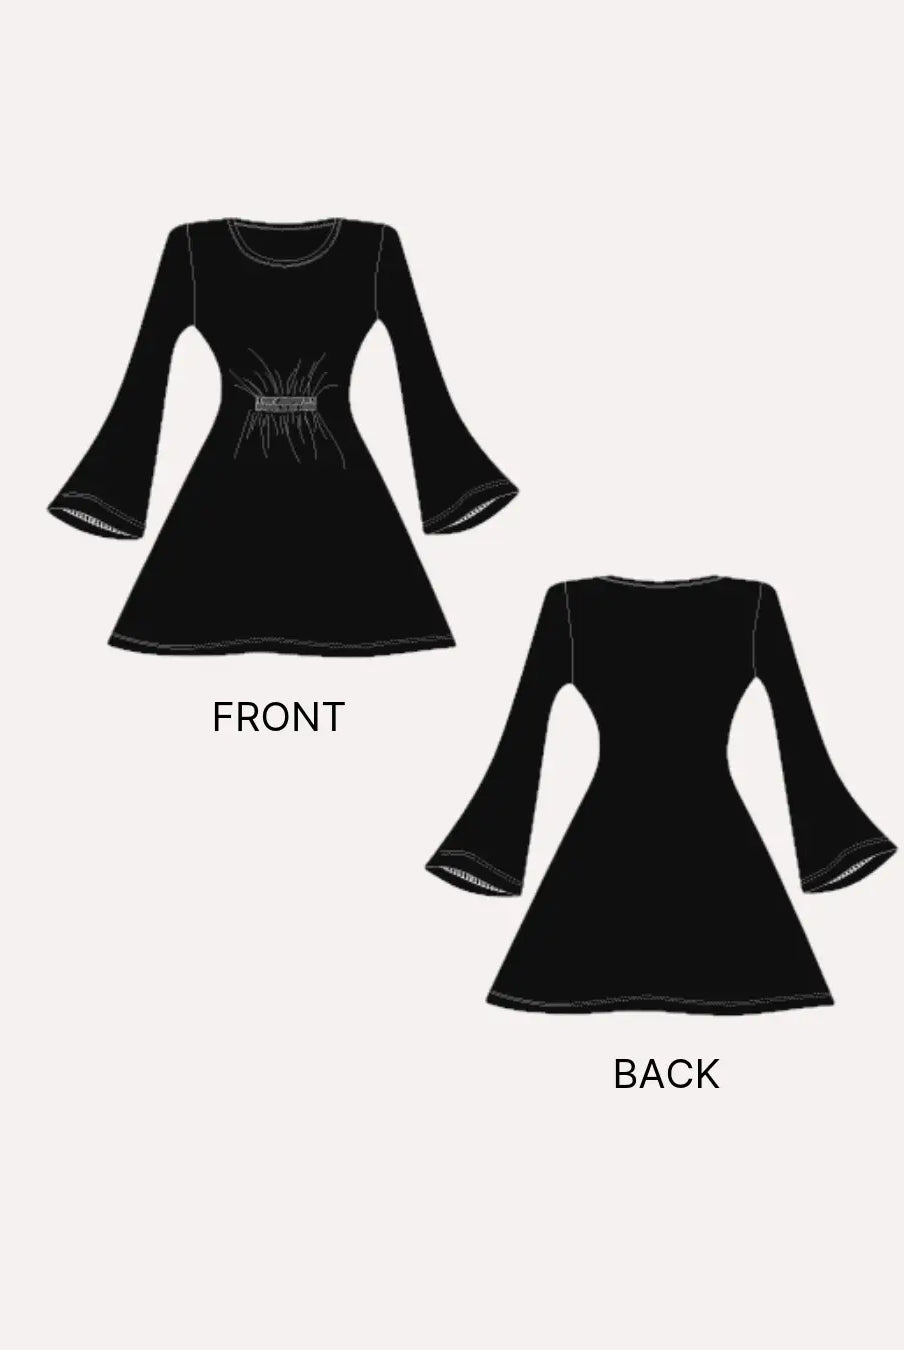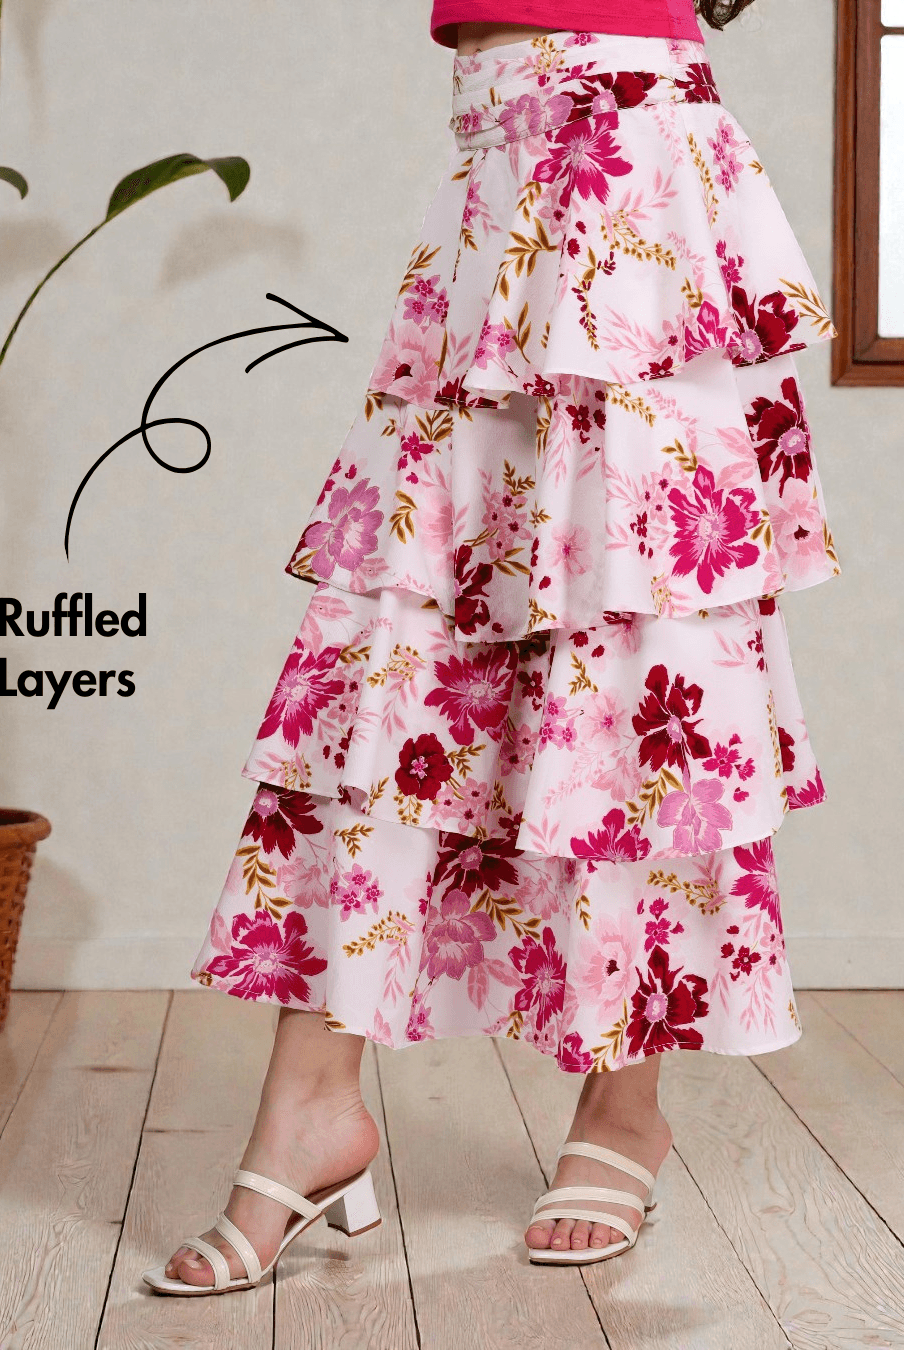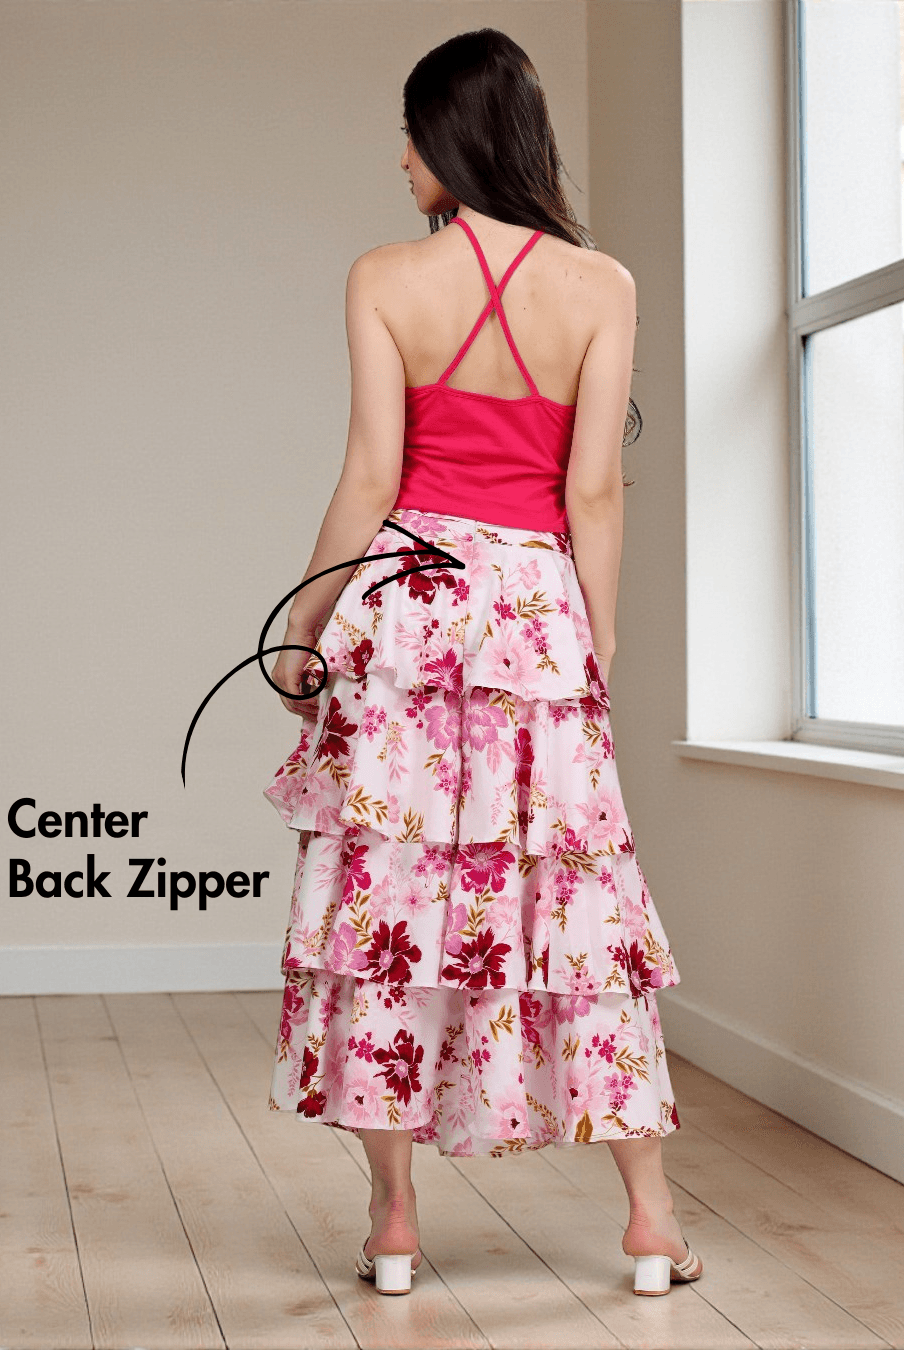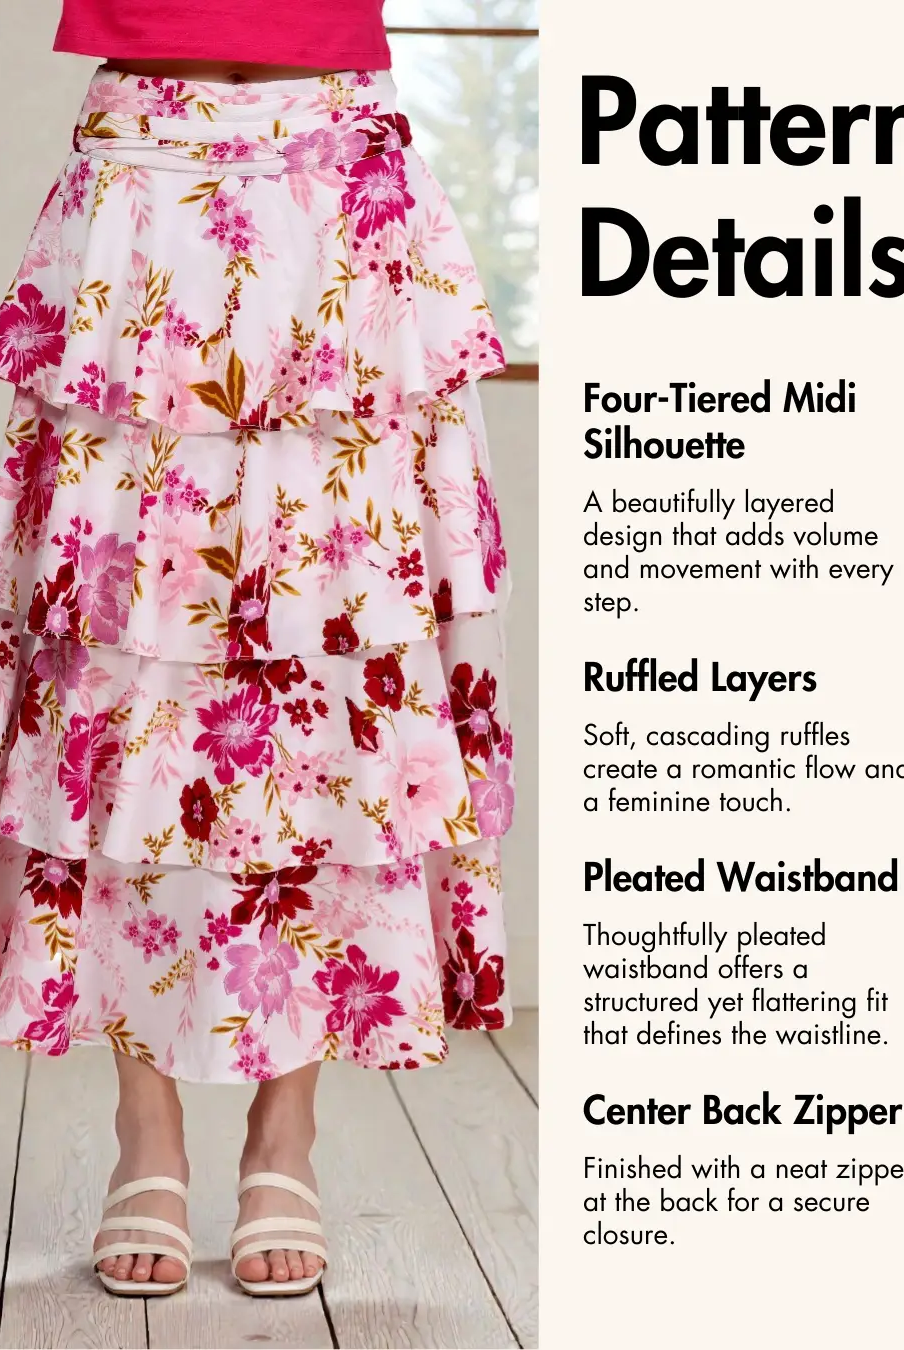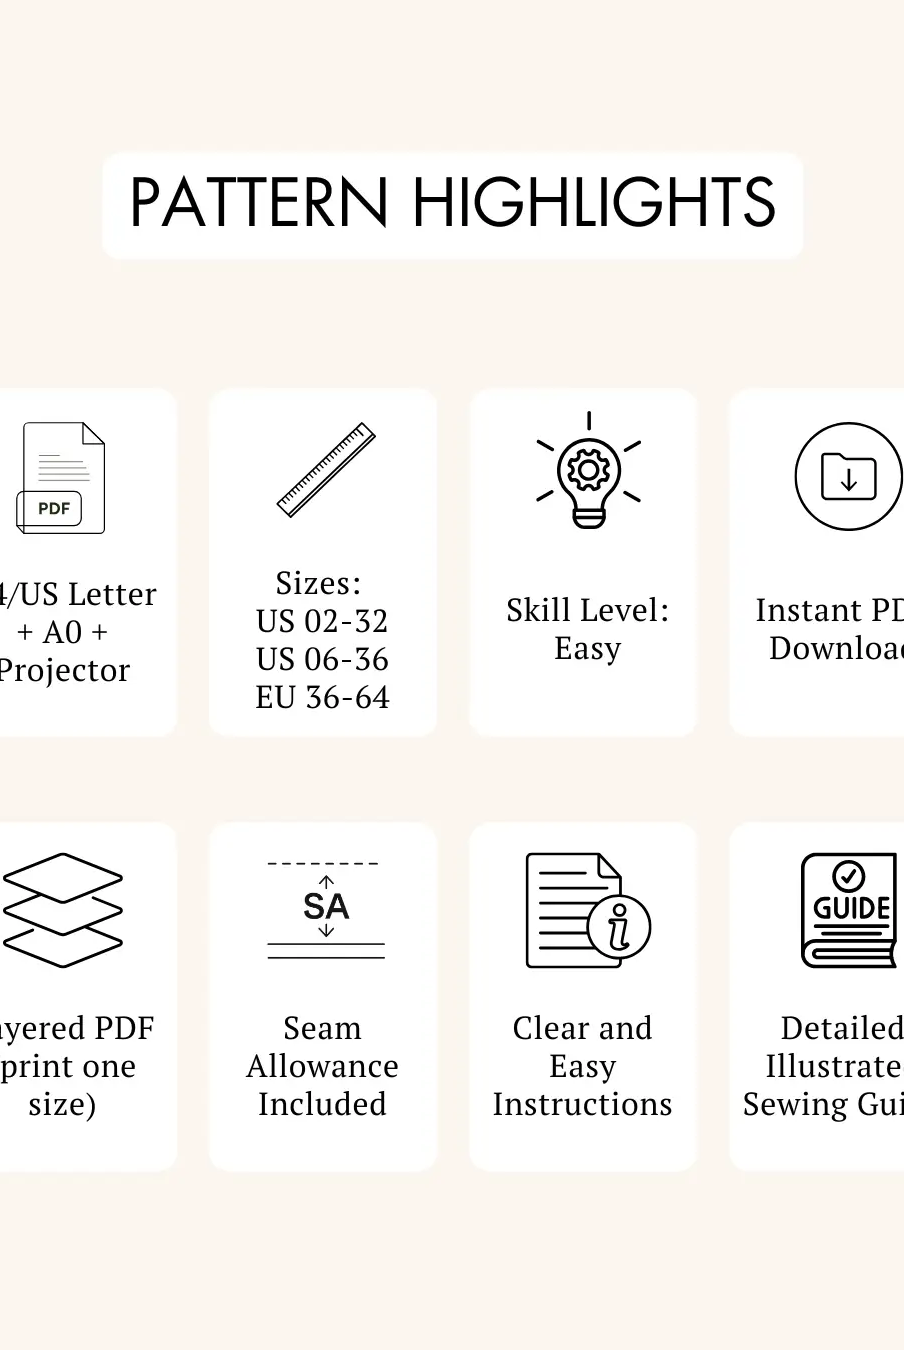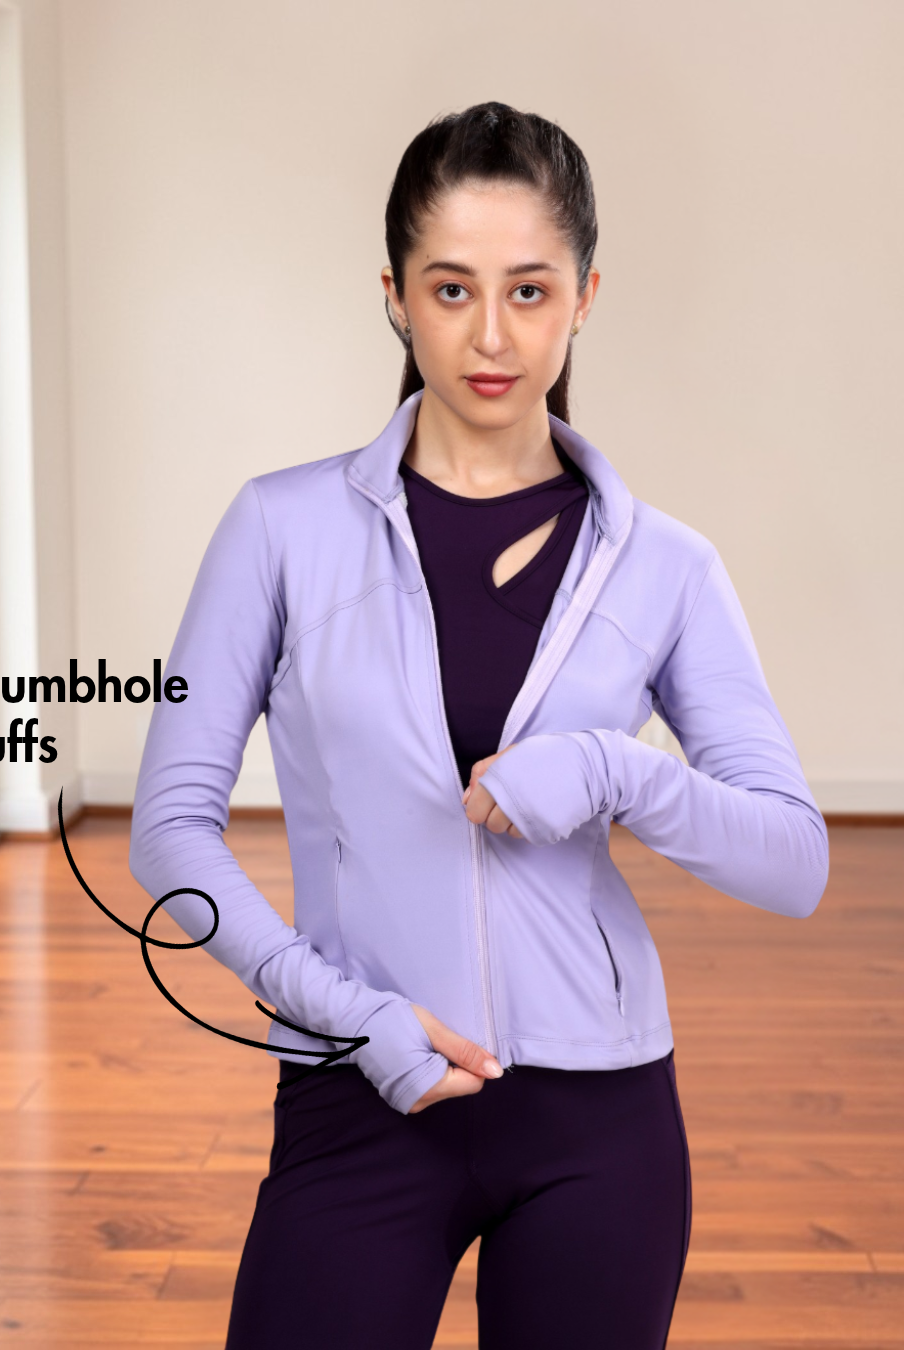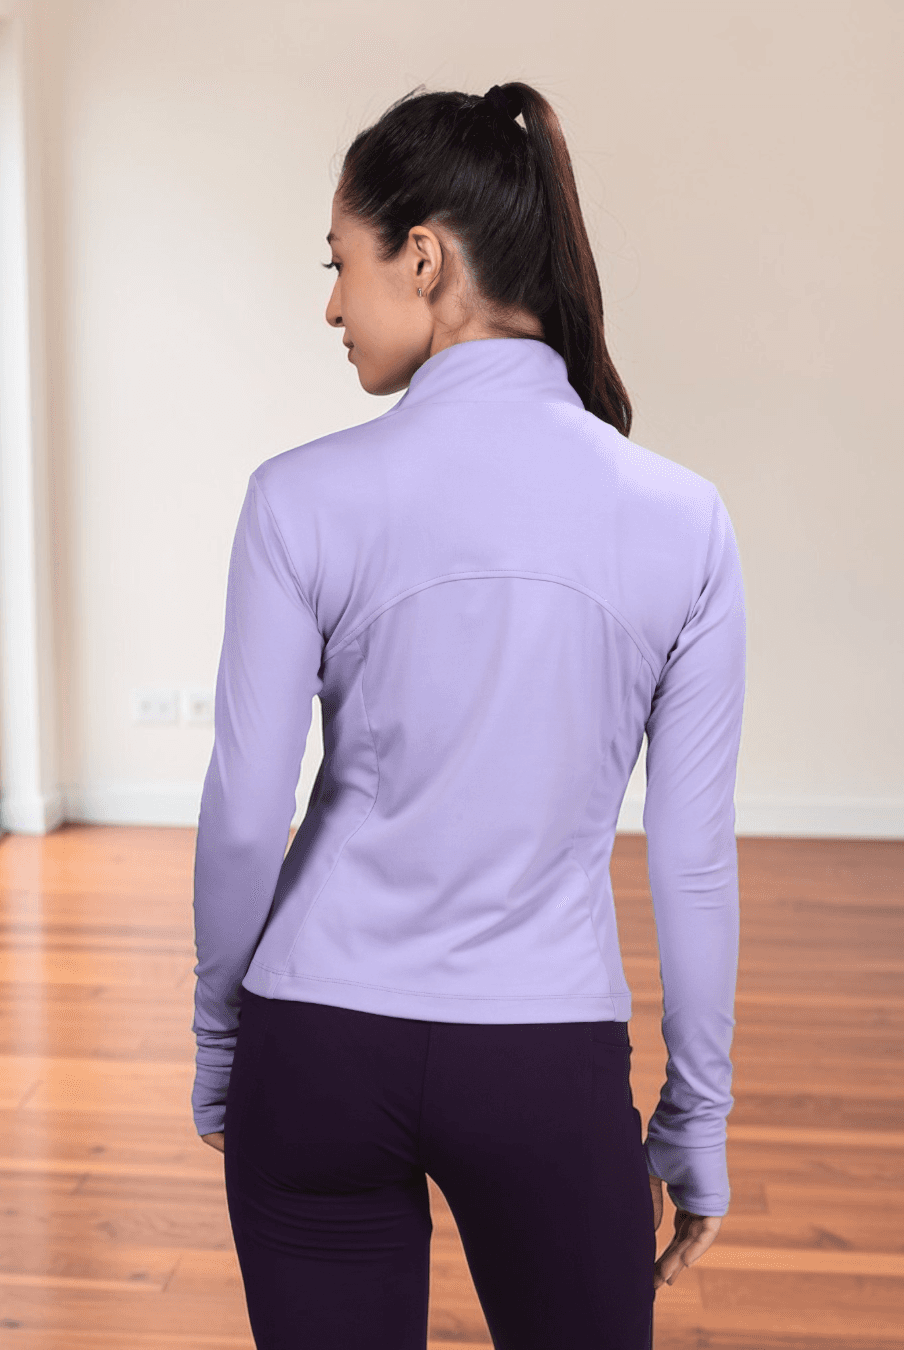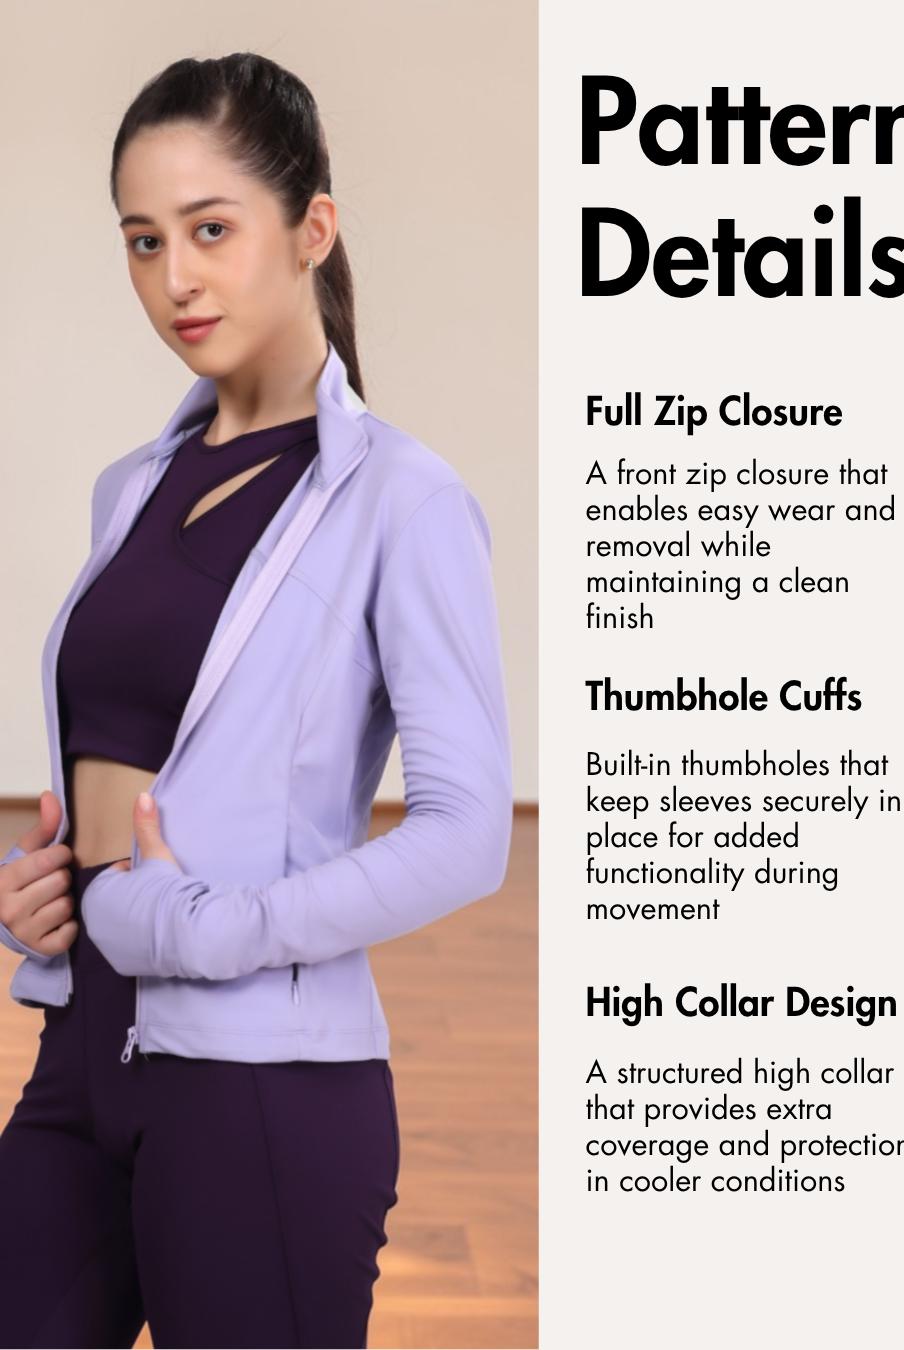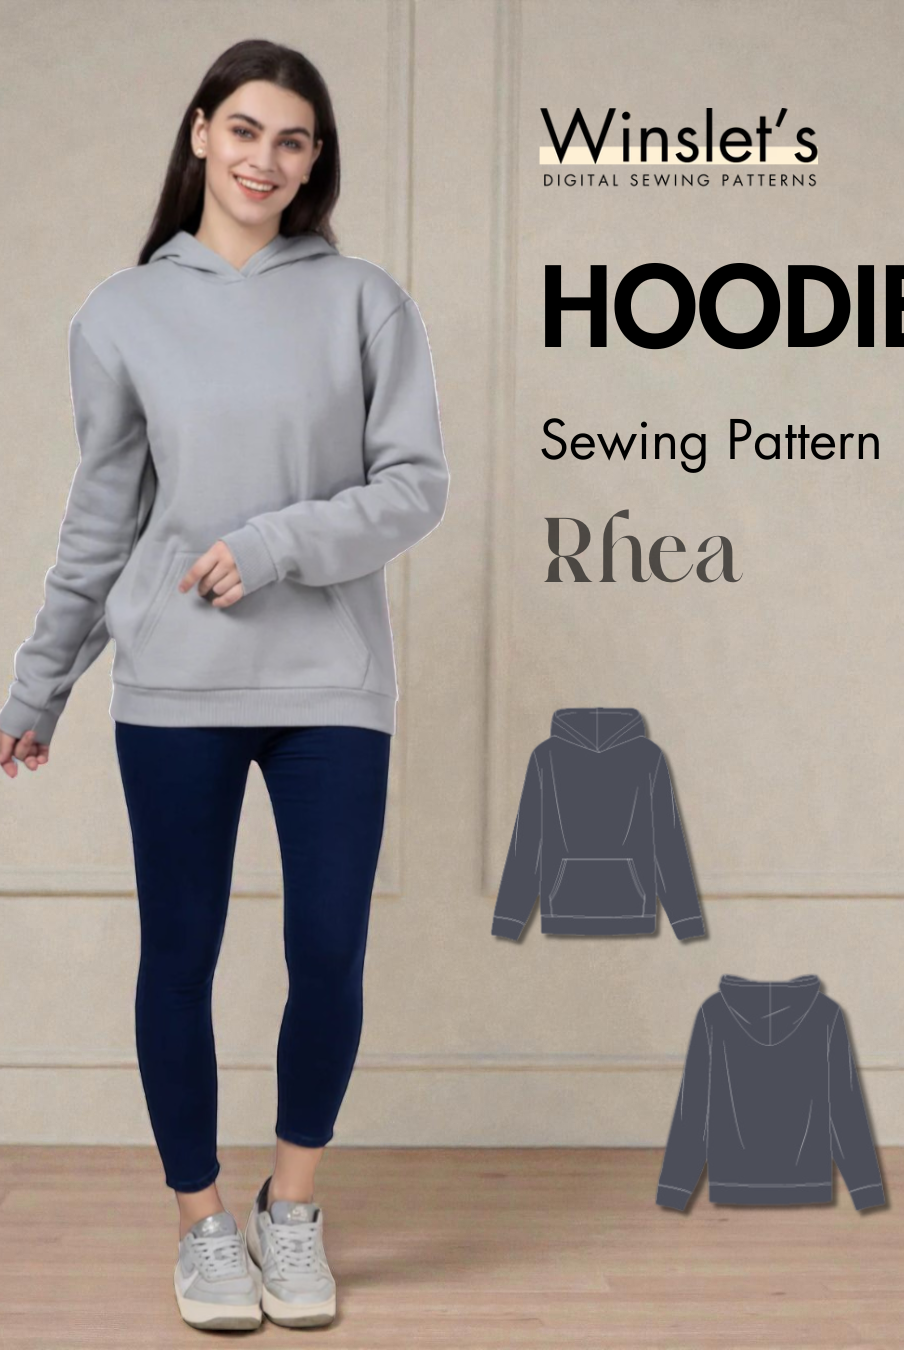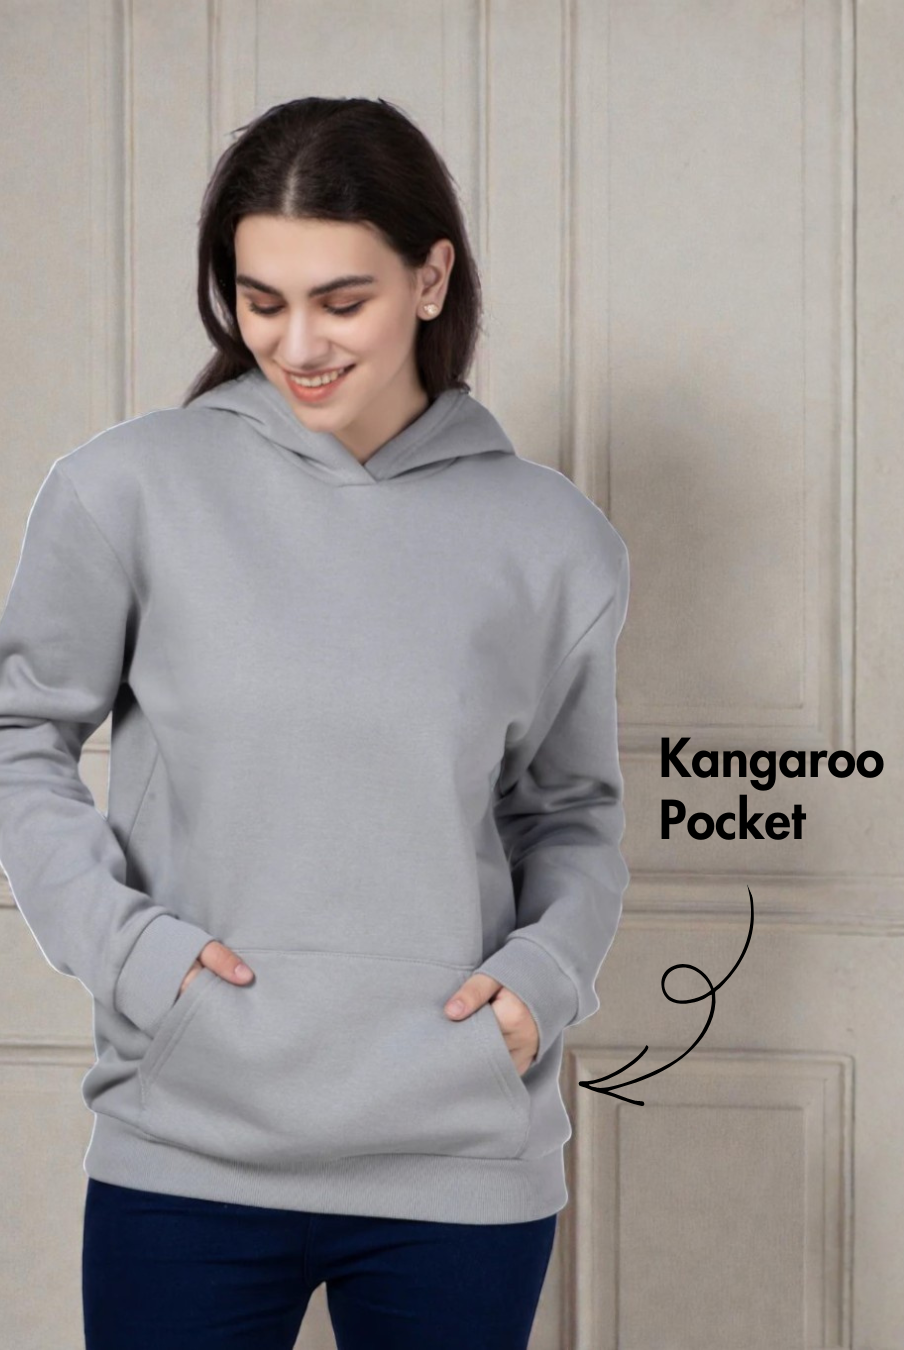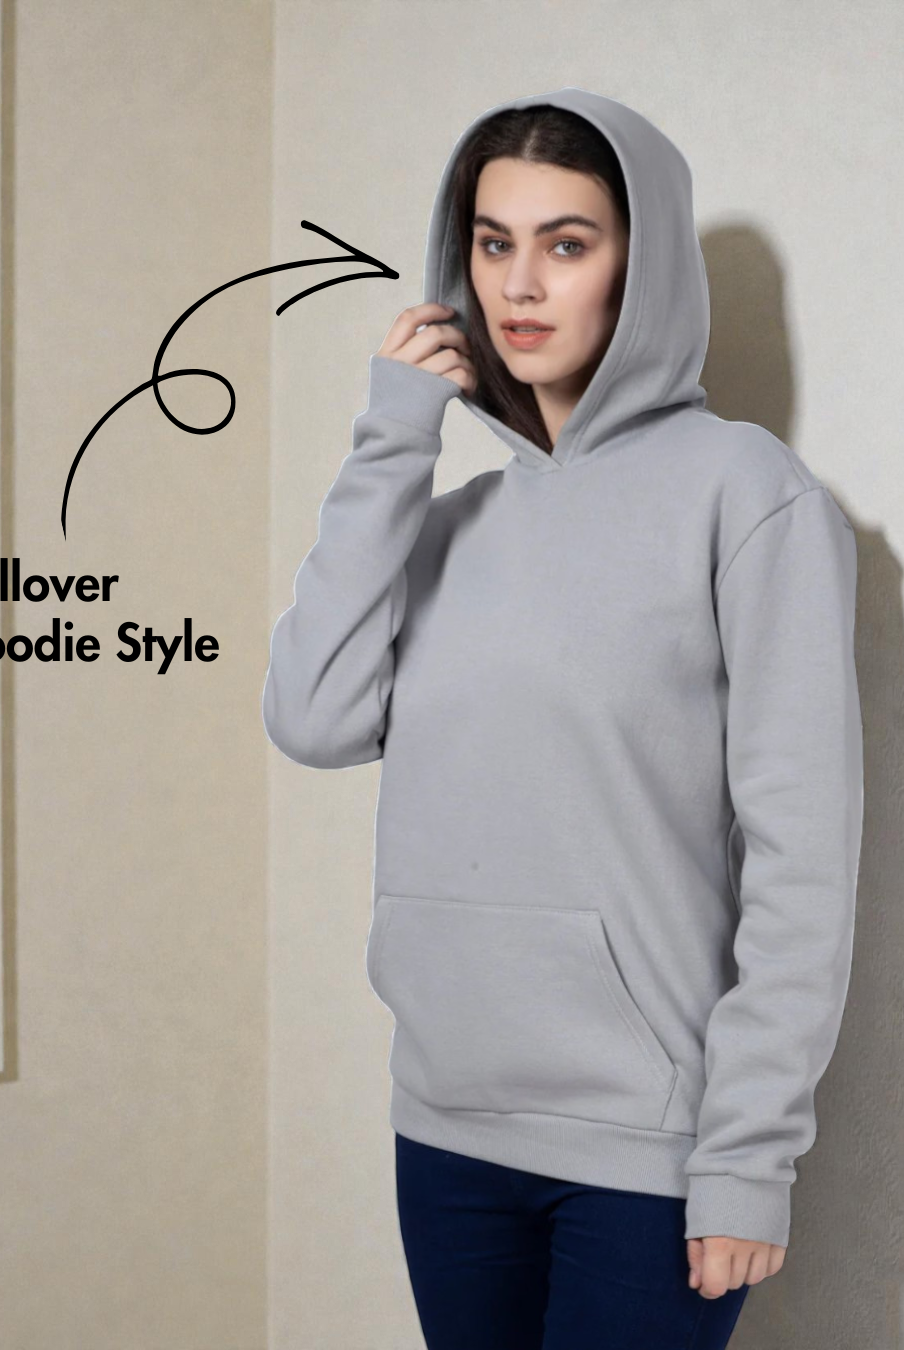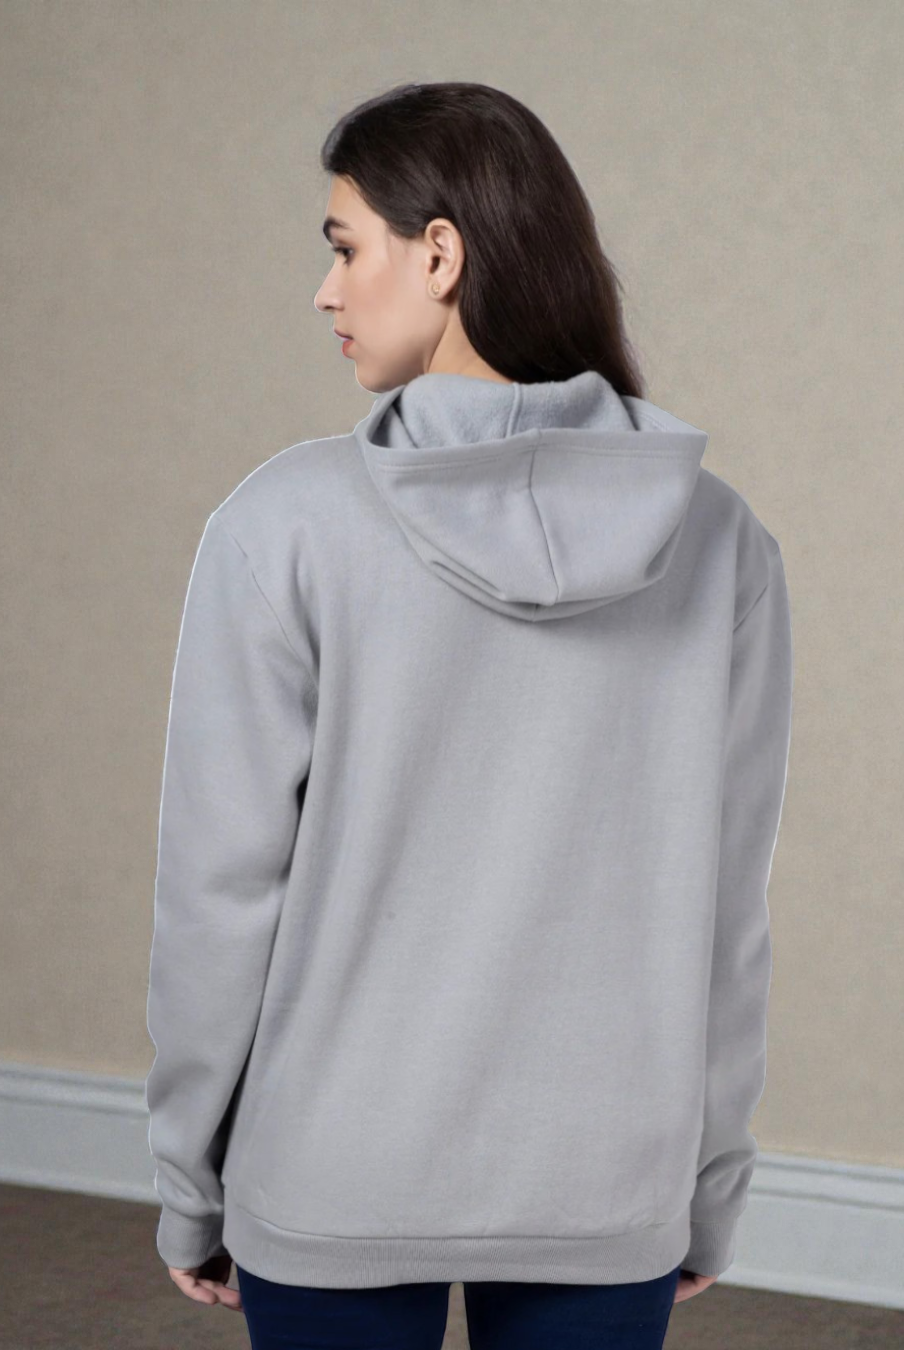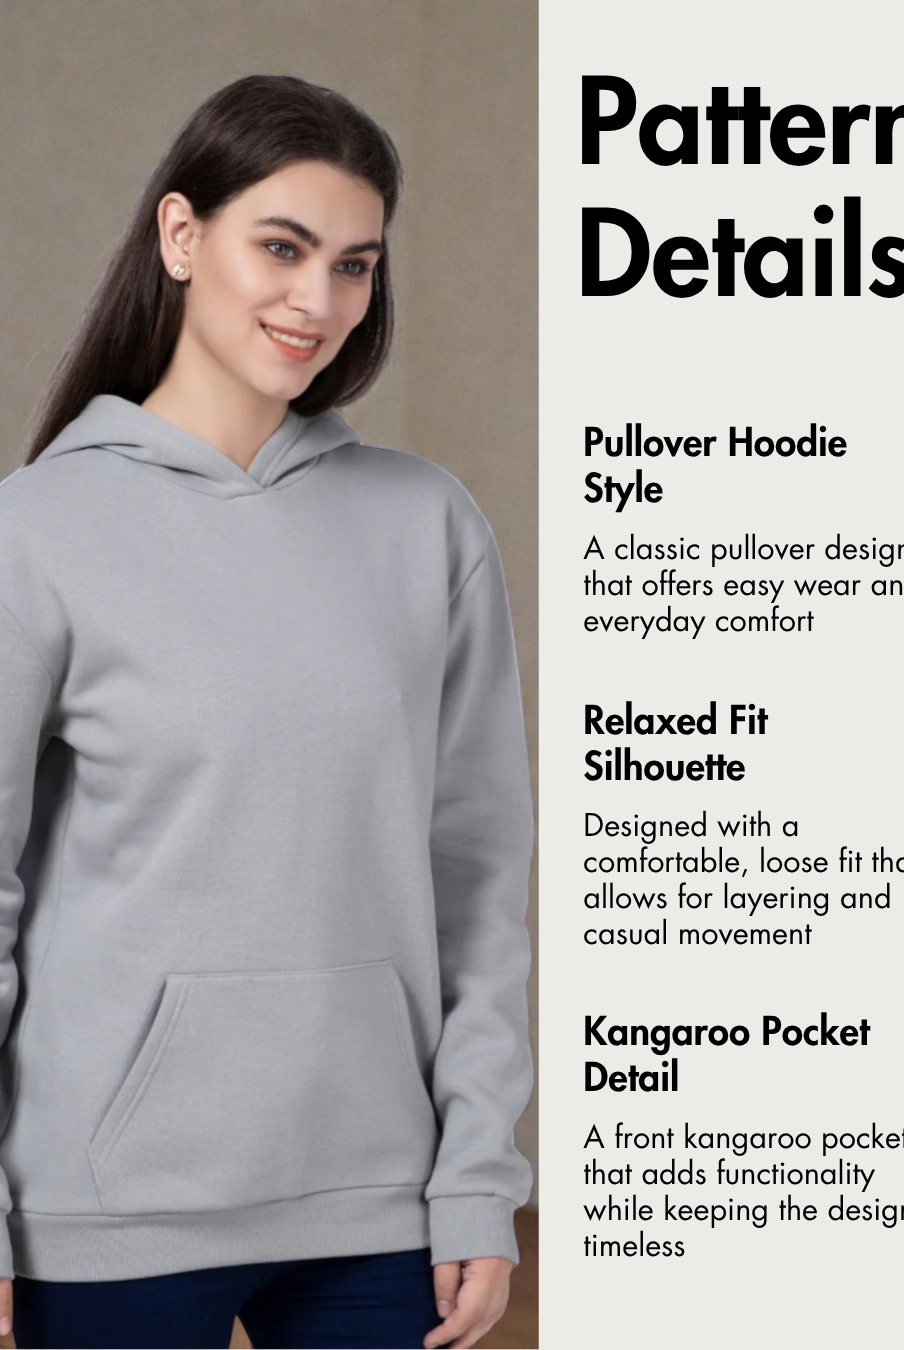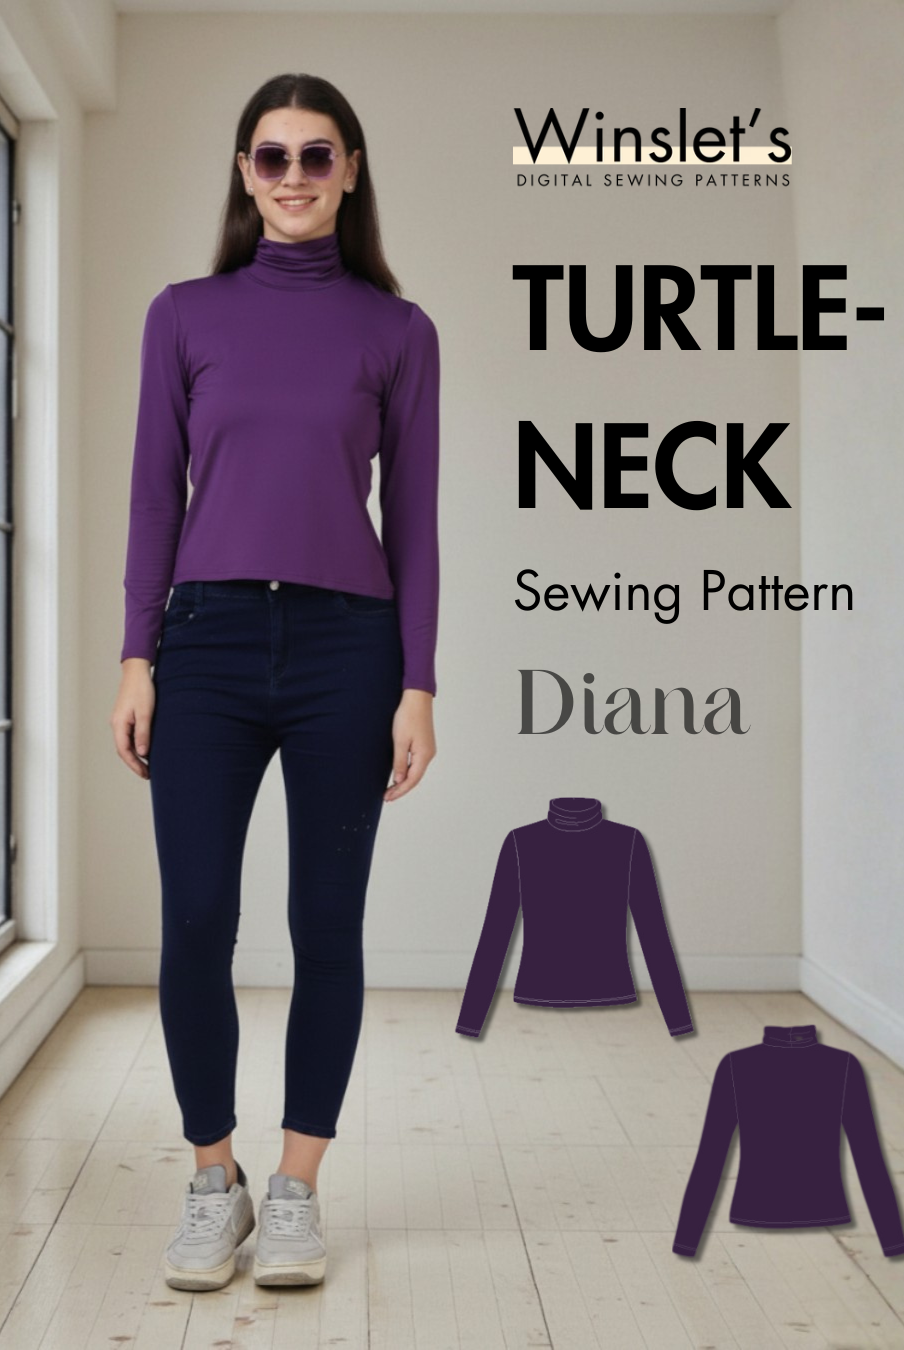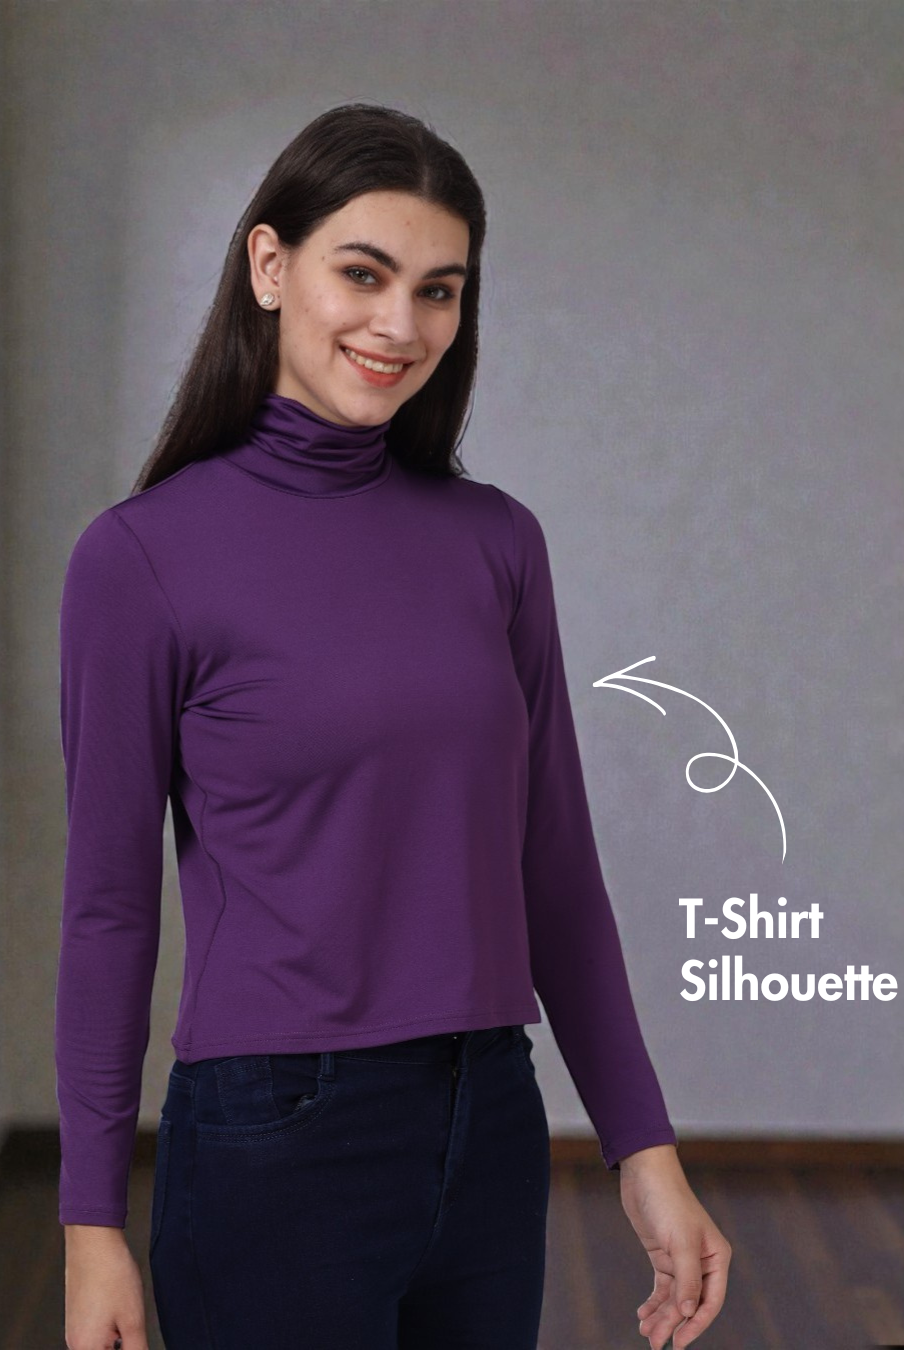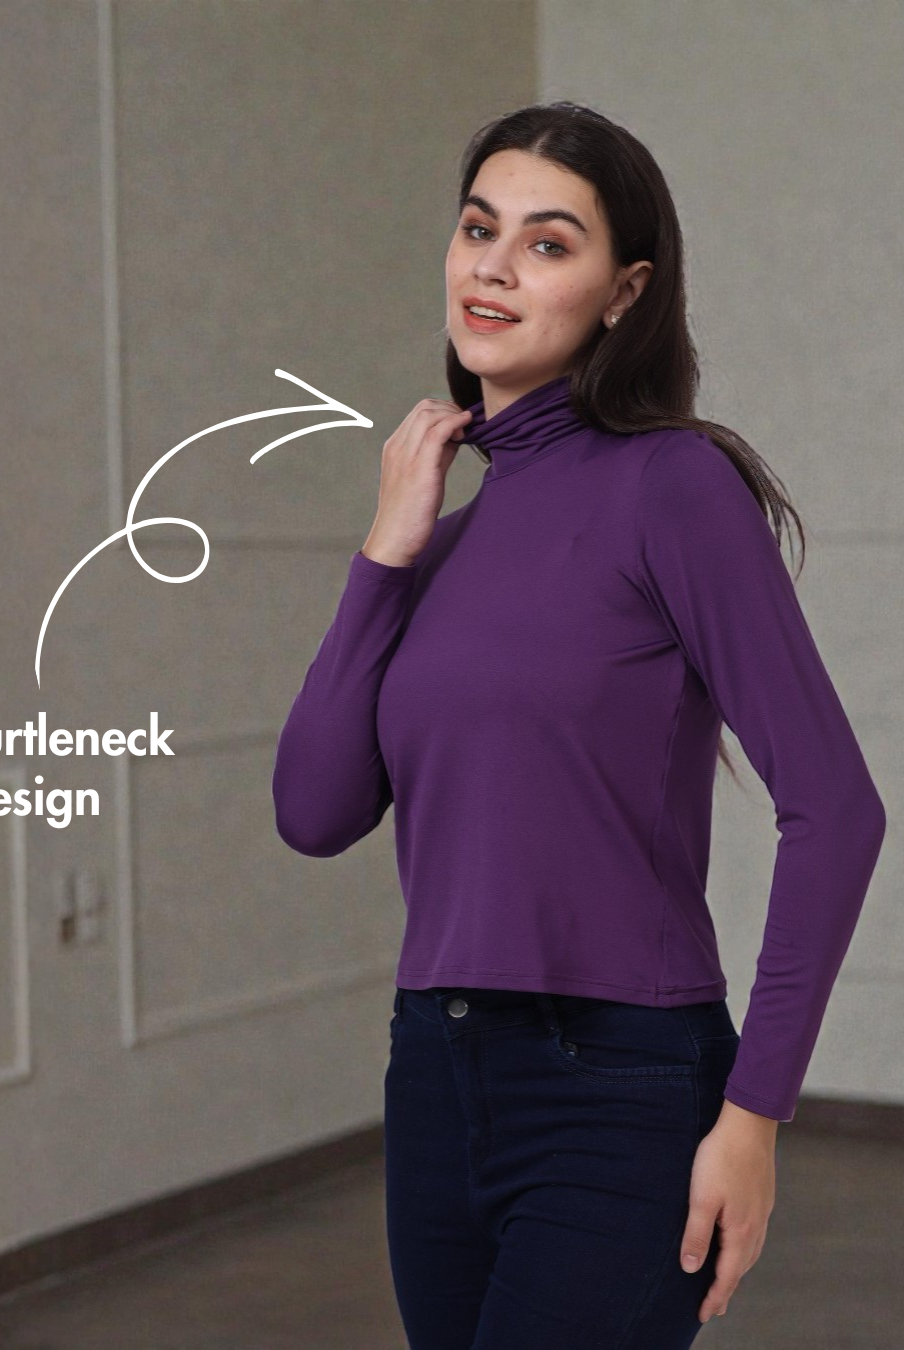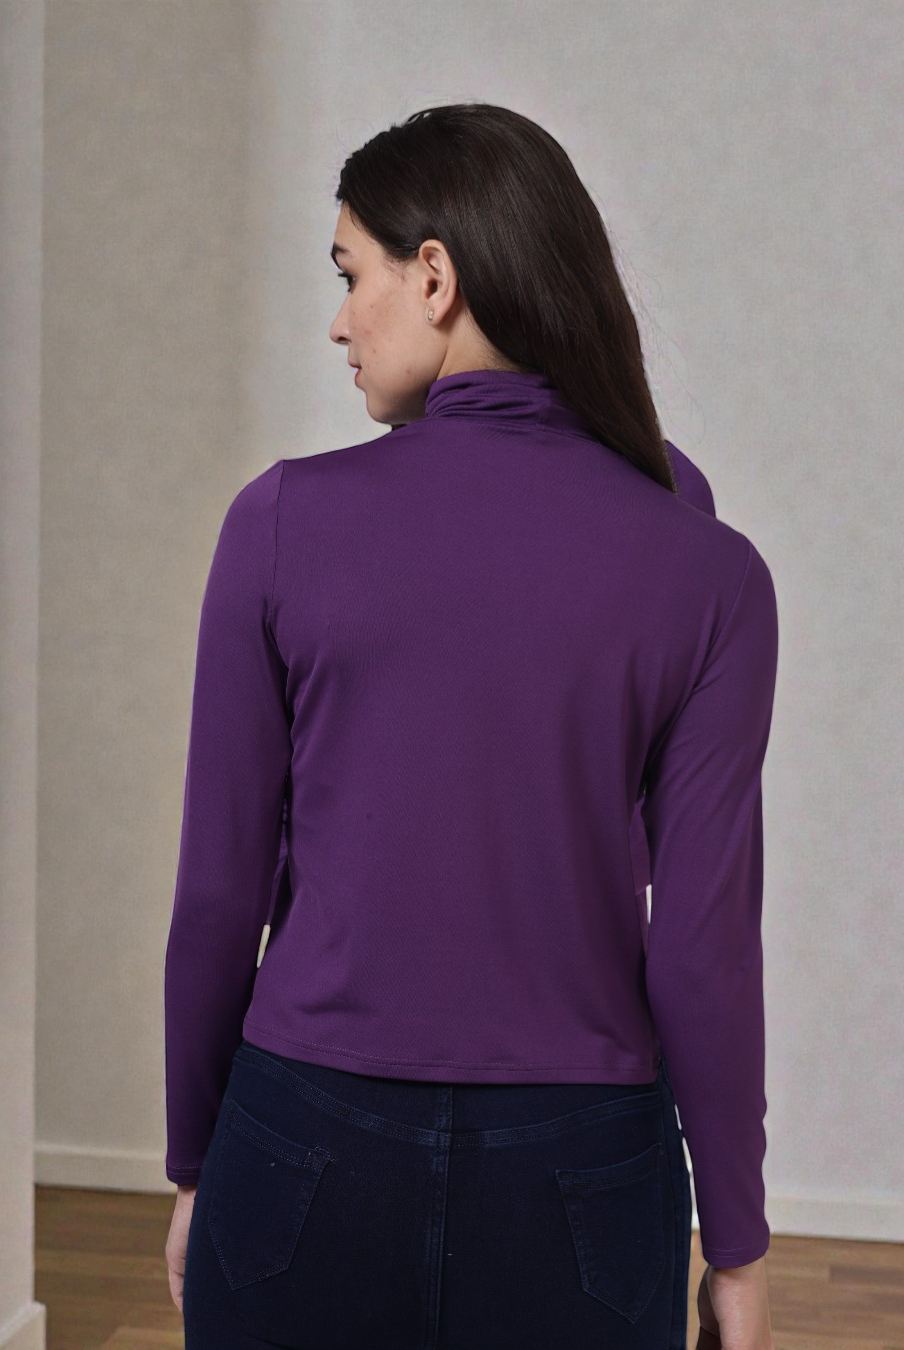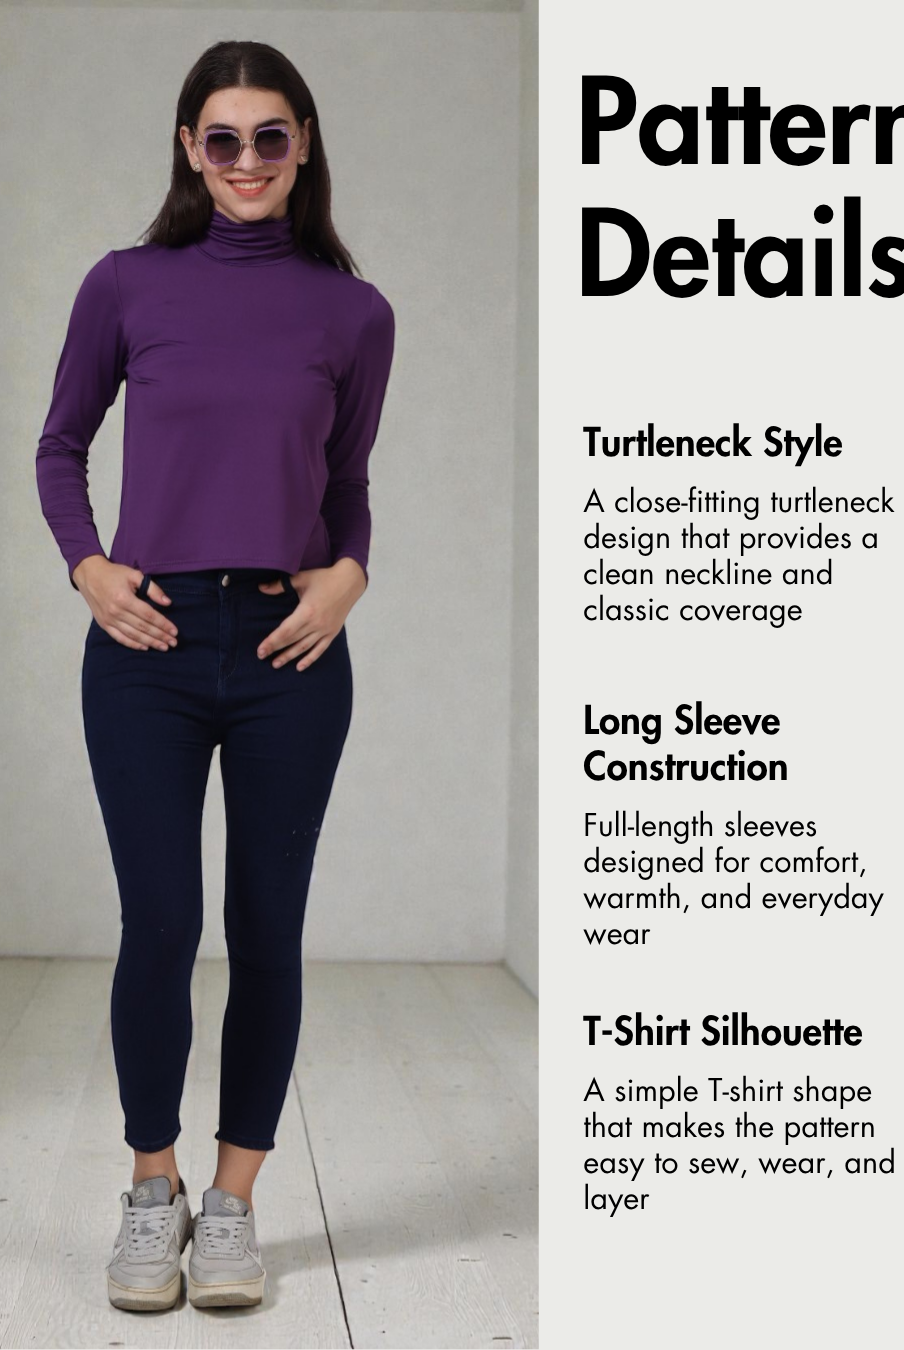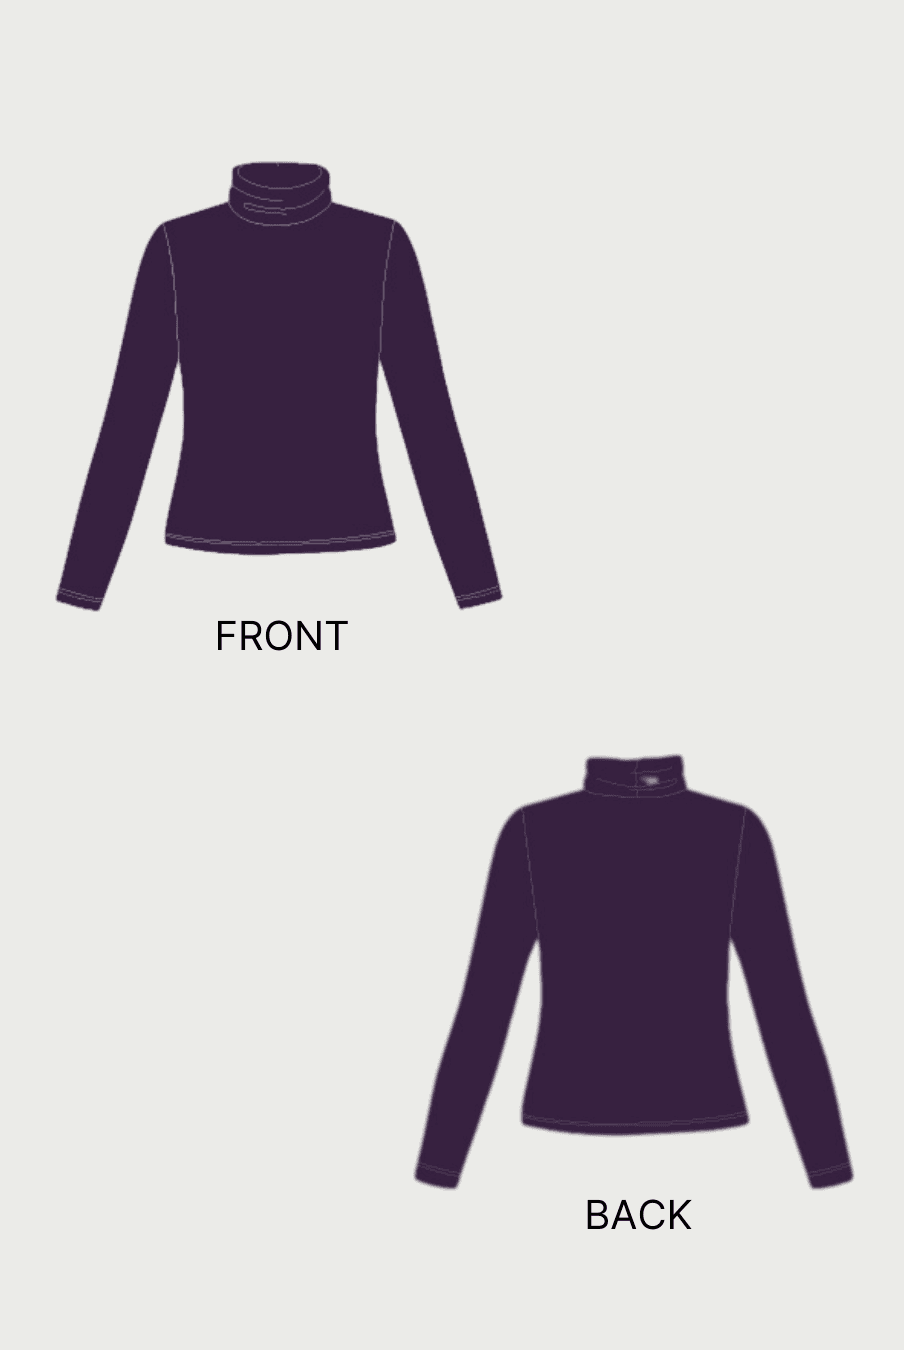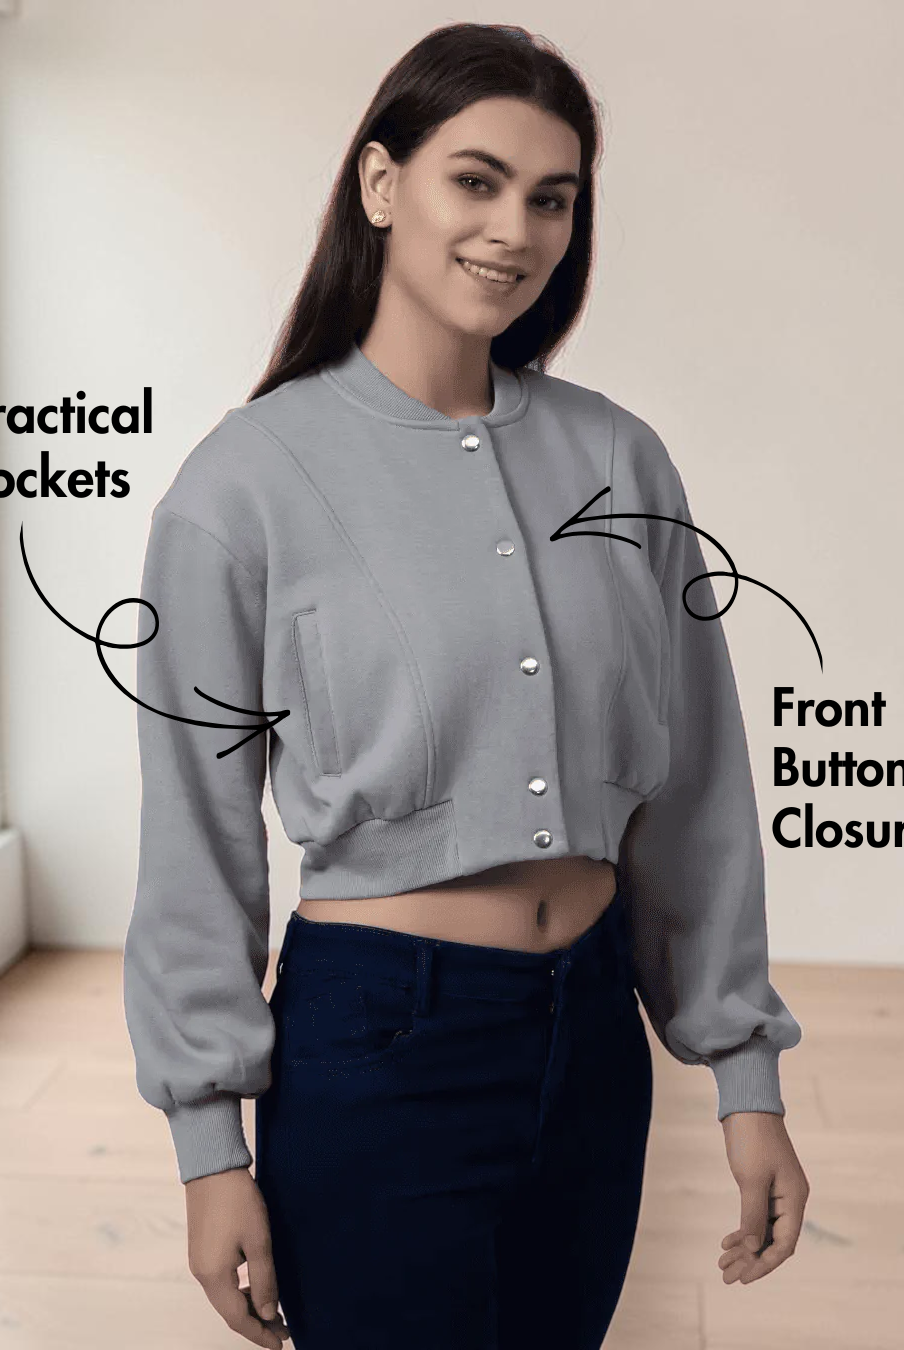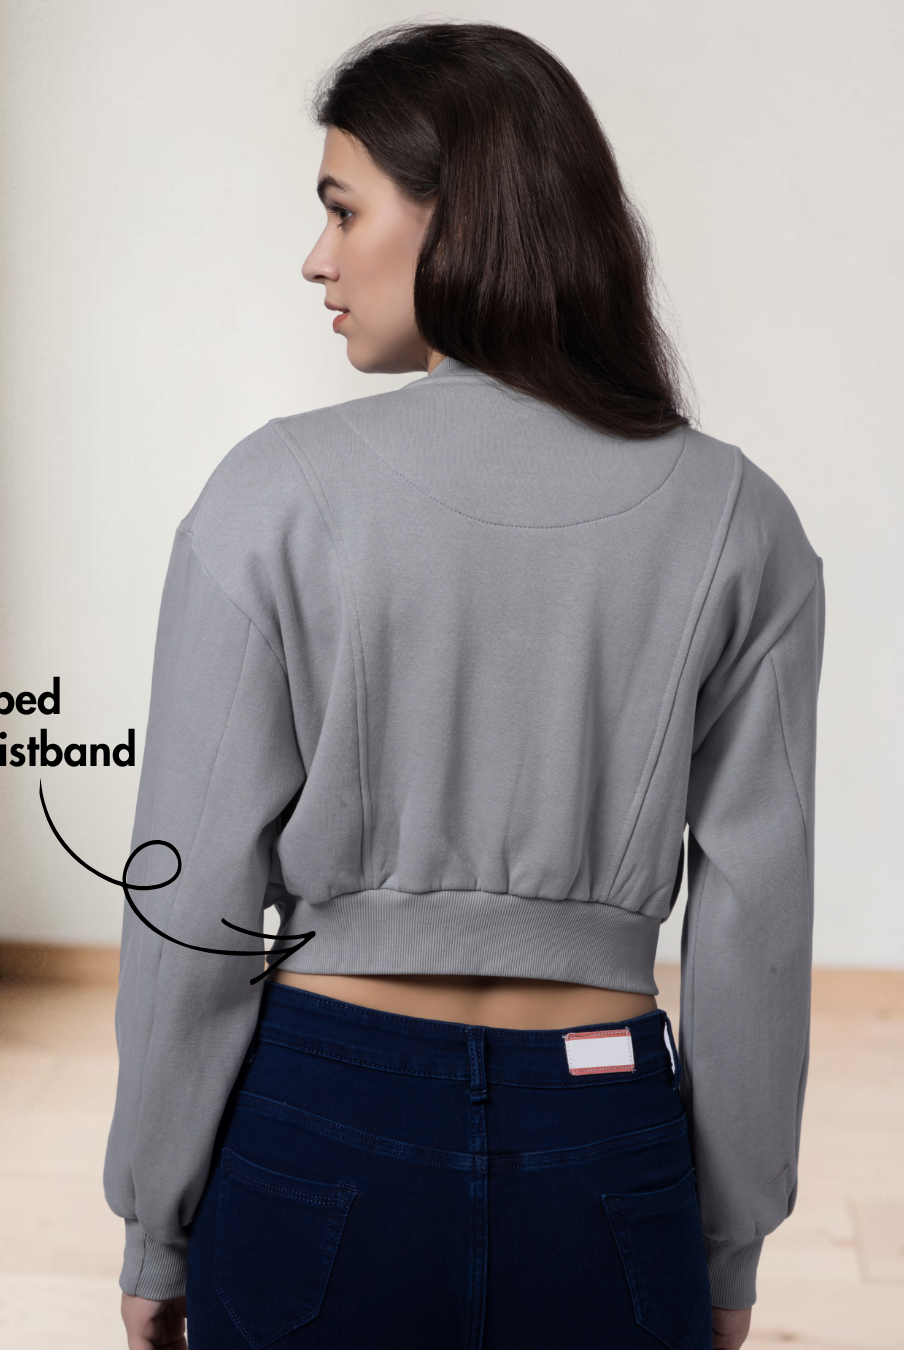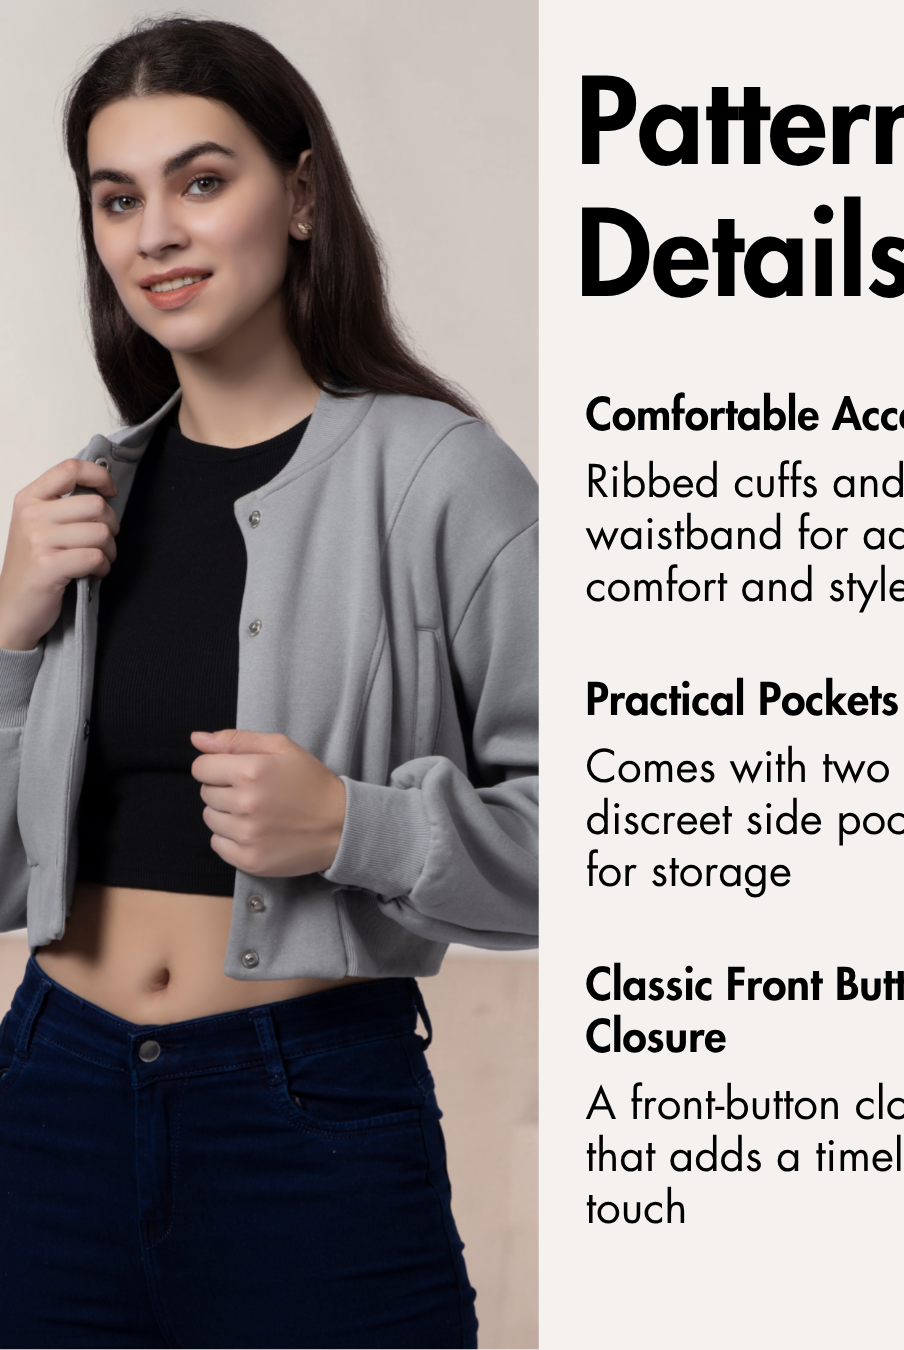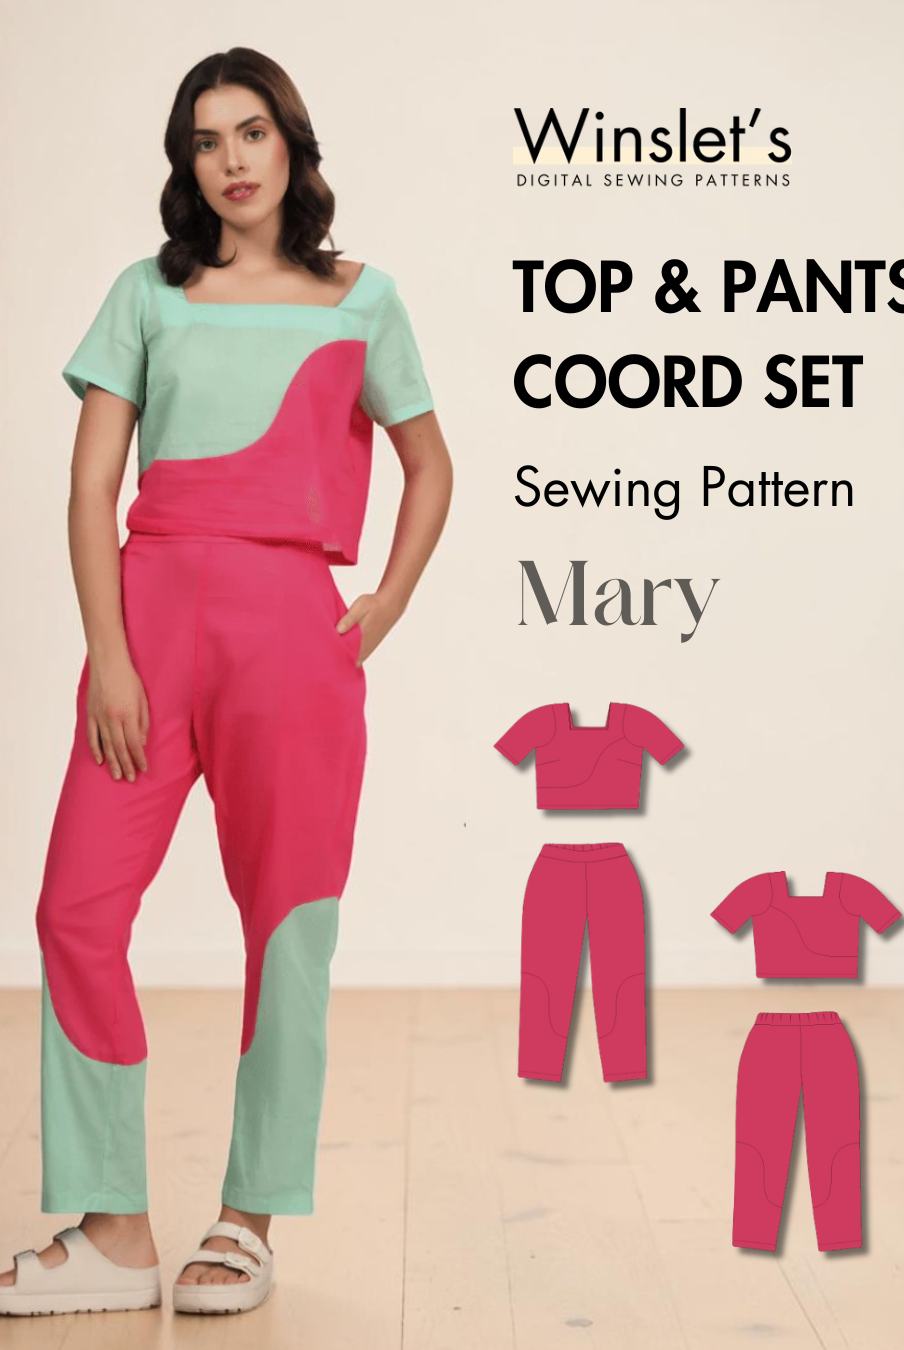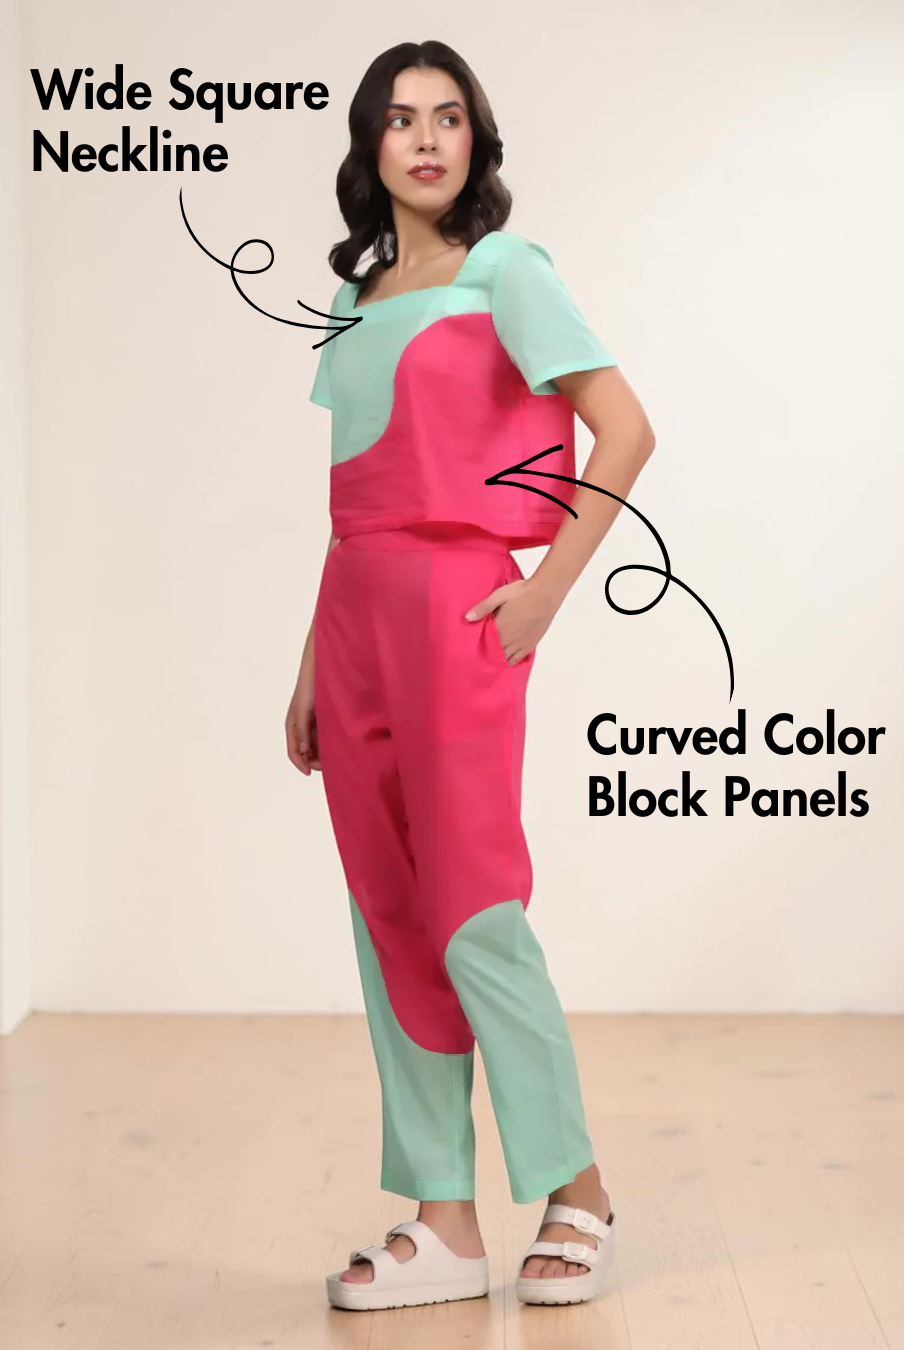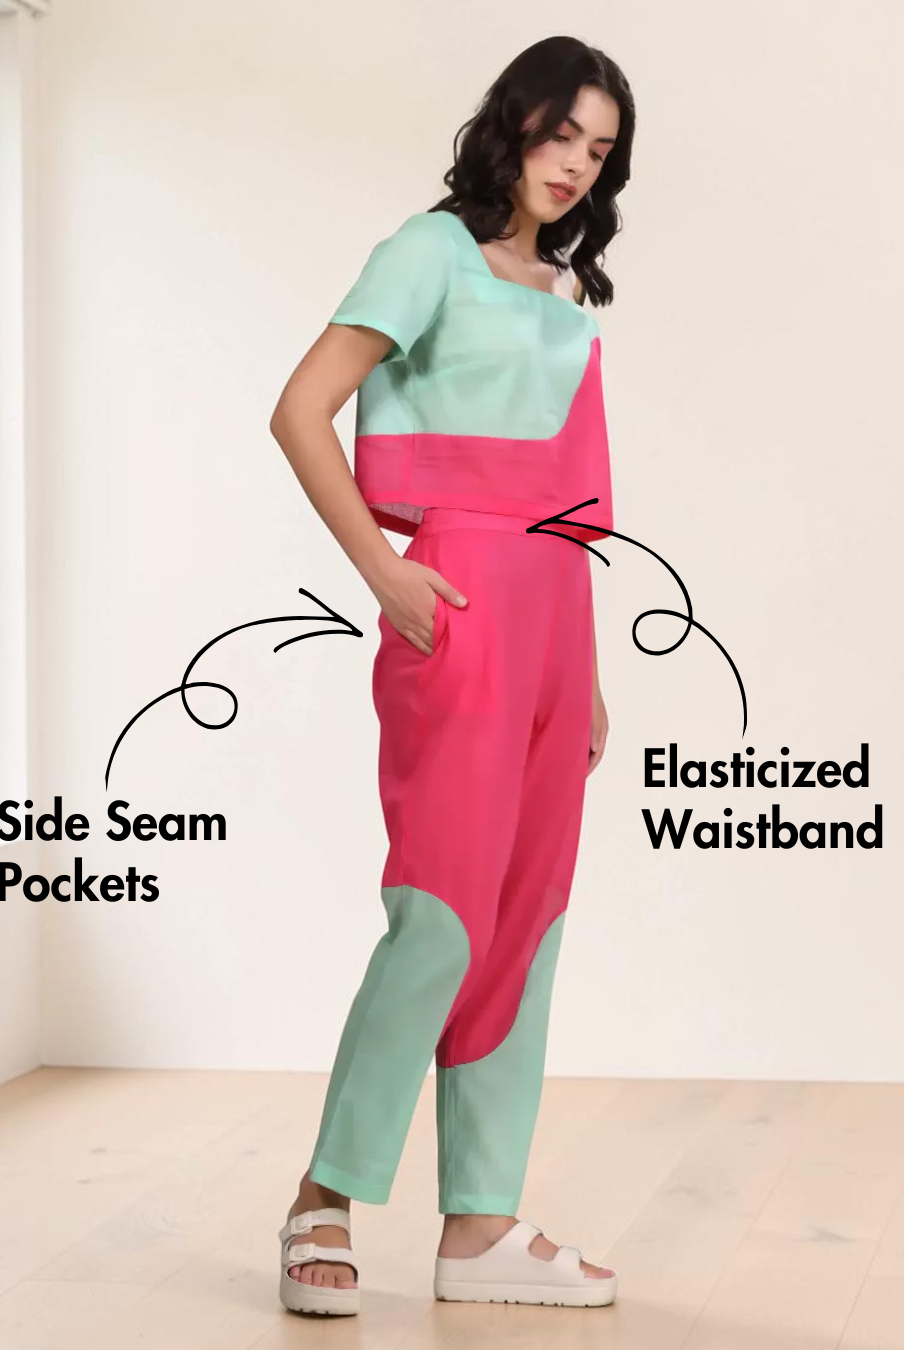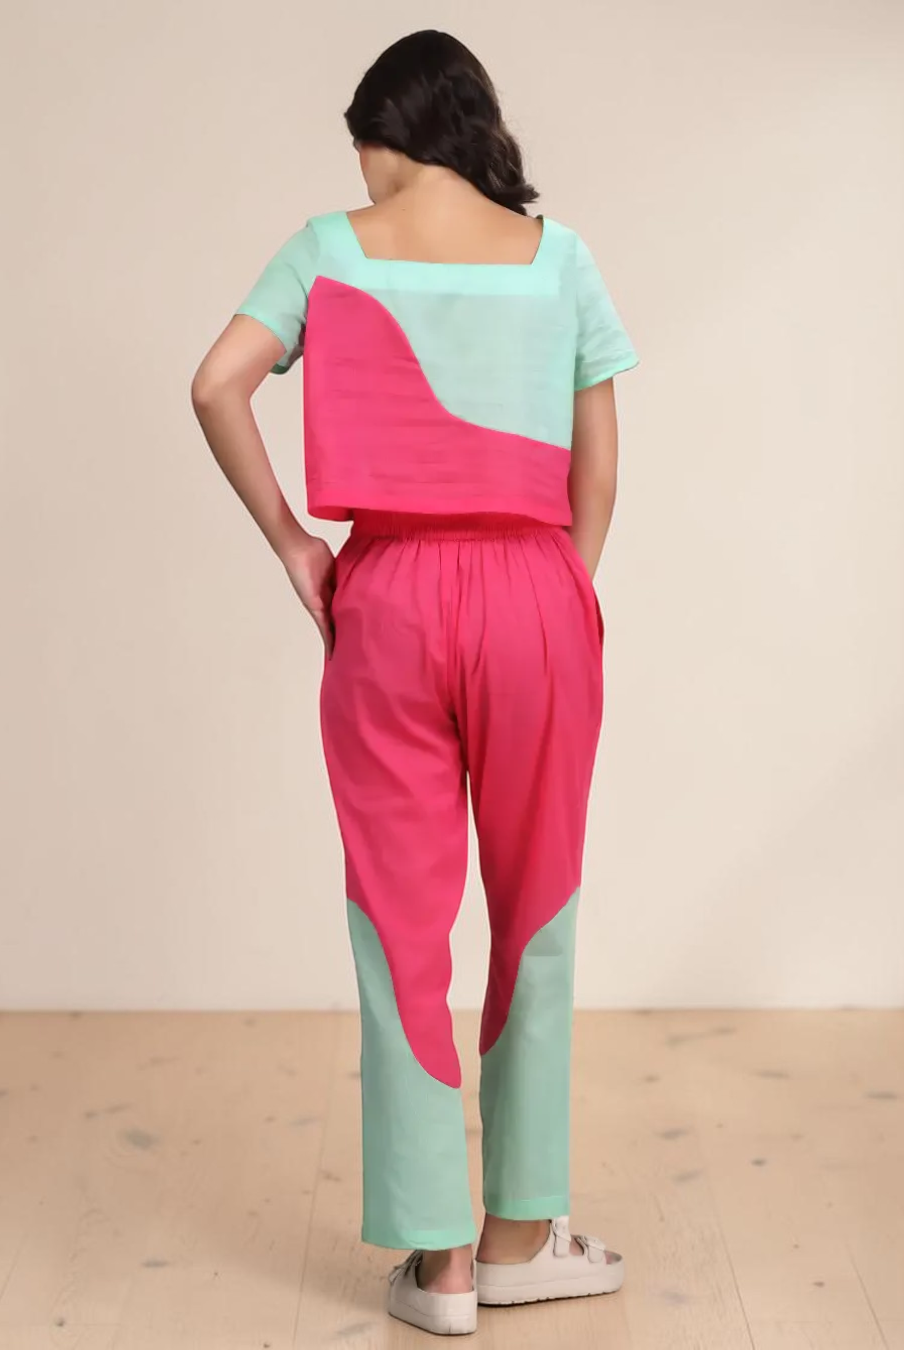
A square neck tank top is a versatile sewing project that combines a simple sleeveless shape with a more defined neckline. Its clean lines make it easy to pair with different bottoms and layers, while sewing your own gives you the opportunity to create a fitted wardrobe staple from a comfortable stretch knit.
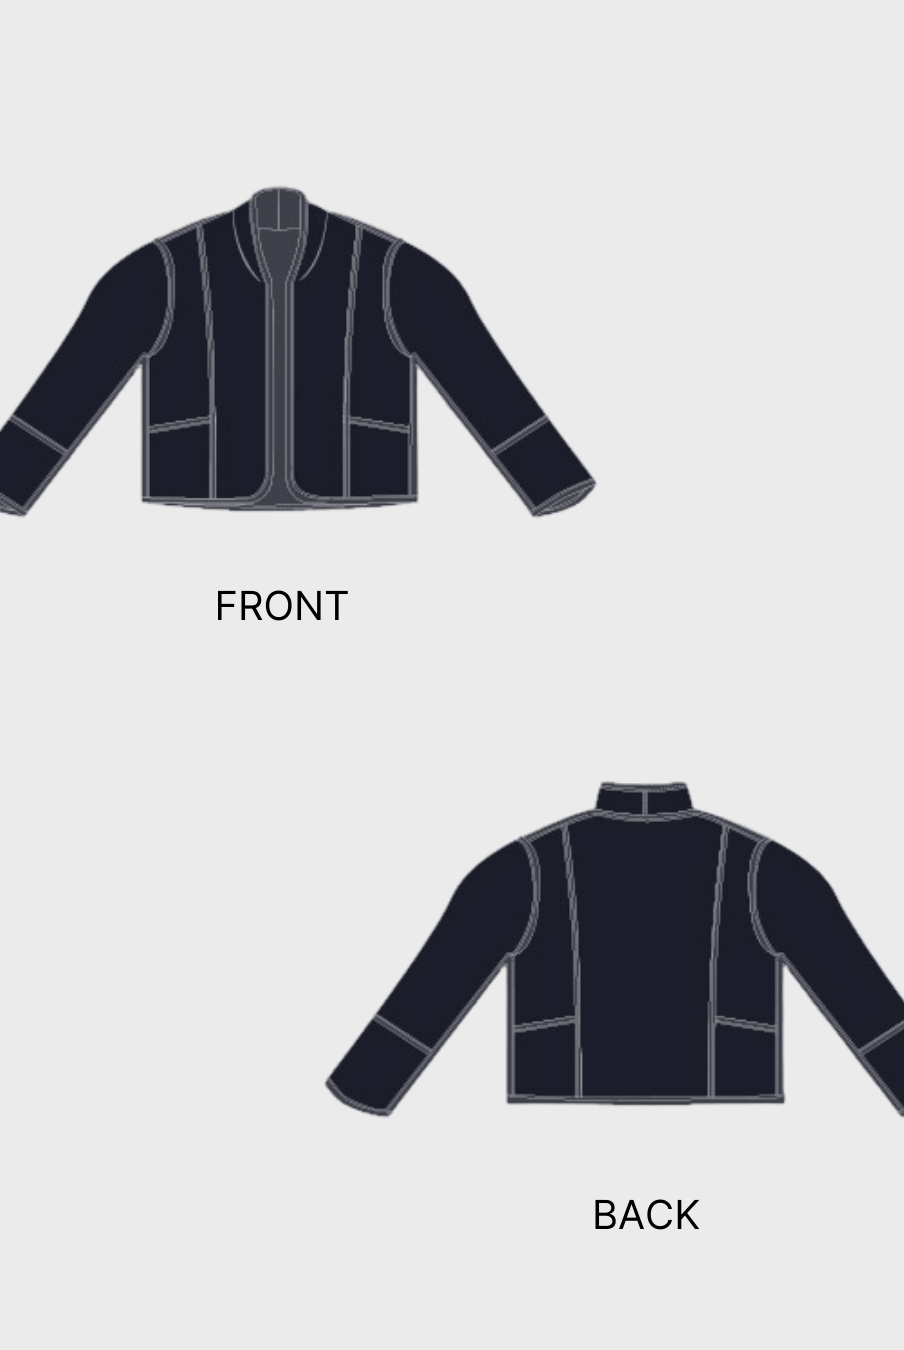
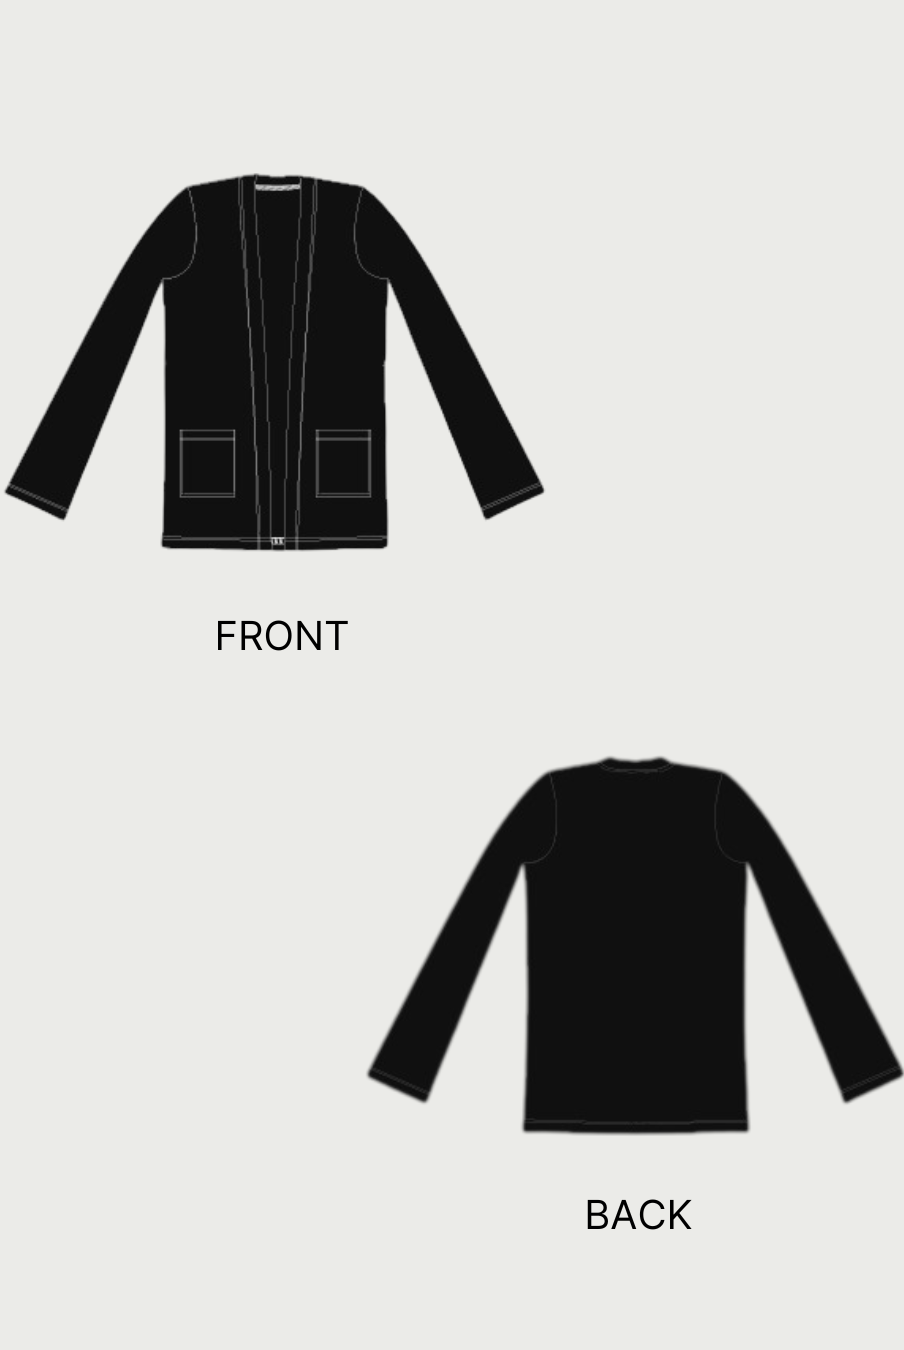
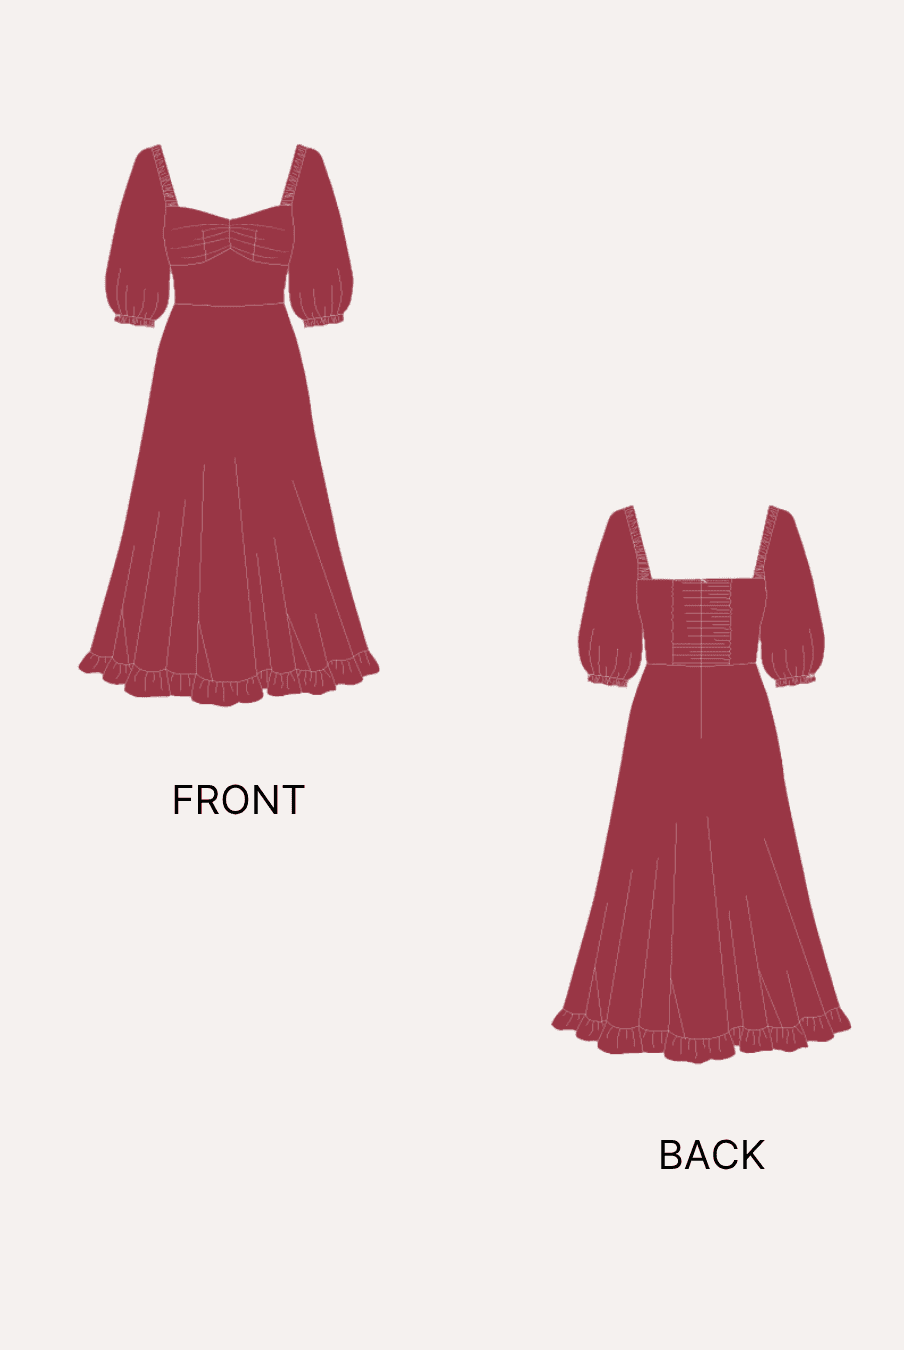
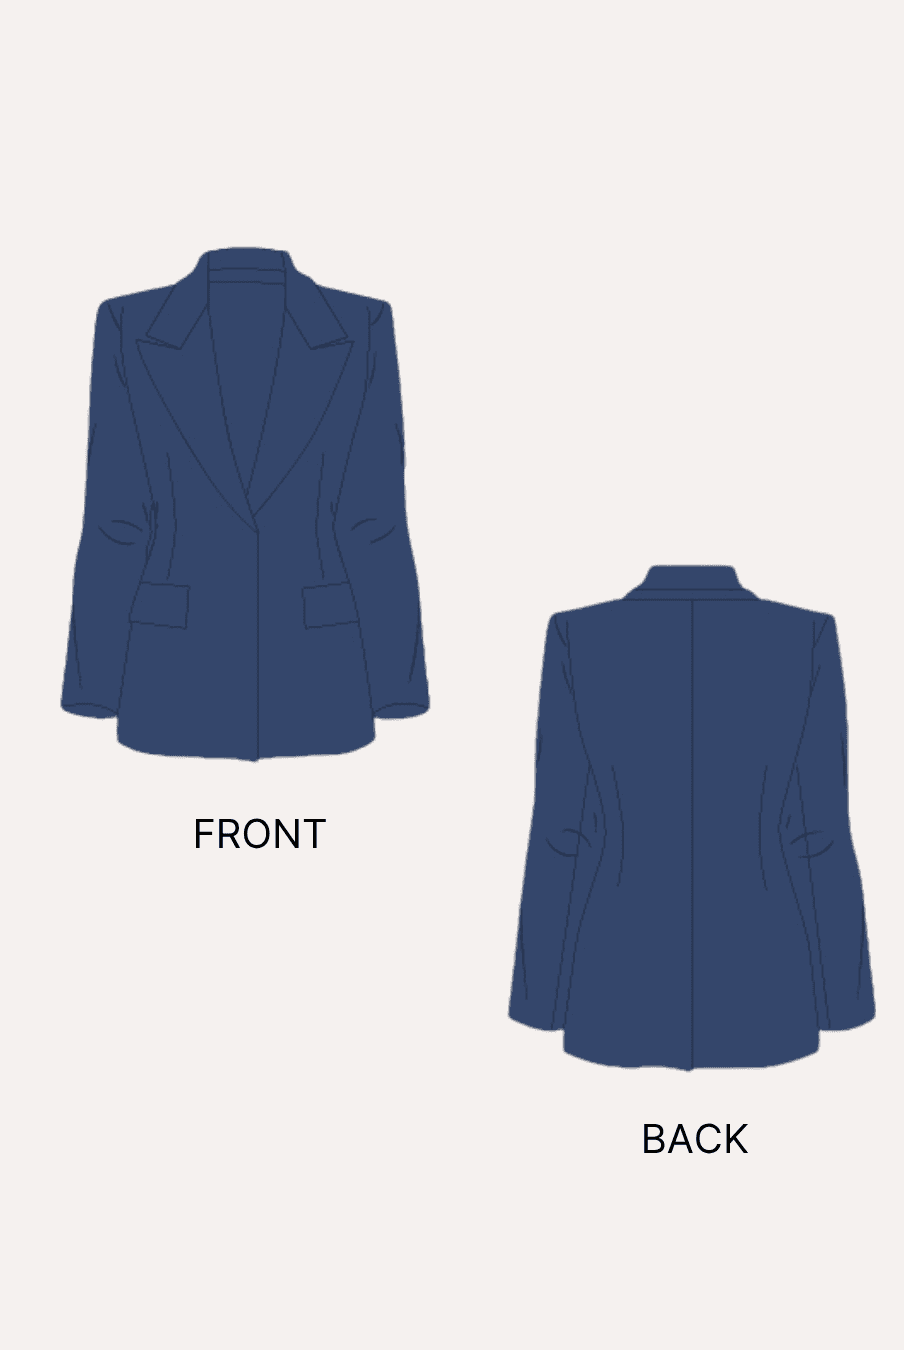
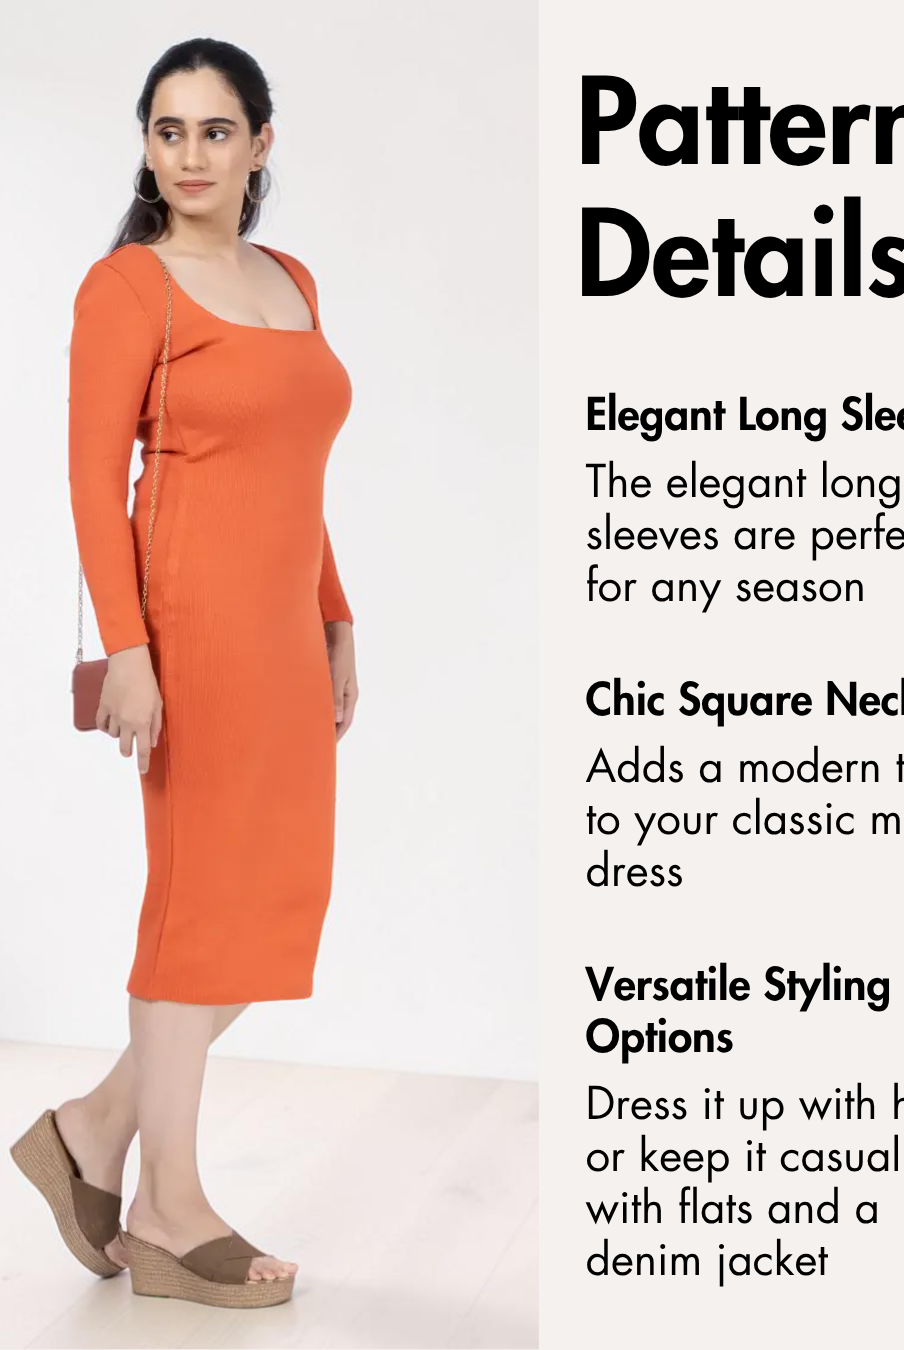
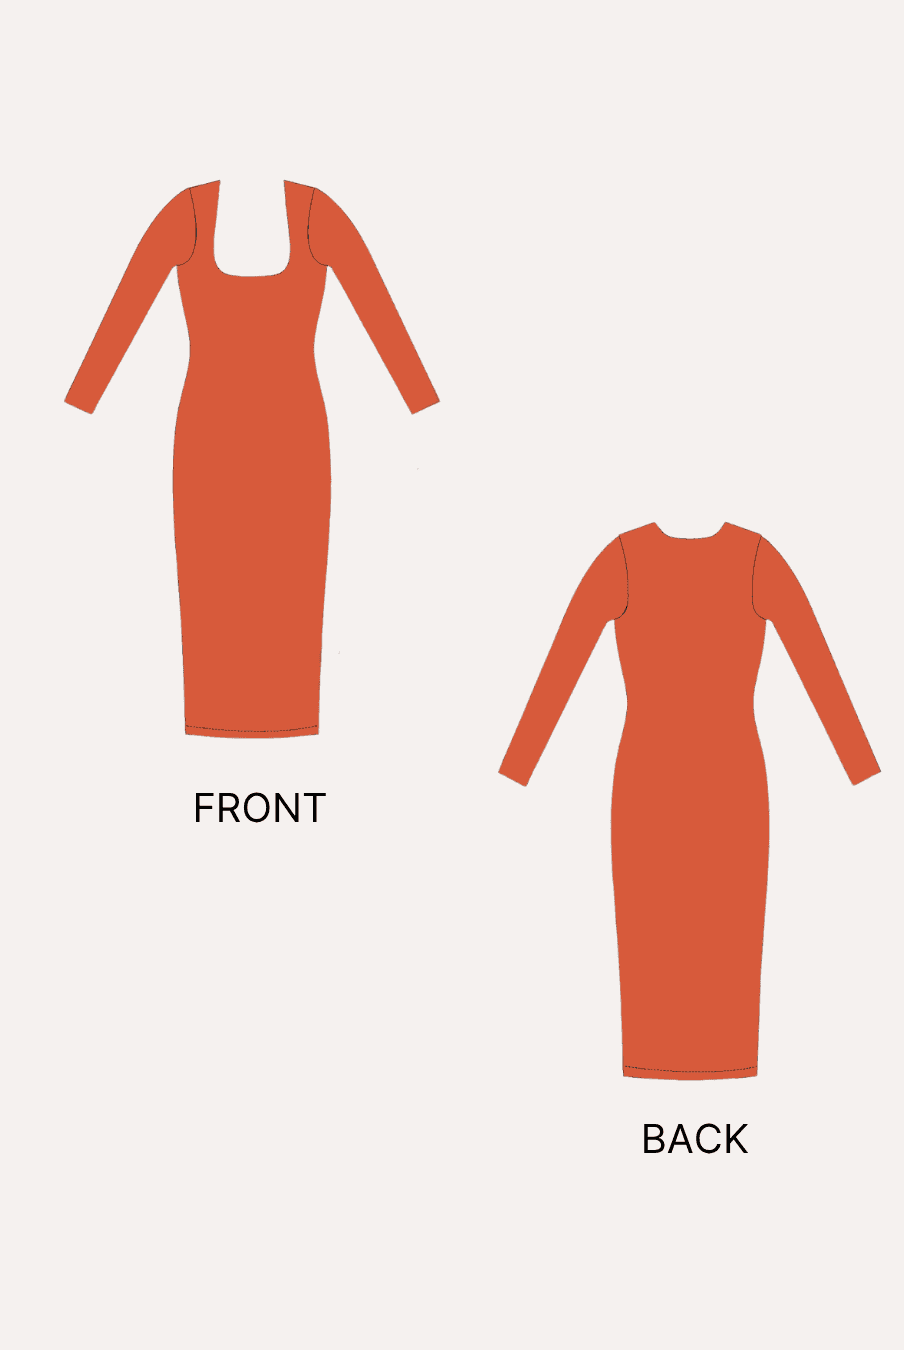
The Winslet's MARA Square Neck Tank Top Sewing Pattern features a fitted, full-length silhouette with broad shoulder straps, square front and back necklines, and a distinctive small V-cut at the center front. Its streamlined construction makes it an approachable project for sewists who want to practice working with knit fabrics and faced necklines.

Why Sew a Square Neck Tank Top?
- The fitted silhouette creates a simple everyday wardrobe staple.
- The square neckline gives the tank top a clean, structured shape.
- A small V-cut at the center front adds a distinctive detail to the neckline.
- Broad shoulder straps provide substantial shoulder coverage.
- The lower square back neckline continues the clean shape of the front.
- The full-length design finishes around hip level rather than being cropped.
- Wear it with jeans, shorts, trousers, or skirts, or layer it under a blazer or lightweight jacket.
Why Choose the Winslet's MARA Square Neck Tank Top Pattern?

The Winslet's MARA Square Neck Tank Top Sewing Pattern has a close, fitted silhouette through the bust, waist, and torso. The broad straps frame square front and back necklines, while the small center-front V-cut adds definition to the otherwise minimal design.
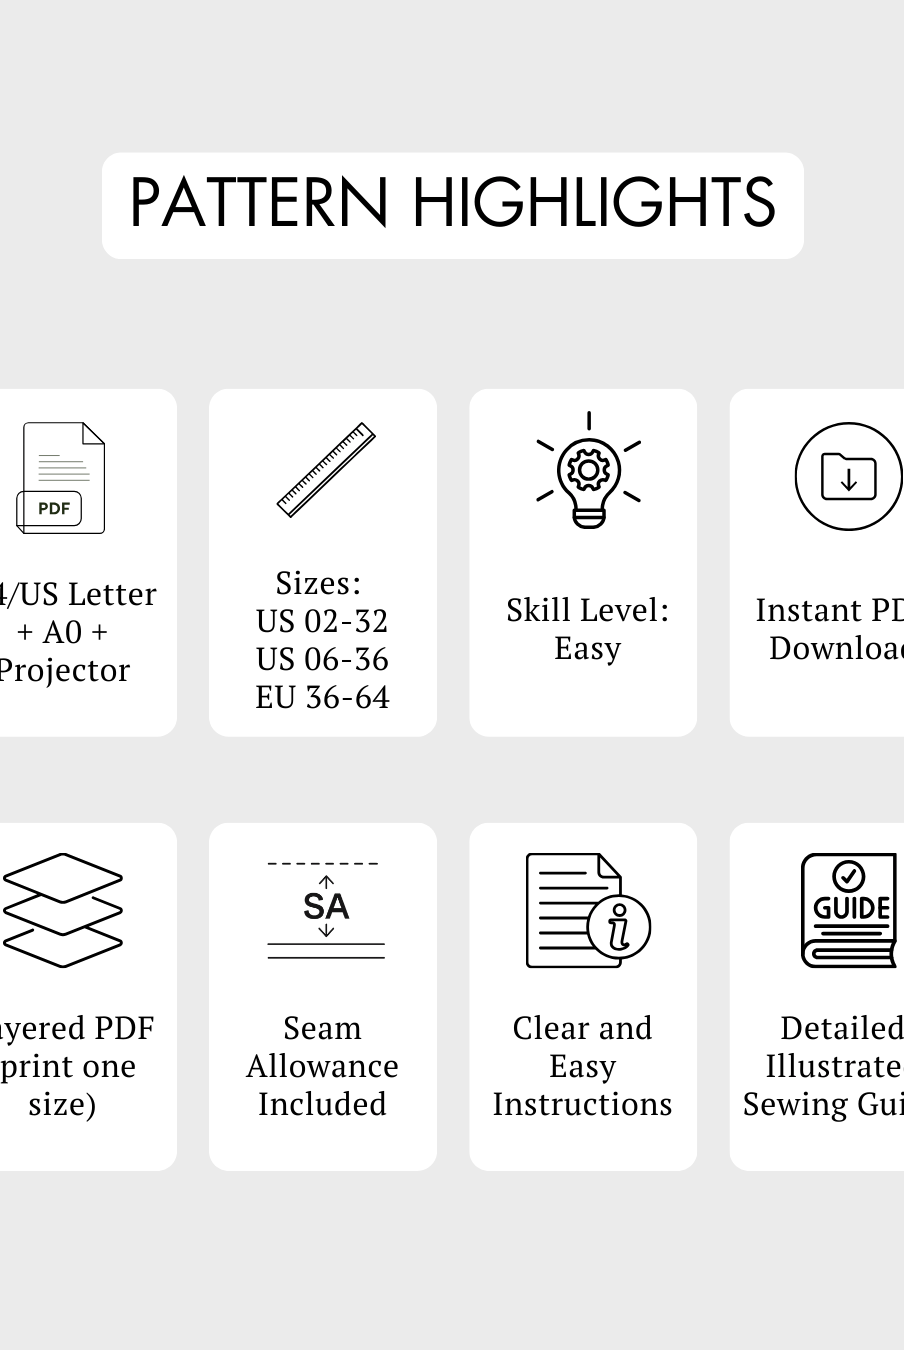
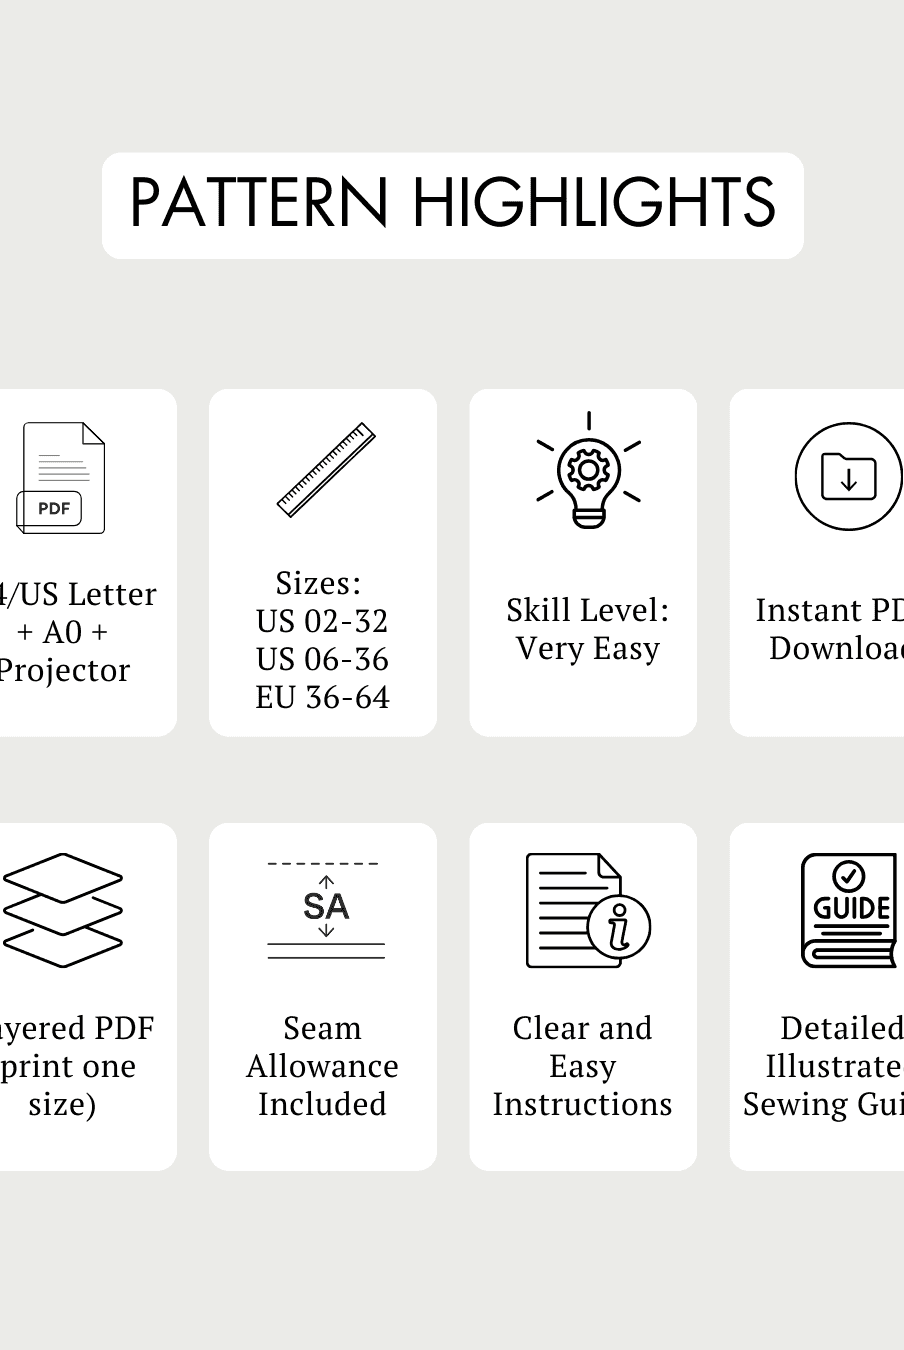
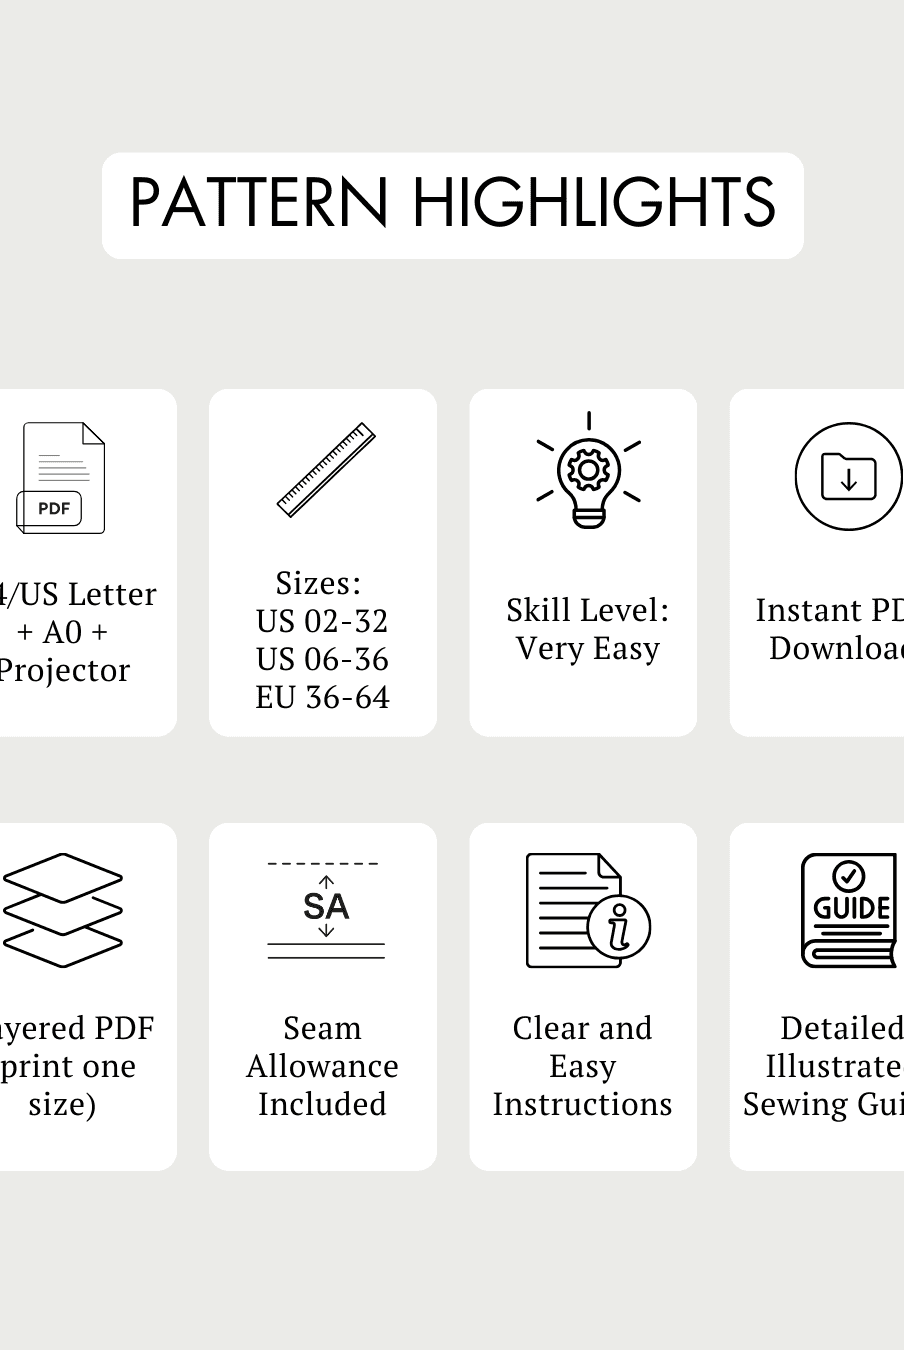
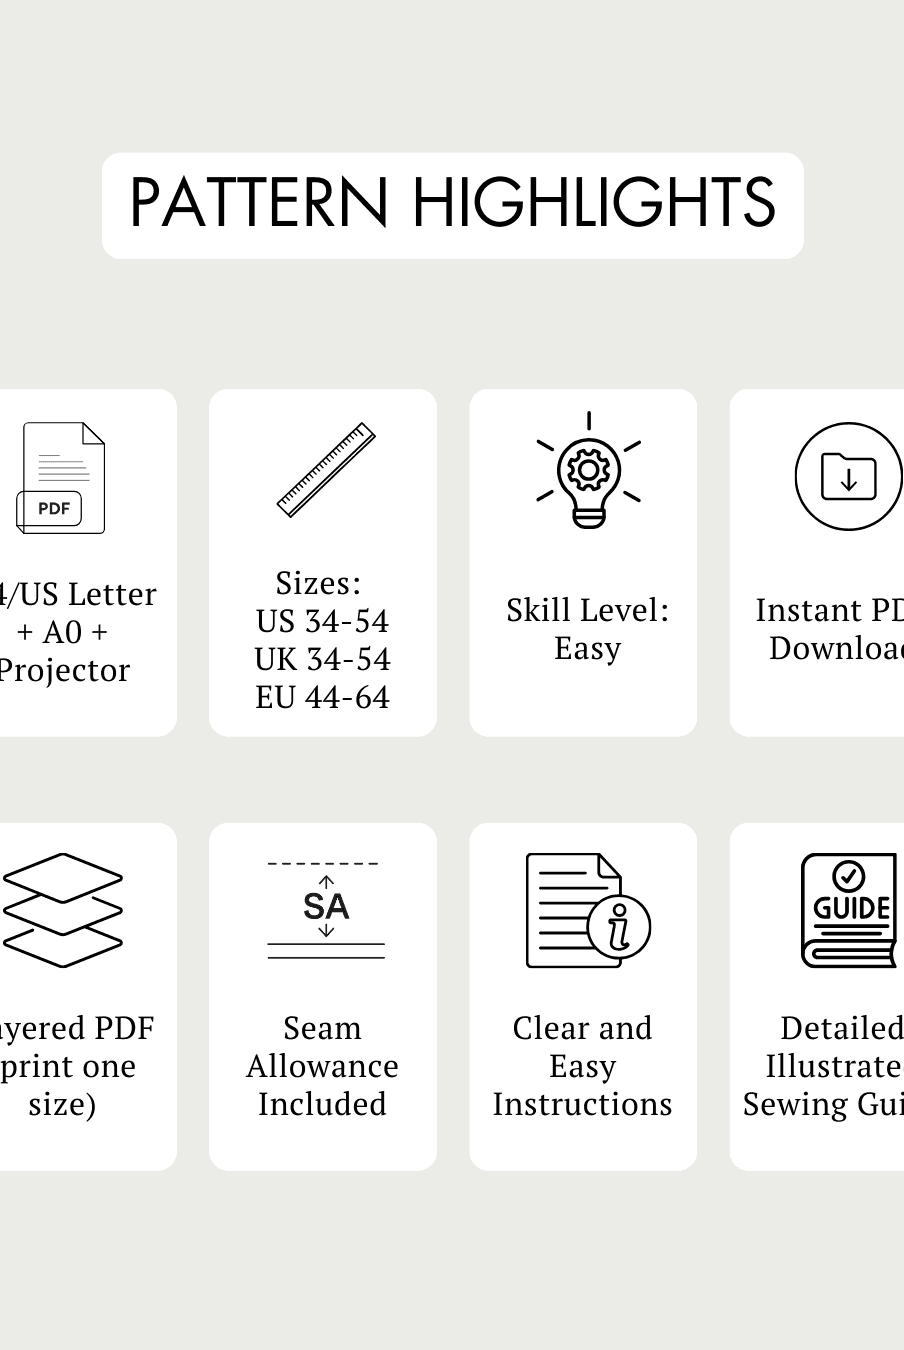
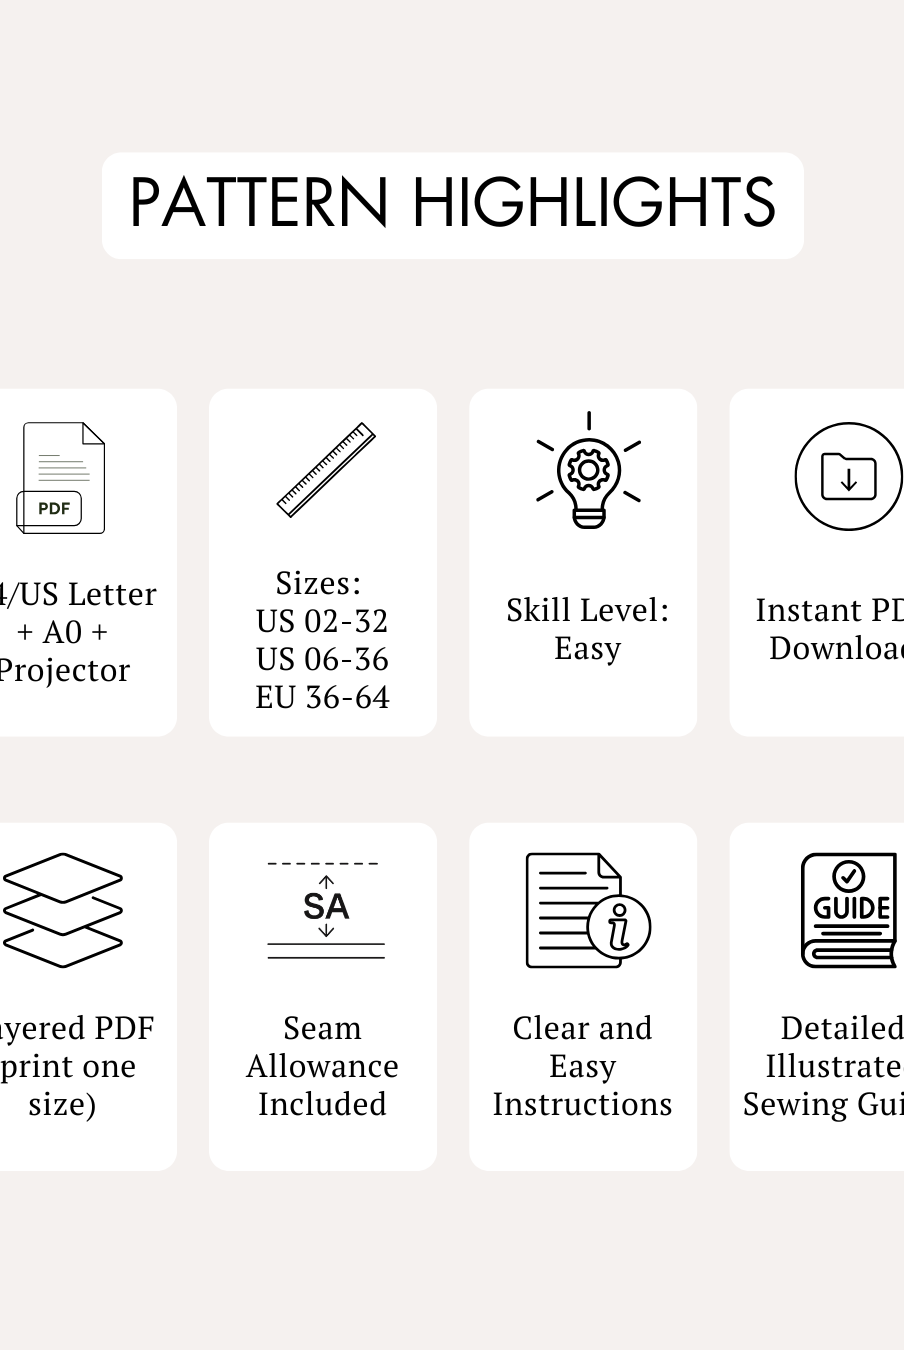
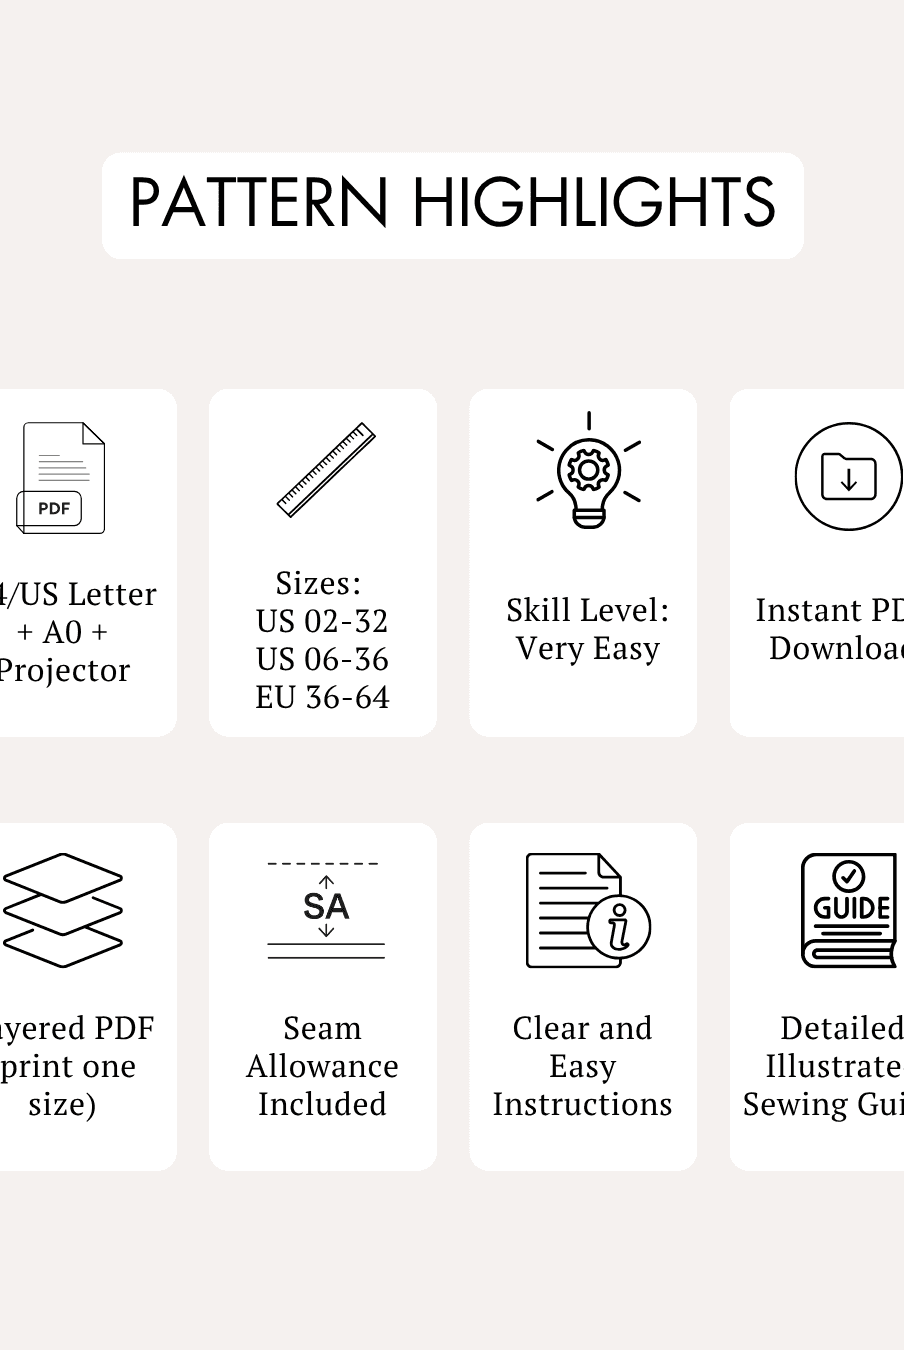
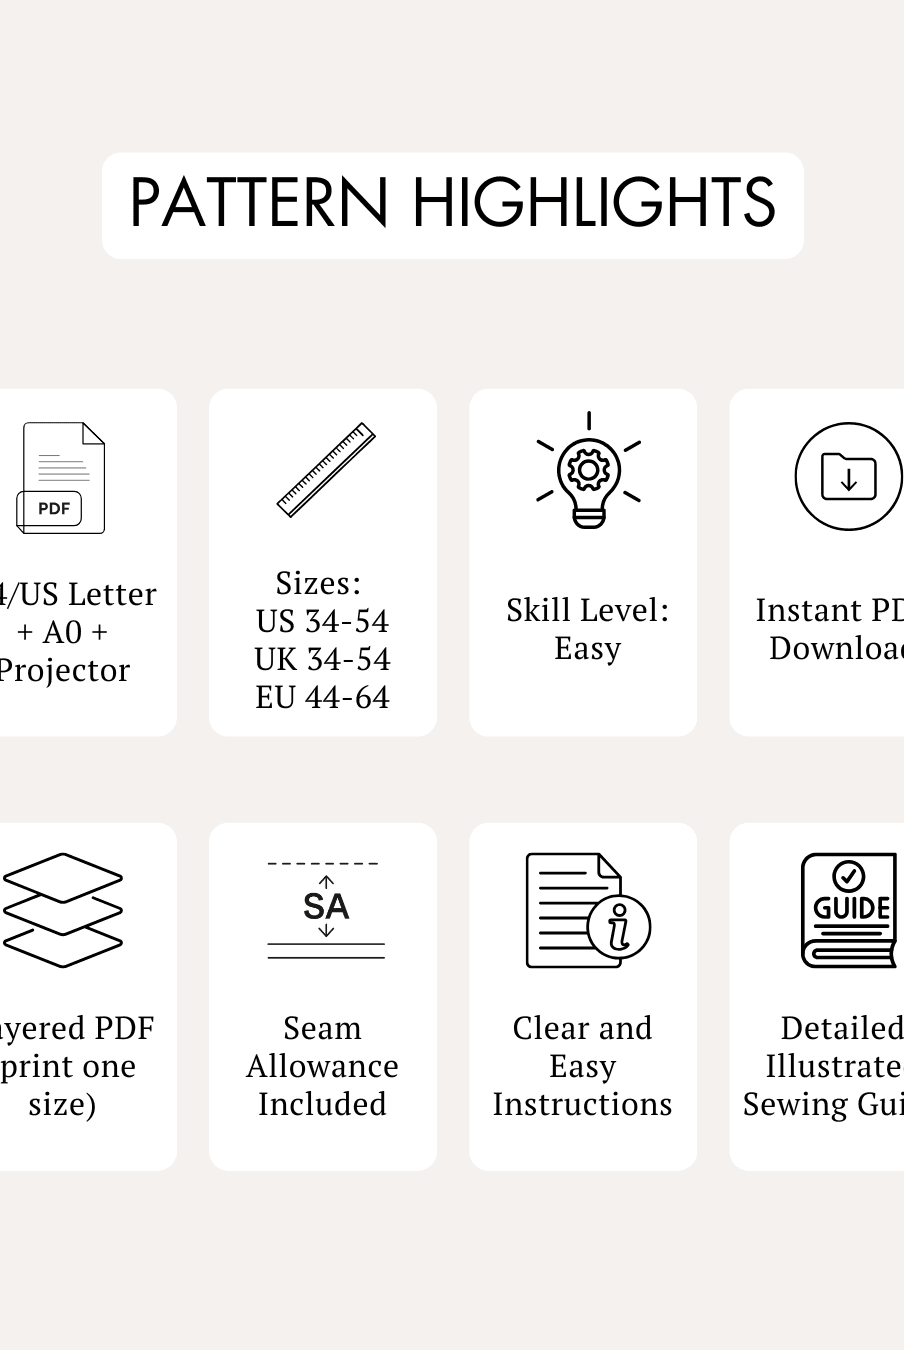
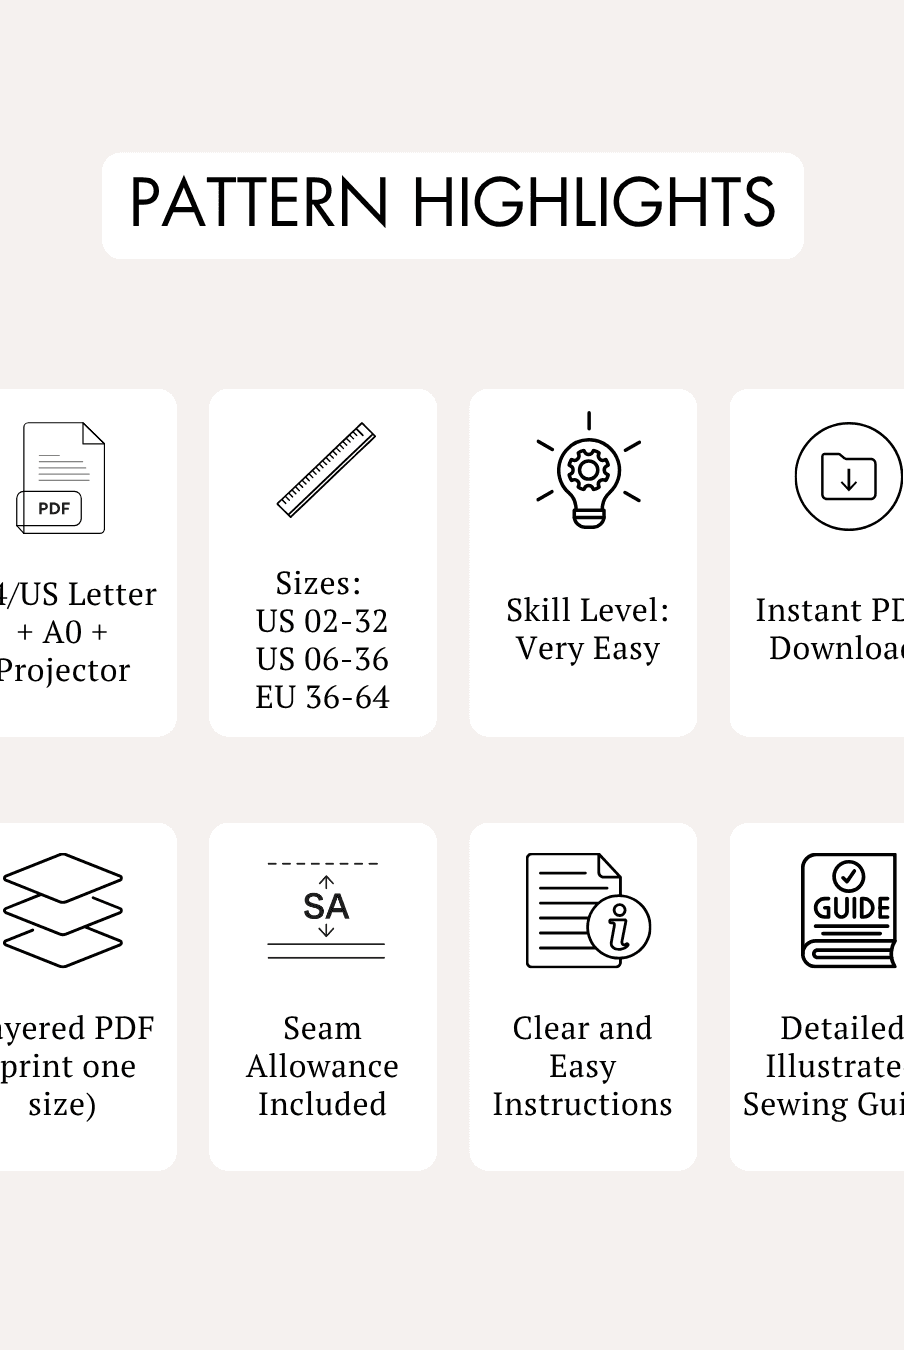
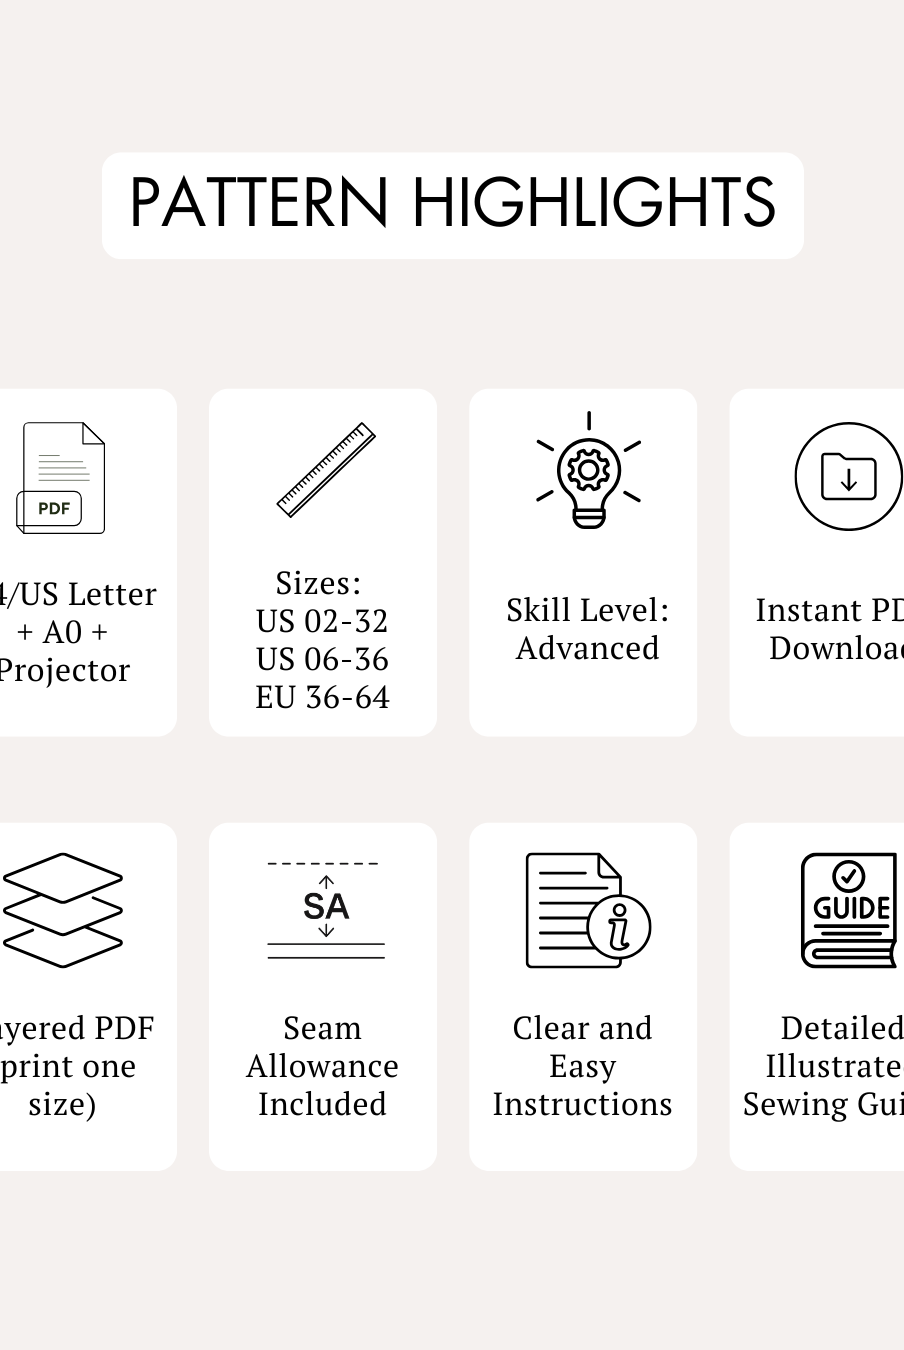
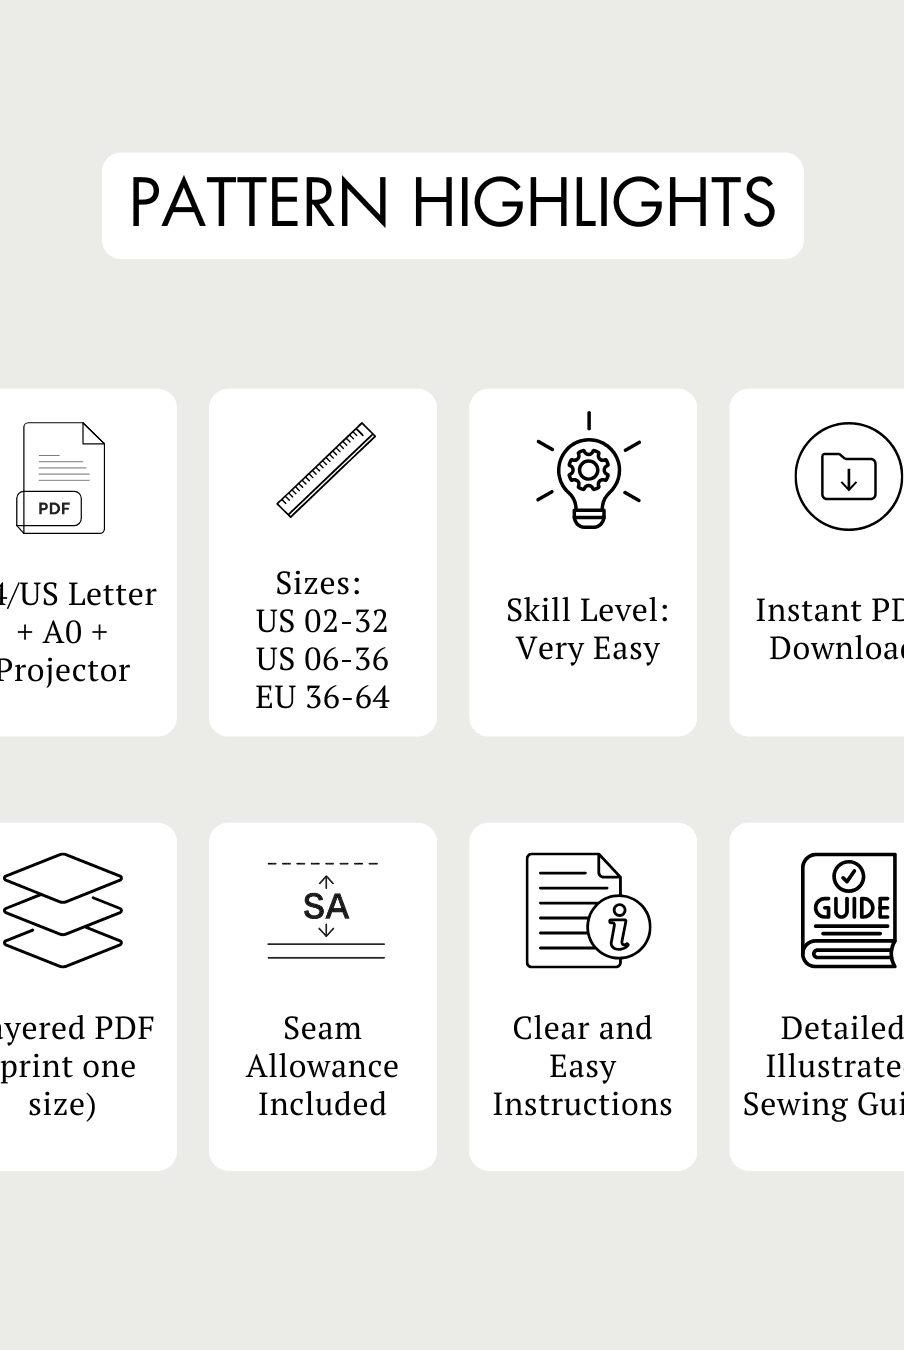
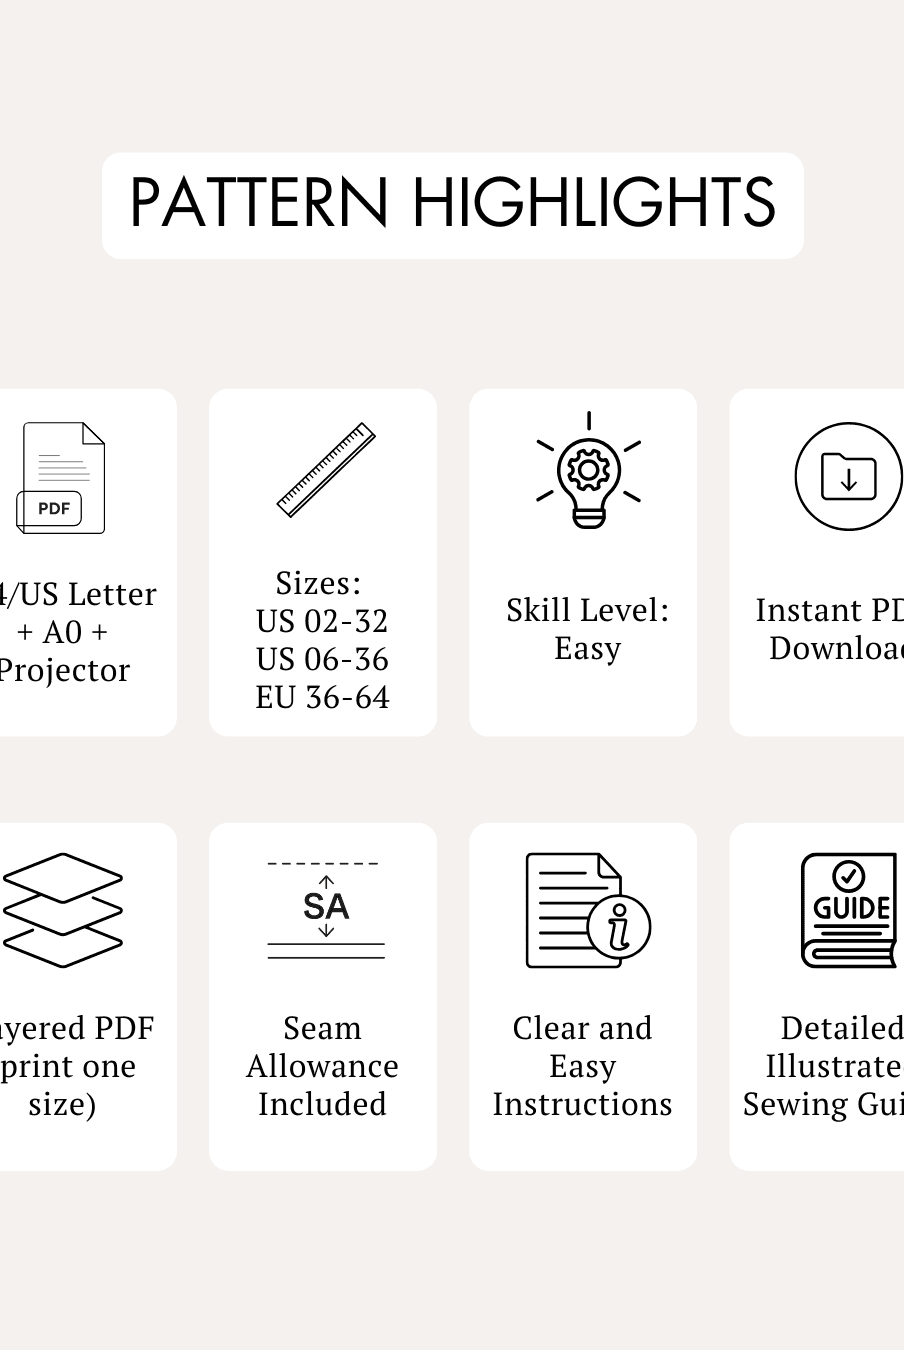
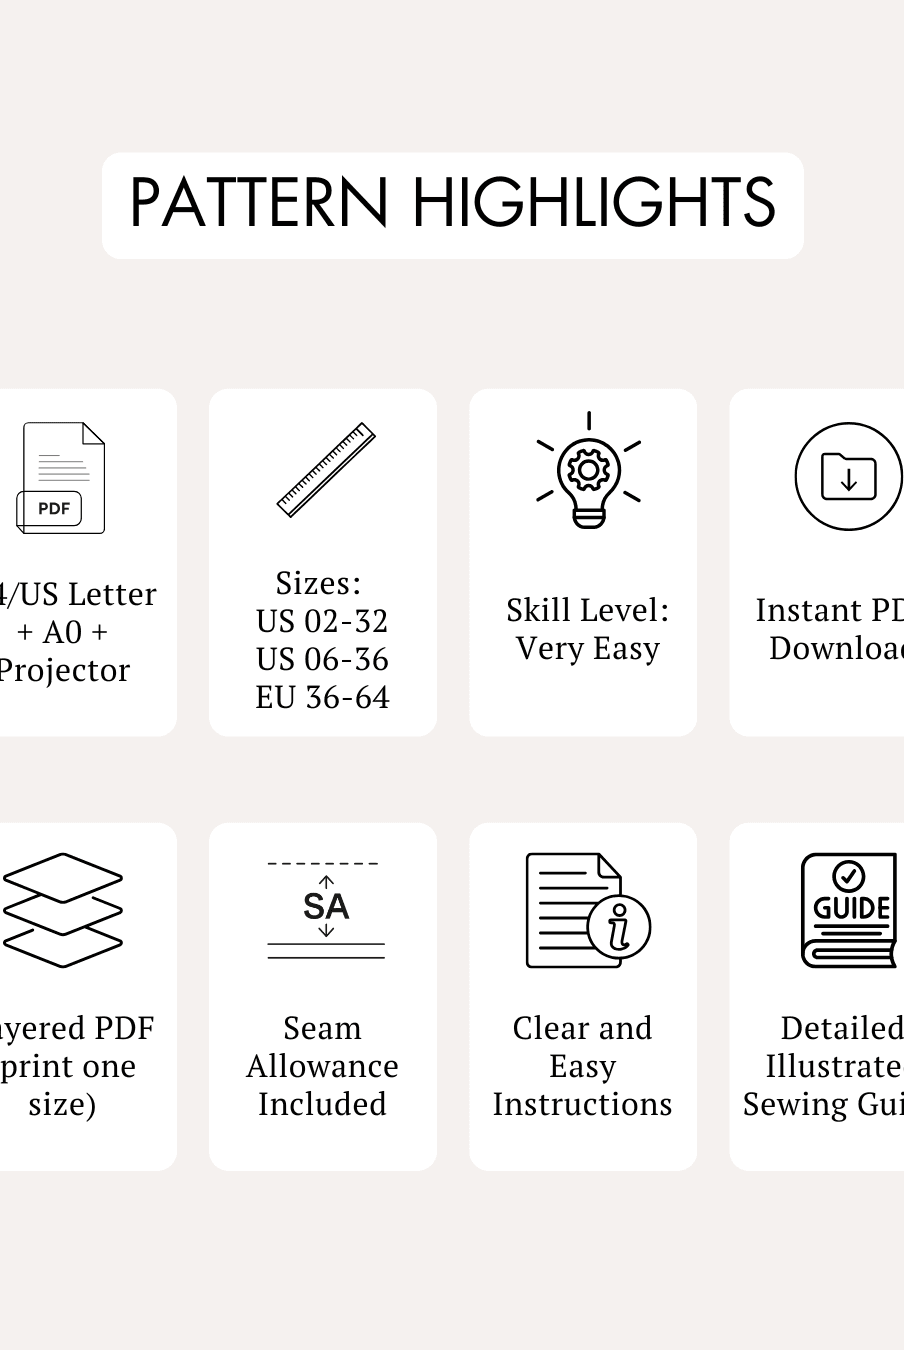
- Skill Level: Very Easy
- Fitted sleeveless silhouette
- Square neckline
- Small V-cut at the center front
- Broad shoulder straps
- Lower, straight-cut square back neckline
- Full-length finish around hip level
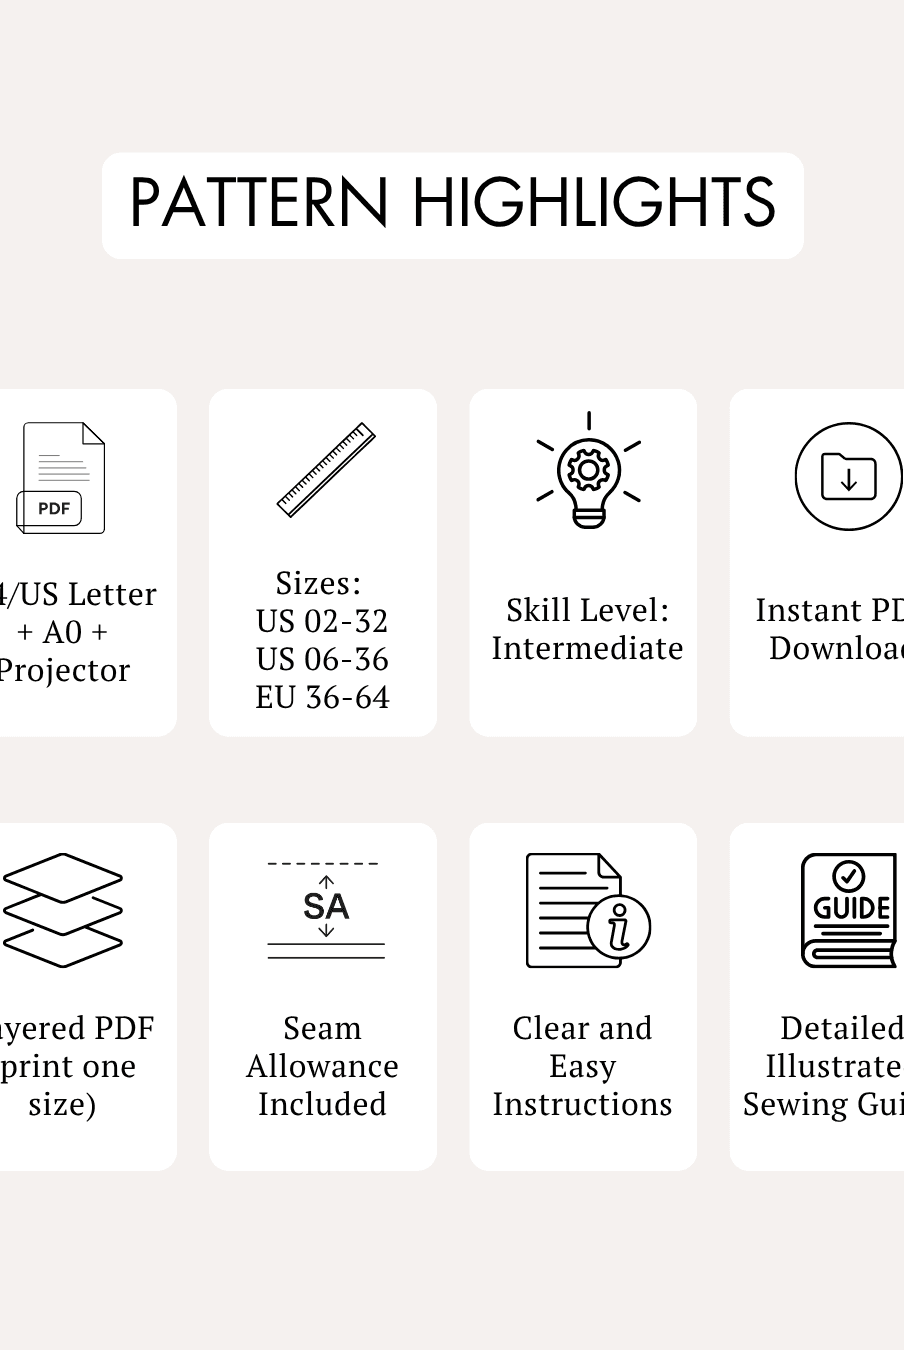
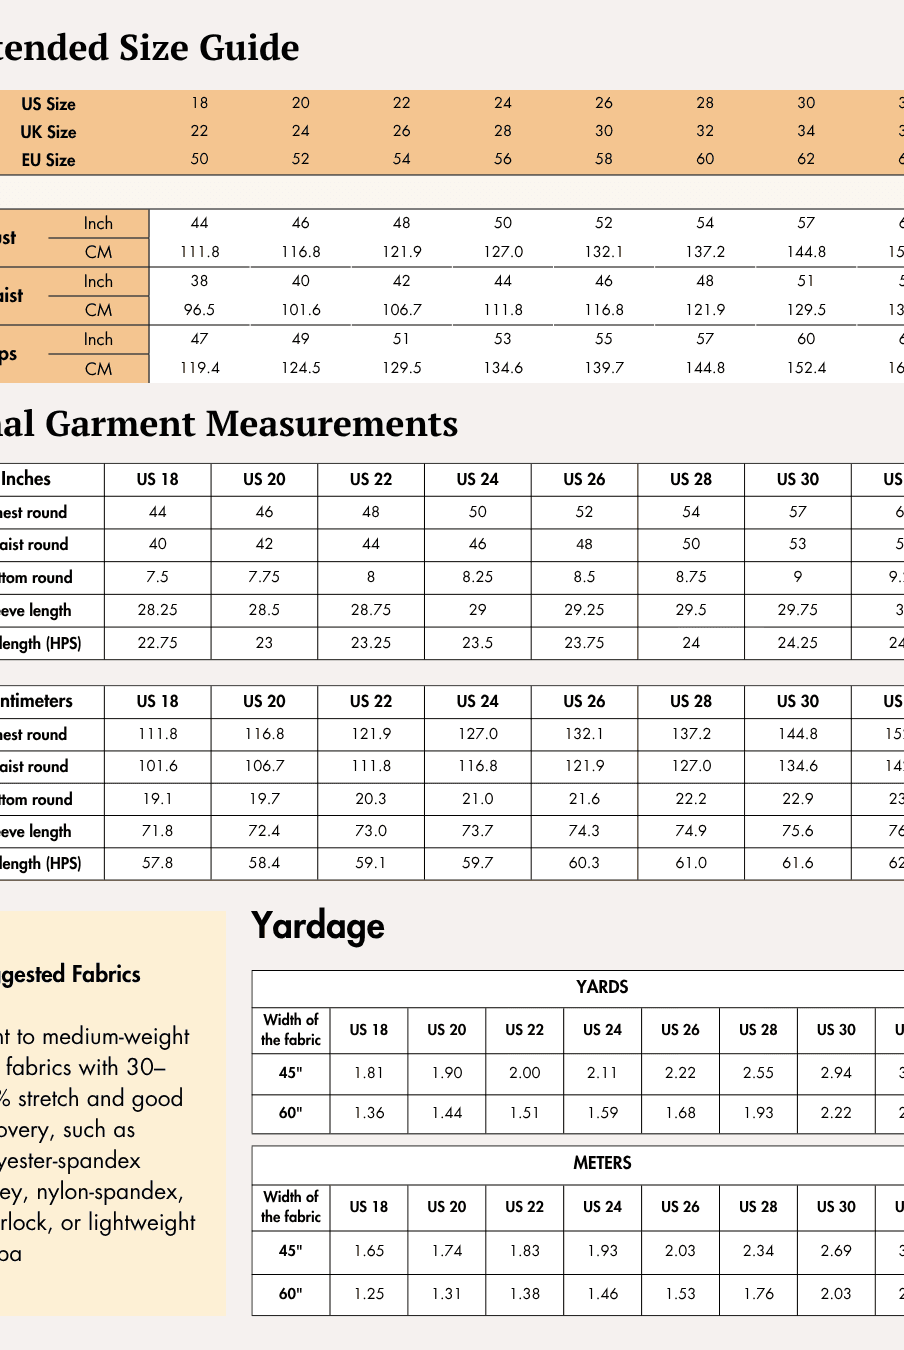
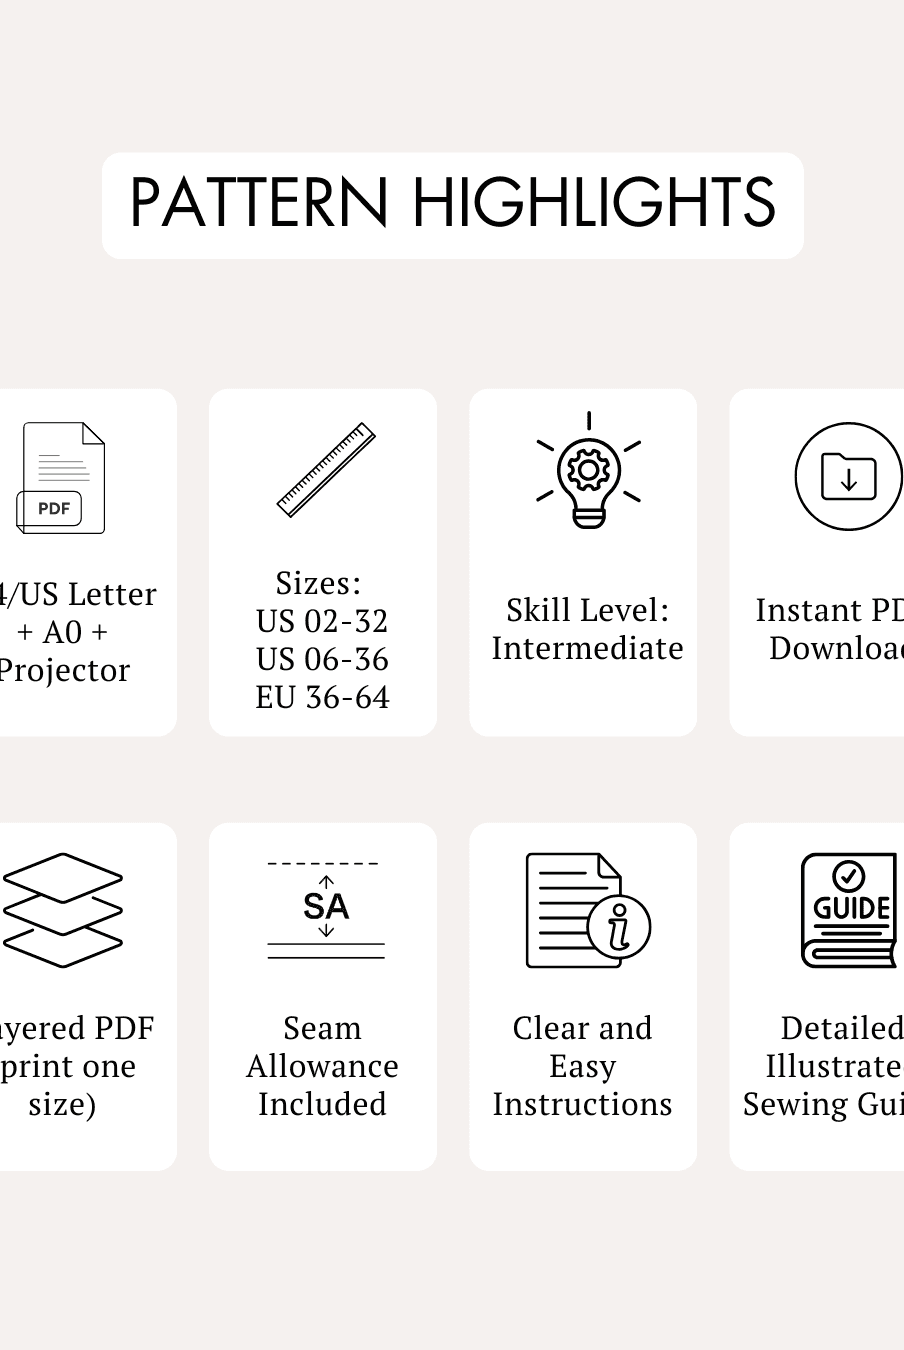
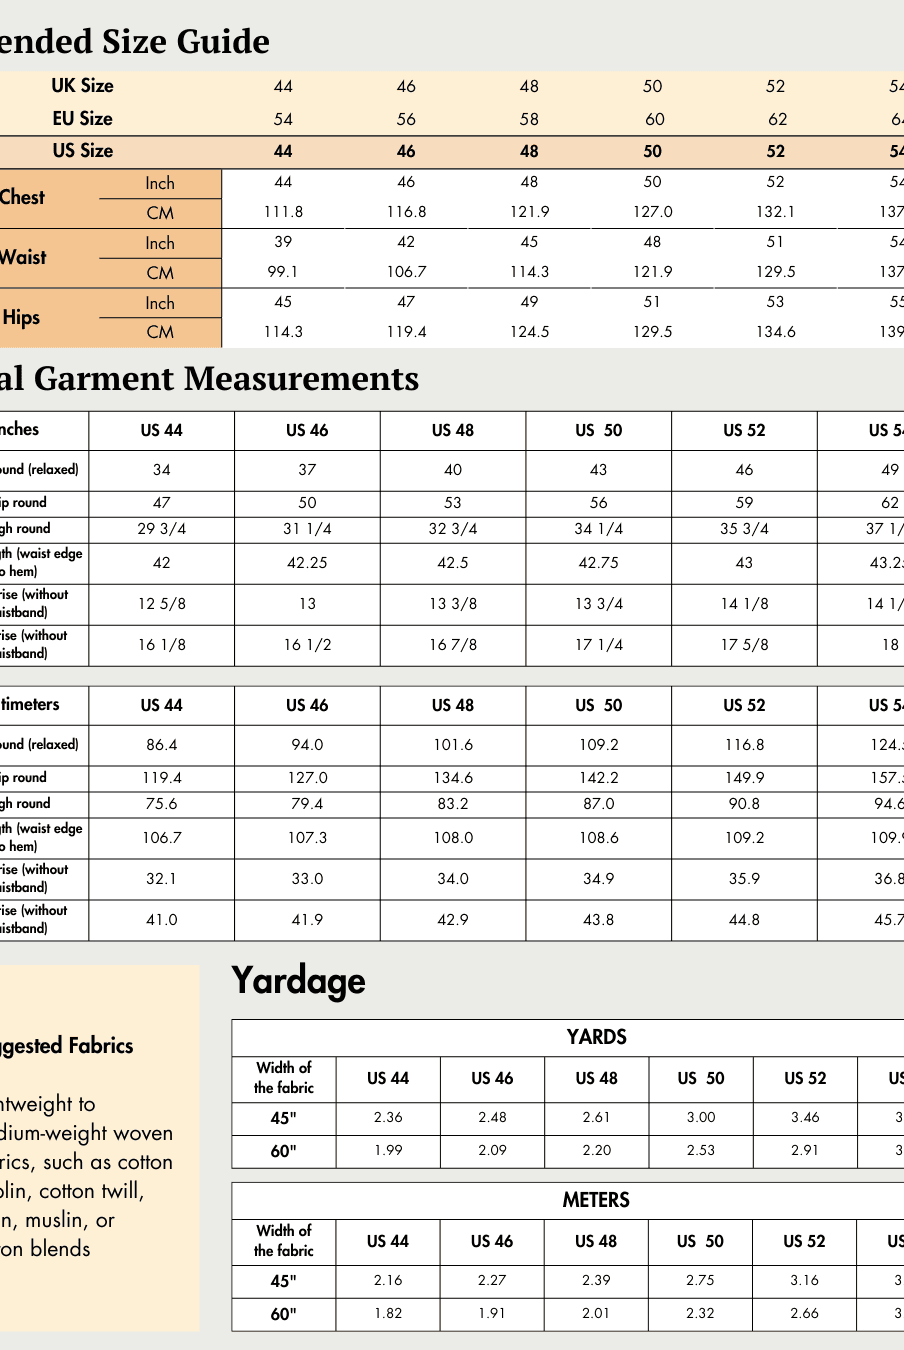
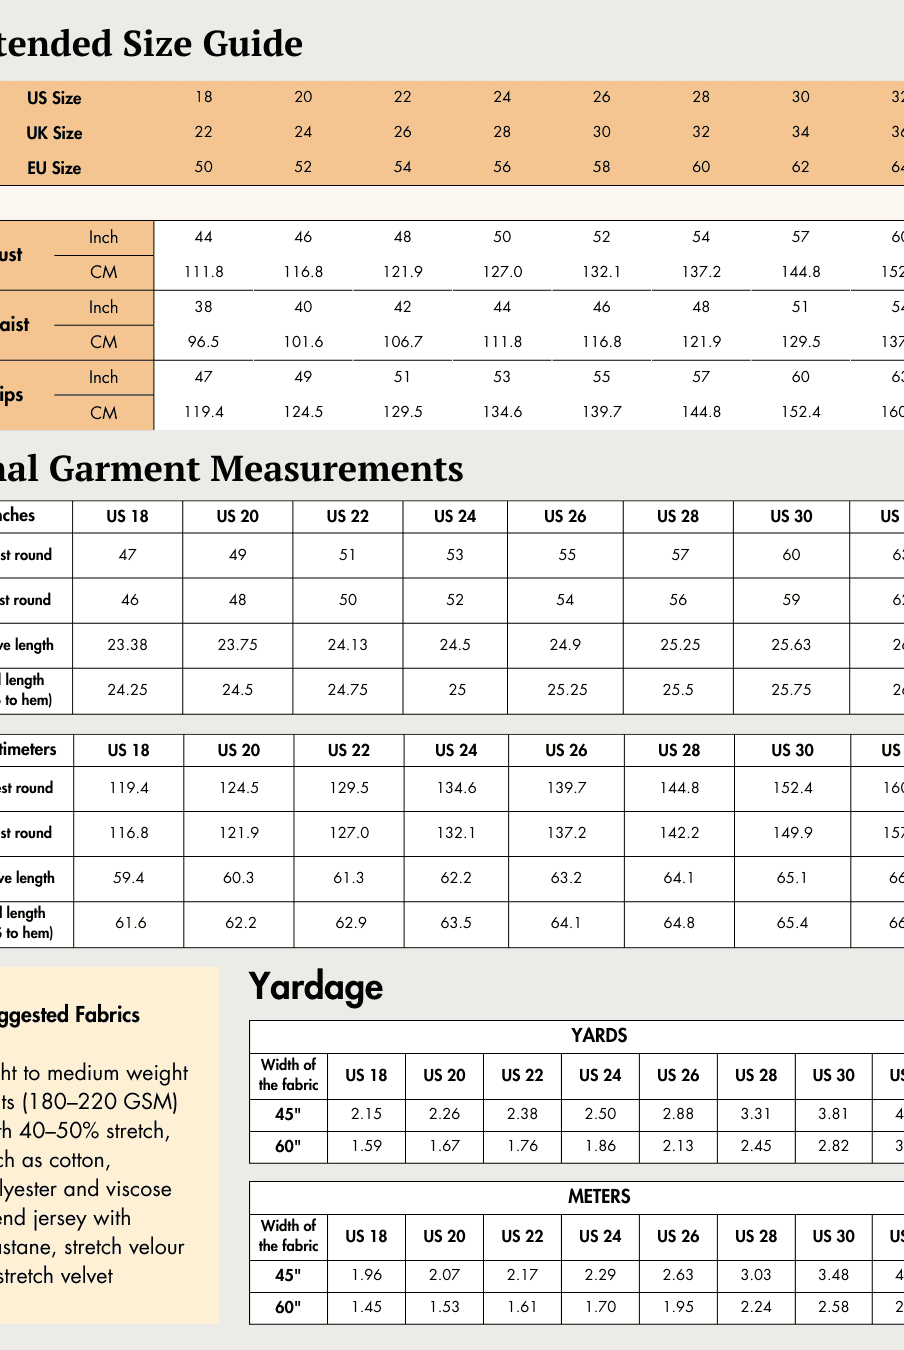
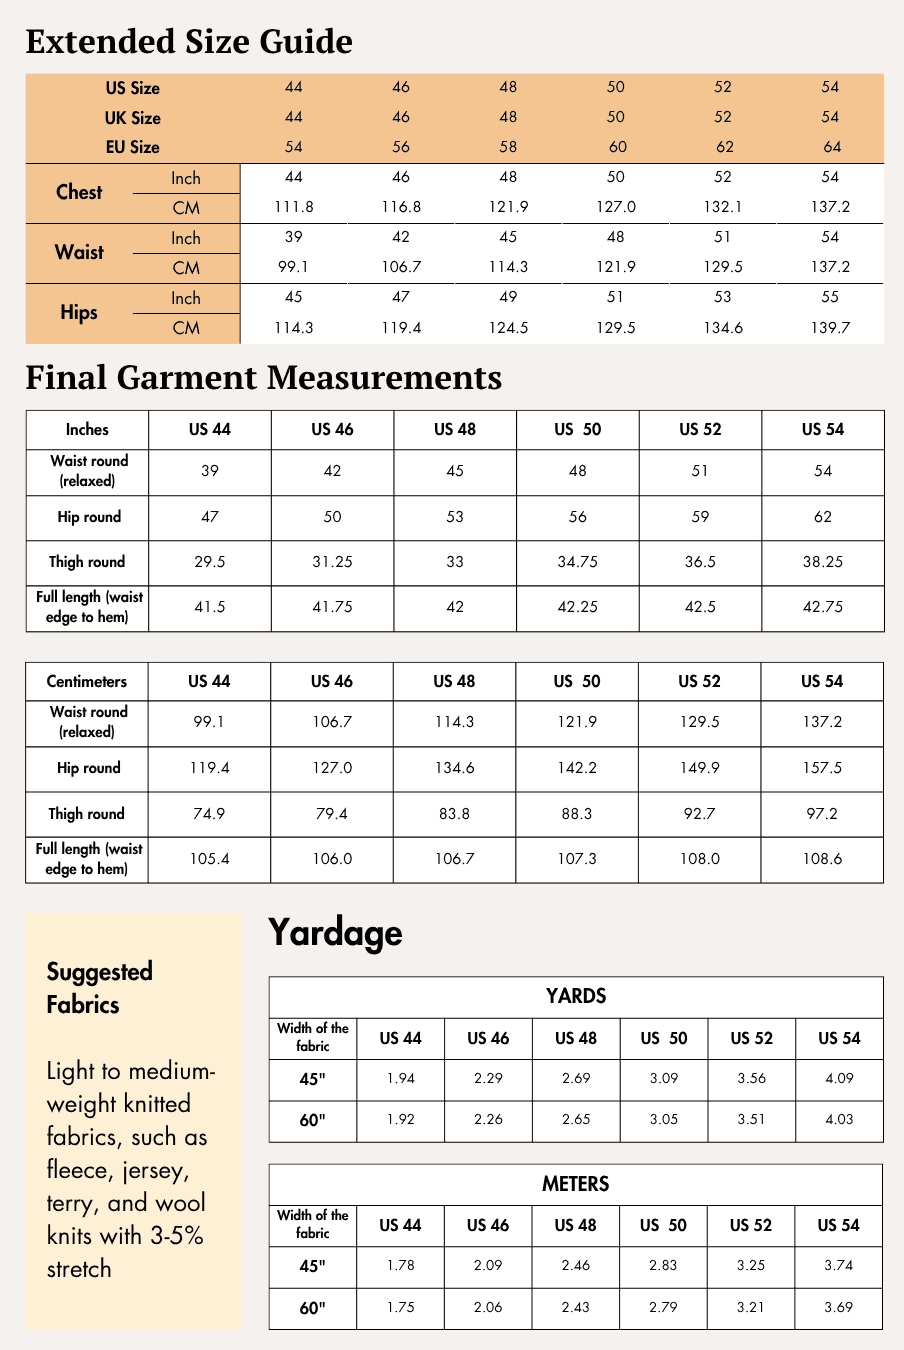
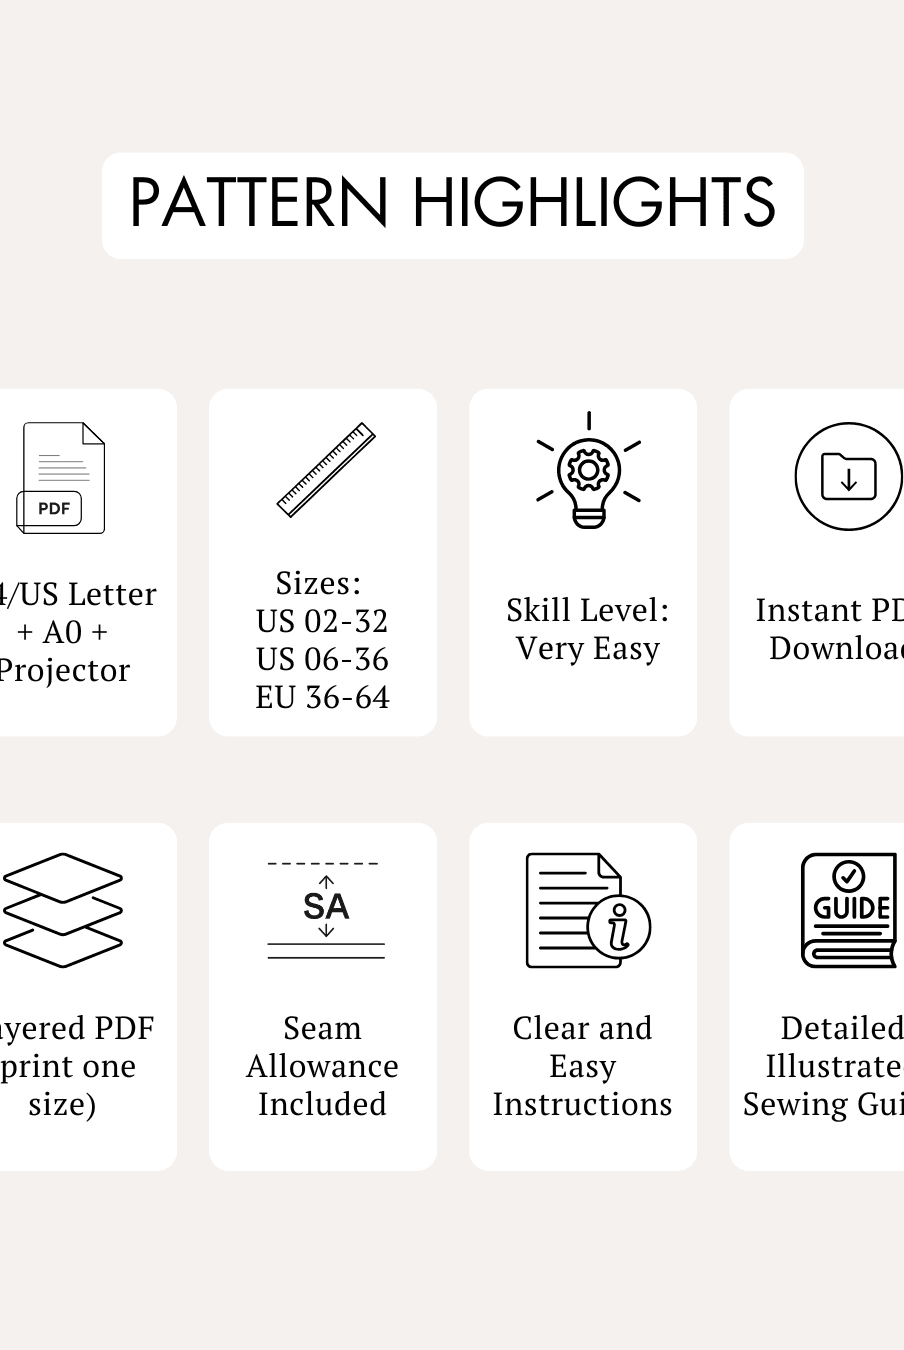
- Available Sizes: US 02 - US 32 | UK 06 - UK 36 | EU 36 - EU 64
Supplies & Notions
The sewing guide lists the following supplies and notions:
- Tape measure
- Shears
- Iron
- 3-ply polyester standard machine thread
- Chalk
- Thread cutter
- Pins
- Sewing needles
- Sewing machine
- Serger
- Coverstitch machine
If you do not have a serger, use a zigzag stitch with the presser foot setting lower than 1 and, if available, a walking foot.
As an alternative to a coverstitch machine, the guide recommends using a twin needle to create a coverstitch effect. You can also use a single-needle zigzag stitch on a narrow setting or a straight stitch with a looser thread setting, depending on your machine. Always test your chosen stitch on a sample before sewing the actual garment.
Fabric Recommendations
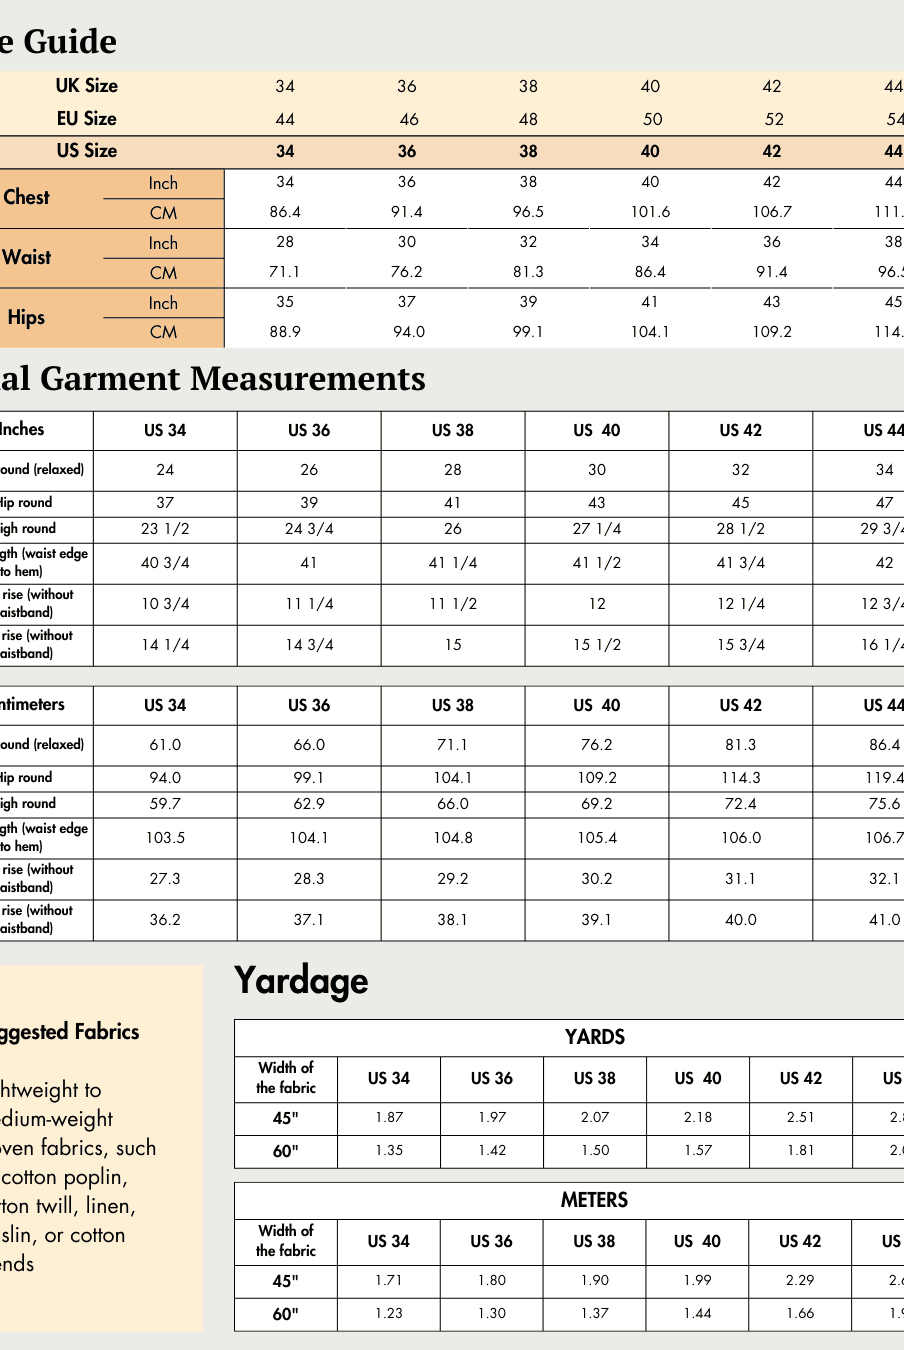
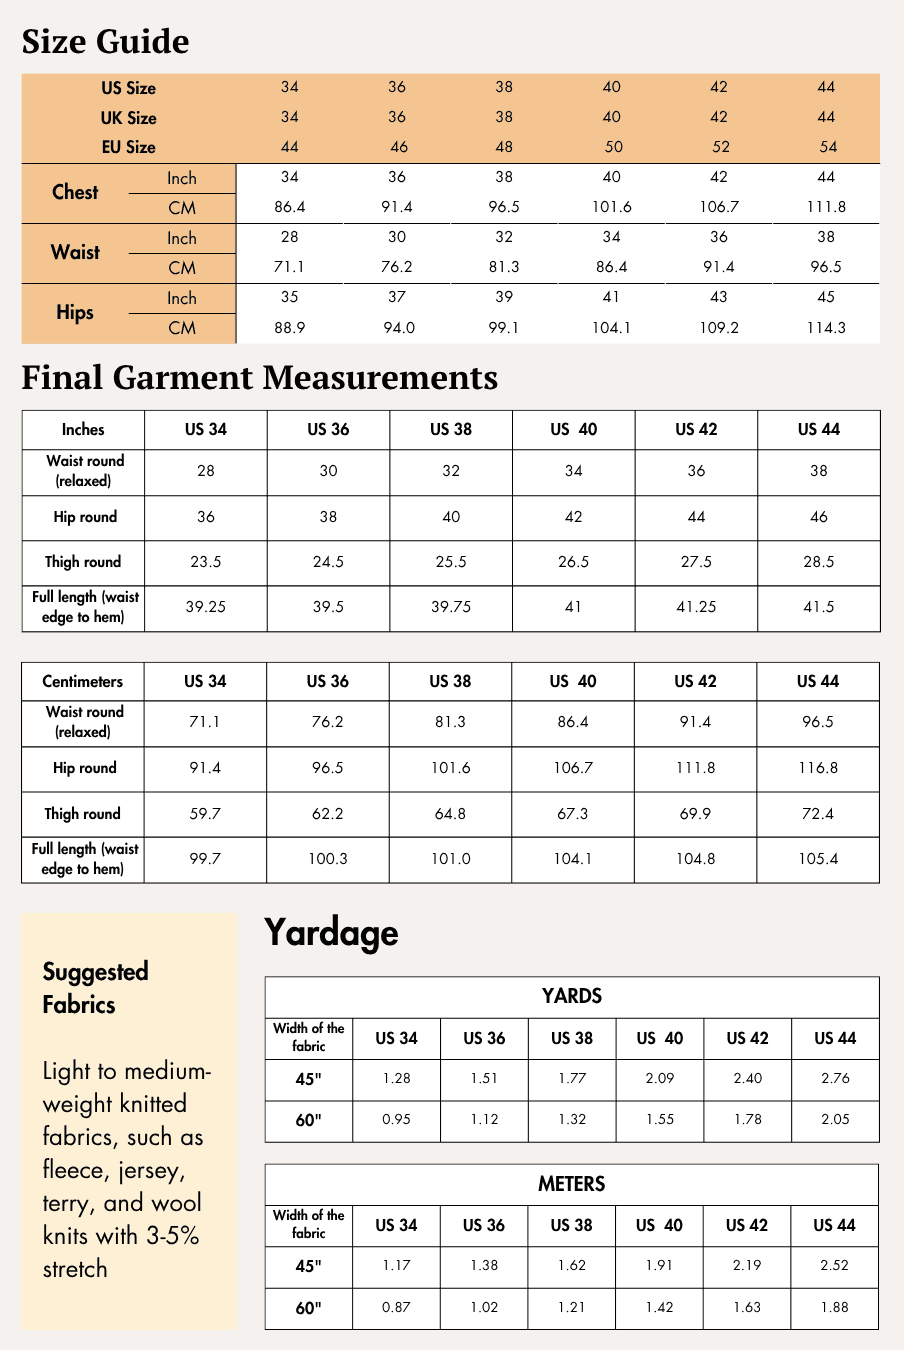
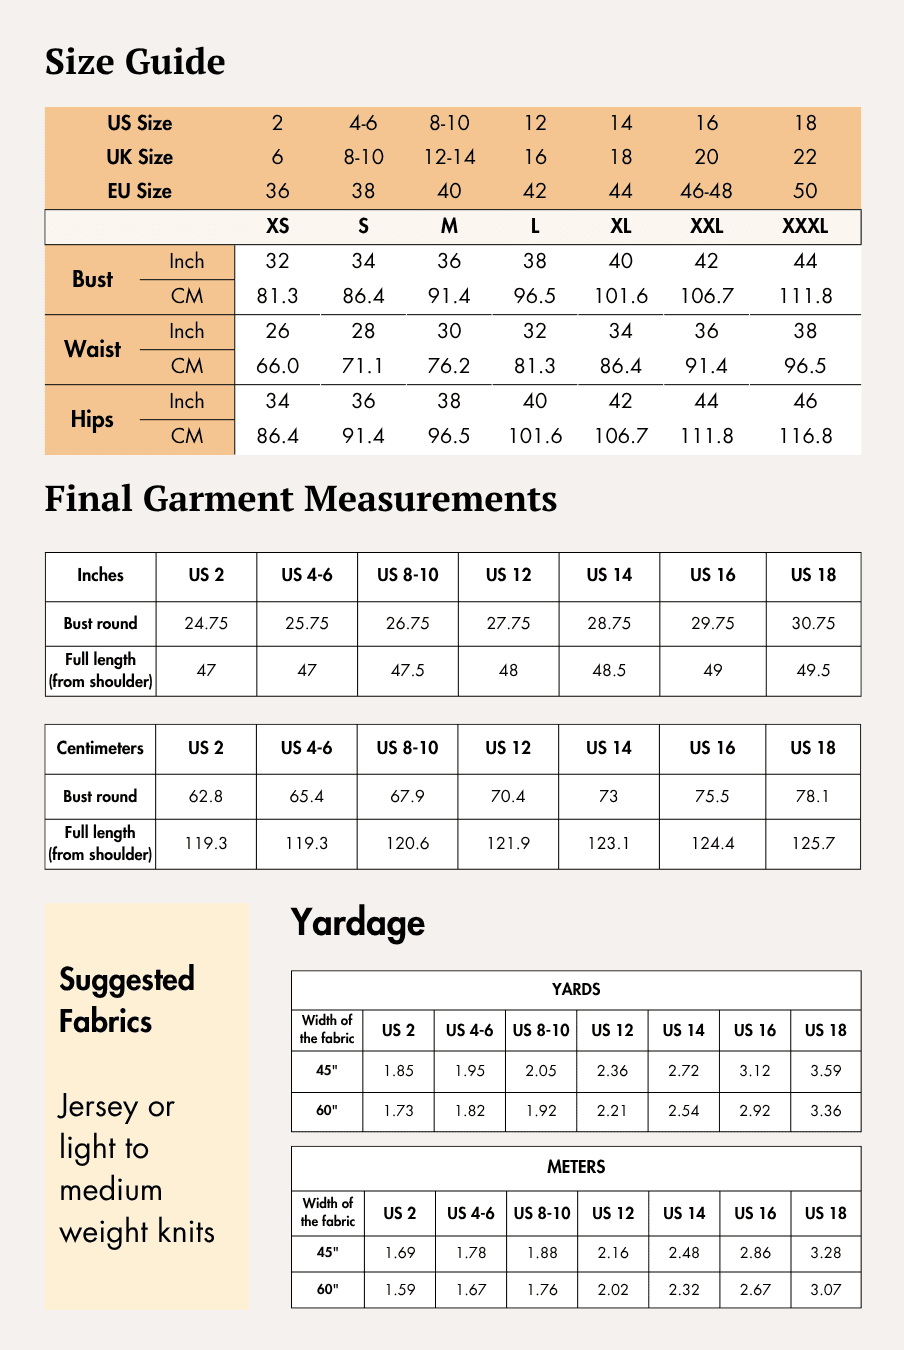
The MARA Square Neck Tank Top Sewing Pattern guide recommends light- to medium-weight knit fabrics with 30–50% stretch. Suitable options include cotton, polyester, and viscose blends with elastane.
The sample top is made from 95% polyester and 5% spandex single jersey knit. The guide recommends this fabric for the following characteristics:
- Smooth texture
- Durable
- Crease-resistant
Size Charts
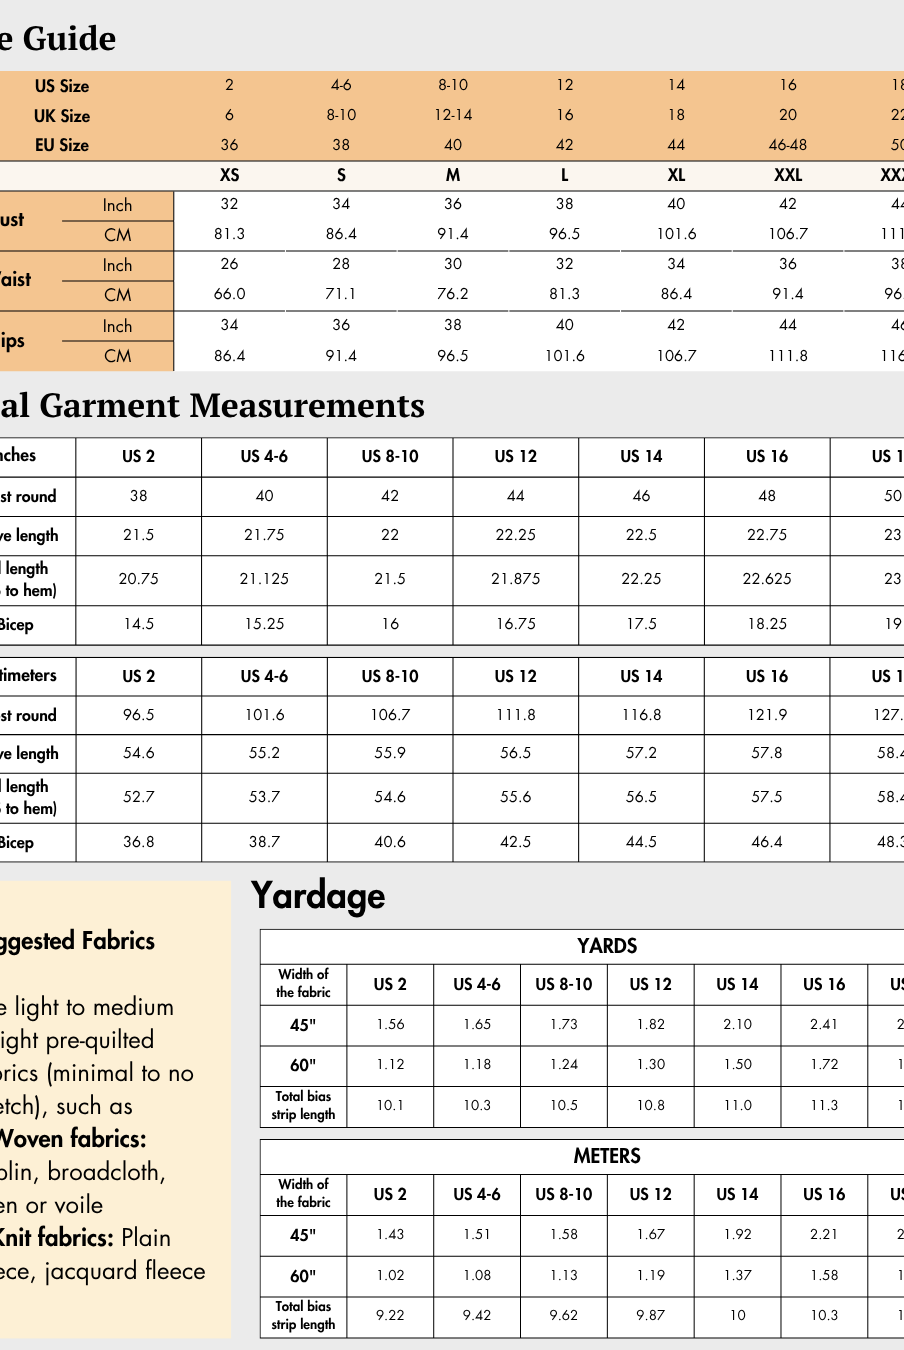
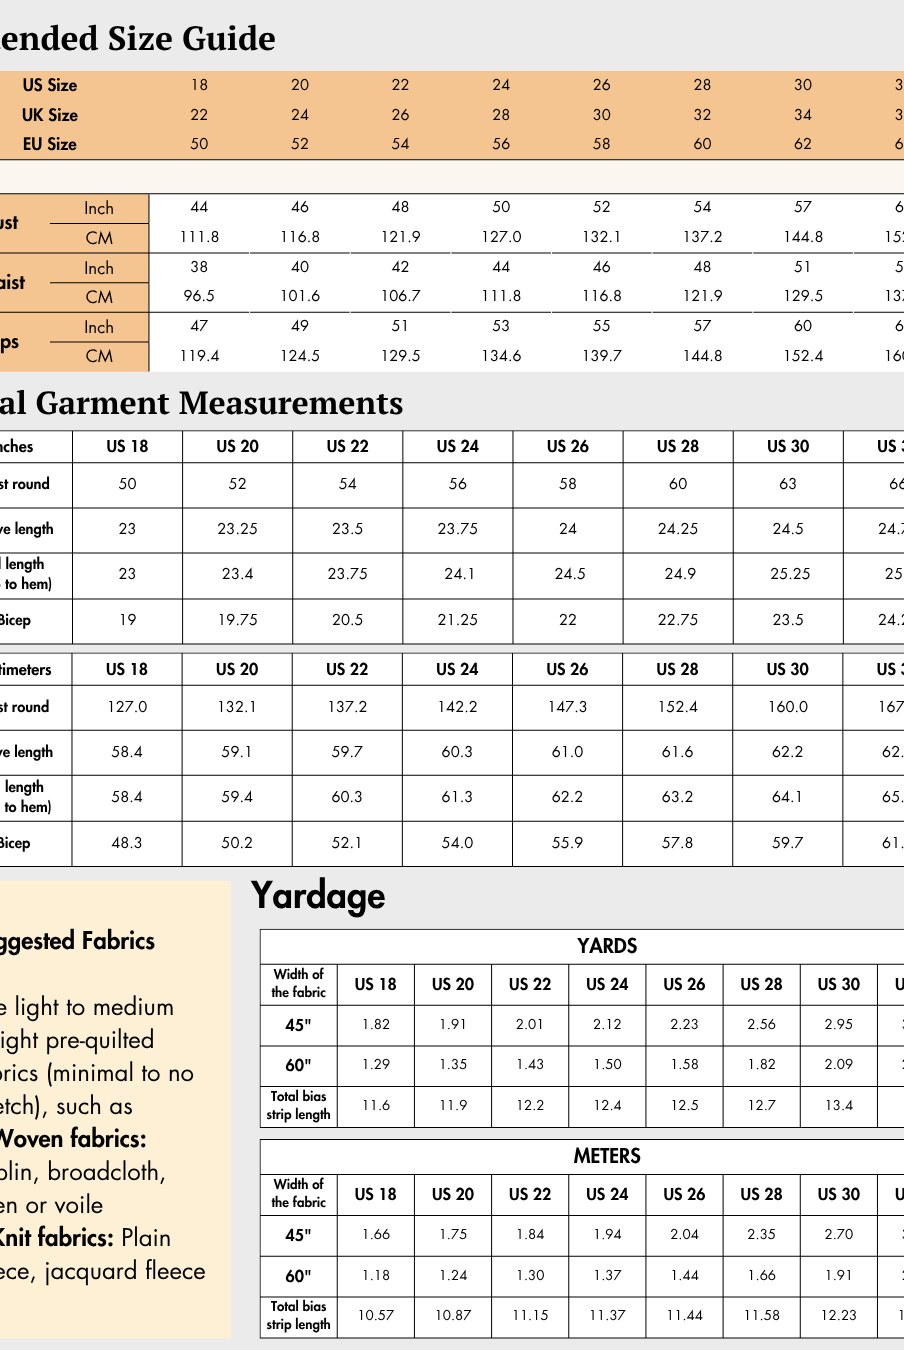
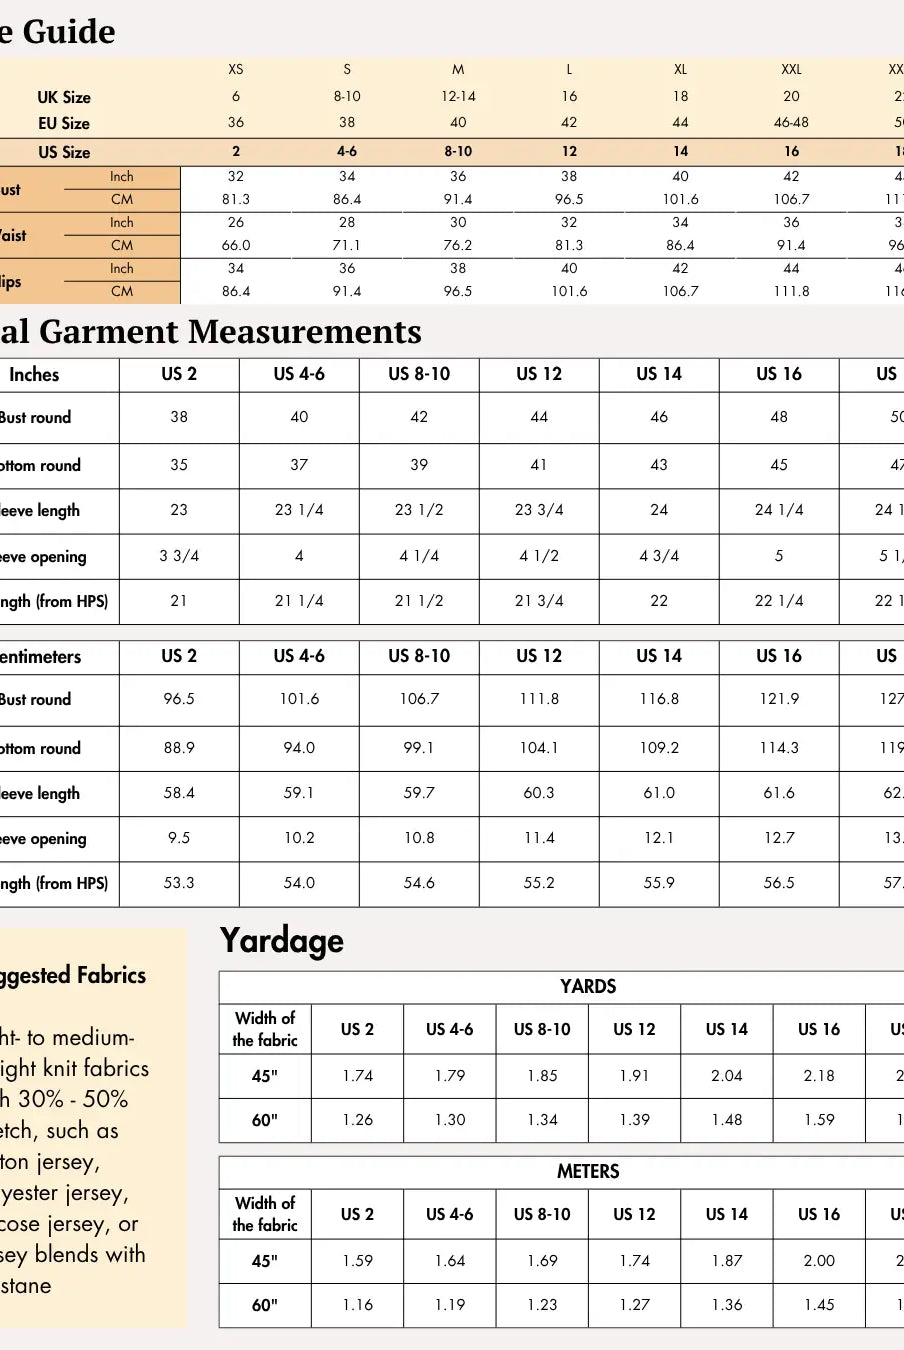
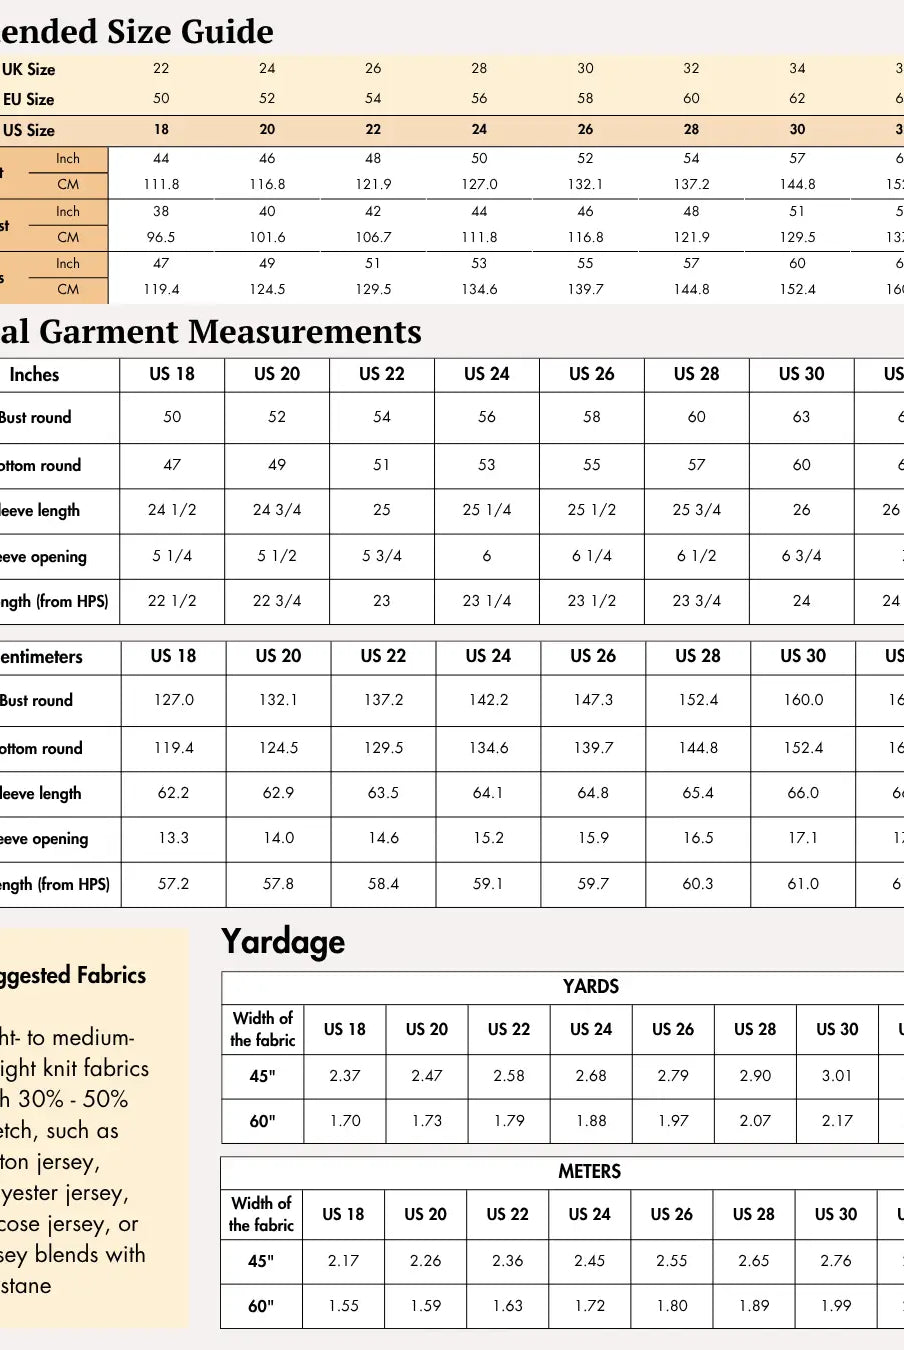
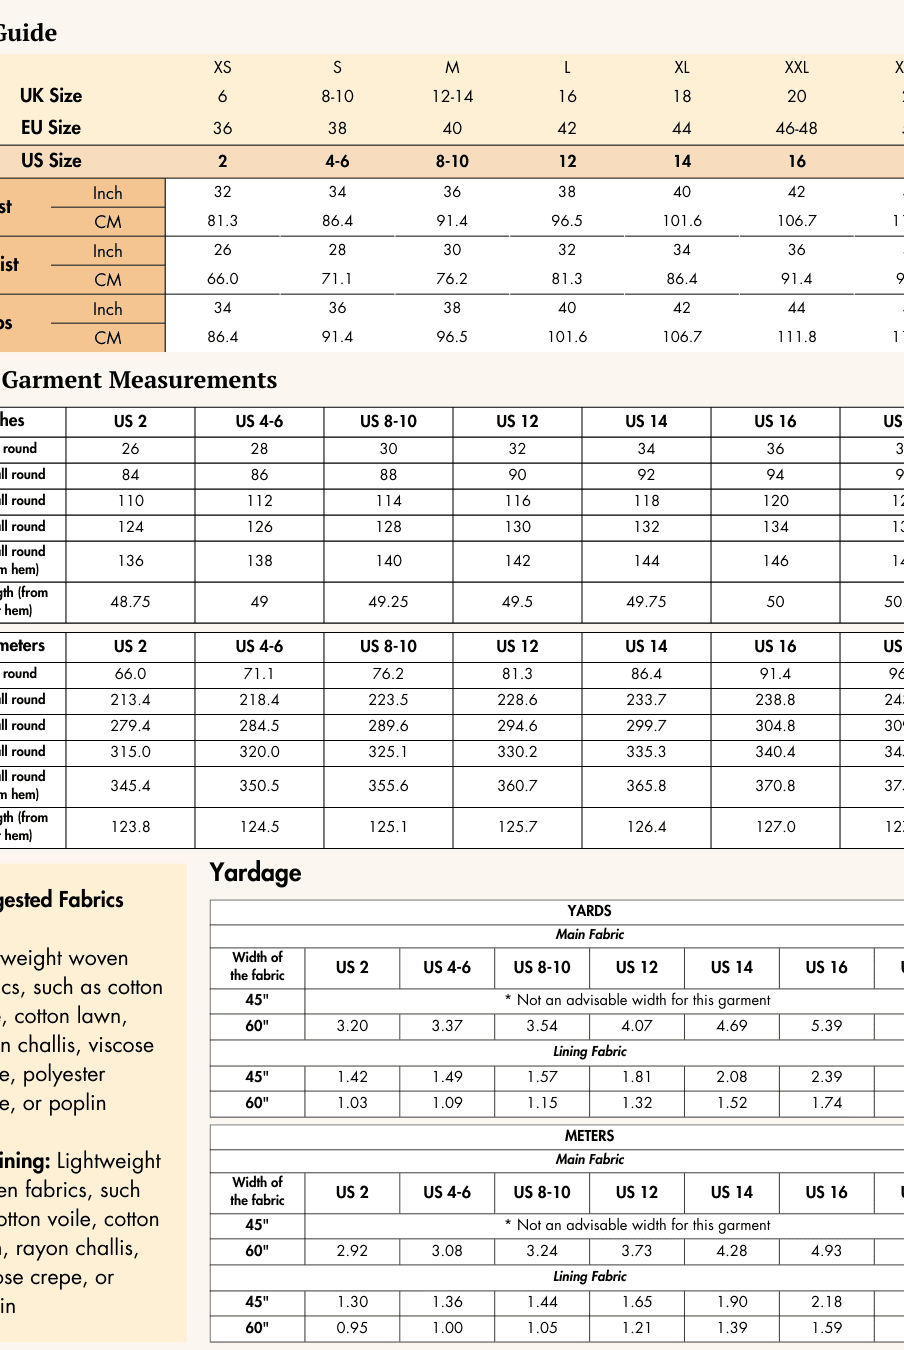
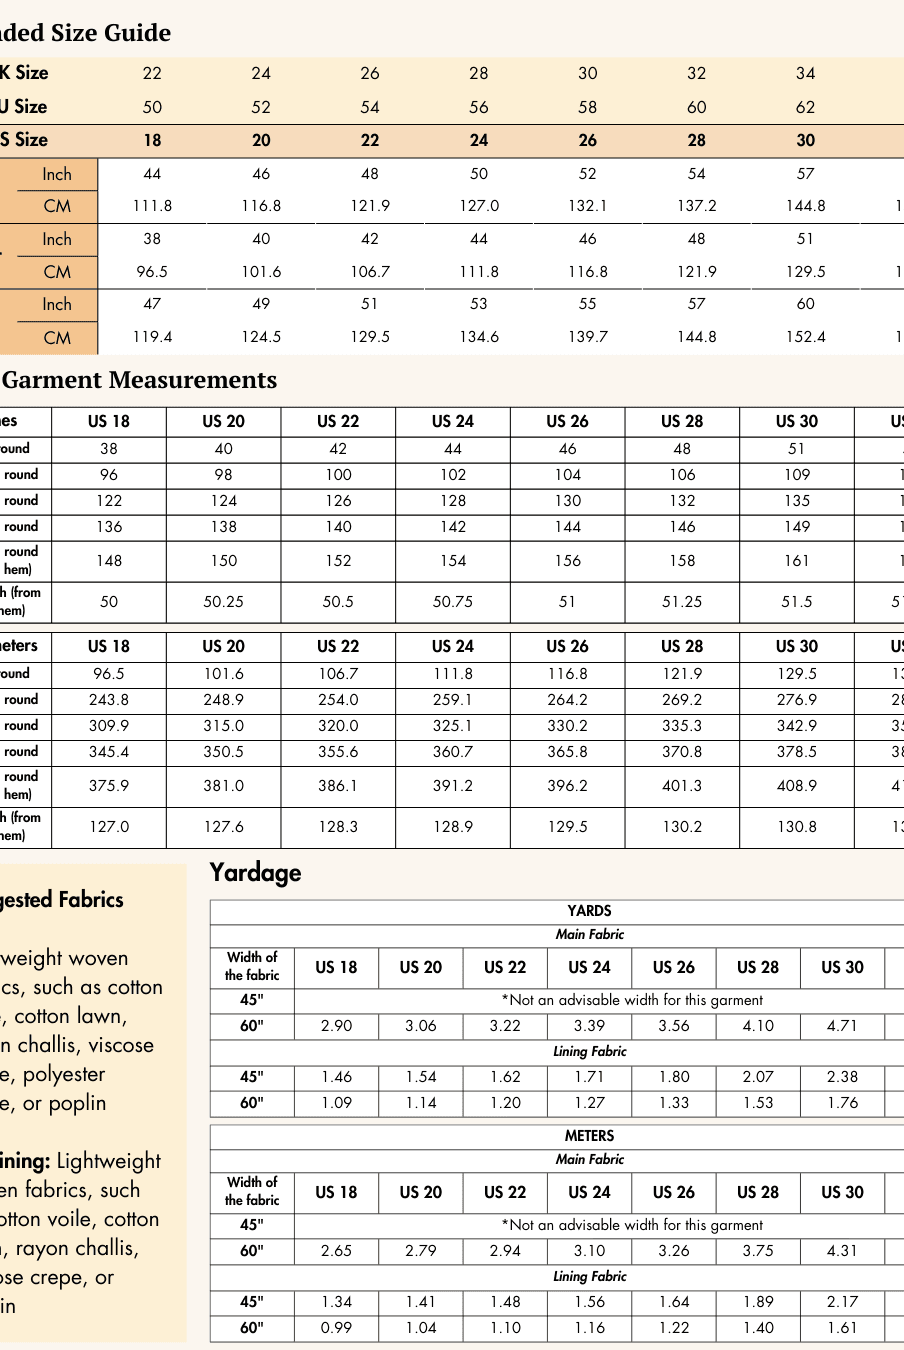
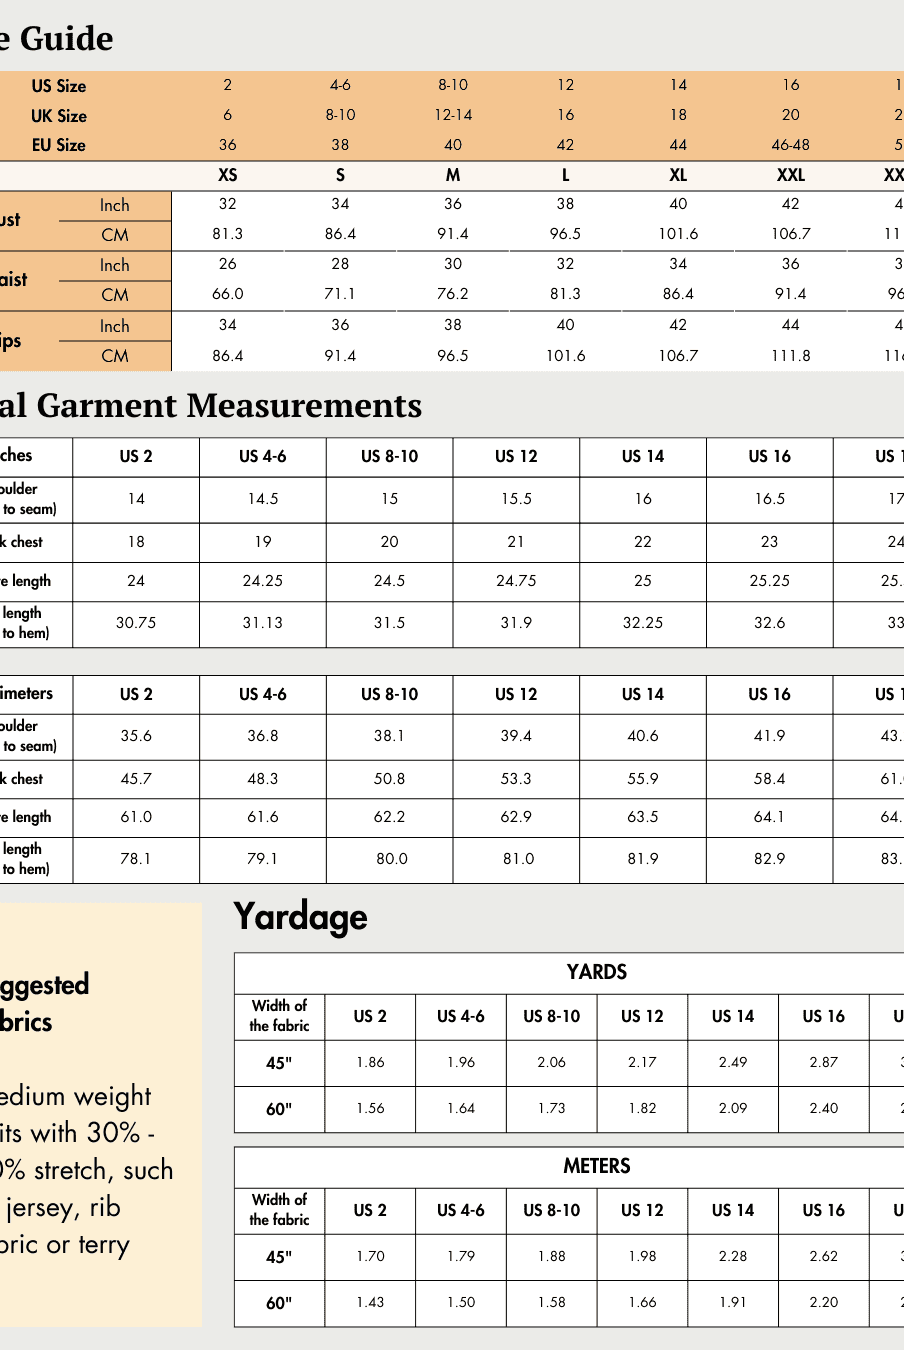
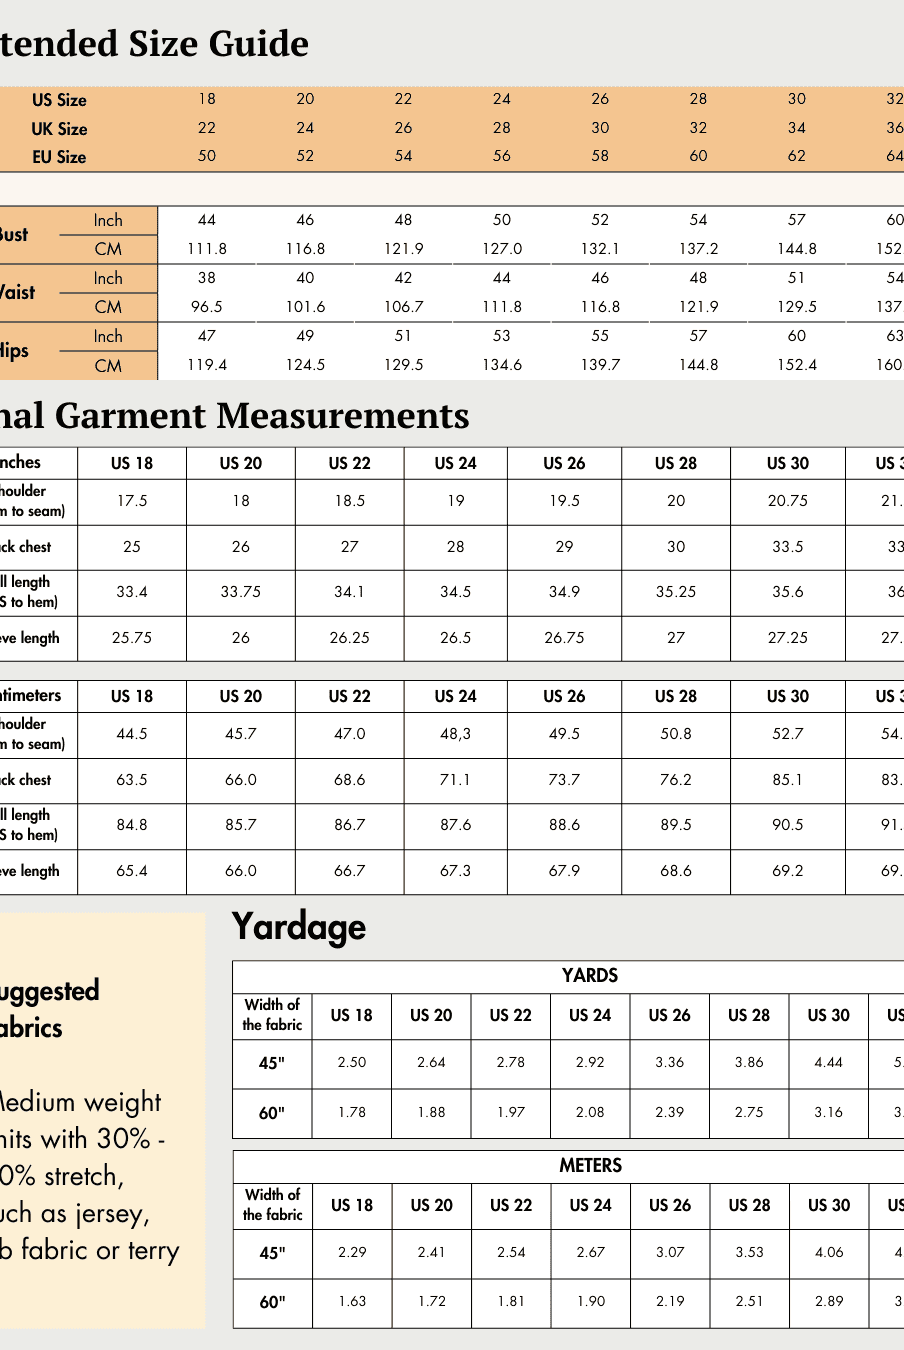
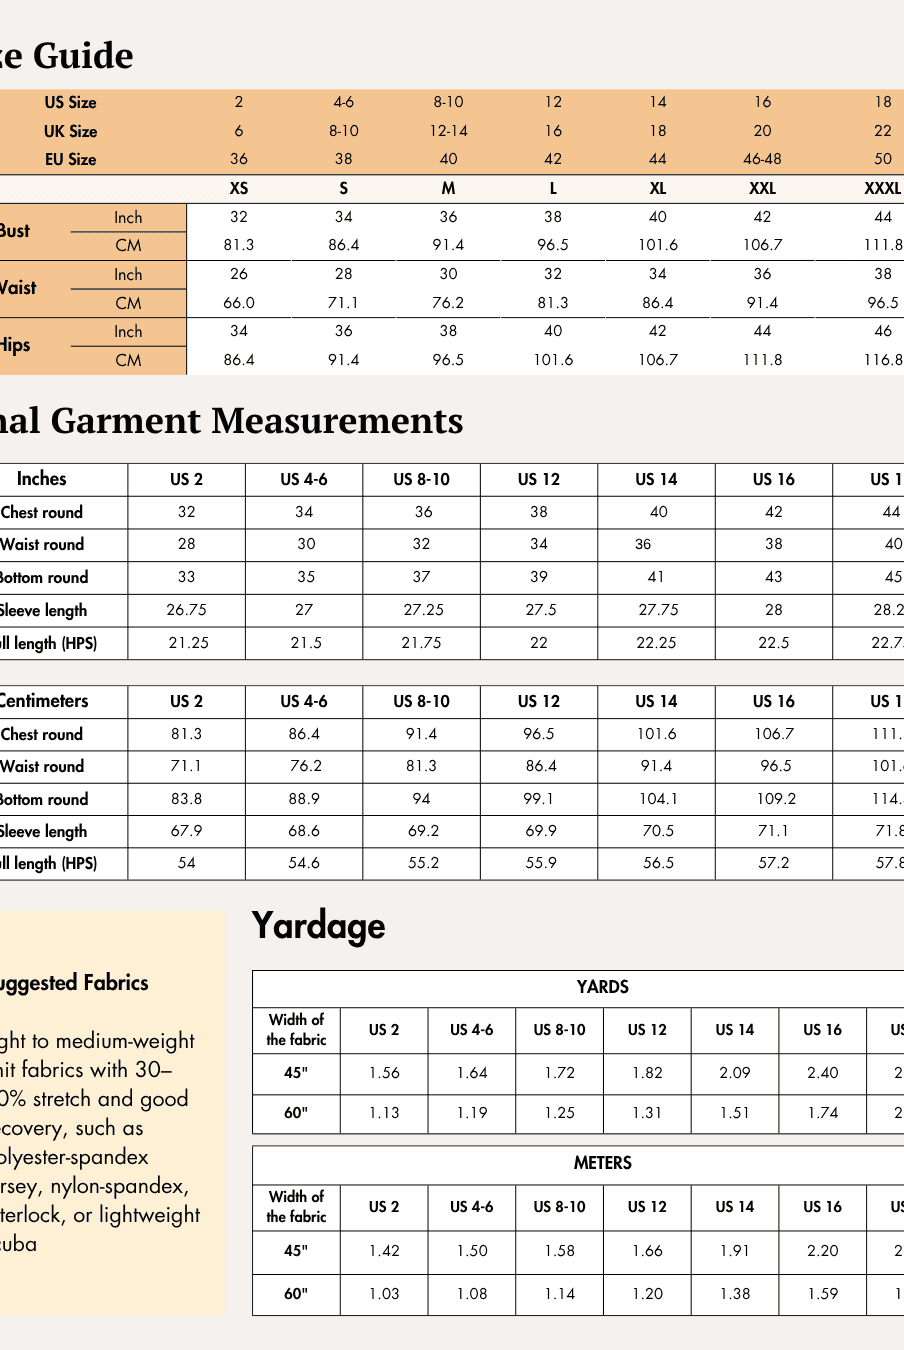
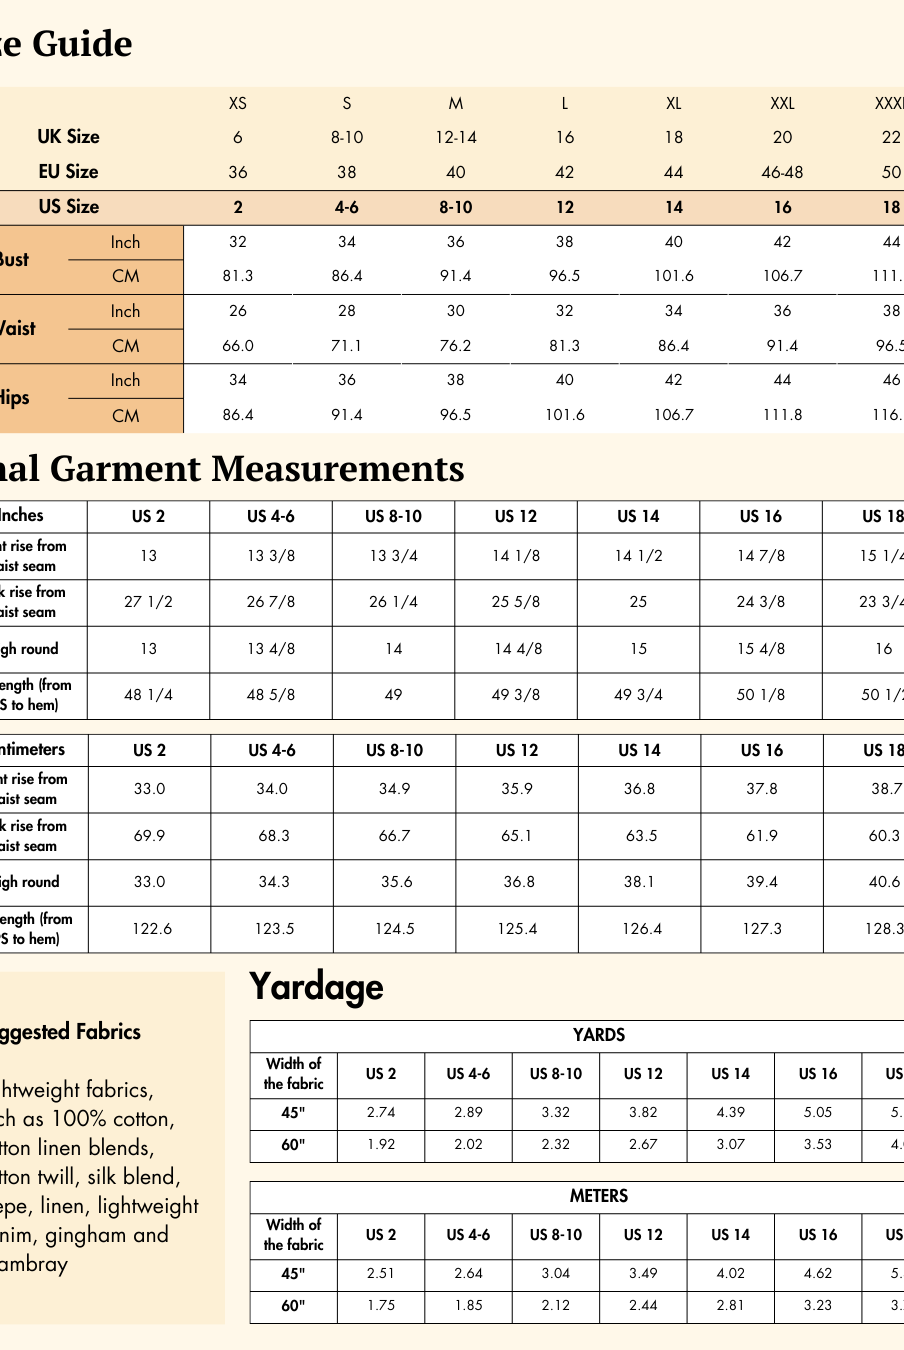
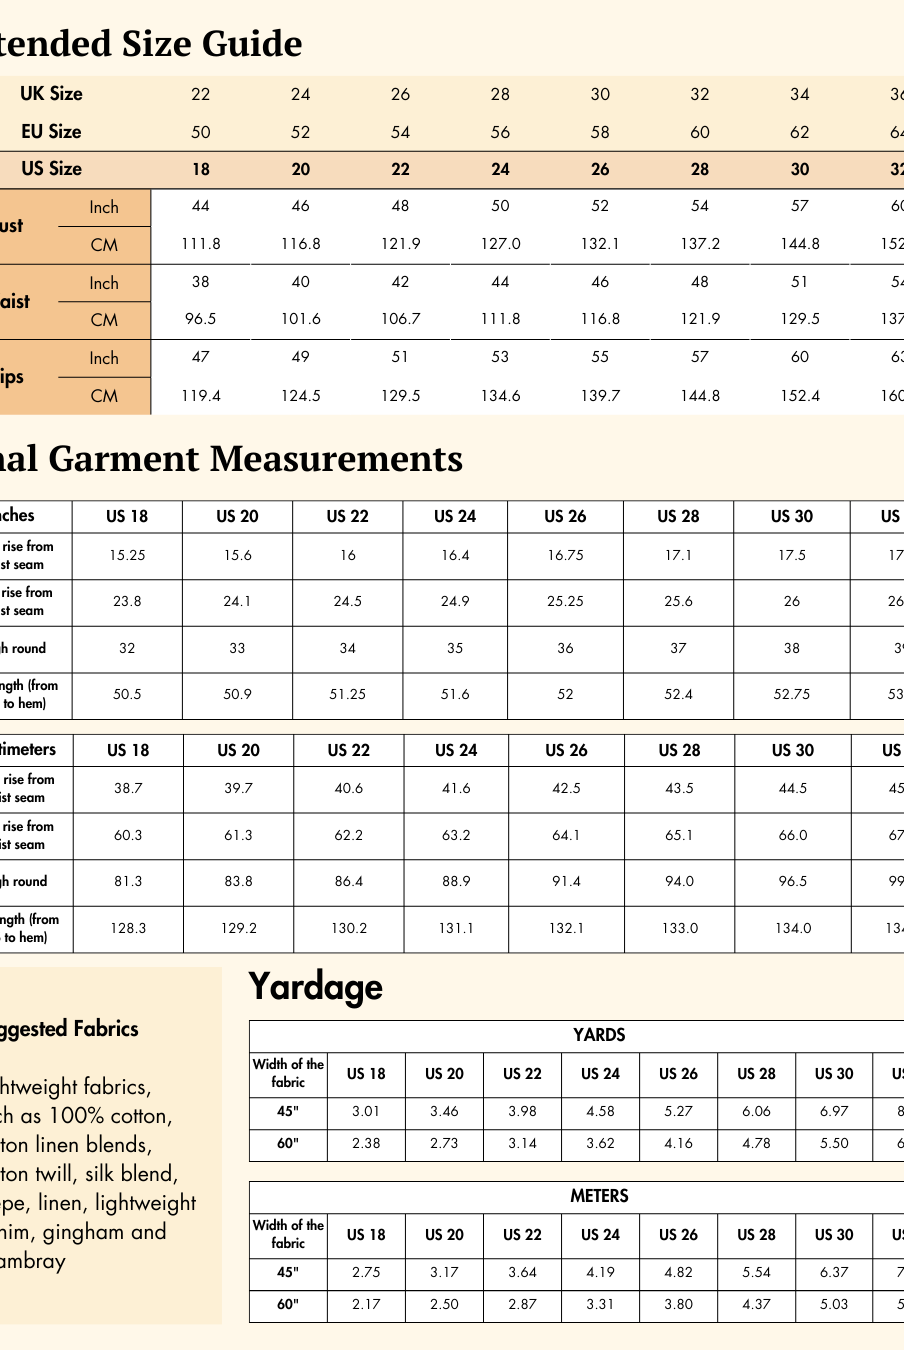
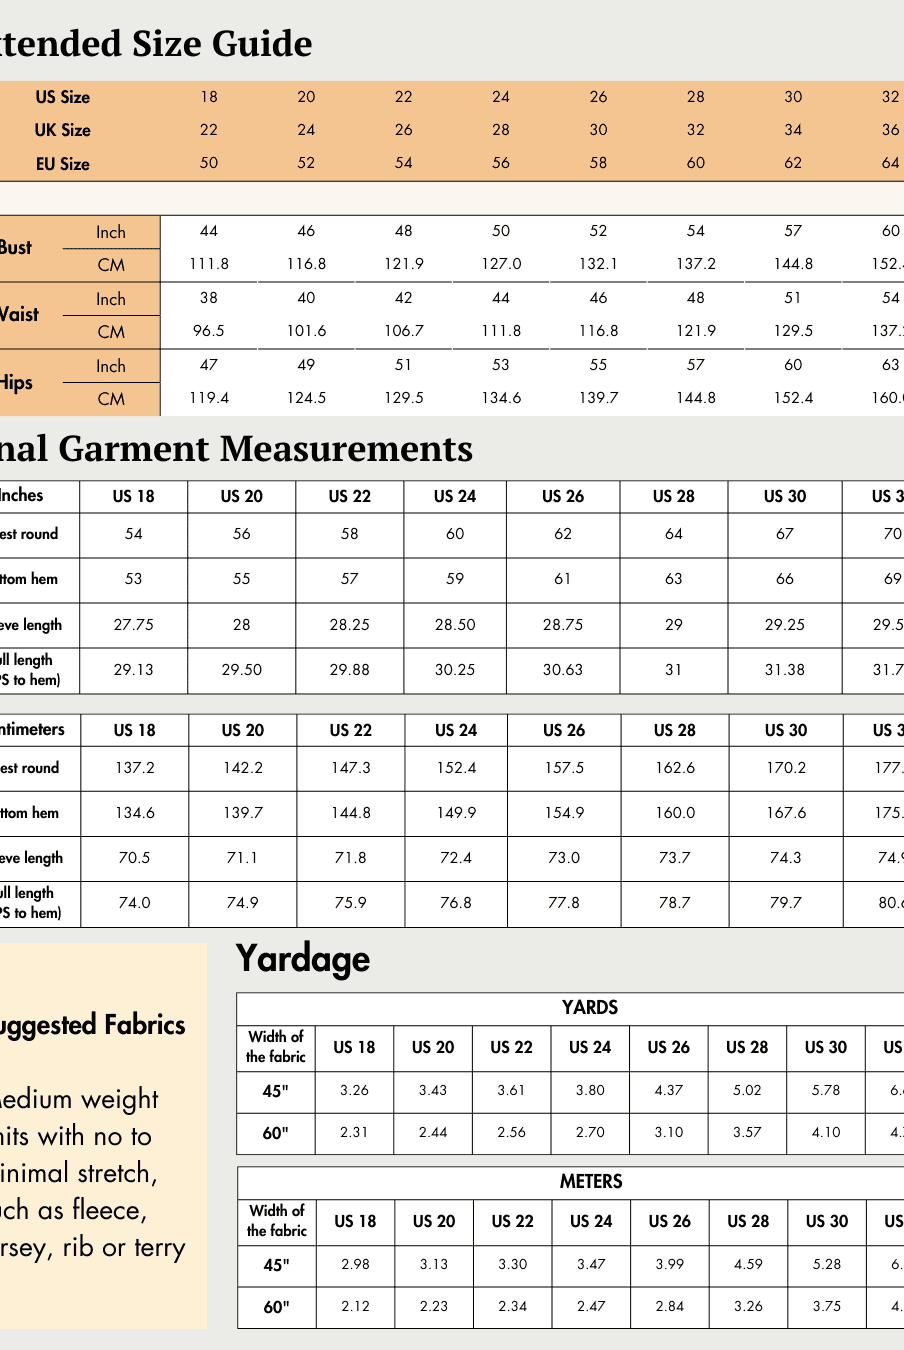
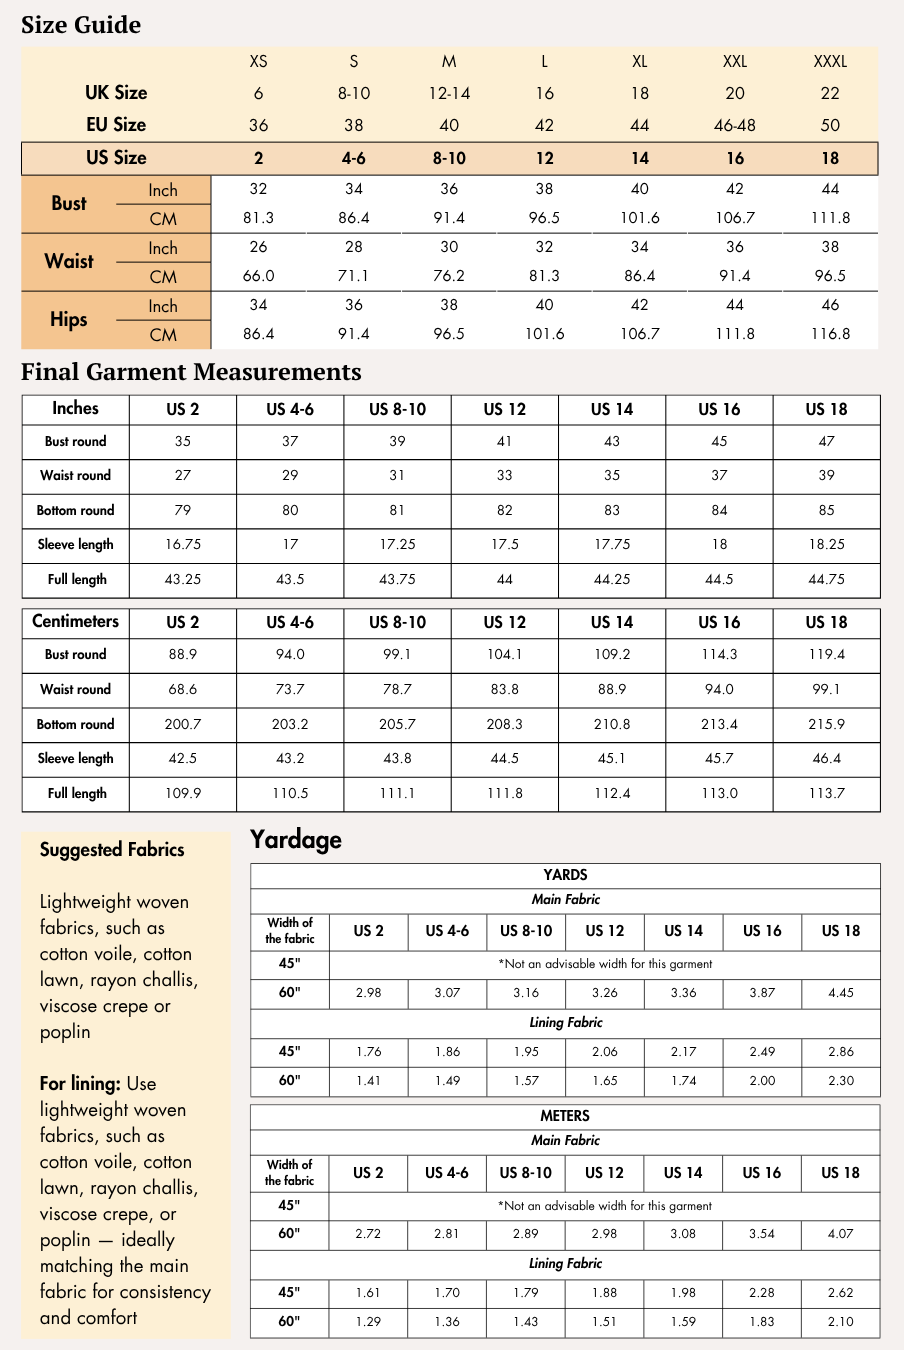
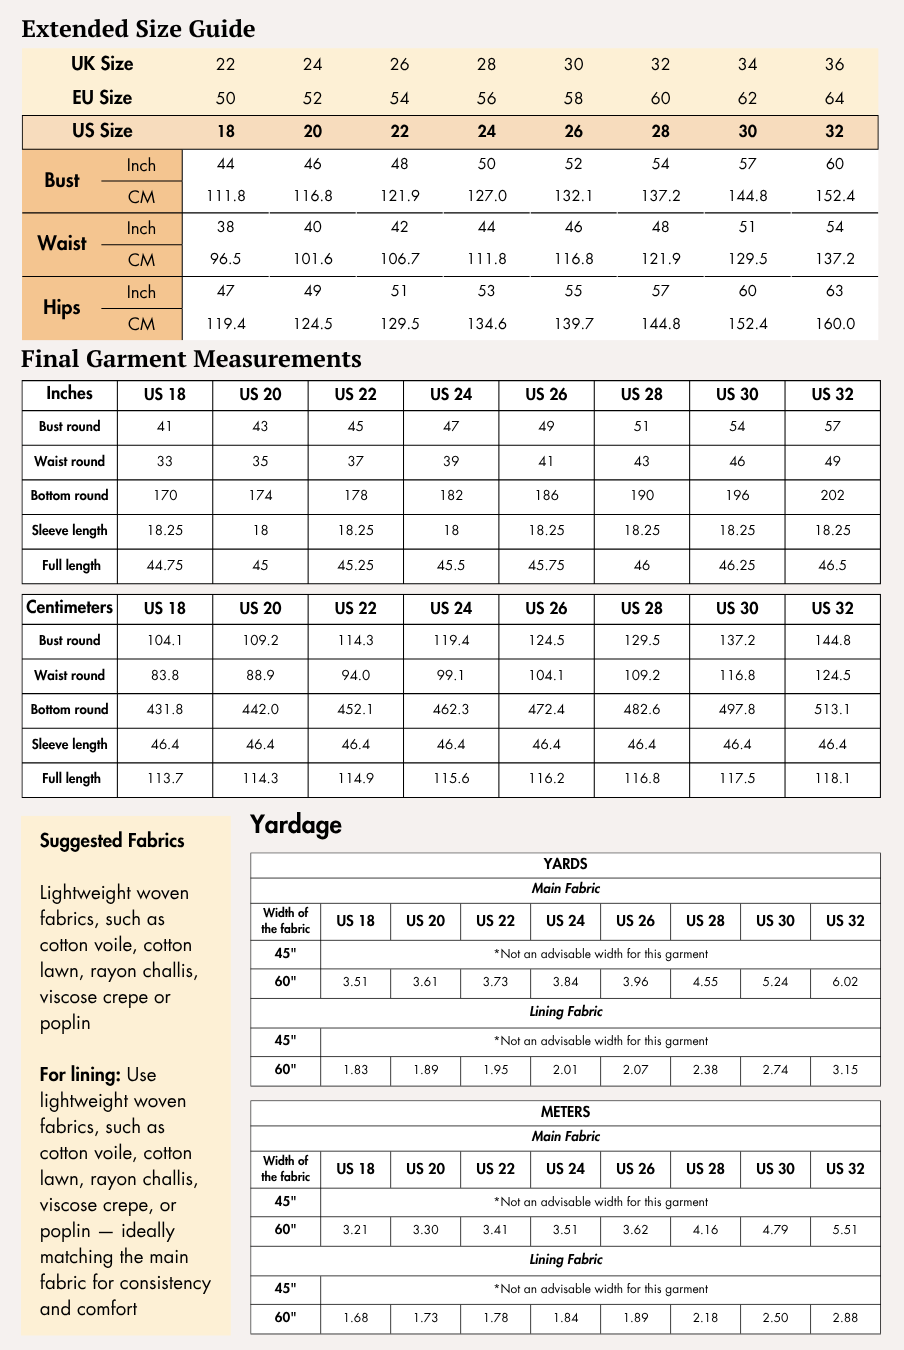
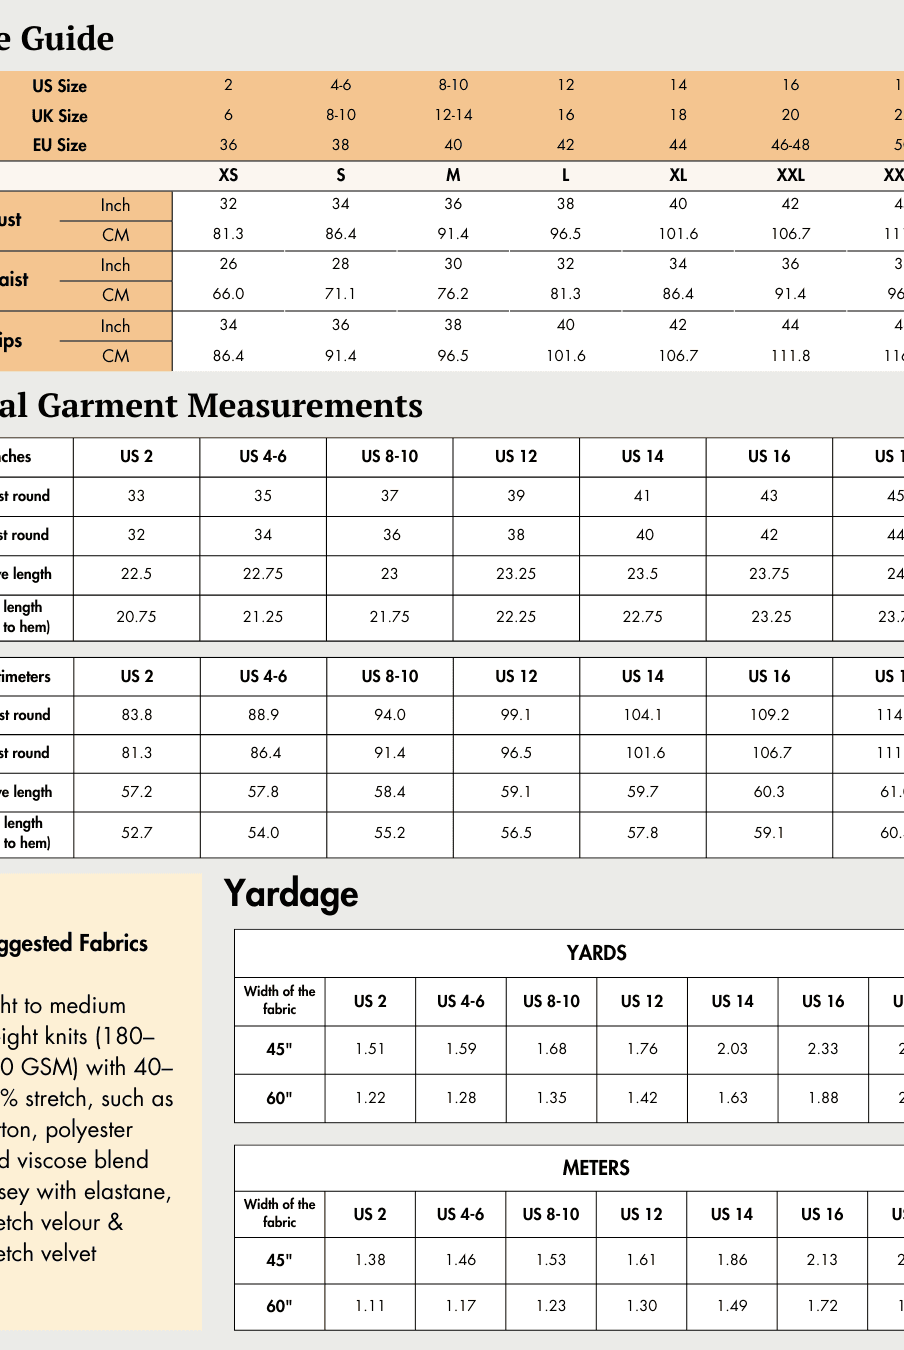
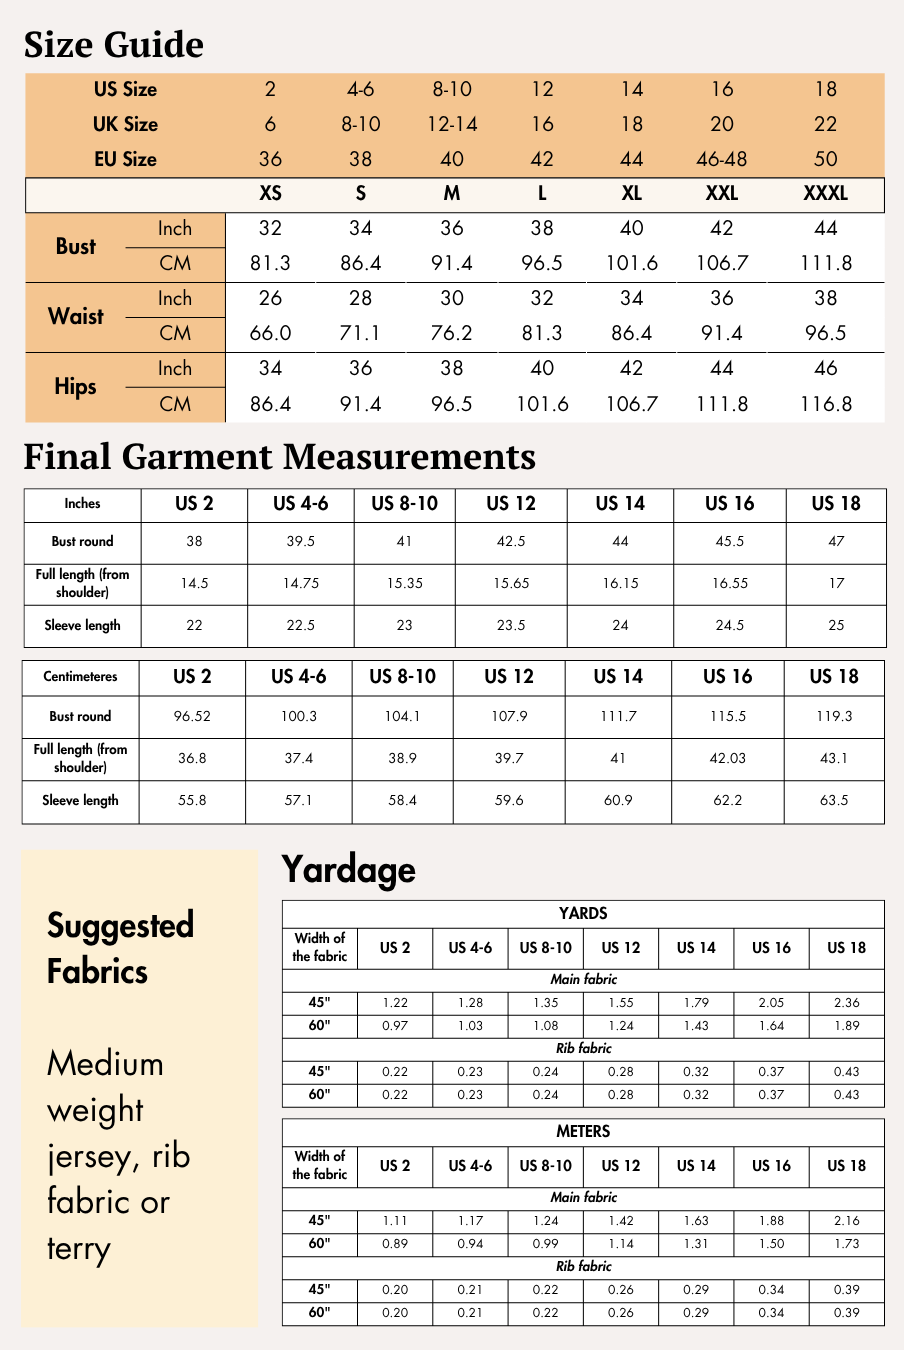
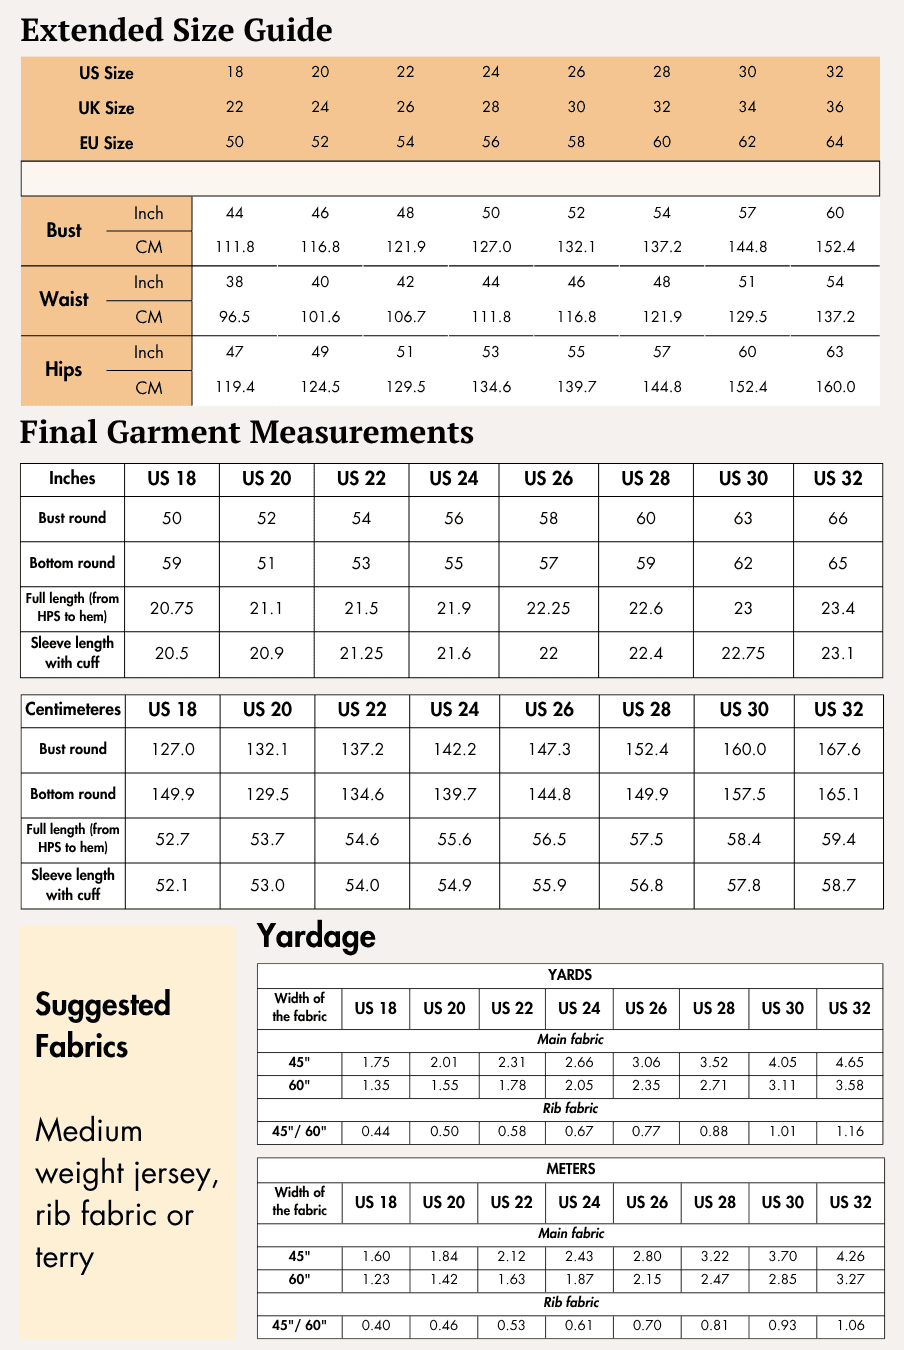
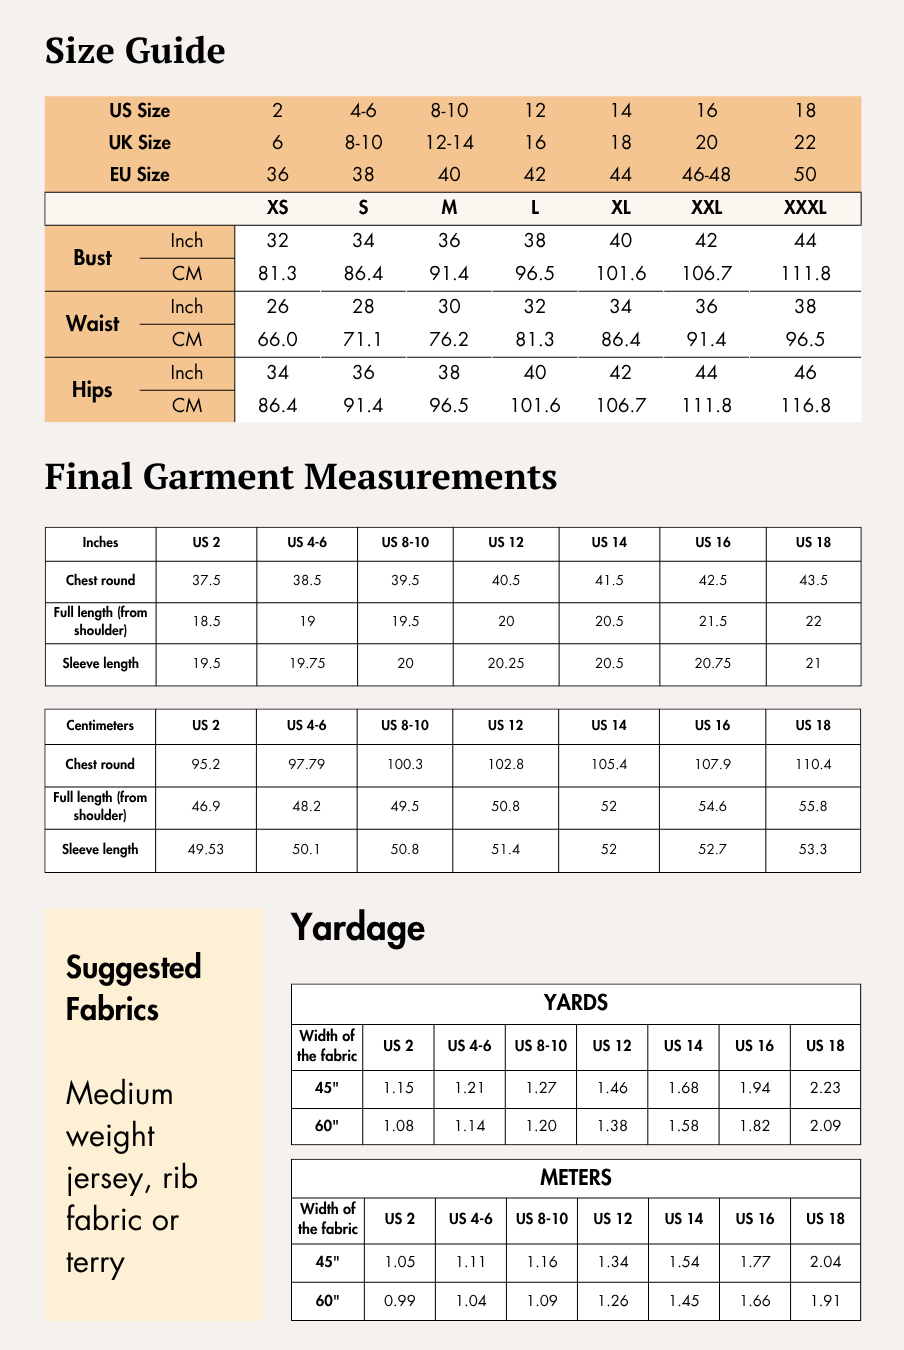
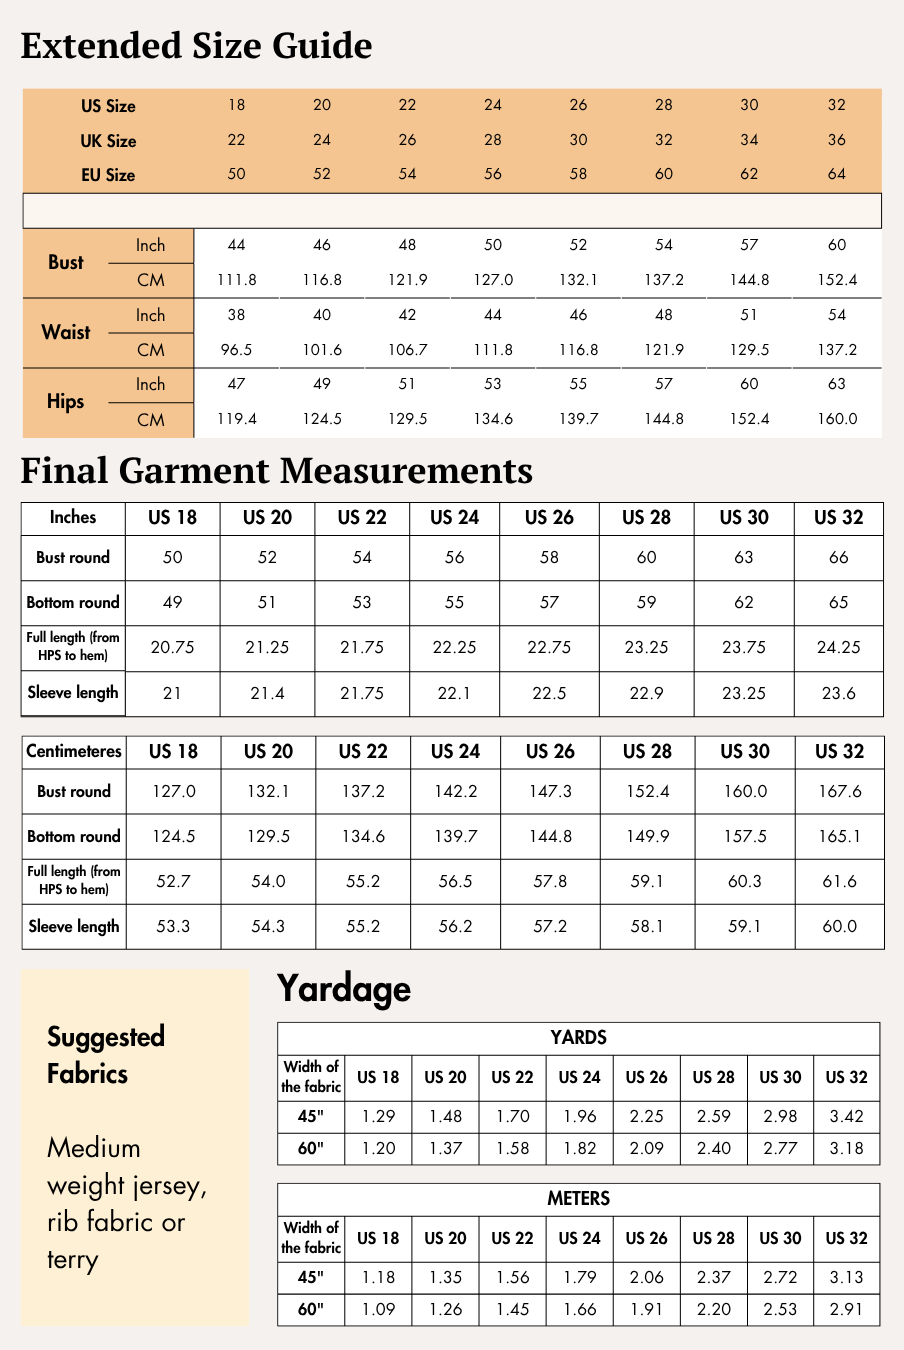
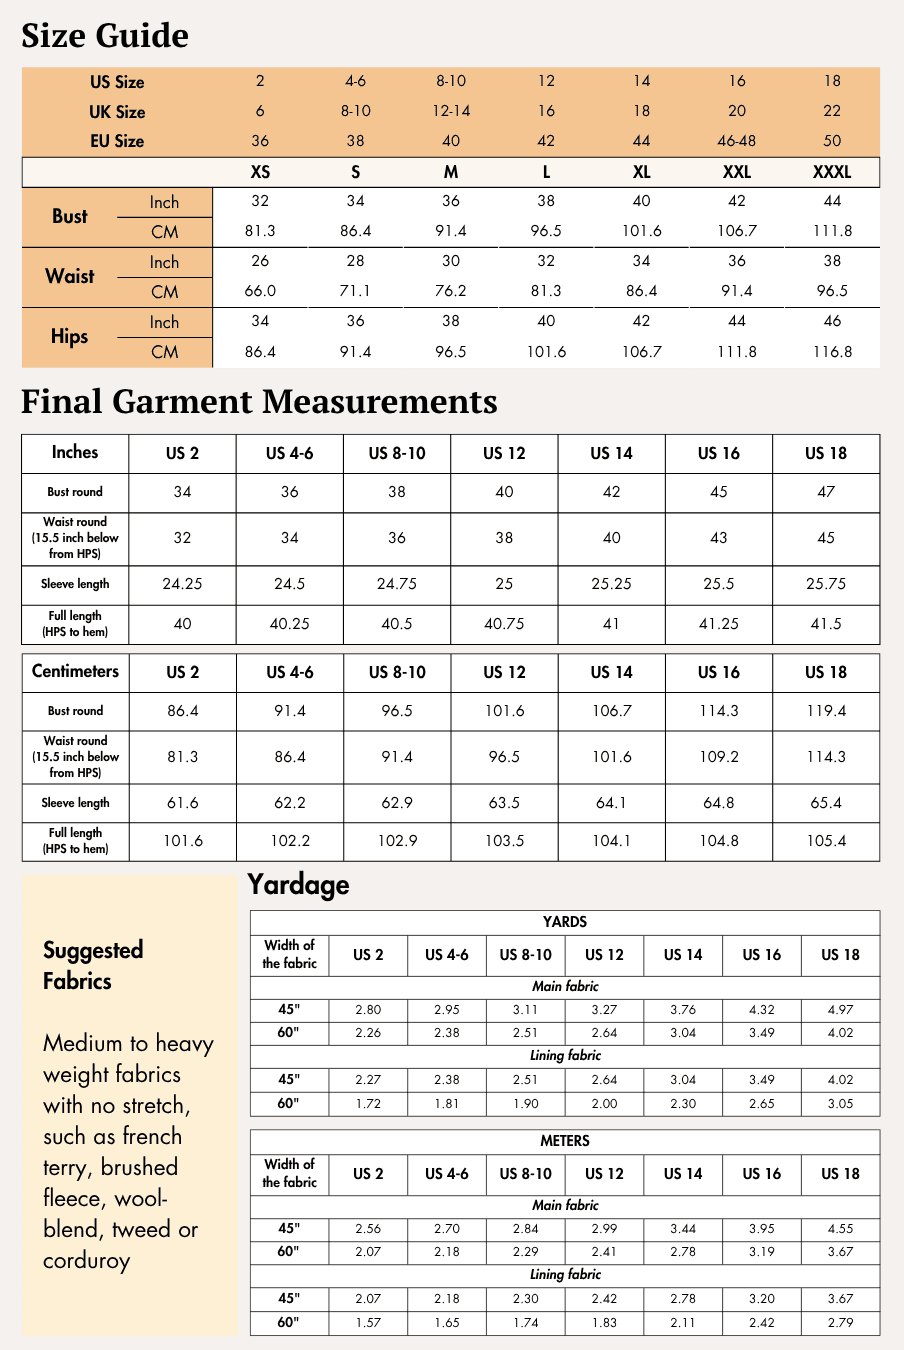
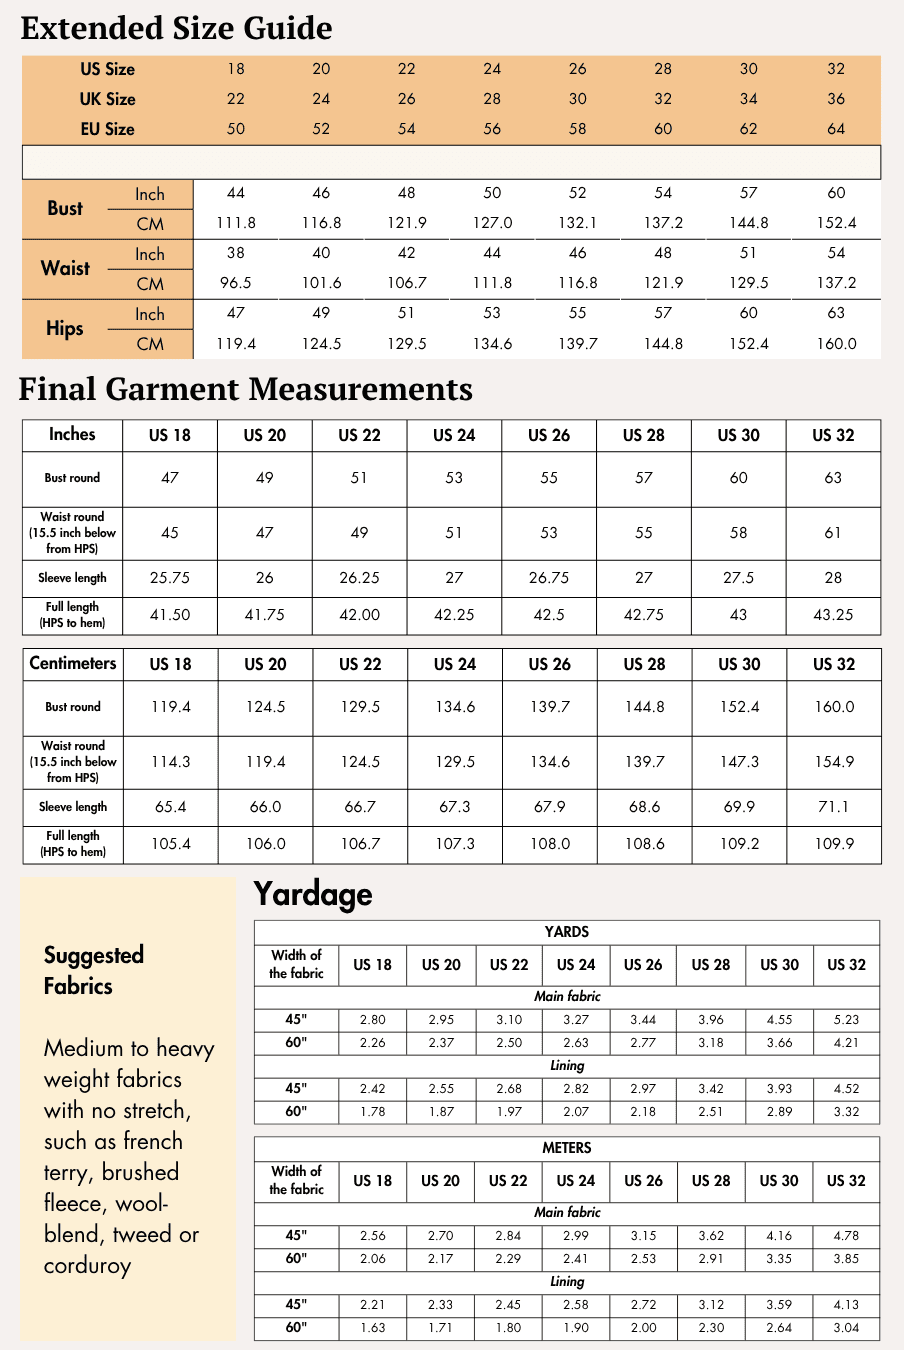
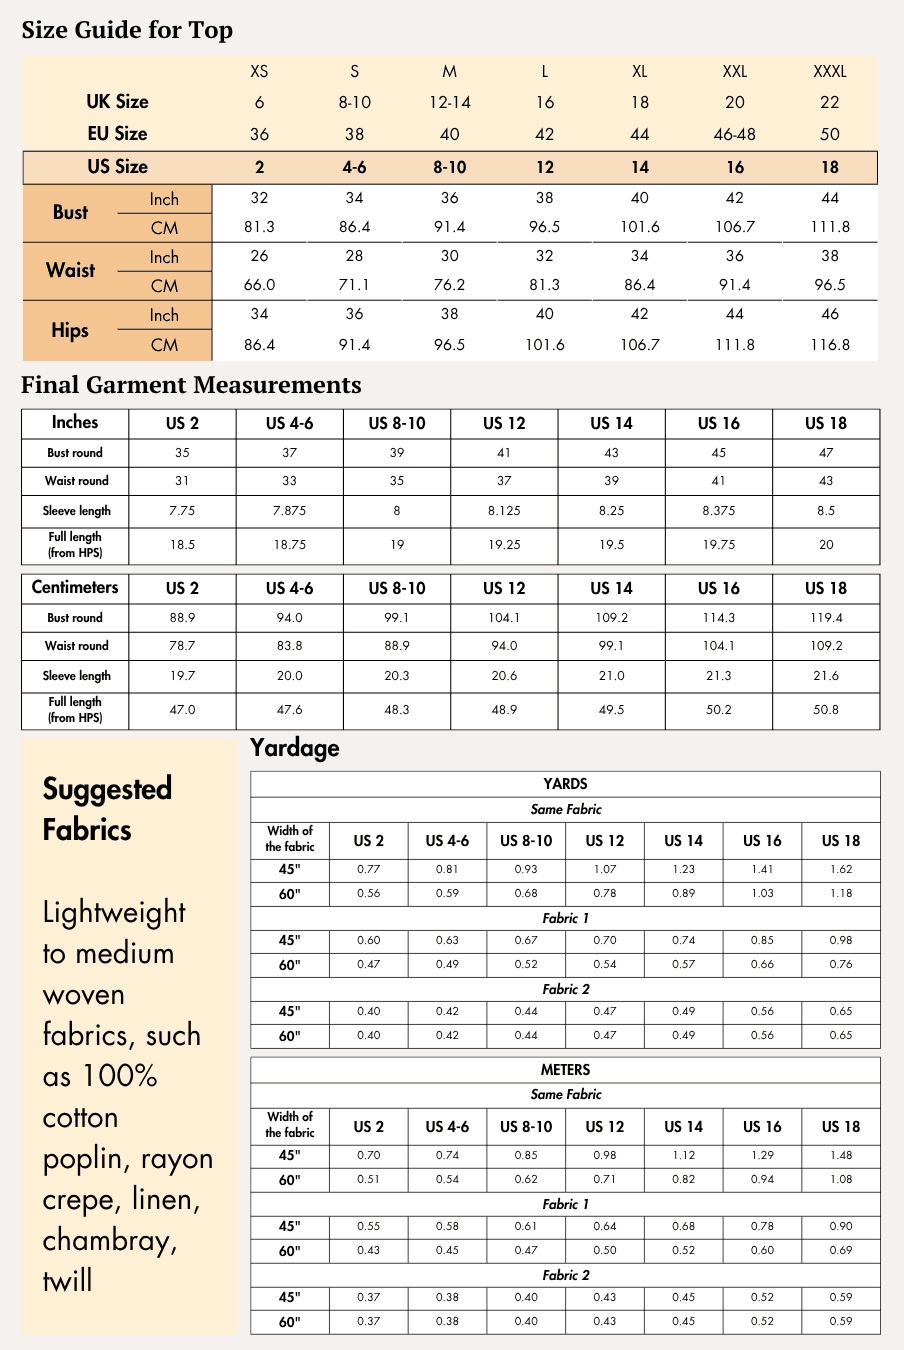
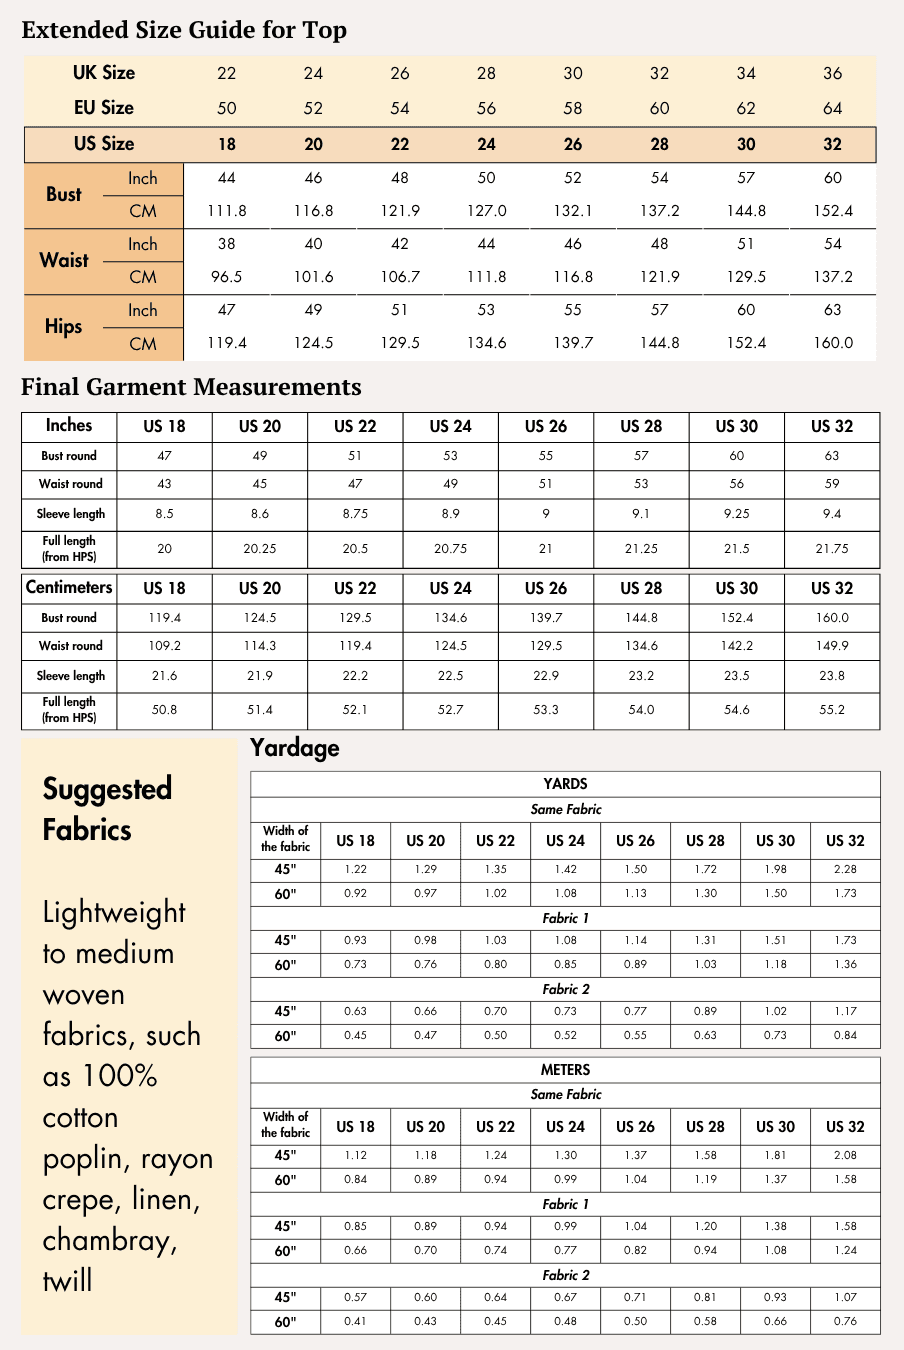
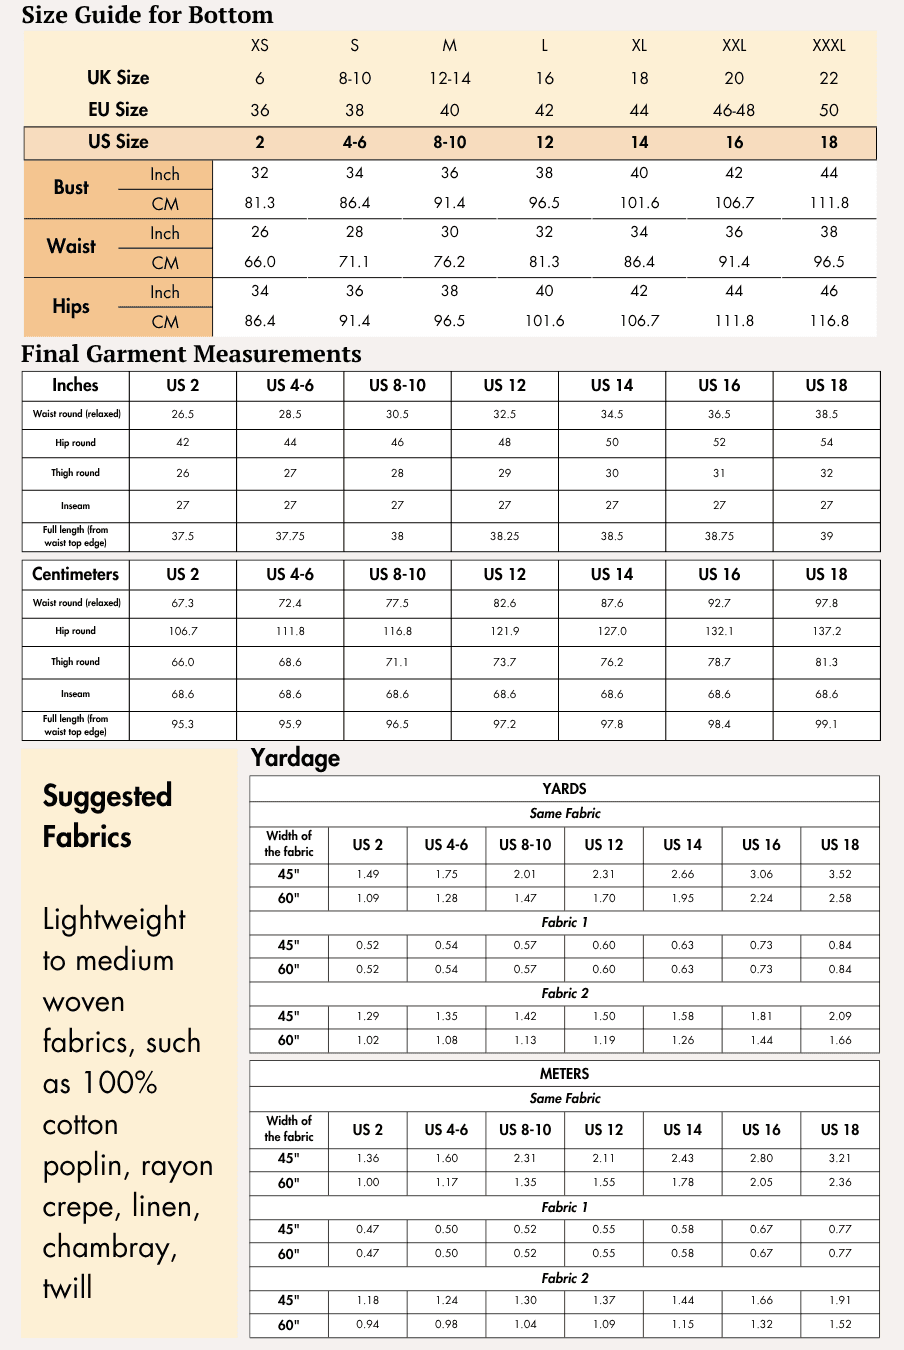
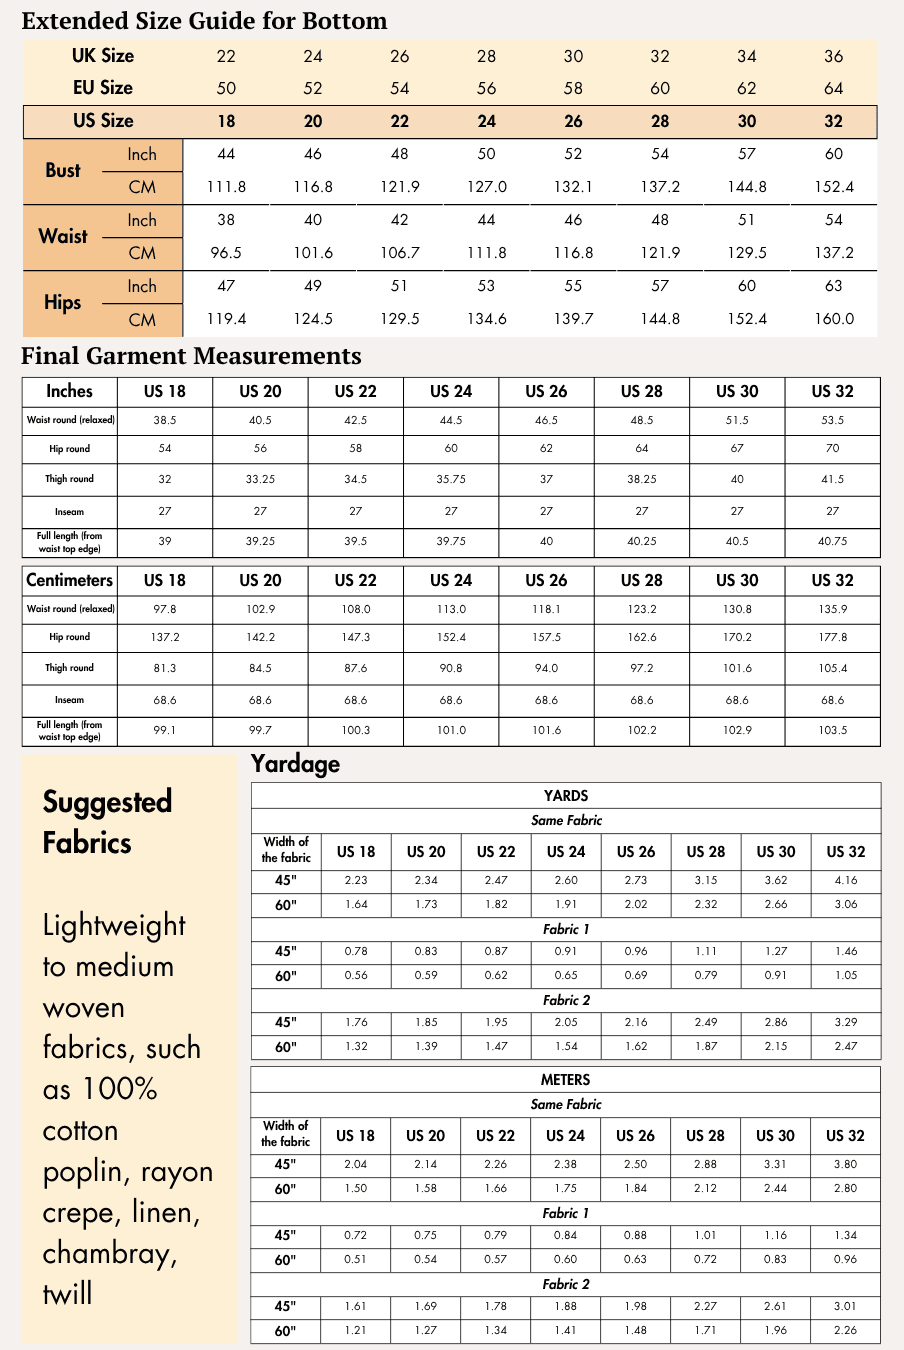
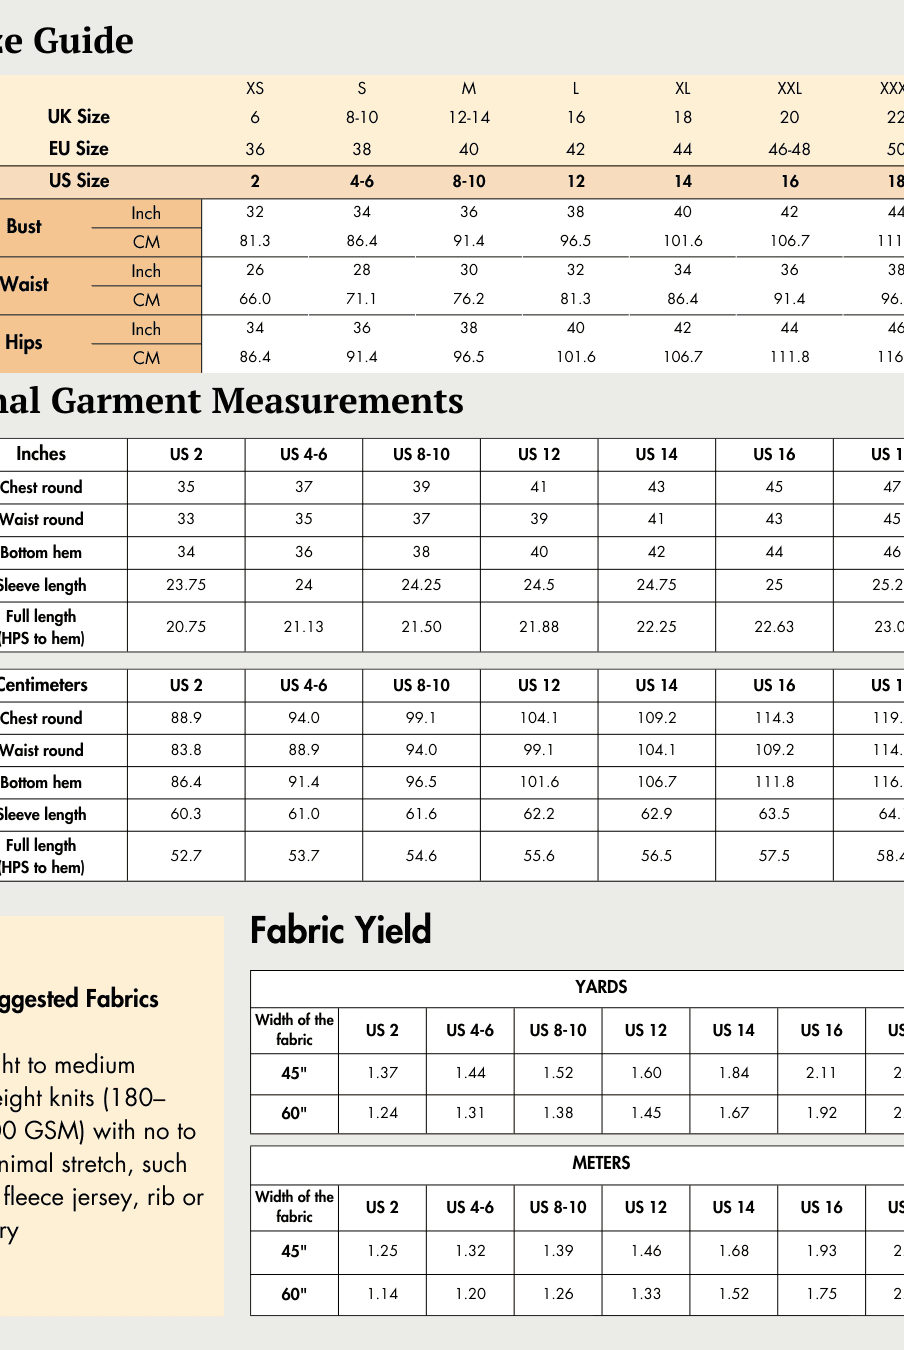
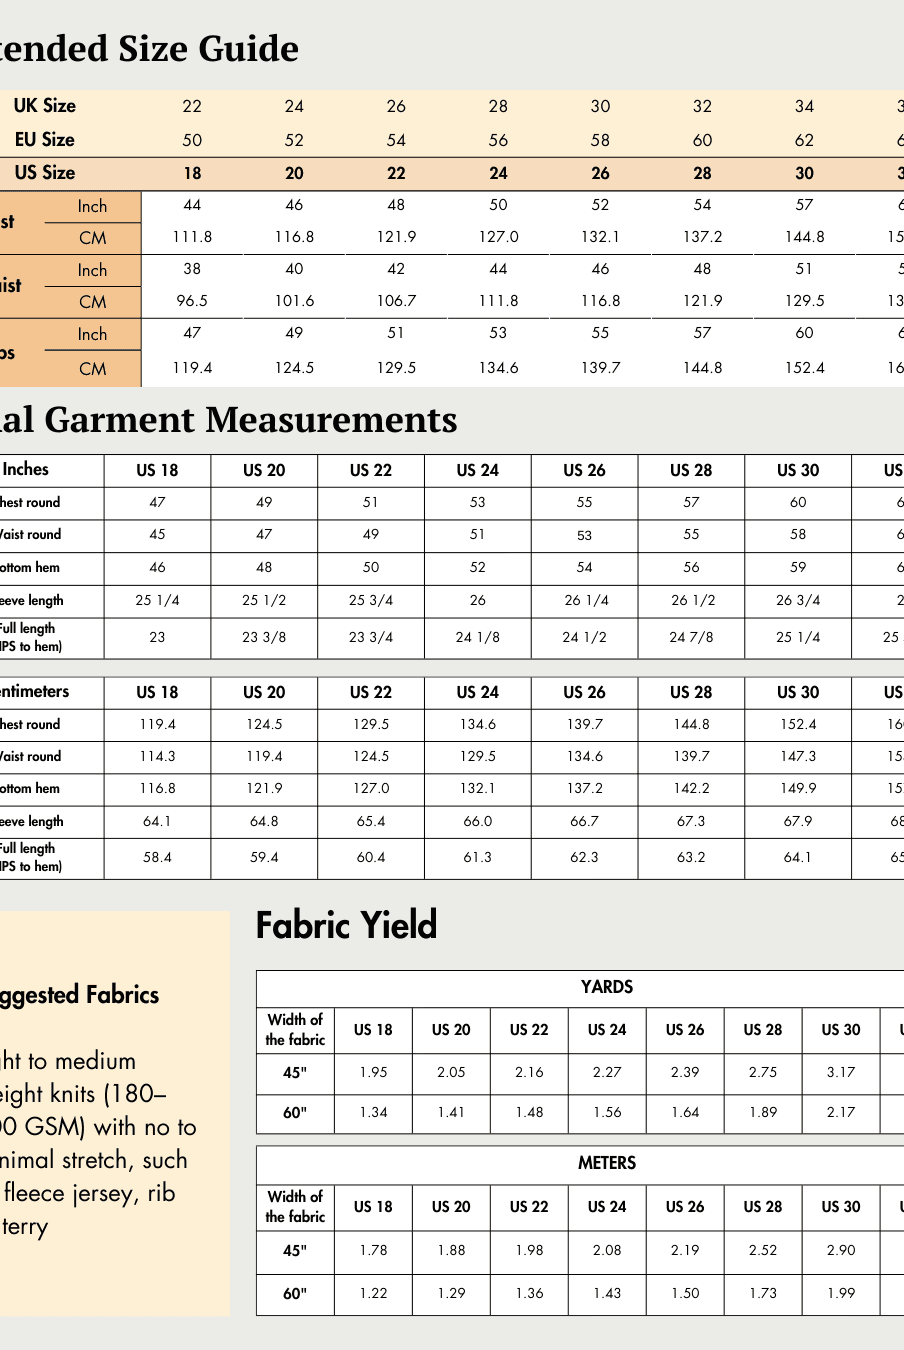
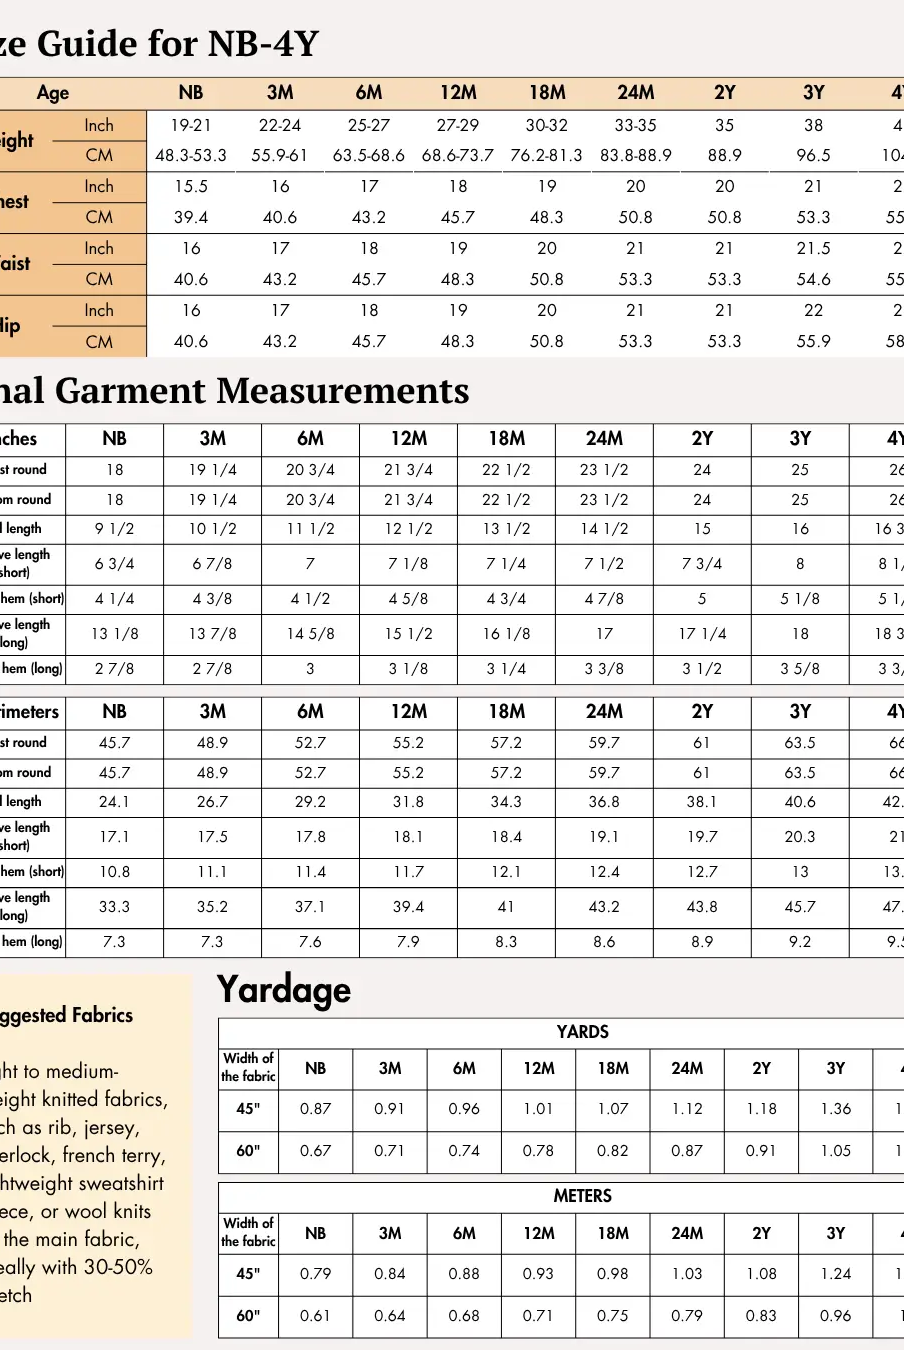
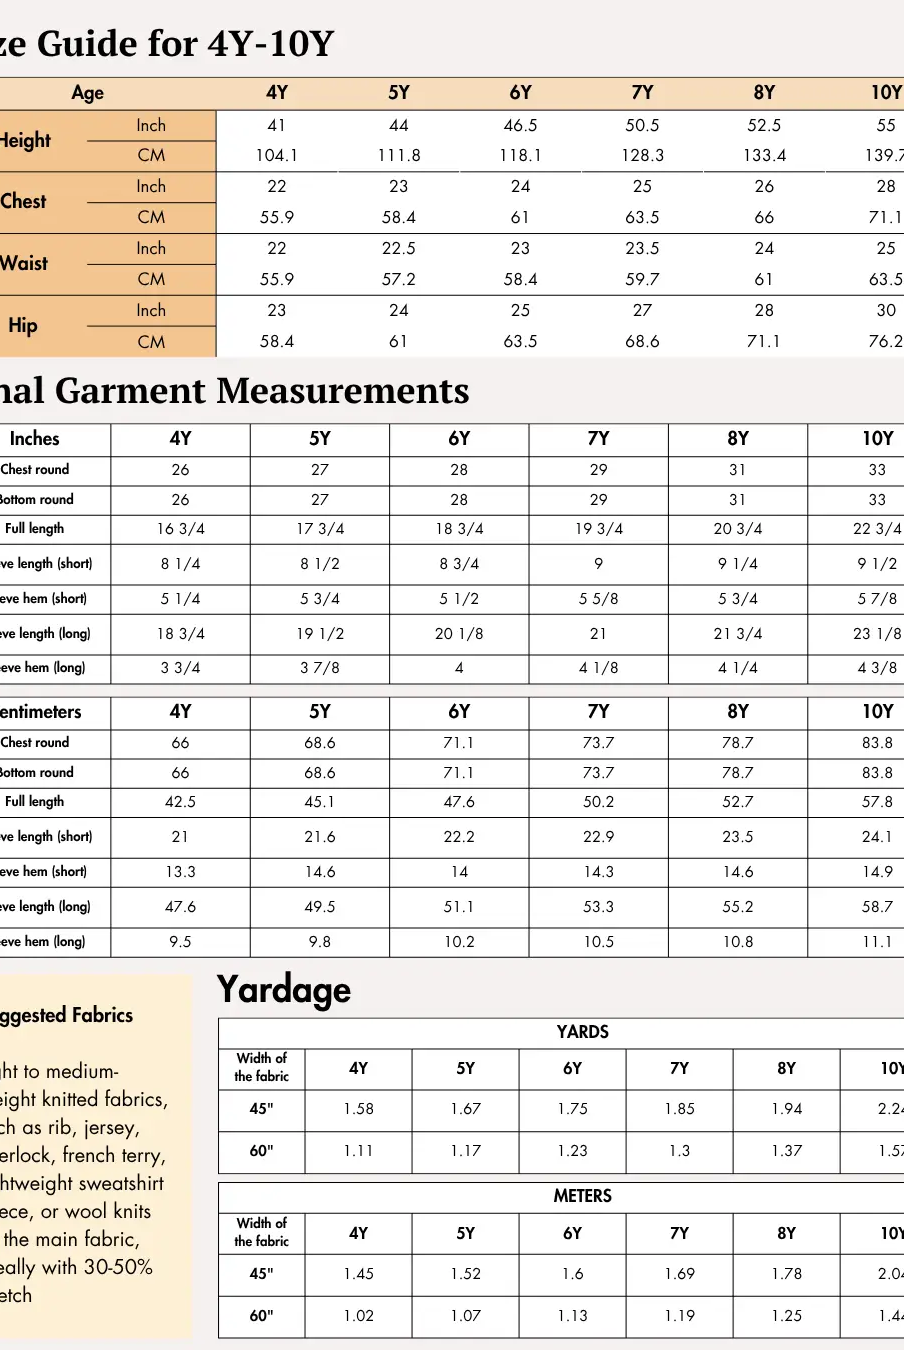
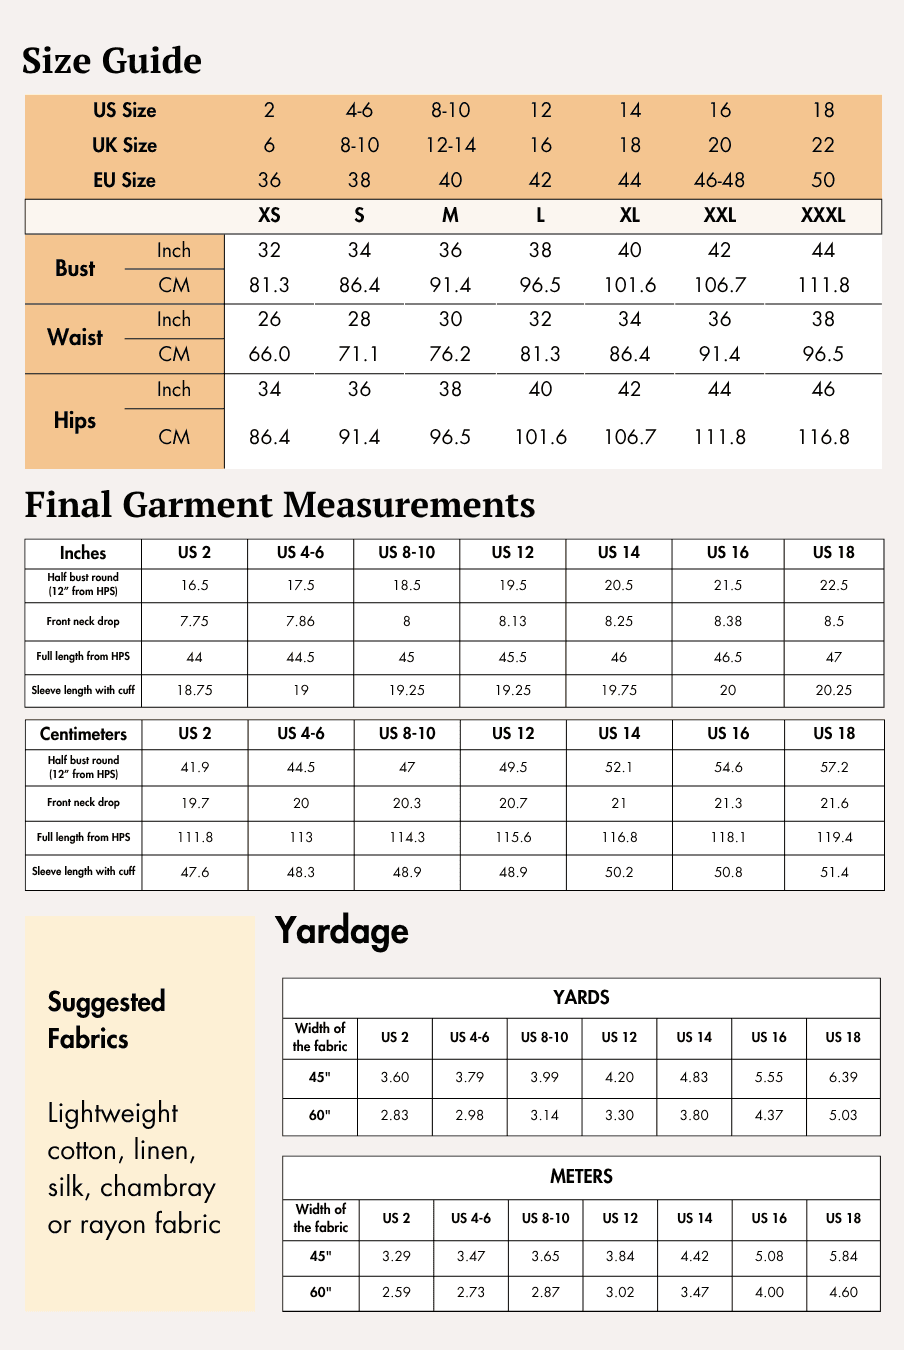
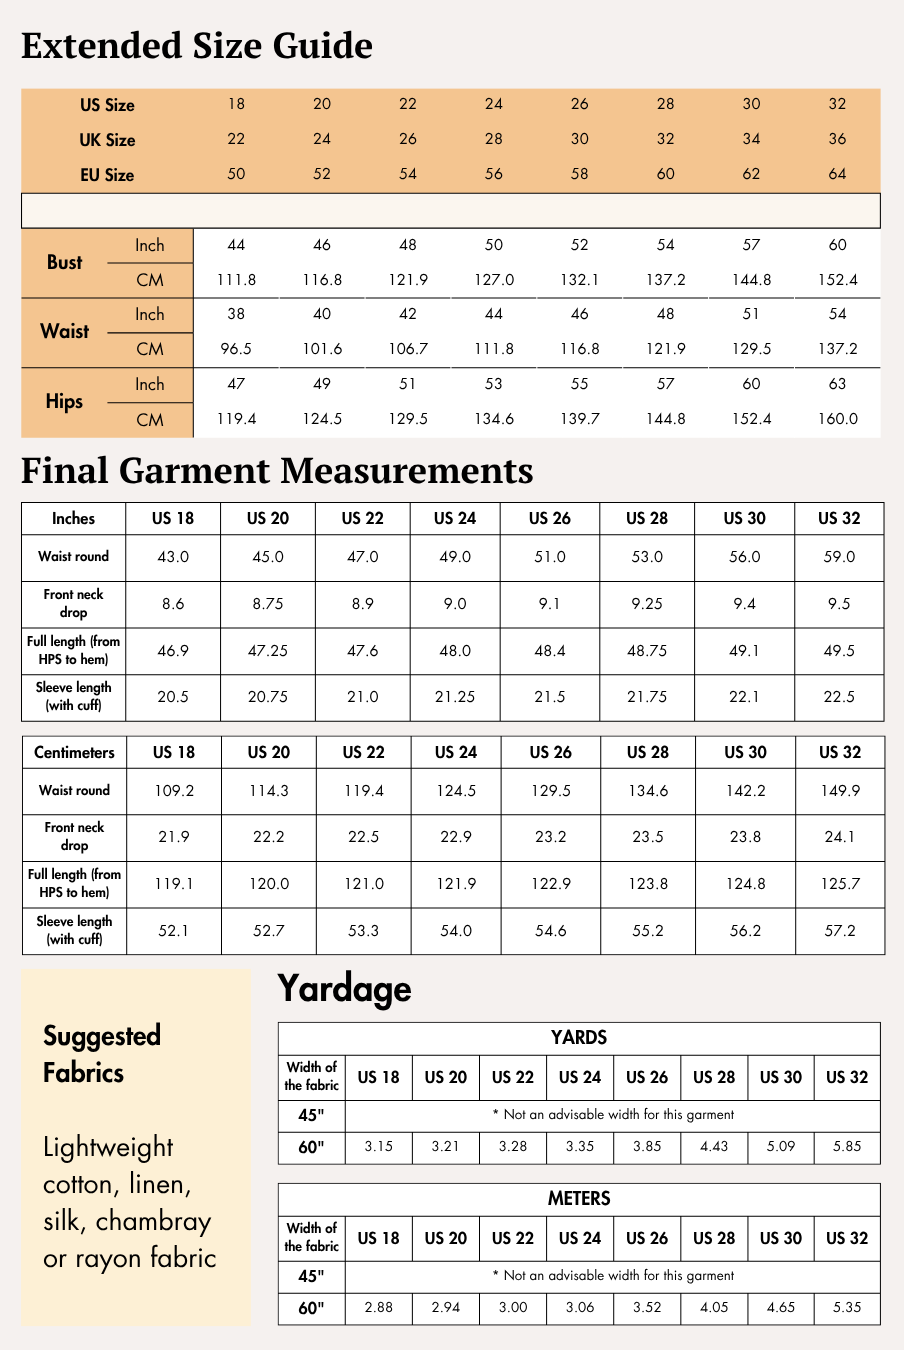
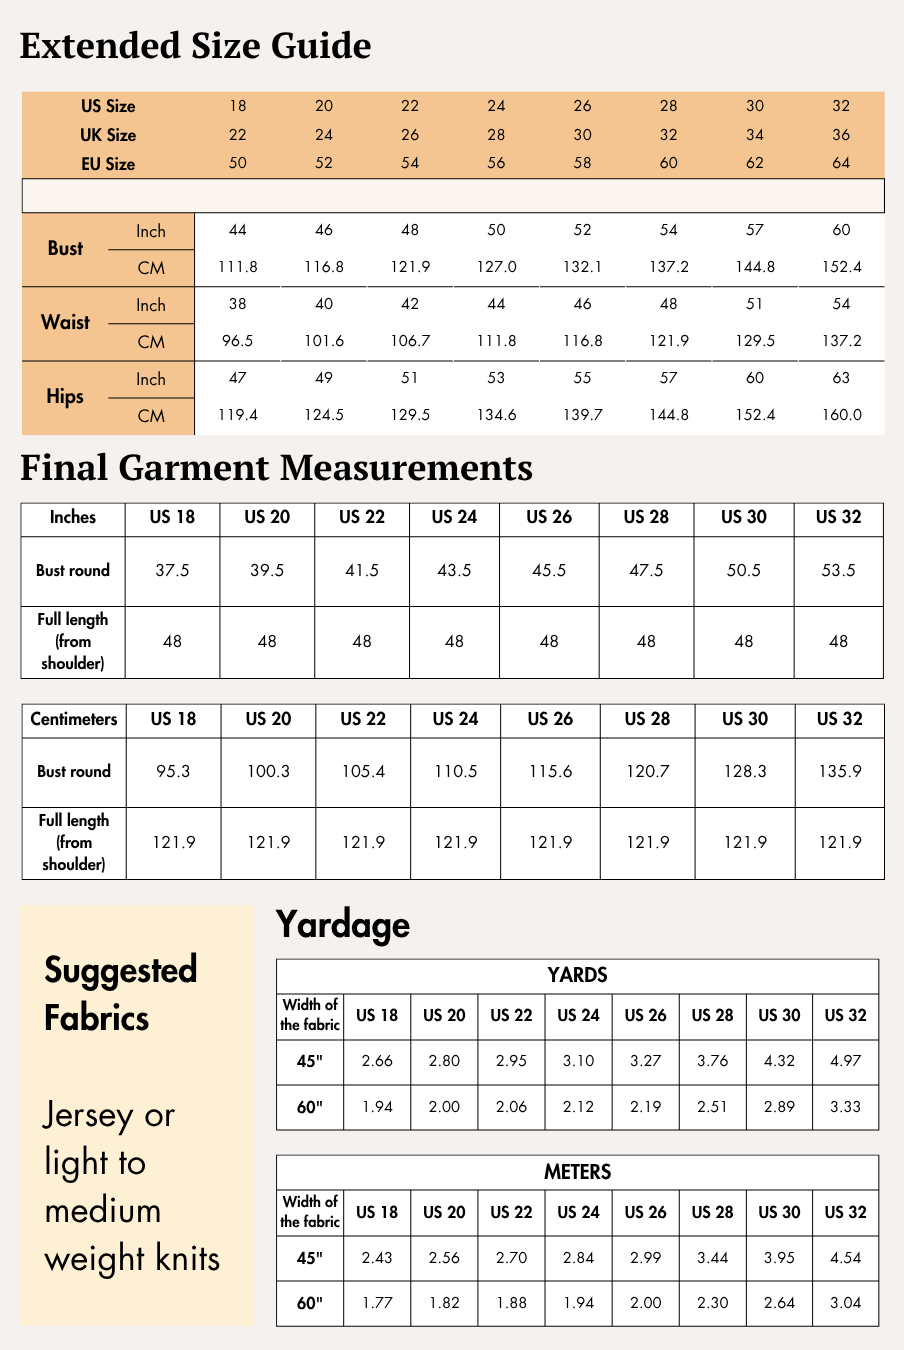
Check the size charts and measure yourself to select the correct size, using the garment and body measurement tables in the guide.
Verify how much fabric you need by referencing the fabric yield table in the guide.
Pattern Inventory: What Pieces to Prepare

The MARA Square Neck Tank Top Sewing Pattern includes four pattern pieces:
- A. Front - cut x1 fabric
- B. Back - cut x1 fabric
- C. Front facing - cut x1 fabric
- D. Back facing - cut x1 fabric
If you are printing at home, use the A4/US Letter pattern. If you are having the pattern printed at a copy shop, use the A0 pattern.
Pattern Marking

The MARA Square Neck Tank Top Sewing Pattern includes markings that help you align the main top and facing pieces accurately during construction.
Transfer the relevant markings for:
- Grainlines
- Seam allowances
- Side seams
- Facing hem notches
- Necklines
- Center-front V-cut
- Armholes
- Shoulder seams
- Hemlines
Make sure the V-cut and facing hem notches are transferred accurately, as these markings are used when constructing and positioning the facing.
Cutting Layout


The MARA Square Neck Tank Top Sewing Pattern guide provides separate cutting layouts for 45-inch and 60-inch fabric widths. US size 26 is used to represent the placement of the pattern pieces in the layouts.
Correct pattern placement helps ensure that the garment is cut on-grain. Pinning the pieces in place also helps maintain accuracy while cutting.
The layouts are non-directional. If your chosen fabric has a nap or directional print, you will need to purchase additional fabric so the pieces can be positioned in the correct direction.
Fabric Cutting and Preparation
Before cutting the MARA Square Neck Tank Top Sewing Pattern, prewash and dry your fabric using the same method you plan to use for the finished garment. Press the fabric before laying out your pattern pieces.
Arrange the pieces according to the cutting layout diagrams. Position each piece so that its grainline arrow runs parallel to the selvage.
If you are using fabric shears, trace the pattern pieces before cutting them out, cutting away any pen, pencil, or chalk lines. Cut the notches shown along the pattern edges, as these will help you align the pieces during construction.
Use a marking pen, pencil, or chalk to transfer the required markings to the wrong side of the fabric. Mark the center front of pieces cut on the fold to help with accurate alignment.
Seam Allowance
Please follow the seam allowances as indicated on the pattern file layers. These are provided specifically for each piece to ensure accurate construction.
This pattern uses a 1 cm (3/8”) seam allowance all around, and 2.54 cm (1”) at the hem.
Step-by-Step Sewing Instructions
Before sewing, the guide recommends using an overlock stitch and a coverstitch for the hem. Alternatively, use a zigzag stitch for overlocking and a straight stitch for hemming.
Pinning before sewing is helpful. Press the garment pieces as instructed throughout construction, using a suitable heat setting and taking care not to stretch the knit fabric.
1. For Attaching Side Seams
Place the front facing (pattern C) and back facing (pattern D) right sides together. Align and pin both side seams, then sew both side seams using an overlock stitch.
Repeat the same process for the front (pattern A) and back (pattern B) pieces.
2. For Attaching Shoulder Seams
Align and sew the shoulder seams of the prepared facing using an overlock stitch.
Repeat the same process with the prepared top panel.
3. For Attaching the Prepared Facing and Top Panels
3a.
Turn the main top right side out and keep the facing wrong side out. Insert the main top inside the facing so that the right sides are together.
Match the shoulder seams, side seams, center-front V-cut, and center-back neckline. Pin around the neckline, then sew along the 1 cm (3/8”) seamline using a stretch-compatible lockstitch or narrow zigzag.
3b.
Clip the curved neckline seam allowance. Carefully trim and clip the seam allowance at the center-front V-cut without cutting through the stitching.
3c.
Turn the facing to the inside of the top and gently shape the neckline corners and V-cut. Press the neckline carefully.
You can understitch the neckline now or after finishing the armhole raw edges.
4. For Finishing Armholes
Work with one armhole at a time and take care not to twist the straps.
4a.
Keep the top facing right side out. With the facing turned to the inside, work with one armhole at a time.
Pull the armhole edges through the opening between the main fabric and facing so that the right sides can be aligned. Match and pin the armhole edges together.
Sew along the armhole seamline with a stretch-compatible lockstitch or overlock stitch. Repeat the same process for the other armhole.
This stage requires a little care. Work on one armhole at a time and make sure the straps are not twisted. Match the shoulder and side seams before pinning around each armhole.
4b.
Keep the top facing right side out. Press the neckline and armhole seam allowances toward the facing.
Understitch the facing as far as possible, approximately 2–3 mm from the seamline, sewing through the facing and seam allowances. This helps prevent the facing from rolling to the outside.
5. Finish the Facing
Finish the lower raw edge of the facing with an overlock stitch.
Tip: Secure the facing to the side-seam allowances with a few hand stitches or machine bar tacks so that it remains inside the garment.
6. Finish the Hem
Fold the 2.54 cm (1”) hem allowance to the wrong side and press.
From the right side, coverstitch the hem so that the two parallel rows of stitching appear on the outside and the looper stitching catches the raw edge on the inside.


Ready to Sew Your Own Square Neck Tank Top?


The Winslet's MARA Square Neck Tank Top Sewing Pattern combines a fitted silhouette with broad straps, square front and back necklines, and a distinctive center-front V-cut. Its full-length shape makes it a versatile top for everyday outfits as well as more polished combinations.
With a Very Easy difficulty level and just four main pattern pieces, MARA is an approachable way to practice sewing stretch knit fabric, attaching a facing, shaping a detailed neckline, finishing enclosed armholes, understitching, and coverstitching a knit hem.
Get the MARA Square Neck Tank Top Sewing Pattern and sew a fitted tank top that can become a useful part of your handmade wardrobe.
Explore More Sewing Patterns
Browse our Women Tanks & Tshirts Sewing Pattern Collection for more handmade sleeveless tops that are easy to pair with jeans, shorts, trousers, and skirts.
Join the Community & Get Support
Share your finished MARA Square Neck Tank Top on social media with #MadeWithWinslets. If you have questions, feedback, or customization requests, contact the Winslet's team at support@winslets.com.