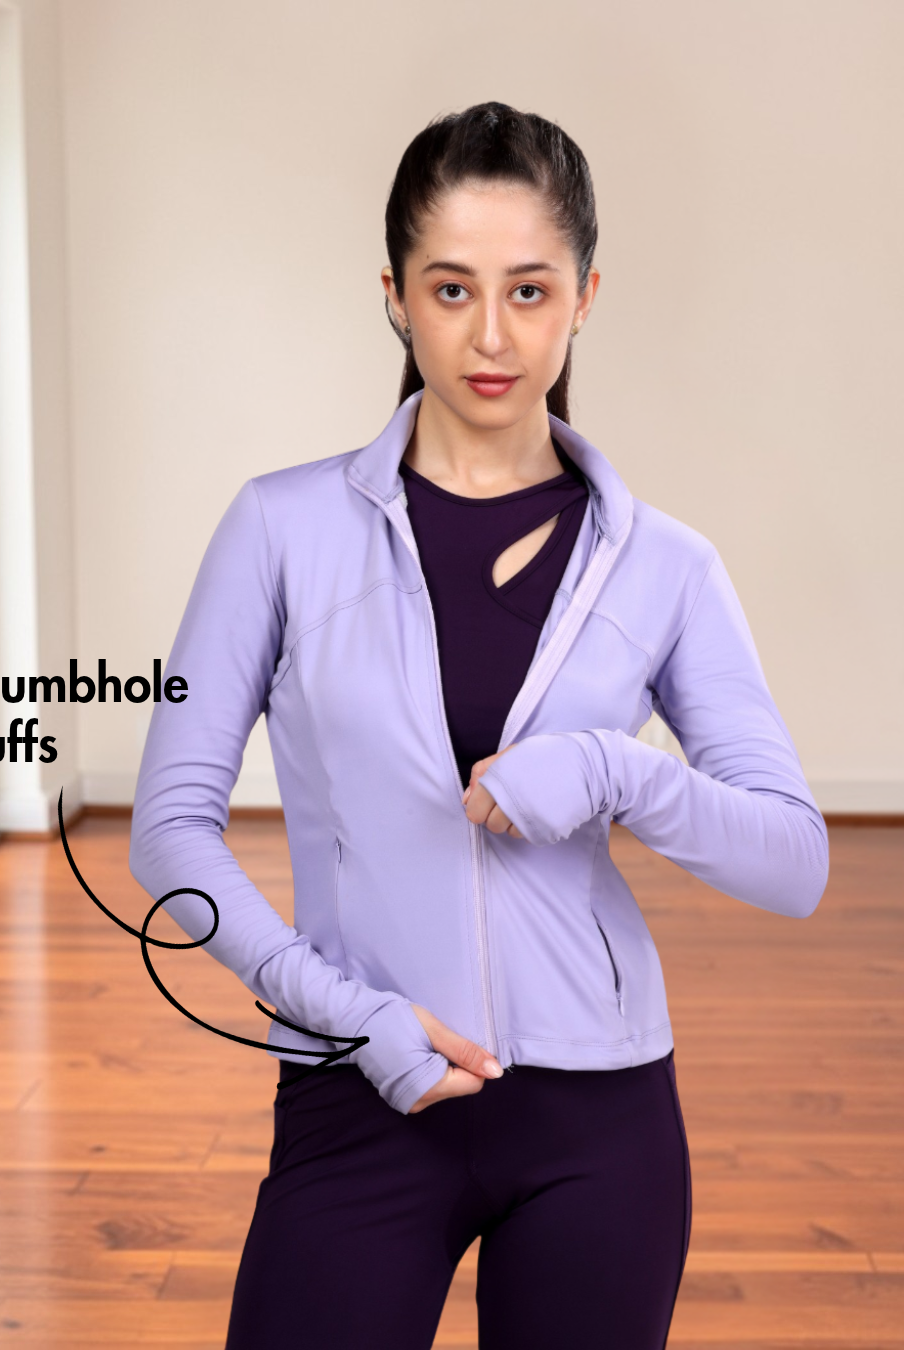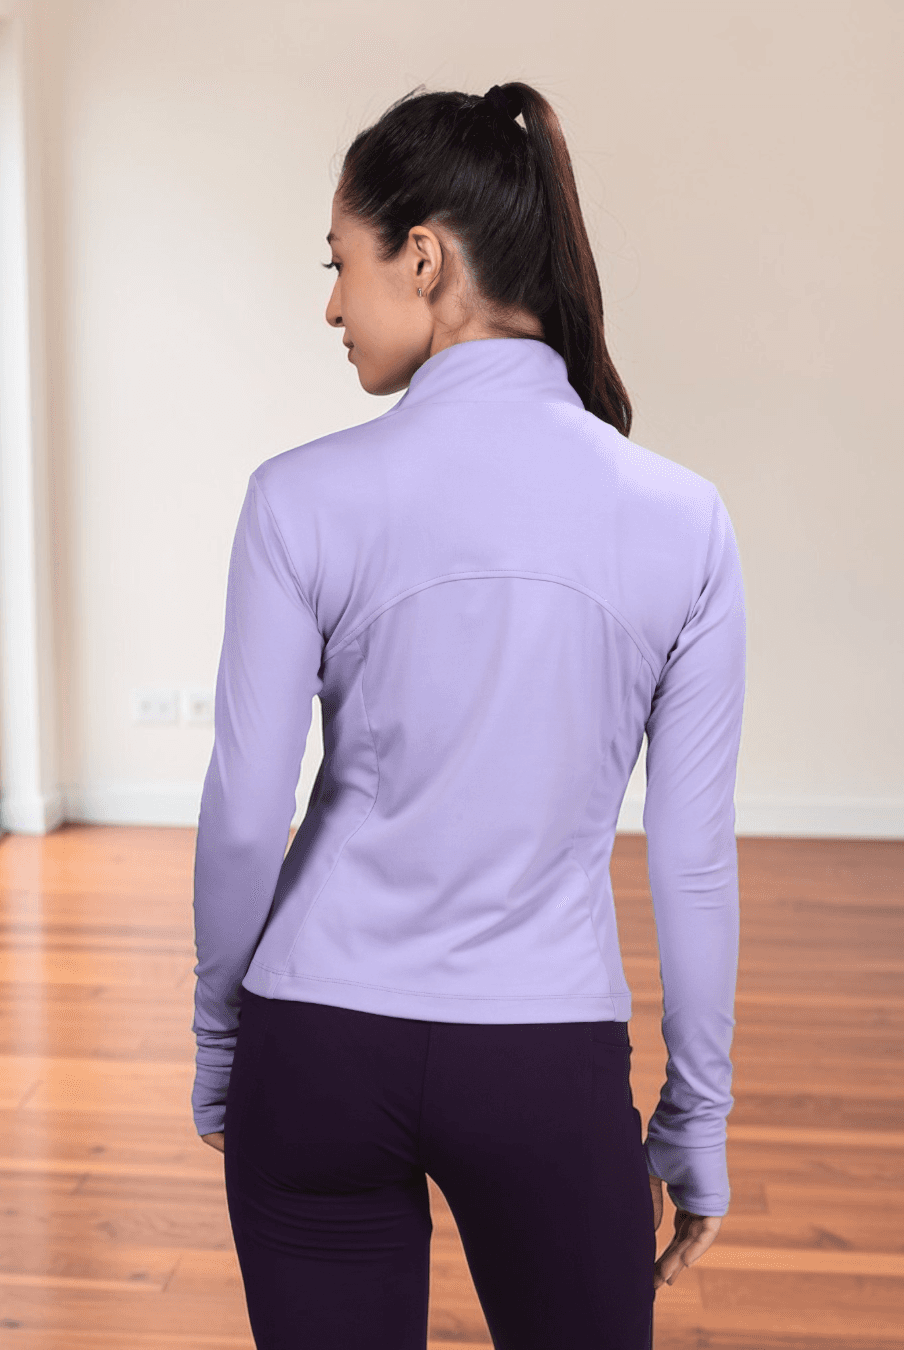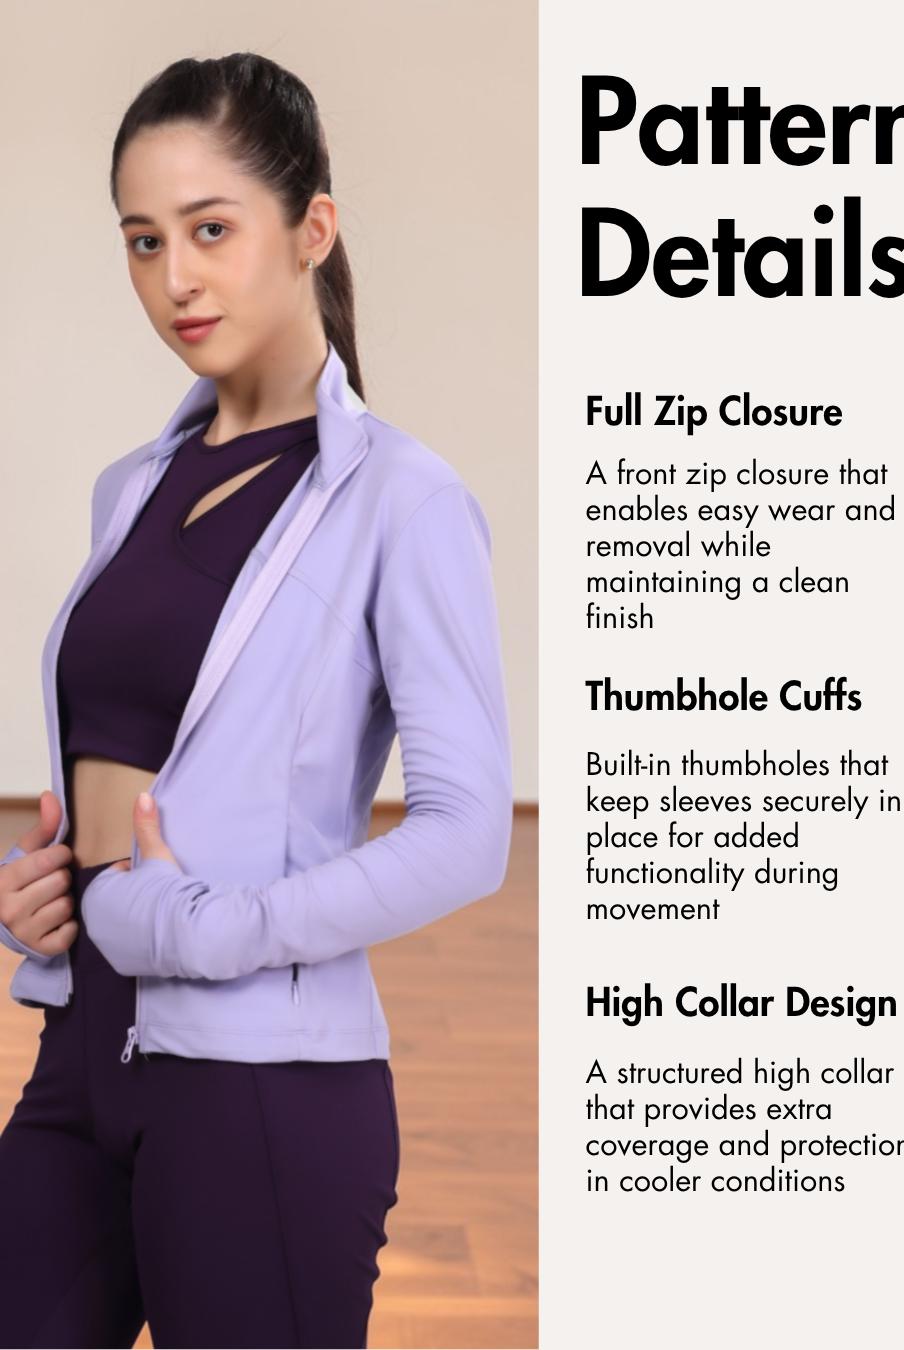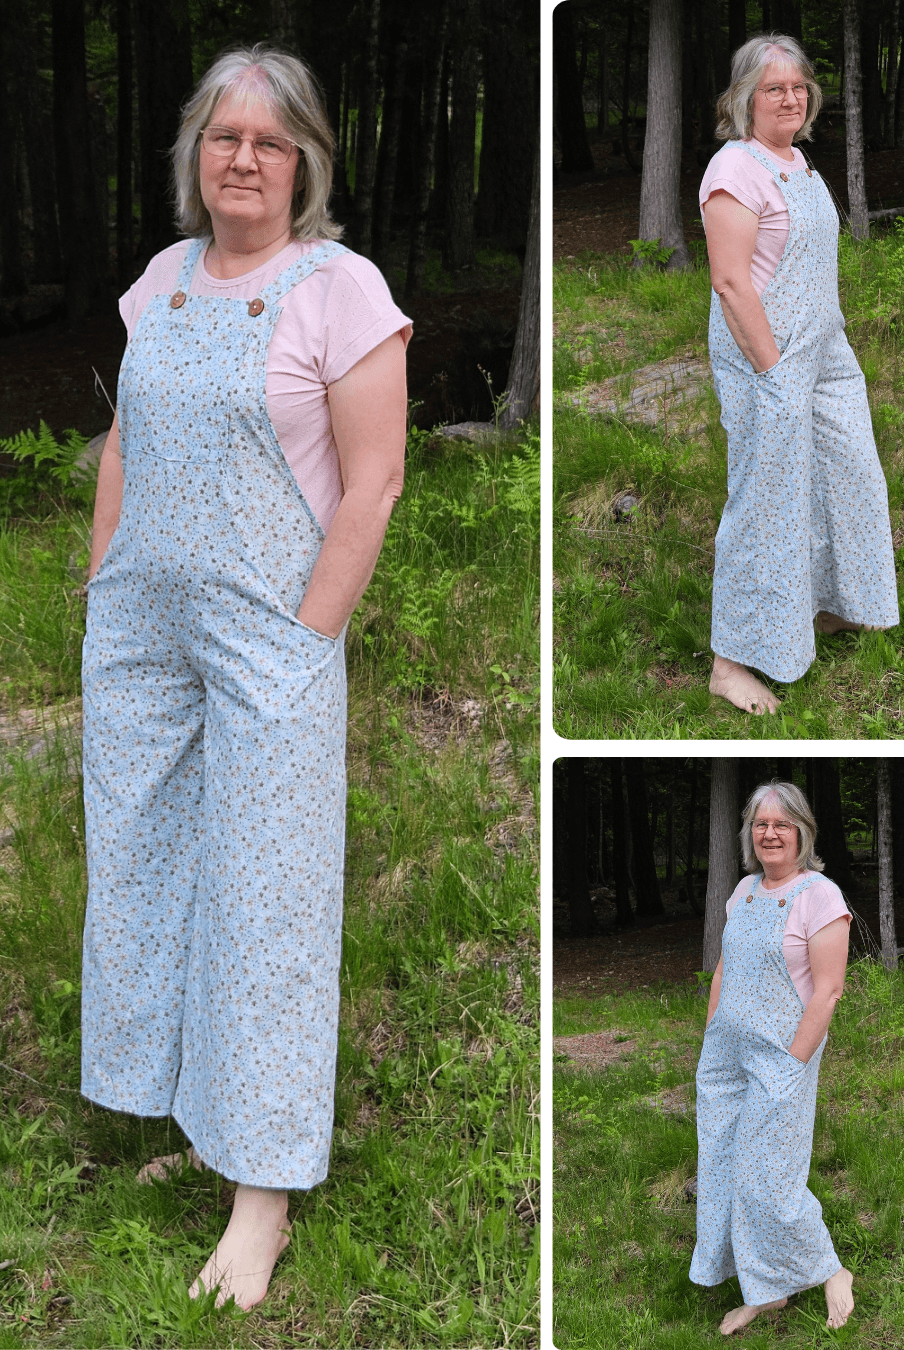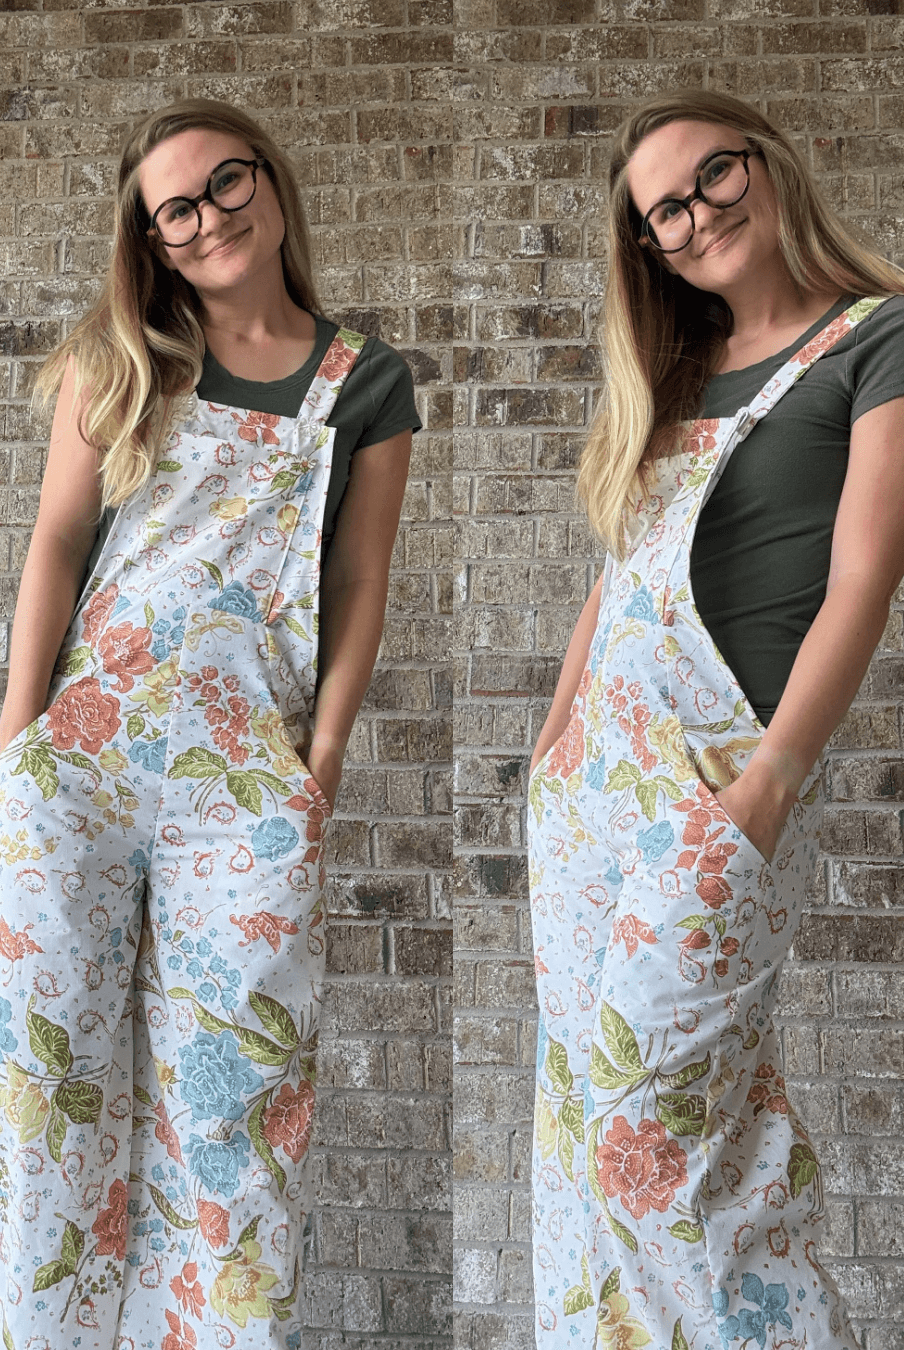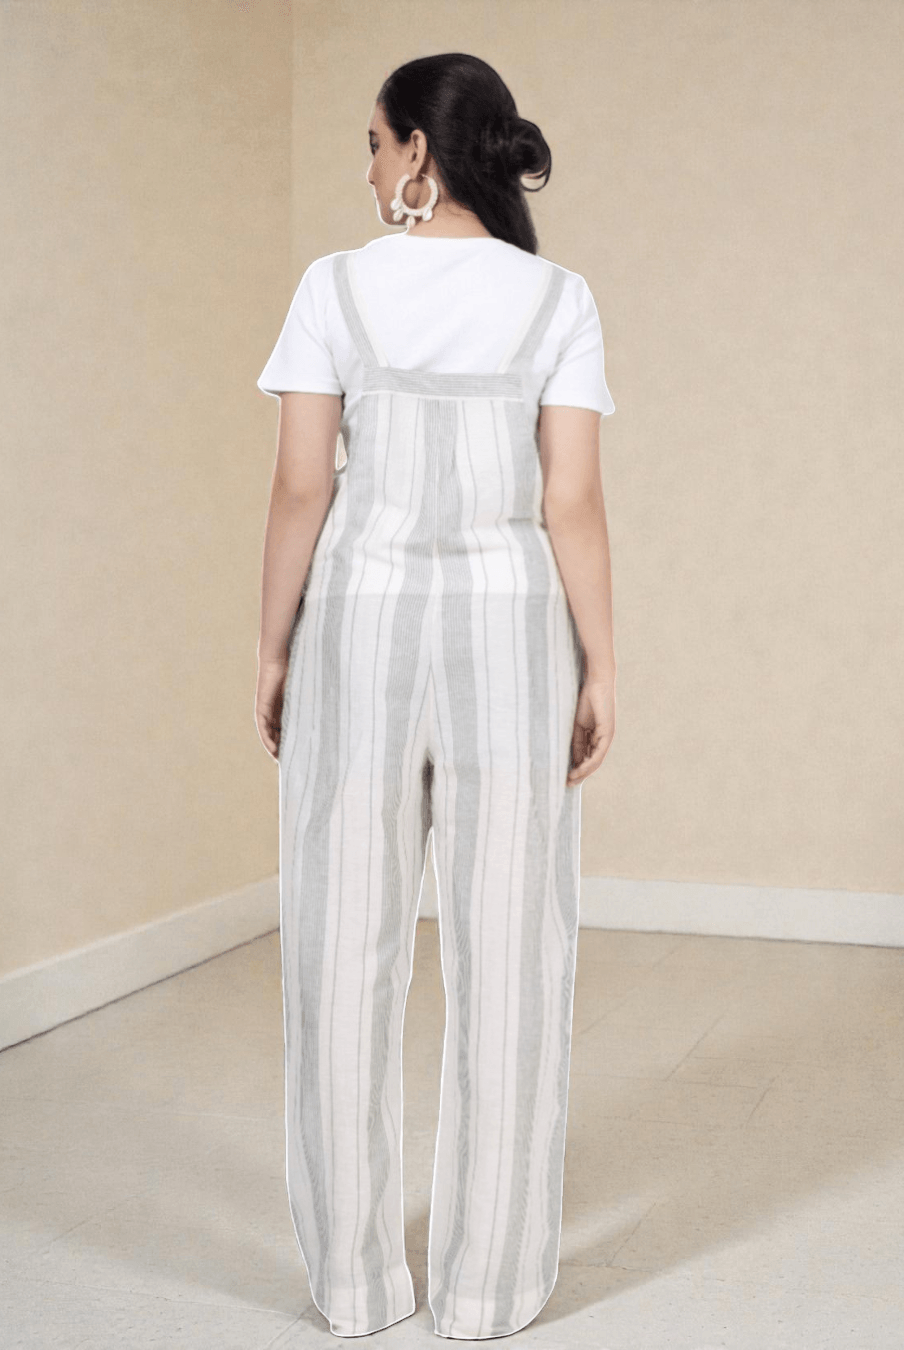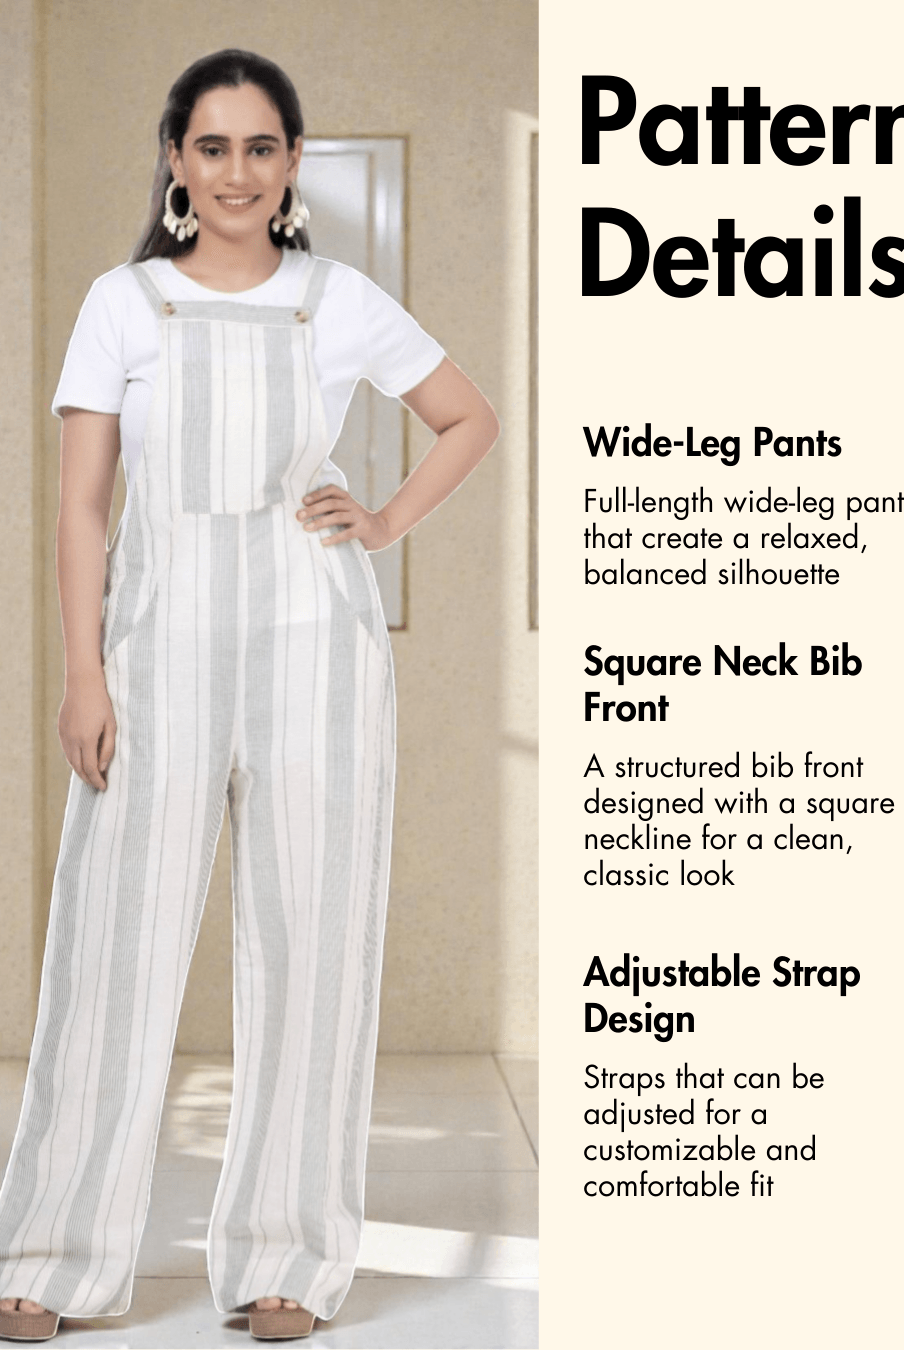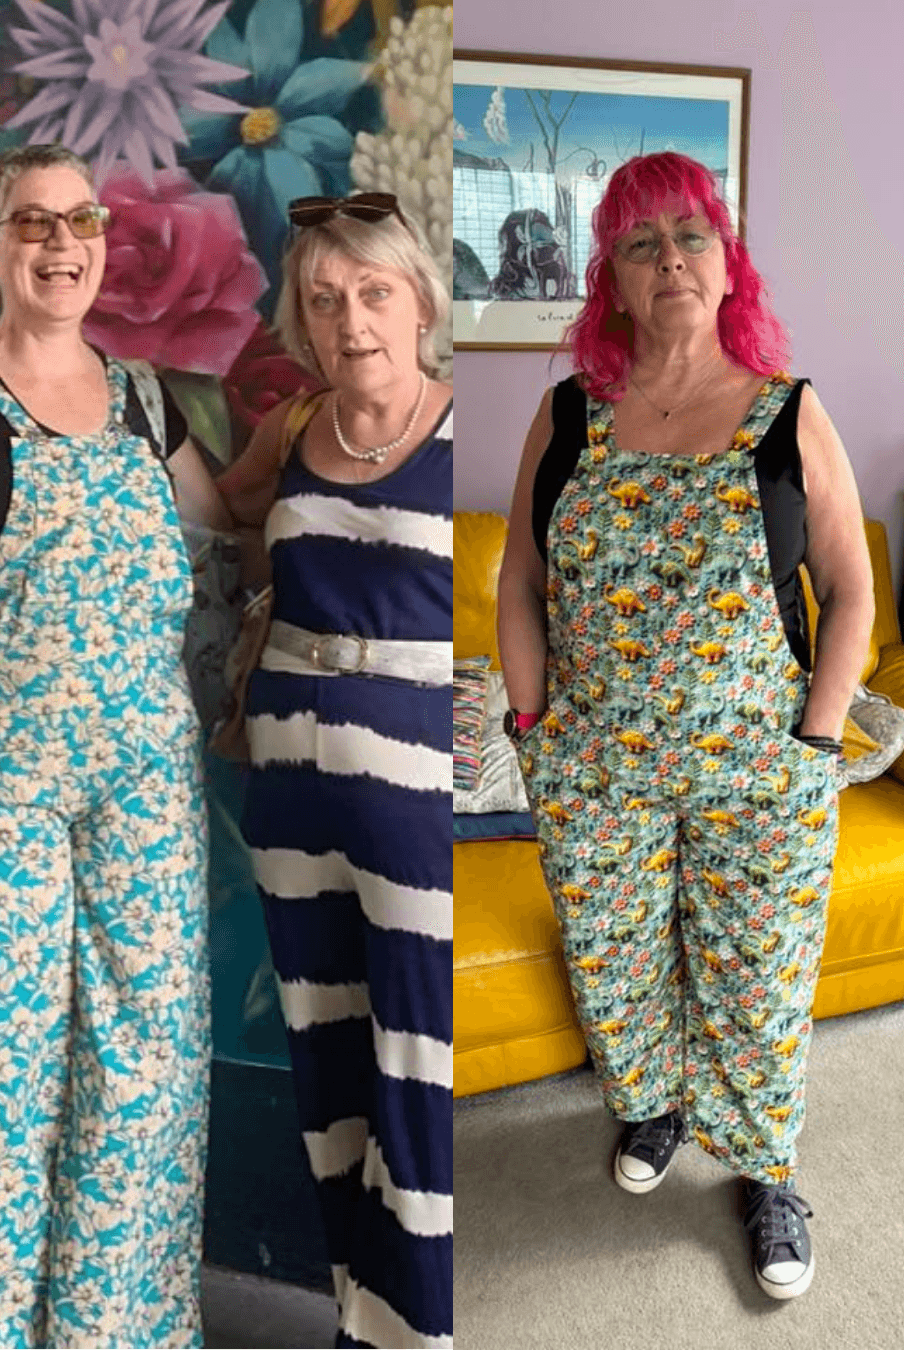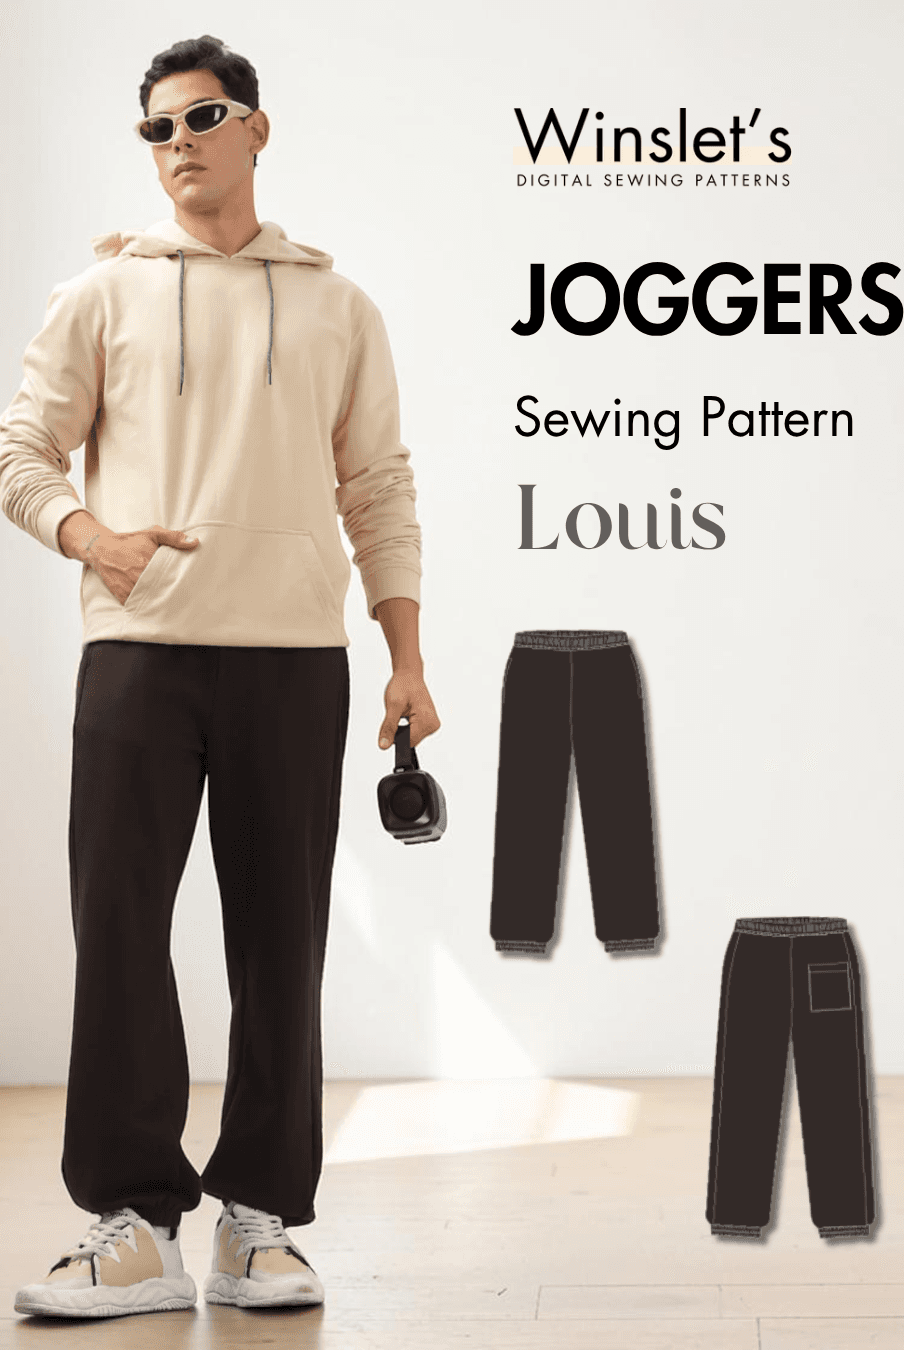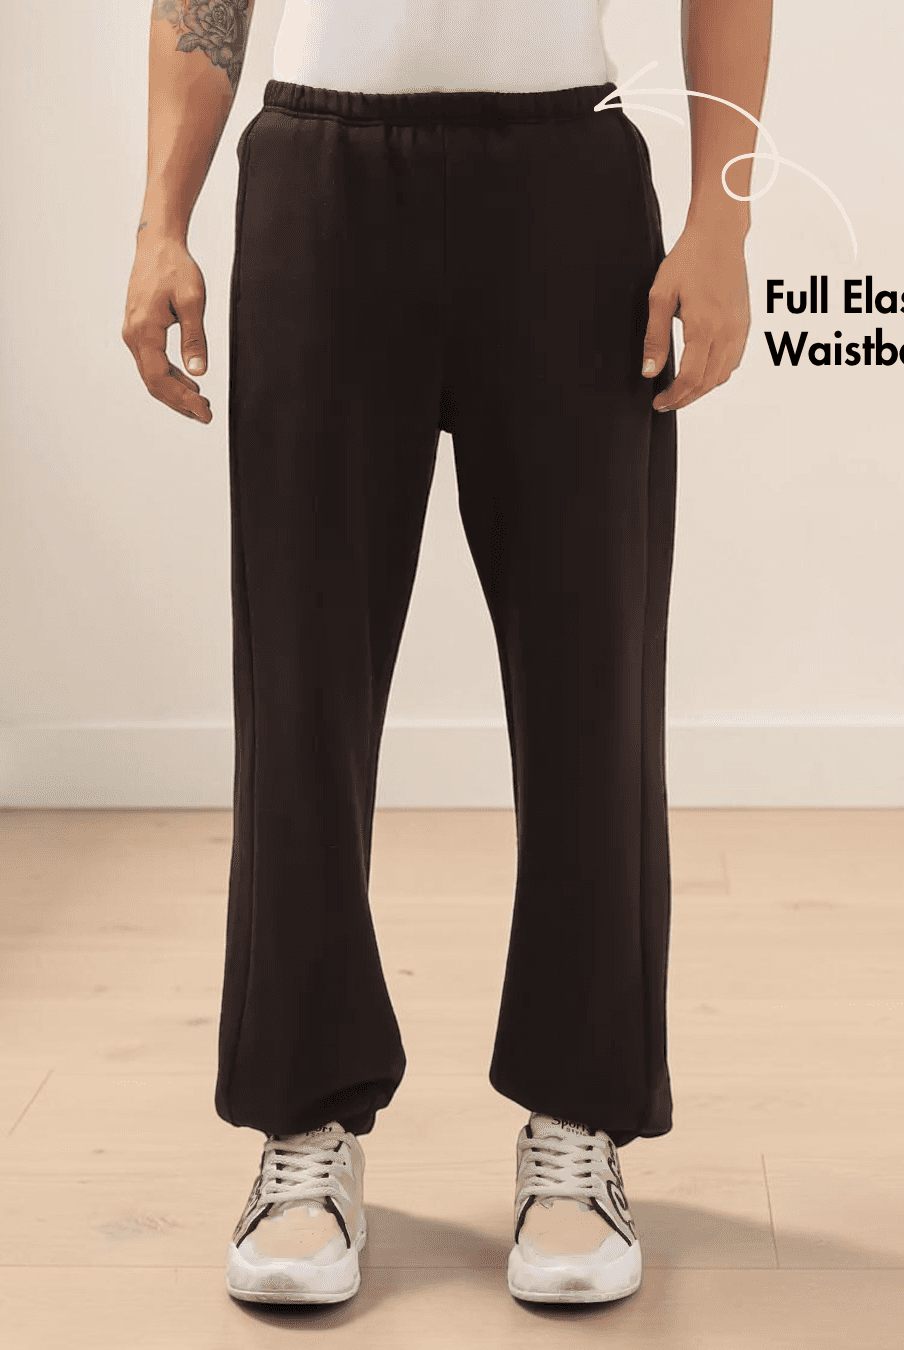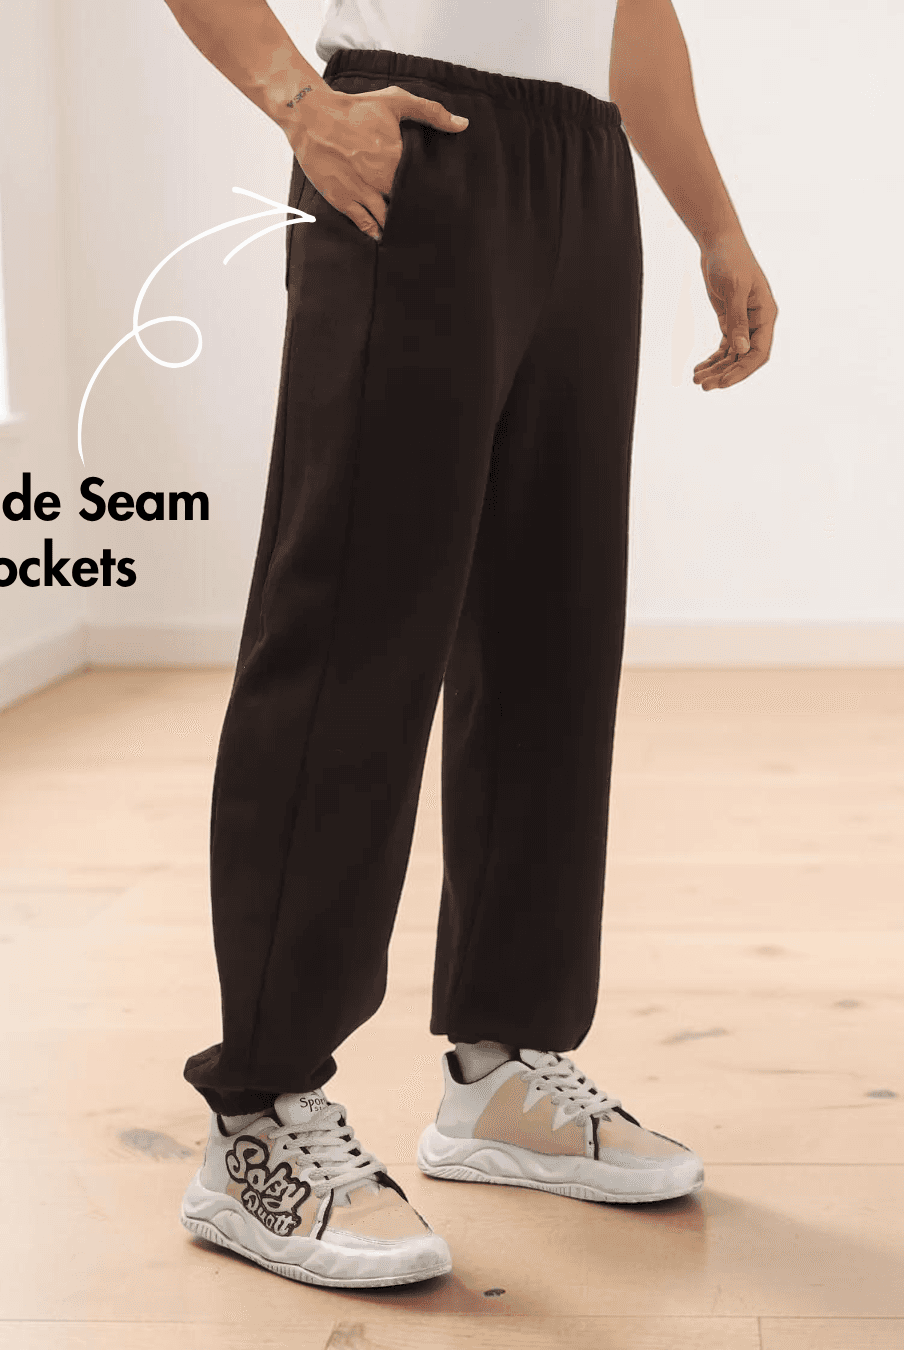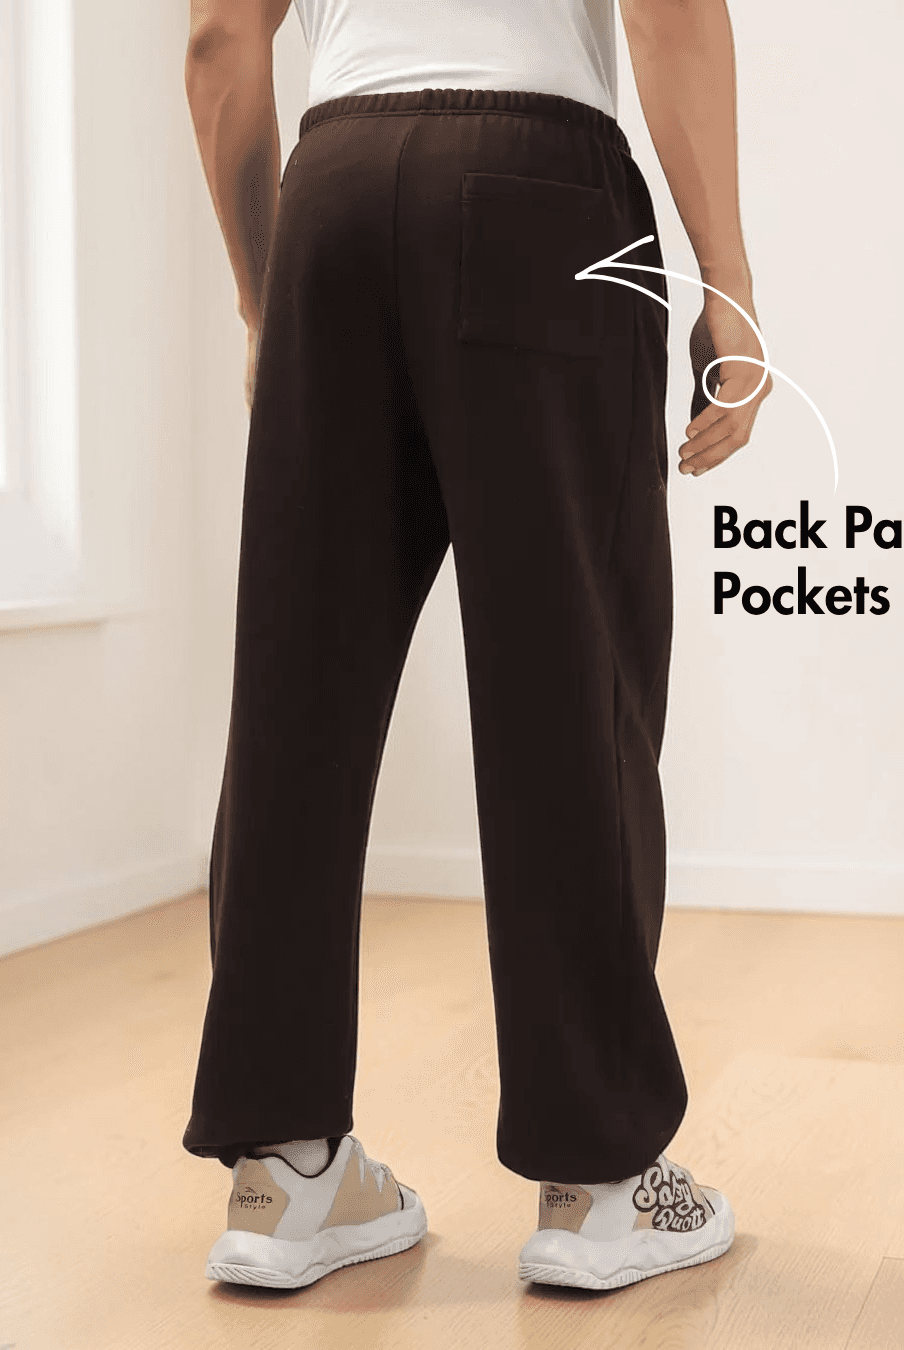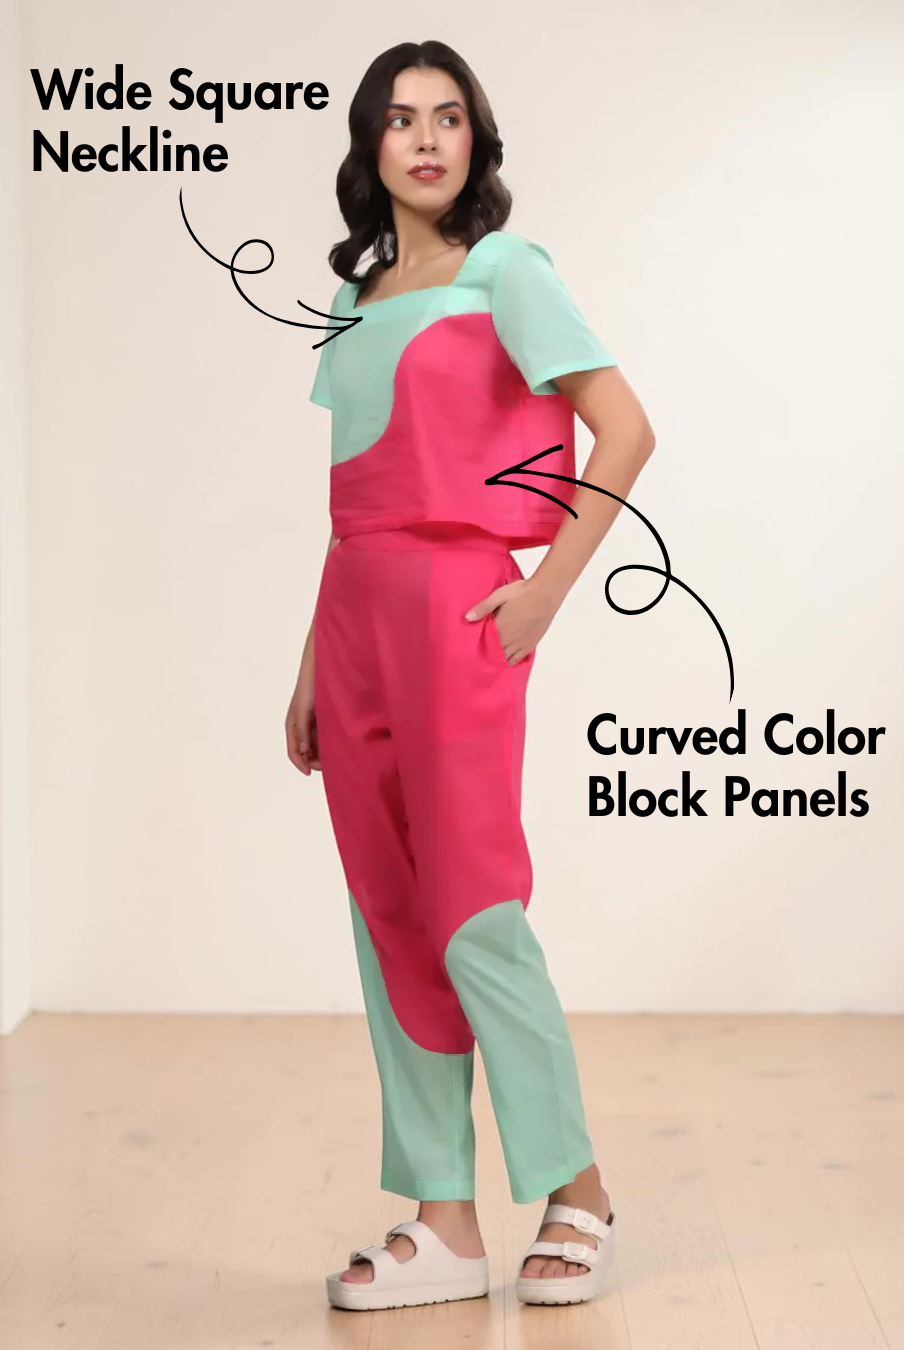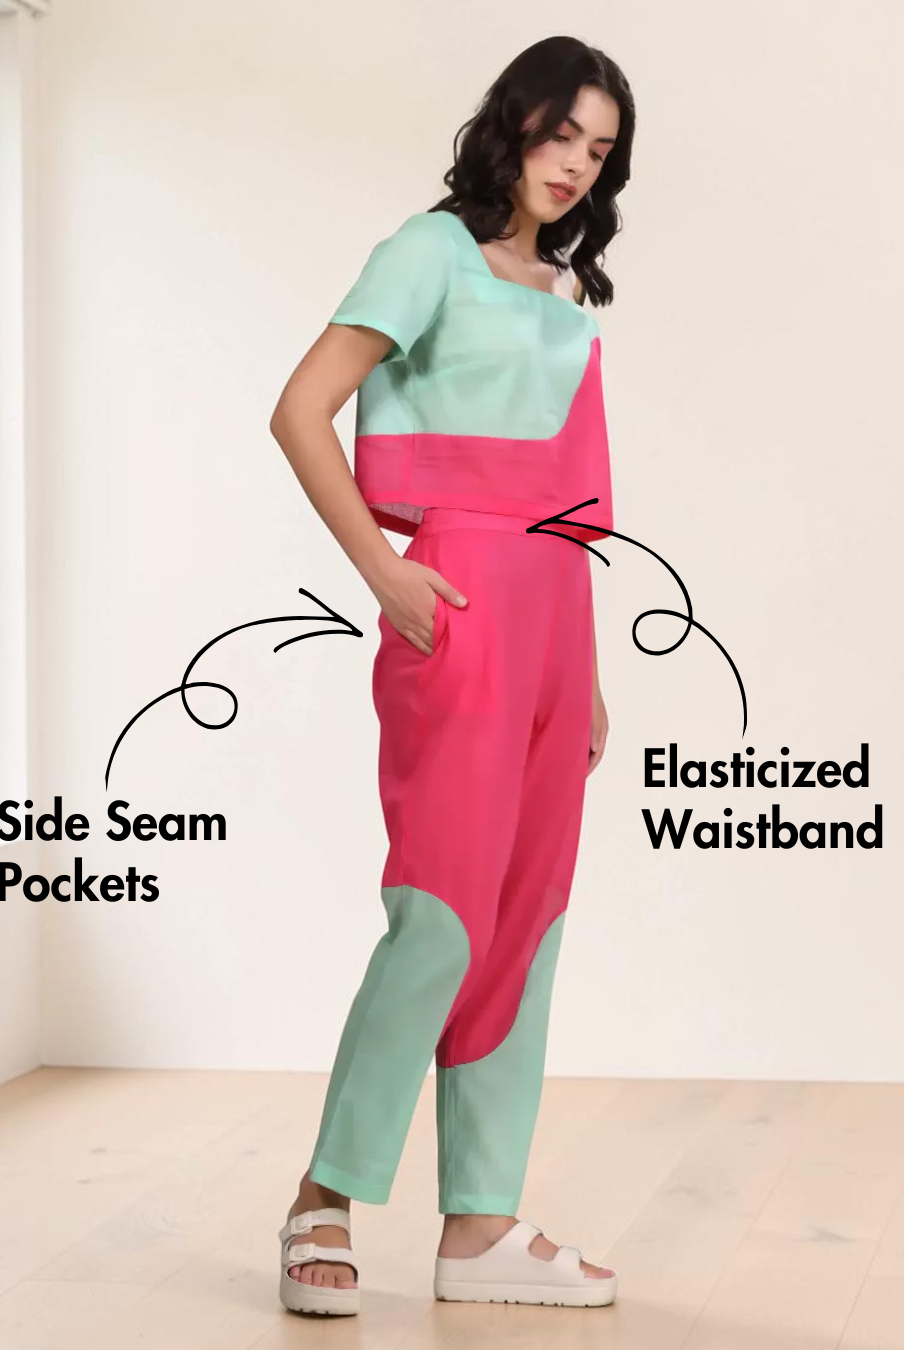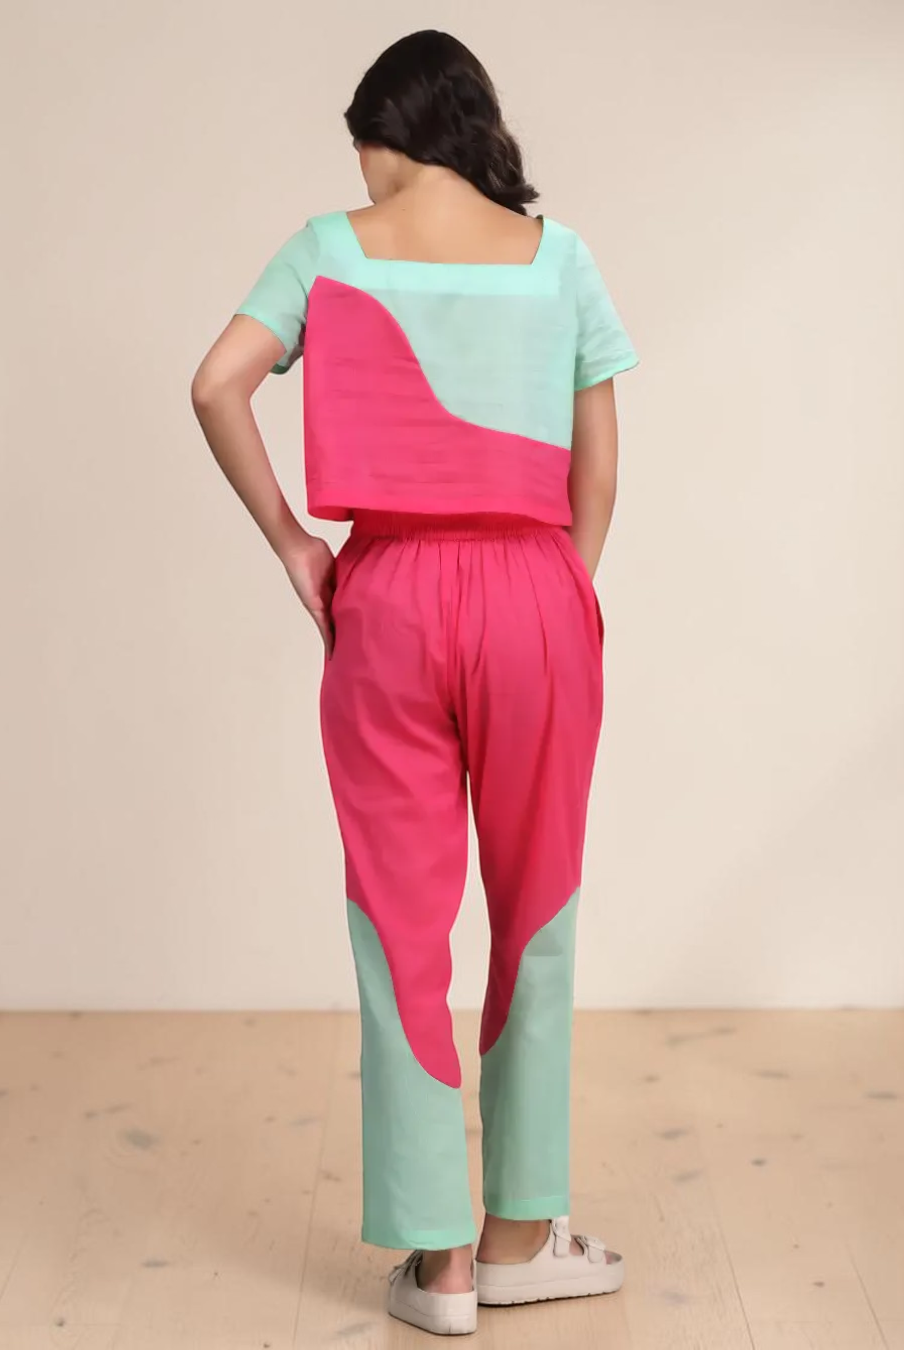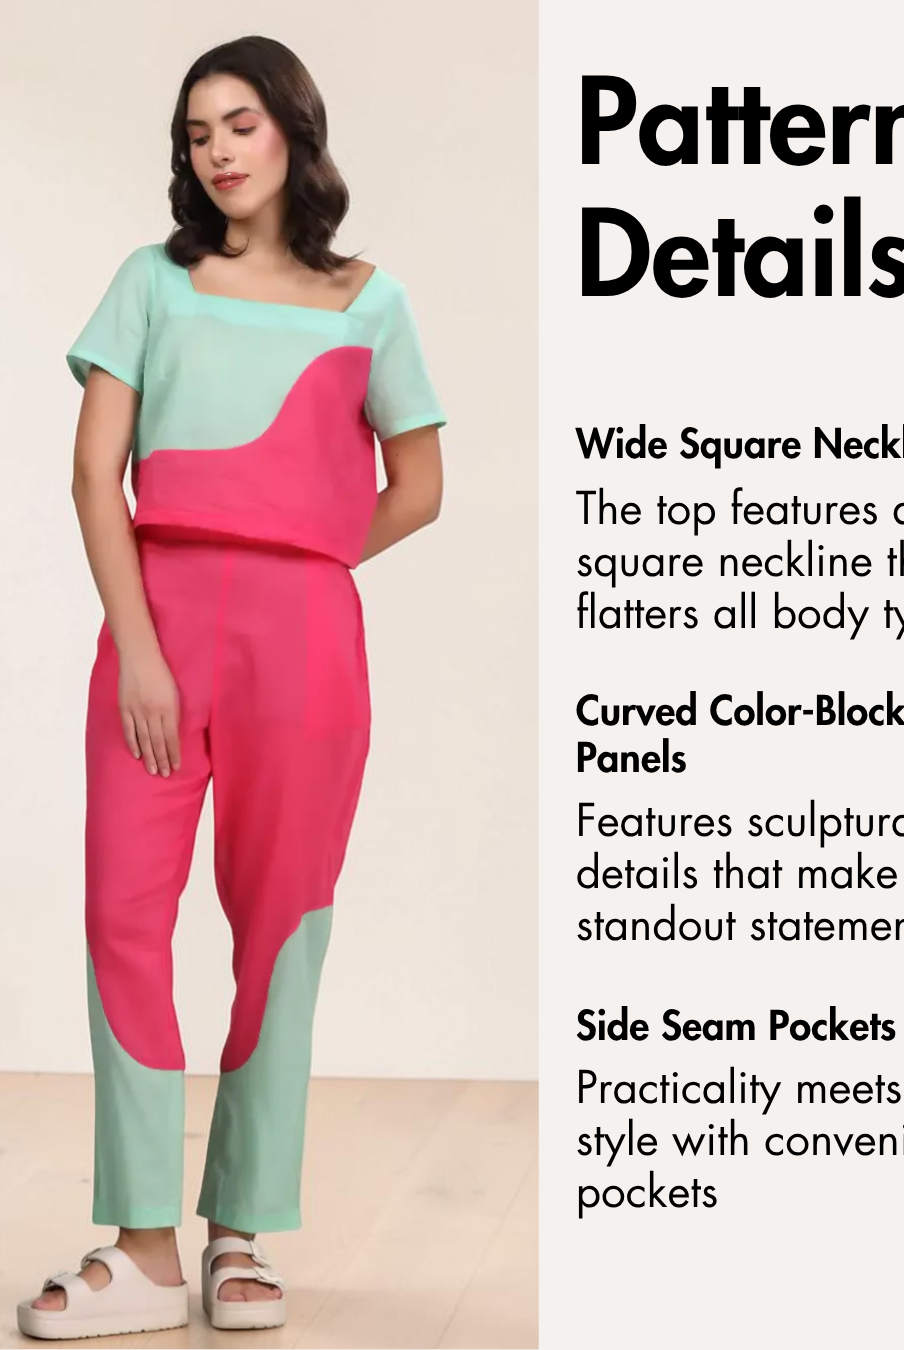
A romper combines a top and shorts in one garment, making it a practical project for sewists who enjoy creating complete outfits. Its one-piece design is especially useful for warm-weather wardrobes, while details such as adjustable straps and an elasticated waist allow comfort and fit to be built directly into the garment.
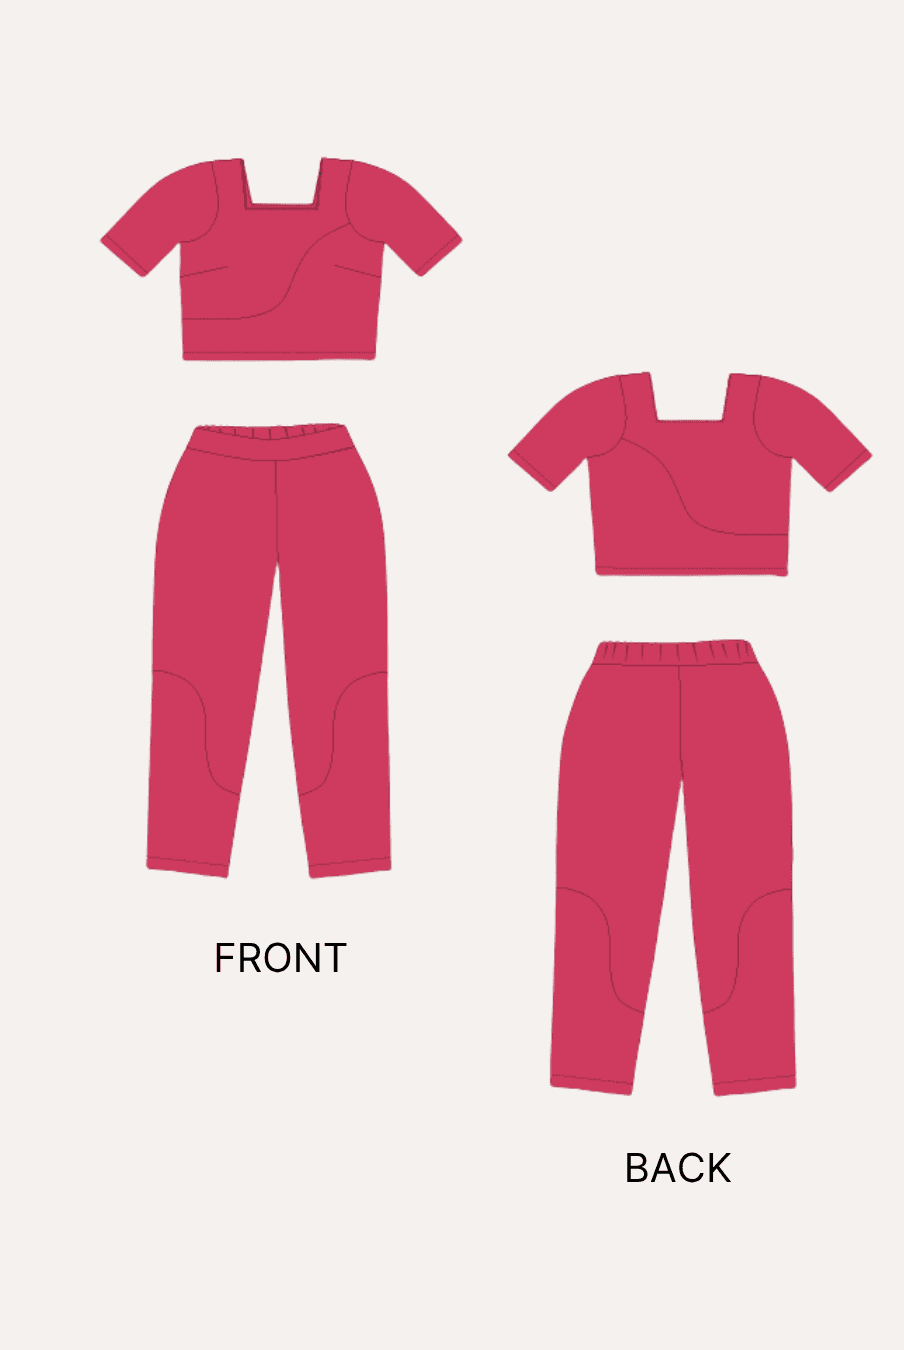
The Winslet's TESSA Romper Sewing Pattern is a strappy short romper with a round neckline, adjustable shoulder straps, an elasticated waist, and practical side pockets. The fitted upper section transitions into a defined elasticated waist before flowing into relaxed, wide-cut shorts, creating a comfortable one-piece silhouette.

Why Sew a Romper?
- Create a complete one-piece outfit with a fitted upper section and relaxed shorts.
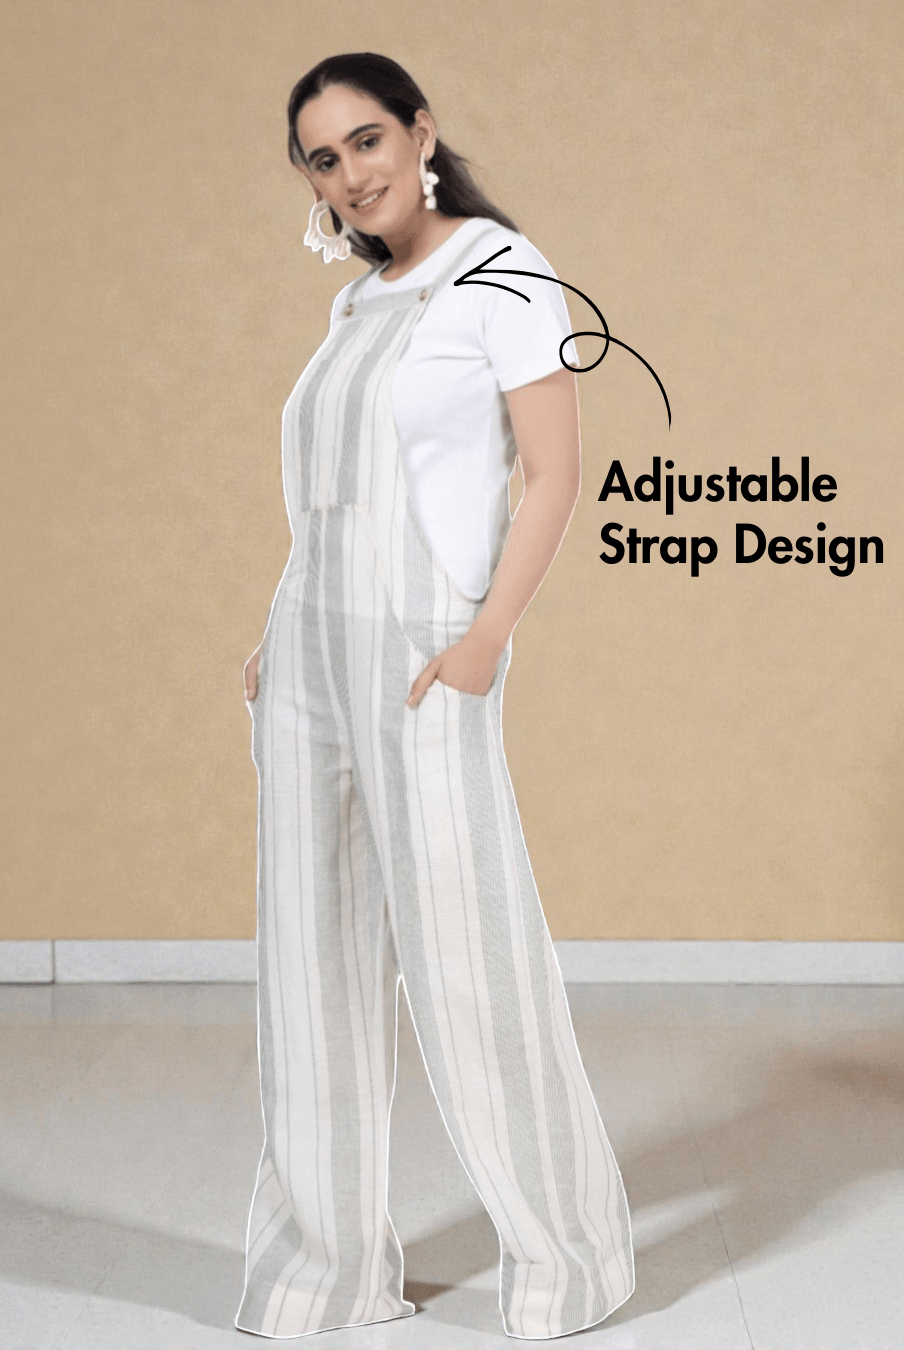
- Adjustable shoulder straps allow the upper fit to be customized.
- The elasticated waist provides flexibility while defining the waist.
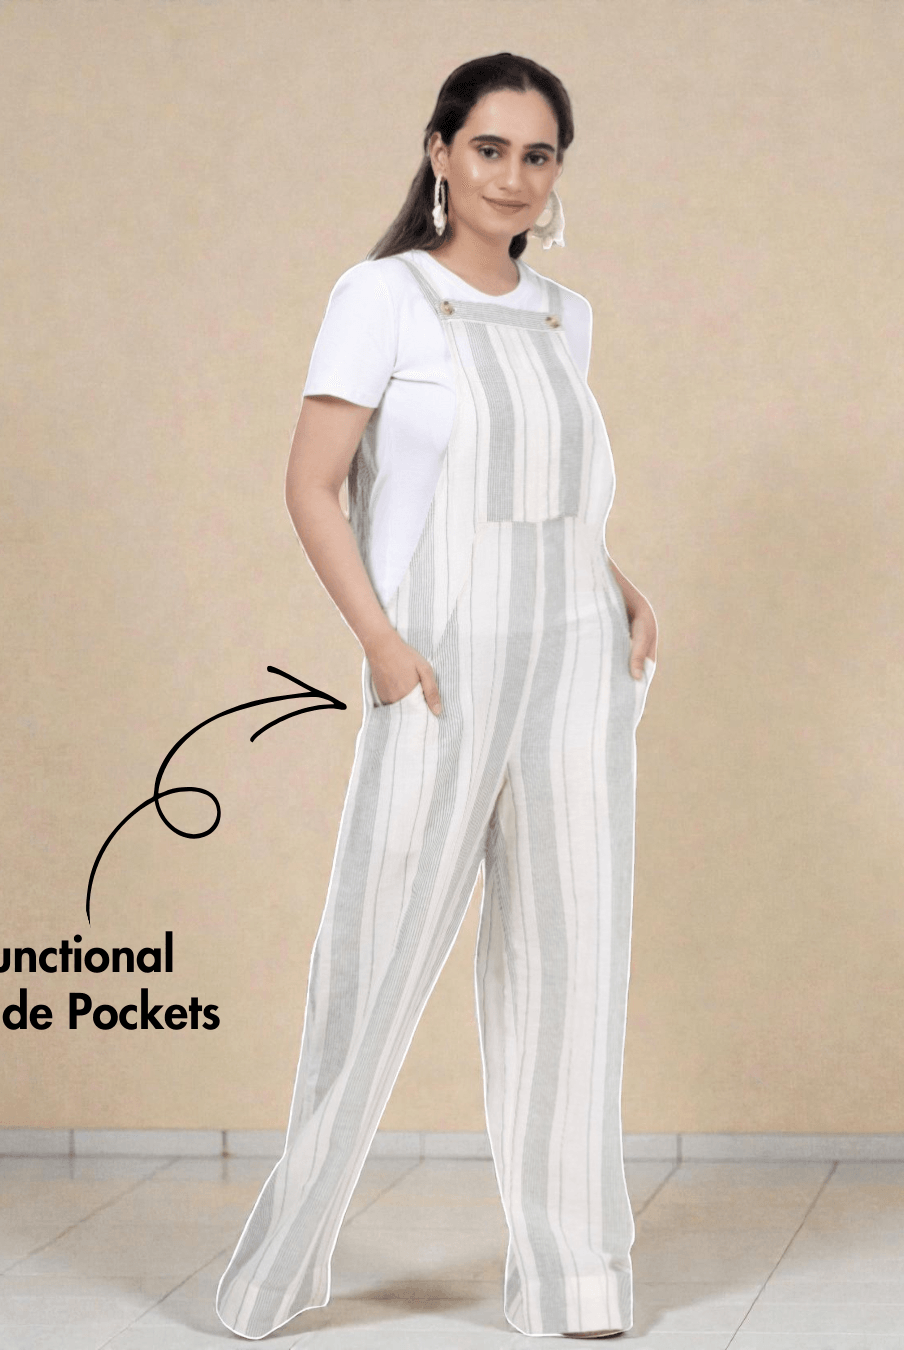
- Side pockets add a practical detail to the shorts.
- The relaxed, wide-cut shorts provide an easy-to-wear lower silhouette.
- The short length and sleeveless design make it suitable for warm-weather wear.
Why Choose the Winslet's TESSA Romper Pattern?

The Winslet's TESSA Romper Sewing Pattern combines a close-fitting bodice with adjustable straps, an elasticated waist, and relaxed shorts for a defined yet comfortable fit.
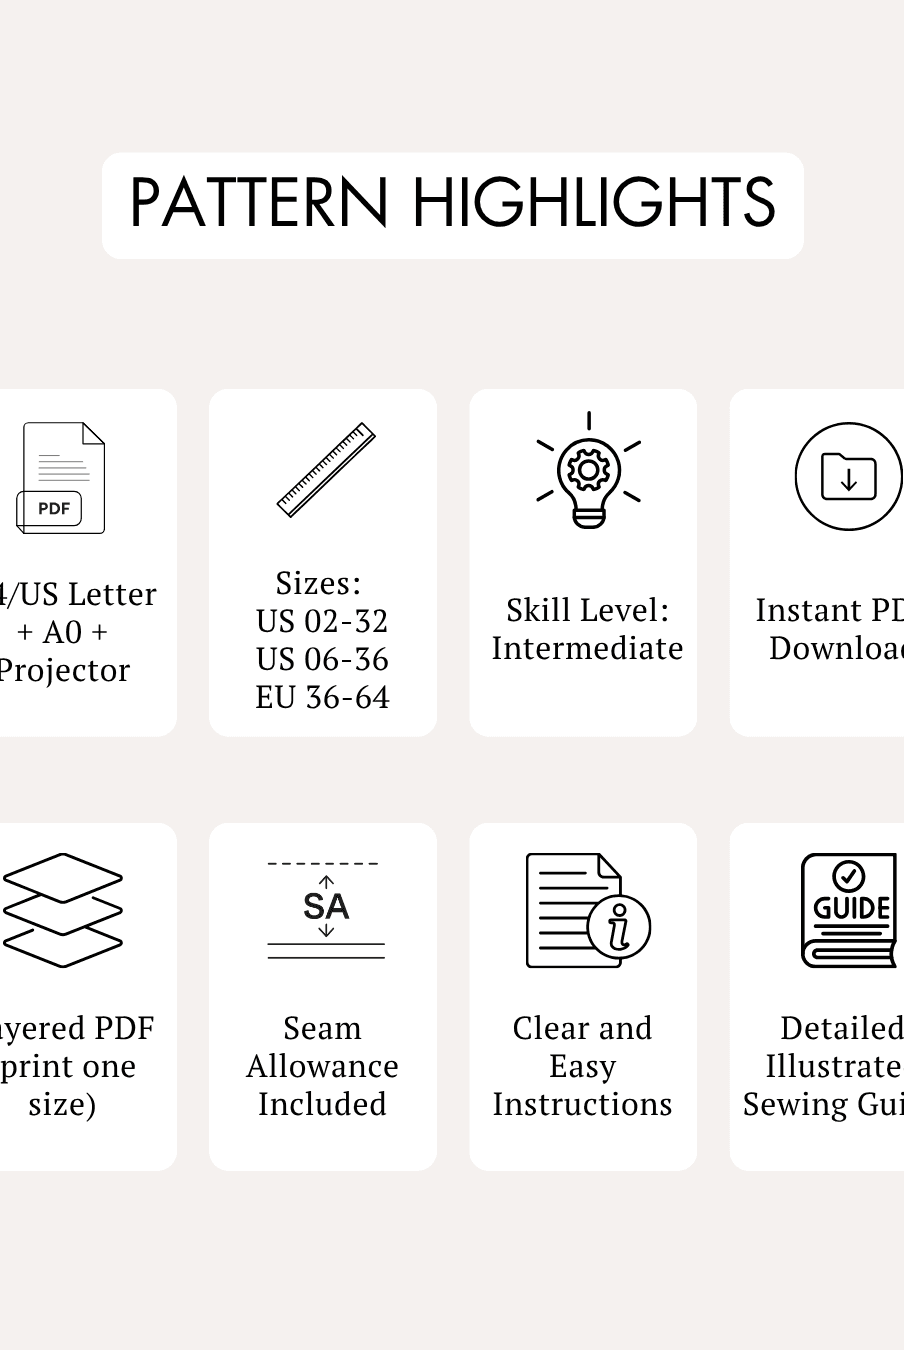
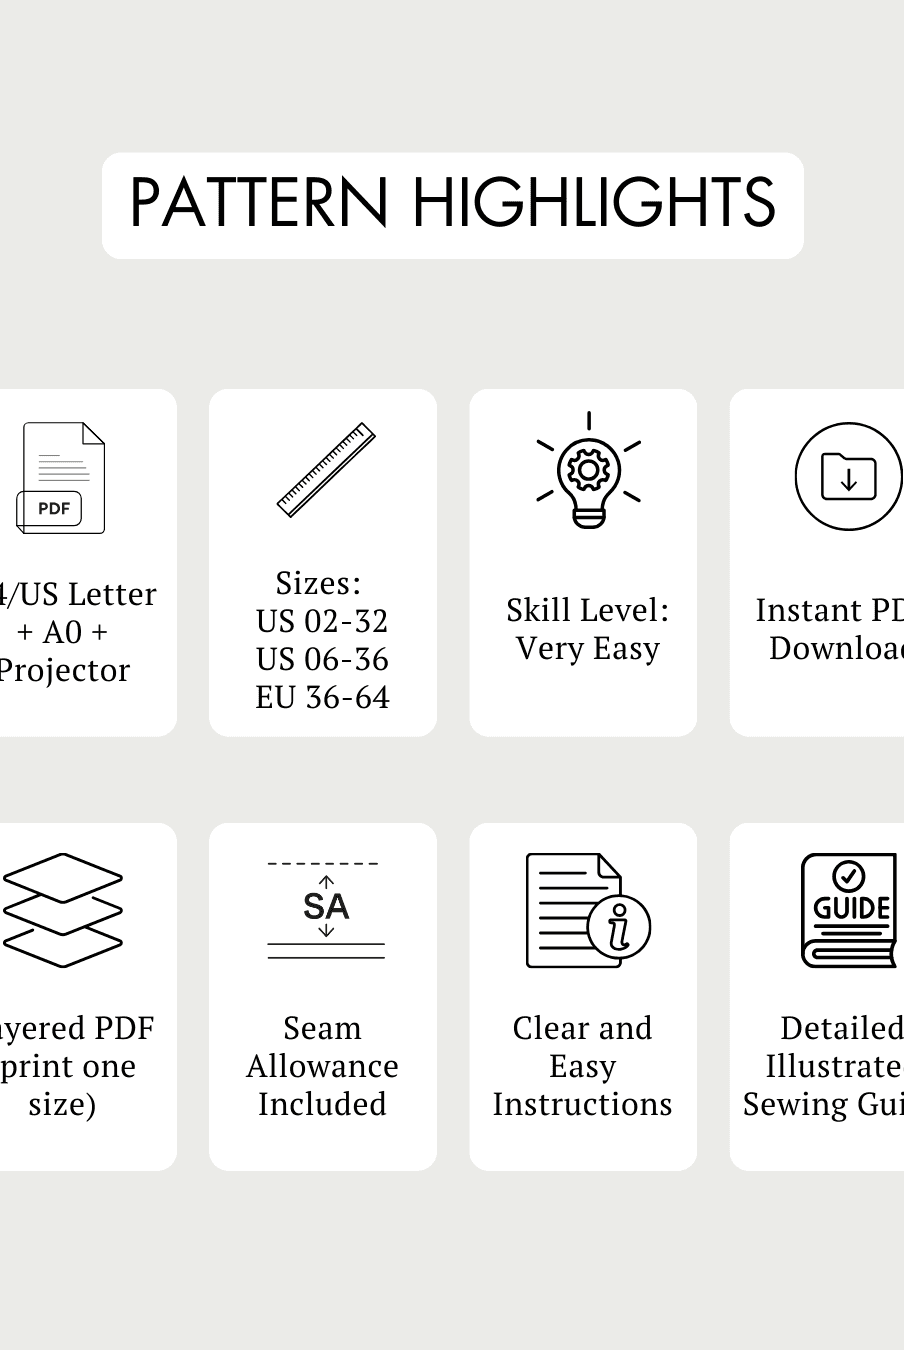
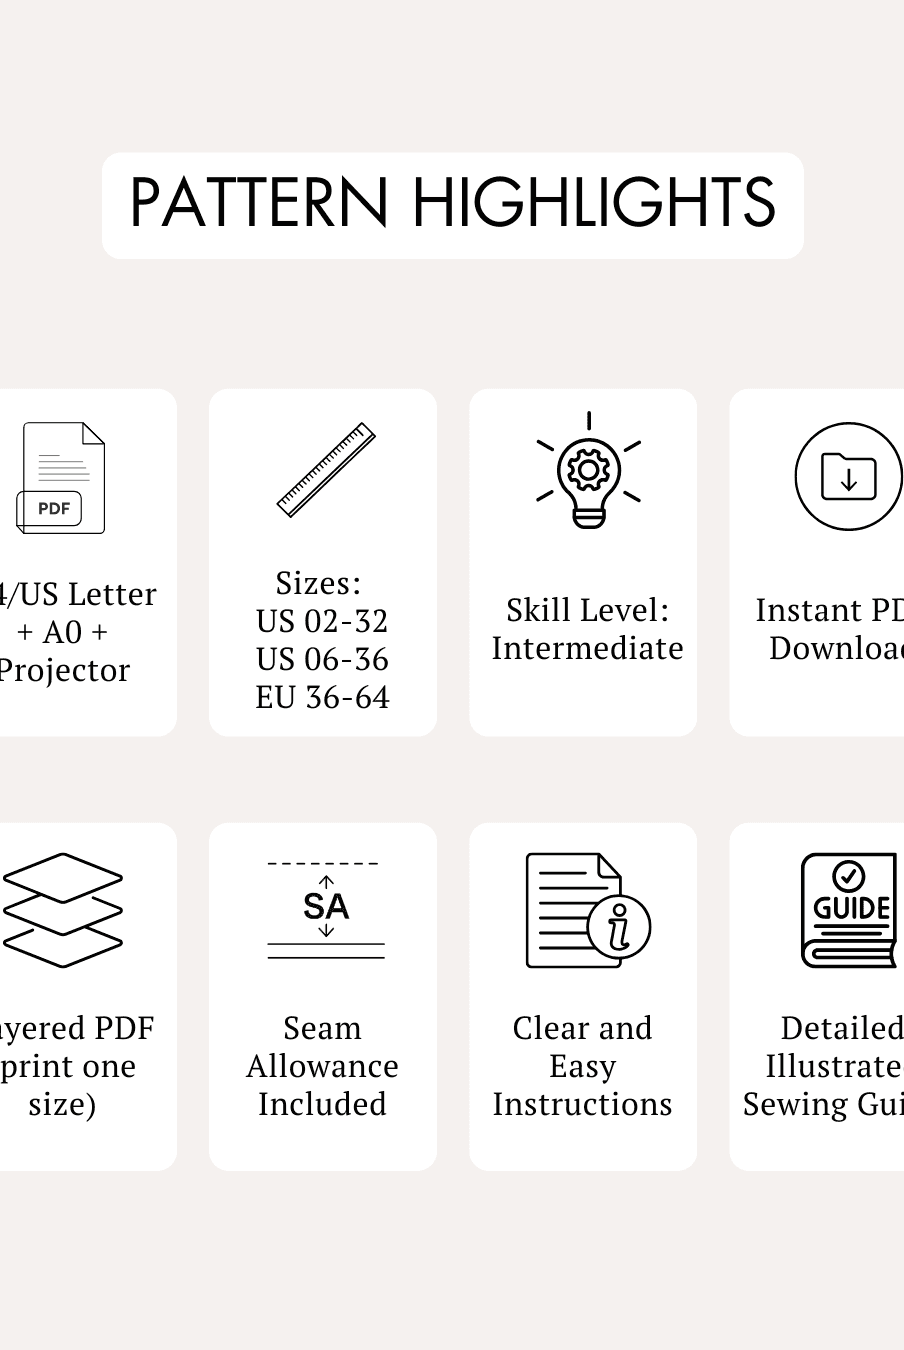
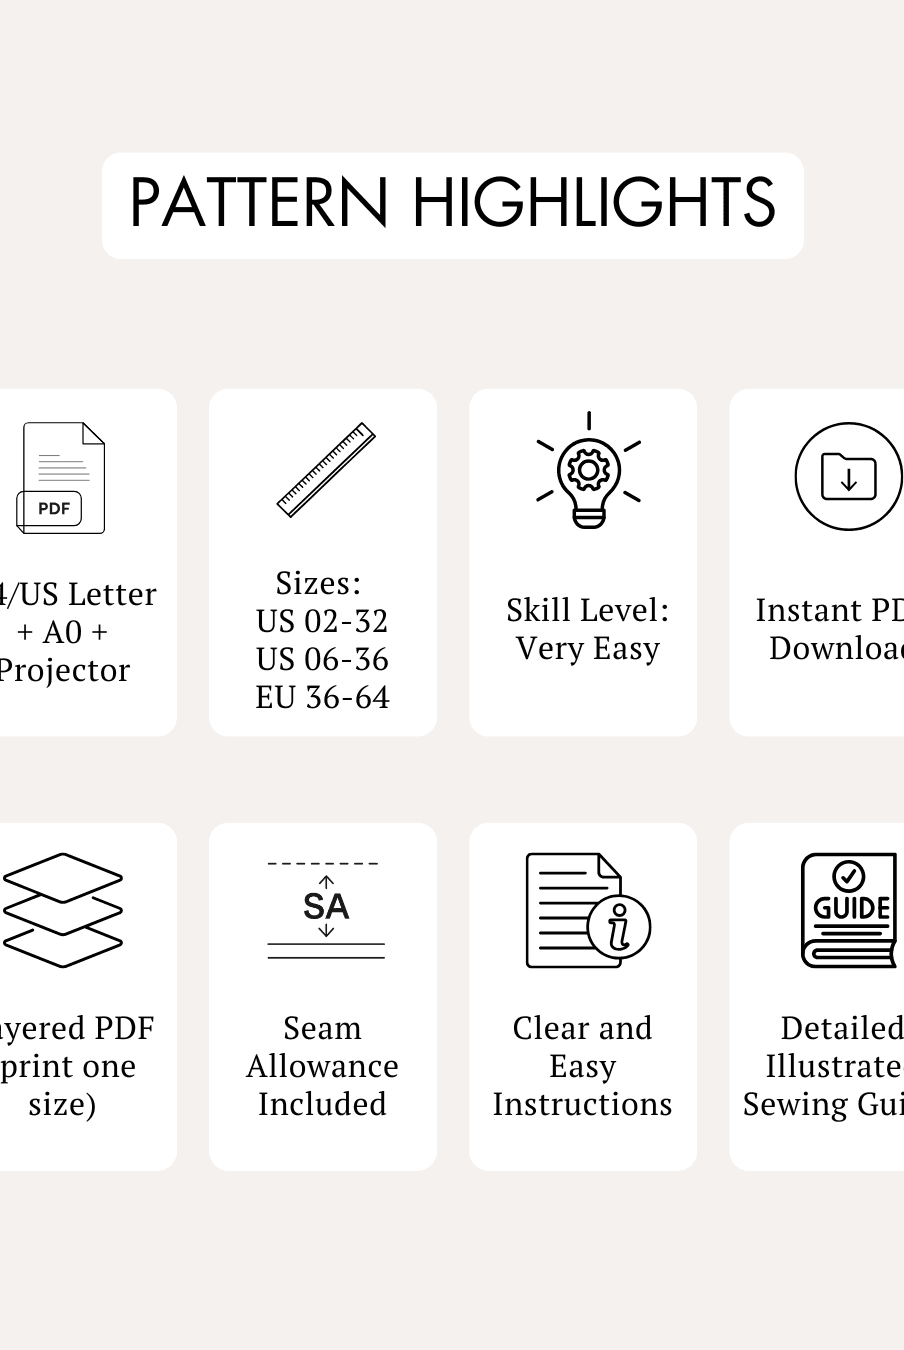
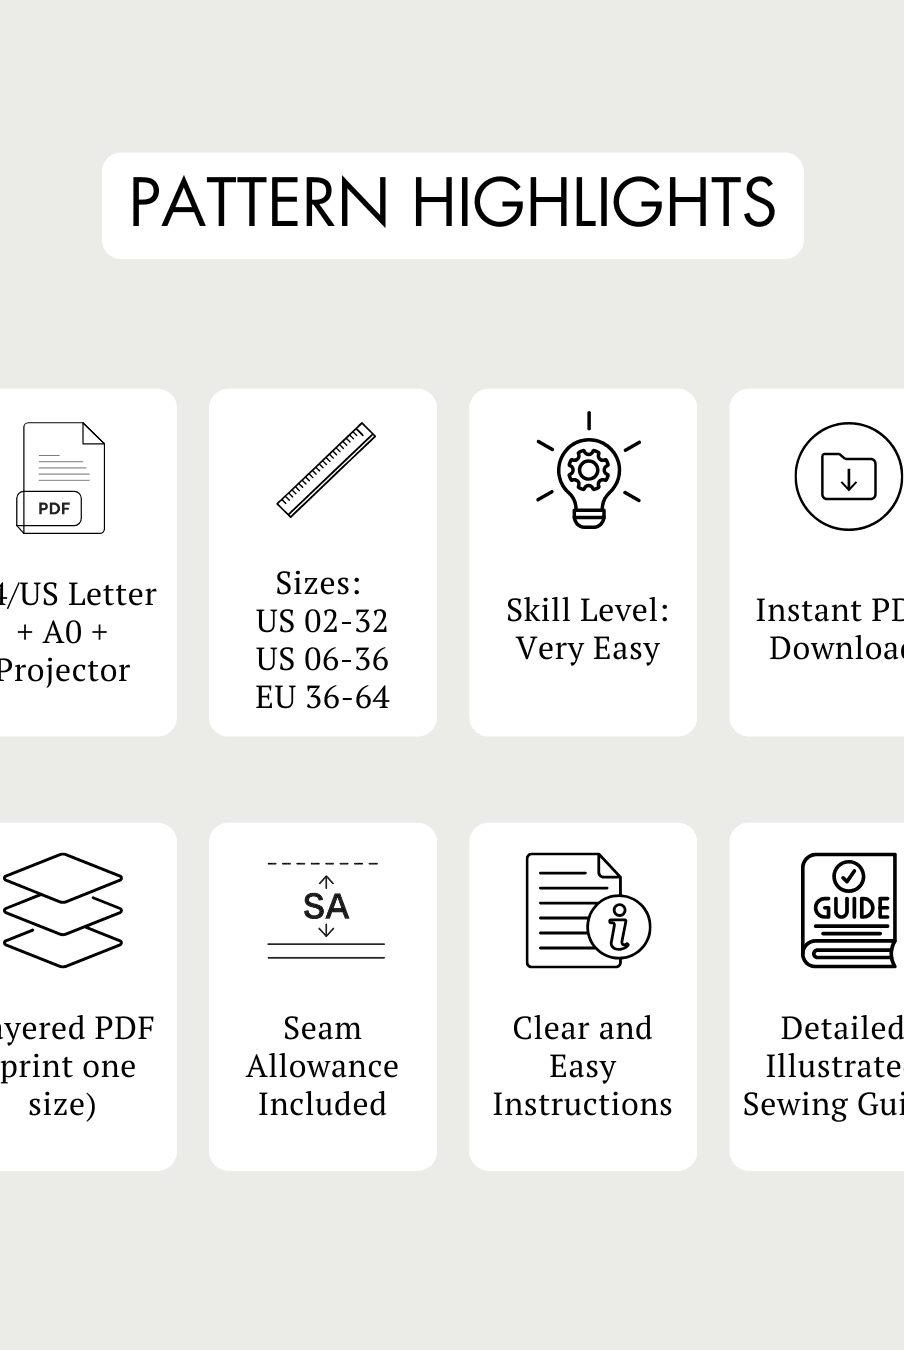
- Skill Level: Intermediate
- Round neckline
- Slim adjustable shoulder straps
- Elasticated waist
- Relaxed, wide-cut shorts
- Side pockets
- Short-length one-piece design
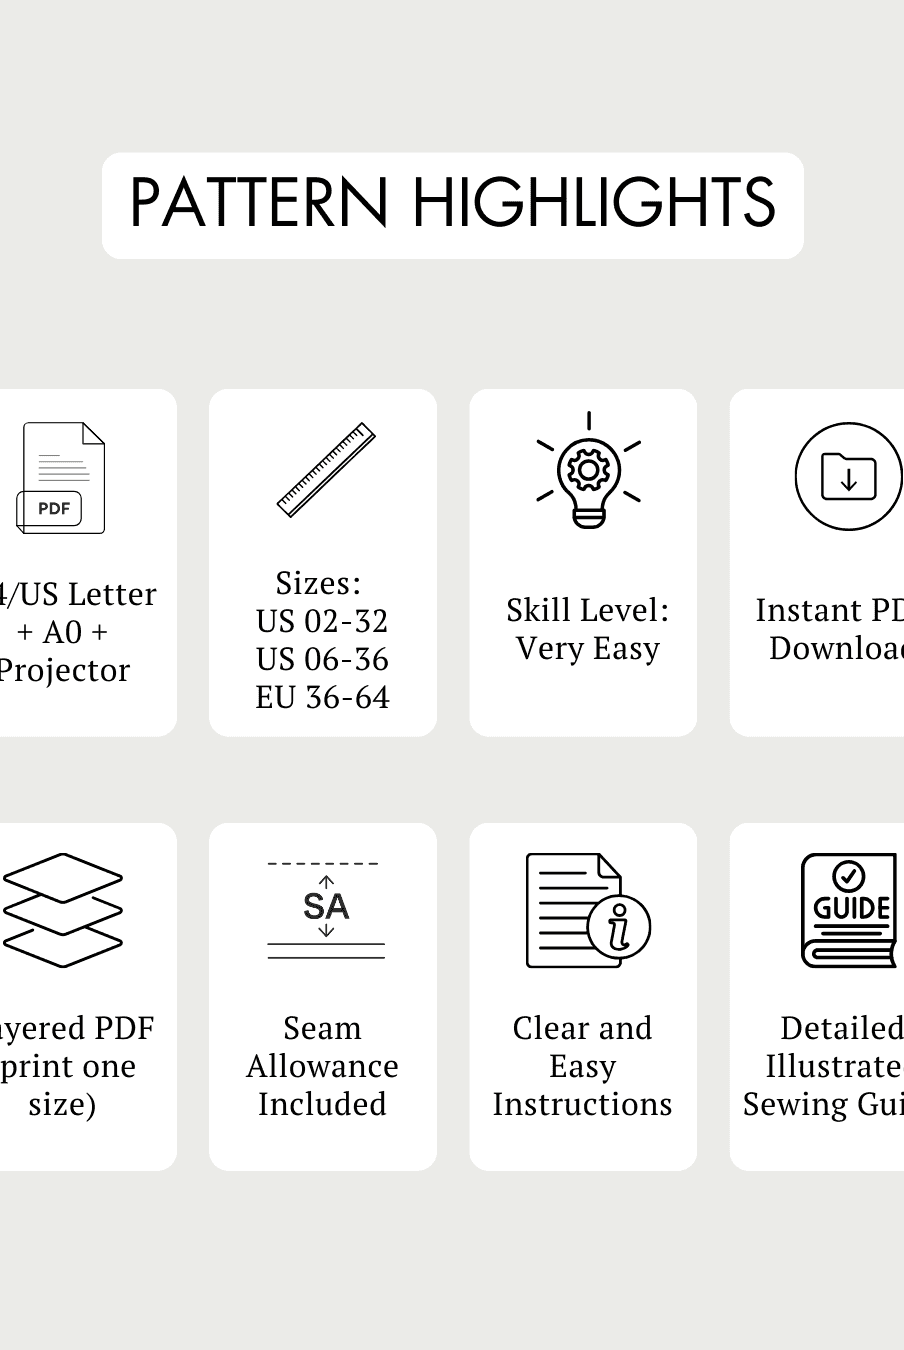
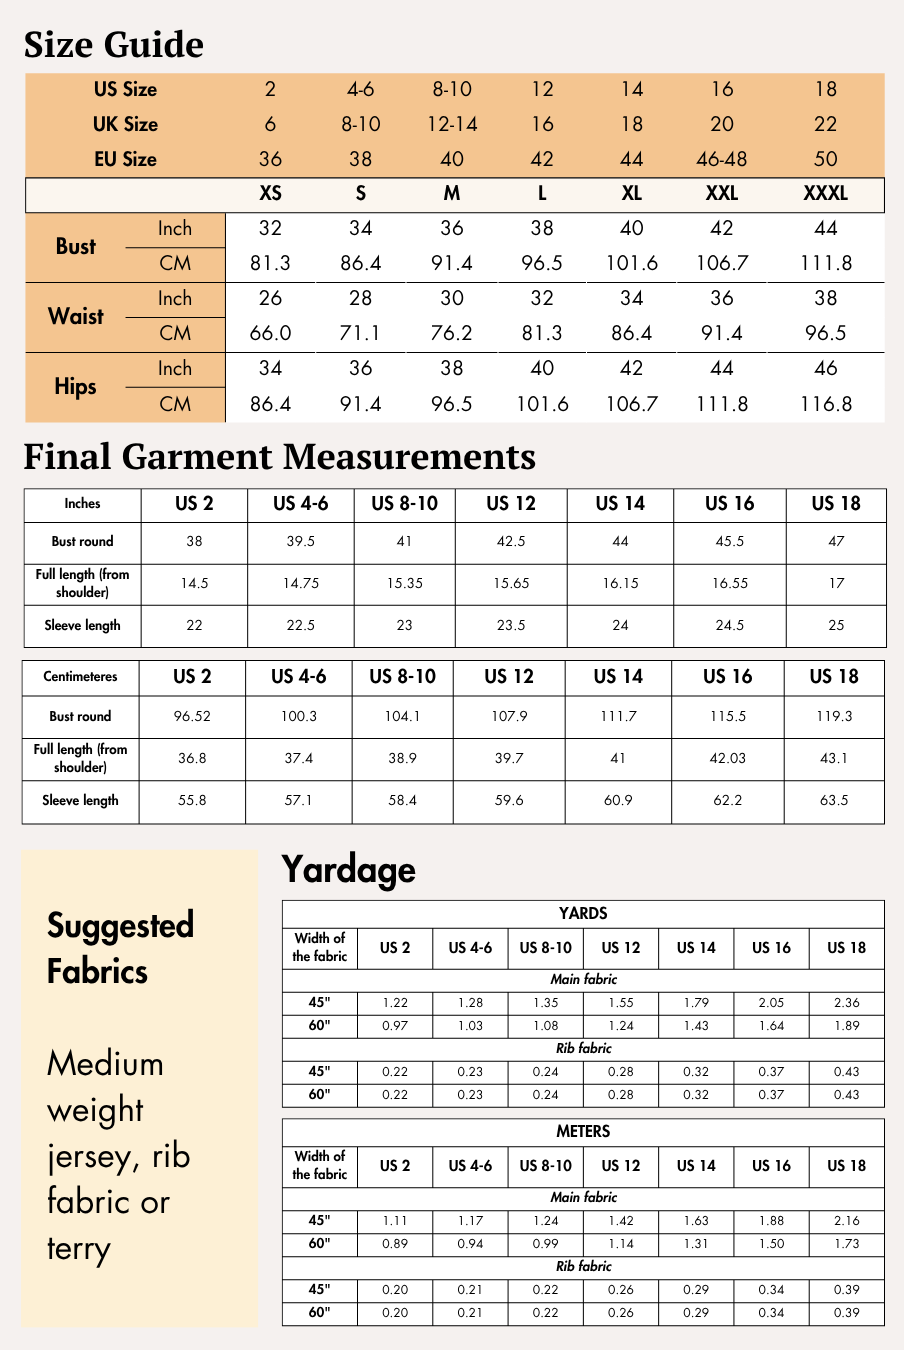
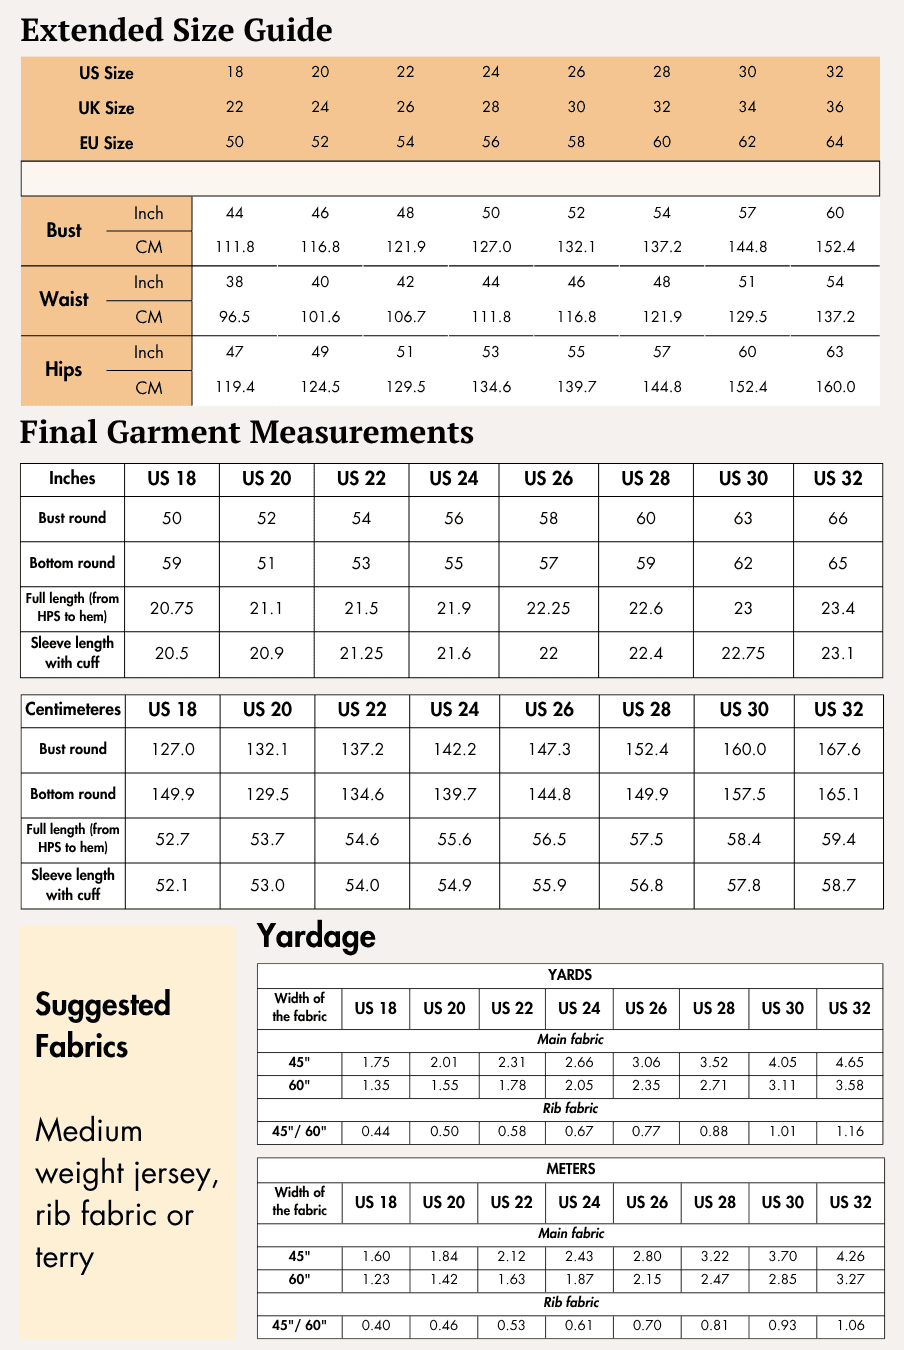
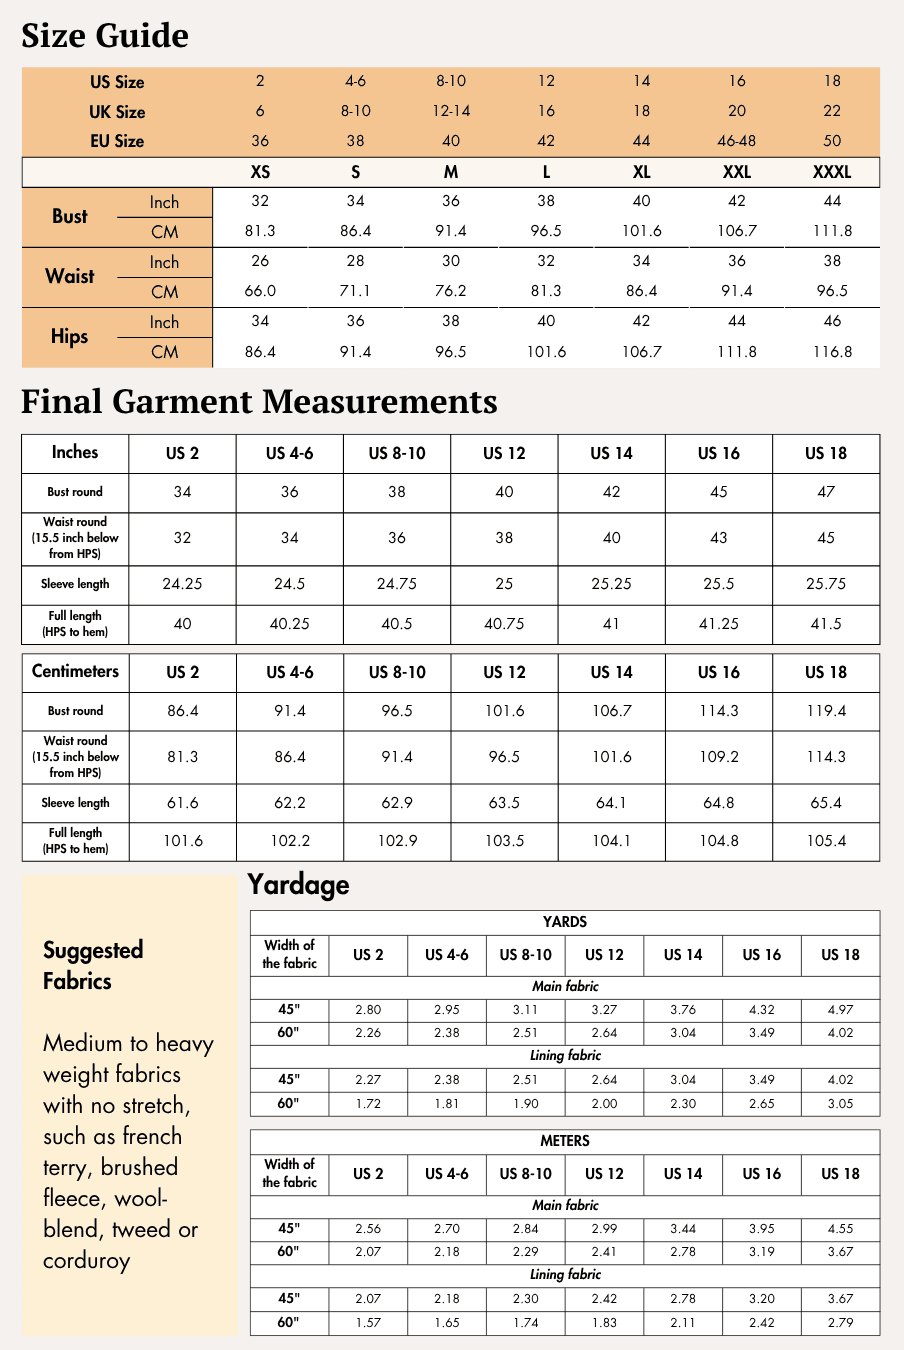
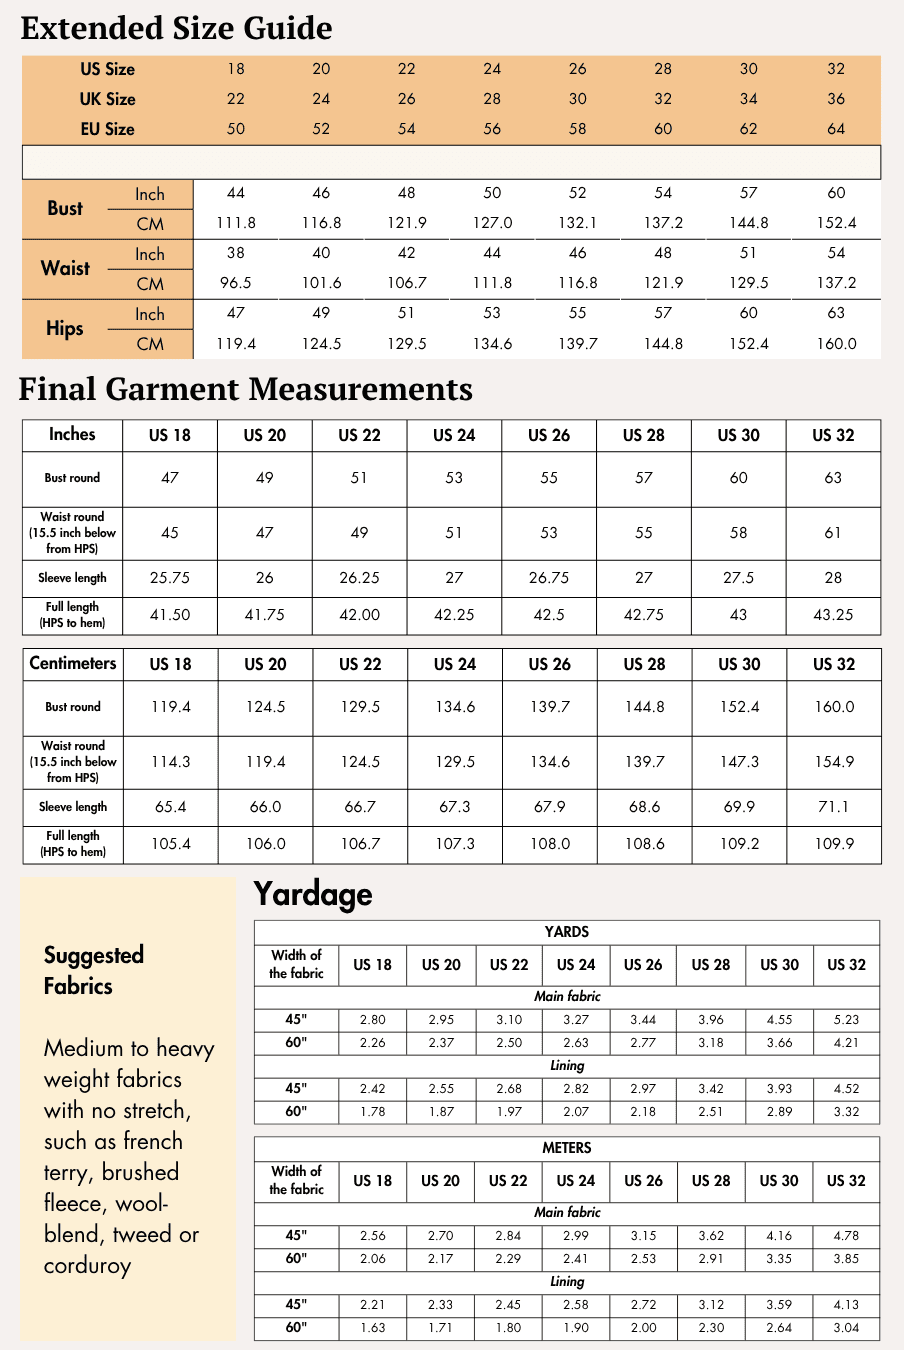
- Available Sizes: US 02 - US 32 | UK 06 - UK 36 | EU 36 - EU 64
Supplies & Notions
The sewing guide lists the following supplies and notions:
- Tape measure
- Shears
- Iron
- 3-ply polyester thread
- Chalk
- Thread cutter
- Pins
- Sewing needles
- Sewing machine
- Binder attachment
- Strap rings
- Strap sliders
- 6 mm wide elastic strip, up to 160 inches long
Fabric Recommendations
The TESSA Romper Sewing Pattern guide recommends lightweight woven fabrics, including:
- Cotton lawn
- Cotton voile
- Viscose
- Rayon
- Crepe
- Satin
- Lightweight crinkle fabric
The sample romper is made from plain crinkle fabric. The guide recommends this fabric because it is soft on the skin, breathable, feels light on the body, and has a crinkled appearance.
Size Charts
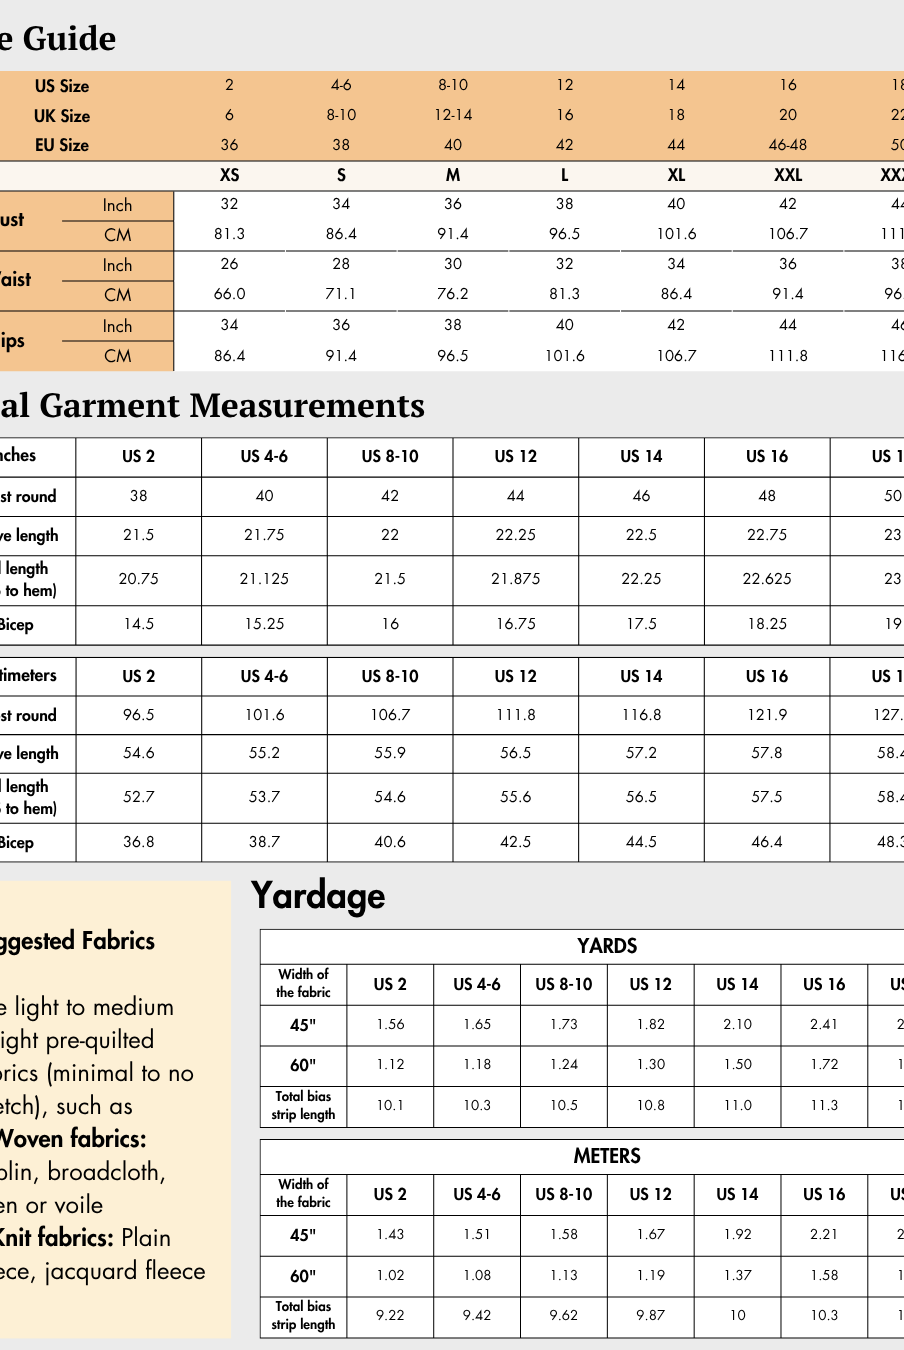
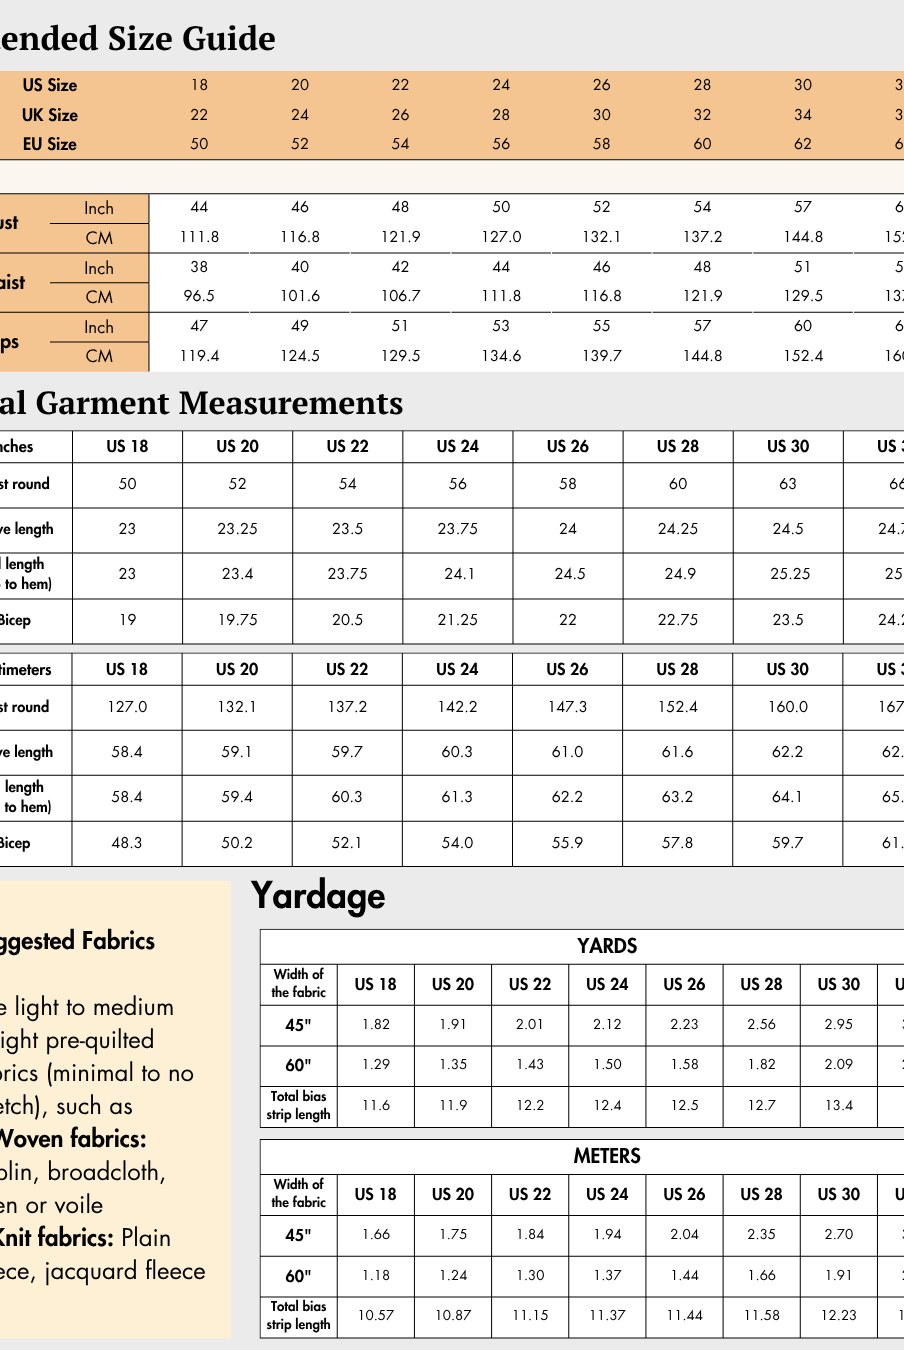
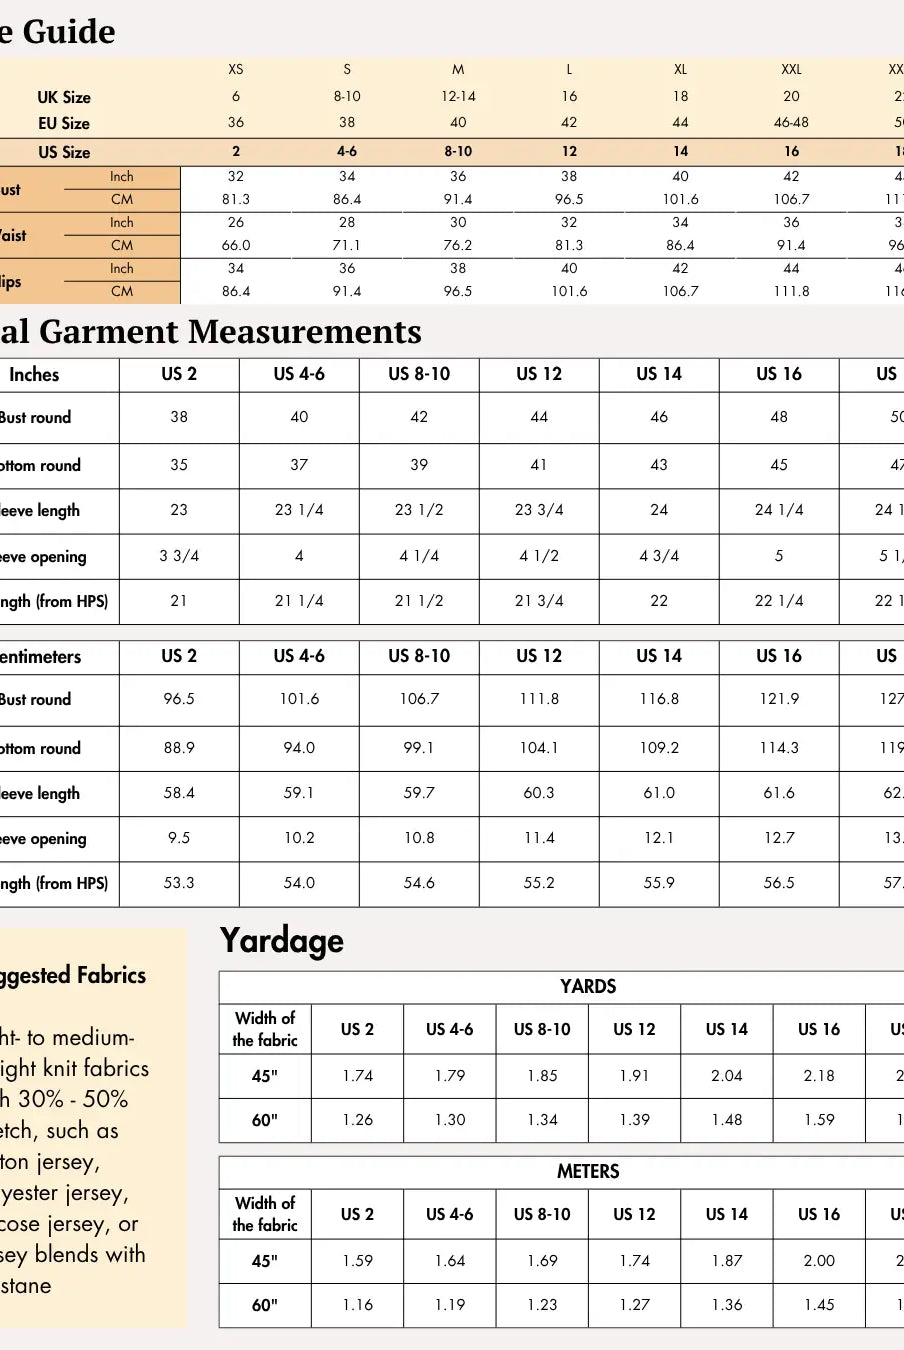
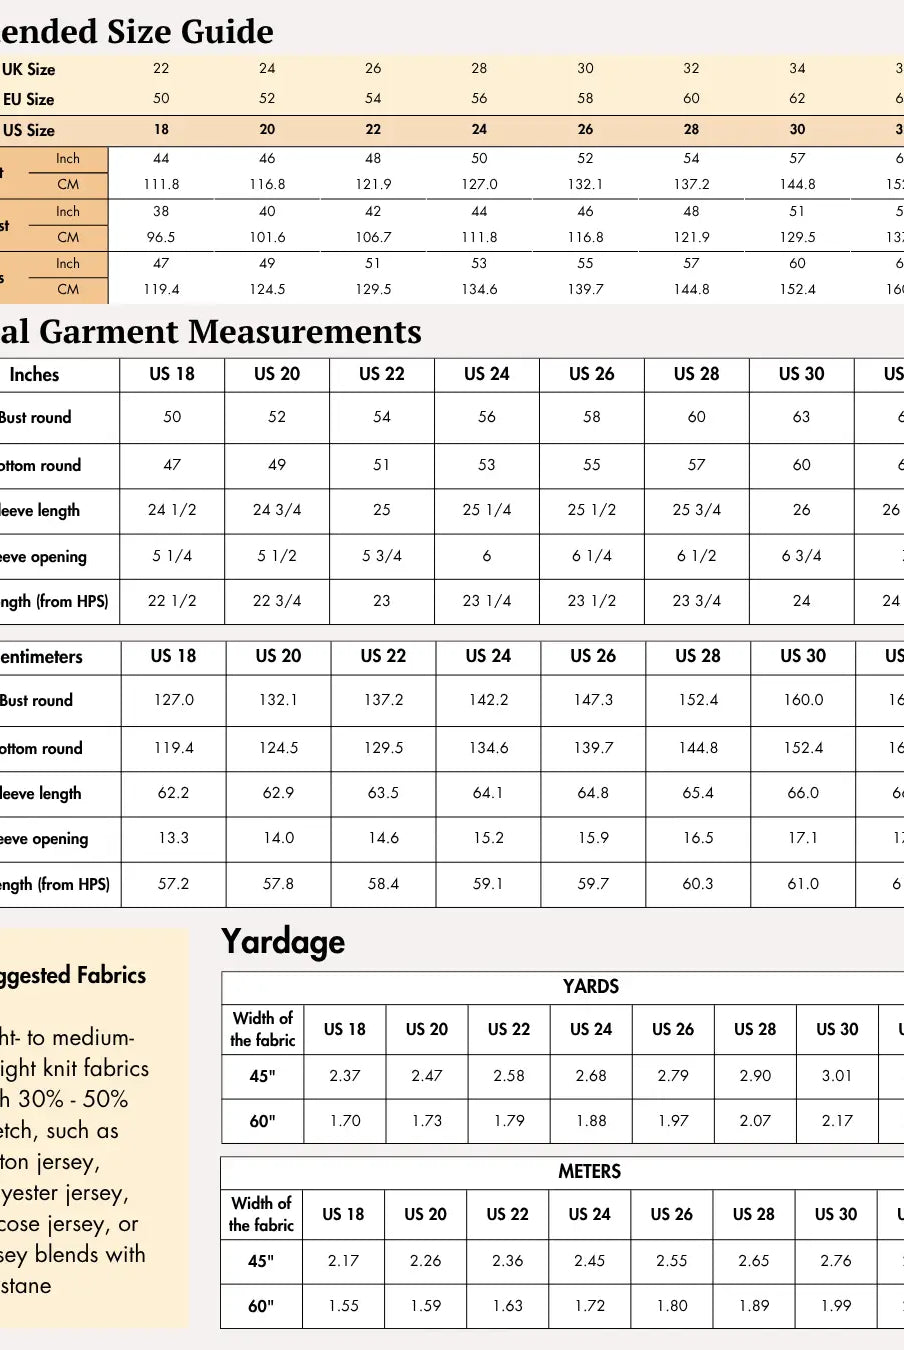
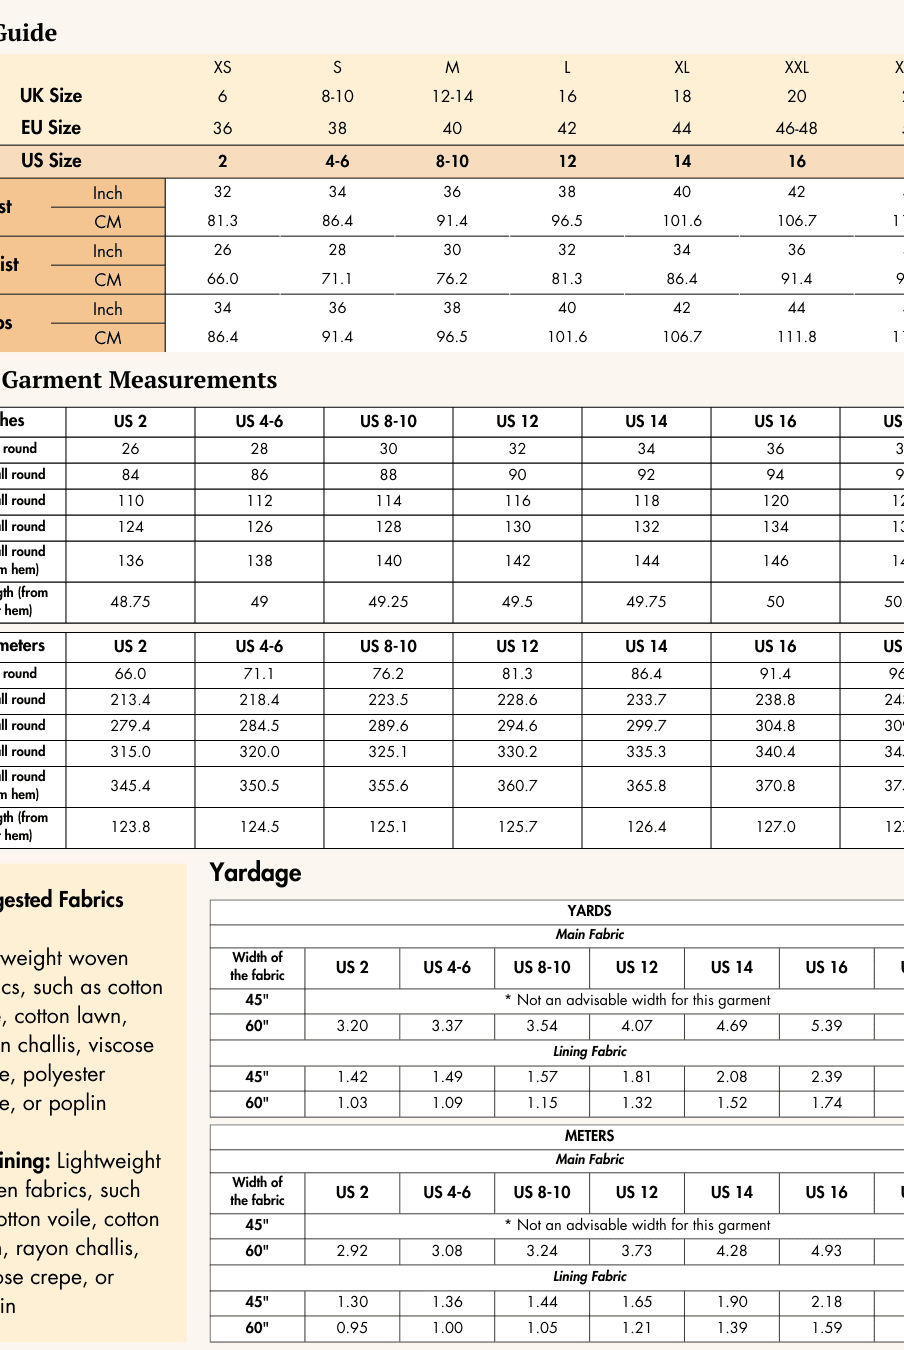
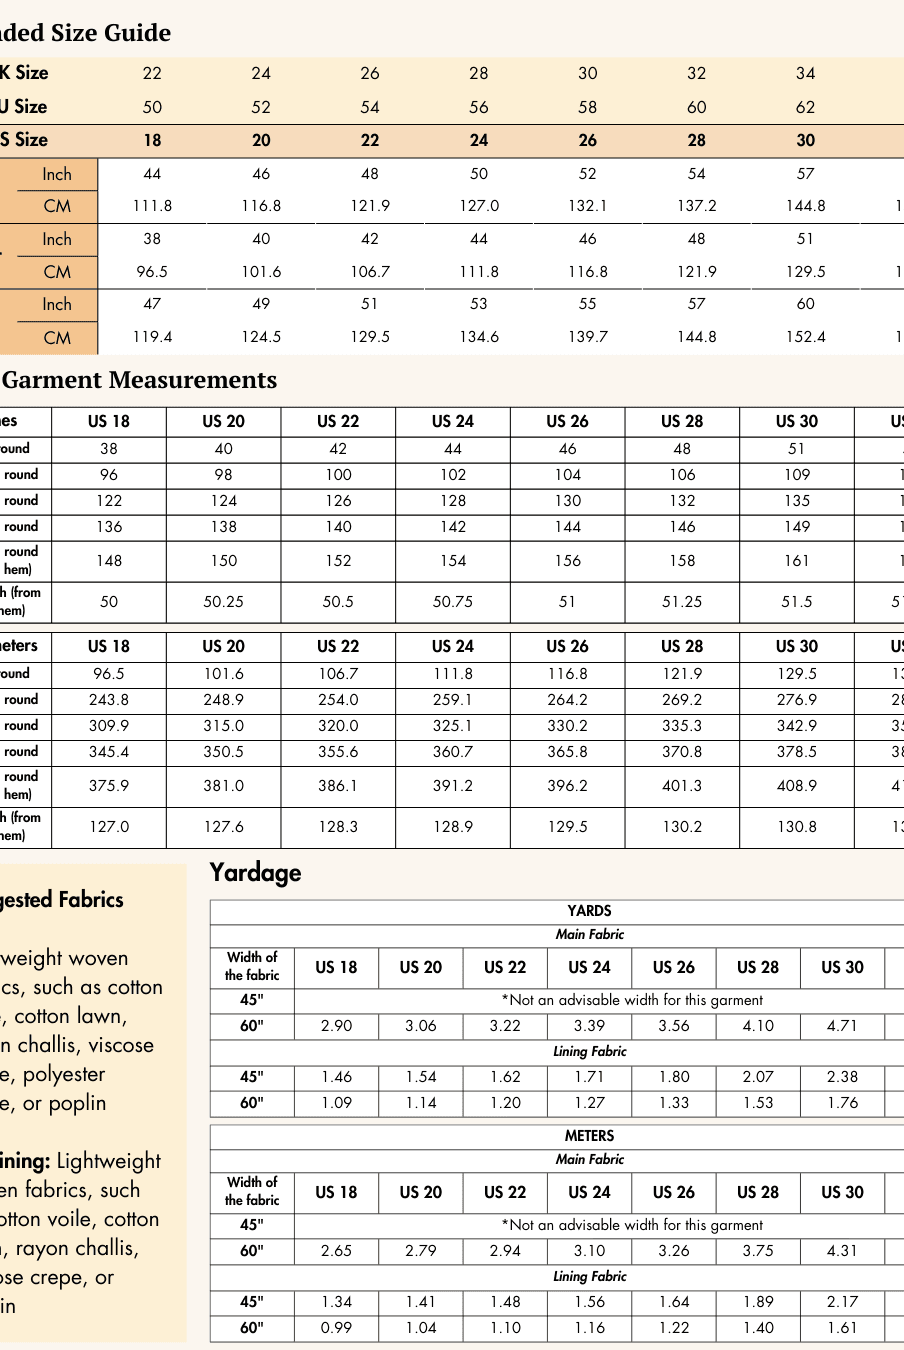
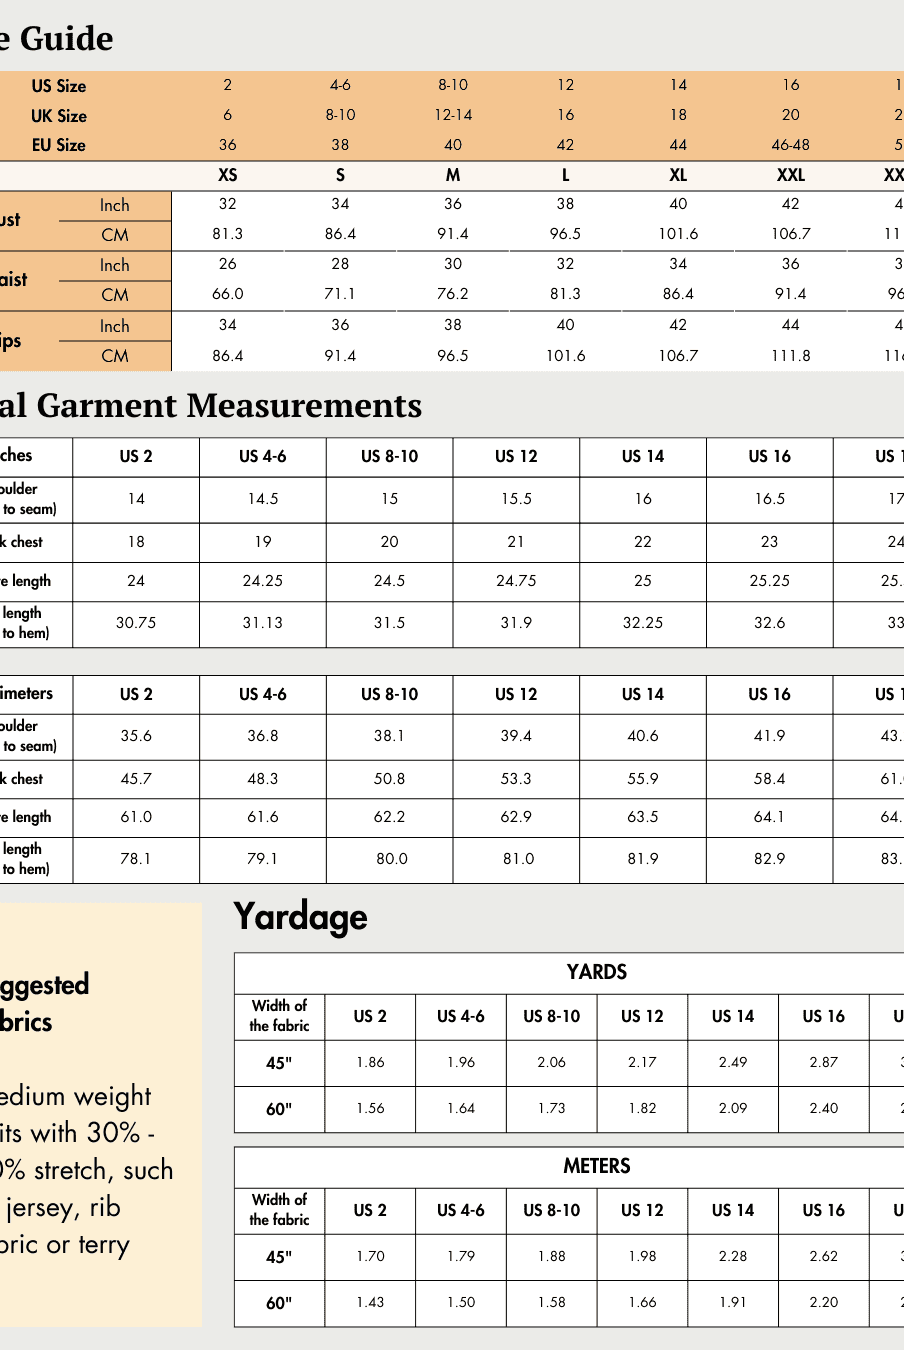
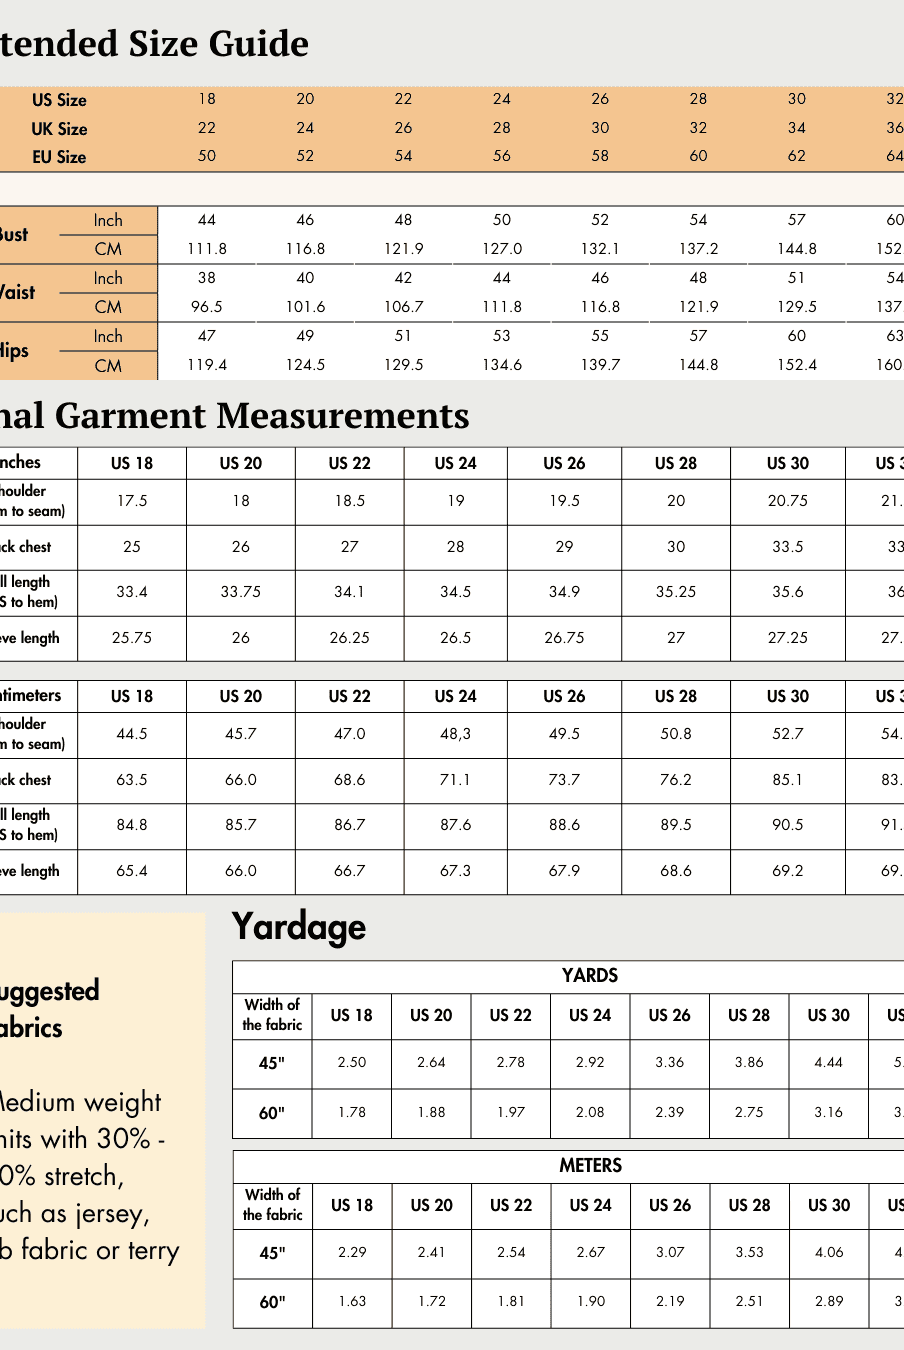
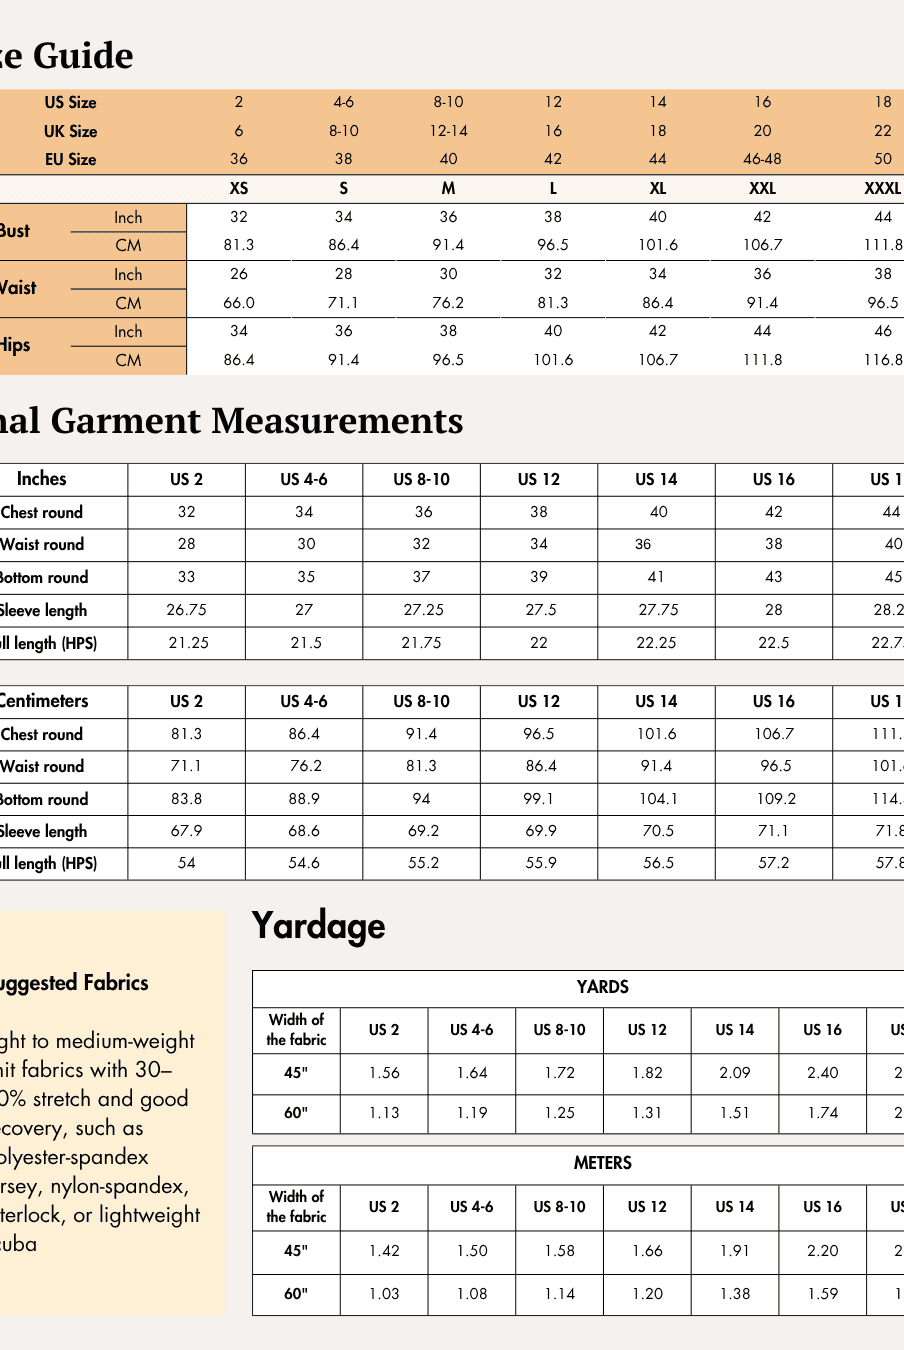
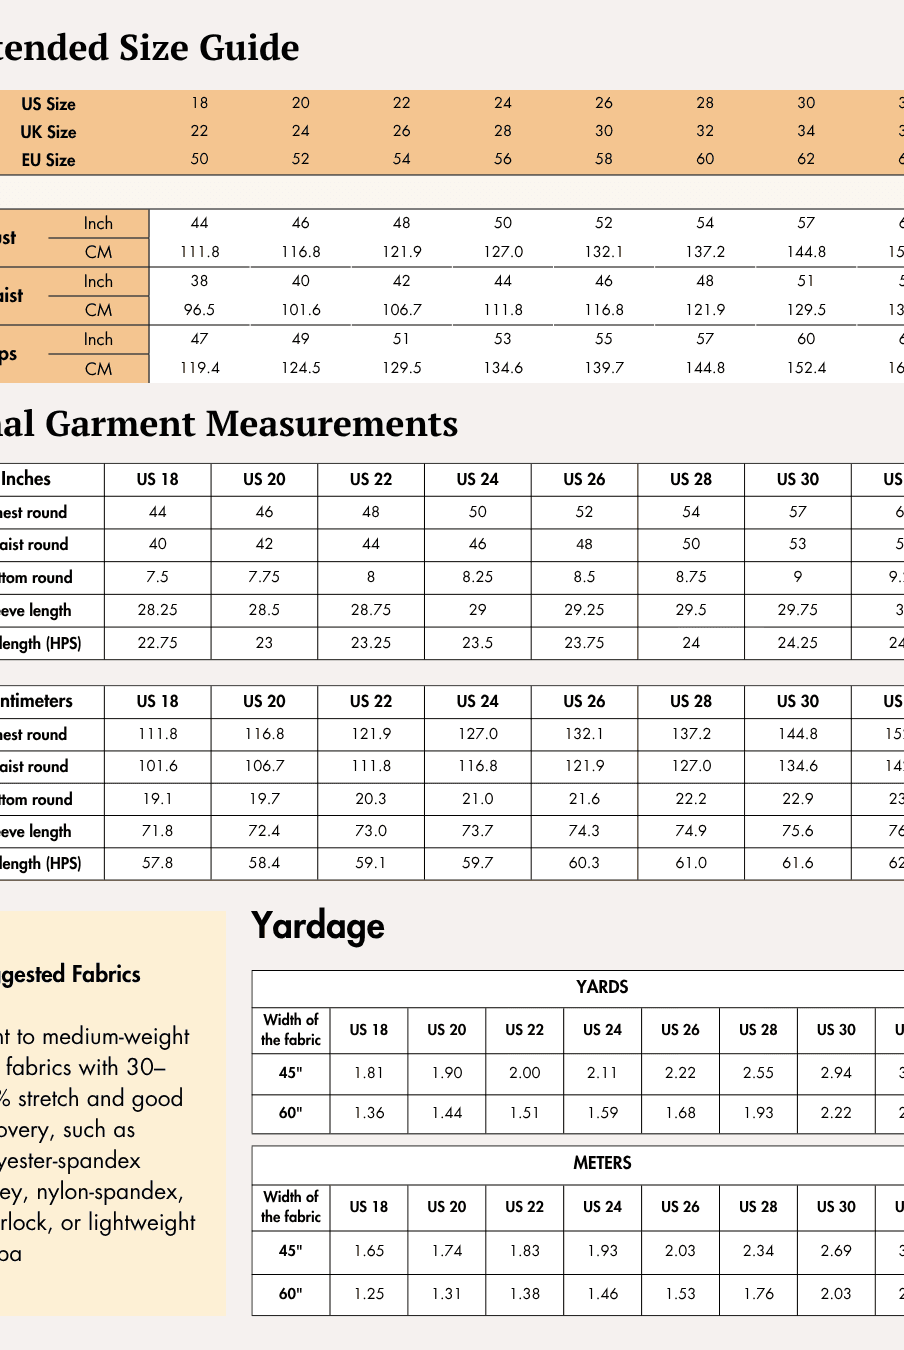
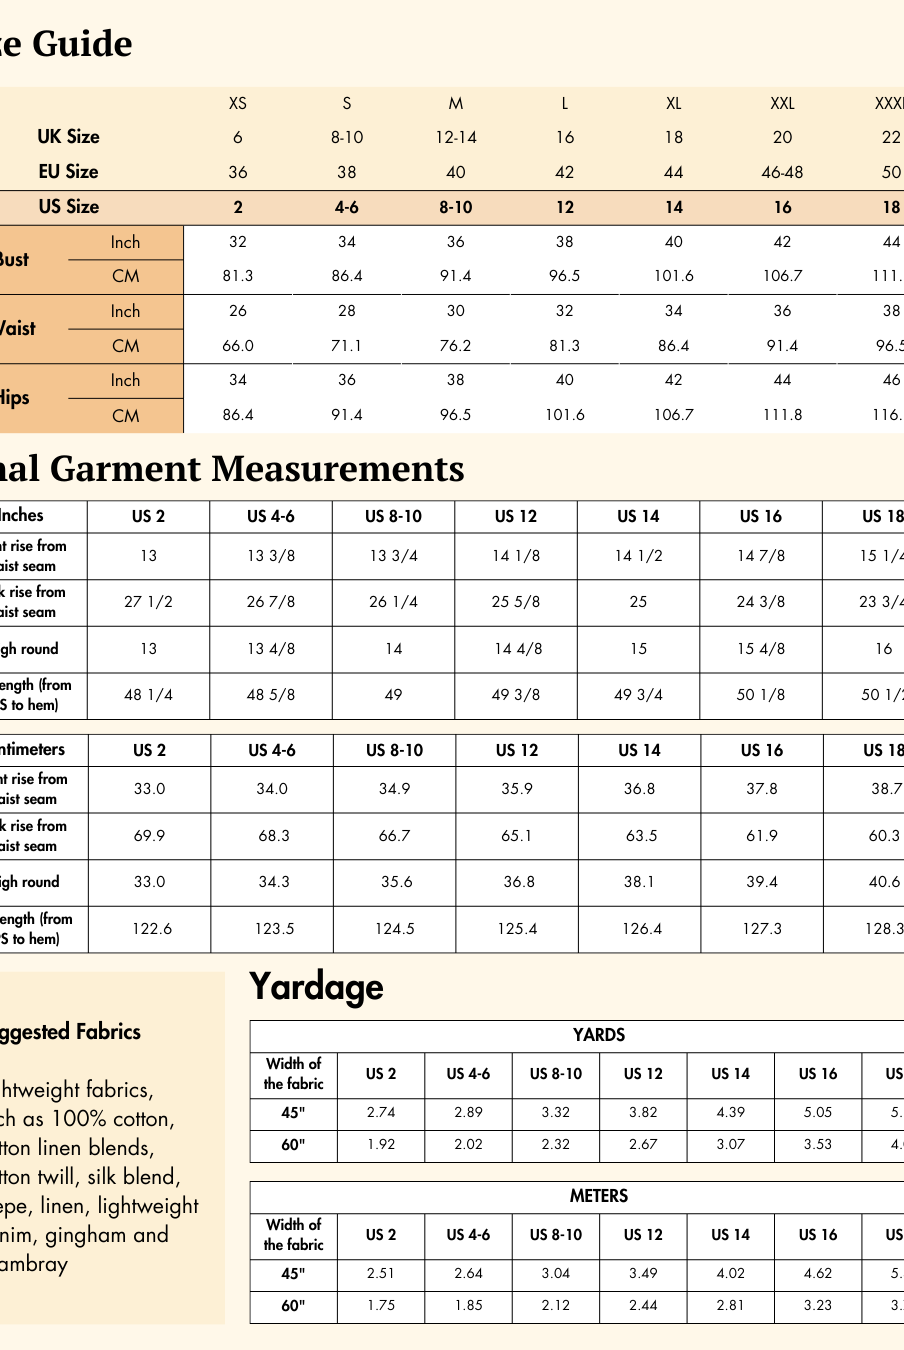
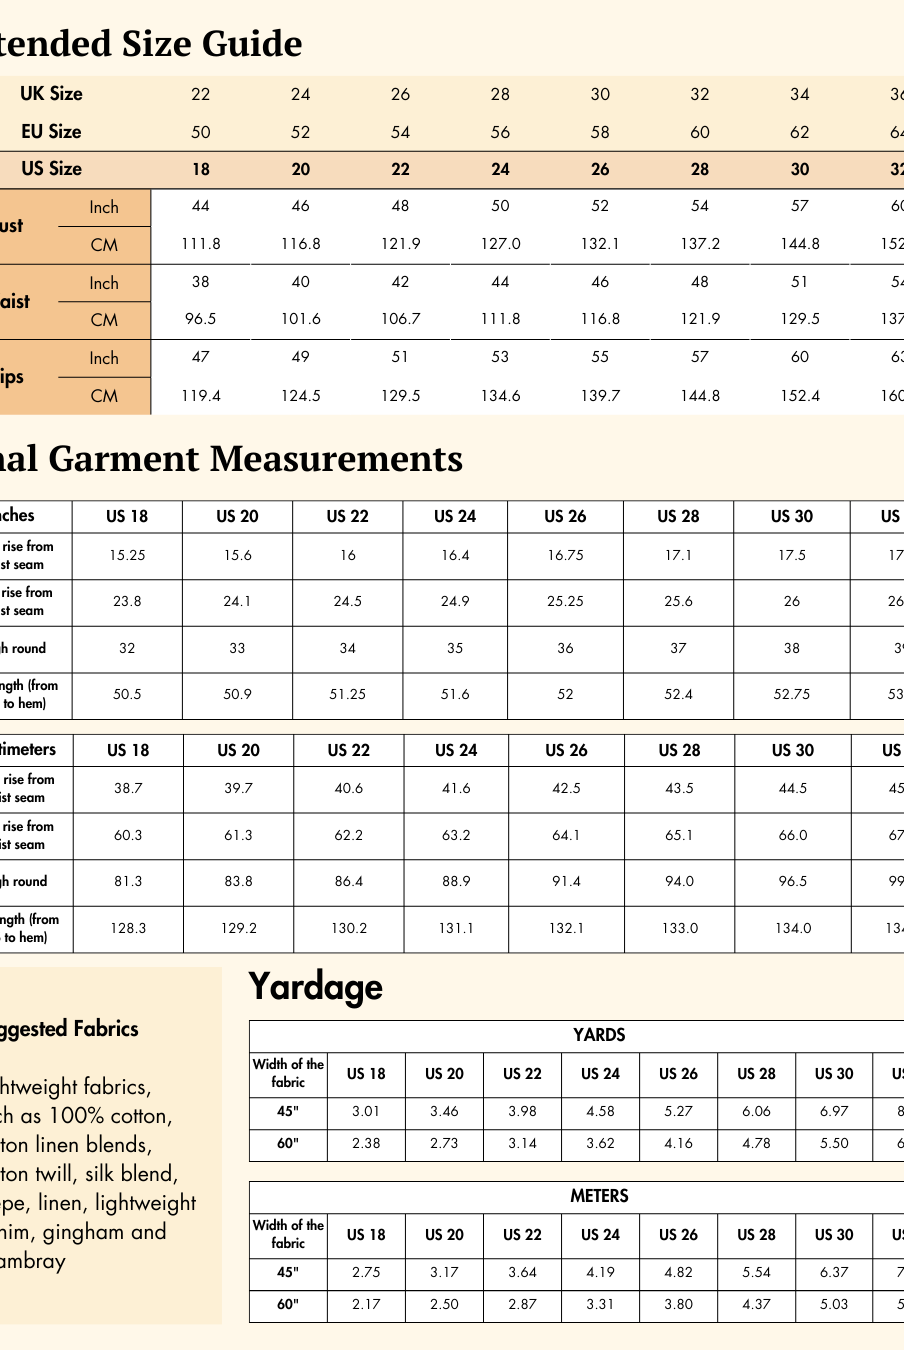
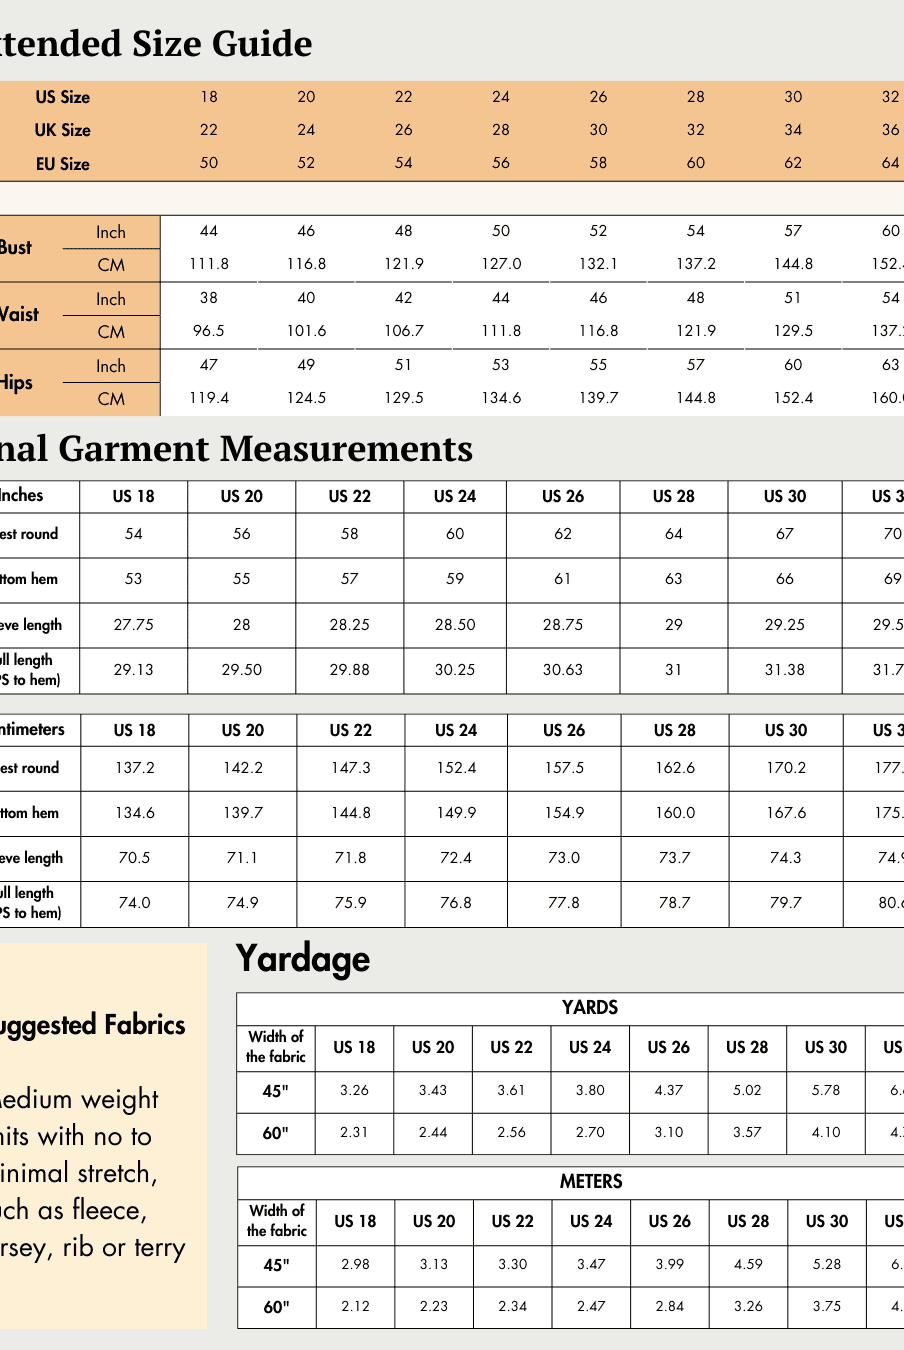
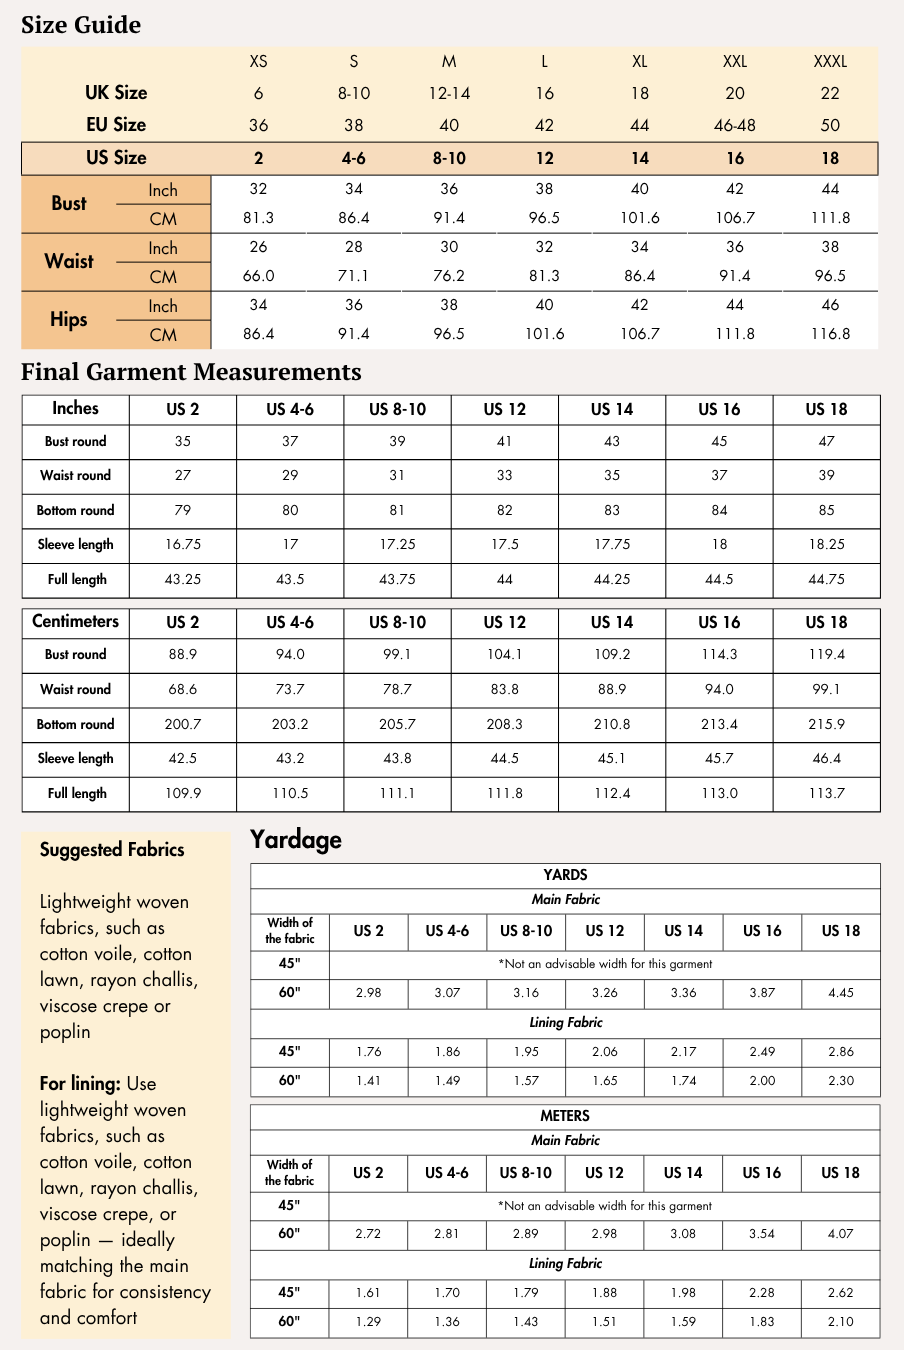
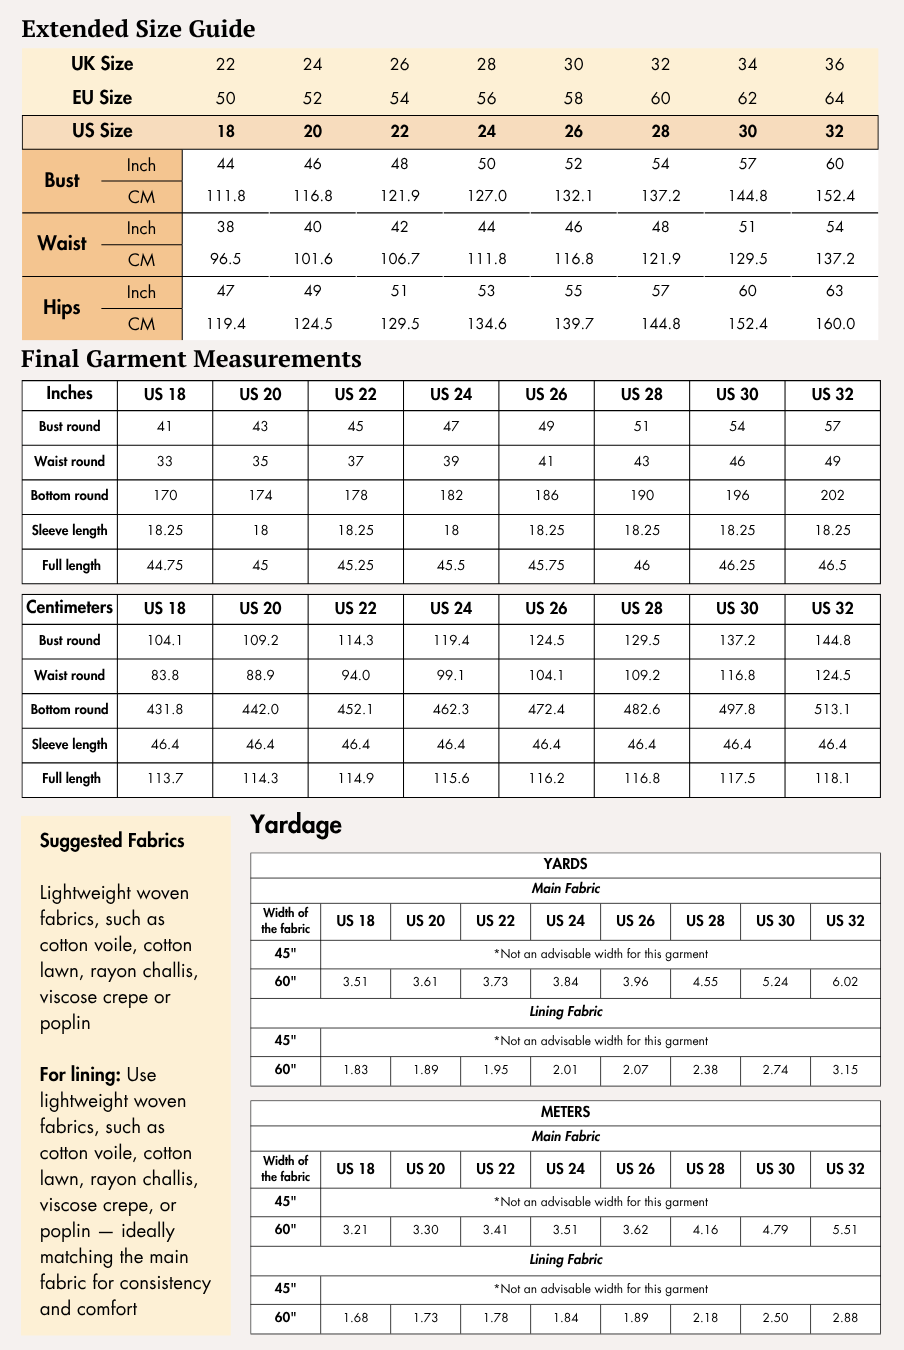
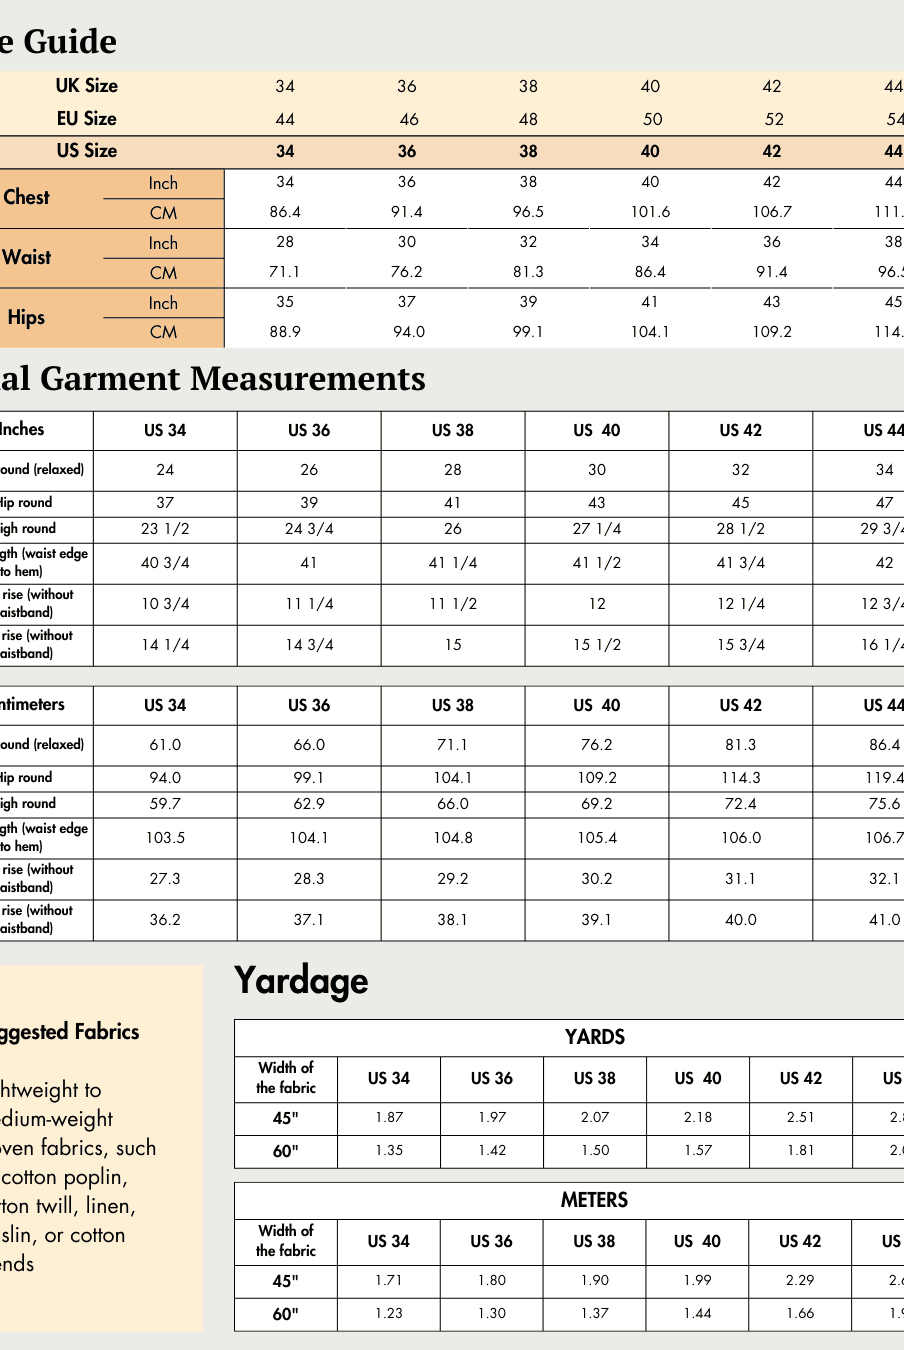
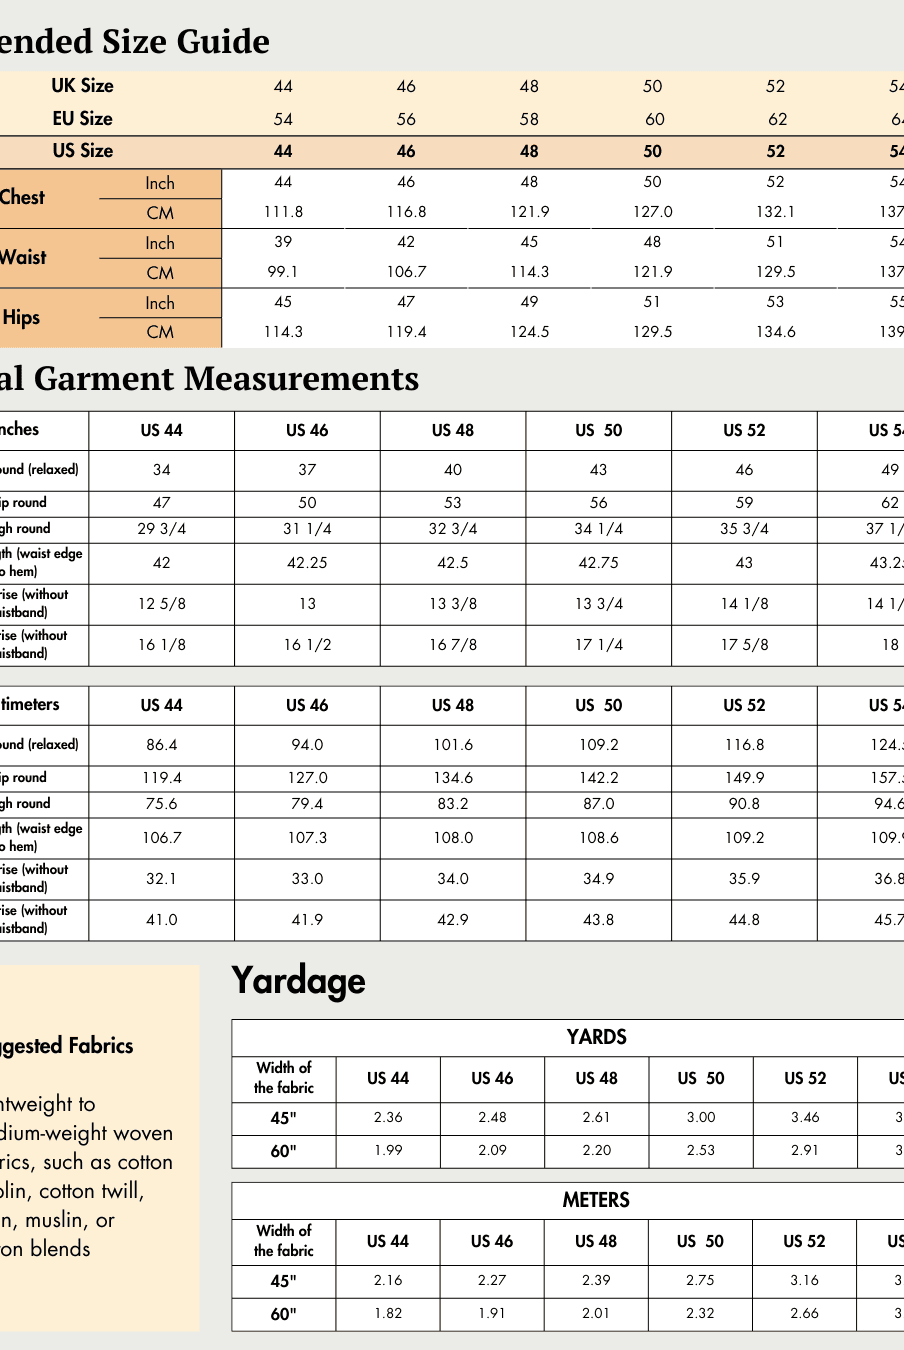
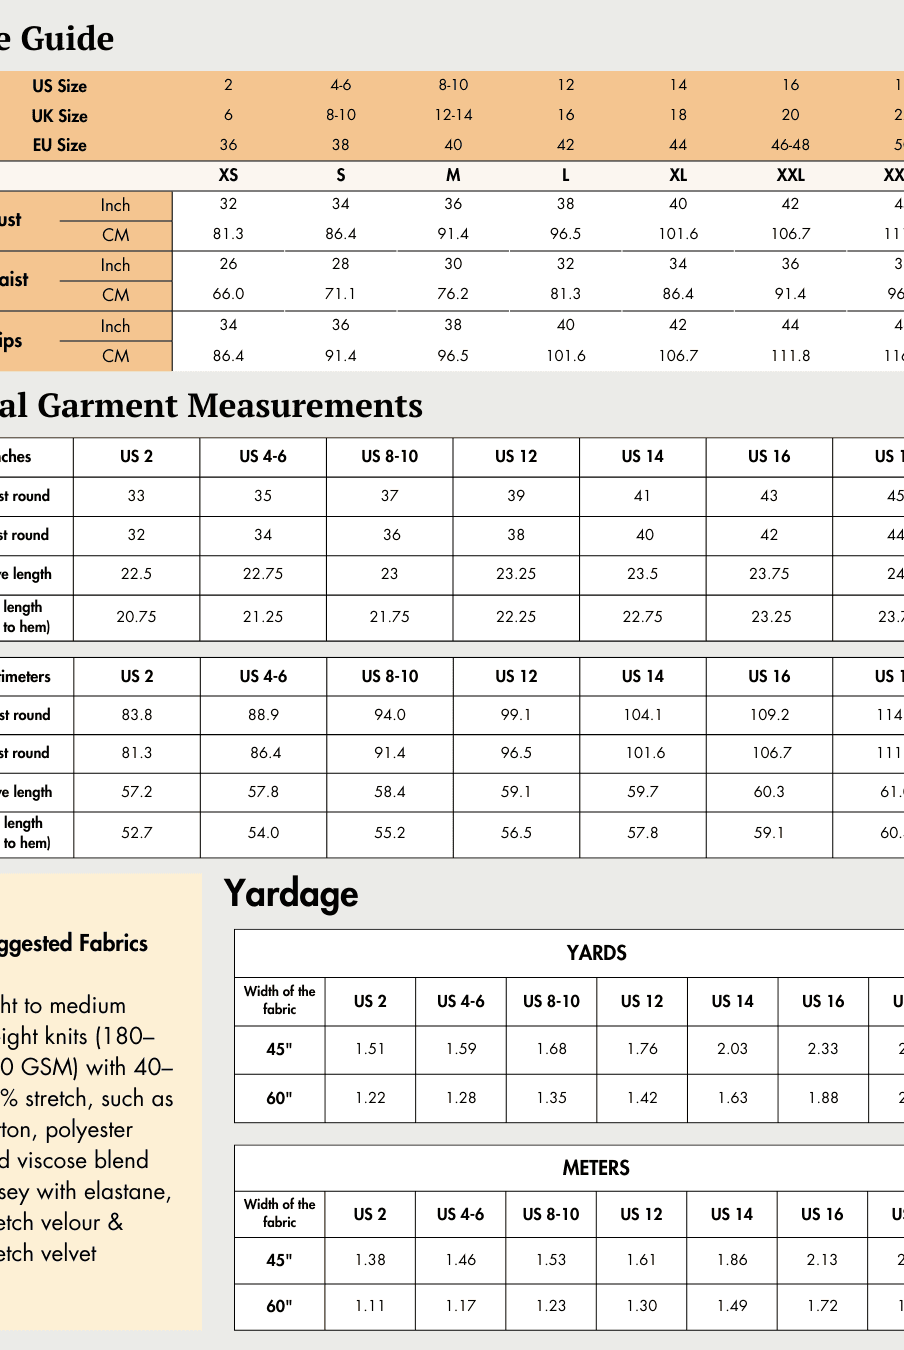
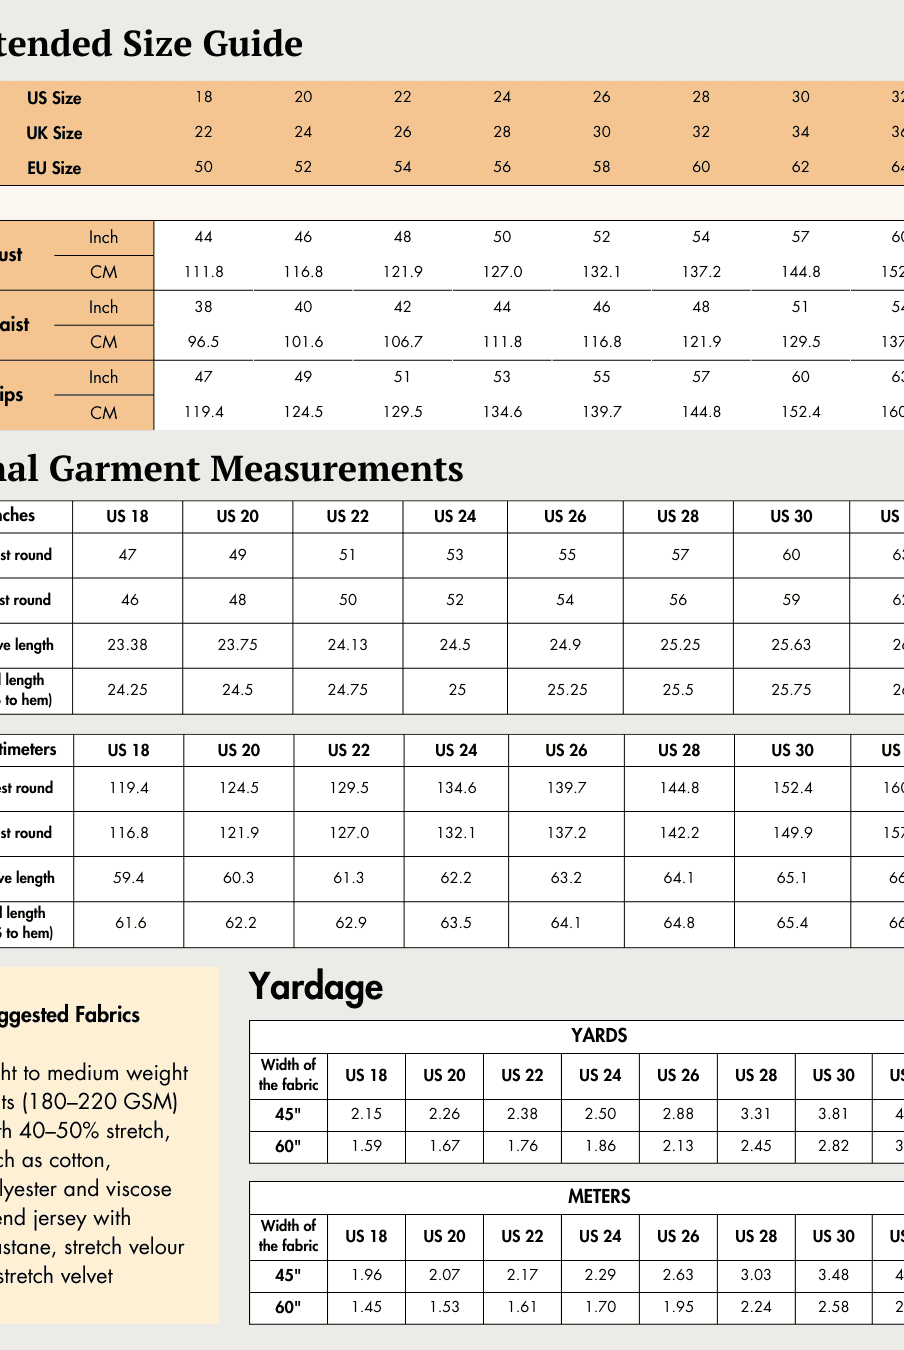
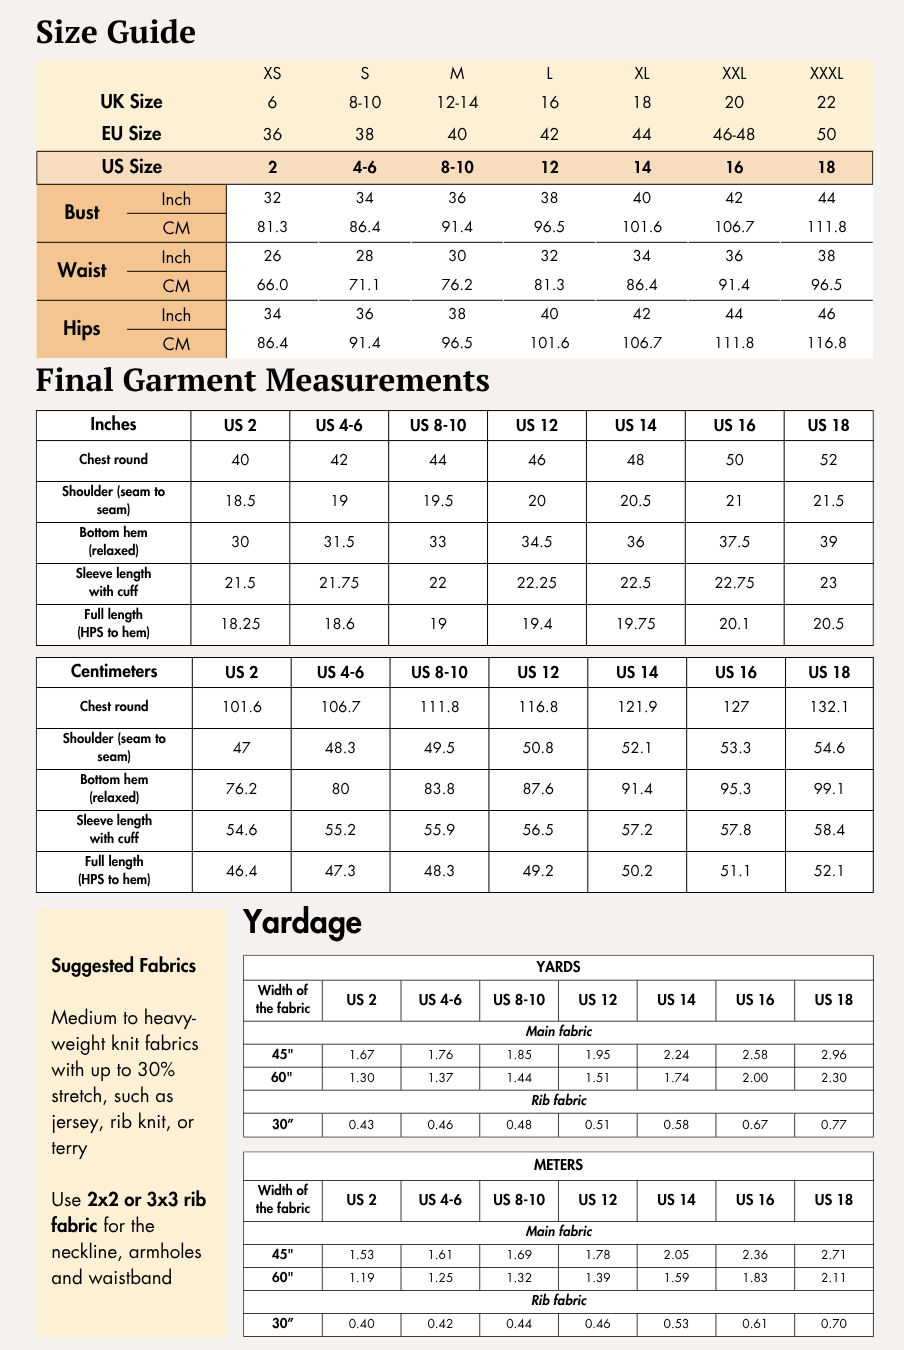
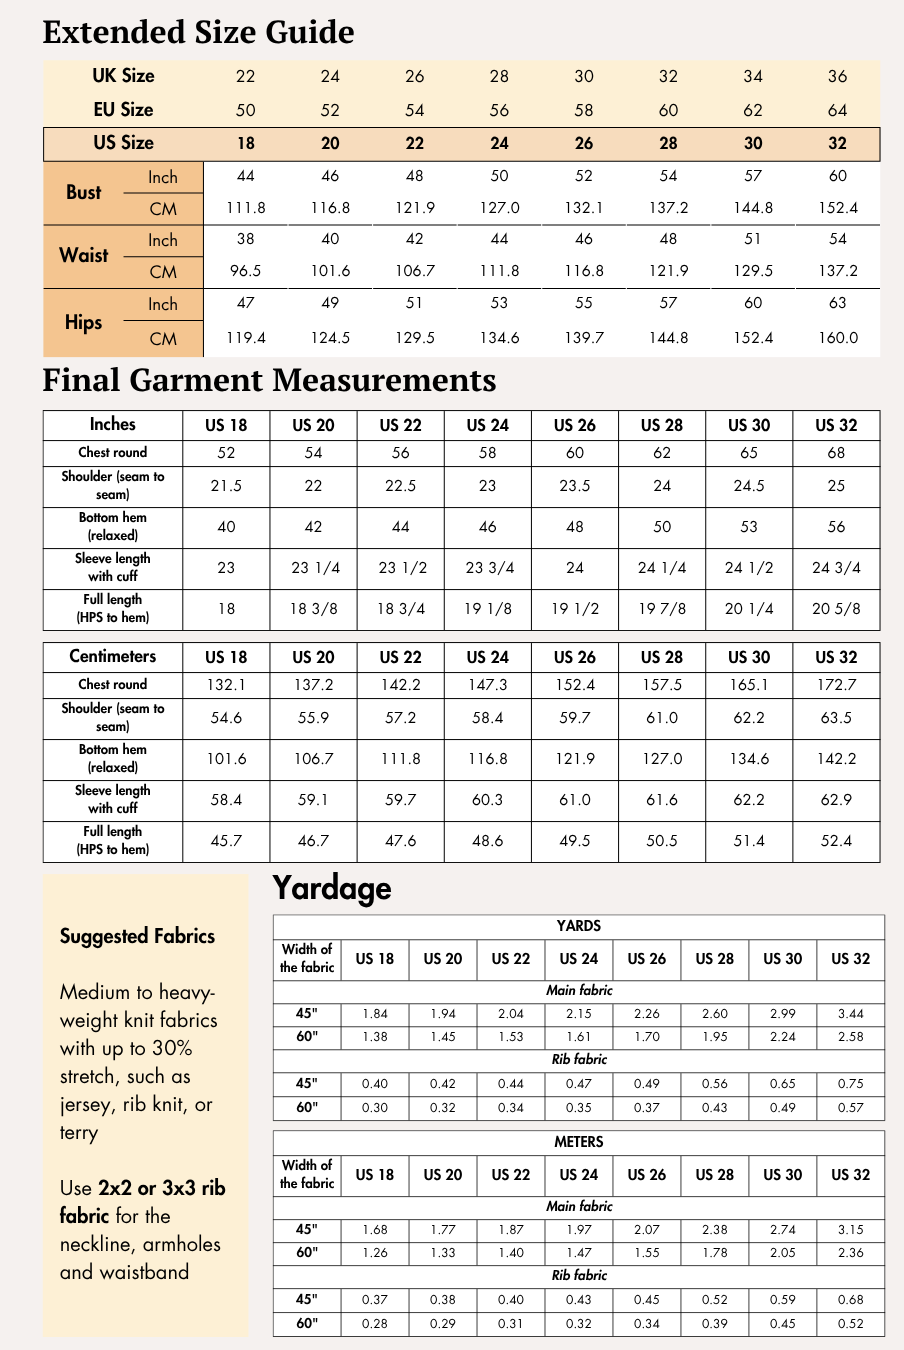
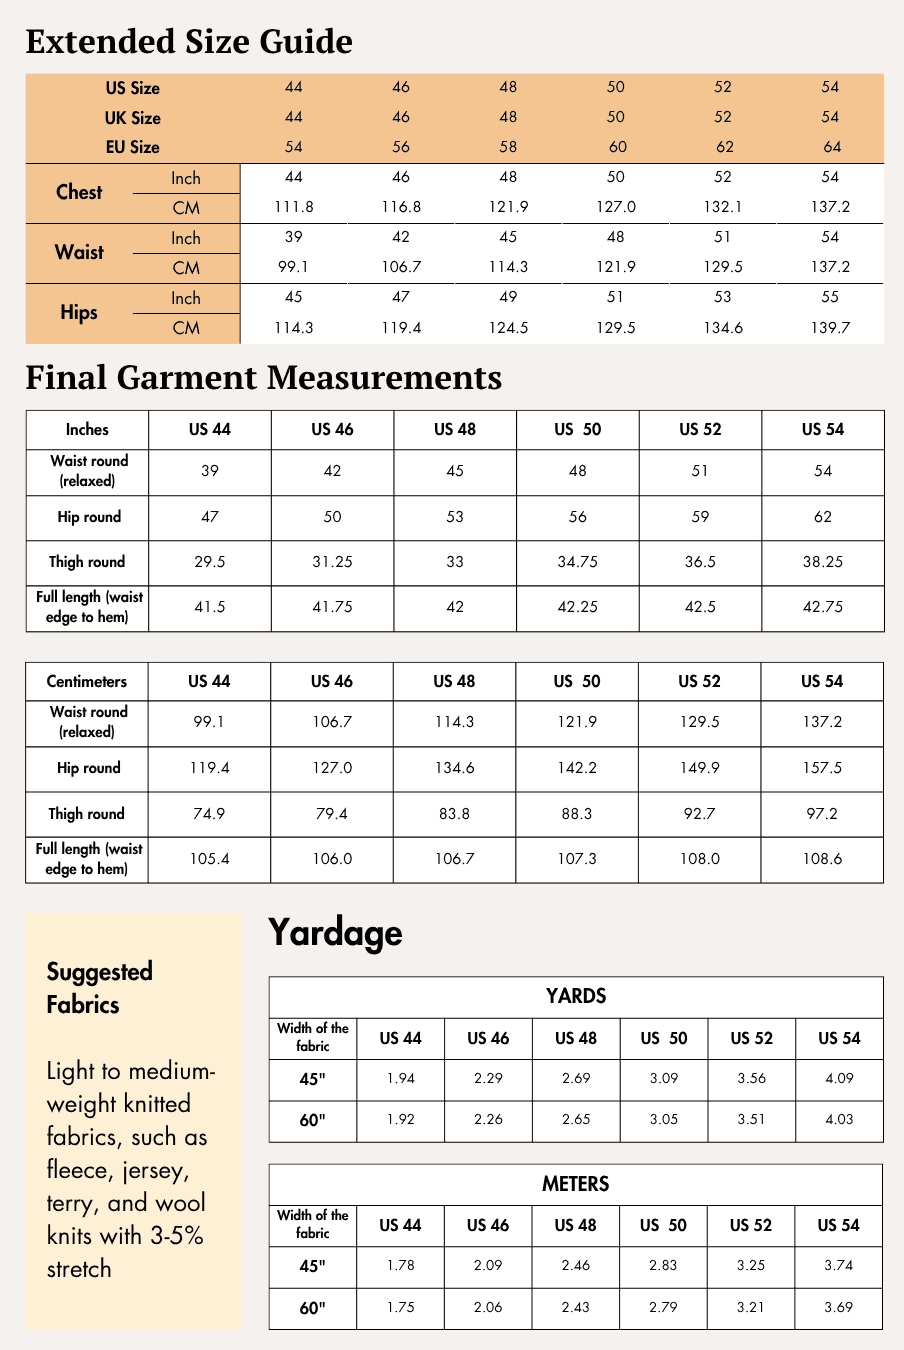
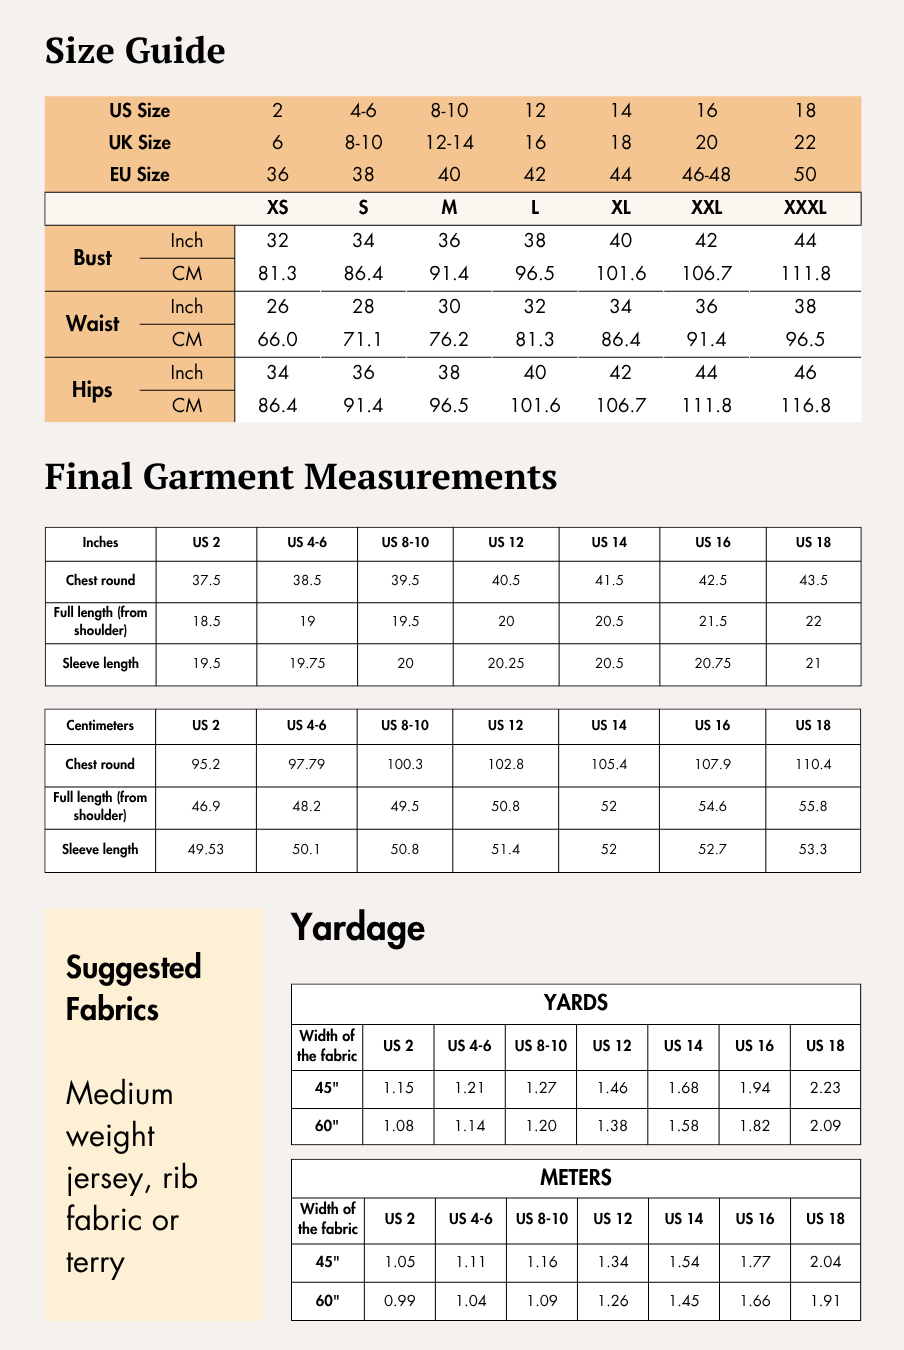
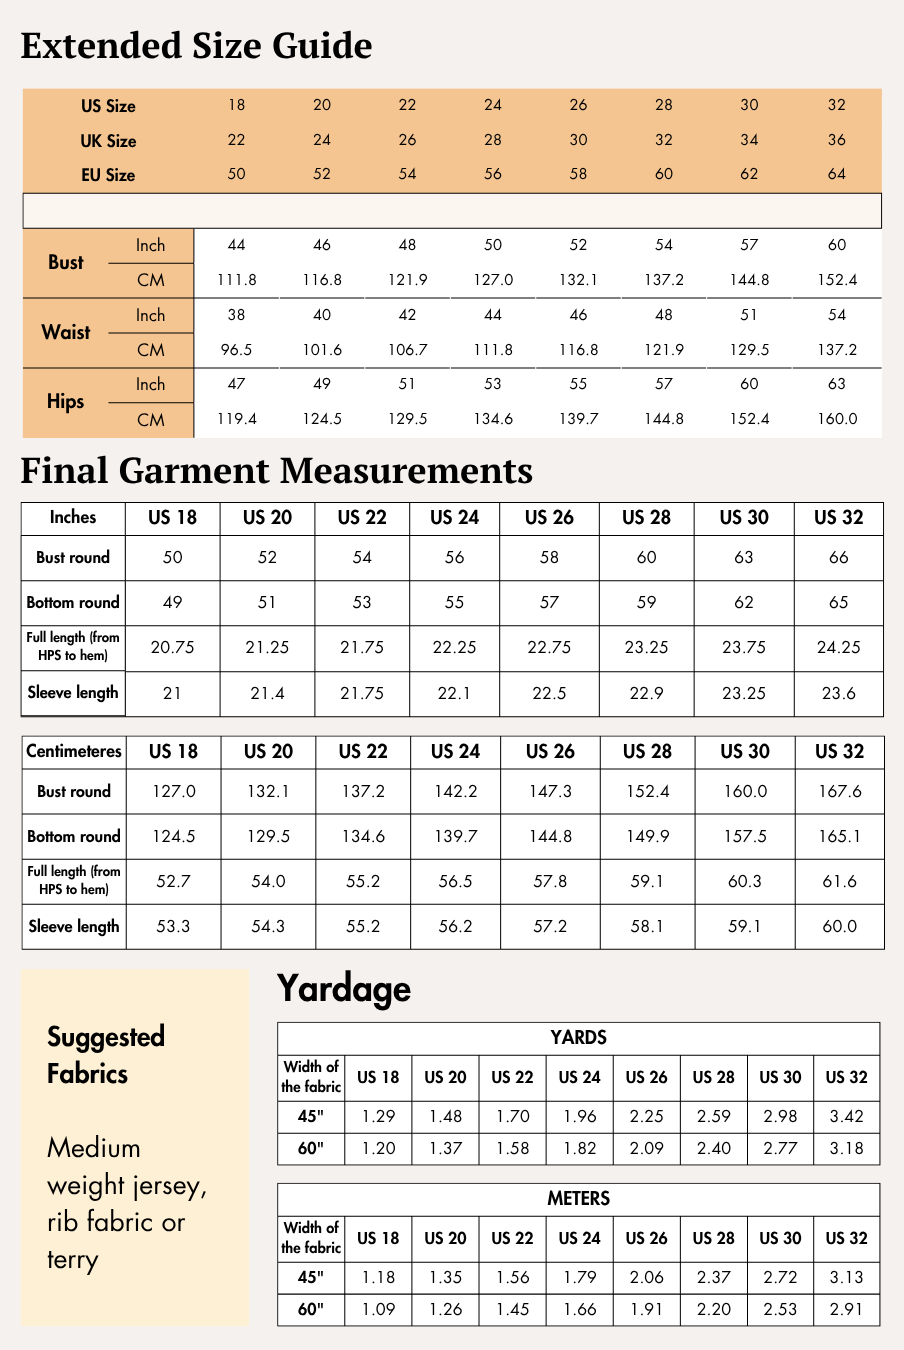
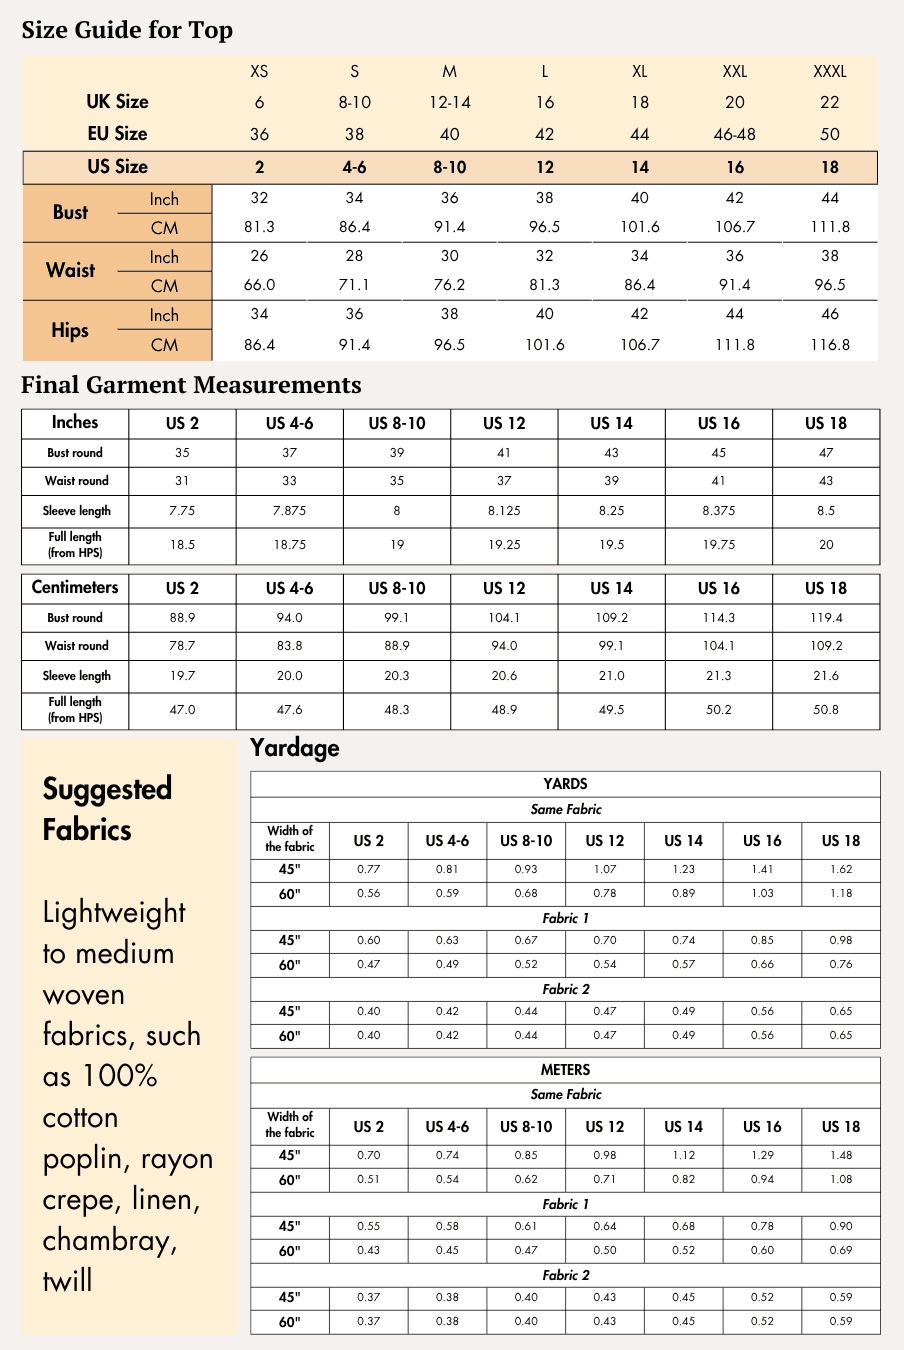
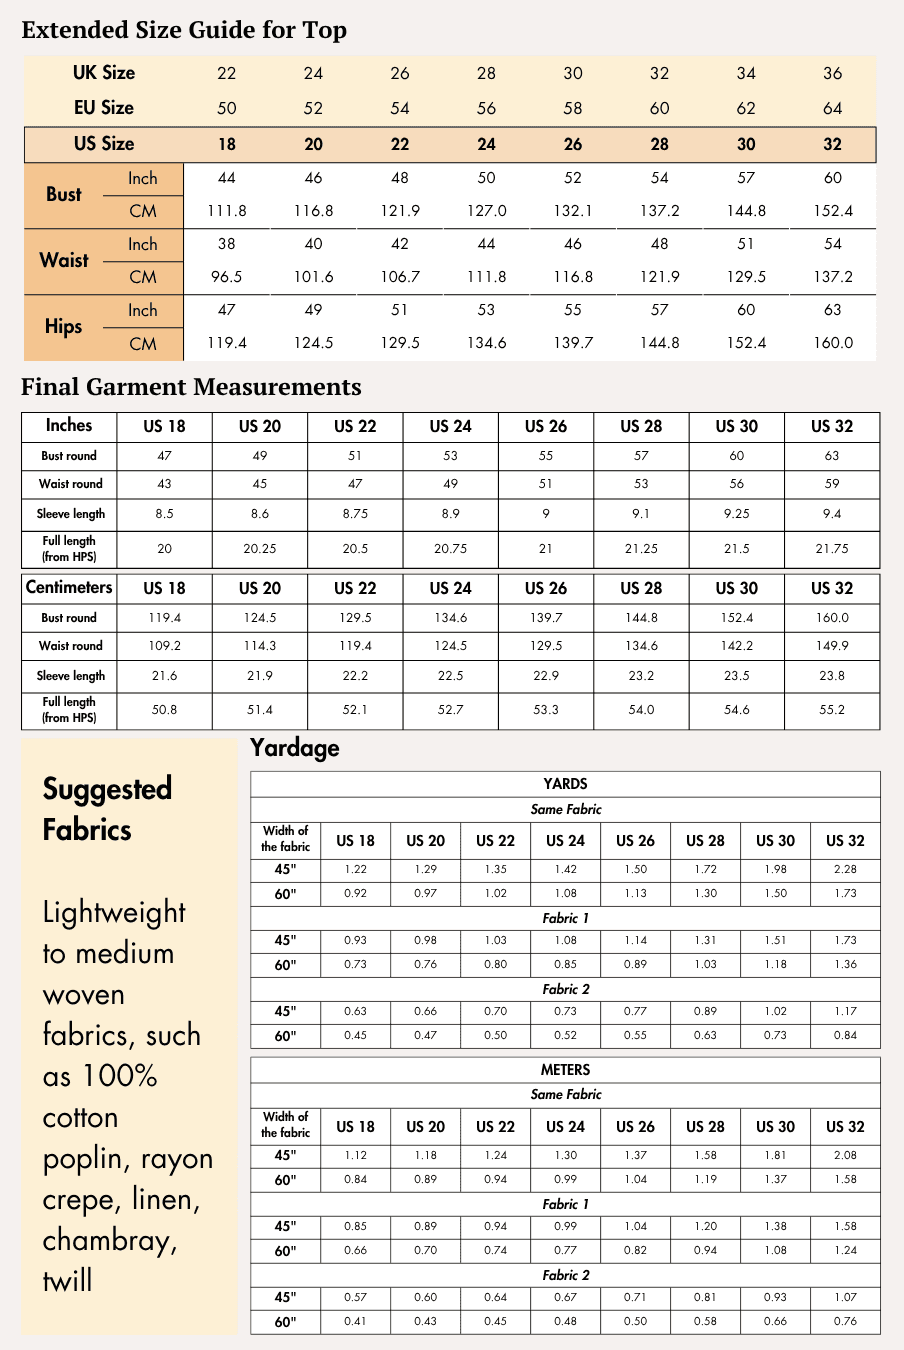
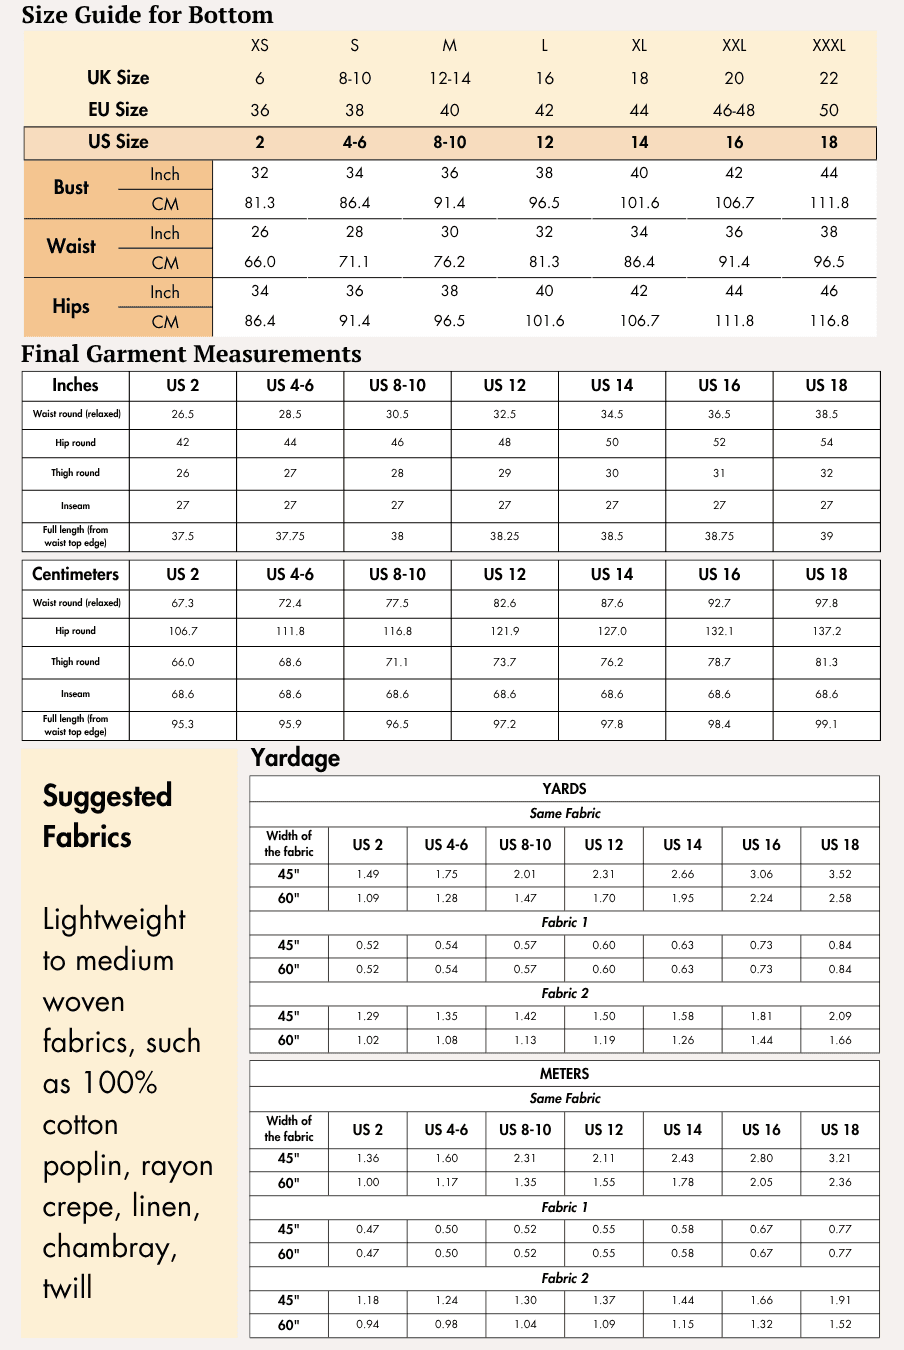
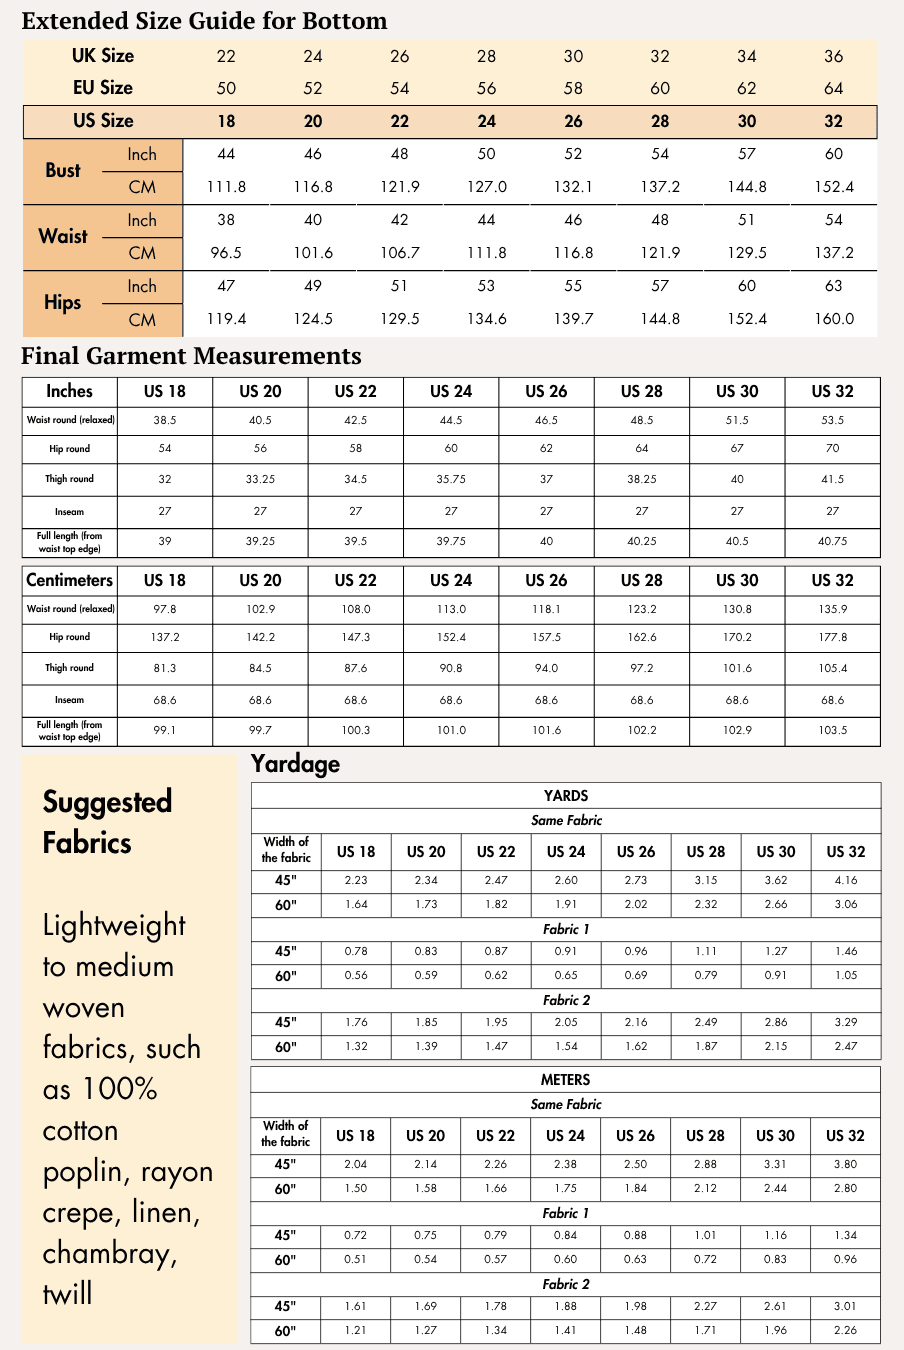
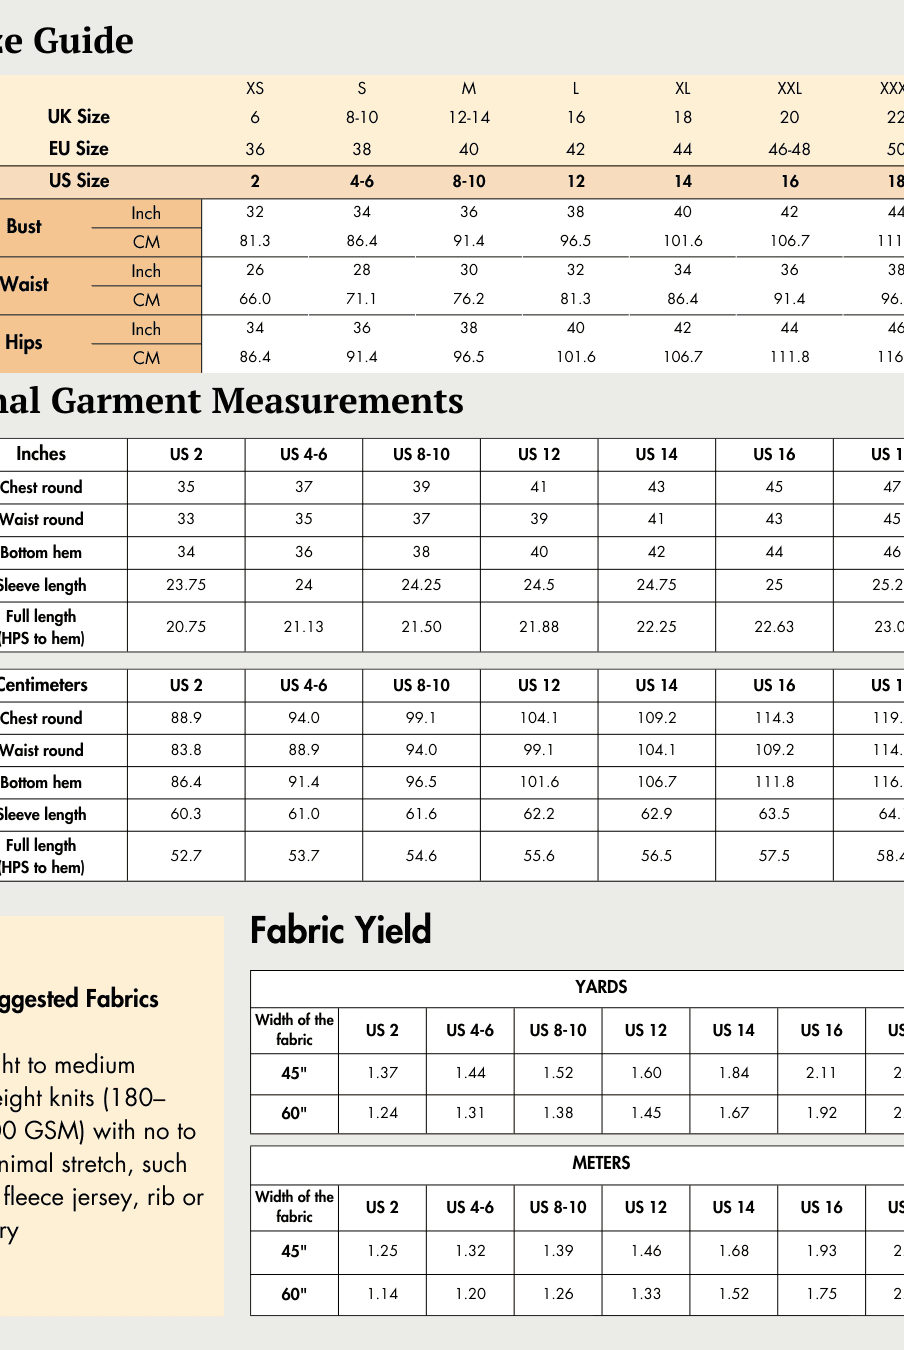
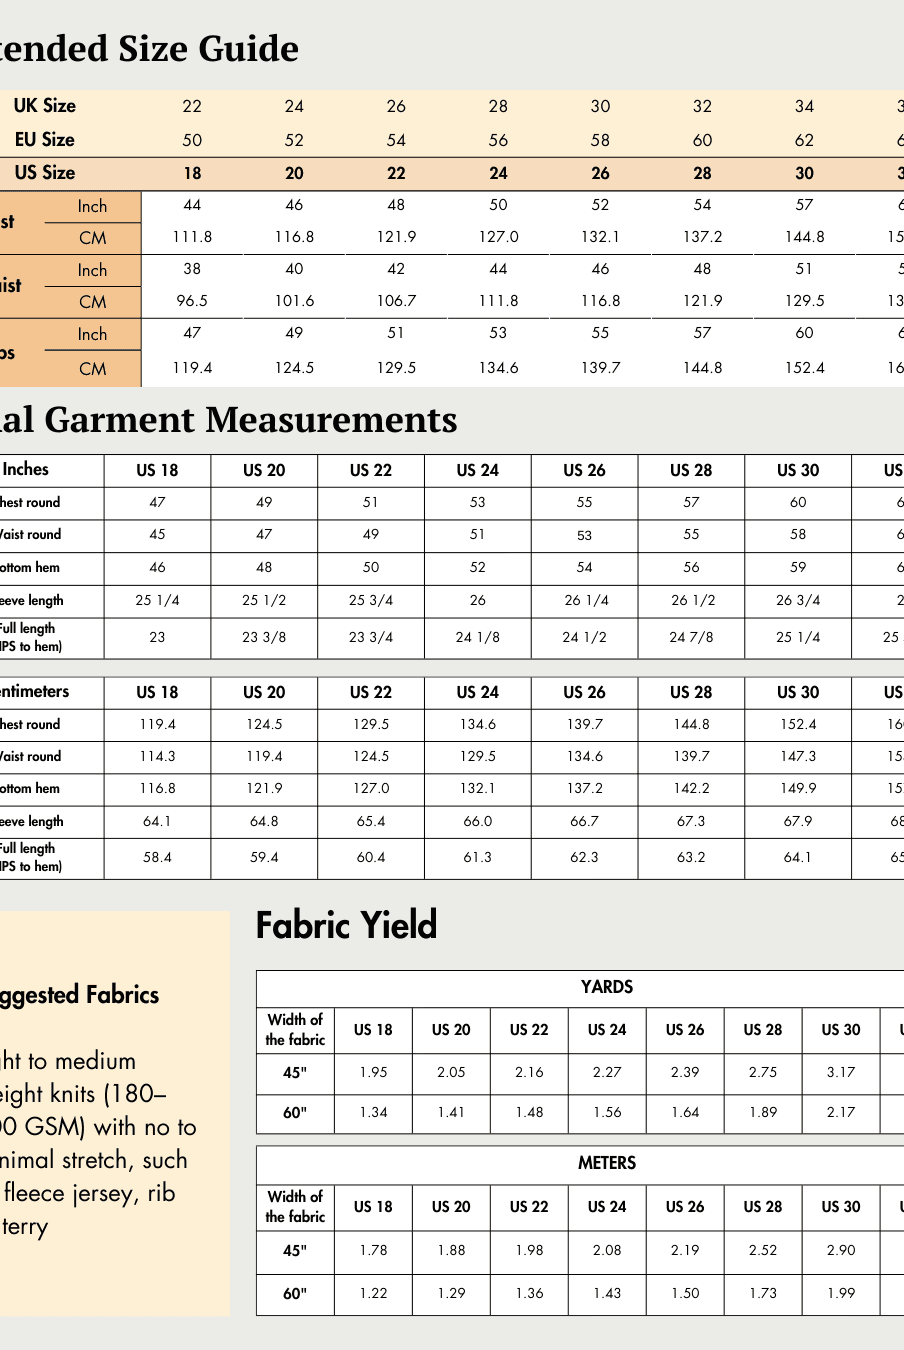
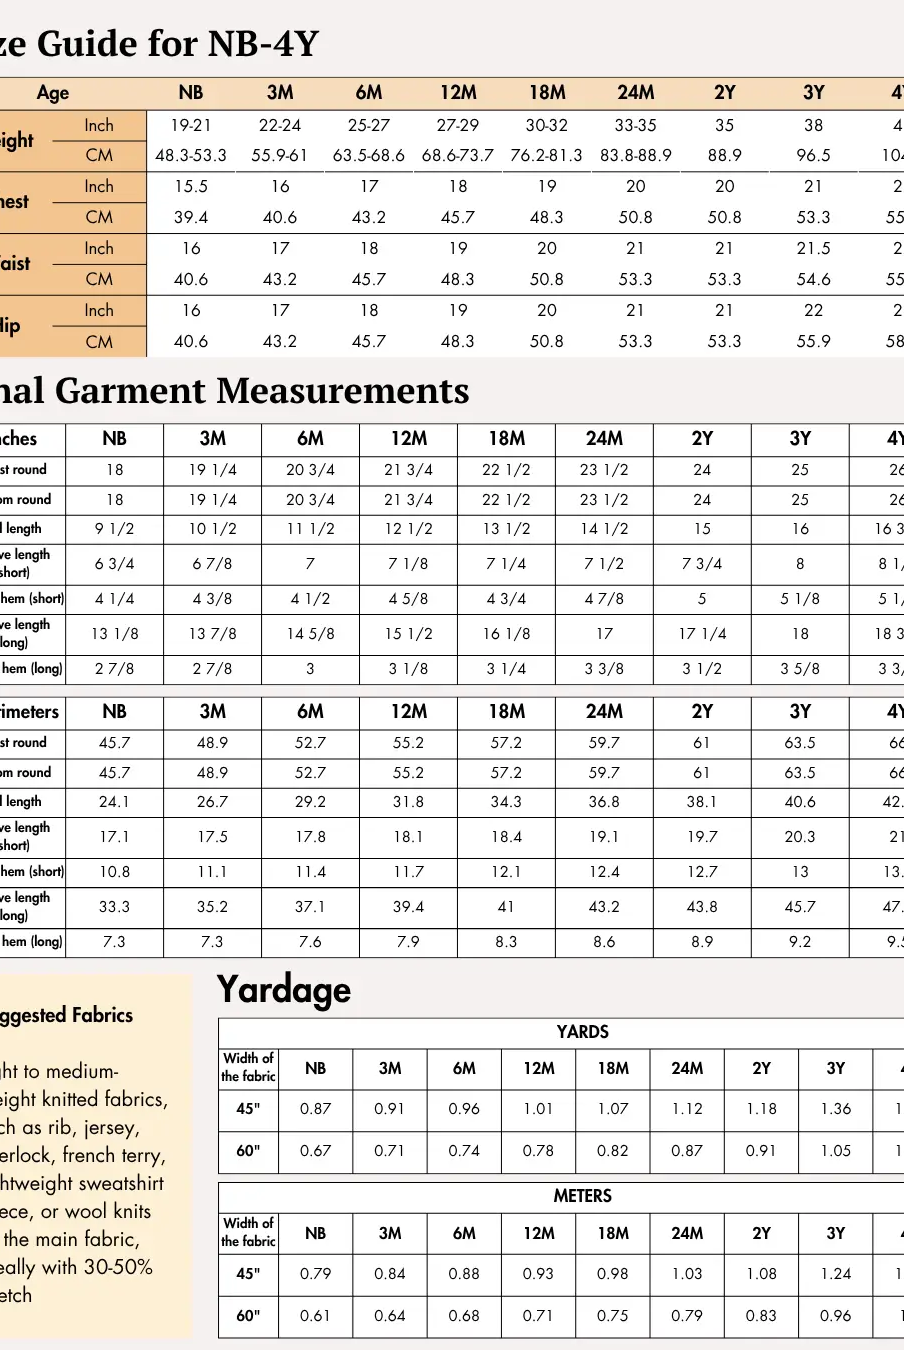
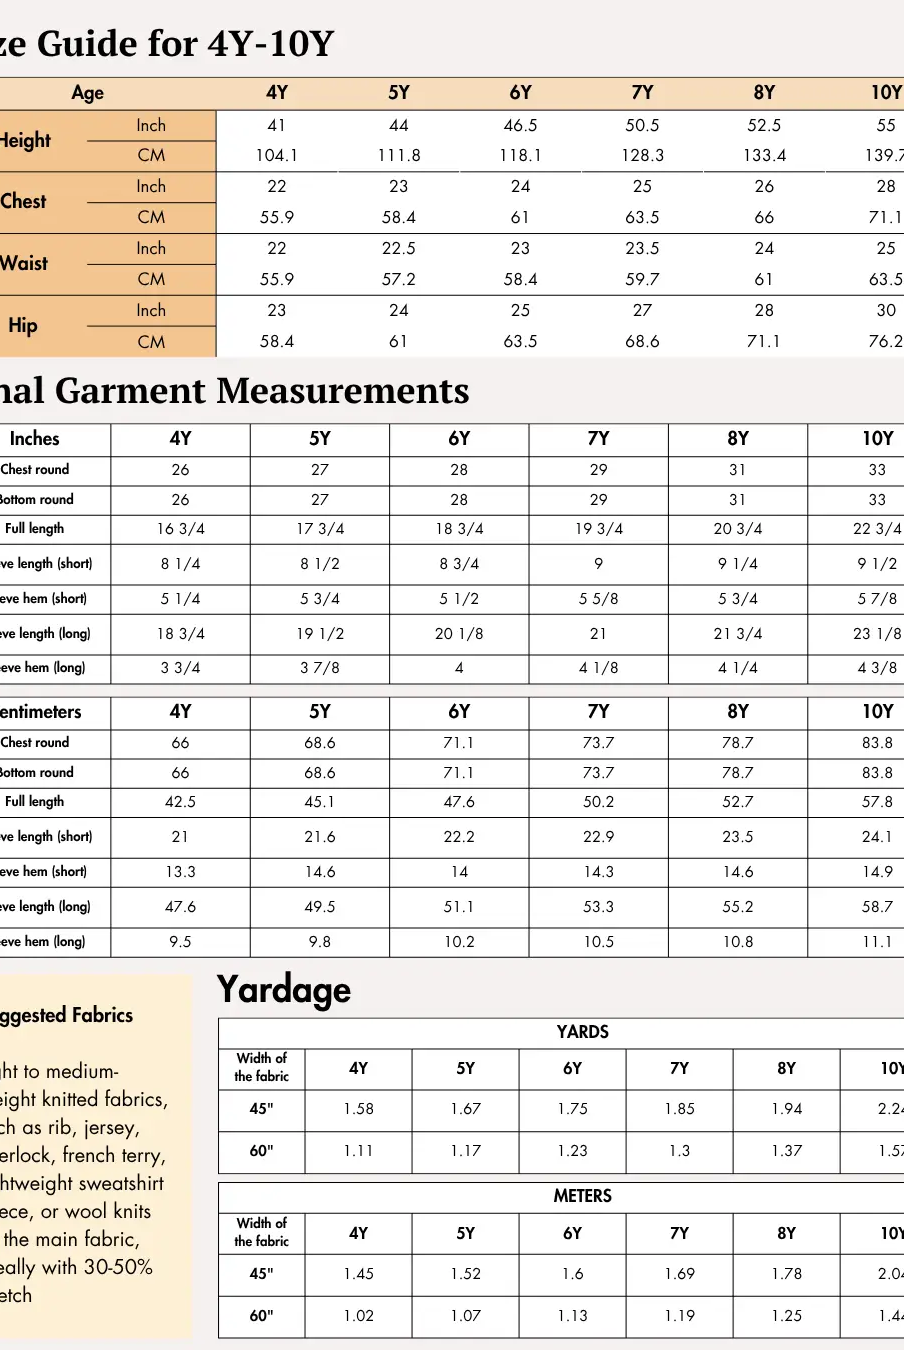
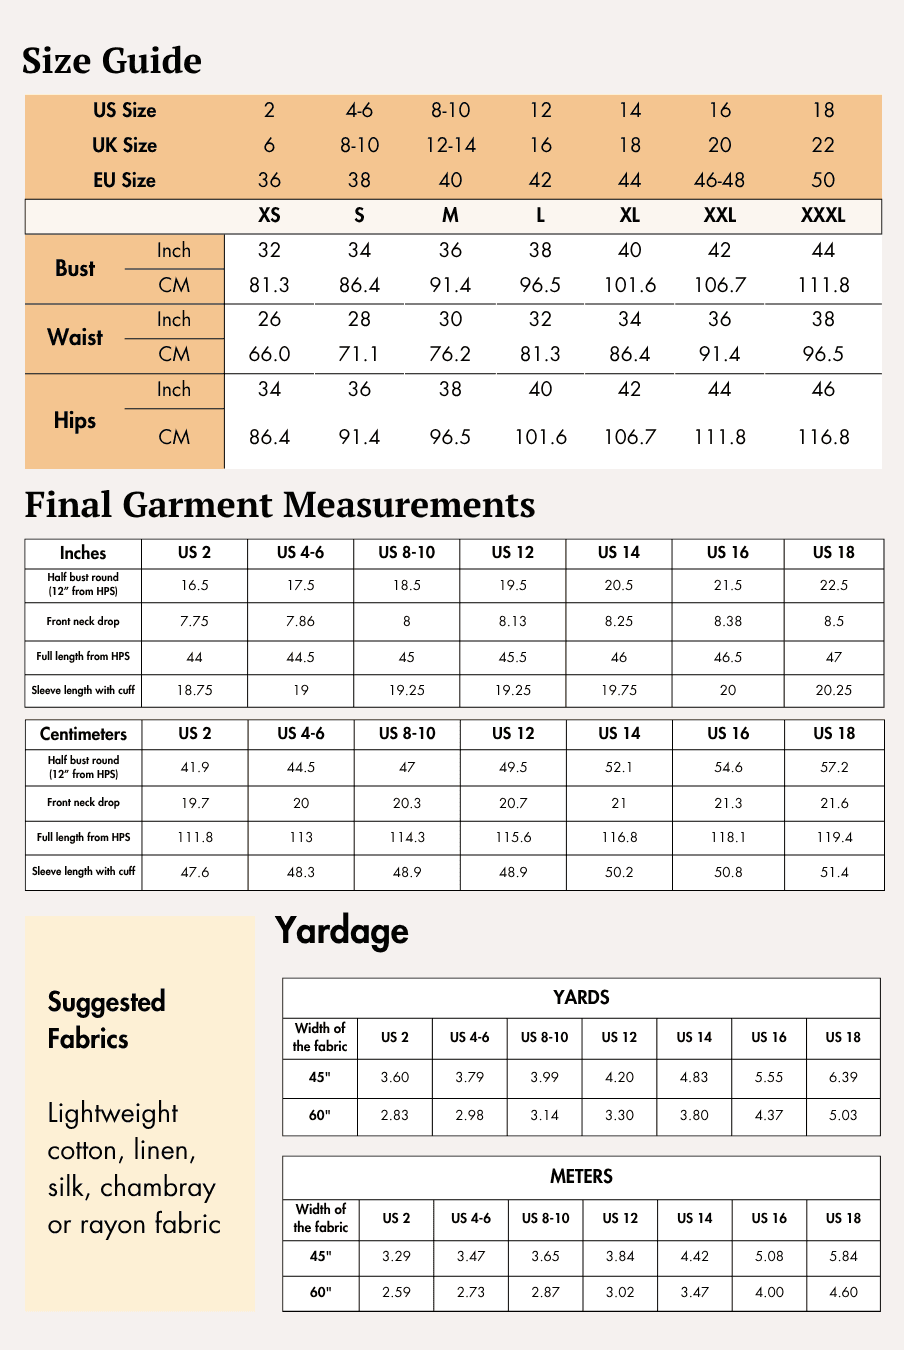
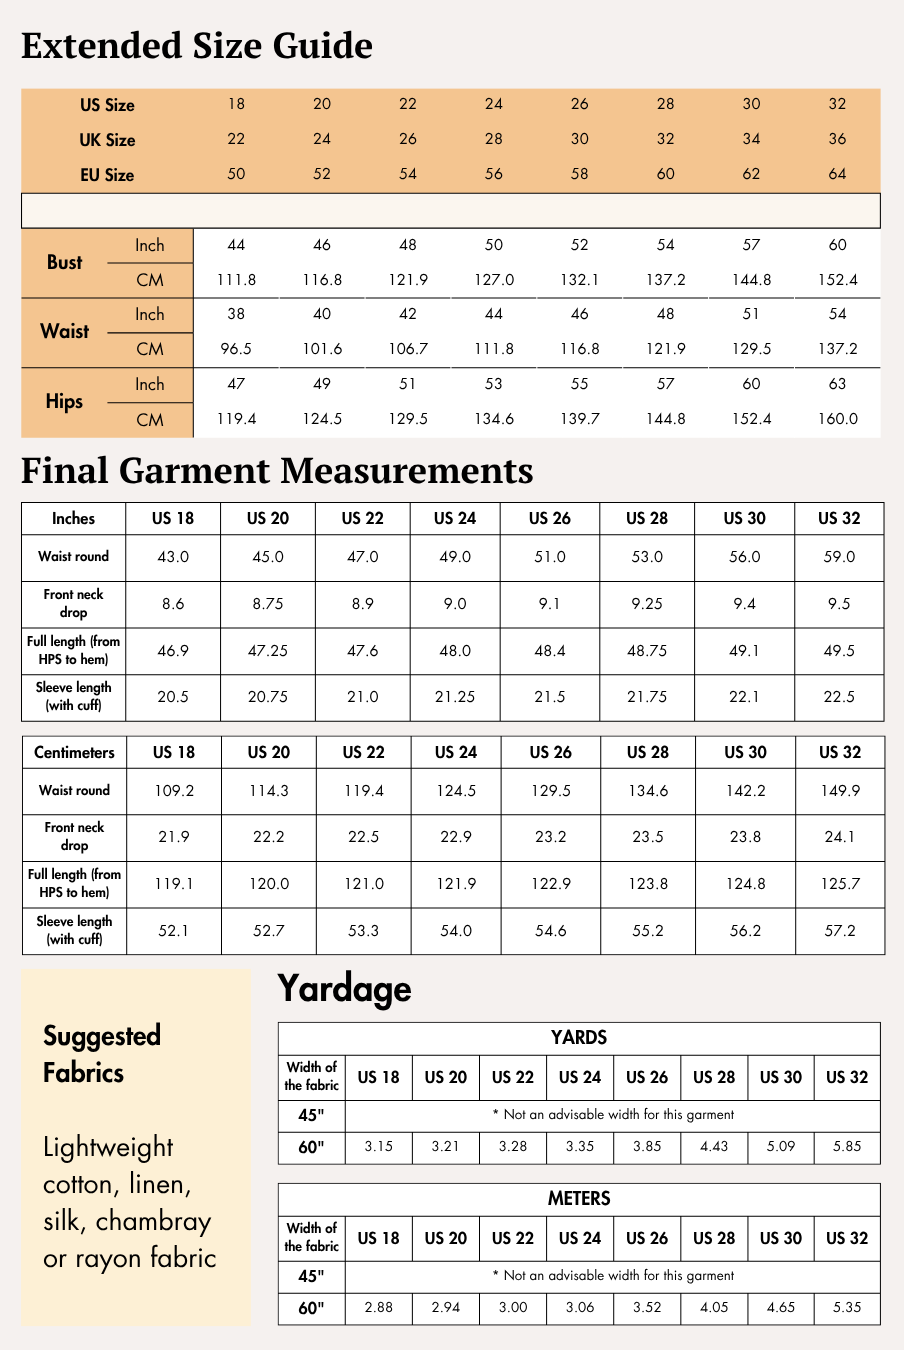
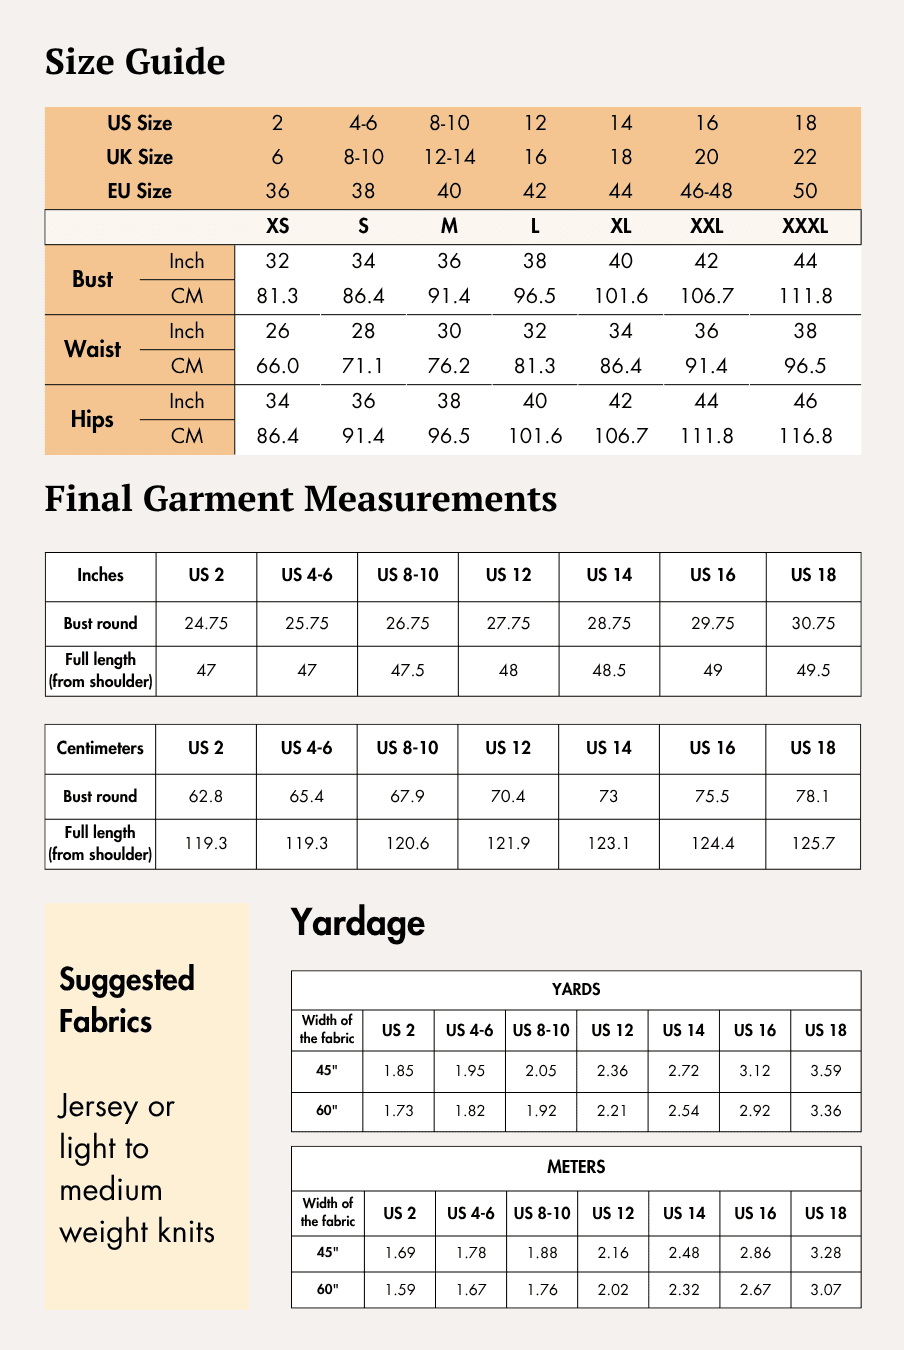
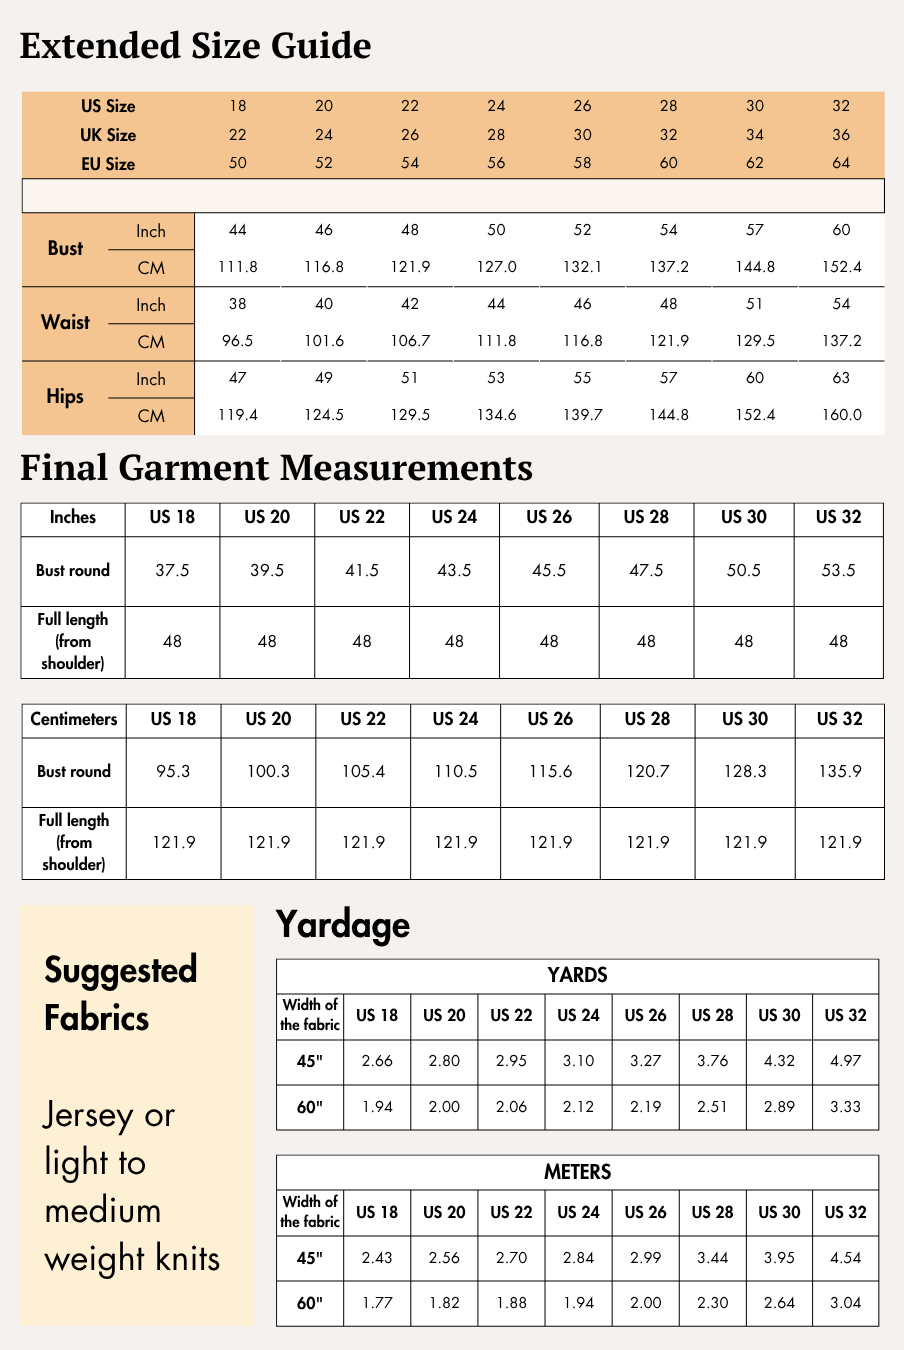
Check the size charts and measure yourself to select the correct size, using the garment and body measurement tables in the guide.
Verify how much fabric you need by referencing the fabric yield table in the guide.
Pattern Inventory: What Pieces to Prepare

The TESSA Romper Sewing Pattern contains seven pattern pieces:
- A. Front - cut x1 fabric
- B. Back - cut x1 fabric
- C. Front bottom - cut x2 fabric
- D. Back bottom - cut x2 fabric
- E. Side pocket - cut x2 fabric
- F. Strap - cut x2 fabric
- G. Binding - cut x2 fabric
If you are printing at home, use the A4/US Letter pattern. If you are having the pattern printed at a copy shop, use the A0 pattern.
Pattern Marking

The TESSA Romper Sewing Pattern includes markings across the bodice, shorts, and pocket pieces to help with accurate alignment and construction.
Transfer the relevant markings for:
- Grainlines
- Seam allowances
- Side seams
- Waist and waistlines
- Elastic lines
- Neckline
- Armholes
- Strap notches
- Back across
- Crotch seams
- Inseams
- Hip lines
- Hem
- Pocket-opening lines
- Pocket-opening notches
Cutting Layout


The TESSA Romper Sewing Pattern guide provides cutting layouts for both 45-inch and 60-inch fabric widths. US size 26 is used to represent the layouts.
Correct pattern placement helps ensure that the garment is cut on-grain. Pinning the pattern pieces also helps maintain accuracy while cutting.
The layouts are non-directional. If you are using fabric with a nap or directional print, purchase additional fabric to allow the pieces to be positioned appropriately.
Fabric Cutting and Preparation
For the TESSA Romper Sewing Pattern, arrange the pattern pieces according to the cutting layout diagrams. Position each piece so that its grainline arrow runs parallel to the selvage.
If you are using fabric shears, trace the pattern pieces and then cut them out, cutting away any pen, pencil, or chalk lines. Remember to cut the notches shown along the pattern edges, as these will help you align the pieces during construction.
Use a marking pen, pencil, or chalk to transfer the markings to the wrong side of the fabric. Transfer all notches, dart markings, and center markings indicated on the pattern.
Seam Allowance
Please follow the seam allowances as indicated on the pattern’s file layers. These are provided specifically for each piece to ensure accurate construction.
This pattern includes a 1 cm (3/8”) seam allowance all around, 2.5 cm (1”) at the hem, and no seam allowance on the binding and strap pattern pieces.
Step-by-Step Sewing Instructions
Before beginning, pinning the pieces before sewing is recommended. Press the pattern pieces after every step and refer to the Pattern Marking page for seamlines, notches, and other key reference points throughout construction.
1. For Attaching Side Seam Pockets
1a.
Place one side pocket piece (pattern E) over the pocket-opening area of one front shorts piece (pattern C), with right sides together. Match the pocket-opening notches and opening line, then pin in place.
1b.
Sew along the opening line.
1c.
Press the pocket piece and front shorts piece away from each other. Press the seam allowances toward the pocket.
Understitch through the pocket and both seam allowances approximately 2–3 mm from the seam. Do not stitch through the front shorts piece.
1d.
Turn the pocket to the wrong side of the front shorts. Fold the pocket along the marked pocket fold line, matching the pocket notches and waist edges. Press the fold.
Sew the curved lower edge of the pocket bag closed.
1e.
Baste the pocket to the front shorts within the seam allowance along the waist edge and side seam. This will hold the pocket in position during the remaining construction.
Repeat Steps 1a–1e for the second front shorts piece.
2. For Attaching Crotch
2a.
Place the two front shorts pieces (pattern C) right sides together, matching the center-front crotch edges.
2b.
Pin and sew the crotch seam.
2c.
Place the two back shorts pieces (pattern D) right sides together, matching the center-back crotch edges. Pin and sew the crotch seam.
3. For Attaching Inseams
With the front and back shorts right sides together, match the inseam edges and crotch intersections.
Pin each leg inseam, keeping the crotch seams aligned. Sew both inseams. Finish the raw edges and press the seams toward the back.
4. For Attaching Side Seams
Place the front and back bottom pieces right sides together. Align and sew both side seams.
5. For Finishing the Neck, Straps and Armholes
Use a binding presser foot to bind the neck, straps, and armholes.
5a.
Place the binding piece (pattern G) inside the binder. Stitch approximately 1 inch to secure the binding, then insert the neck seam allowance inside the binding.
5b.
Continue stitching the binding strip around the garment edge as shown in the guide.
5c.
Start sewing the front neckline by inserting the neckline edge into the binding strip. Cut away the excess strip.
Repeat for the front neckline of the front (pattern A) and the back across of the back (pattern B) piece.
5d.
For the straps and armholes, set the strap piece (pattern F) on the binder and begin sewing the first shoulder strap approximately 20–24 inches long, or to your preferred length.
Insert the armhole edge into the binding and finish one armhole with the strap. Trim the excess binding. Repeat on the other armhole with the other binding piece.
If you do not have a binder attachment, press the binding strip lengthwise, fold the raw edges toward the center, wrap the binding around the garment edge, and edgestitch it in place.
6. For Attaching Top Side Seams
Place the front (pattern A) and back (pattern B) pieces right sides together. Align the side seams and sew both side seams.
7. For Attaching the Adjustable Straps
Prepare a binding or loop strip and cut two pieces, each 1.5 inches (3.8 cm) long.
7a.
Fold one 1.5-inch fabric loop around a strap ring, bringing the raw ends together.
7b.
Place the raw ends of the fabric loop at the marked strap notch. Repeat Steps 7a and 7b with the other strap and ring. Sew at the strap notches.
7c.
Thread the free end of the shoulder strap through the center bar of the slider from the wrong side, over the center bar, and back through the opposite opening.
7d.
Thread the free end of the same strap through a strap ring.
7e.
Weave the strap through the center bar of the strap slider, entering one side and coming out the other.
7f.
Fold the end of the strap approximately ½ inch (1.3 cm) over the center bar of the strap slider. Secure it with several rows of stitching, backstitching at both the beginning and end.
7g.
Repeat Steps 7c–7f with the other strap.
8. For Preparing the Waist Elastic
8a.
Cut three 6 mm (1/4”) wide elastic lengths according to the waist round in the final garment measurements for your selected size.
Before joining the ends, wrap each elastic length around the corresponding area of your body to check that it feels secure but comfortable. Because elastic recovery varies, adjust the length before sewing if necessary.
Alternatively, take your waist measurement and reduce the elastic length by 2–4 inches according to your desired tightness. For example, for a 28-inch waist and a regular fit, the guide suggests 28 - 2 = 26 inches of elastic.
8b.
The guide provides two methods for joining the elastic ends:
i. Butt the elastic ends together without overlapping them. Place a small rectangle of lightweight fabric beneath the join and zigzag across the ends several times.
ii. Add a 1 cm seam allowance to both edges and overlap the elastic ends by approximately 1 cm (3/8”). Secure the overlap with a zigzag stitch, stitching back and forth several times. This method may create additional bulk with thicker elastic.
Prepare three closed elastic bands.
9. For Attaching Elastic
9a.
With the bodice wrong side facing up, place the elastic over the marked elastic placement line.
Sew through the center of the elastic using a medium-width zigzag stitch, stretching the elastic evenly between each quarter point. Do not stretch the fabric.
To position the elastic evenly, divide both the elastic band and bodice into four equal sections and mark each quarter point. Match the elastic quarter points to the corresponding quarter points on the bodice.
9b.
Repeat for the remaining two elastic placement lines. Make sure the elastic is not twisted and that the rows remain parallel.
The guide's Figure 9c shows the finished right side of the prepared bodice after all three rows of elastic have been attached.
10. For Attaching Top and Bottom of the Romper
10a.
Turn the shorts wrong side out and keep the bodice right side out. Insert the bodice into the shorts so that the right sides are together and the waist edges align.
Match the side seams, center front, and center back. Pin evenly around the waist.
10b.
Sew along the waistline.
10c.
Turn the romper right side out.
11. Finish the Hem
Fold the raw edge 1 cm (3/8”) to the wrong side and press. Fold again along the marked hemline and press.
Pin the hem in place and stitch close to the inner folded edge around each leg opening.
Alternatively, you can use a coverstitch.


Ready to Sew Your Own Romper?


The Winslet's TESSA Romper Sewing Pattern combines a close-fitting bodice with adjustable straps, a flexible elasticated waist, practical side pockets, and relaxed wide-cut shorts. The result is a comfortable one-piece garment suited to casual daytime wear, holidays, sightseeing, and other warm-weather outings.
As an Intermediate project, TESSA gives you the opportunity to practice several useful garment-making techniques, including side-seam pockets, binding, adjustable straps, elastic application, and joining a bodice to shorts.
Get the TESSA Romper Sewing Pattern and start sewing your own one-piece warm-weather outfit.
Explore More Sewing Patterns
Browse our Jumpsuit Sewing Pattern Collection for more handmade one-piece styles suitable for casual outfits, holidays, and warm-weather wardrobes.
Join the Community & Get Support
Share your finished TESSA Romper on social media with #MadeWithWinslets. If you have questions, feedback, or customization requests, contact the Winslet's team at support@winslets.com.