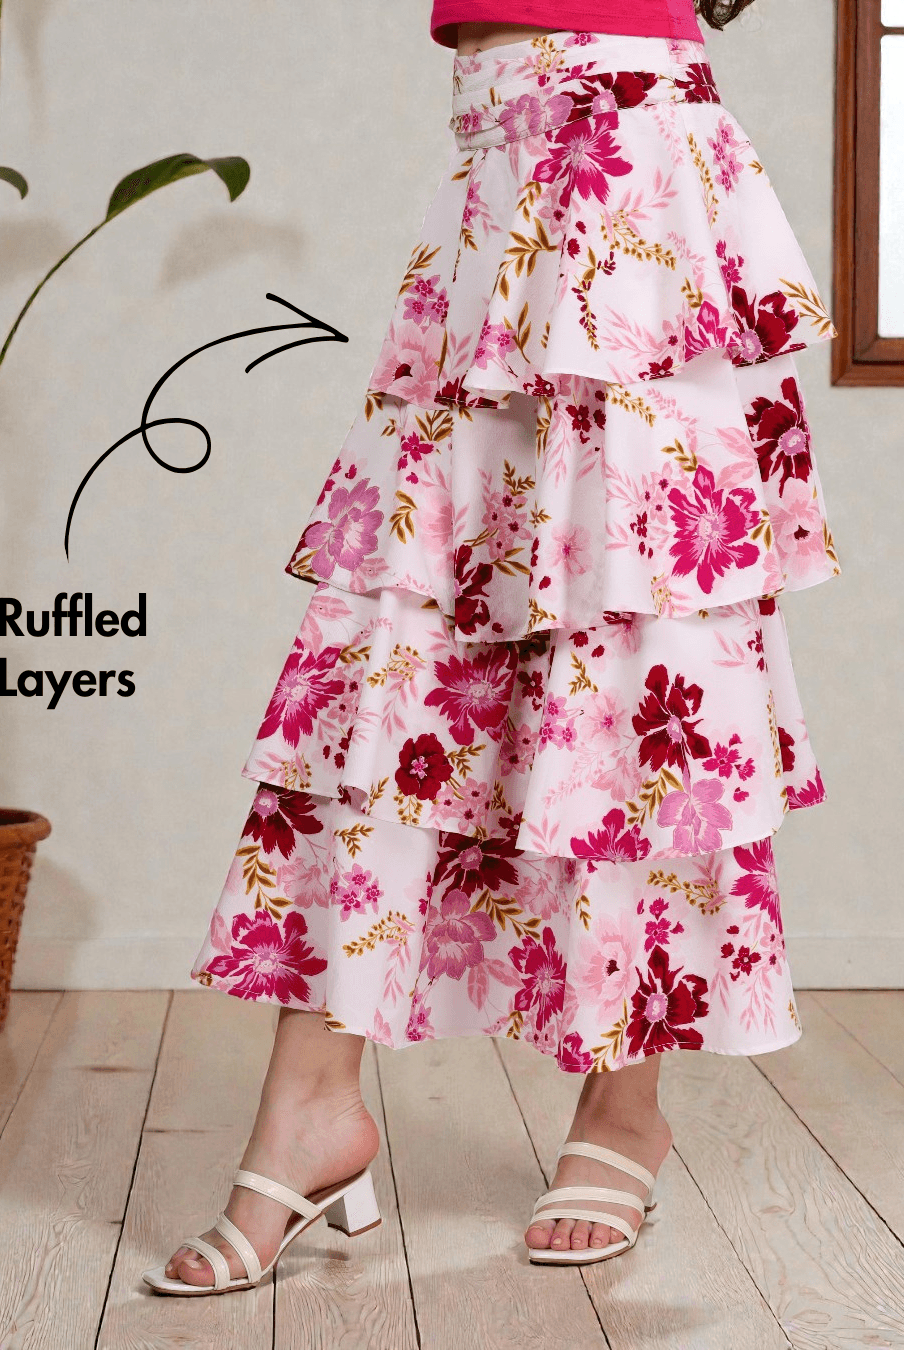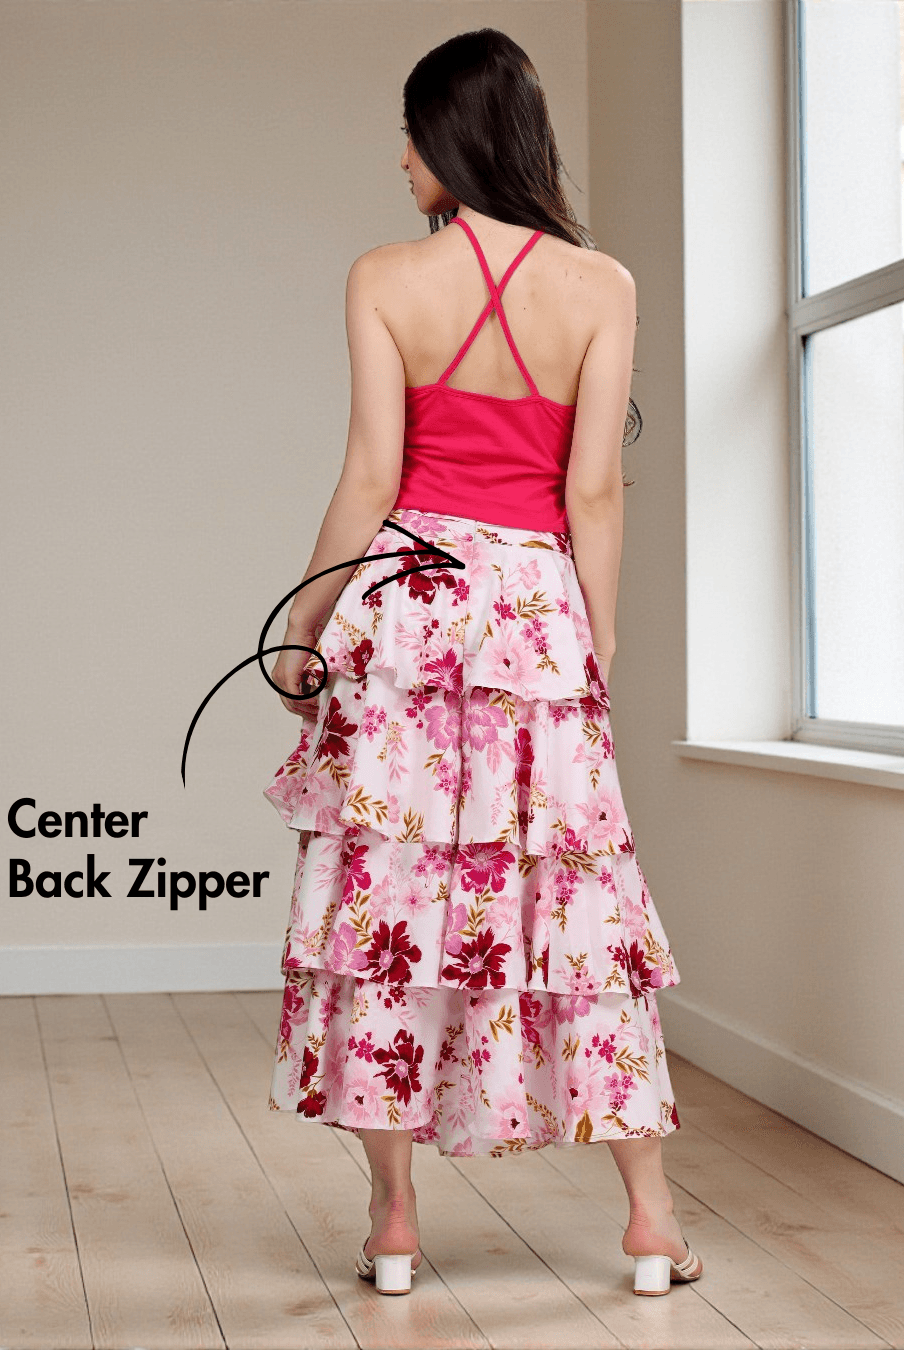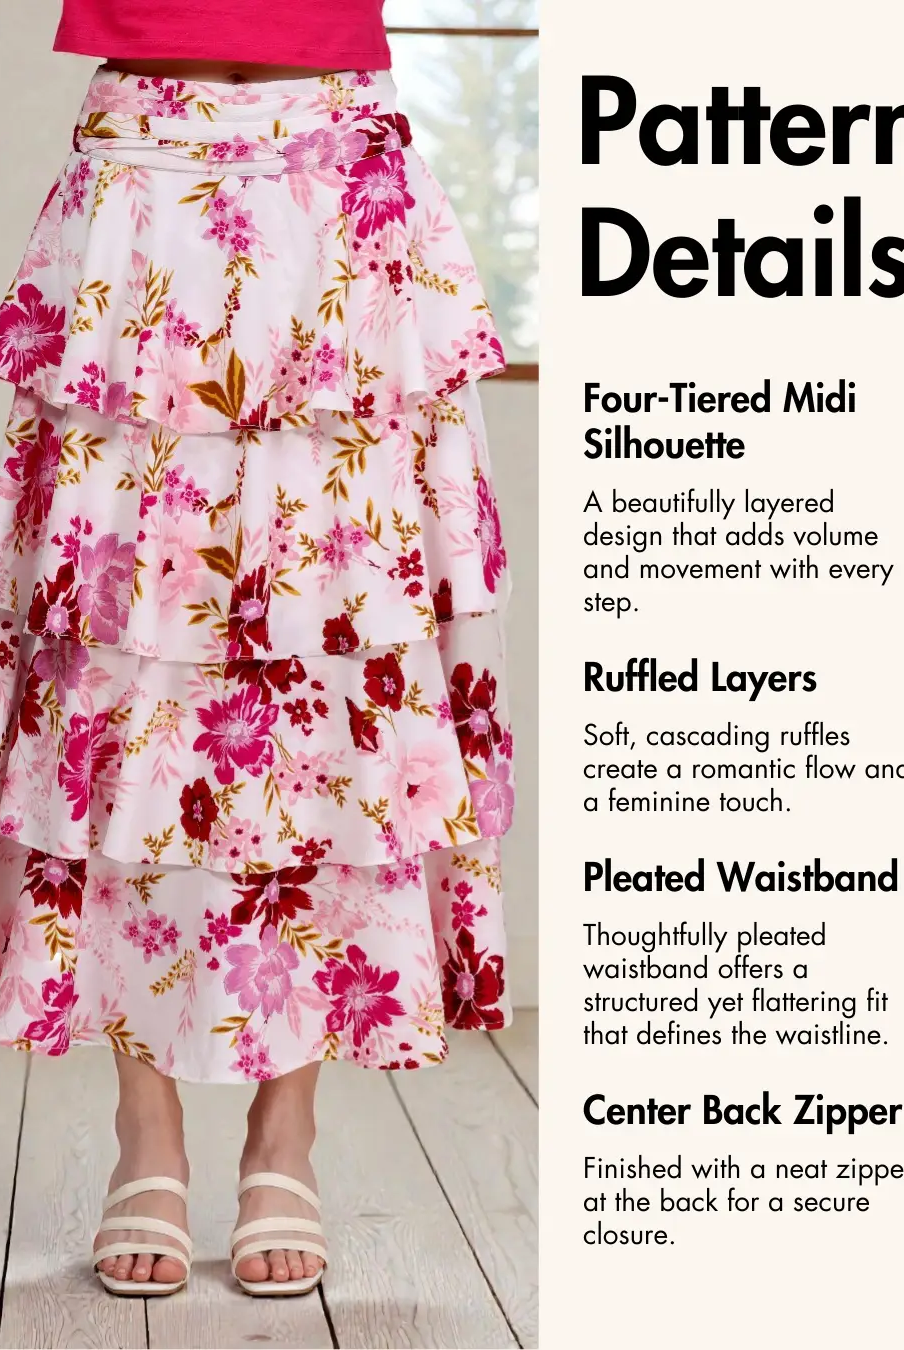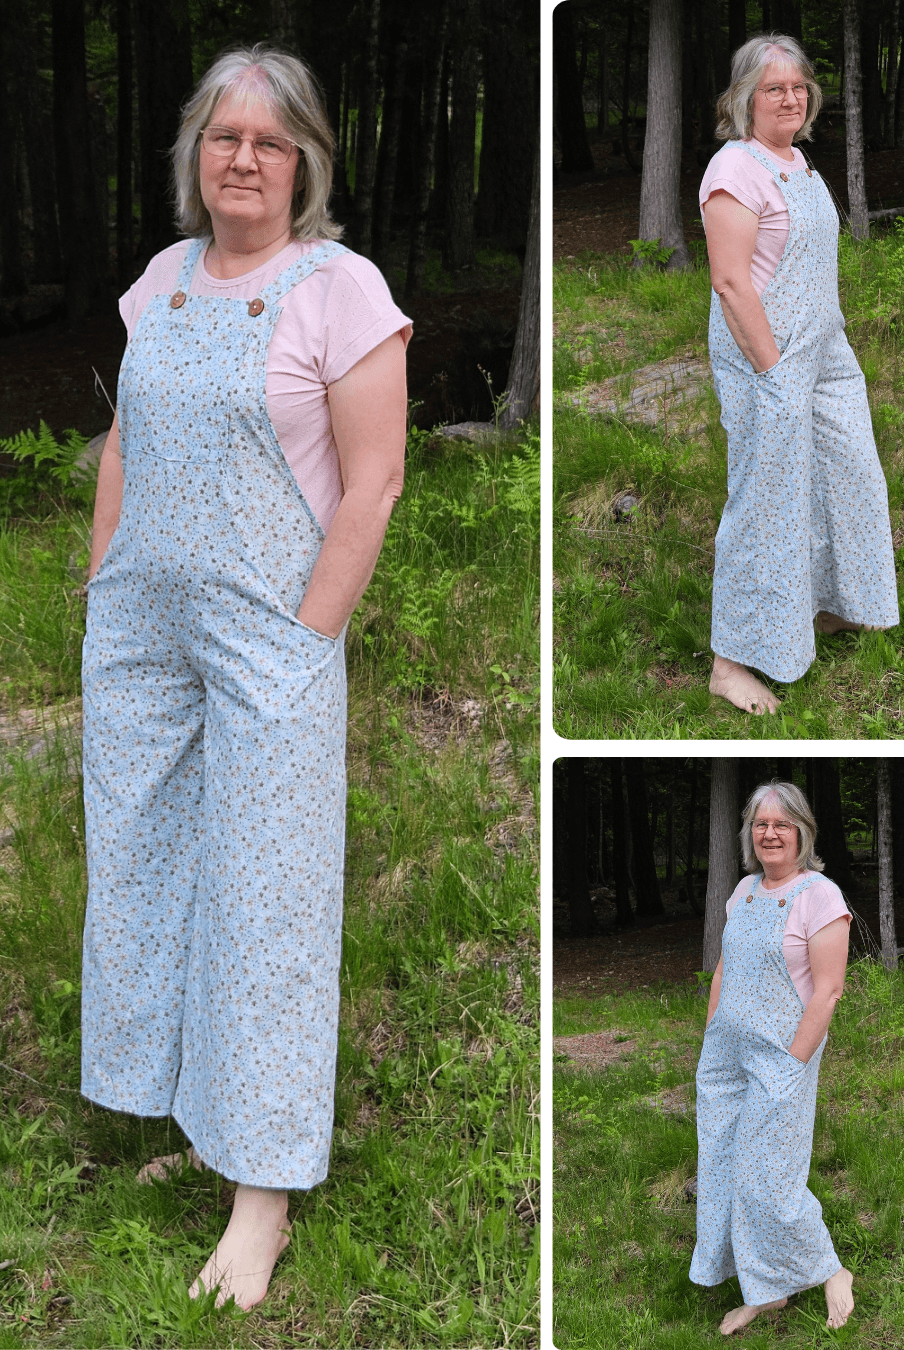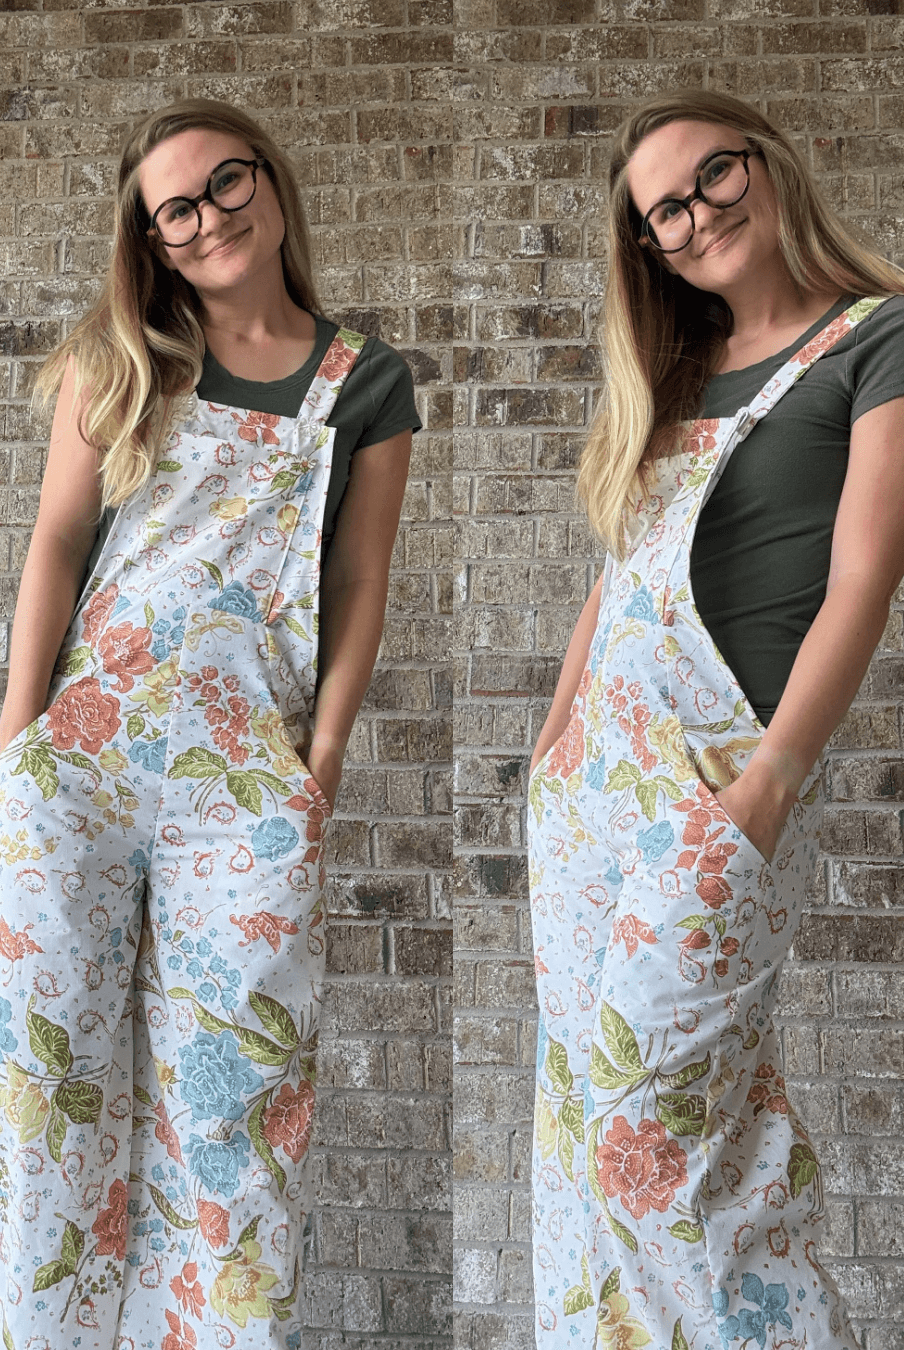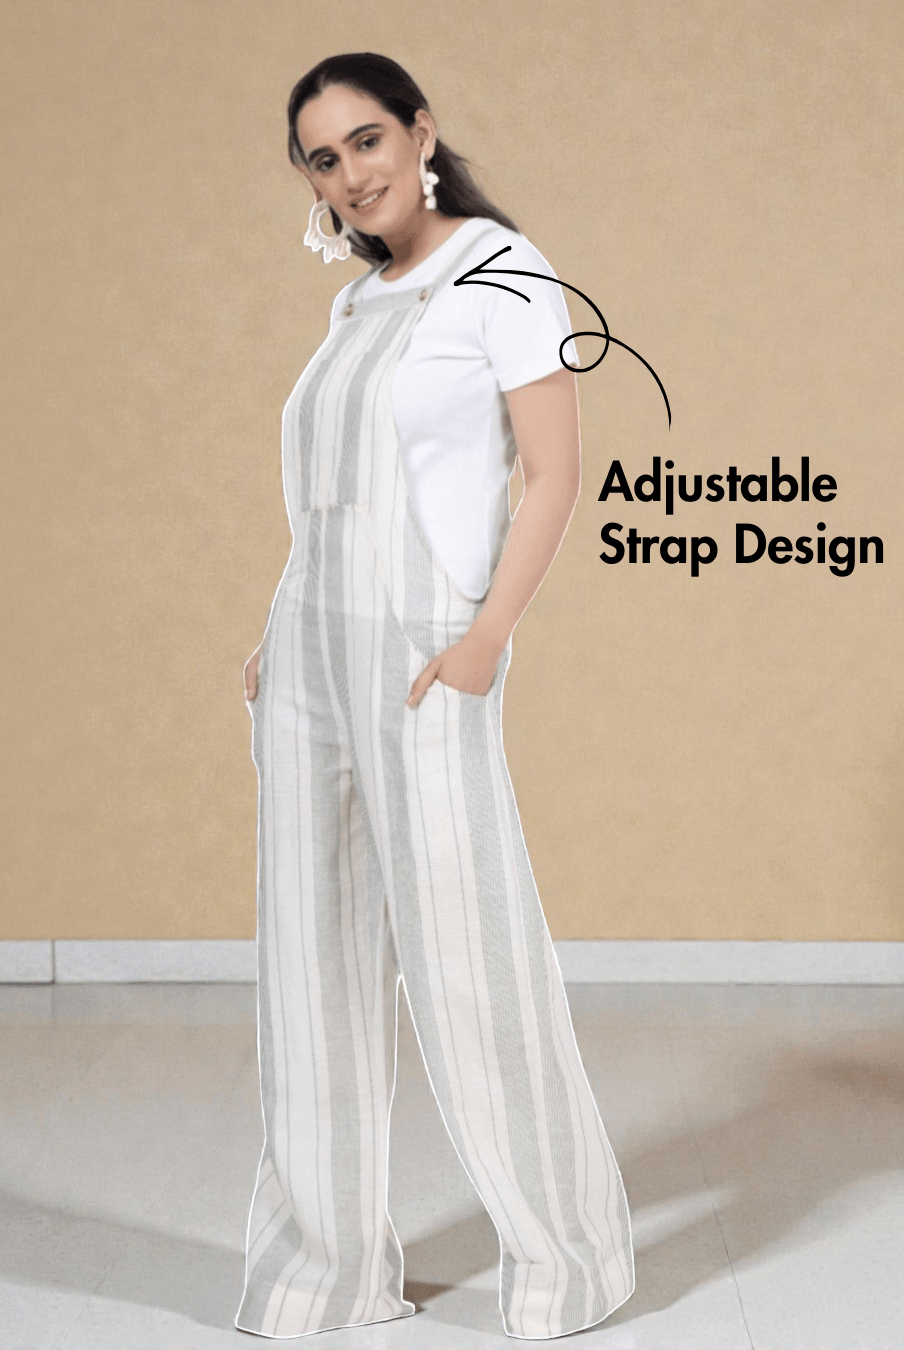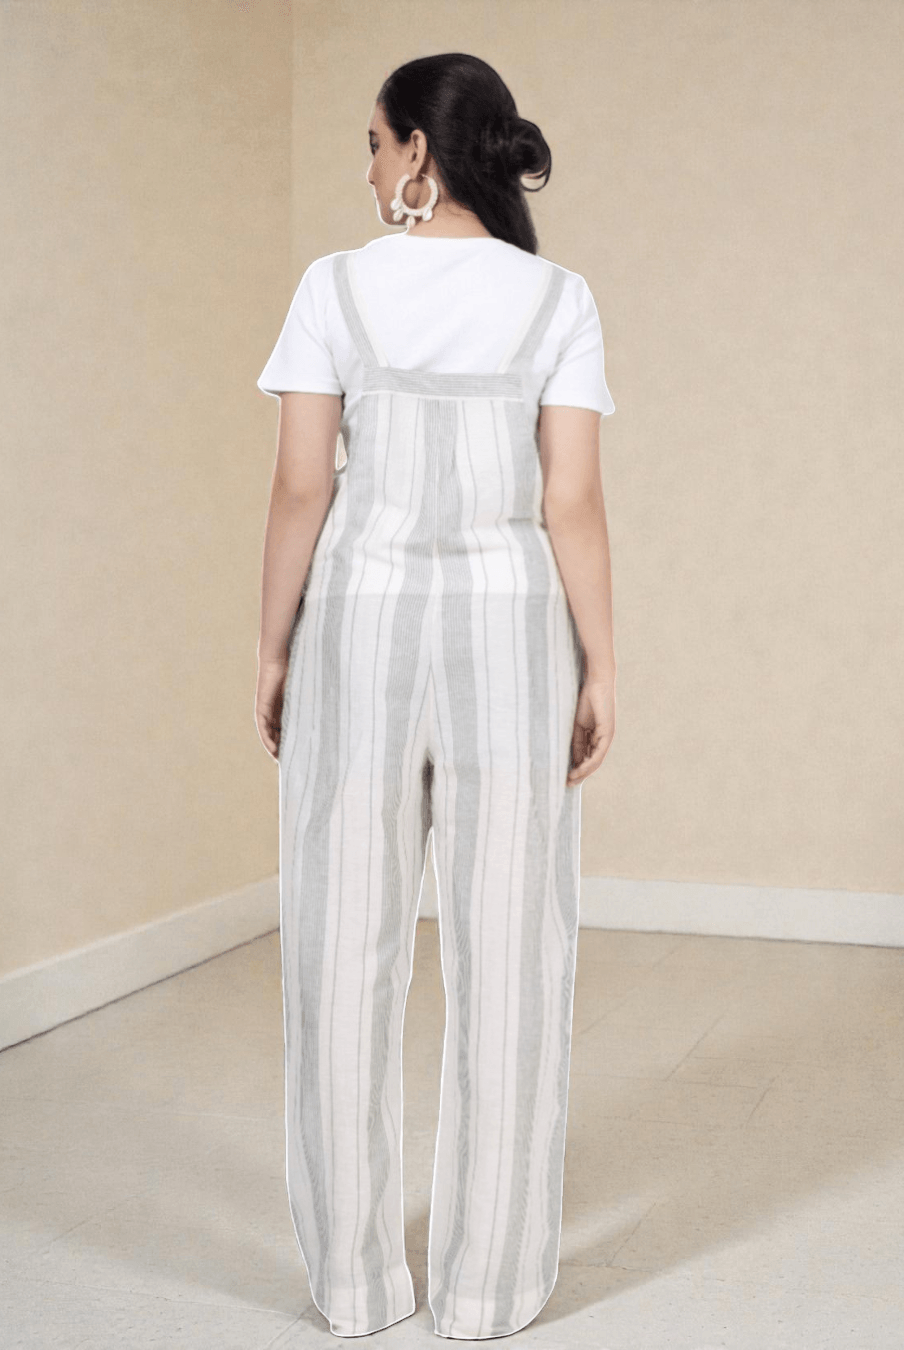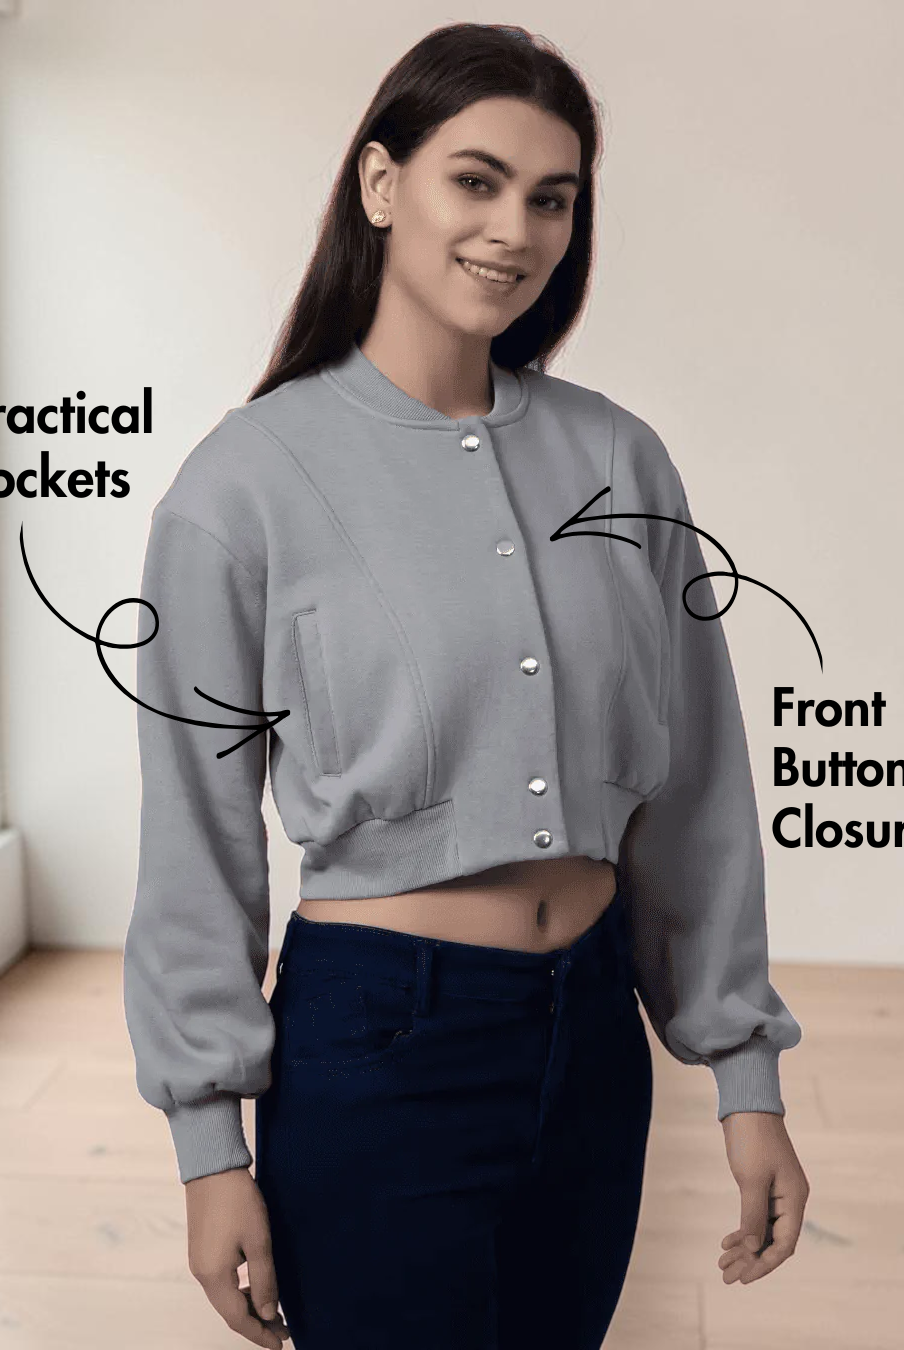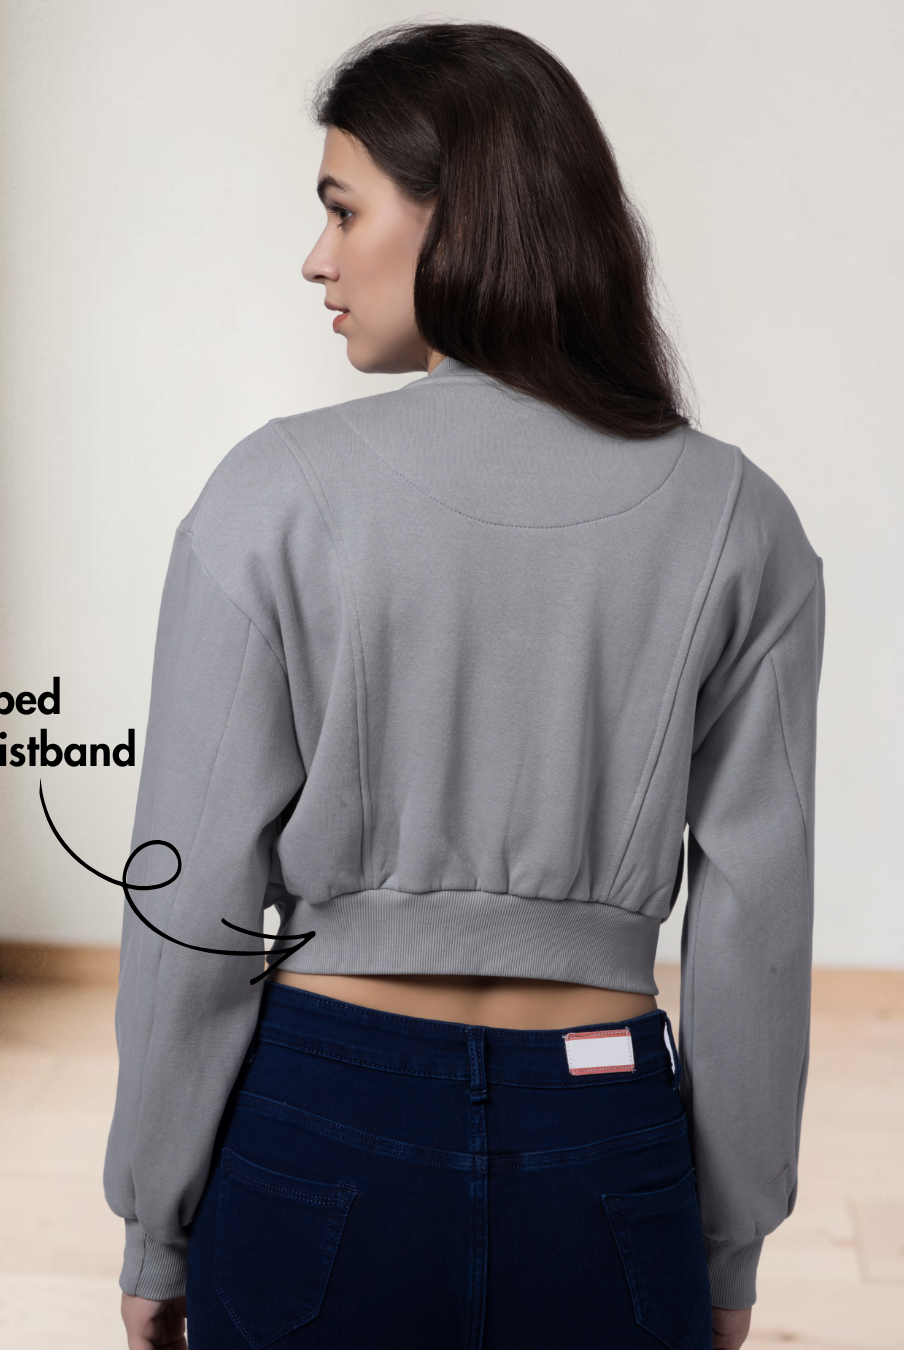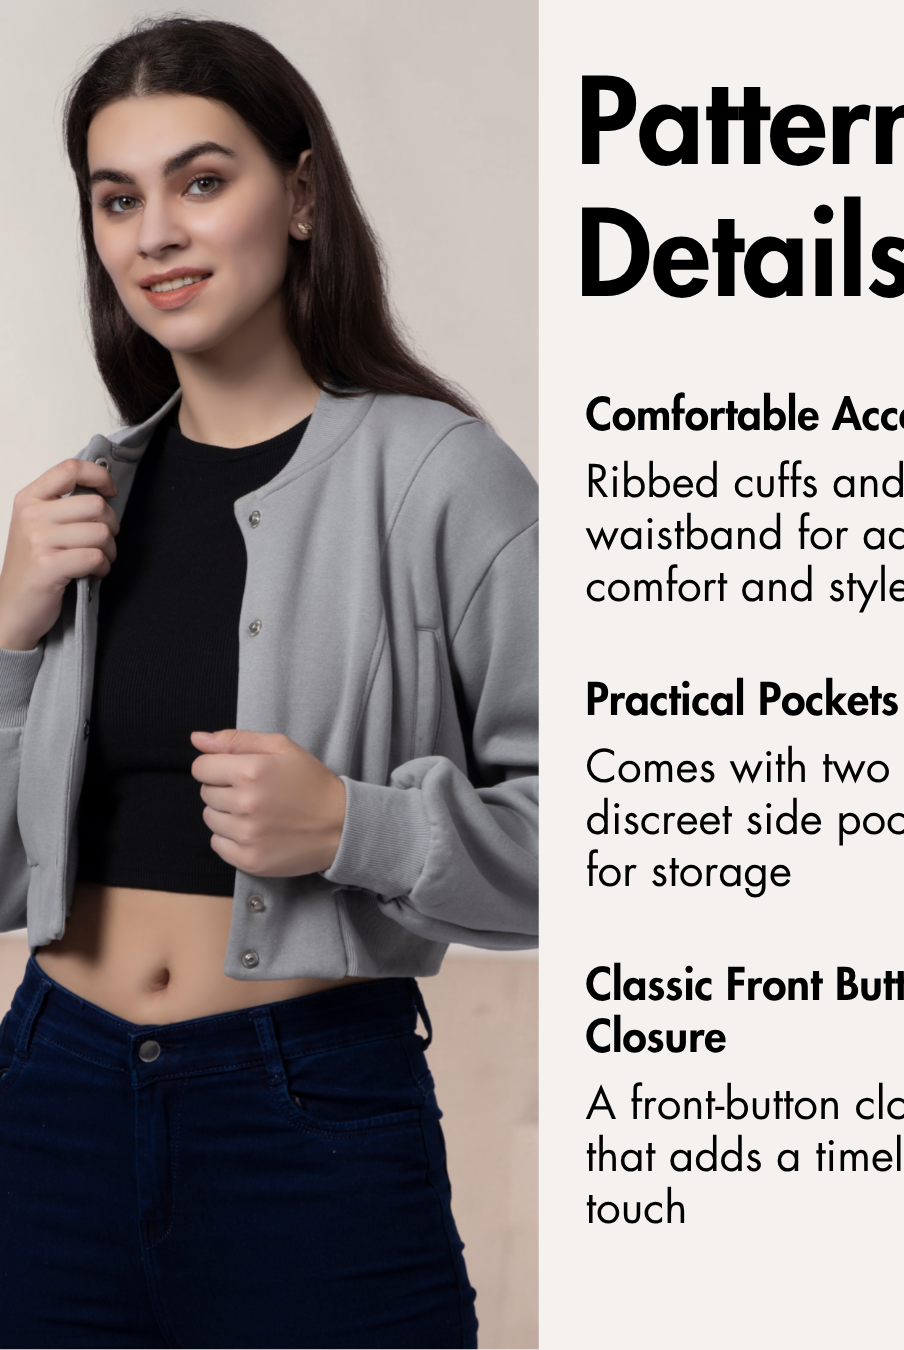
Utility mini skirts are a rewarding project for sewists who want to combine a structured silhouette with practical design details. A short skirt also gives you the opportunity to practice useful techniques such as pockets, darts, lining, and zipper installation while creating a versatile garment for everyday wear.
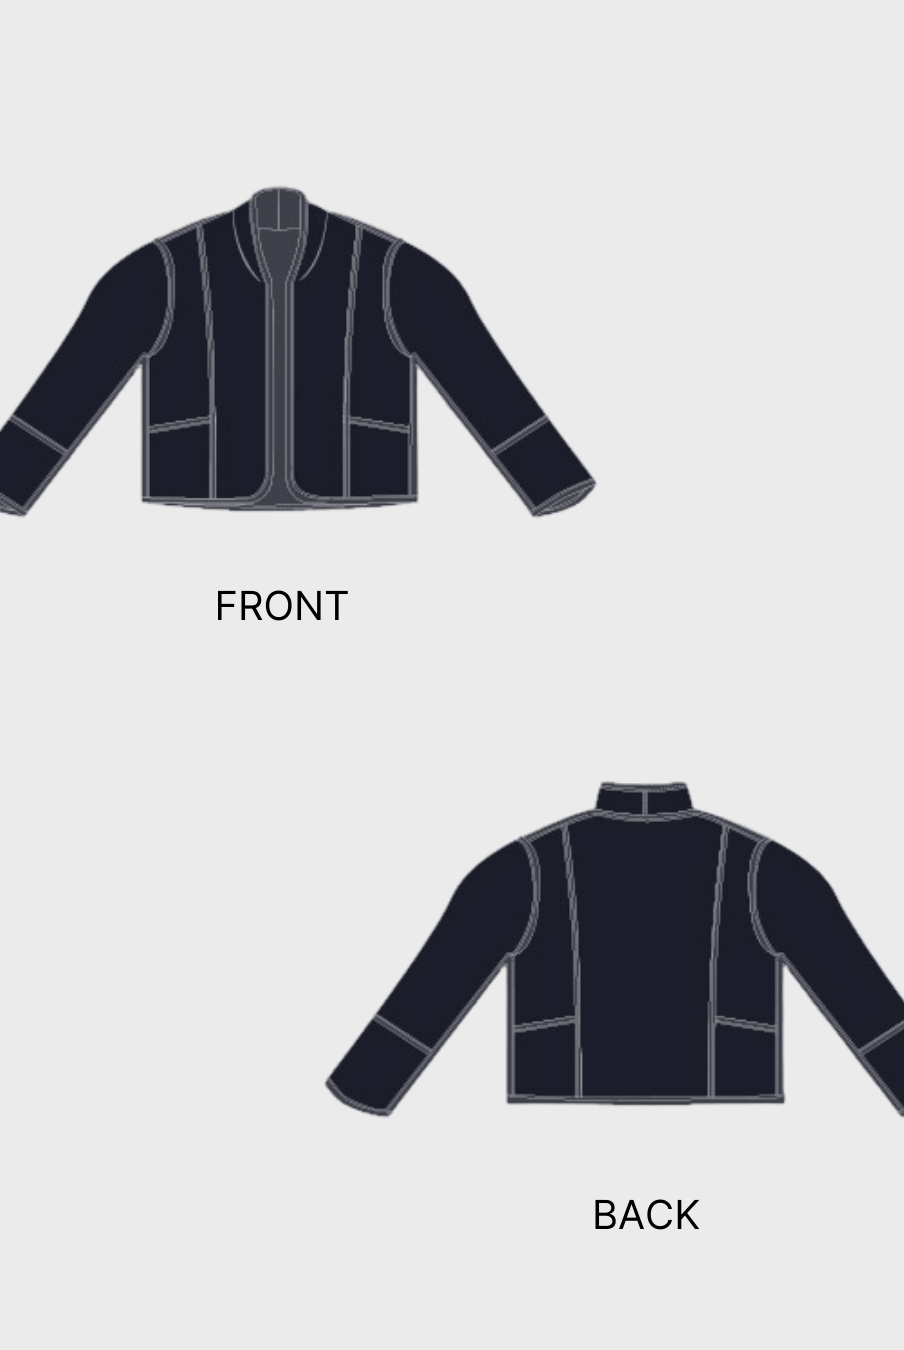
The Winslet's SABRINA Utility Mini Skirt Sewing Pattern features a wrap-style front with an asymmetric overlapping panel, a utility-inspired patch pocket with a flap, full lining, and a center-back invisible zipper. An optional buckle can be added to the pocket detail, while the fitted waist and gently A-line silhouette create a clean, structured shape.

Why Sew a Utility Mini Skirt?
- The wrap-style front creates a distinctive asymmetric overlapping panel.
- A utility-inspired patch pocket adds a functional-looking statement detail.
- The optional buckle gives you another way to customize the pocket design.
- Full lining provides a clean interior finish.
- The gently A-line shape gives the skirt room through the hips and hem while keeping the waist fitted.
- The center-back invisible zipper keeps the waistline streamlined.
- The mini length works for casual daytime outfits as well as dressier evening looks.
Why Choose the Winslet's SABRINA Utility Mini Skirt Pattern?

The Winslet's SABRINA Utility Mini Skirt Sewing Pattern combines a fitted waist and gently A-line silhouette with a wrap-style overlapping front and utility-inspired details.
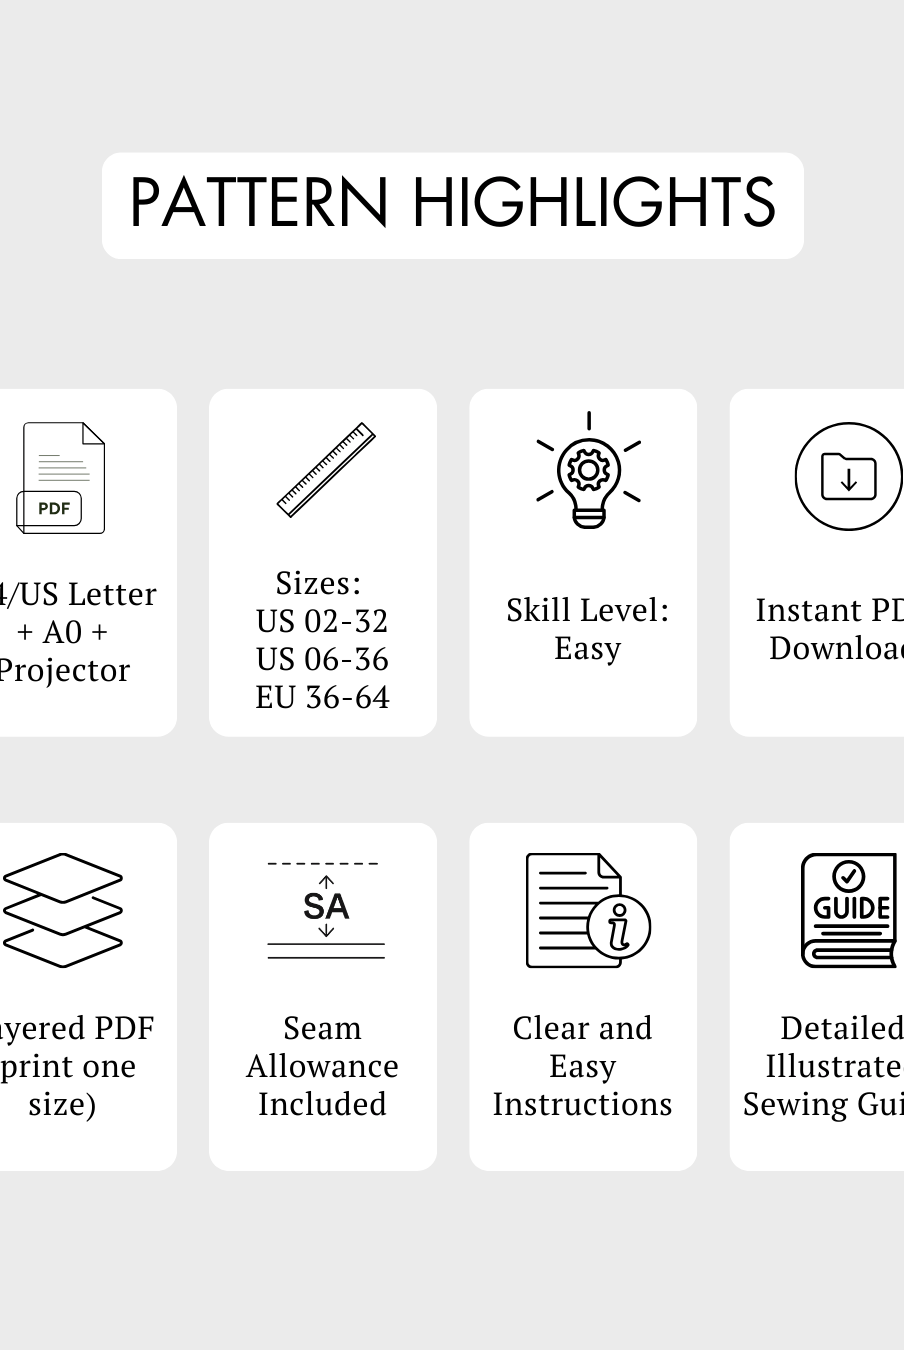
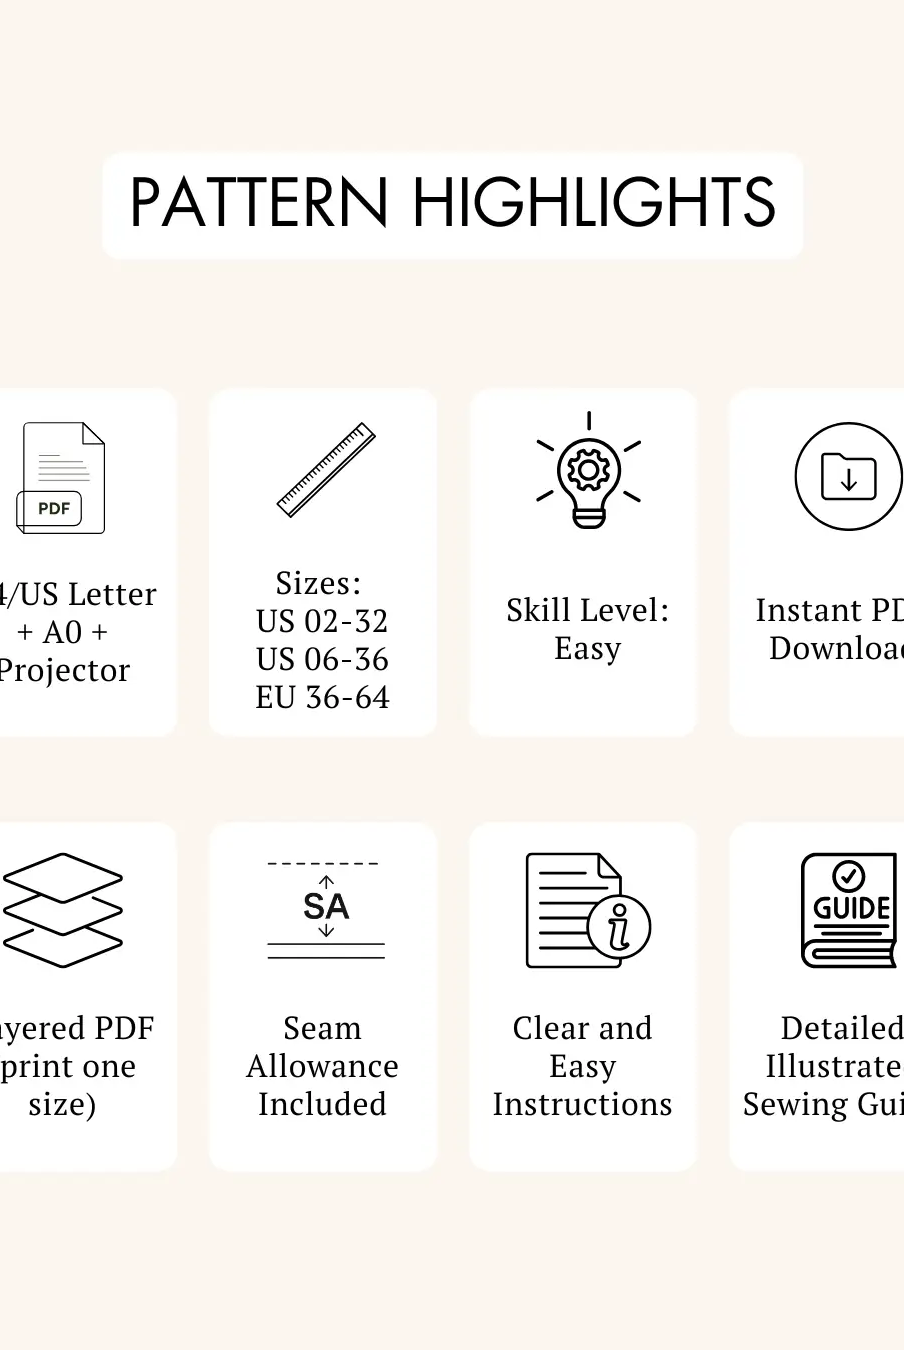
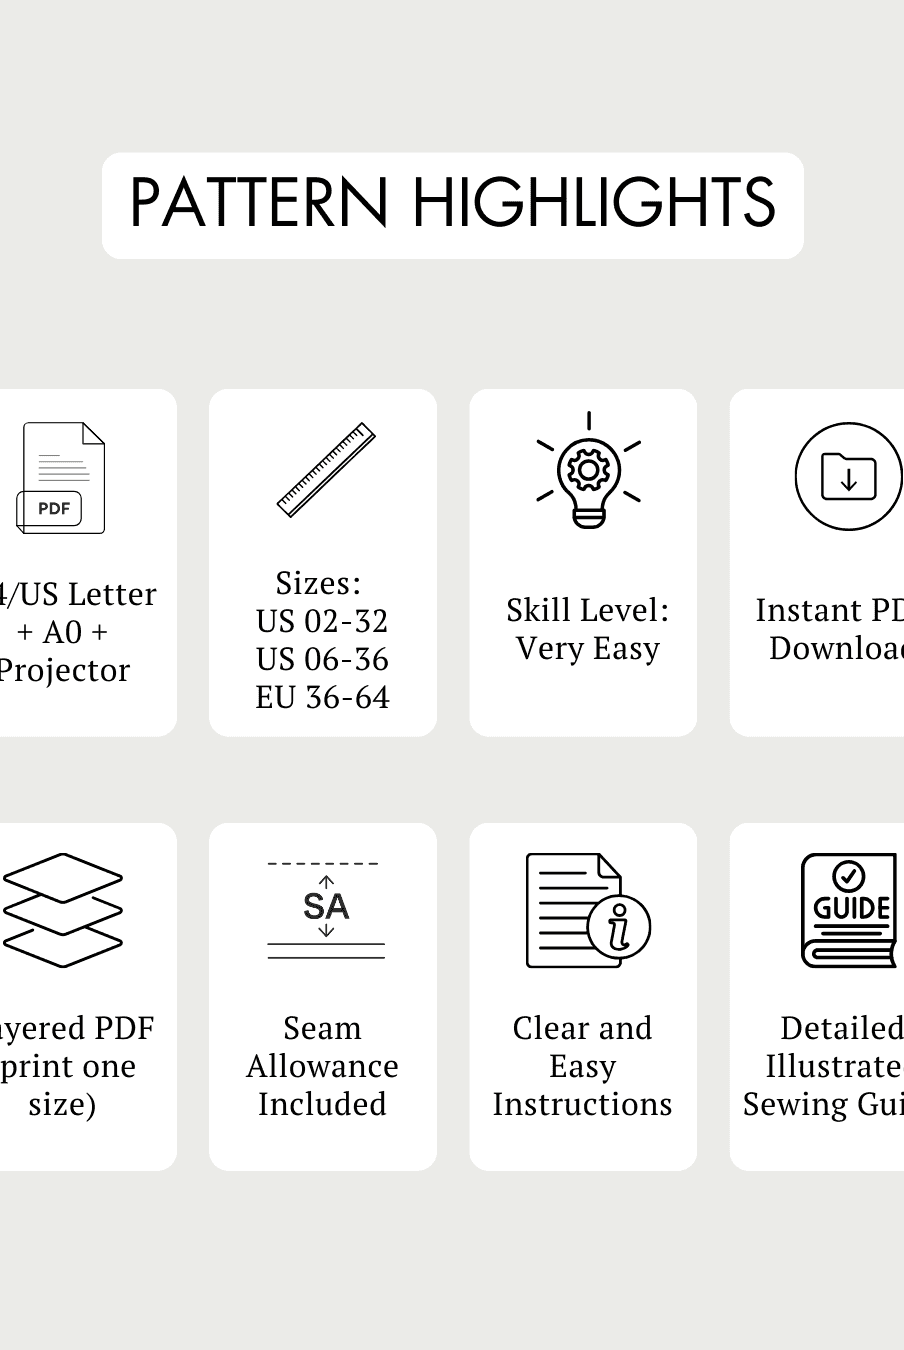
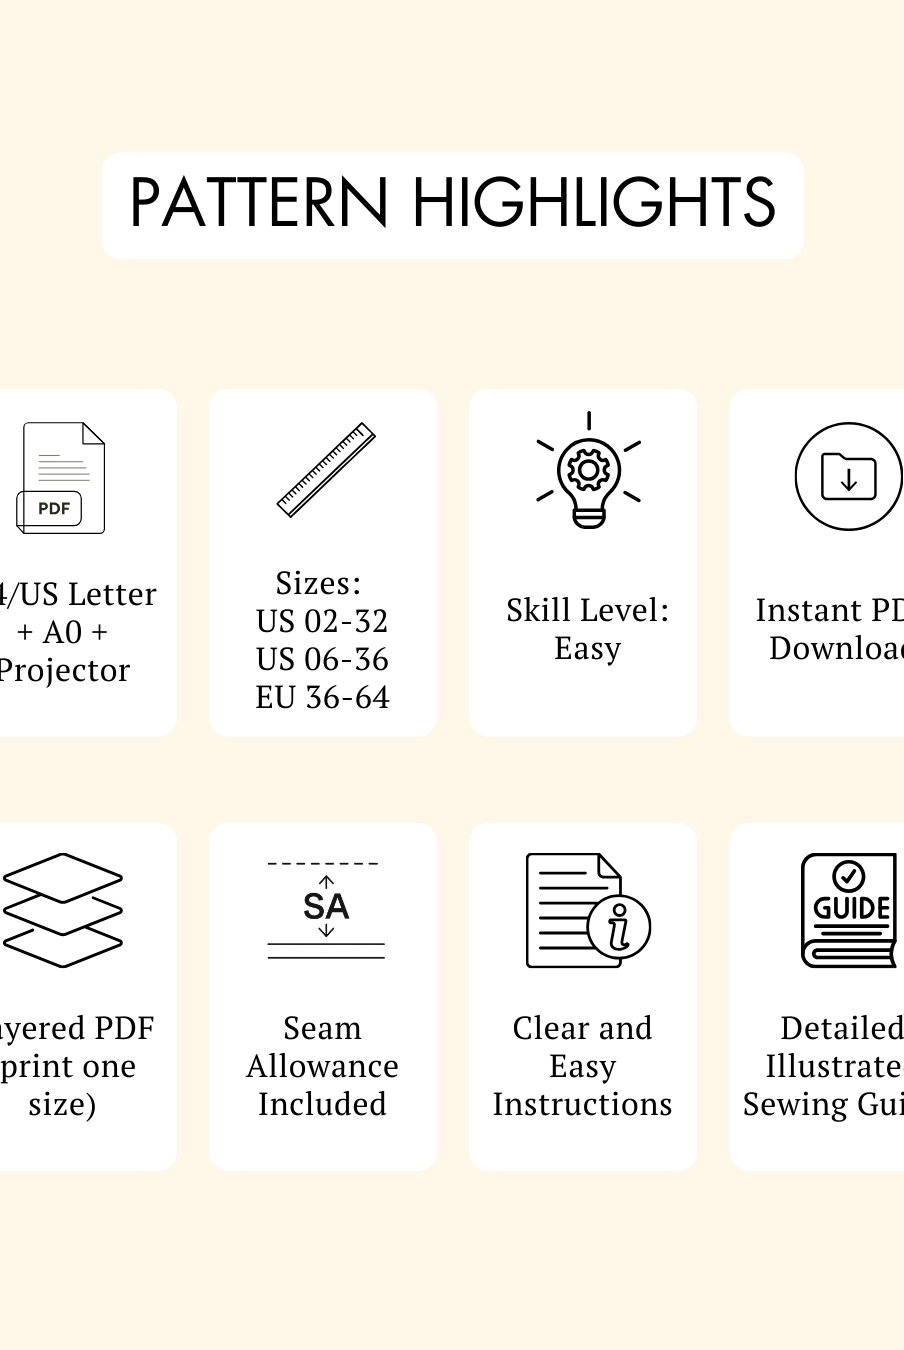
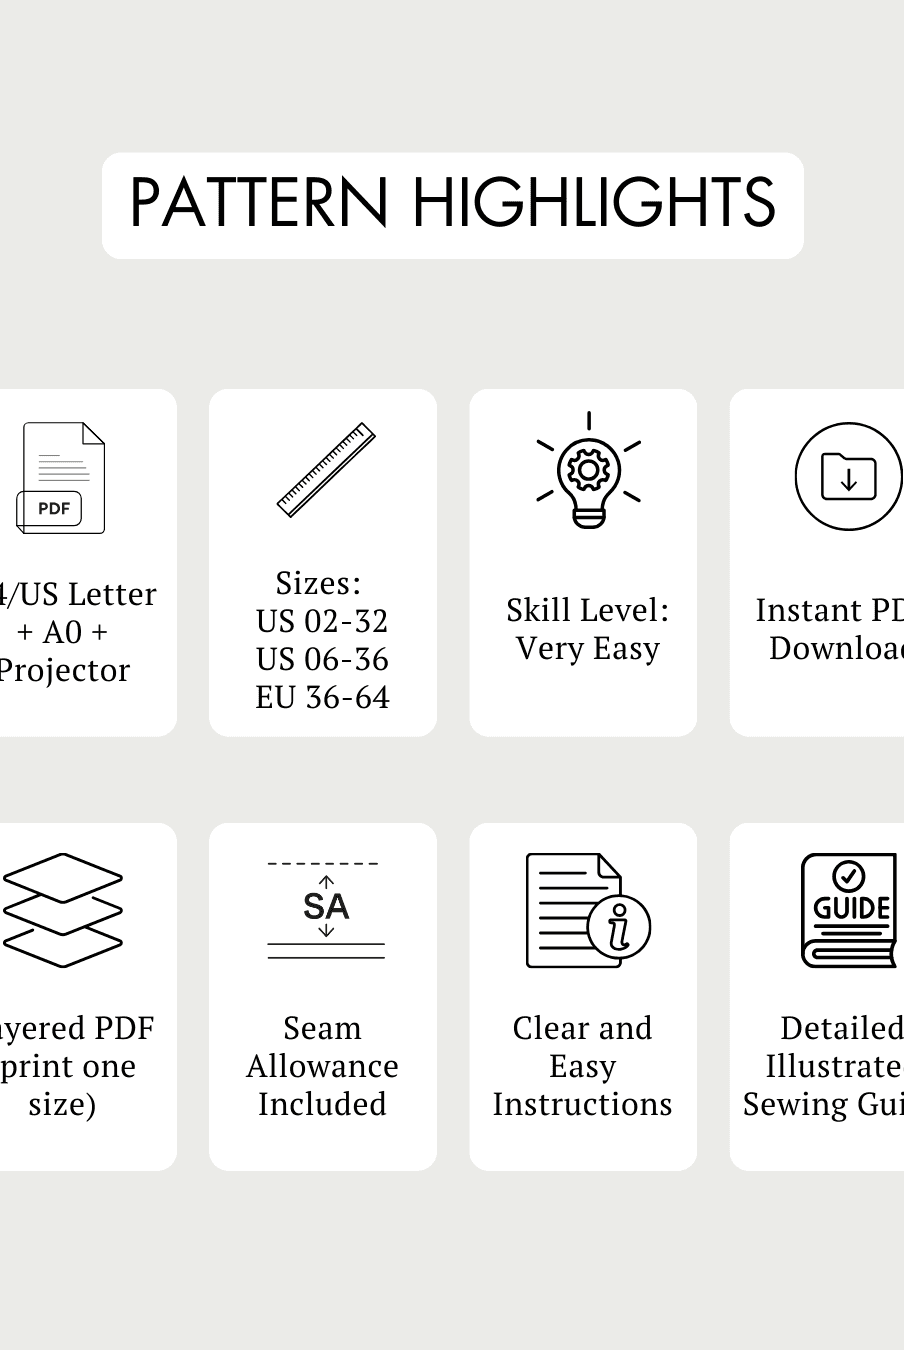
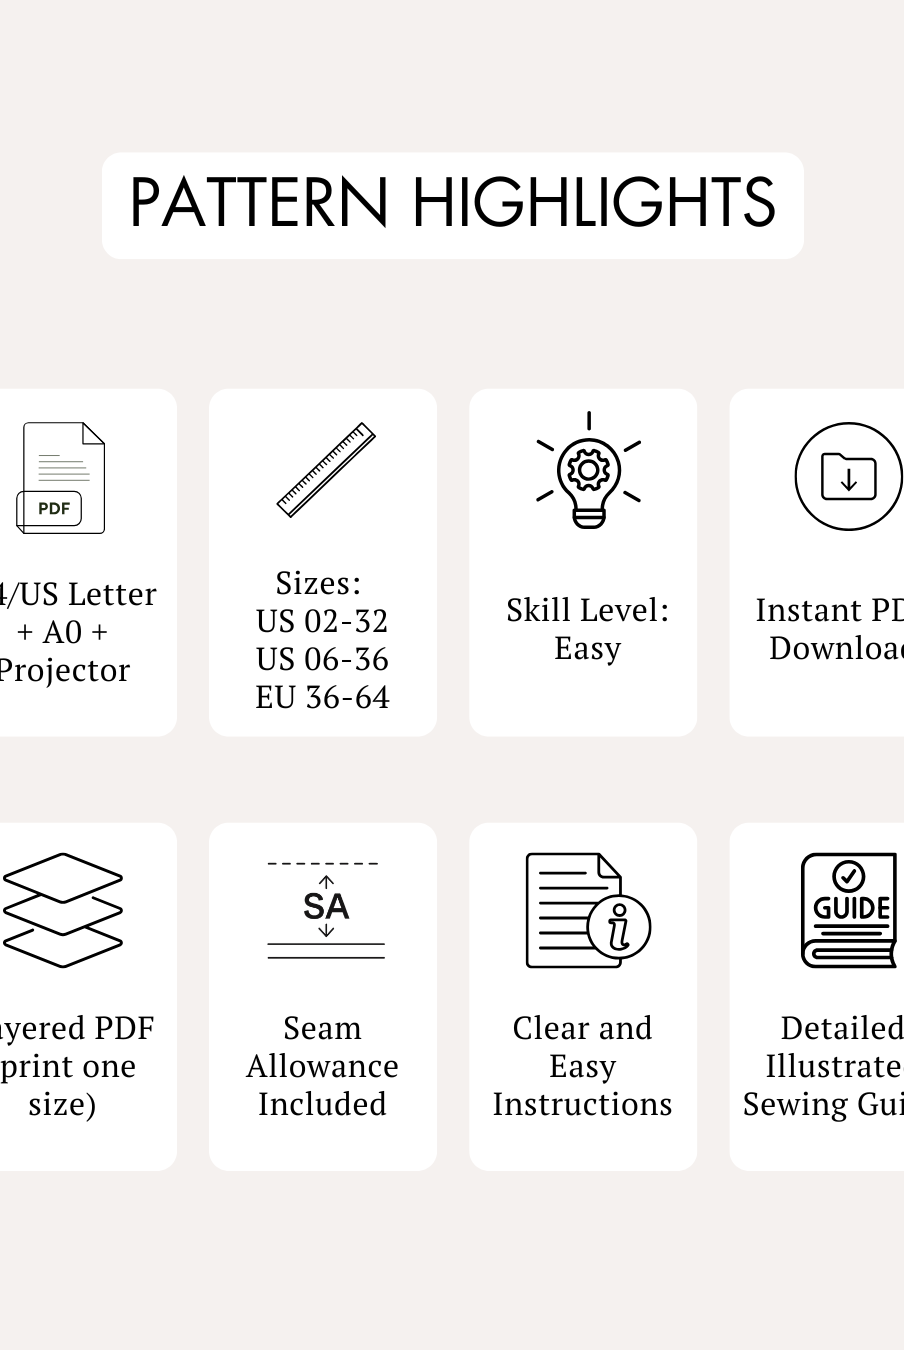
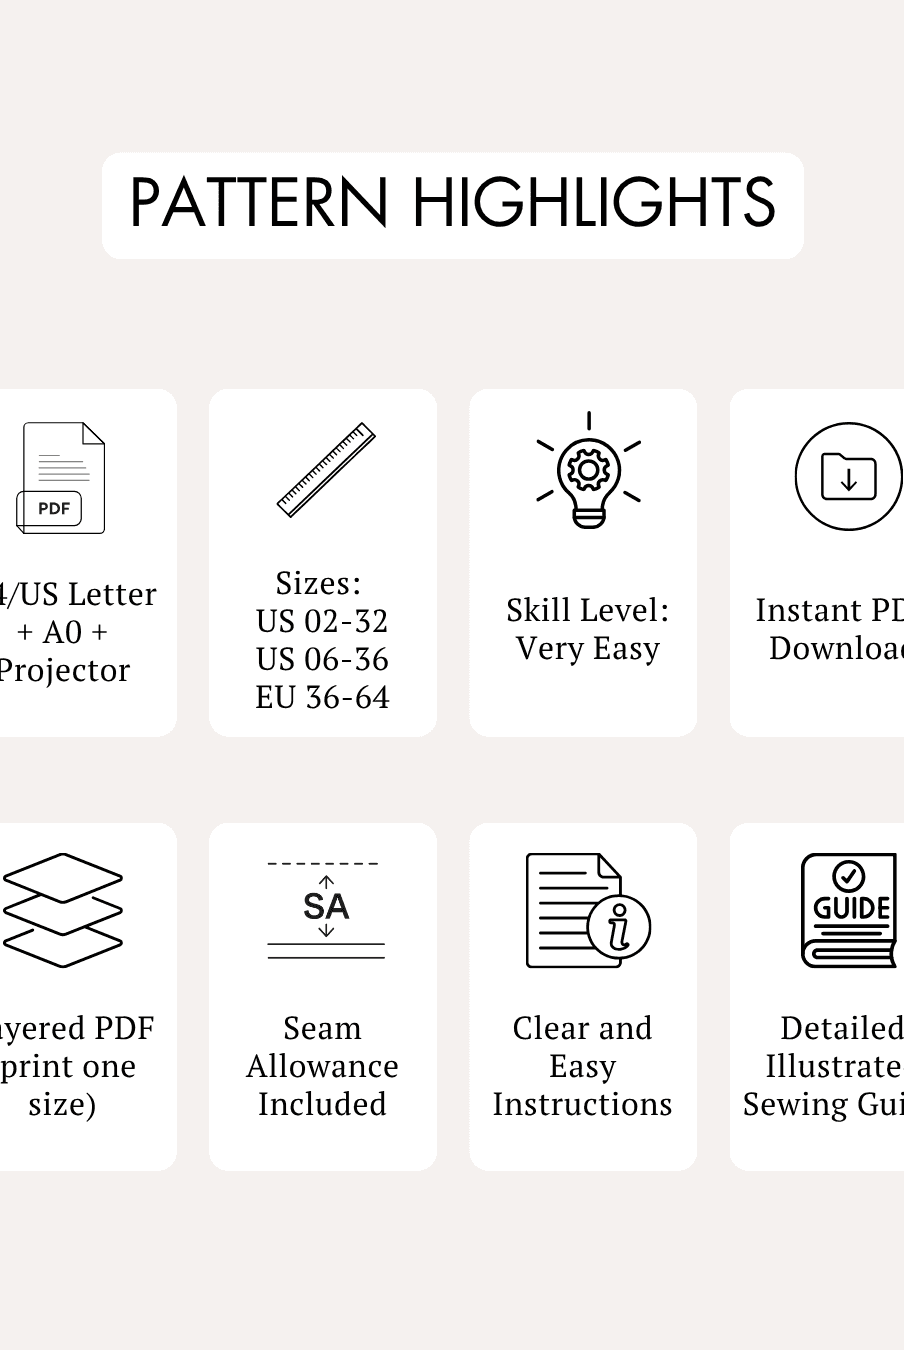
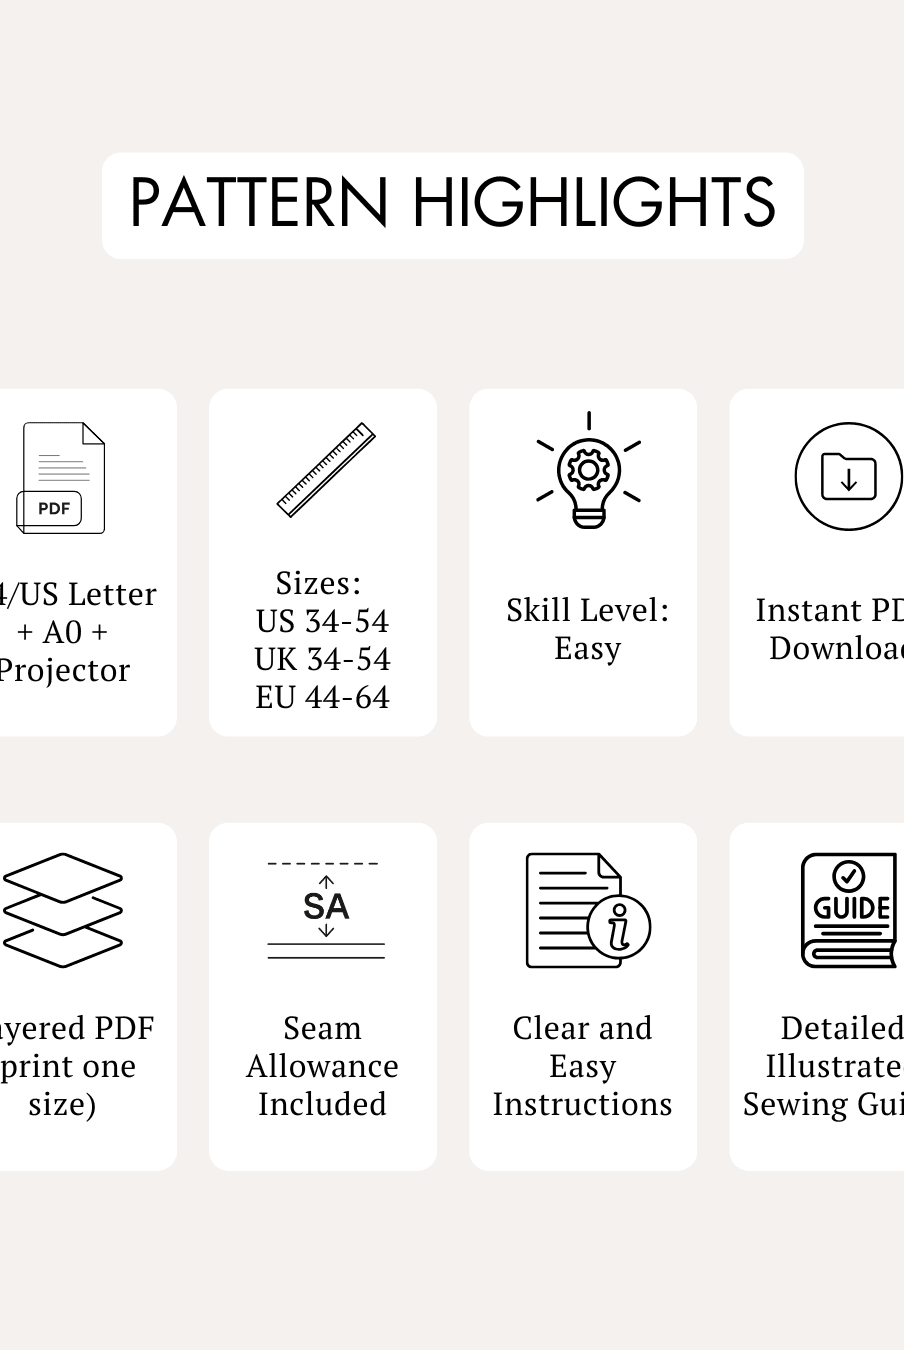
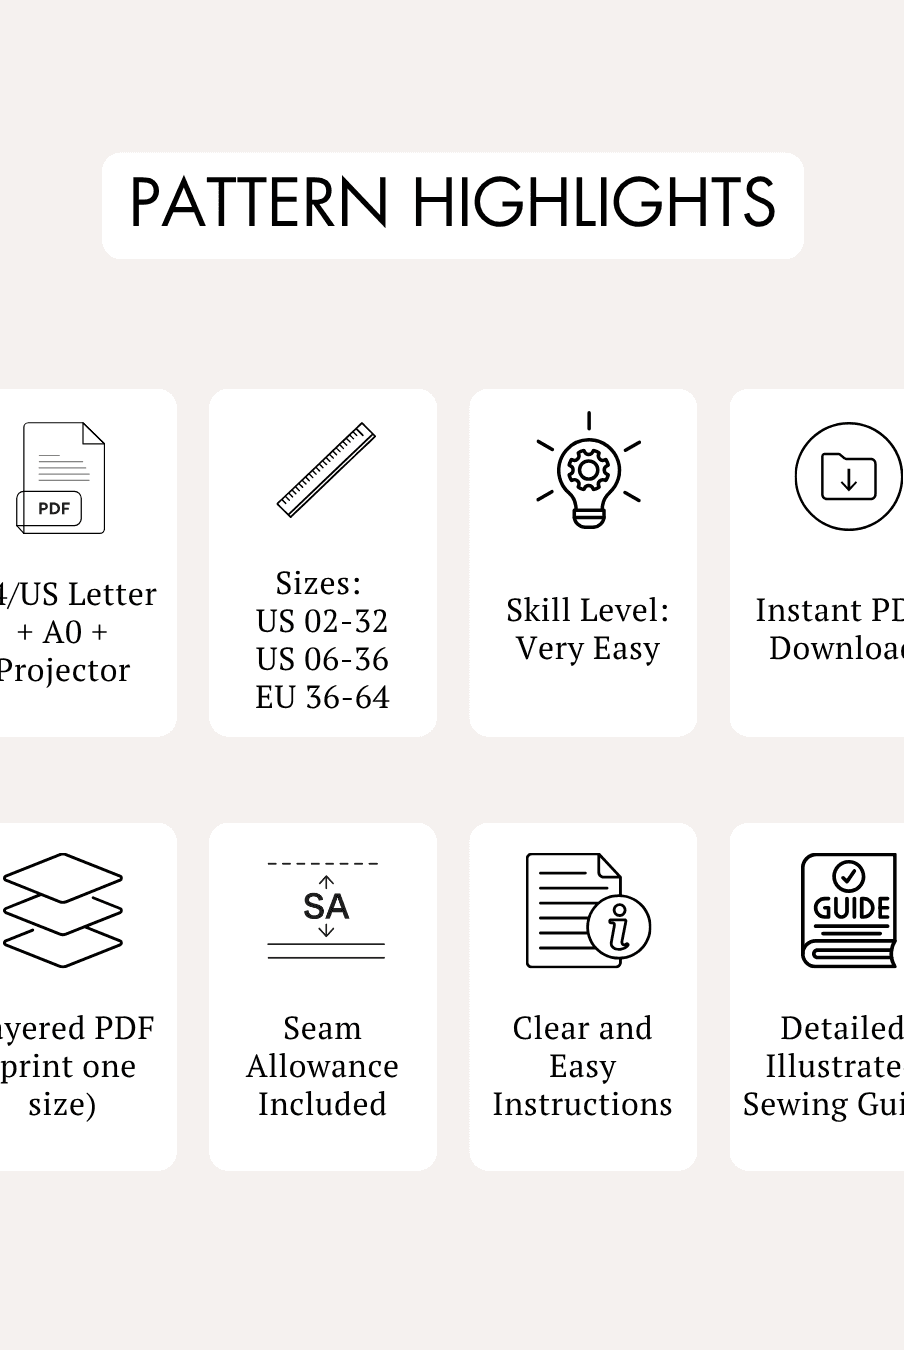
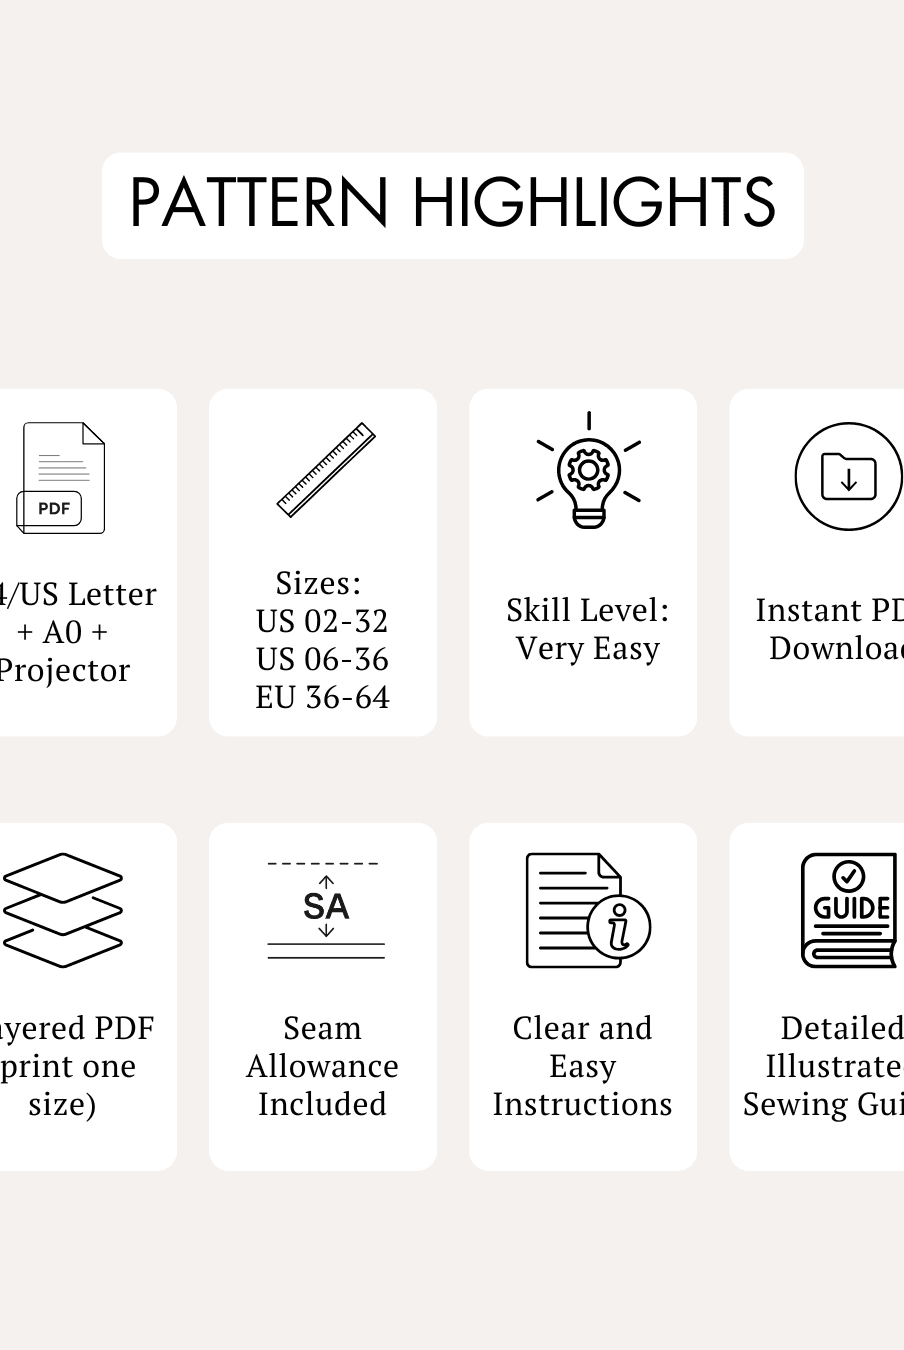
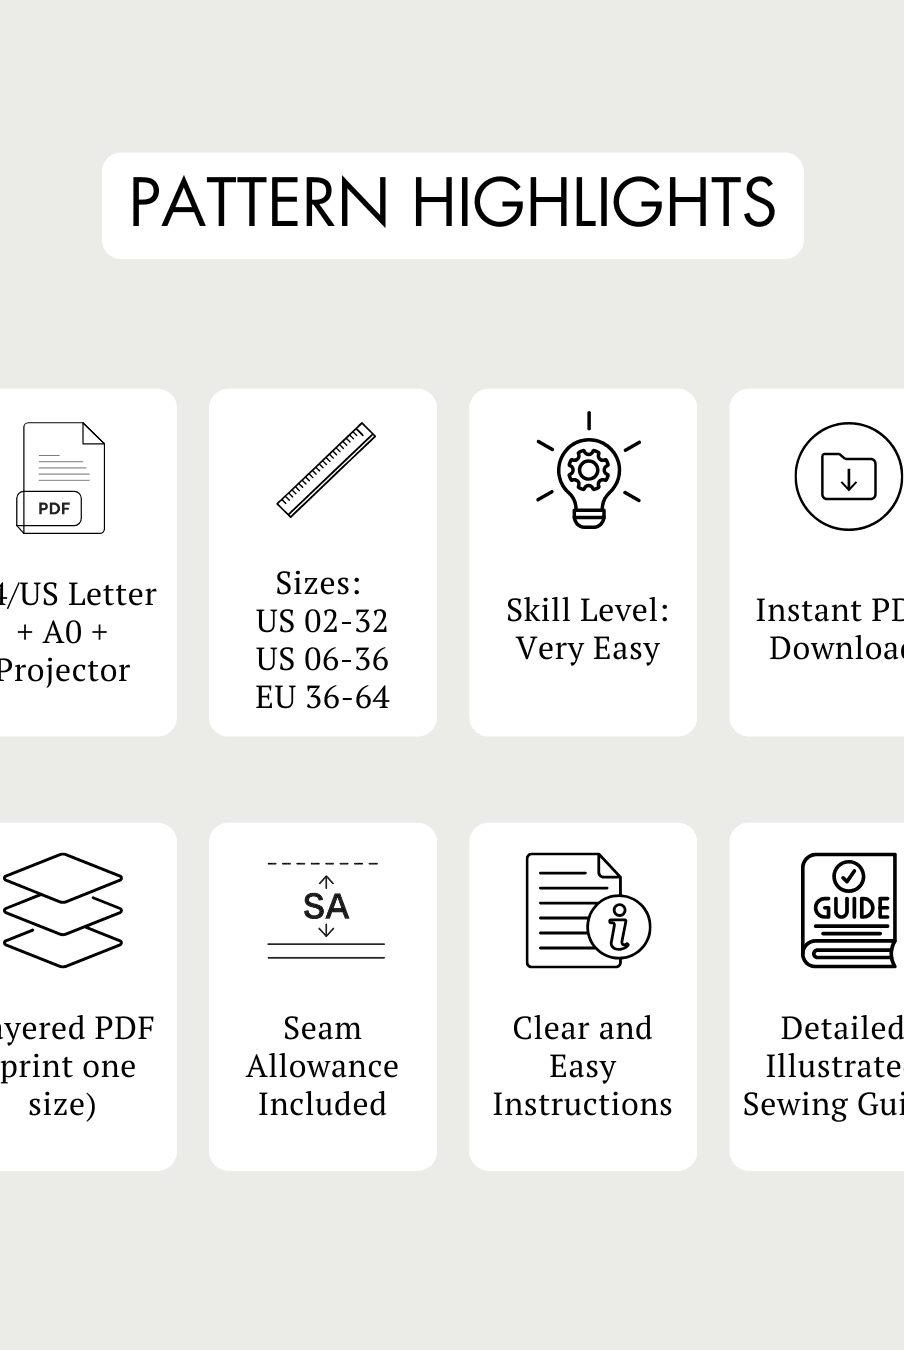
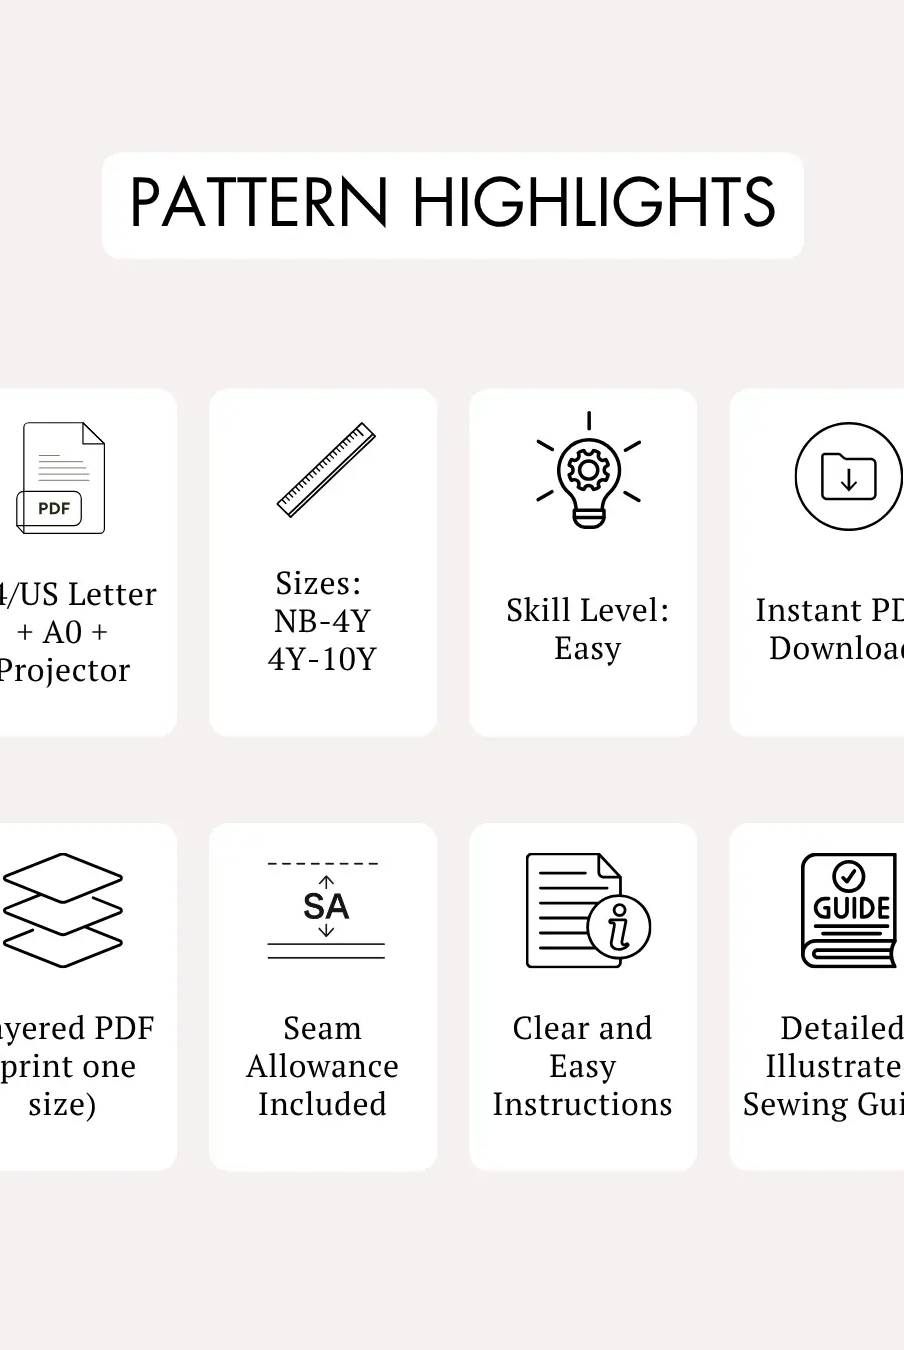
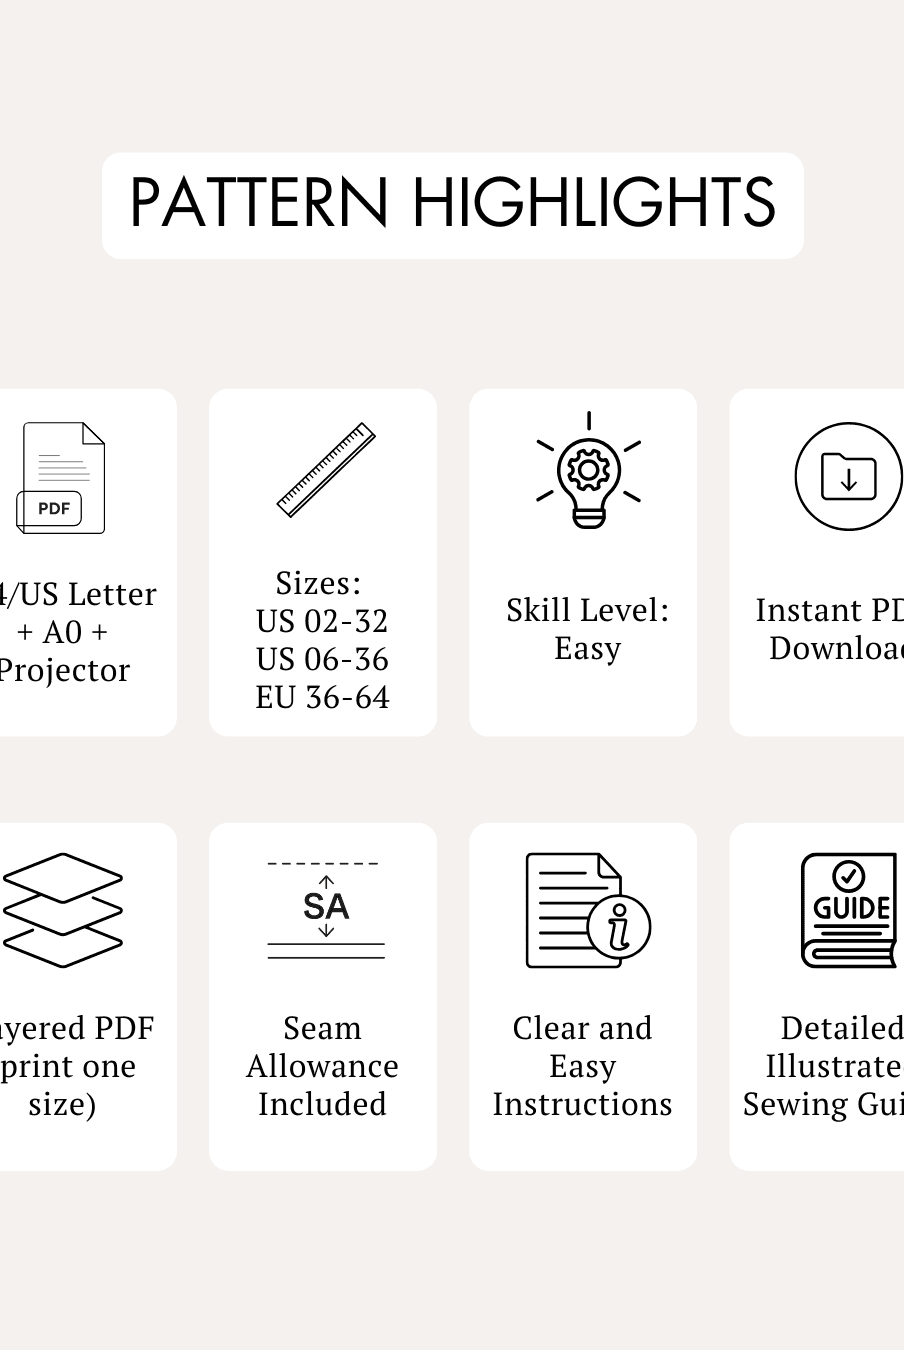
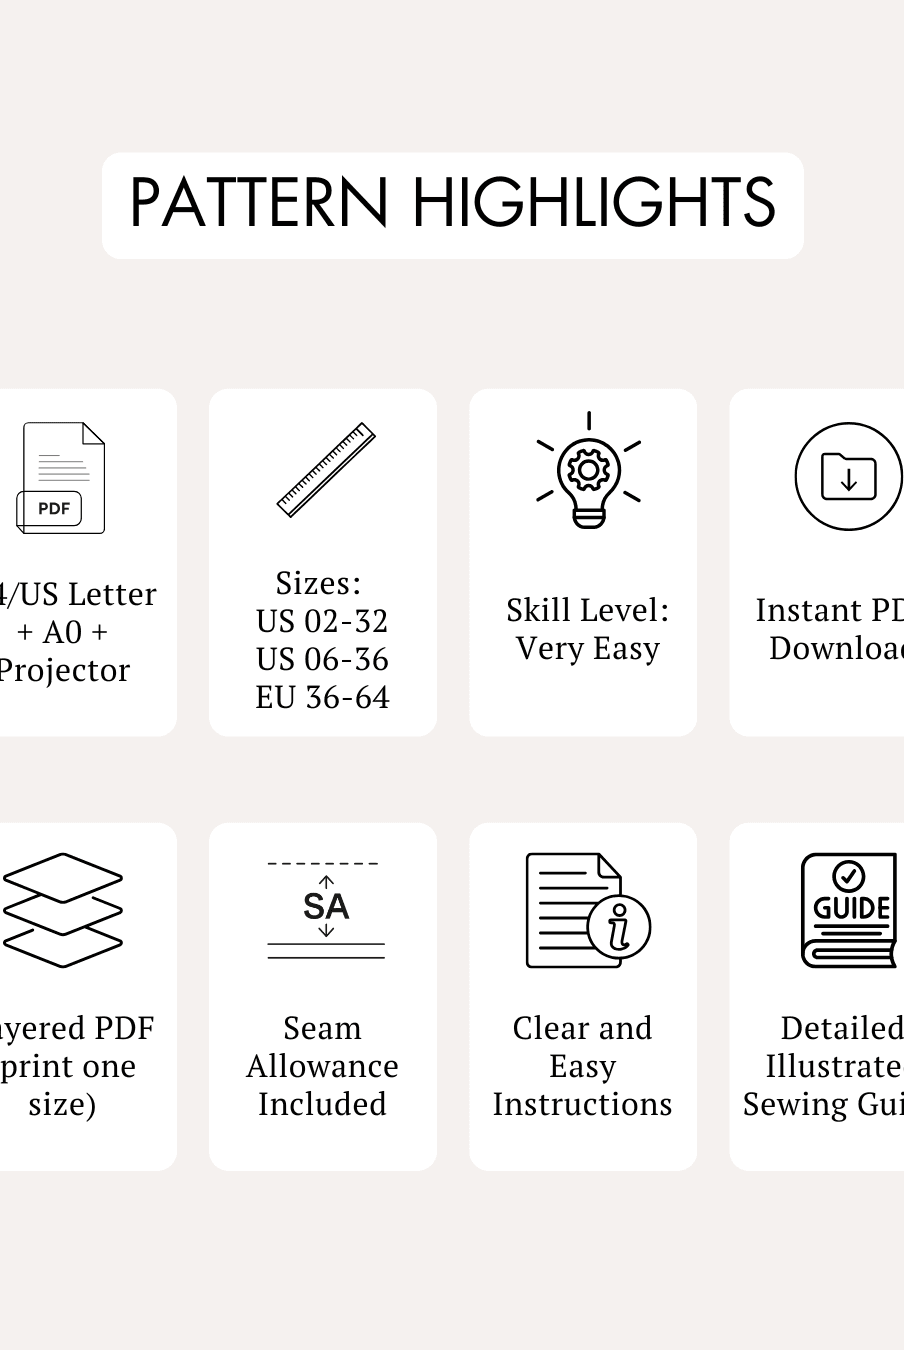
- Skill Level: Easy
- Wrap-style asymmetric front
- Utility front patch pocket with flap
- Optional buckle detail
- Full lining
- Center-back invisible zipper
- Waistband-free upper edge
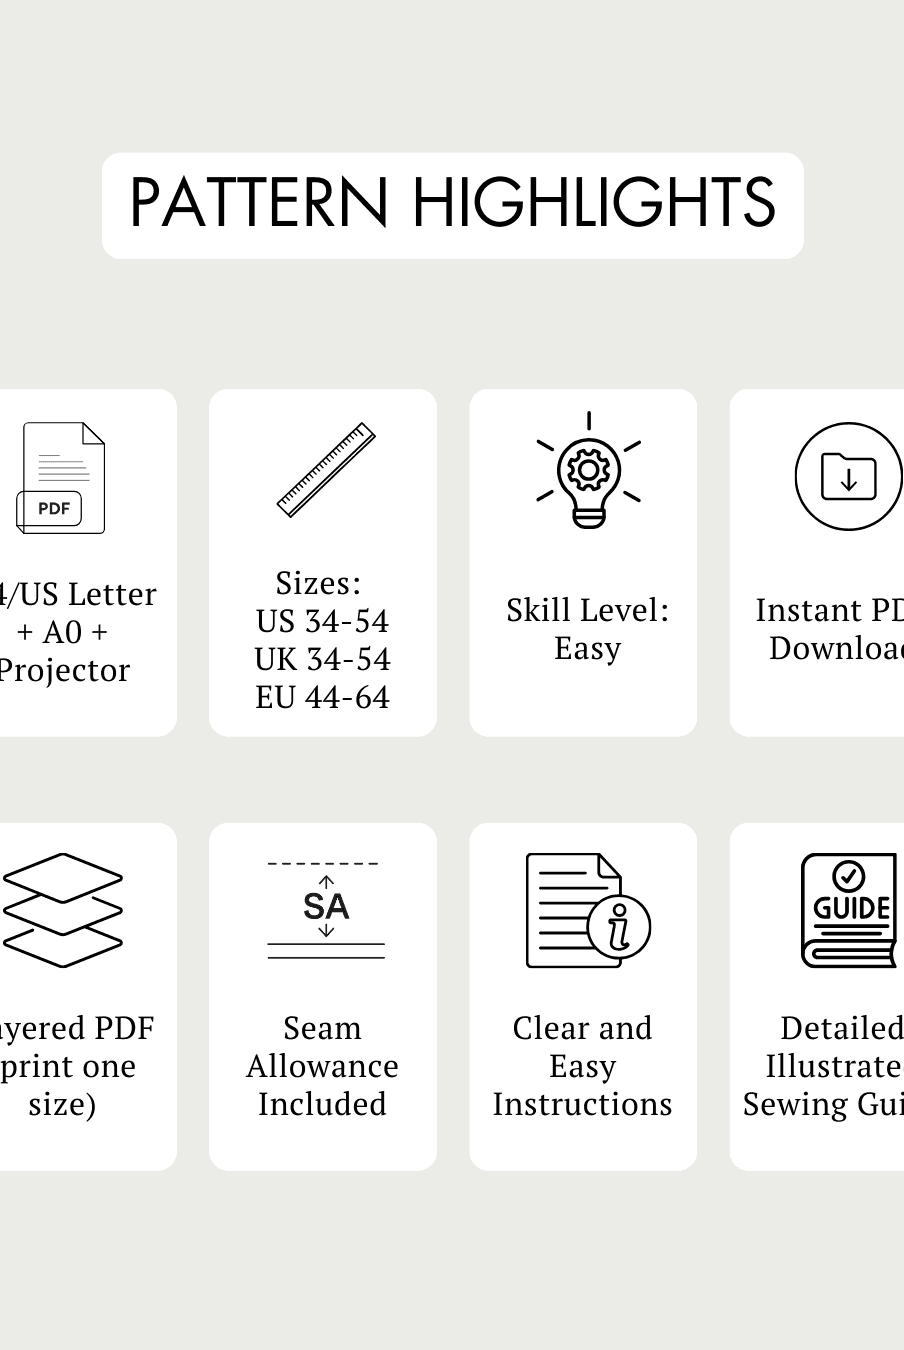
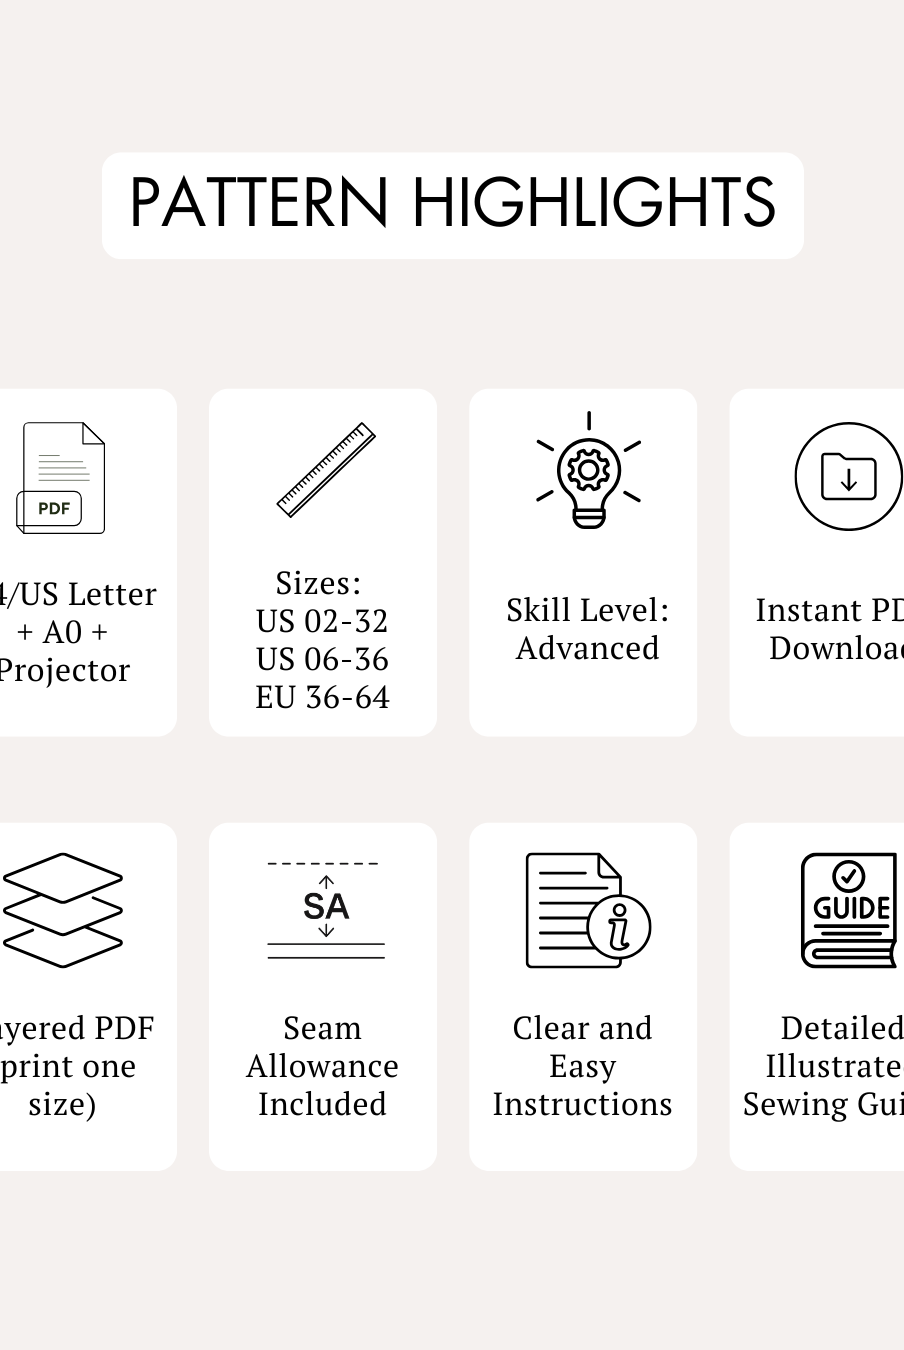
- Available Sizes: US 02 - US 32 | UK 06 - UK 36 | EU 36 - EU 64
Supplies & Notions
The SABRINA Utility Mini Skirt Sewing Pattern guide lists the following supplies and notions:
- Tape measure
- Shears
- Iron
- 3-ply polyester thread
- Chalk
- Thread cutter
- Pins
- Sewing needles
- Sewing machine
- 11–13" invisible zipper
- Buckle (optional)
Fabric Recommendations
The SABRINA Utility Mini Skirt Sewing Pattern guide recommends light- to medium-weight woven fabrics, including:
- Cotton twill
- Cotton sateen
- Poplin
- Gabardine
- Lightweight denim
- Drill
- Linen blends
For the lining, use a lightweight woven lining fabric such as:
- Polyester lining
- Rayon lining
- Cotton voile
- Lightweight cotton lawn
- Acetate lining
The sample skirt is made from cotton polyester twill fabric. The guide describes it as strong and durable with a distinctive diagonal texture, medium drape, and a softer hand feel than canvas. It holds its shape while remaining flexible and naturally resists wrinkles better than plain-weave fabrics.
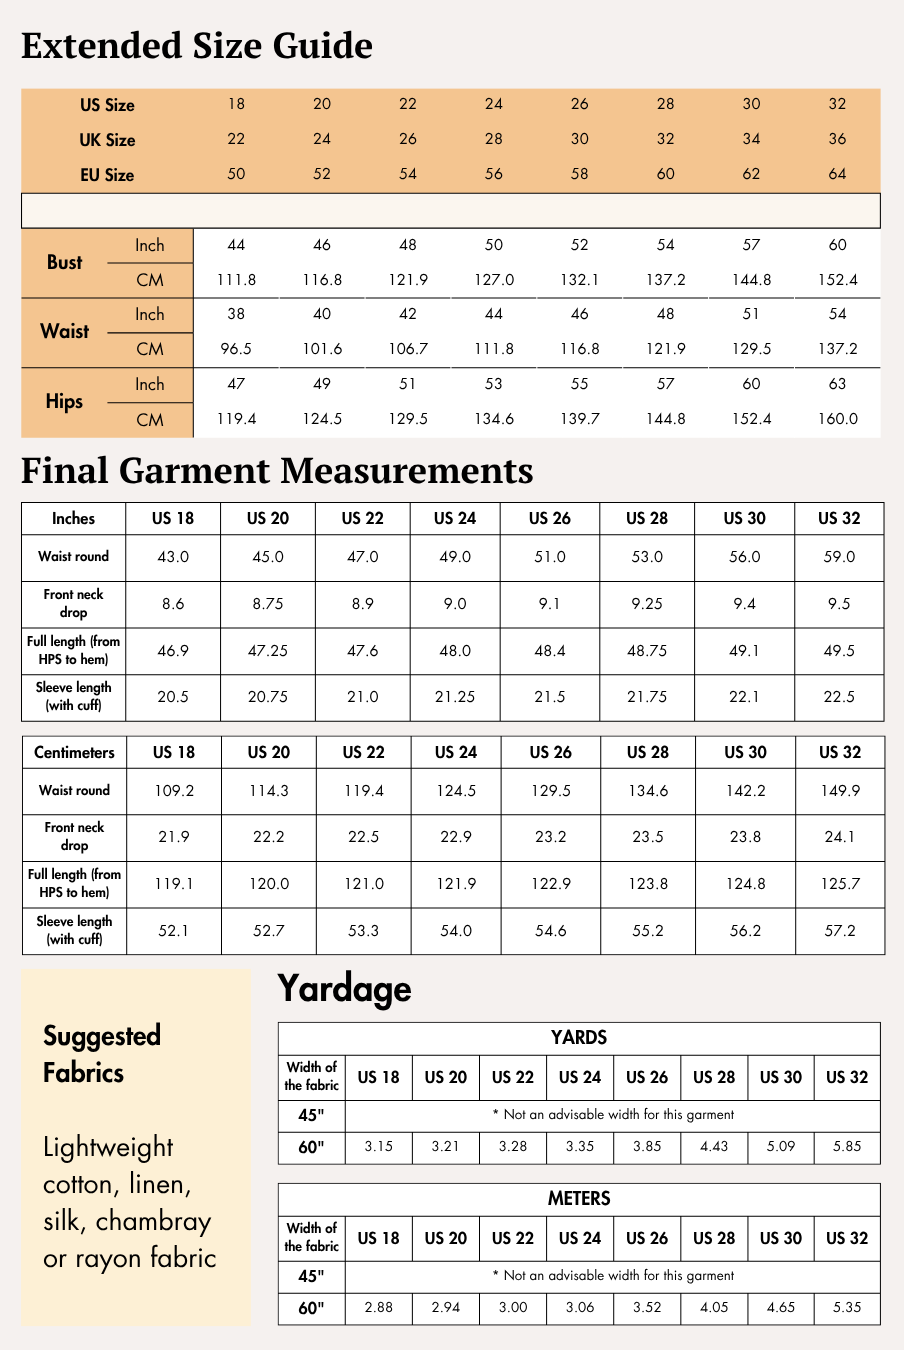
Size Charts
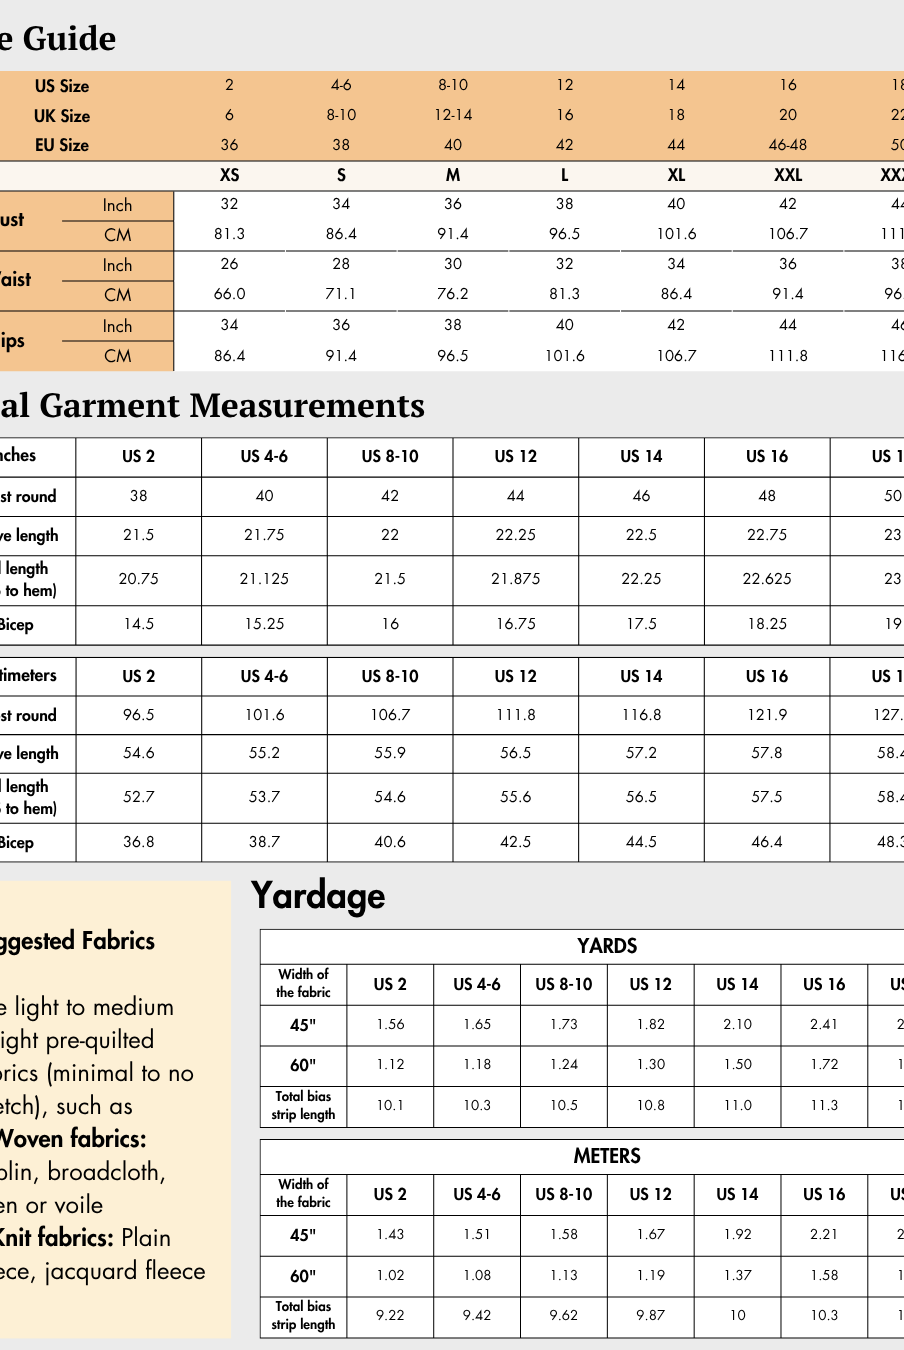
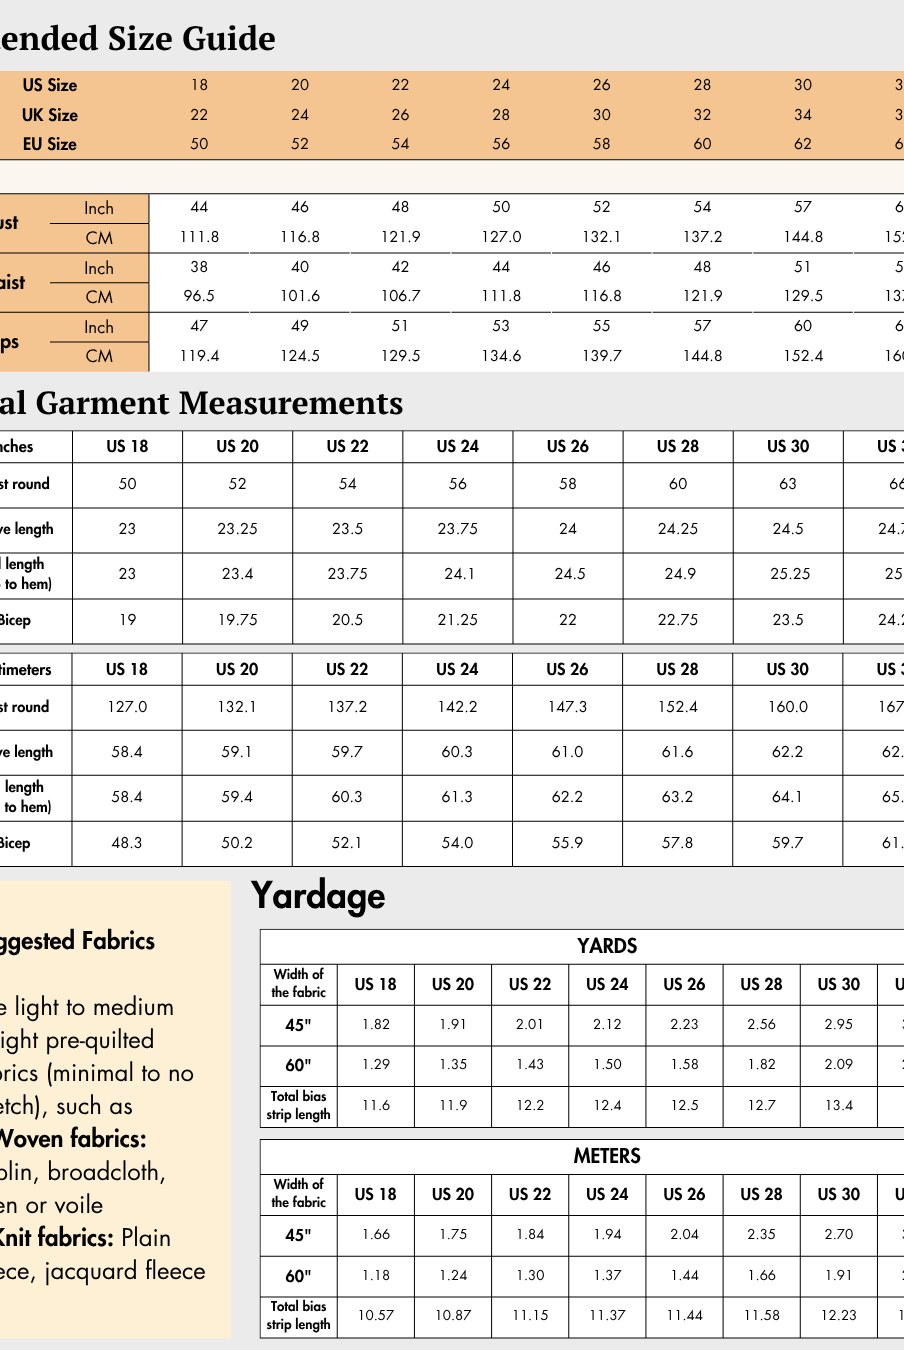
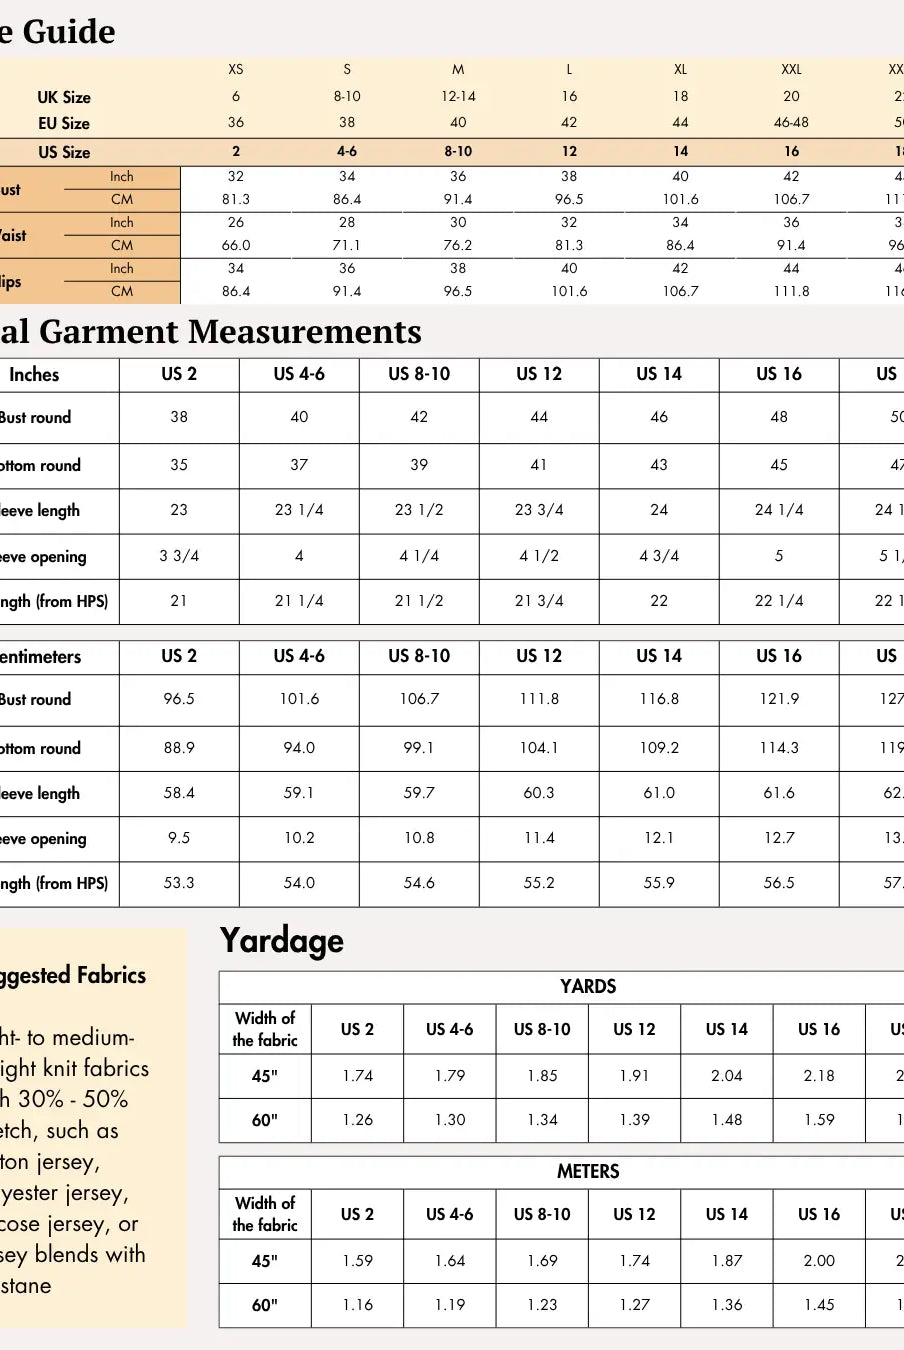
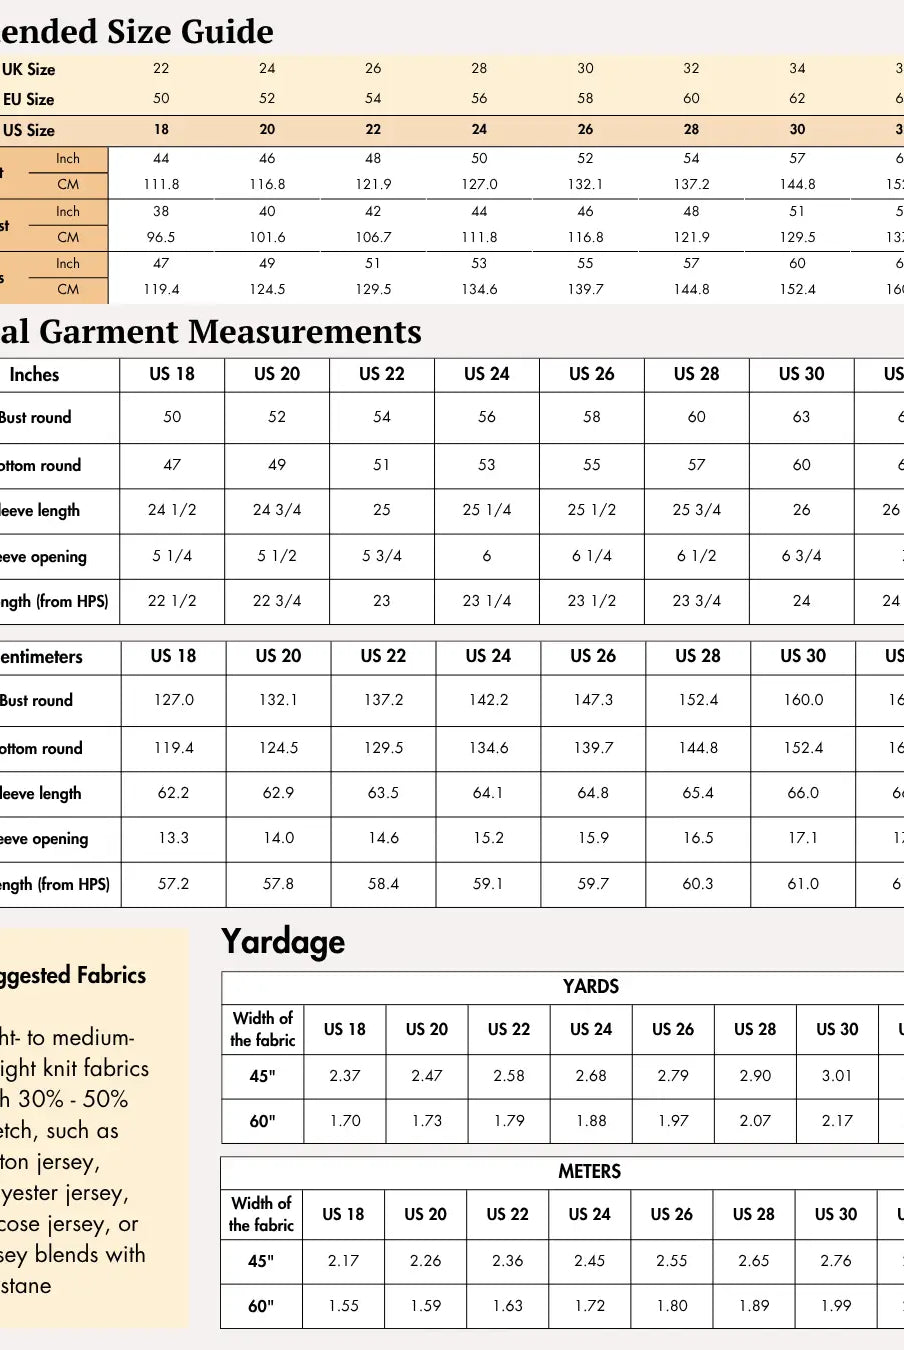
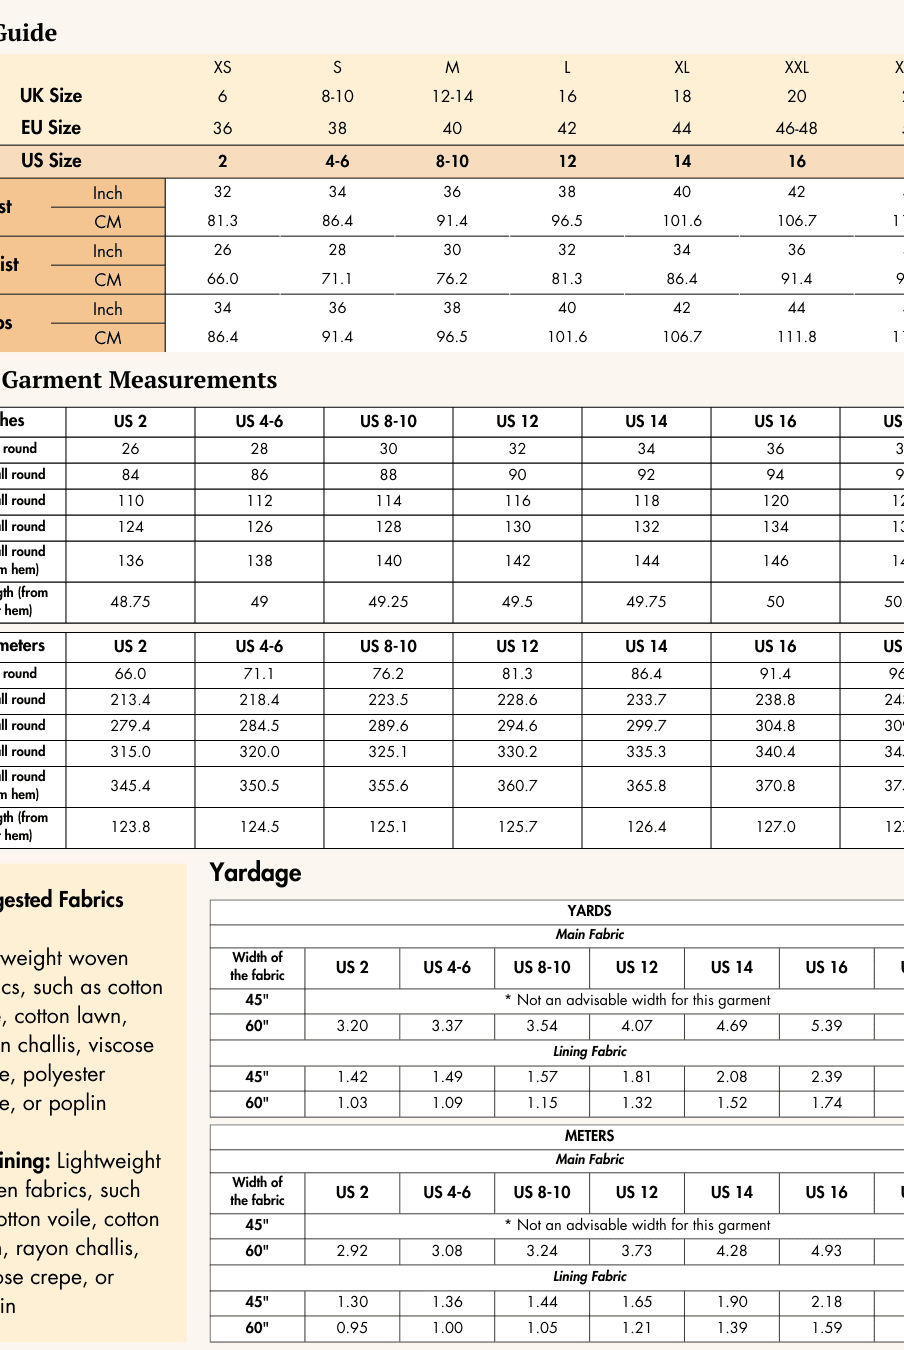
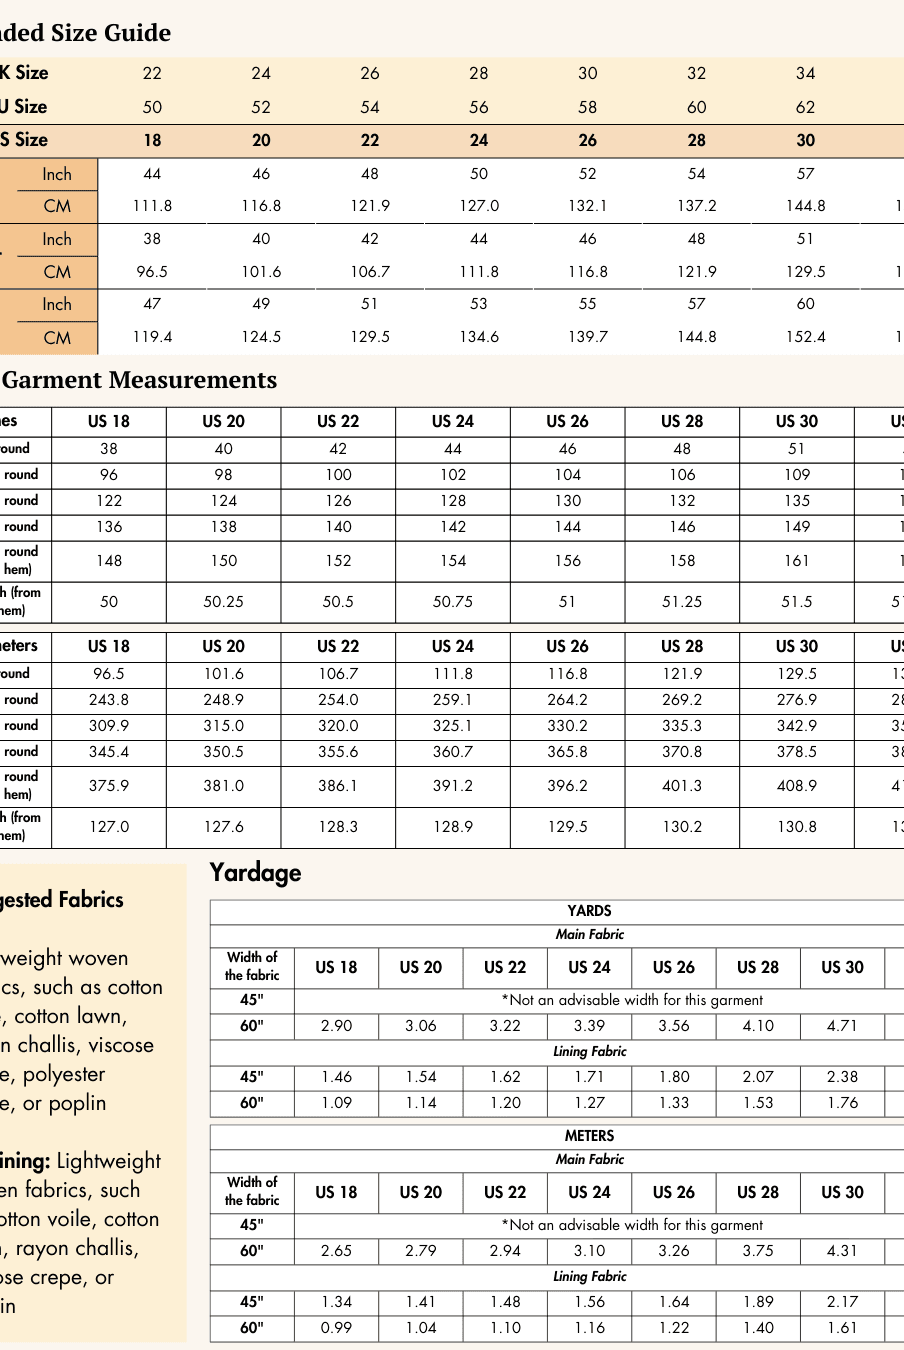
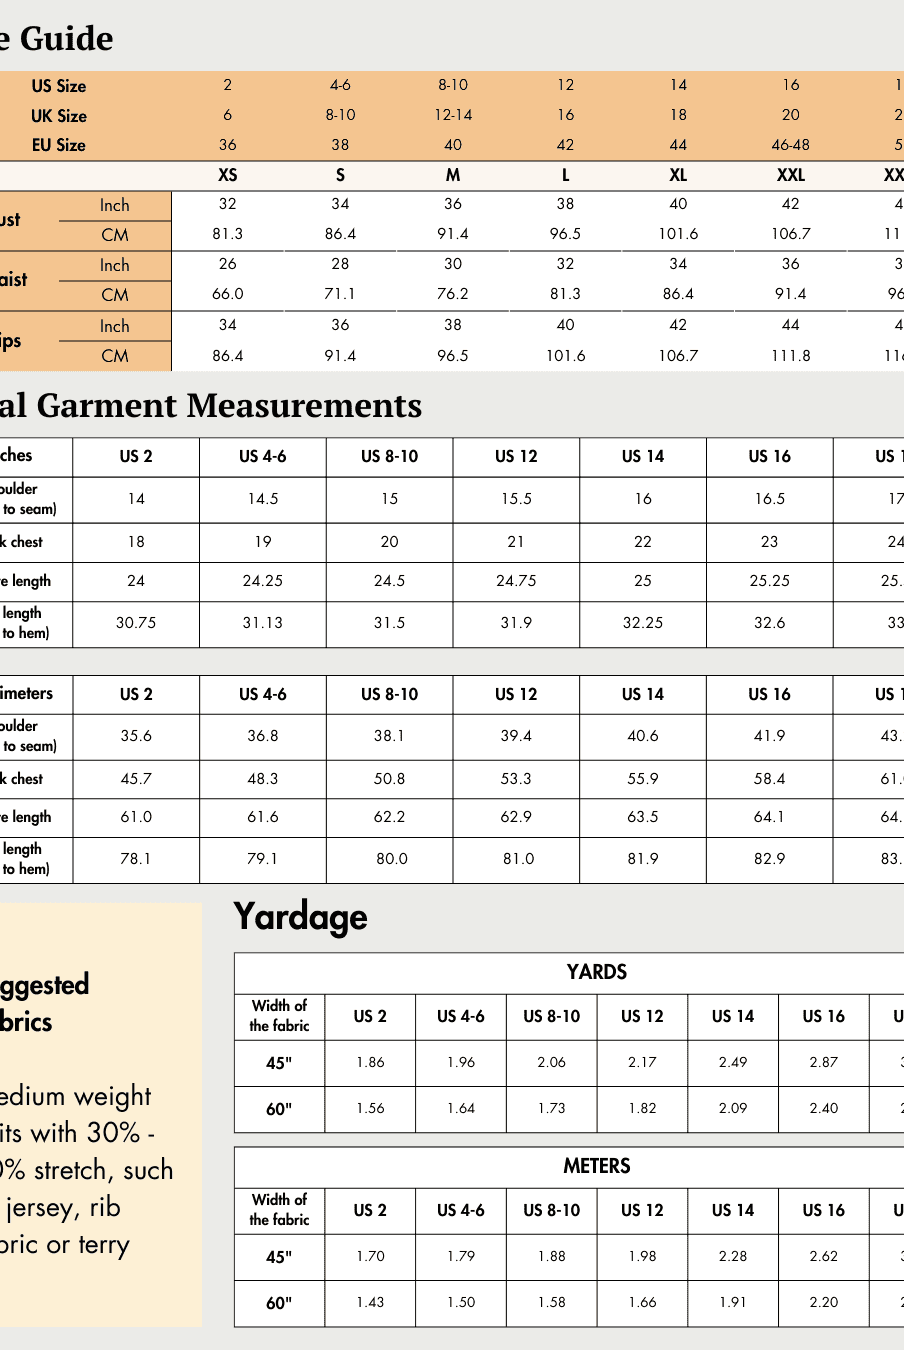
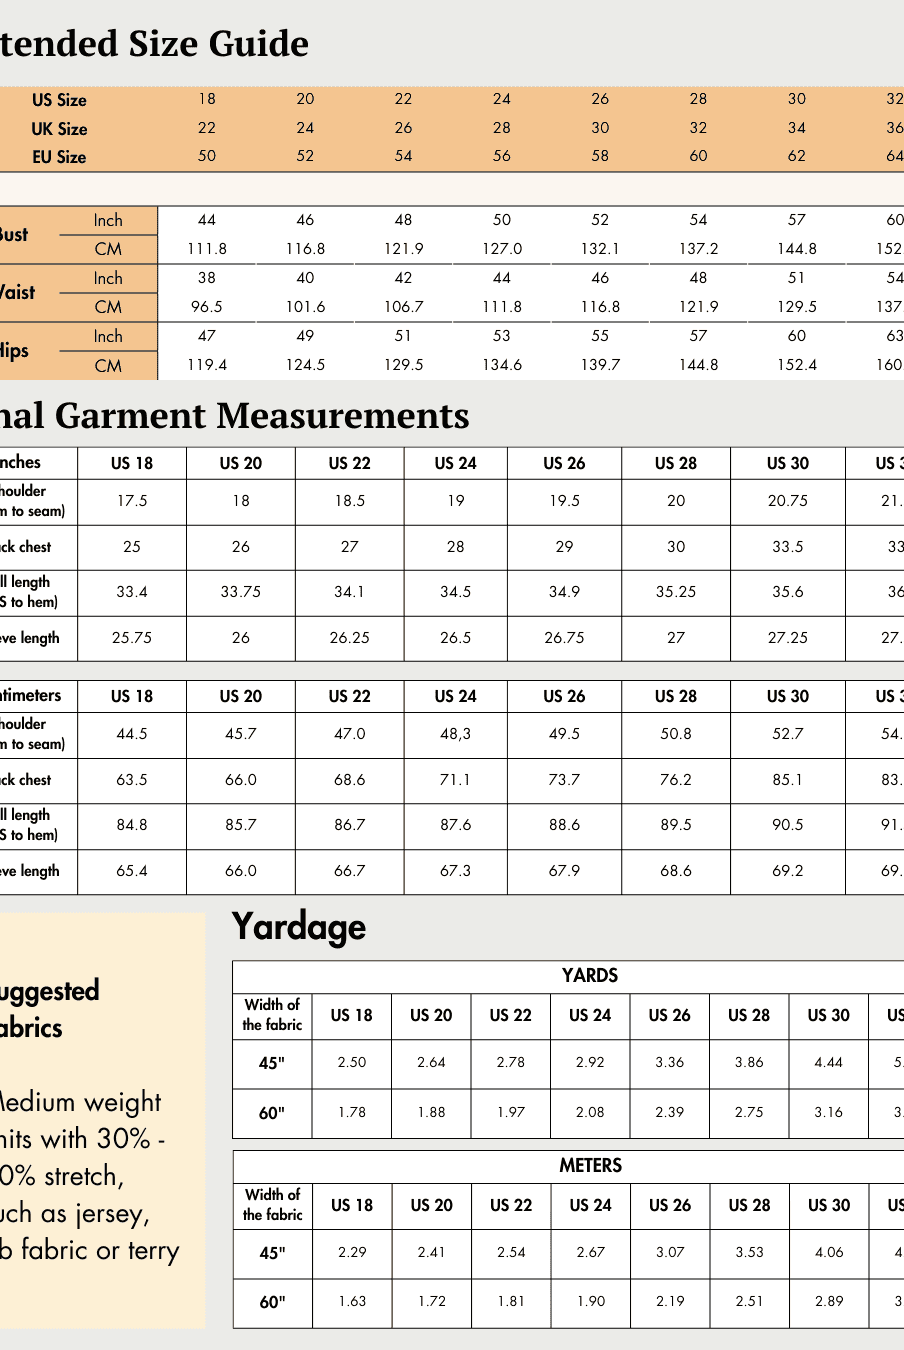
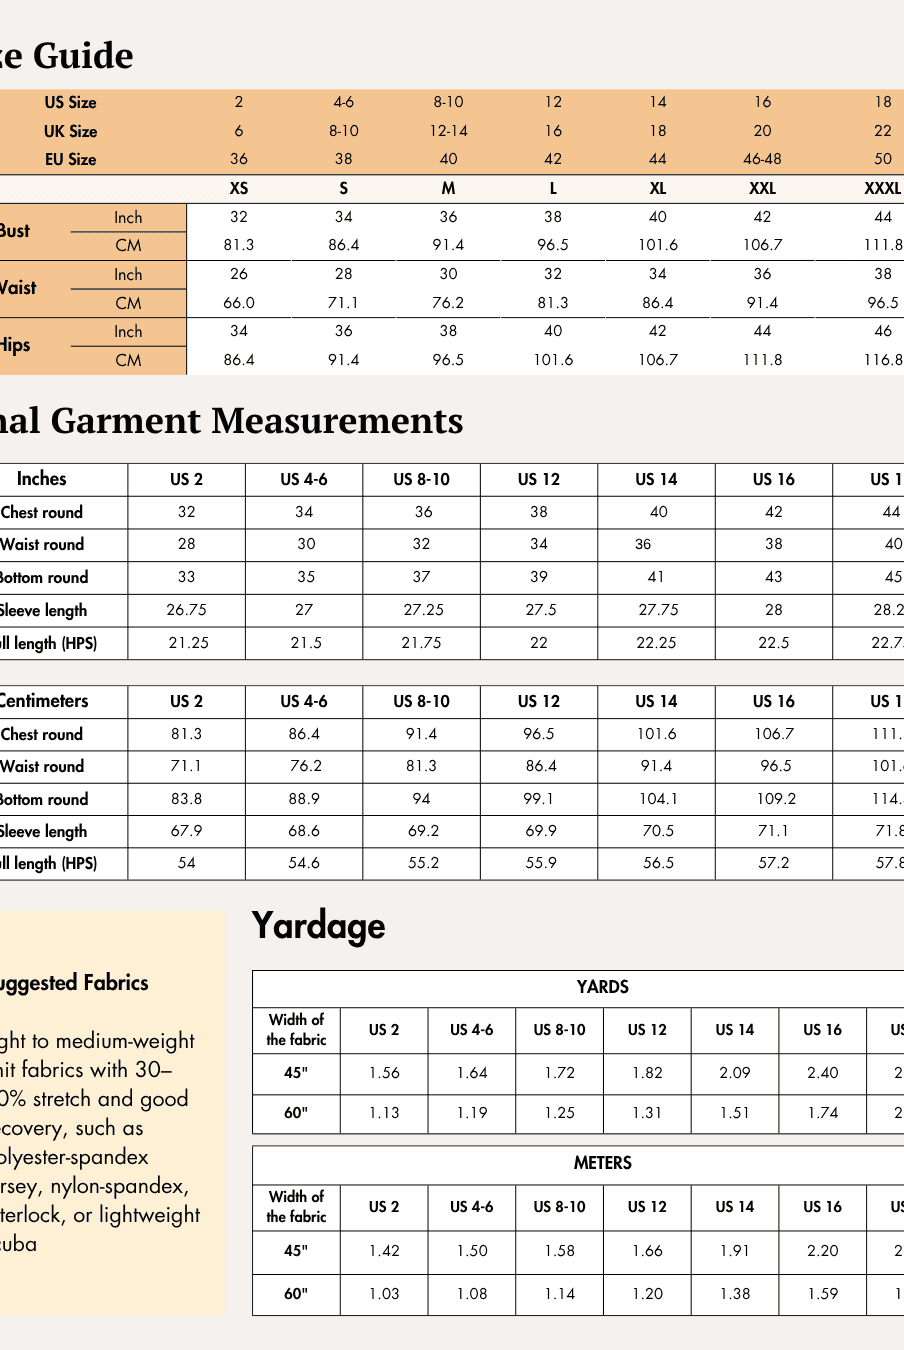
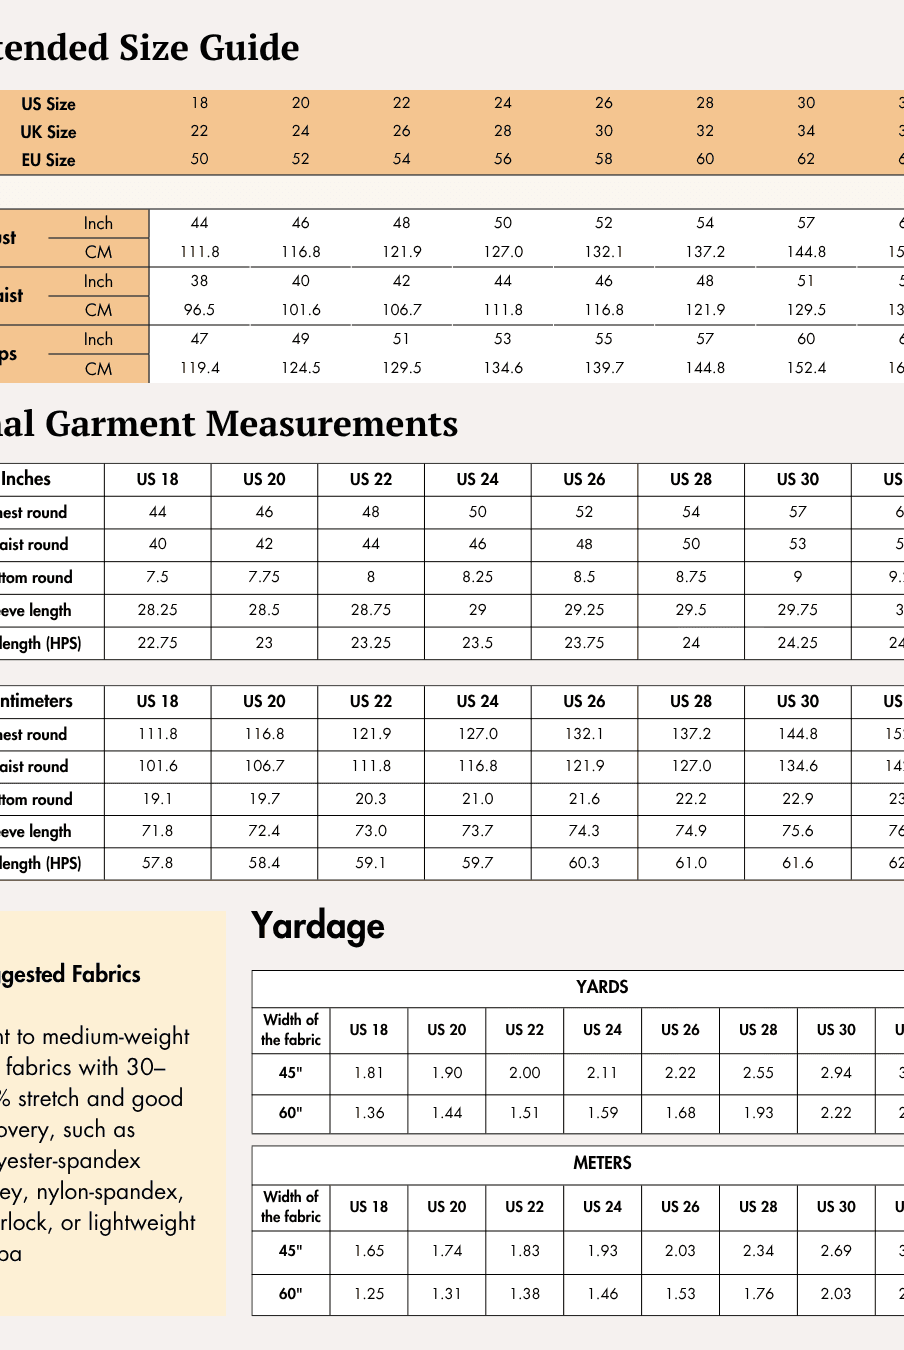
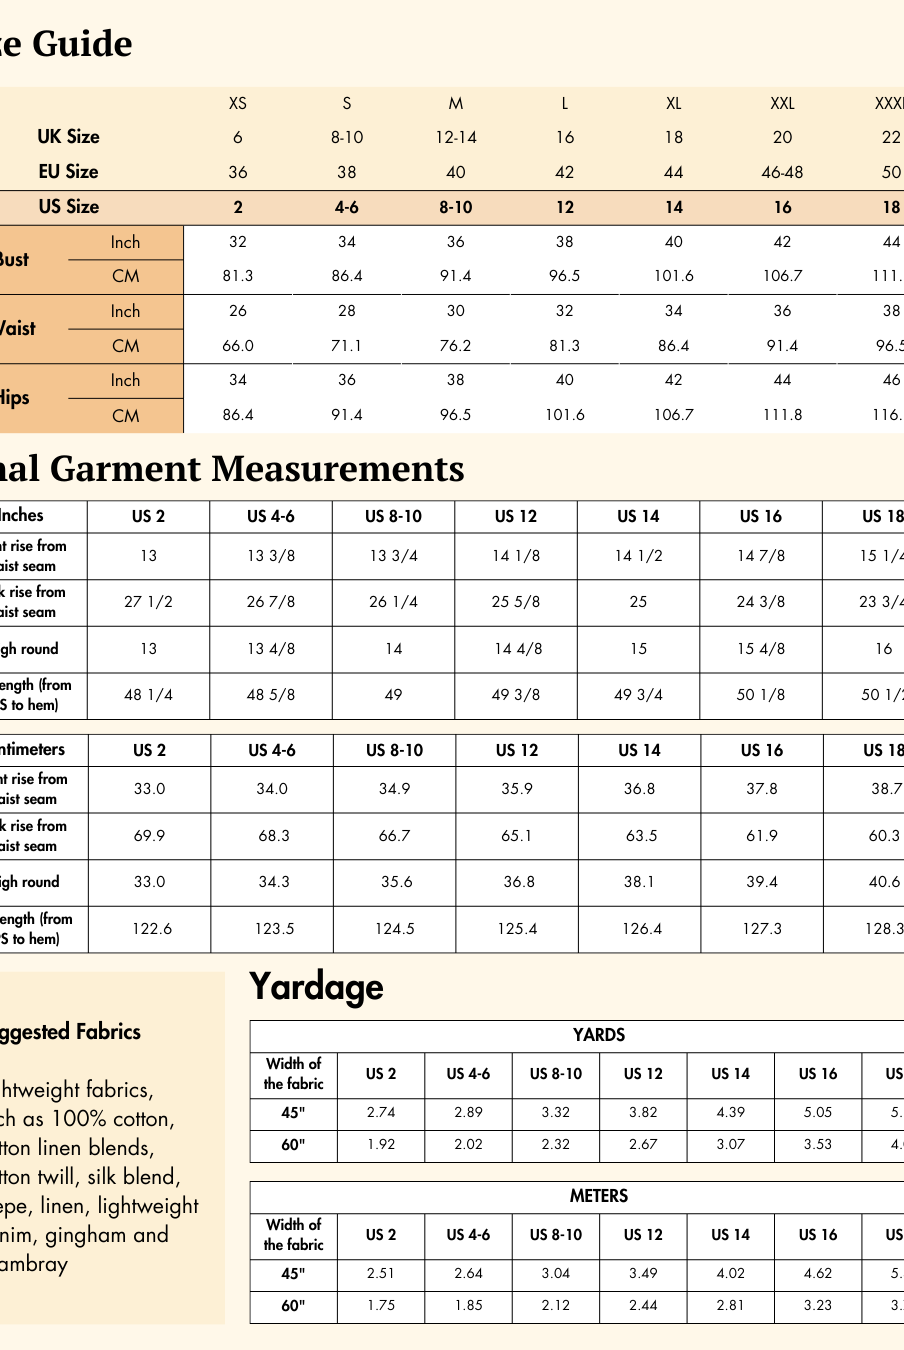
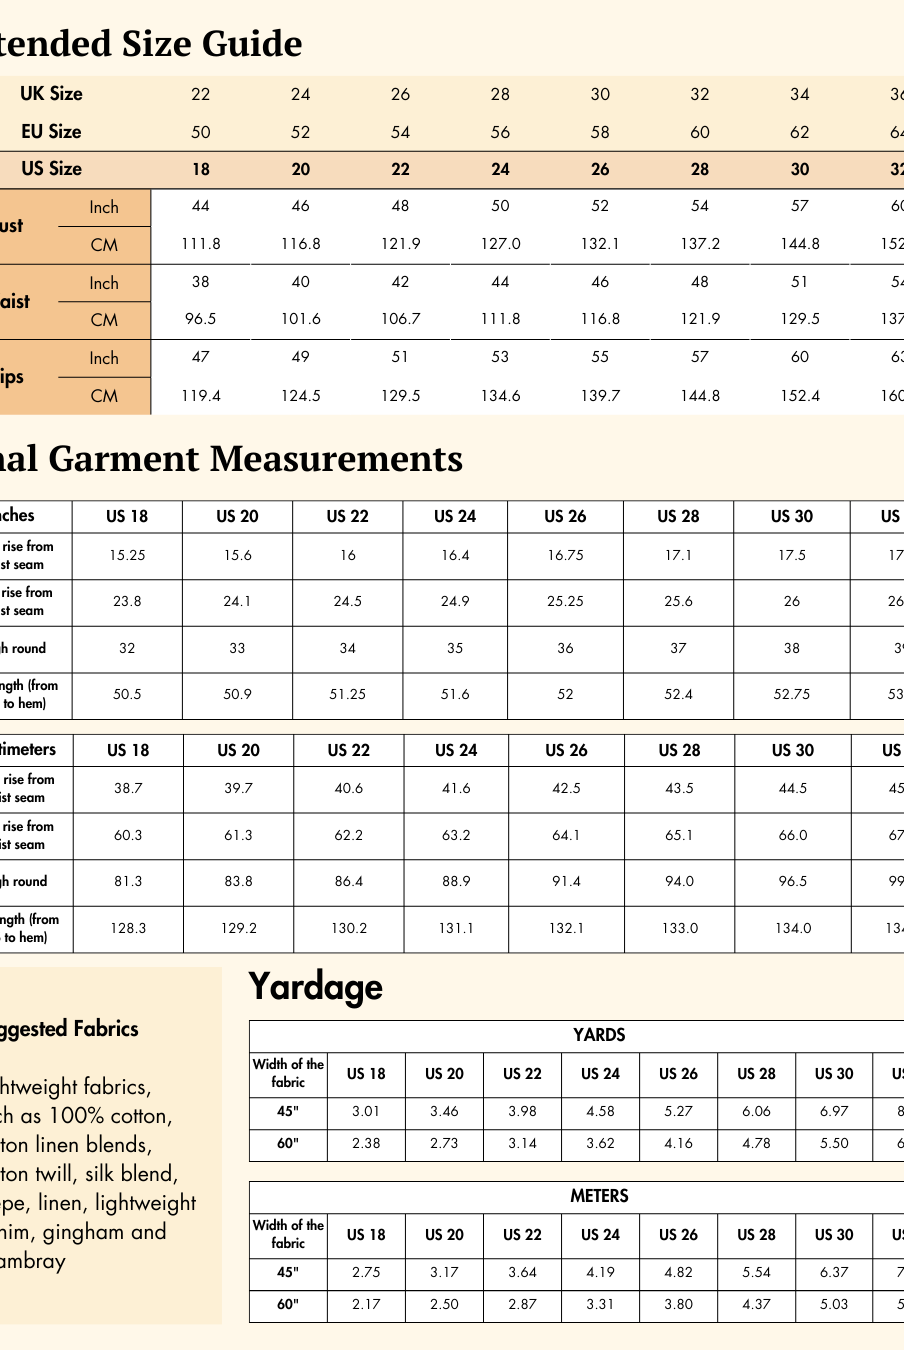
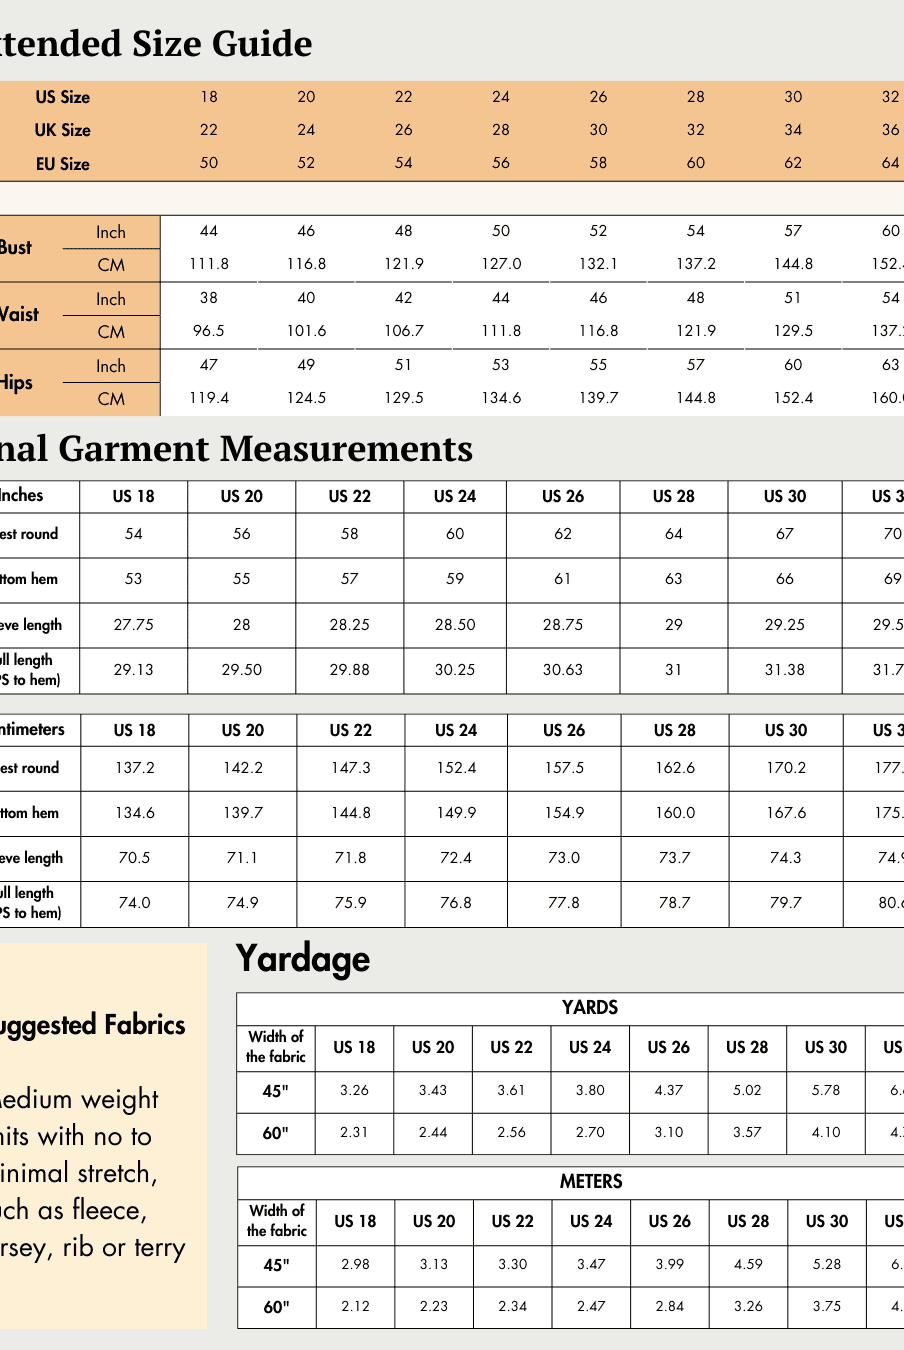
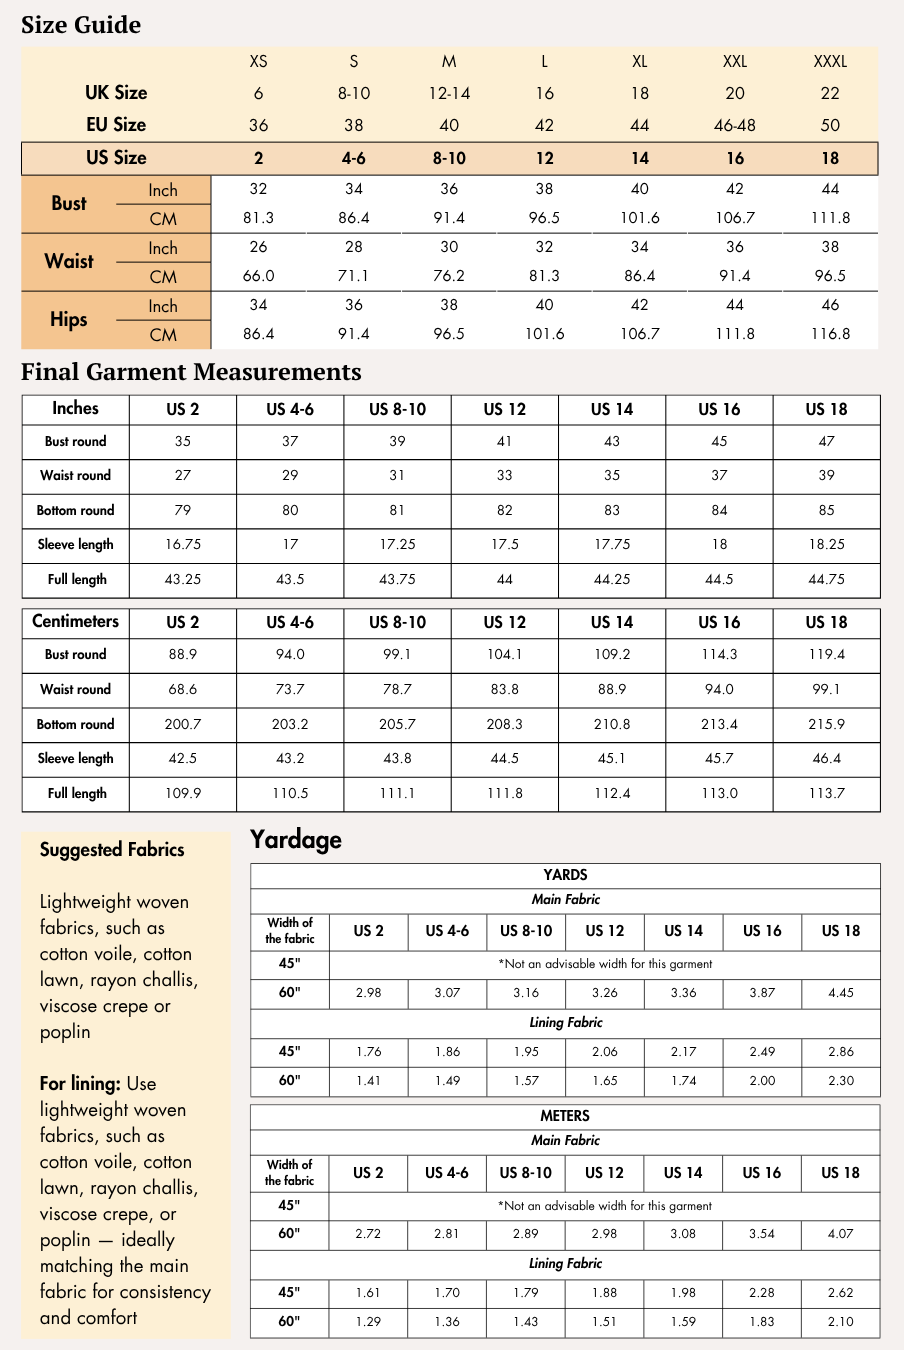
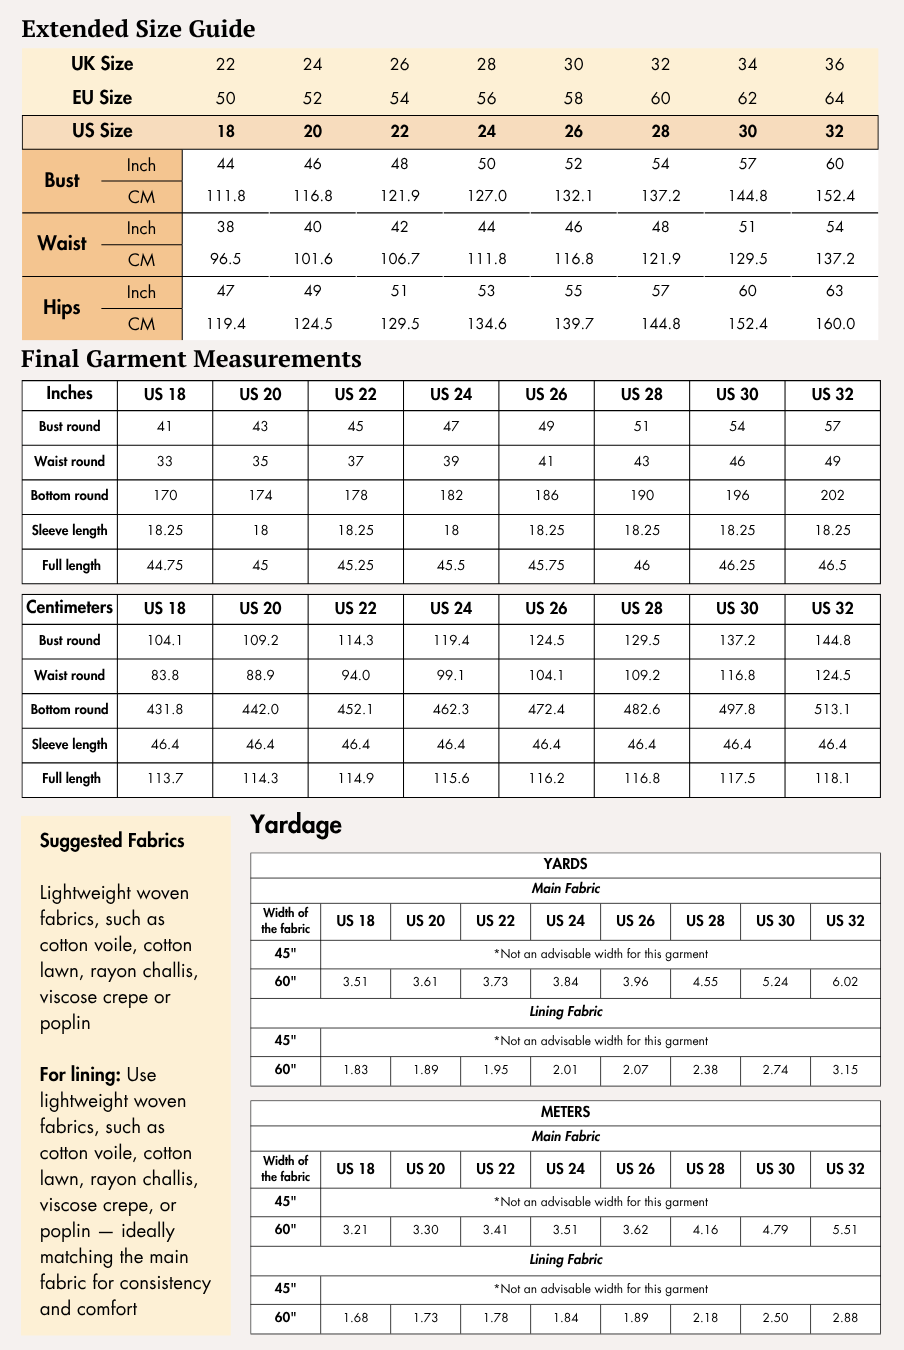
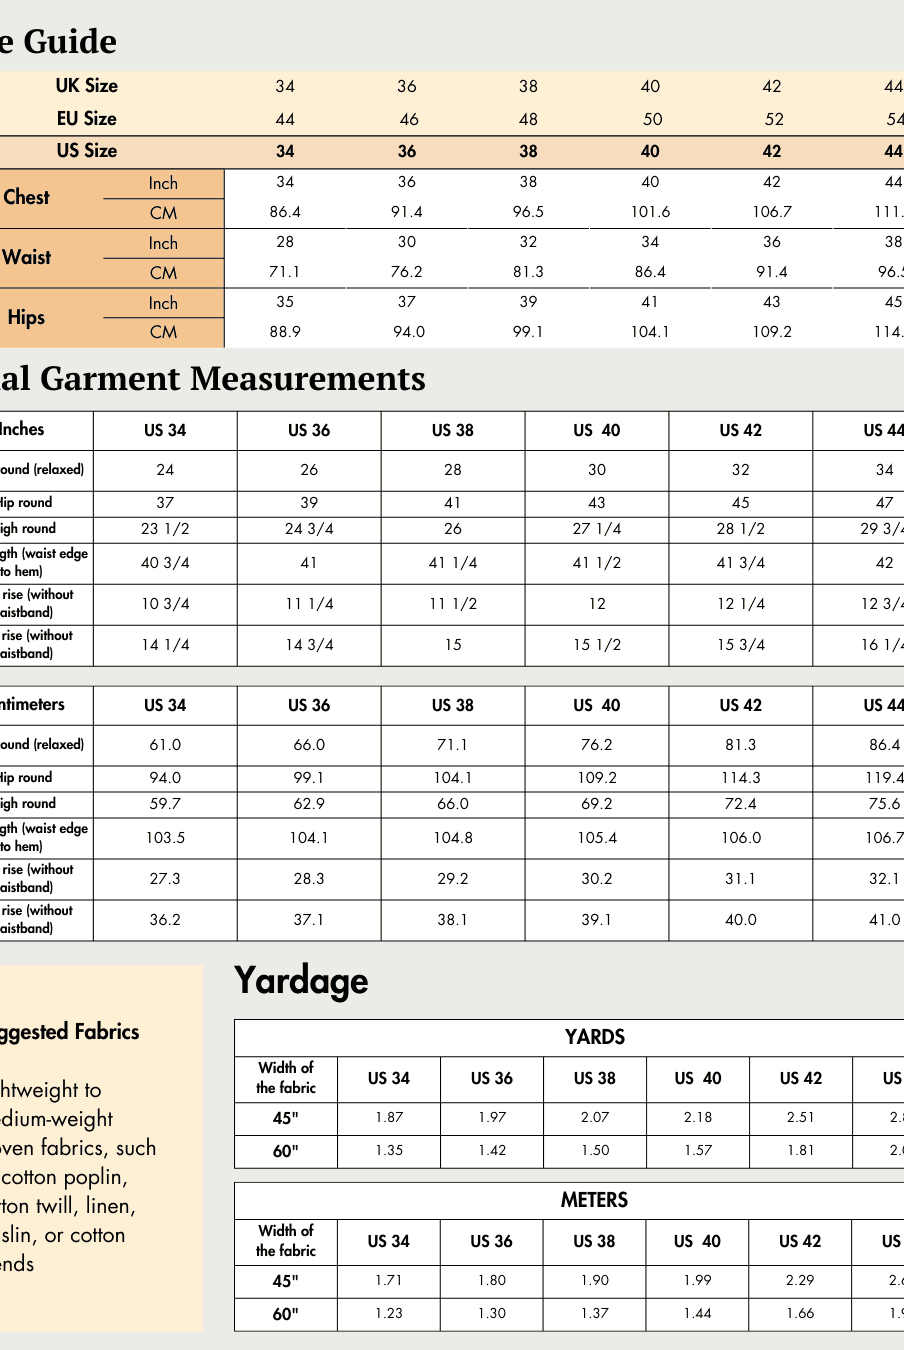
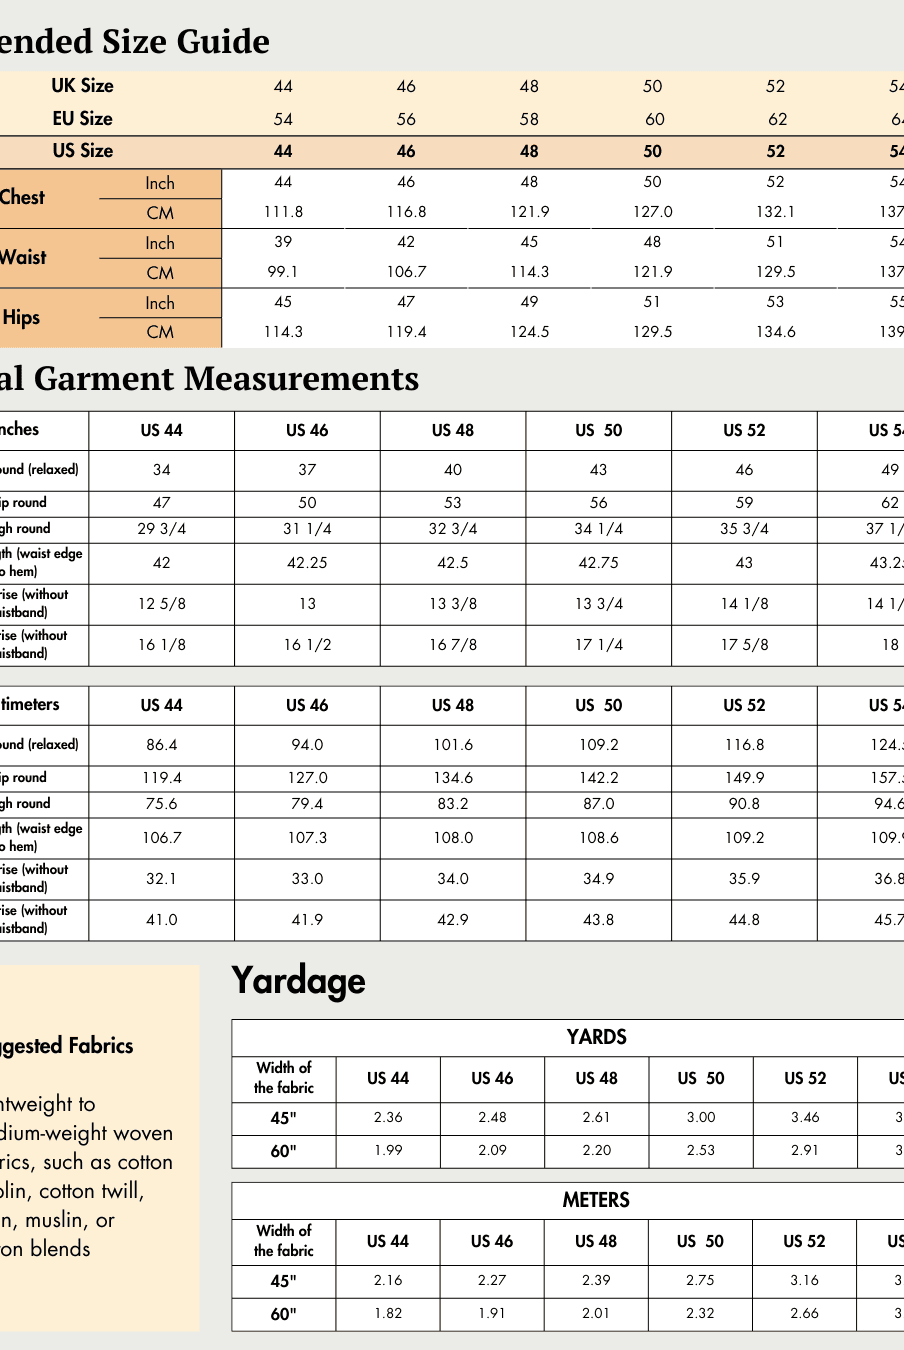
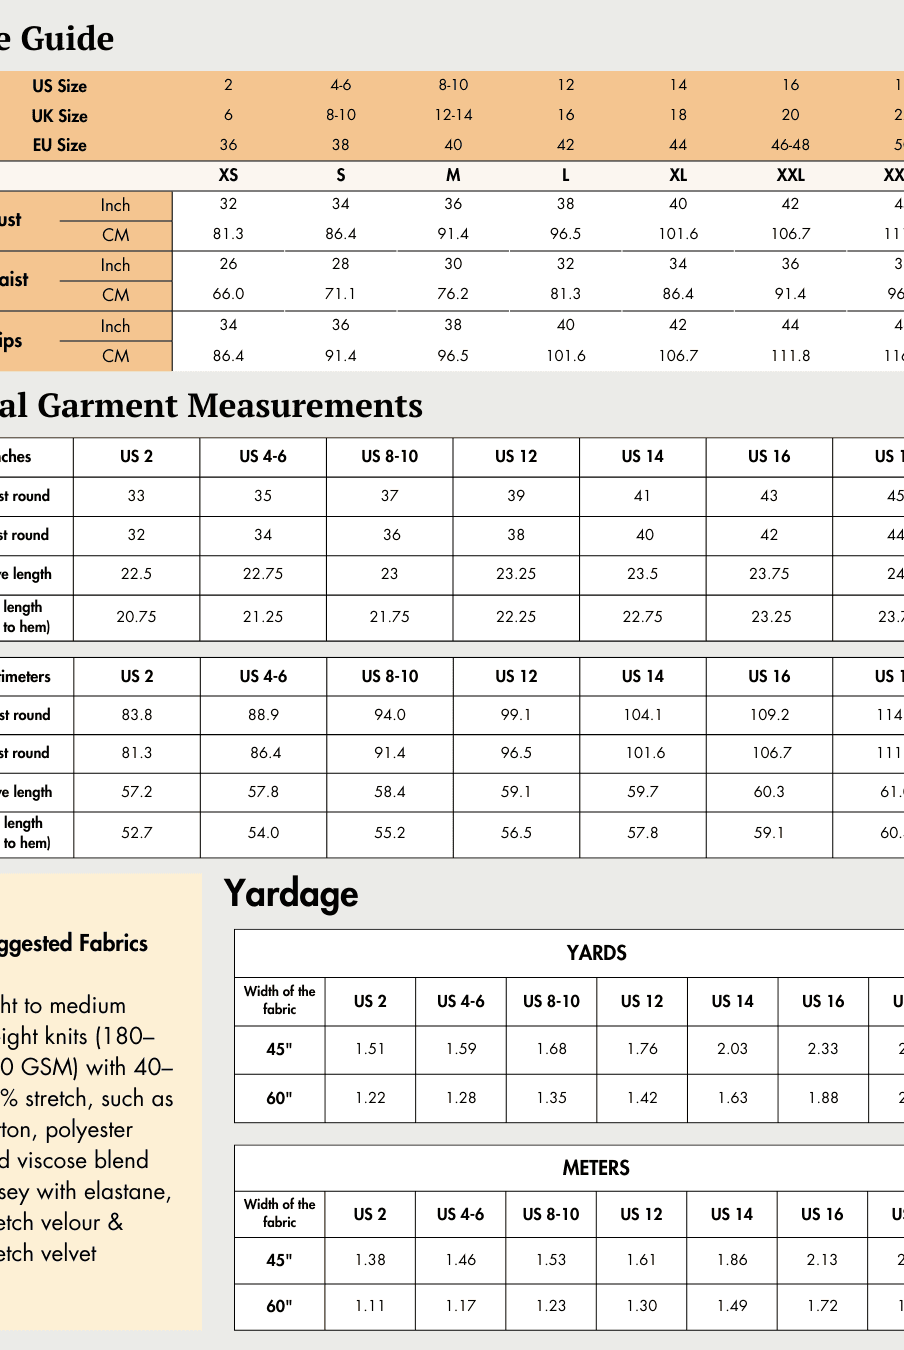
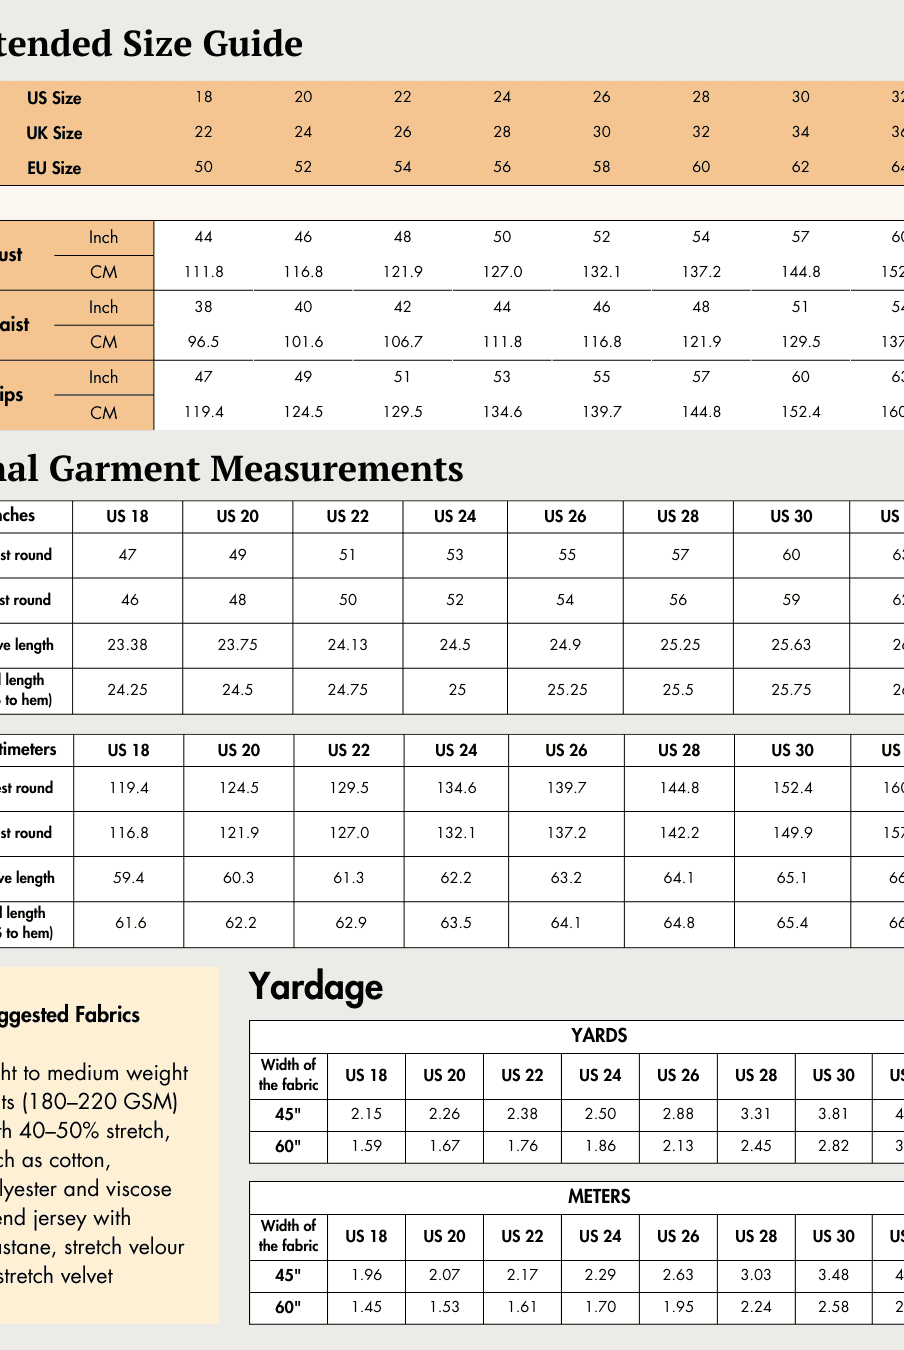
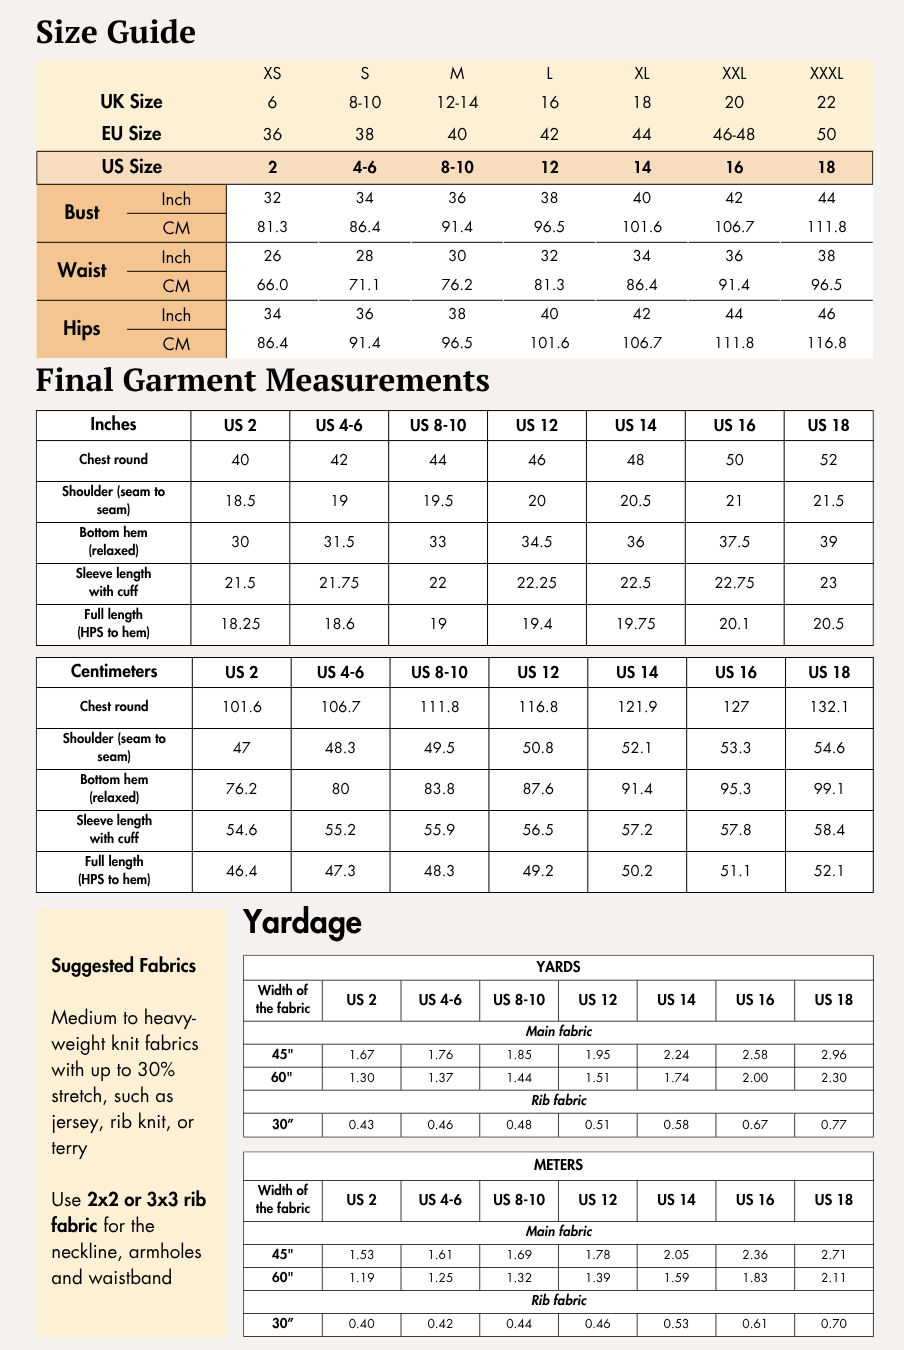
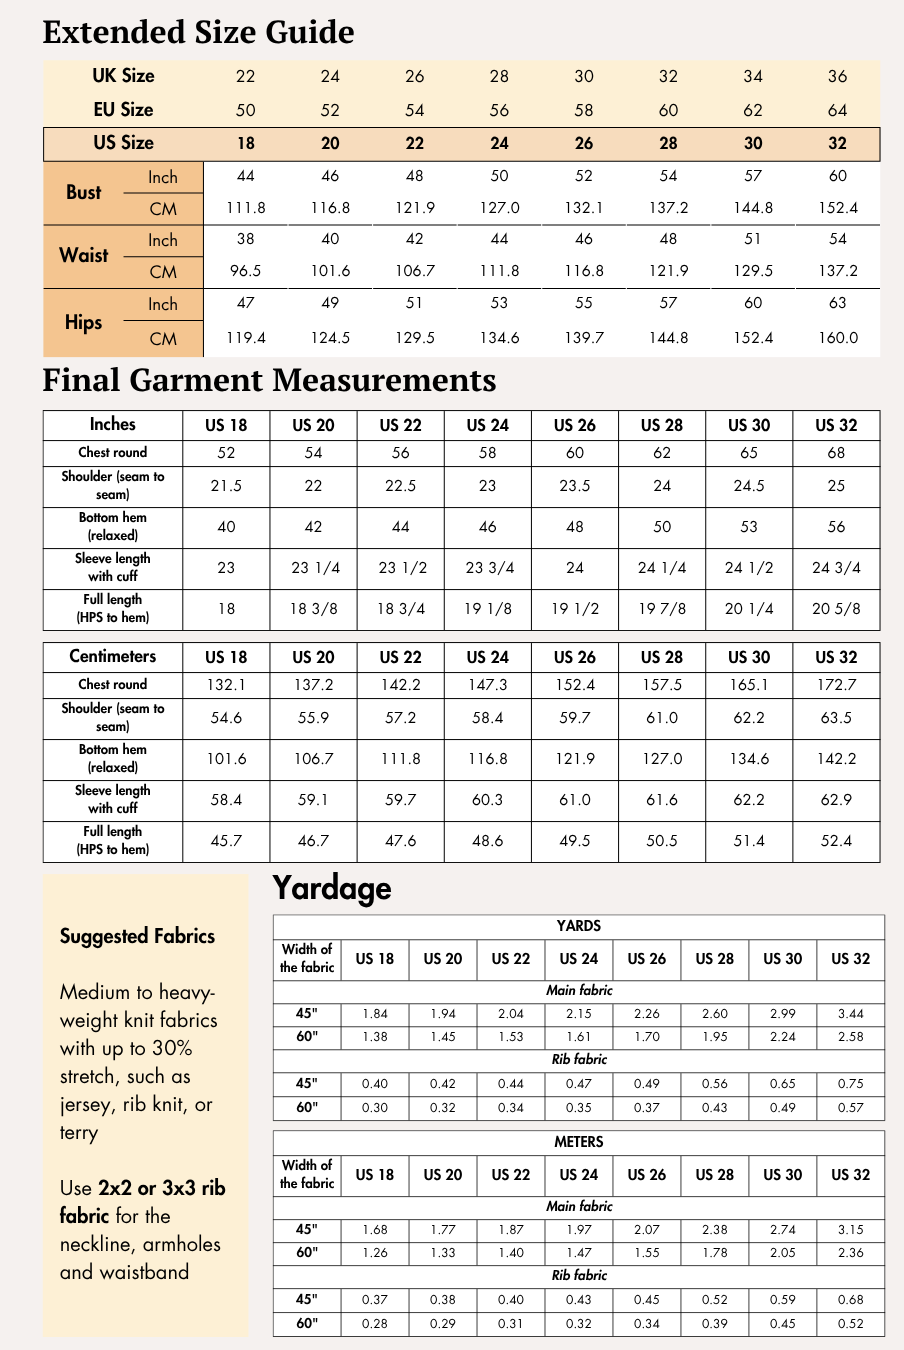
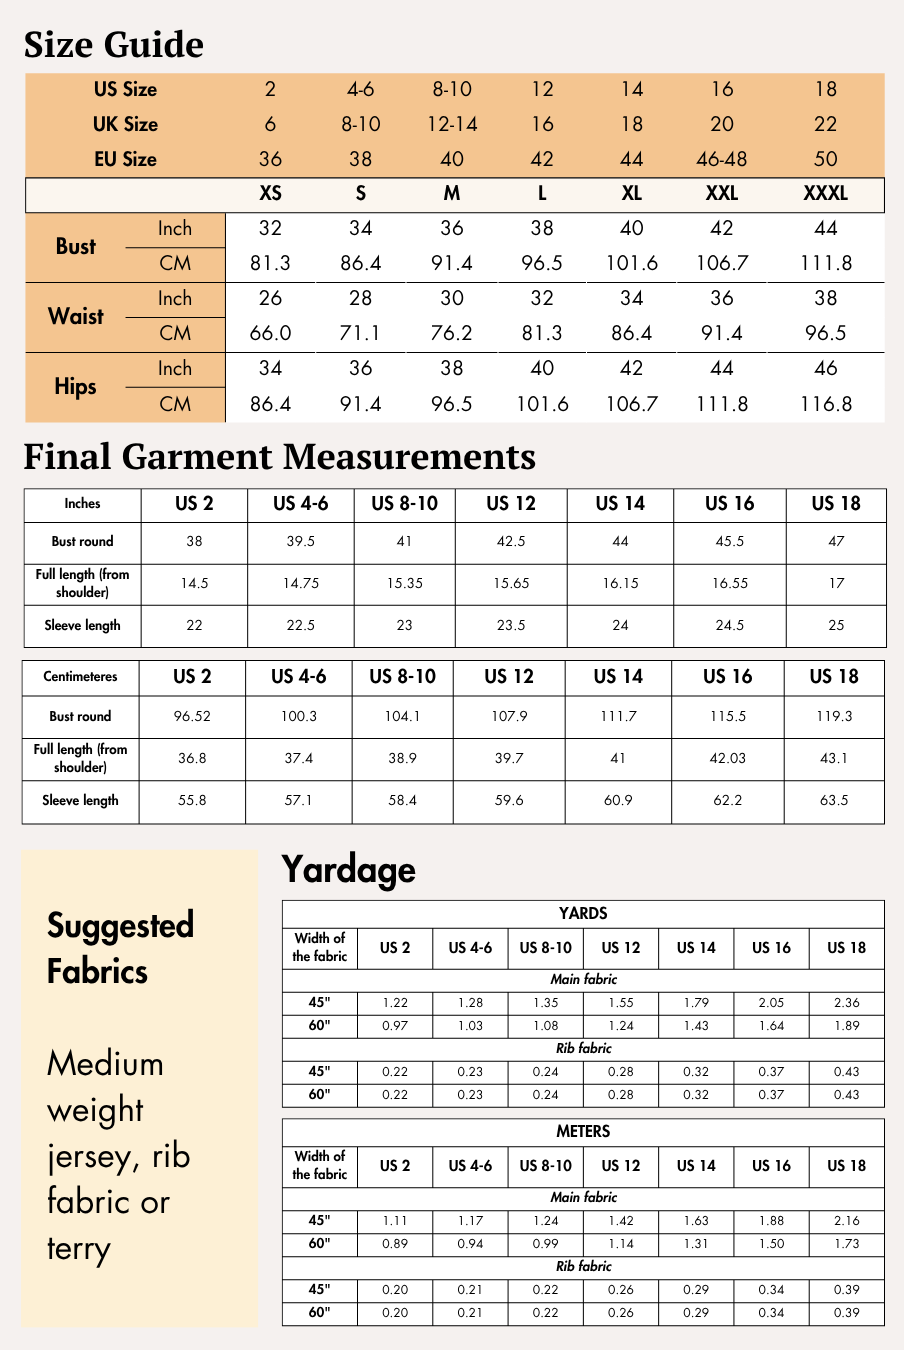
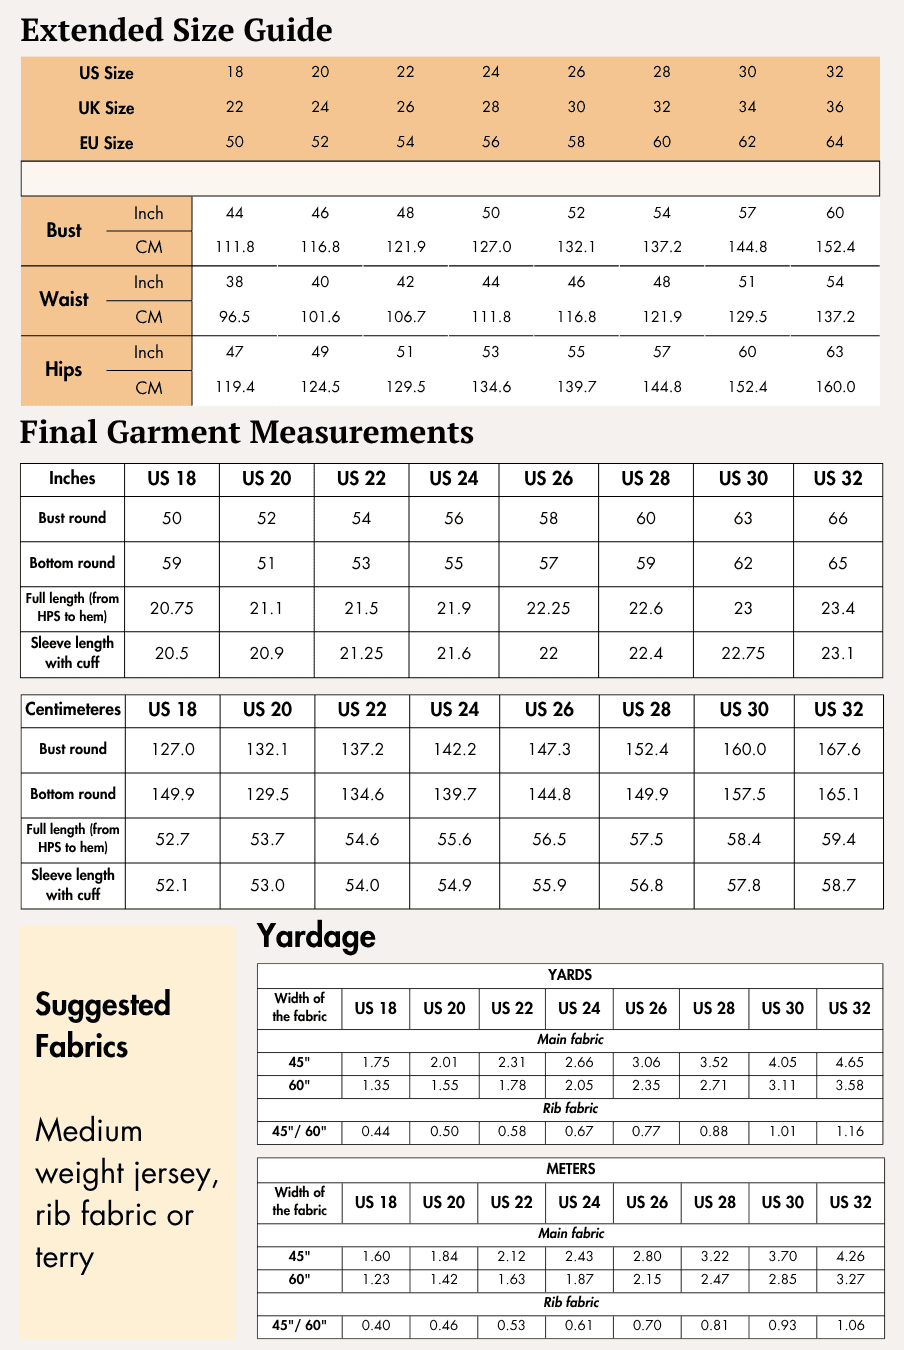
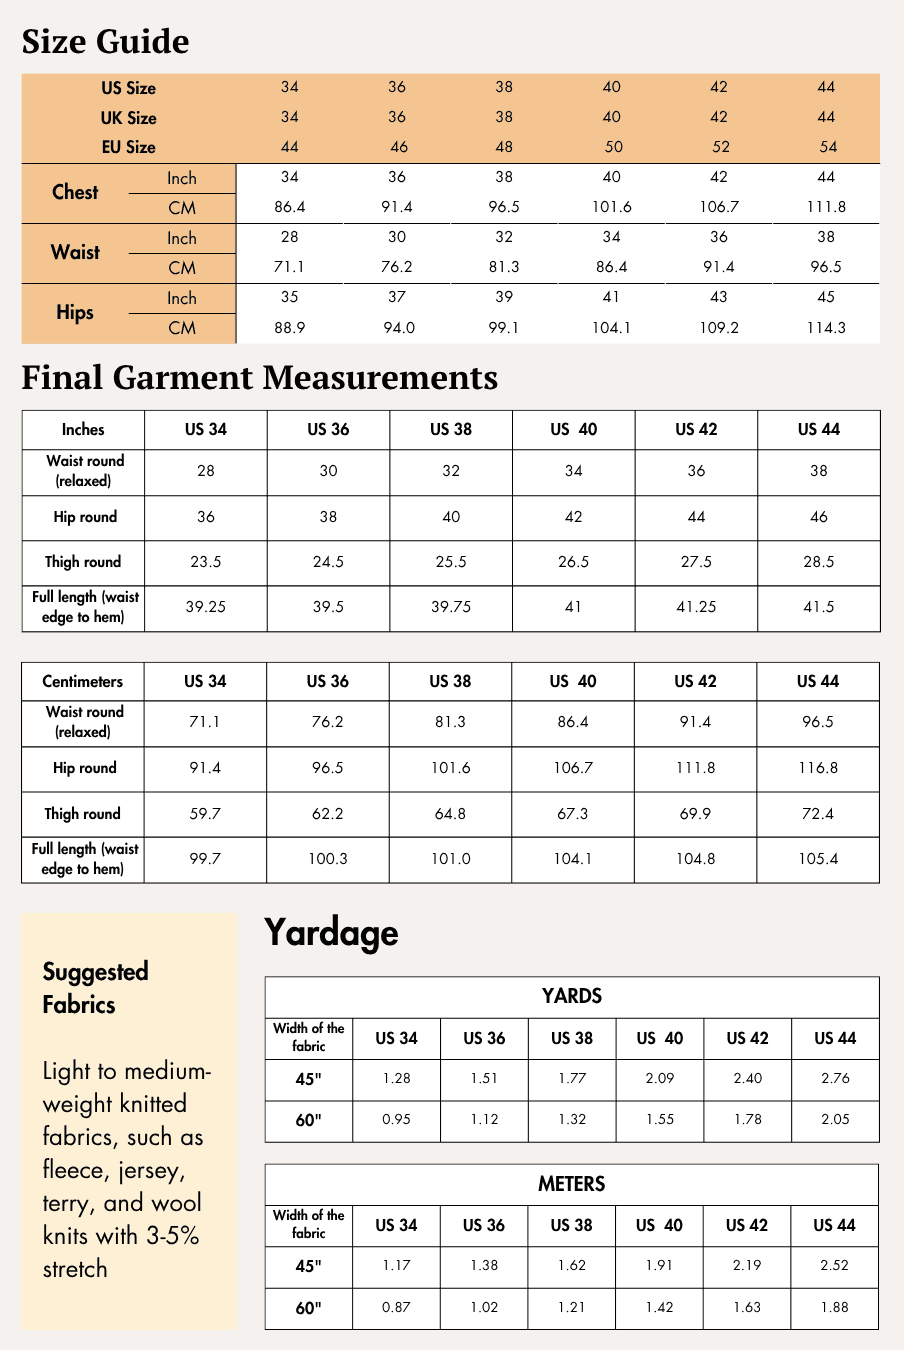
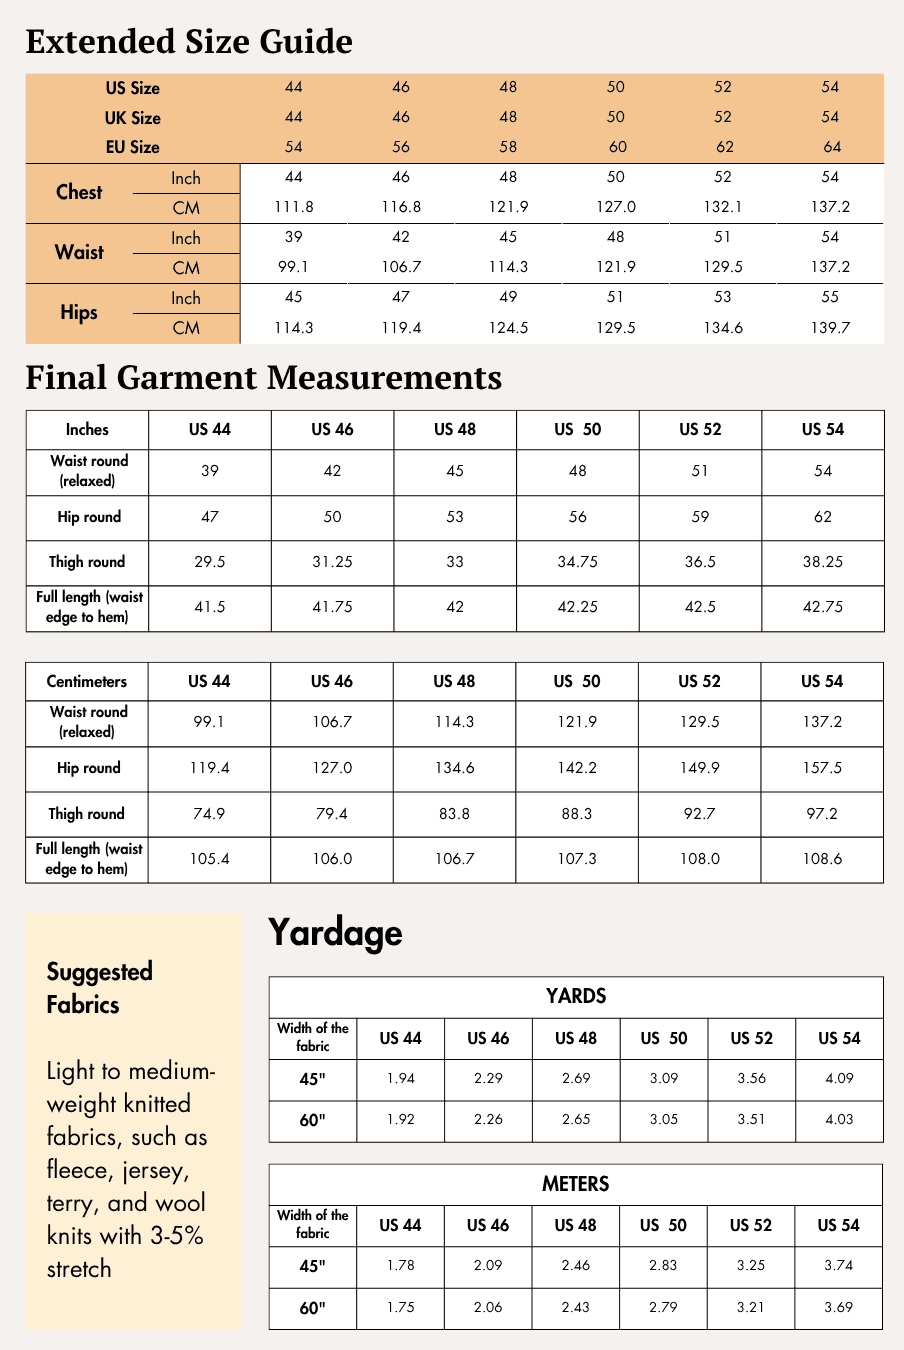
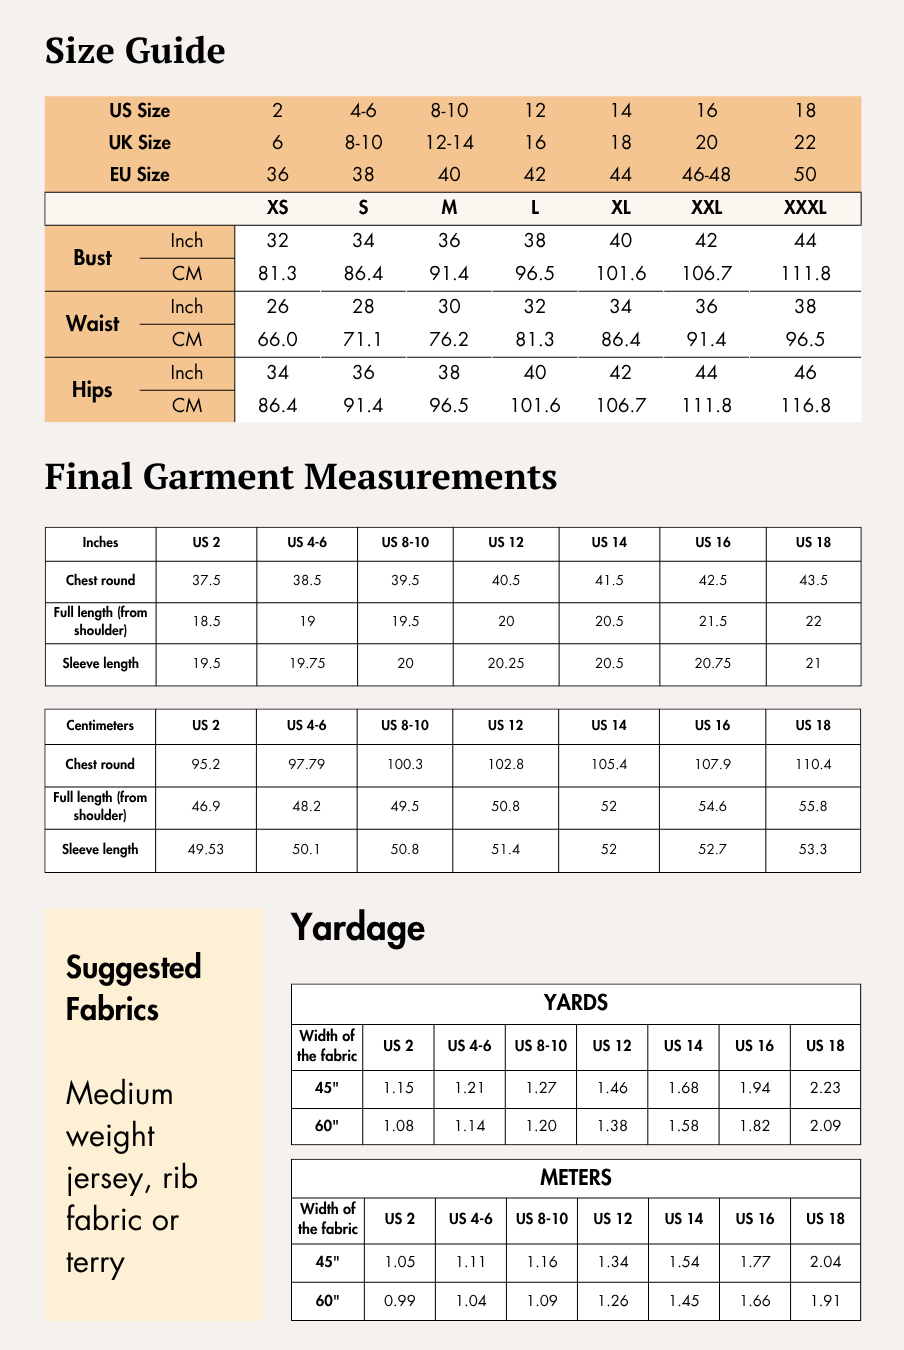
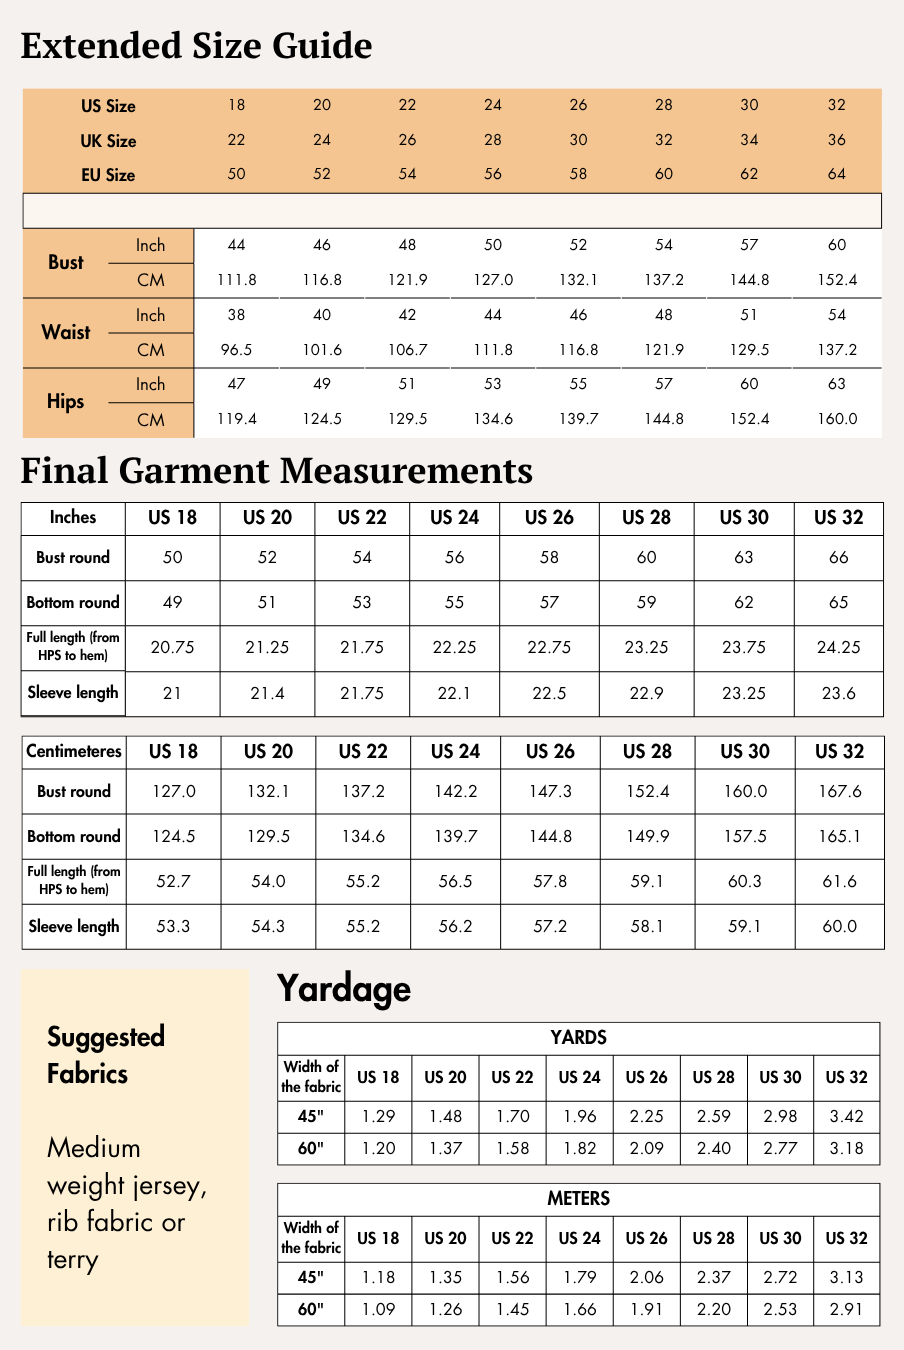
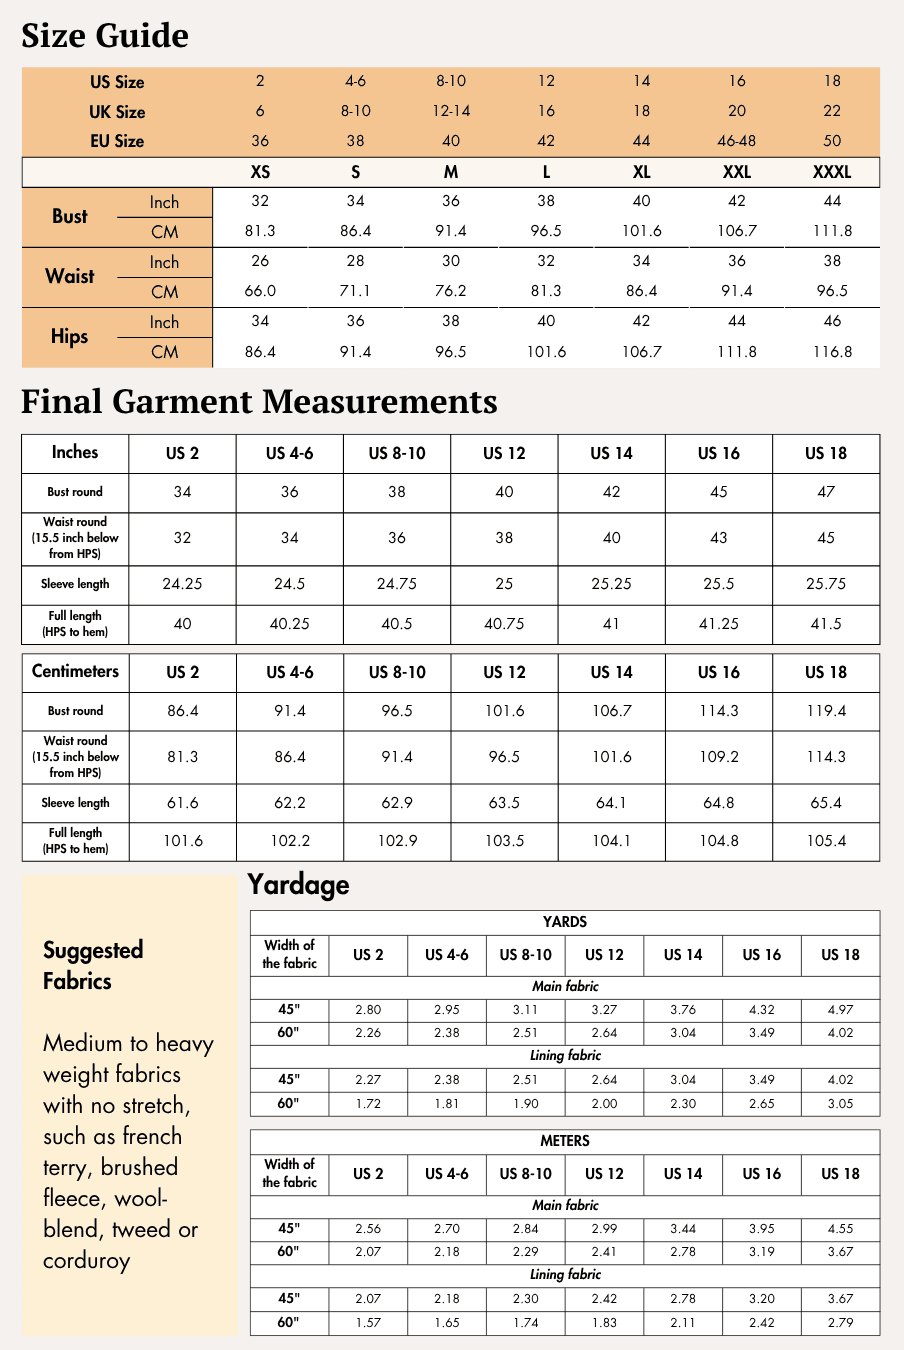
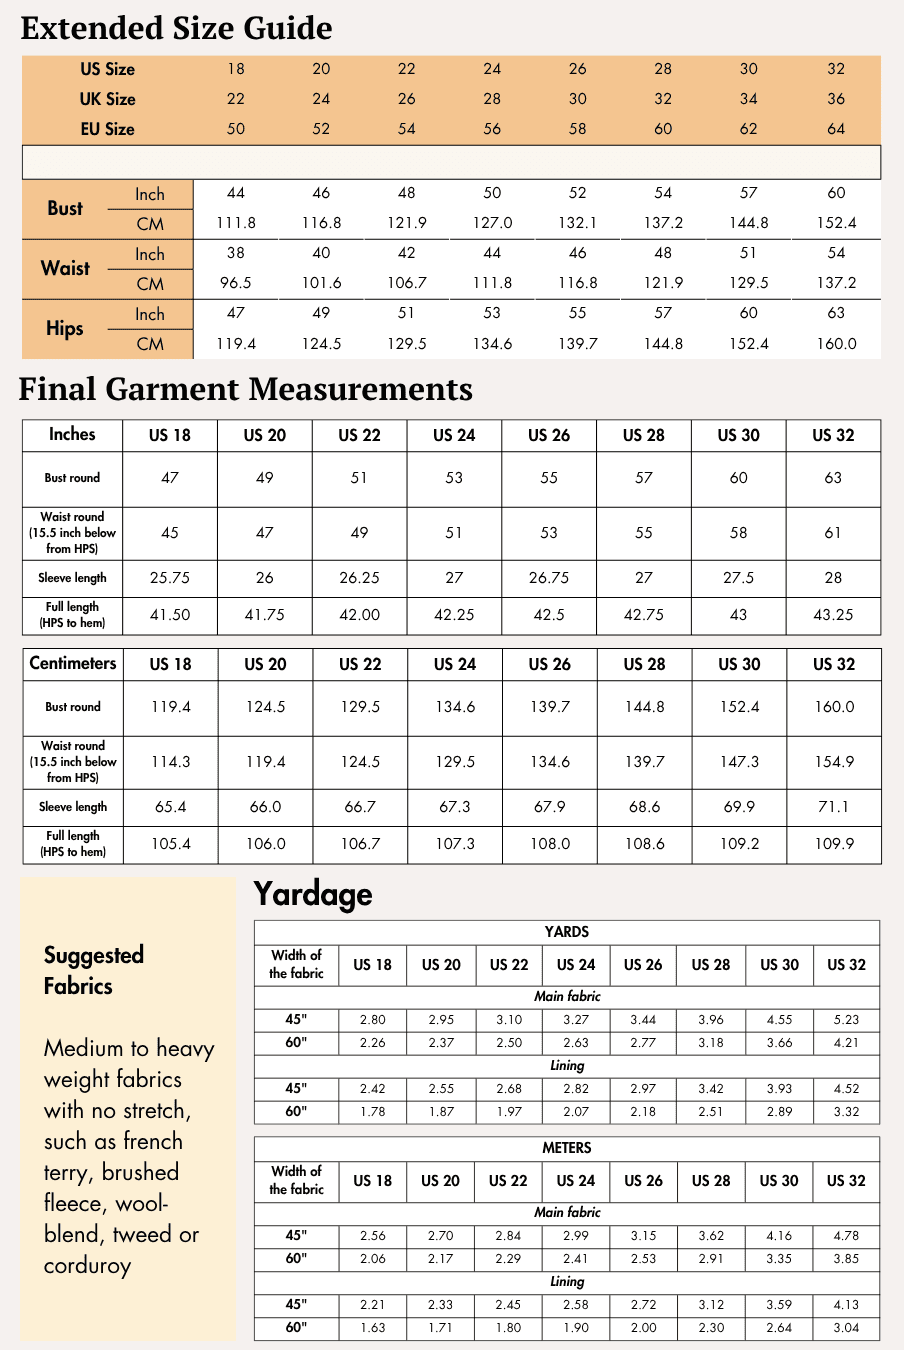
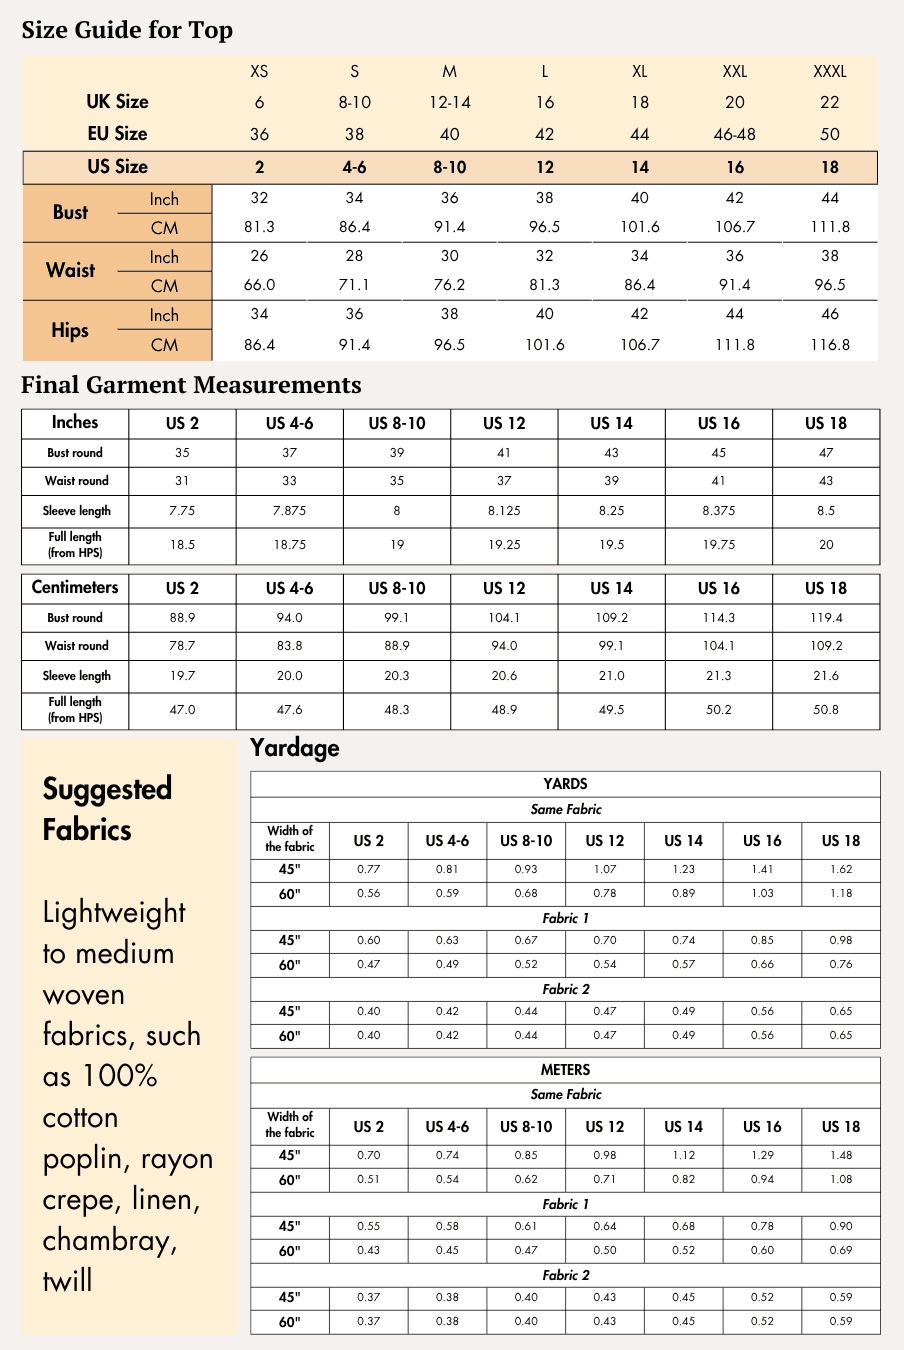
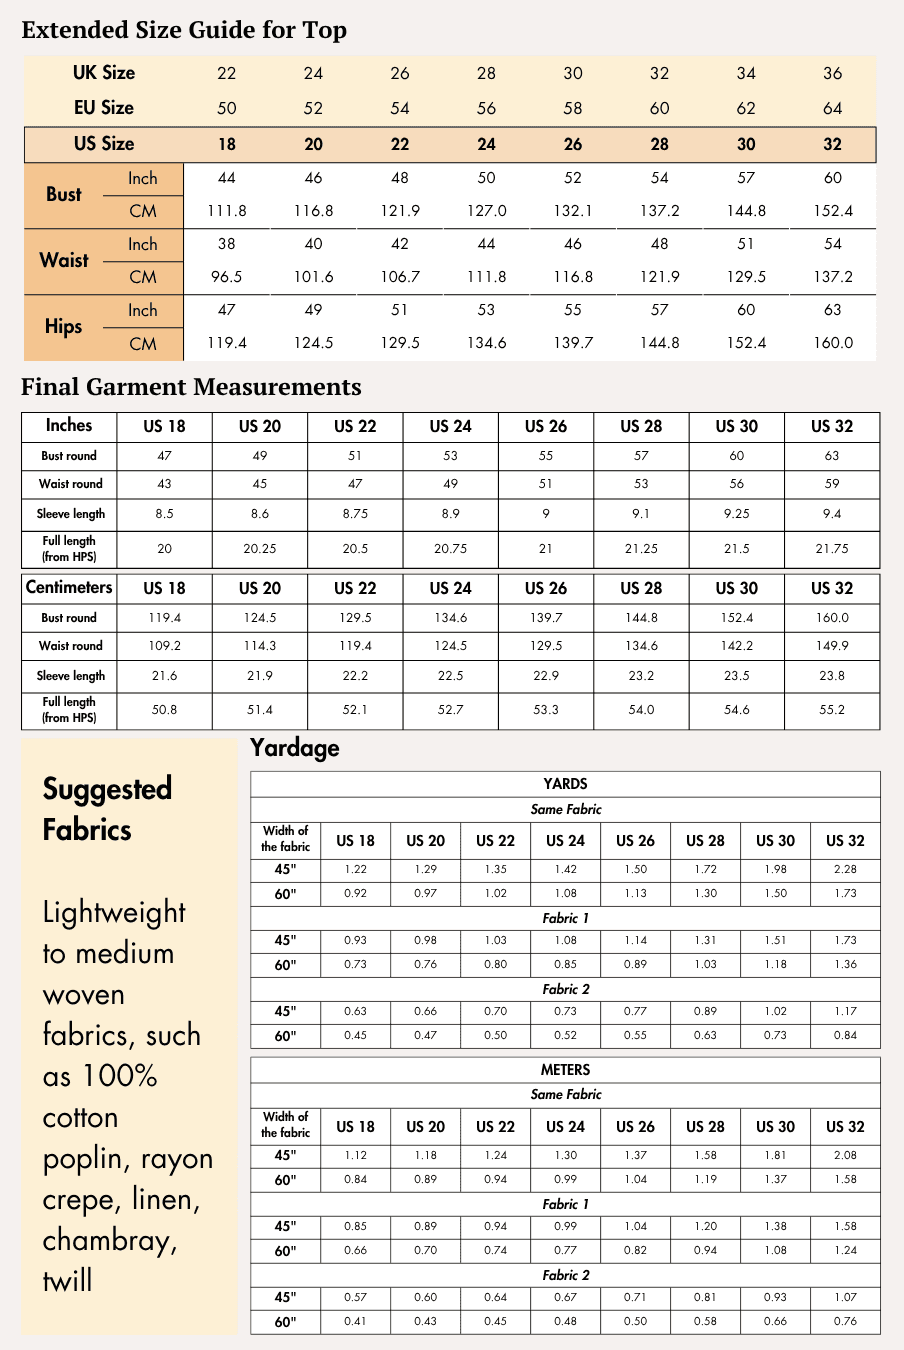
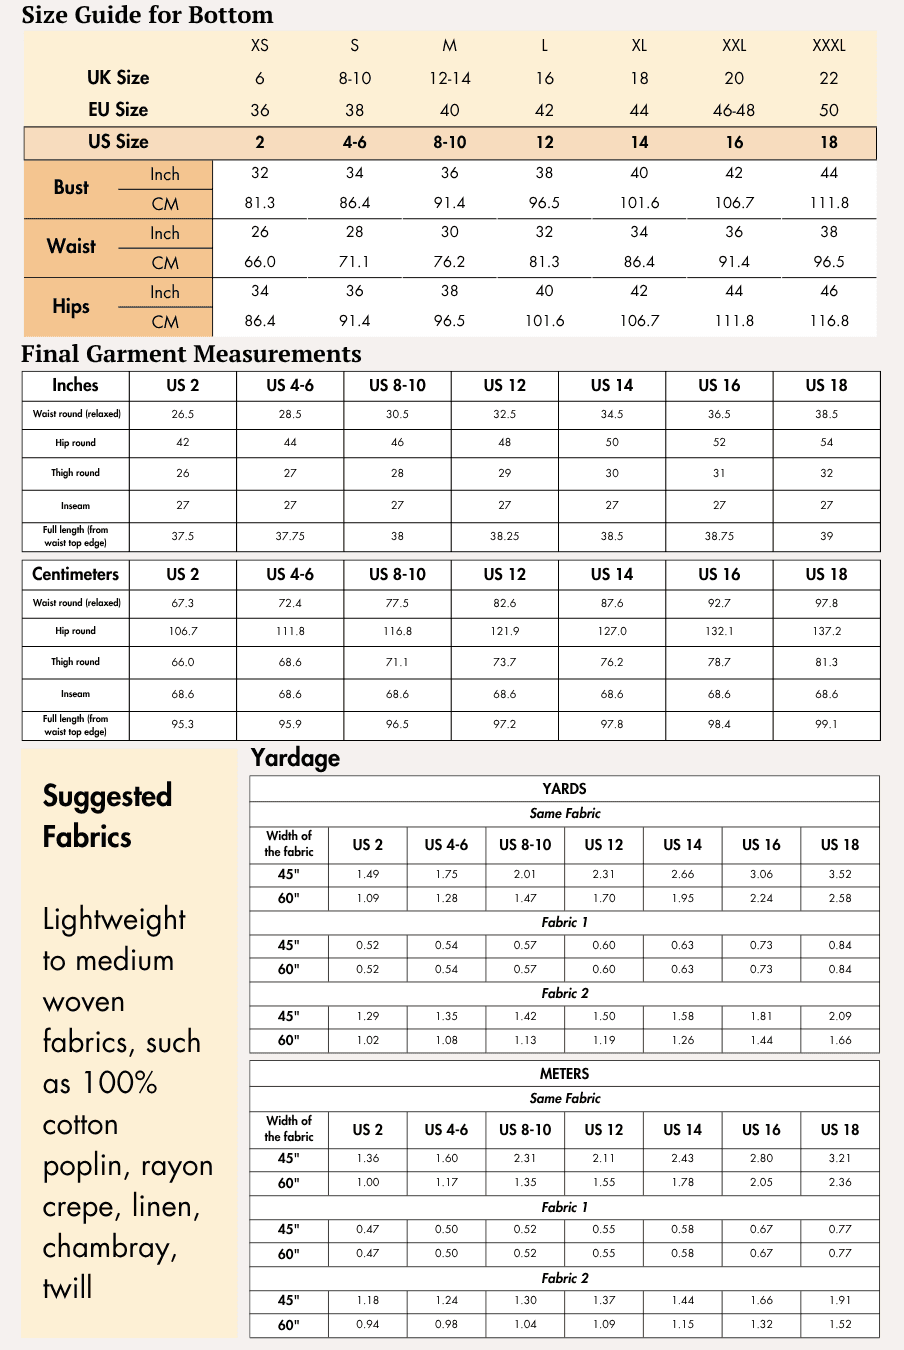
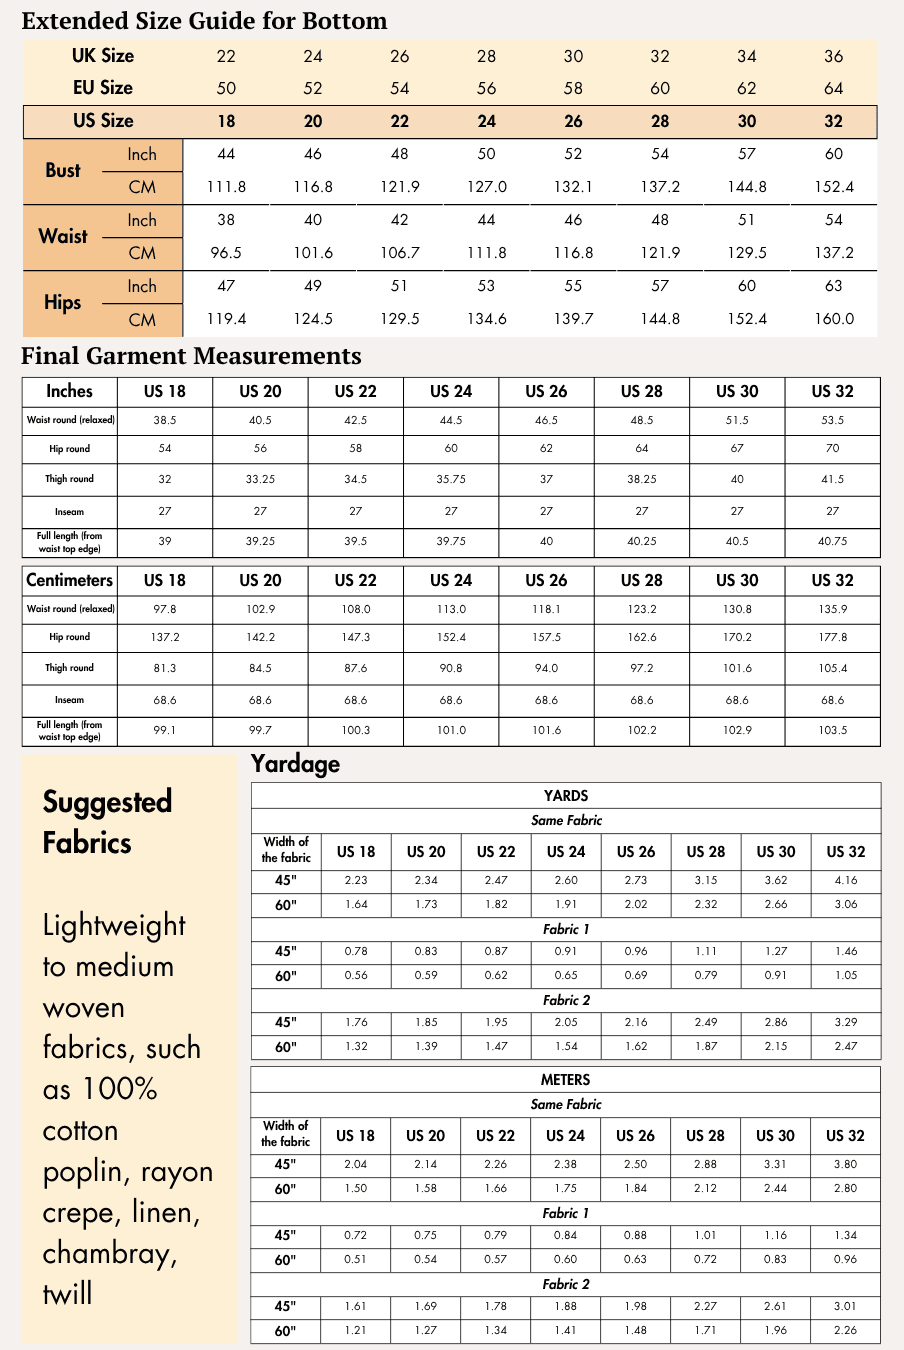
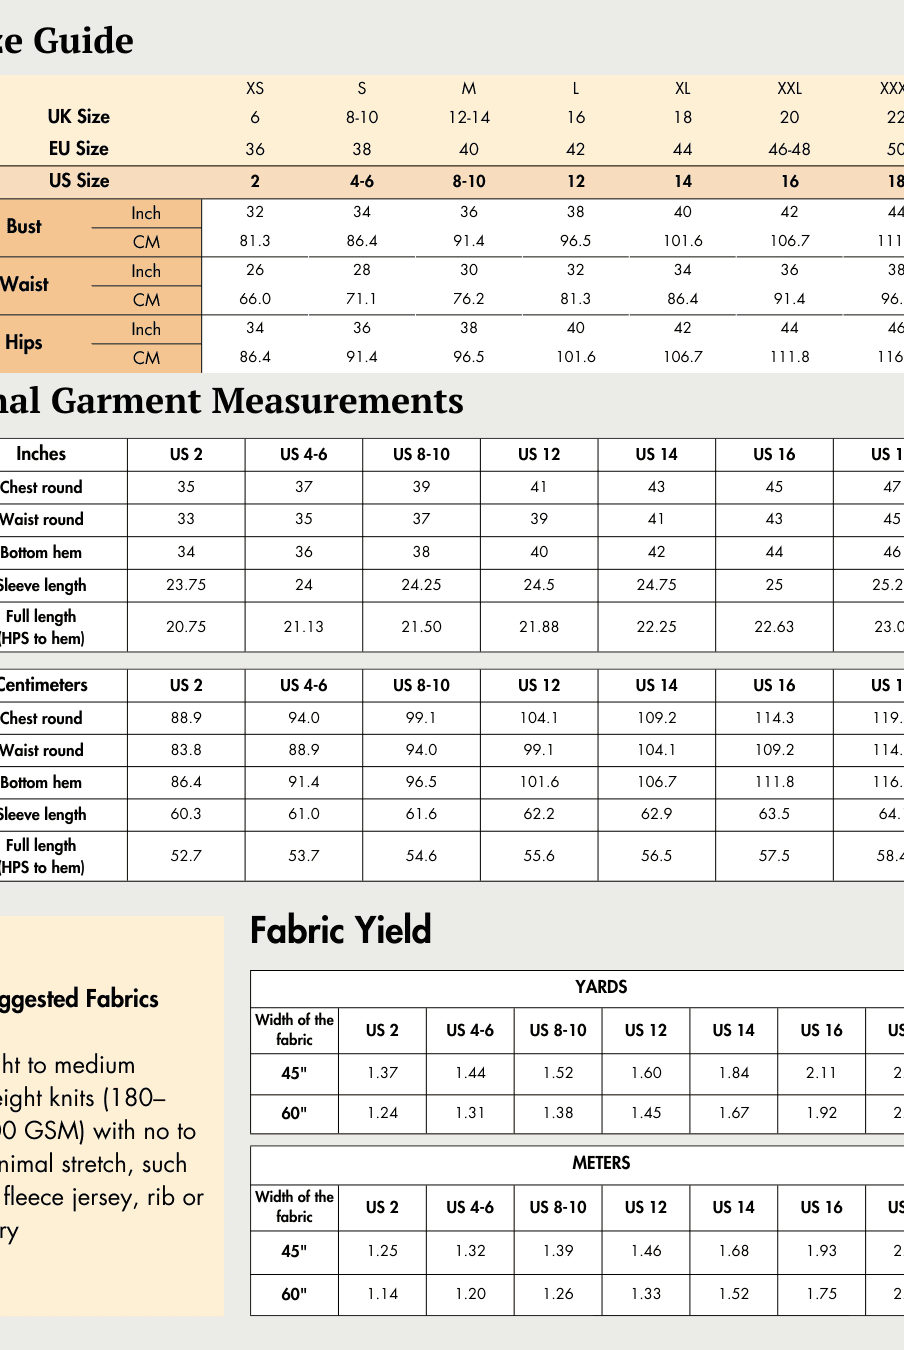
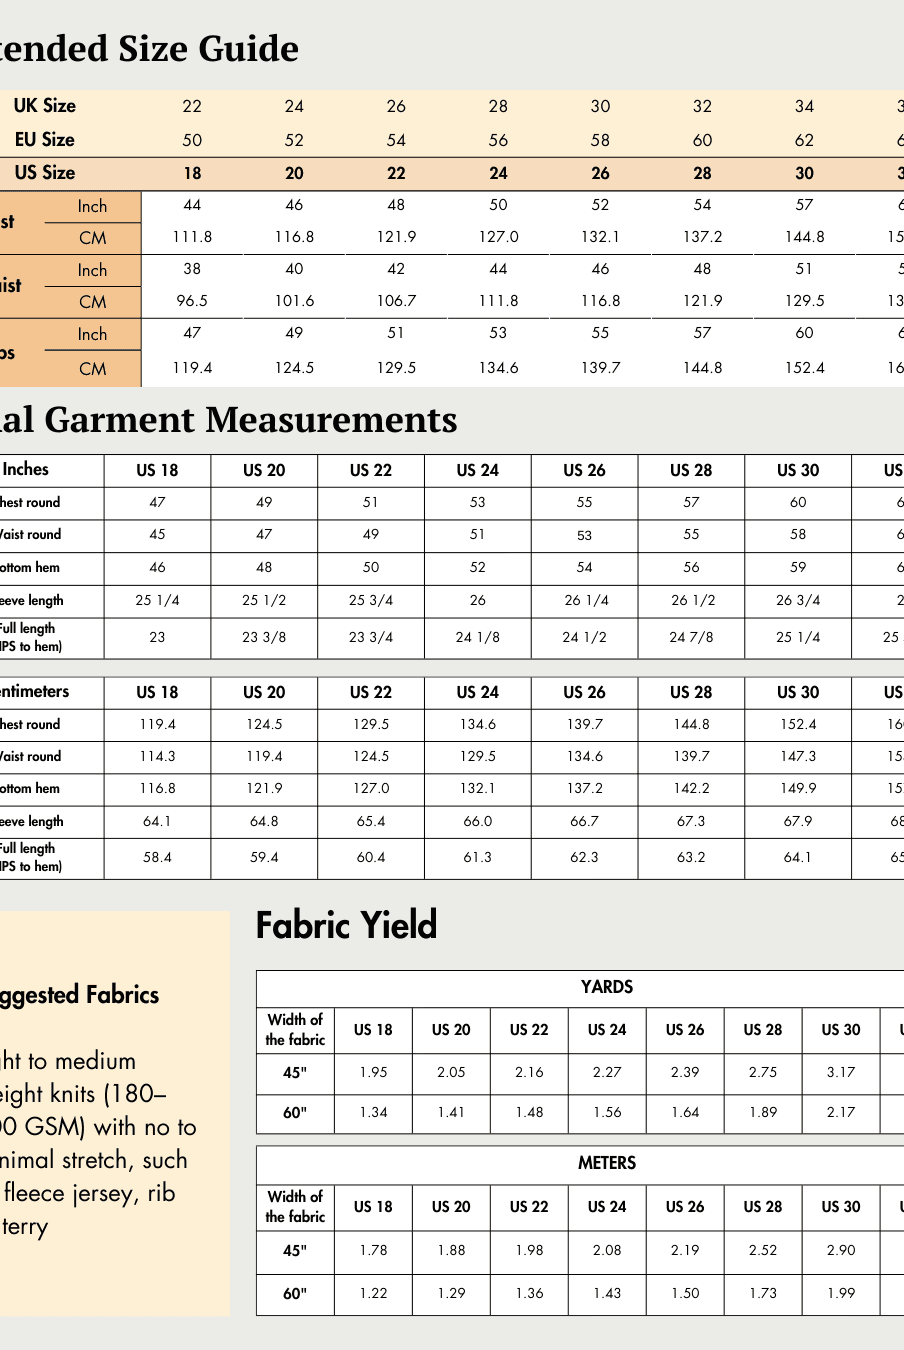
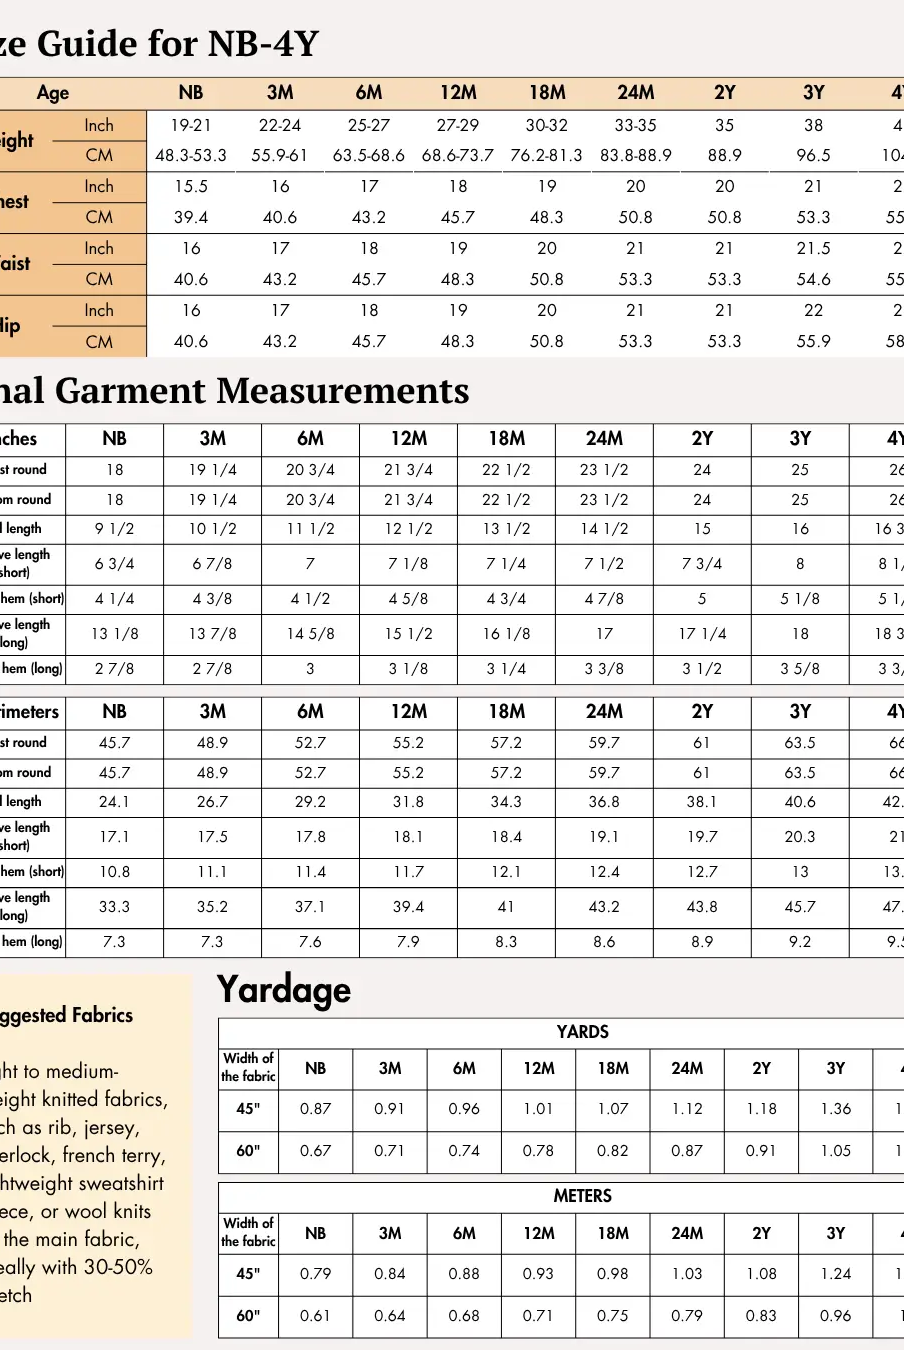
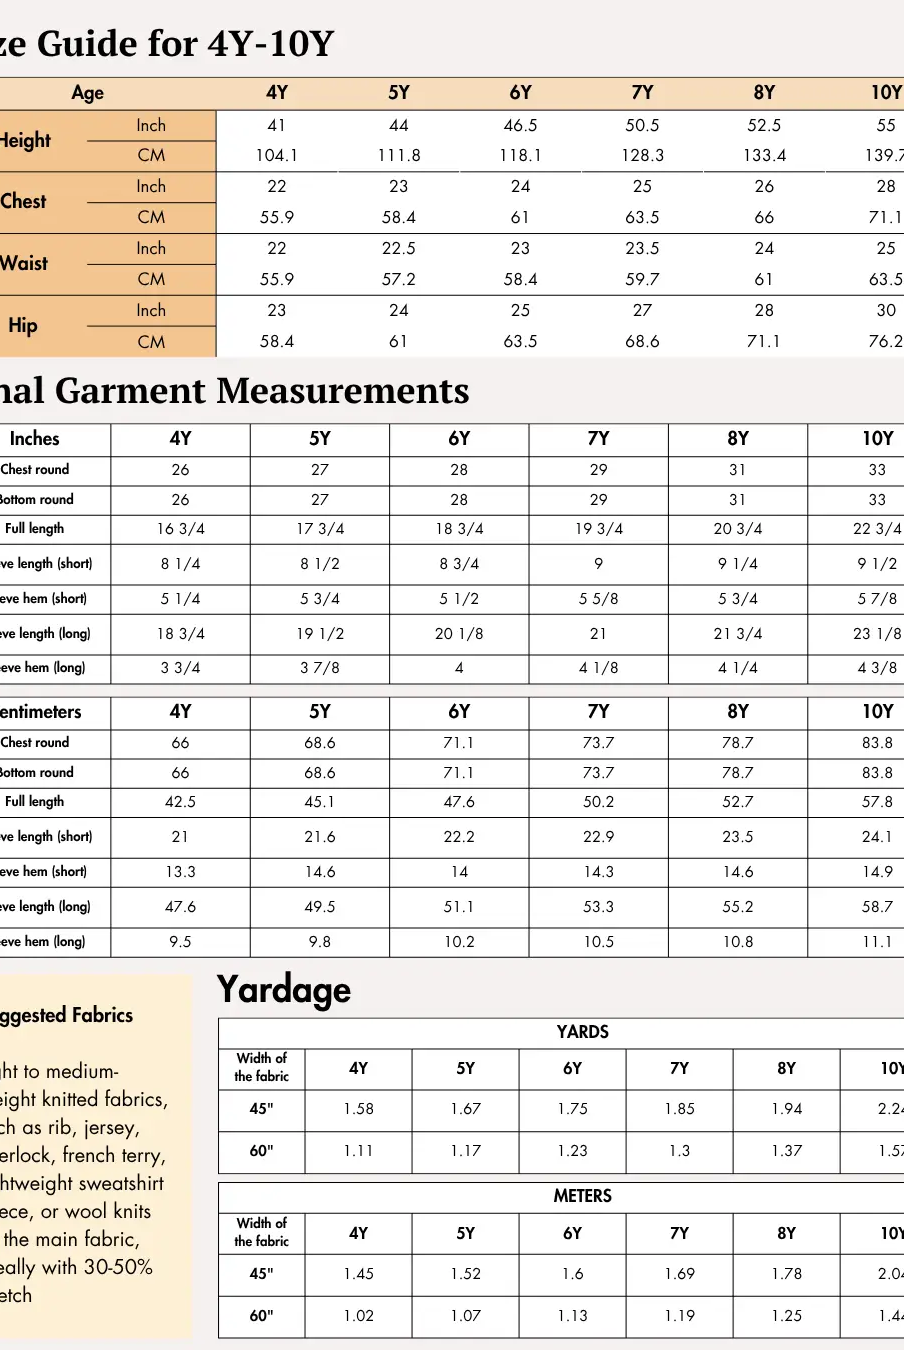
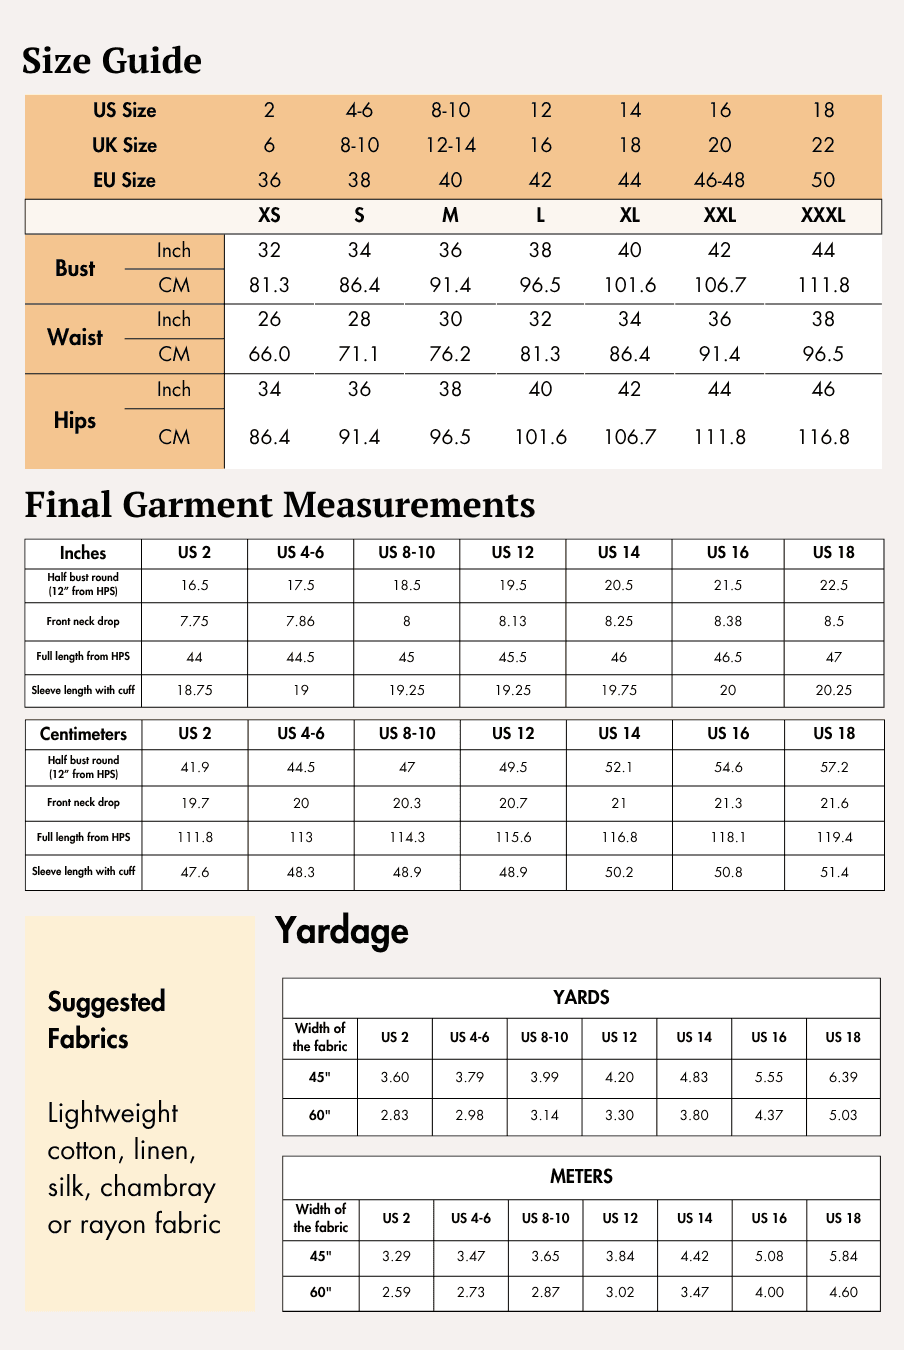
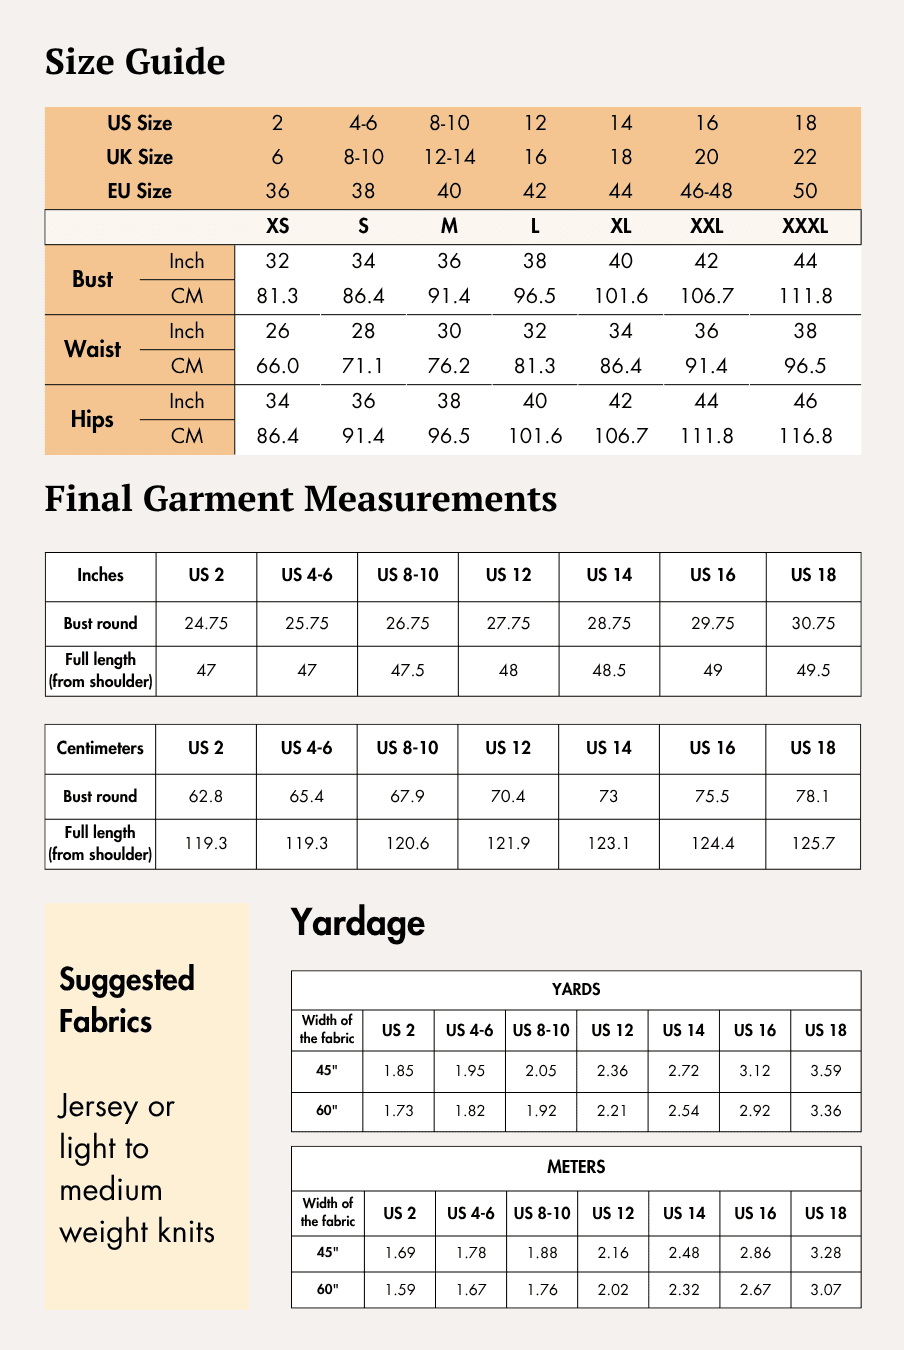
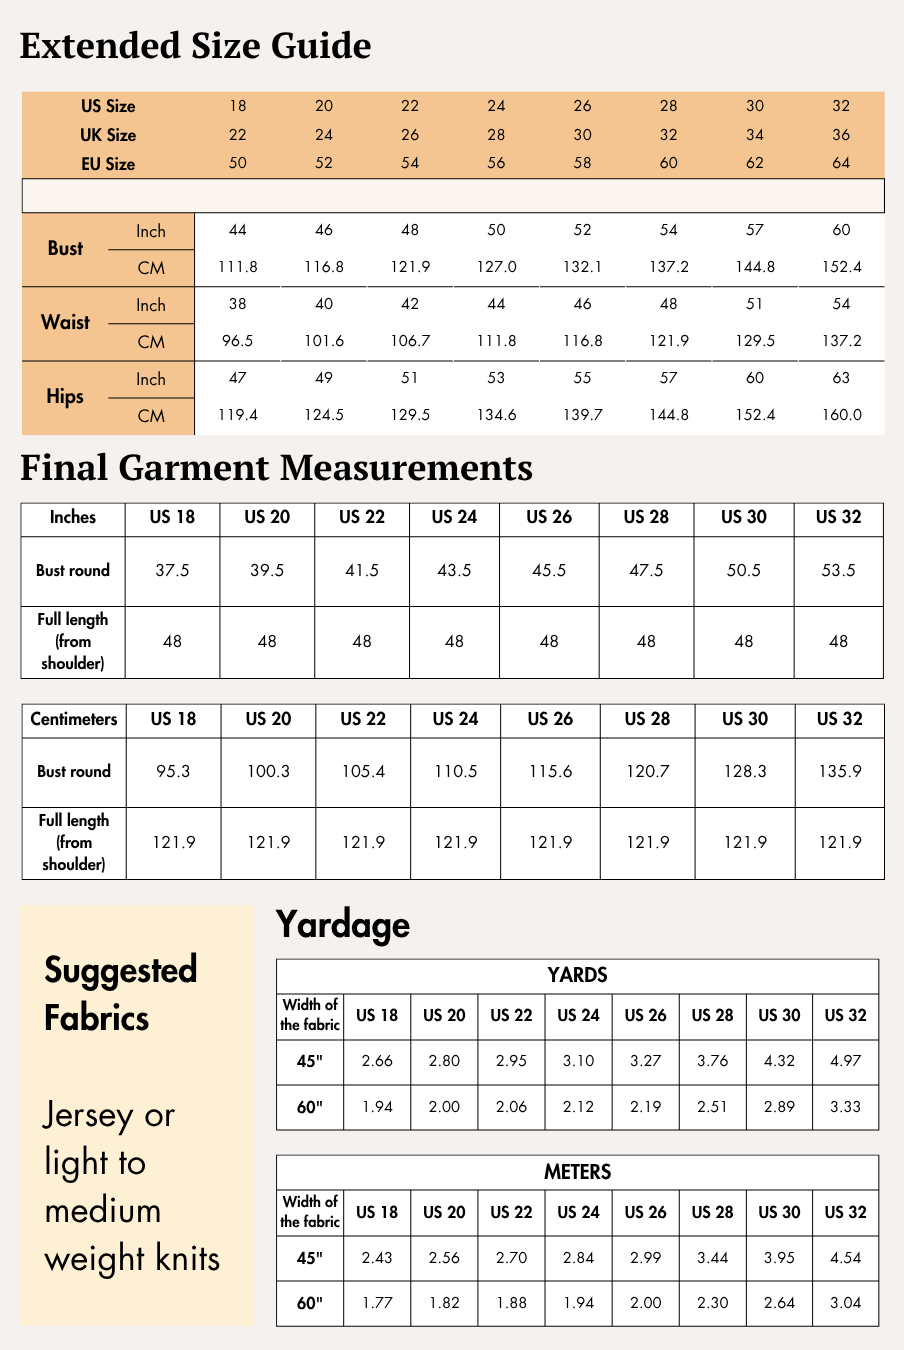
Check the size charts and measure yourself to select the correct size, using the garment and body measurement tables in the guide.
Verify how much fabric you need by referencing the fabric yield table in the guide.
Pattern Inventory: What Pieces to Prepare

The SABRINA Utility Mini Skirt Sewing Pattern includes the following pattern pieces:
- A. Front upper – Cut x1 fabric
- B. Front – Cut x1 fabric
- C. Back – Cut x2 fabric
- i. Front lining – Cut x1 fabric
- D. Pocket – Cut x1 fabric
- E. Pocket flap – Cut x2 fabric
- F. Pocket strap – Cut x2 fabric
- ii. Back lining – Cut x2 fabric
If you are printing at home, use the A4/US Letter pattern. If you are having the pattern printed at a copy shop, use the A0 pattern.
Pattern Marking


The SABRINA Utility Mini Skirt Sewing Pattern includes construction markings across the main skirt, lining, pocket, pocket flap, and pocket strap pieces. Transfer these markings accurately before beginning construction.
Important markings include:
- Grainlines
- Waist
- Hem
- Side seams
- Seam allowances
- Darts and dart notches
- Center waist notches
- Folding lines and folding notches
- Upper center front
- Center back
- Zipper-end notch
- Pocket marking
- Center hem notch
- Pocket strap notch
- Pocket strap guideline
- Top, bottom, and side markings
Cutting Layout


The SABRINA Utility Mini Skirt Sewing Pattern guide provides separate layouts for the main fabric and lining in both 45" and 60" fabric widths. US size 26 is used to represent the cutting layouts.
Positioning the pieces correctly helps ensure that the garment is cut on-grain, while pinning helps keep the pattern pieces accurate during cutting.
The layouts are non-directional. If your chosen fabric has a nap or directional print, purchase additional fabric to accommodate the required direction of the pieces.
Fabric Cutting and Preparation
For the SABRINA Utility Mini Skirt Sewing Pattern, arrange the pattern pieces according to the cutting layout diagrams. Position each piece so that its grainline arrow runs parallel to the selvage.
If you are using fabric shears, trace the pattern pieces before cutting. Cut away any pen, pencil, or chalk lines and remember to cut the notches along the pattern edges, as these will help you align the pieces during construction.
Use a marking pen, pencil, or chalk to transfer the markings to the wrong side of the fabric. Transfer all notches, dart markings, and center markings indicated on the pattern.
Seam Allowance
Please follow the seam allowances as indicated on the pattern’s file layers. These are provided specifically for each piece to ensure accurate construction.
This pattern includes a 1 cm (3/8”) seam allowance all around, 3.5 cm (1 3/8”) at the hem, and 3.8 cm (1 1/2”) at the top edge of the pocket piece.
Step-by-Step Sewing Instructions
Before beginning the SABRINA Utility Mini Skirt Sewing Pattern, pin the pieces where needed, press after each construction step, and refer to the Pattern Marking page for seamlines, notches, and other key reference points.
1. For Preparing Pockets
1a.
Fold the side and bottom seam allowances of the pocket (pattern D) to the wrong side along the seamlines. Press.
1b.
Fold the top raw edge of the pocket 3/8 inch (1 cm) to the wrong side. Press.
1c.
Fold the top pocket allowance to the wrong side along the seamline, enclosing the raw edge folded in Step 1b. Press, then edgestitch along the lower folded edge to secure the pocket top.
2. For Preparing Pocket Strap
2a.
Fold the pocket strap (pattern F) in half lengthwise with right sides together. Align the long raw edges and press.
2b.
Sew along the long edge and one short edge seamlines.
2c.
Trim the corners and seam allowances as needed. Turn the strap right side out, gently shape the corners, and press.
Repeat for both pocket strap pieces.
3. Preparing the Pocket Flap
The guide provides two options for preparing the pocket flap: one without a buckle and one with the optional buckle.
Option A: Pocket Flap Without Buckle
3a.
Place the pocket flap (pattern E) pieces with right sides together.
3b.
Place the open end of the long strap between the two flap pieces at the marked strap notch. The strap should extend inside the flap, with its open end aligned with the flap's raw edge. Pin securely.
3c.
Sew around both short sides and the long edge. Leave the long edge without notches open for turning and attaching the flap. Trim the corners and grade the seam allowances before turning.
3d.
Turn the pocket flap right side out.
Option B: Pocket Flap With Buckle
3a.
Cut a 2-inch (5 cm) section from one prepared strap. Thread this short strap section through the buckle and fold it in half around the buckle bar.
3b.
Align the ends together.
3c.
Place the two raw ends of the folded buckle tab between the flap pieces at the strap notch. Align the raw ends with the flap edge and pin. Sew around the flap, leaving the long edge without the notches open.
3d.
Turn the pocket flap right side out.
4. For Attaching the Pocket
4a.
Position the prepared pocket on the pocket placement marking on the right side of the front overlay. Insert the open end of the strap into the opening at the bottom of the pocket, aligning it with the marked strap guideline.
Pin the pocket securely. Edgestitch around the side and lower edges, leaving the upper pocket edge open.
4b.
At each upper pocket corner, sew a small reinforcement triangle or bartack to prevent the pocket opening from pulling away from the skirt.
4c.
Position the free strap over the marked strap guideline on the pocket. Edgestitch the strap to the pocket only, taking care not to stitch through the front overlay beneath the pocket.
4d.
Place the prepared pocket flap on the right side of the pocket flap marking. Align the open edge on the bottom flap marking. Sew along the seamline.
4e.
Trim the excess seam allowance to reduce bulk from the pocket flap.
4f.
Turn the flap downward over the seam allowance and press. Edgestitch along the upper folded edge of the flap, enclosing the raw attaching edge beneath it.
Steps 4d–4f are the same whether you are making the pocket with or without the optional buckle.
5. For Finishing the Darts
5a.
With right sides together, fold one back piece (pattern C) through the center of the dart, matching the dart legs and notches. Pin, then sew from the waist edge toward the dart point.
Repeat for the second back piece. Press the darts toward the center back.
5b.
Repeat Step 5a for both back lining pieces (pattern ii).
6. For Finishing the Hem
6a.
Fold the hem raw edge 3/8 inch (1 cm) to the wrong side and press.
6b.
Fold again along the marked hemline, enclosing the raw edge. Press and stitch close to the inner folded edge.
6c.
Repeat Steps 6a and 6b for the front piece (pattern B).
6d.
Repeat Steps 6a and 6b for the back piece (pattern C).
6e.
Repeat Steps 6a and 6b for the front and back lining pieces (patterns i and ii).
7. For Finishing Front Center Raw Edge
7a.
Fold the 3/8" seam allowance of the upper center front of the front upper to the wrong side. Press.
7b.
Fold the upper center along the folding line to the wrong side. Press.
7c.
Edgestitch along the edge of the folded line.
8. For Preparing the Skirt and Skirt Lining
8a.
Place the wrong side of the front upper over the right side of the front piece. Match the center waist notches together.
8b.
Baste the two front layers together within the waist seam allowance, approximately 1/4 inch (6 mm) from the raw edge. Treat them as one front piece for the remaining construction.
8c.
Place the back piece and the prepared front from Step 8b with right sides together.
8d.
Align the side seam. Sew along the seamline.
8e.
Repeat Steps 8c and 8d for the other back piece.
8f.
Place the front lining and back lining with right sides together. Align the side seam.
8g.
Sew along the side seamline.
8h.
Repeat Steps 8f and 8g for the other back piece on the other side of the front lining side seam.
9. For Finishing Waist
9a.
With the outer skirt right side out and the lining wrong side out, place the lining over the skirt so that the right sides face each other.
Match the waist edges, side seams, darts, and center-back edges. Pin.
9b.
Sew along the waistline.
9c.
Press the waist seam allowances toward the lining. Understitch through the lining and both seam allowances, sewing close to the waist seam. Do not stitch through the outer skirt.
10. For Attaching Zipper
10a.
Open the invisible zipper and gently press the zipper coils away from the tape using a low heat setting.
With right sides together, place one zipper tape along one center-back edge of the outer skirt. Position the zipper coil on the marked center-back seamline and align the zipper stop with the waist seam.
Baste or pin in place. Using an invisible-zipper foot, sew close to the coil, stopping at the zipper-end notch. Repeat for the opposite zipper tape.
10b.
Fold the top ends of the zipper tapes to the wrong side so they are neatly turned under, creating a clean finish. Pin in place.
10c.
With right sides together, place the center-back edge of the lining over the zipper tape, sandwiching the zipper between the outer skirt and lining.
Align the lining edge with the center-back edge of the skirt. Stitch the lining to the zipper tape, sewing just outside the previous zipper stitching. Repeat on the other side.
10d.
Turn the skirt right side out. Close the zipper.
10e.
Position the center-back seam of the skirt main fabric right sides together. Align the remaining center-back seam edges below the zipper.
Starting approximately 1/2 inch (1.3 cm) above the end of the zipper stitching, sew the center-back seam downward to the hem. Keep the stitching as close as possible to the zipper stitching to avoid a gap. Backstitch at both ends.
10f.
With the lining pieces right sides together, sew the remaining center-back lining seam from approximately 1 inch (2.5 cm) below the zipper stitching to the lining hem.
Keep the lining free from the outer skirt. Press the seam allowances open.


Ready to Sew Your Own Utility Mini Skirt?


The Winslet's SABRINA Utility Mini Skirt Sewing Pattern combines a fitted waist and gently A-line silhouette with an asymmetric wrap-style front, a statement utility pocket, full lining, and an invisible zipper. The optional buckle also gives you a choice when finishing the pocket detail.
With its Easy skill level, SABRINA introduces several useful garment-making techniques, including pocket construction, darts, lining, understitching, and invisible zipper installation.
Get the SABRINA Utility Mini Skirt Sewing Pattern and sew your own wrap-style mini skirt.
Explore More Sewing Patterns
Browse our Skirt Sewing Pattern Collection for more handmade skirt styles to add to your everyday wardrobe.
Join the Community & Get Support
Share your finished SABRINA Utility Mini Skirt on social media with #MadeWithWinslets. If you have questions, feedback, or customization requests, contact the Winslet's team at support@winslets.com.