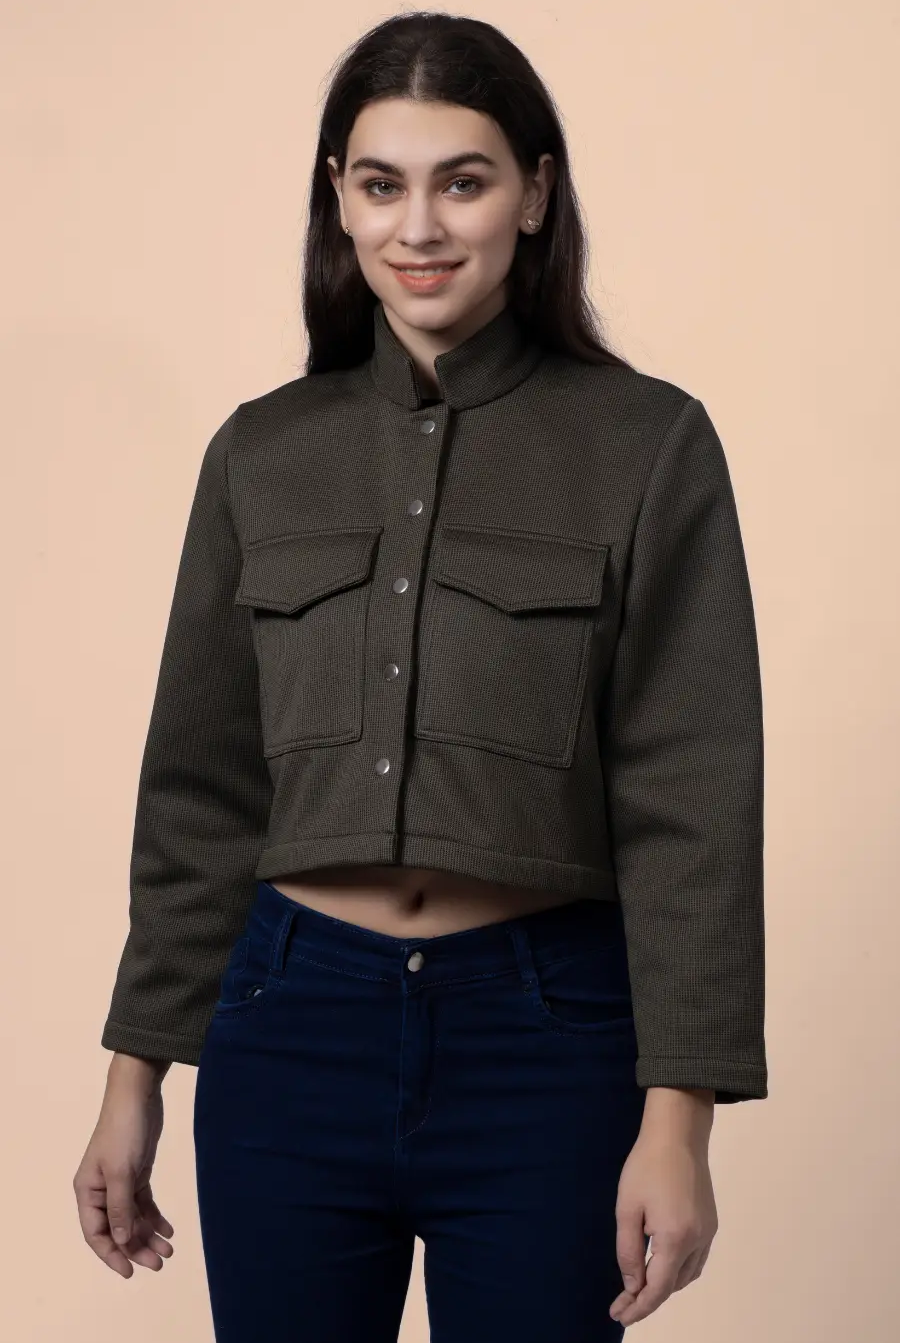
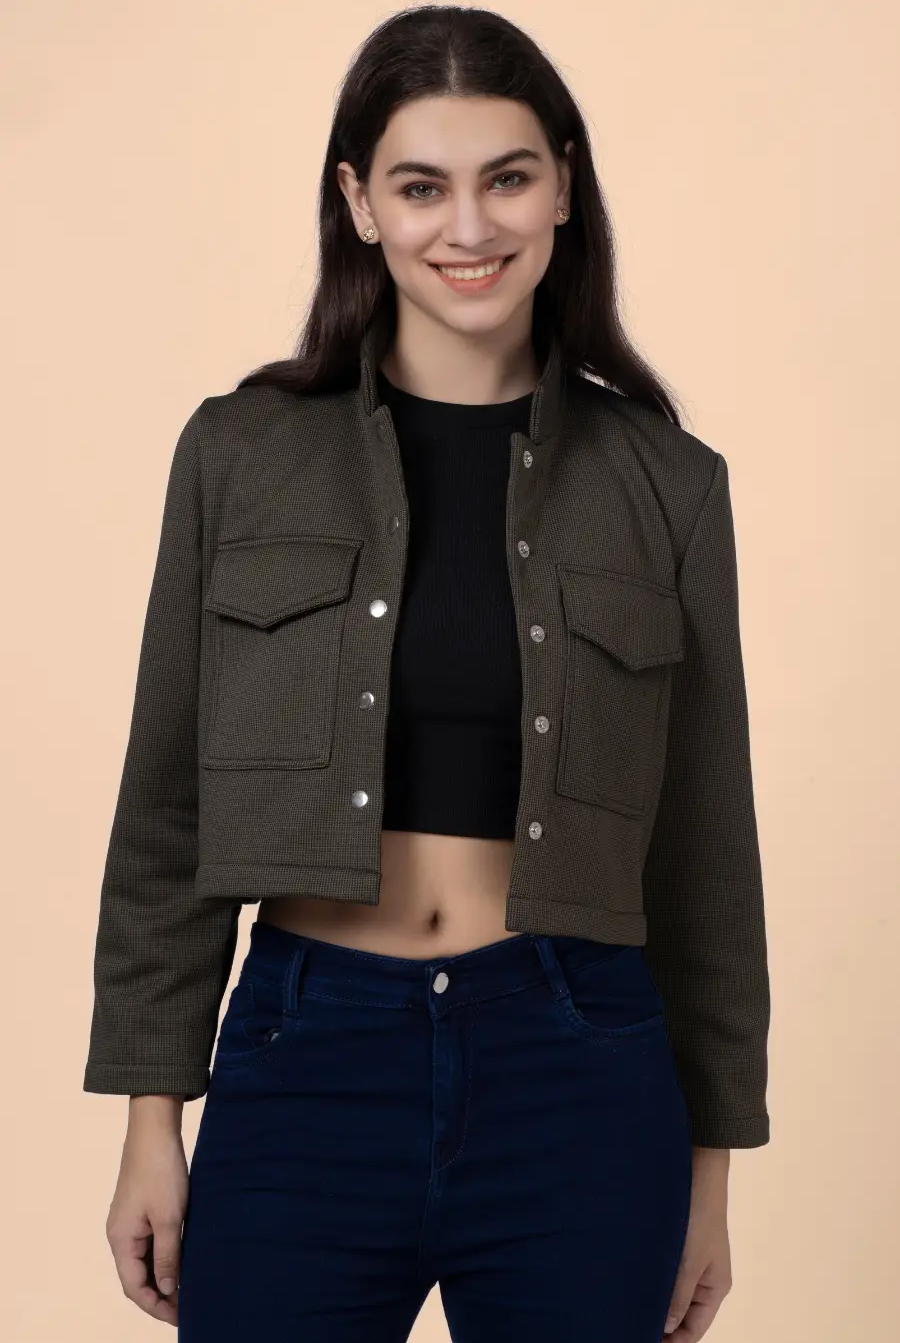
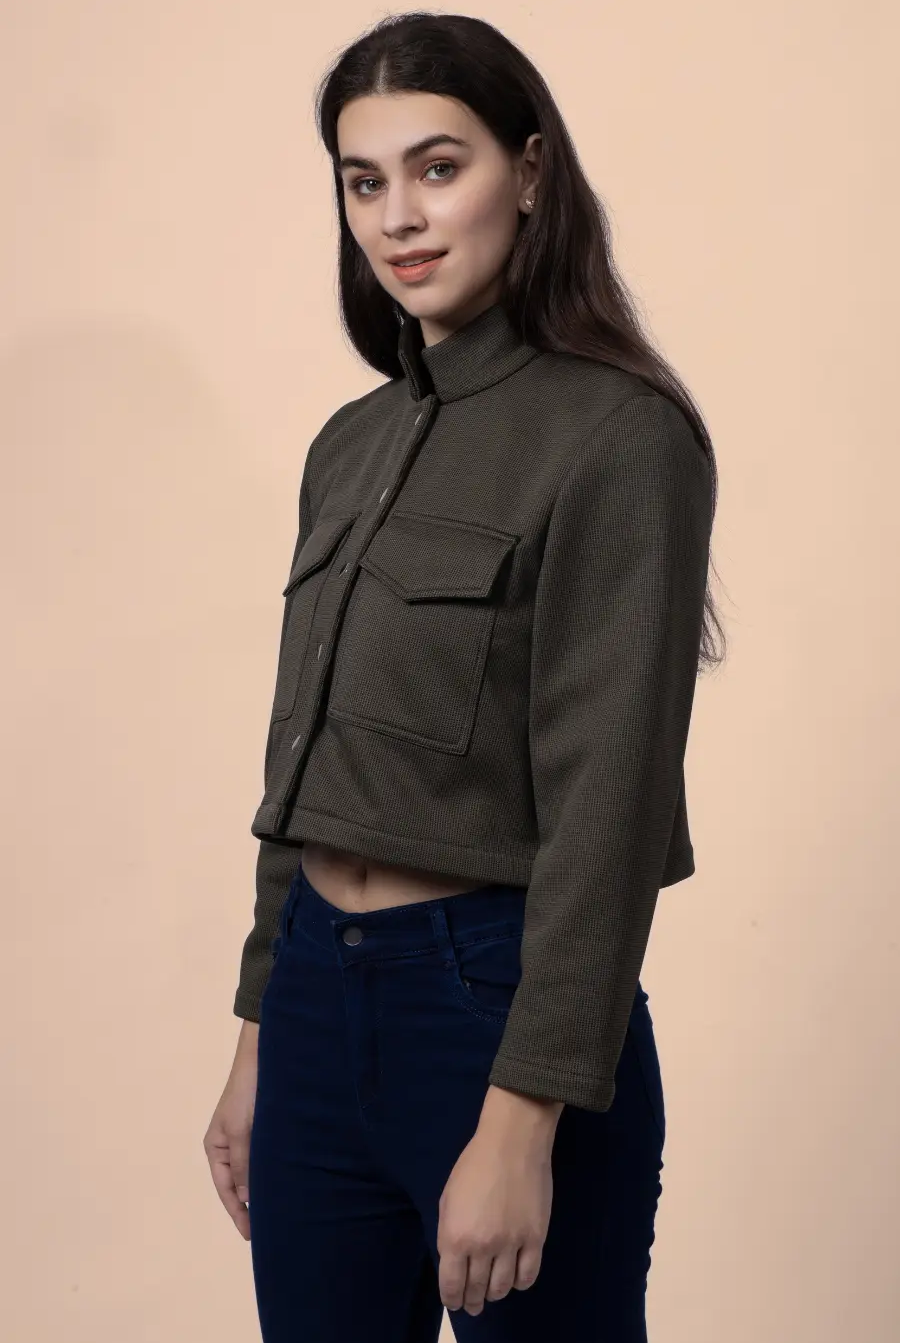
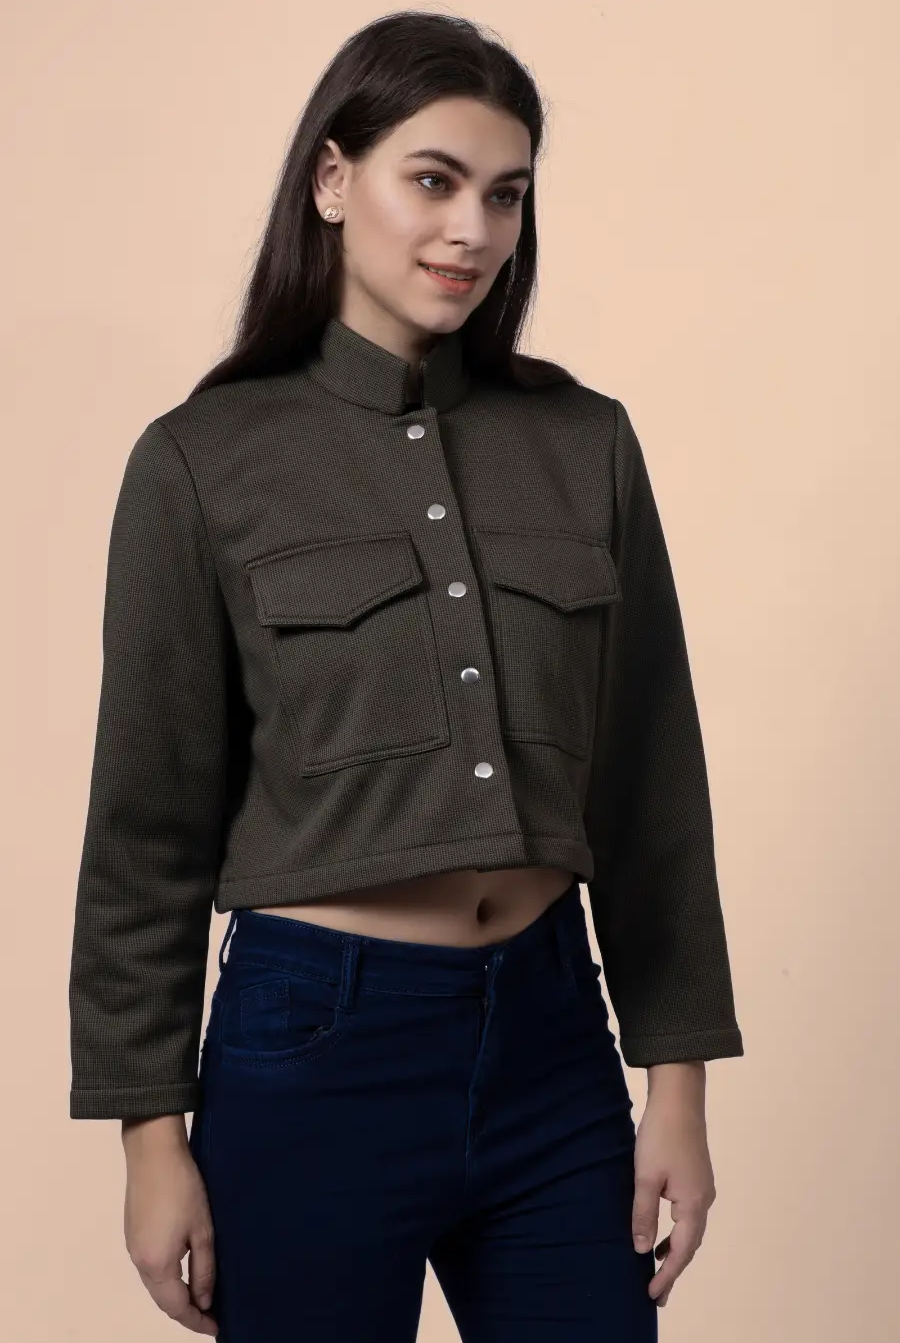
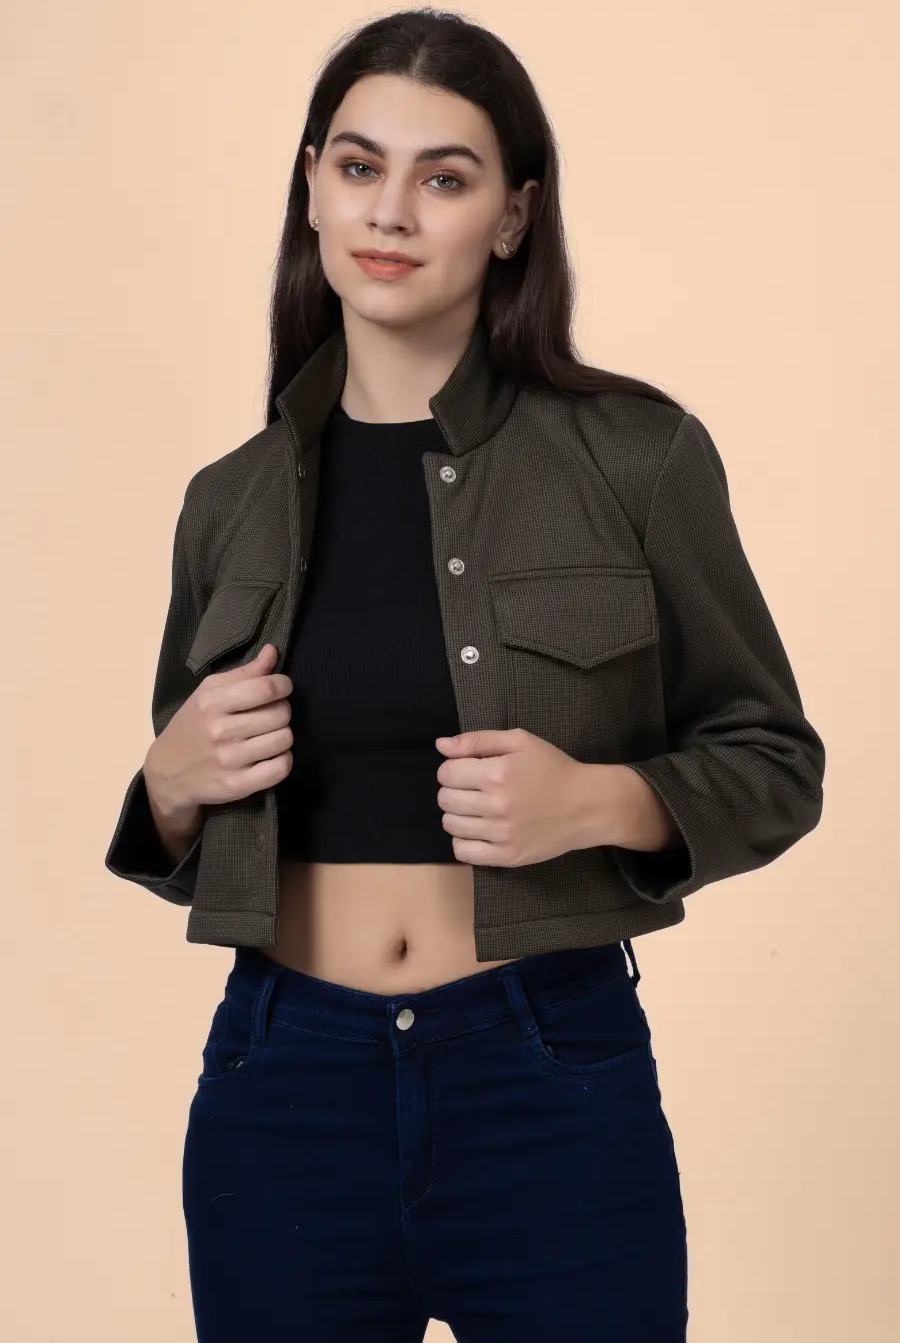
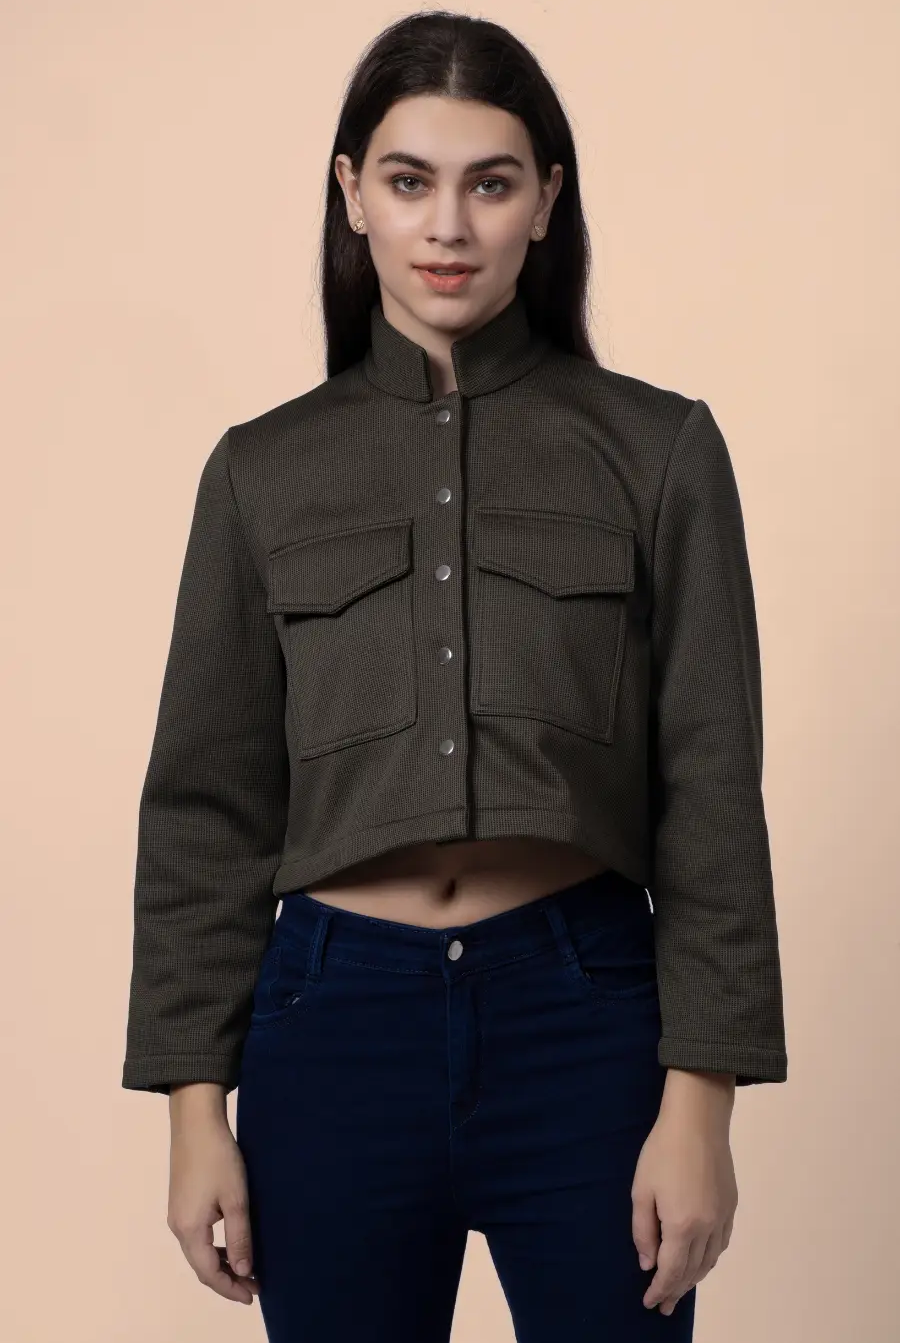
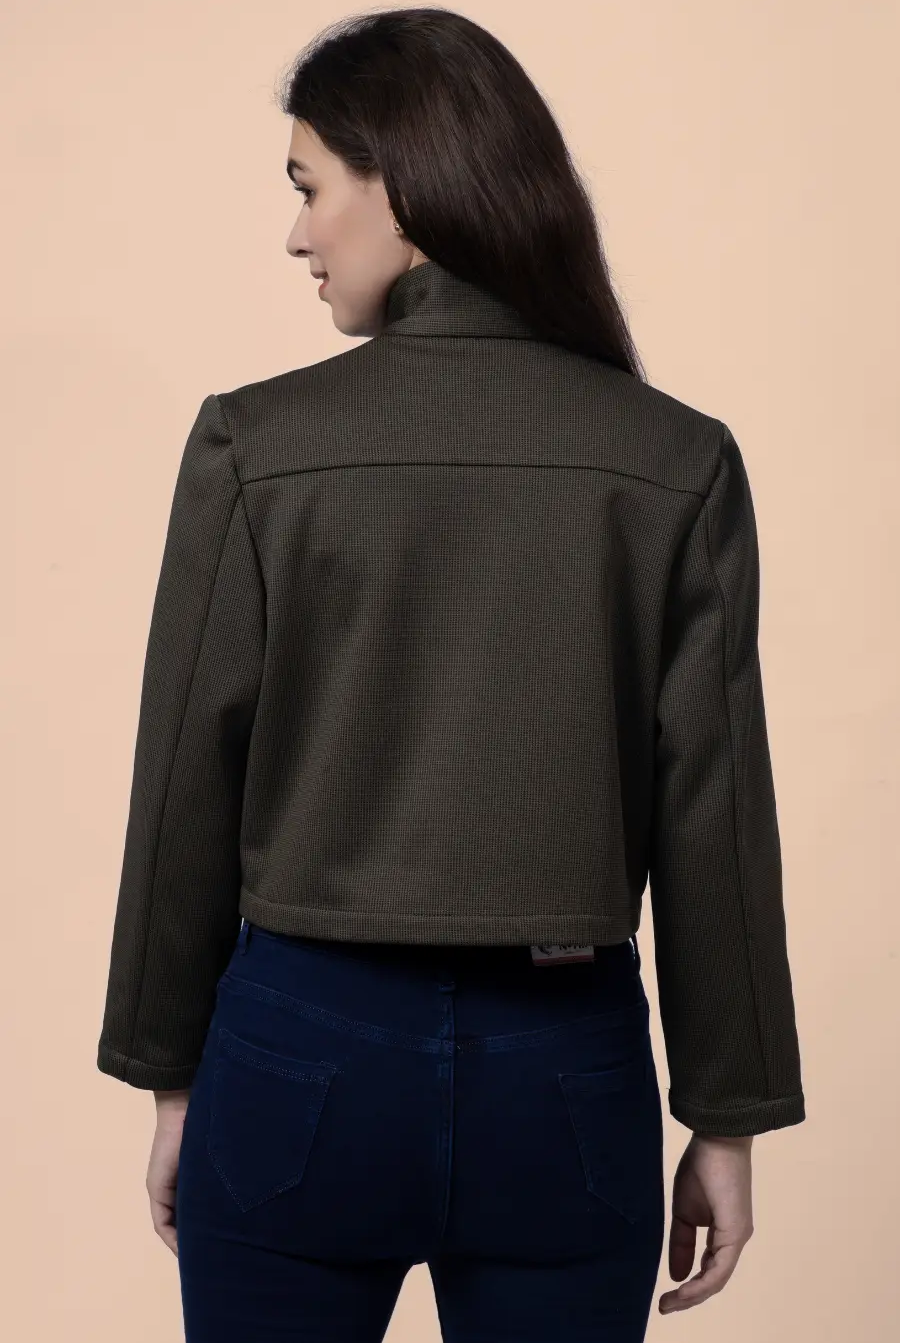
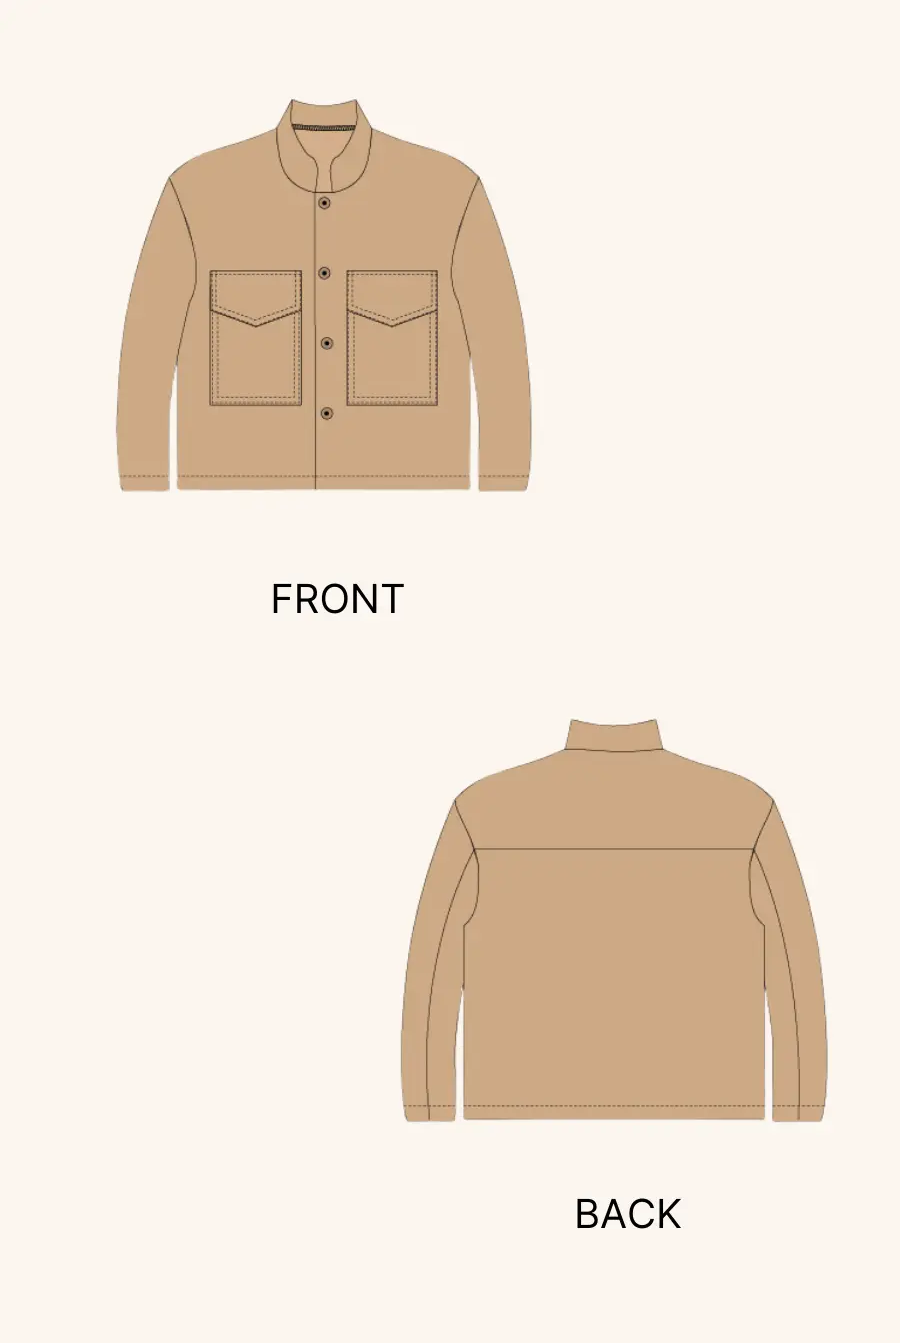
Making your own long sleeve t-shirt is a rewarding and approachable project, perfect for confident beginners ready to expand their skills or sewists looking to build a capsule wardrobe with comfortable, flattering staples. This detailed, step-by-step guide - following the process used in the Winslet’s Misha Long Sleeve T-Shirt Sewing Guide - will walk you through every stage, from pattern organization and fabric preparation to the final finishing stitch.
If you want a reliable, user-friendly pattern designed for stretch knit fabrics, the Winslet’s Misha Long Sleeve T-Shirt is a fantastic choice. It's clear construction, inclusive sizing, and focus on comfort and fit make it ideal for everyday wear.
Why Sew a Long Sleeve T-Shirt?
-
Wardrobe essential: A classic, wearable basic for layering or solo wear, from workdays to weekends.
-
Endless style potential: Try solids, stripes, or bold prints; finish with contrast binding or hembands.
-
Skill builder: Practice sewing knits, overlock/flatlock seams, and binding.
-
Custom fit and comfort: Adapt sleeve length, hemline, or neckline for your own best fit.
-
Sustainable and cost-effective: Make several for less than store-bought basics—with better fabric, fit, and color options.
Why Choose the Winslet’s Misha T-shirt Pattern?
-
Super easy construction: Ideal for beginner and intermediate sewists; clear diagrams for every step.
-
Drafted for knits: Designed for cotton jersey, spandex blends, stretch velour, and more.
-
Modern fit: Slightly fitted with crew neck, shaped hem, and well-drafted set-in sleeves.
-
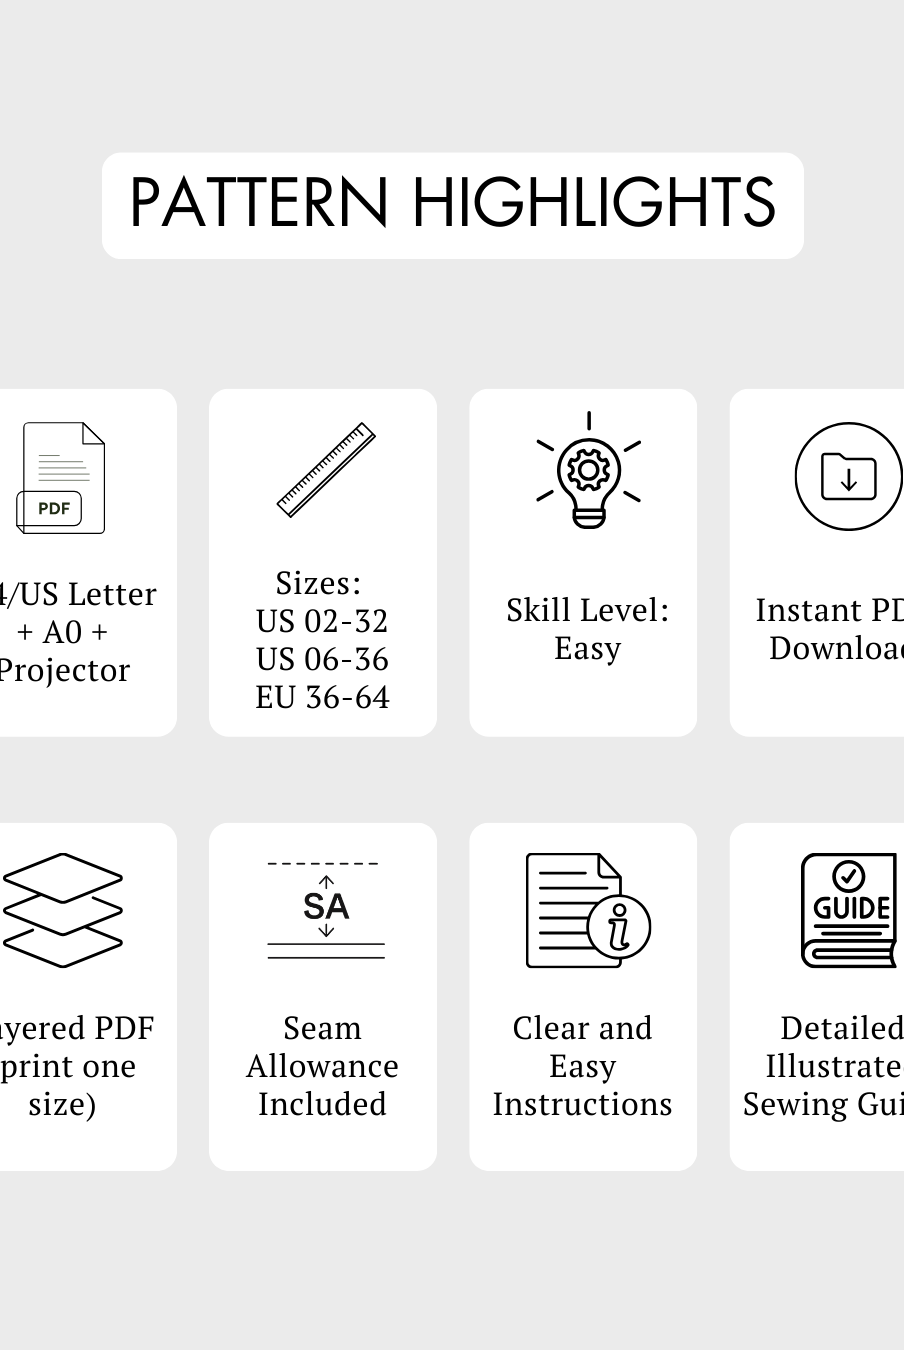
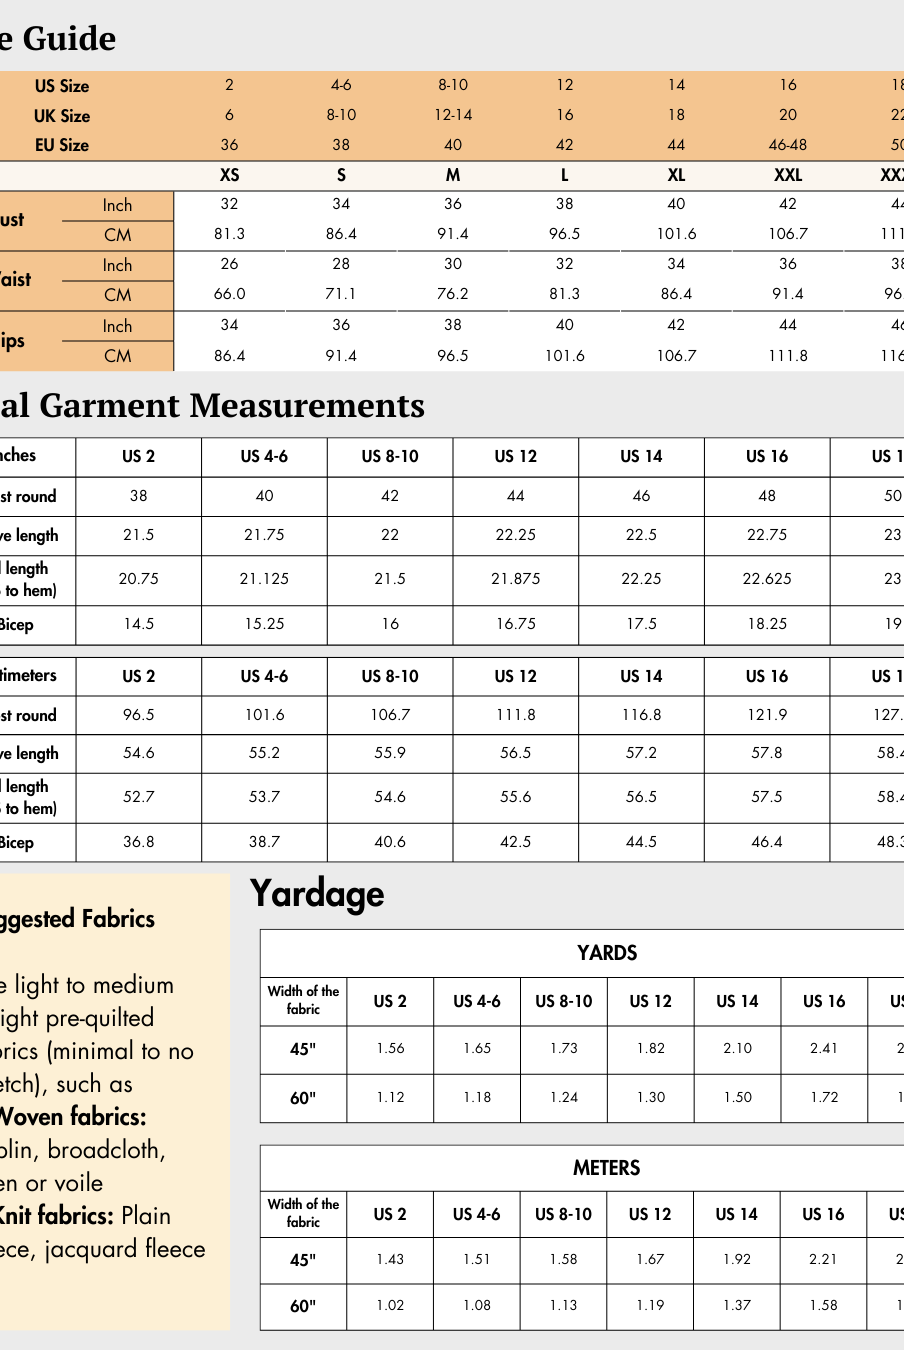
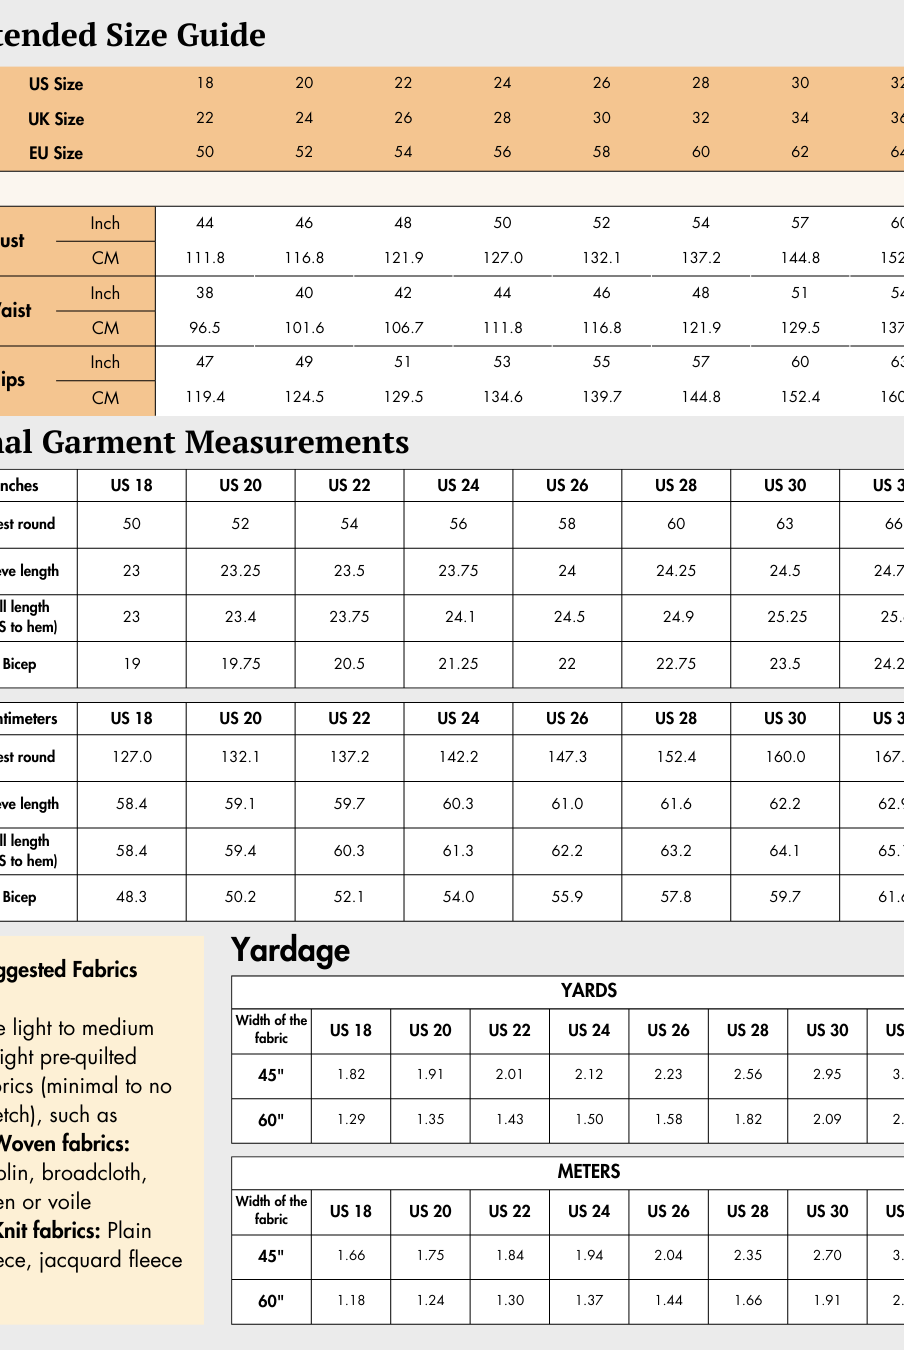
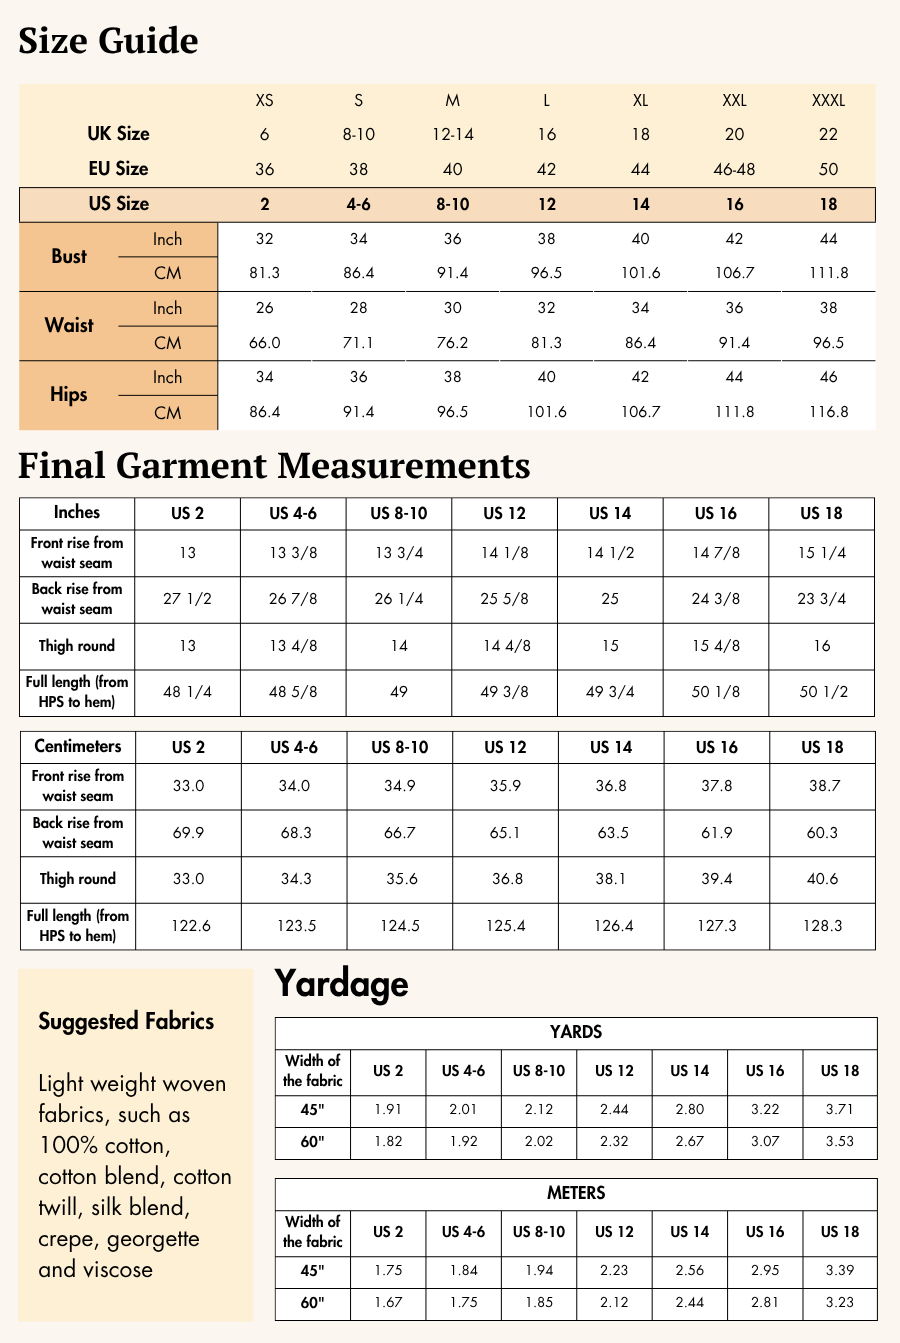
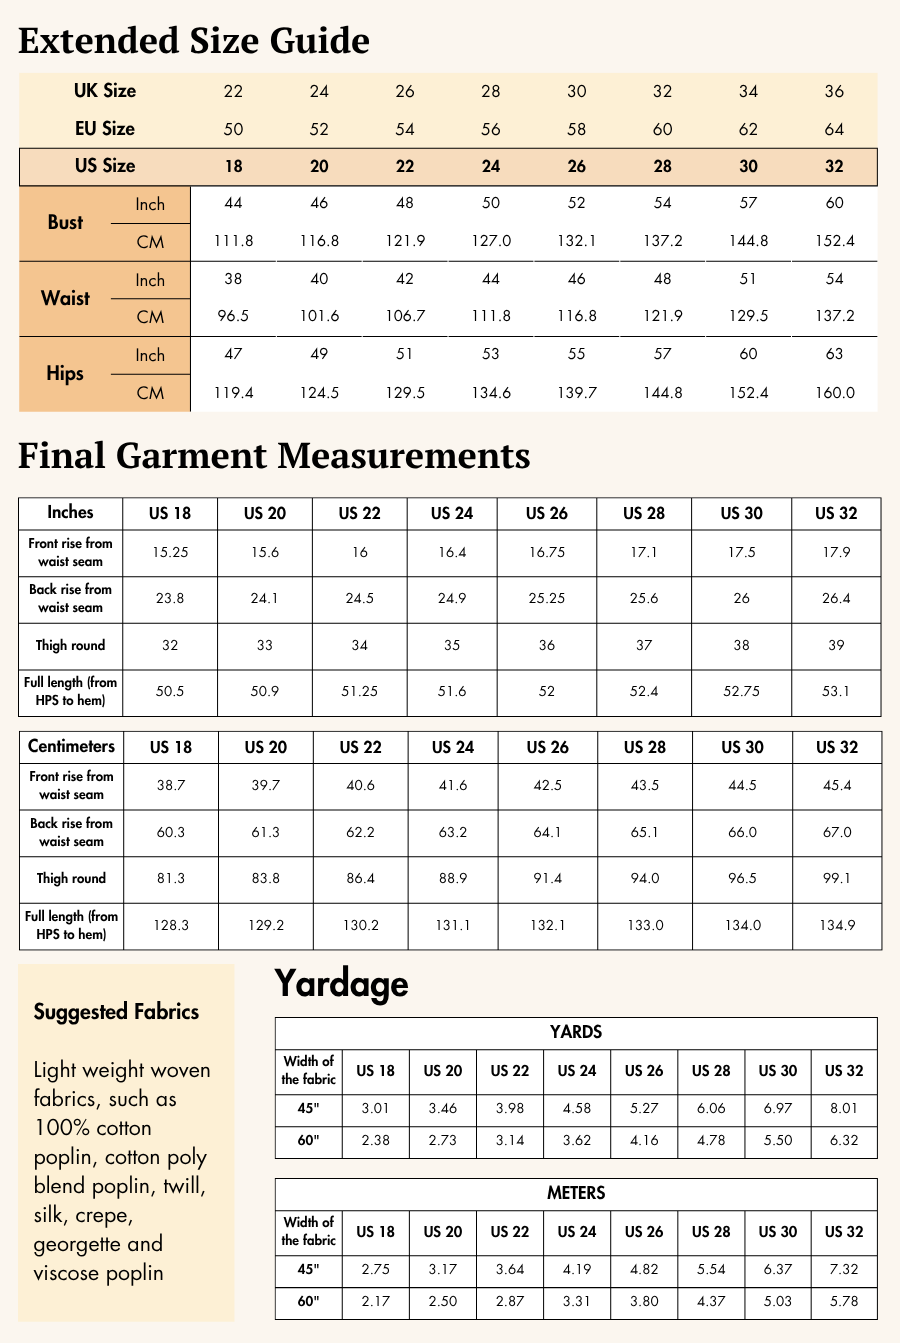
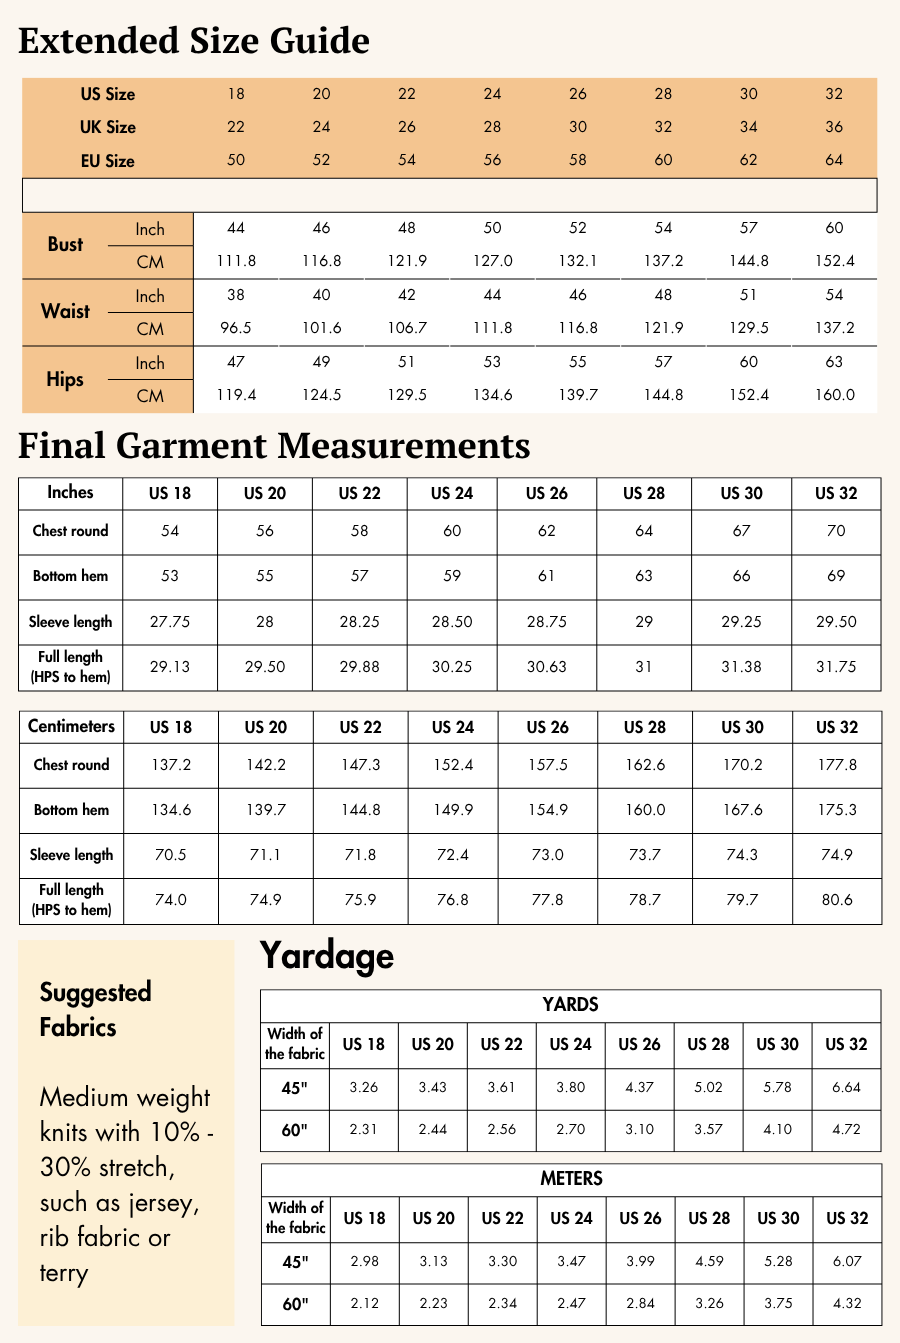
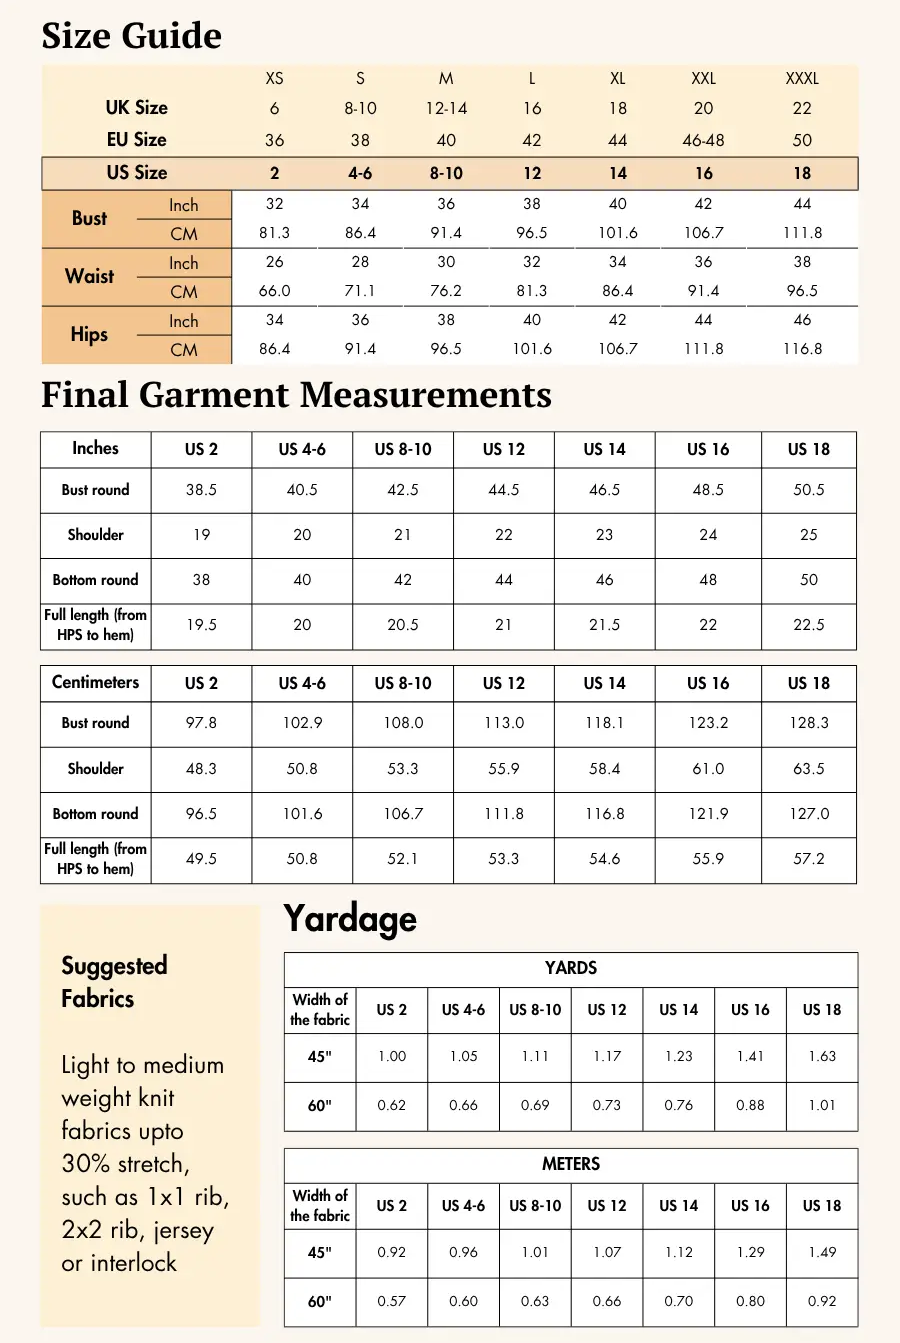
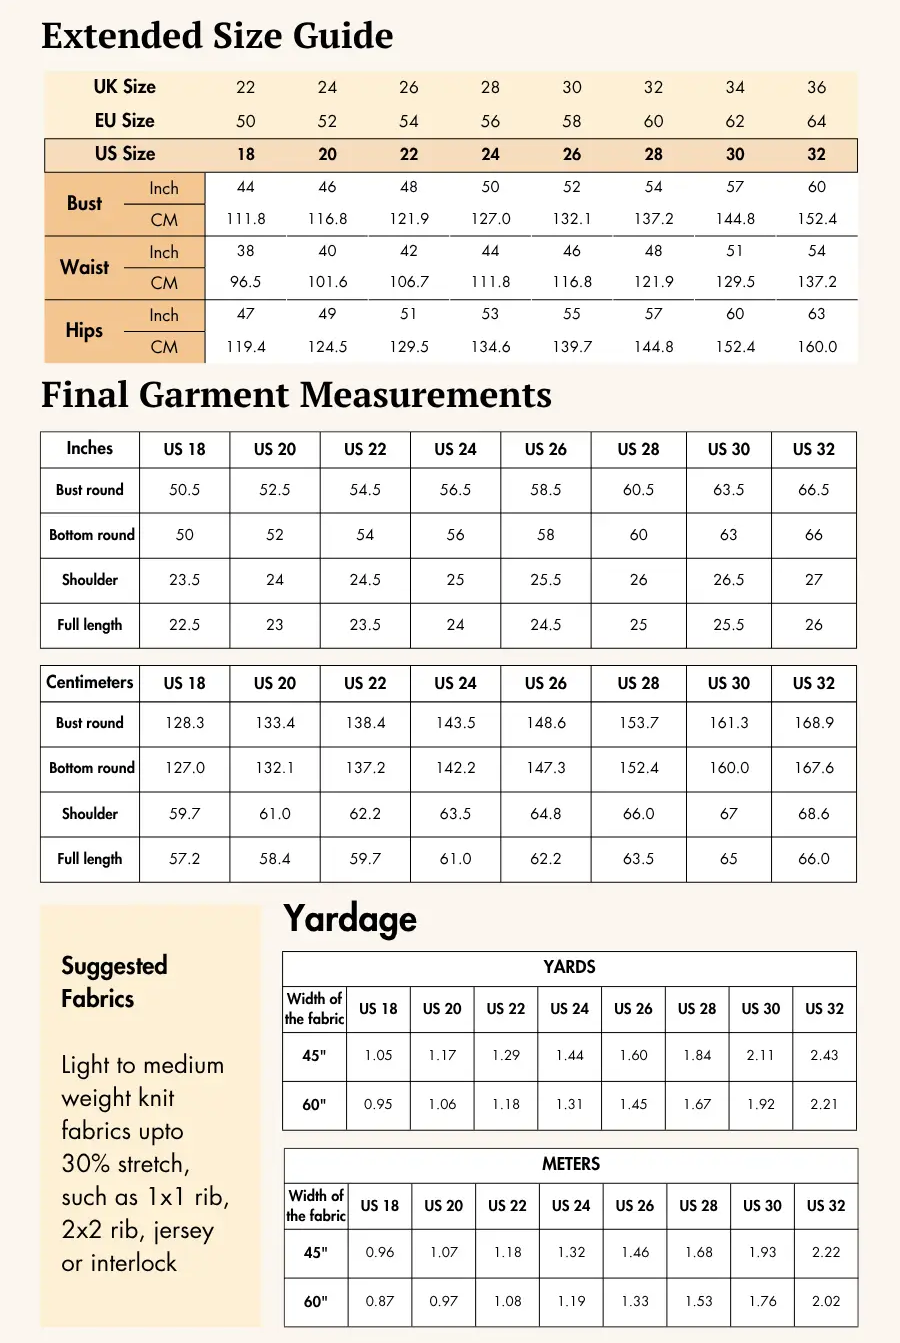
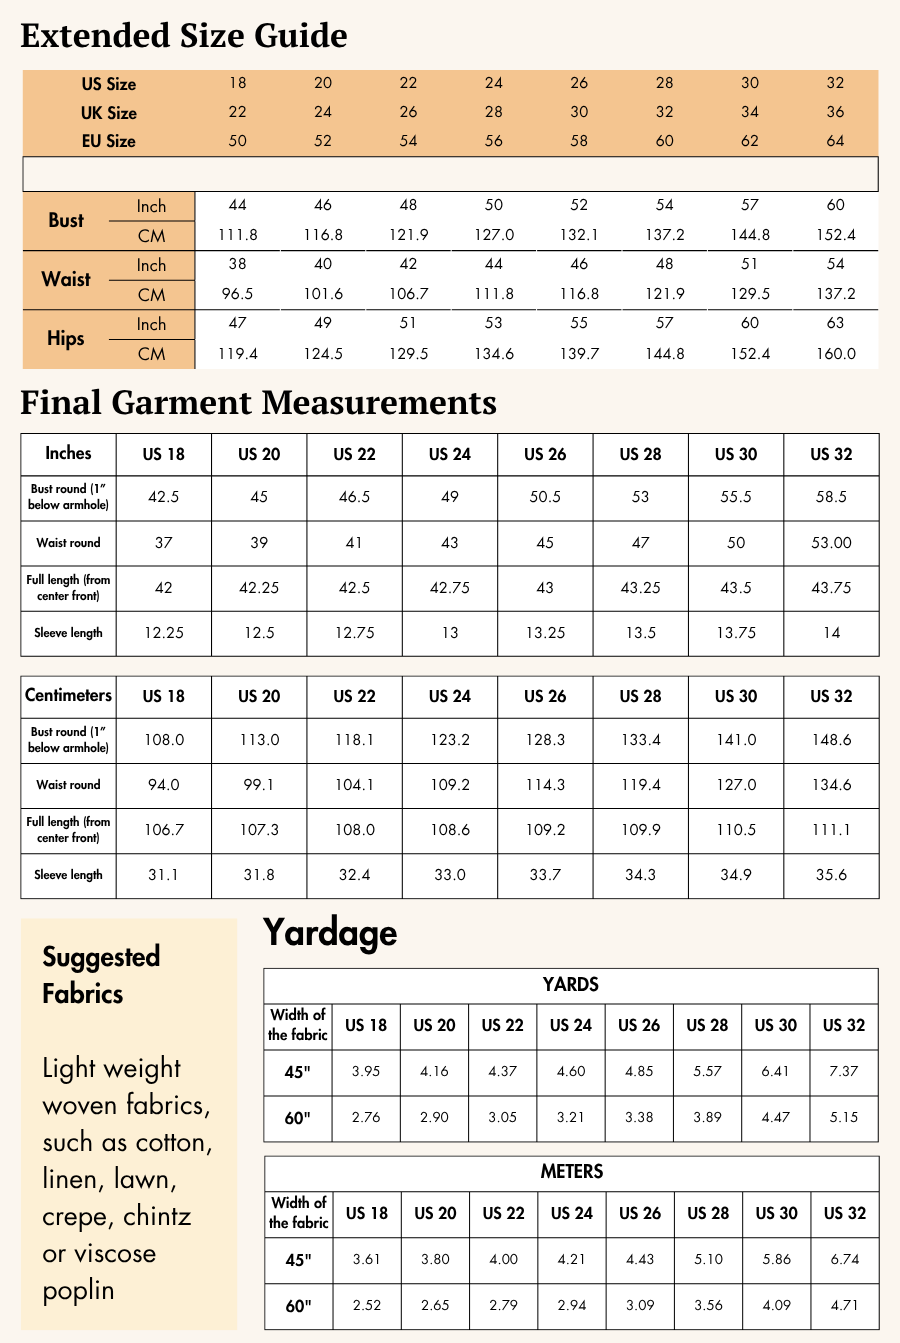
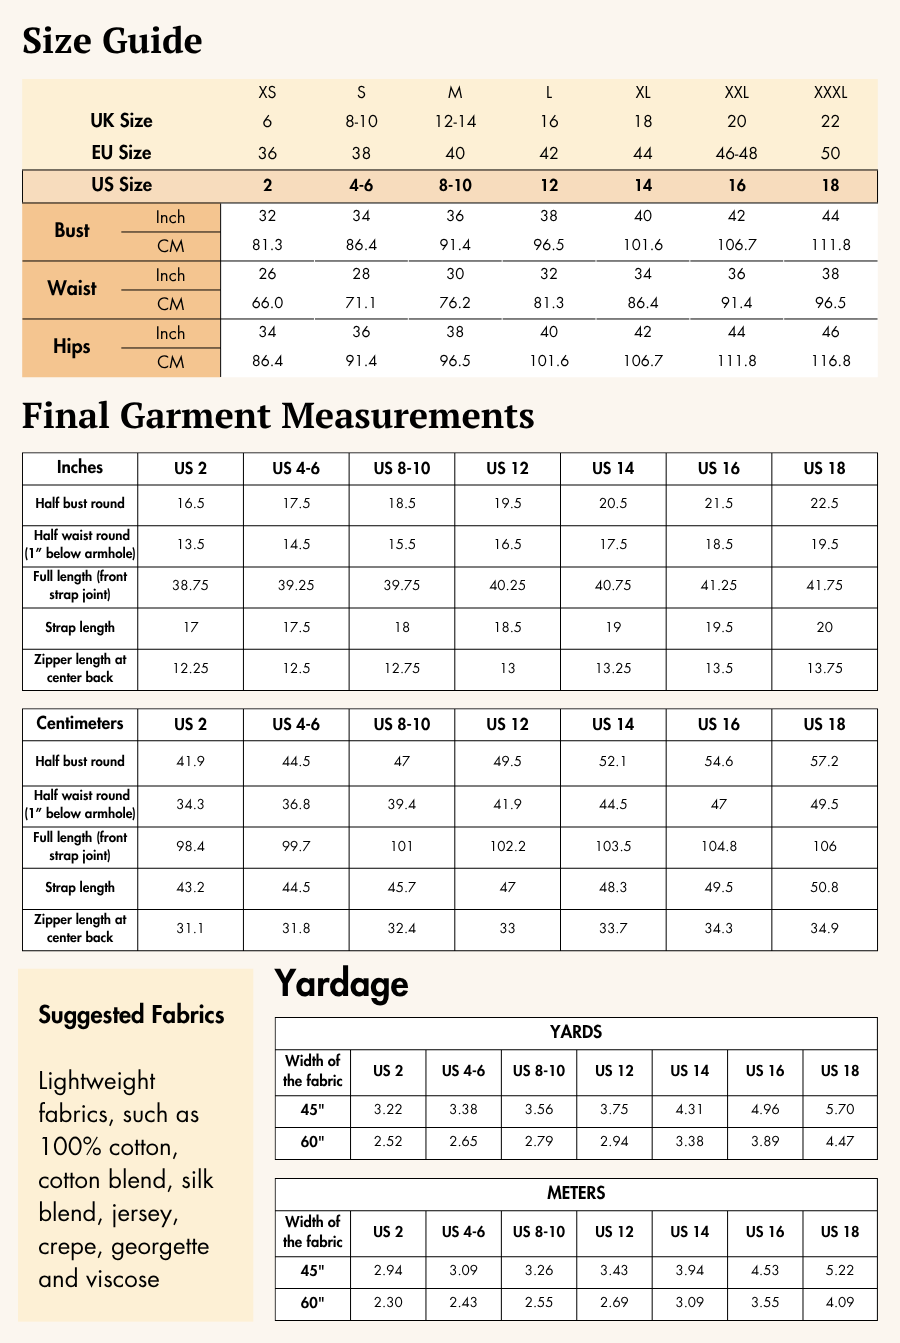
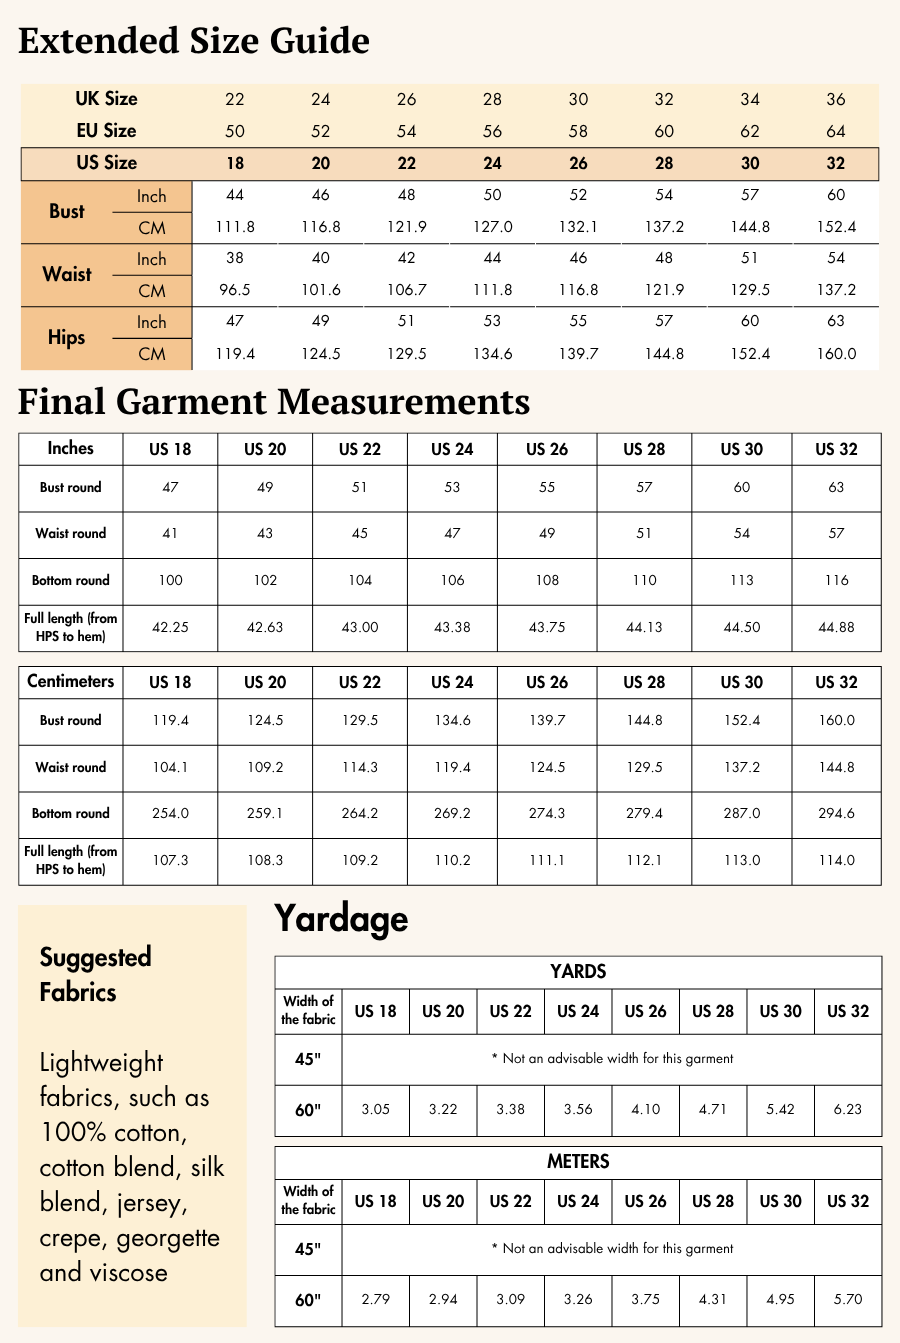
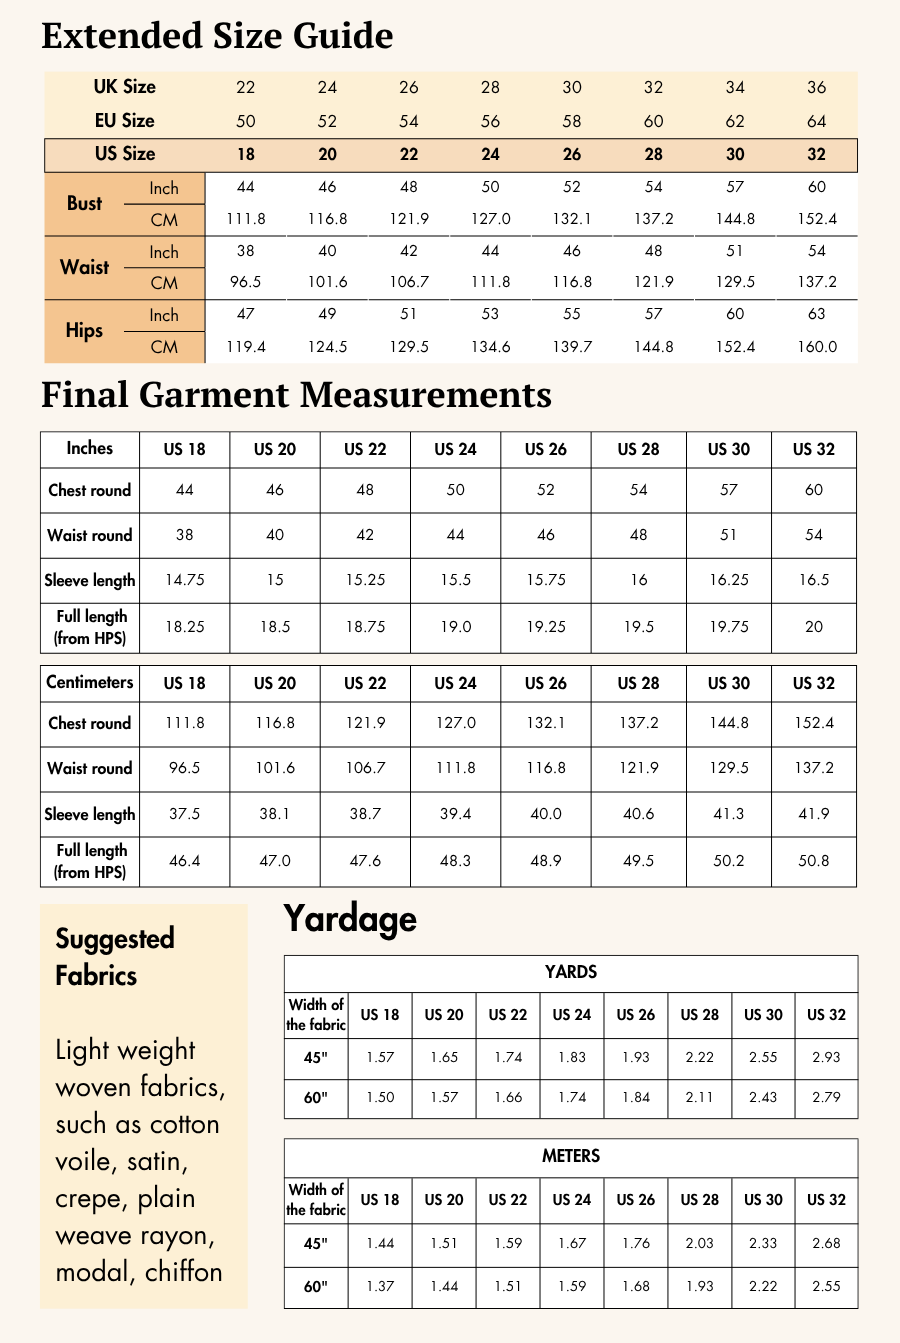
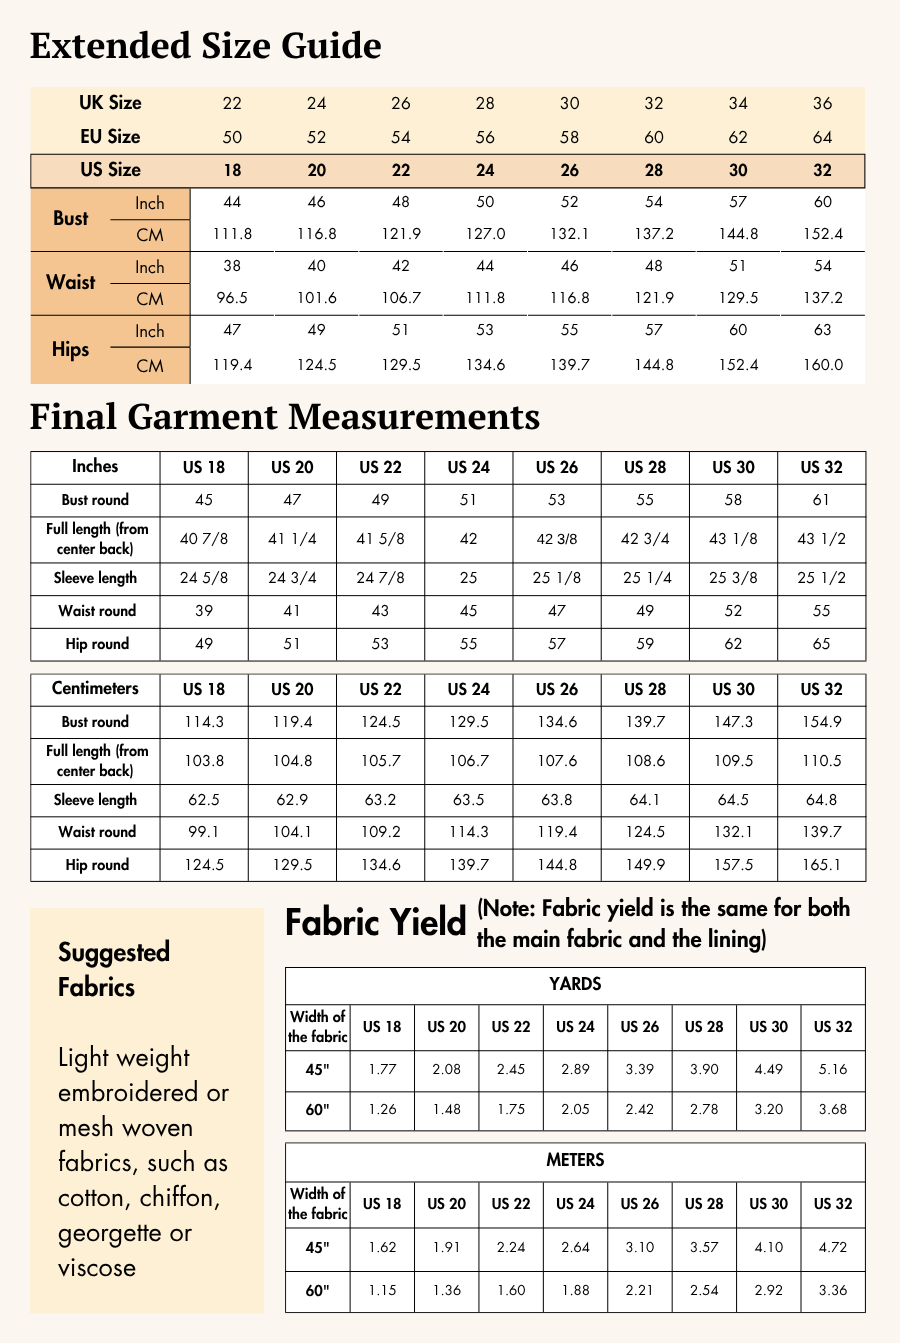
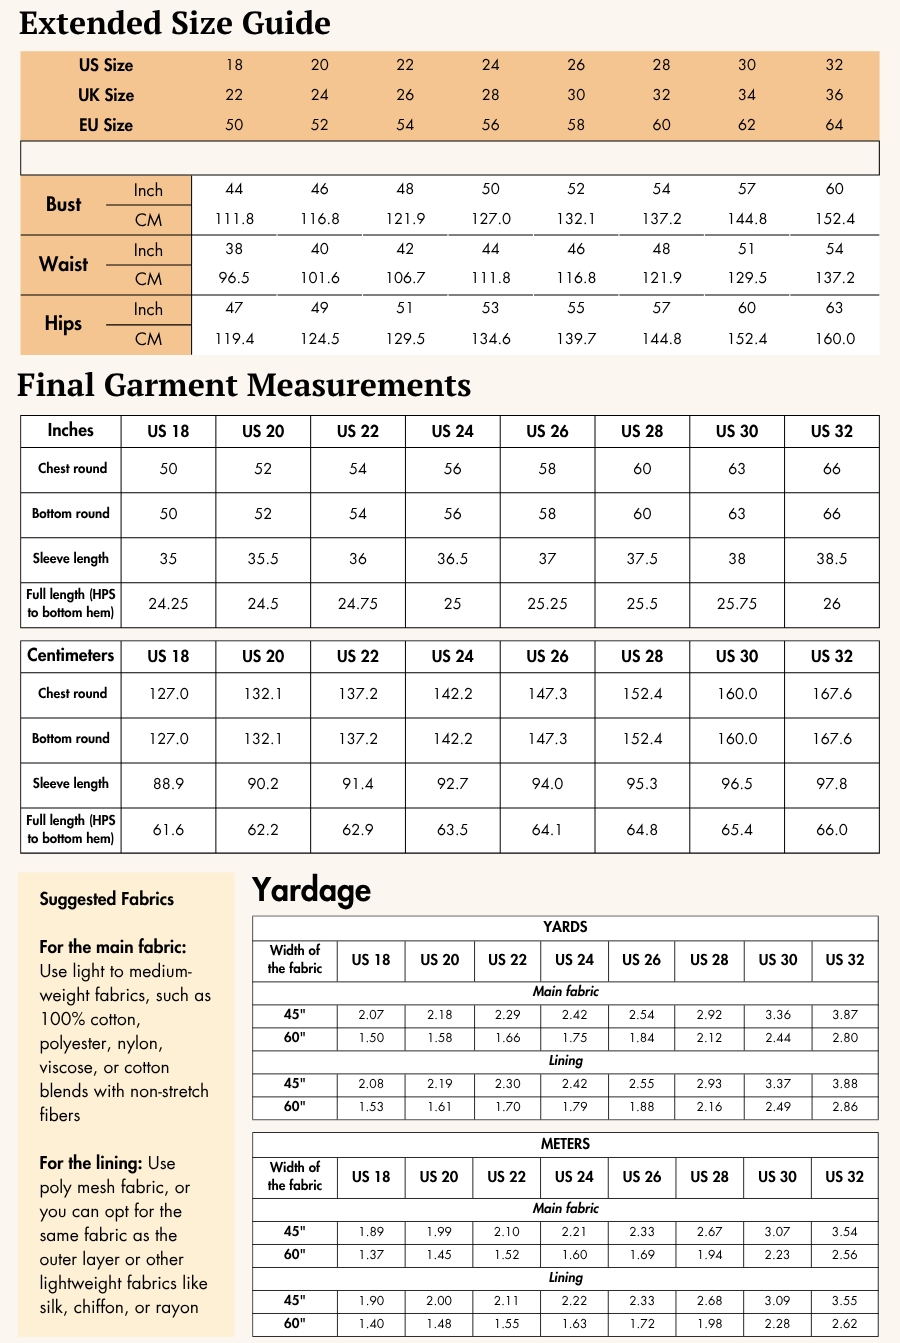
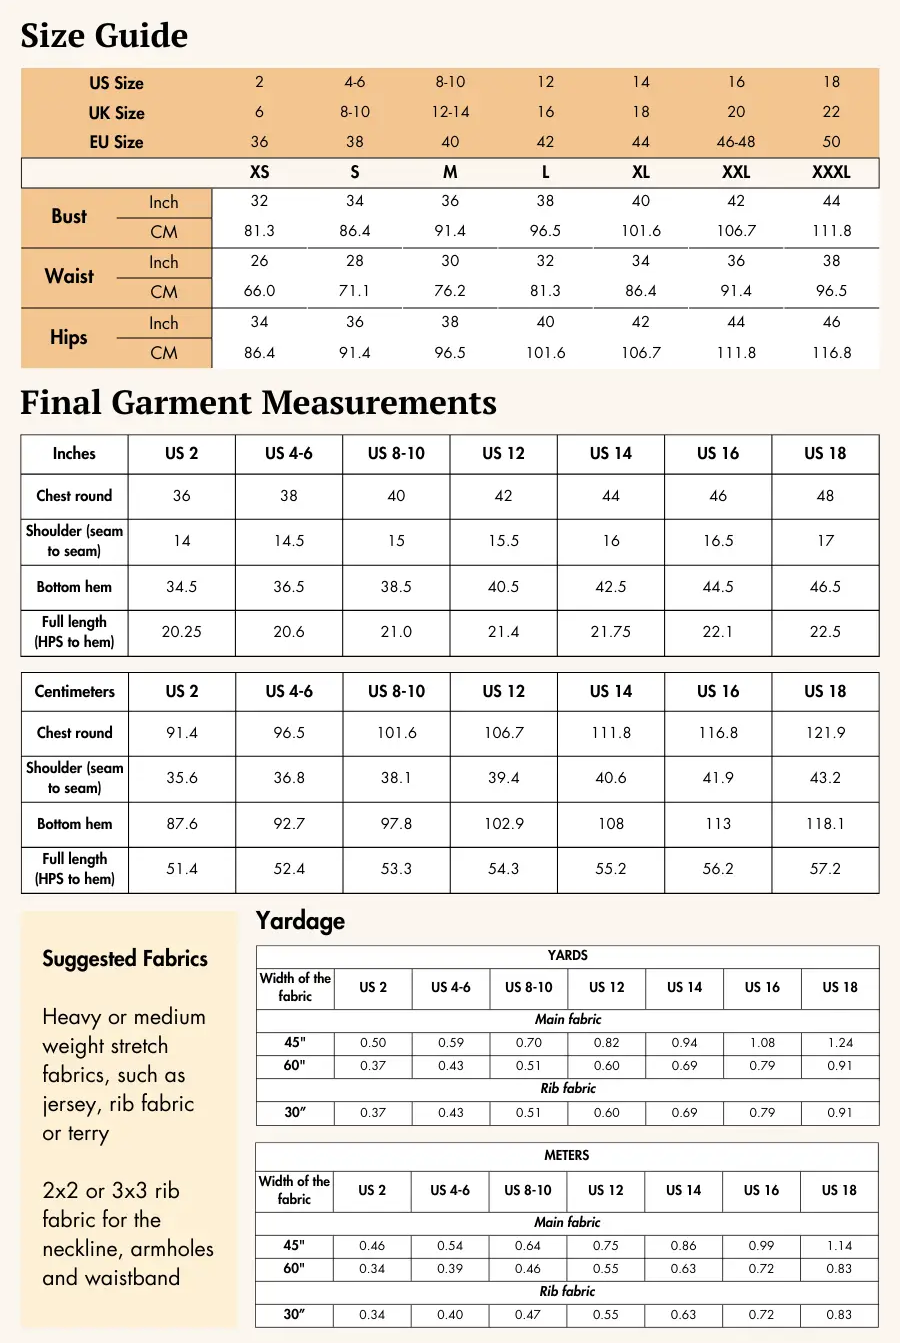
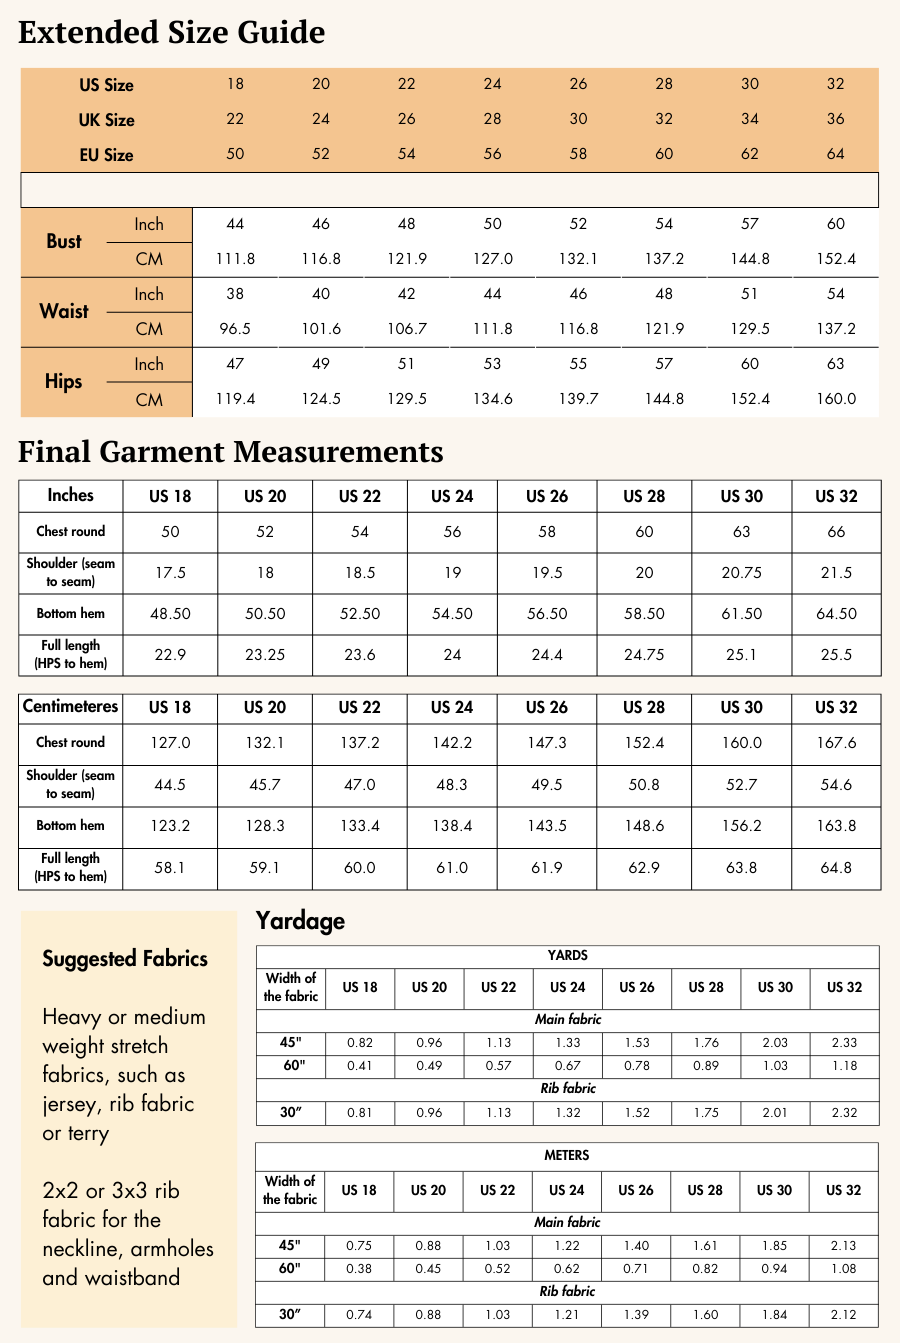
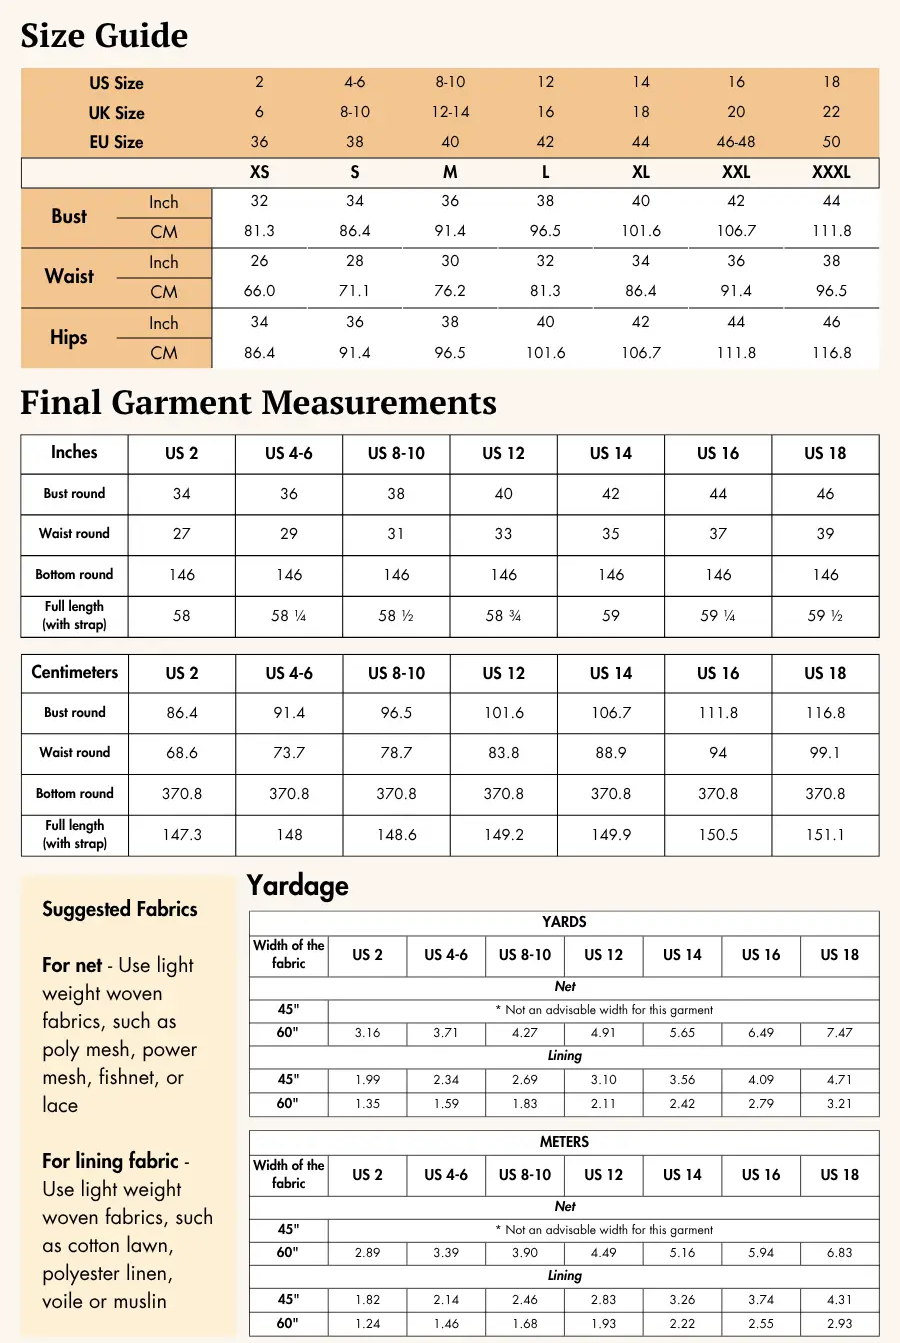
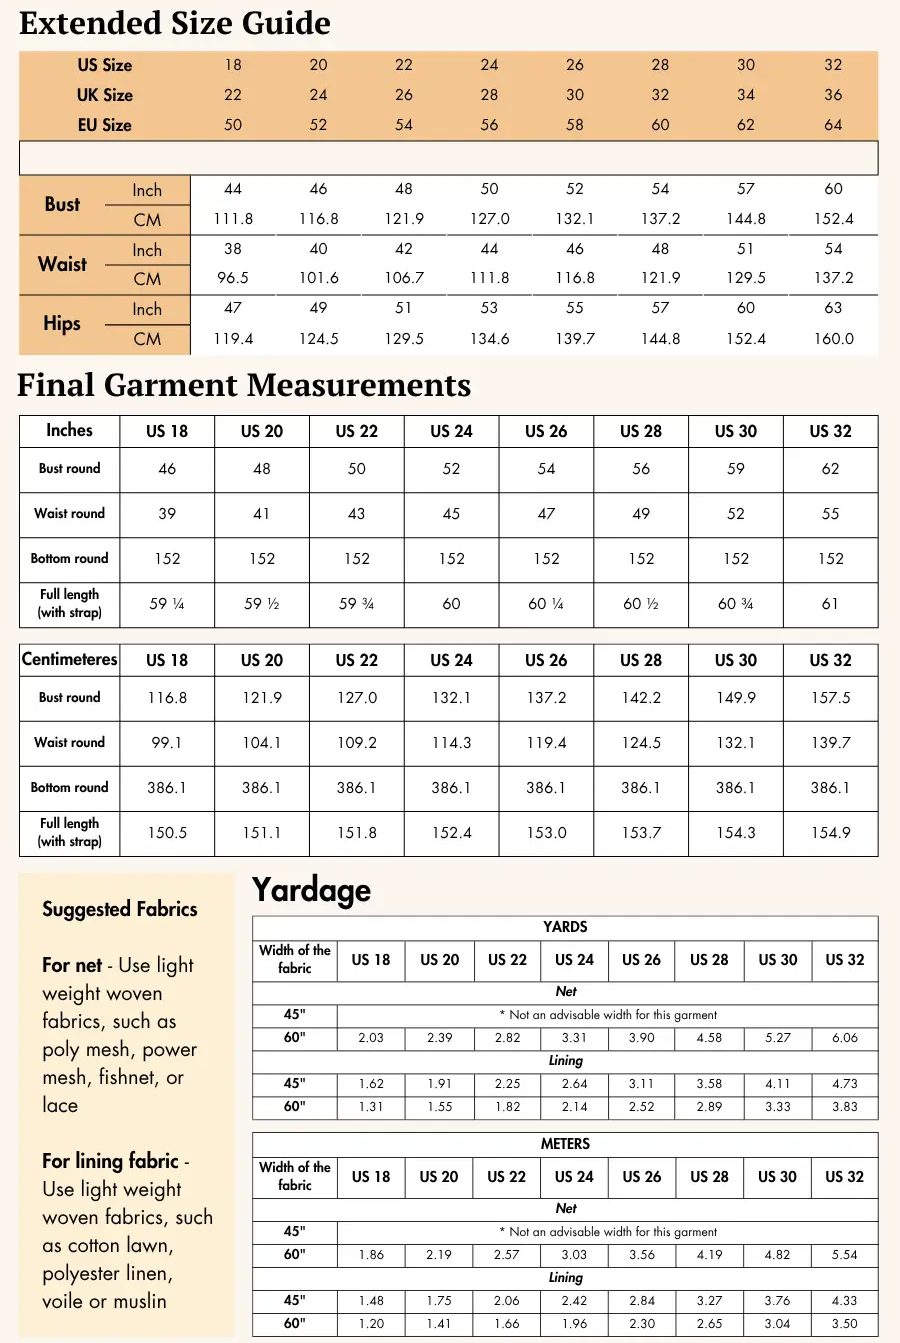
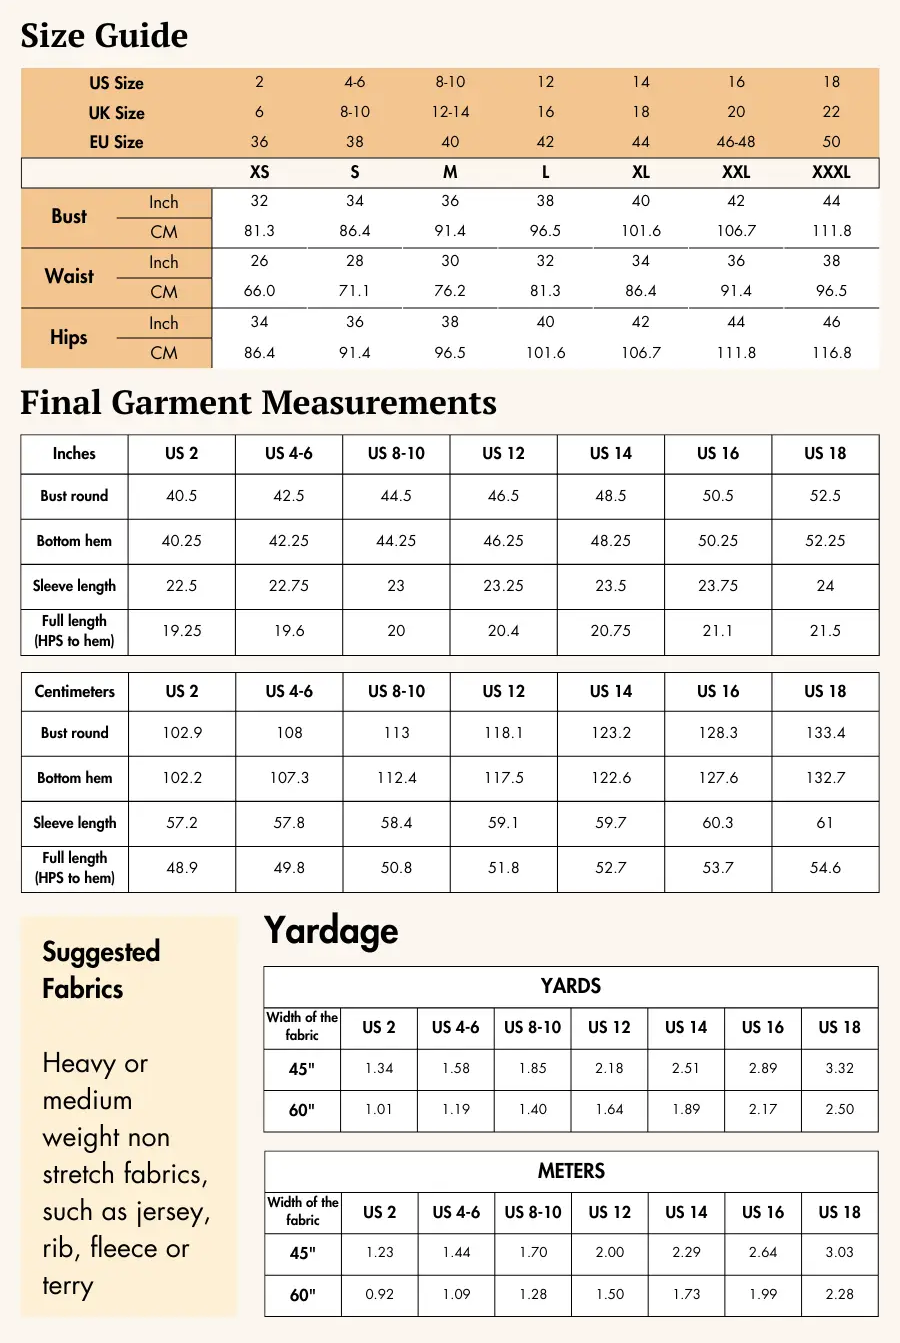
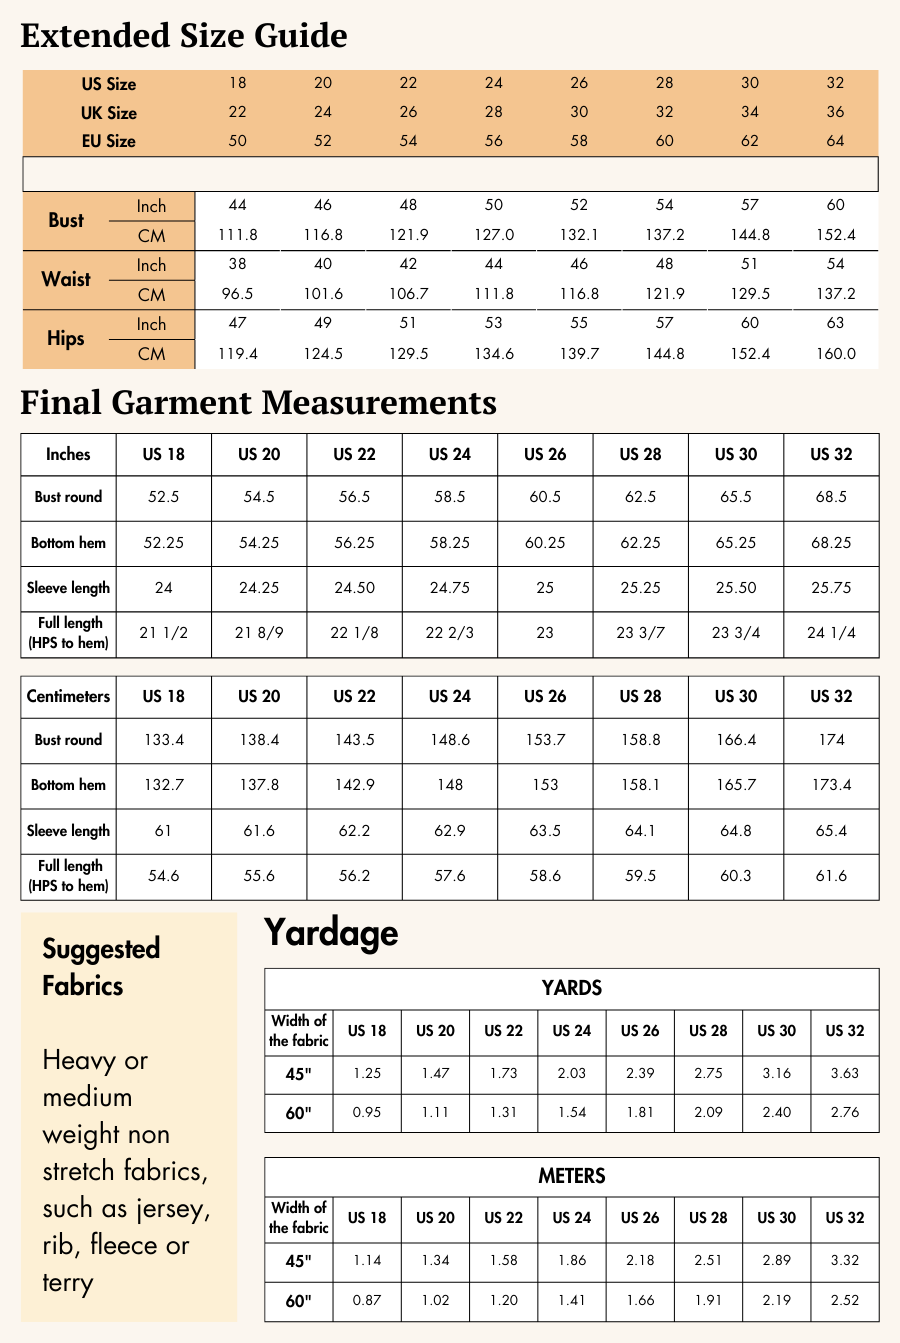
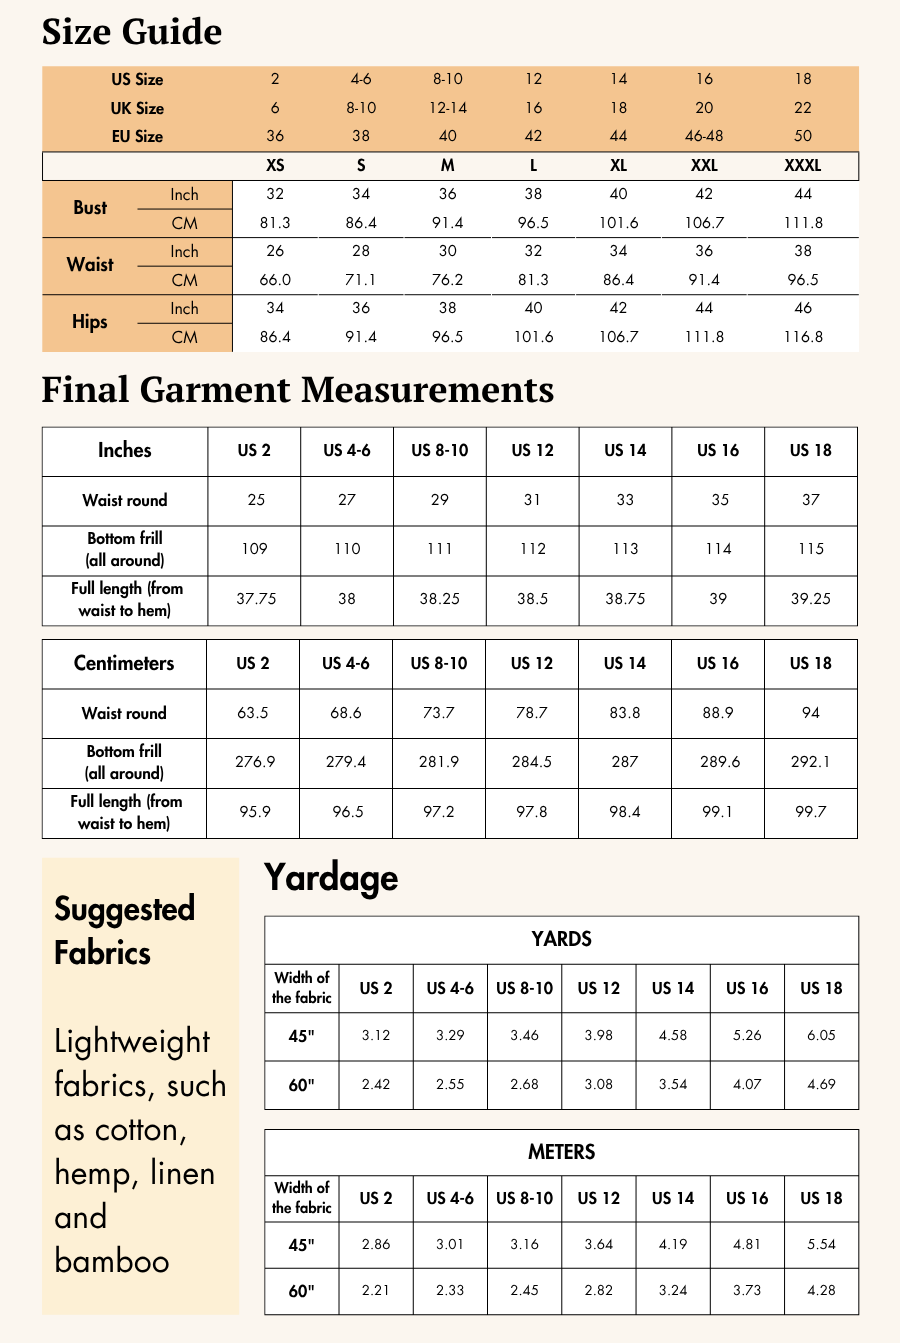
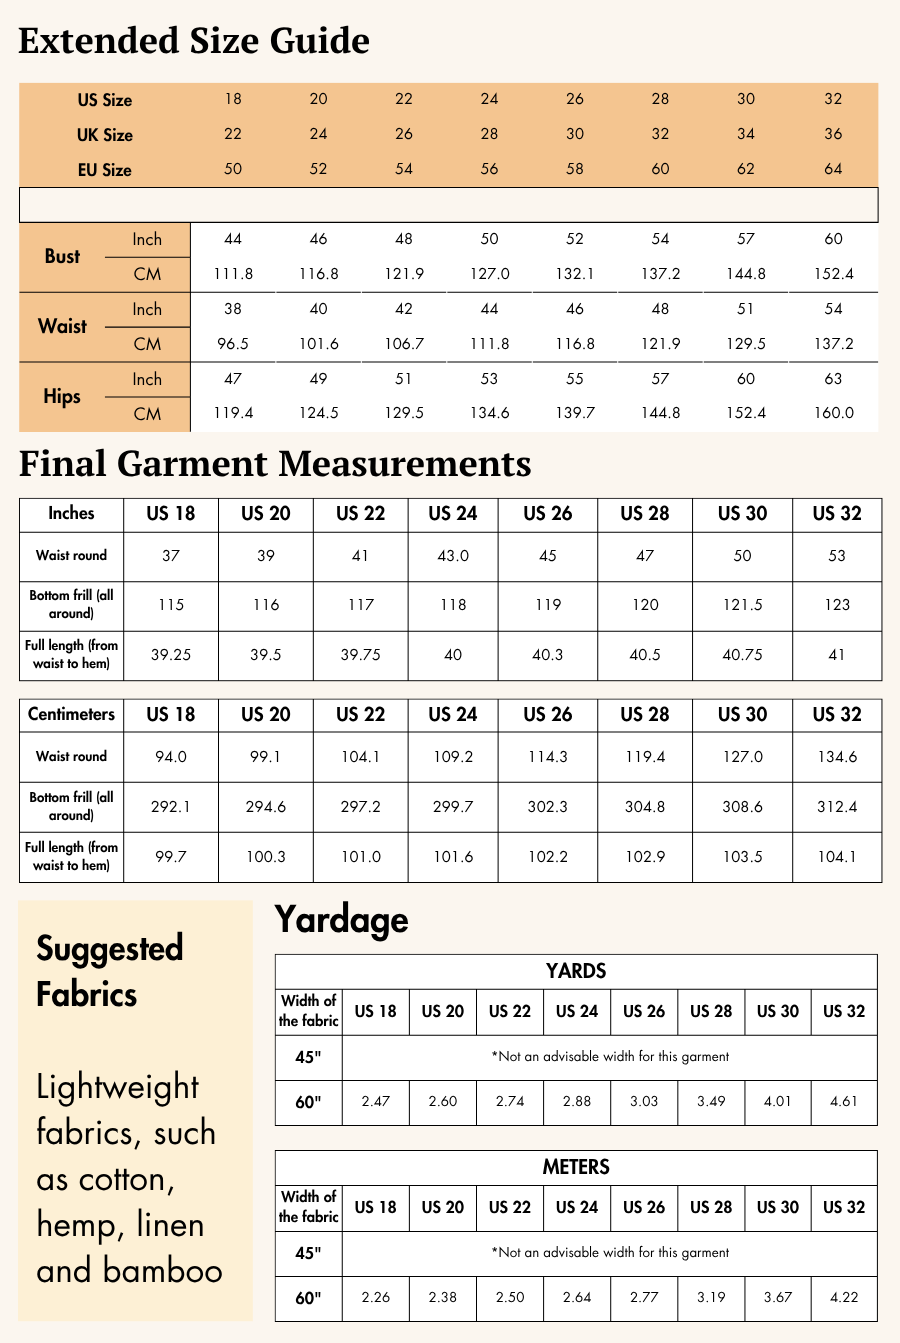
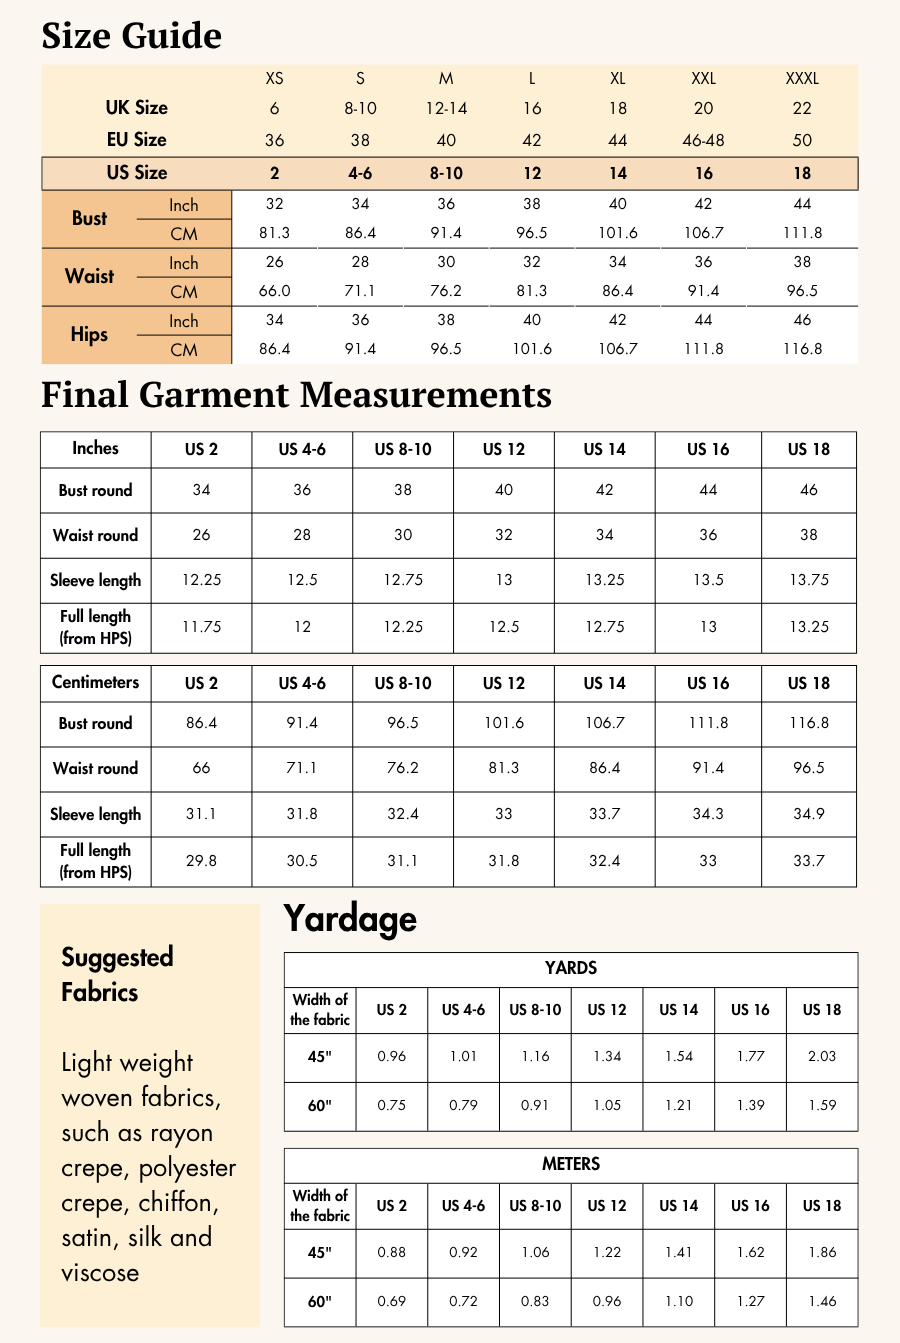
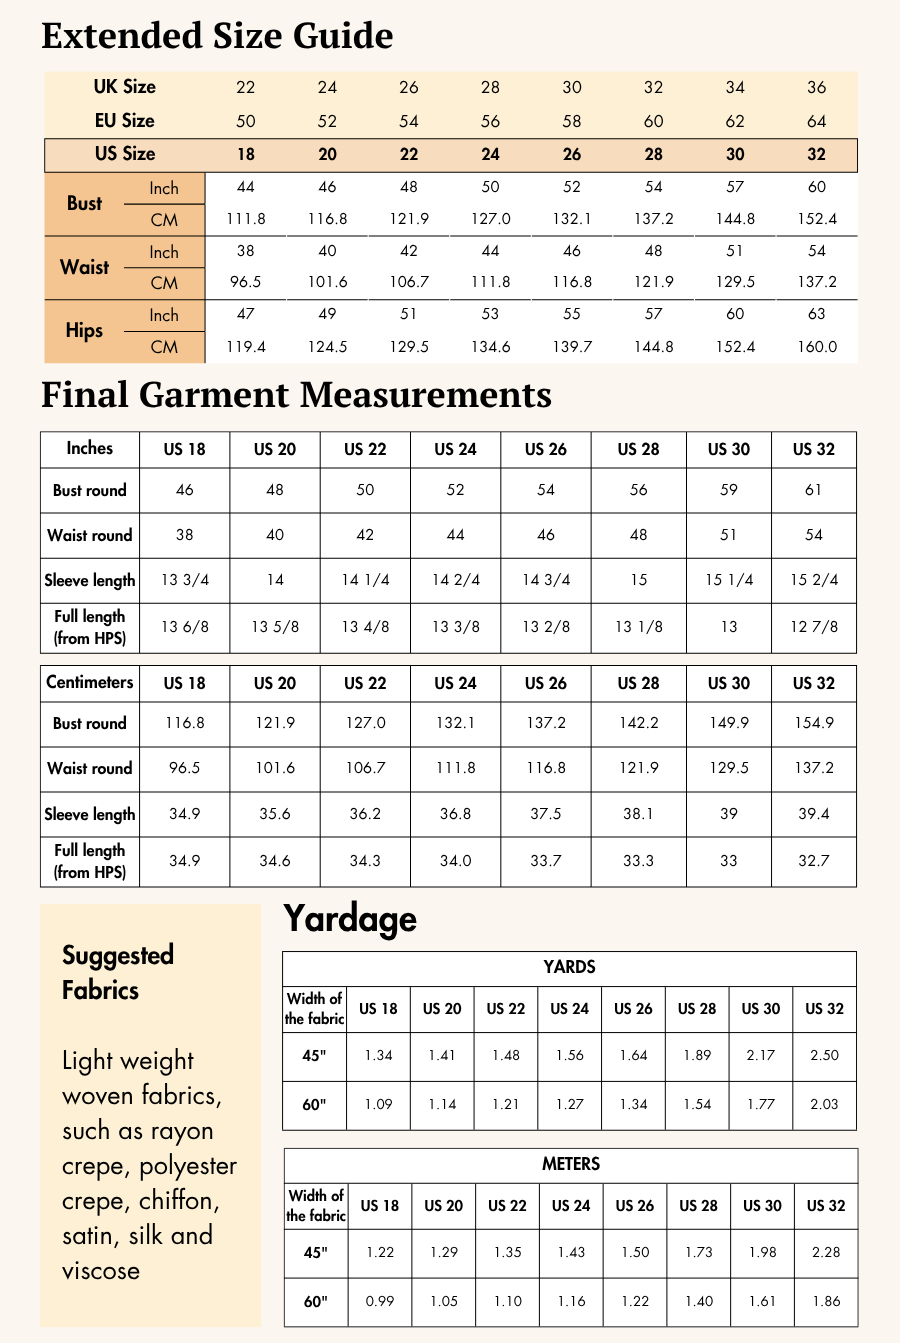
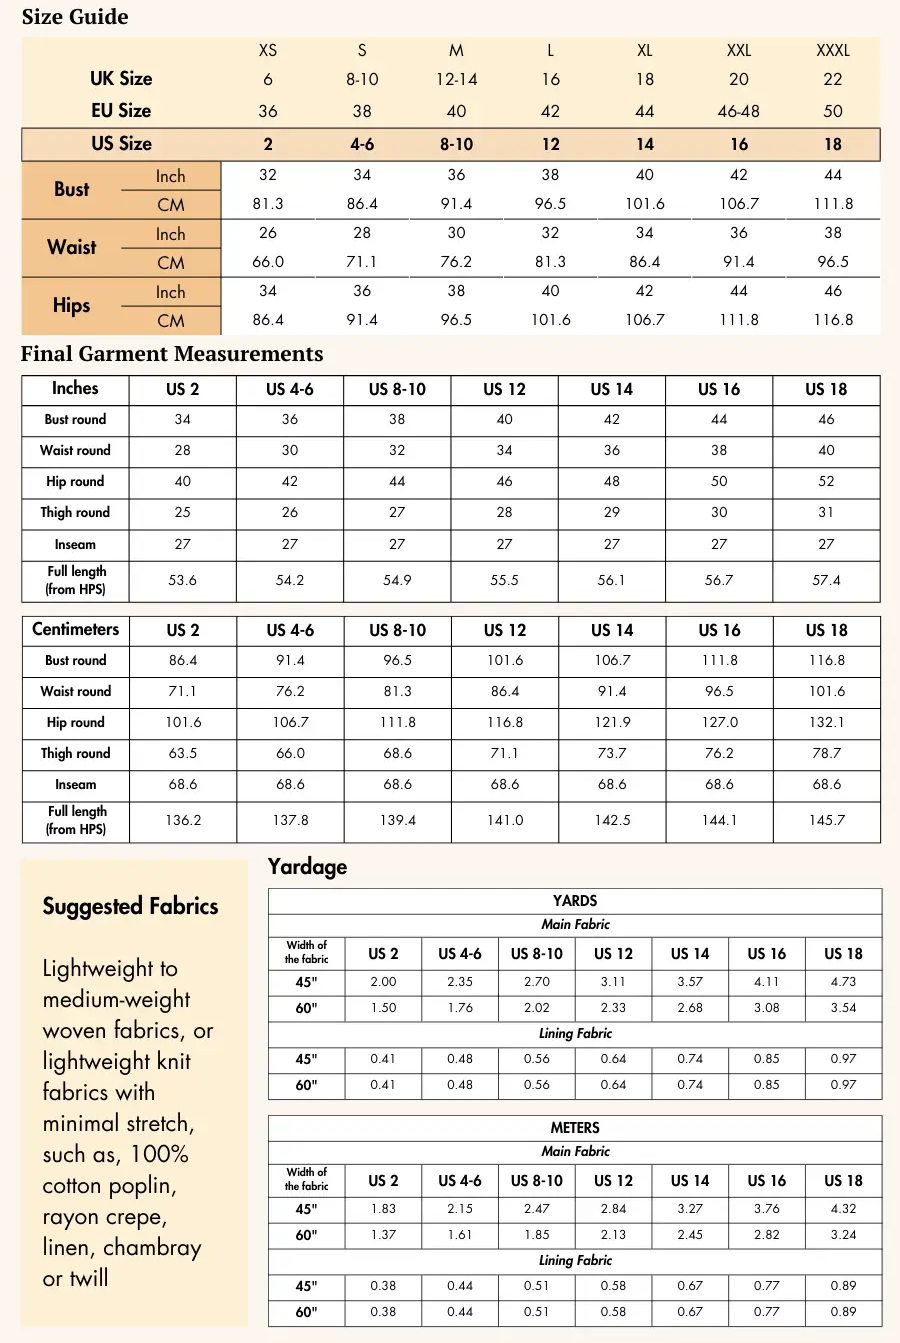
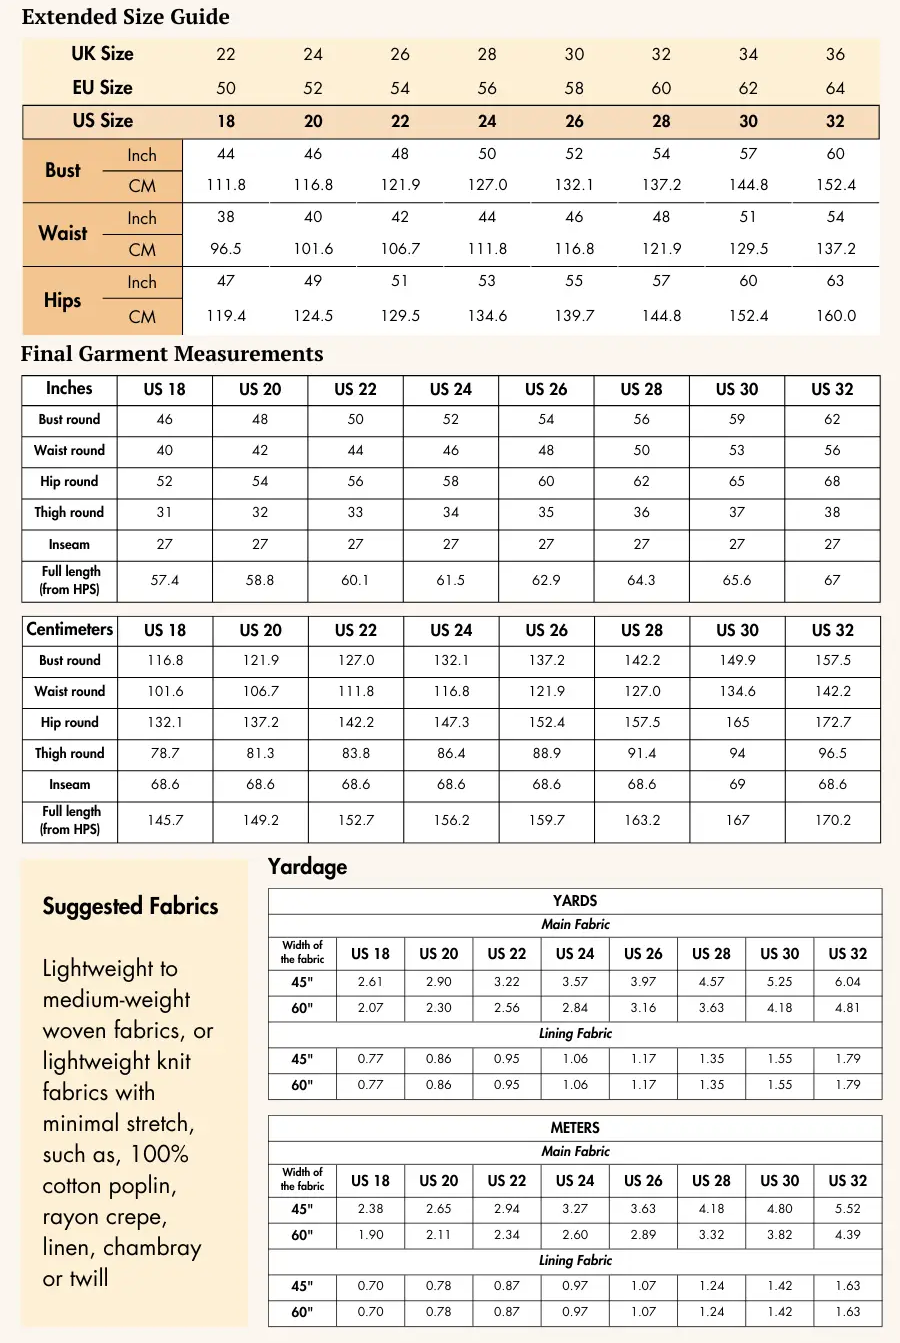
Complete sizing: US 02 - US 32 | UK 06 - UK 36 | EU 36 - EU 64 with easy-to-read yield tables.
-
Professional finishing: Detailed guides for overlock (serger), flatlock, or zig-zag, plus binding neckline.
Supplies & Notions
-
Long sleeve t-shirt sewing pattern (the Misha T-shirt from Winslet's is recommended)
-
Light to medium-weight knits (cotton, polyester/viscose blends with elastane, stretch velour, stretch velvet, poly-spandex jersey with 5–10% spandex)
-
3-ply polyester thread (matching)
-
Fabric shears or rotary cutter
-
Iron
-
Tape measure
-
Chalk, marking pen or pencil
-
Pins, sewing needles
-
Sewing machine
-
Binder attachment (optional, for binding neck)
-
Serger/overlocker or zig-zag foot (optional, for seams)
-
Twin needle (optional, for flatlock effect)
Pro Tip: Always sew a sample on your fabric to test stitch settings and stretch recovery before starting the main garment.
Size Charts
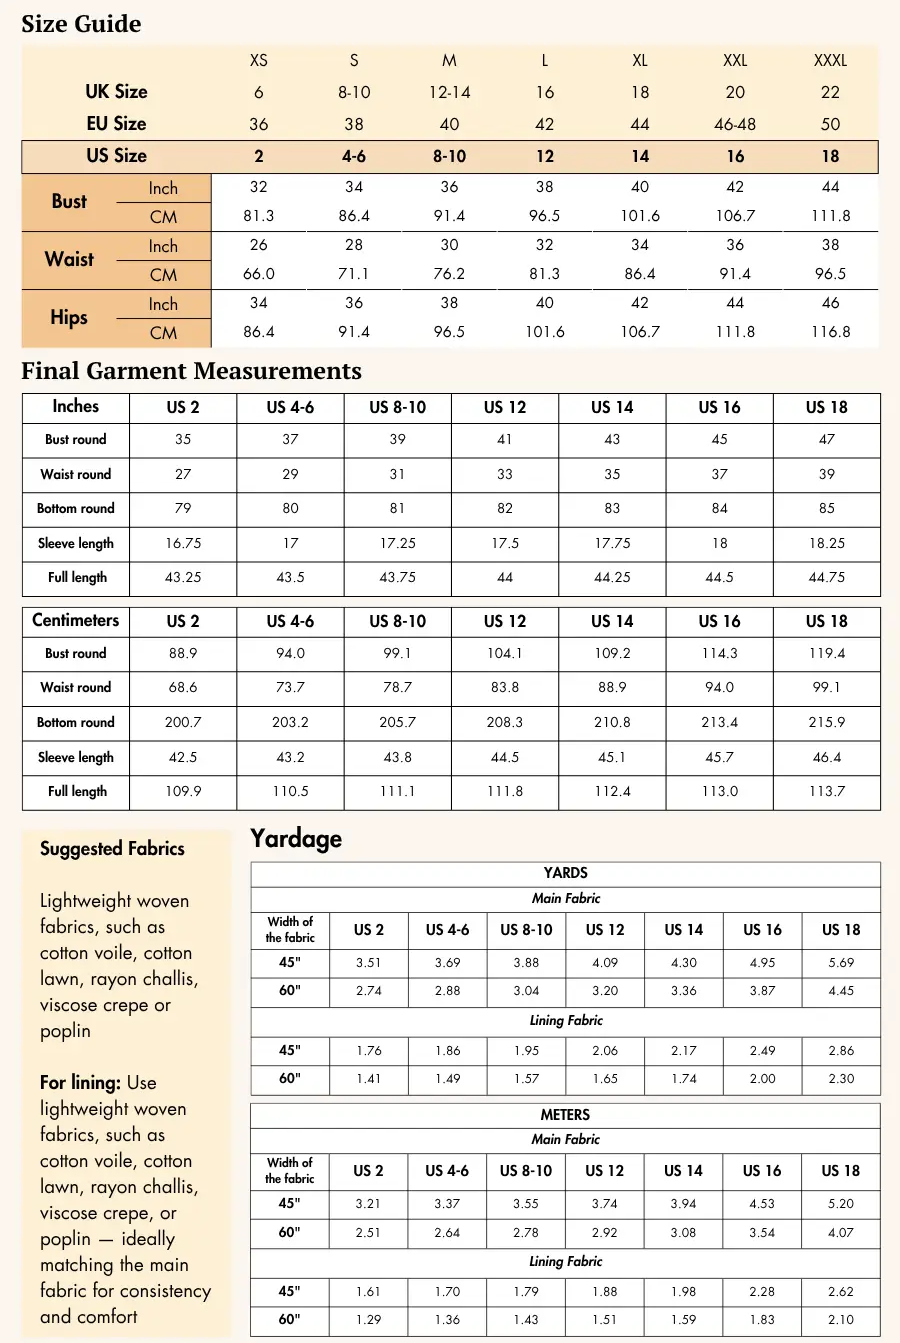
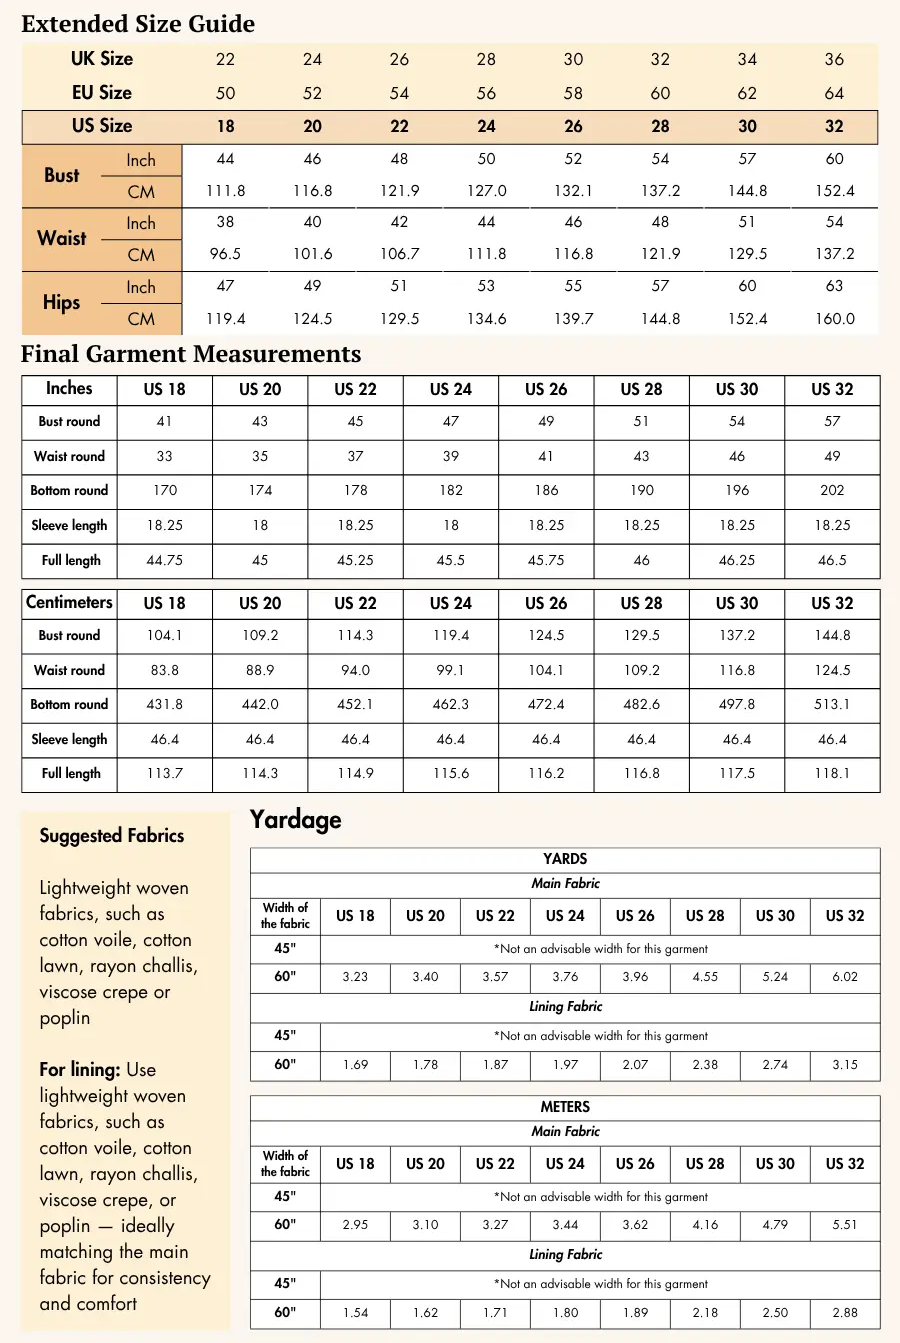
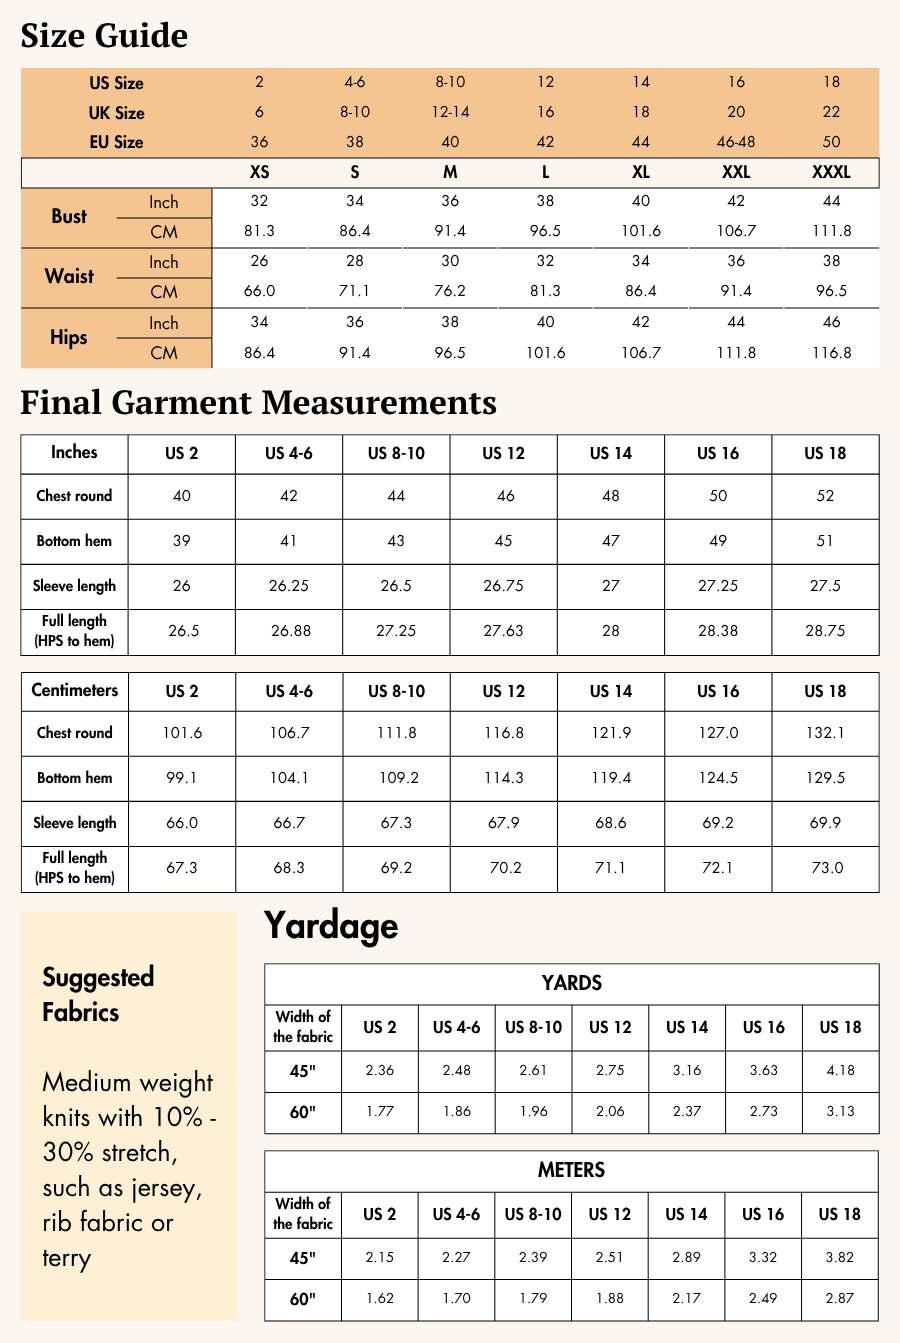
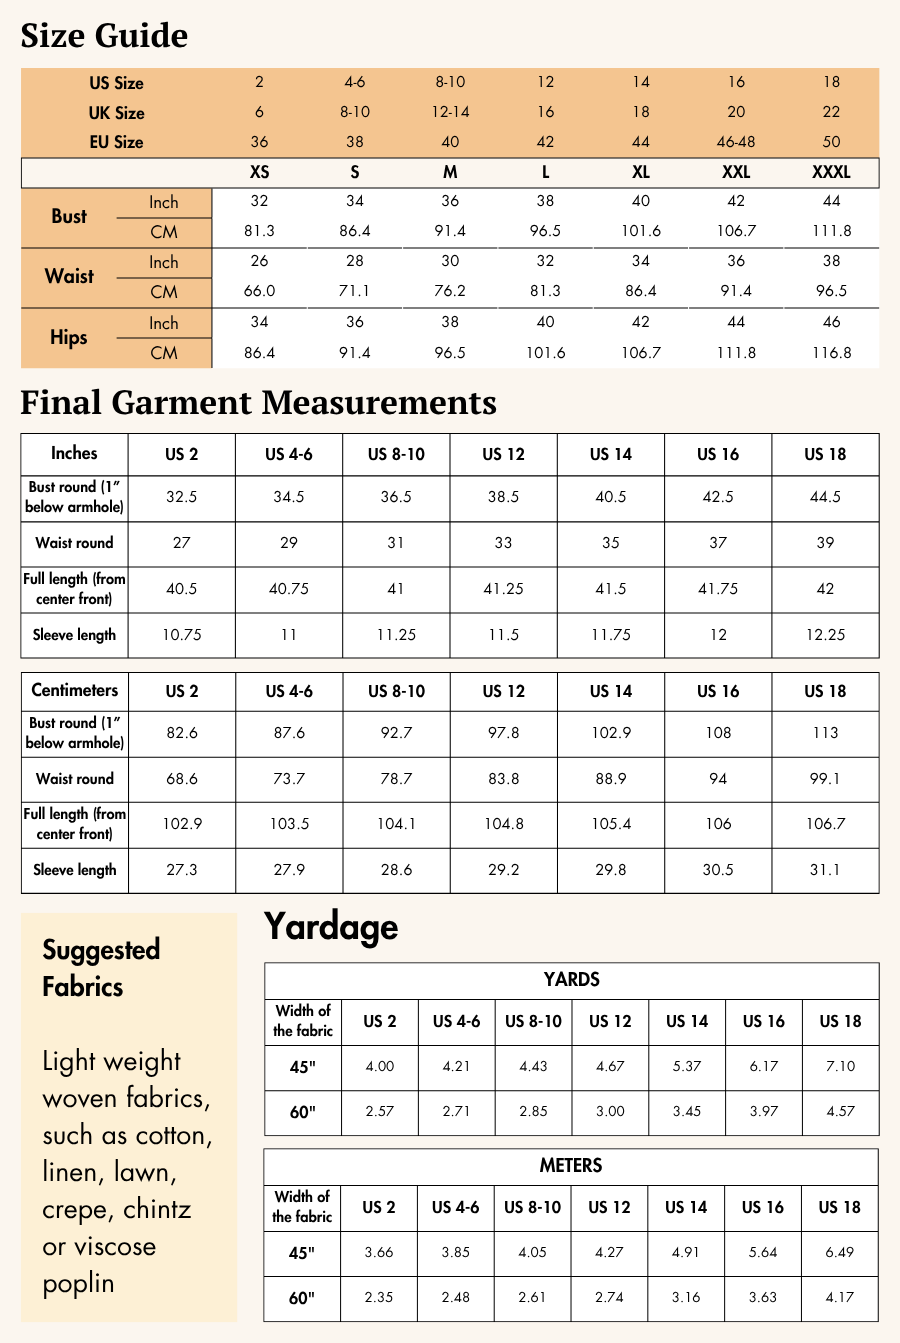
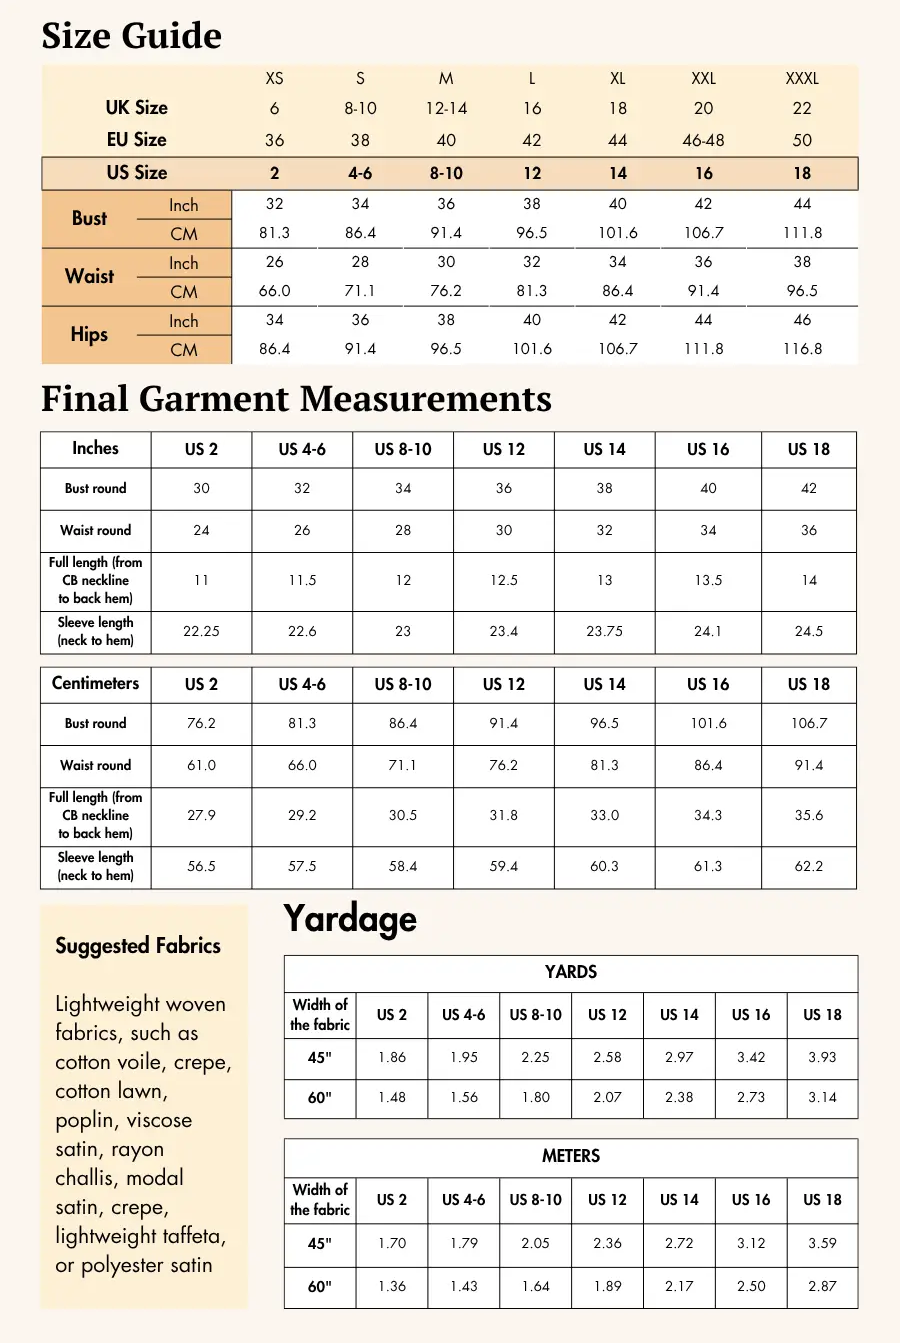
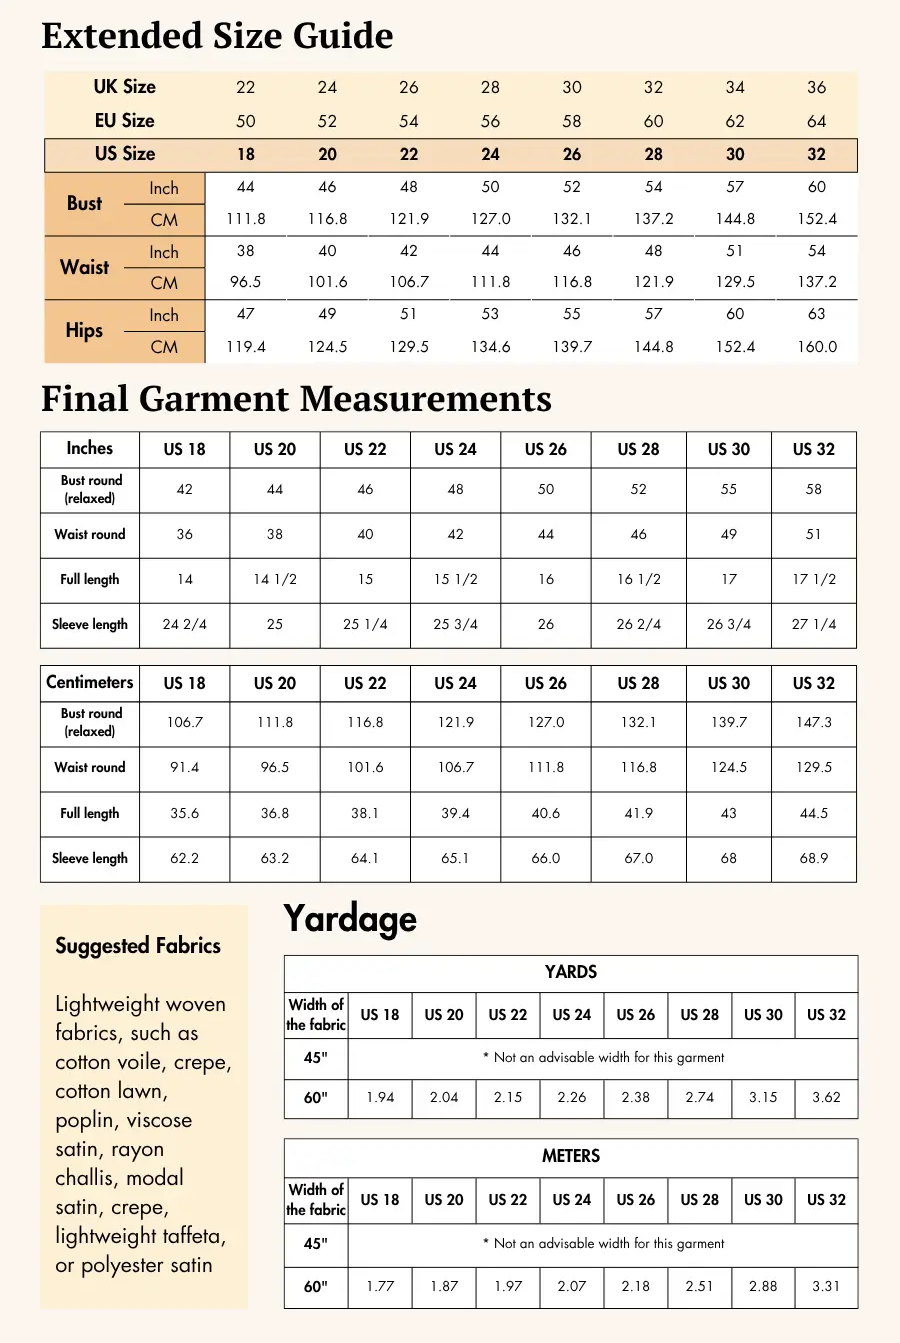
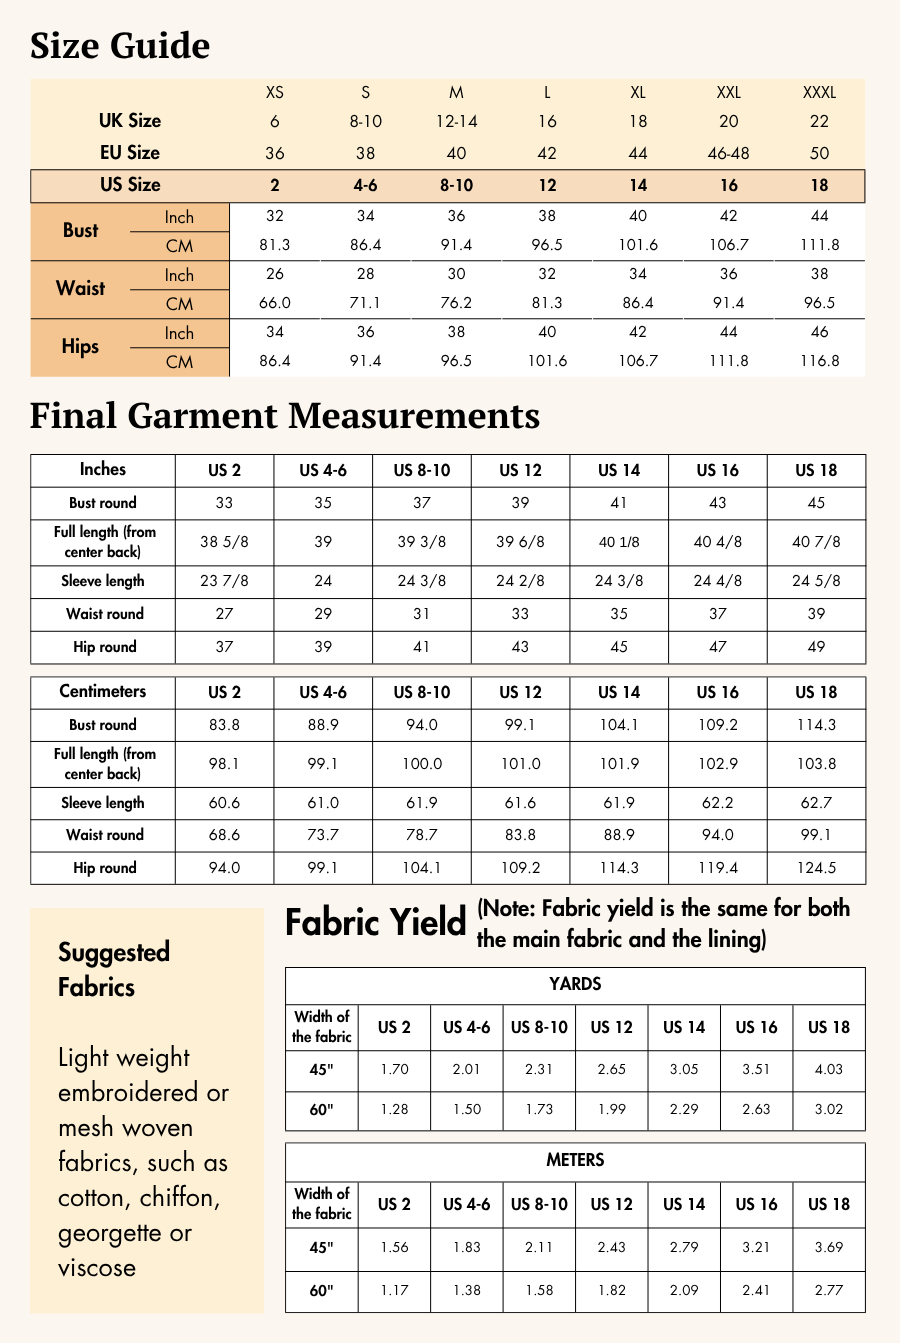
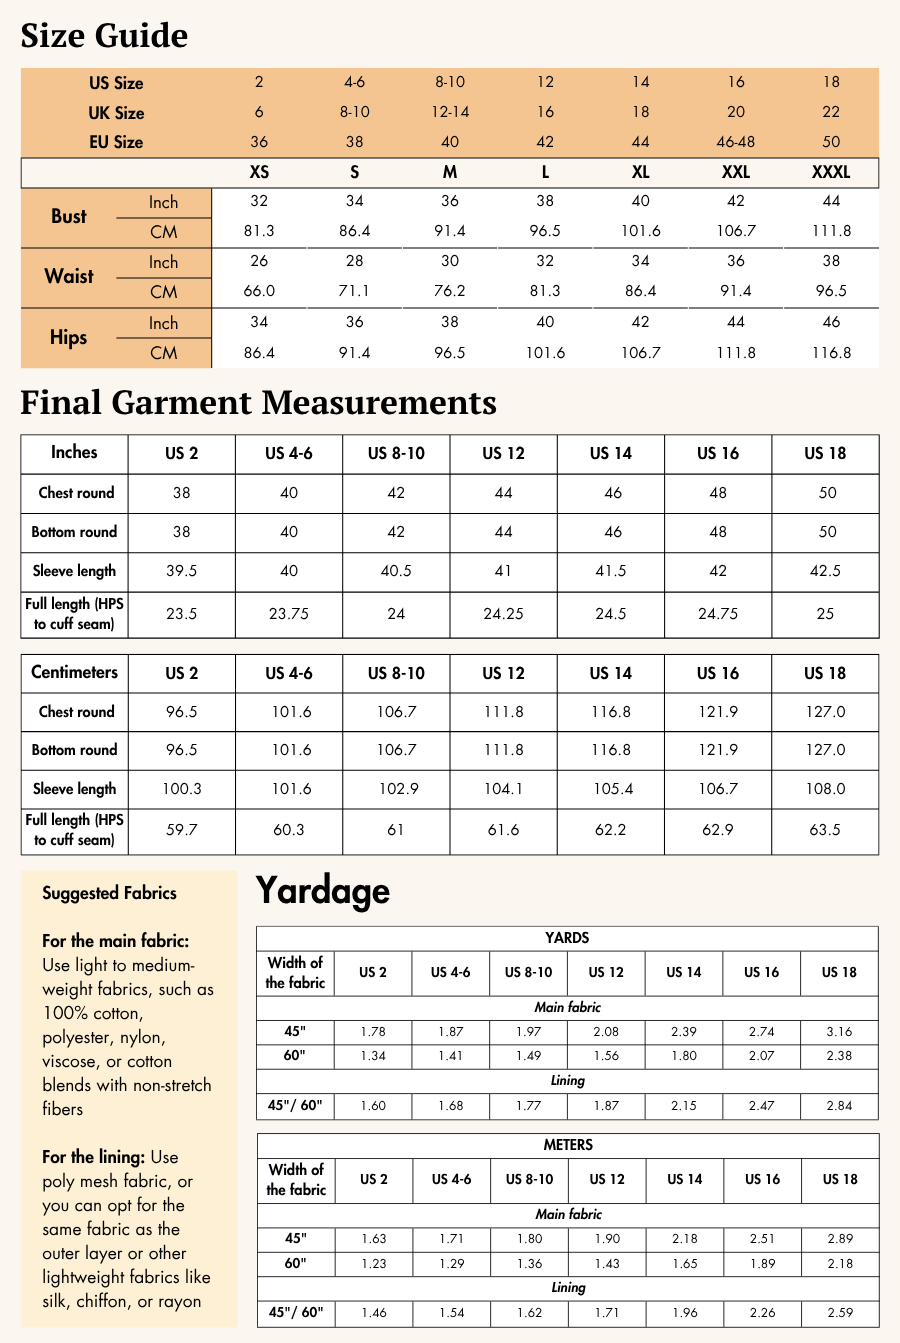
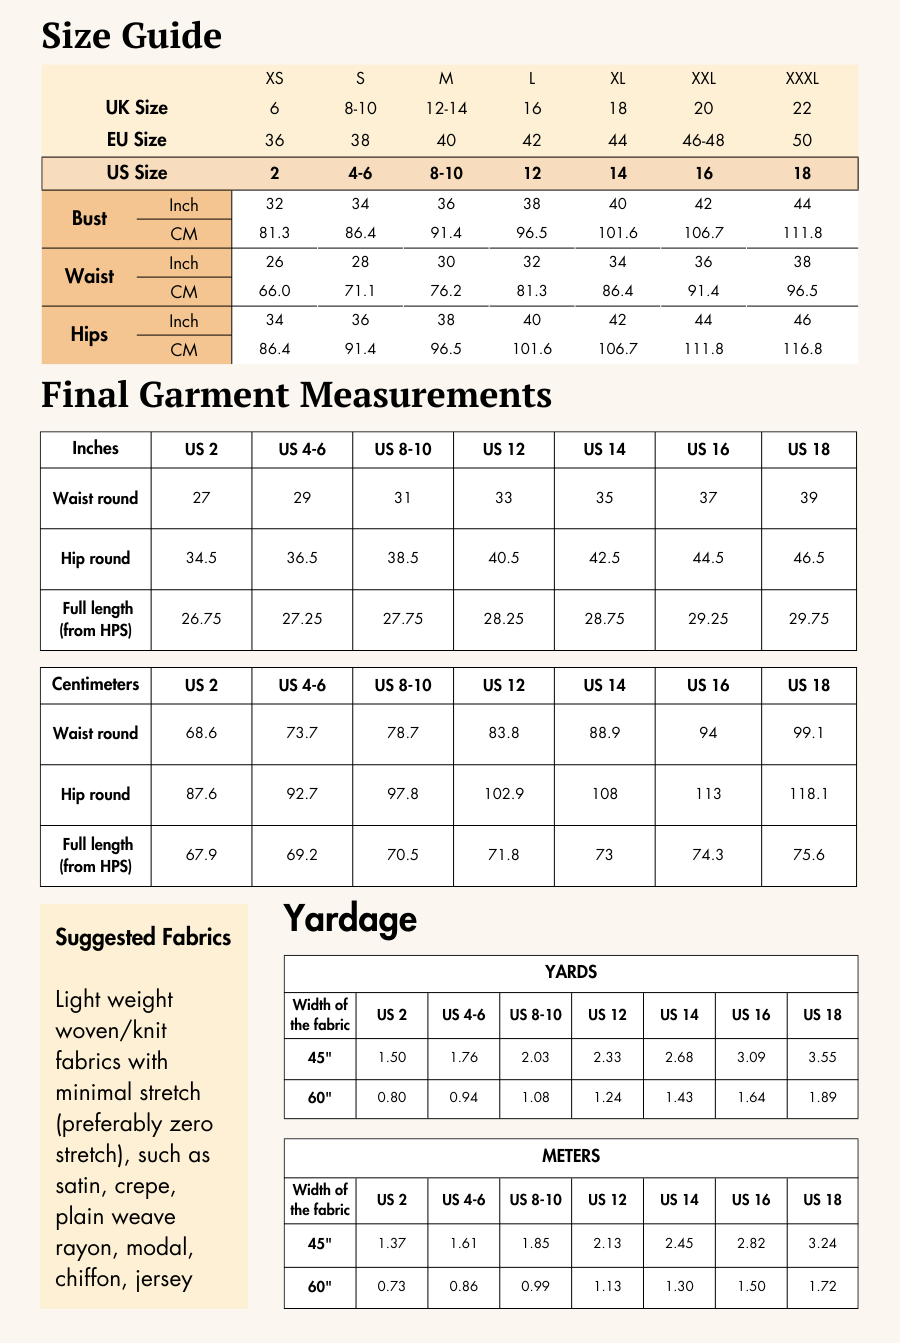
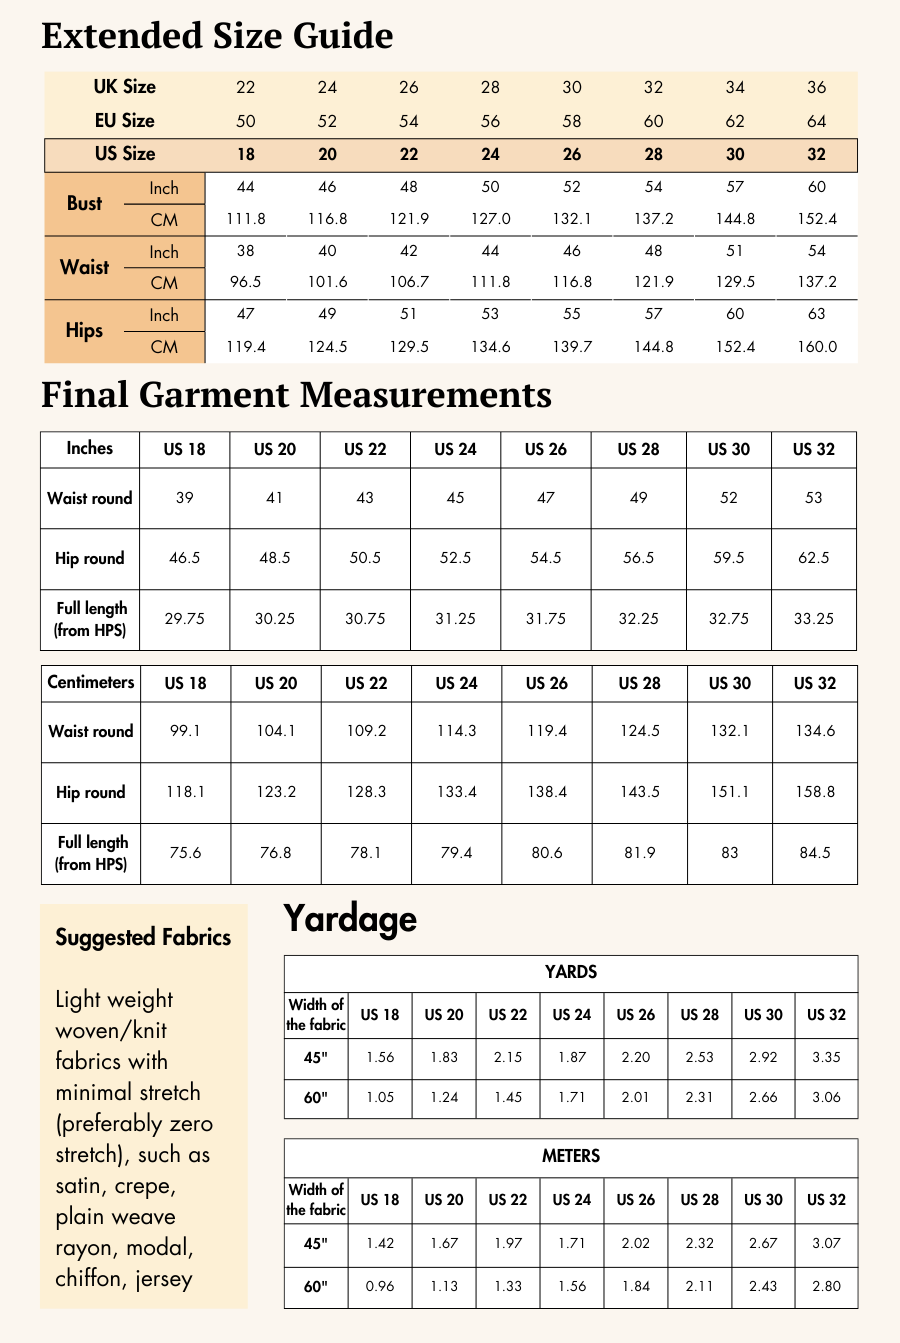
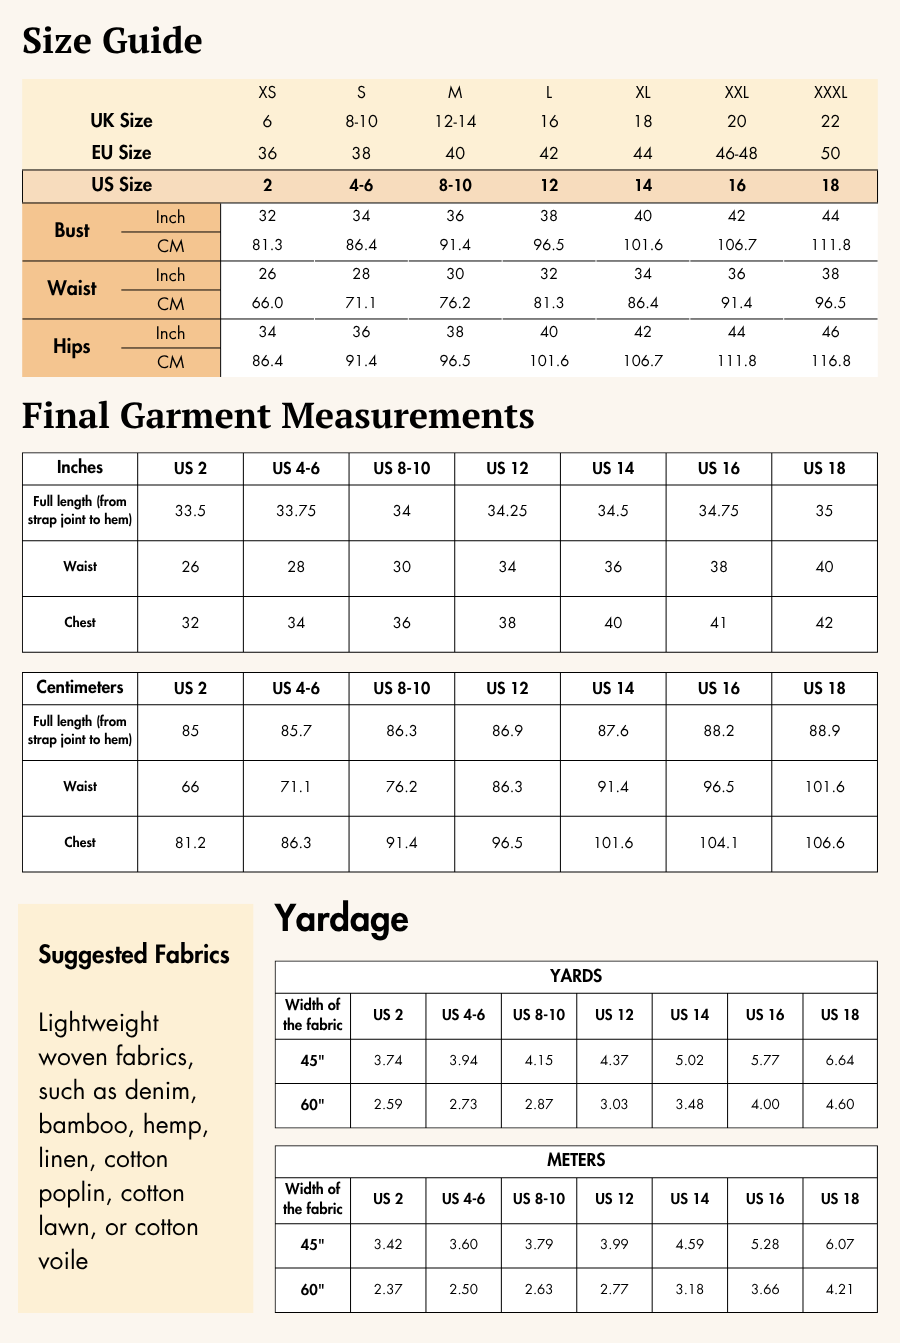
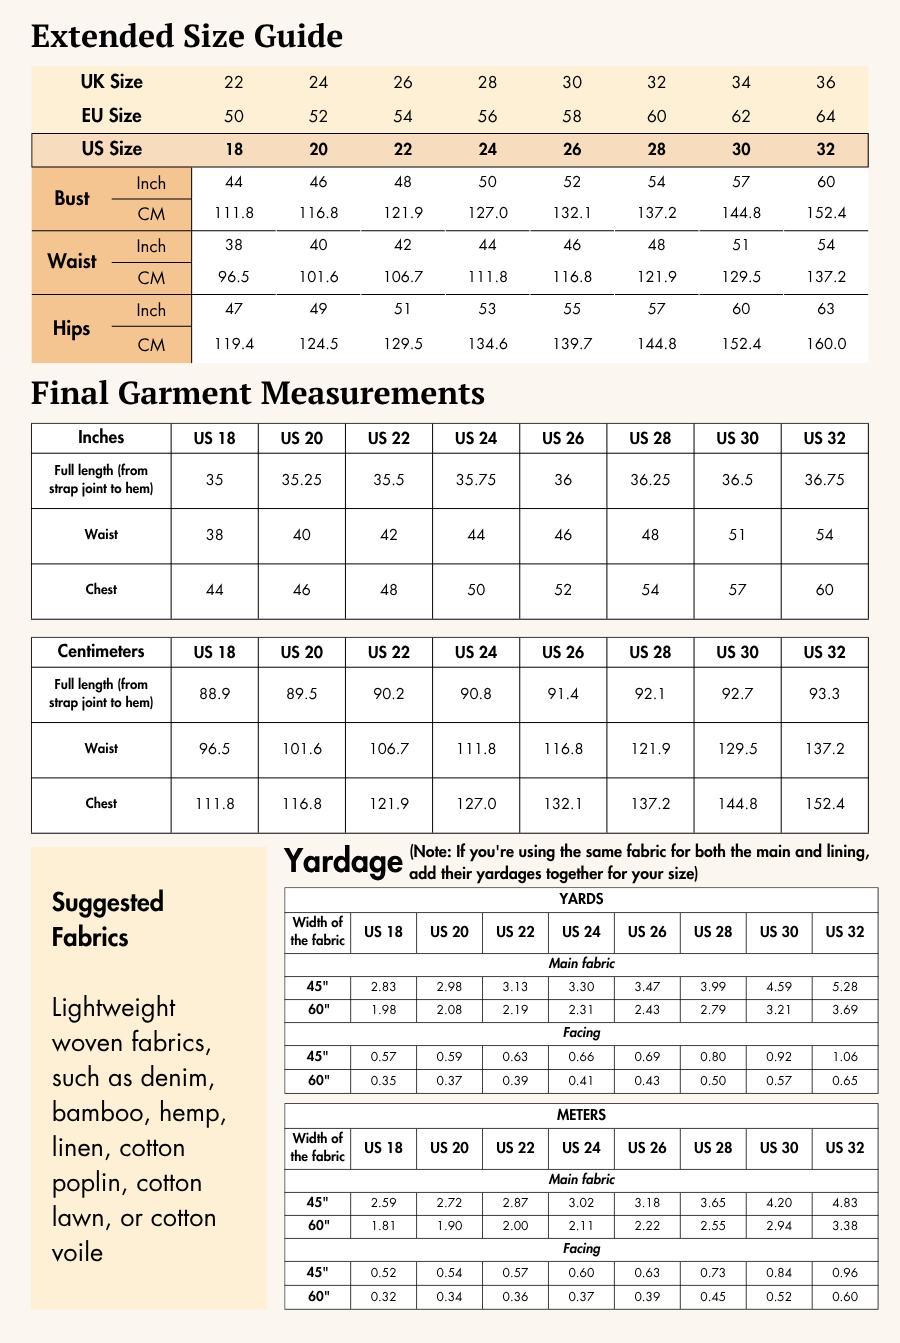
The Misha T-shirt pattern is available for sizes US 02 - US 32 | UK 06 - UK 36 | EU 36 - EU 64. Check the Misha T-shirt Size Chart and measure yourself to select the correct size (see the garment and body measurement tables).
Verify how much fabric you need by referencing the fabric yield table.
Printing Your Digital Sewing Pattern
Before cutting your fabric, print your digital pattern at 100% scale on the correct paper size (usually A0 or A4/US Letter). Once printed, trim and tape the pages together following the pattern guide. Now your pattern is ready to use!
If you want to learn more about how to Print Digital Sewing Patterns, click here.
Pattern Inventory: What Pieces to Prepare
For sewing the Misha T-shirt, cut all of these pieces:
-
Front – cut x1 fabric (A)
-
Back – cut x1 fabric (B)
-
Sleeve – cut x2 fabric (C)

Pattern Marking

-
Lay out all pattern pieces according to the cutting diagrams in the guide. Position pieces on the fabric so the grainline arrow runs perfectly parallel to the selvage.
-
Transfer all markings: Notches (especially at armhole and back), center front/fold lines, hemline, shoulder and side seams, neckline, and any pattern symbols. Use chalk, washable pen, or tailor’s tacks. Mark the center front on folded pieces.
-
Cut notches where indicated on edge—these are vital for aligning pieces accurately in assembly.
Cutting Layout
- Reference the correct layout diagram in the Misha Sewing Guide for your chosen size and fabric width (45” or 60”).

-
Layout is non-directional, but if using a print/nap, buy extra and ensure all pieces face in the required direction.
-
Pin or weigh your patterns, then cut carefully, either shearing along the outline or tracing and cutting away chalk lines after.
-
Always double-check that all markings are visible on your fabric before moving to the next stage.
Fabric Cutting and Preparation
-
Cut out the front, back, and both sleeves for your selected size.
-
Cut all notches marked on pattern edges for shoulder, armhole, and hem reference.
-
Confirm you have each pattern piece (front, back, two sleeves) before continuing.
Seam allowance: Follow the seam allowances as indicated on the pattern file layers. These are provided specifically for each piece to ensure accurate construction. This pattern uses a 1 cm (0.38 inch) seam allowance all around, 2.54 cm (1 inch) at the hem.
Step-by-Step Sewing Instructions

1. Sew Shoulder Seams
Place the front piece on top of the back piece, right sides together, and align the shoulder seams (fig. 1a). Sew one shoulder seam using an overlock stitch to achieve the figure 1.

2. Bind the Neckline
Use a binding presser foot to bind the neckline.
Cut a bias strip to match the length of the neckline, with a width of approximately 3.2 cm.
Place the binding strip inside the binder and sew about 1 inch to secure it in place. Insert the neckline seam allowance into the binding (fig. 2a). Start sewing along the neckline from one end to the other, ensuring the binding is evenly attached. Trim any excess strip at the end.

Figure 2b represents the process of stitching the binding strip.
Figure 2c represents the finished binding look of the neckline.

3. Sew Second Shoulder Seam
Align the other shoulder seam with right sides facing each other. Sew them together using an overlock stitch to close the seam.

4. Attach Sleeves
4a. Spread open the prepared t-shirt from the shoulder seam. Place the sleeve piece onto the armhole, matching the center armhole notch of the sleeve to the shoulder seamline. Align the back armhole notches together.
4b. Sew along the armhole using an overlock stitch.

4c. Repeat the same process with the other sleeve on the prepared t-shirt.

5. Sew Side Seams
Align the side seams and begin sewing from the sleeve hem down to the bottom hem using an overlock stitch.
Repeat to sew both side seams.

6. Hem the T-Shirt and Sleeves
Fold the hem of the t-shirt to the wrong side and press it. Flatlock the hem on the right side such that the neat double stitch line is on the front.
Repeat the same process with the sleeve hems.

Pressing & Final Touches
-
Iron the hem, neckline, and all seams at every step for a smooth, professional appearance.
-
Clip any stray threads and check that all seams stretch and recover well.
-
Try on your t-shirt to check comfort and fit.
Winslet’s Sewing Guide for Misha T-shirt includes clear diagrams that walk you through each step, making it easy to follow and complete your project with confidence.
For an overview of Winslet’s Sewing Guides, click here.
Ready to Sew Your Own Long Sleeve T-Shirt?
If you’re looking for a thoughtfully designed t-shirt pattern with proven step-by-step instructions, consider the Winslet’s Misha Long Sleeve T-Shirt Sewing Pattern. The result? A professional-quality wardrobe staple you’ll want to make again and again!
Purchase your Misha Long Sleeve T-shirt Pattern today and take pride in your custom, comfortable, and stylish long sleeve t-shirt.
Join the Community & Get Support
Show your creation on Instagram or Facebook with #MadeWithWinslets for a chance to be featured! For any questions or issues, email the Winslet’s support team at support@winslets.com.

 Get the pattern here


