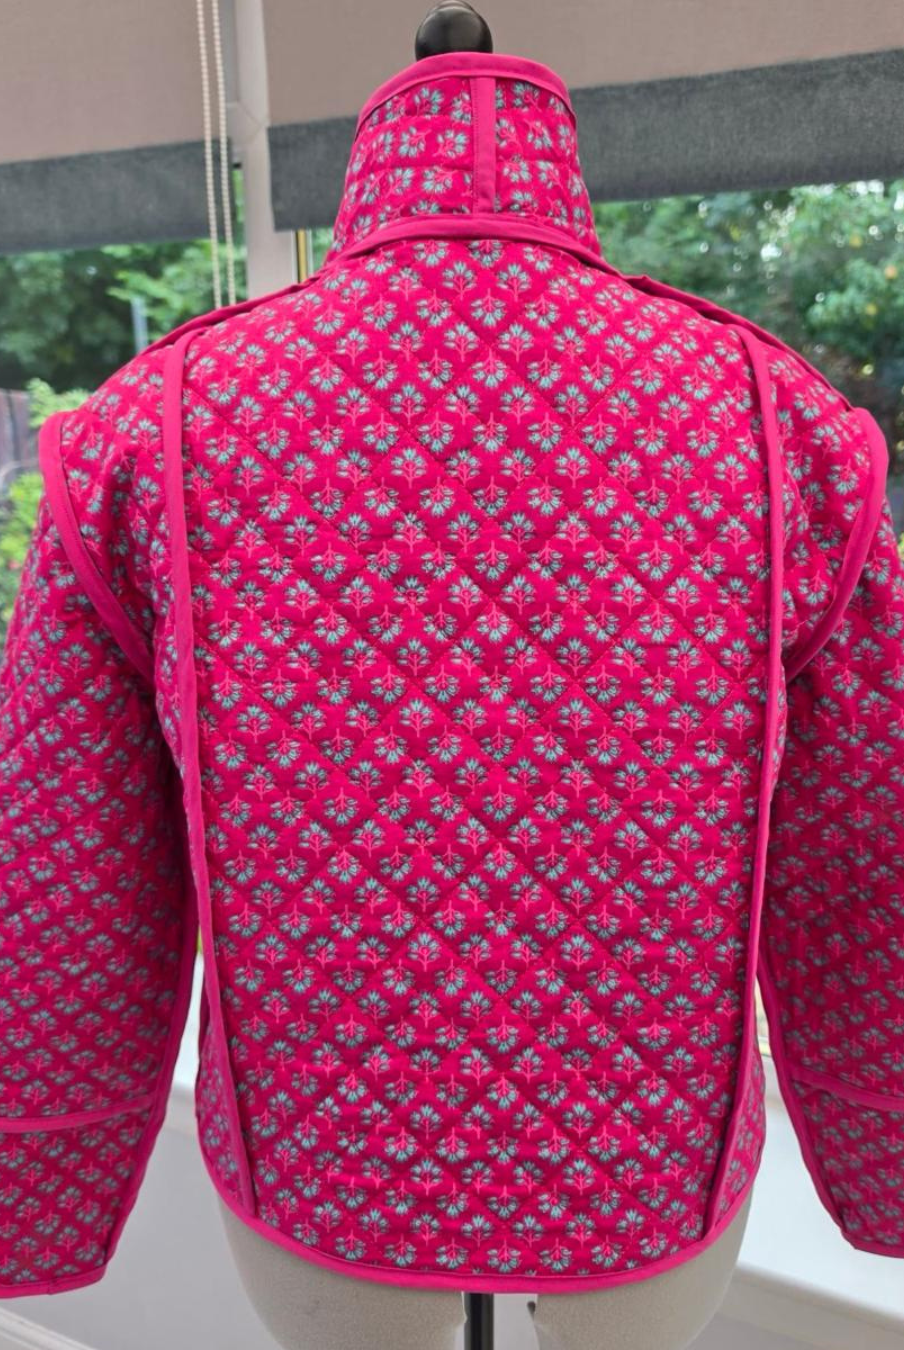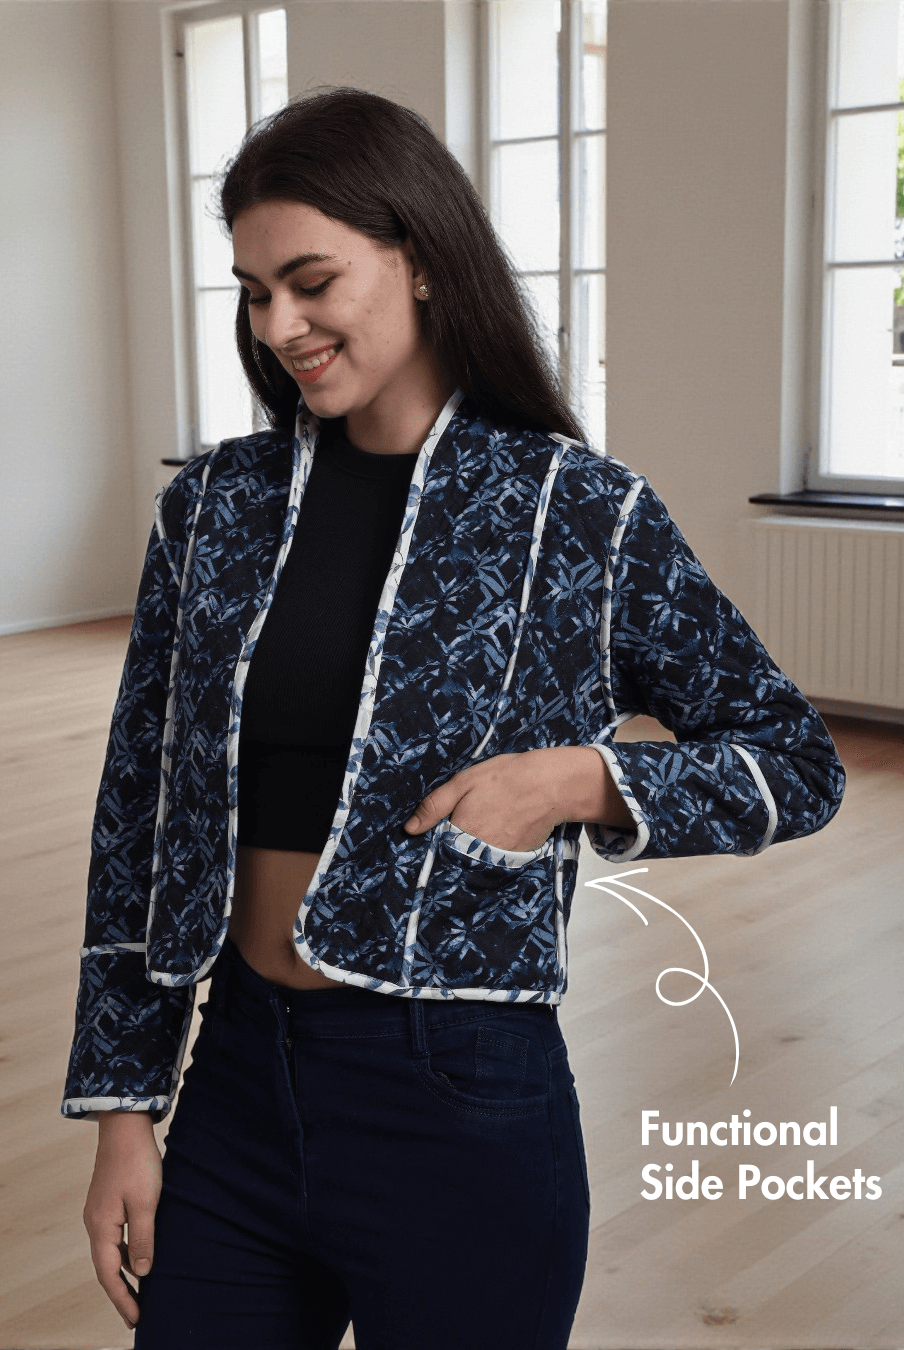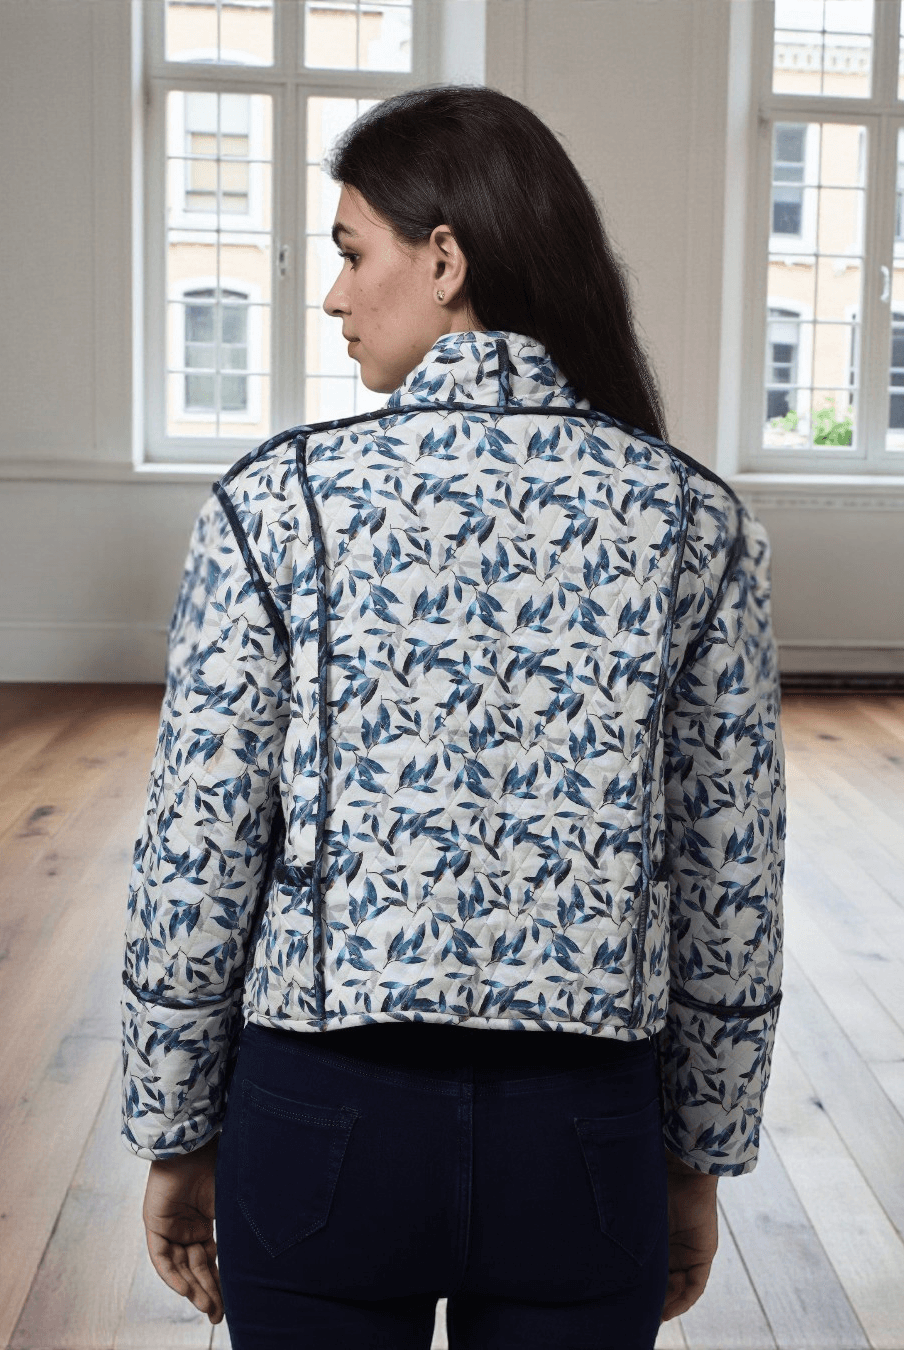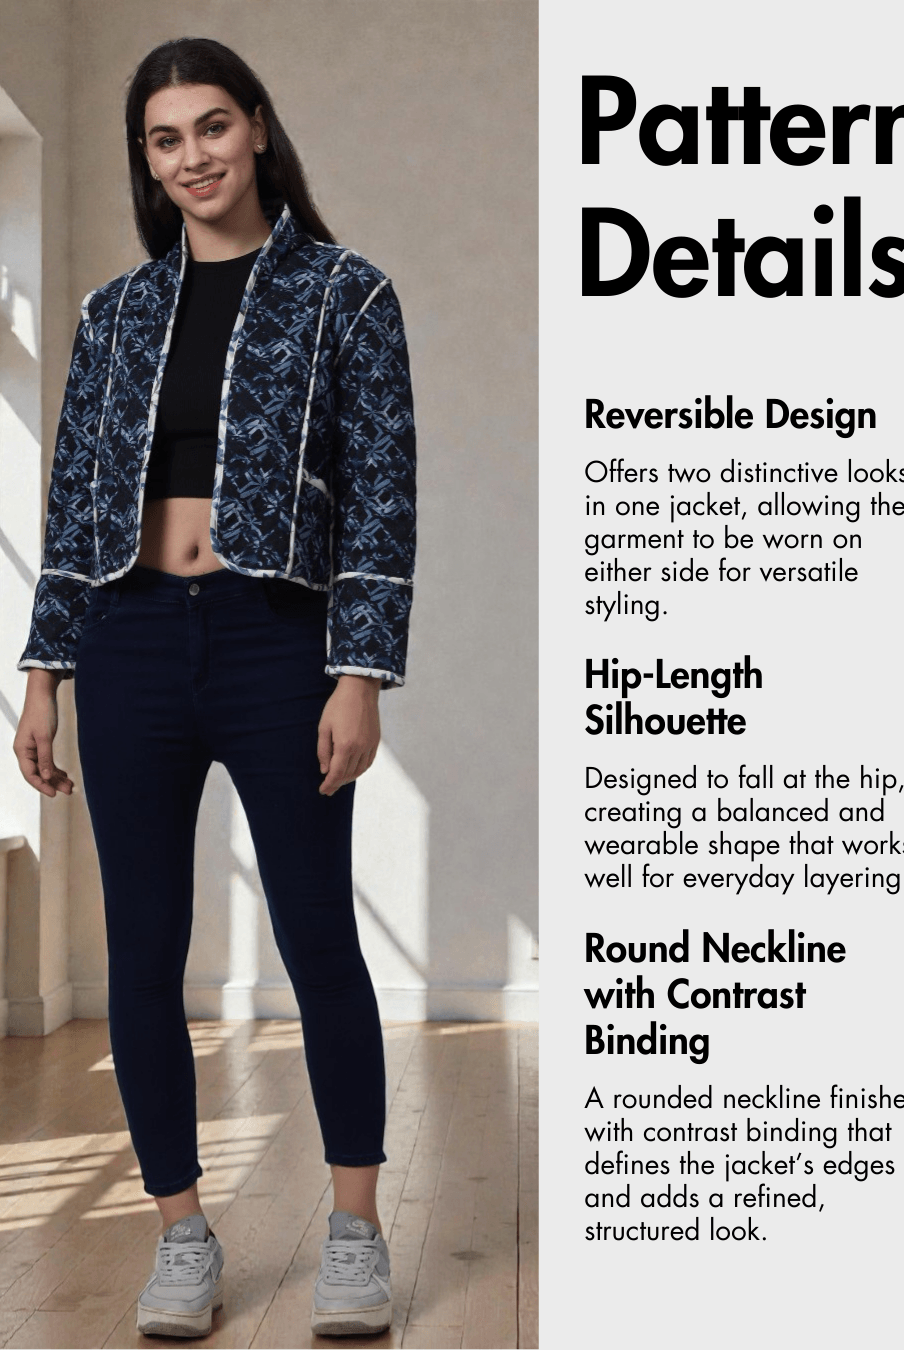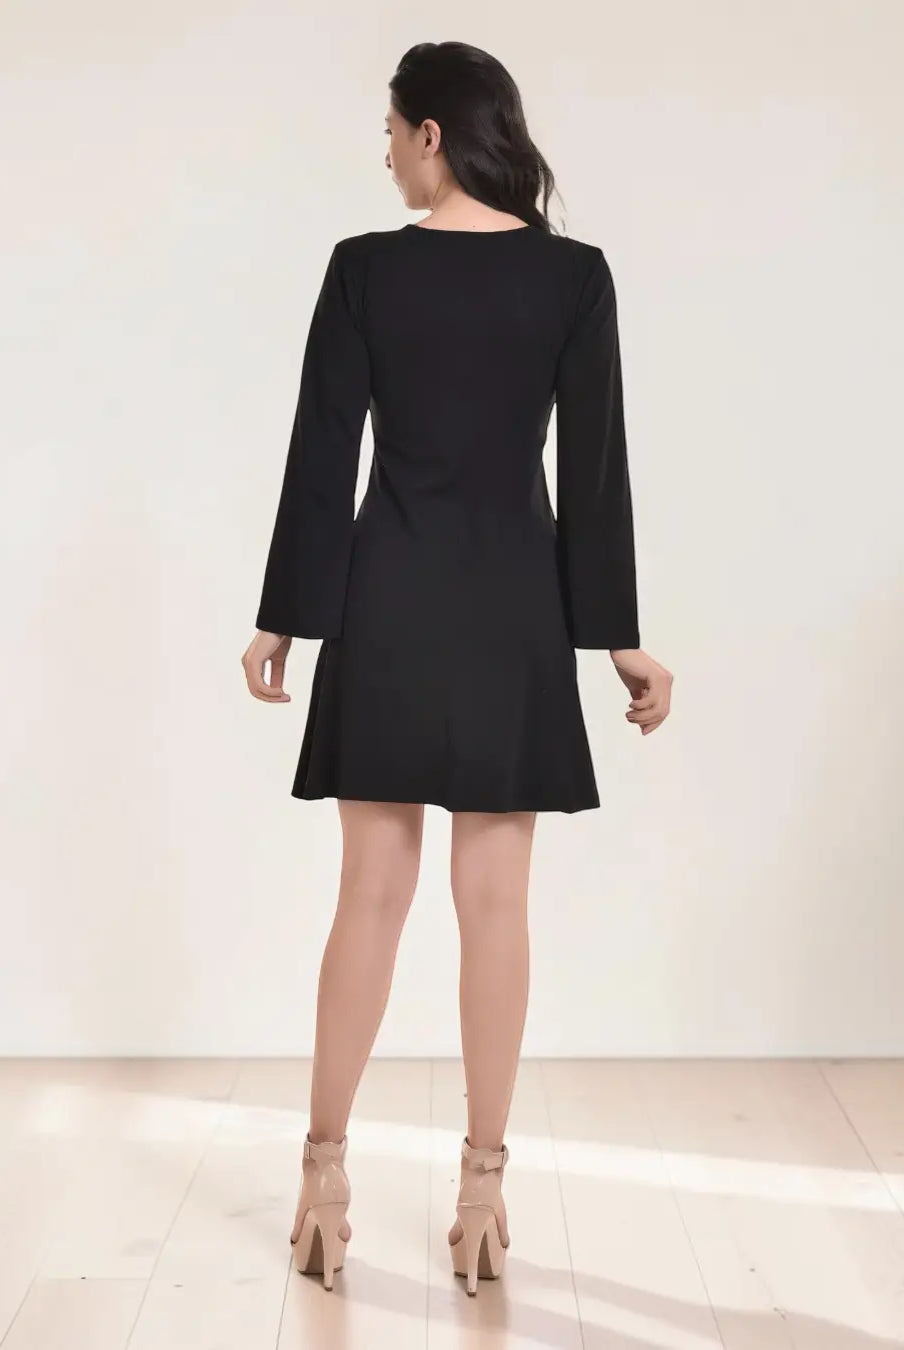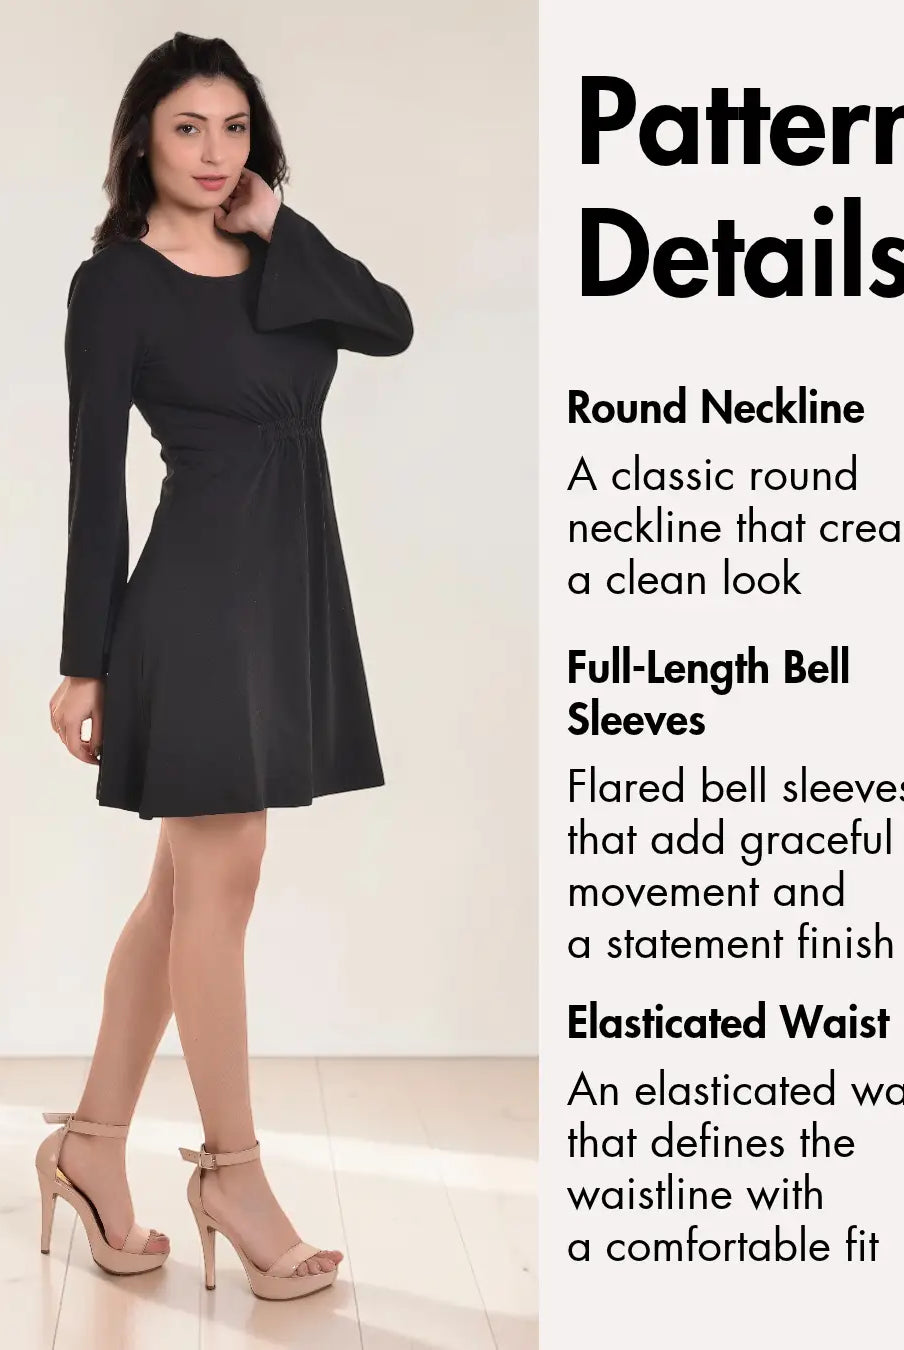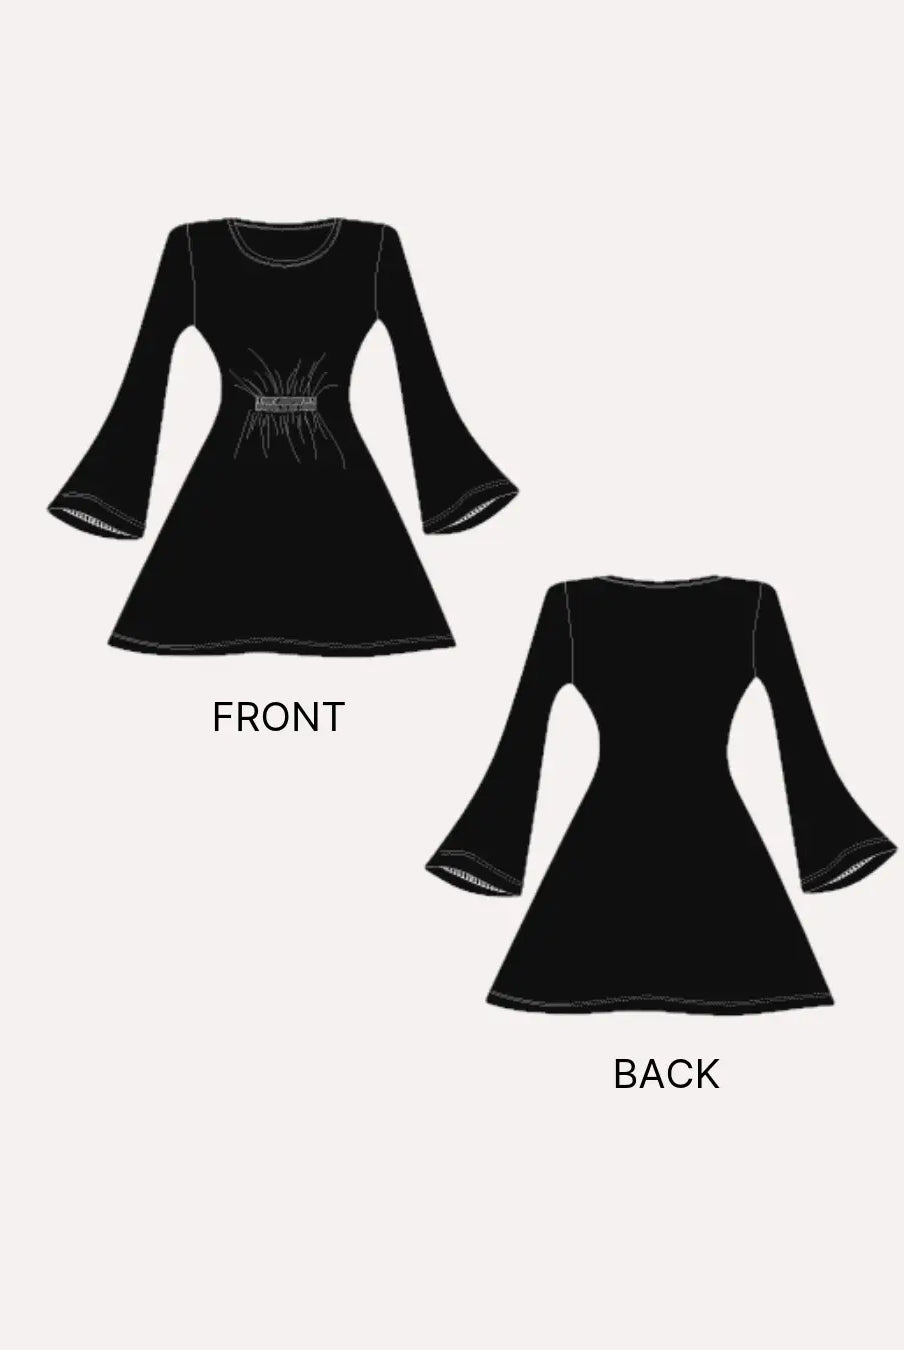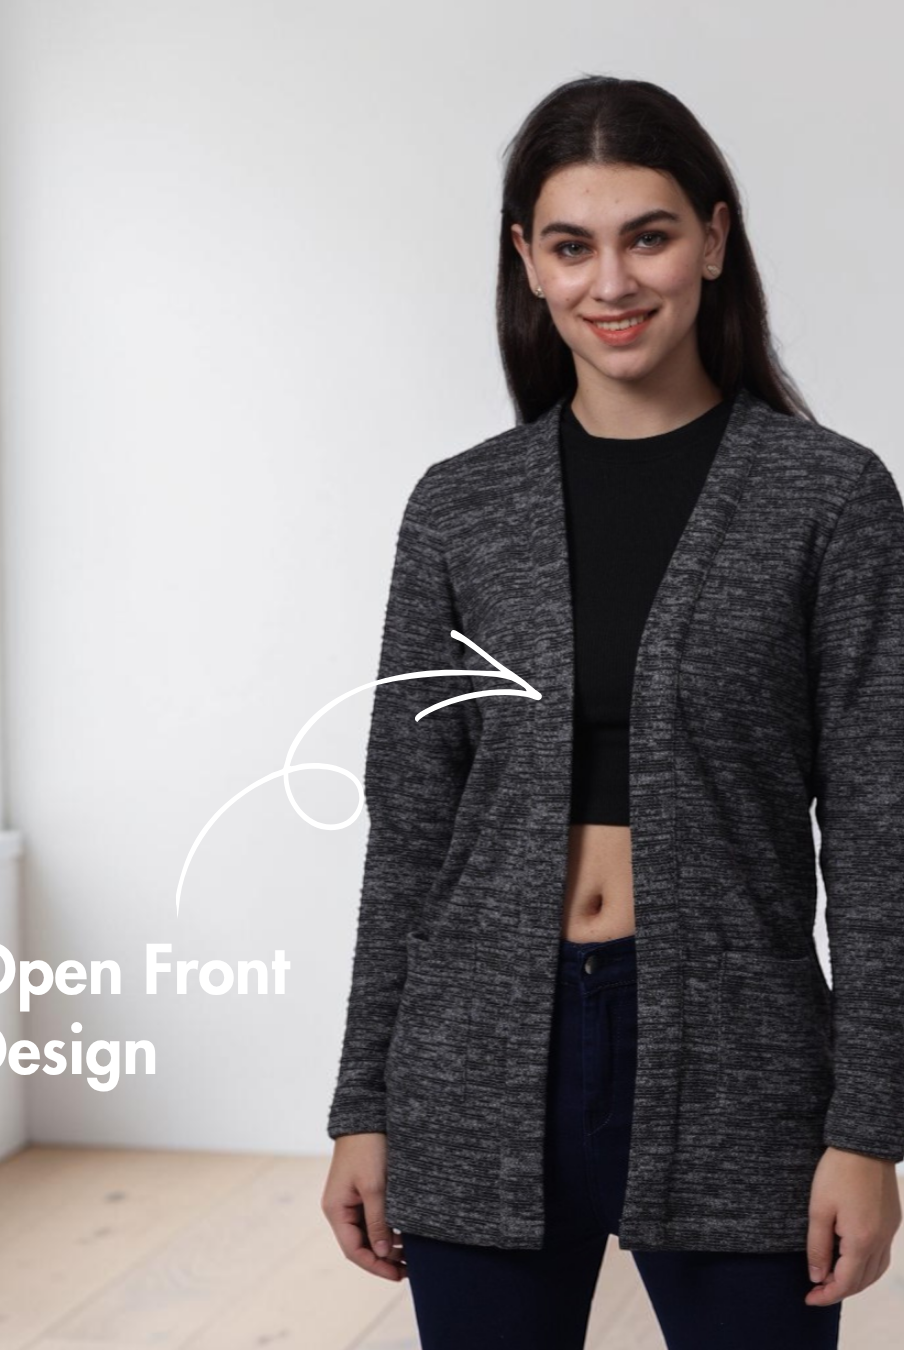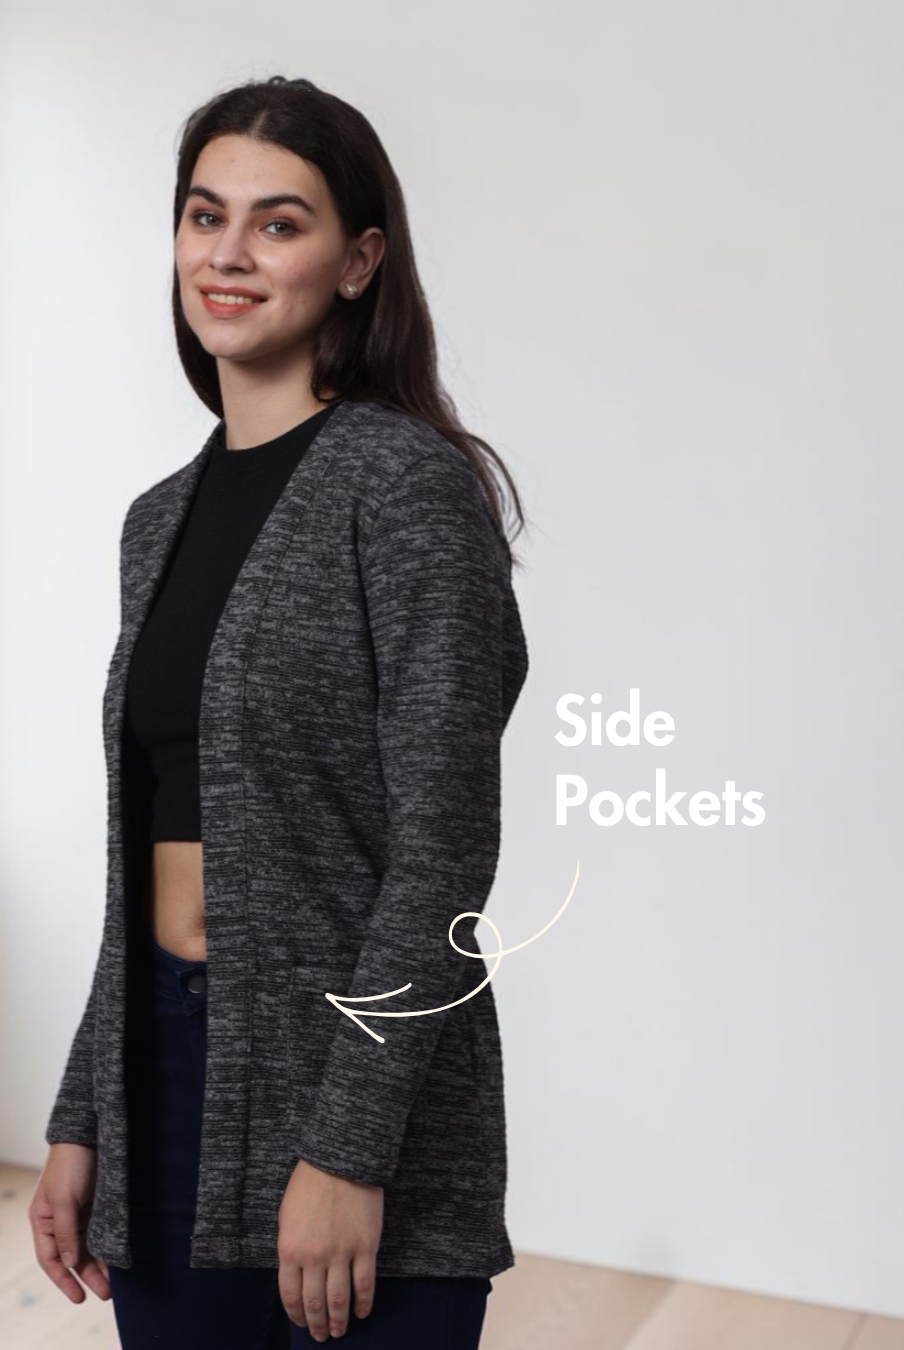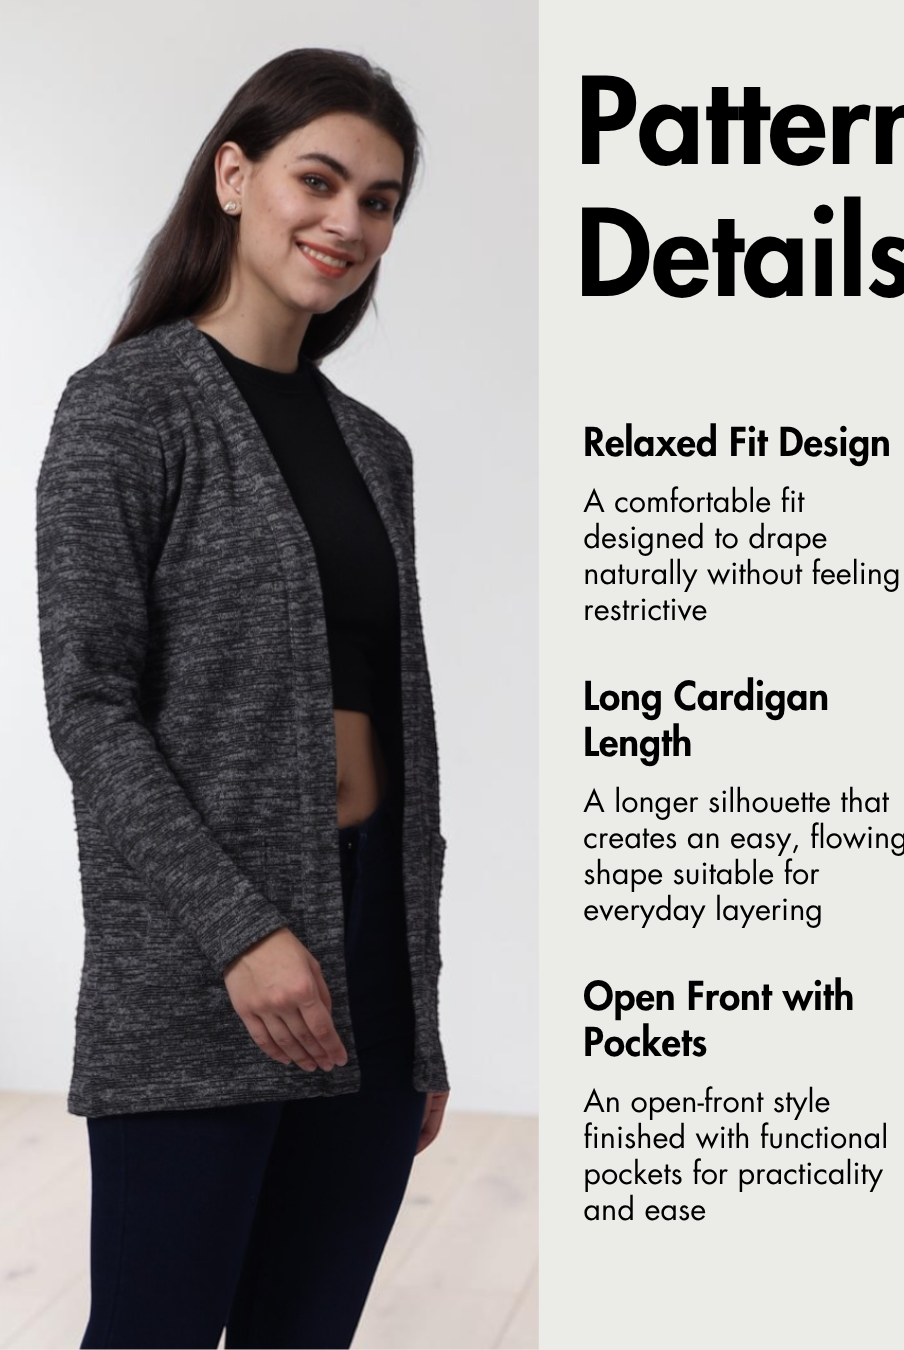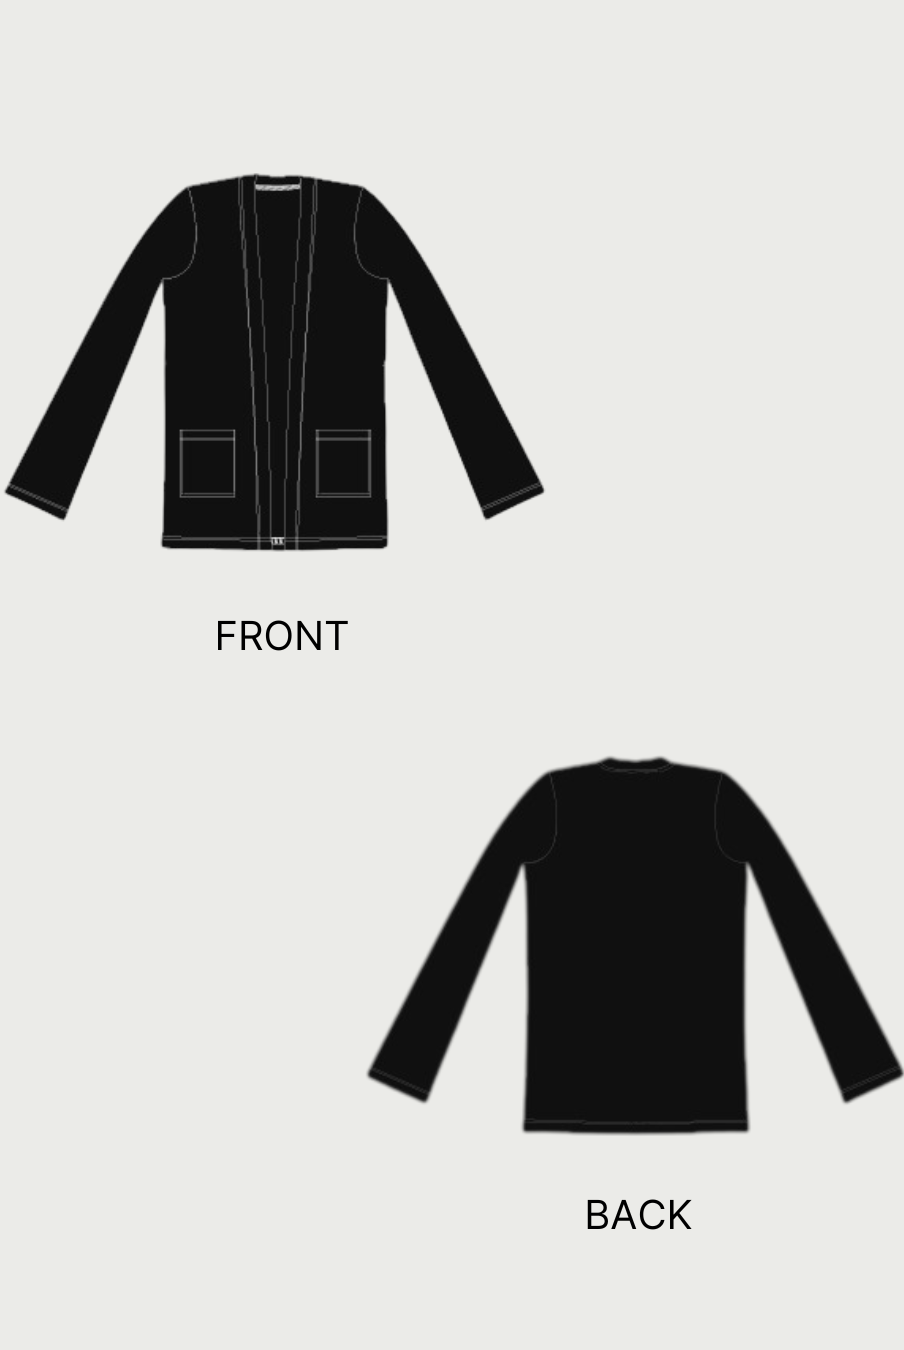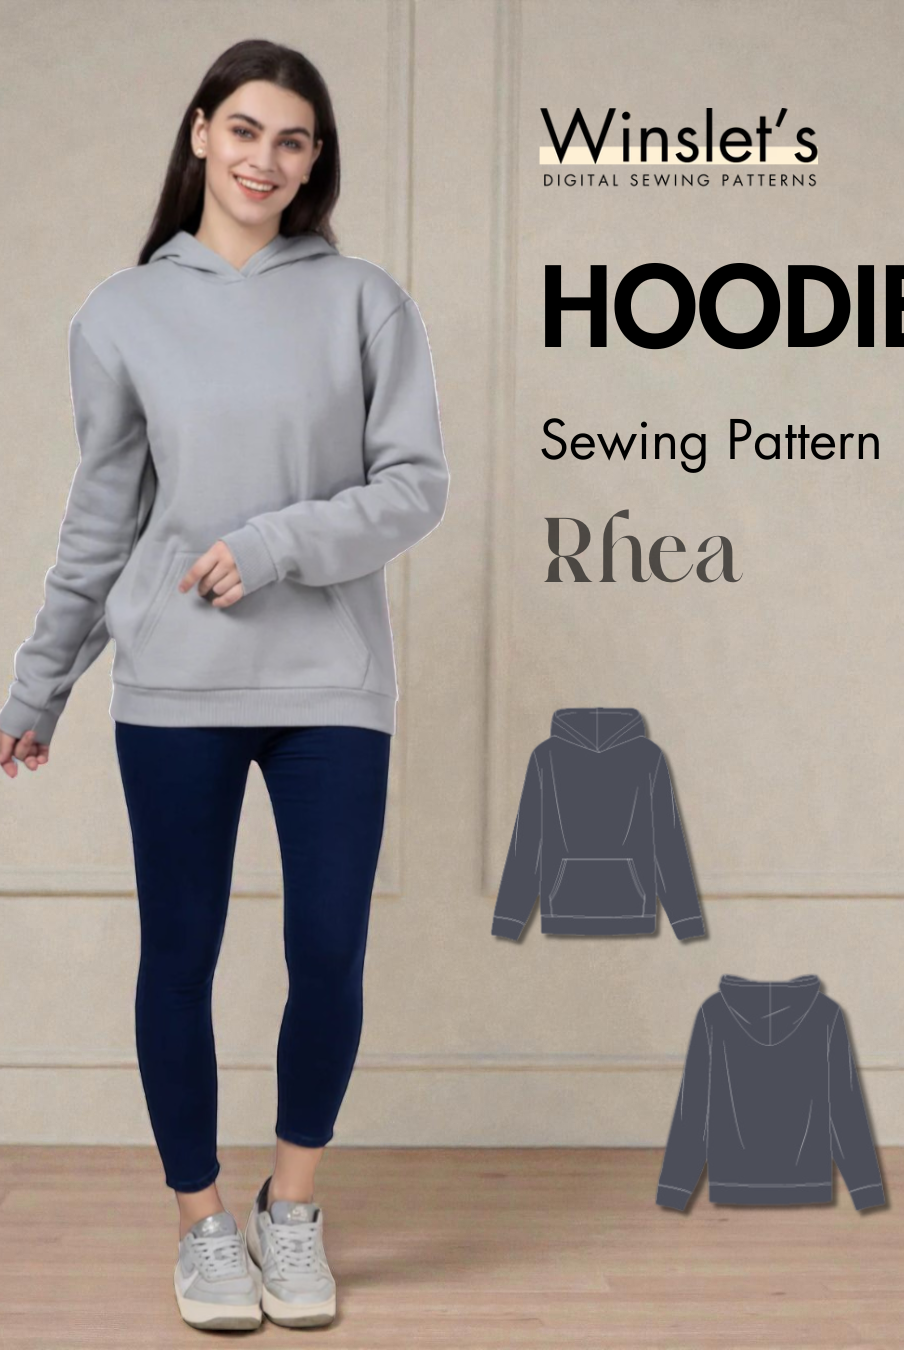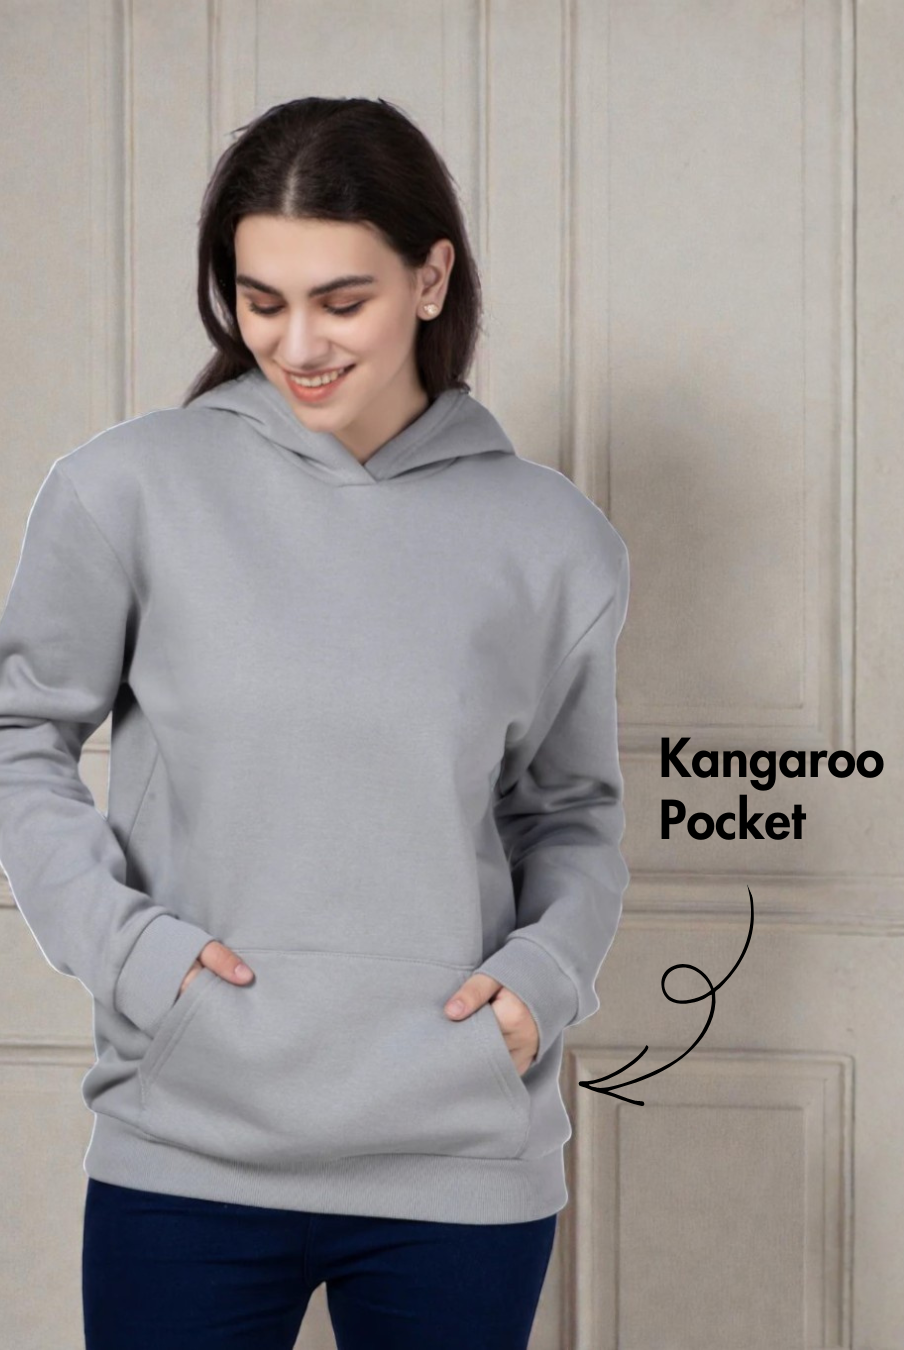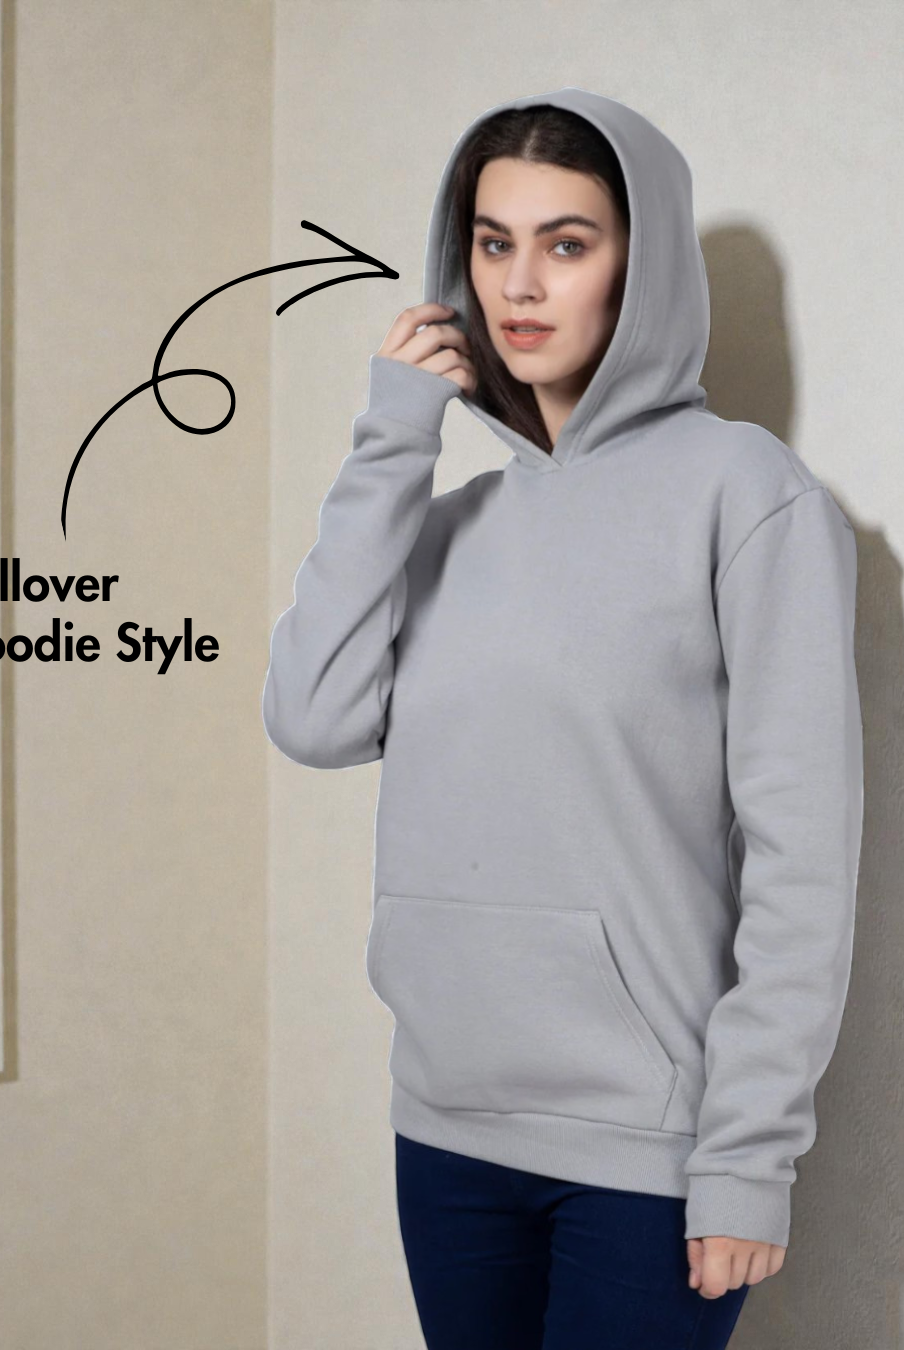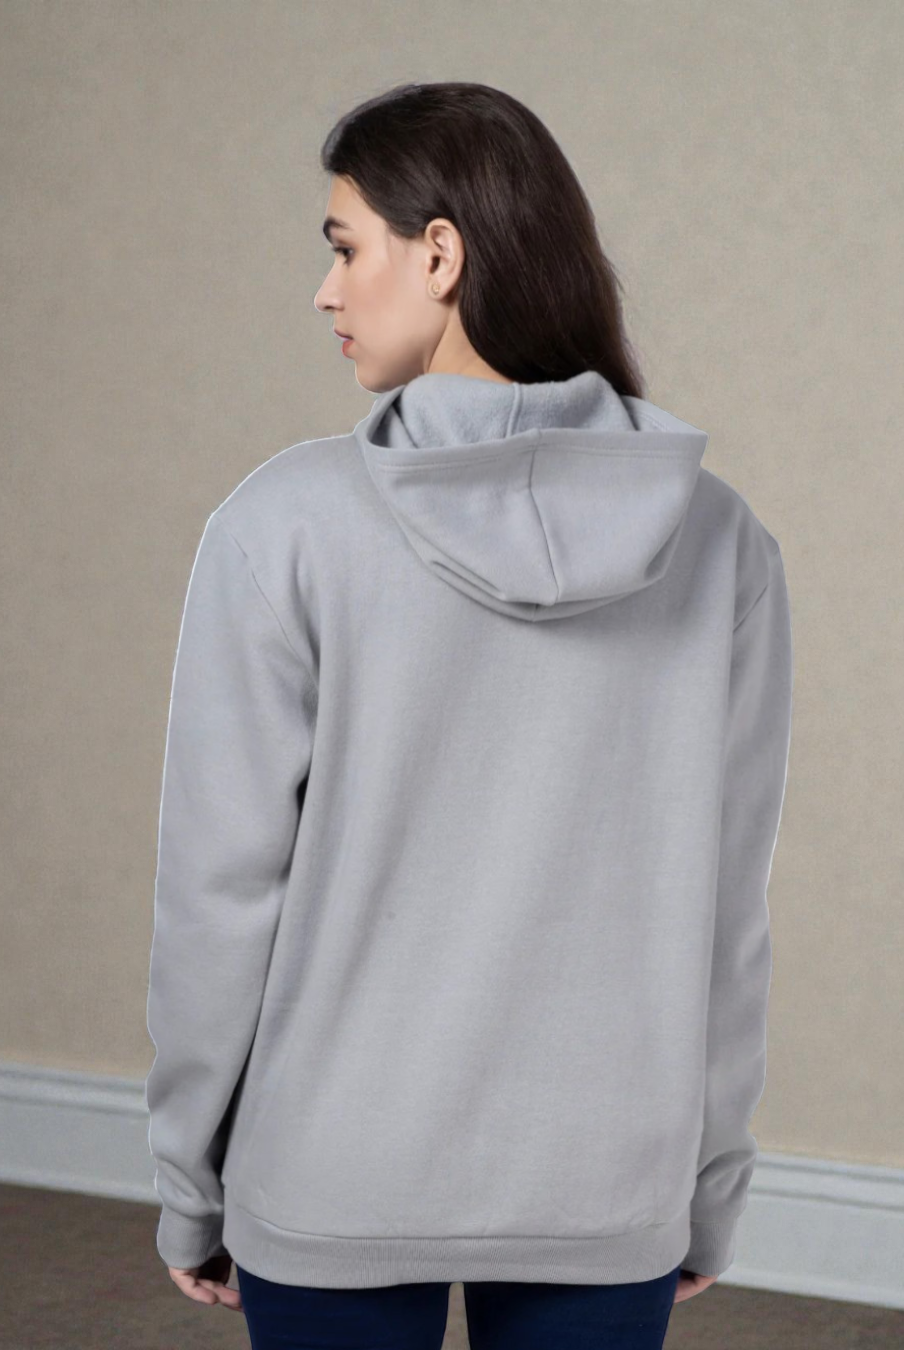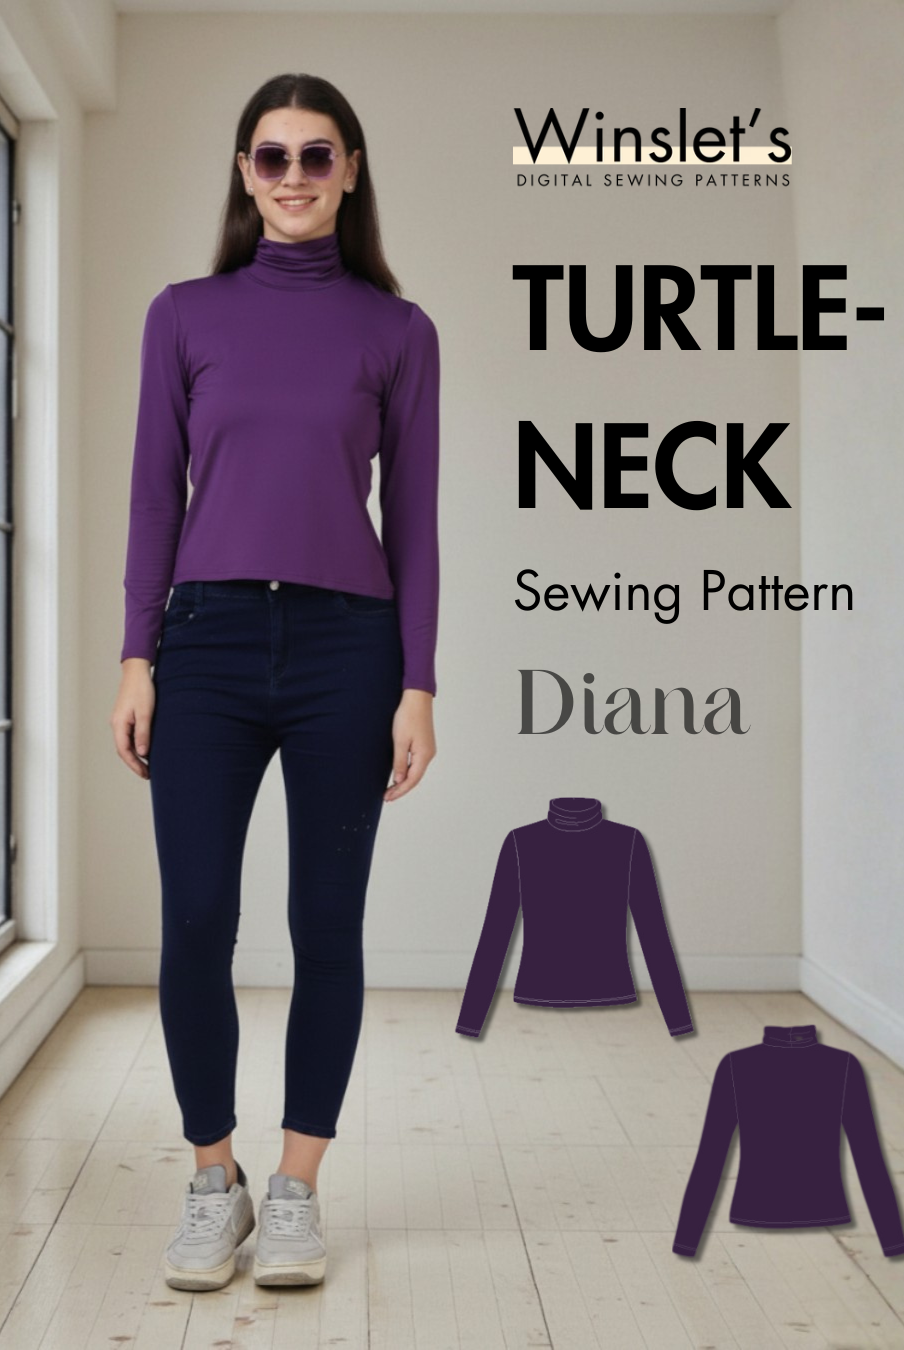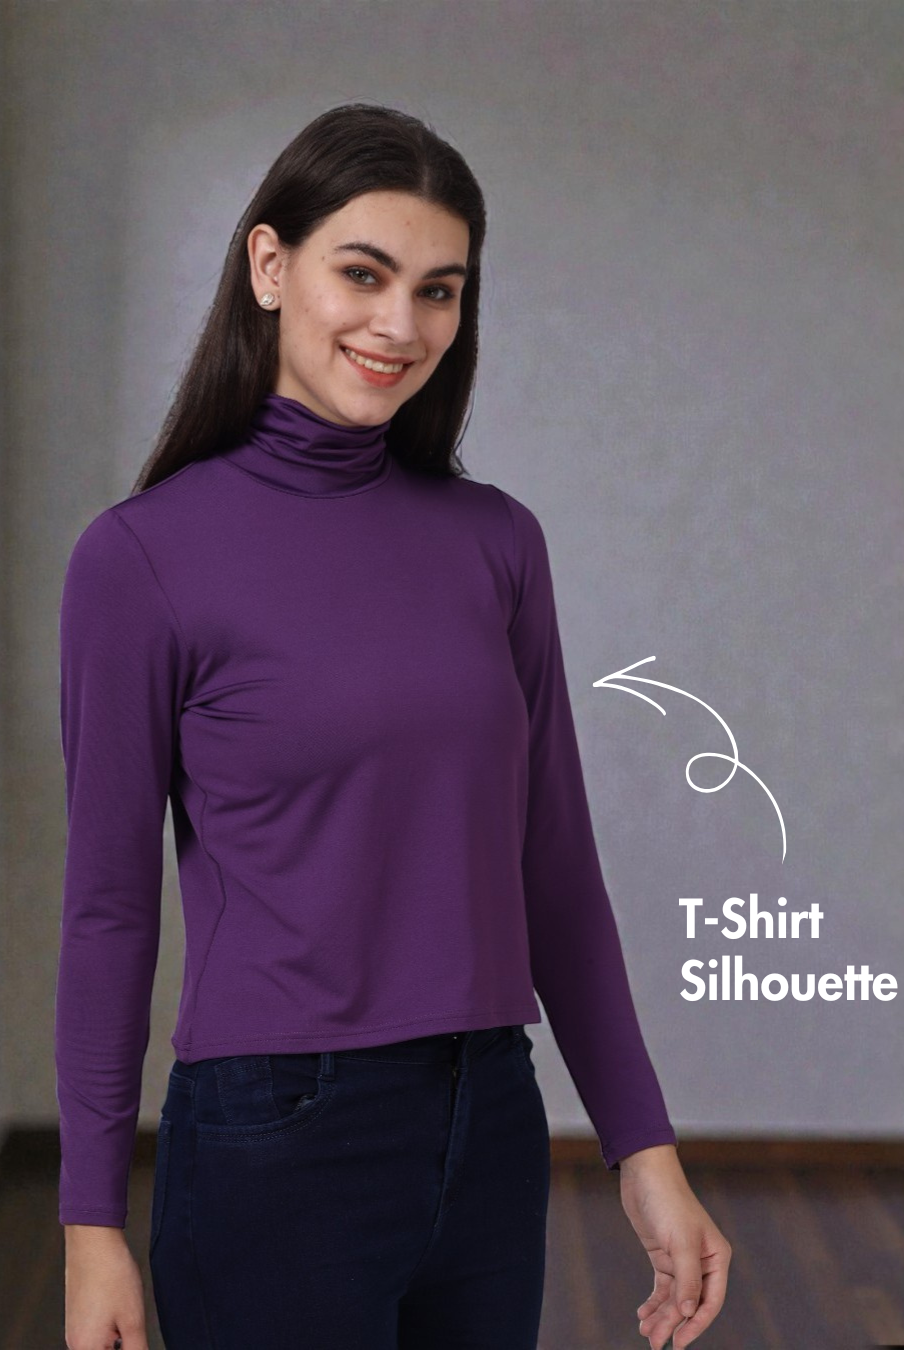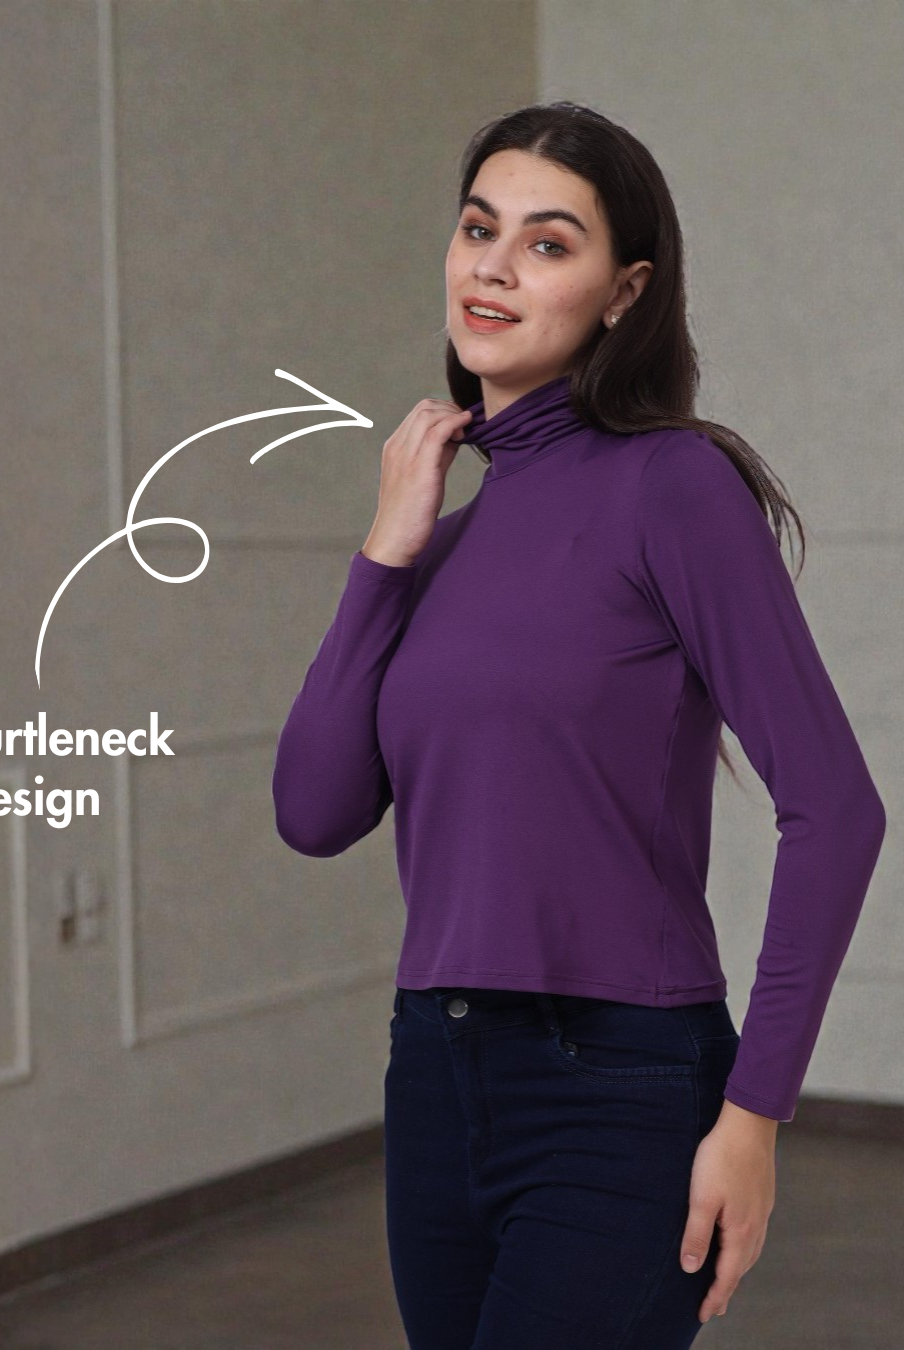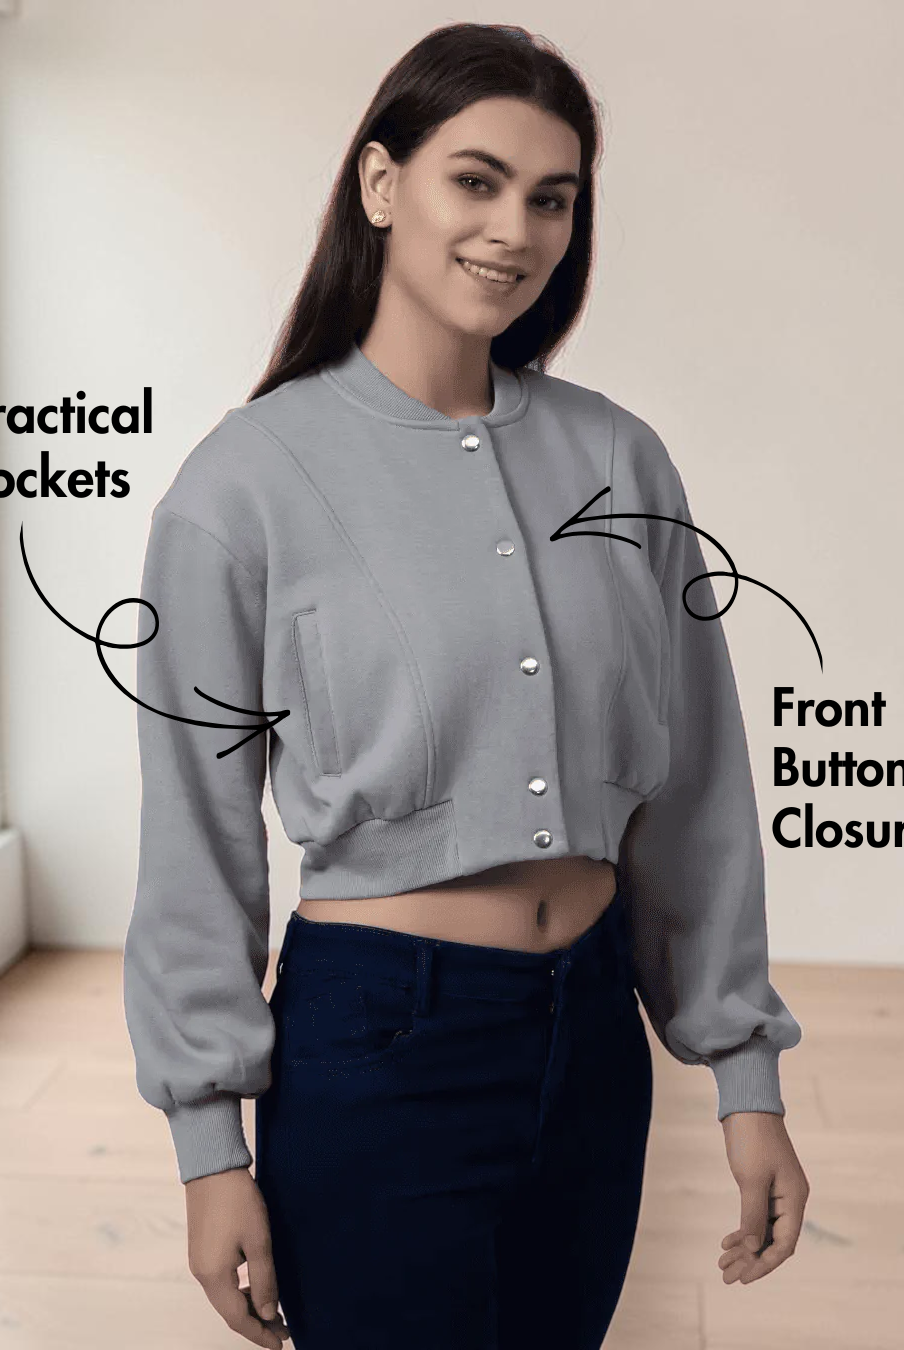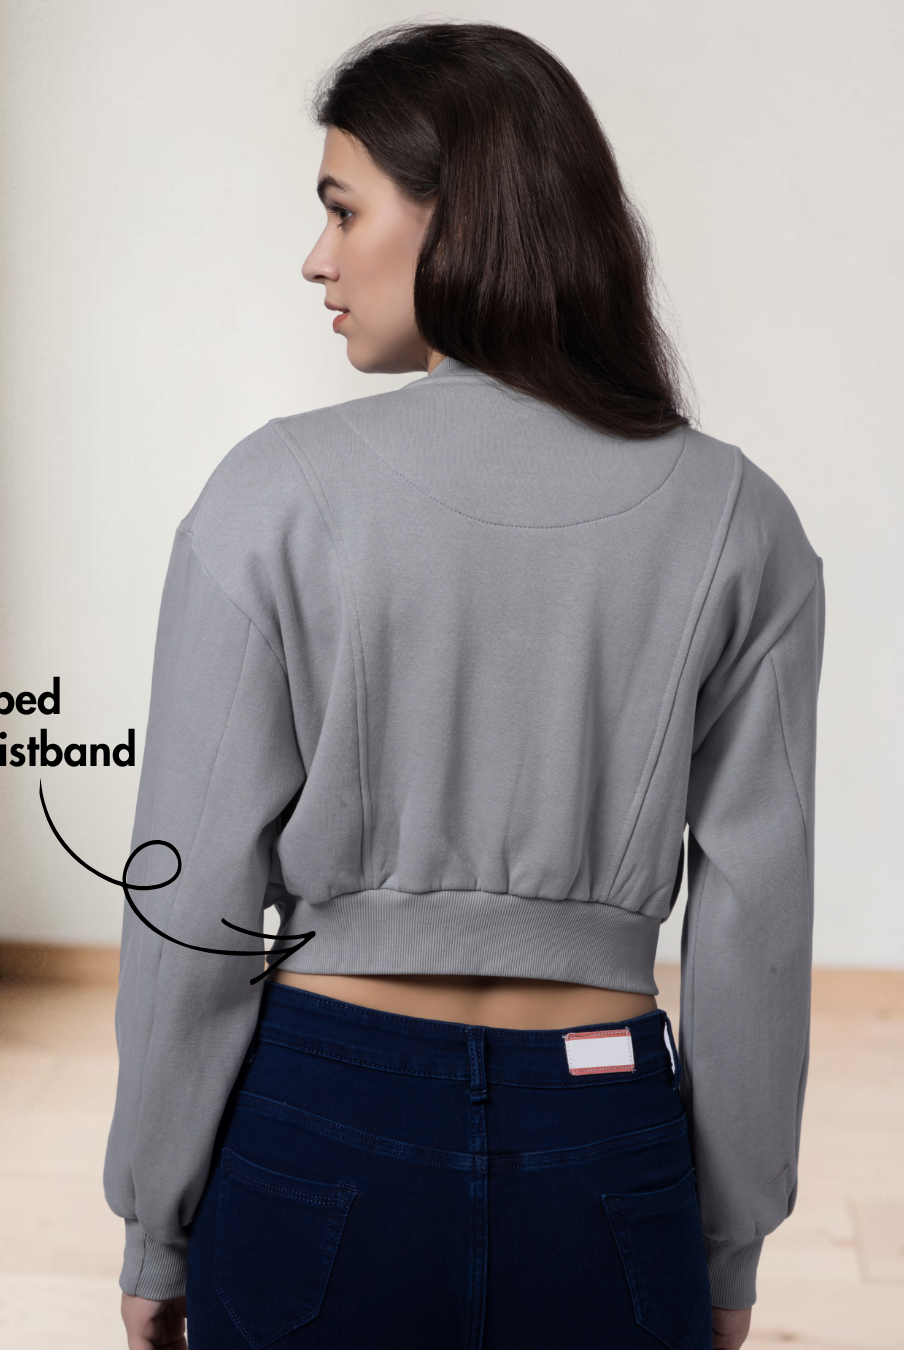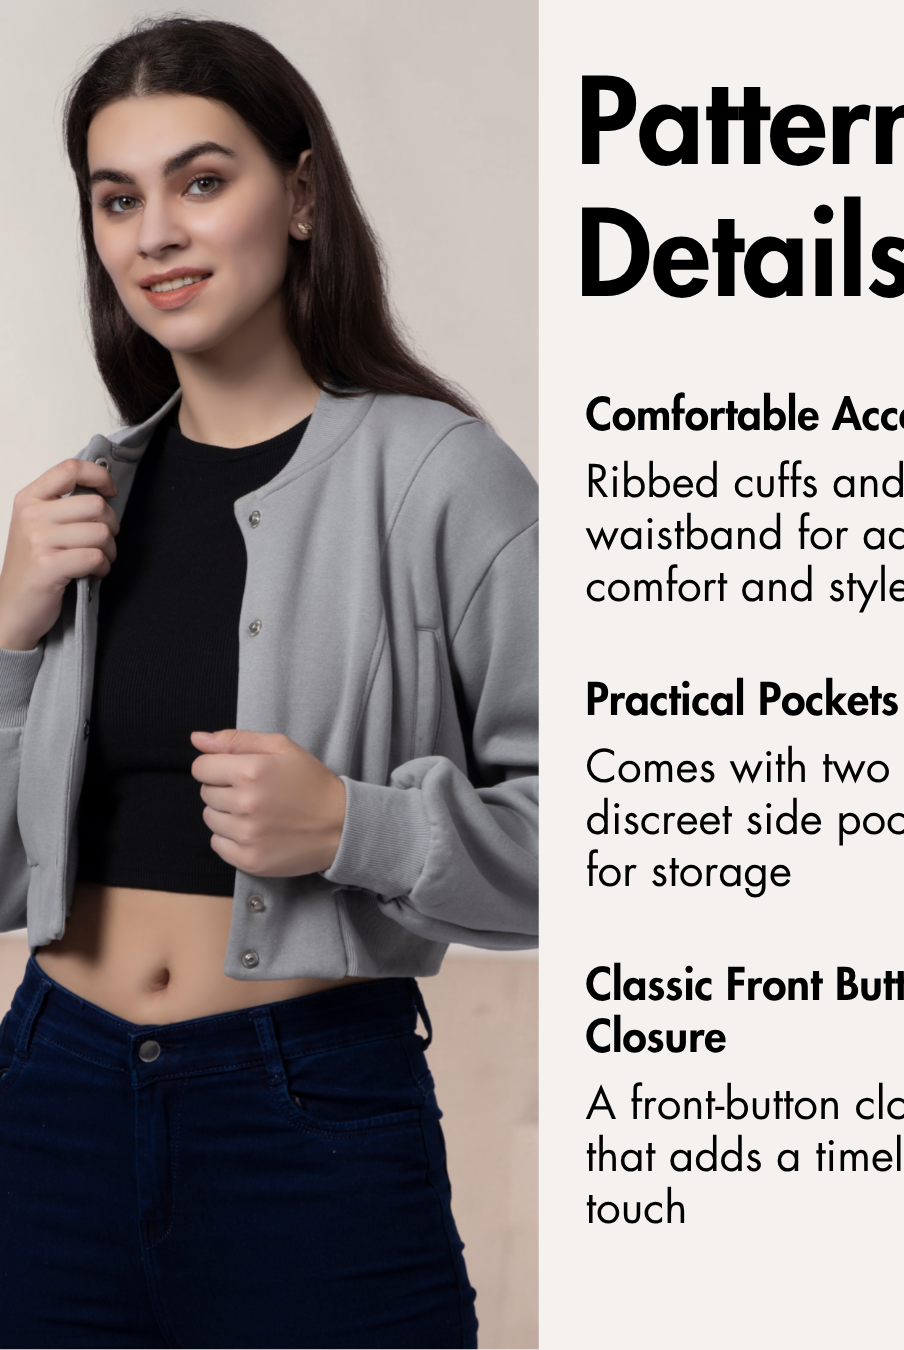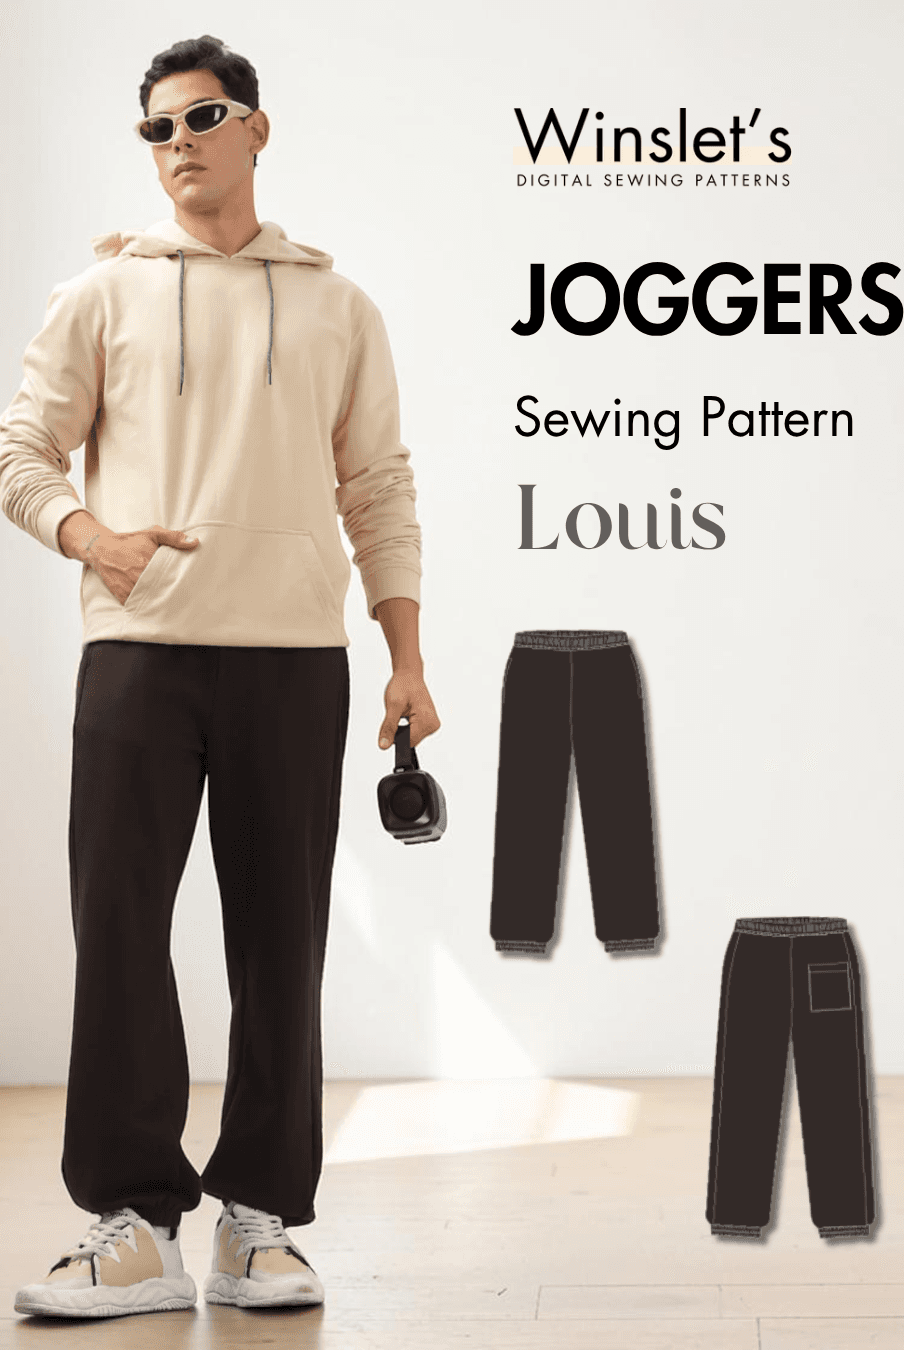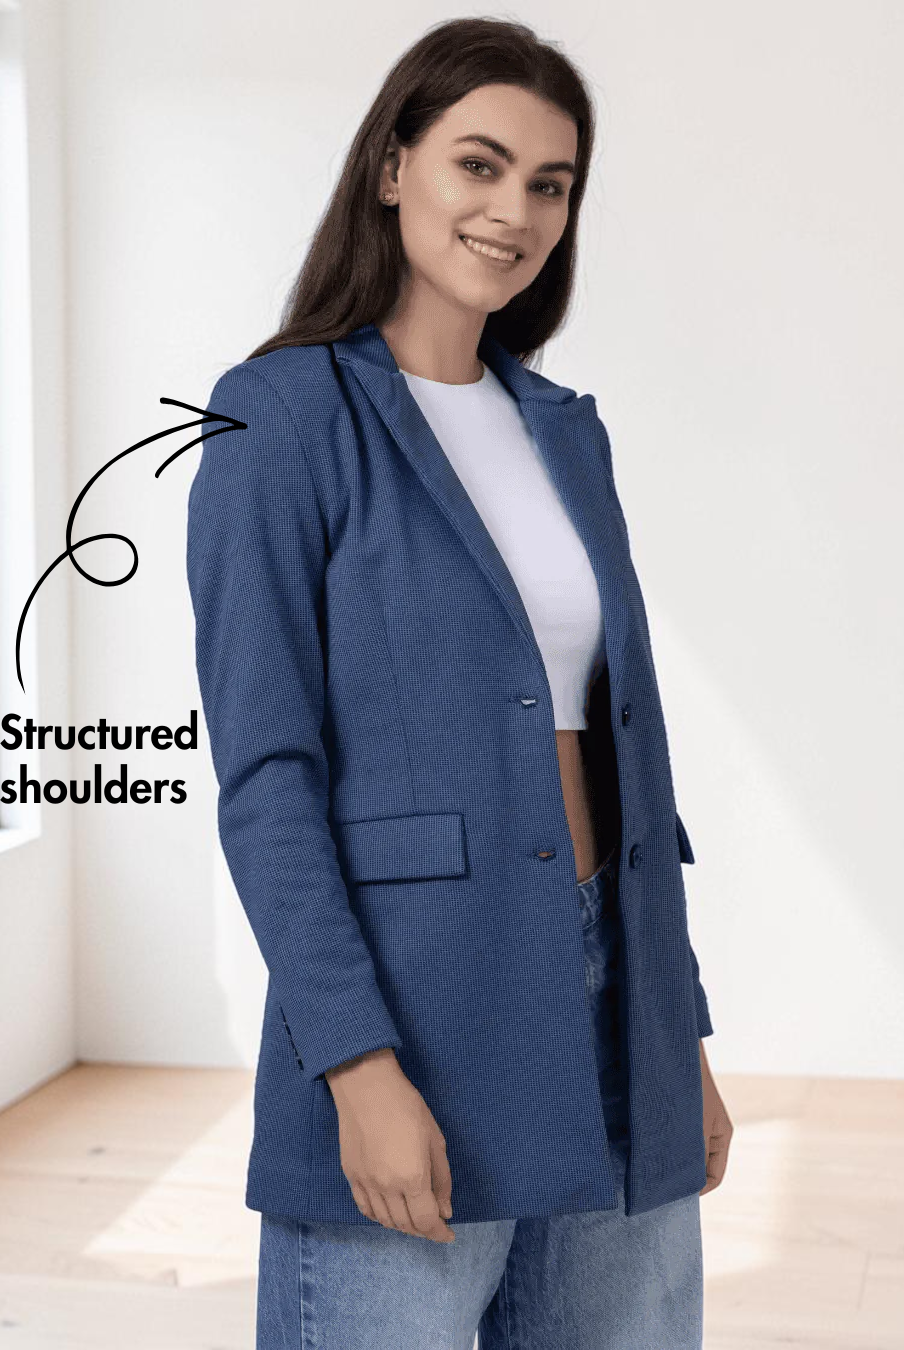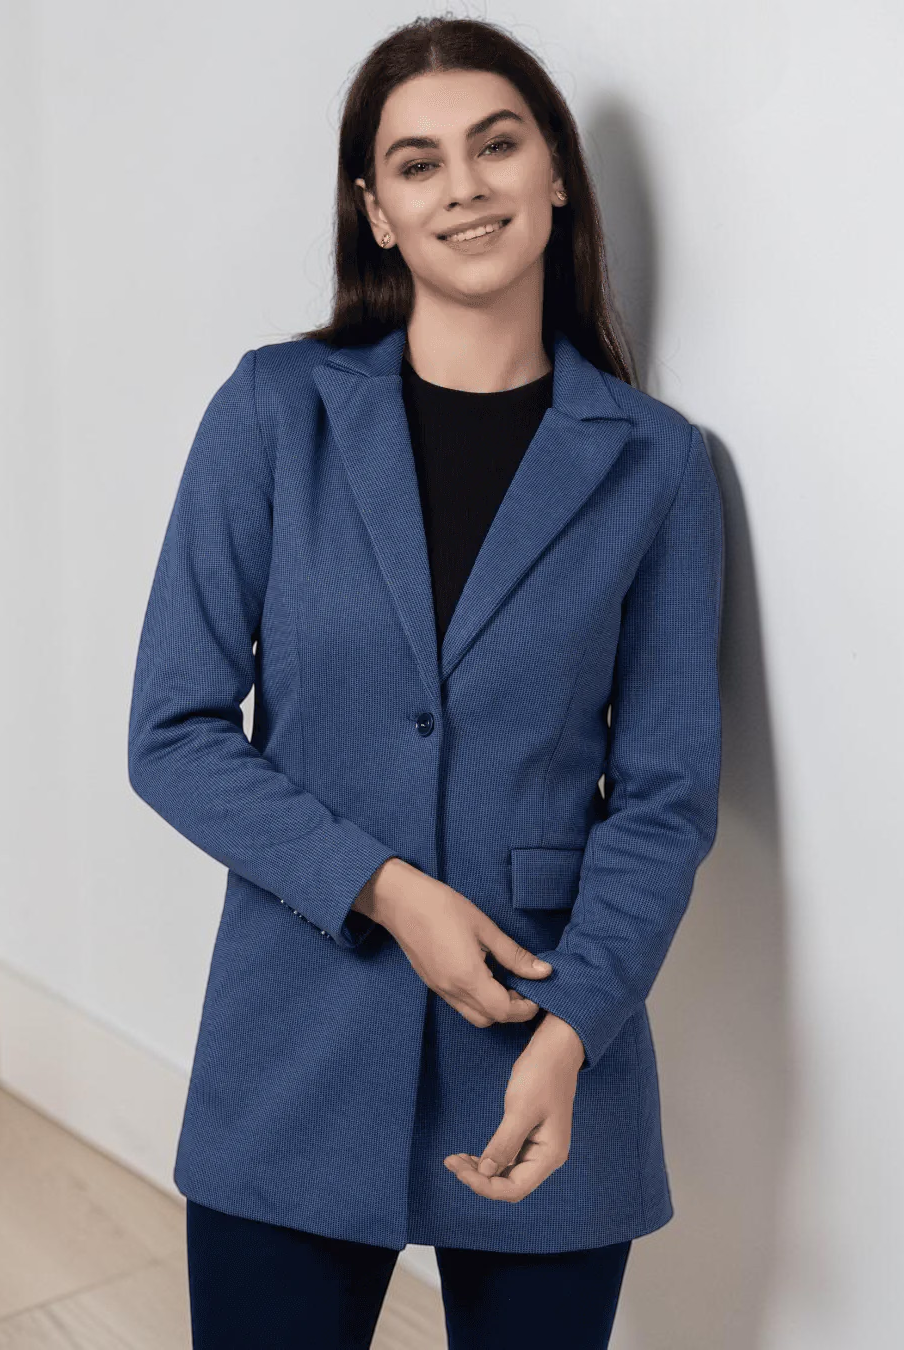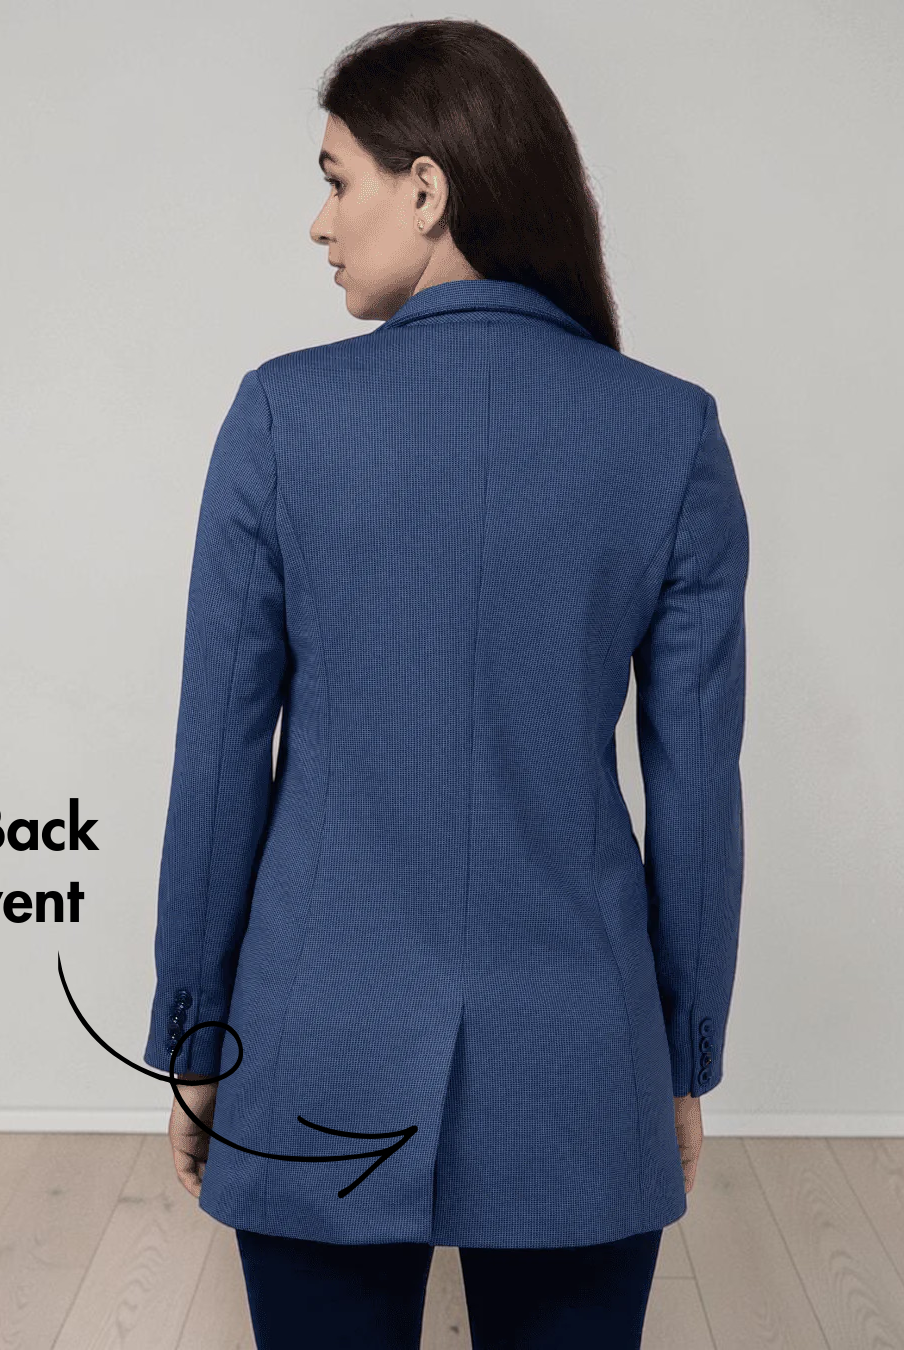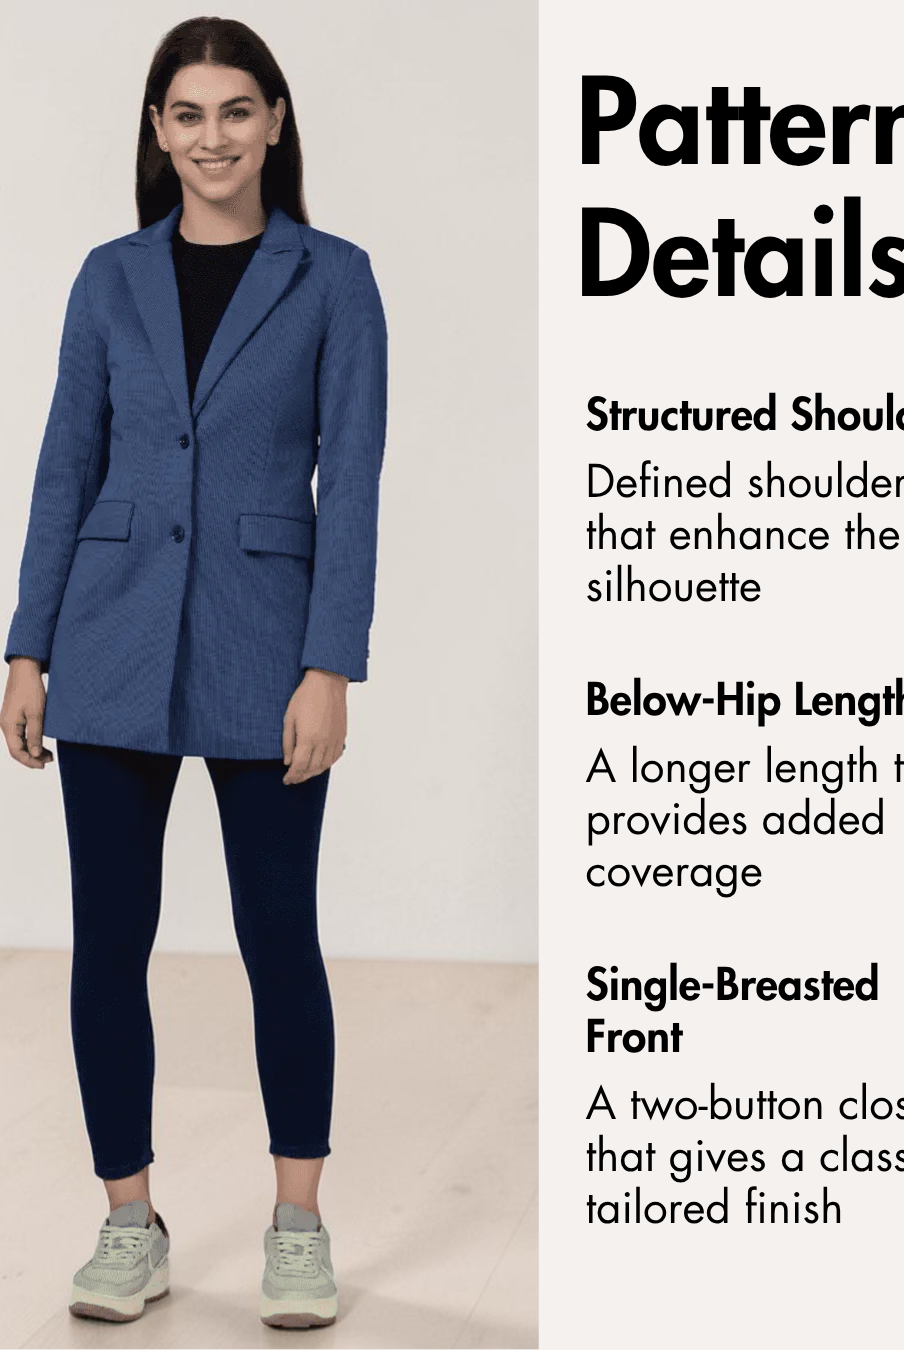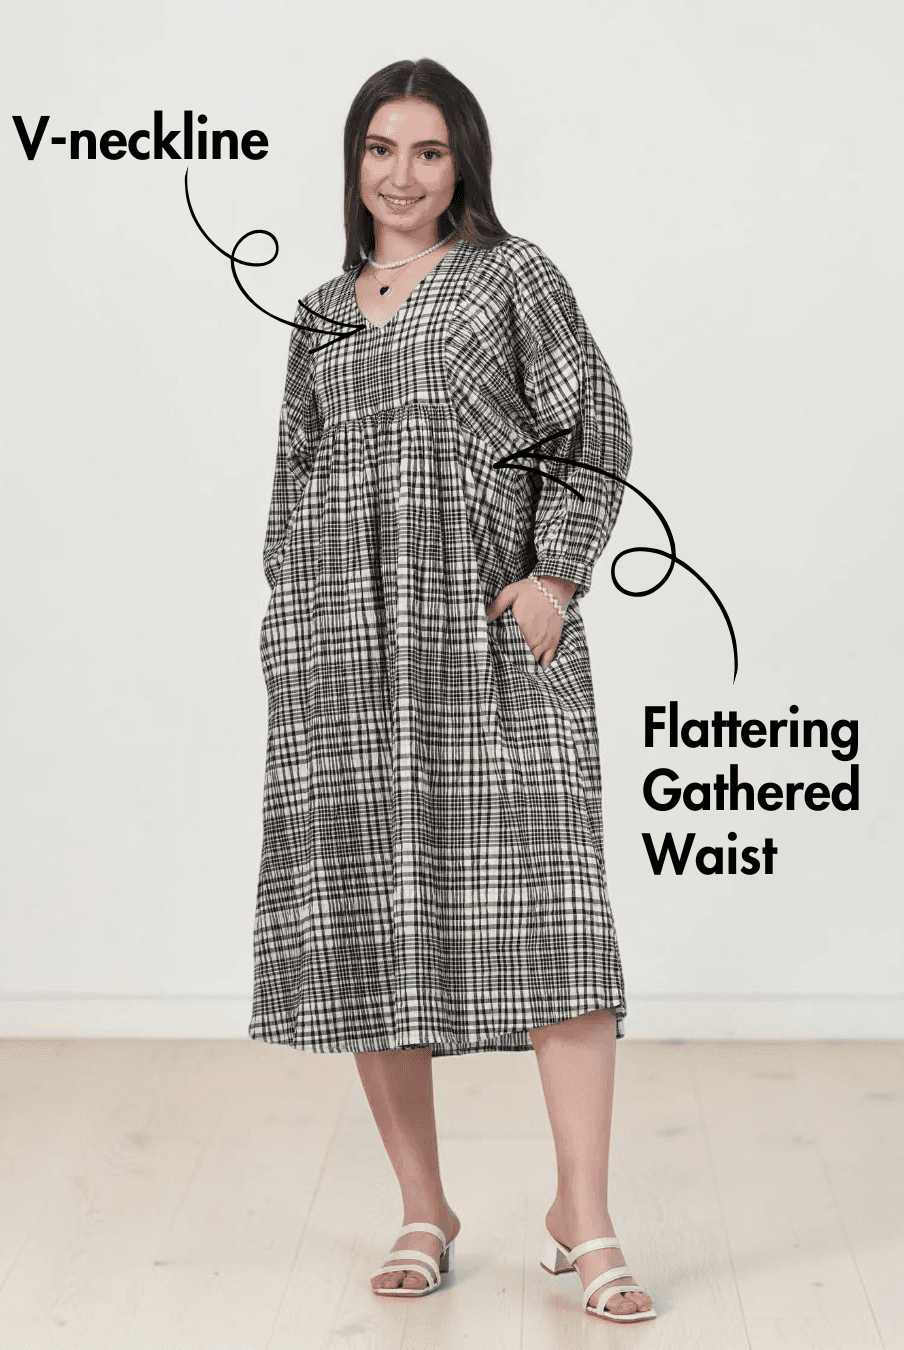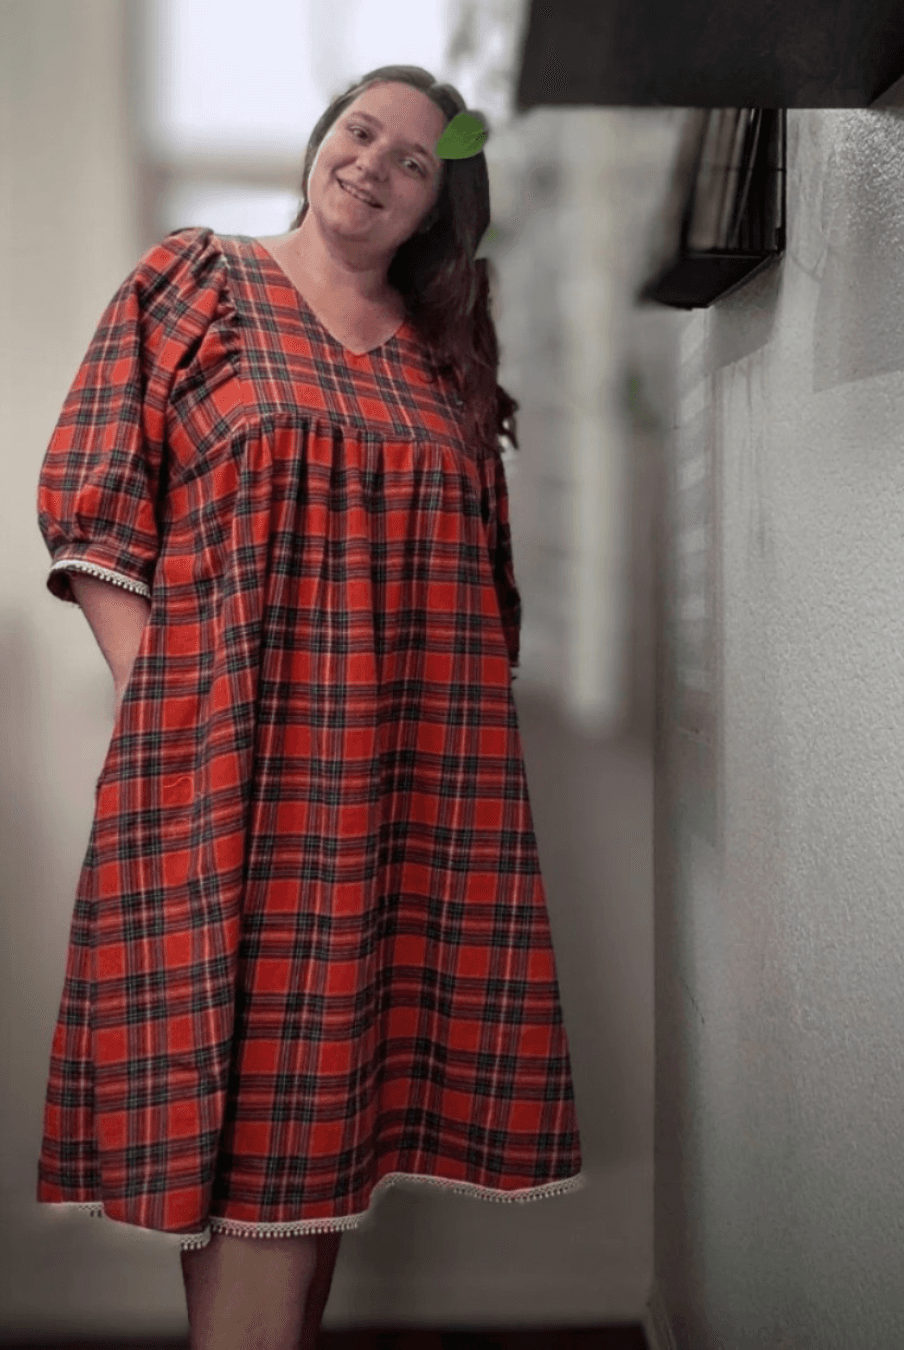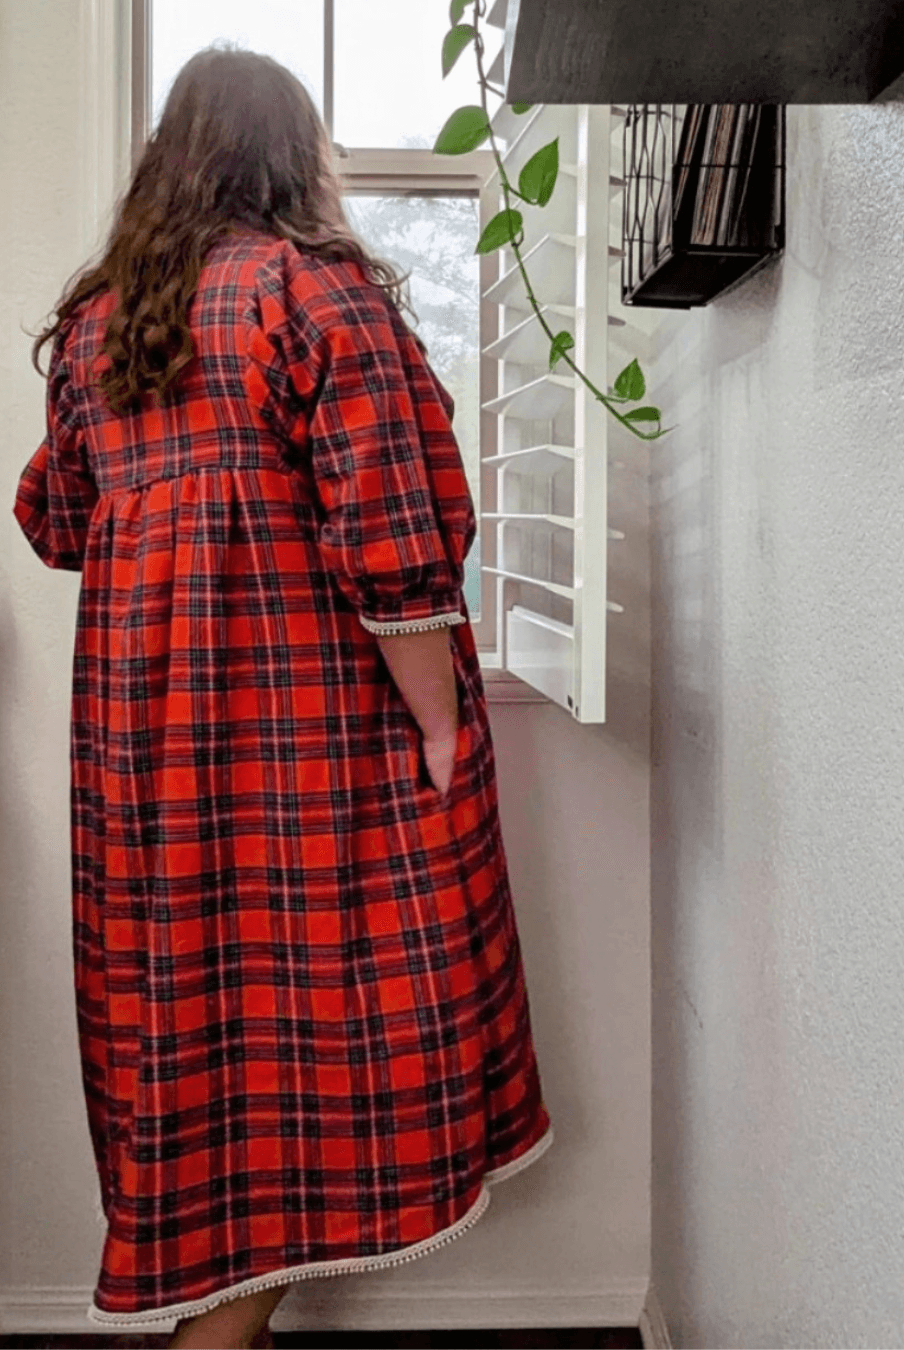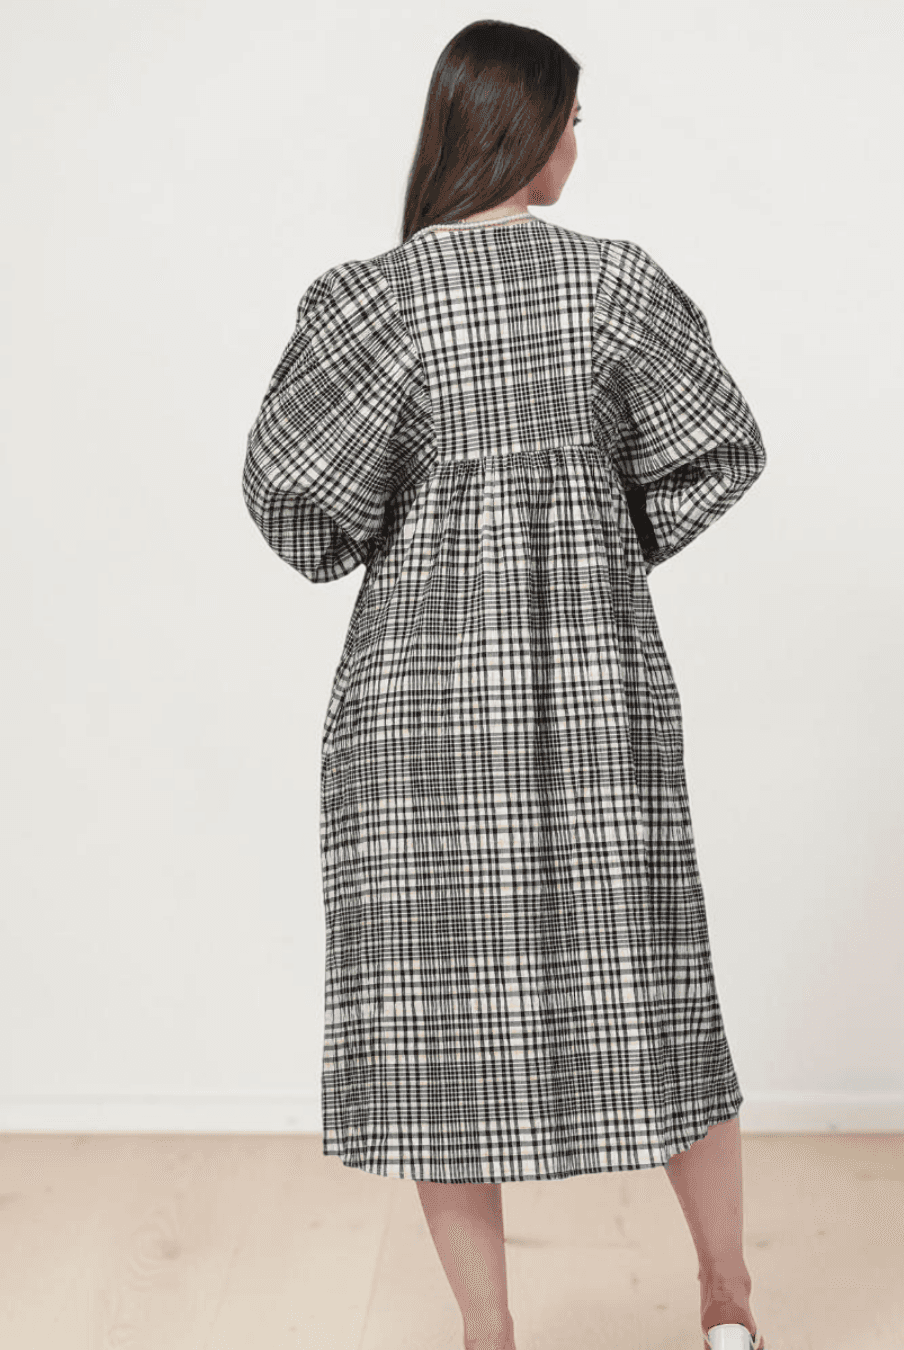
A kid's sleeveless vest is a timeless layering piece that adds a polished finish to any outfit. It's an excellent project for sewists looking to develop garment-making skills while learning professional techniques such as welt pockets, lining construction, and collar attachment. A handmade vest is both practical and rewarding, creating a versatile garment that can be dressed up or worn casually.
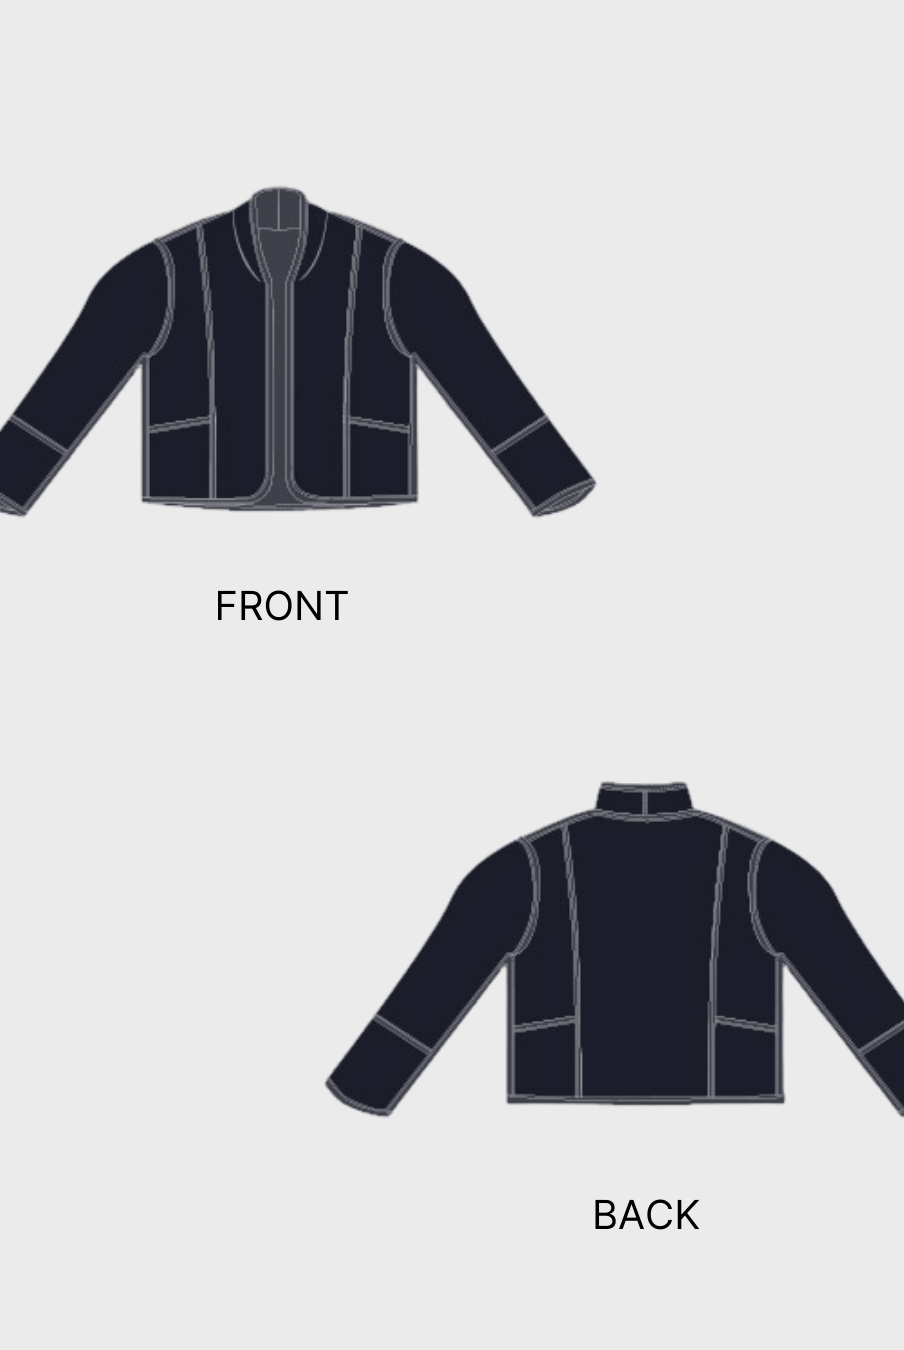
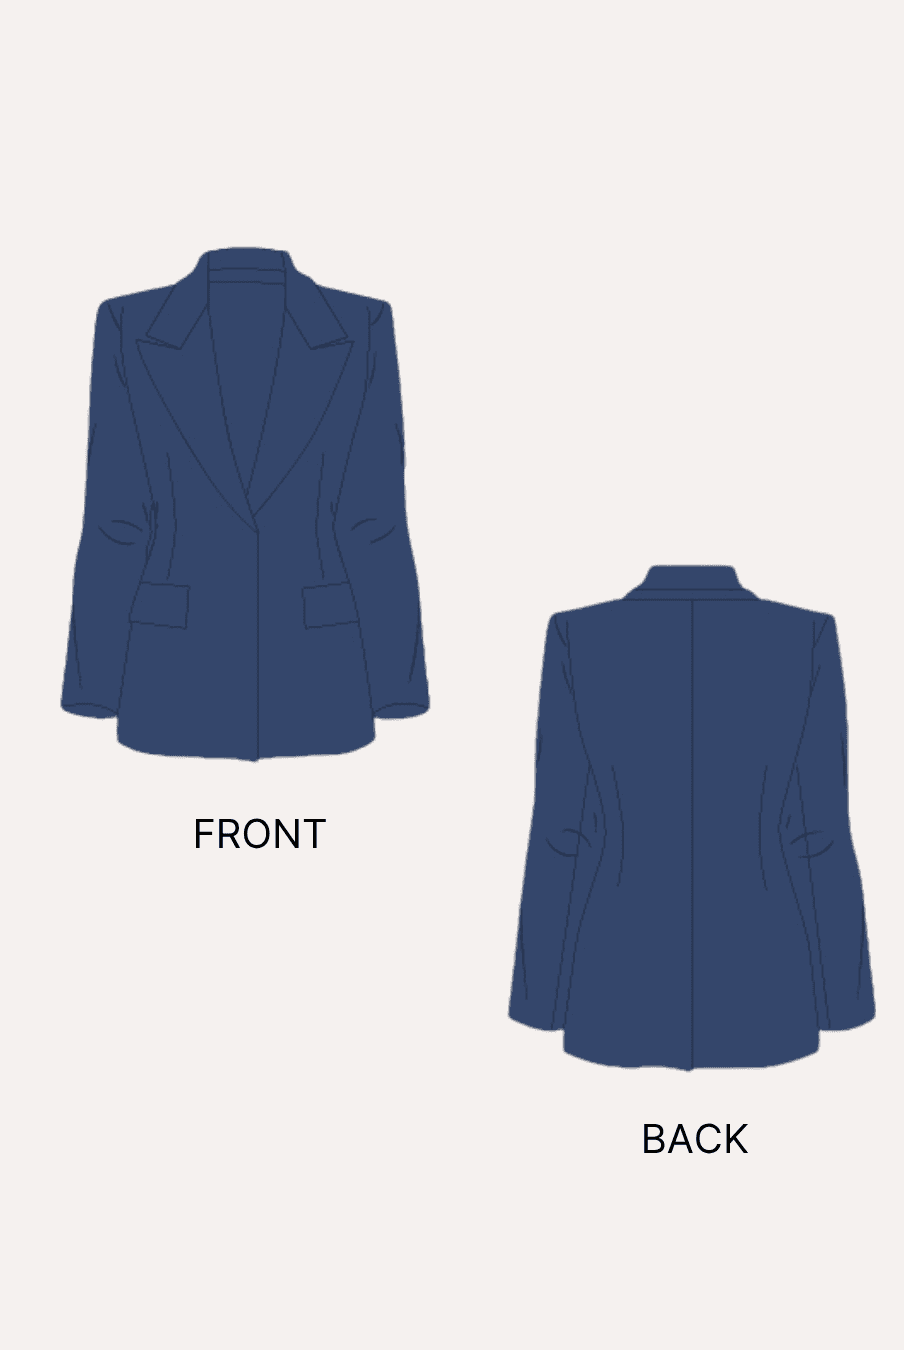
The Winslet's Flynn Kids Sleeveless Vest Sewing Pattern is designed for sewists who want to create a structured, fully lined vest with tailored details. Featuring a classic collar, side welt pockets, and an inner welt pocket, this intermediate-level pattern provides clear, step-by-step guidance to help you achieve a professional finish.

Why Sew a Kid's Sleeveless Vest?
- Create a classic layering piece that works for both casual and formal occasions.
- Learn professional tailoring techniques such as constructing welt pockets and attaching a collar.
- Sew a fully lined vest for a clean, polished interior finish.
- Build confidence with structured garment construction while creating a timeless wardrobe staple.
- Customize your vest using a variety of woven or stable knit fabrics.
- Make a durable handmade garment suitable for celebrations, family gatherings, and everyday wear.
Why Choose the Winslet's Flynn Kids Sleeveless Vest Sewing Pattern?

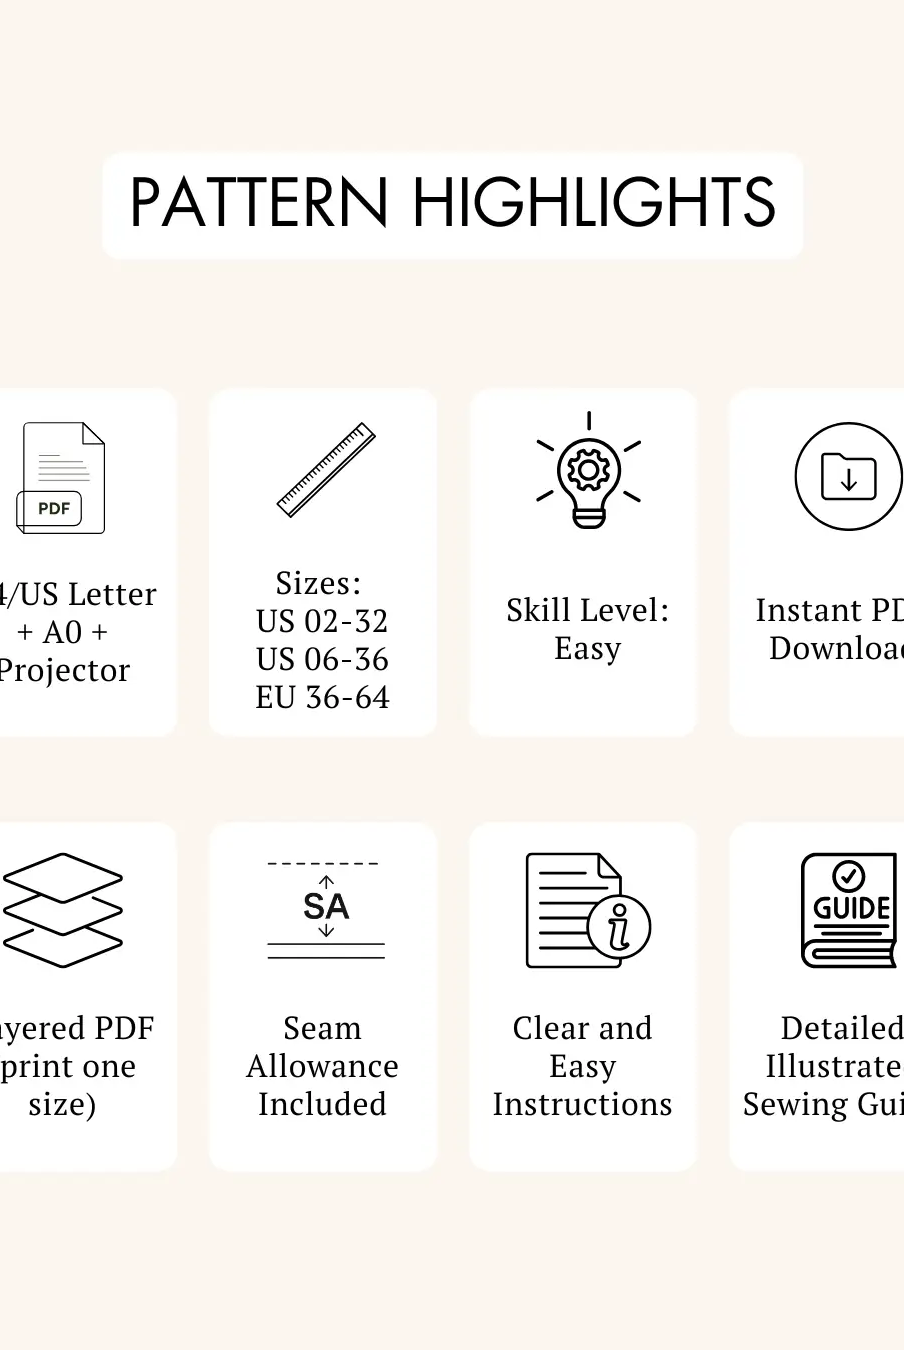
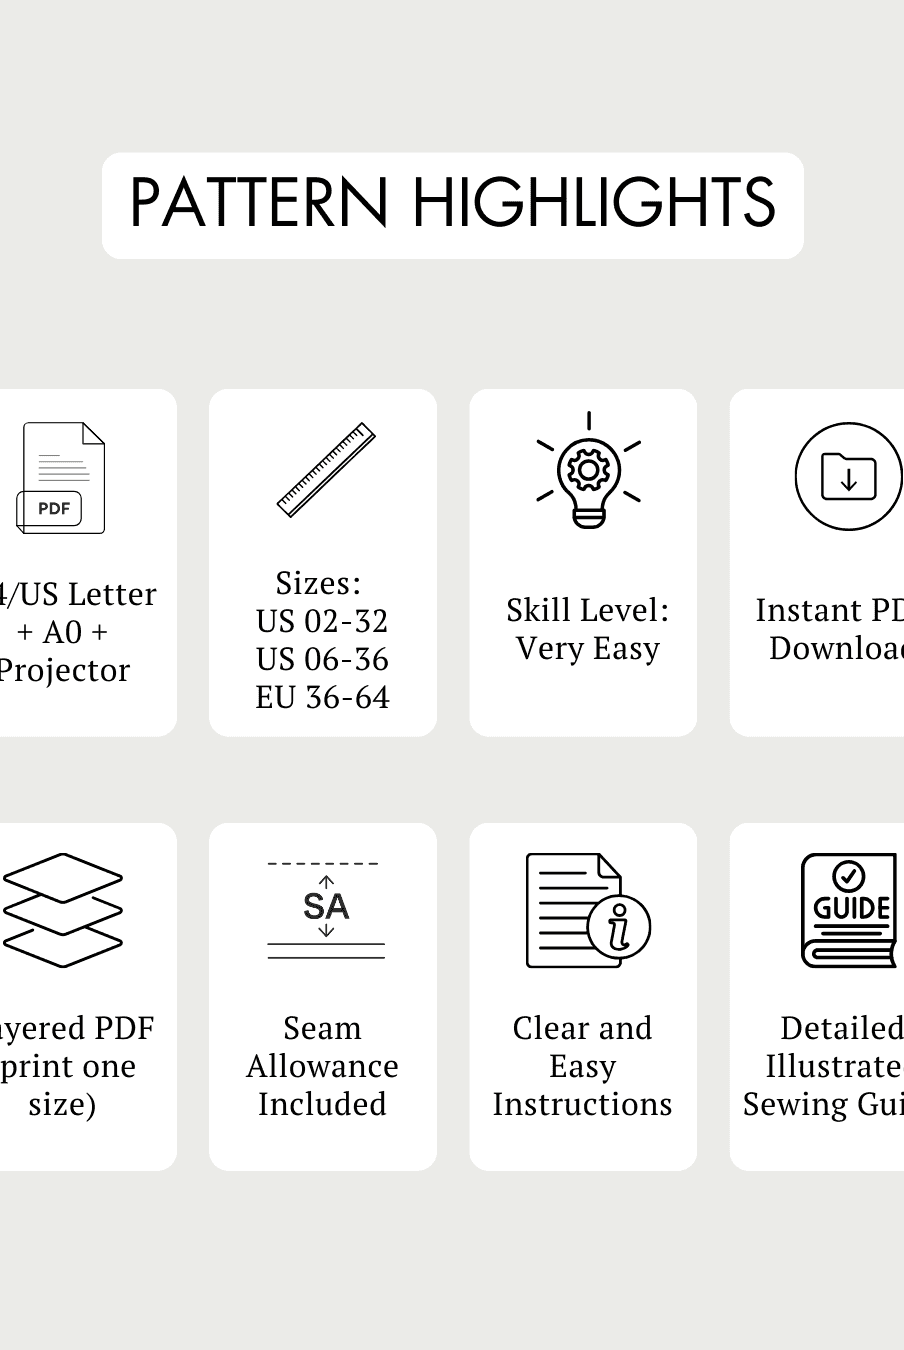
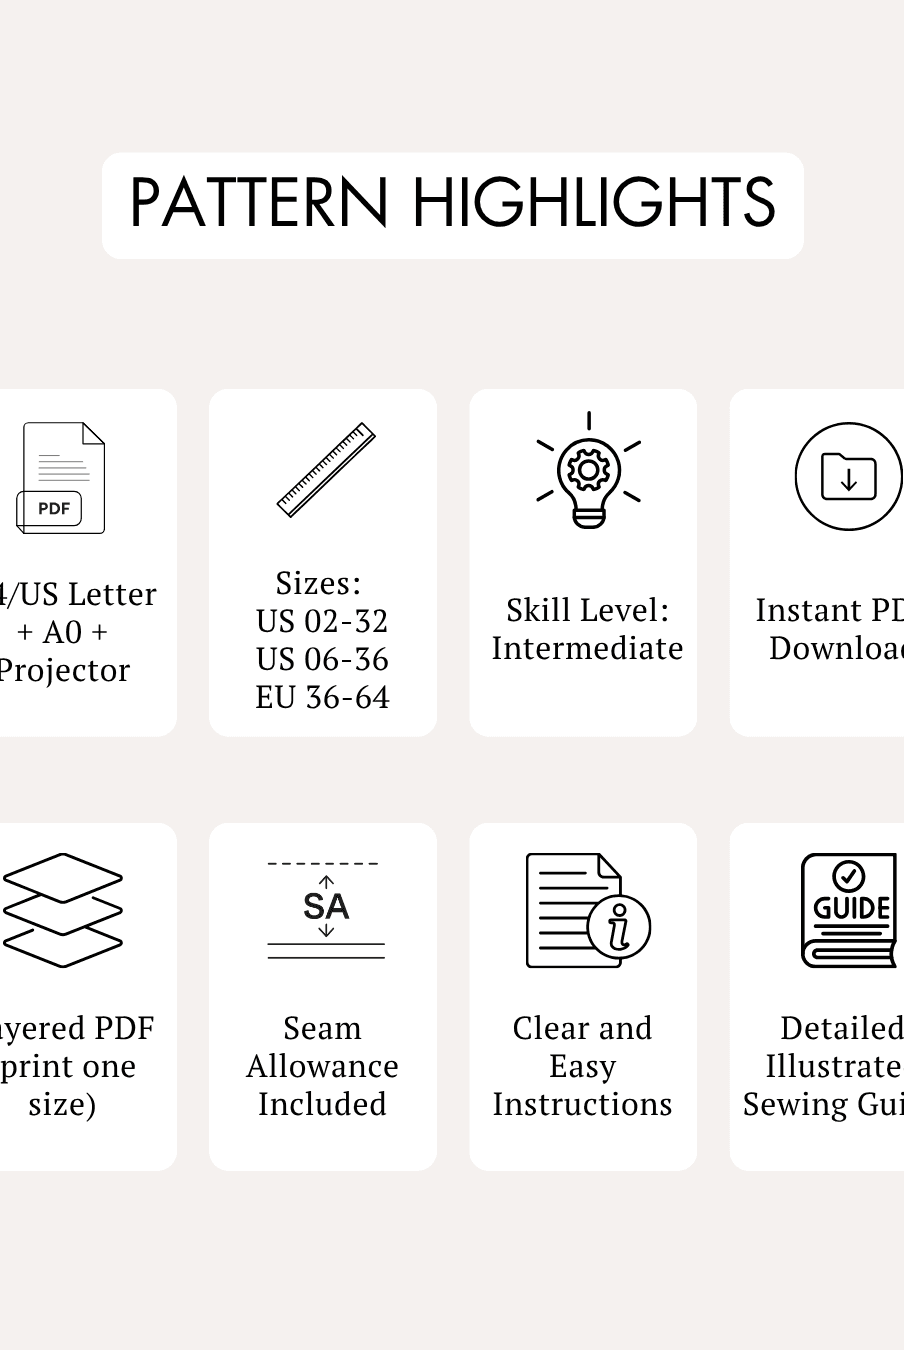
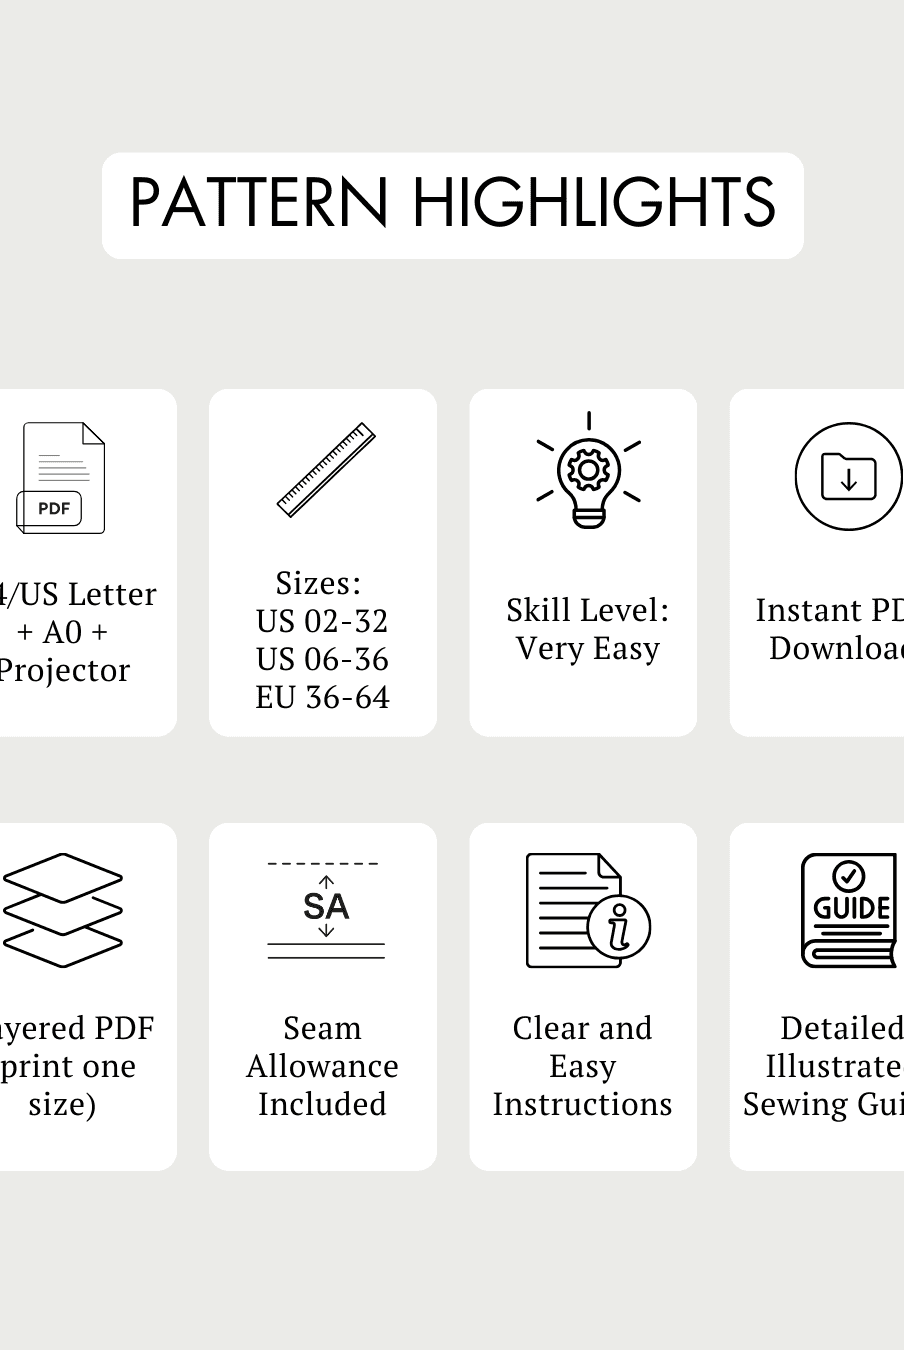
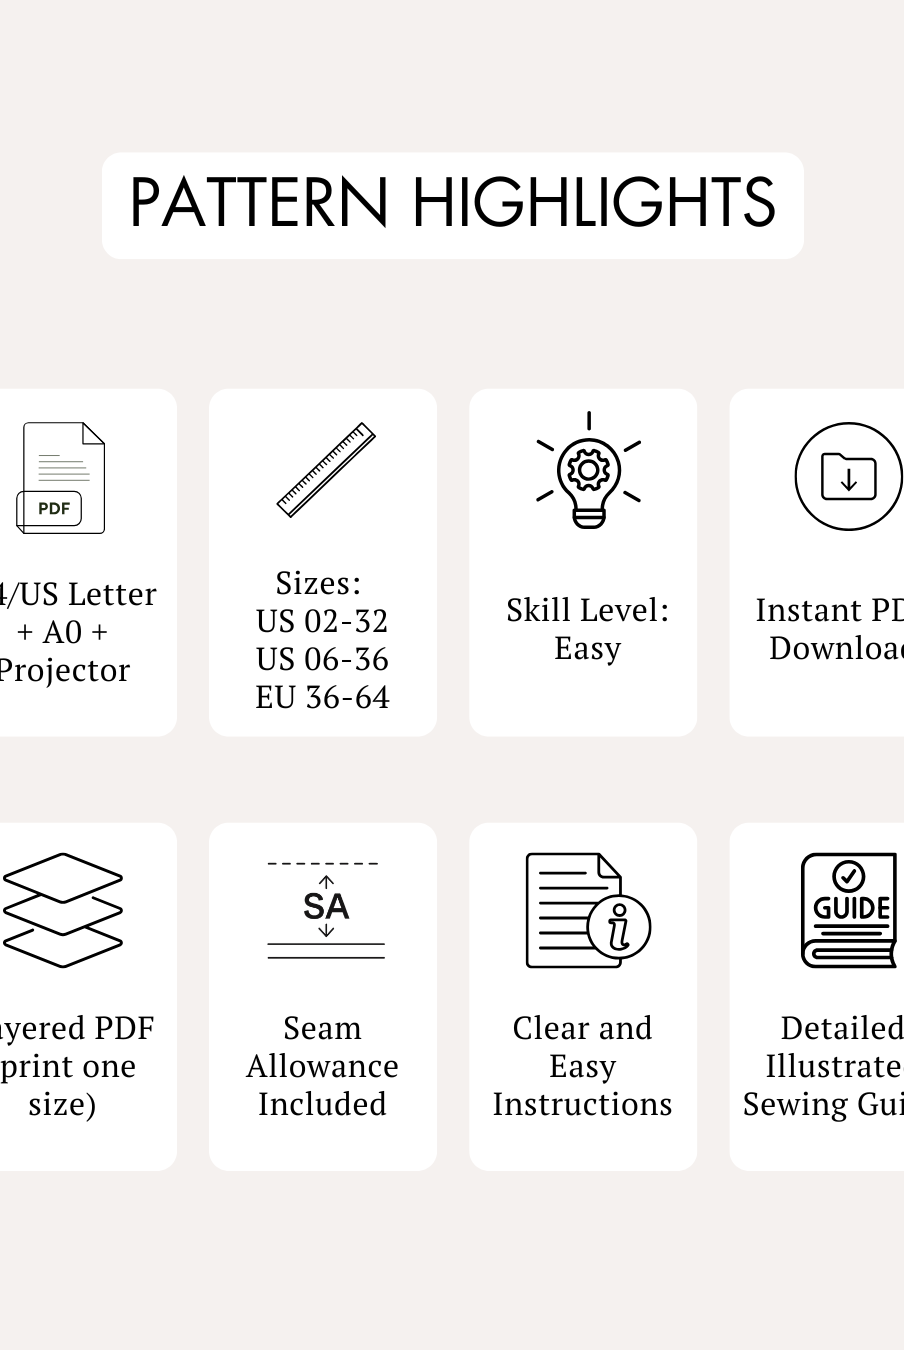
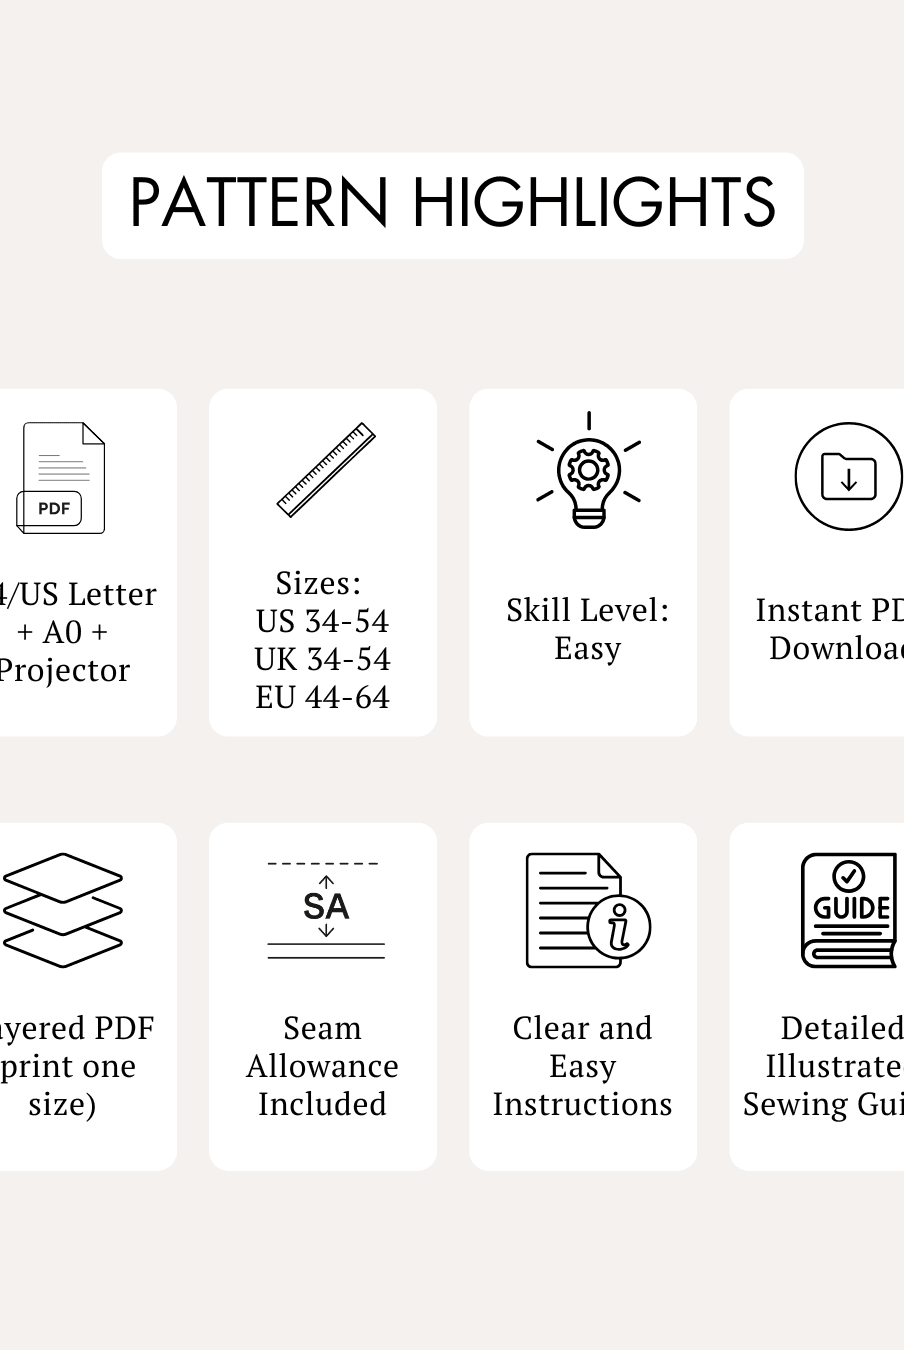
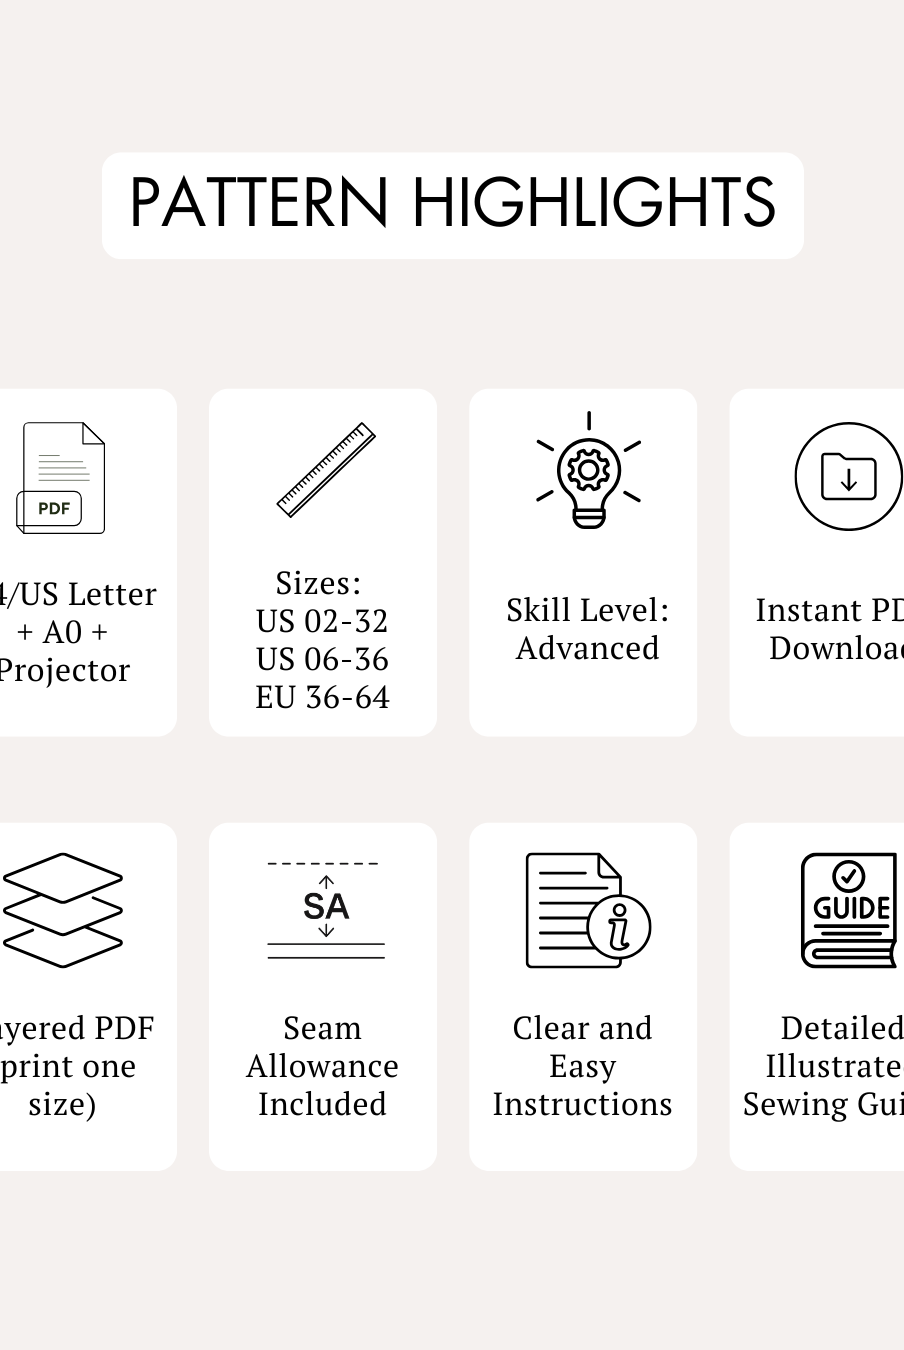
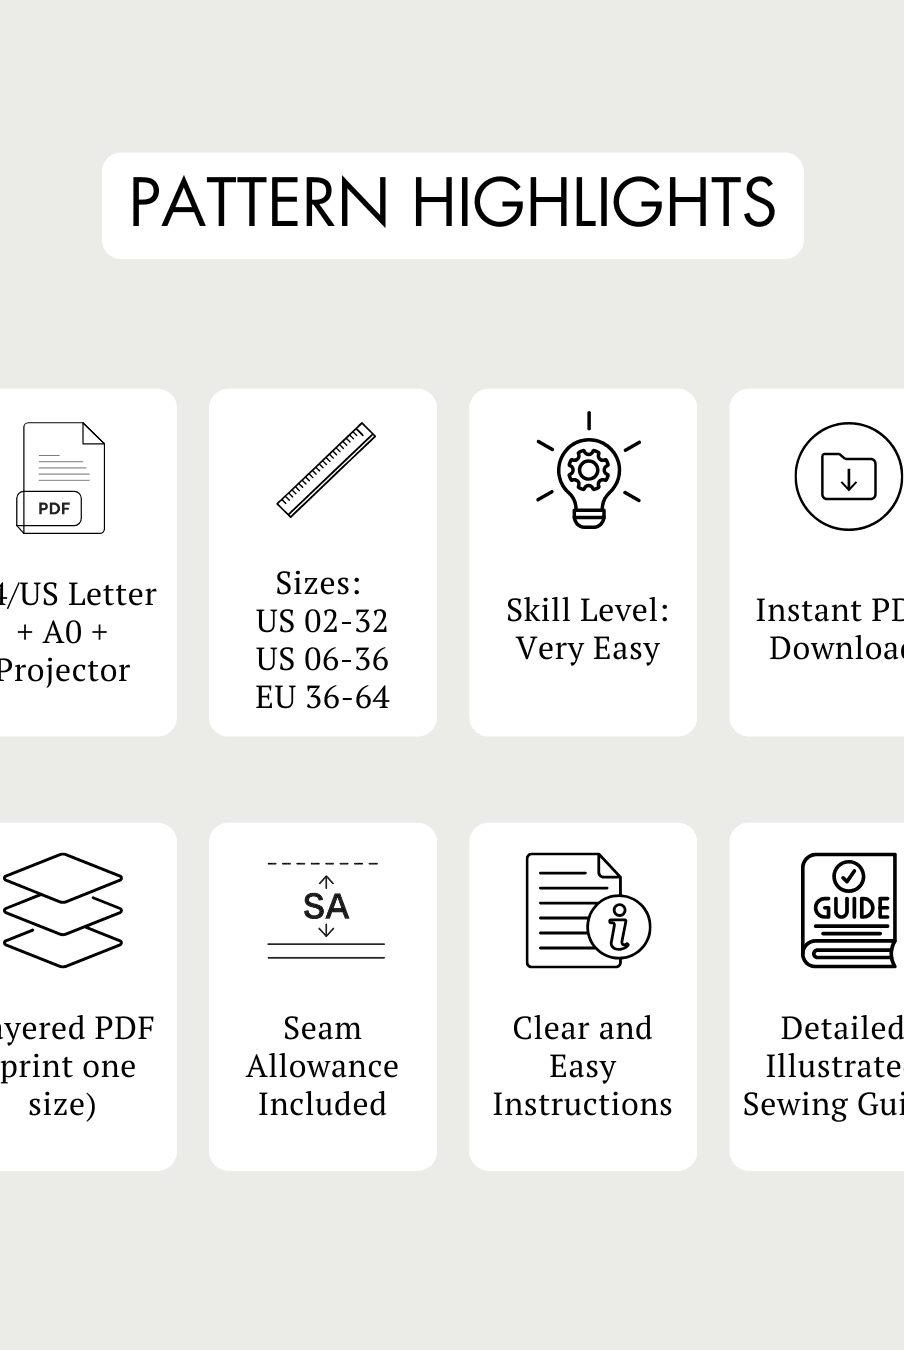
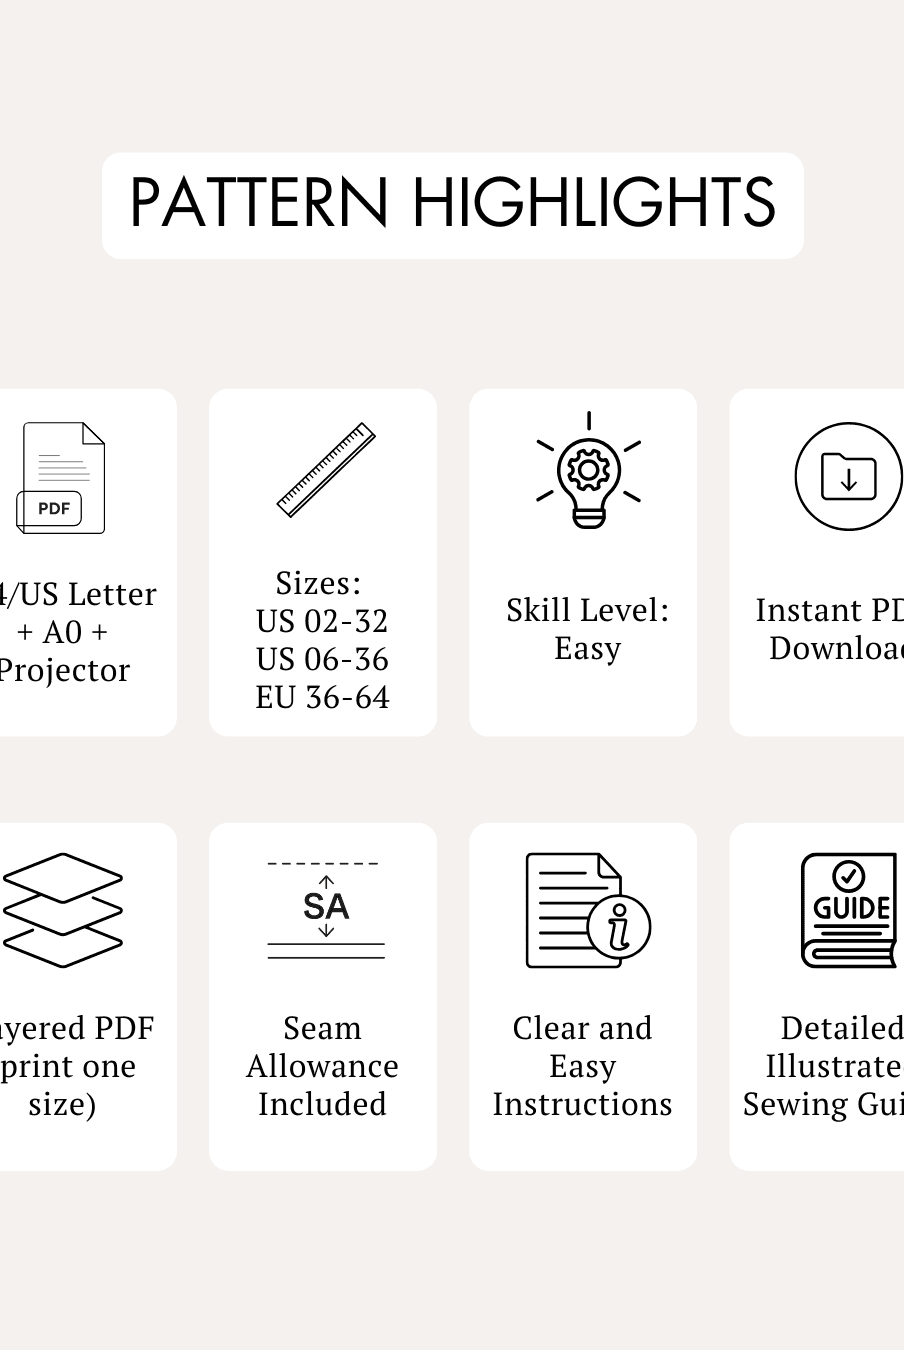
- Skill Level: Intermediate
- Design Features: Sleeveless vest with a collar, side welt pockets, and an inner welt pocket.
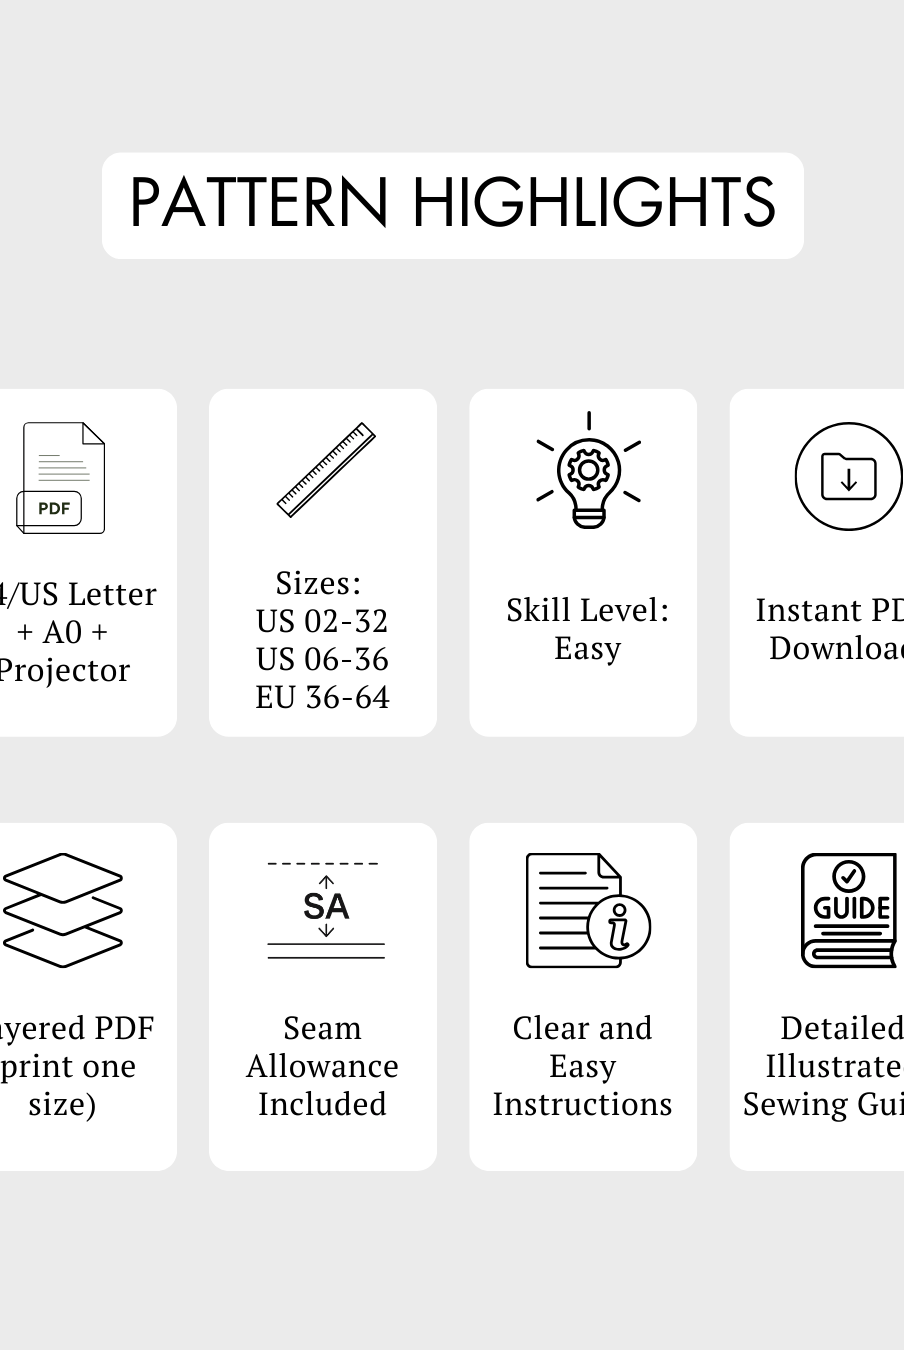
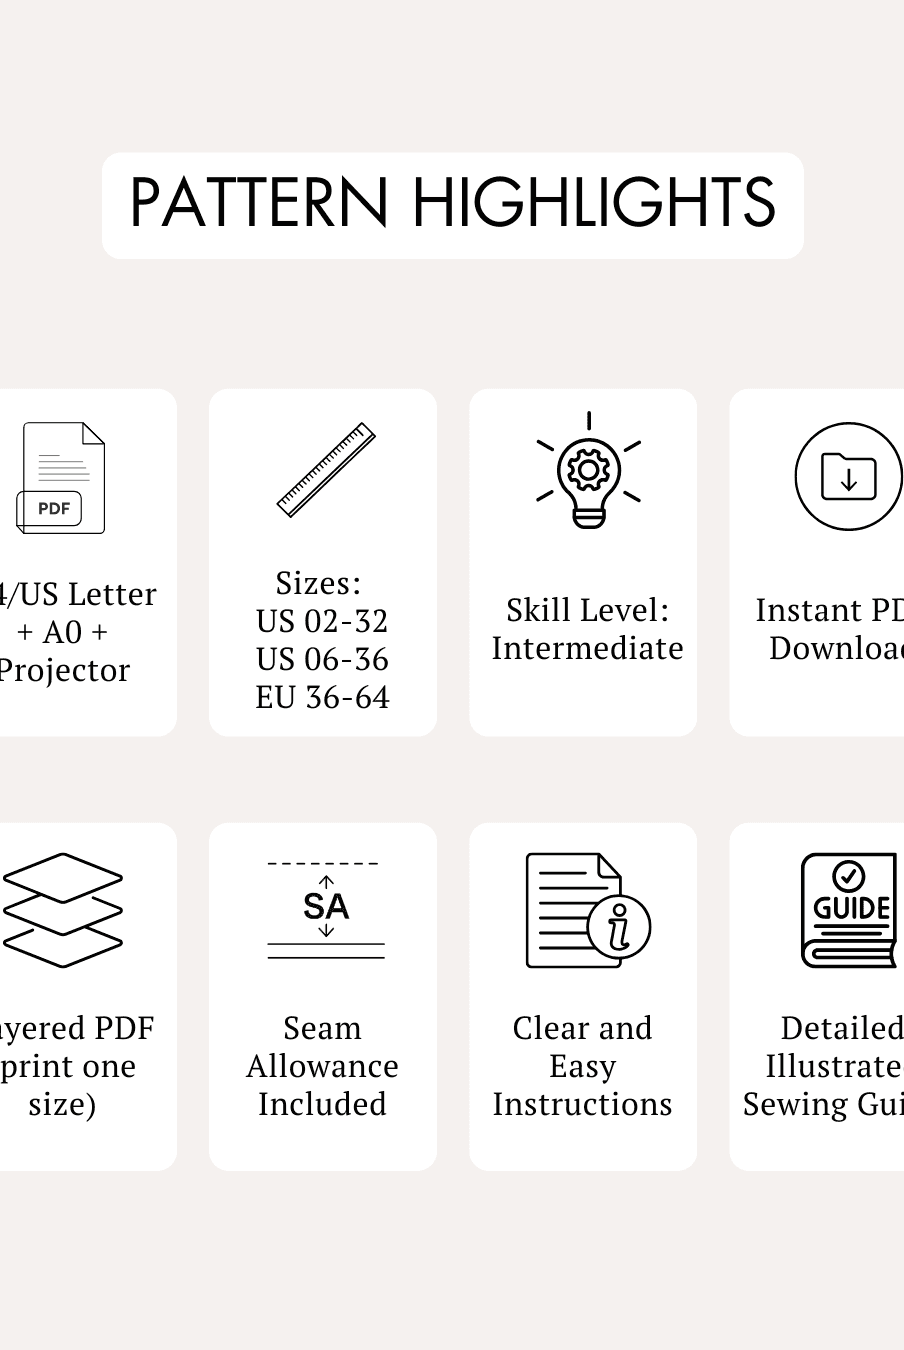
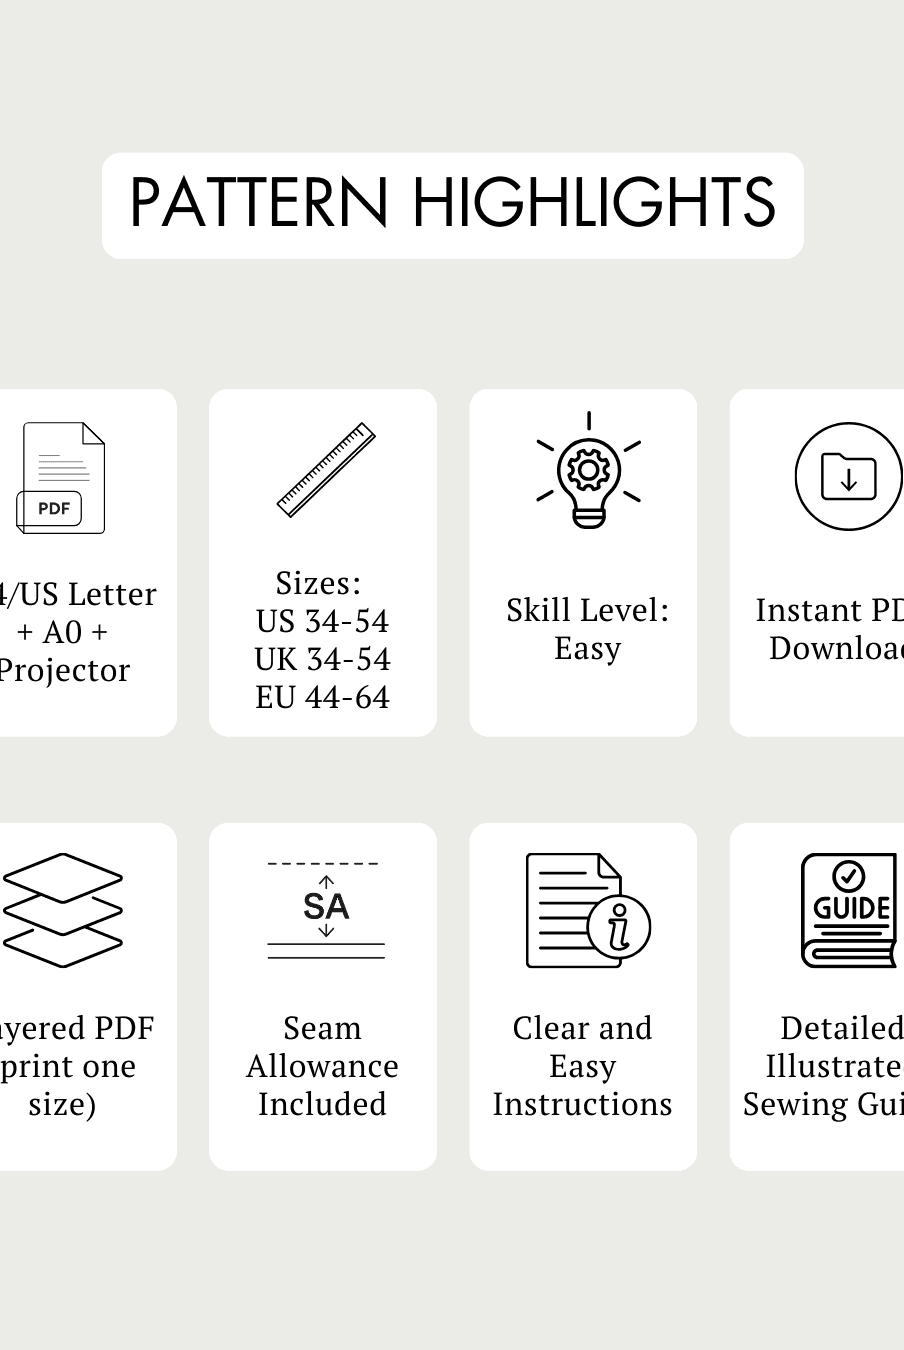
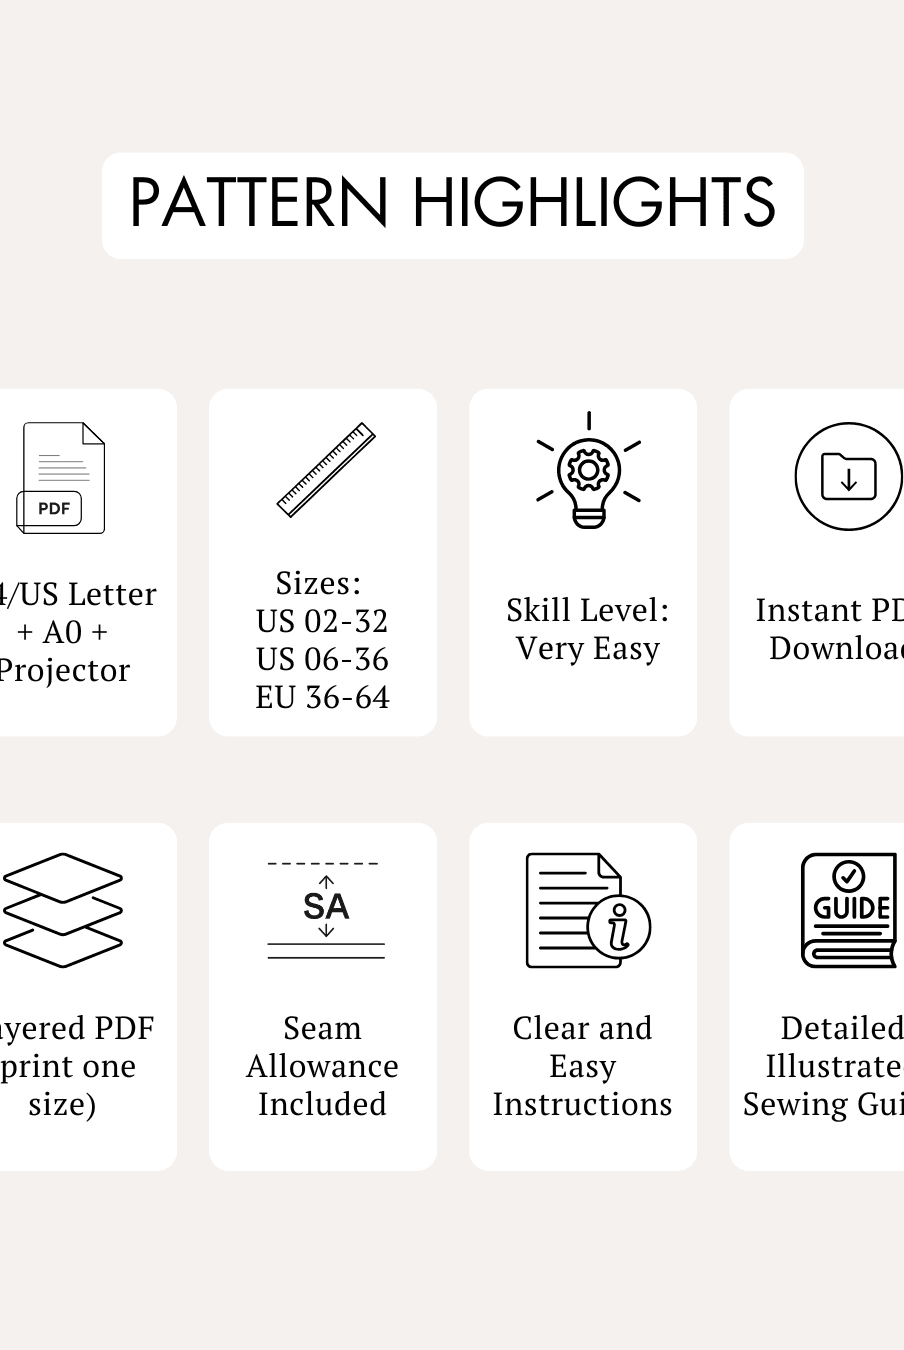
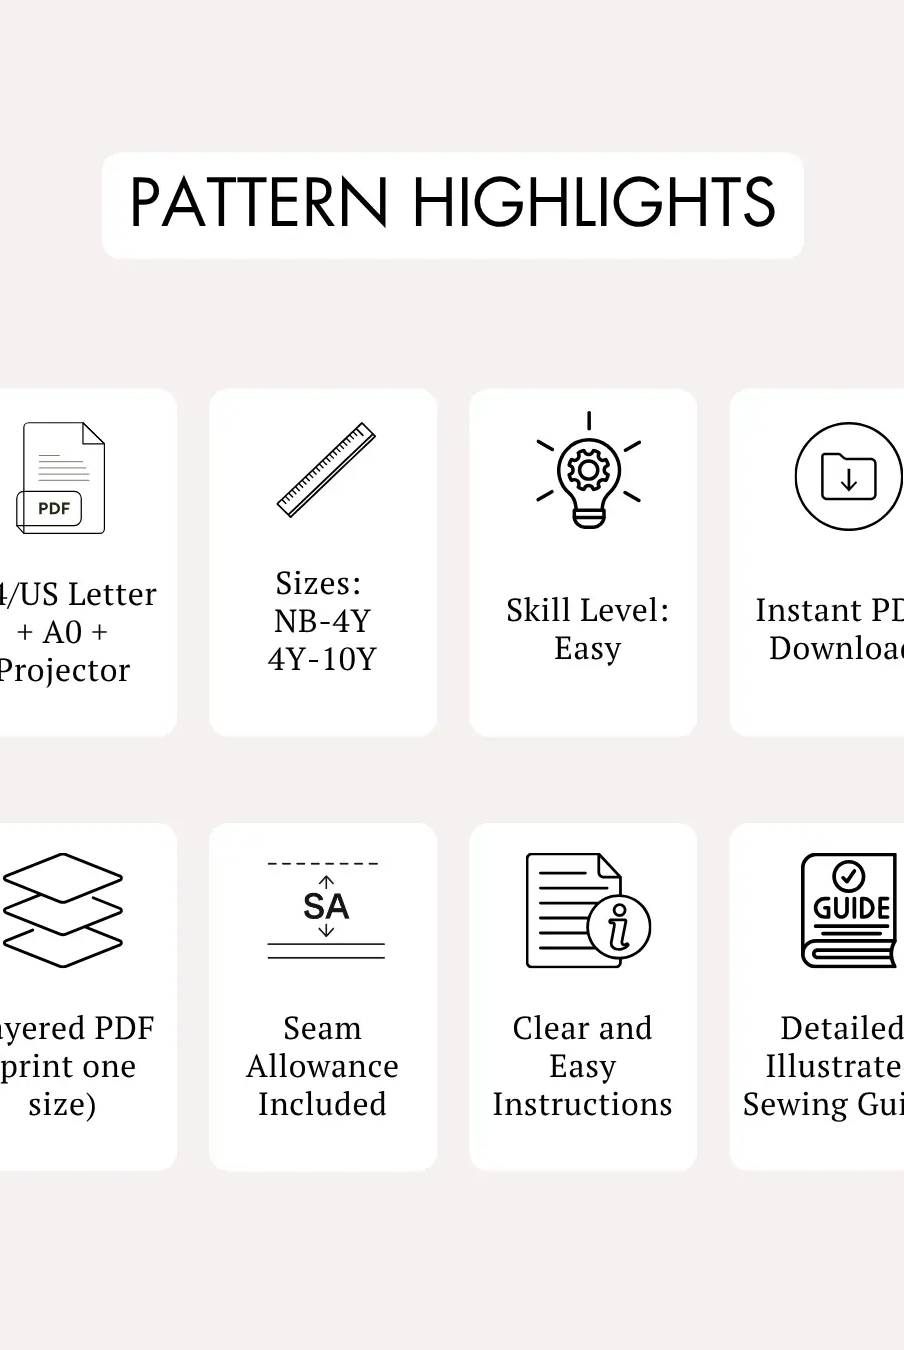
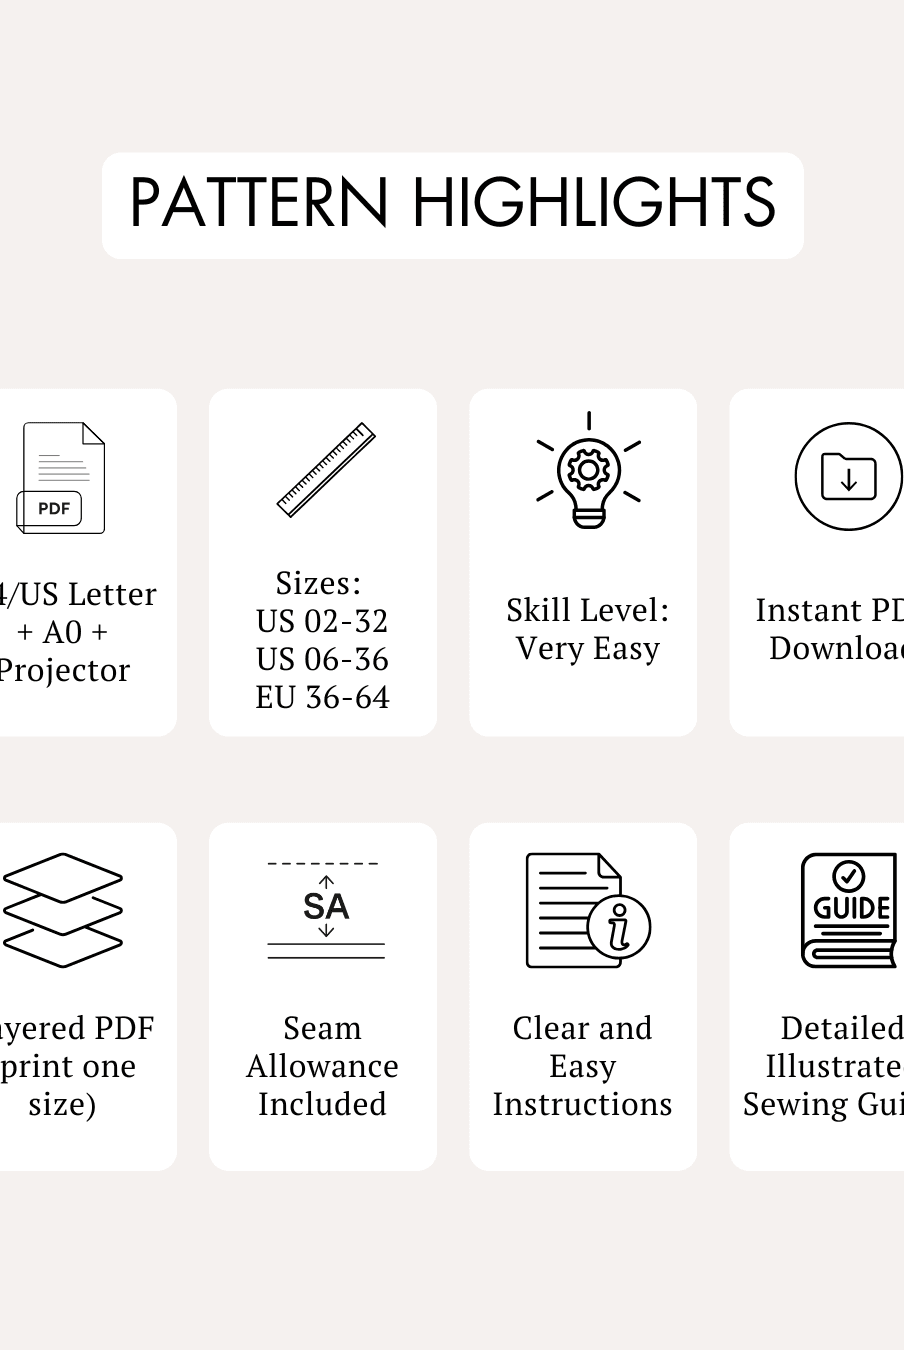
- Pattern Formats: A4/US Letter, A0, and Projector files with layered printing.
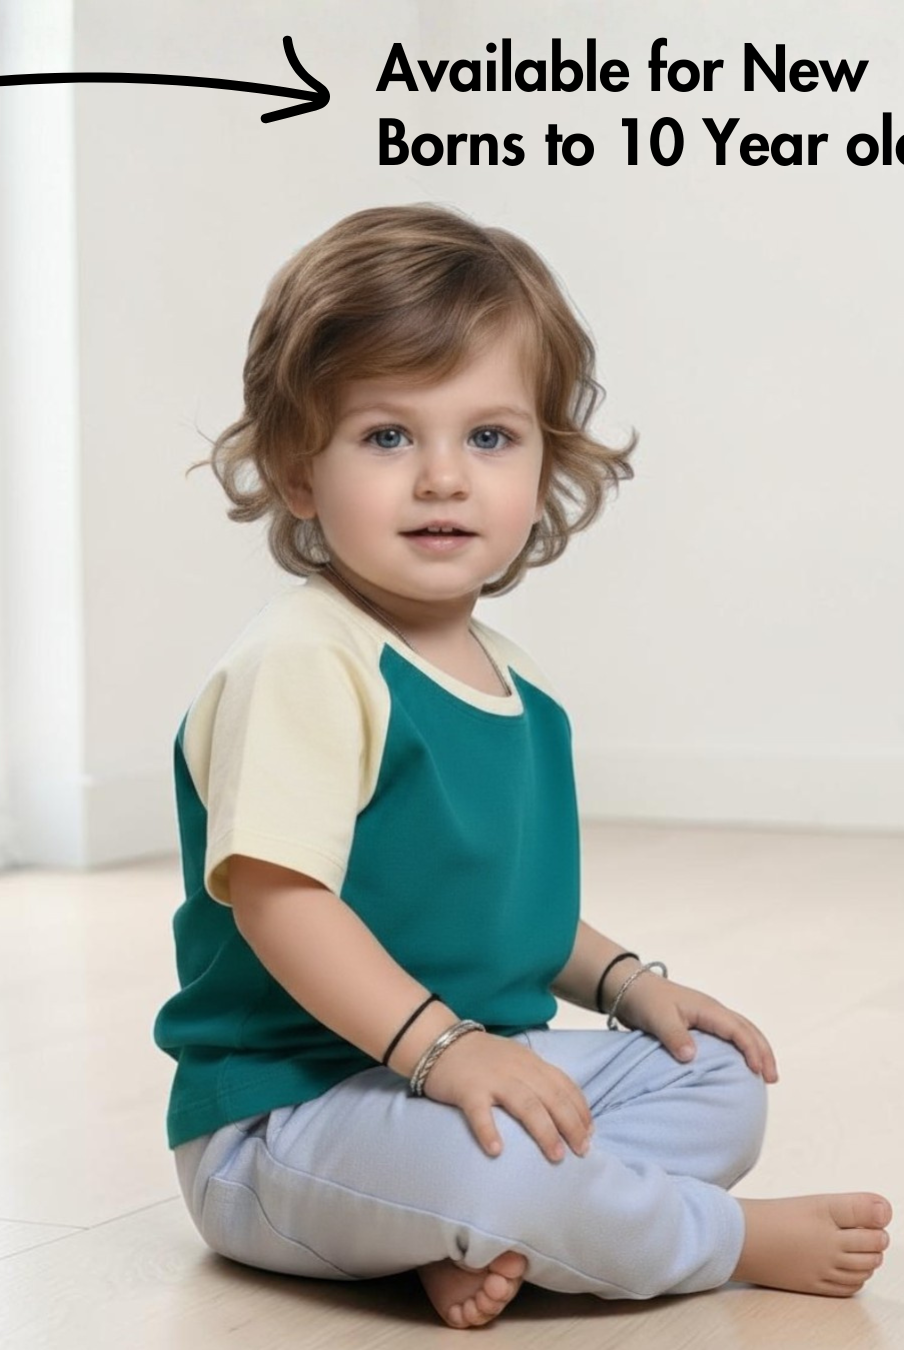
- Available Sizes: New Borns to 10 Year Olds
Supplies & Notions
Prepare the following before you begin sewing:
- Main fabric
- 3-ply polyester thread
- Sewing machine
- Sewing needles
- Tape measure
- Fabric shears
- Fabric chalk
- Thread cutter
- Pins
- Iron
- Fusible interfacing (for knit fabrics)
The sewing guide also recommends:
- Using an overlock stitch with a flat stitch for the hem whenever possible.
- Using a zig-zag stitch for overlocking and a straight stitch for hemming if a serger is unavailable.
- Pinning pieces before sewing for greater accuracy.
- Pressing the garment after every step for the best results.
- Referring to the Pattern Marking page to locate seamlines, notches, and key reference points before sewing.
Fabric Recommendations
The sewing guide recommends using light- to medium-weight woven fabrics, including:
- Cotton twill
- Drill
- Canvas
- Gabardine
You can also use stable knit fabrics, including:
- Ponte
- Heavyweight jersey
- Fleece
When using knit fabrics, apply interfacing to the wrong side of the fabric to minimize stretch and provide the structure needed for the vest.
The sample garment shown in the guide is sewn in cotton-polyester blend twill, which is recommended because it:
- Holds its shape well without appearing stiff.
- Is more durable than 100% cotton.
- Recovers its shape better after wear.
- Is comfortable for everyday use.
- Is stable and beginner-friendly.
For the welt pocket lining, the guide recommends lightweight woven fabrics such as:
- Cotton lawn
- Cotton poplin
- Broadcloth
- Lightweight shirting
- Pocketing fabric
Size Charts
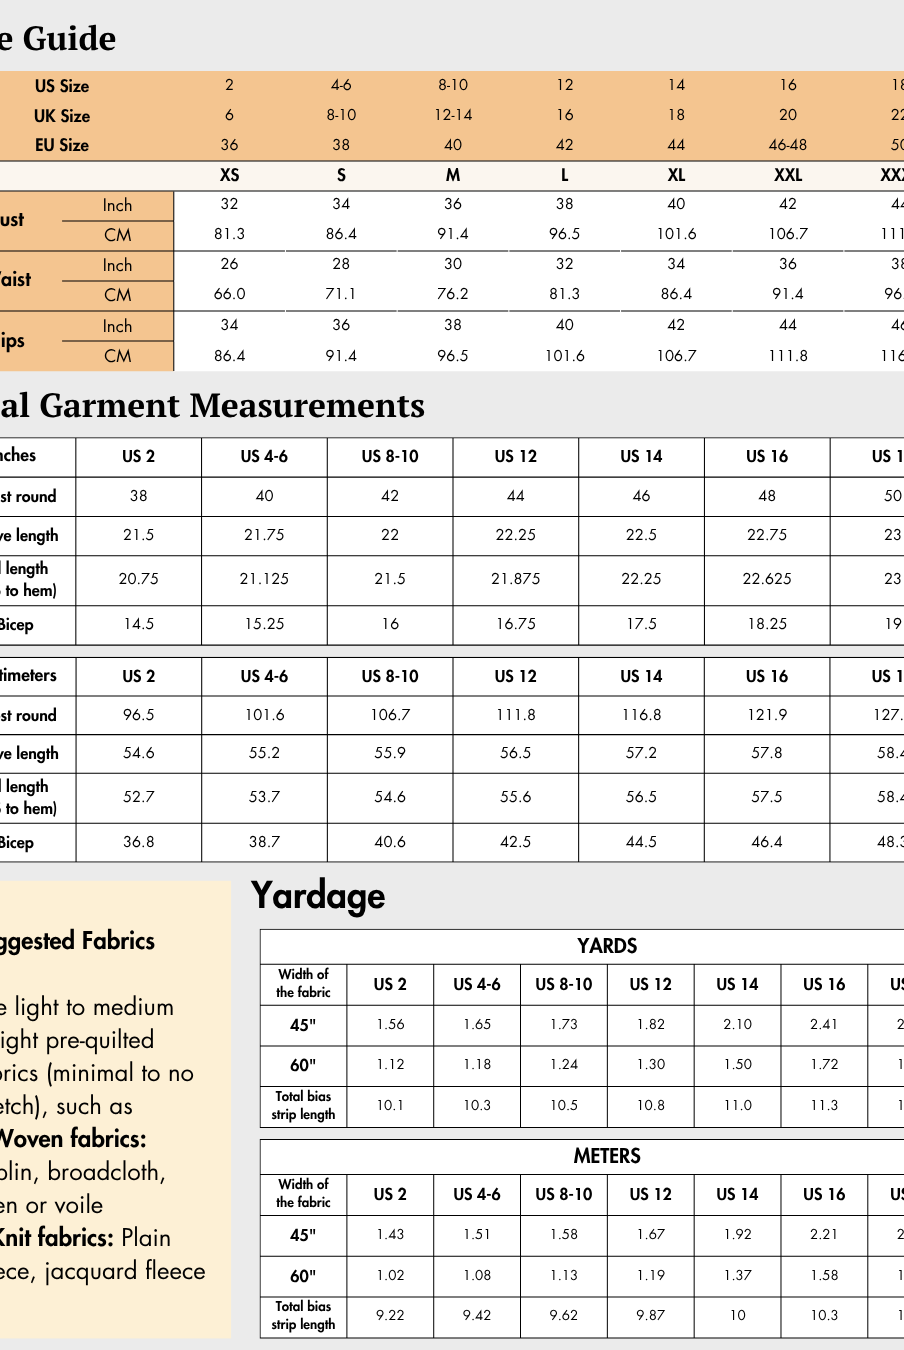
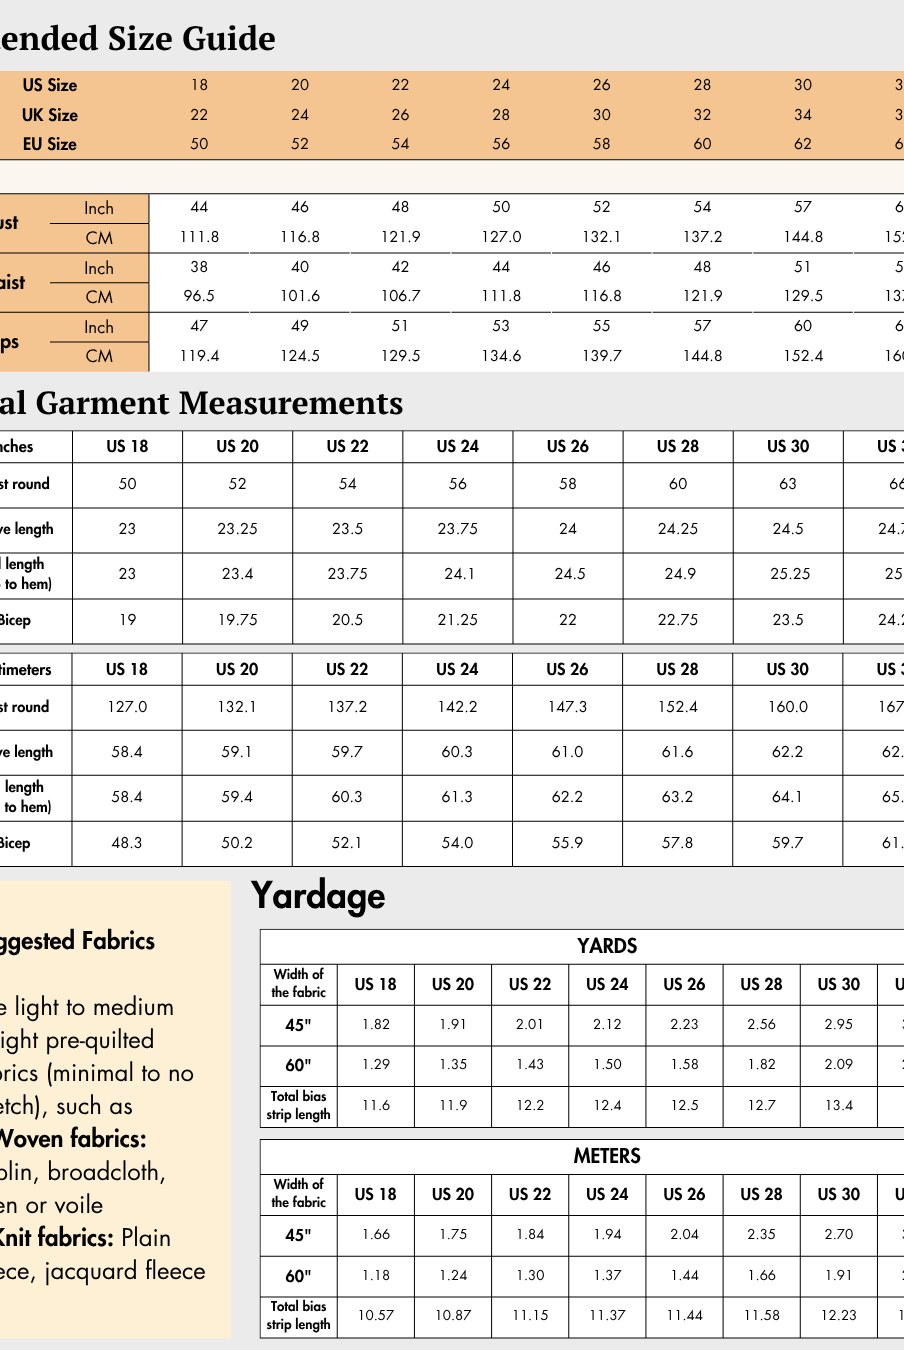
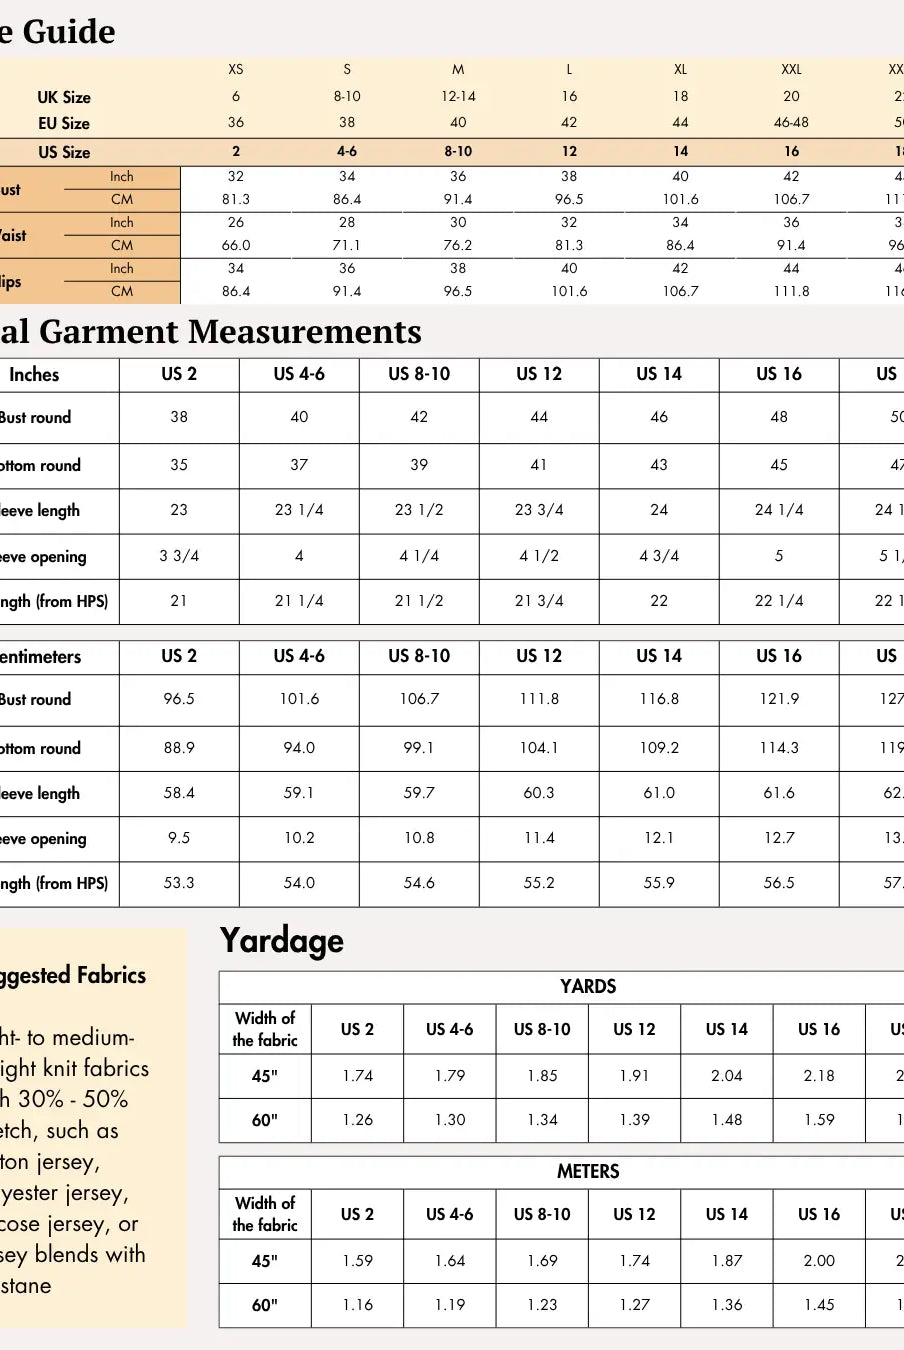
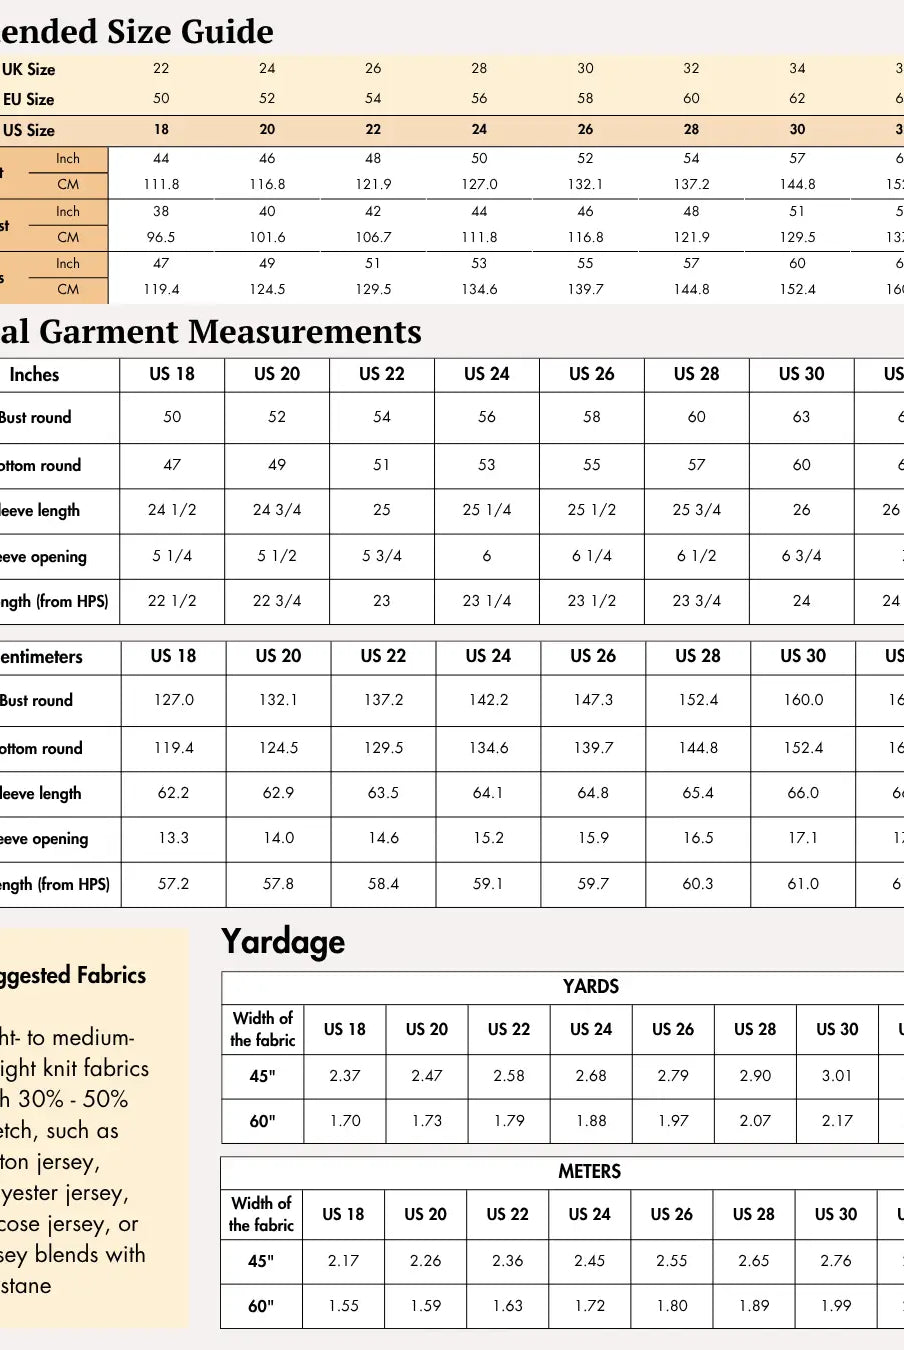
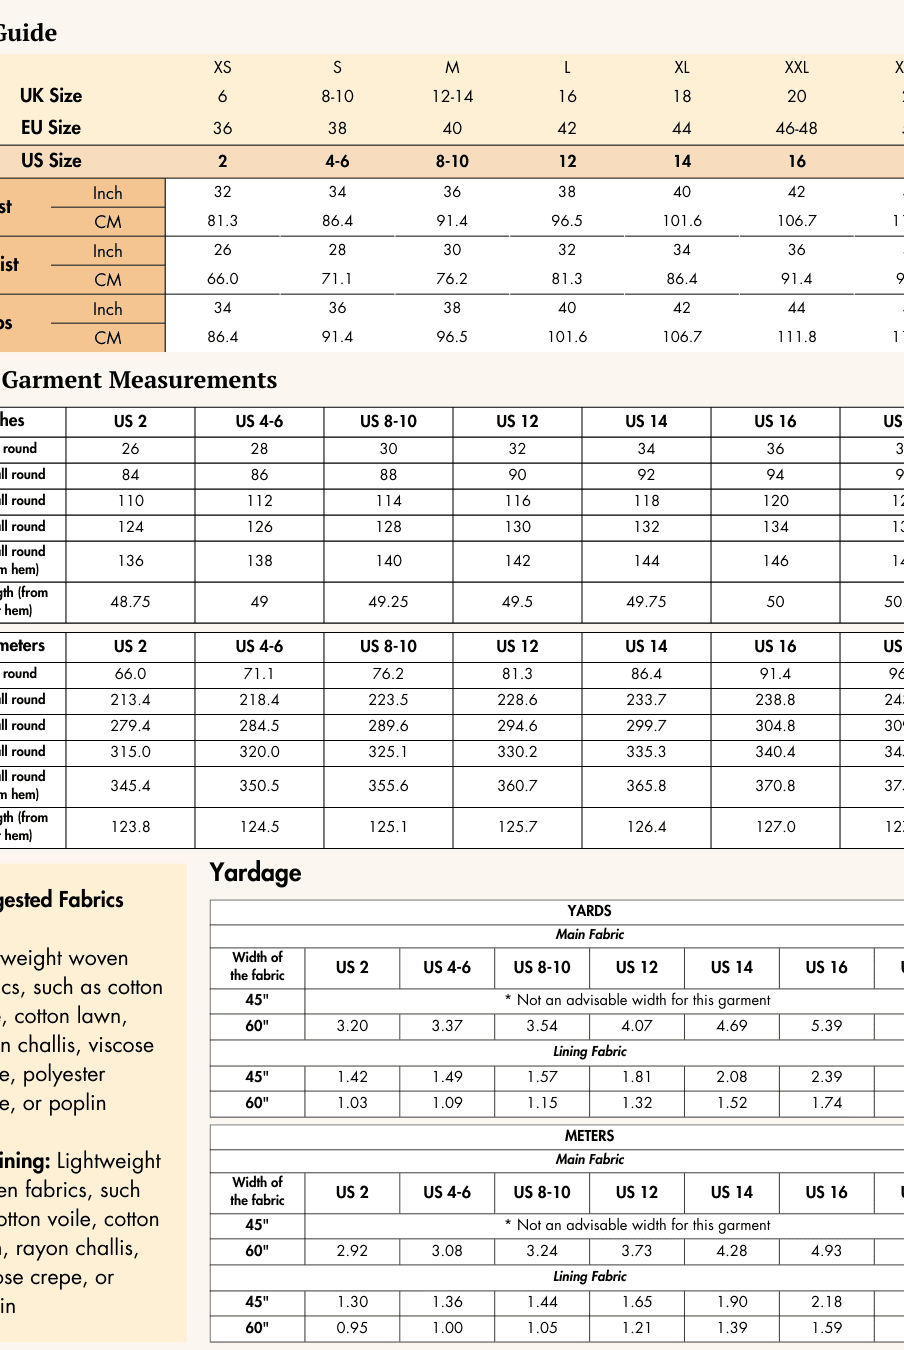
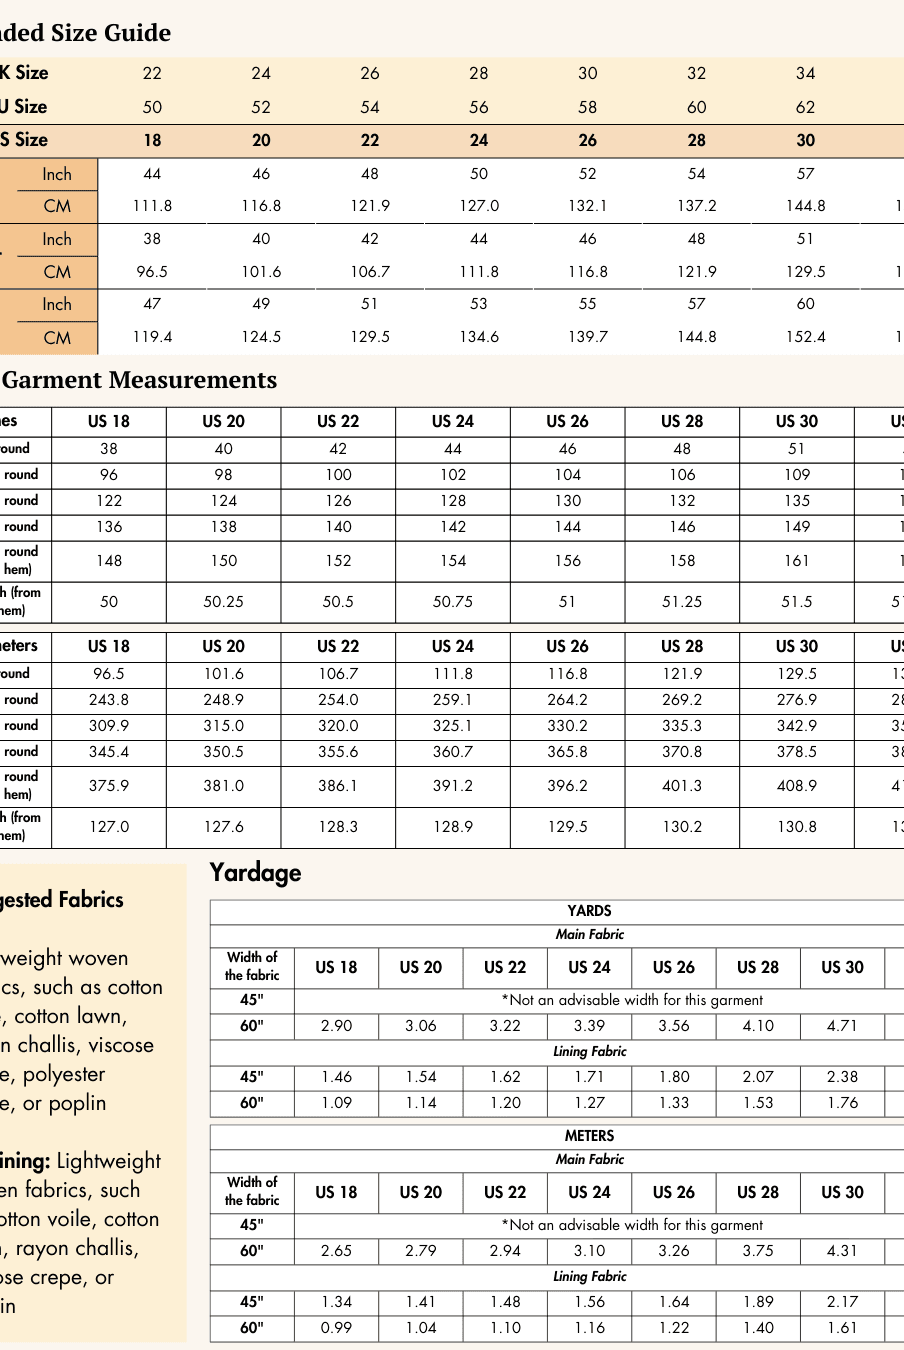
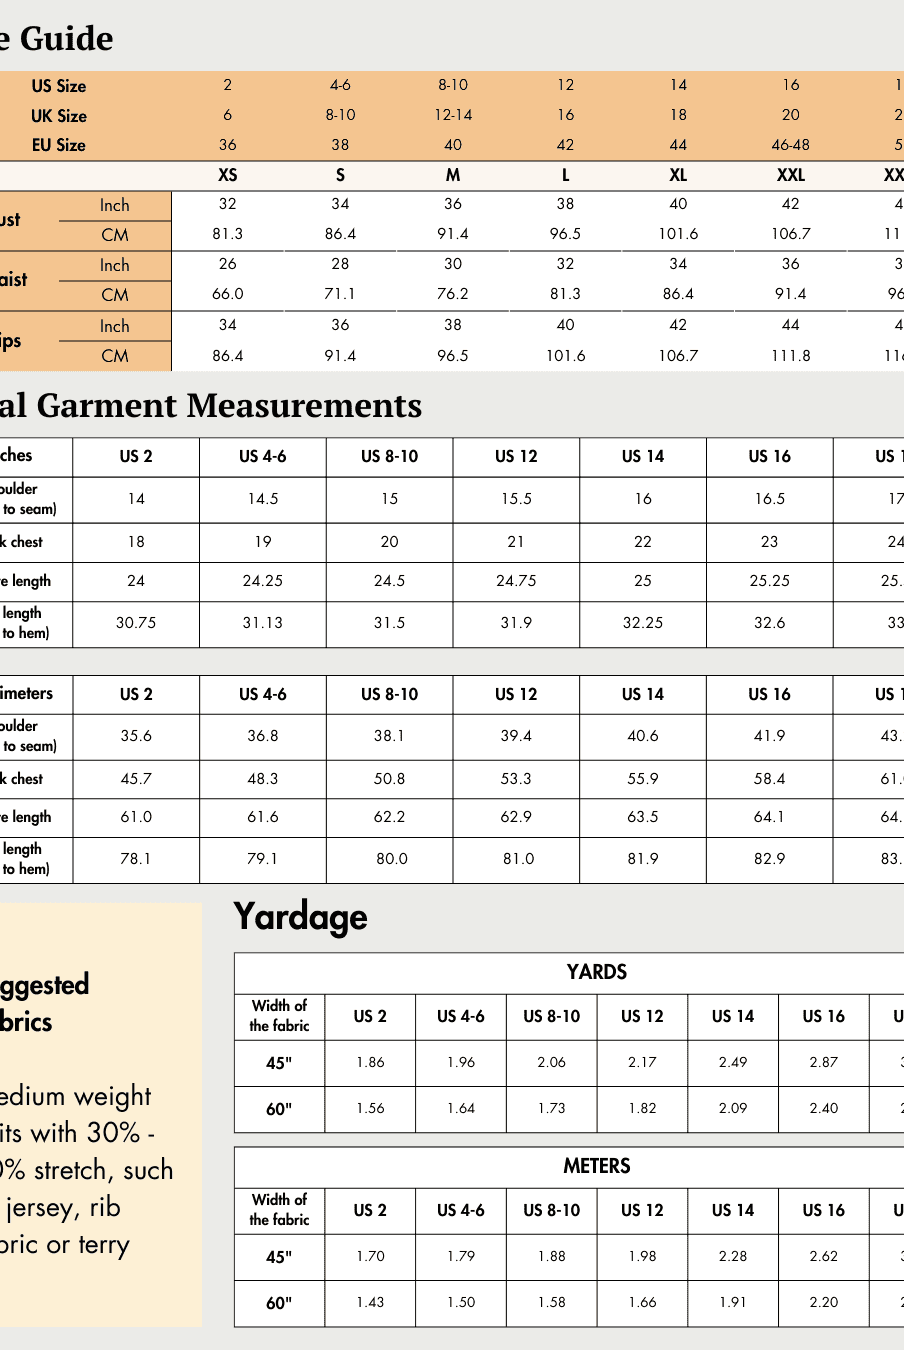
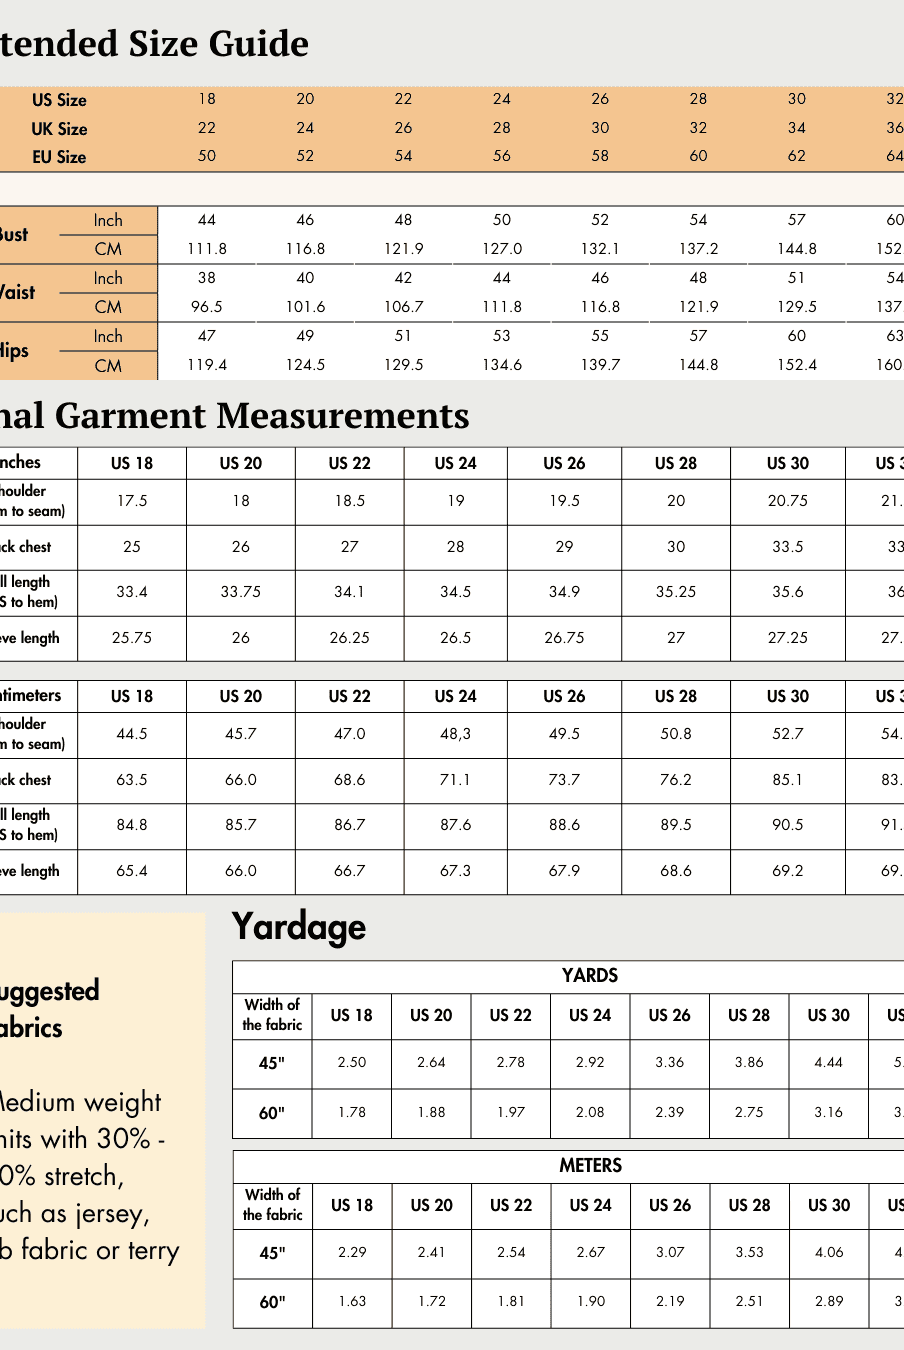
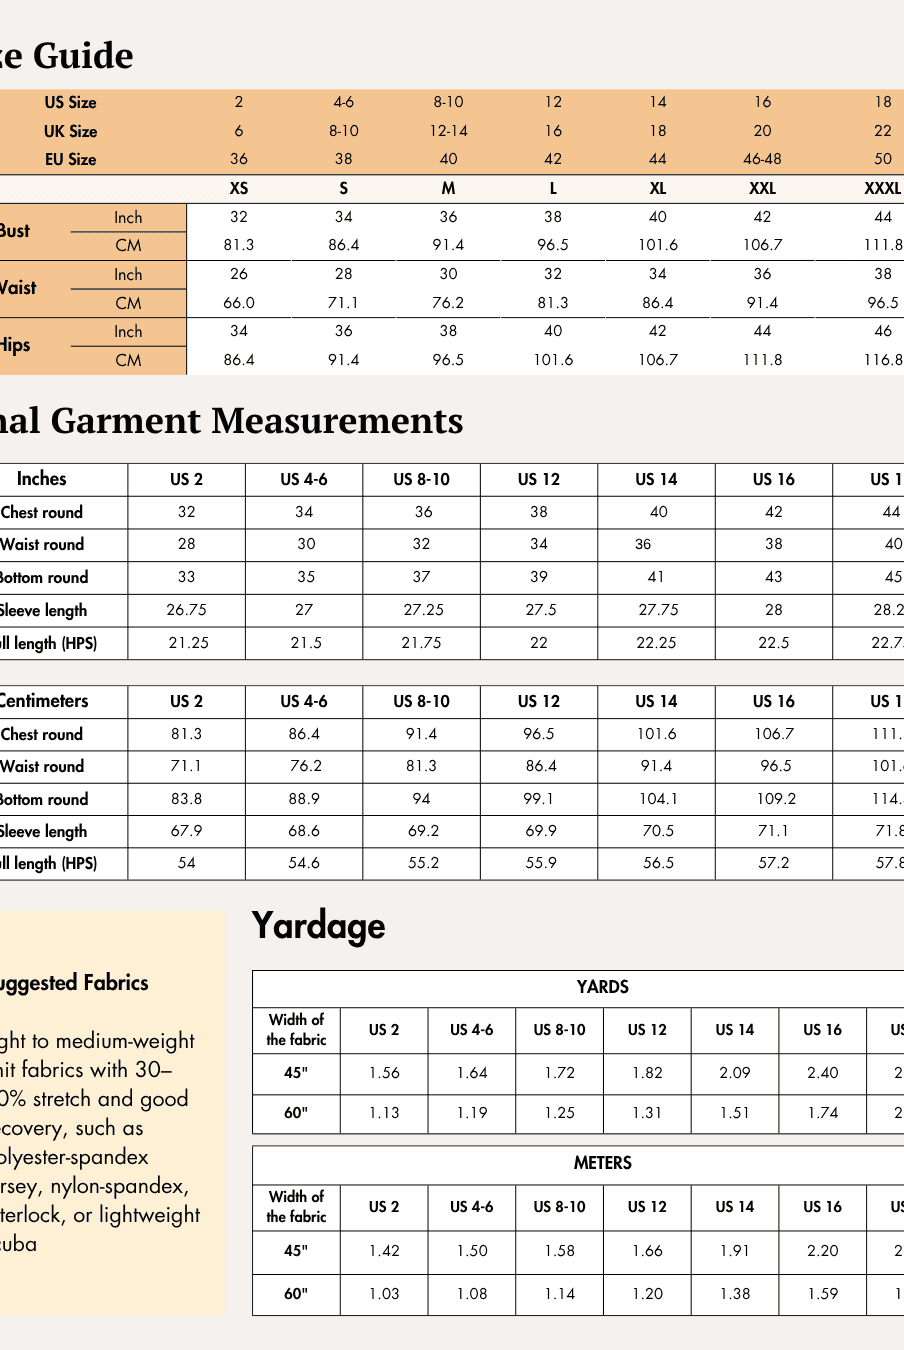
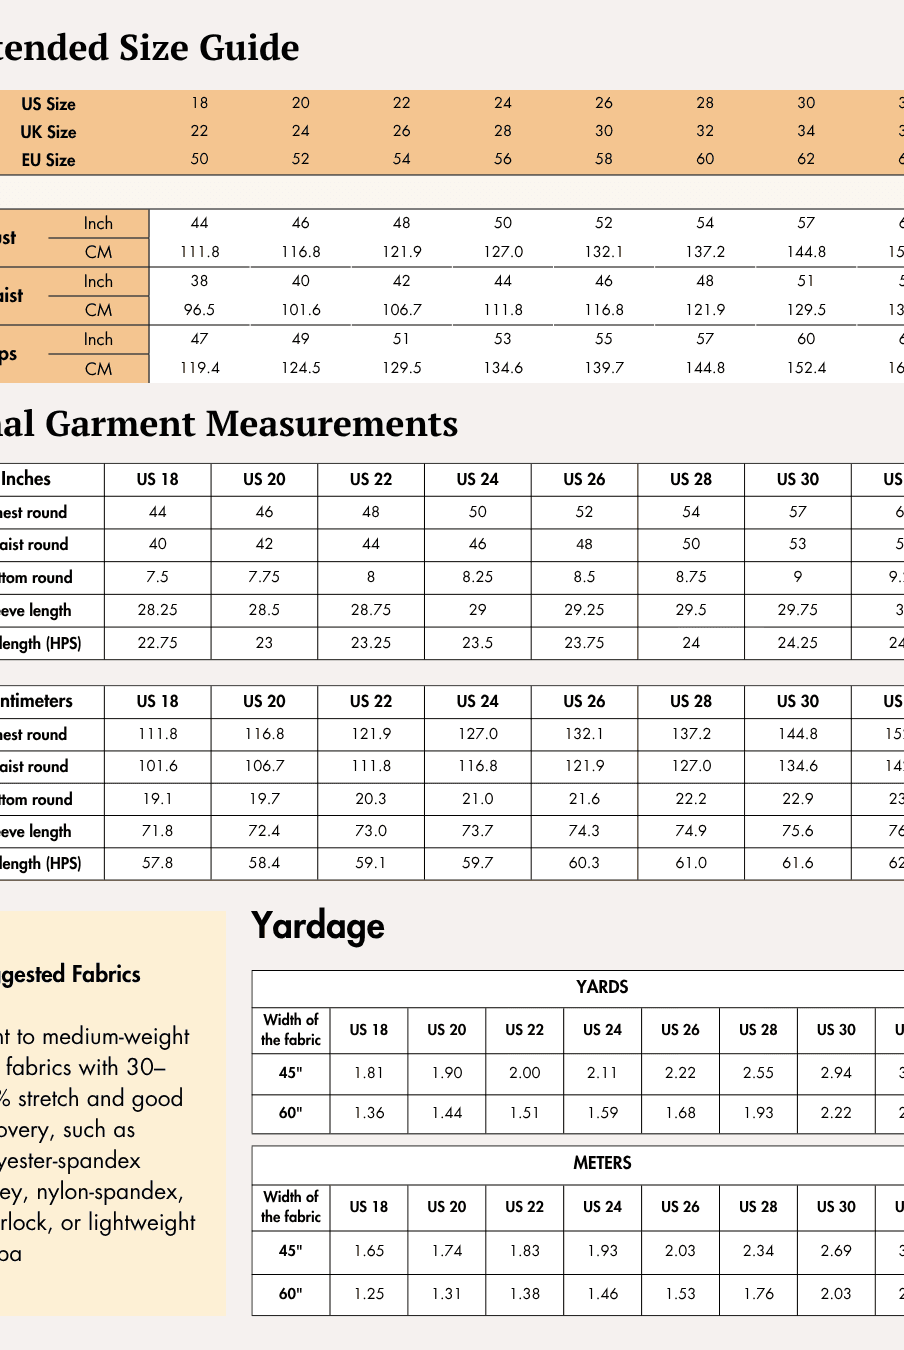
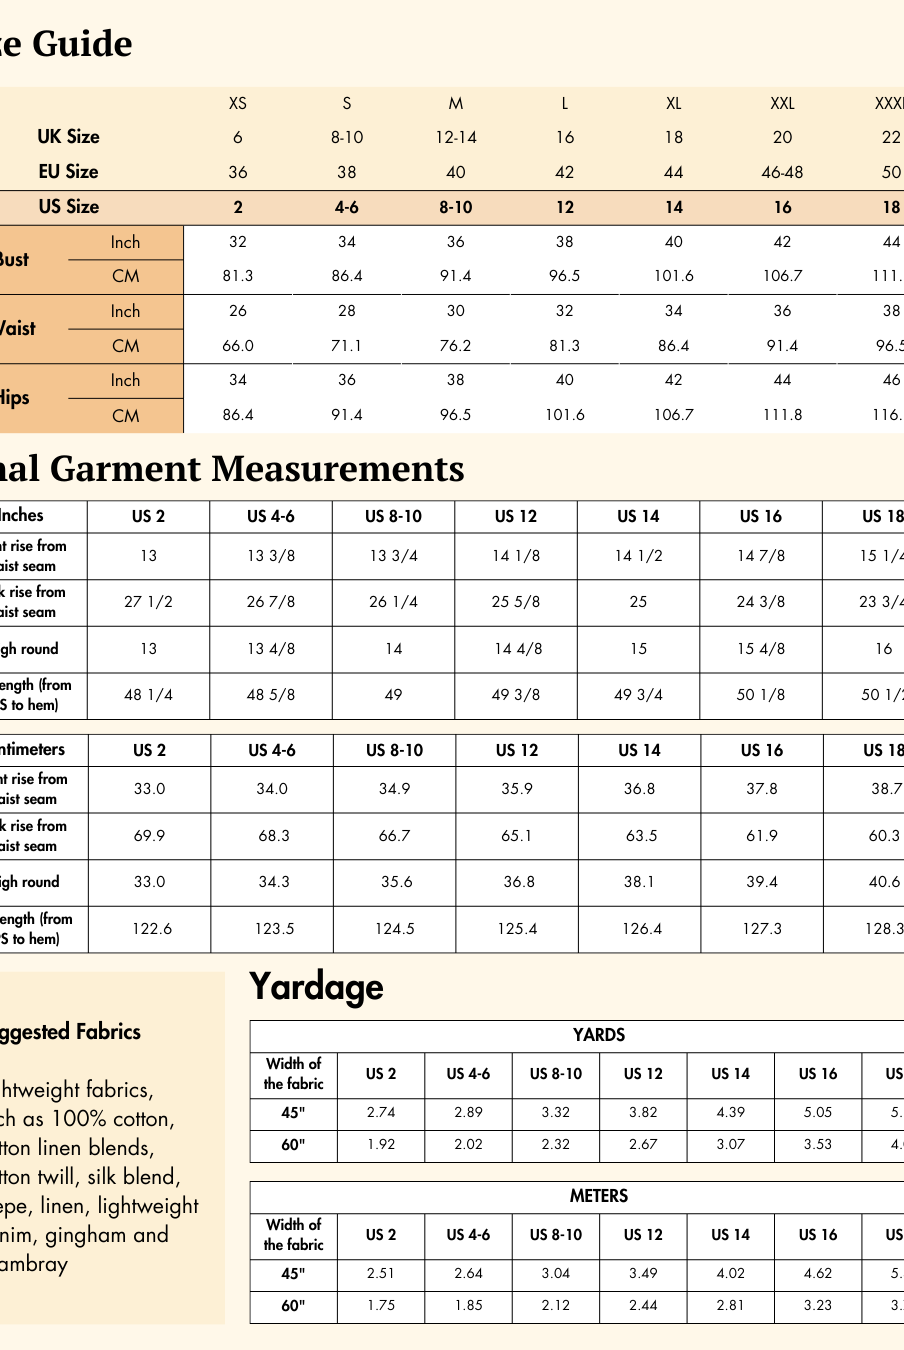
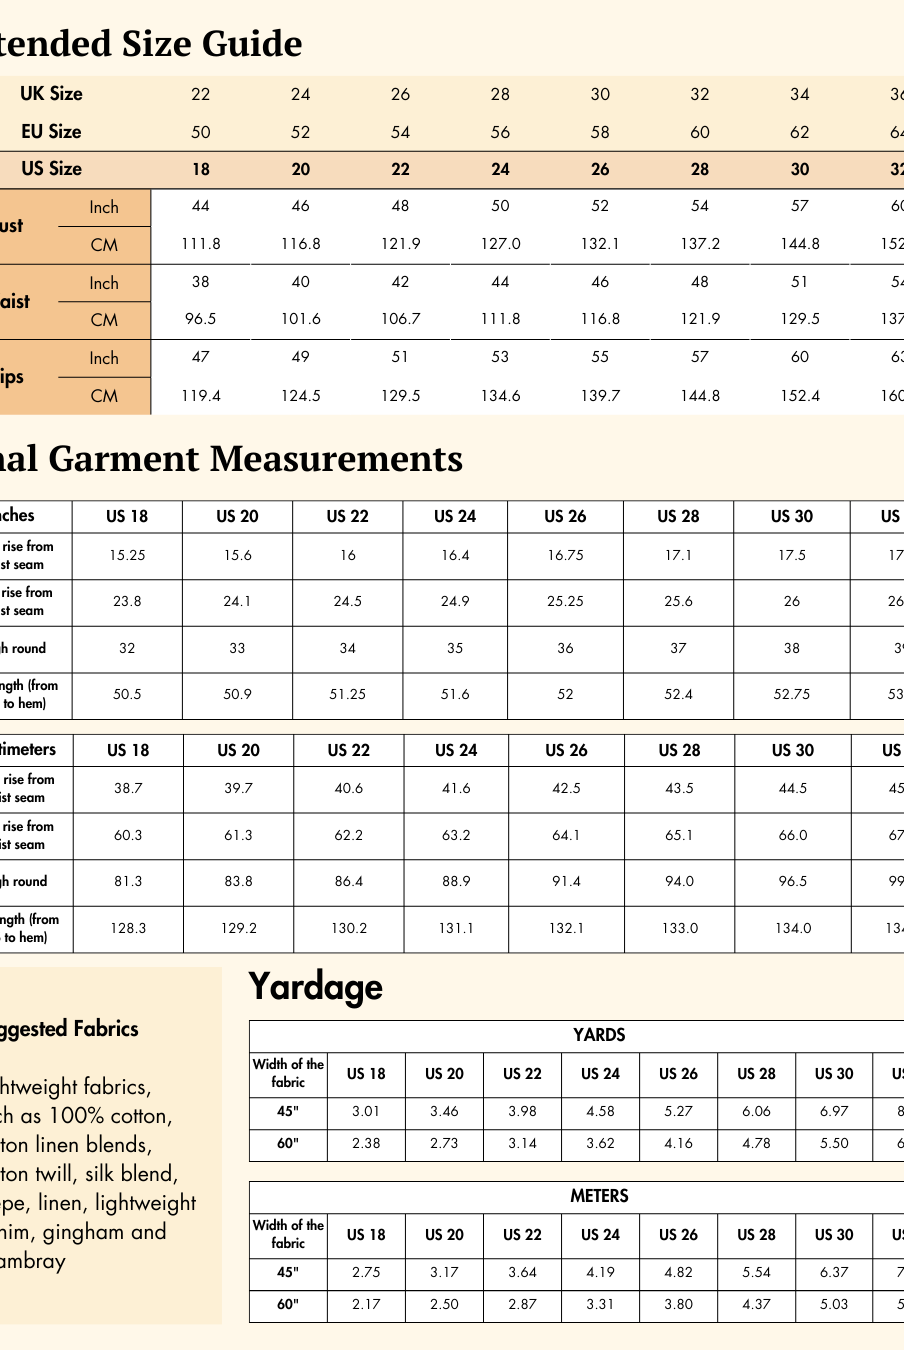
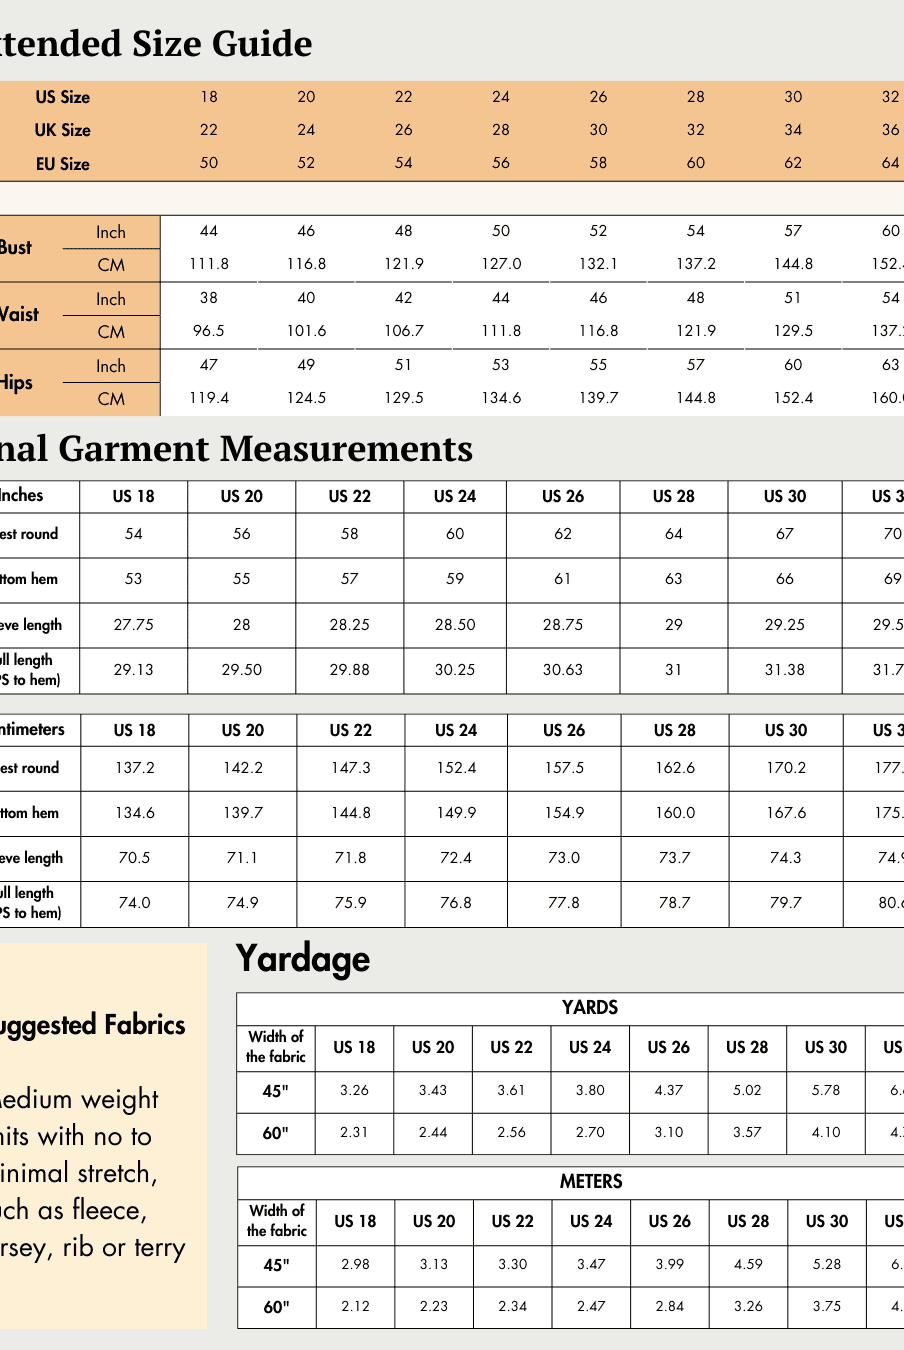
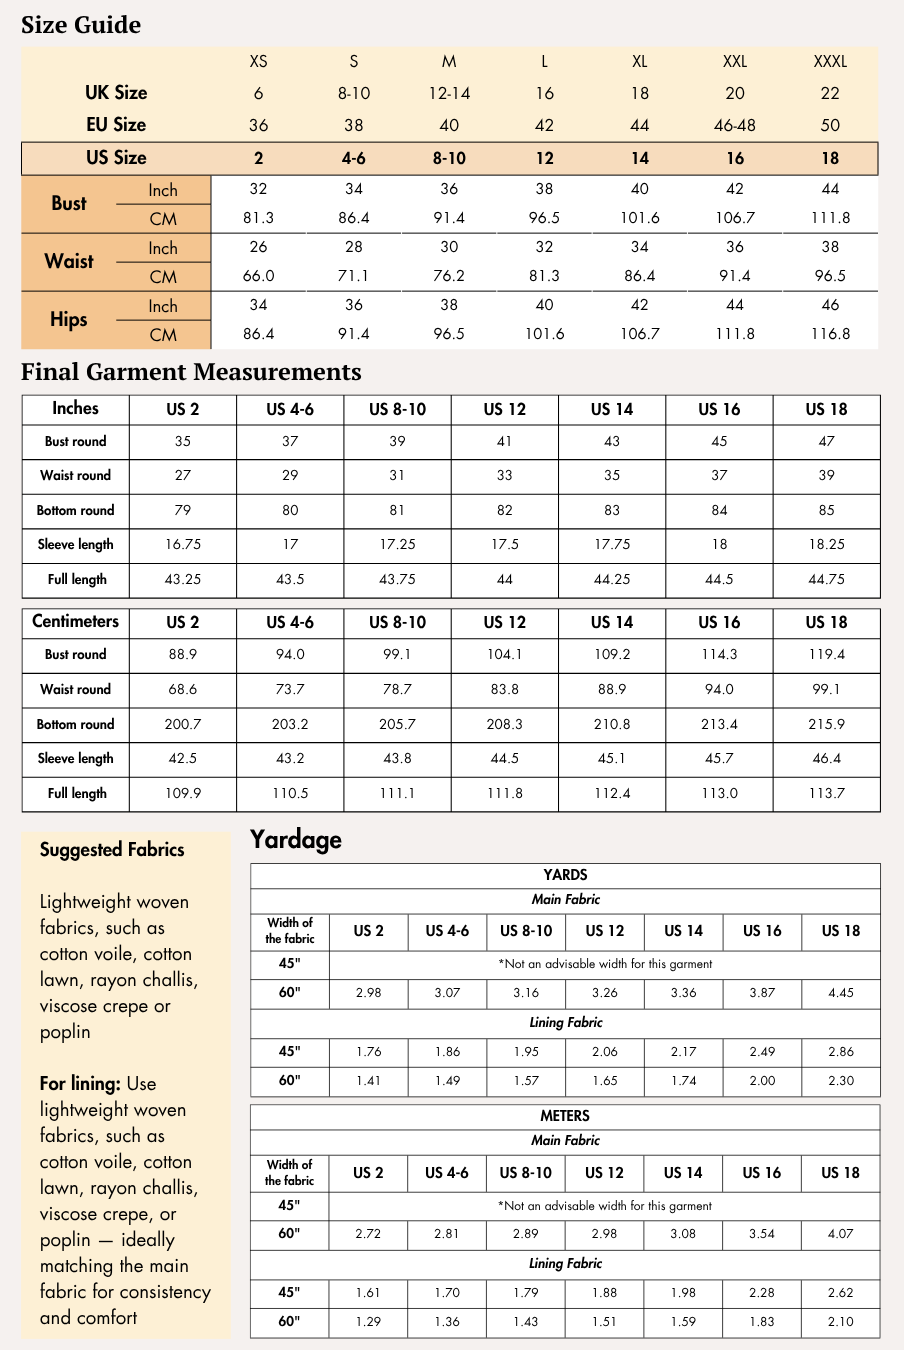
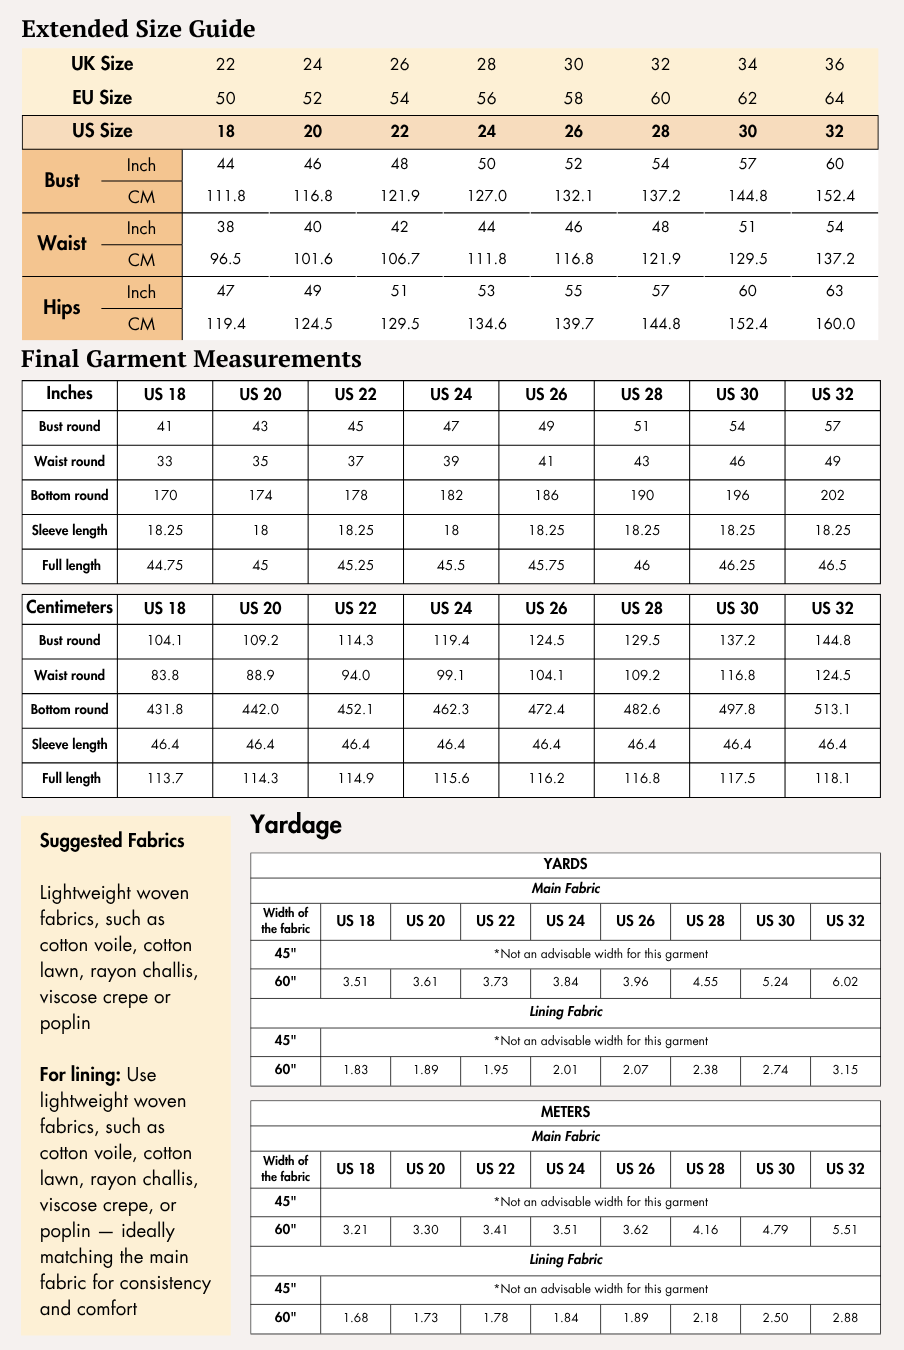
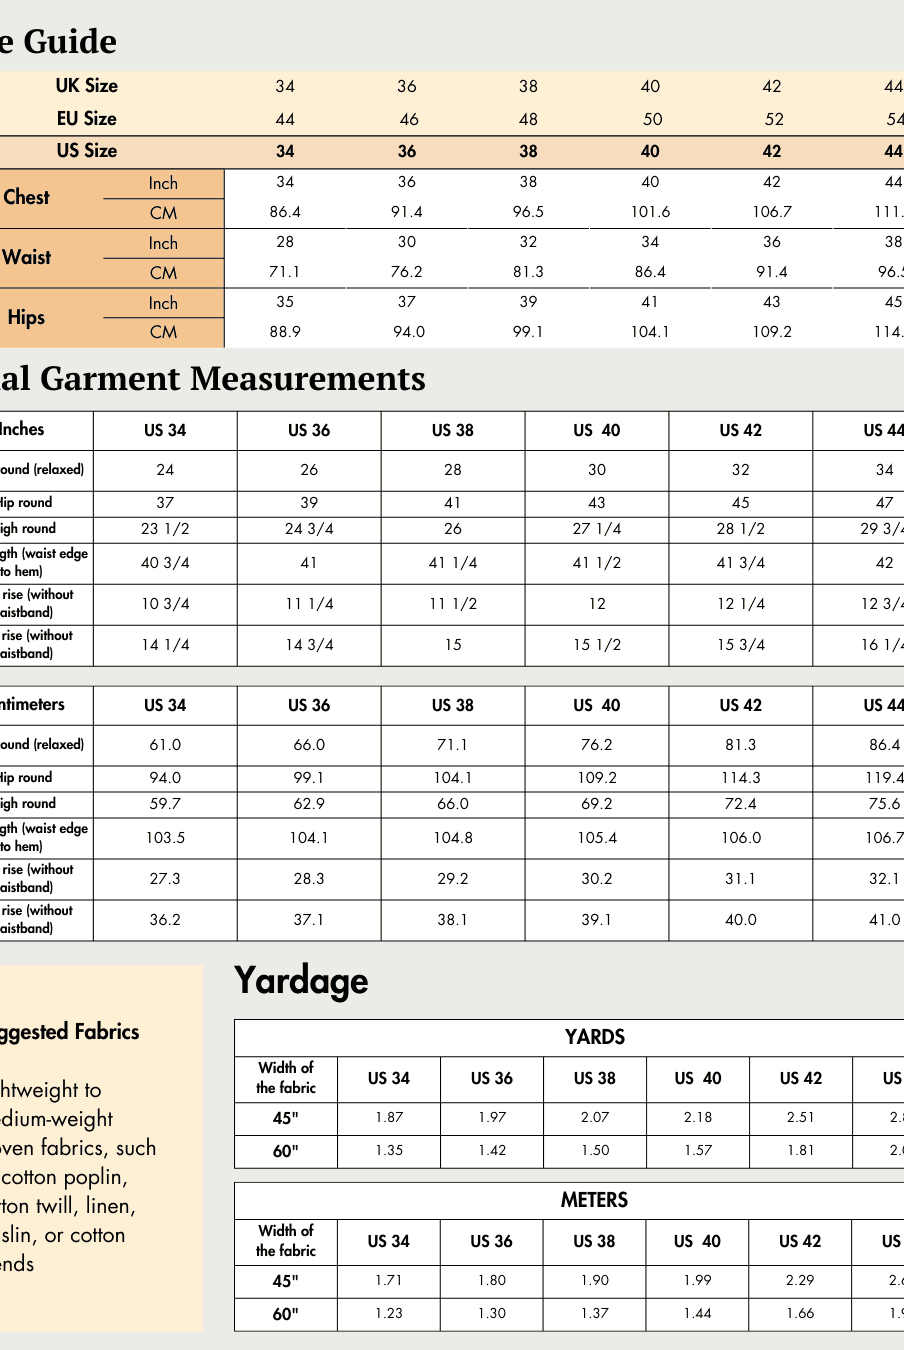
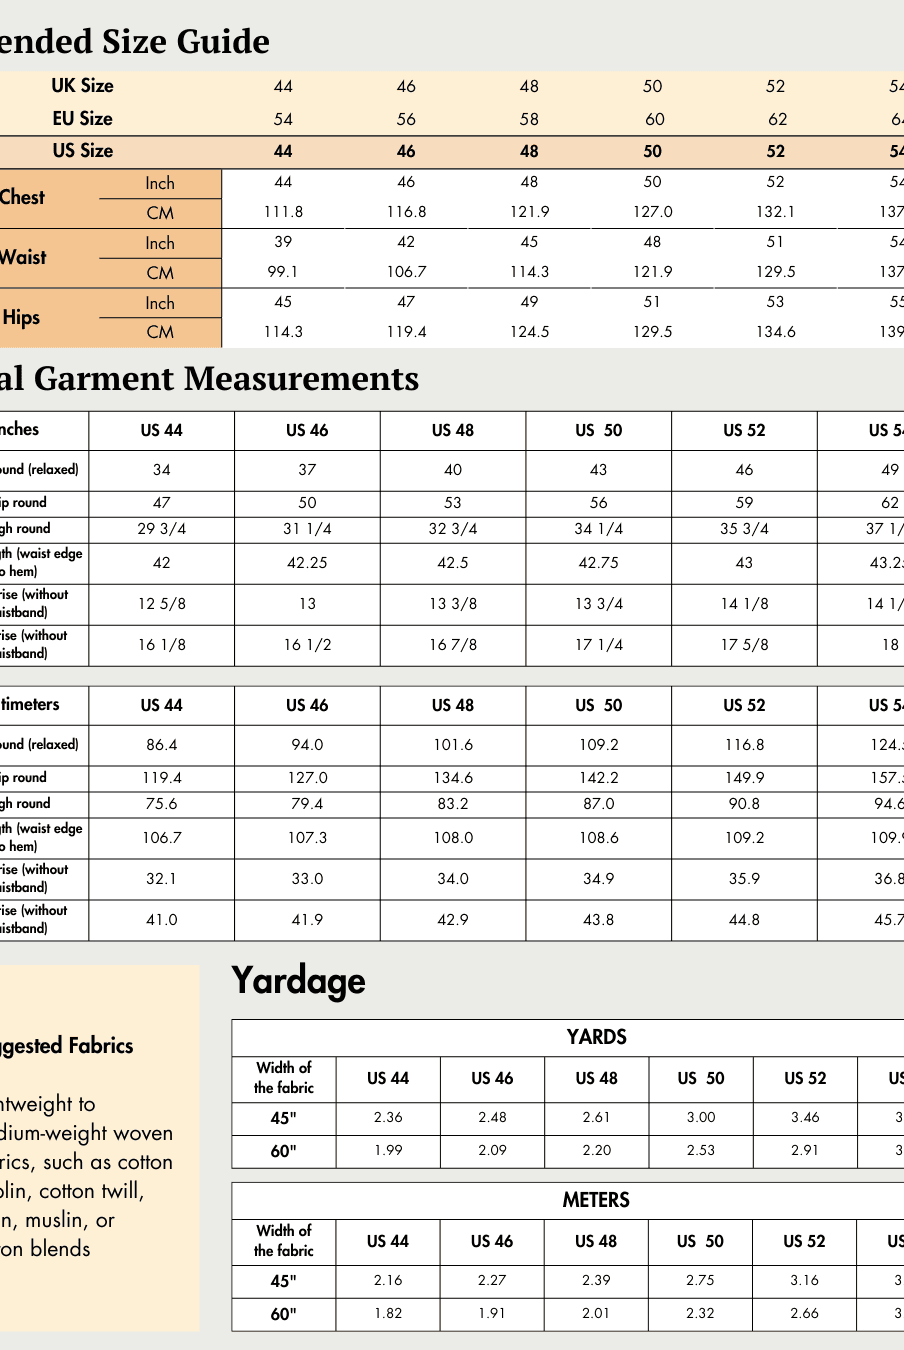
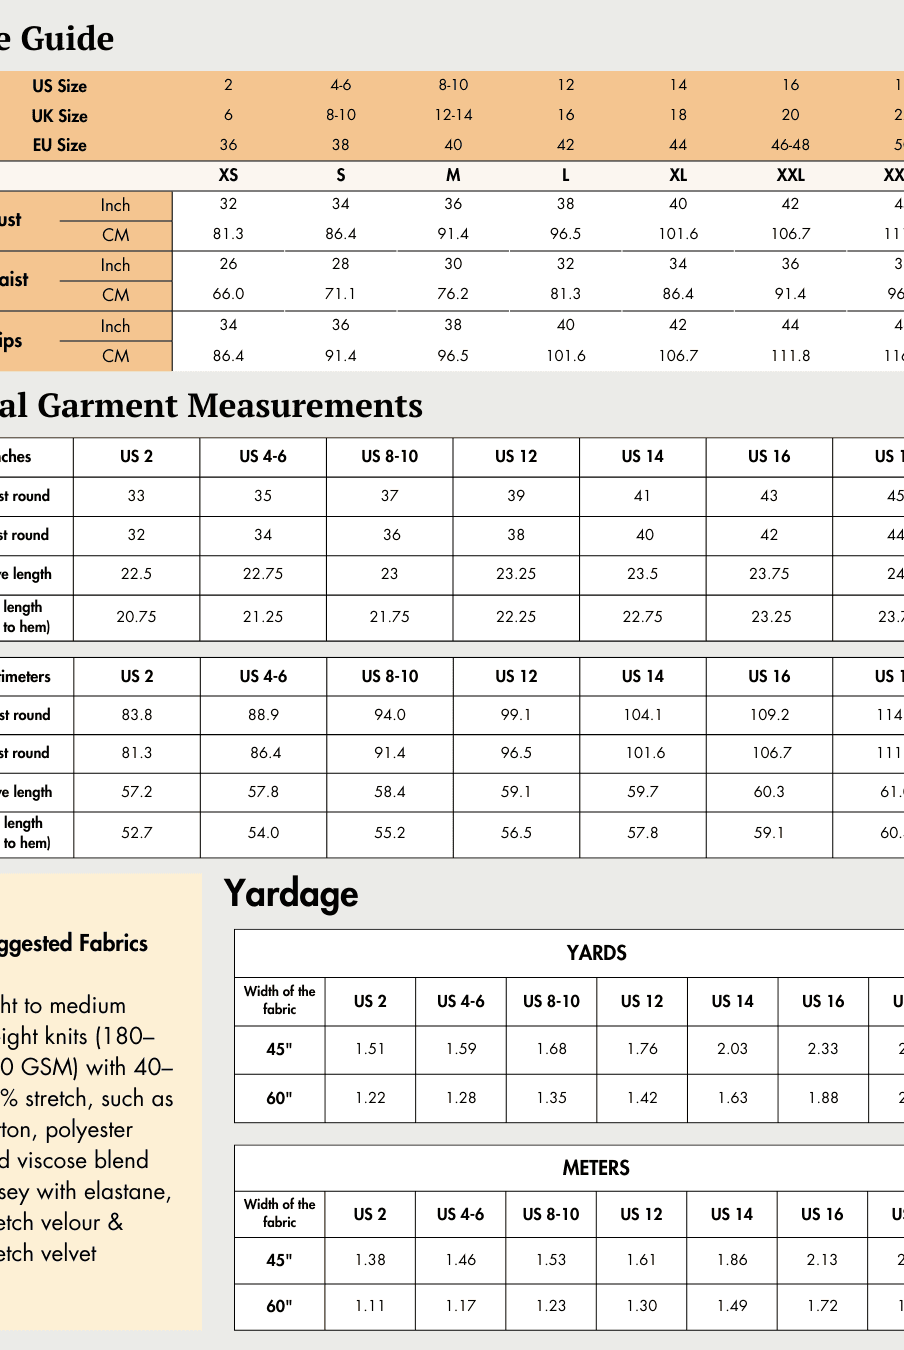
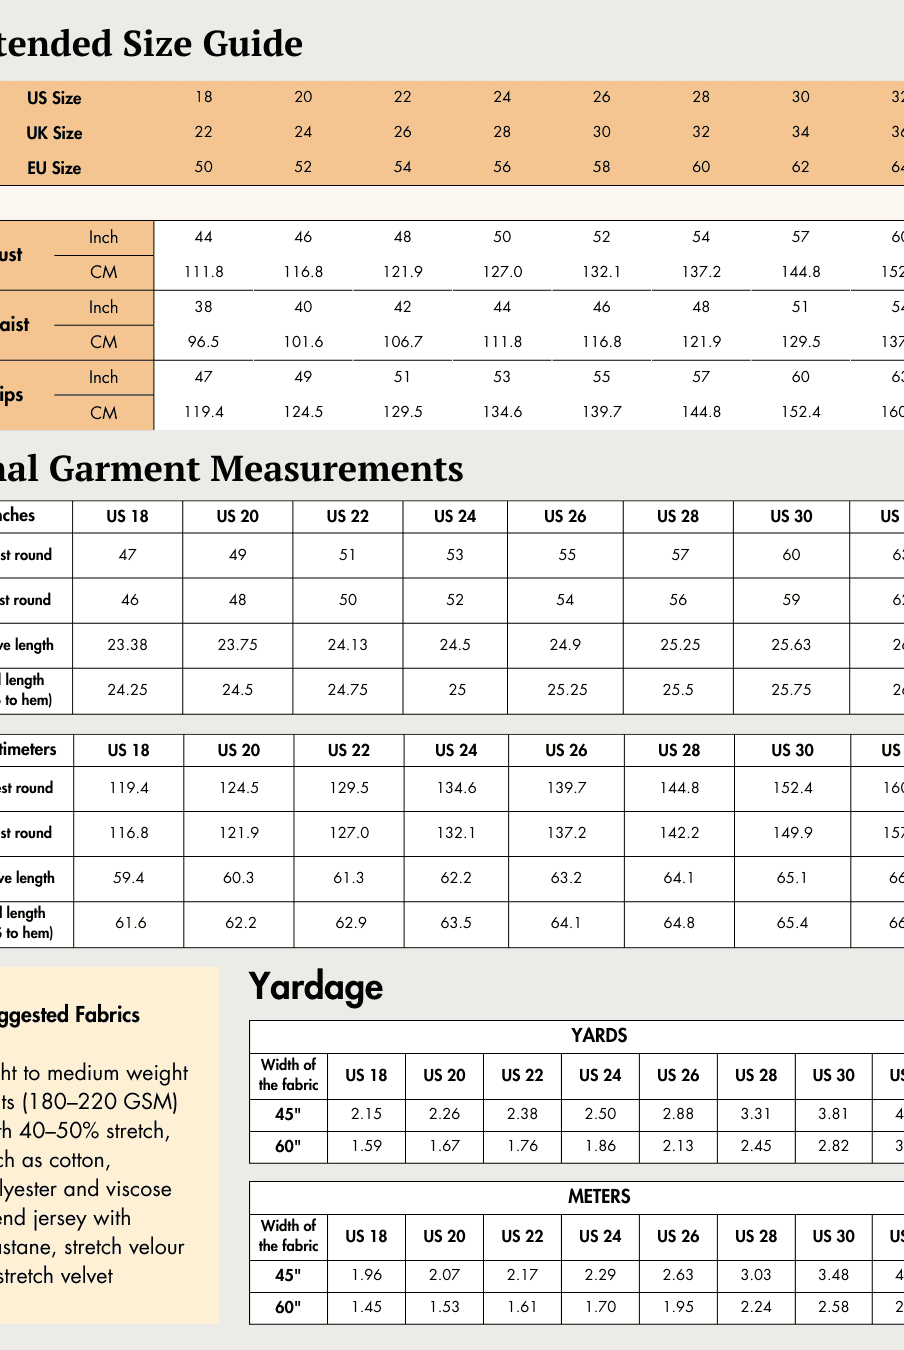
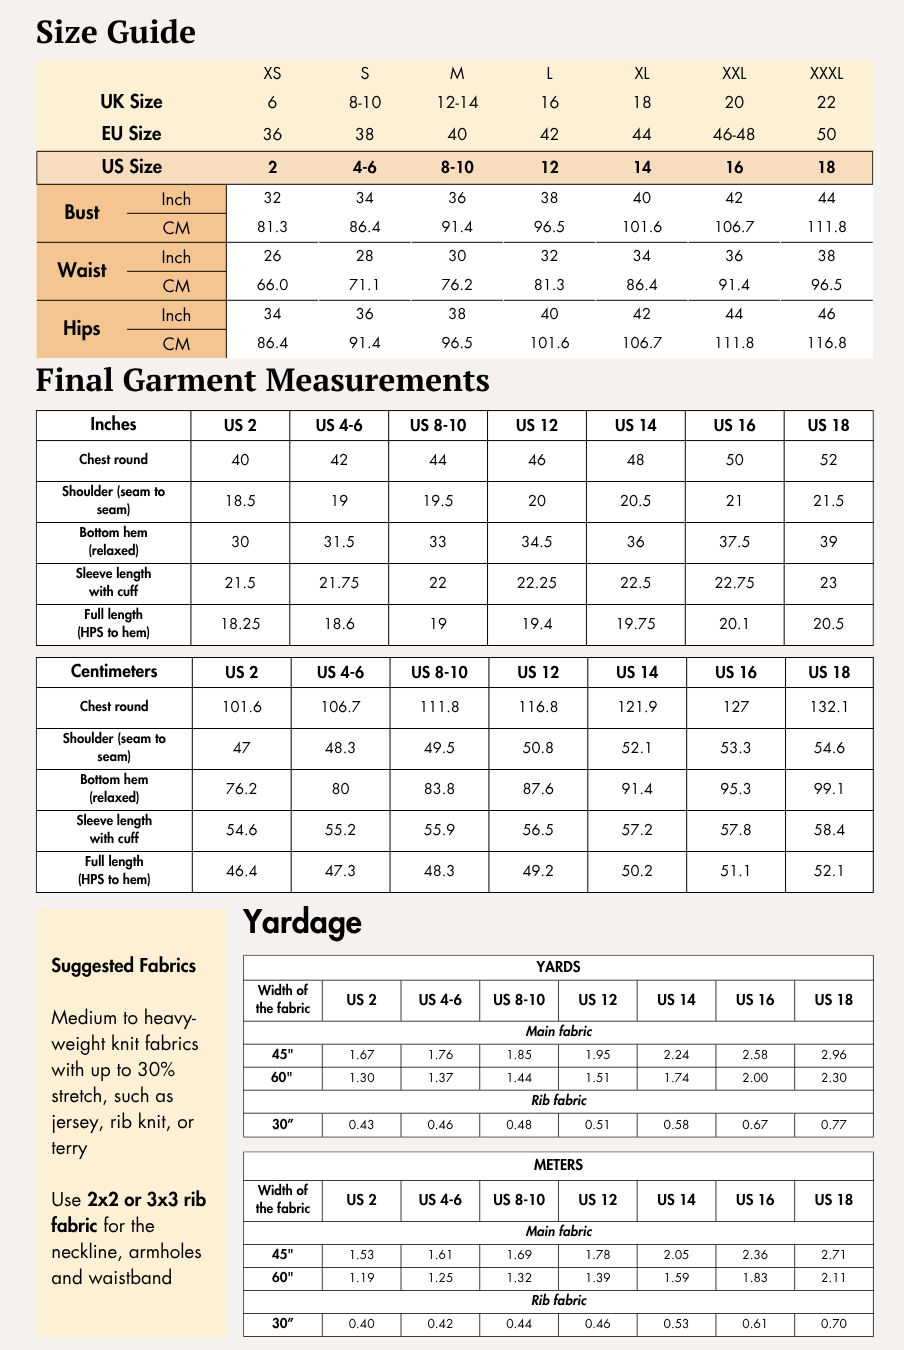
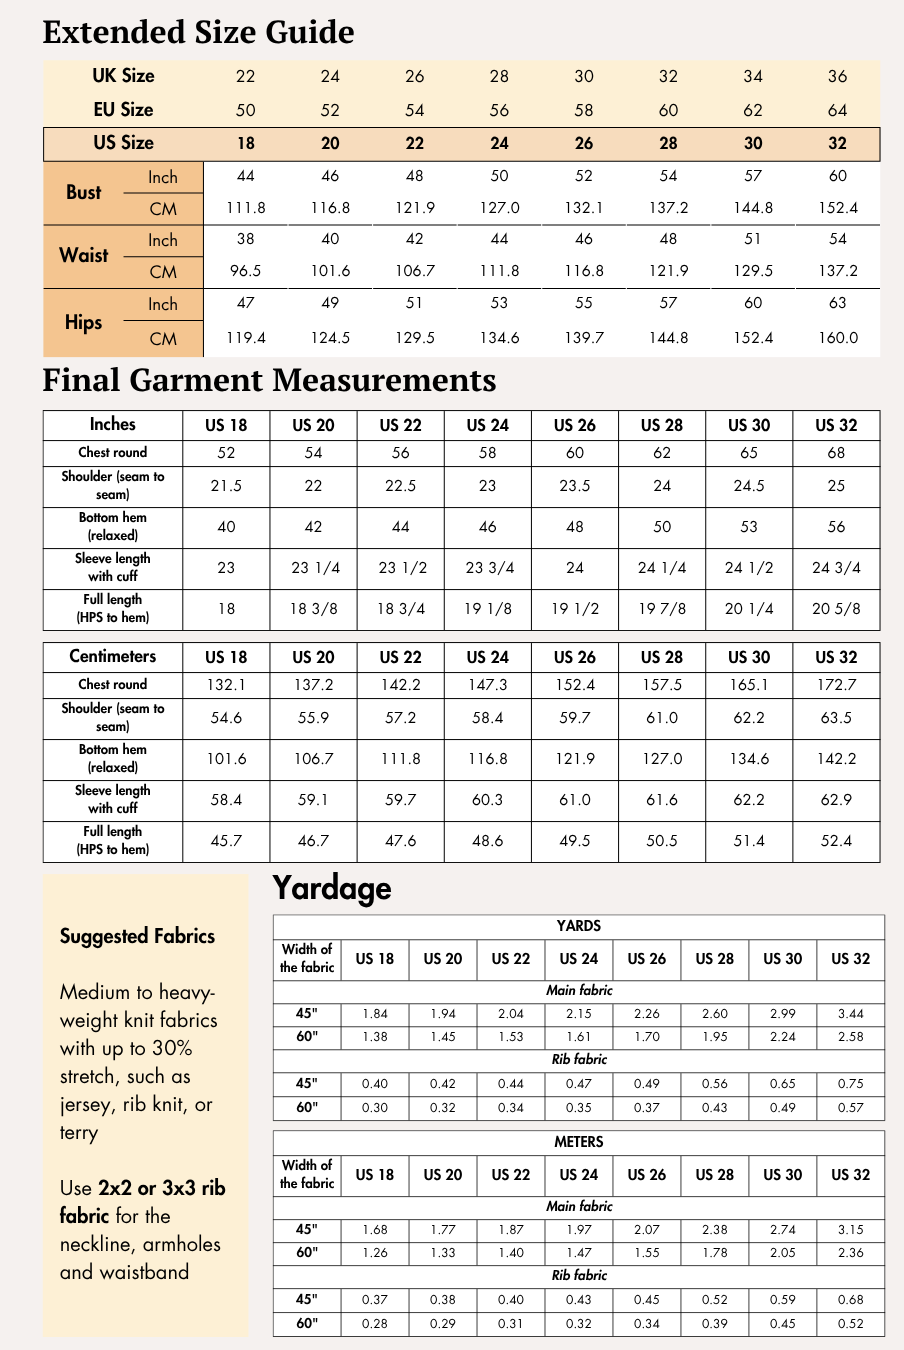
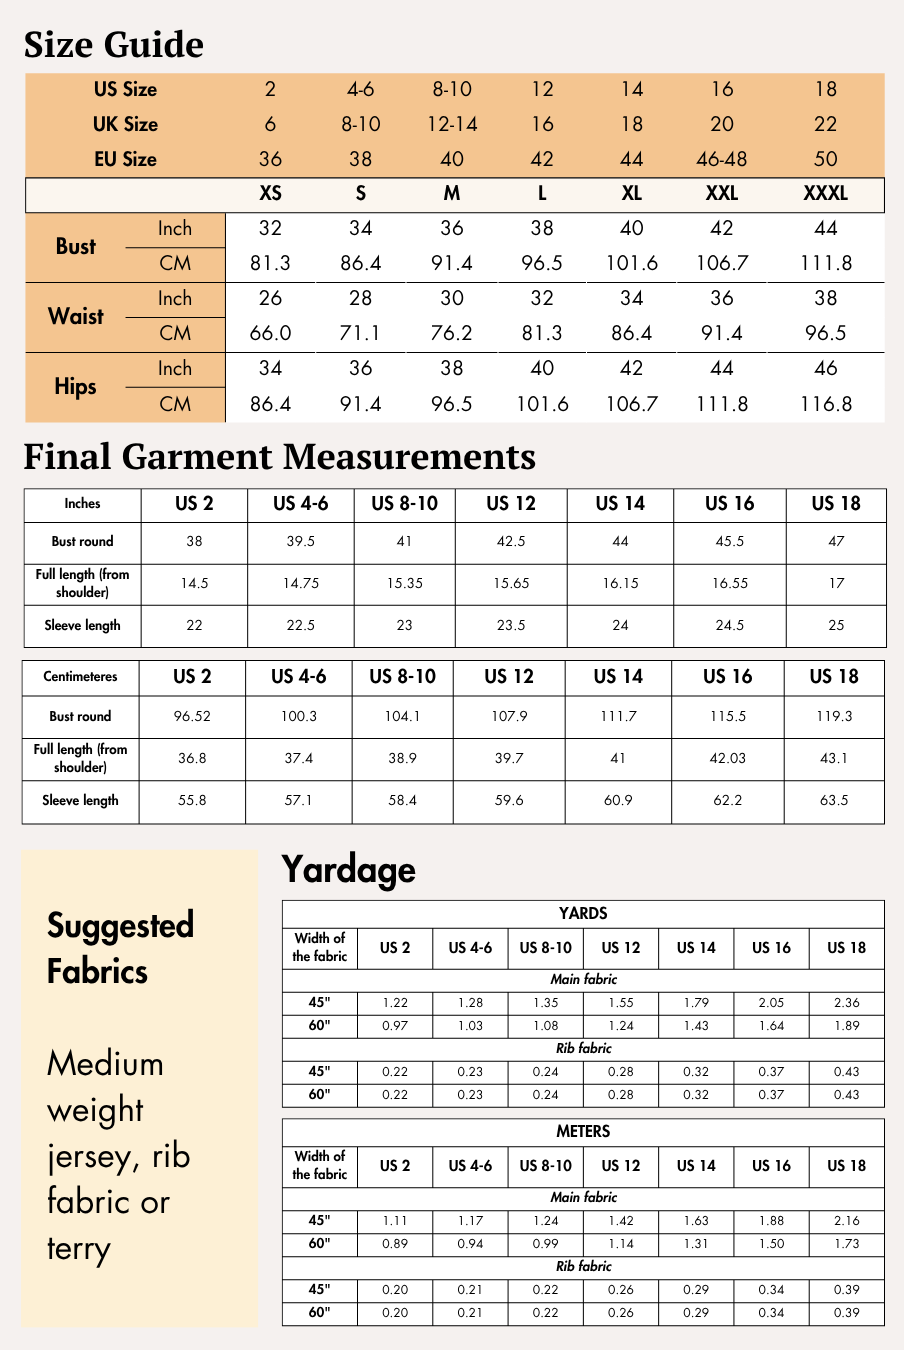
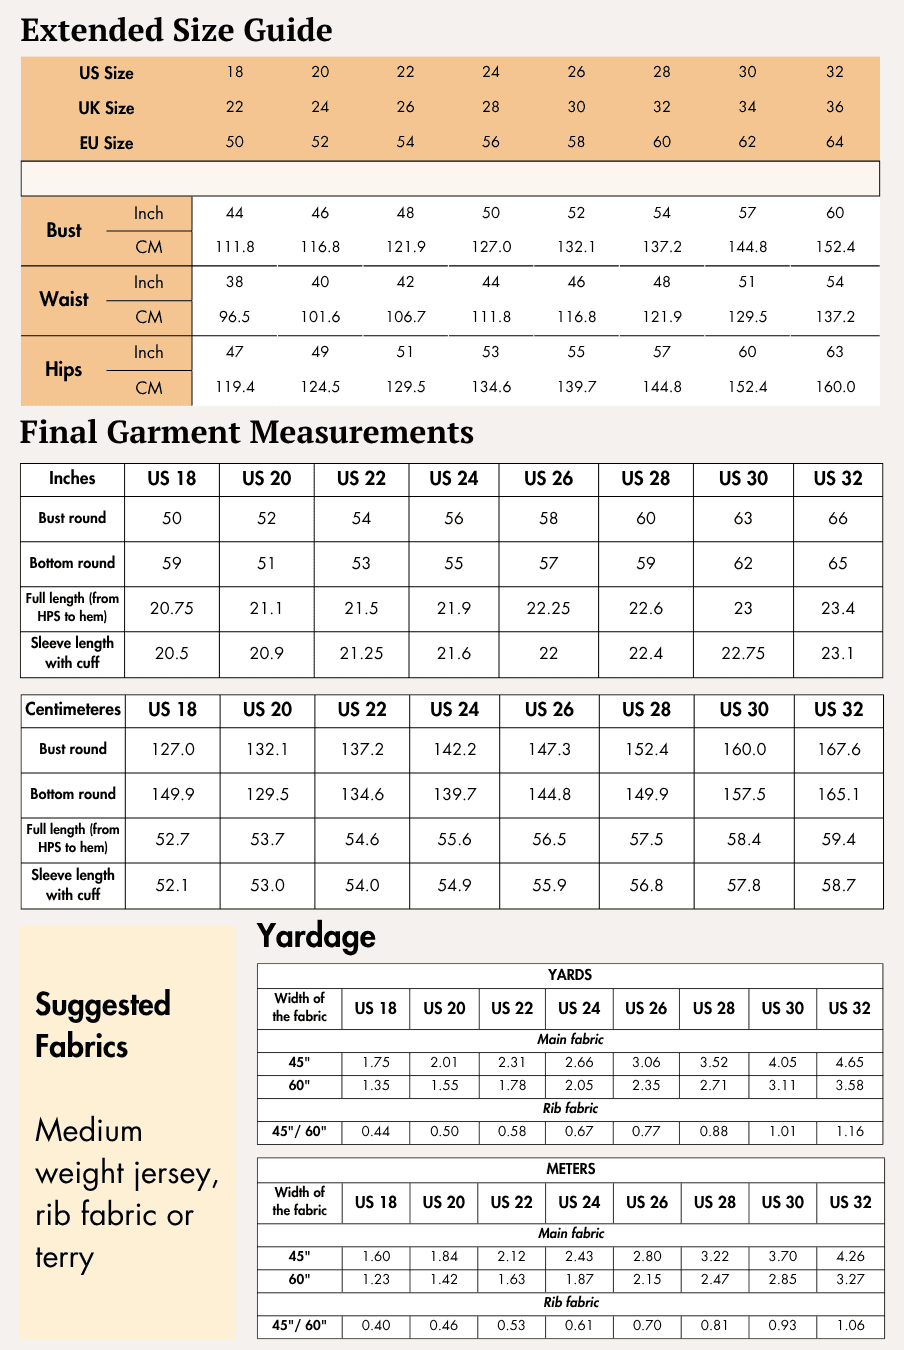
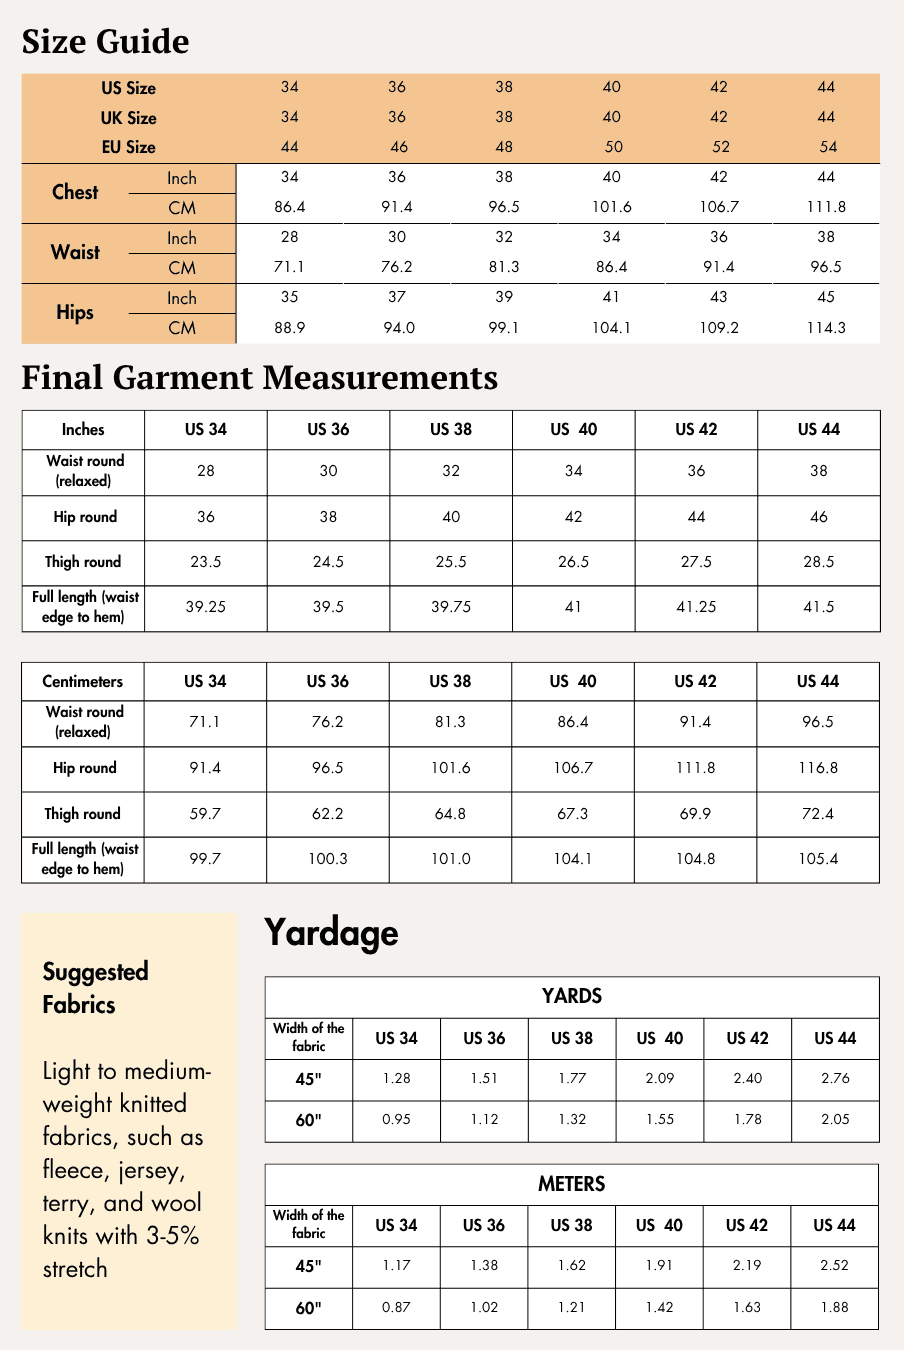
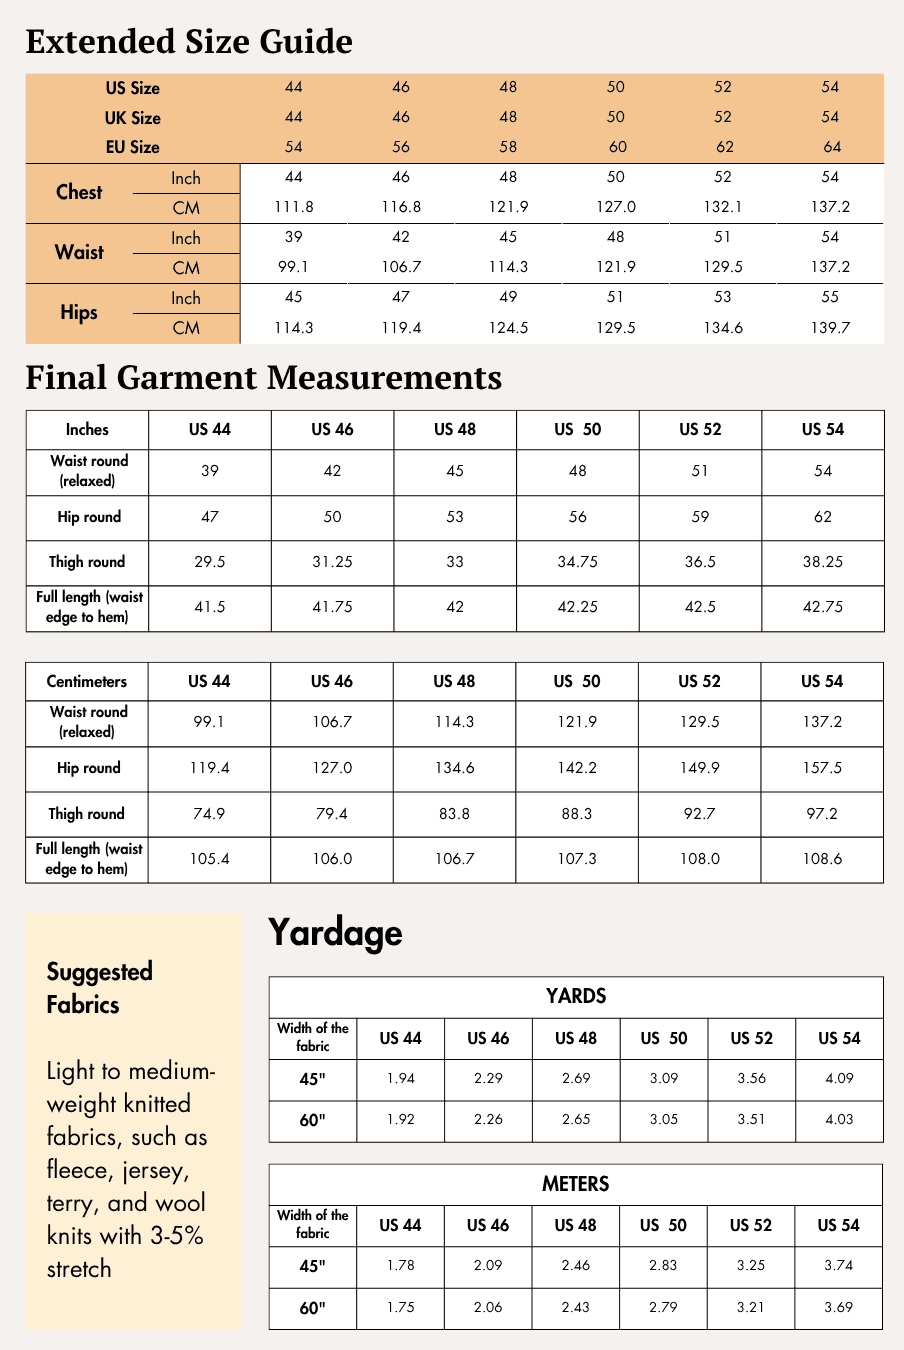
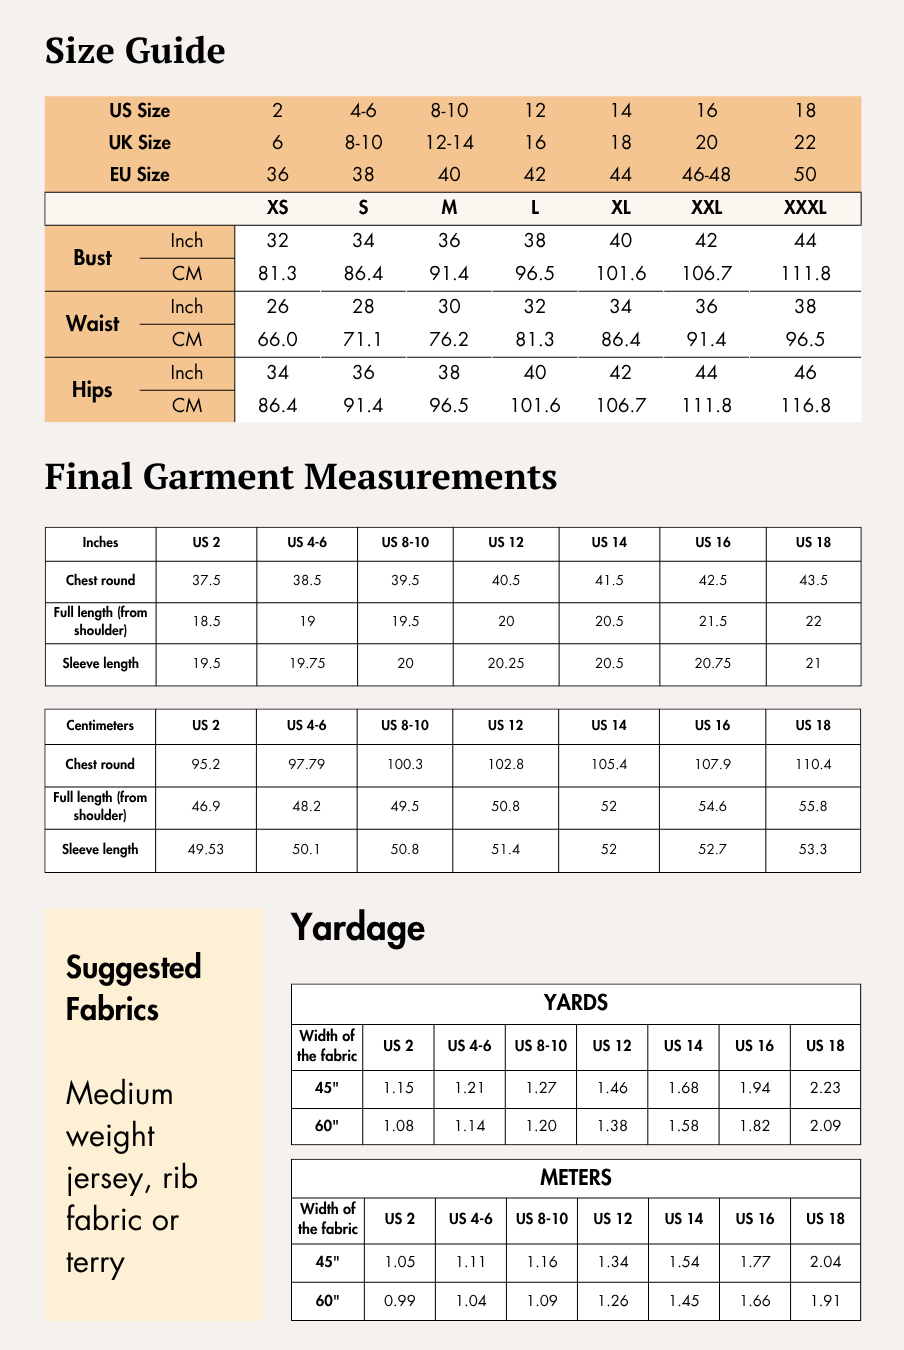
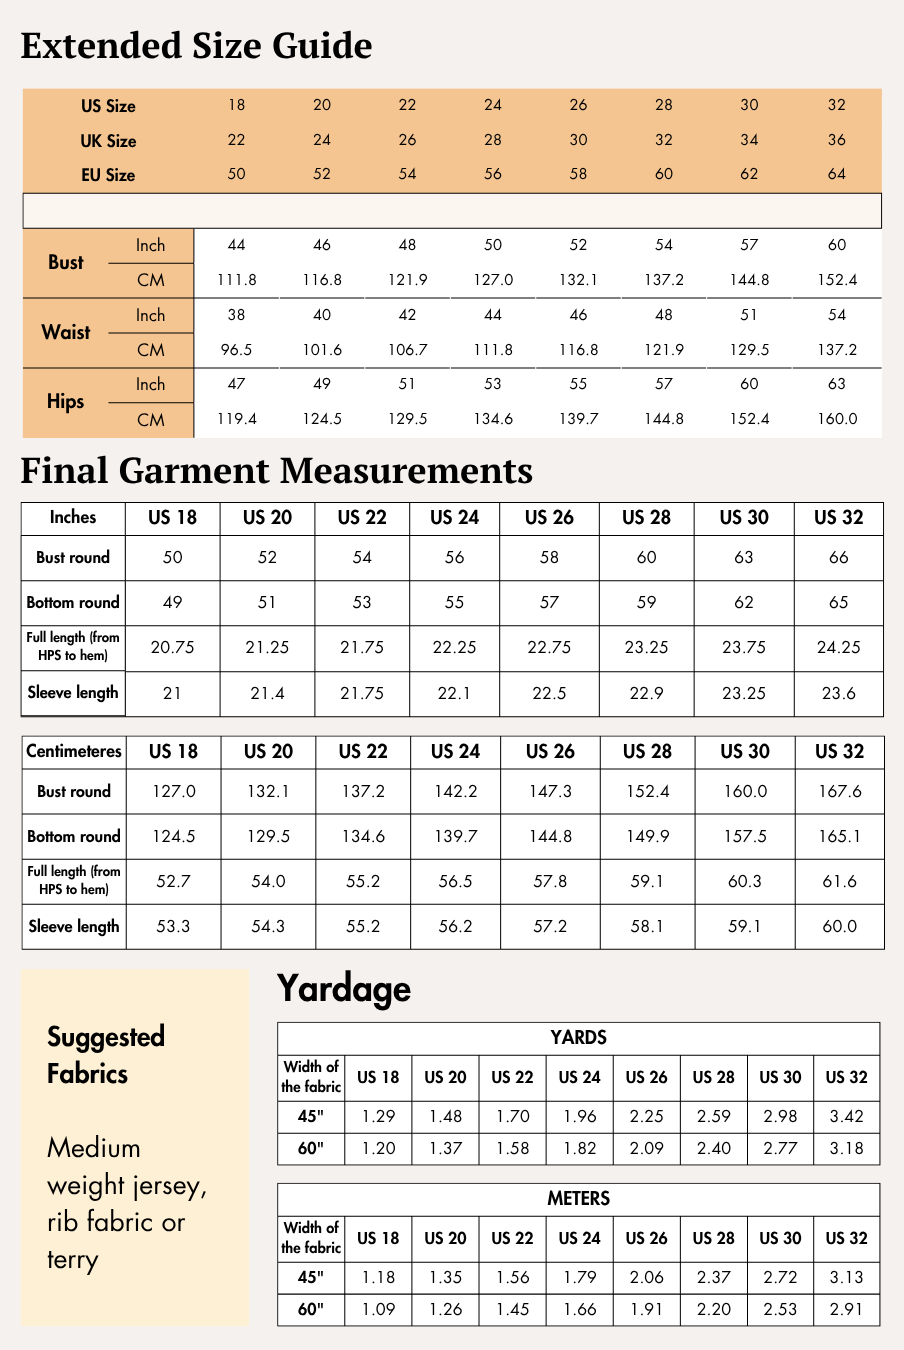
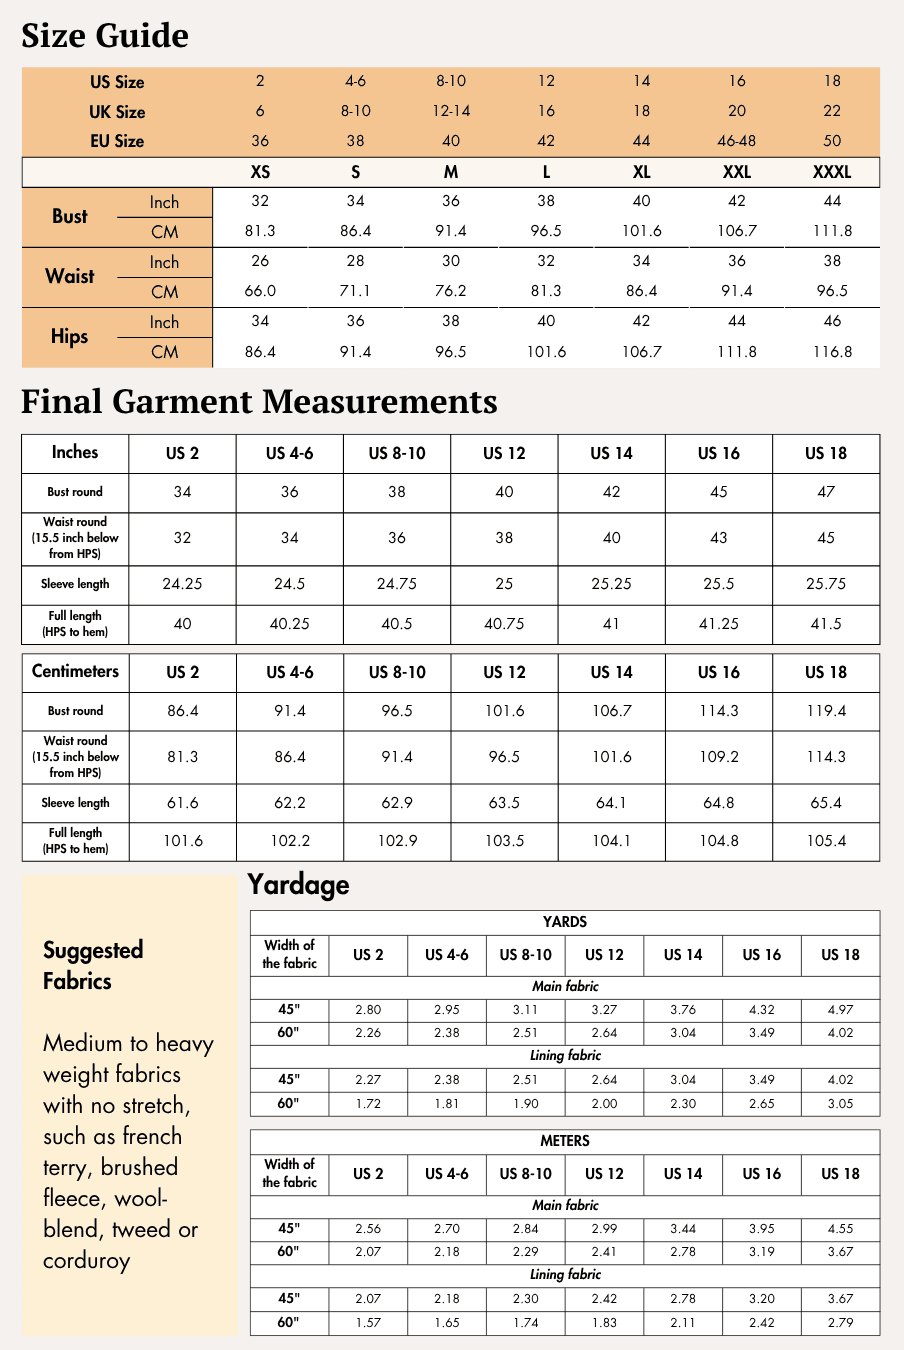
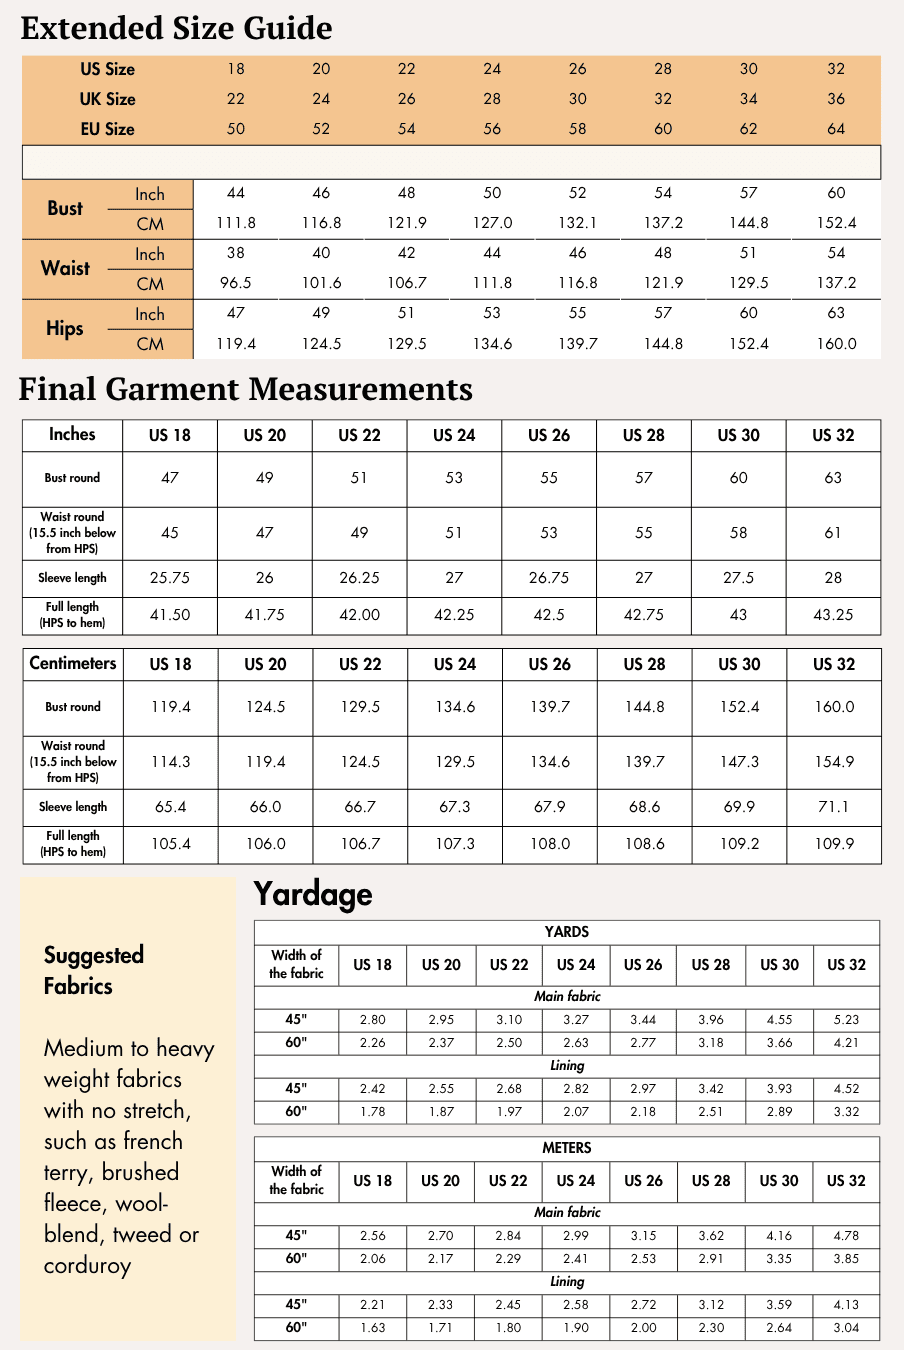
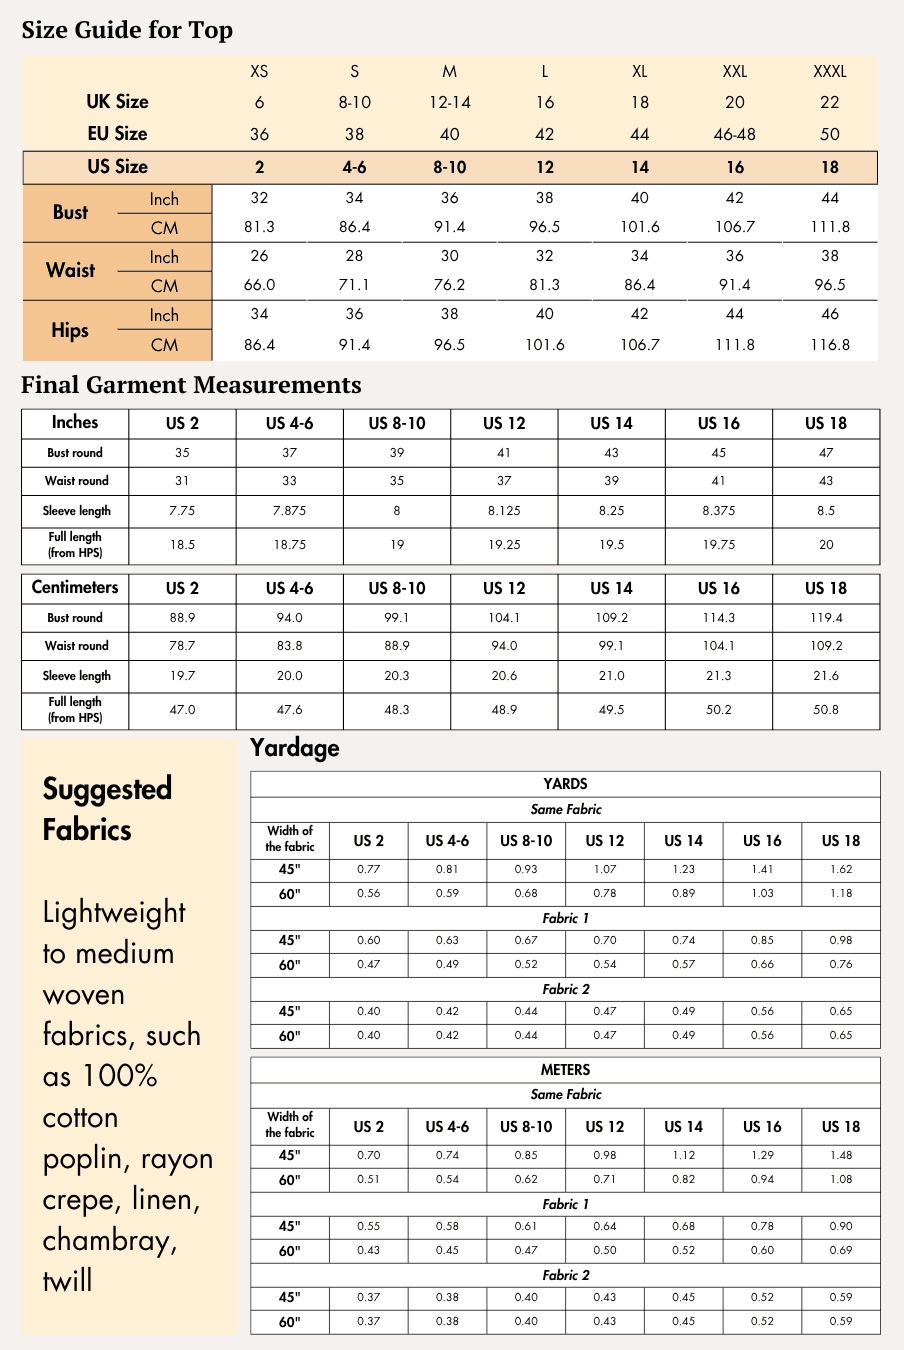
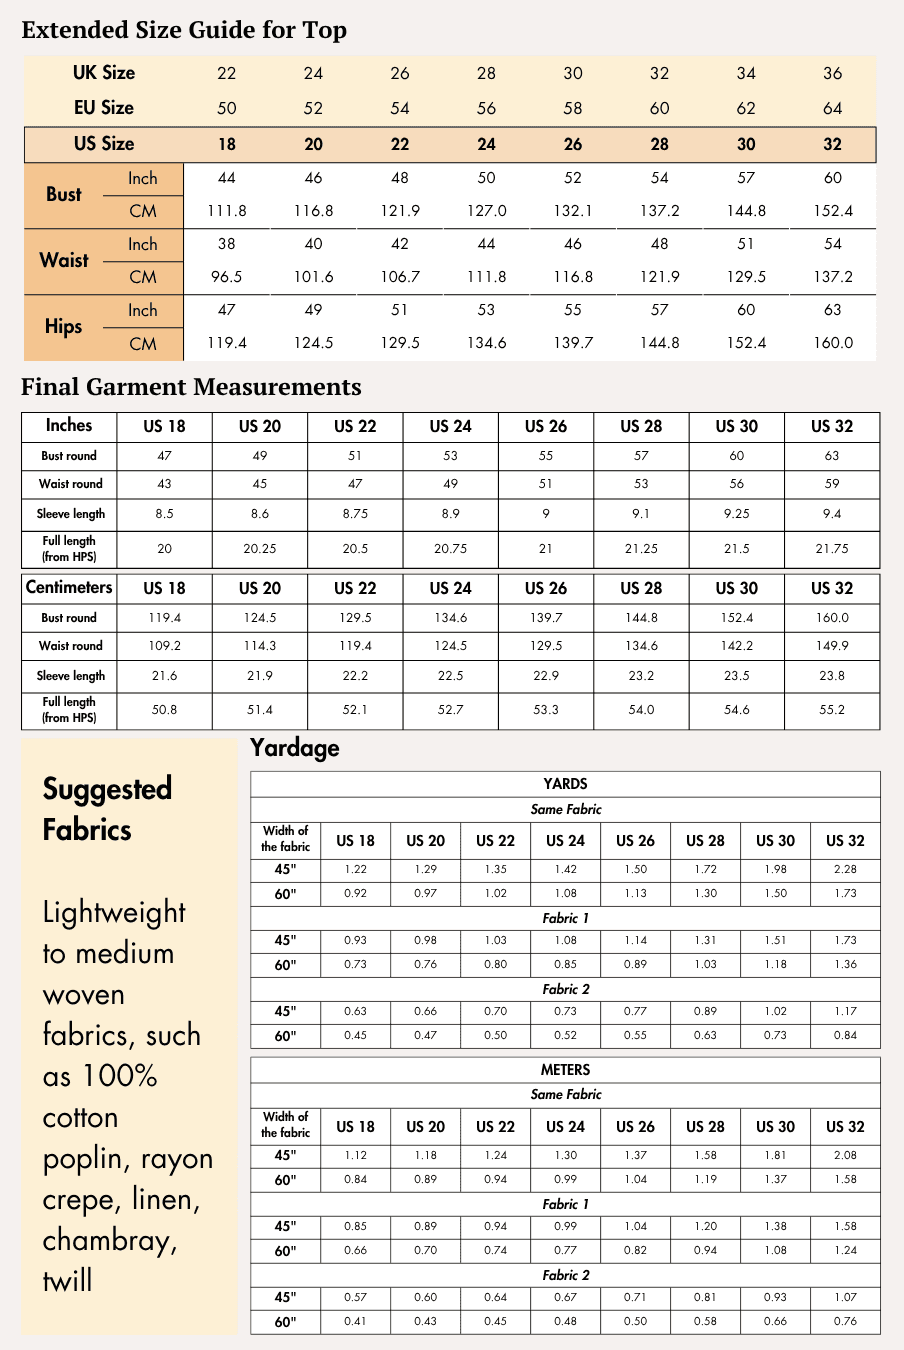
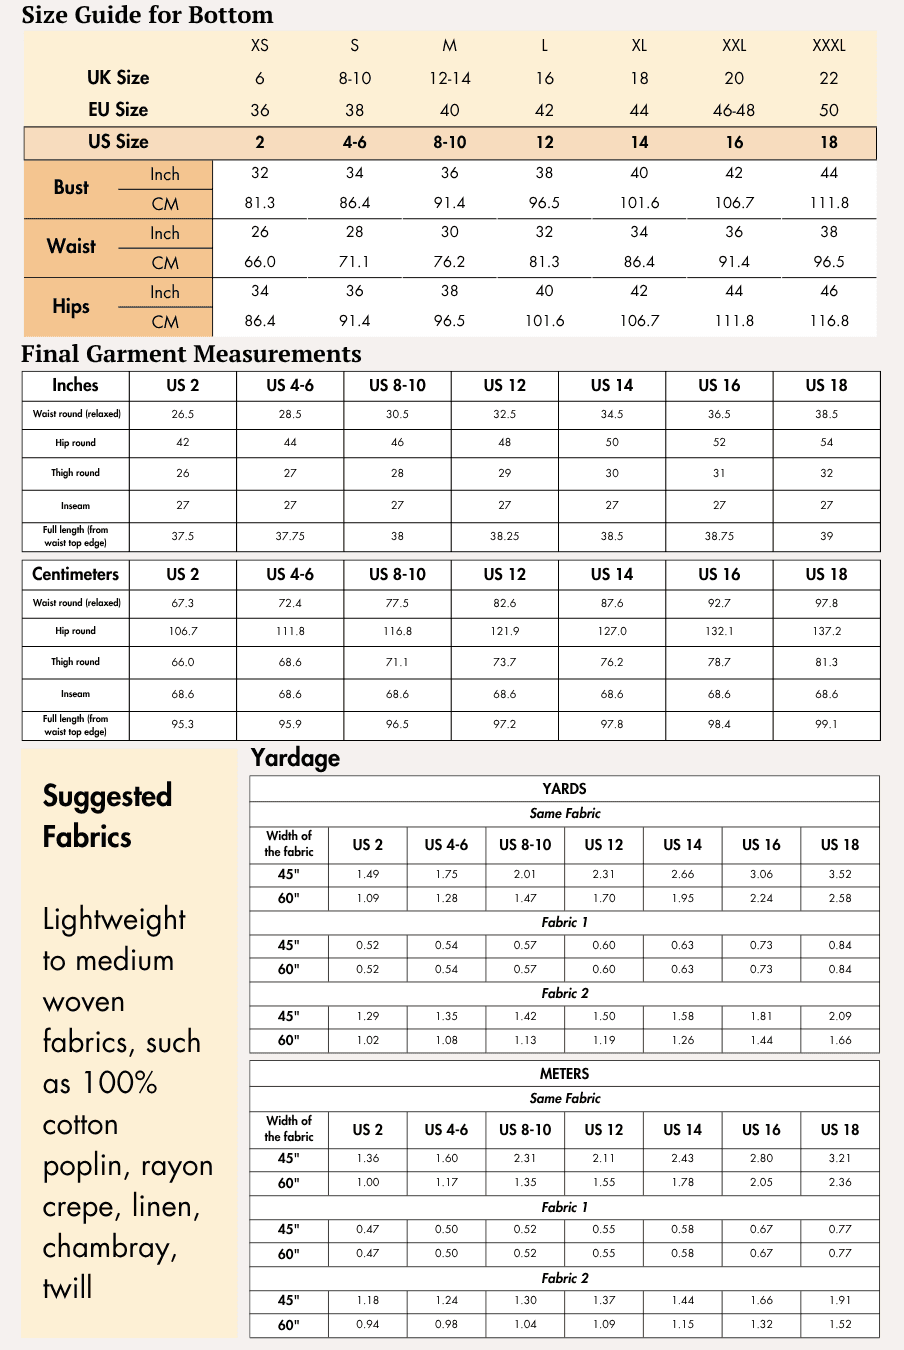
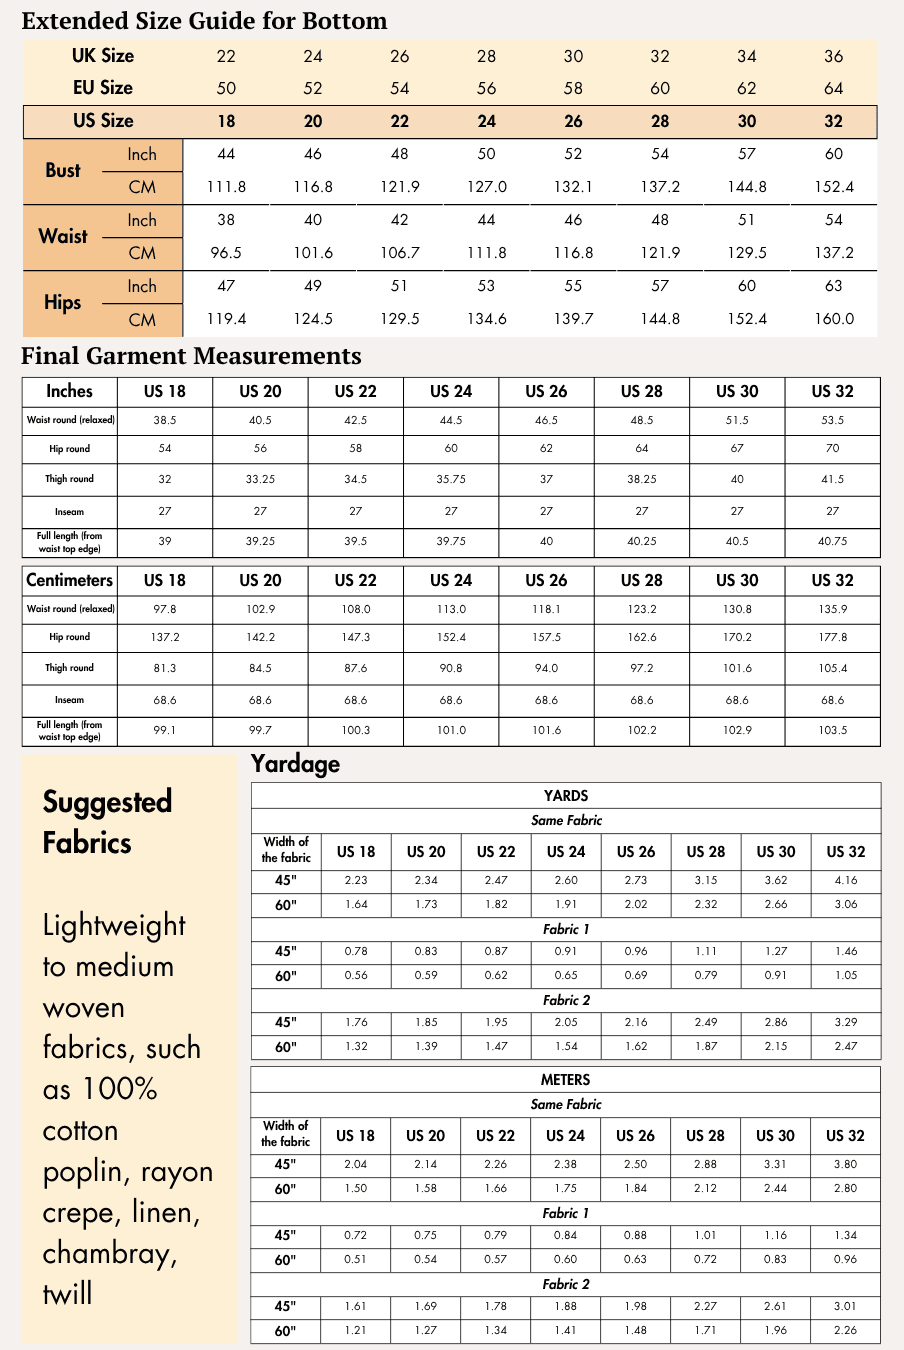
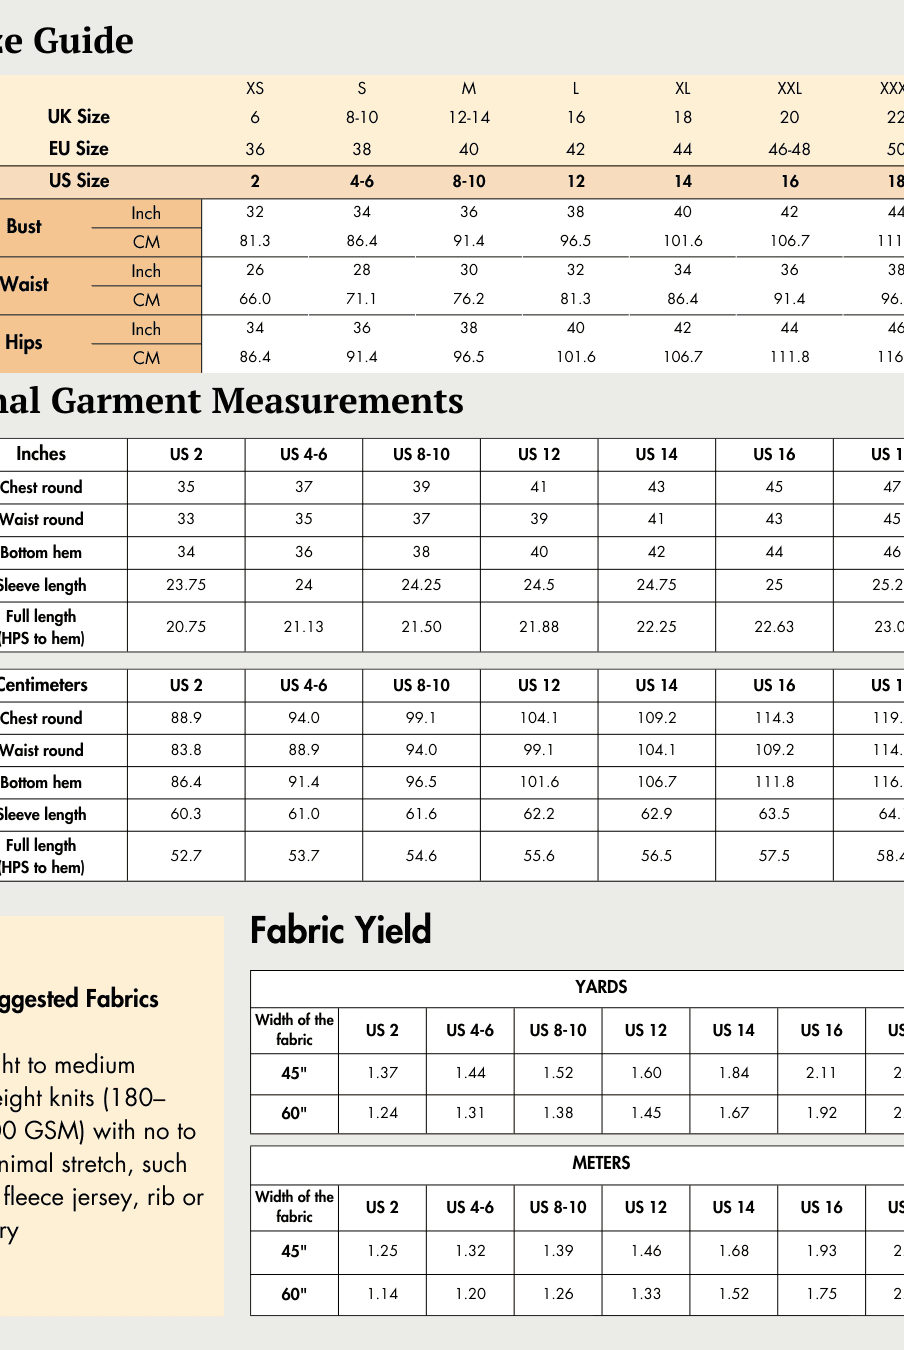
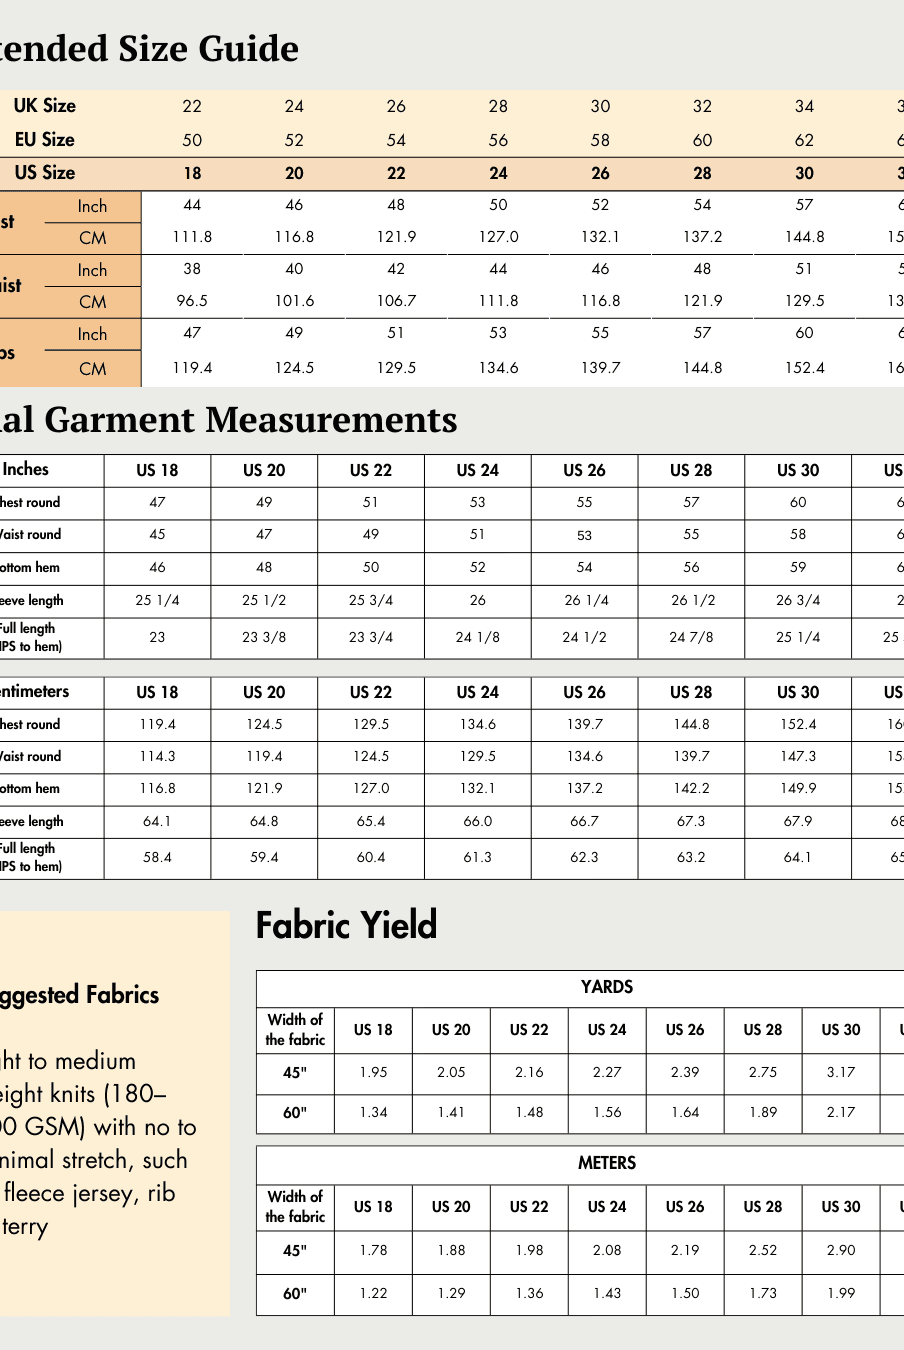
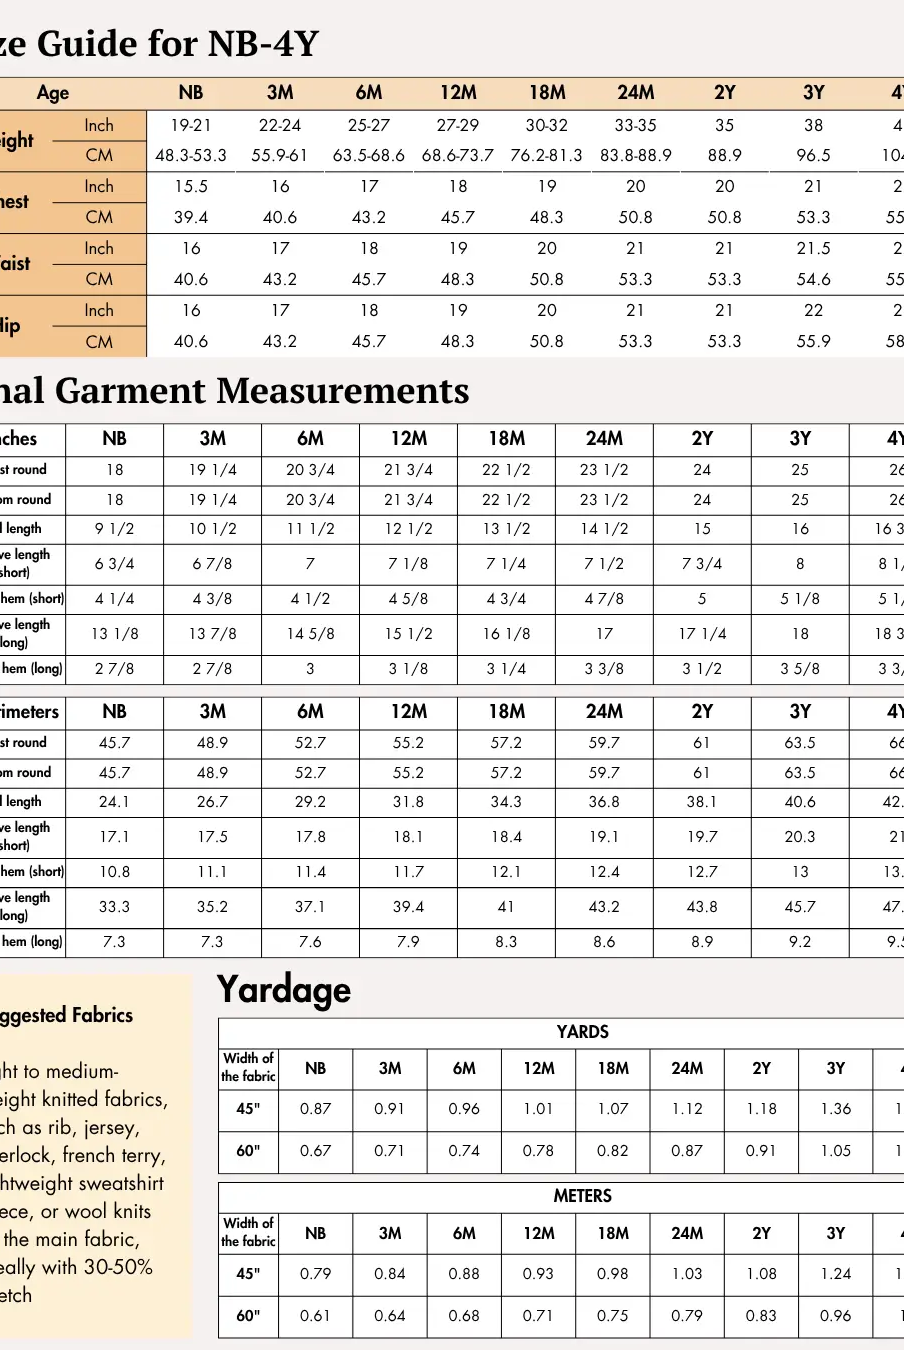
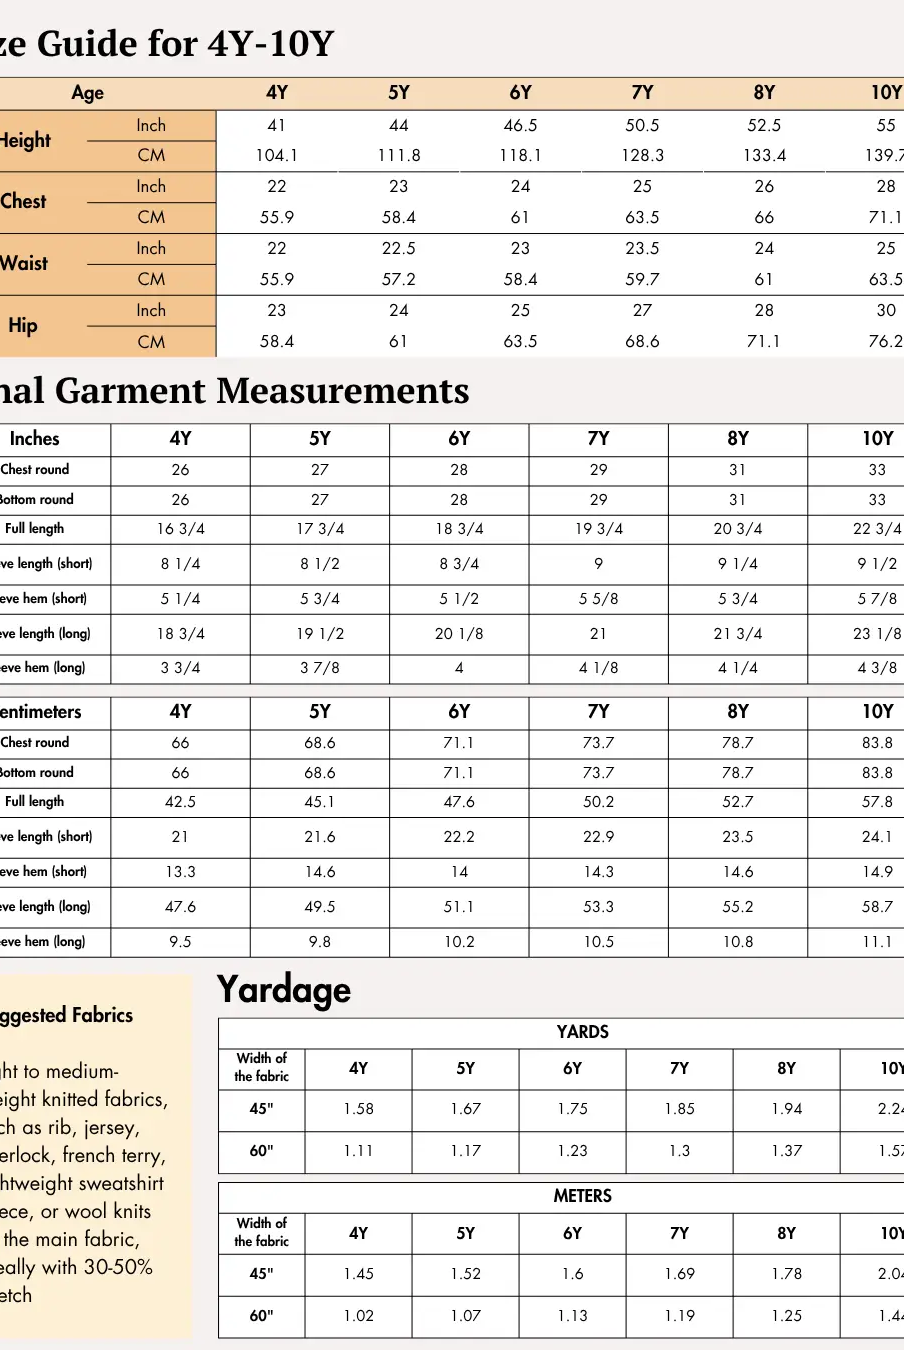
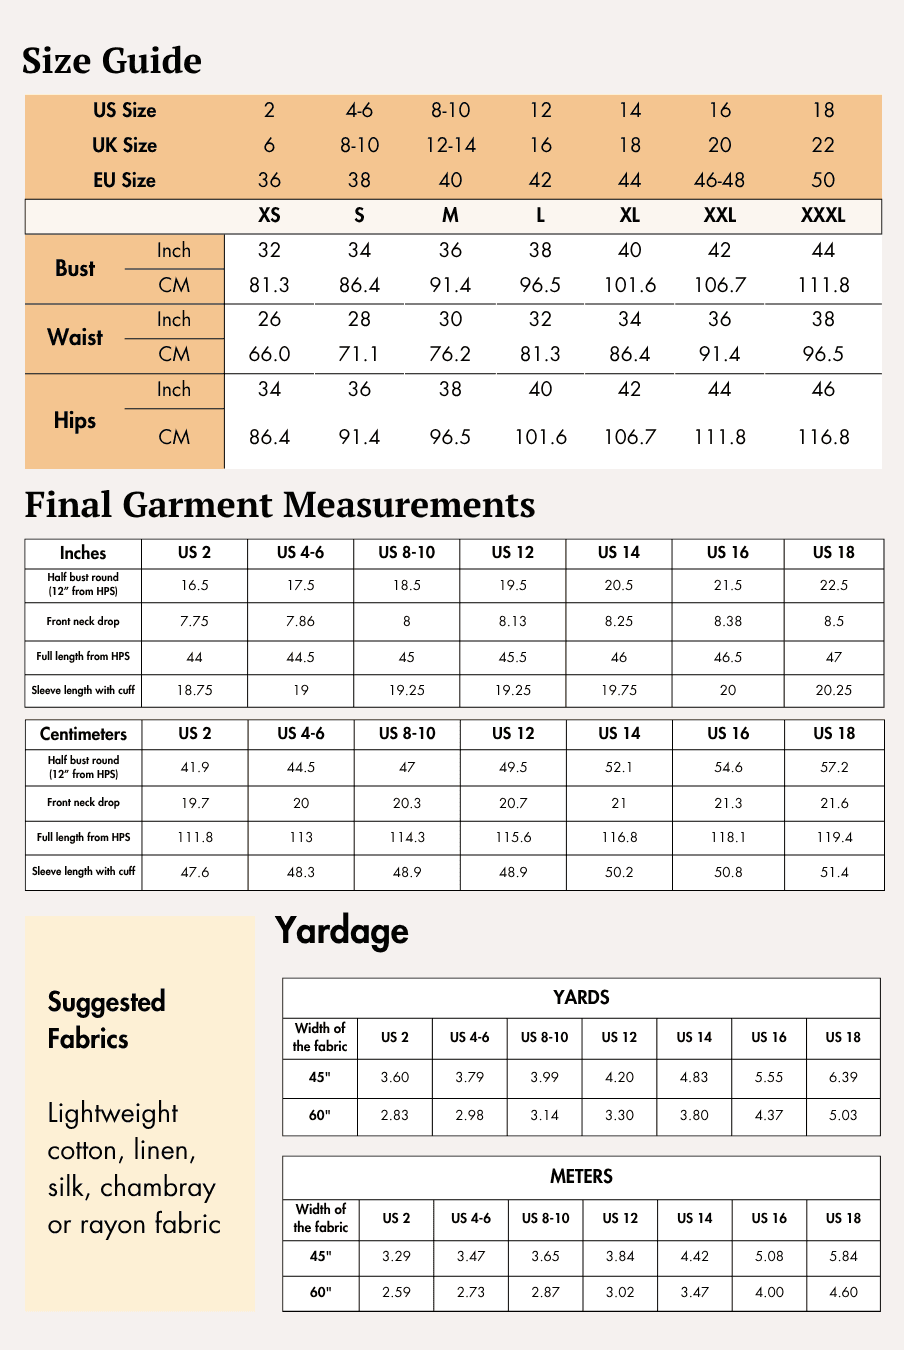
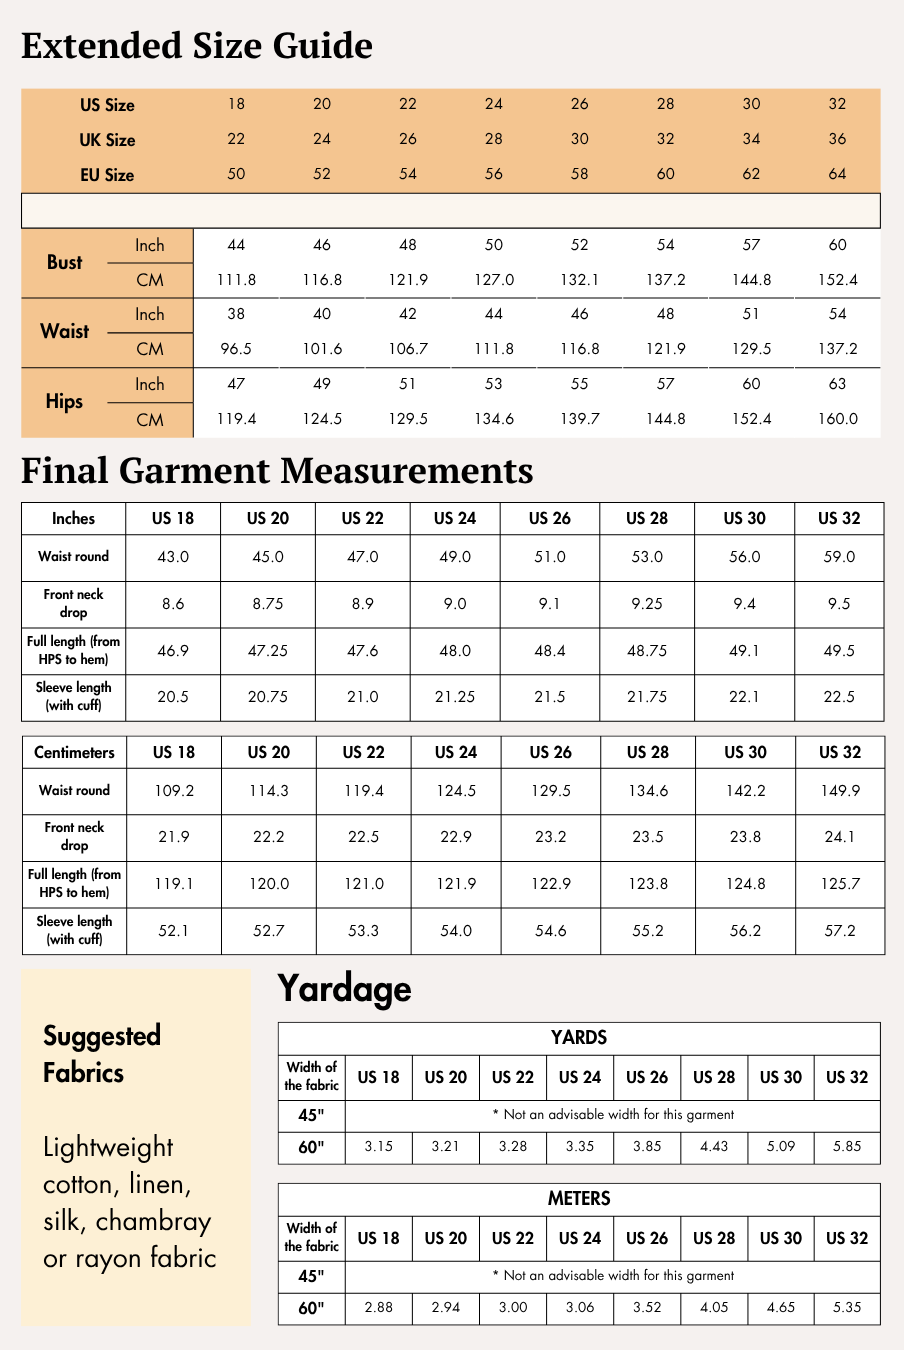
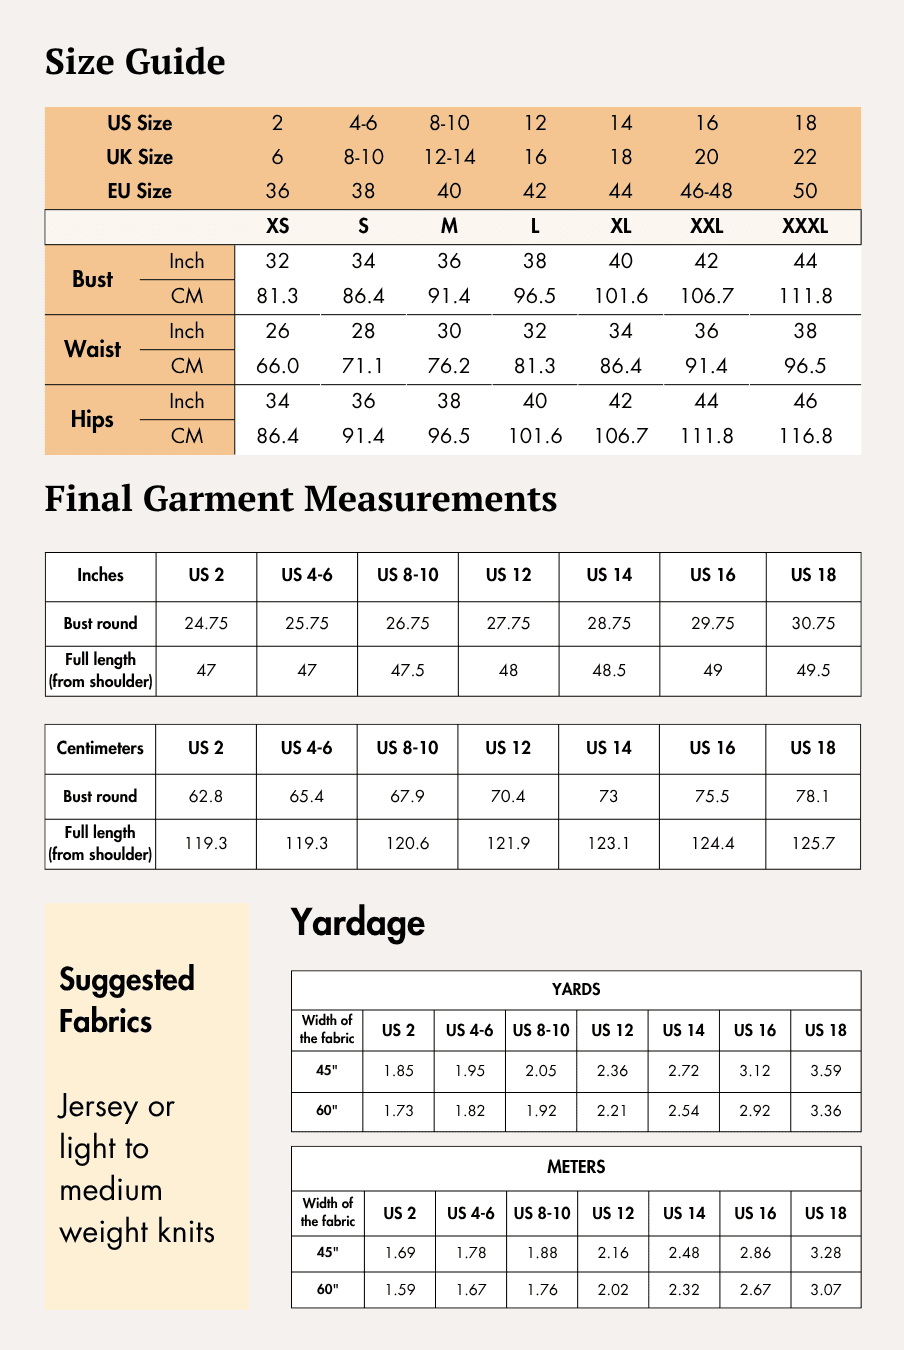
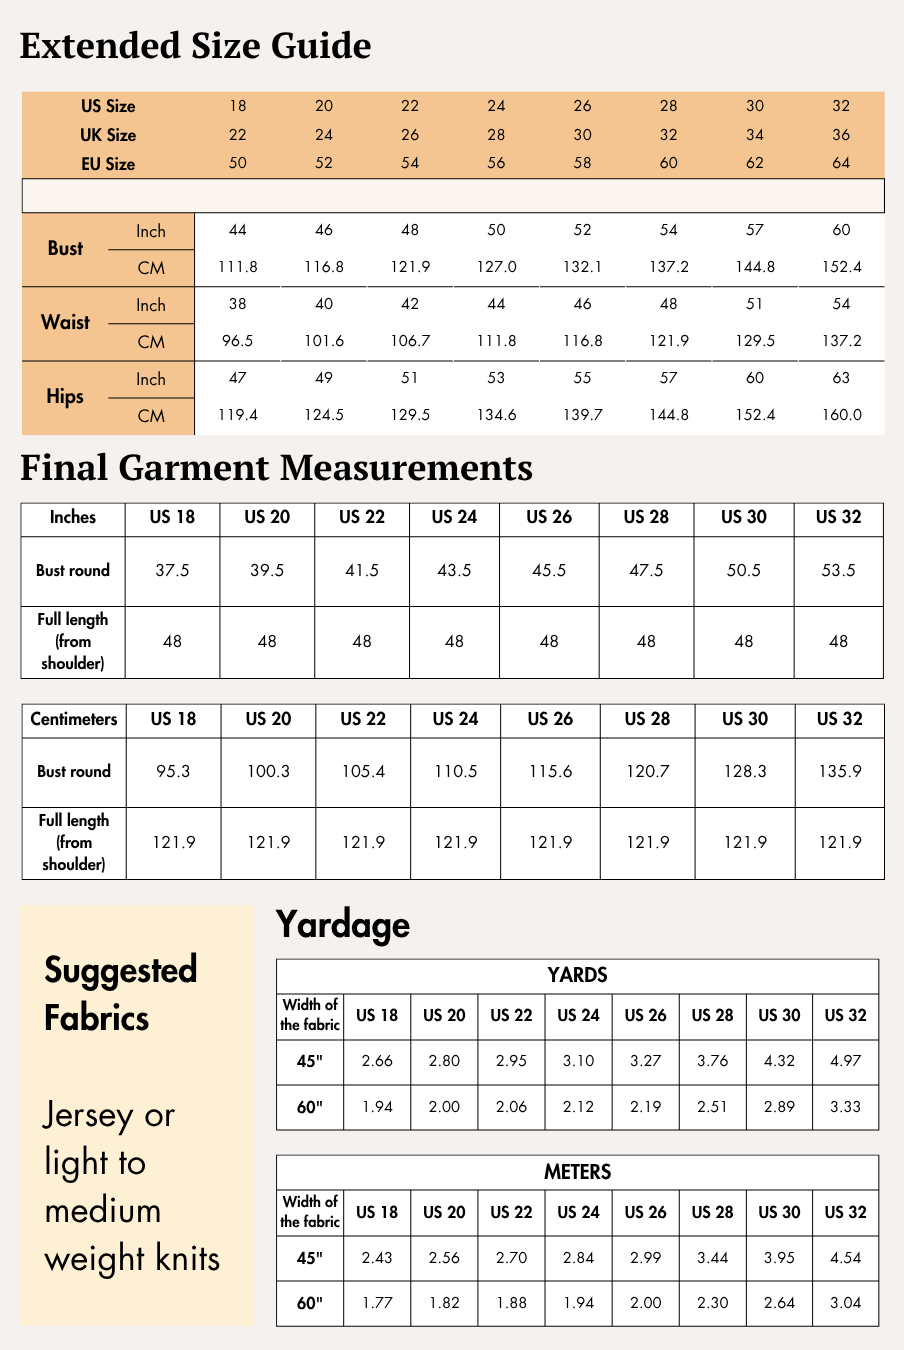
Check the size charts and measure yourself to select the correct size, using the garment and body measurement tables in the guide.
Verify how much fabric you need by referencing the fabric yield table in the guide.
Pattern Inventory: What Pieces to Prepare

The Flynn Kids Sleeveless Vest Sewing Pattern includes the following pattern pieces:
- A. Front — Cut 2 fabric
- B. Back — Cut 2 fabric
- A¹. Front lining — Cut 2 fabric
- B¹. Back lining — Cut 2 fabric
- C. Collar — Cut 2 fabric
- i. Collar template — Cut 0
- D. Outer Pocket — Cut 2 fabric
- E. Outer welt — Cut 2 fabric
- F. Inner pocket — Cut 1 fabric
- G. Inner welt — Cut 1 fabric
If printing at home, use the A4/US Letter pattern files. If printing at a copy shop, use the A0 pattern files.
Pattern Marking


Before cutting your fabric, familiarize yourself with the markings included on each pattern piece. These markings help ensure accurate garment assembly.
The pattern includes markings for:
- Grainline
- Shoulder
- Neck
- Neck notch
- Armhole
- Side seam
- Center front
- Welt pocket marking
- Hem
- Seam allowance
Cutting Layout


The sewing guide provides cutting layouts for both 45-inch and 60-inch fabric widths.
For the best results:
- Arrange all pattern pieces according to the cutting layout diagrams.
- Position each grainline parallel to the fabric selvage.
- Pin the pattern pieces before cutting to improve accuracy.
- The layouts are non-directional.
- Purchase additional fabric if using fabrics with a nap or directional prints.
- The cutting layout illustrations use Age 8Y for representation.
Fabric Cutting and Preparation
Prepare your fabric before cutting by following these steps.
Lay Out Your Pattern Pieces
Arrange the pattern pieces according to the cutting layout diagrams. Position each piece so the grainline arrow runs parallel to the fabric selvage.
Cut Your Fabric
If using fabric shears, trace the pattern pieces before cutting. Cut carefully outside any pen, pencil, or chalk lines, and remember to clip all notches to help align the garment during assembly.
Transfer Pattern Markings
Transfer all markings, including circles, buttonholes, and fold lines, to the wrong side of the fabric using a marking pen, pencil, or chalk. Mark the center front of any pieces cut on the fold to ensure accurate alignment during construction.
Seam Allowance
Use the seam allowances marked on each pattern piece. These are precisely included to ensure proper fit.
This pattern uses a 1 cm (3/8") seam allowance all around, and a 0.6 cm (1/4") seam allowance at the inner pocket.
Step-by-Step Sewing Instructions
1. Construct the Front Welt Pocket
1a. Fold the outer welt (Pattern E) in half lengthwise with the wrong side inside and press.
1b. Place the folded outer welt on the right side of the front (Pattern A), aligning the raw edges with the lower welt pocket placement line.
1c. Sew along the bottom line.
1d. Position the outer pocket (Pattern D) on the upper welt pocket placement line and sew along the top line.
1e. Fold the outer pocket away from the welt so the welt piece is visible.
1f. Place the pocket lining right sides together with the welt piece and stitch along the lower welt seam.
1g. Fold the welt and pocket lining away from the pocket opening to expose the welt pocket marking.
1h. Mark the slit guideline as illustrated in the sewing guide.
1i. Slit the center of the welt pocket box and make small V-cuts at both corners without cutting through the stitches.
1j. Push both the welt piece and pocket piece through the slit opening to the wrong side of the garment. Carefully shape the welt so the opening forms a neat, even rectangle.
1k. Sew along the upper welt line to secure the outer pocket piece. Only the front piece and outer pocket main fabric should be stitched together.
1l. Stitch along the bottom and side edges of the welt pocket marking. Ensure the outer pocket piece remains clear of the stitching so only the outer welt and pocket lining are attached to the front piece.
1m. Turn the front piece over to expose the outer welt, outer pocket, and V-shaped cuts. Sew the small V-shaped edges together on both sides to secure the welt opening. Backstitch to lock the stitches.
1n. Place the pocket lining and outer pocket right sides together and stitch around the pocket edges to form the completed pocket pouch.
2. Construct the Front Lining Welt Pocket
2a. Fold the inner welt (Pattern G) in half lengthwise with wrong sides together and press.
2b. Place the folded inner welt on the right side of the front lining (Pattern A¹). Align the folded edge with the top line of the welt pocket box marking and sew along the seamline.
2c. Position the inner pocket (Pattern F) on the top line of the welt pocket marking and sew along the top seamline.
2d. Spread the inner pocket and inner welt away to expose the welt pocket marking.
2e. Mark the slit guideline as illustrated.
2f. Slit the center of the welt pocket box and make small V-cuts at both corners without cutting through the stitches.
2g. Stitch along the lower and side edges of the welt pocket marking, securing all layers together.
2h. Turn the front lining over to reveal the inner welt, inner pocket, and V-shaped cuts. Stitch the V-shaped edges together on both sides to secure the welt opening. Backstitch to lock the stitches.
2i. Fold the inner pocket lining so the open top edge aligns with the bottom raw edge of the inner welt, keeping the stitching hidden from the right side of the garment.
2j. Sew the side seams of the pocket lining to complete the pocket pouch.
3. Attach the Shoulder Seams
3a. Place the front and back pieces right sides together and align the shoulders.
3b. Sew the shoulder seam.
3c. Repeat Steps 3a–3b for the opposite shoulder.
3d. Press both shoulder seams open.
3e. Repeat Steps 3a–3d for the front lining and back lining pieces.
4. Join the Outer Vest and Lining
4a. Place the completed outer vest and the vest lining with their right sides together. Align the shoulder seams and neckline carefully.
4b. Sew around both armholes and both side seams.
4c. Continue sewing along the bottom hem and center front edges. Stitch only up to the neck notch on each side. Do not sew the collar seamline.
4d. Turn the vest right side out through the neckline opening and press all seams neatly.
5. Prepare the Collar
5a. Place both collar pieces (Pattern C) with their right sides together.
5b. Sew along both side edges and the outer curved edge of the collar.
5c. Trim the seam allowances where necessary, turn the collar right side out, and press it flat, shaping the collar neatly.
6. Attach the Collar
6a. Place the prepared collar on the right side of the vest, aligning the unfinished edge of the collar with the neckline edge.
6b. Sew along the collar seamline to attach the collar to the neckline.
6c. Fold the upper collar edges inside the collar opening and use blind hand stitches to close the collar neatly, enclosing the neckline seam allowances for a clean finish.
7. Optional Topstitching
For an extra tailored finish, topstitch around the collar and the center front edges.
The sewing guide also recommends stitching two parallel rows approximately 1 inch above the hemline using either a lock stitch or a coverstitch to give the vest a crisp, professional appearance.


Ready to Sew Your Own Kid's Sleeveless Vest?


The Flynn Kids Sleeveless Vest is a rewarding tailoring project that introduces classic garment-making techniques such as welt pockets, lining construction, and collar attachment. With its clean finishes and timeless design, it's an excellent project for sewists looking to expand their skills while creating a polished handmade garment.
Whether you're sewing it for weddings, celebrations, family gatherings, or everyday layering, this pattern helps you achieve professional-looking results with detailed, step-by-step guidance. Download the Winslet's Flynn Kids Sleeveless Vest Sewing Pattern today and enjoy creating a classic vest that will become a lasting wardrobe favorite.
Explore More Sewing Patterns
Browse our Kids Sewing Pattern Collection for more stylish handmade layering pieces and wardrobe essentials that are perfect for formal occasions and everyday wear.
Join the Community & Get Support
Share your finished Flynn Kids Sleeveless Vest on social media with #MadeWithWinslets. If you have questions, feedback, or customization requests, contact the Winslet's team at support@winslets.com.