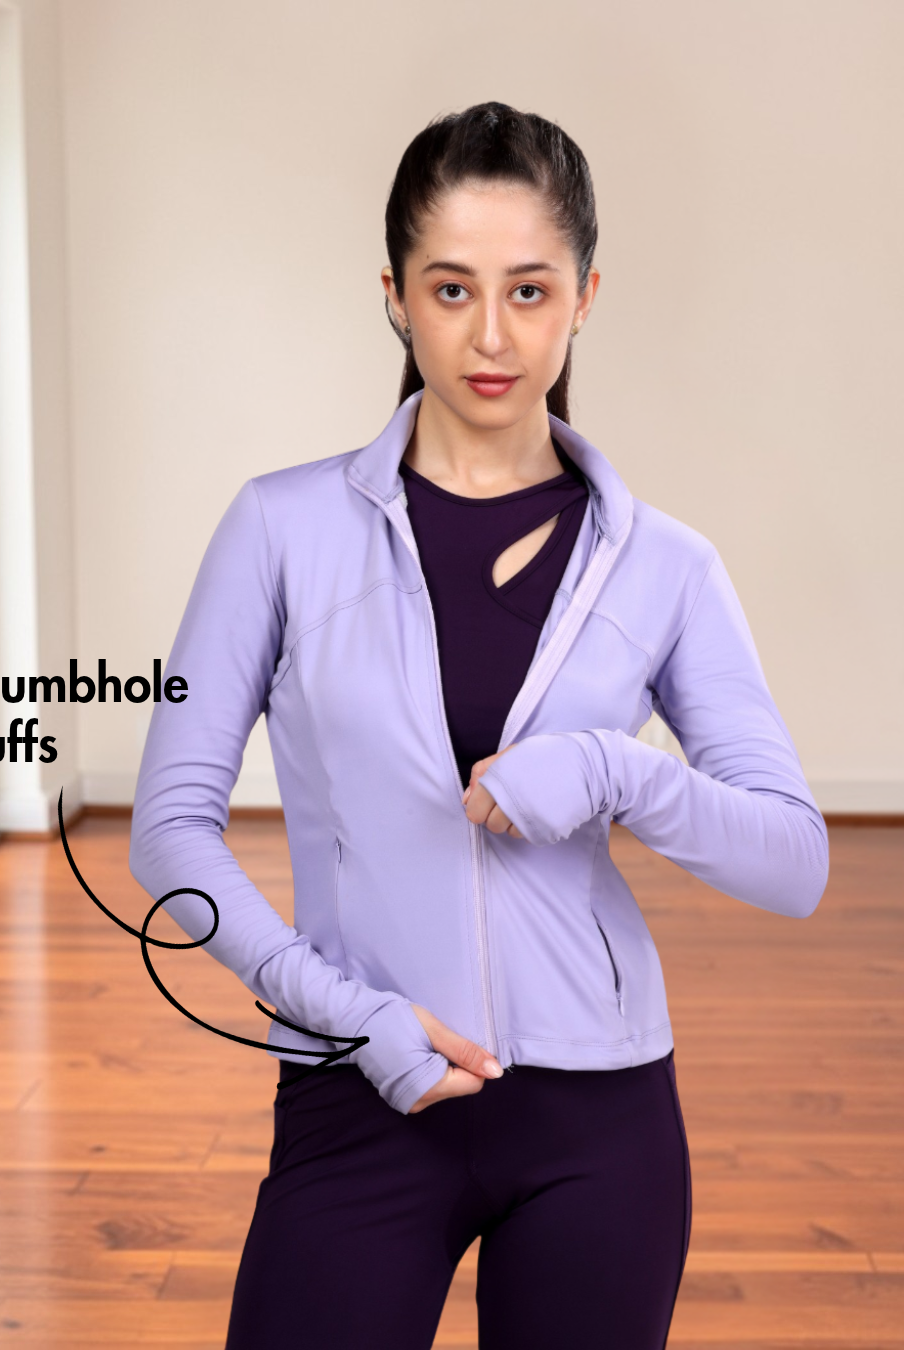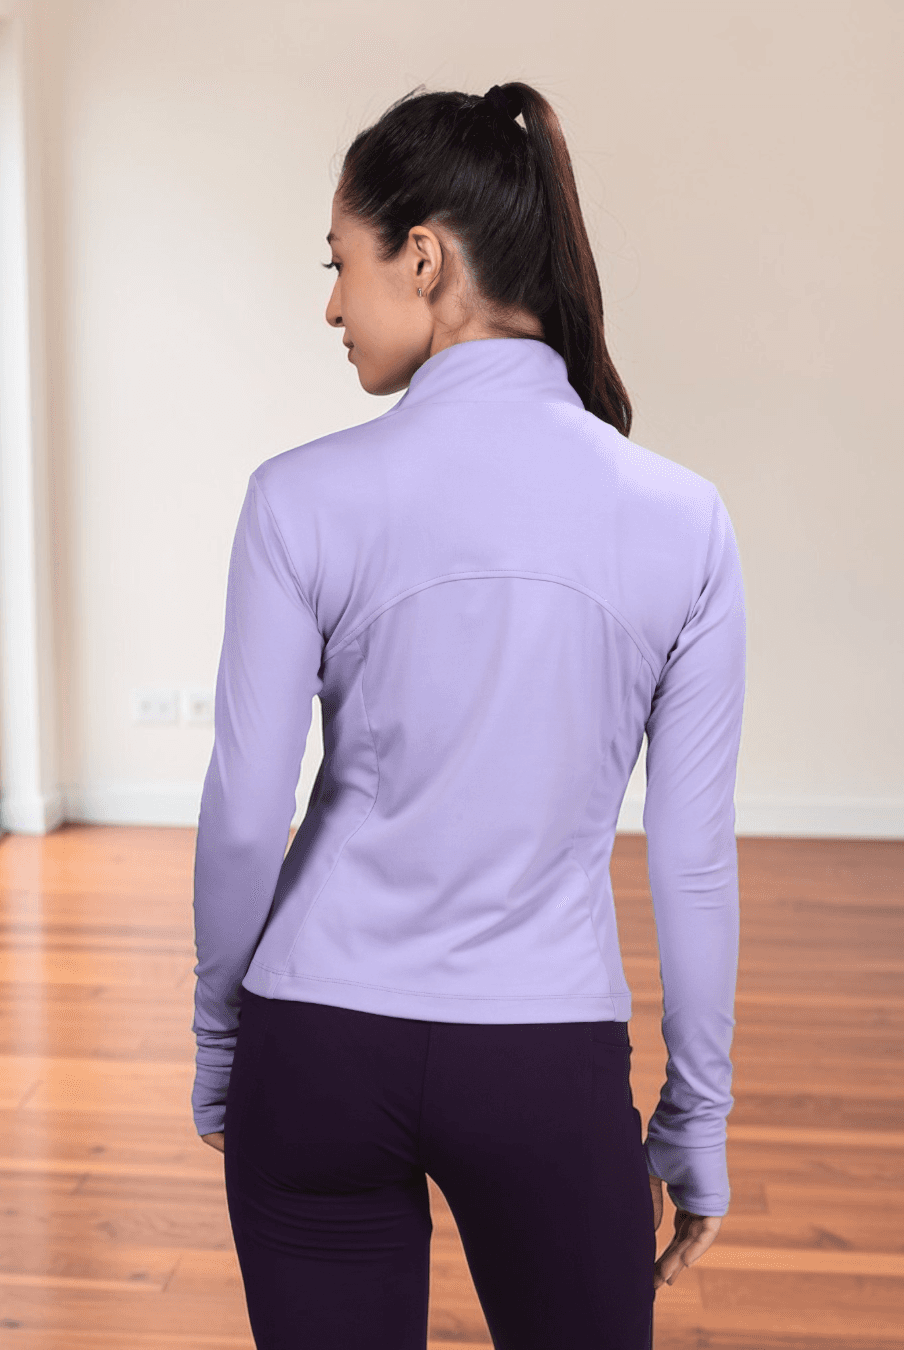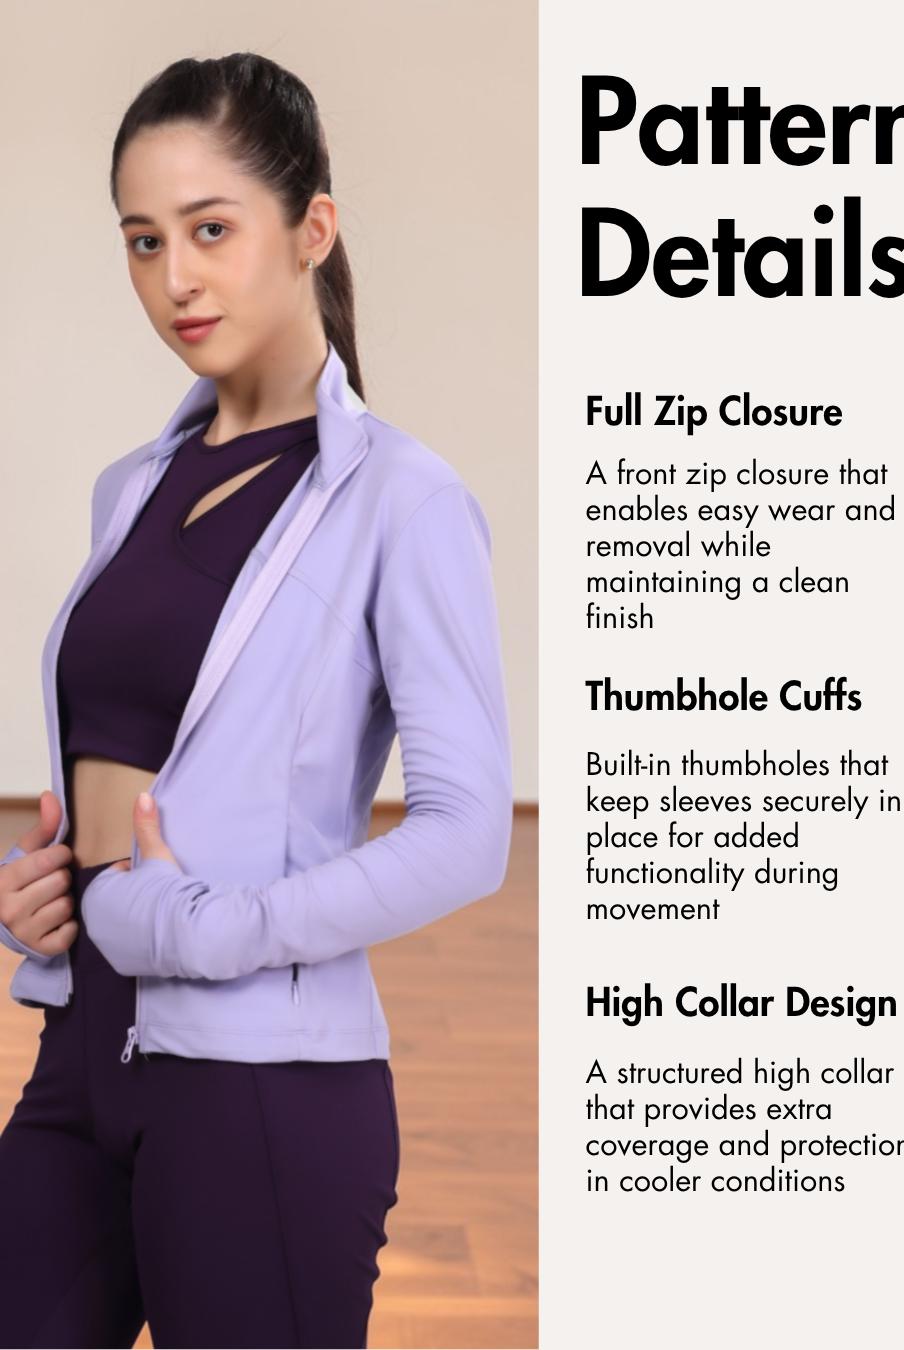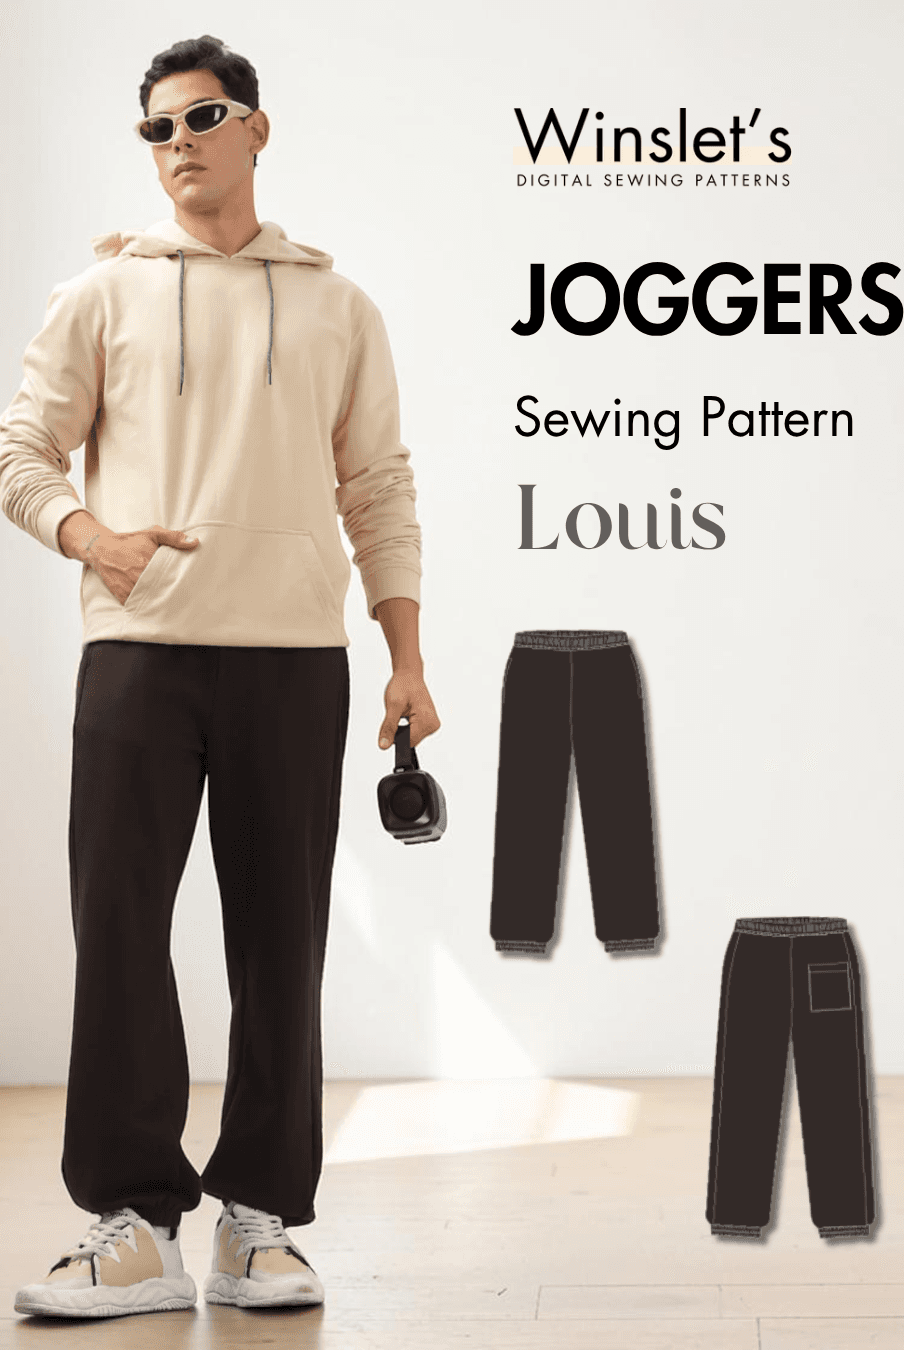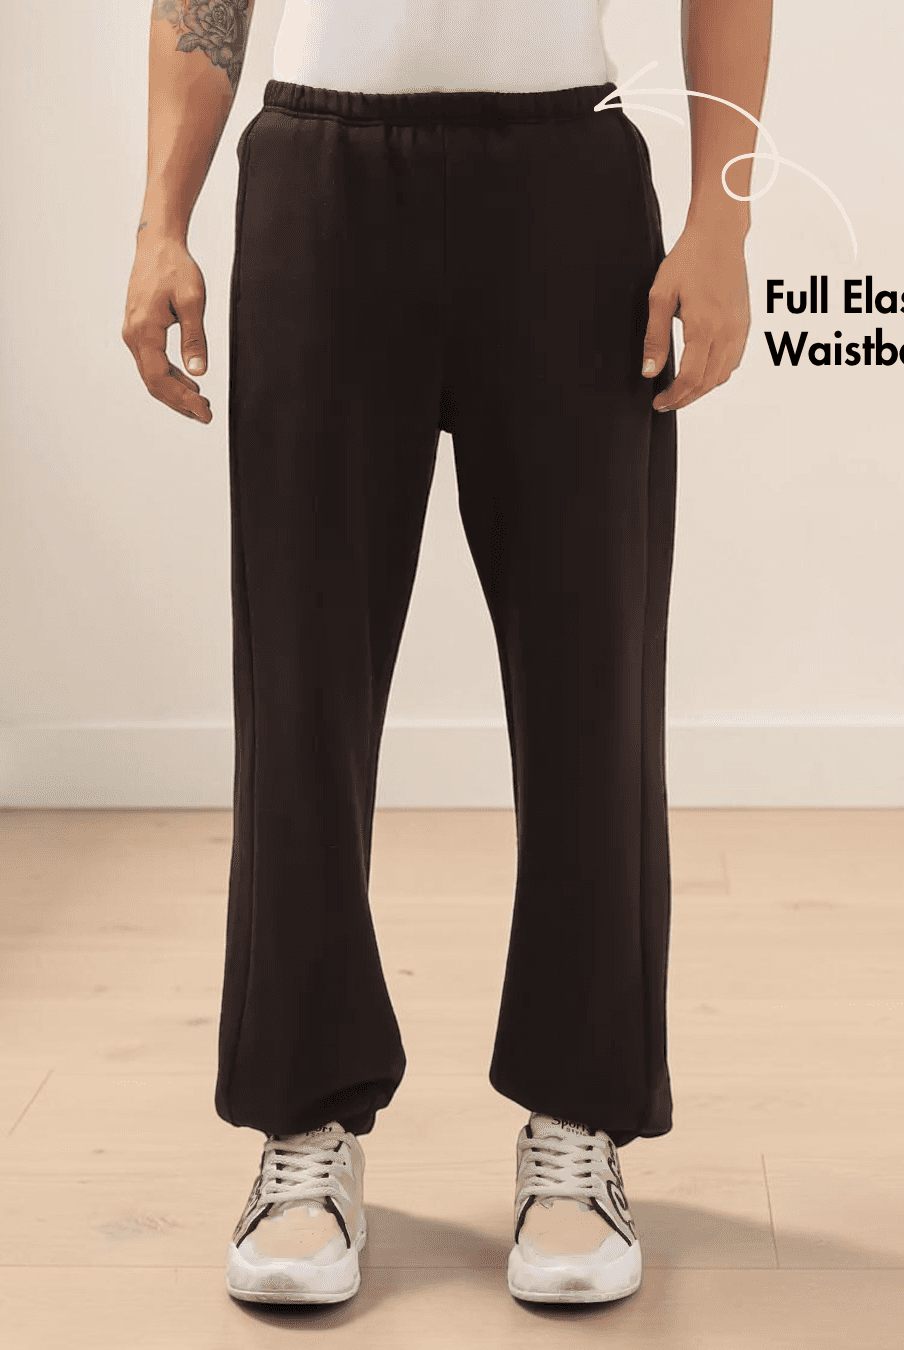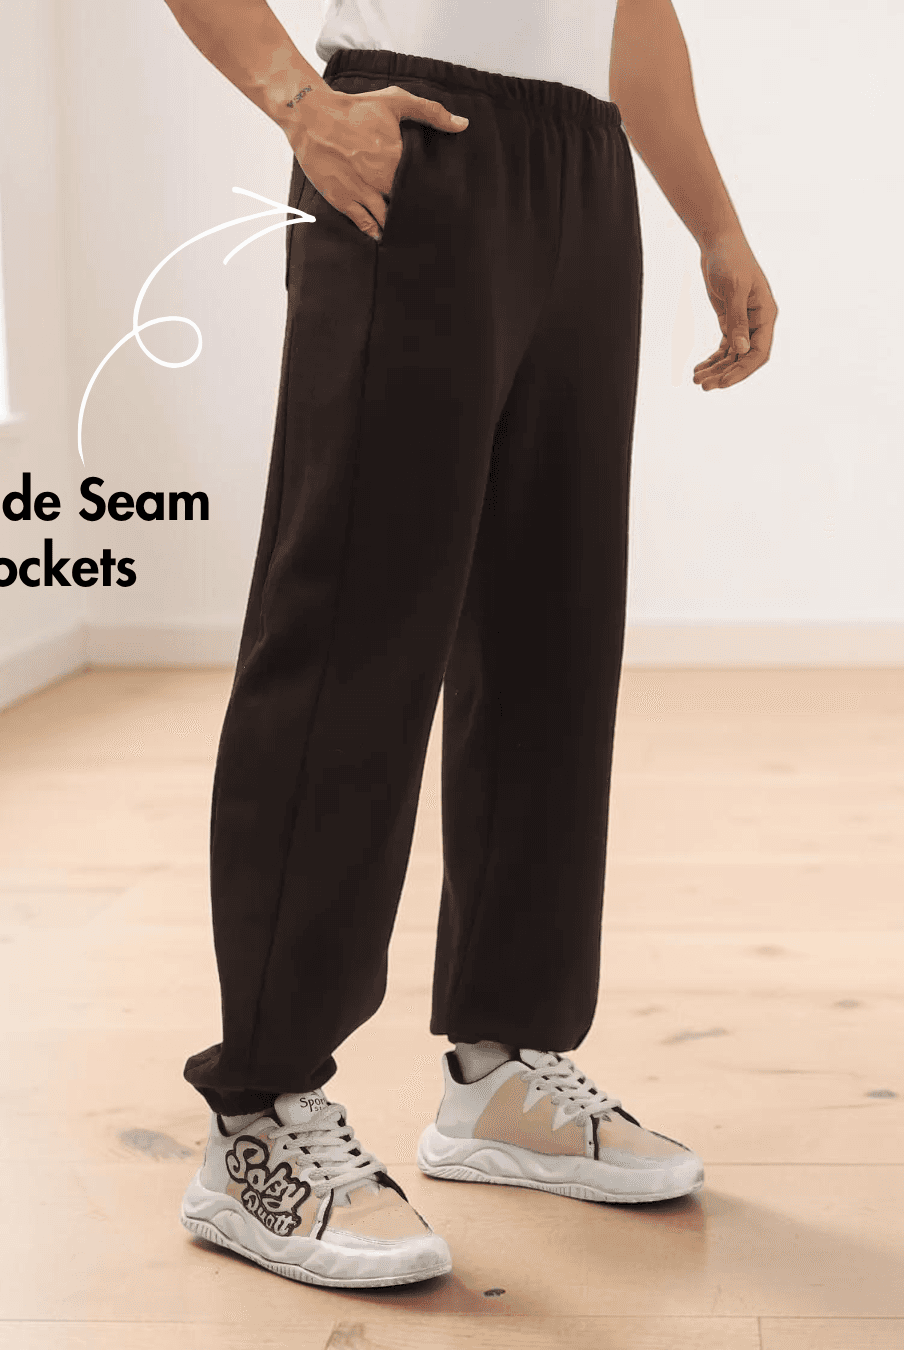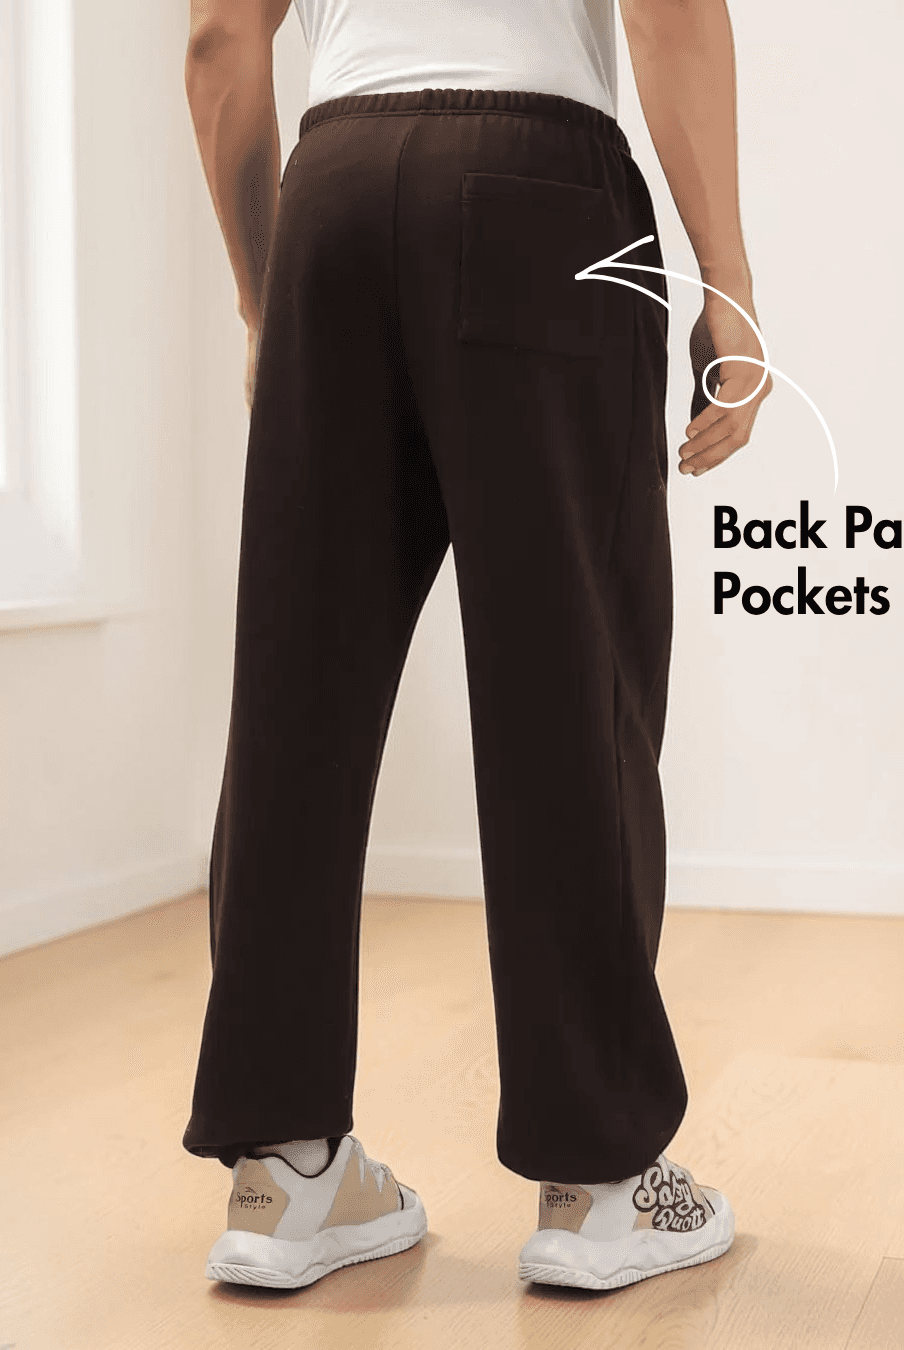
Activewear coord set is one of the most rewarding garments to sew because it combines comfort, performance, and style in a project you'll reach for again and again. With the right stretch fabric and sewing techniques, you can create a coordinated outfit that's comfortable for workouts, outdoor activities, and everyday wear while achieving a professional finish.
The Winslet's Layla Activewear Coord Set Sewing Pattern combines the Layla Cutout Sports Bra and Layla Running Leggings into a versatile matching set. Designed for confident beginners and intermediate sewists, it offers a practical project that helps you build your skills while creating a stylish handmade activewear outfit.

Why Sew Activewear Coord Set?
- Create a coordinated sports bra and leggings set designed to work together.
- Sew activewear that is comfortable for workouts, running, yoga, and everyday active lifestyles.
- Customize your fabric, color combinations, and fit to suit your personal style.
- Practice sewing stretch fabrics and knit garment construction techniques.
- Build a durable wardrobe staple that can be worn as a complete set or mixed with other activewear pieces.
Why Choose the Winslet's Layla Activewear Coord Set Sewing Pattern?
Sports Bra

Running Leggings

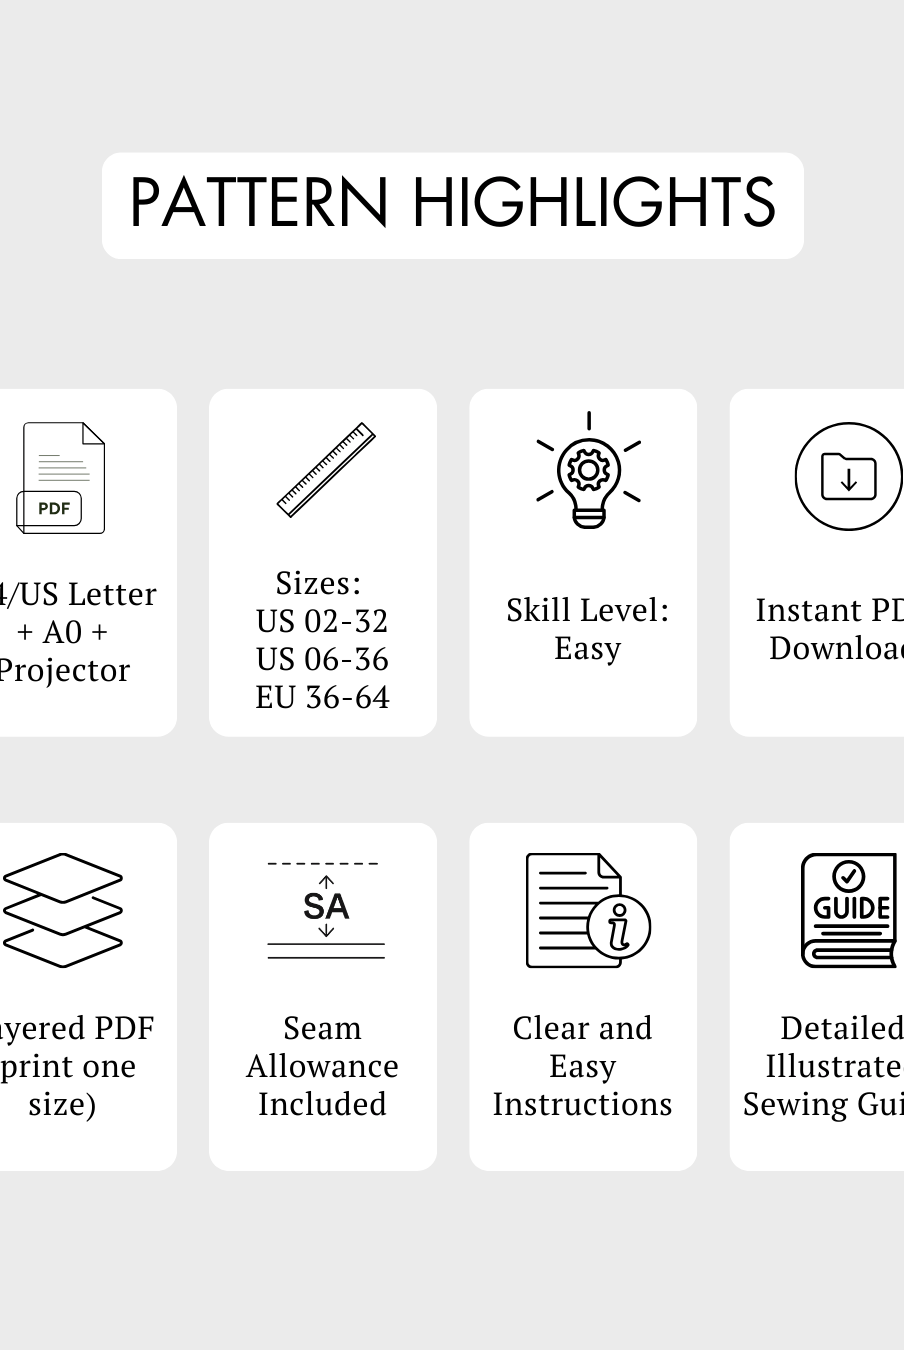
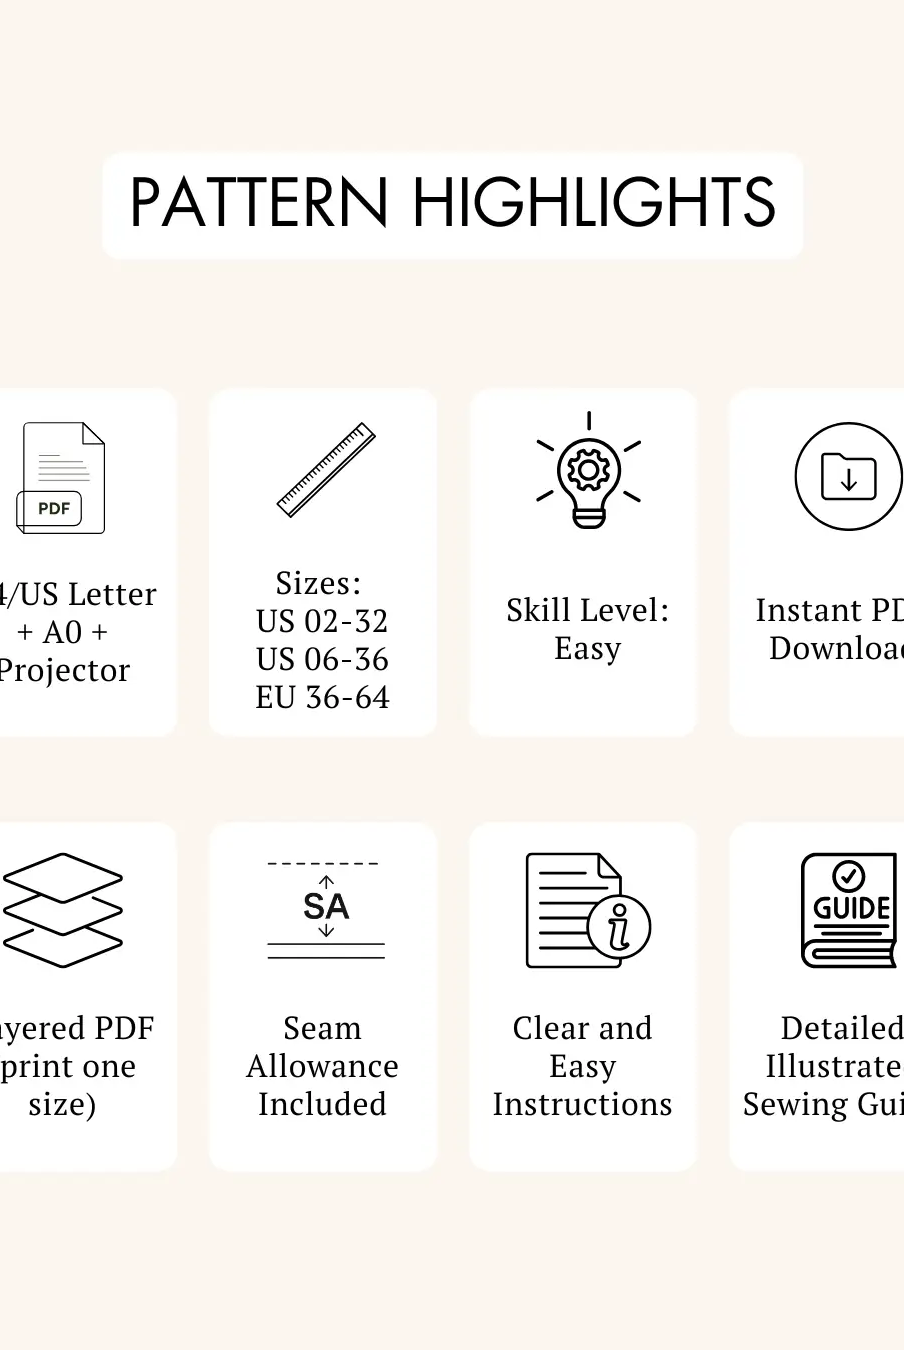
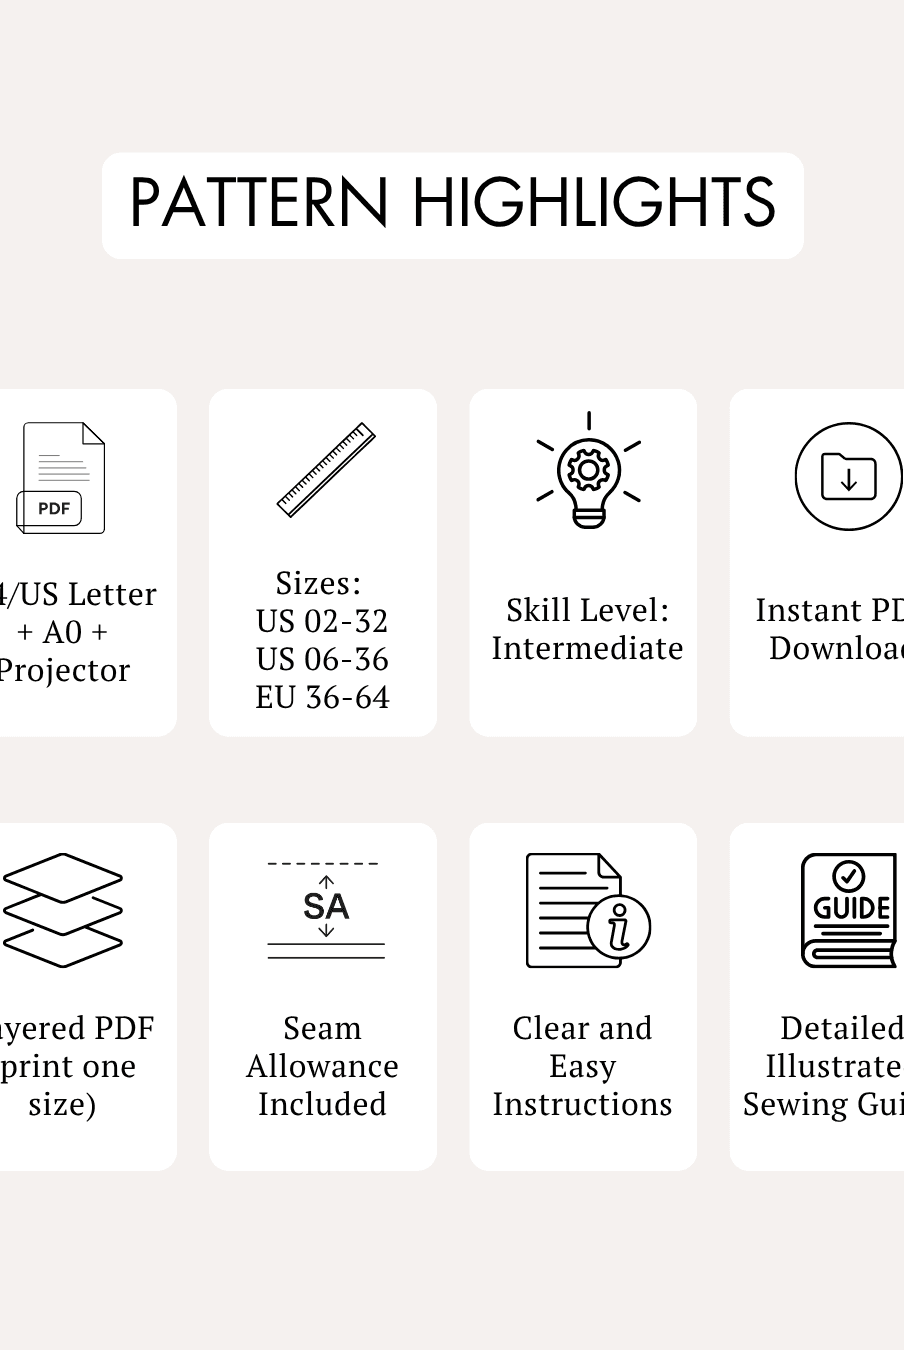
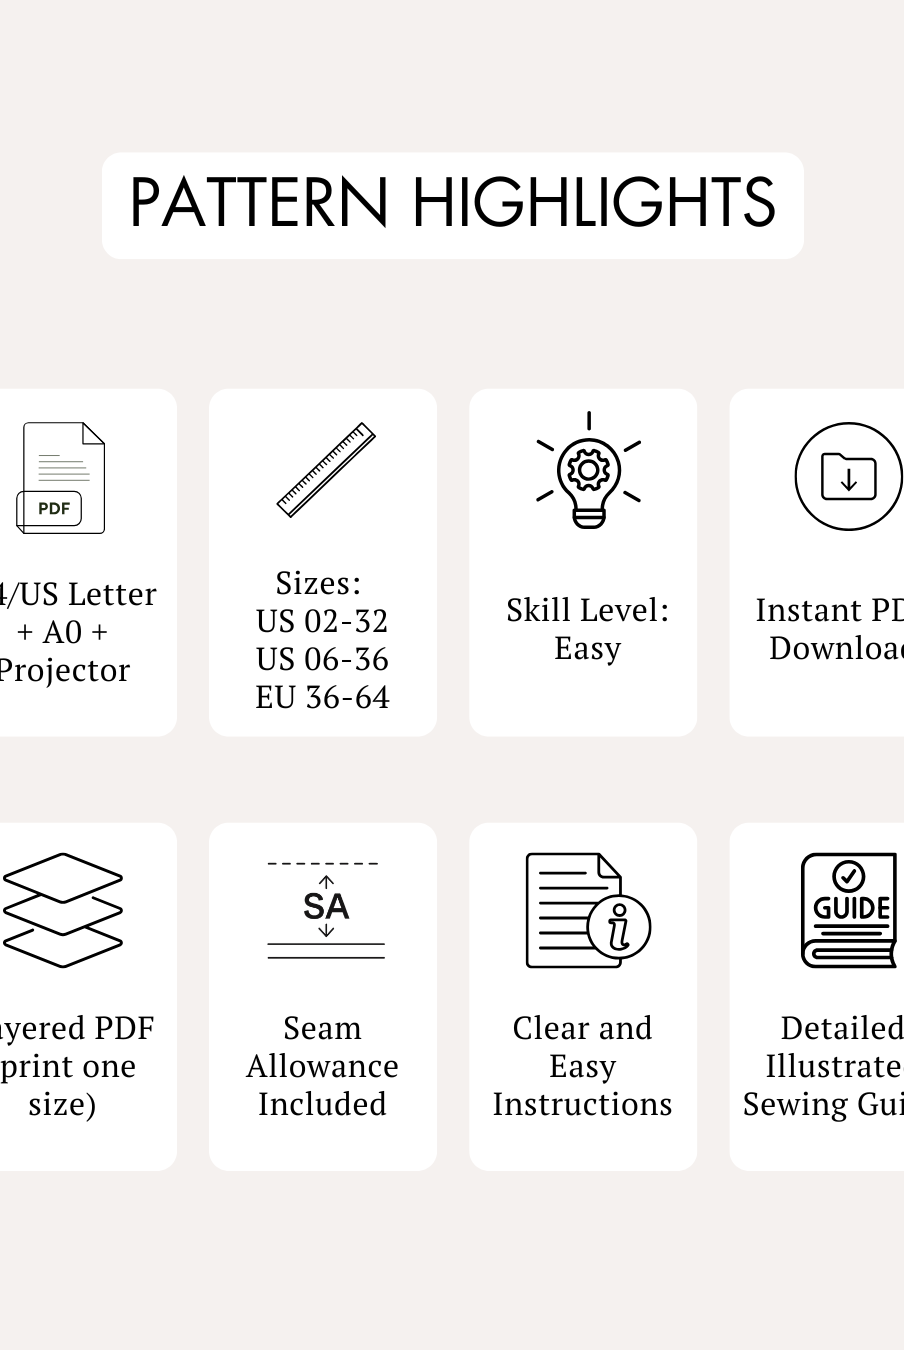
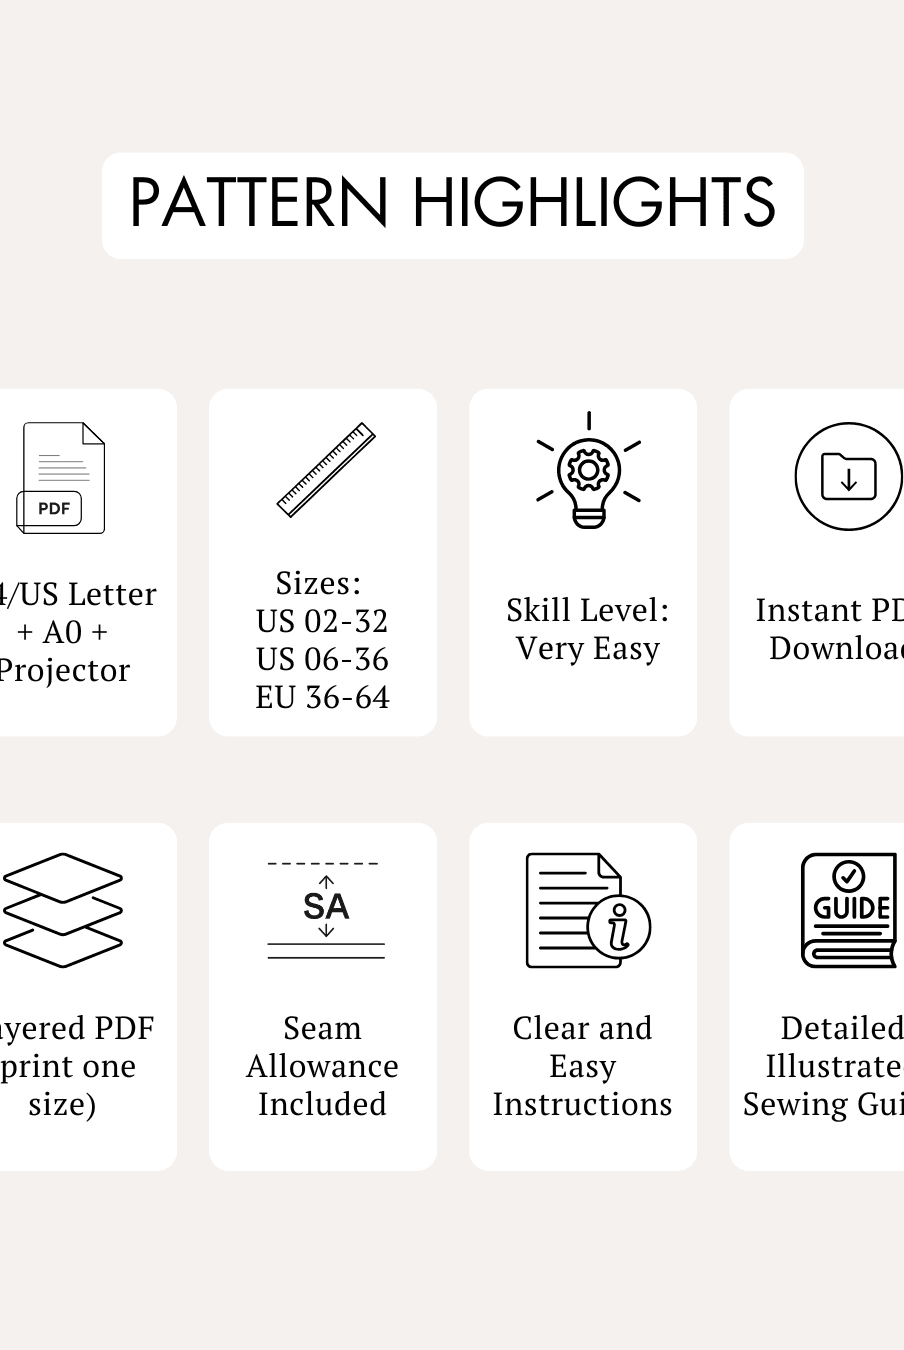
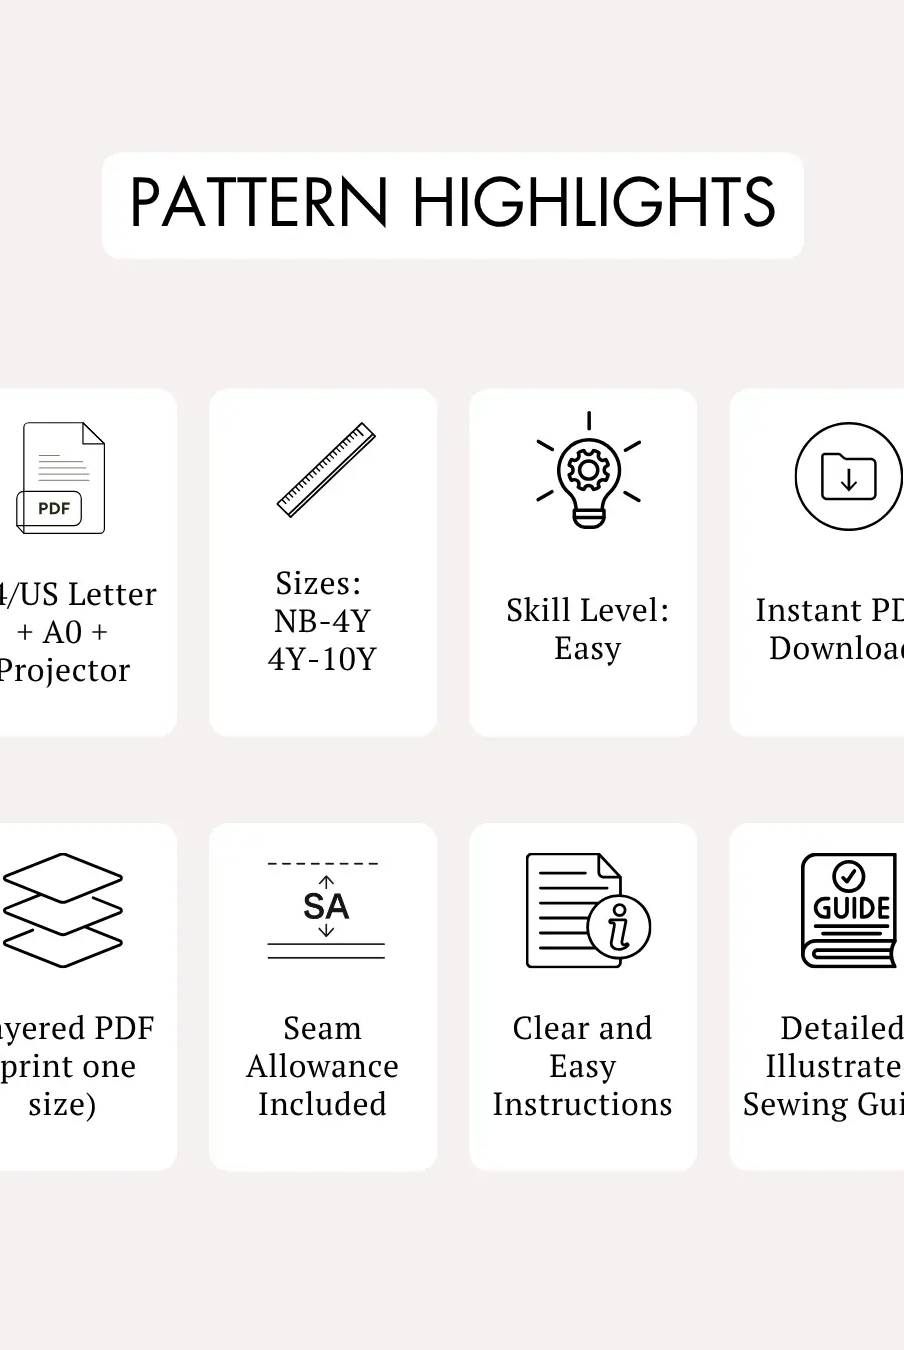
- Skill Level: Easy.
- Includes two coordinating garments:
- Layla Cutout Sports Bra featuring a modern asymmetrical cutout design.
- Layla Running Leggings featuring practical side pockets and a high-waisted fit.
- Designed specifically for stretch activewear fabrics.
- Perfect for creating a matching handmade workout outfit.
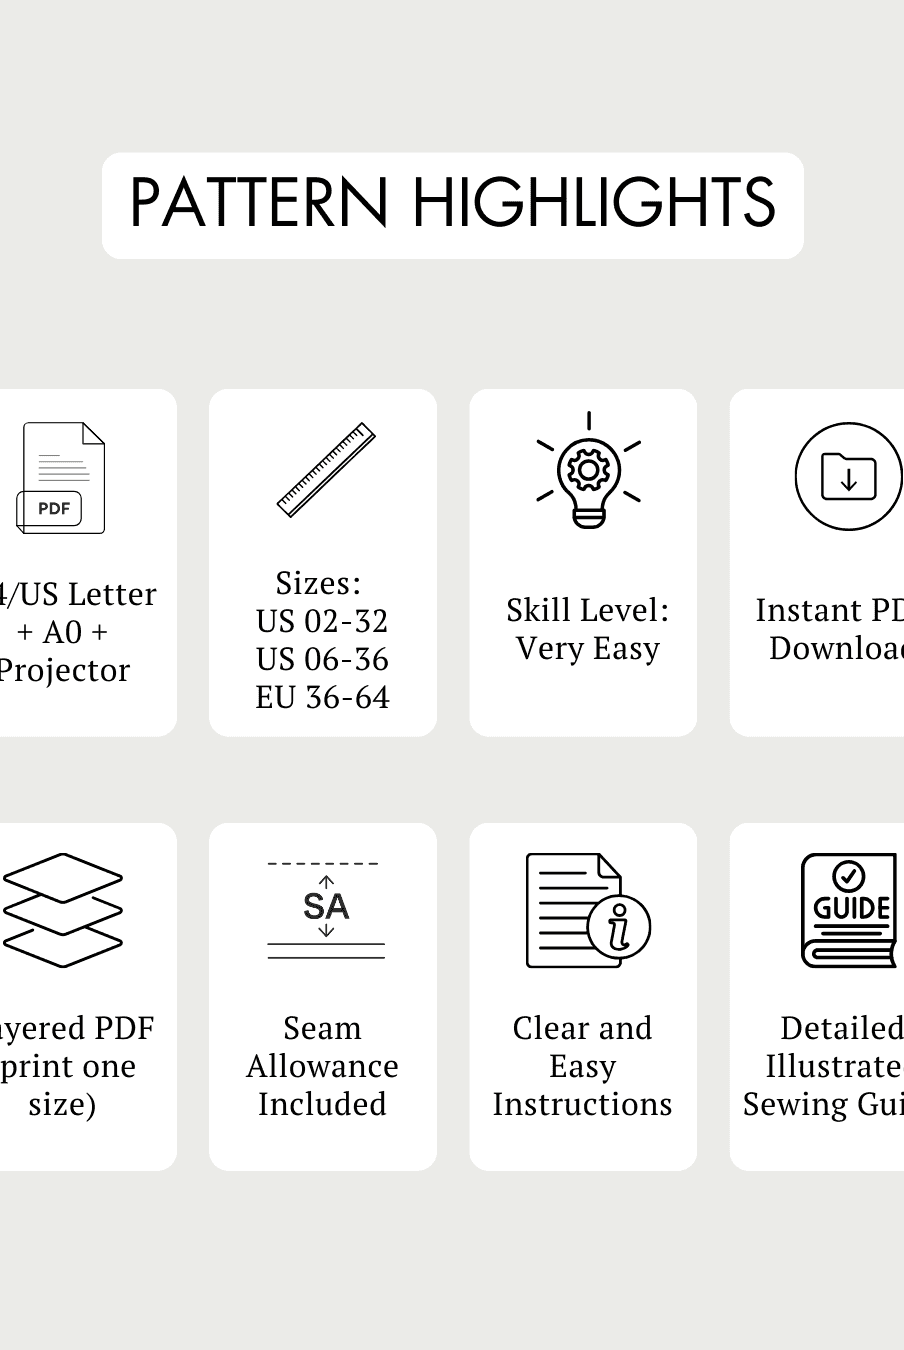
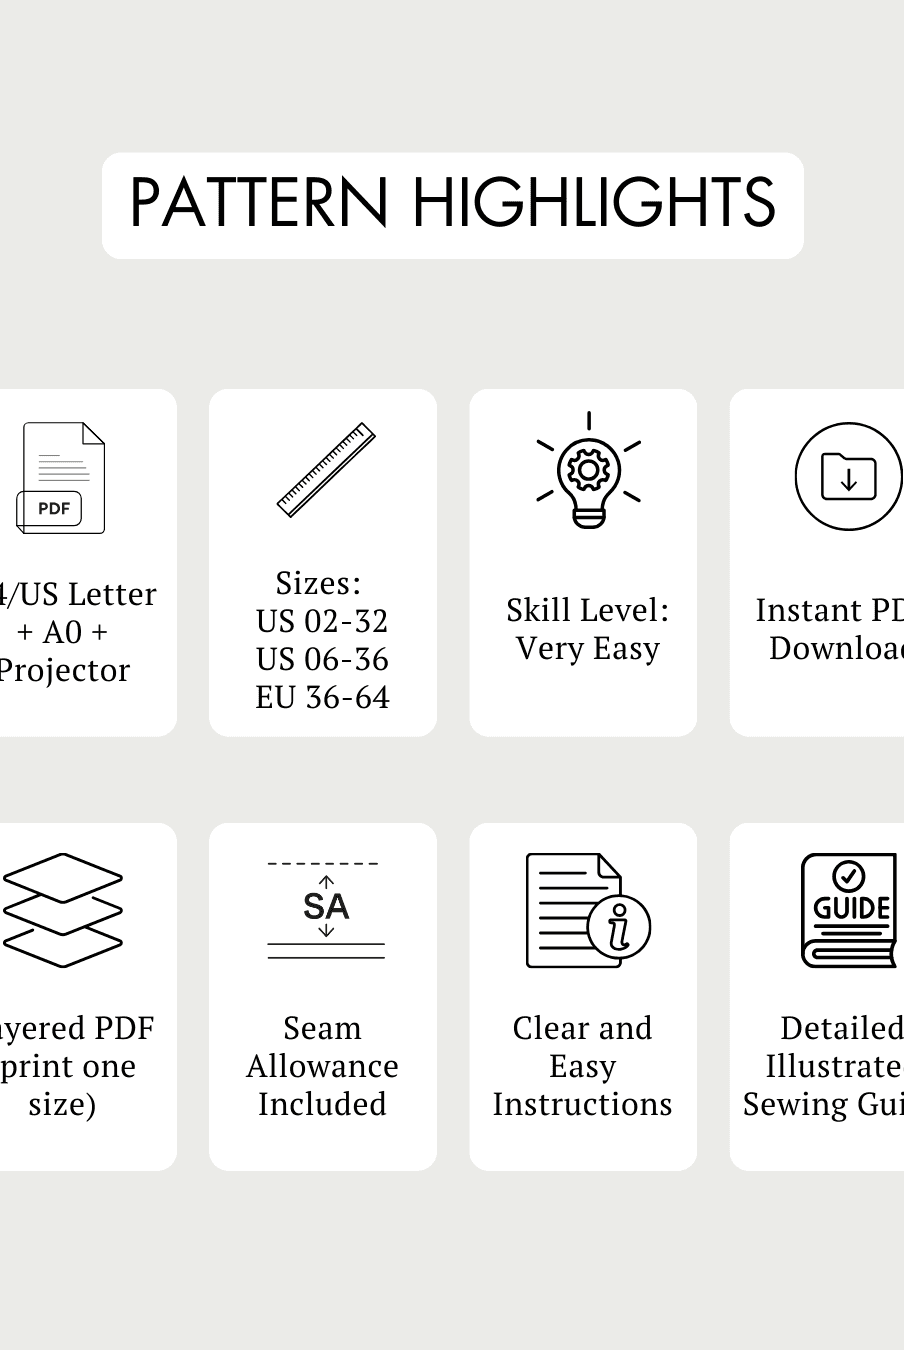
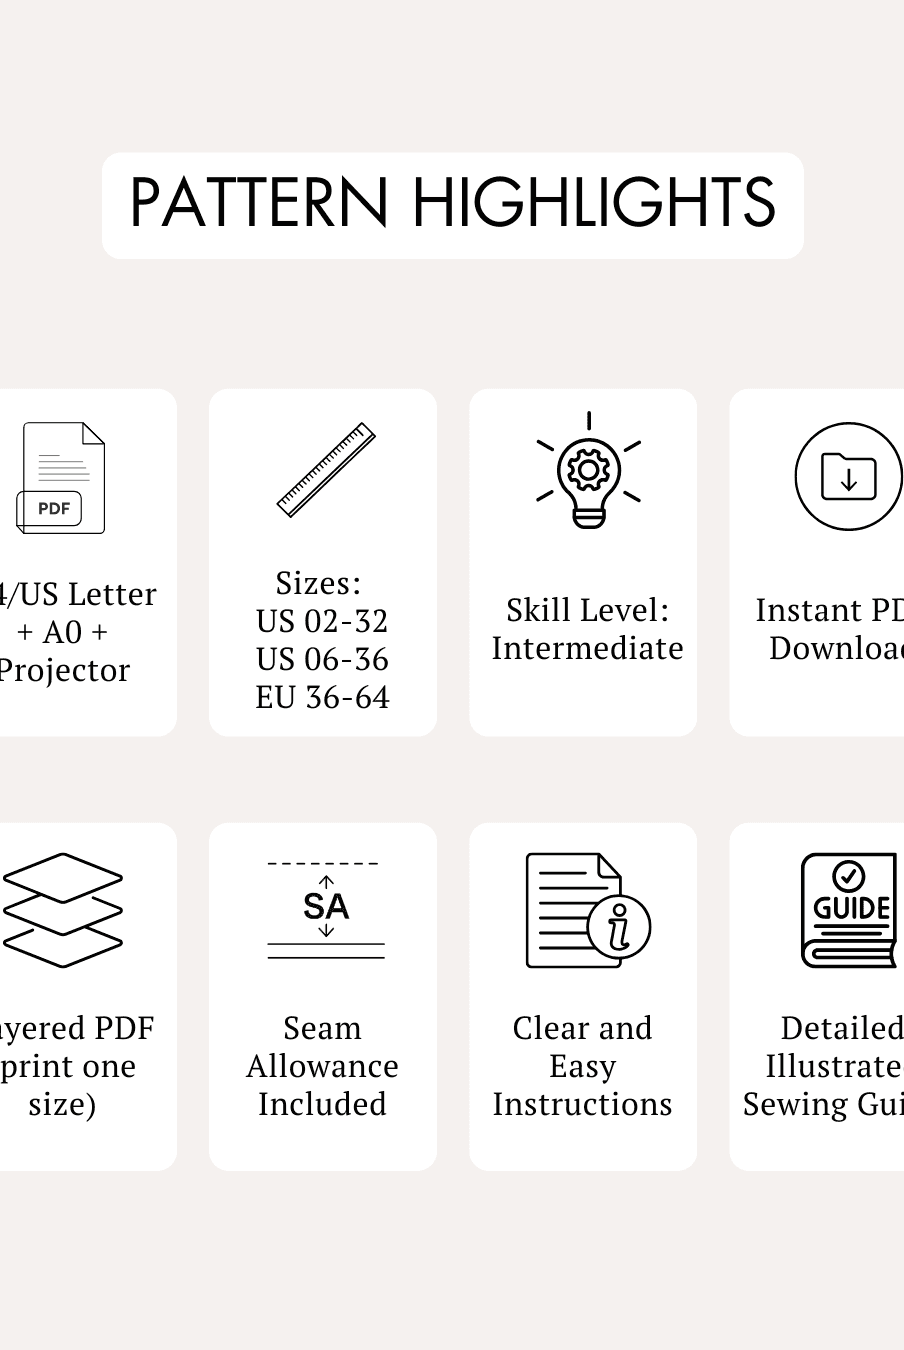
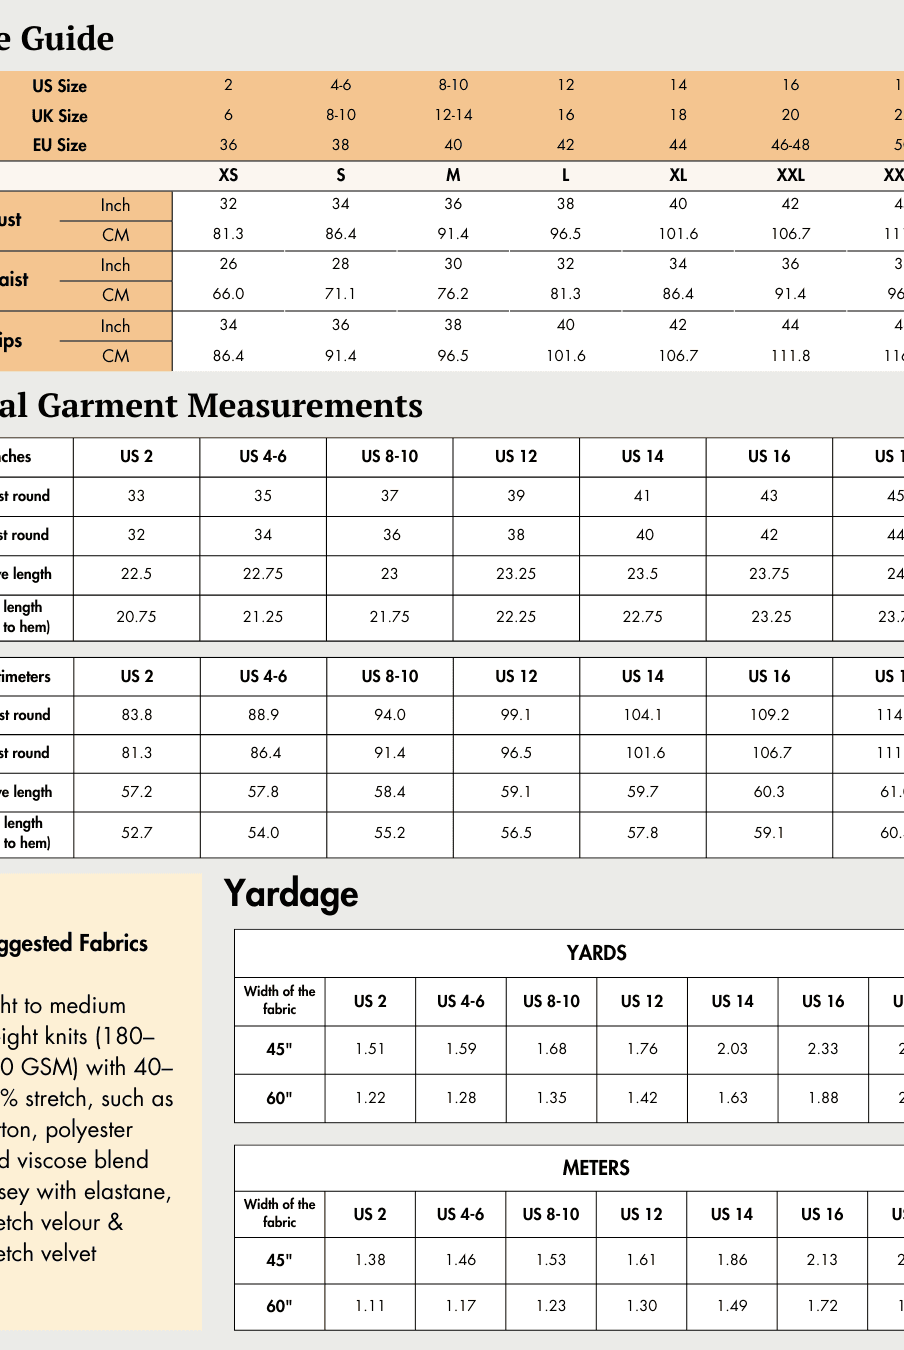
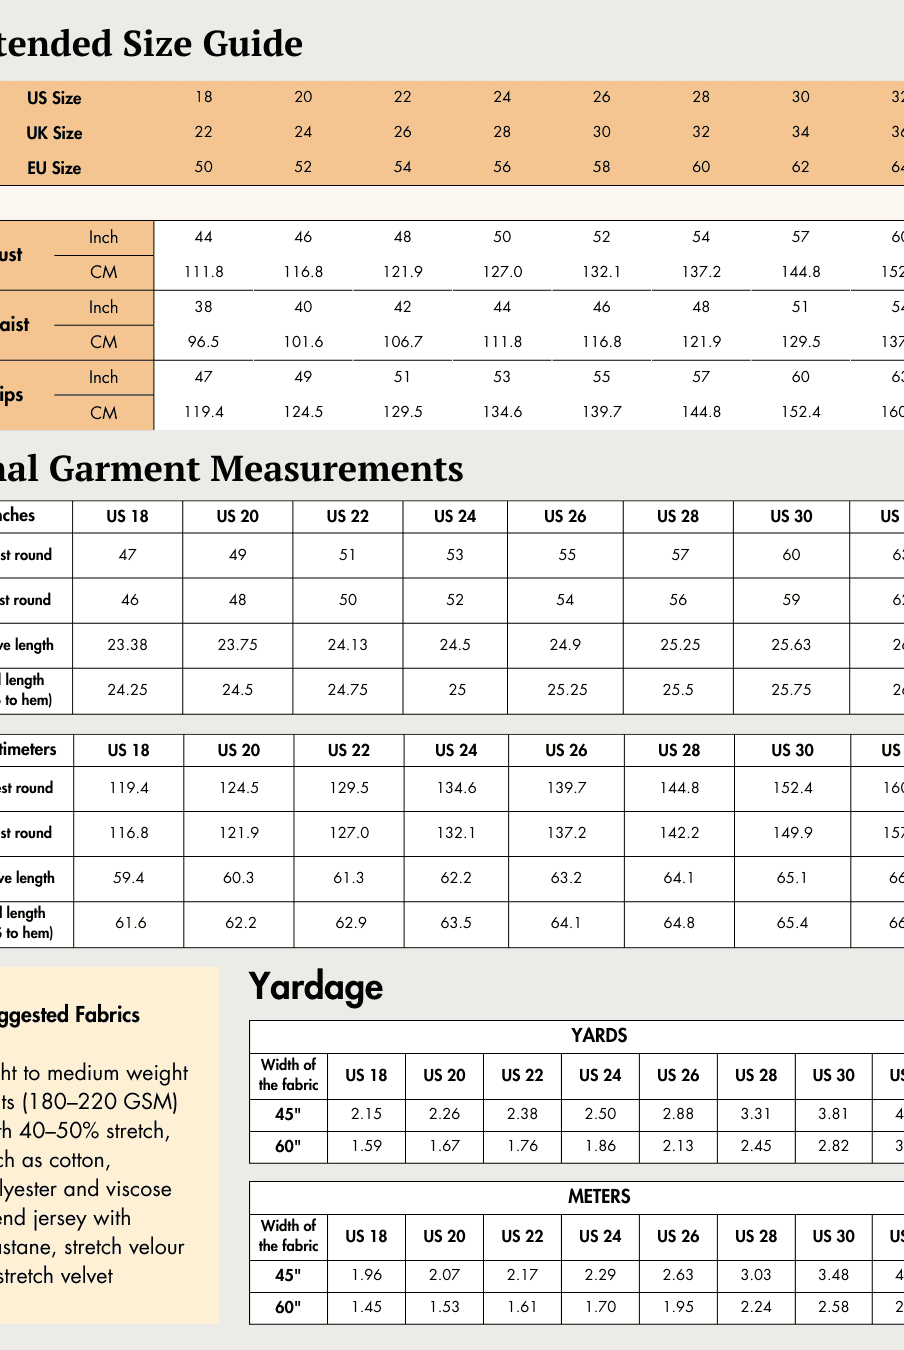
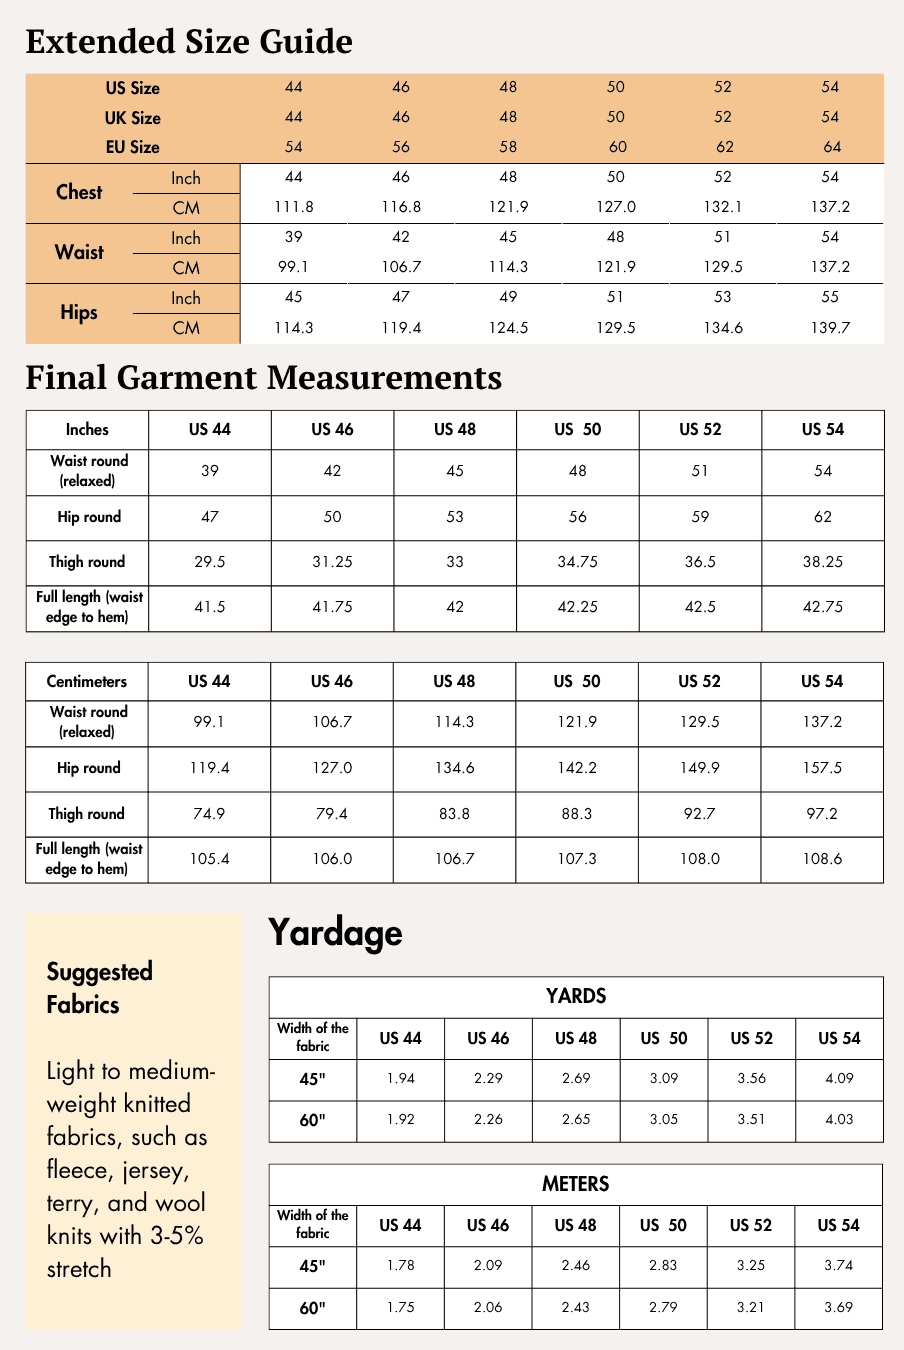
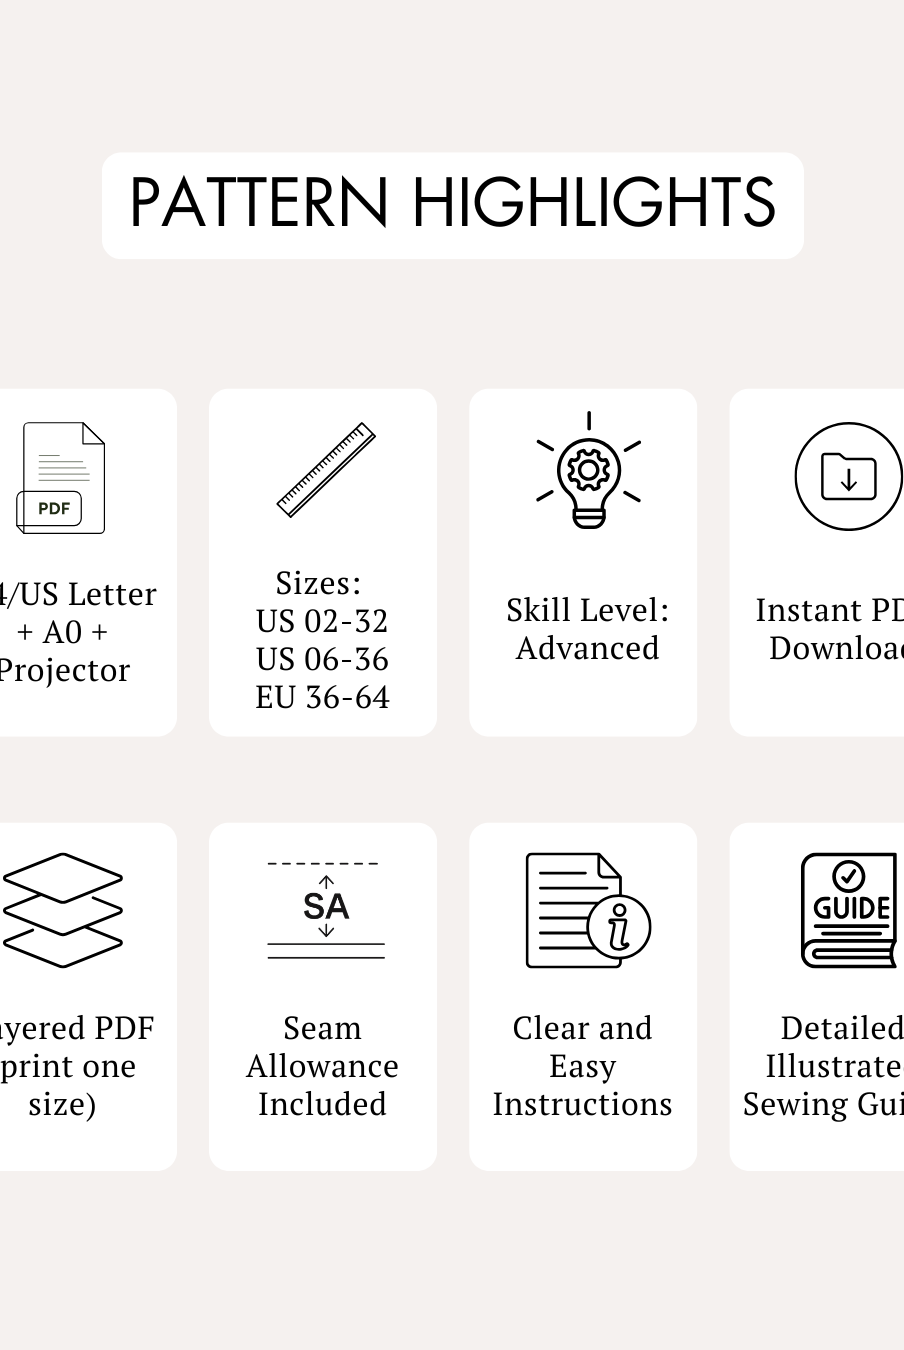
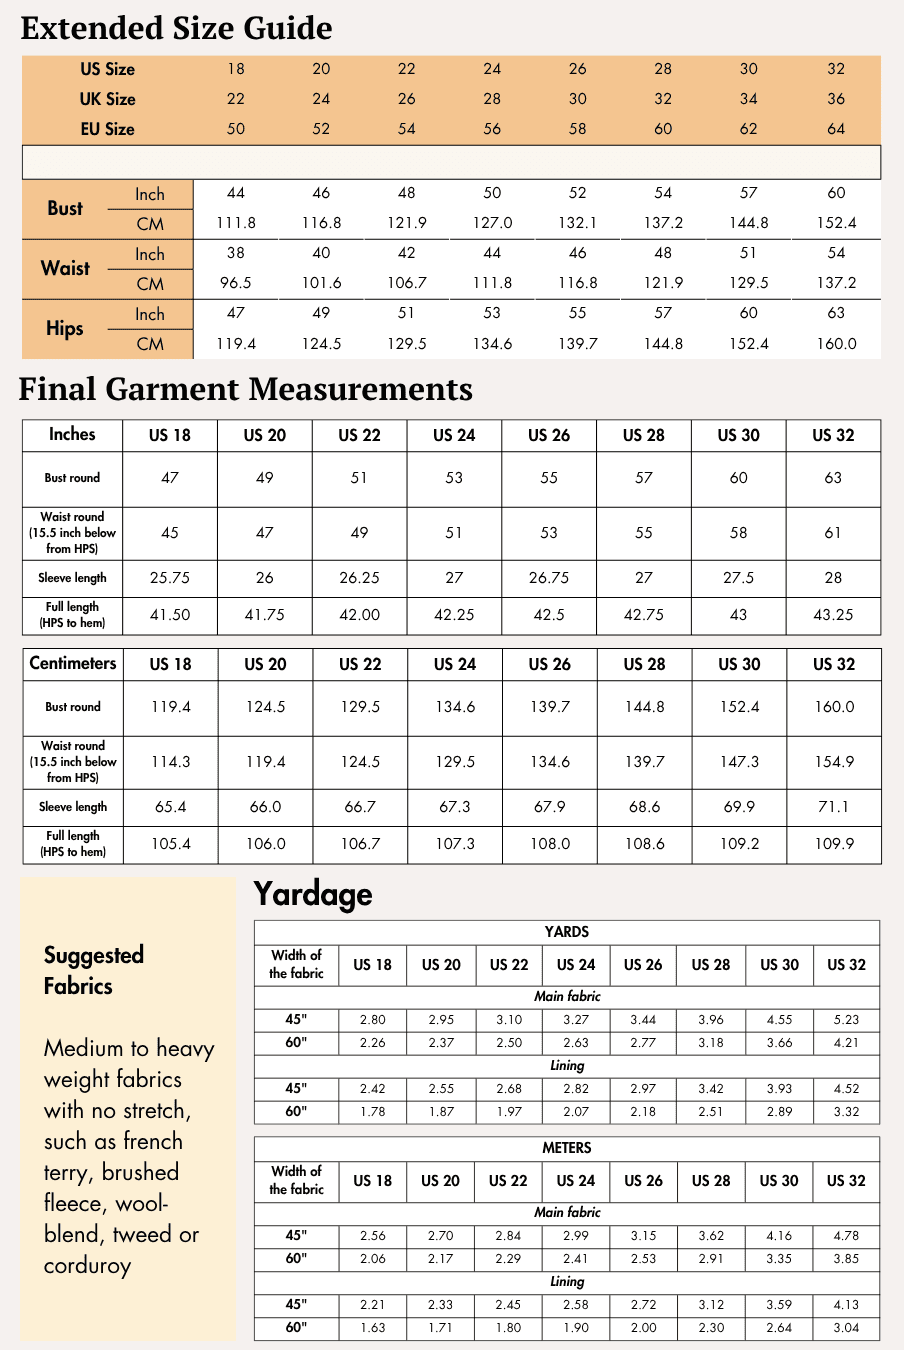
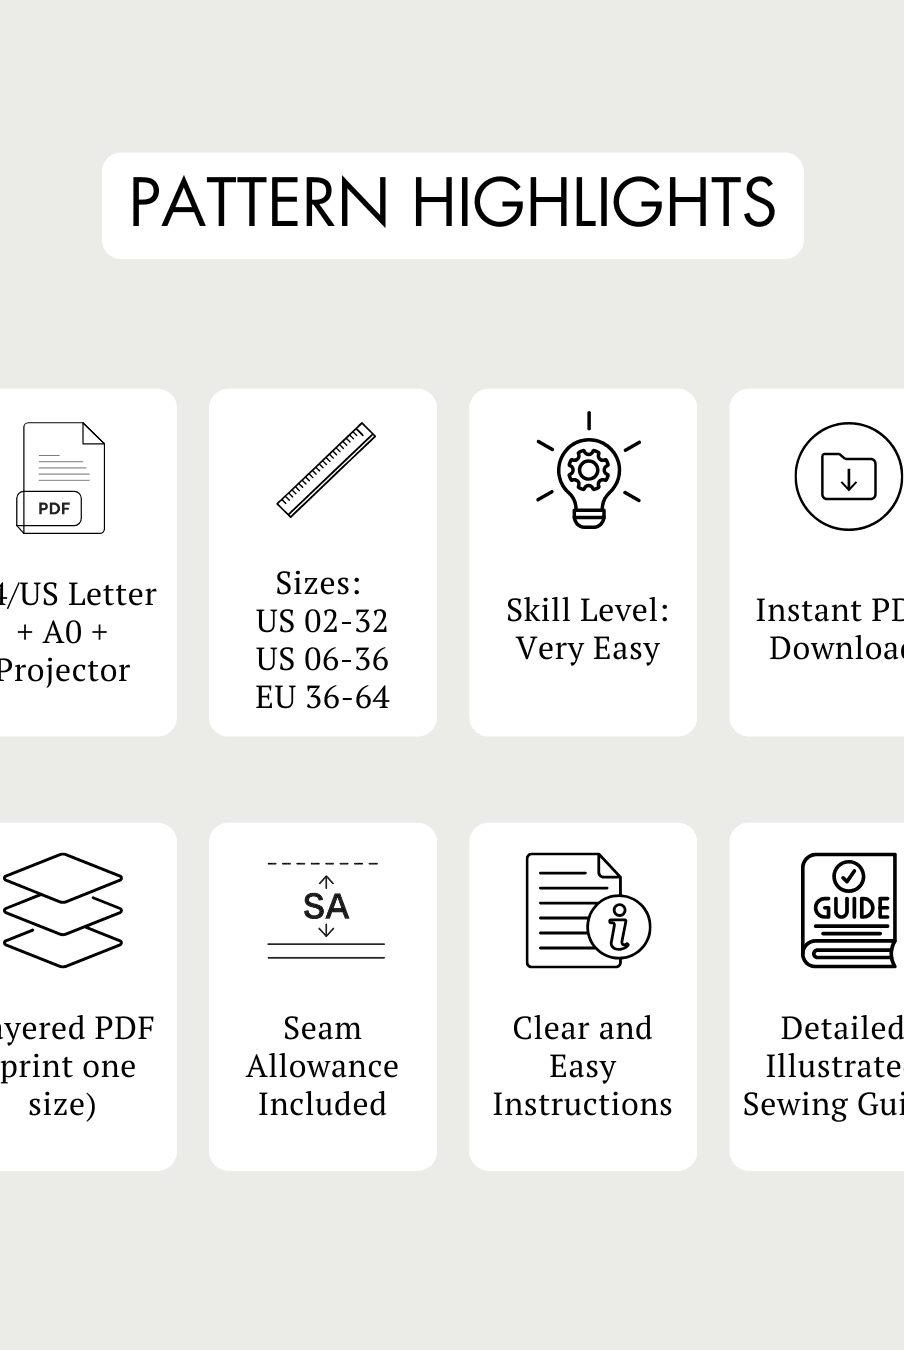
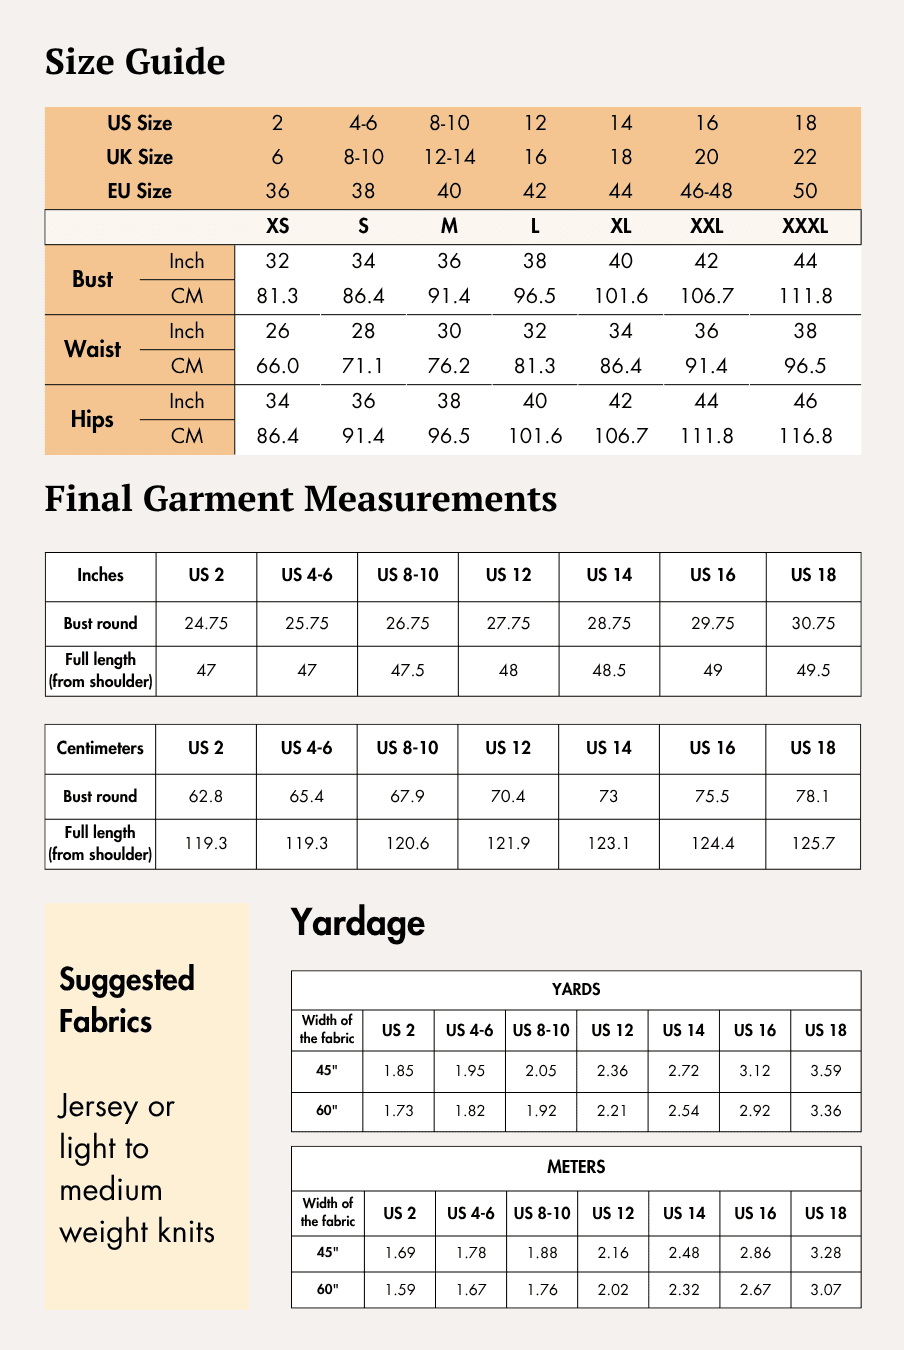
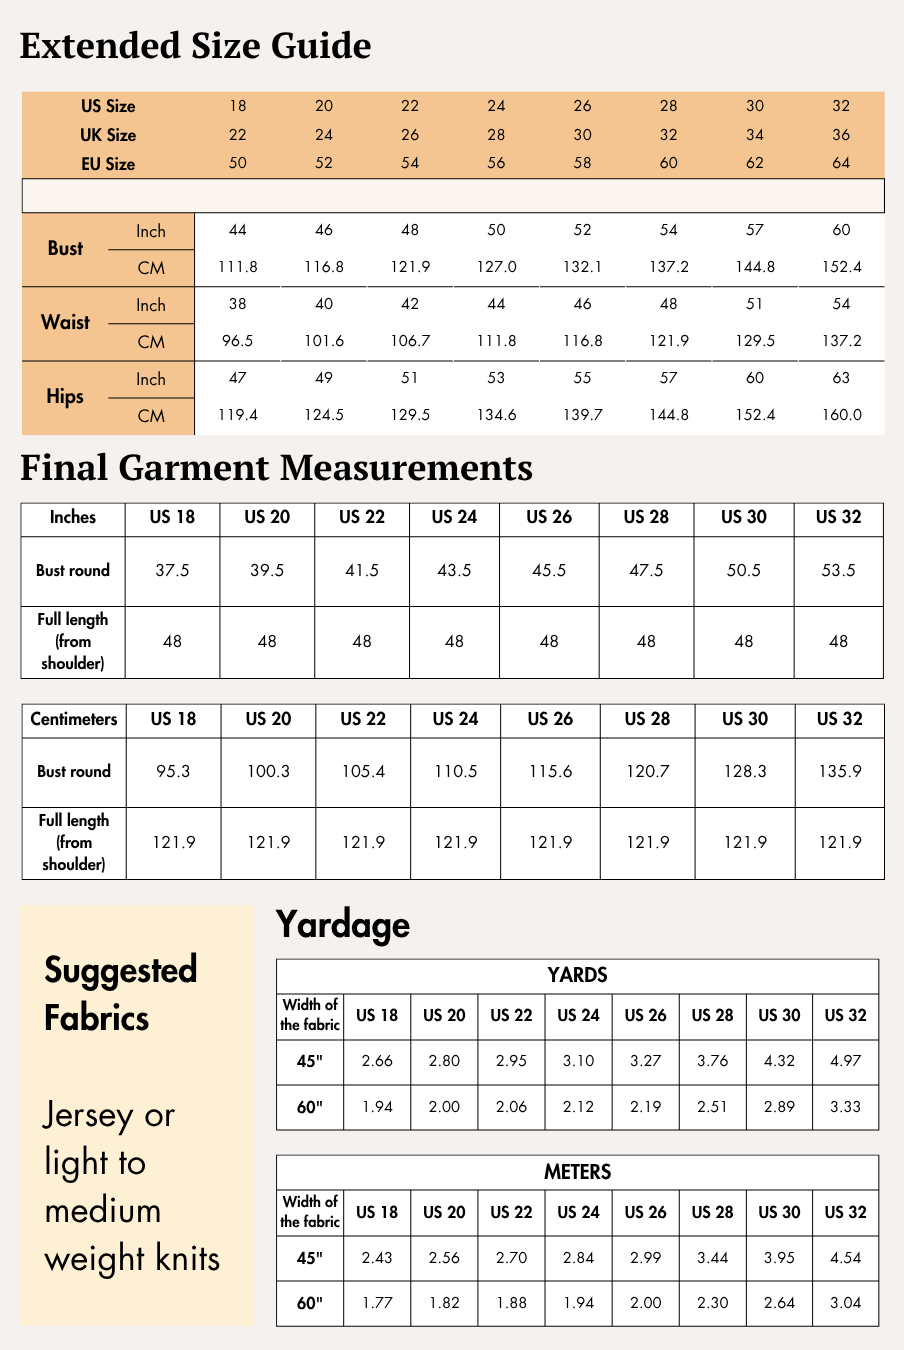
- Available Sizes: US 02 - US 32 | UK 06 - UK 36 | EU 36 - EU 64
Supplies & Notions
Fabrics
The sewing guides recommend performance stretch knit fabrics suitable for activewear.
Sports Bra
- Medium to high-stretch knit fabrics with 40–70% stretch
- Nylon spandex
- Polyester spandex
- Activewear knit
- Stretch rib with high recovery
Running Leggings
- Medium-weight jersey with a Lycra blend
- Ribbed stretch knit
Sample Fabric Used
Both sample garments are sewn using Poly Spandex fabric (5–8% spandex).
Notions
- Tape measure
- Fabric shears
- Iron
- 3-ply polyester thread
- Tailor's chalk
- Thread cutter
- Pins
- Sewing machine
- Sewing needles
- Serger/overlocker (or zig-zag stitch alternative)
- Coverstitch machine or twin needle (sports bra)
- Flatlock machine or twin needle (leggings)
- Binder attachment (sports bra)
Always test your stitches on a fabric scrap before sewing your garment.
Fabric Recommendations
Sports Bra
Use medium to high-stretch knit fabrics with 40–70% stretch, including:
- Nylon spandex
- Polyester spandex
- Activewear knit
- Stretch rib with high recovery
Avoid low-stretch jersey fabrics, as they do not provide adequate support.
The sample garment is sewn in Poly Spandex (5–8% spandex) because it:
- Has a soft finished look.
- Resists wrinkling, shrinking, and fading.
- Provides excellent stretch and recovery for a close fit.
Running Leggings
Recommended fabrics include:
- Medium-weight jersey with a Lycra blend.
- Ribbed stretch knit.
The sample leggings are also sewn in Poly Spandex (5–8% spandex) because it:
- Has a soft finished look.
- Resists wrinkling, shrinking, and fading.
- Offers excellent stretch for a comfortable fit.
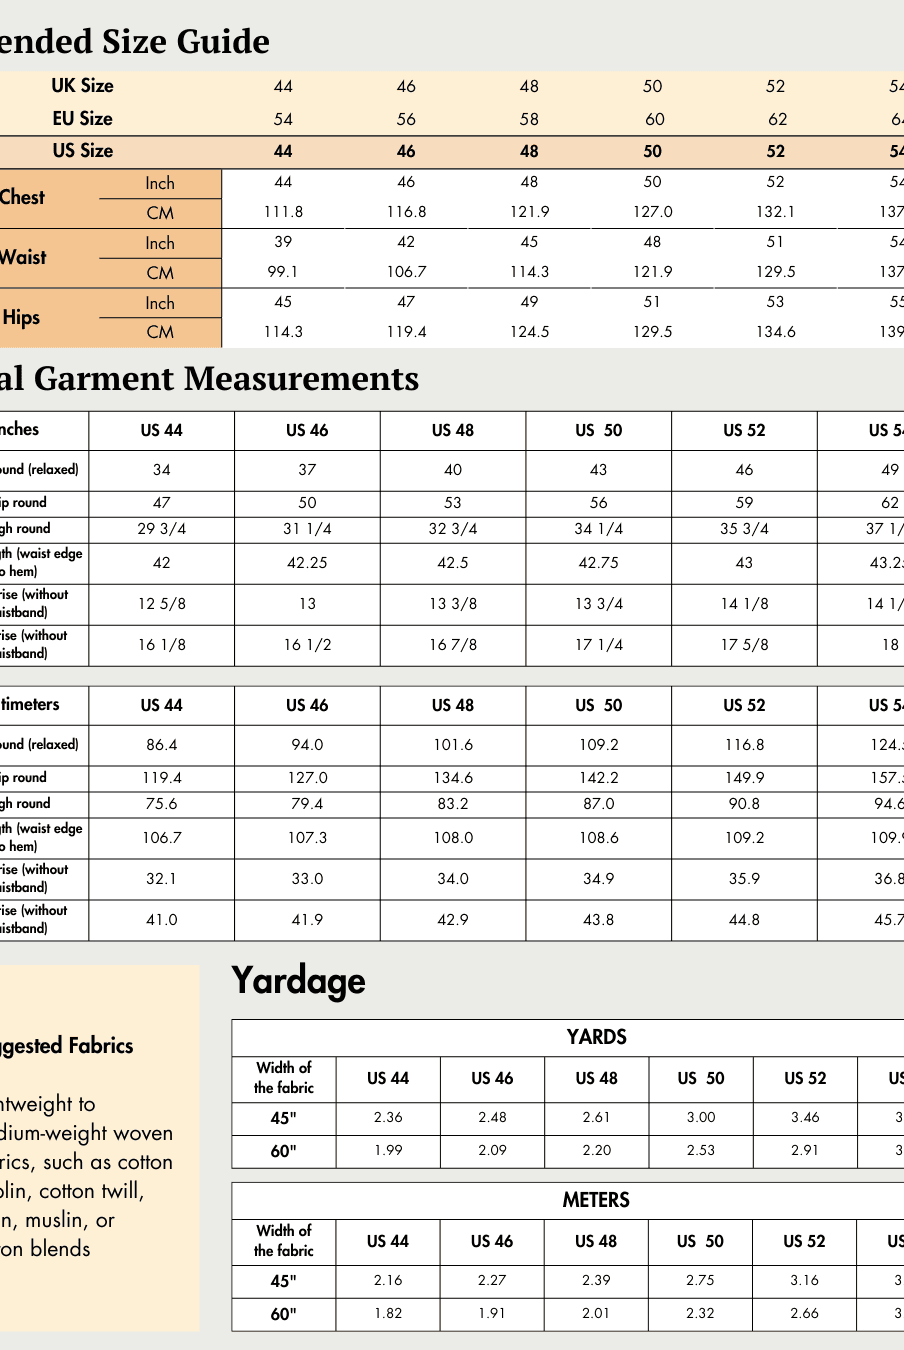
Size Charts
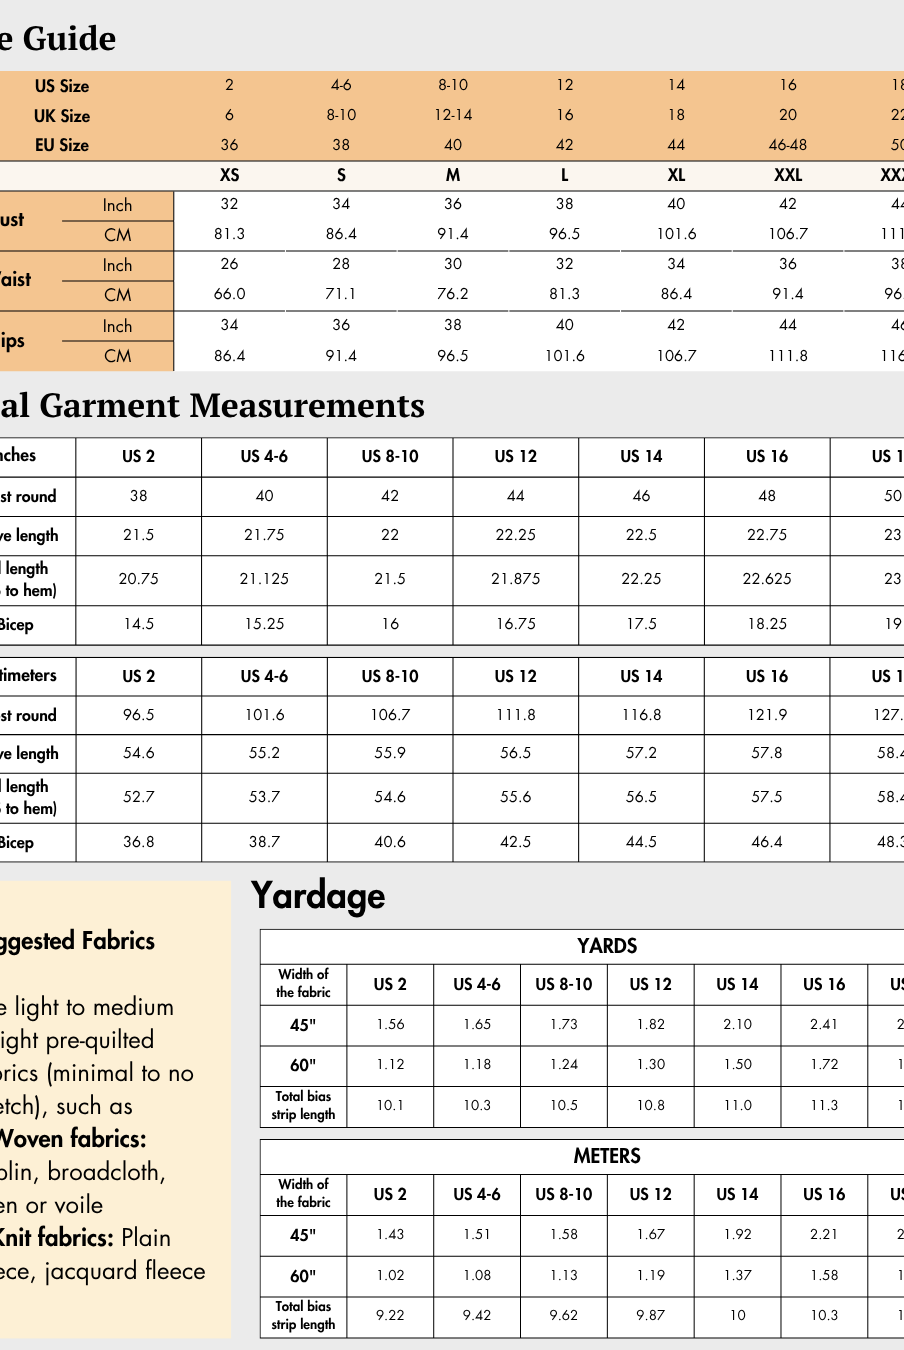
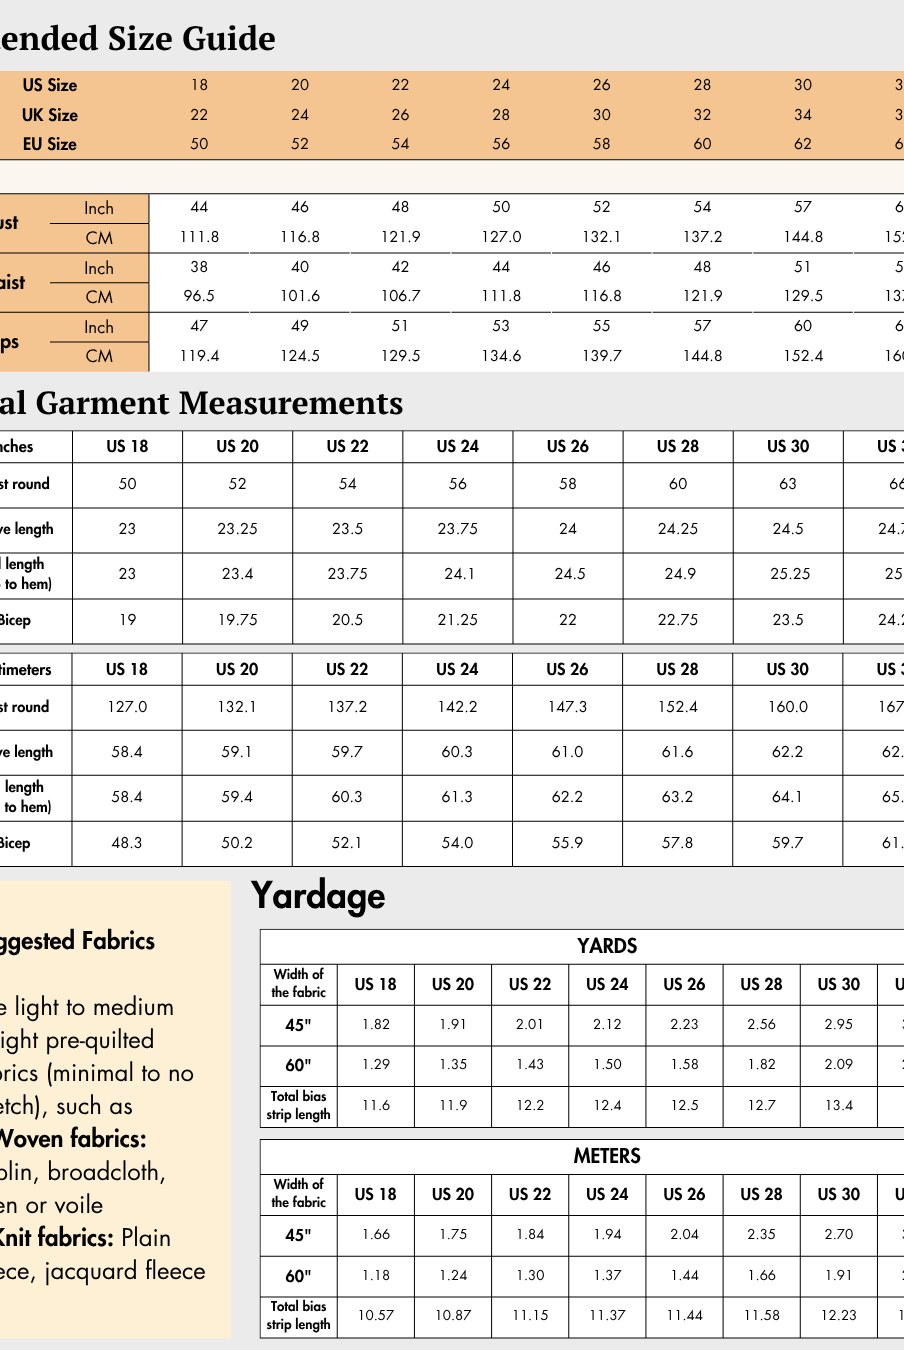
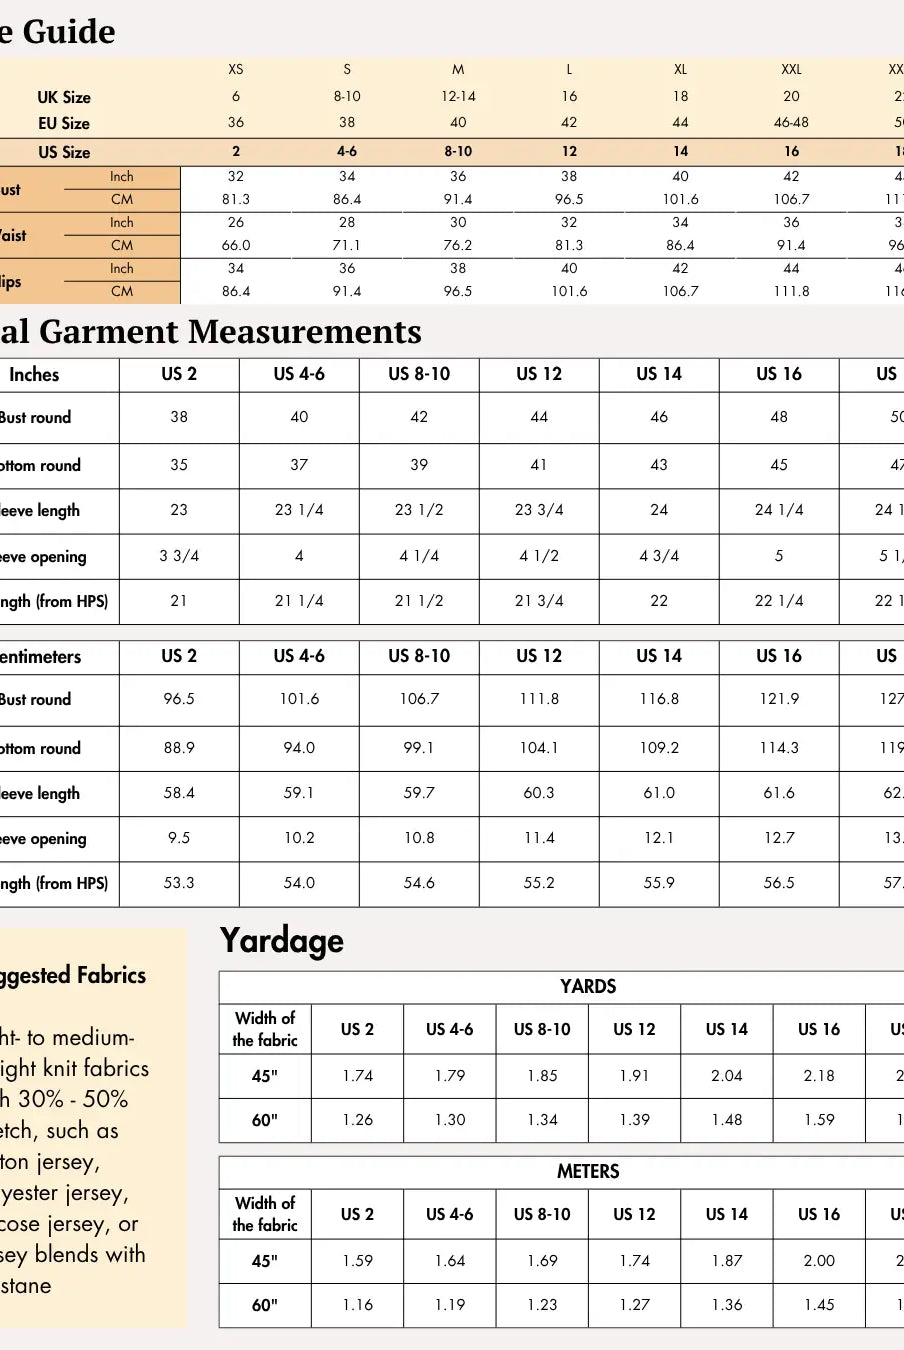
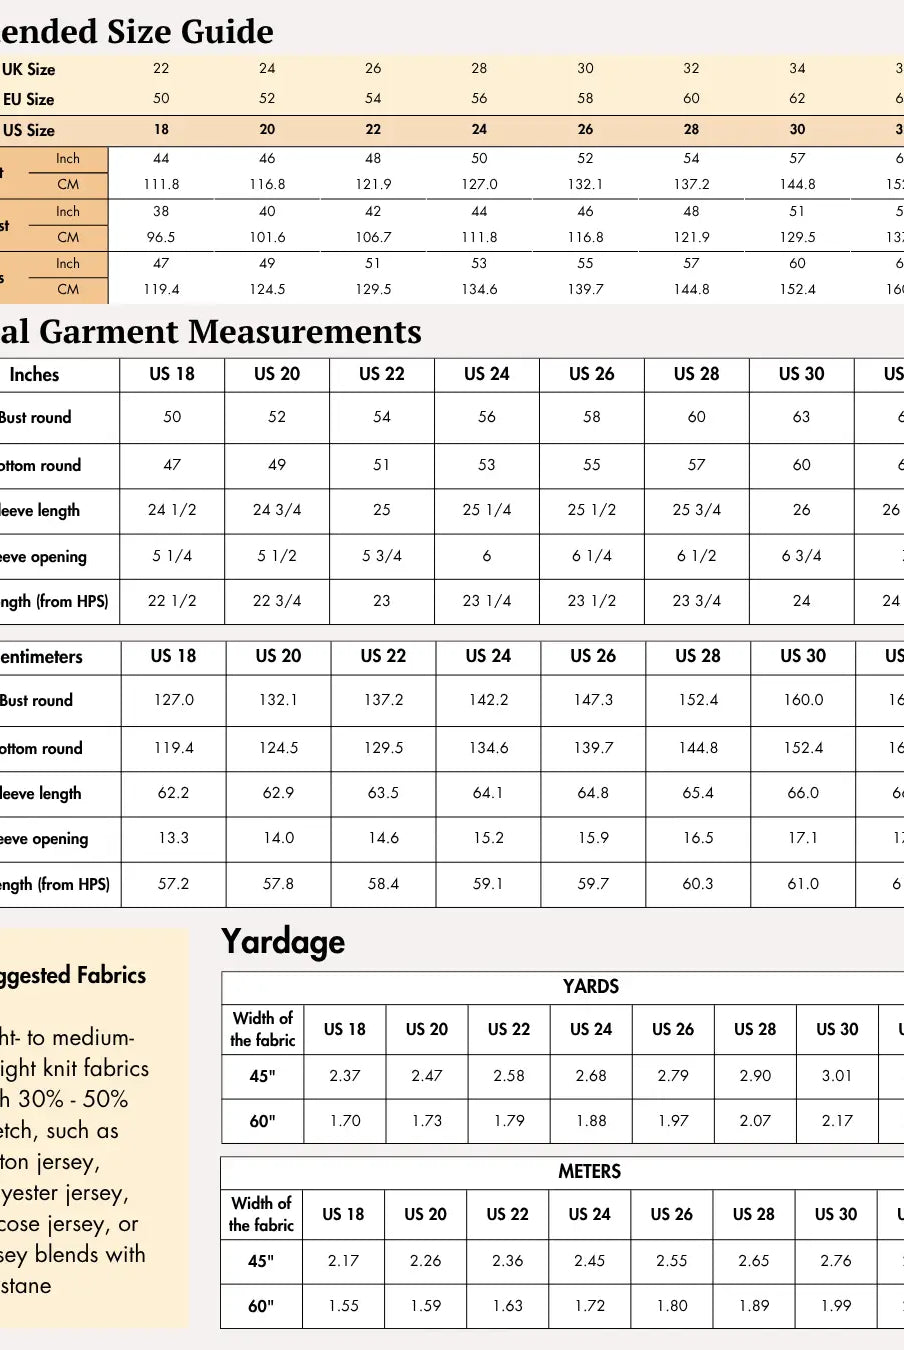
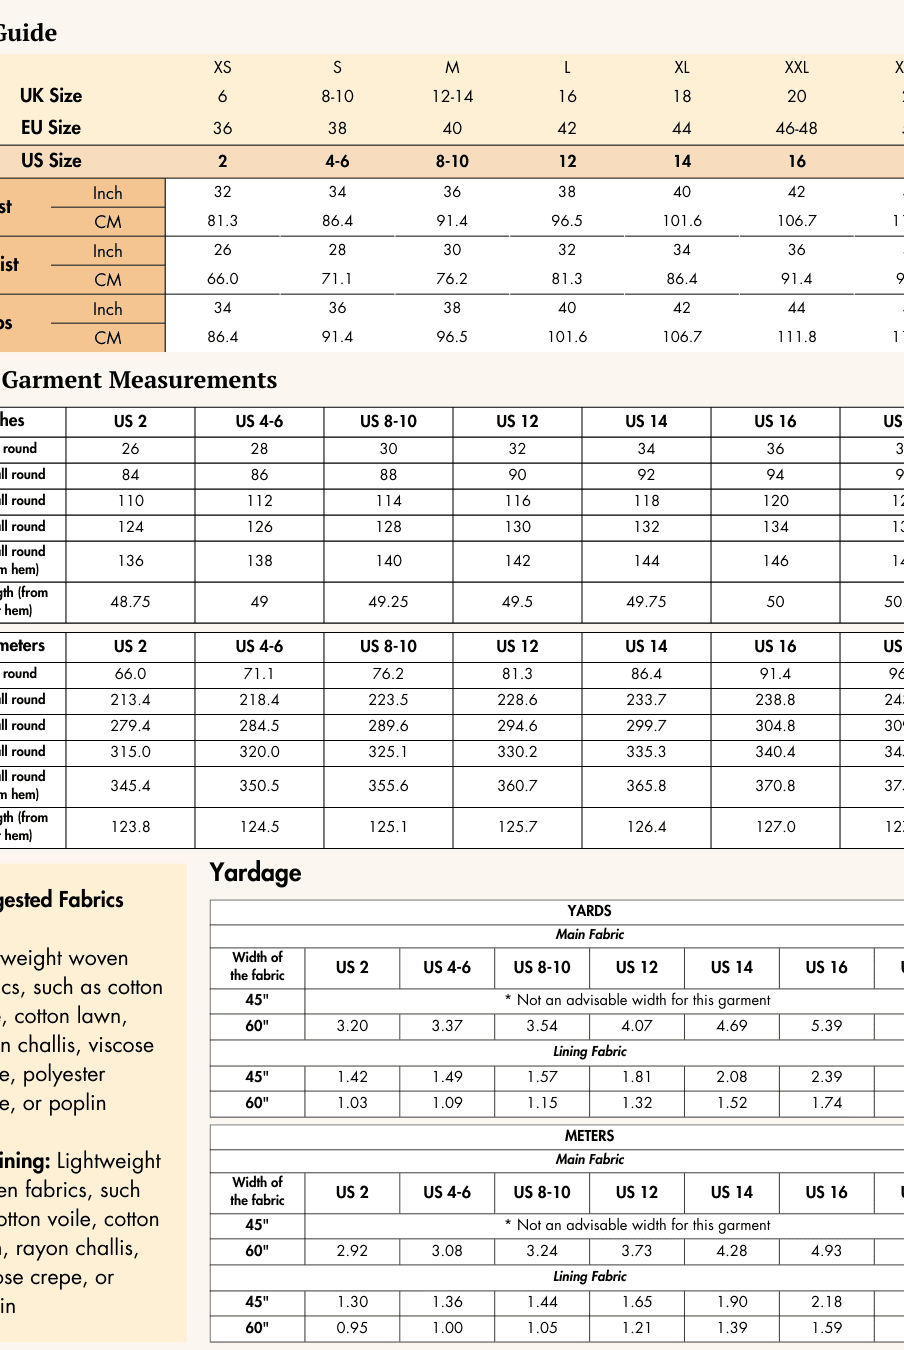
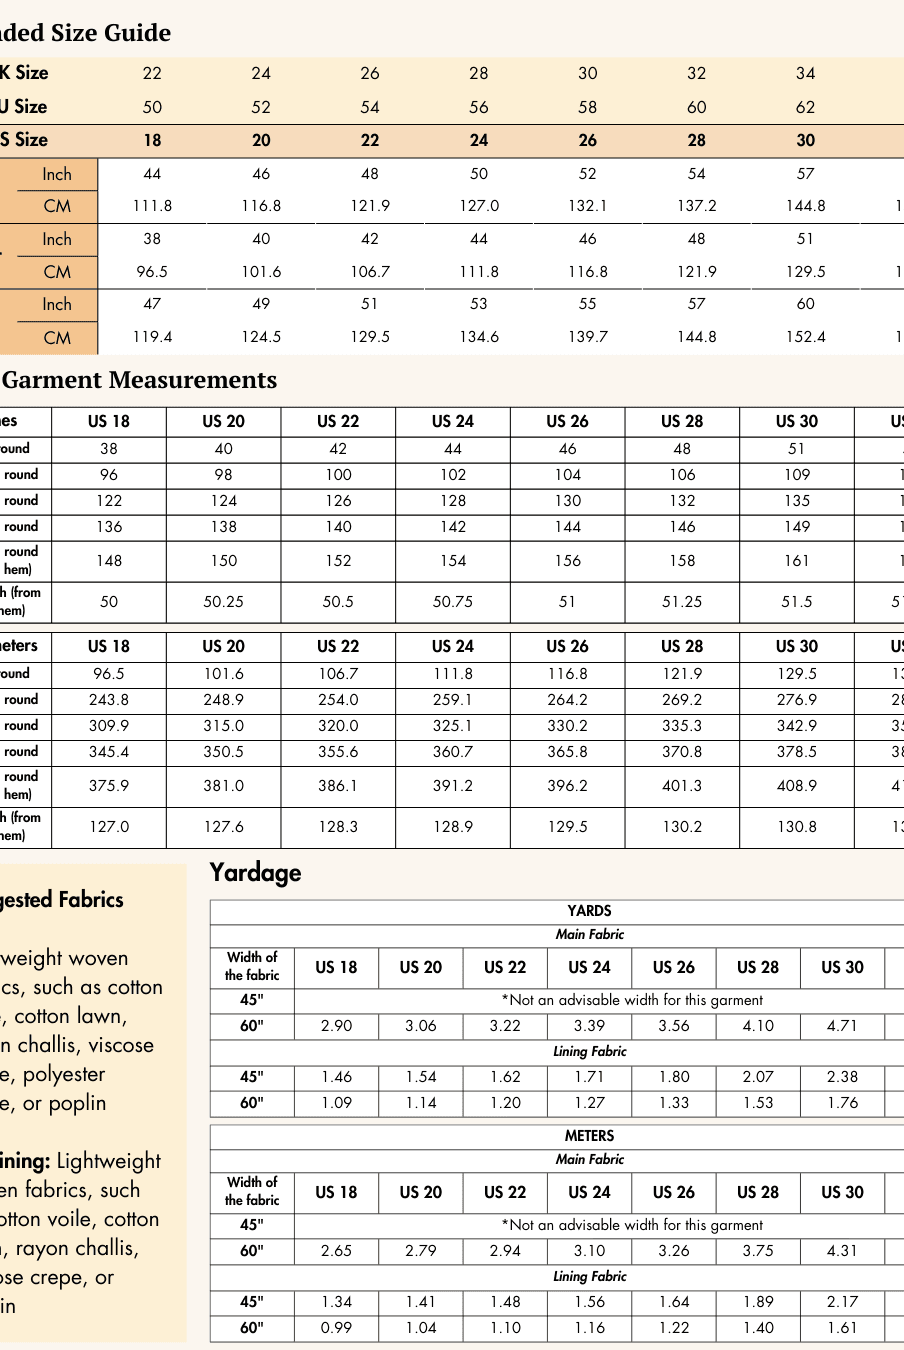
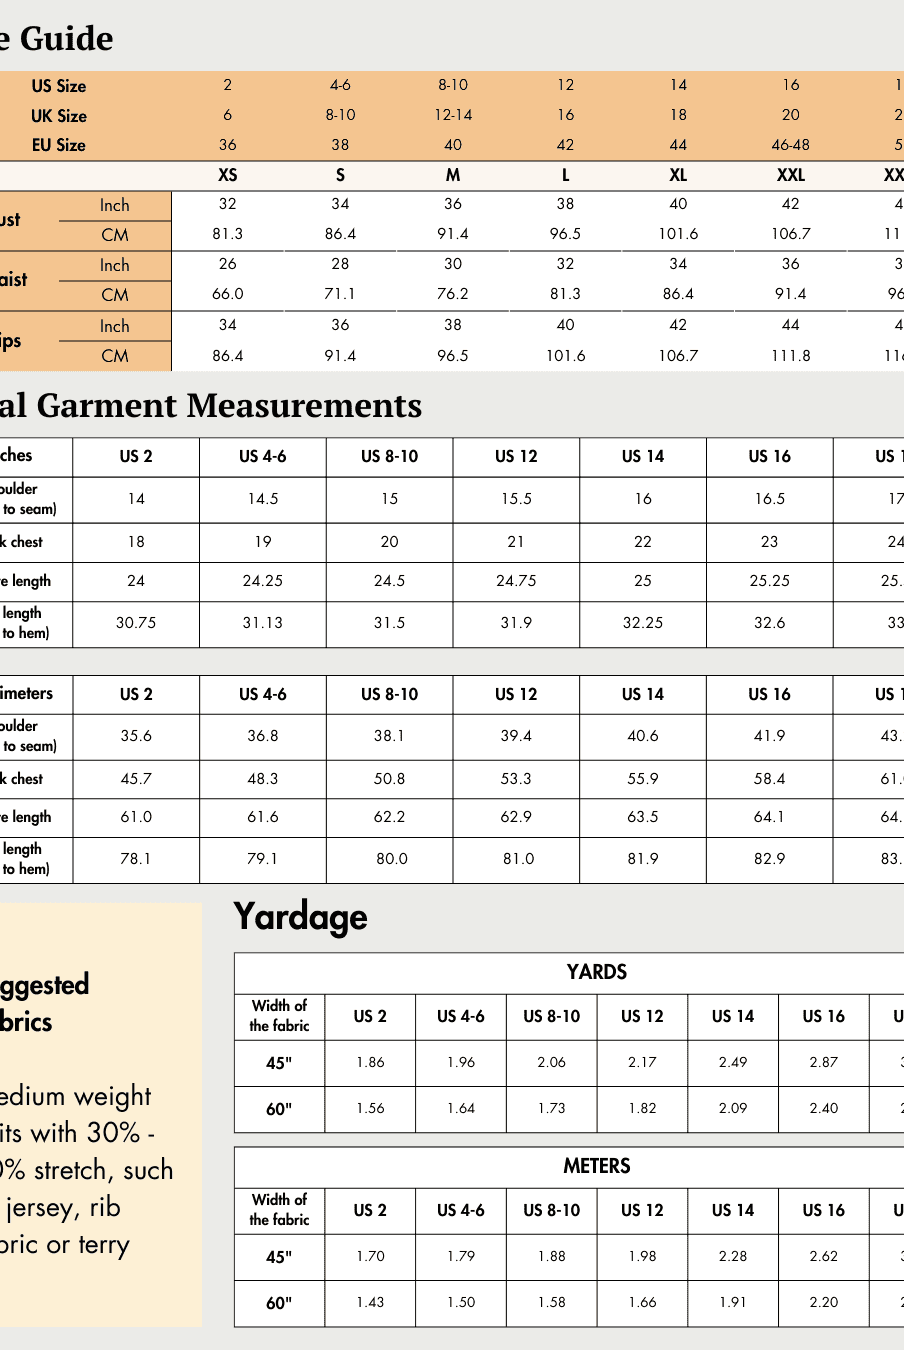
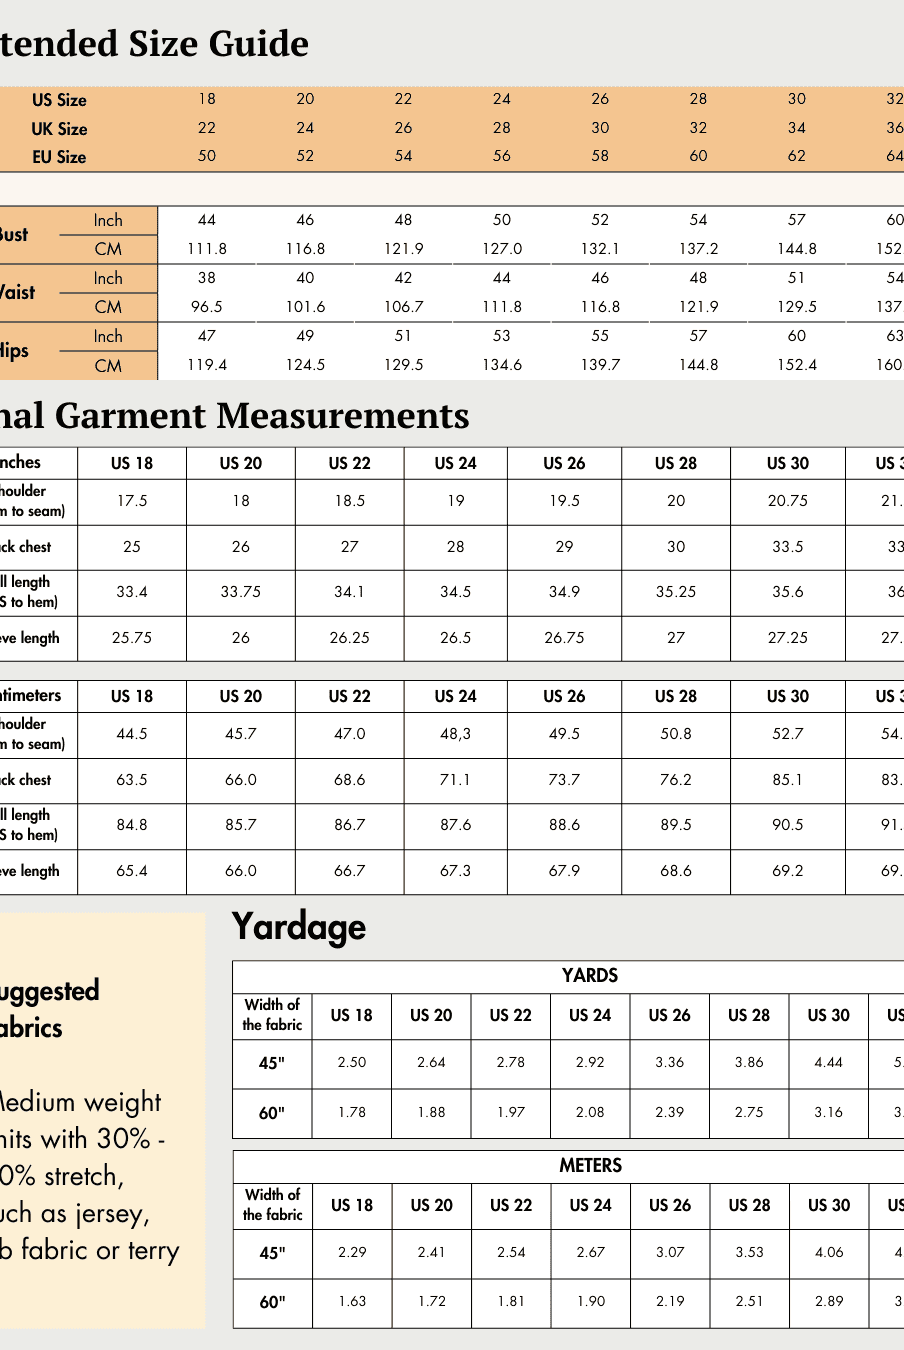
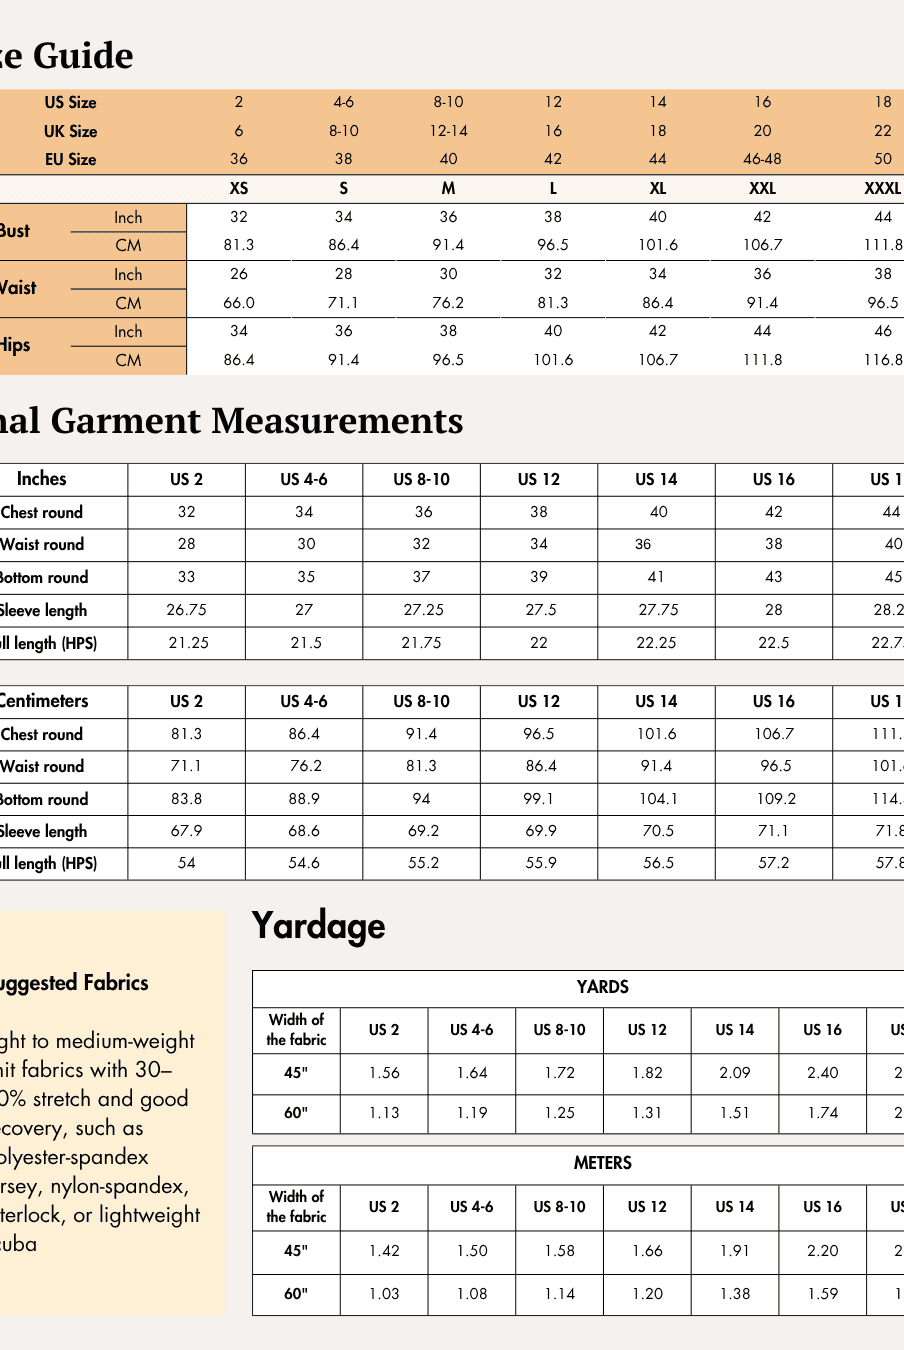
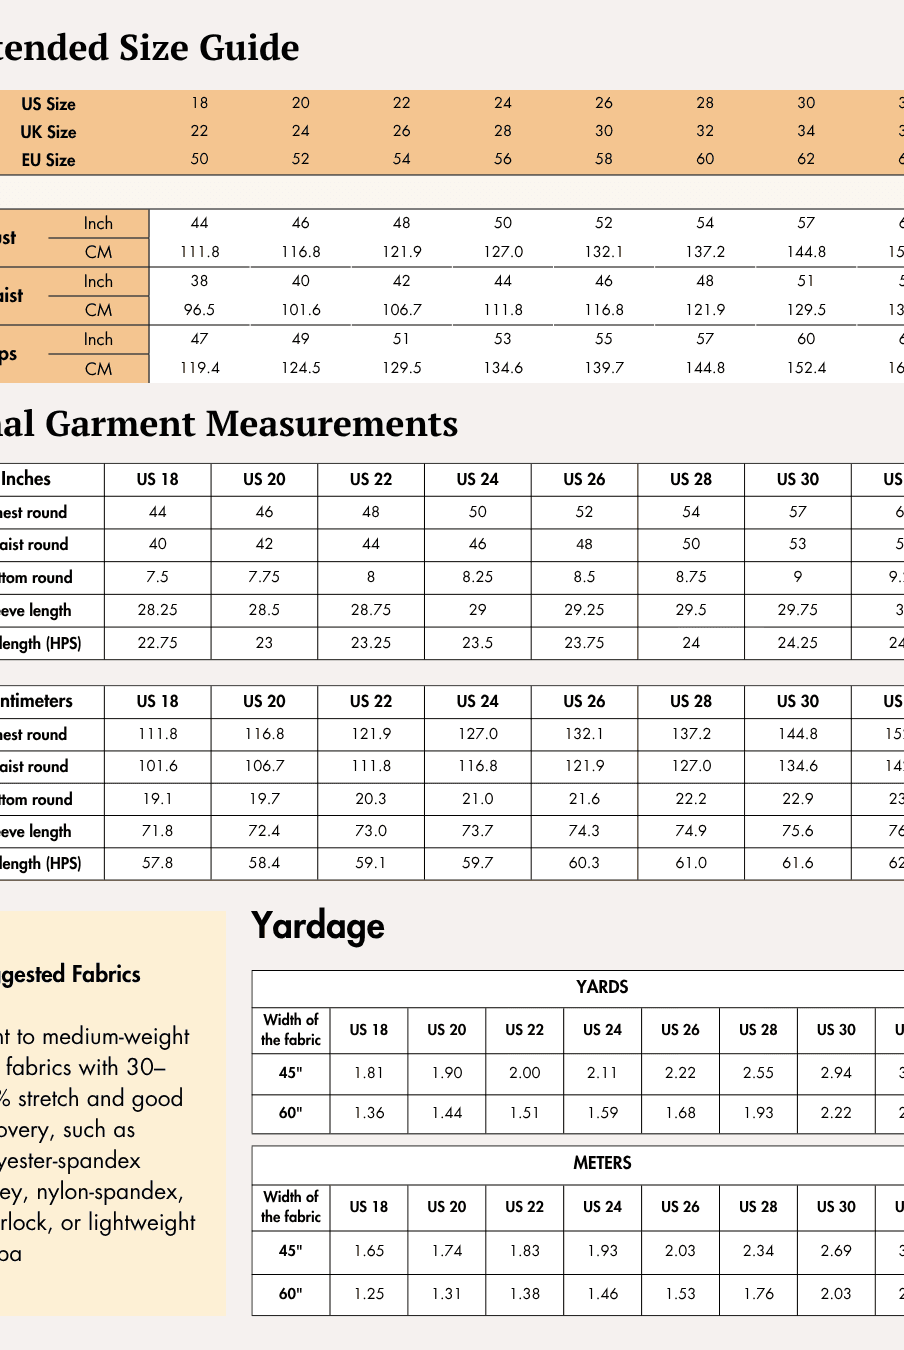
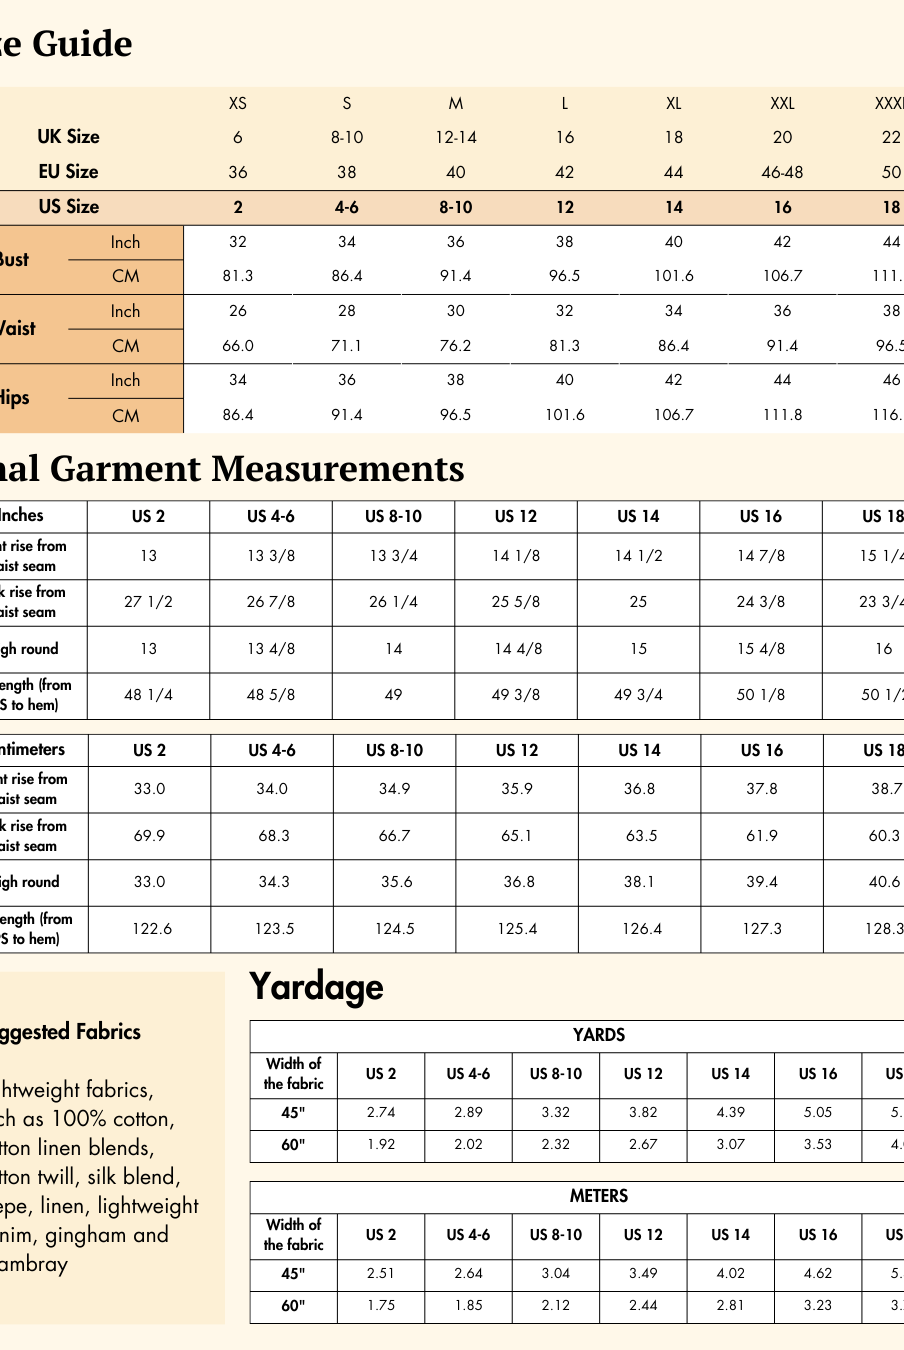
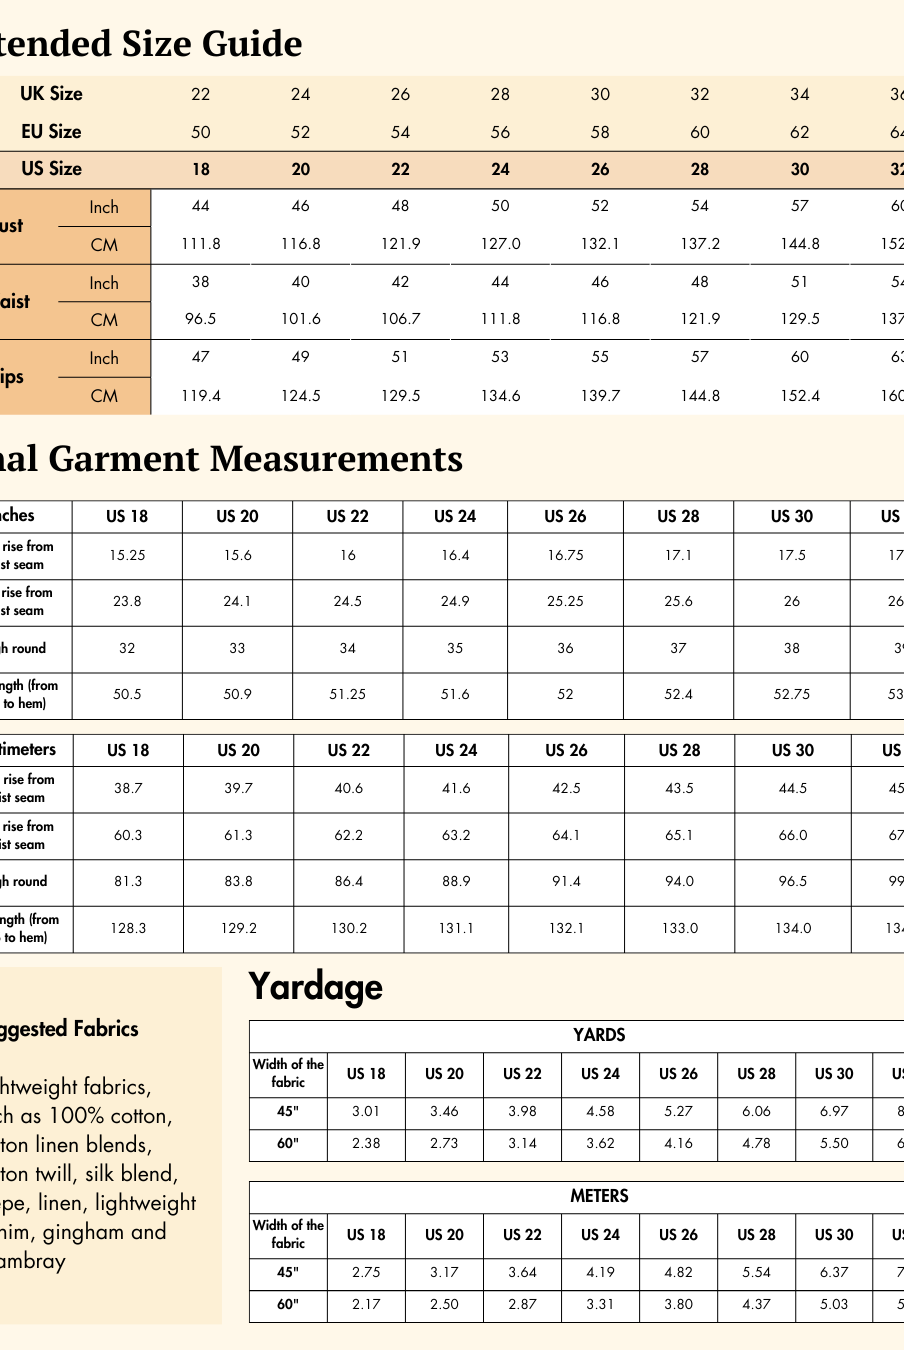
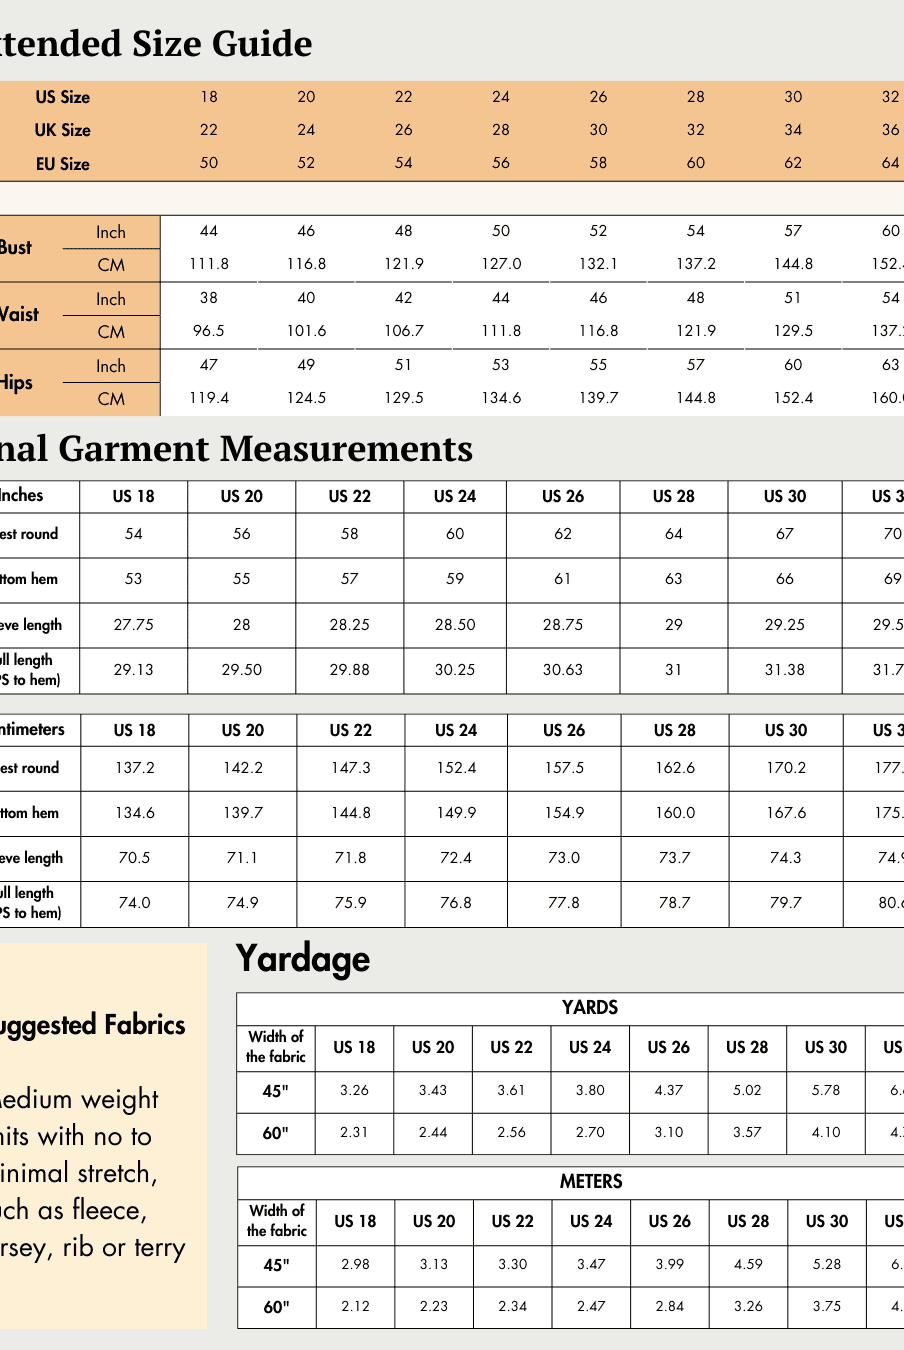
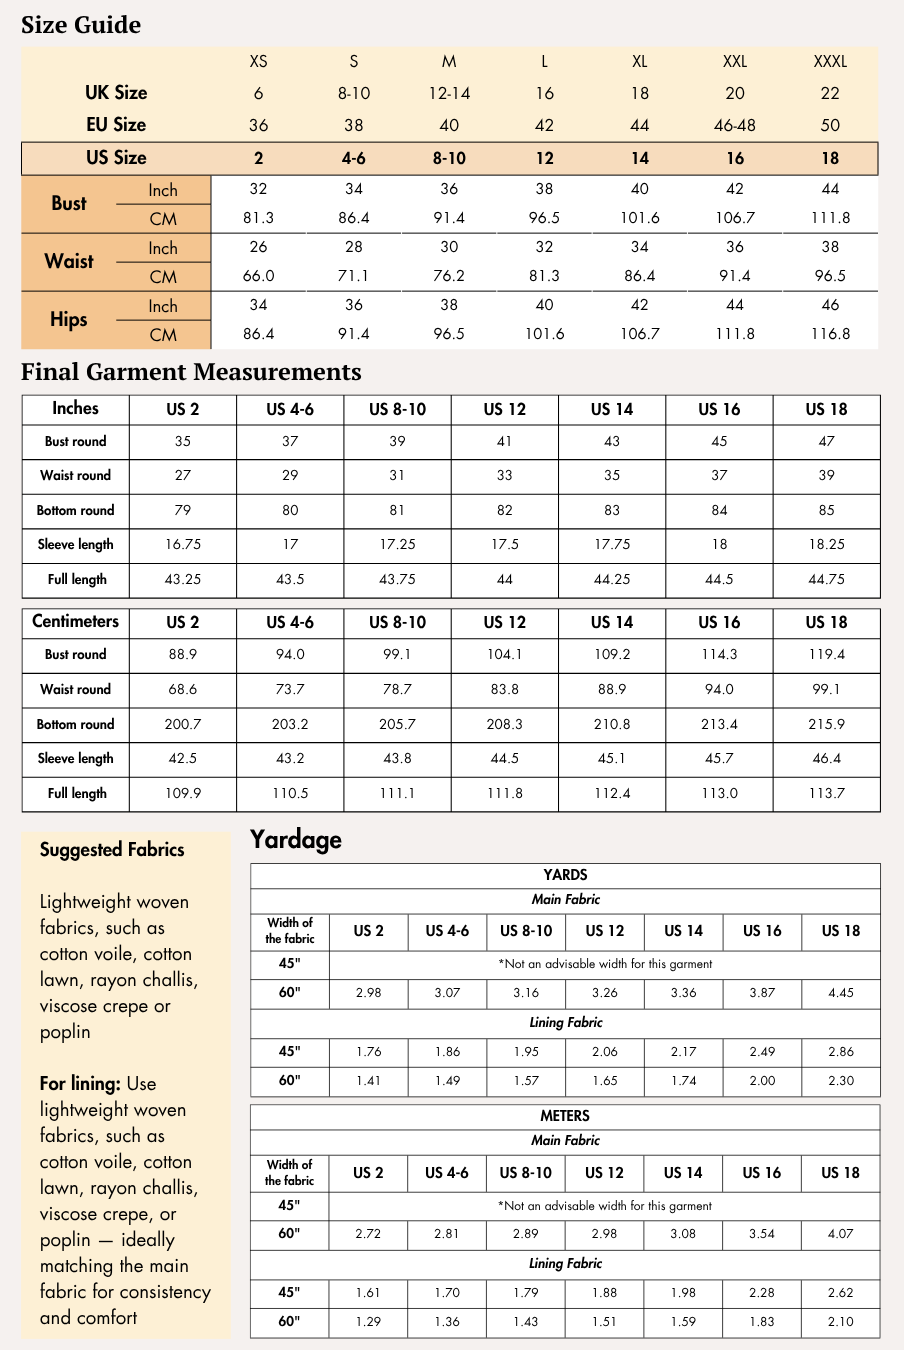
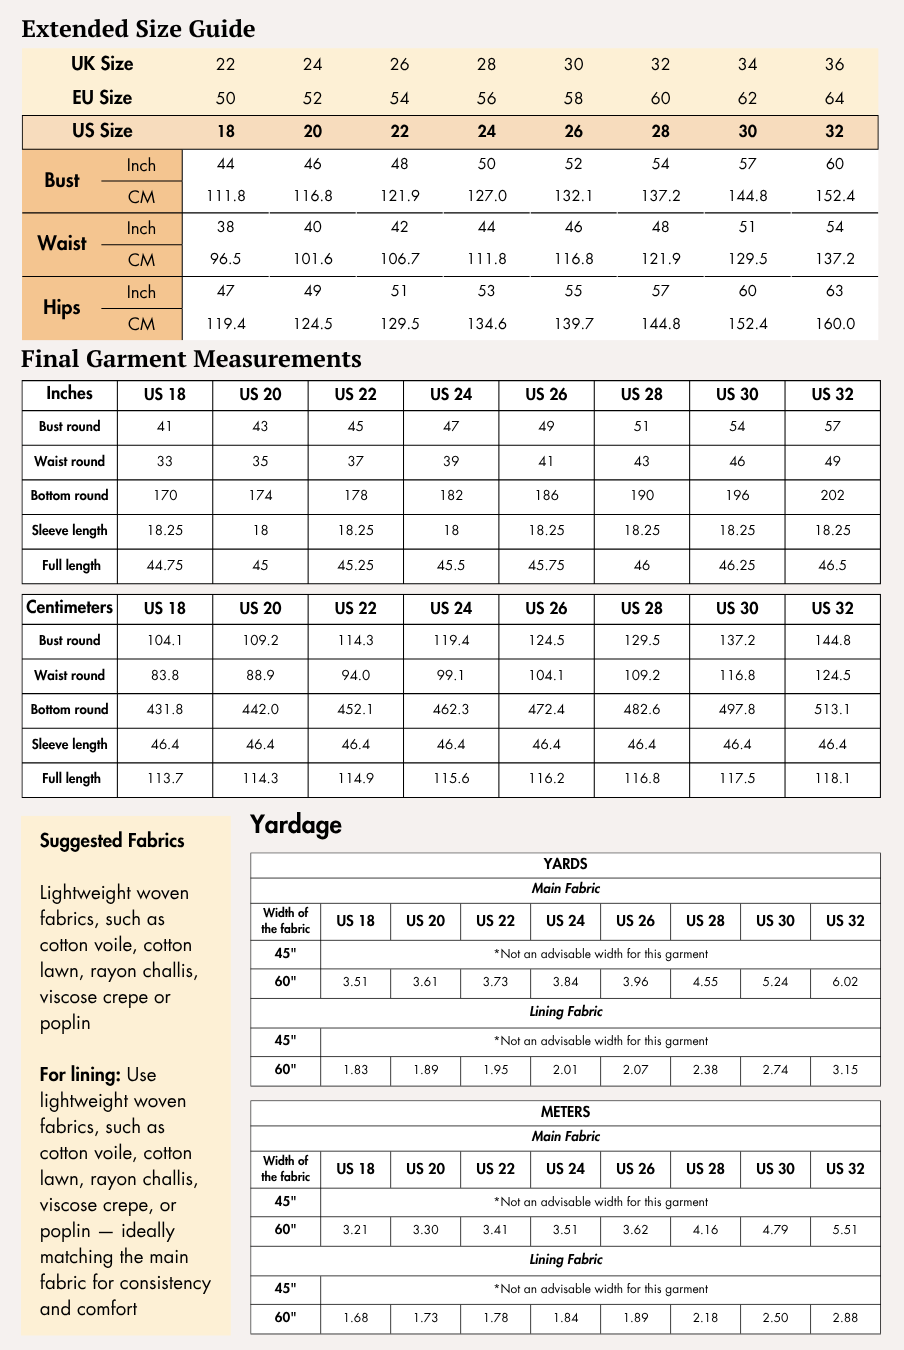
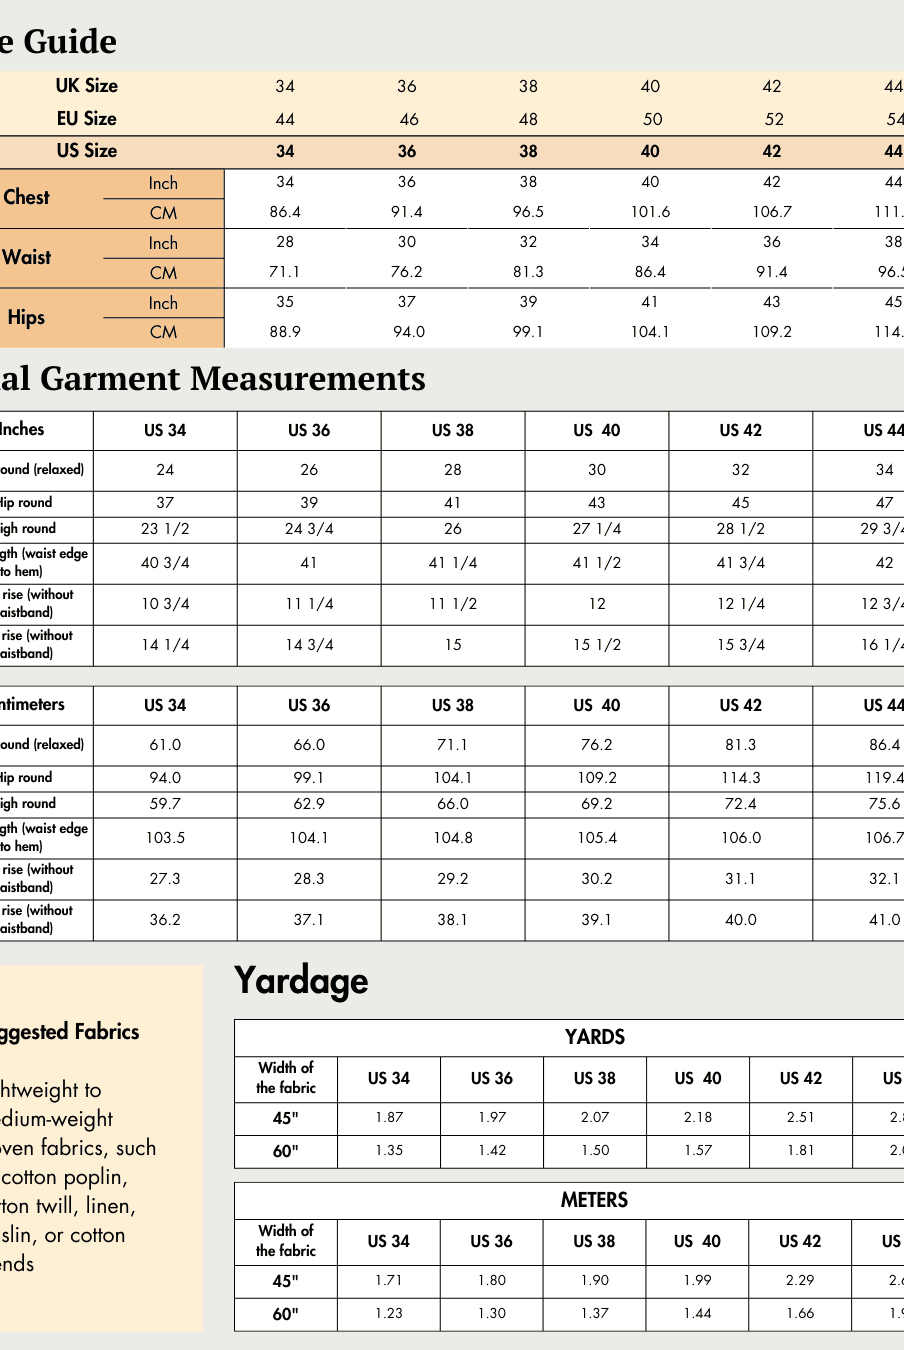
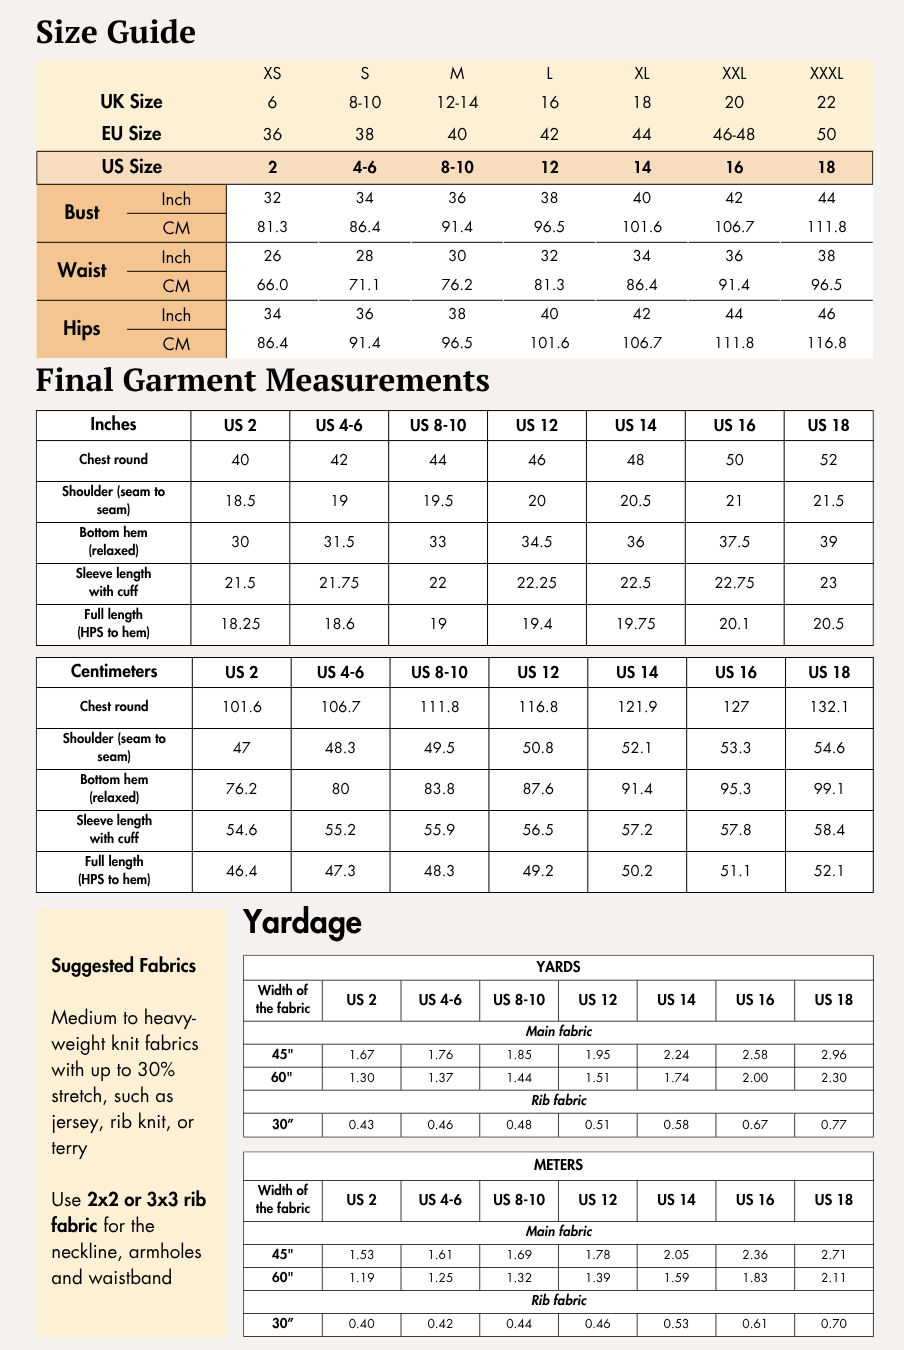
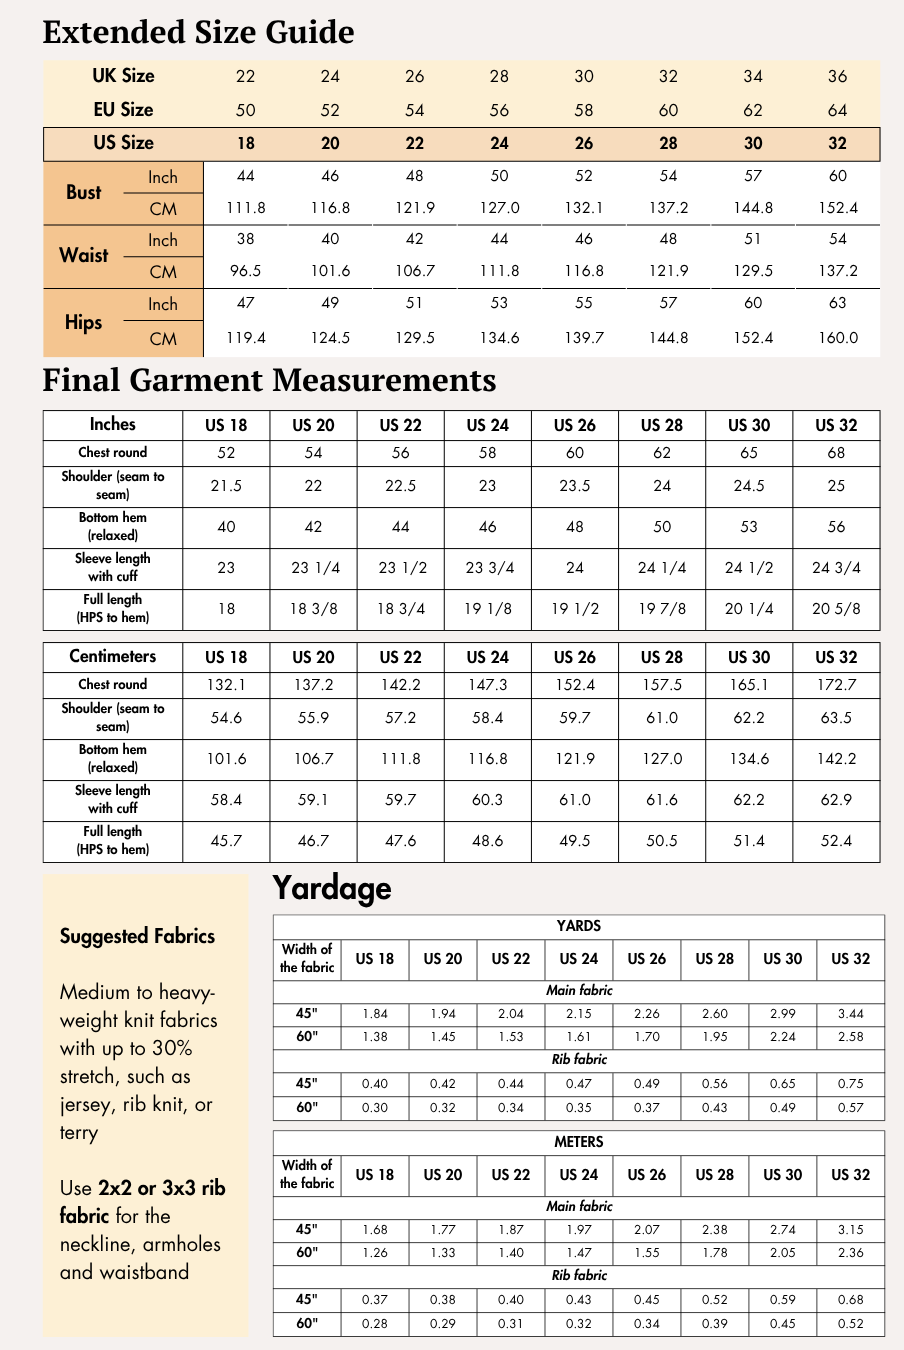
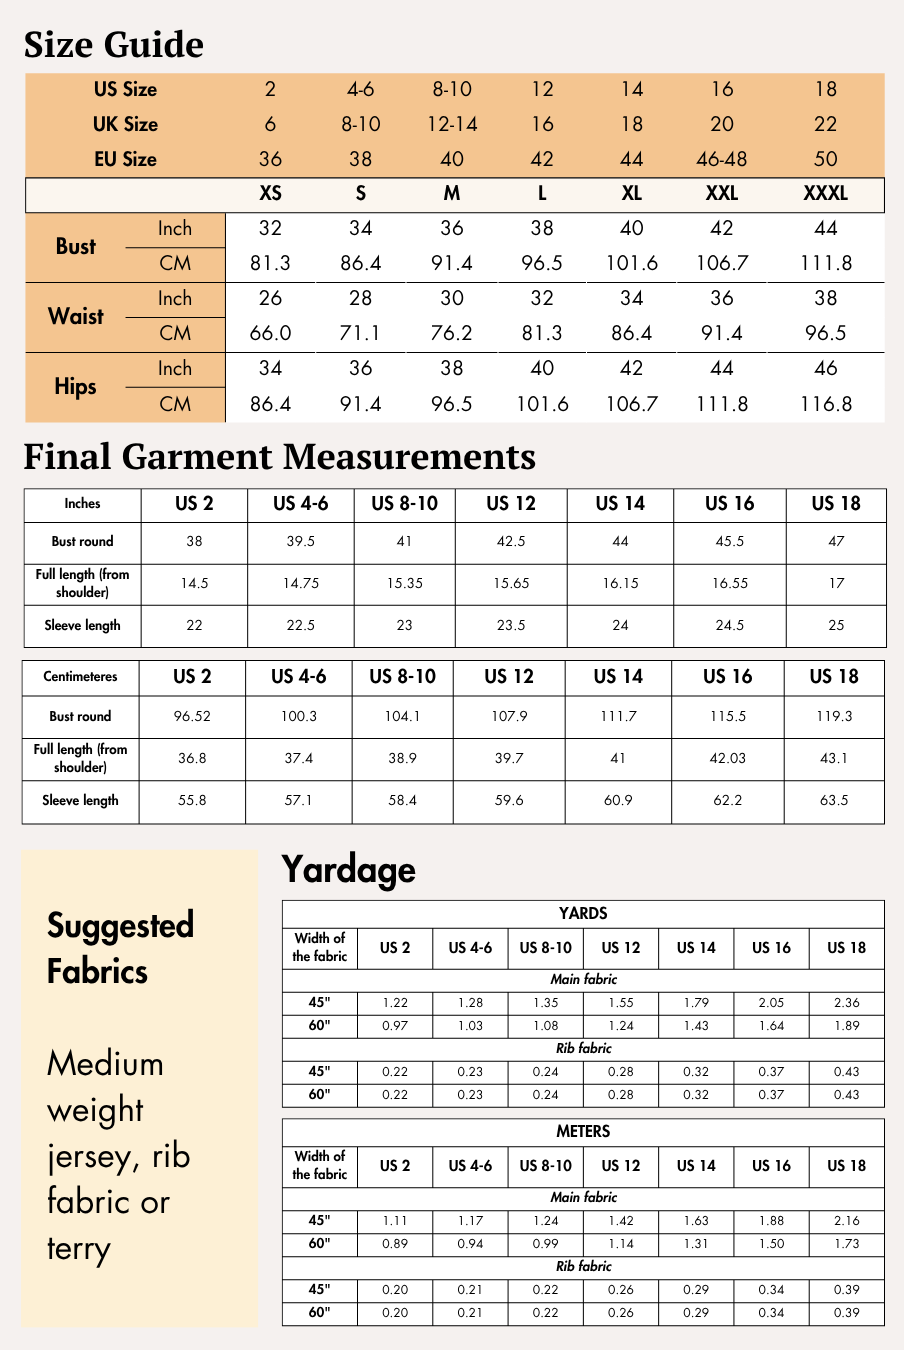
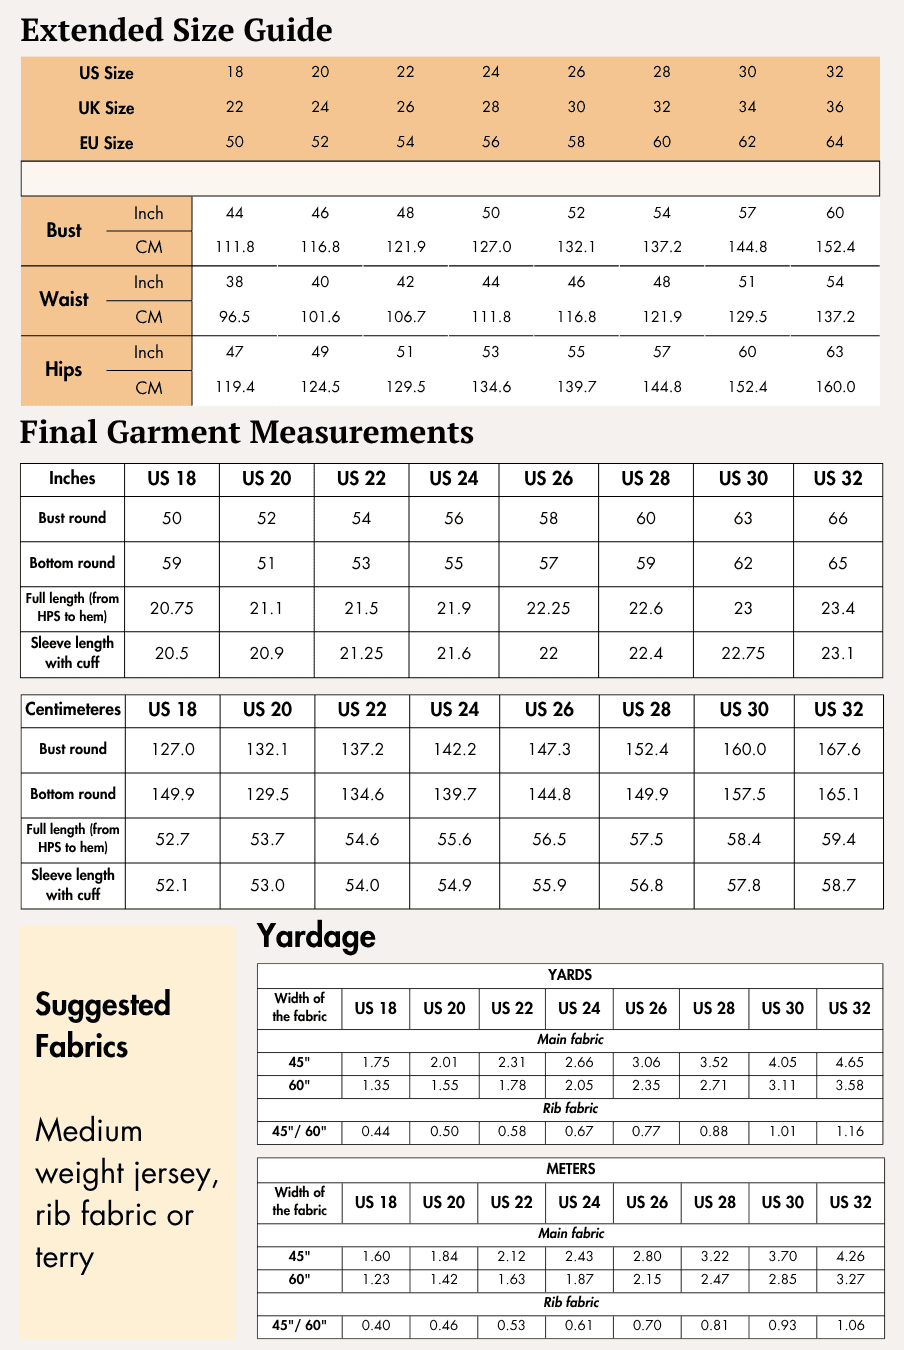
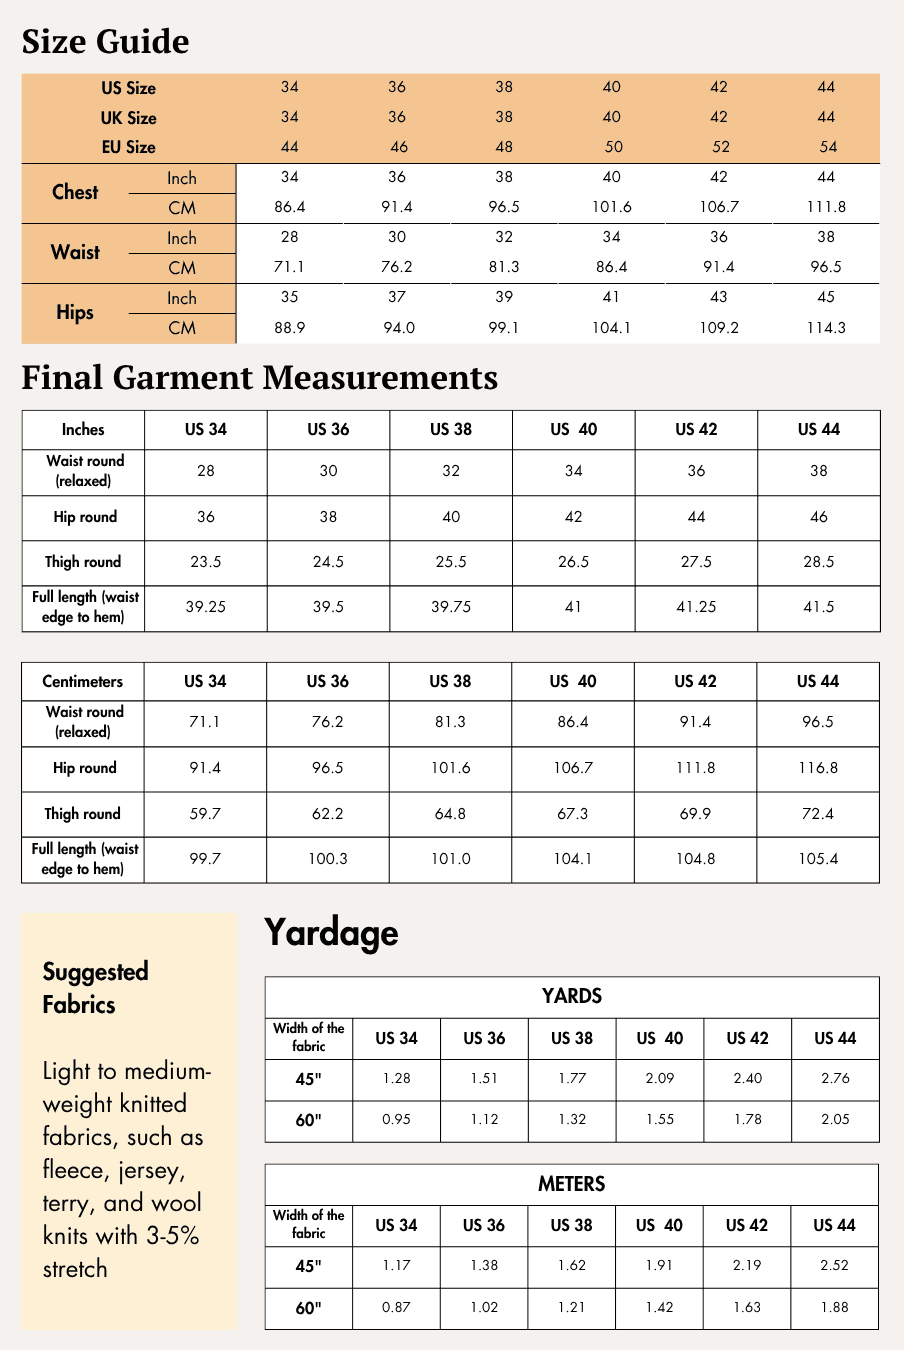
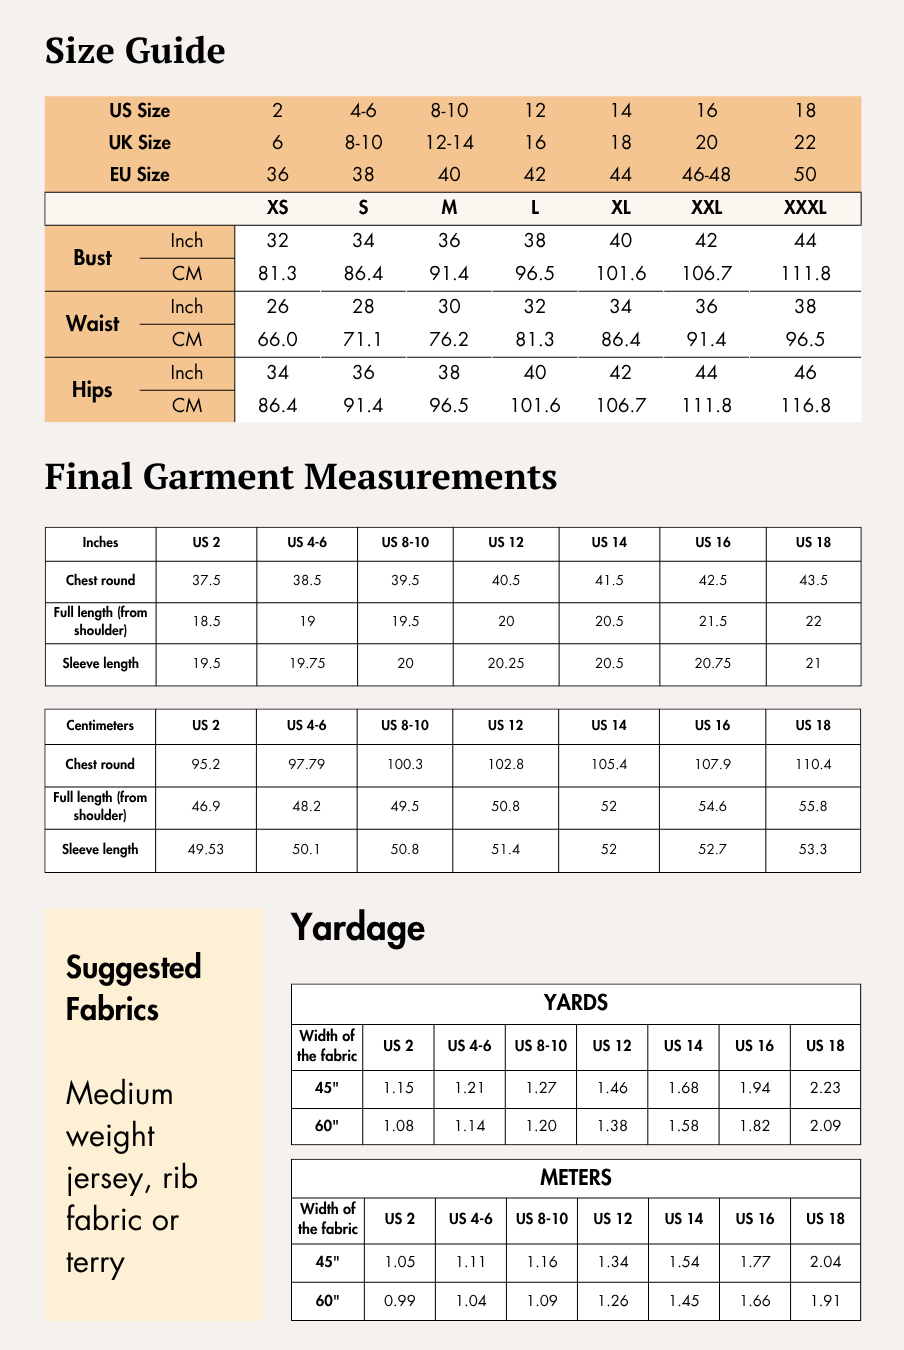
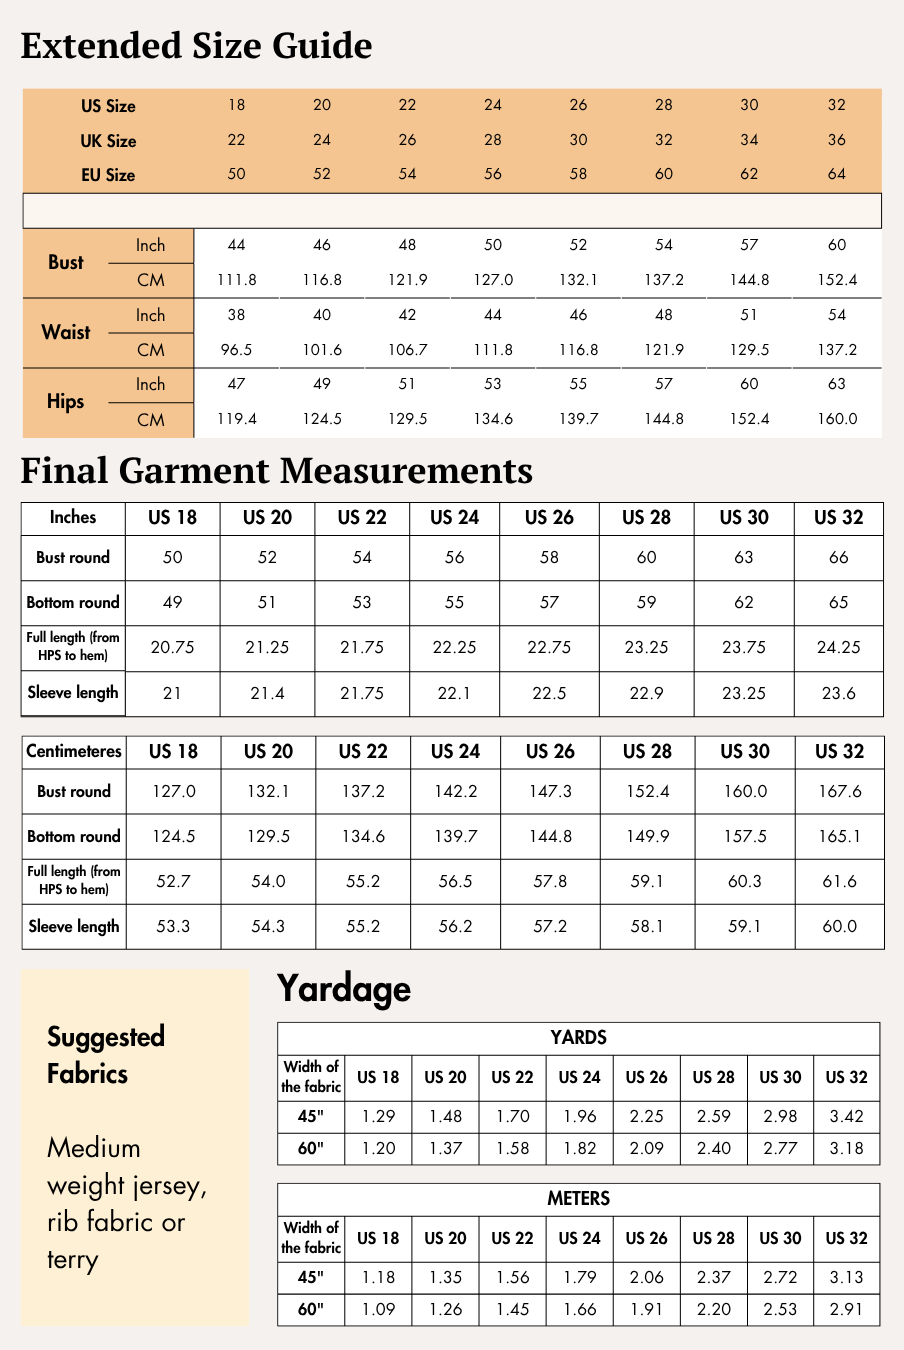
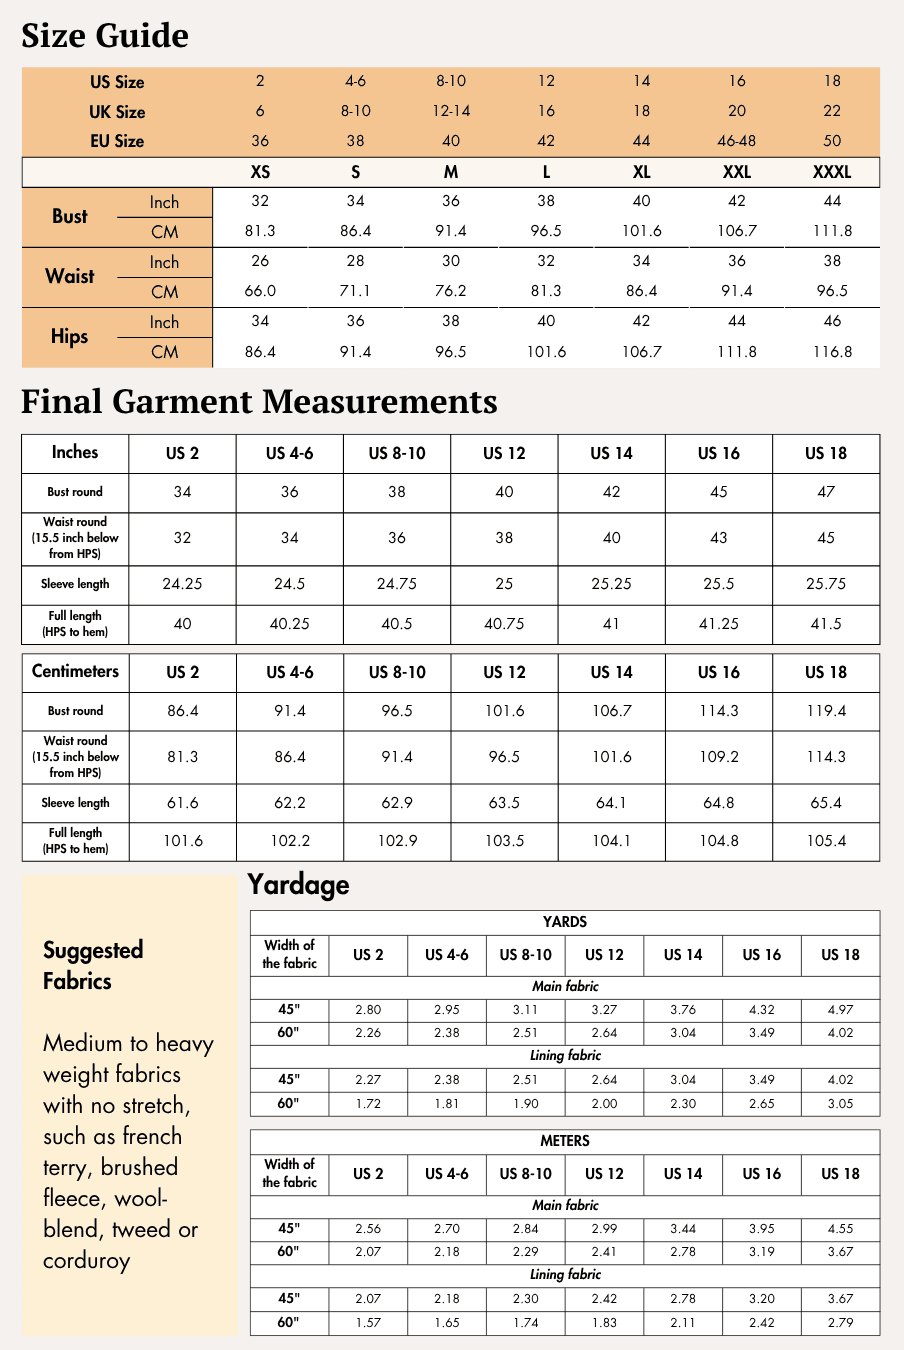
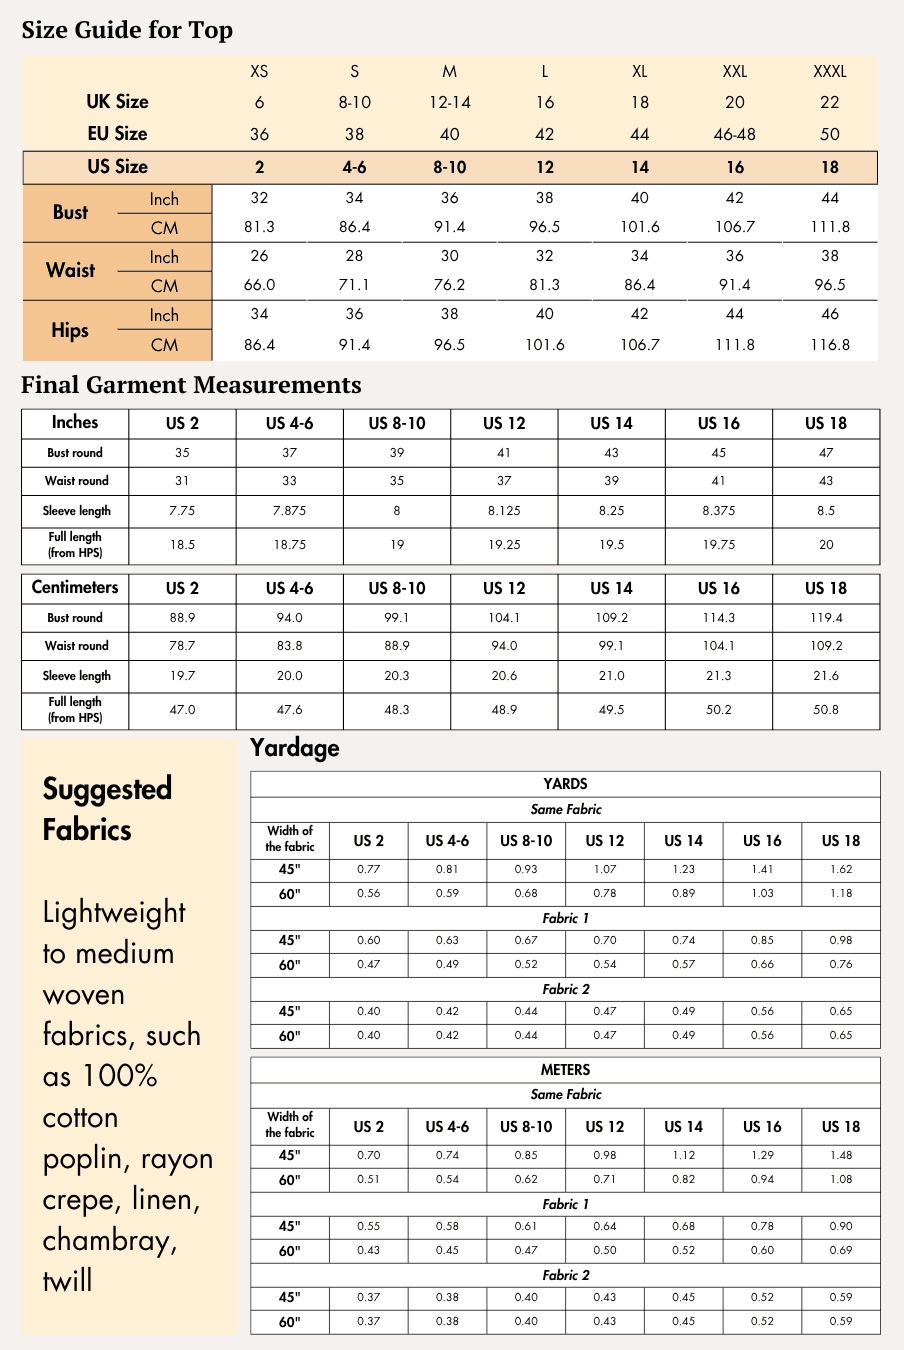
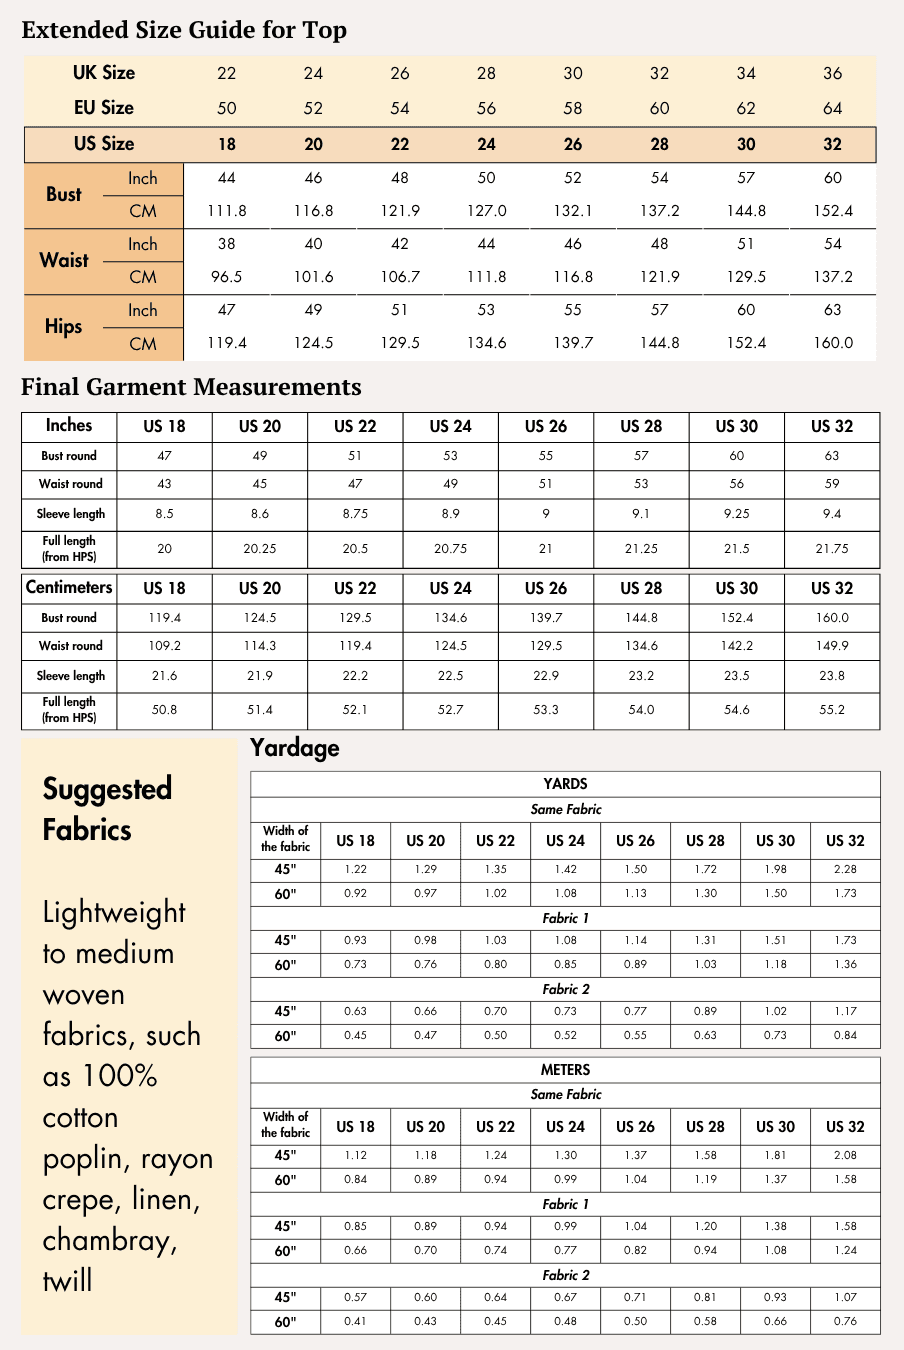
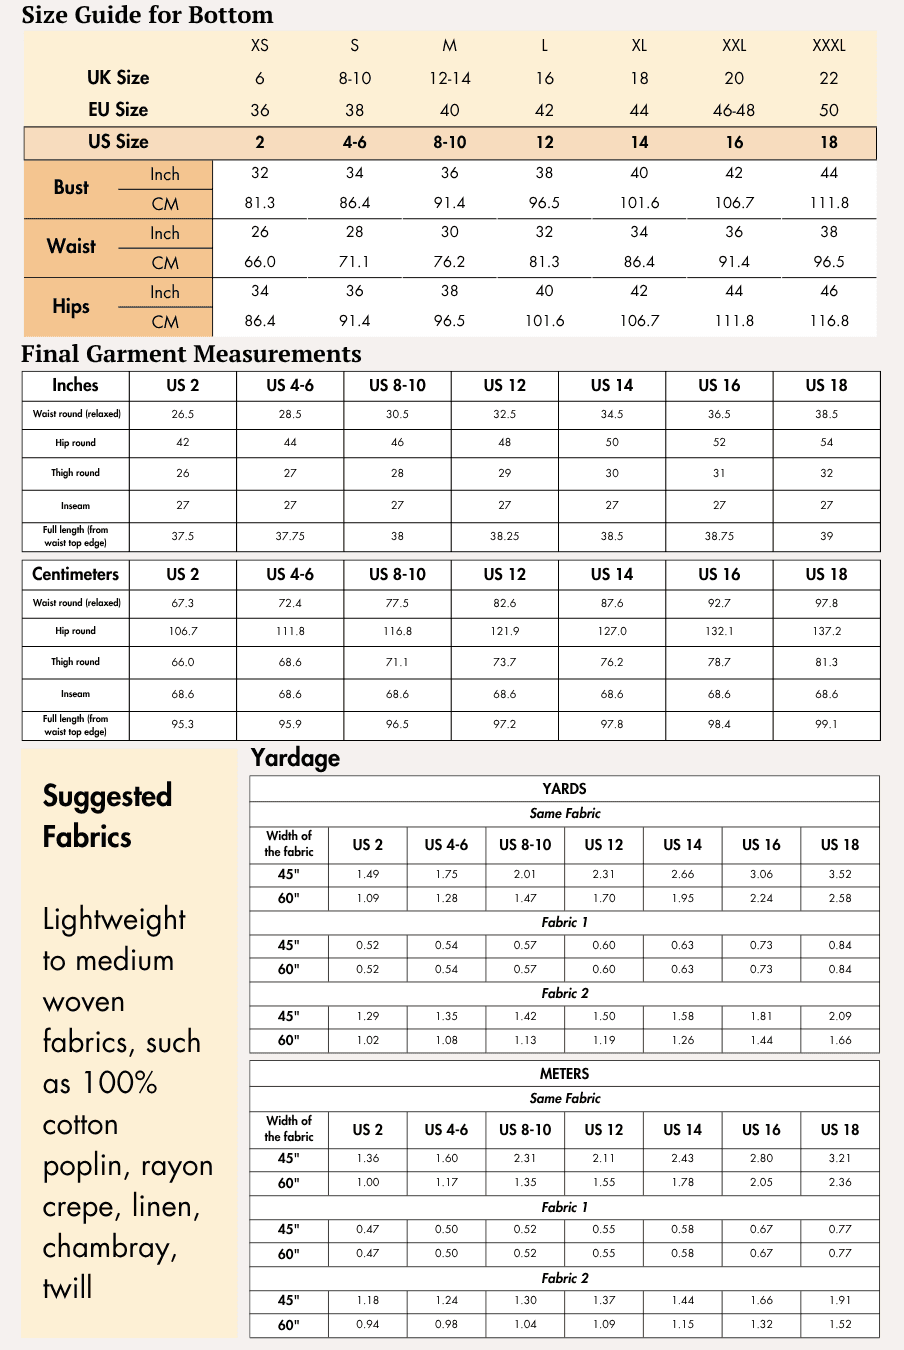
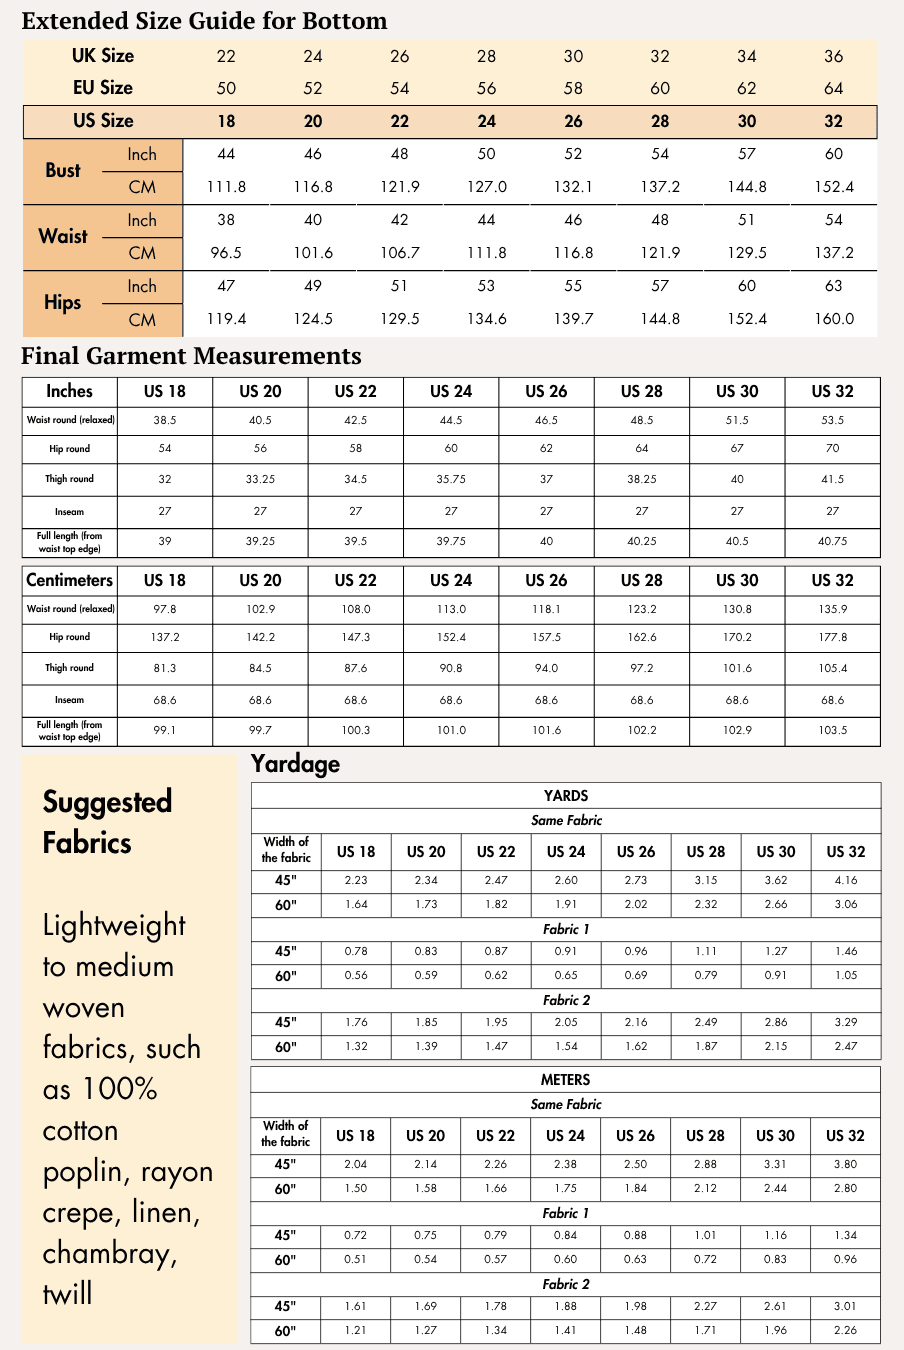
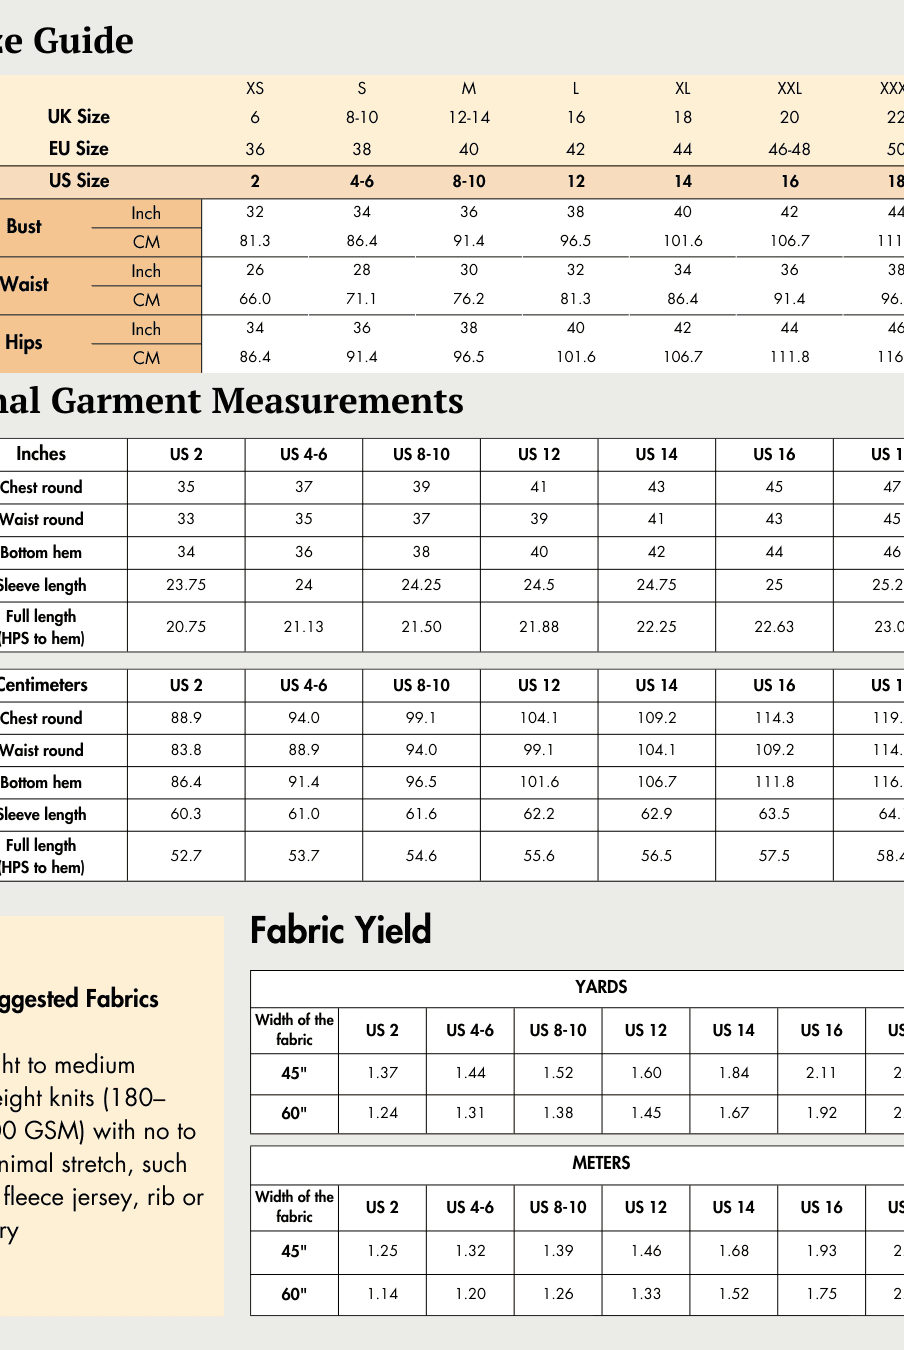
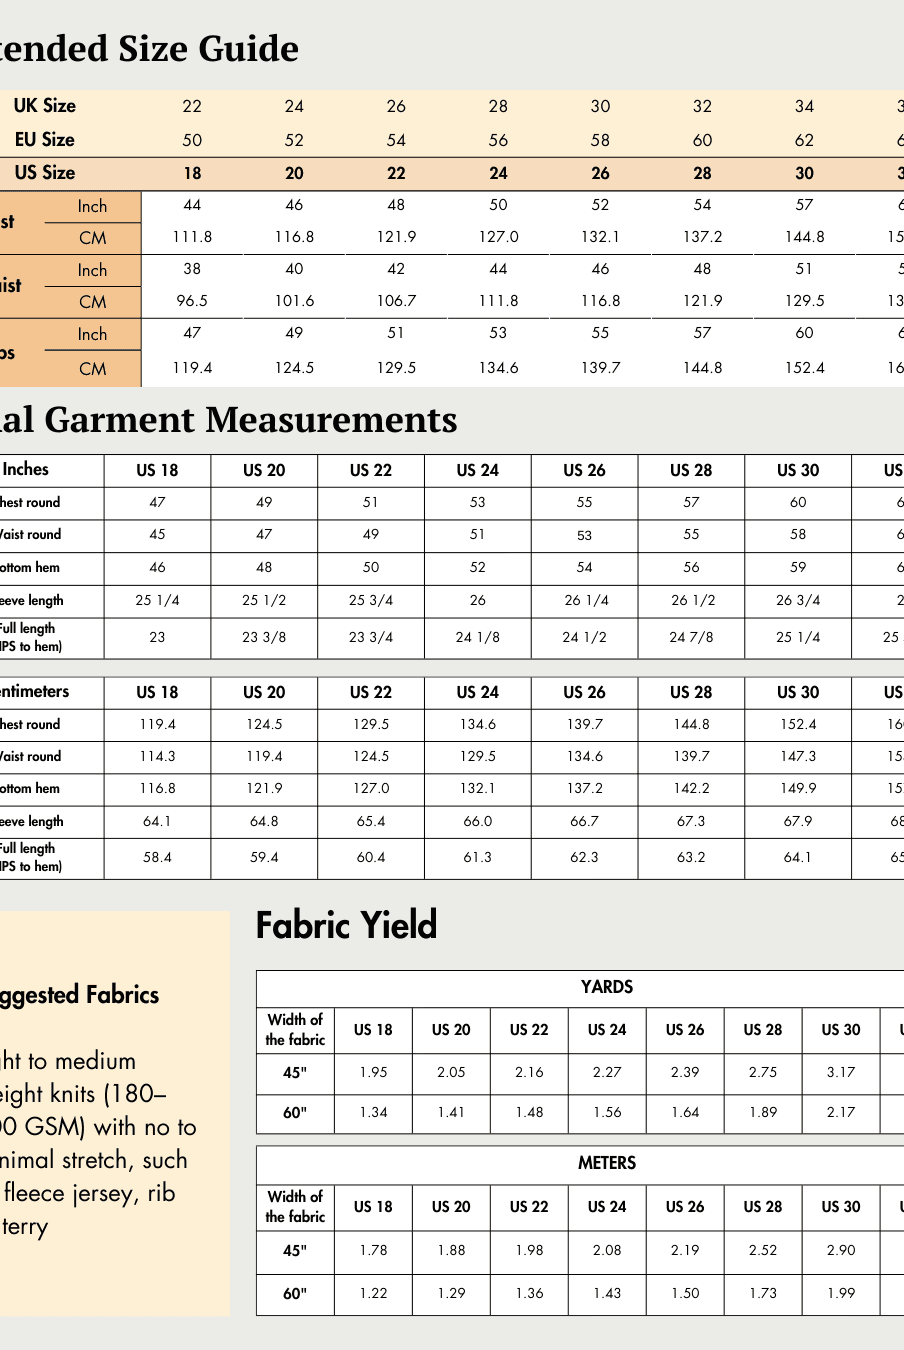
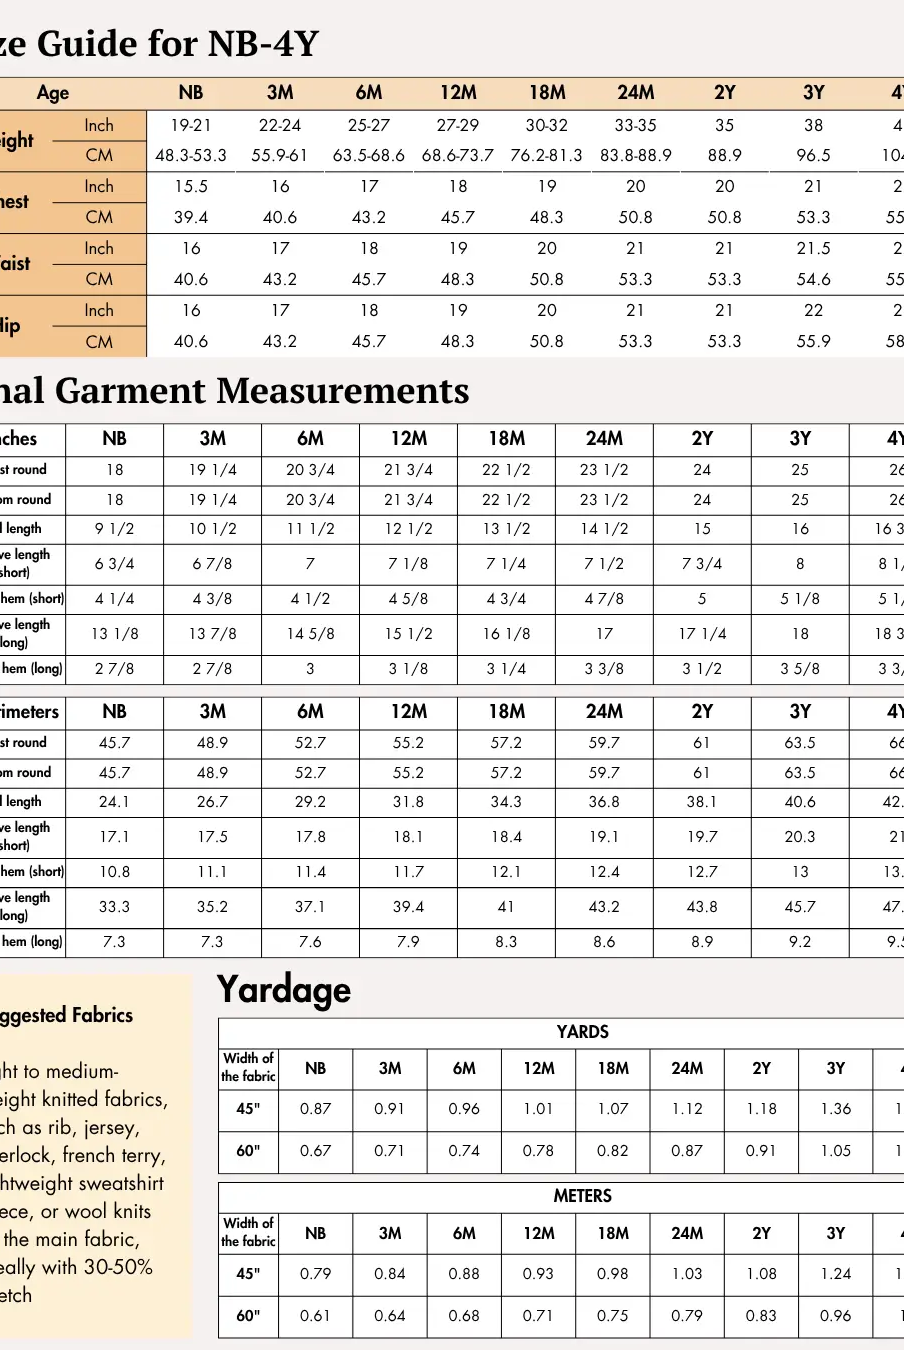
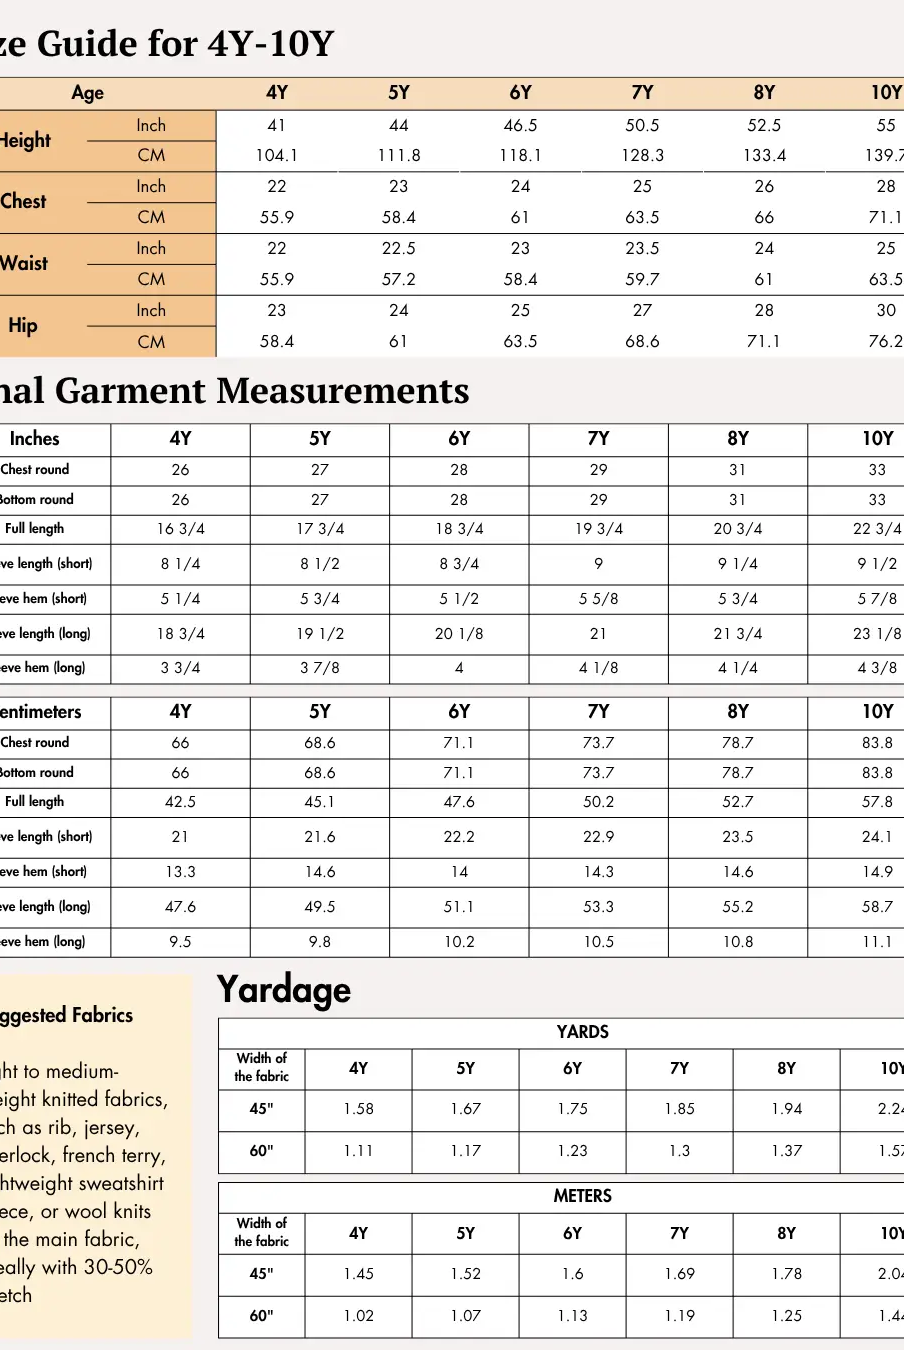
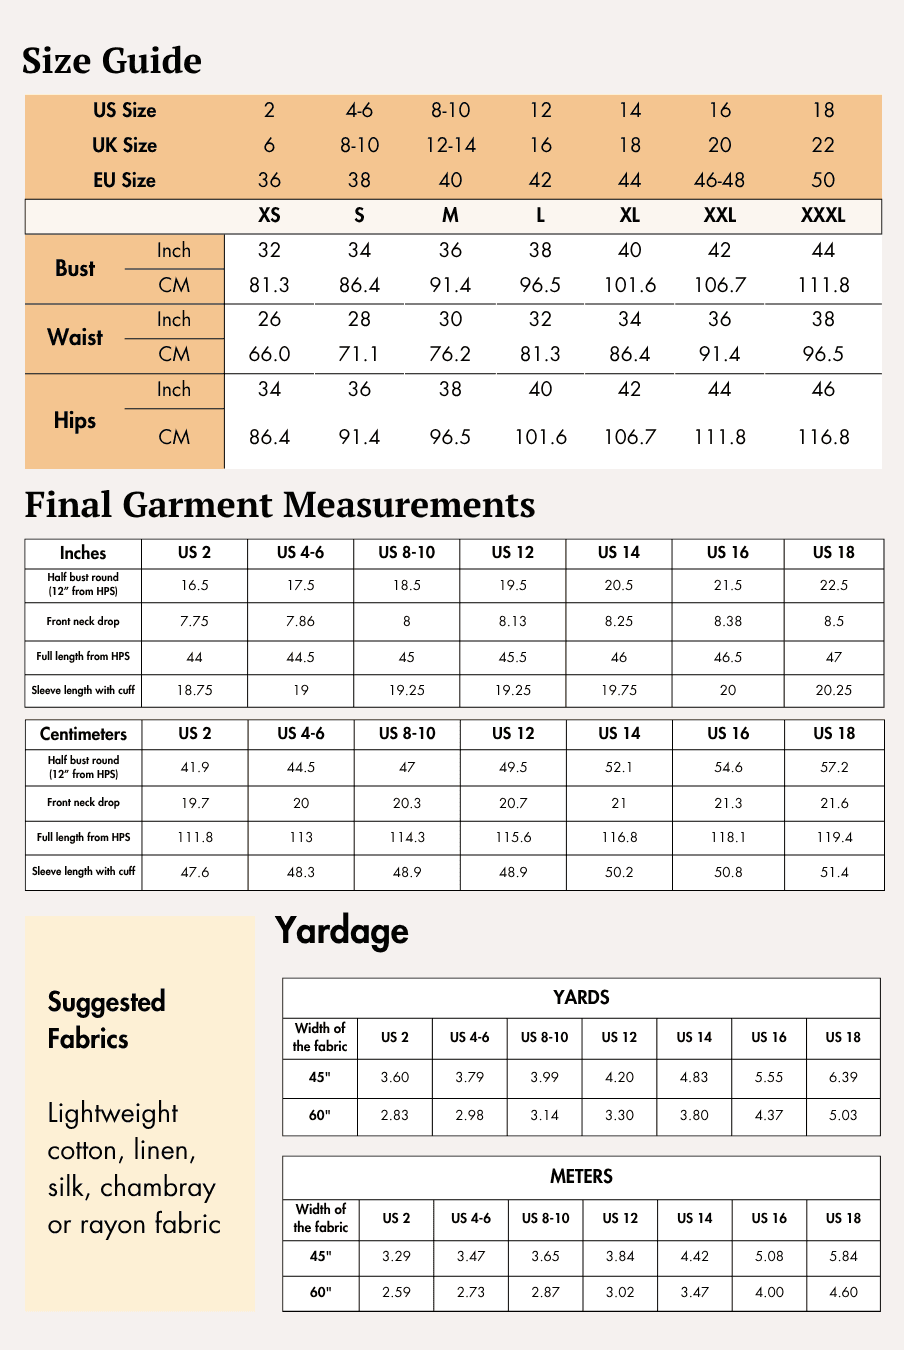
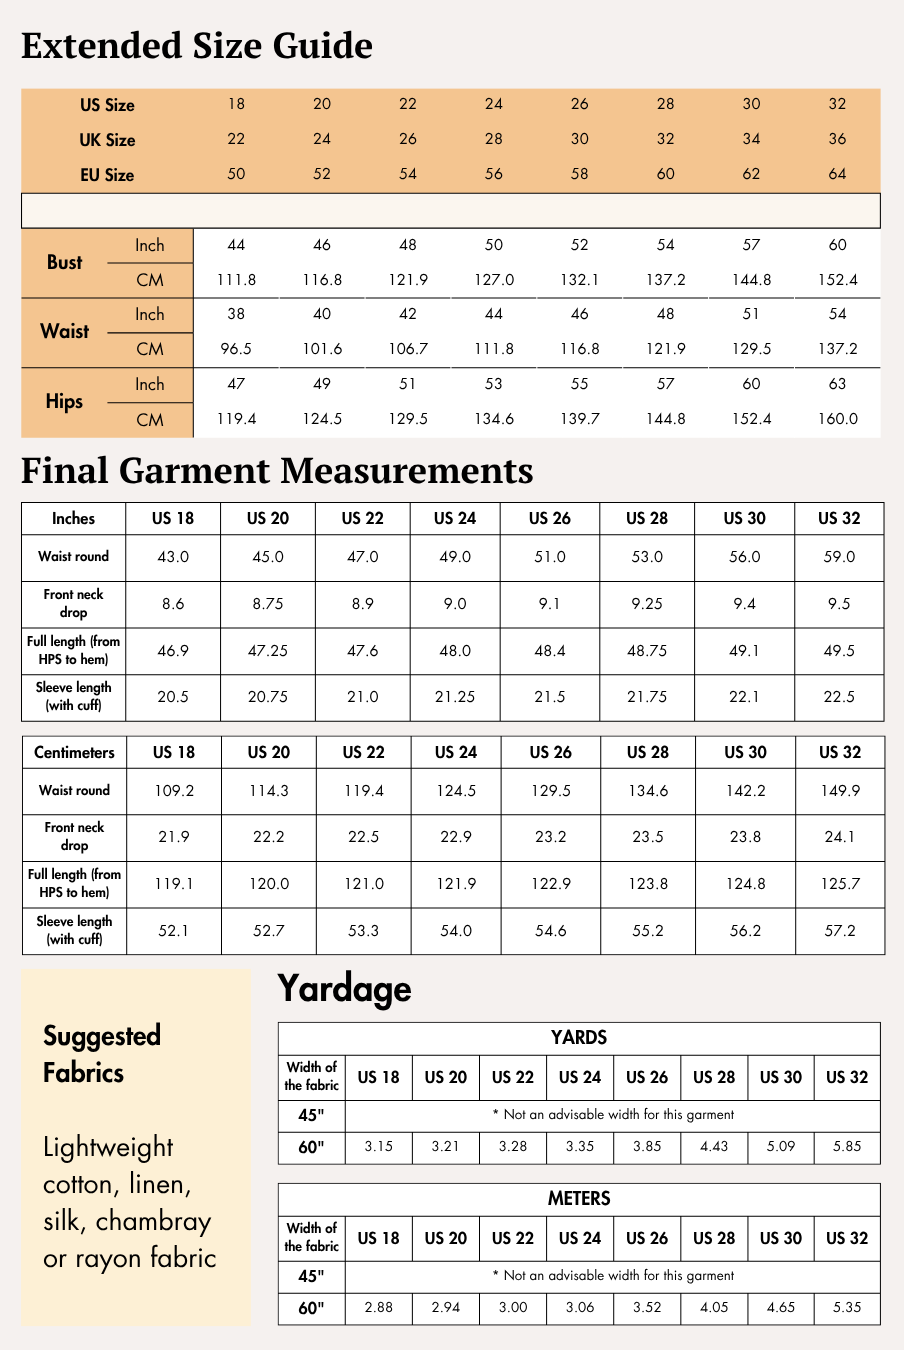
Check the size charts and measure yourself to select the correct size, using the garment and body measurement tables in the guide.
Verify how much fabric you need by referencing the fabric yield table in the guide.
Pattern Inventory: What Pieces to Prepare
Layla Cutout Sports Bra

- Front Upper Side Panel — Cut 1 Fabric
- Front Lower Side Panel — Cut 1 Fabric
- Back Upper Side Panel — Cut 1 Fabric
- Back Lower Side Panel — Cut 1 Fabric
Layla Running Leggings

- Front Leg — Cut 2 Fabric
- Back Leg — Cut 2 Fabric
- Side Back — Cut 2 Fabric
- Pocket — Cut 2 Fabric
- Back Waistband — Cut 2 Fabric
- Front Waistband — Cut 2 Fabric
- Gusset — Cut 2 Fabric
The guides include both A4/US Letter files for home printing and A0 files for copy-shop printing.
Pattern Marking
Transfer all markings from the pattern pieces before sewing to ensure accurate construction.
Sports Bra

The sports bra pattern includes markings such as:
- Grainlines
- Shoulder
- Neckline
- Armhole
- Side seam
- Hem
Running Leggings

The leggings pattern includes markings for:
- Grainlines
- Front and back waist
- Hip line
- Knee line
- Crotch line
- Crotch tips and notches
- Side seam notches
- Side front and side back notches
- Inseam
- Waistband notches
- Front panel waist seam
- Hem markings
These markings help align panels, waistbands, pockets, and other construction details accurately.
Cutting Layout
Sports Bra


Running Leggings


Both guides provide cutting layouts for 45-inch and 60-inch fabric widths.
When laying out your pattern pieces:
- Keep the grainline parallel to the selvage.
- Pin pattern pieces securely before cutting.
- The layouts are designed for non-directional fabrics.
- Purchase extra fabric if using directional prints or fabrics with nap.
- The illustrated layouts use a medium size for reference.
Fabric Cutting and Preparation
Arrange your pattern pieces according to the cutting layout diagrams before cutting.
When preparing your fabric:
- Position each pattern piece with the grainline parallel to the selvage.
- Trace the pattern pieces if using fabric shears.
- Cut carefully, including all notches.
- Transfer all pattern markings to the wrong side of the fabric.
- Mark center lines where indicated to help align pieces accurately during assembly.
Seam Allowance
Please follow the seam allowances as indicated on the pattern file layers. These are provided specifically for each piece to ensure accurate construction.
This pattern uses a 1 cm (3/8") seam allowance all around.
Step-by-Step Sewing Instructions (Sports Bra)
Step 1: Finish the Armholes with Binding
1a. Prepare the binding strip
Cut a binding strip 1–2 inches wide. Measure the front armholes, back armholes, and neckline to determine the required length. Measure each section separately, then combine the measurements into one continuous binding strip.
1b. Insert the binding
Place the binding strip inside the binder attachment.
1c. Bind the armholes
Stitch about 1 inch of the binding first. Then insert the armhole seam allowance of the Front Upper Side Panel (Pattern A) into the binding and sew from one end of the armhole to the other.
Trim away the excess binding strip when you reach the end.
Repeat the same process for the remaining front armhole and both back armholes.
Keep the remaining binding strip aside, as it will be used to finish the neckline in Step 4.
Step 2: Finish the Hem
2a. Join the upper and lower panels
Place the right side of the Front Upper Side Panel (Pattern A) against the wrong side of the Front Lower Side Panel (Pattern B). Align the hem edges and sew along the hemline using an overlock stitch.
Repeat the same process for the Back Upper Side Panel (Pattern C) and Back Lower Side Panel (Pattern D).
2b. Press the seams
Turn the prepared front and back pieces right side out and press the seams flat.
Step 3: Attach One Shoulder Seam
Place the prepared front panel and back panel with right sides together.
Align one shoulder seam and sew it using an overlock stitch.
Step 4: Finish the Neckline with the Binding Strip
4a. Prepare the binding
Take the remaining binding strip from Step 1 and place it inside the binder attachment.
4b. Bind the neckline
Stitch about 1 inch of the binding first. Then insert the prepared neckline seam allowance into the binder.
Sew slowly from one end of the neckline to the other, maintaining smooth curves and carefully following the shape of the neckline, including the cutout area. Trim away any excess binding strip once you reach the end.
Step 5: Sew the Remaining Seams
Turn the garment wrong side out.
Align the remaining shoulder seam and both side seams with right sides together. Sew the seams using an overlock stitch.
Before finishing, check that all seams are properly aligned and that the cutout lies flat for a neat, professional finish.


Step-by-Step Sewing Instructions (Running Leggings)
Step 1: Prepare and Attach the Pocket to the Back Leg
1a. Prepare the pocket opening
Fold the top seam allowance of the Pocket (Pattern D) toward the wrong side of the fabric along the seamline. Press the fold if needed, then topstitch close to the open edge to finish the pocket opening.
1b. Attach the pocket to the side back panel
Place the wrong side of the prepared pocket against the right side of the Side Back (Pattern C) piece. Align the side back seams and side front seams, then stitch along the seamline to secure the pocket. Repeat this process for the second pocket.
1c. Join the side back panel to the back leg
Place the prepared Side Back panel on the Back Leg (Pattern B) with right sides together. Match the side back notches carefully, then sew the side back seam using an overlock stitch.
Step 2: Attach the Gusset to the Legs
2a. Sew the gusset to the back leg
Place one Gusset (Pattern G) onto the Back Leg with right sides together. Align the gusset side seam with the bottom of the back crotch as shown in the sewing guide. Make sure the crotch tip faces upward toward the waist seam, then overlock along the seam to join the pieces.
2b. Press the seam
Open the stitched pieces and press the seam flat. As an optional step, edgestitch along the seam to help stabilize the fabric.
2c. Attach the gusset to the front leg
Repeat the same process to attach the gusset to the Front Leg (Pattern A). Align the pieces with right sides together and overlock the seam.
2d. Sew the front and back crotch seams
Place the Front Leg pieces together with right sides facing. Align the crotch seamlines and make sure the gusset side seam matches the opposite front crotch seam. Overlock the crotch seam and gusset.
Repeat the same process for the Back Leg pieces, overlocking the crotch seam and gusset to complete both leg sections.
Step 3: Sew the Inseams
Place each Front Leg on top of its matching Back Leg with right sides together, aligning the inseams carefully.
Ensure that the gusset on the front and back aligns correctly and that the gusset inseams match. Once everything is aligned, overlock along the inseam to join the front and back leg pieces together securely.
Step 4: Sew the Side Seams
Align the Side Back panel with the Front Leg side seams, keeping the right sides together. Match the side front notches with the side back tip notch to ensure the pieces are positioned correctly. Overlock along both side seams to join the front and back leg sections together.
Step 5: Prepare and Attach the Waistband
5a. Join the front and back waistband pieces
Place one Front Waistband (Pattern F) on one Back Waistband (Pattern E) with right sides together. Align one of the front panel side seams and overlock along the seam to join the pieces.
5b. Complete the waistband loop
Align the remaining front panel side seam and overlock along the seam to complete the waistband. Repeat the same process for the remaining front and back waistband pieces.
5c. Sew the waistband together
Place the two prepared waistbands together with right sides facing. Align the top edges and stitch along the top seam. Once sewn, turn the waistband right side out.
5d. Attach the waistband to the leggings
Place the prepared waistband onto the leggings, aligning the waist edges together. Match the center back notch with the center back crotch seam of the leggings and align the center front notch with the center front crotch seam. Overlock all the way around the waist seam to secure the waistband in place.
Step 6: Hem the Leg Openings
Fold the hem allowance toward the wrong side of the fabric along the hemline and press to create a crisp fold.
Sew the hem using a coverstitch from the wrong side, beginning at one of the side seams and continuing around each leg opening. If you do not have a coverstitch machine, use a twin needle or a narrow zigzag stitch to maintain the stretch of the hem.


Ready to Sew Your Own Activewear Coord Set?


The Layla Activewear Coord Set combines a supportive cutout sports bra with comfortable running leggings to create a stylish handmade activewear outfit. With beginner-friendly instructions, carefully drafted pattern pieces, and practical design features, it's a rewarding project for sewists looking to build confidence sewing stretch fabrics.
Whether you're making your first activewear set or adding another coordinated outfit to your handmade wardrobe, the Layla Activewear Coord Set Sewing Pattern is a versatile choice you'll enjoy wearing again and again. Download your pattern today and start sewing your own matching workout set.
Explore More Sewing Patterns
Browse our Coord Set Sewing Pattern Collection for more stylish handmade sports bras, leggings, tops, and workout essentials perfect for building your handmade activewear wardrobe.
Join the Community & Get Support
Share your finished Layla Activewear Coord Set on social media with #MadeWithWinslets. If you have questions, feedback, or customization requests, contact the Winslet's team at support@winslets.com.