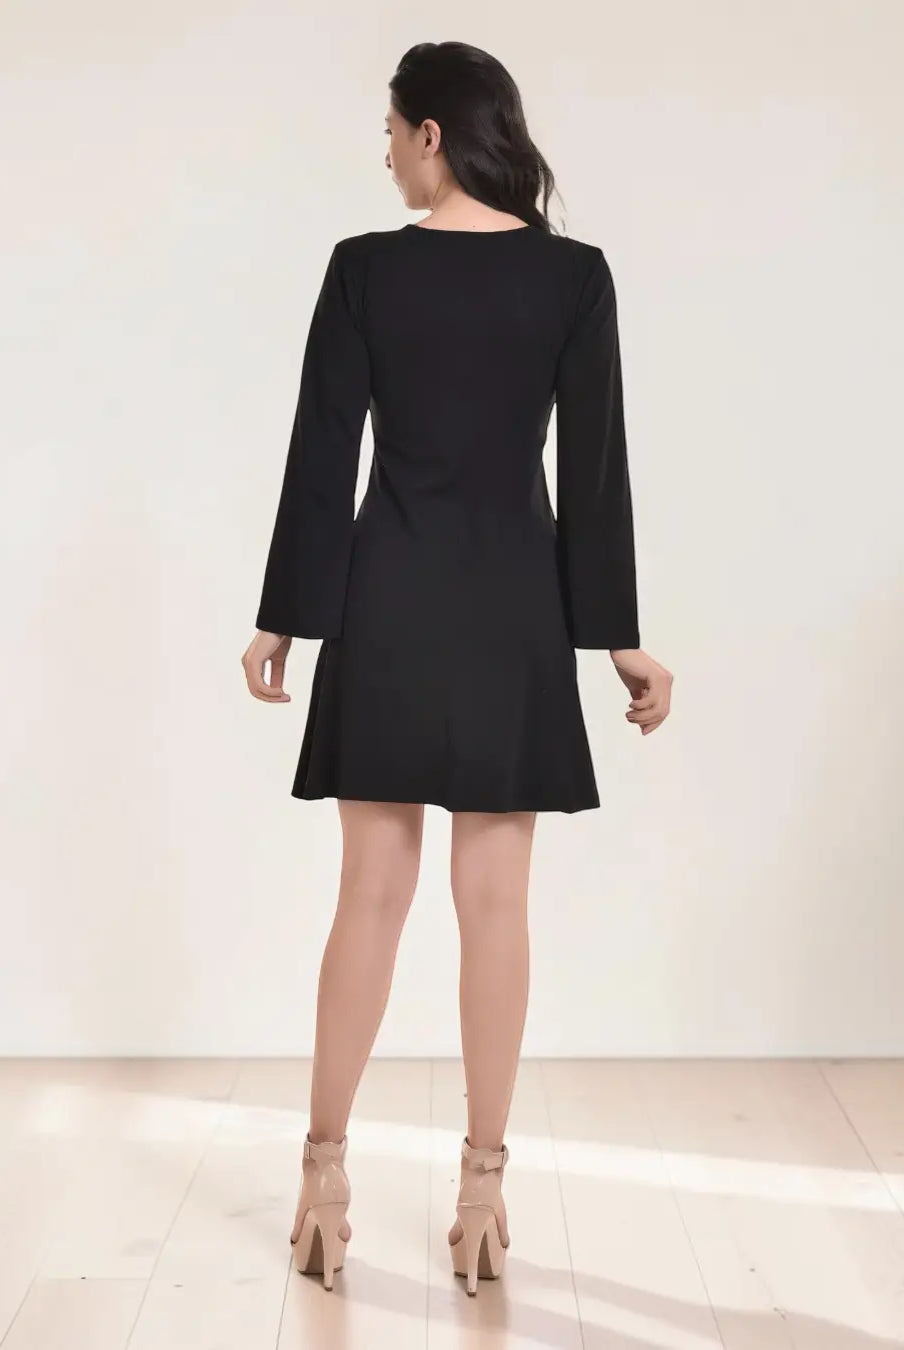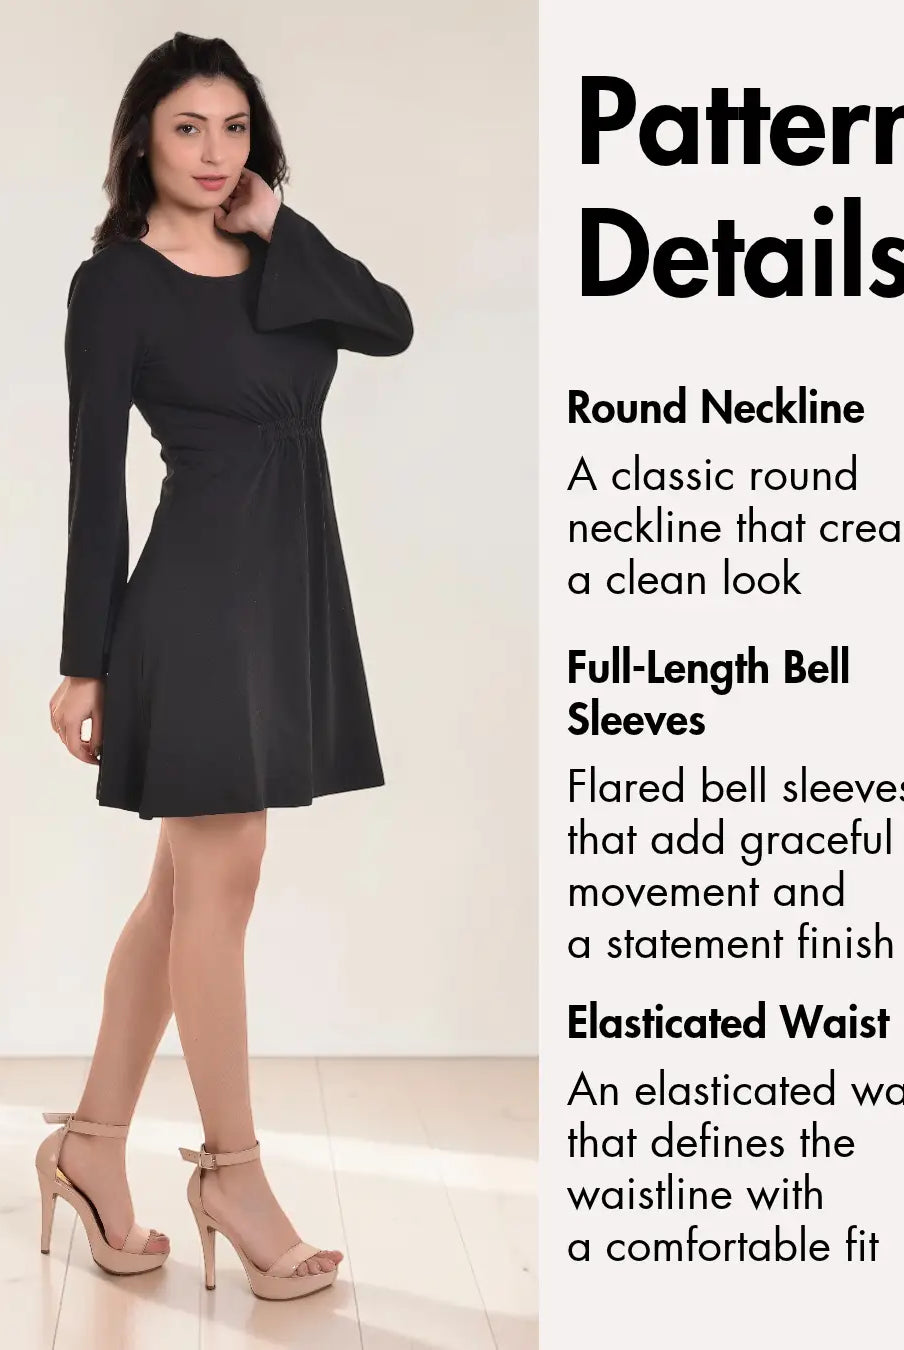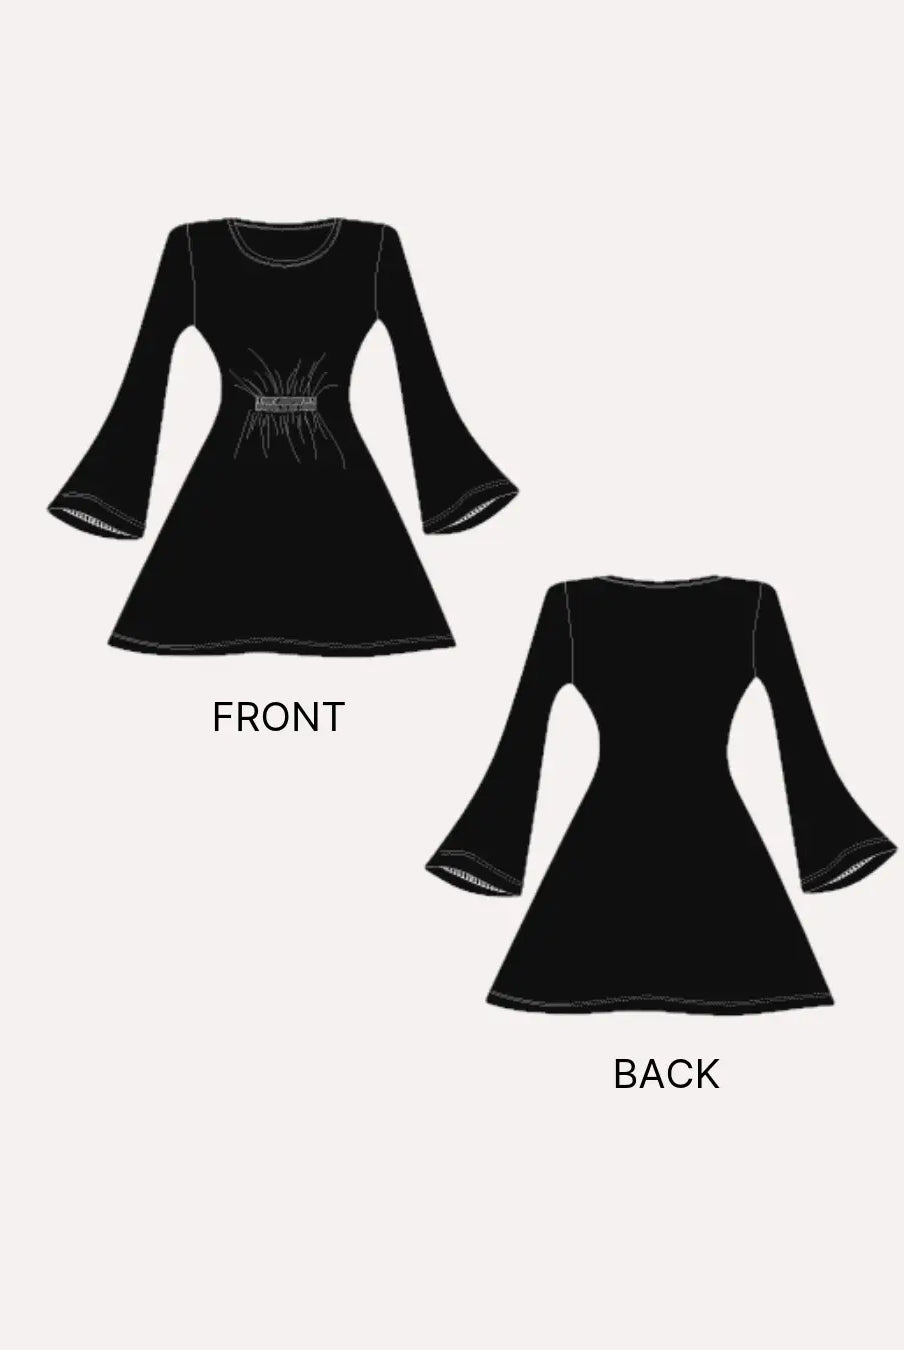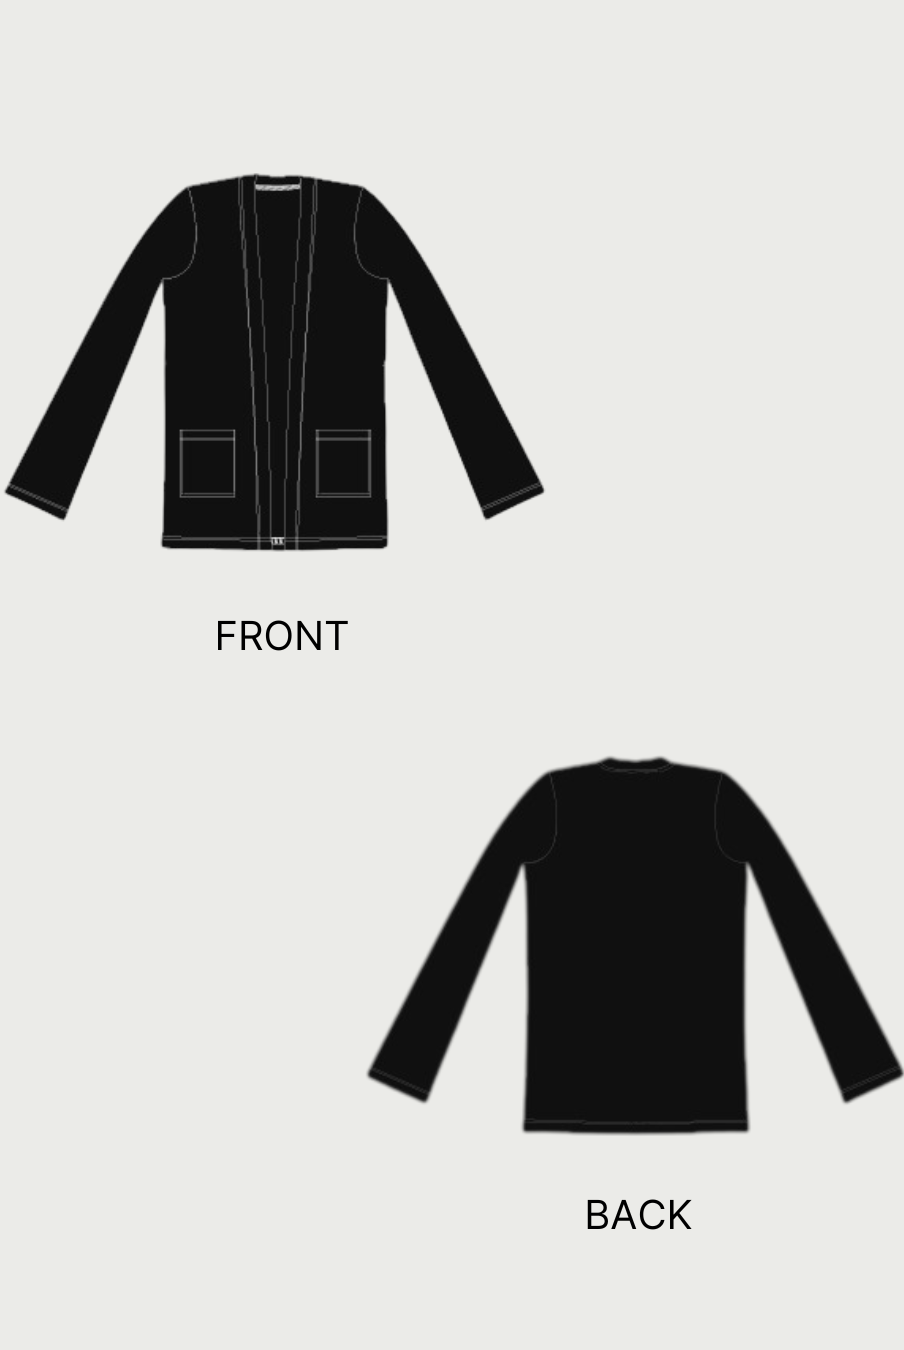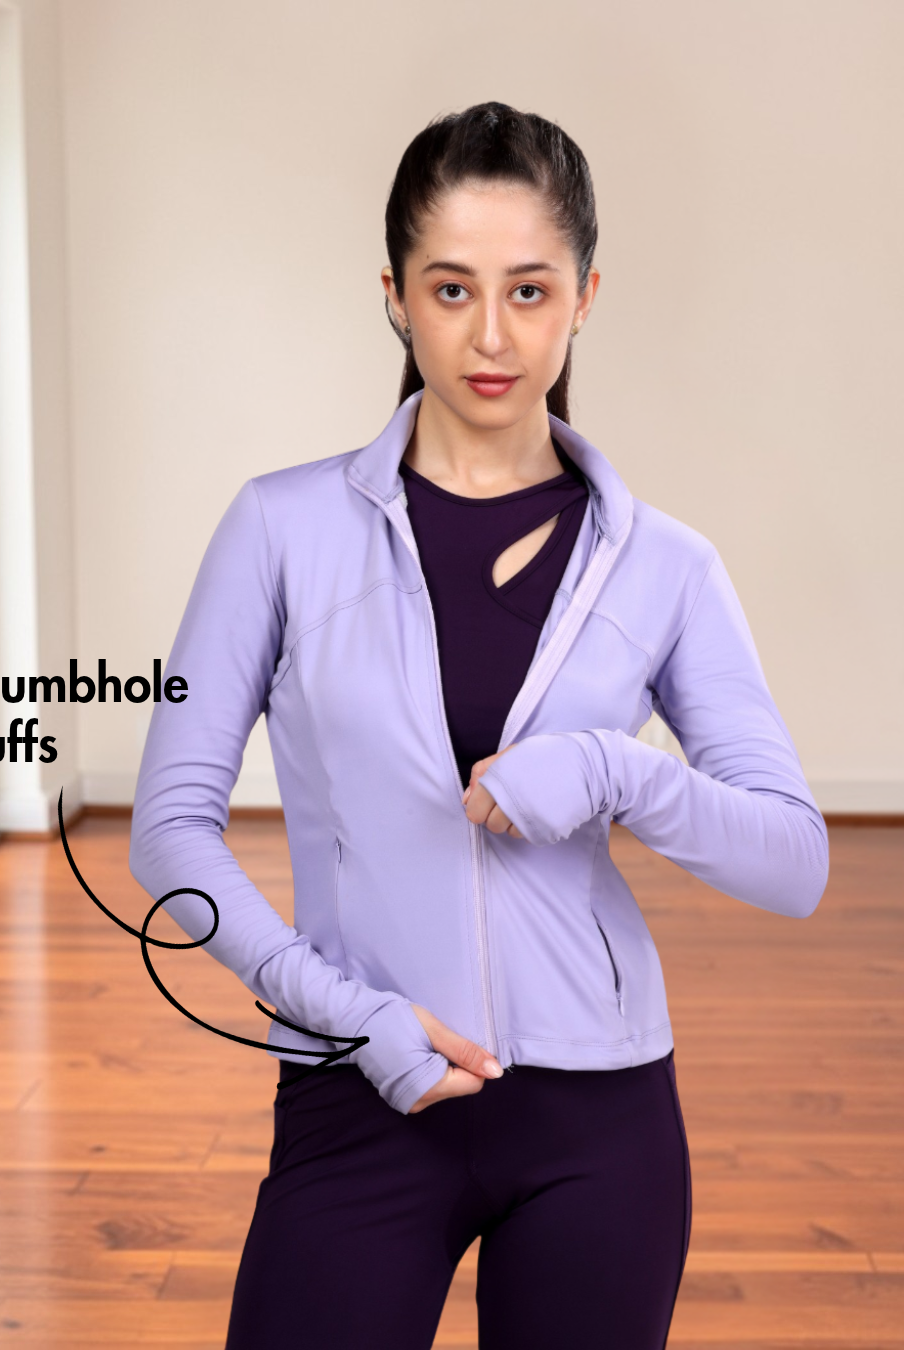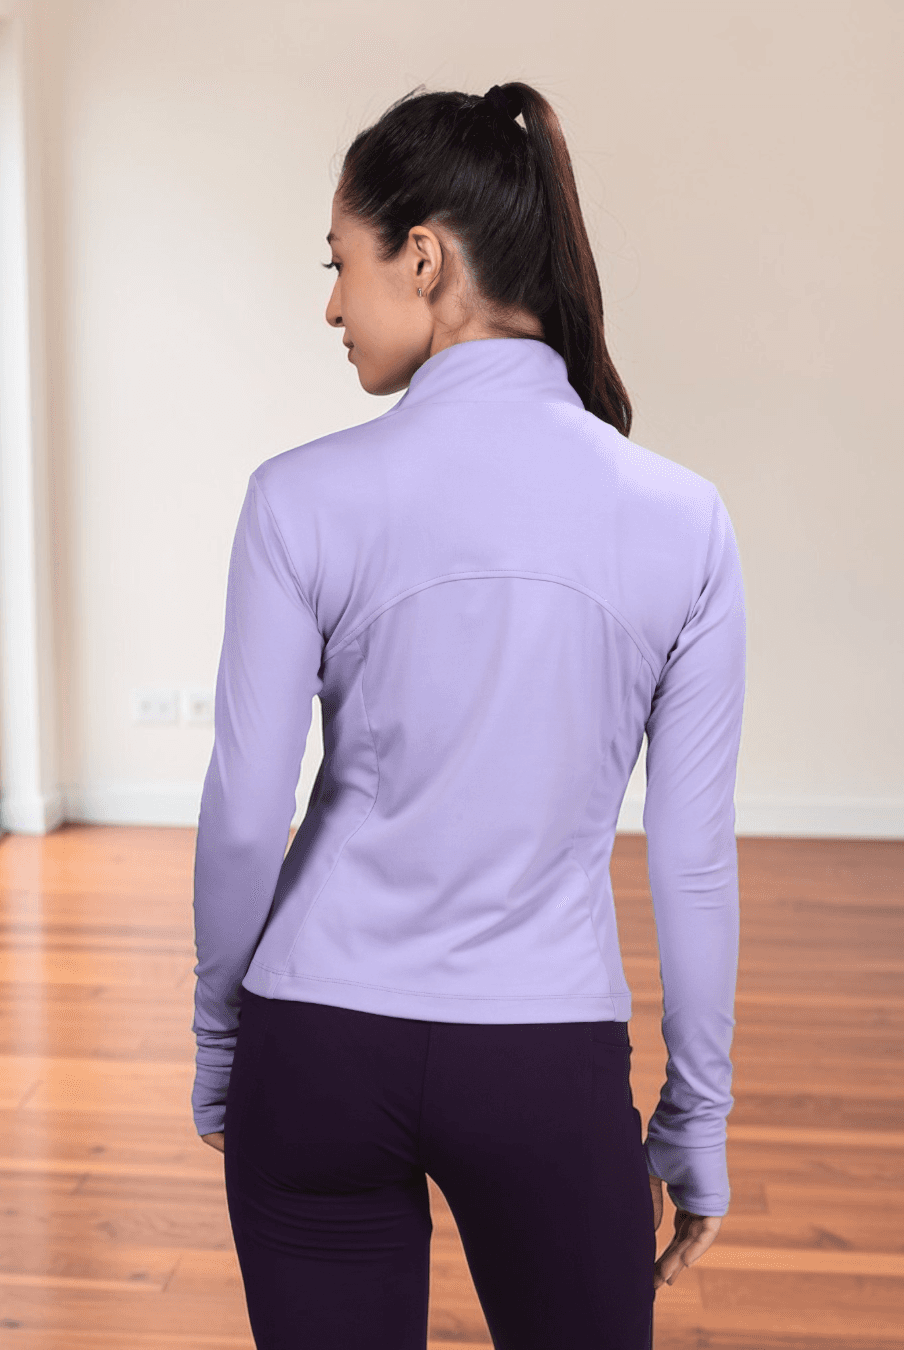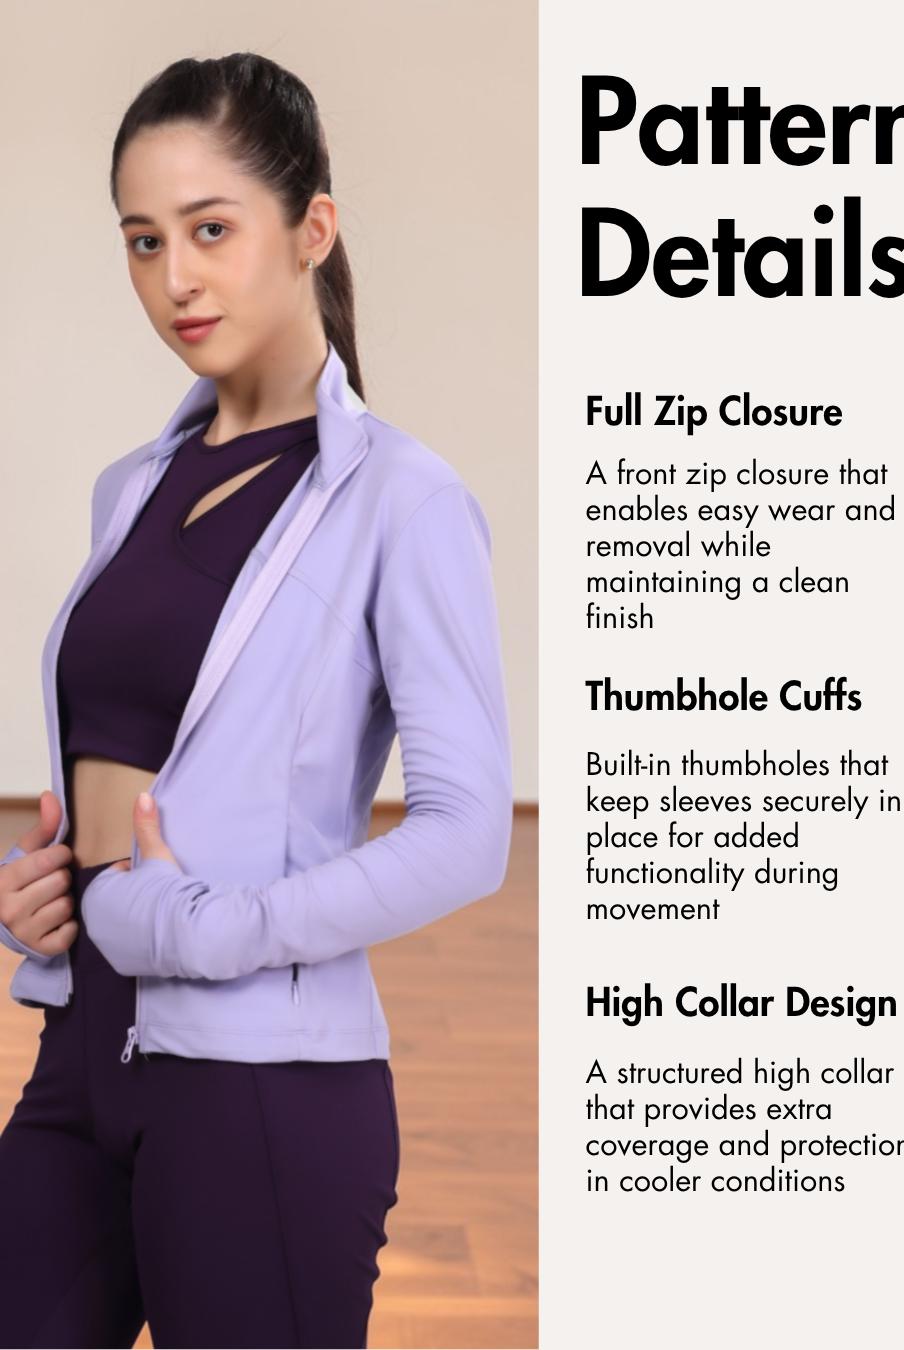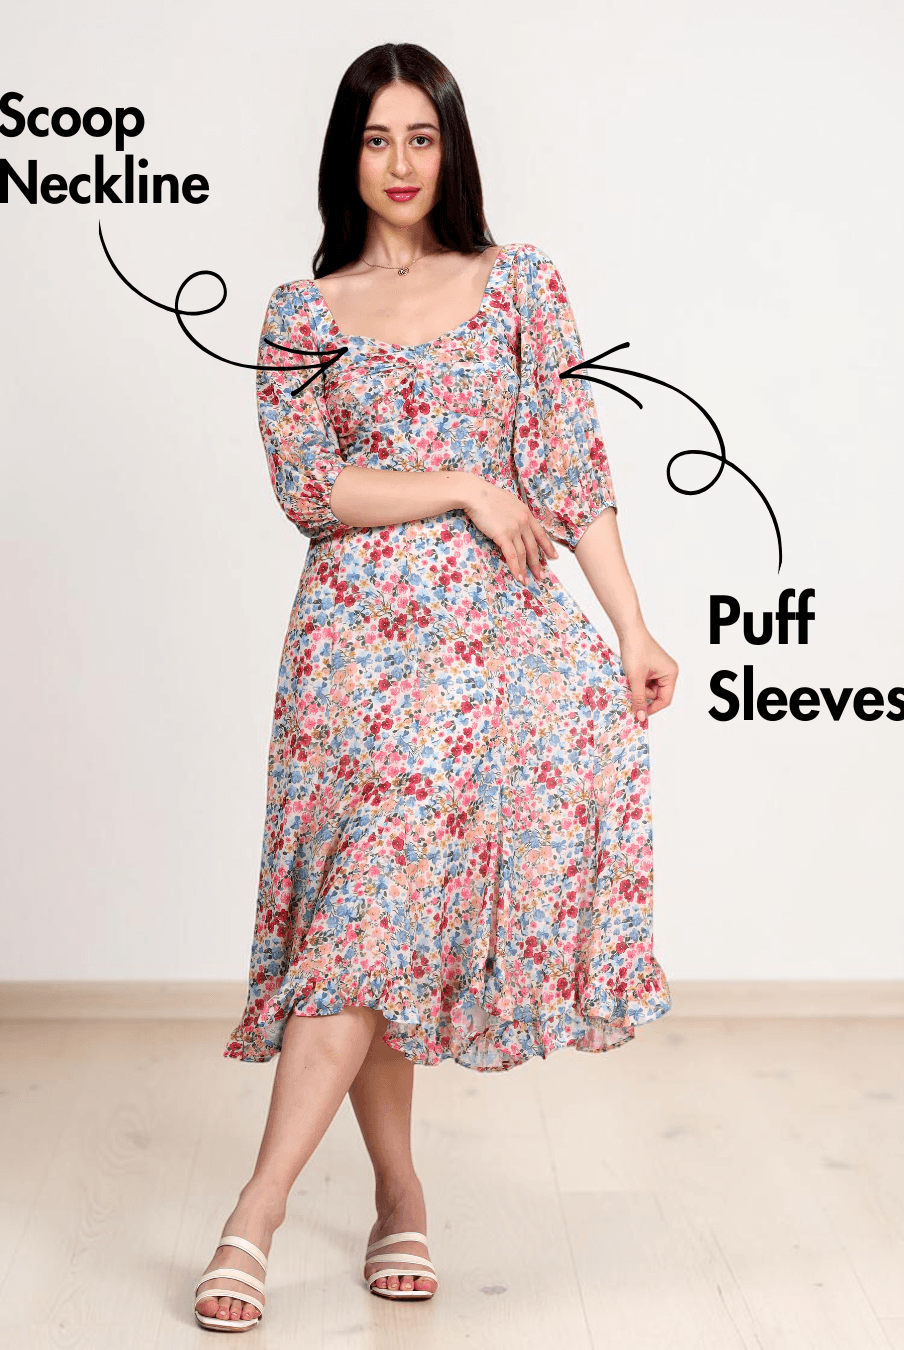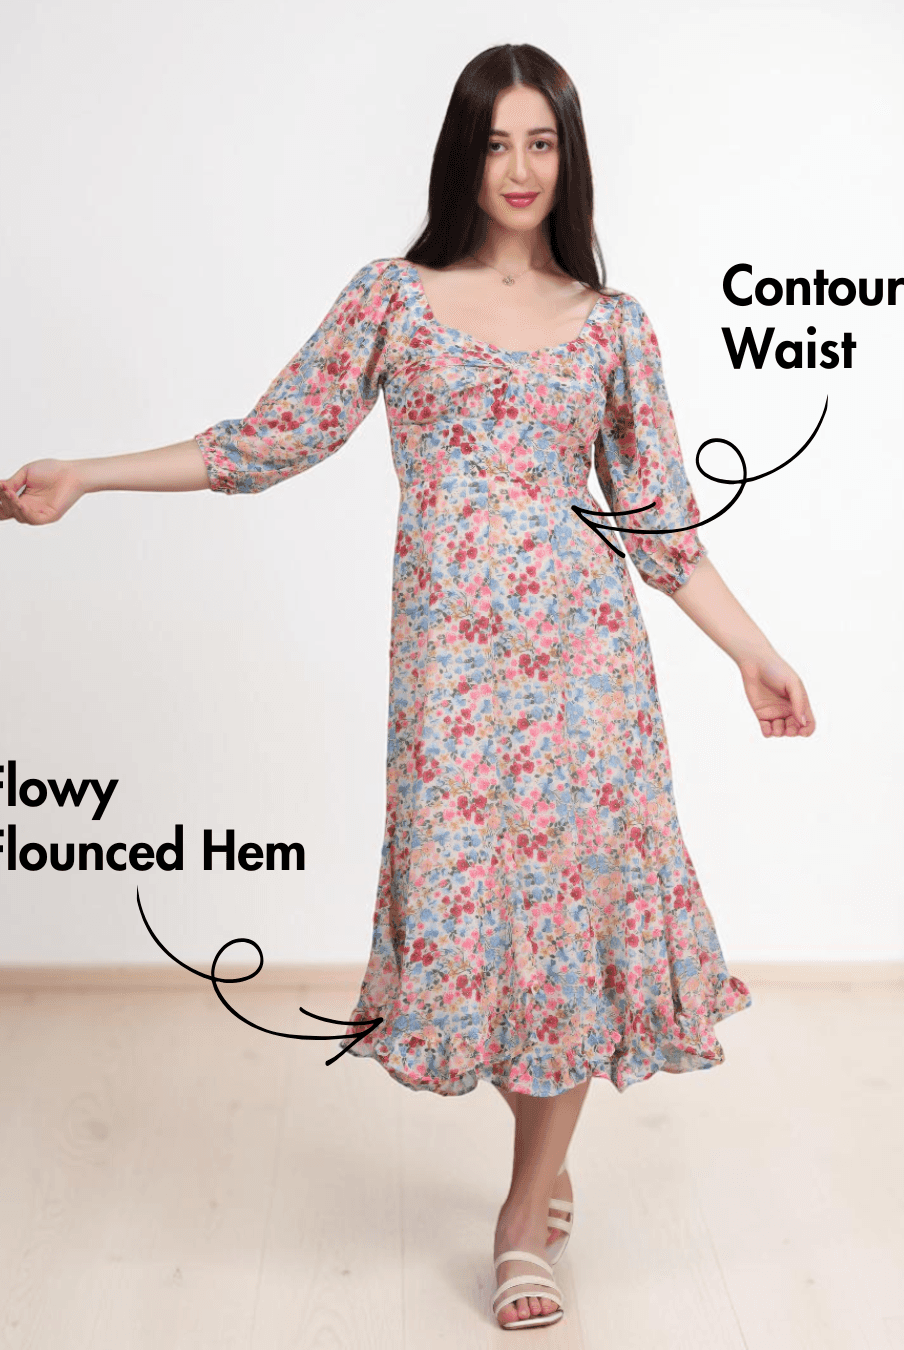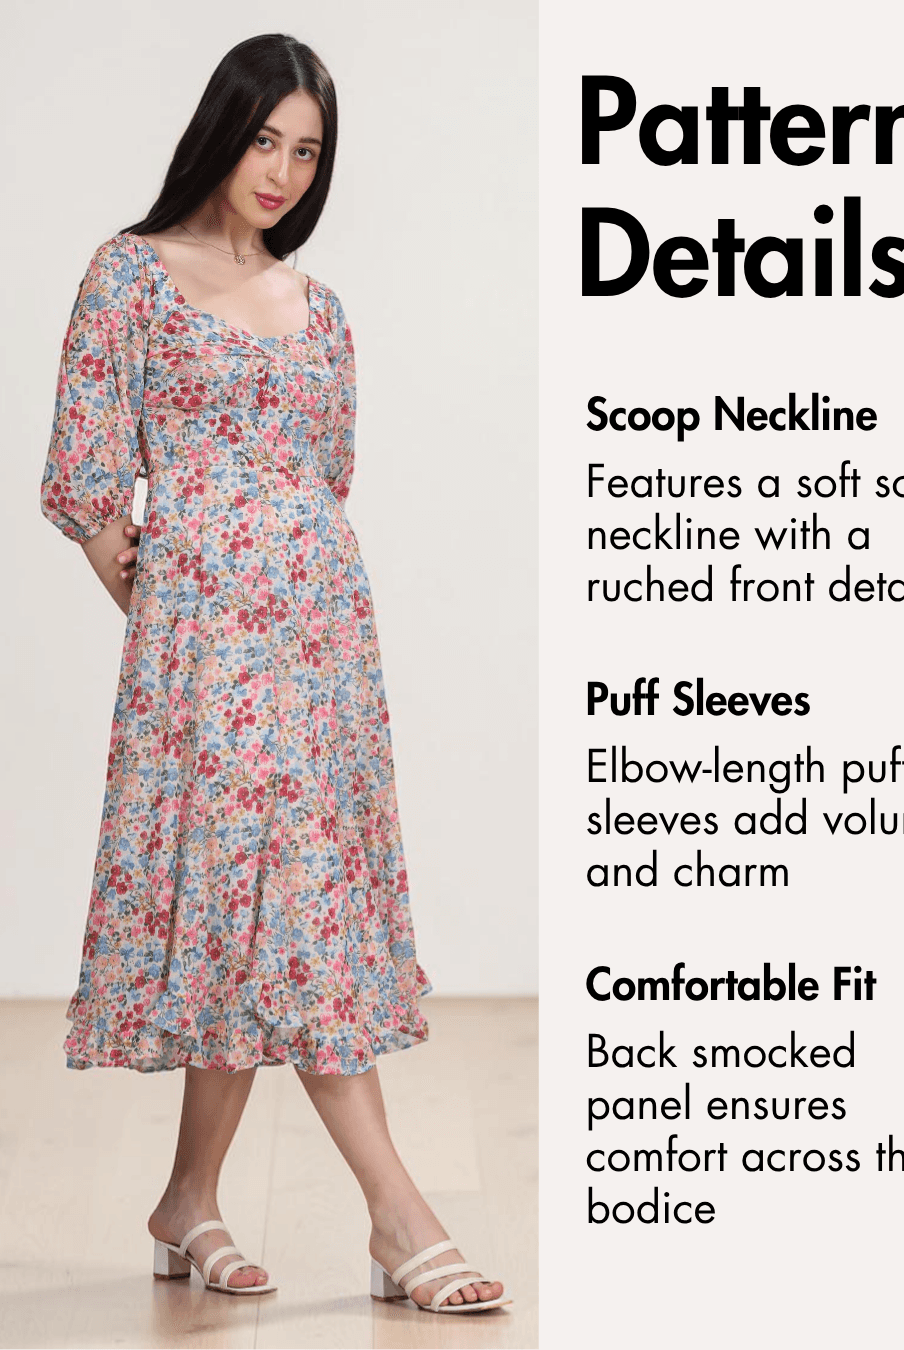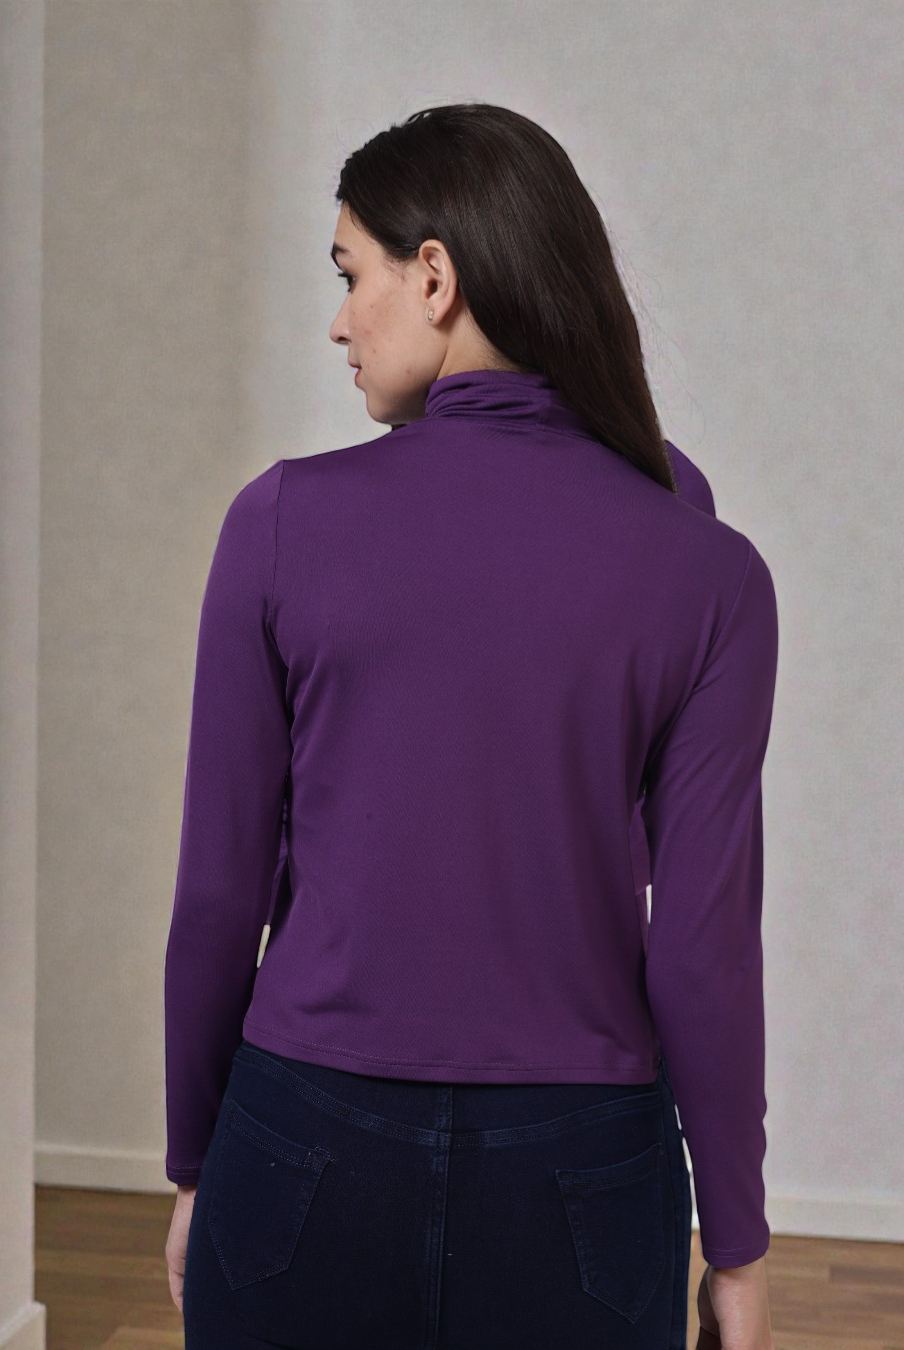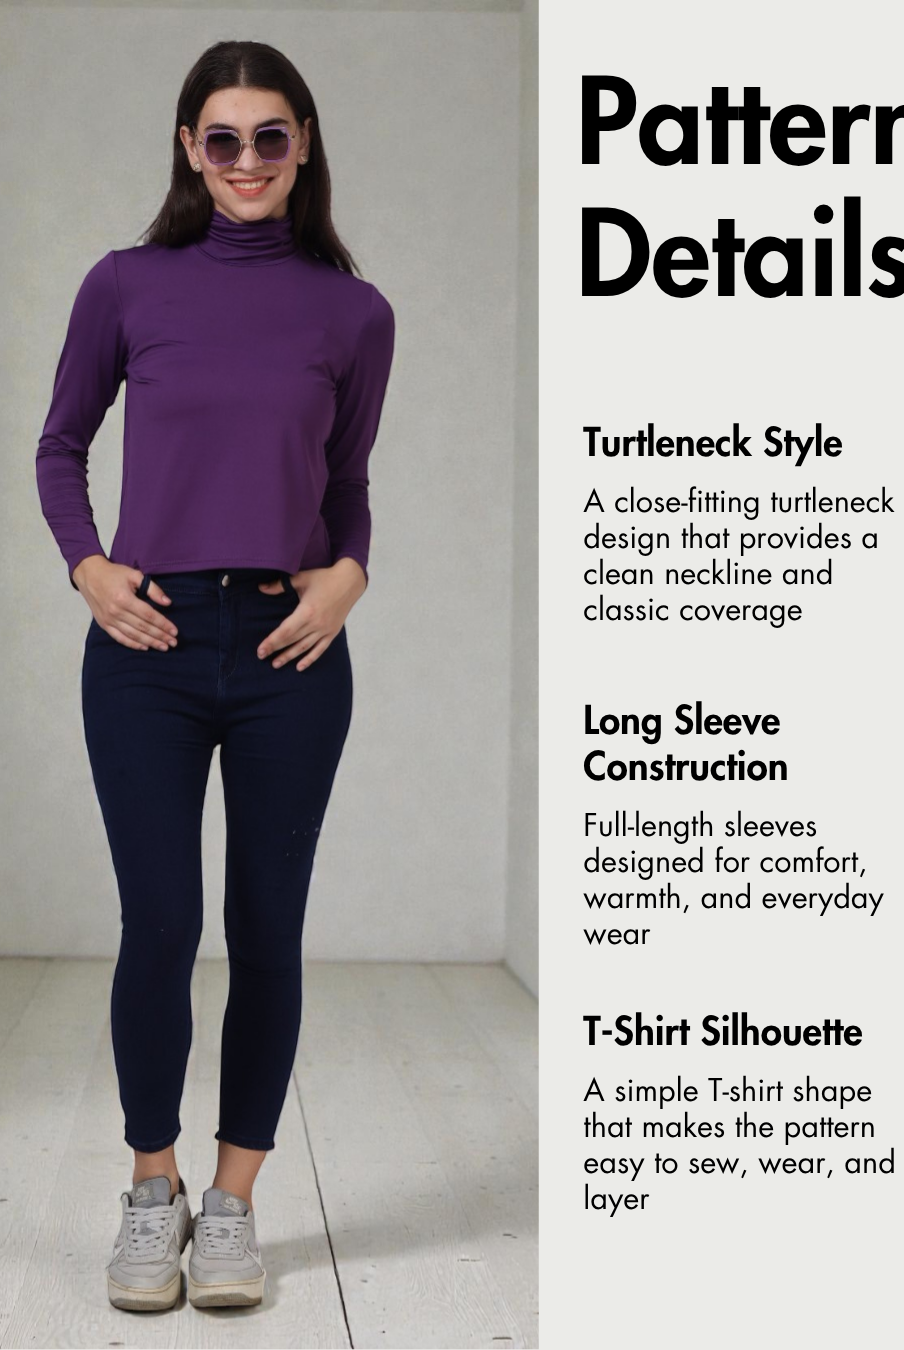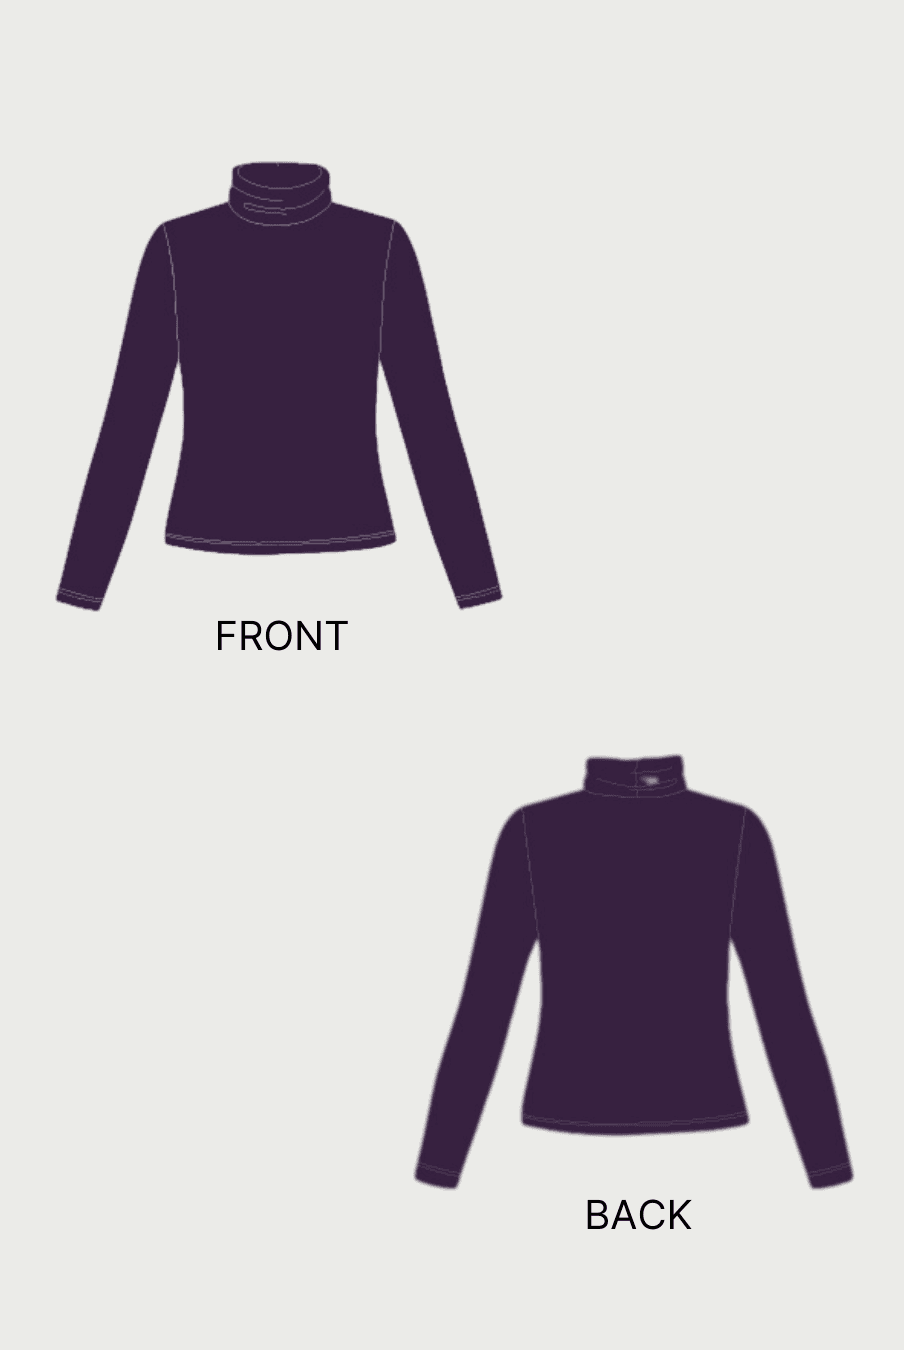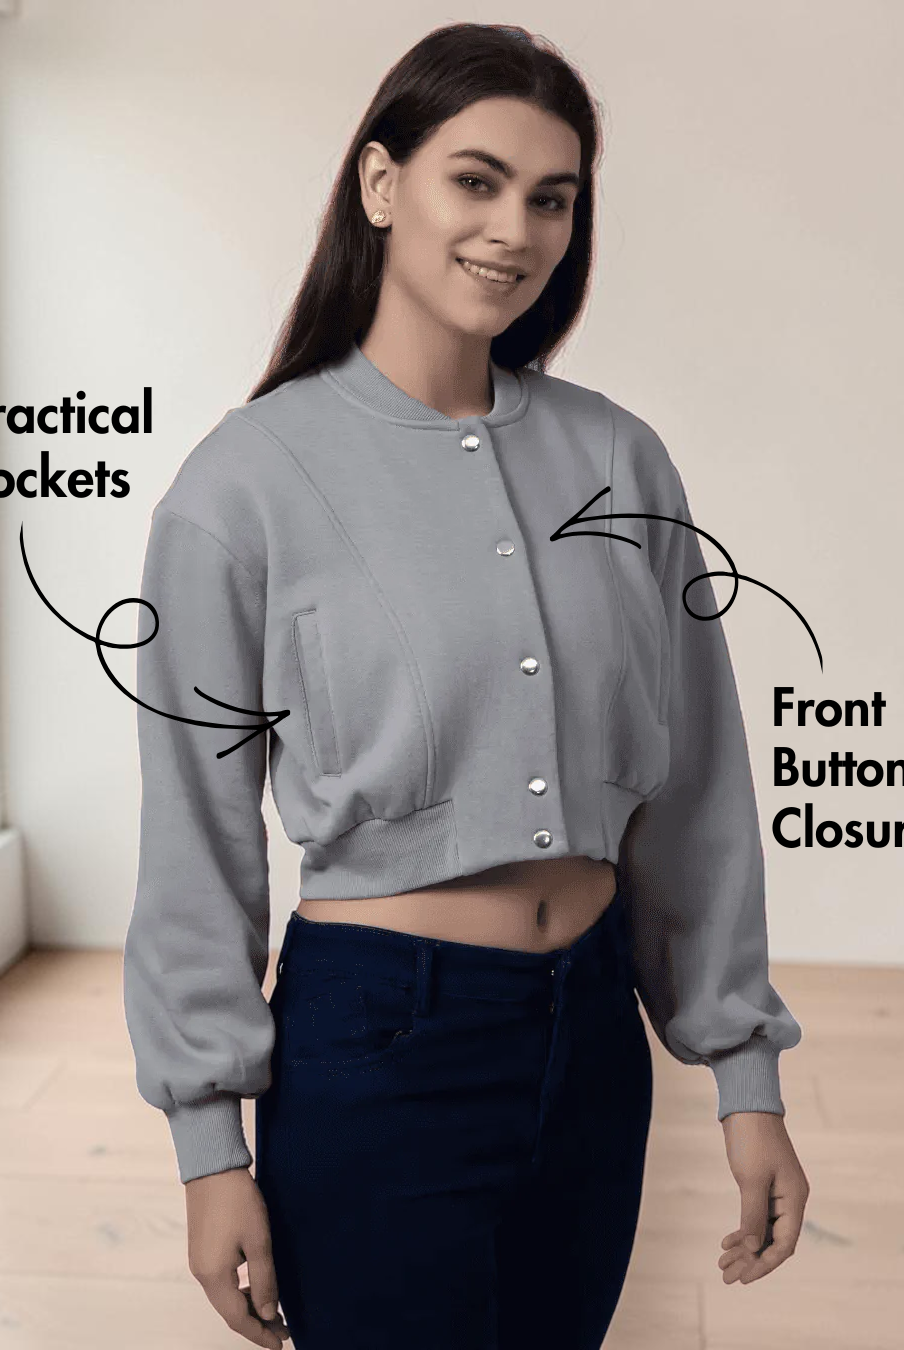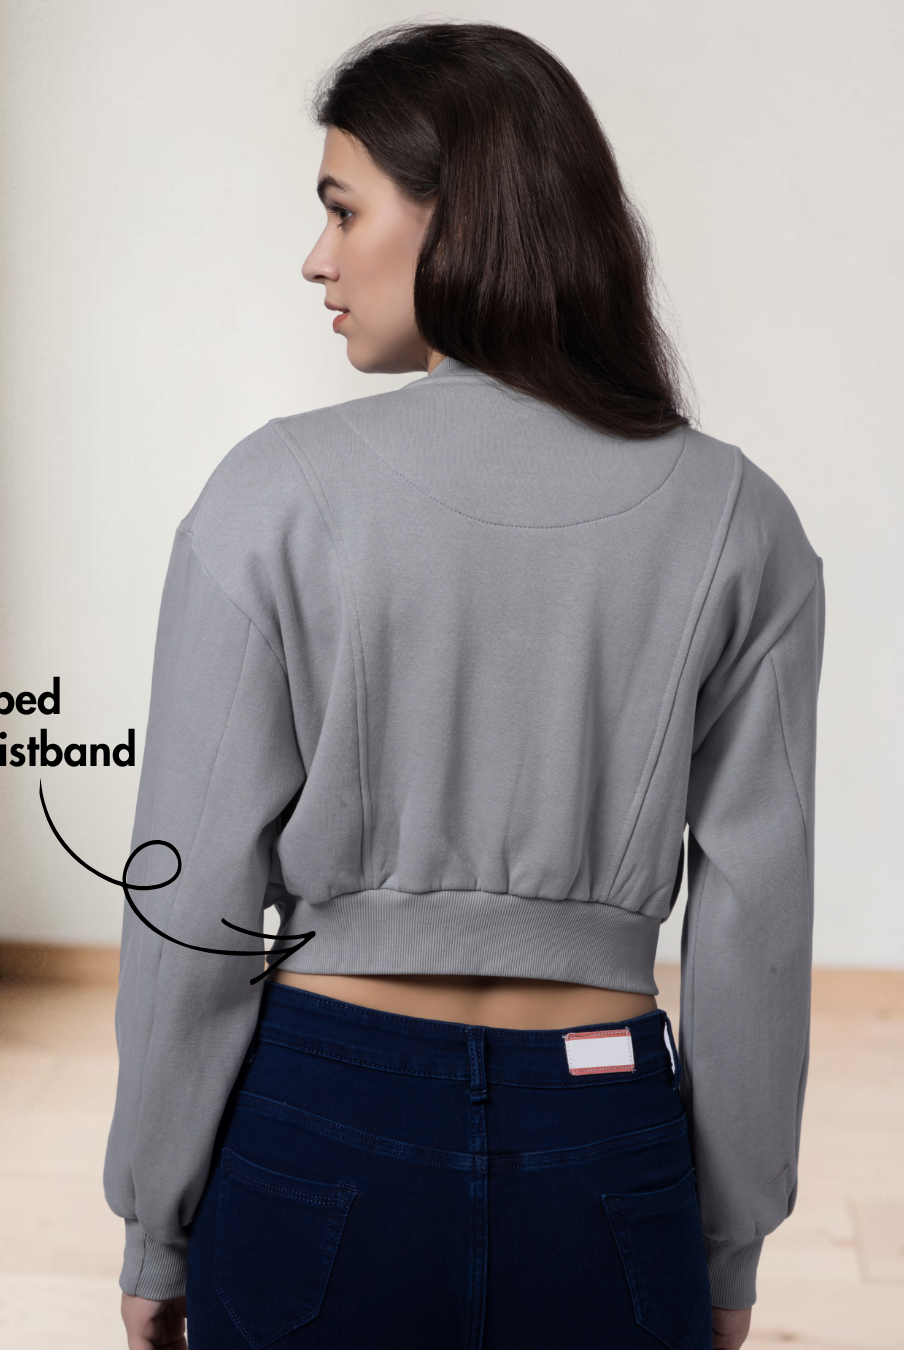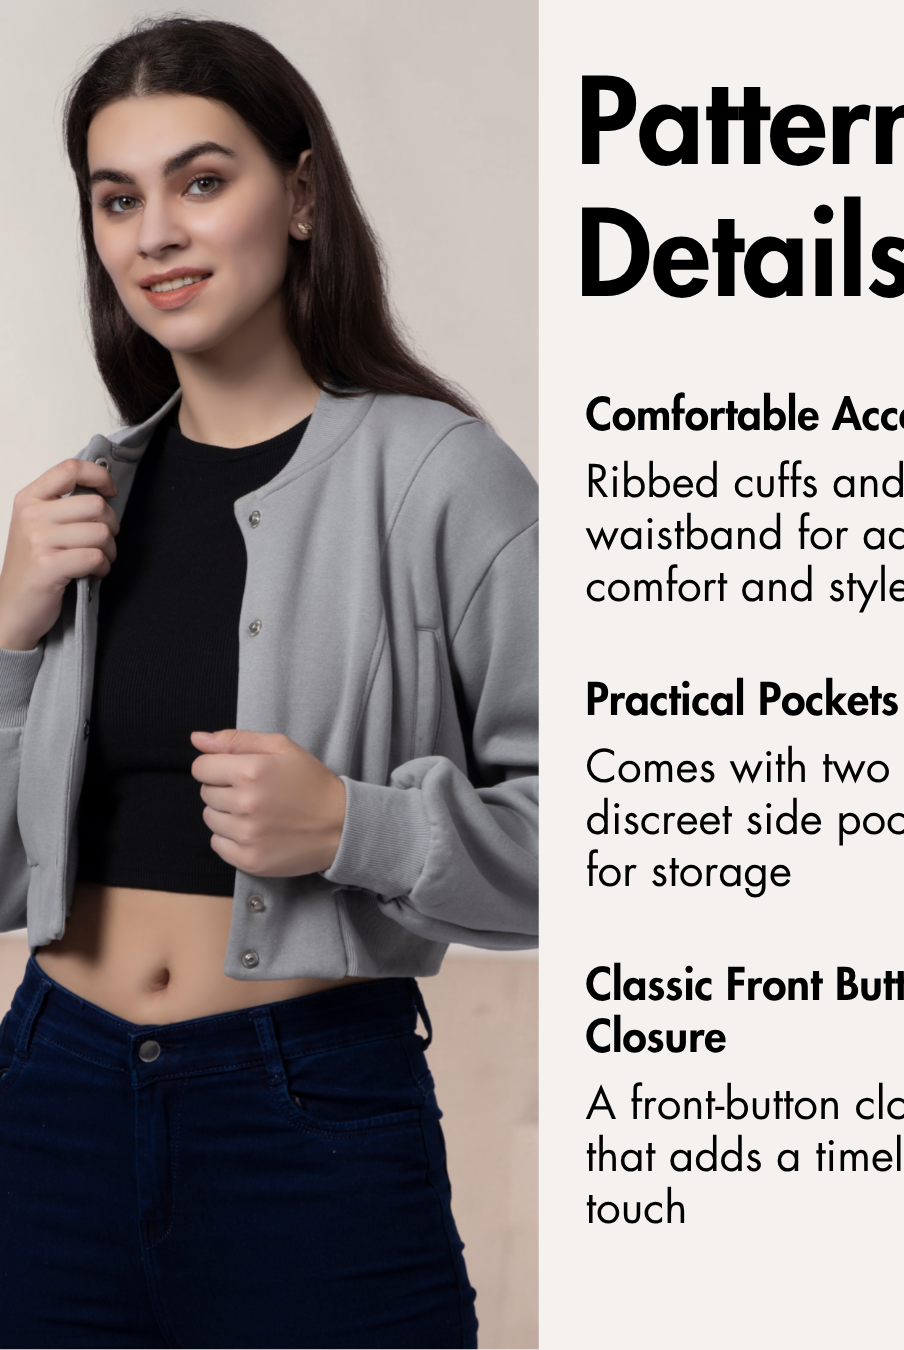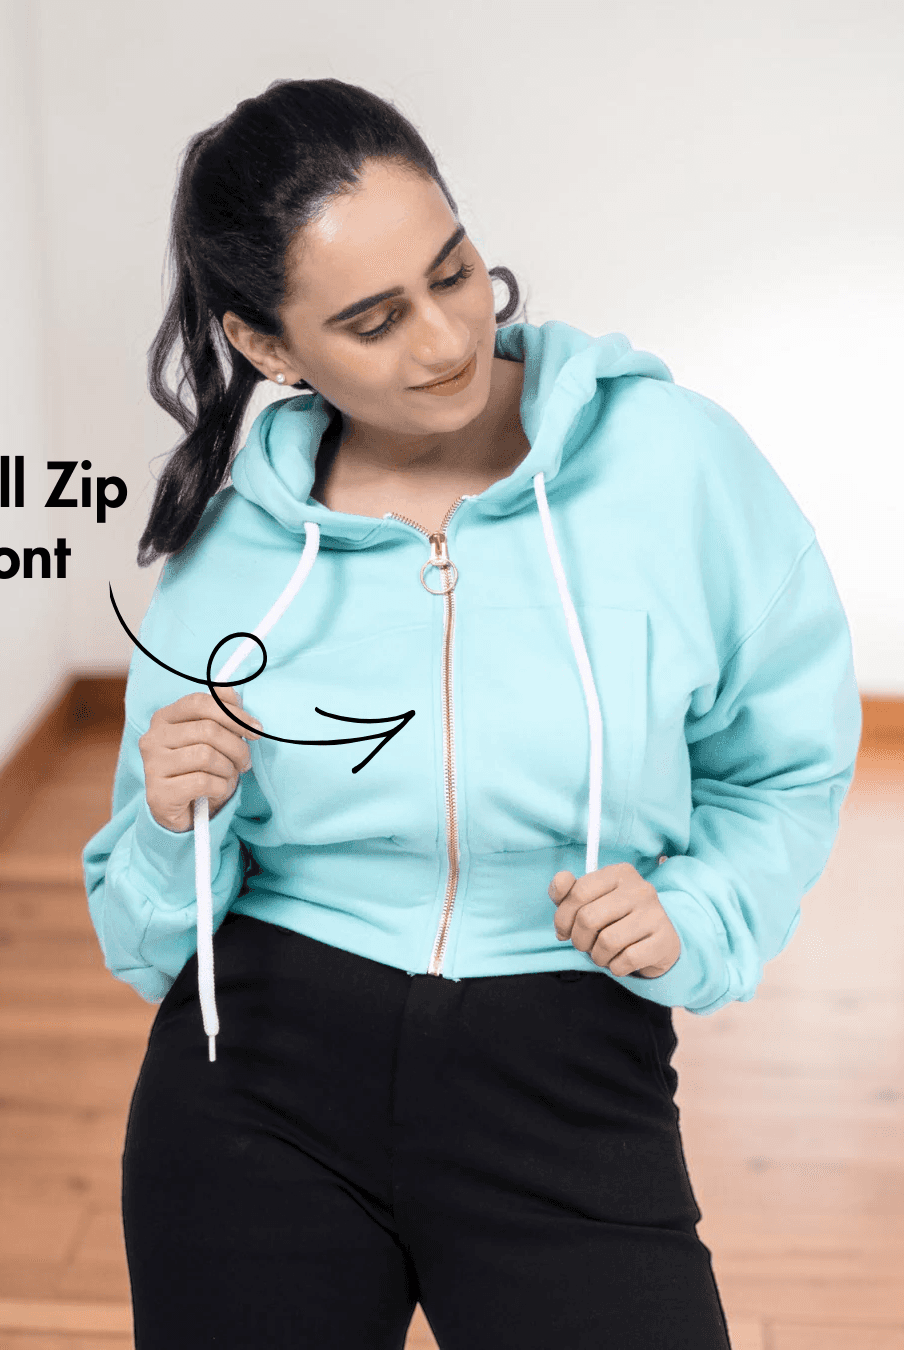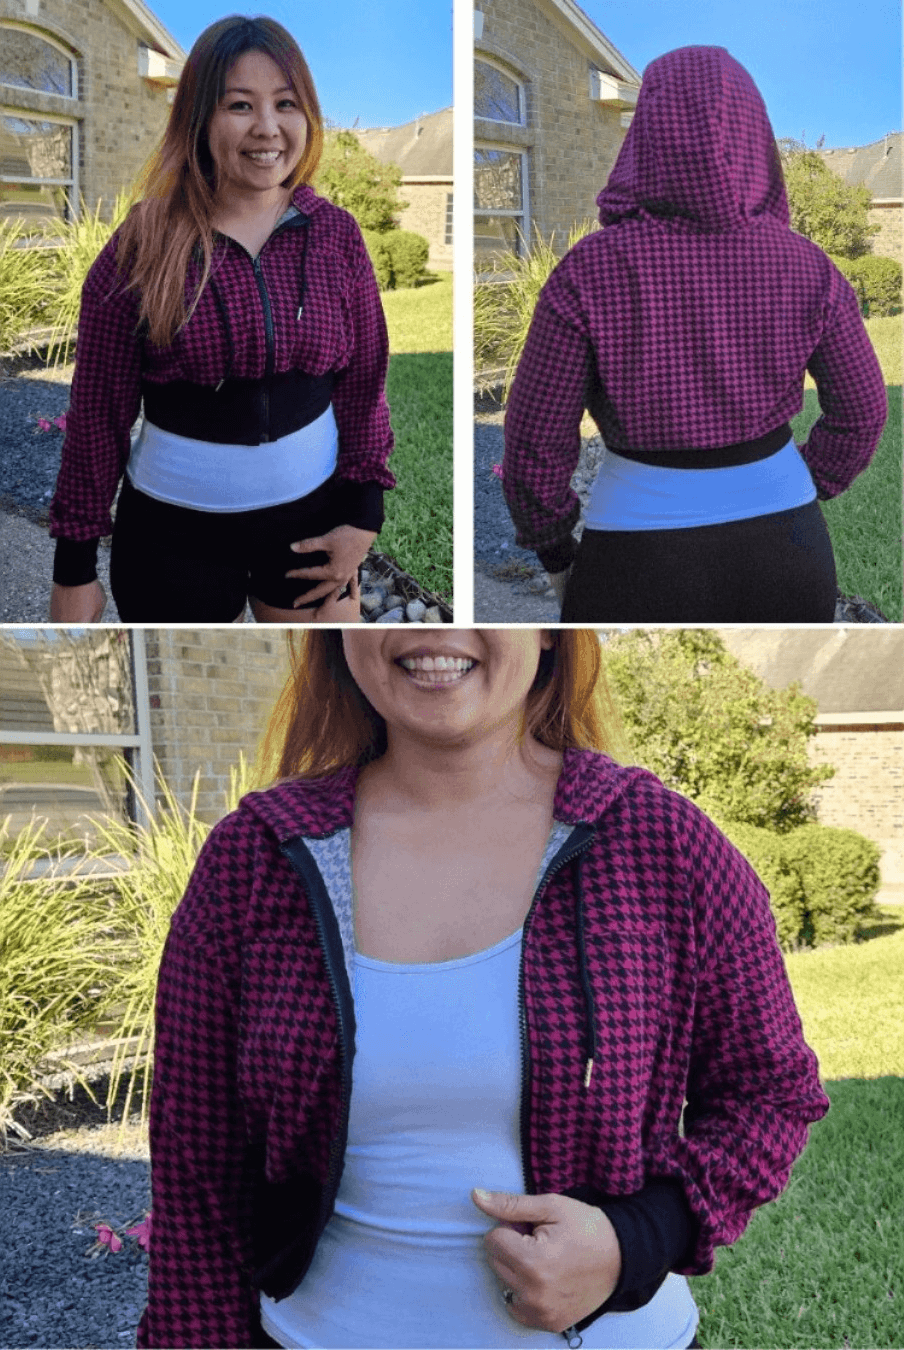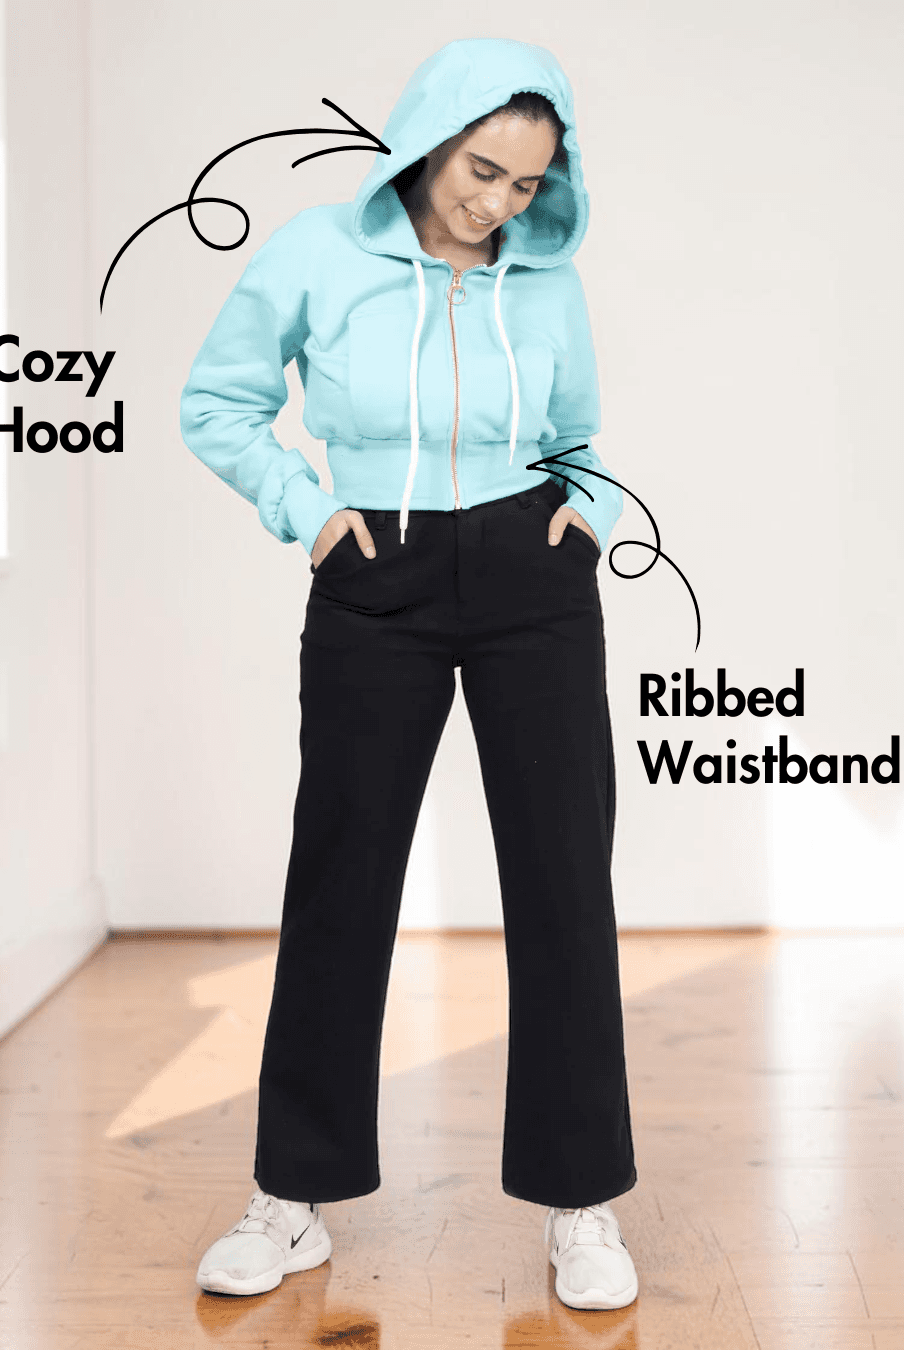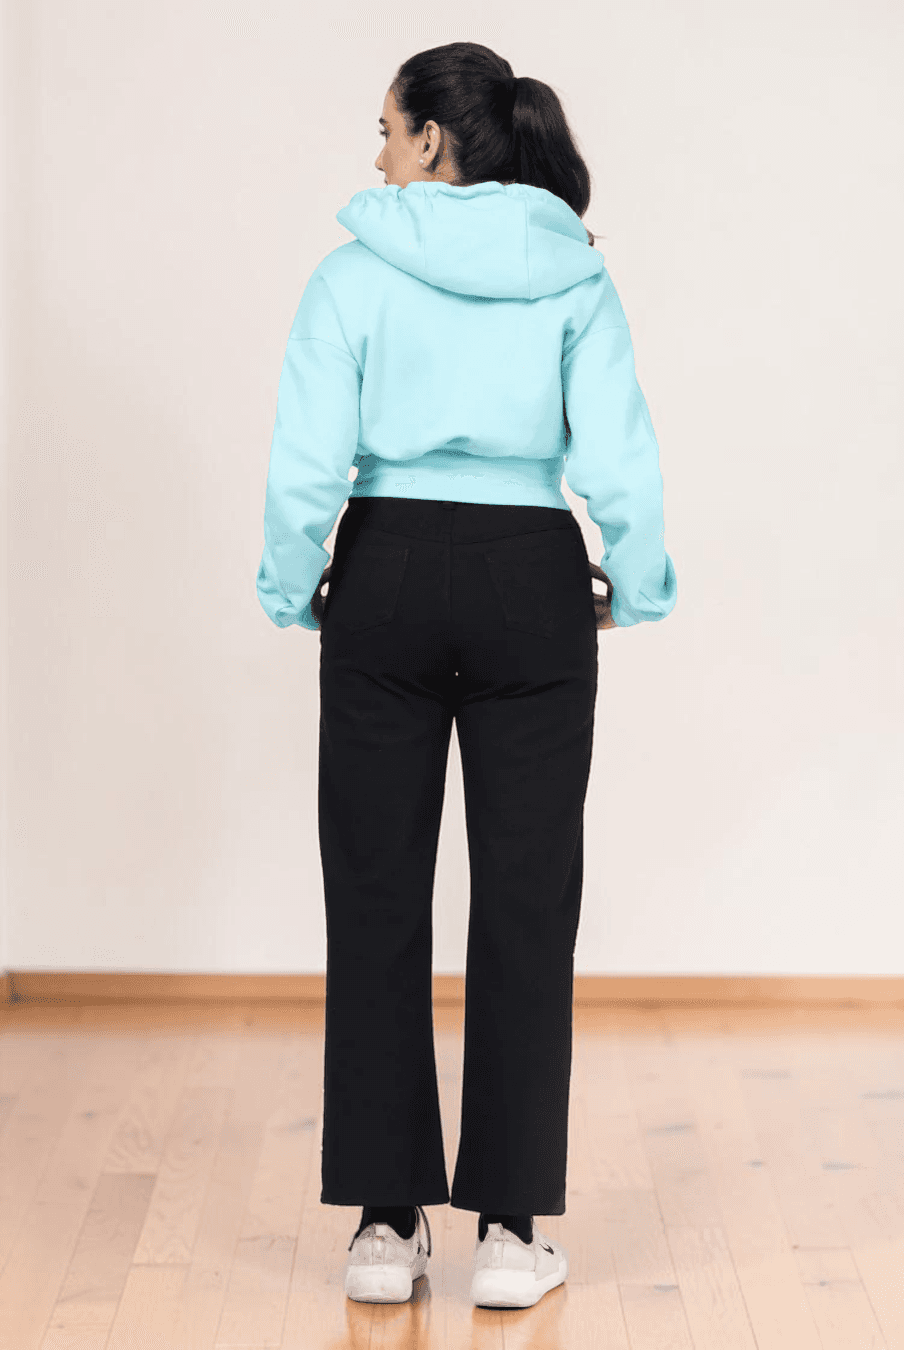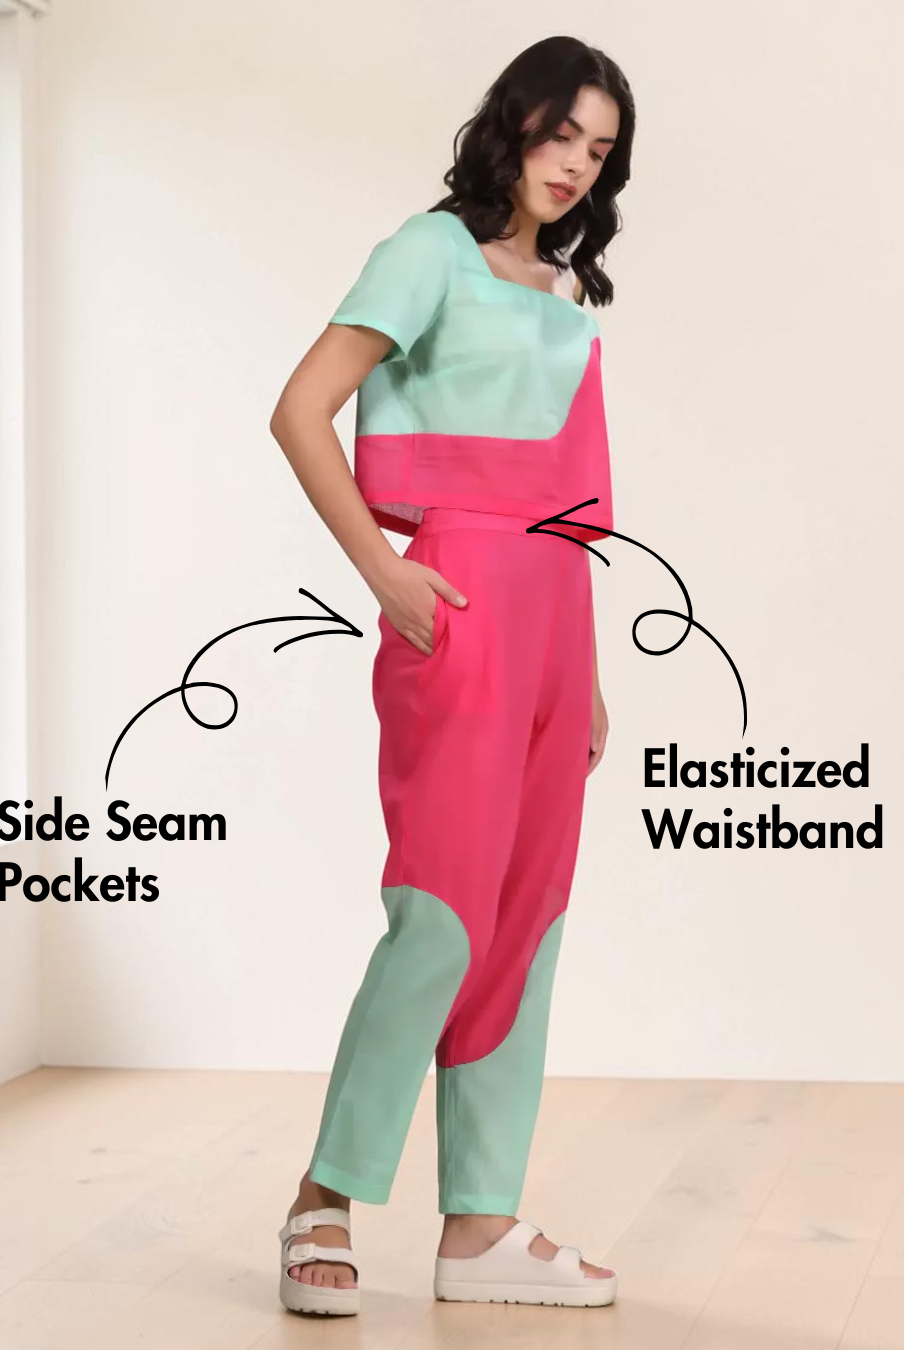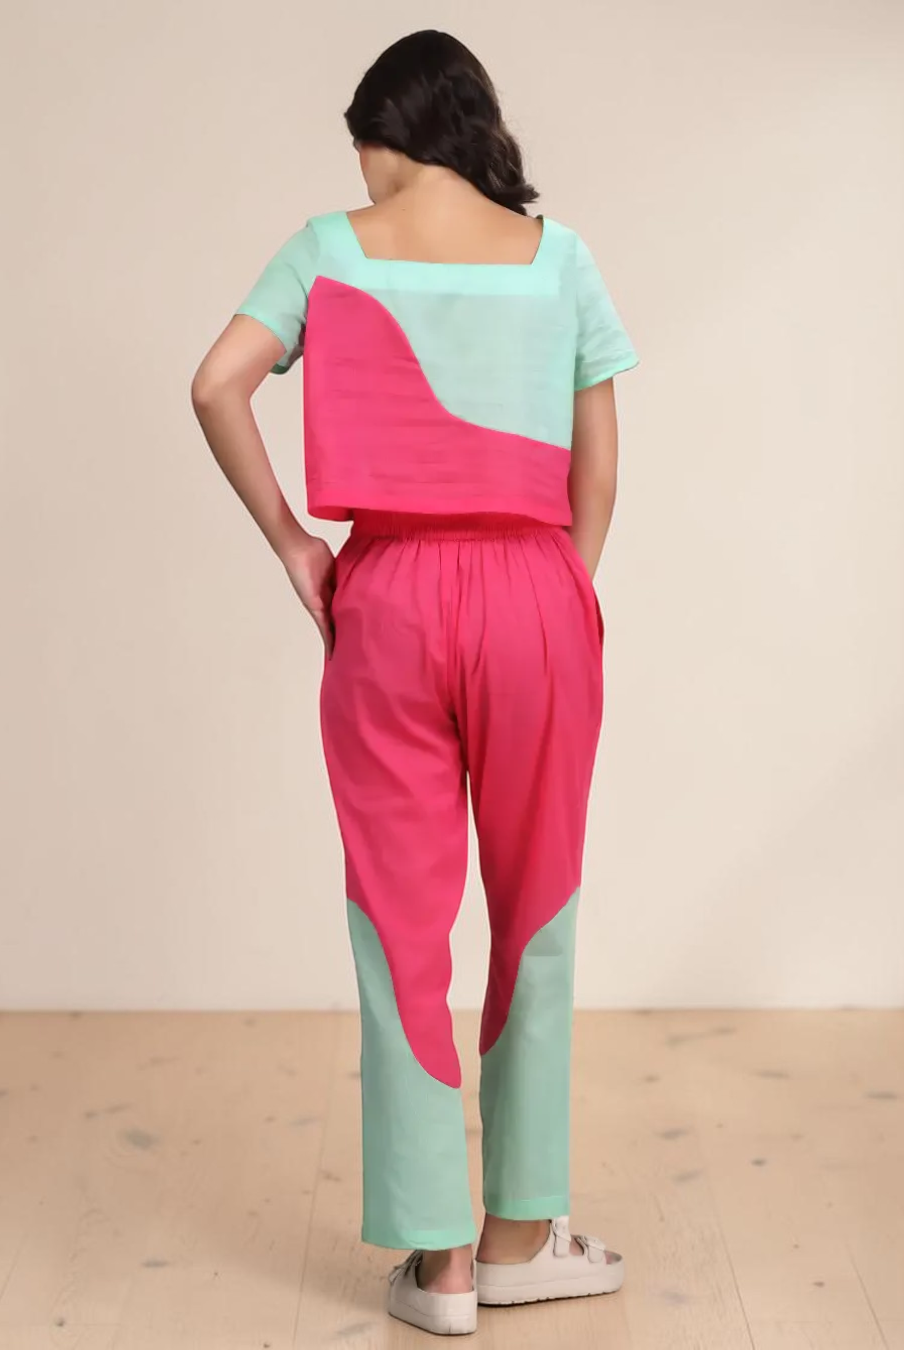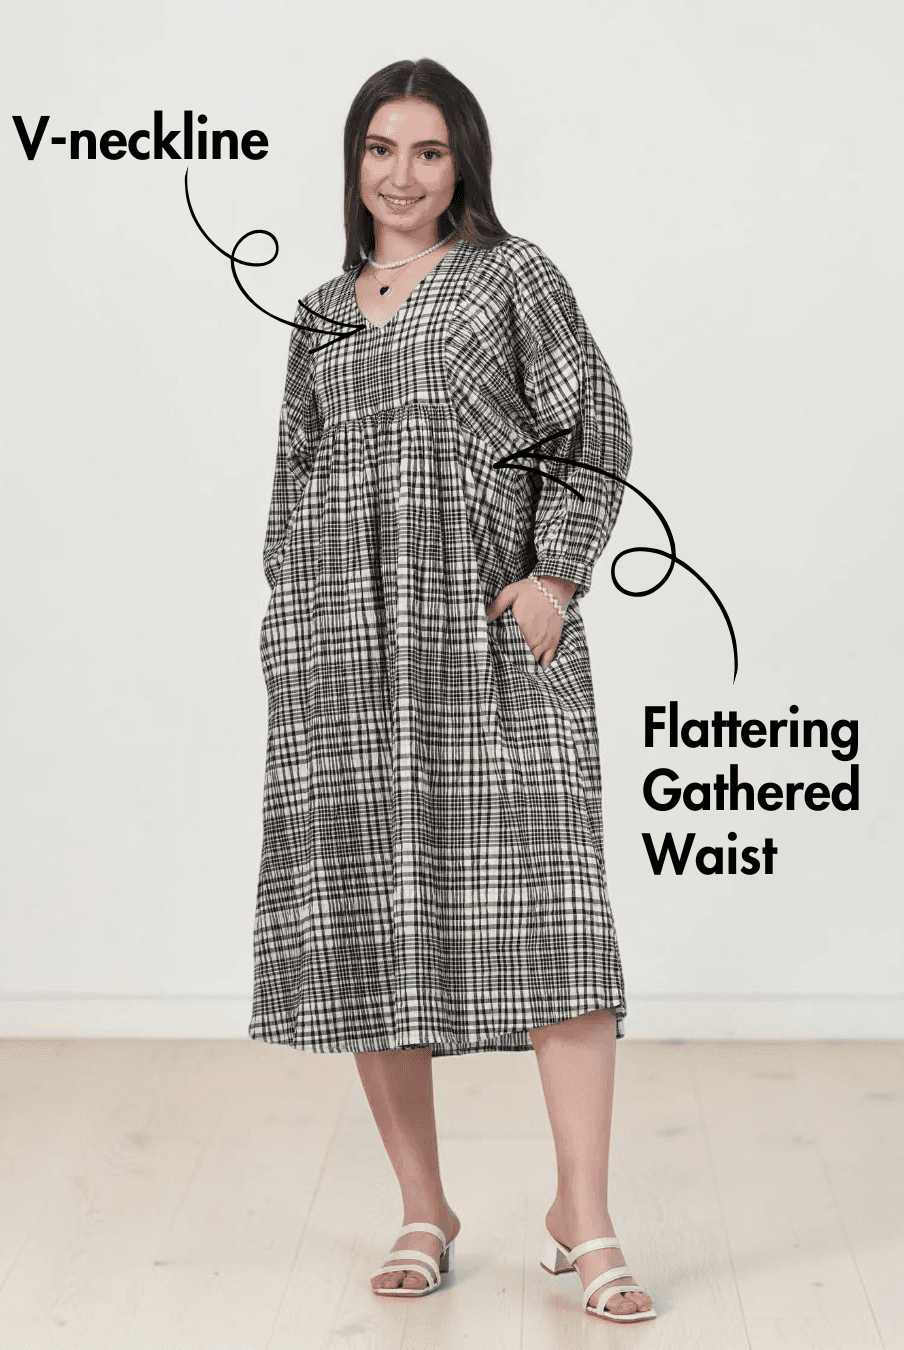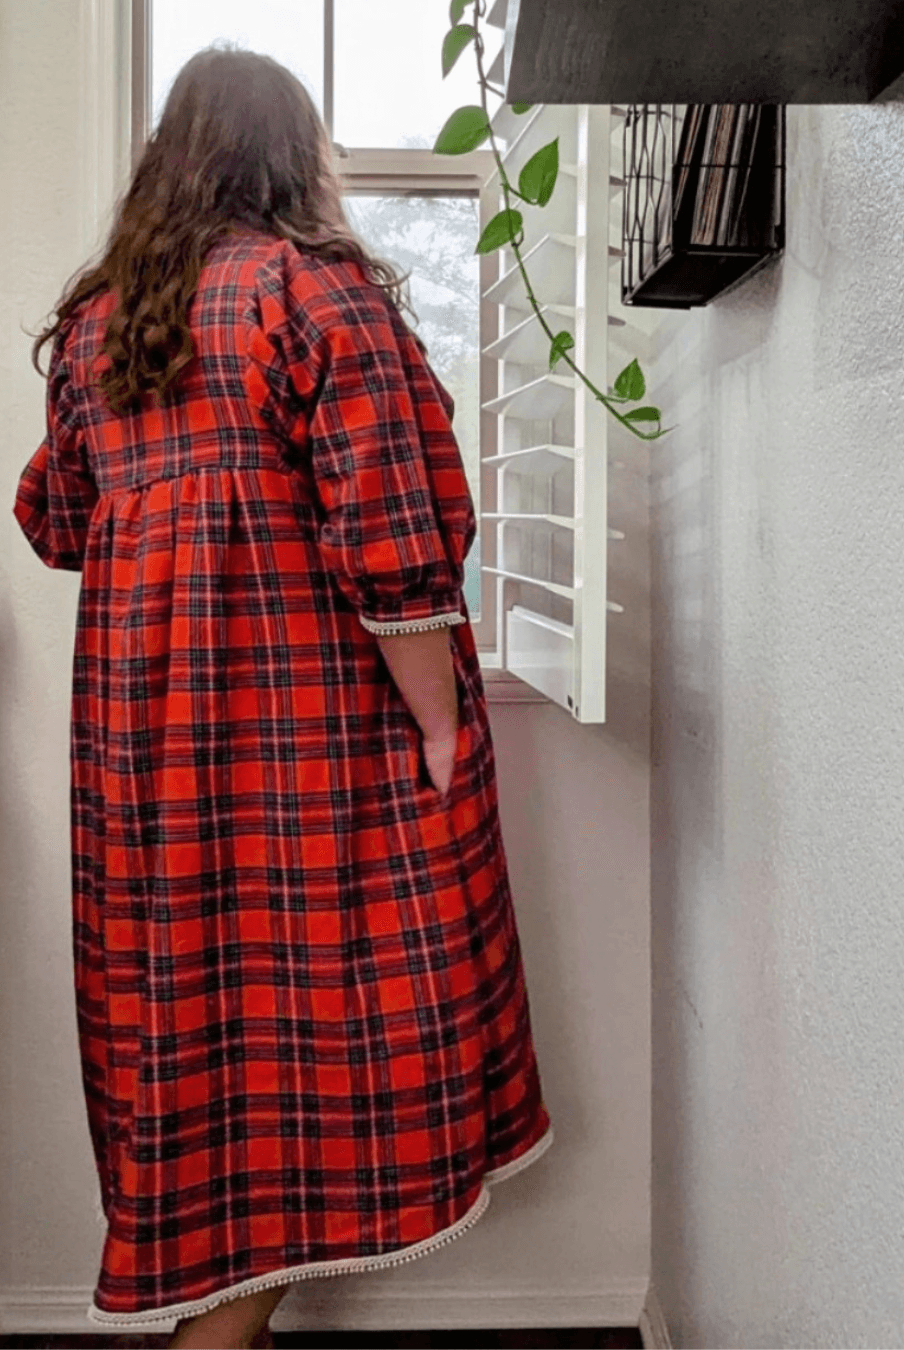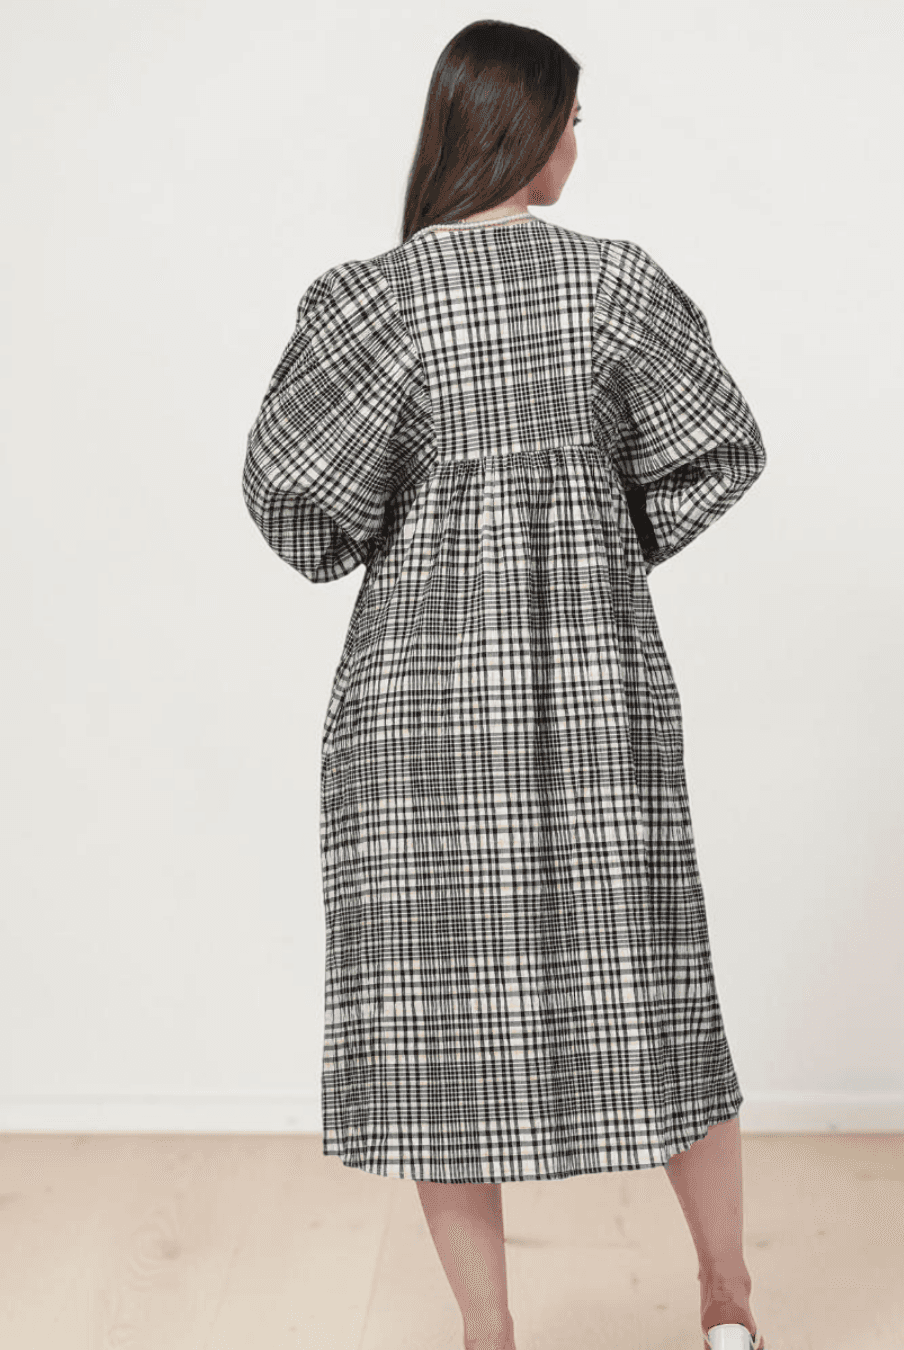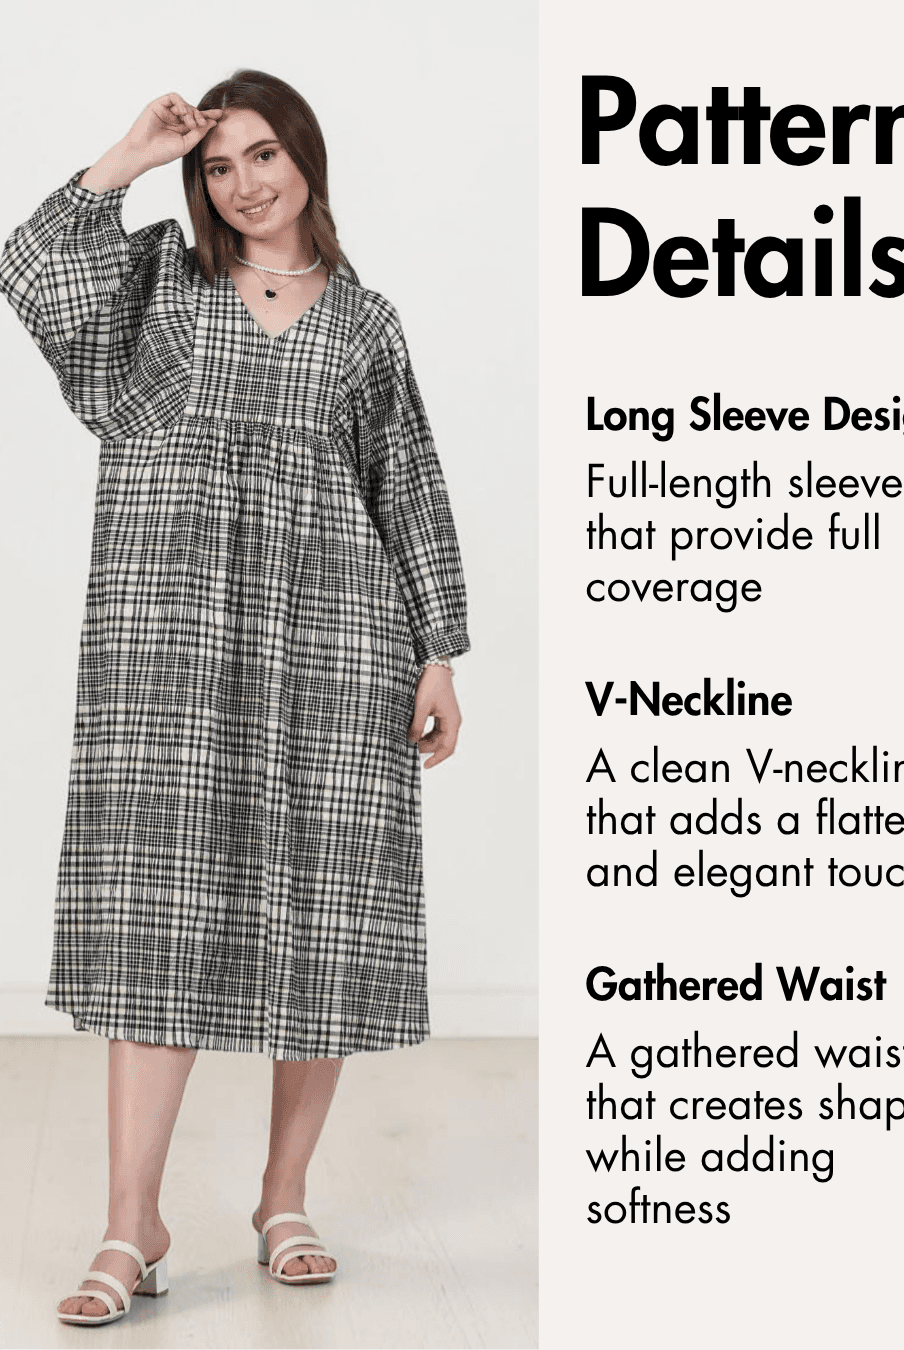
A peplum top is a timeless wardrobe staple that combines a fitted bodice with a softly flared waist for a flattering silhouette. Whether paired with jeans, tailored trousers, or skirts, it's a versatile garment that works for both casual outings and dressier occasions. Sewing your own peplum top also gives you the freedom to choose fabrics and finishes that reflect your personal style.
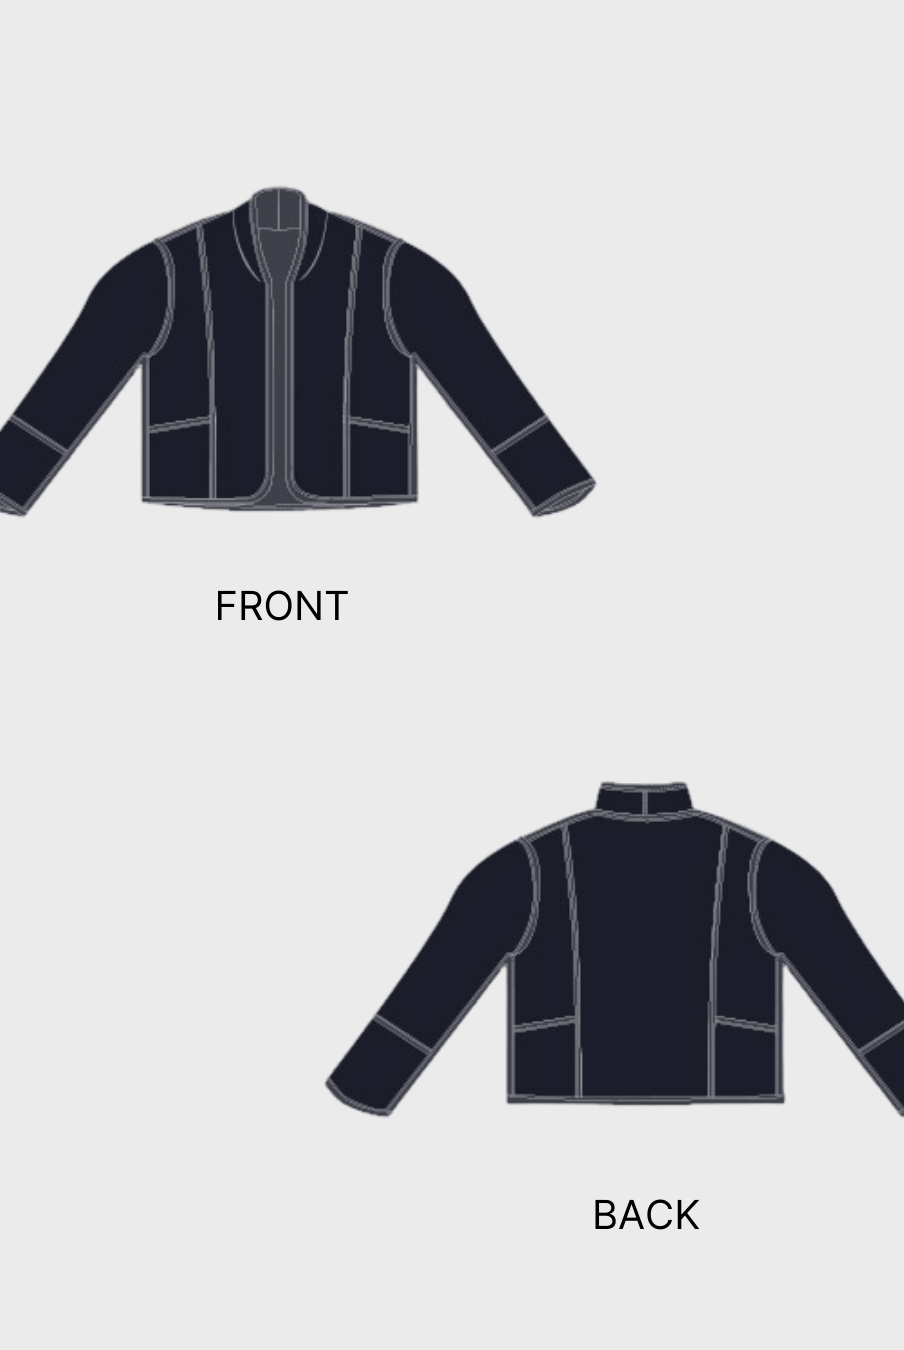
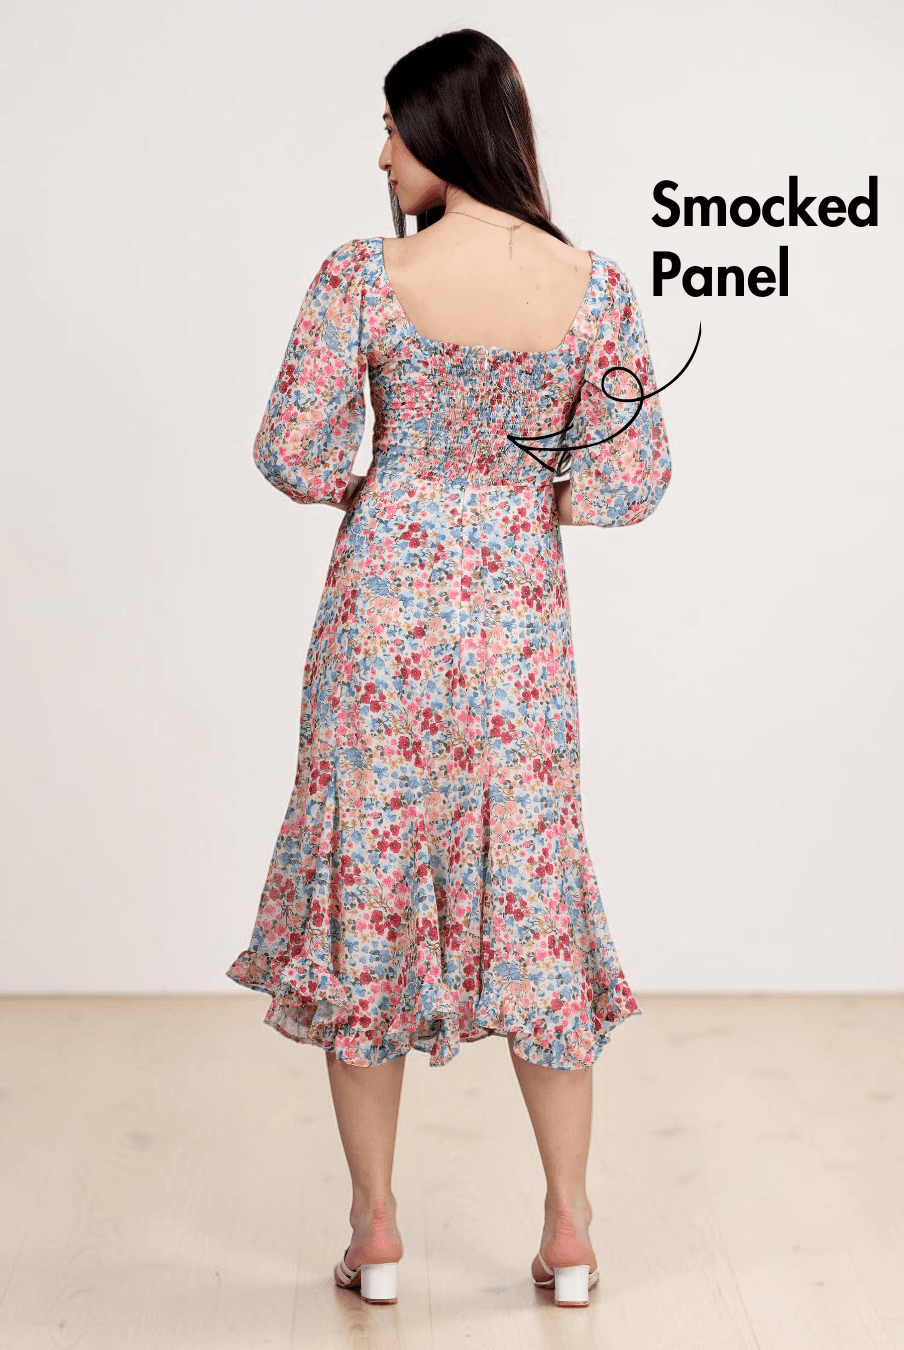
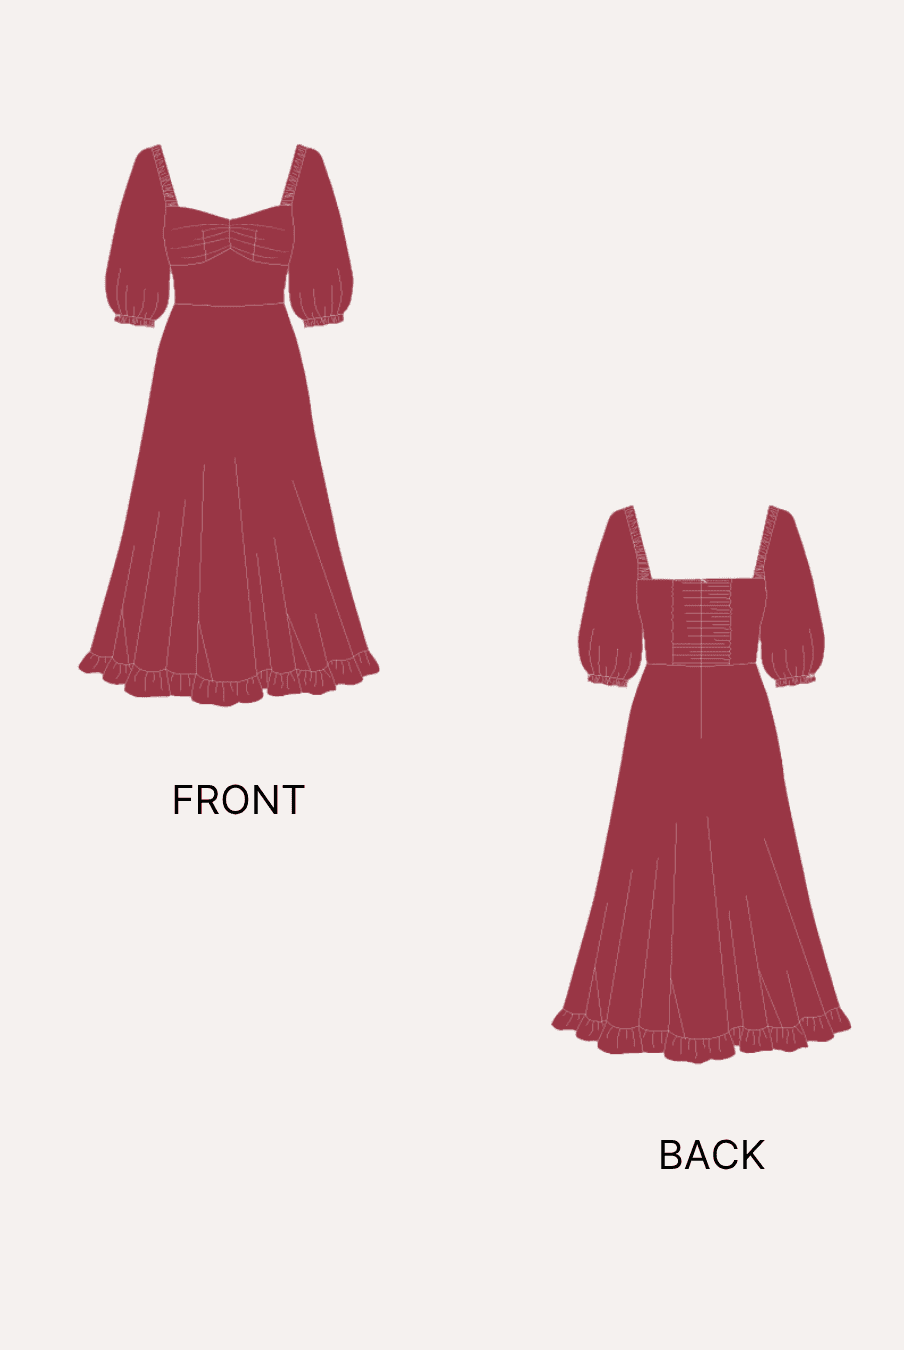
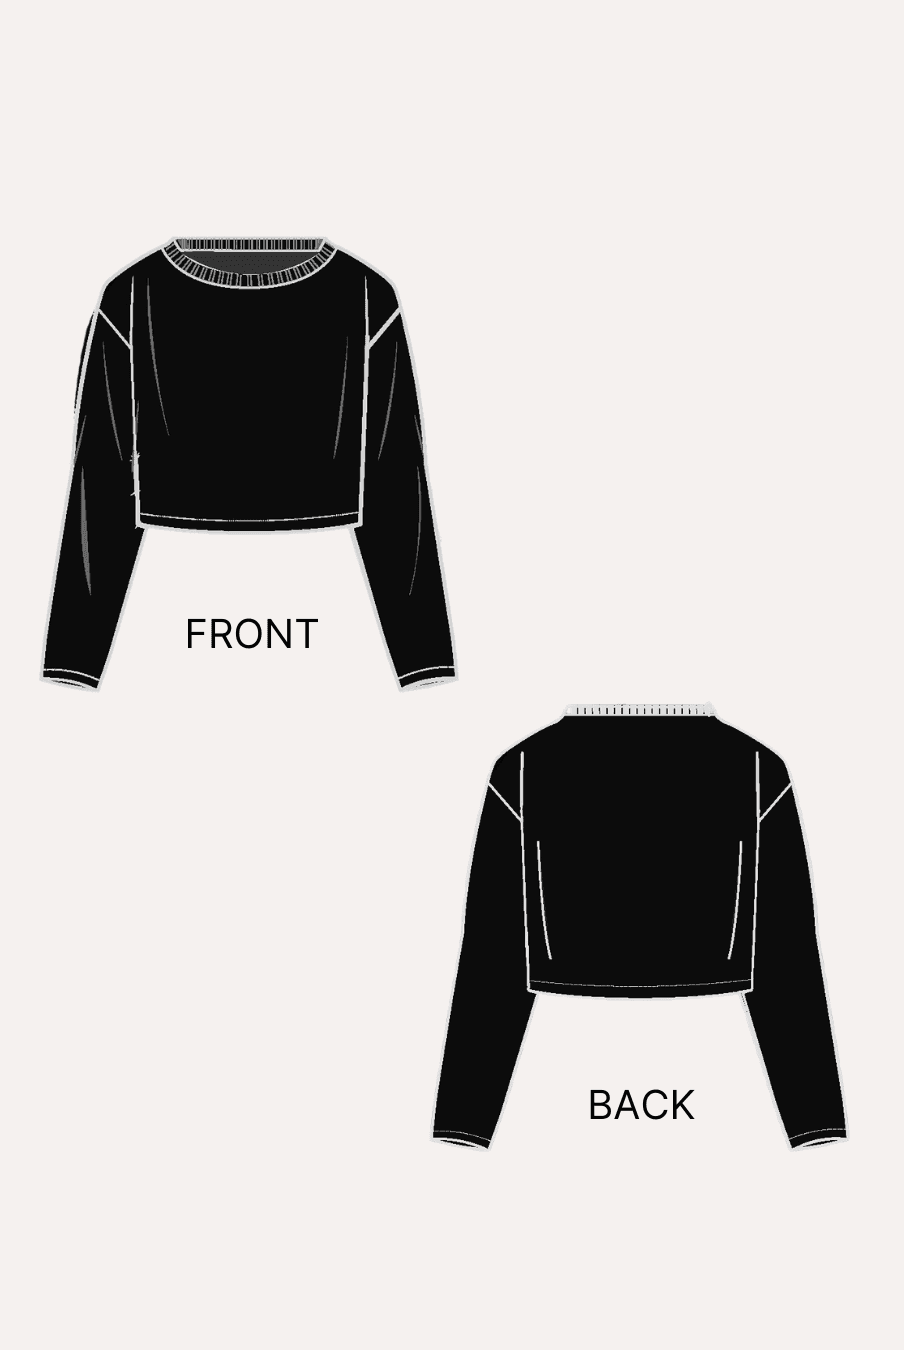
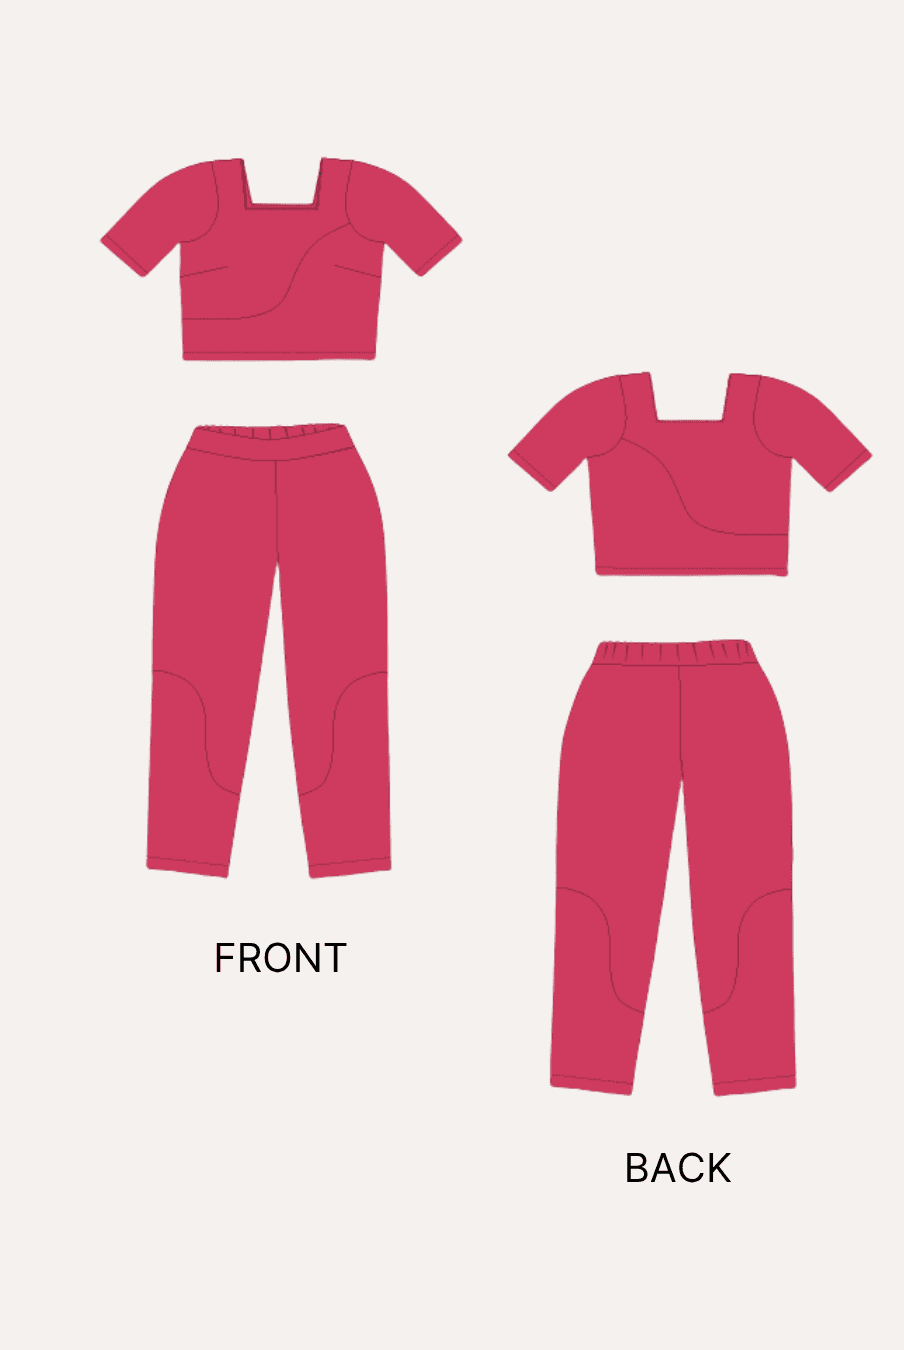
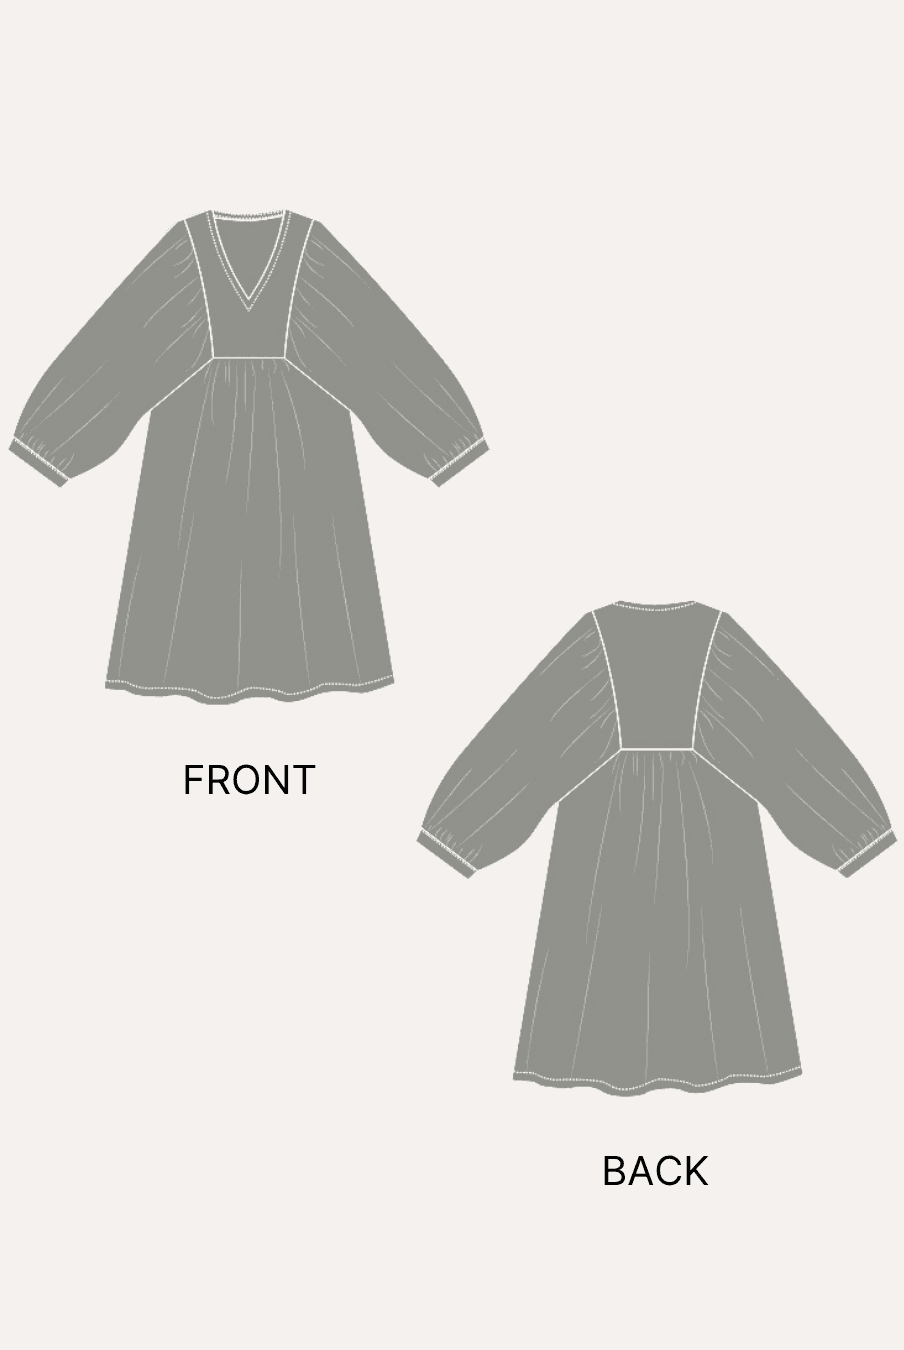
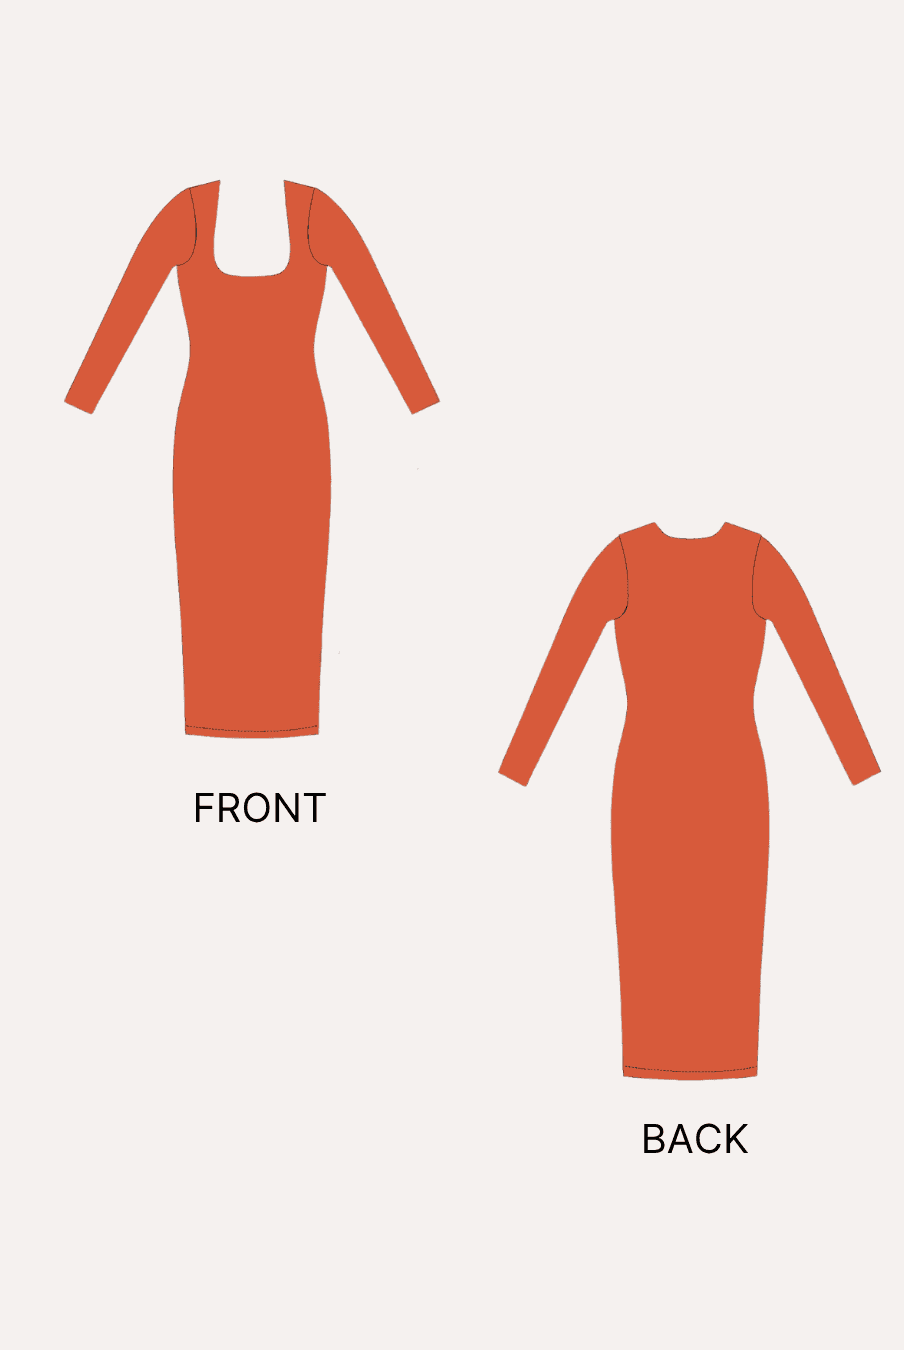
The Winslet's Reese Peplum Top Sewing Pattern is a rewarding intermediate project that combines elegant details with practical sewing techniques. Featuring a square neckline, puff long sleeves, a beautifully smocked back, and a gathered peplum hem, it's designed to help you create a polished garment with a comfortable fit.

Why Sew a Peplum Top?
- Create a flattering silhouette with a fitted bodice and softly gathered peplum hem.
- Learn useful techniques such as shirring, gathering, pleats, darts, and elastic casings.
- Sew a versatile top that pairs beautifully with jeans, skirts, shorts, or tailored pants.
- Enjoy elegant design details including a square neckline, puff long sleeves, and a comfortable smocked back.
- Customize your fabric choice to create everything from an everyday blouse to a dressier statement piece.
Why Choose the Winslet's Reese Peplum Top Sewing Pattern?

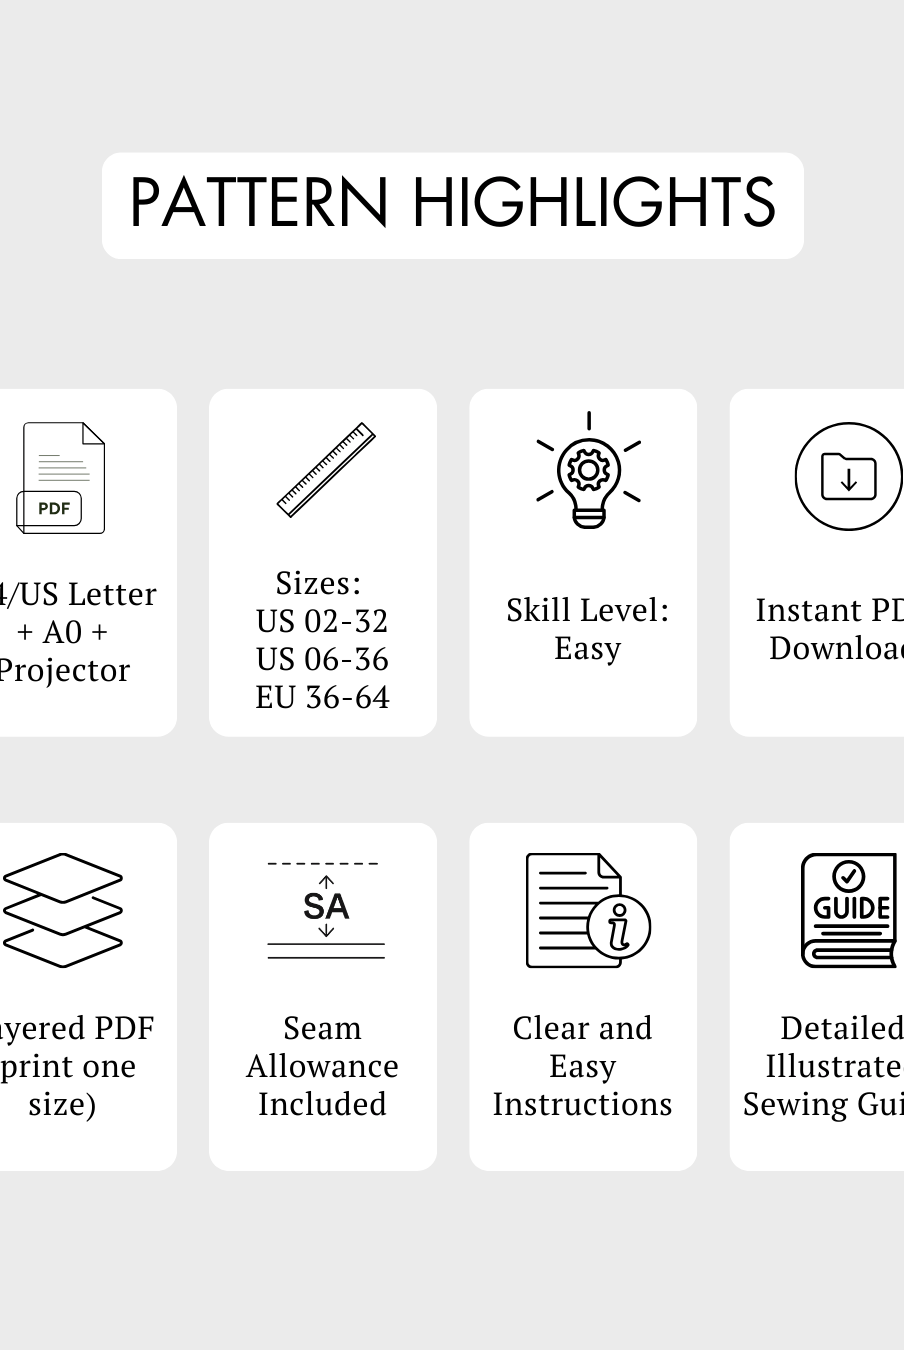
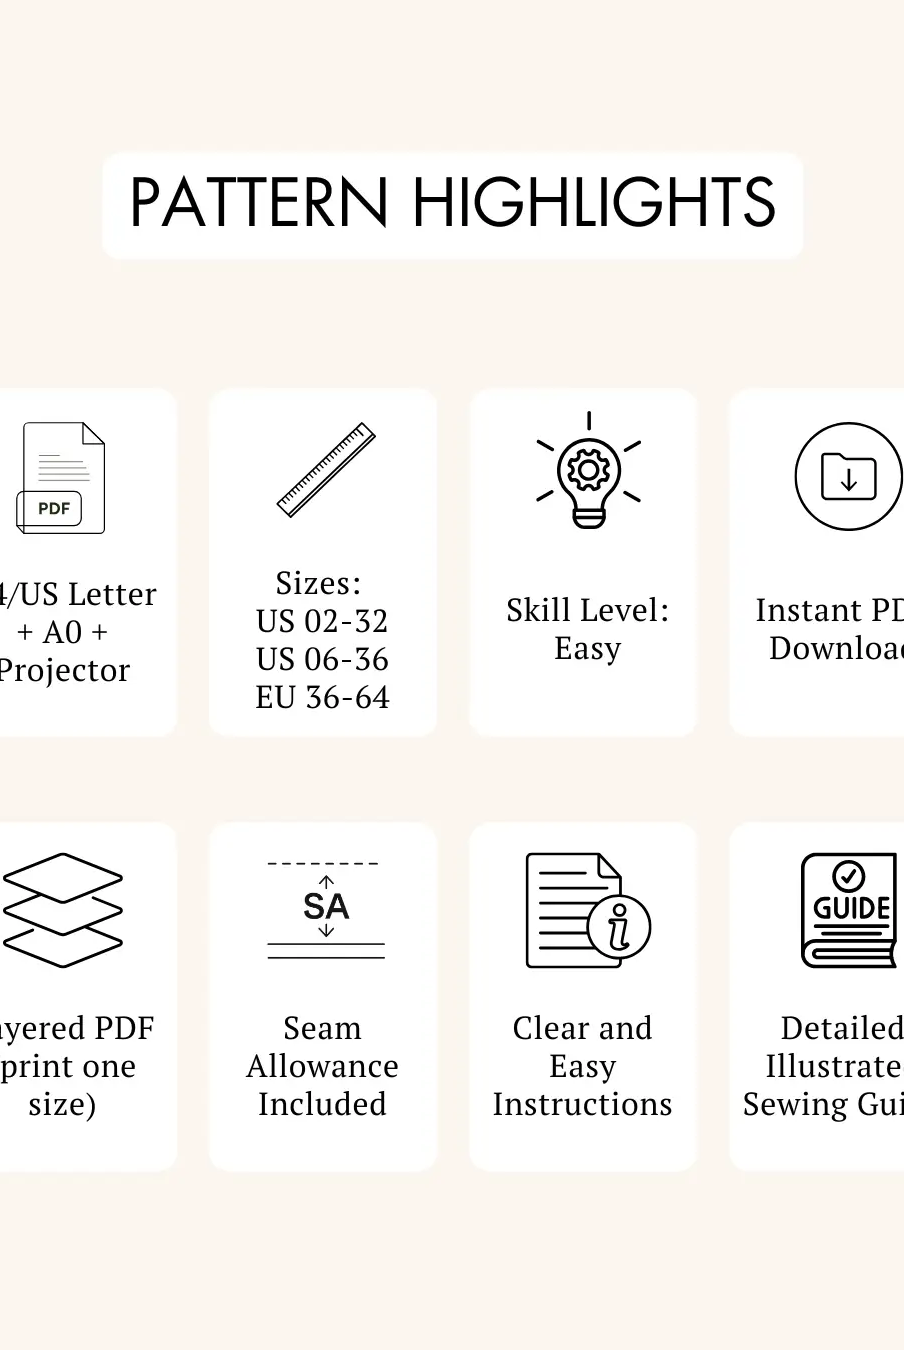
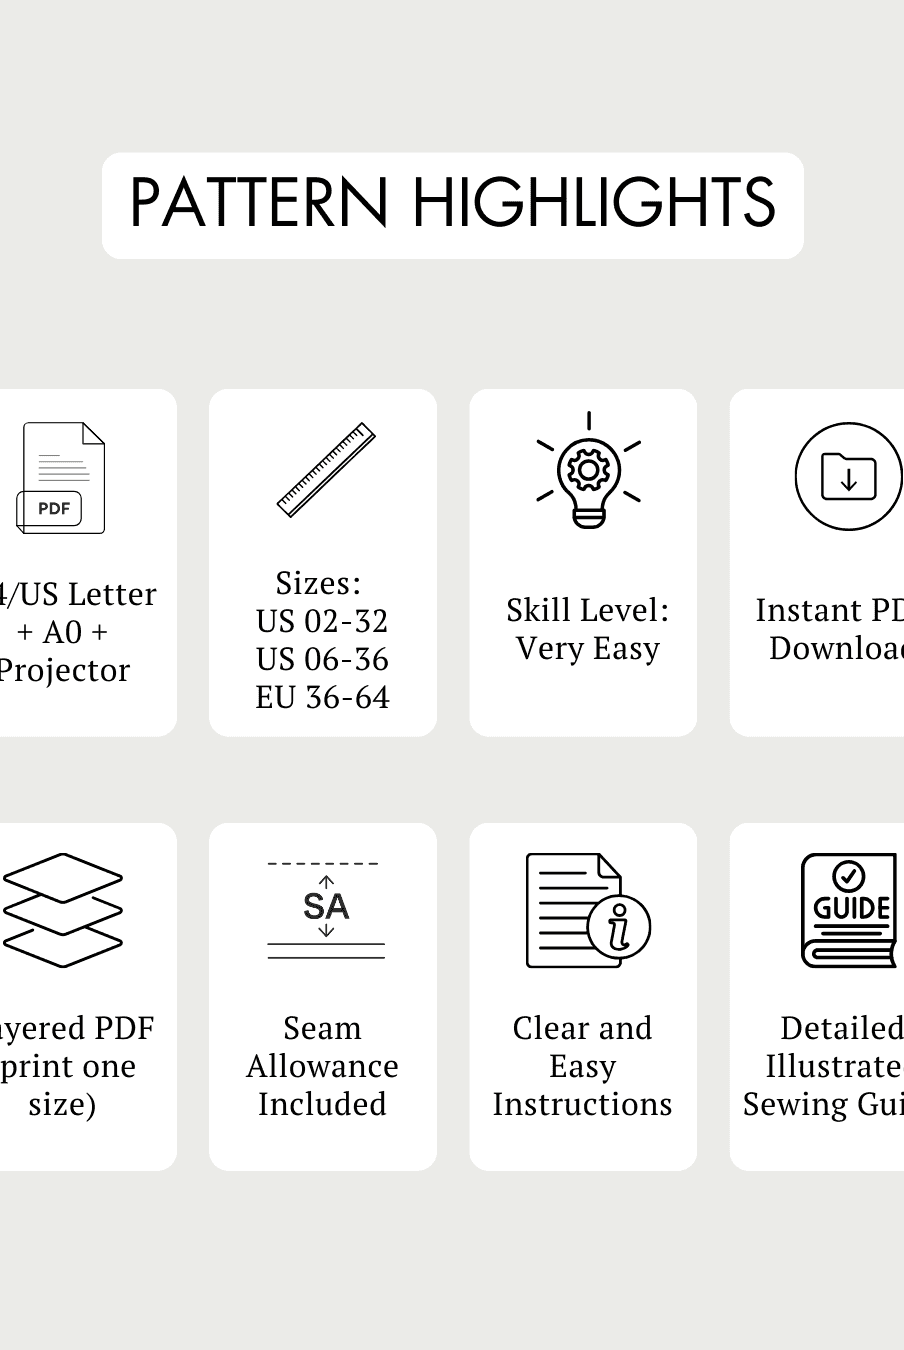
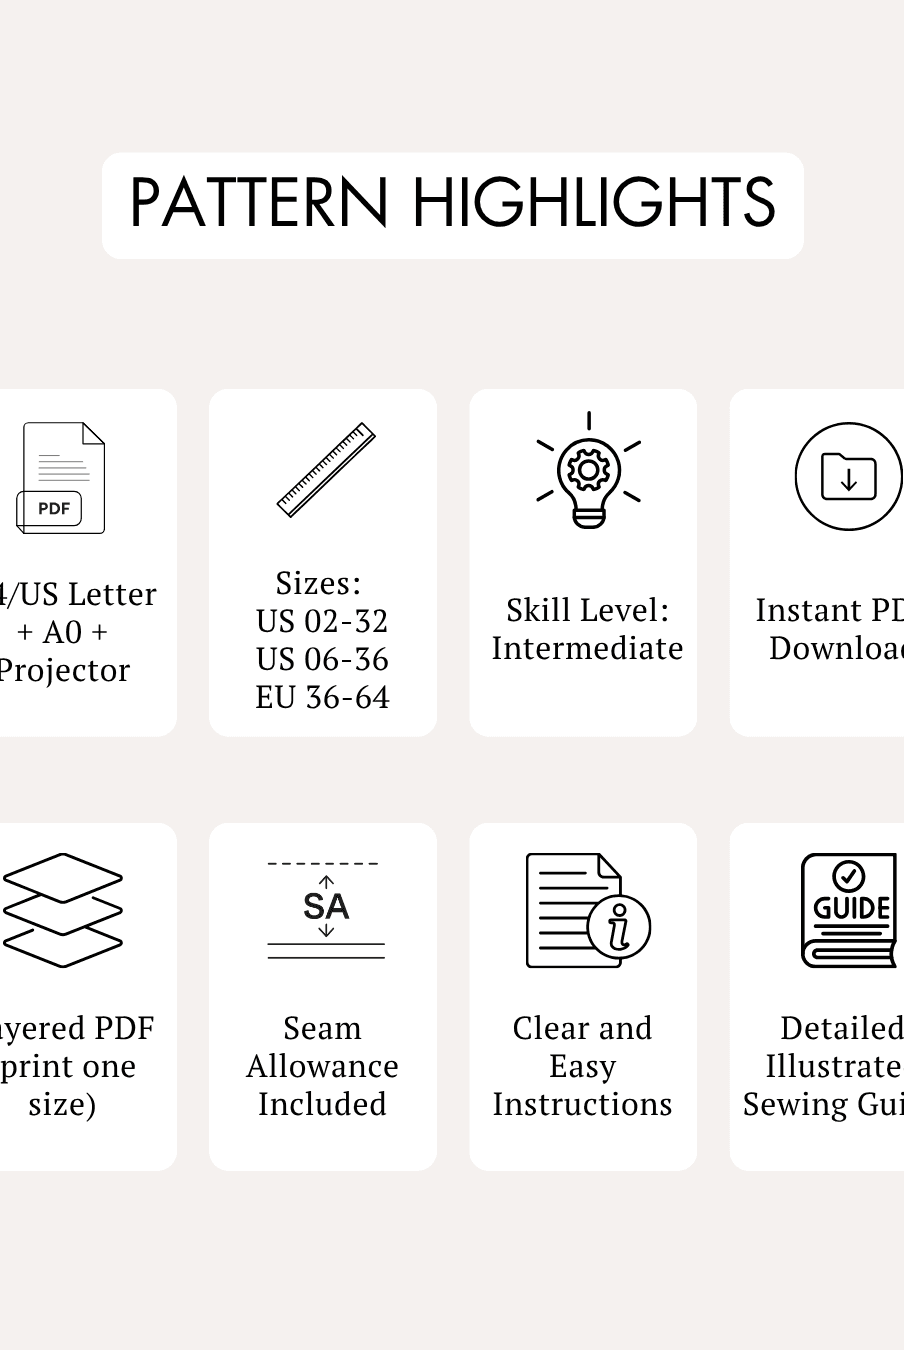
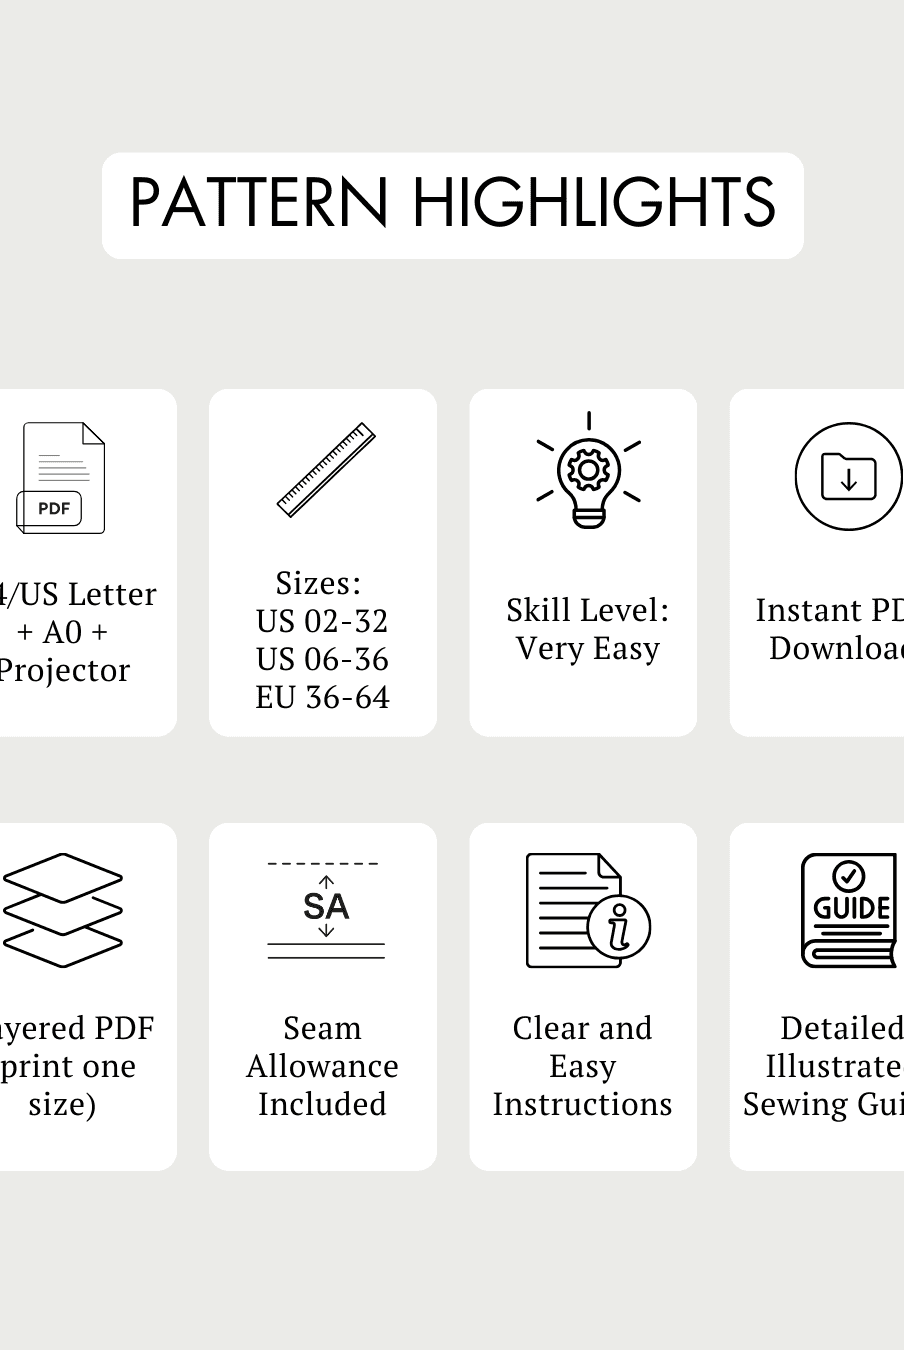
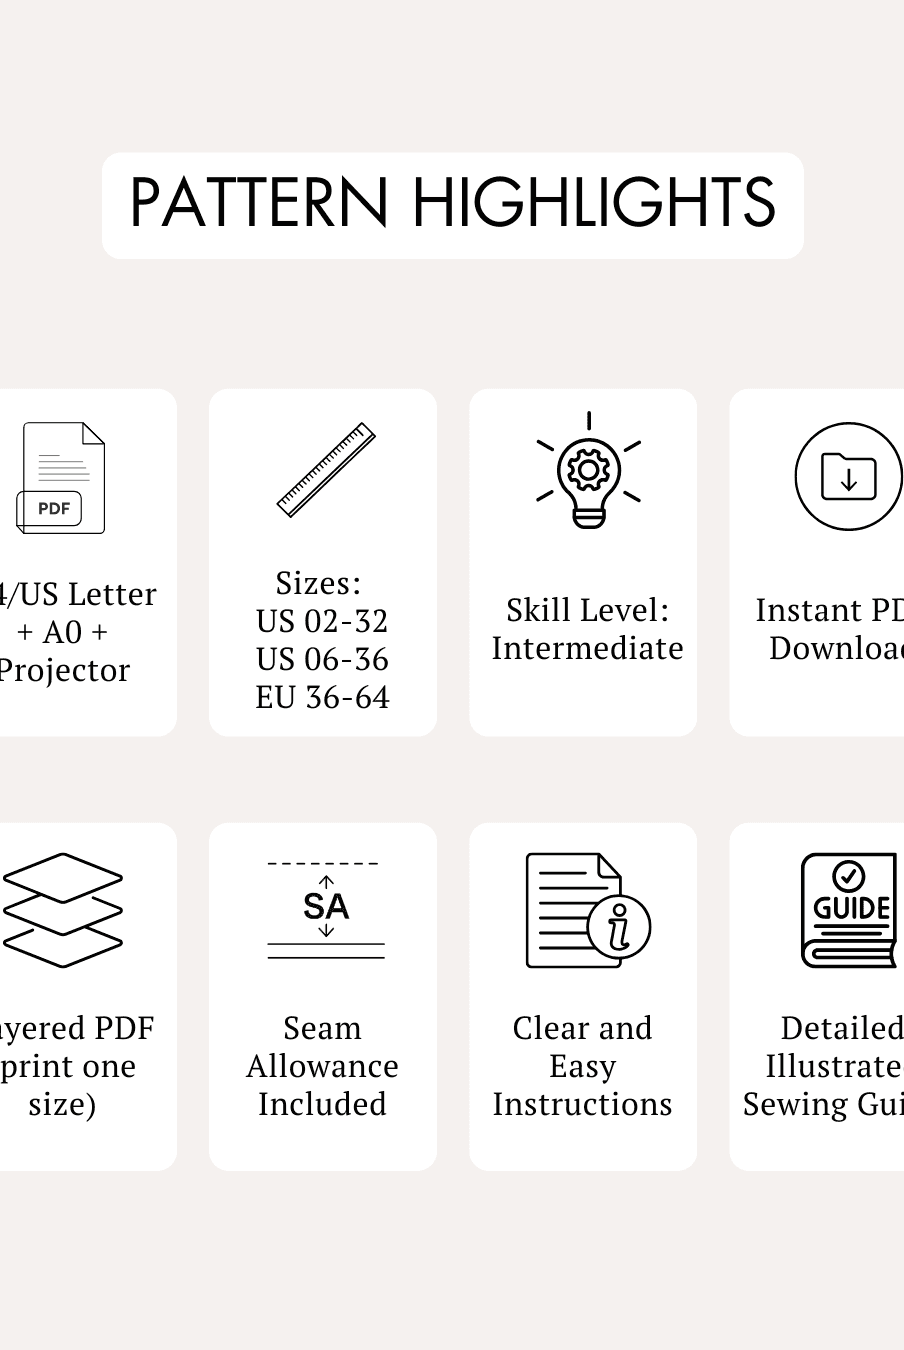
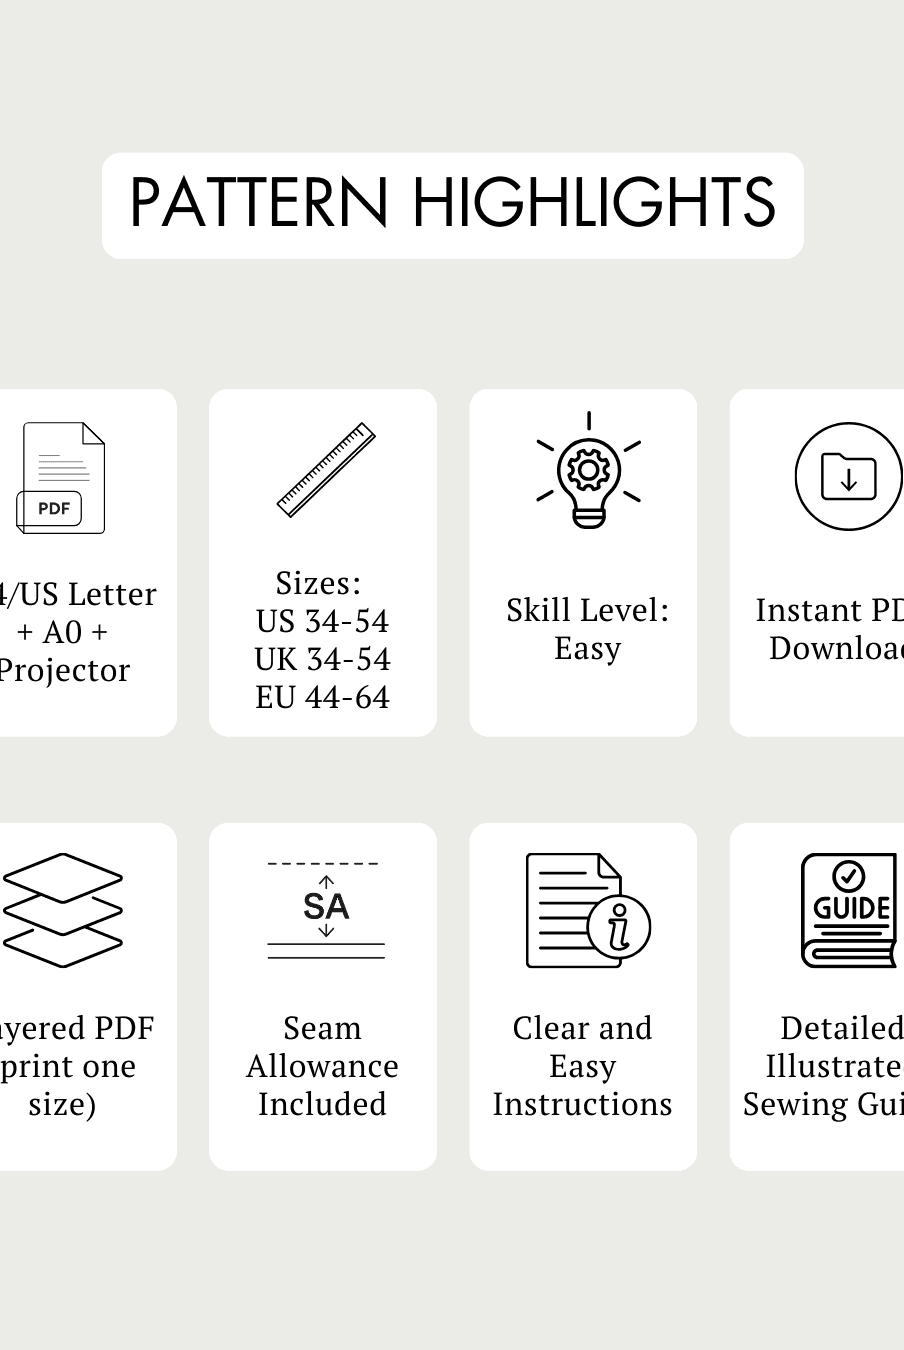
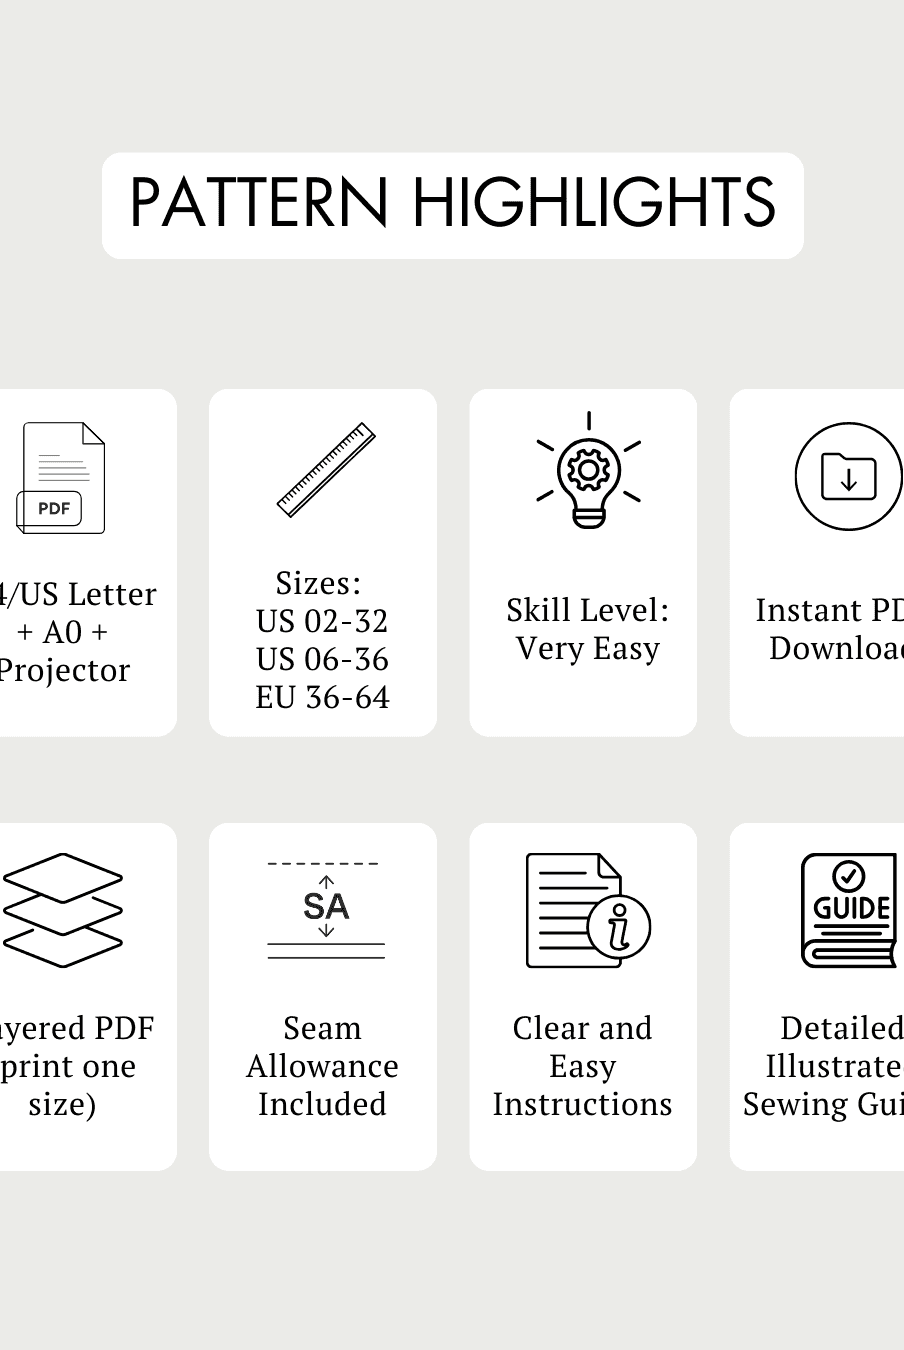
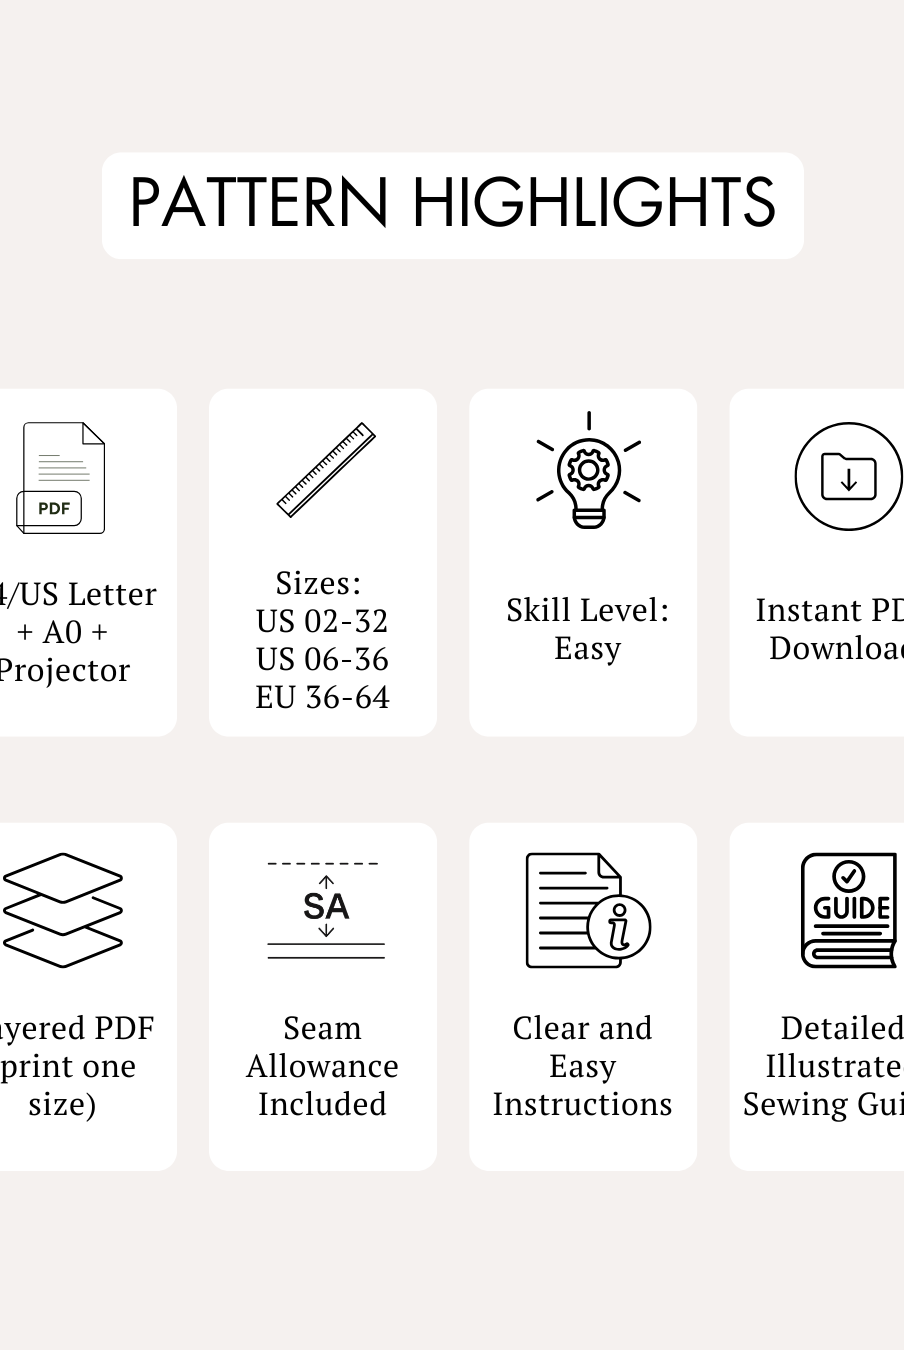
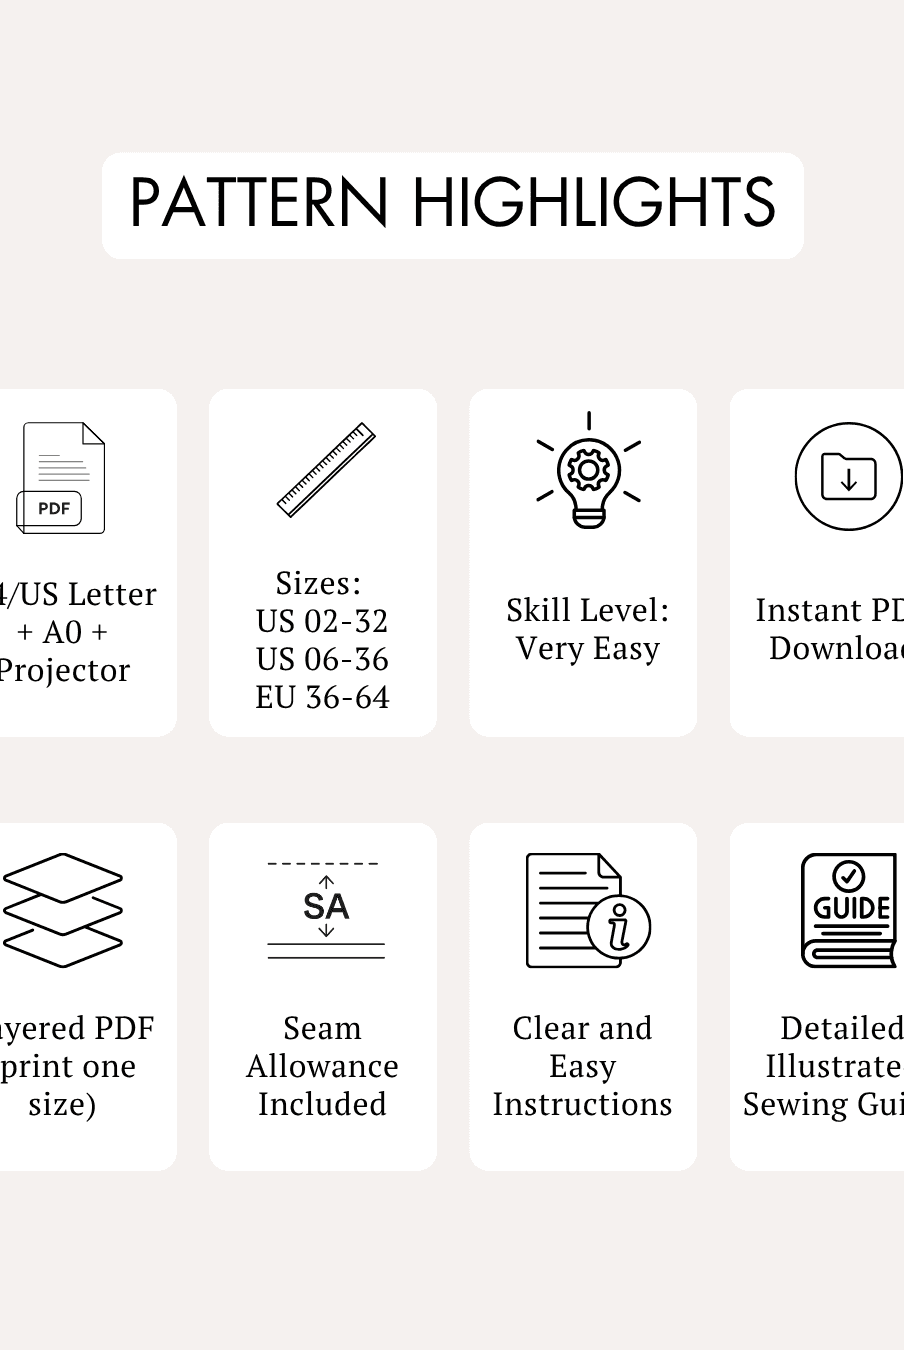
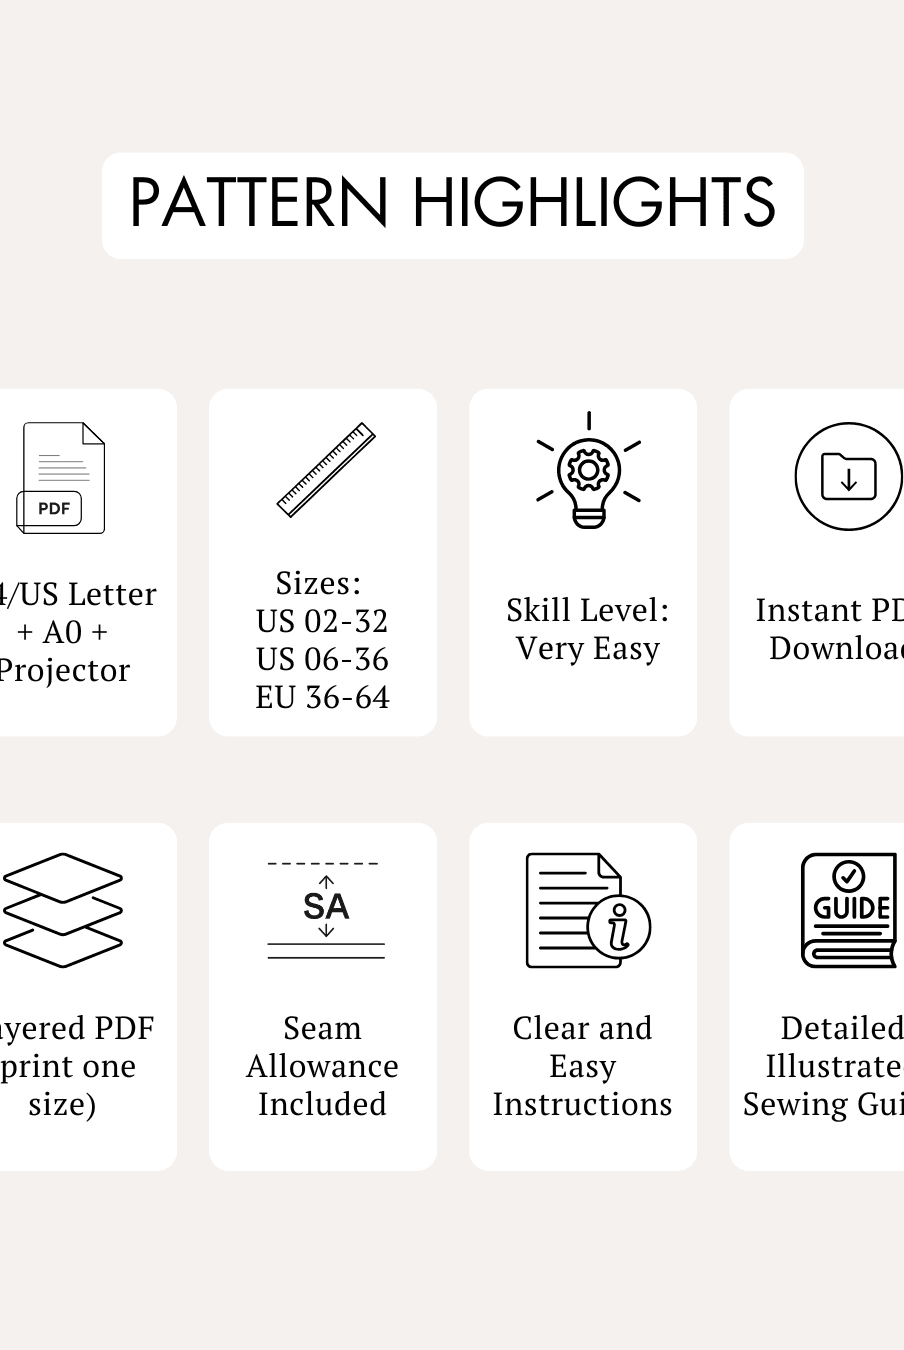
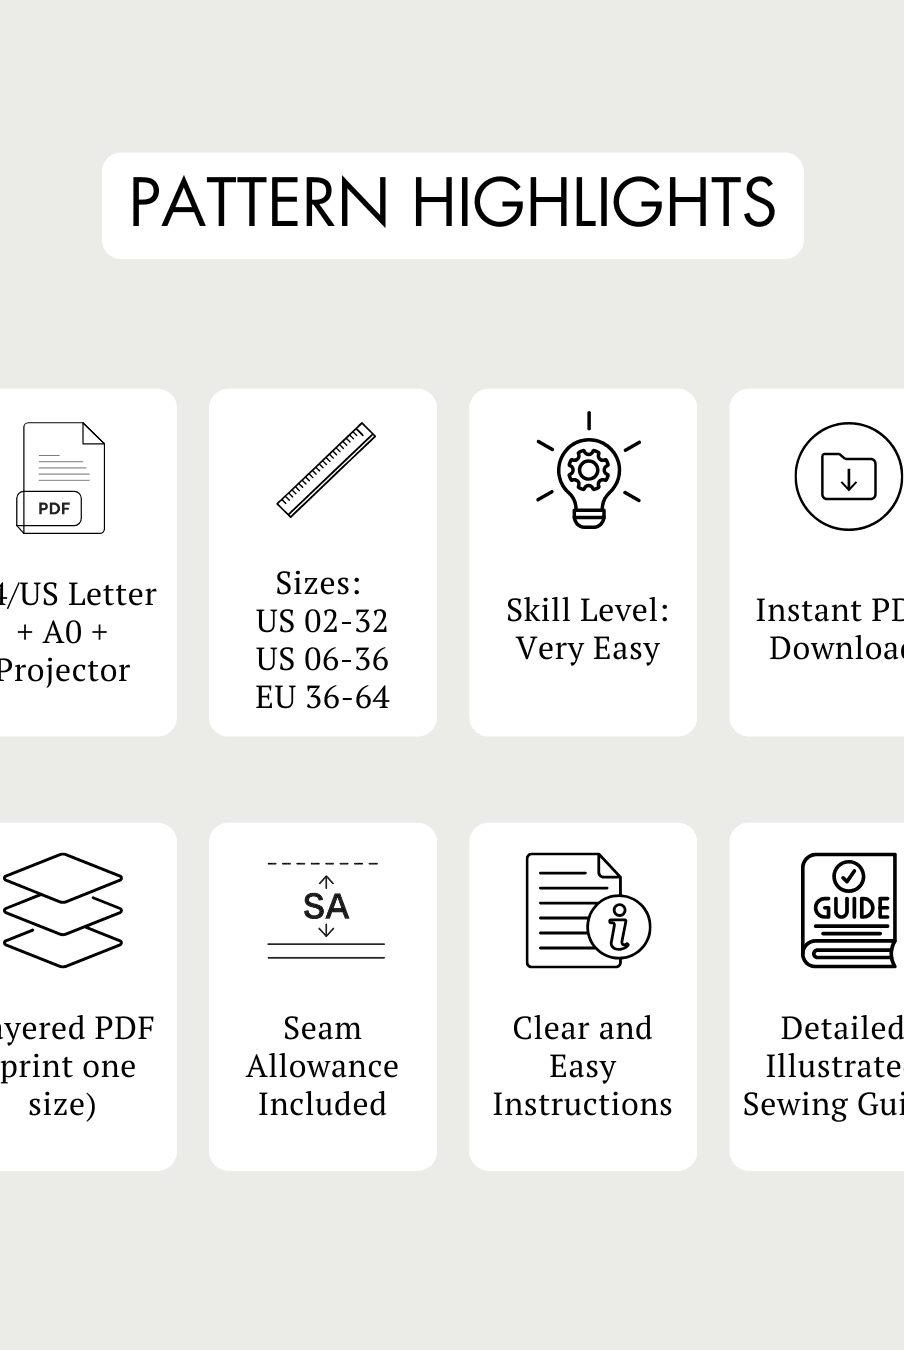
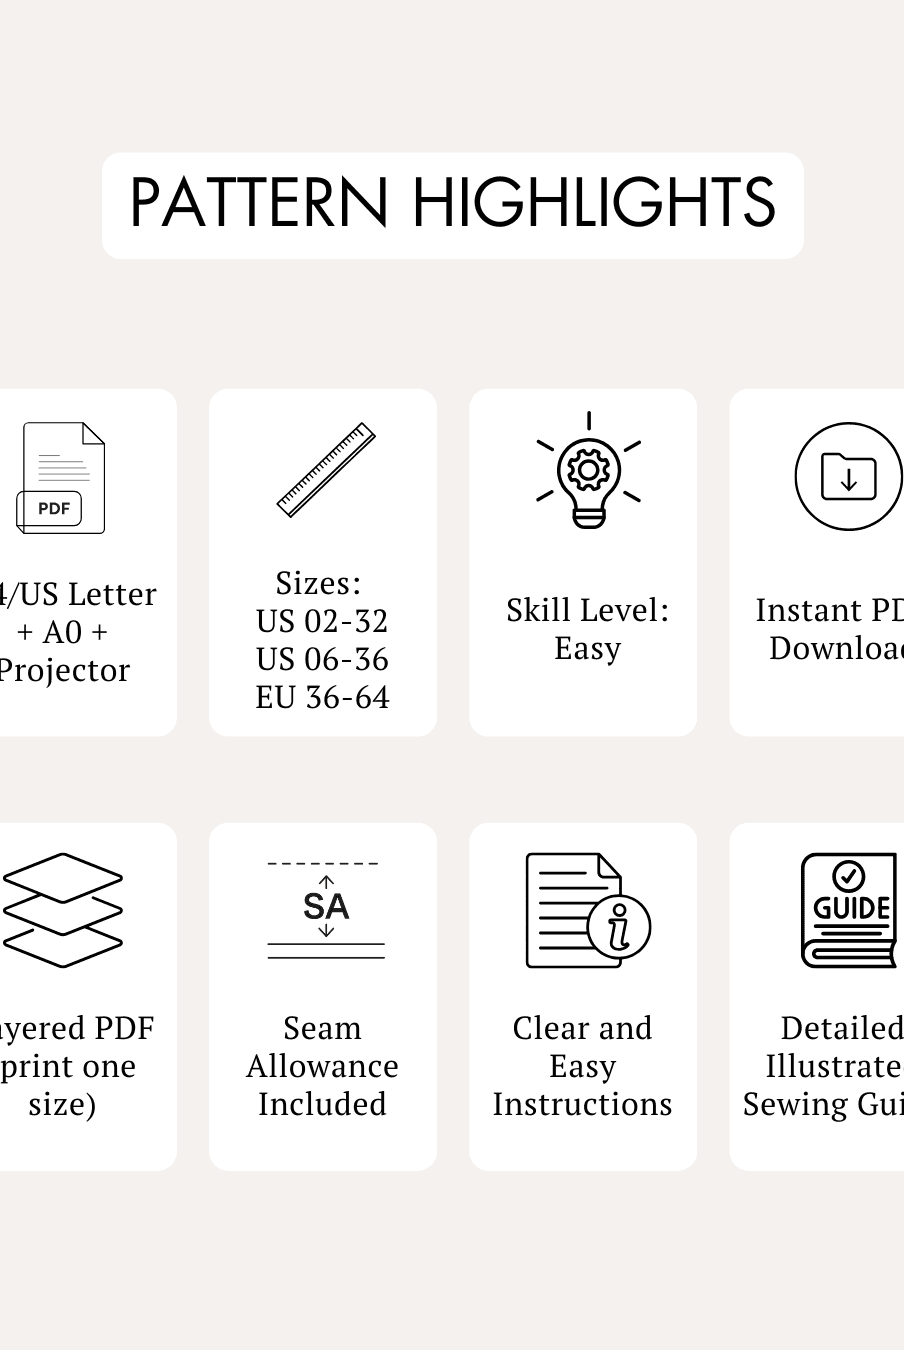
- Skill Level: Intermediate
- Design Features: Square-neck peplum top with puff long sleeves and a smocked back.
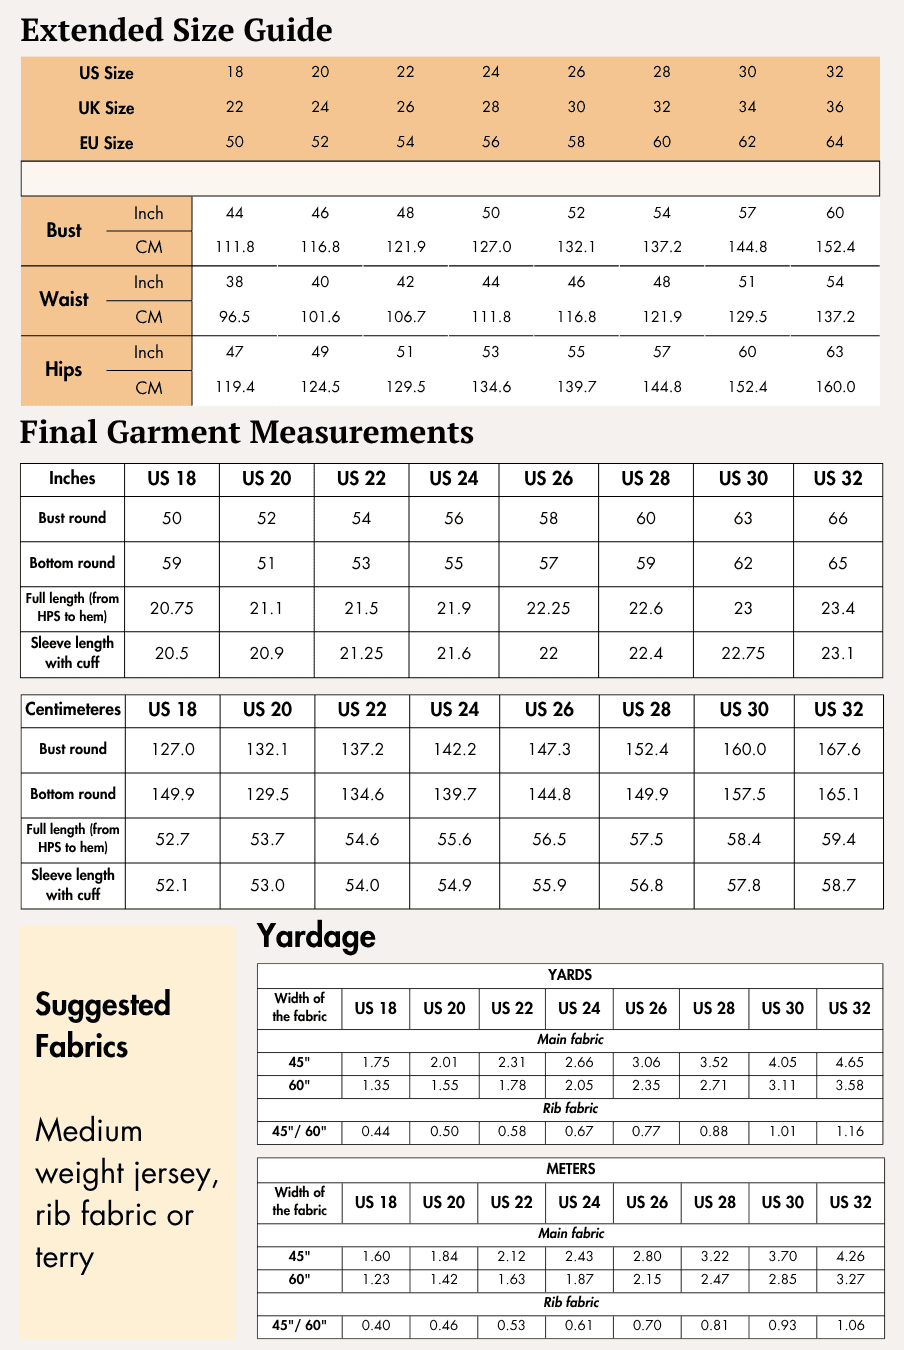
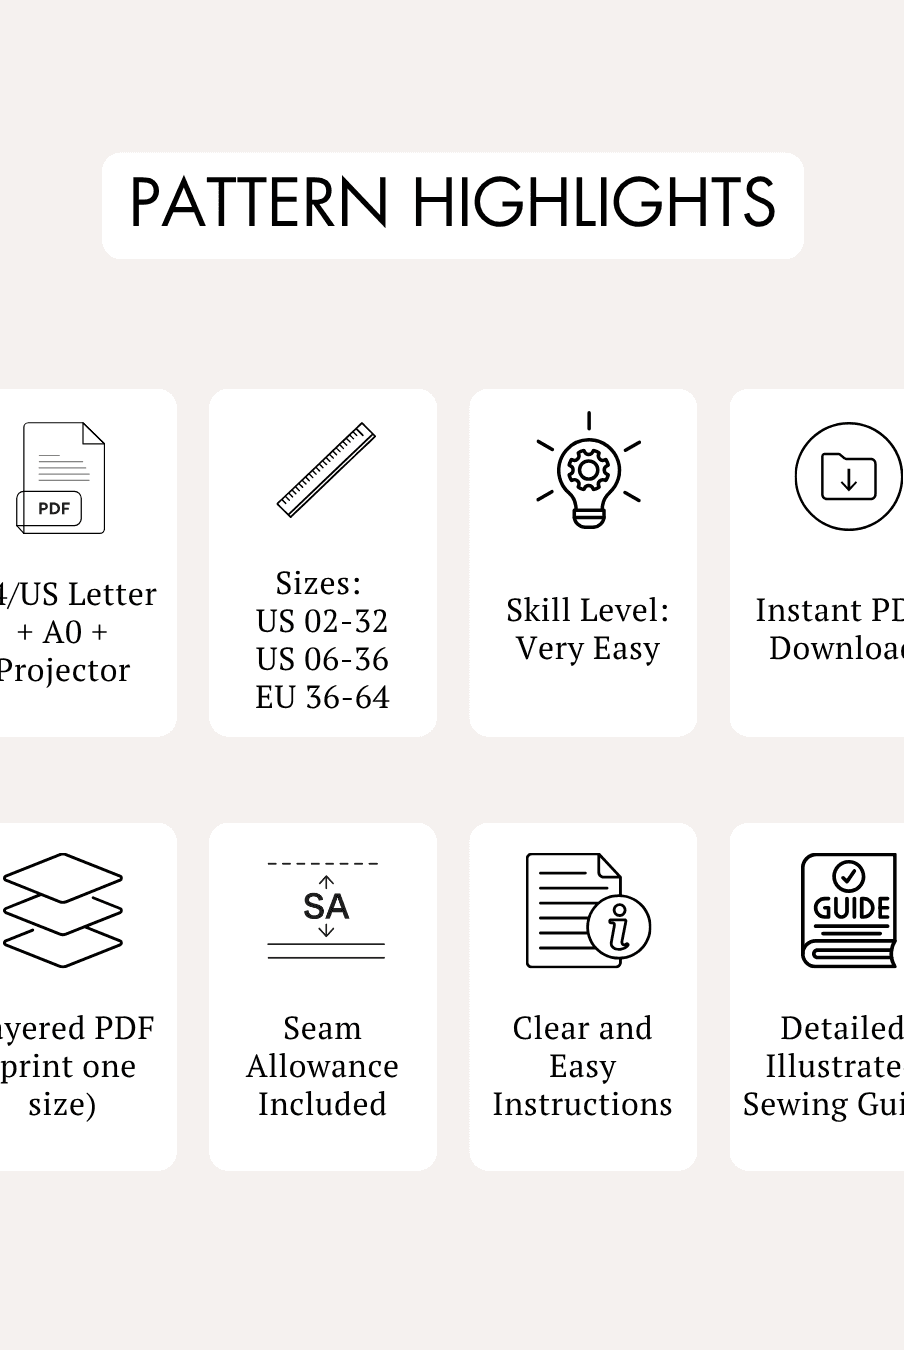
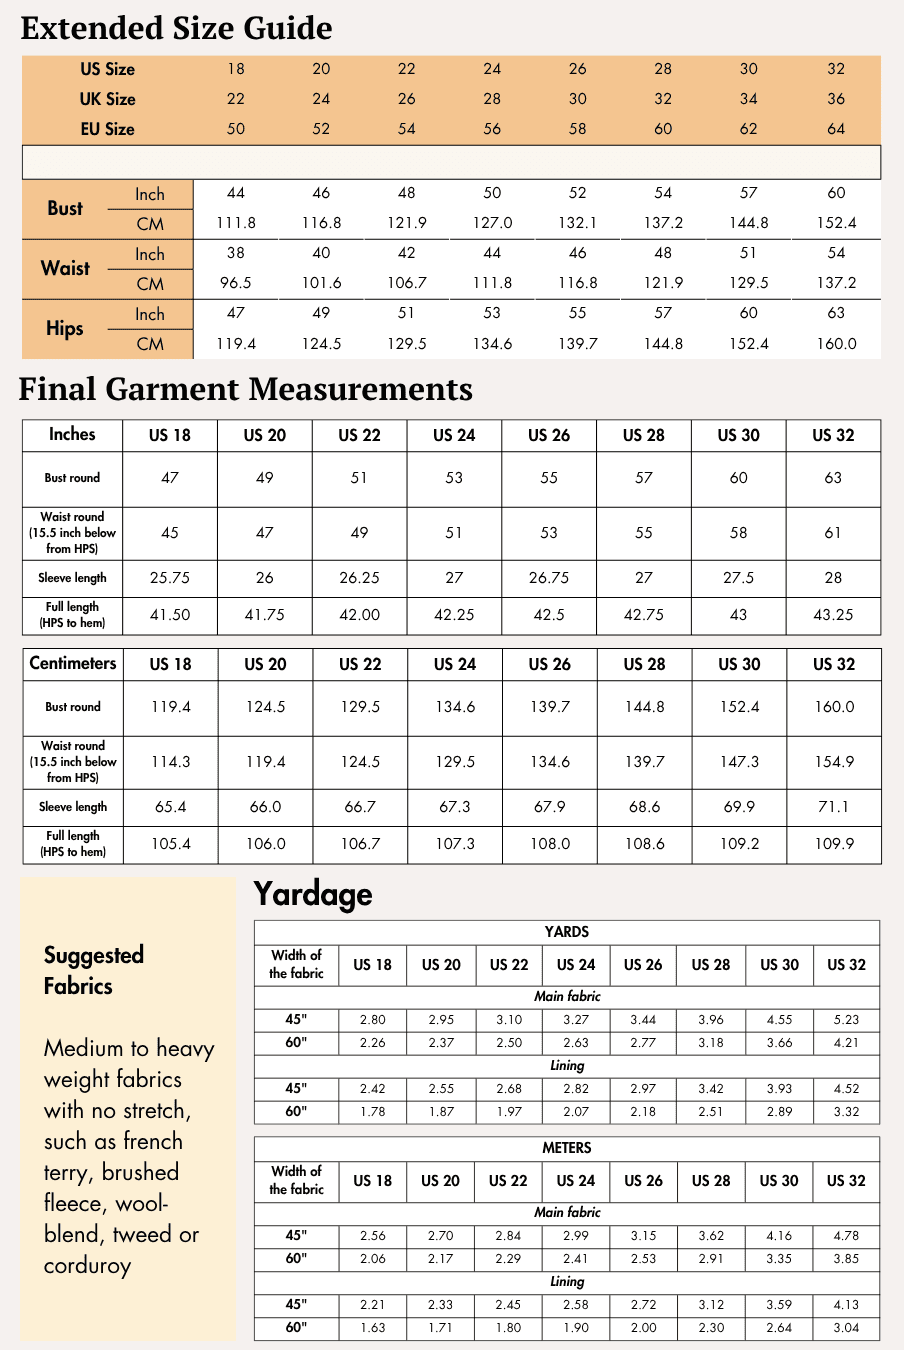
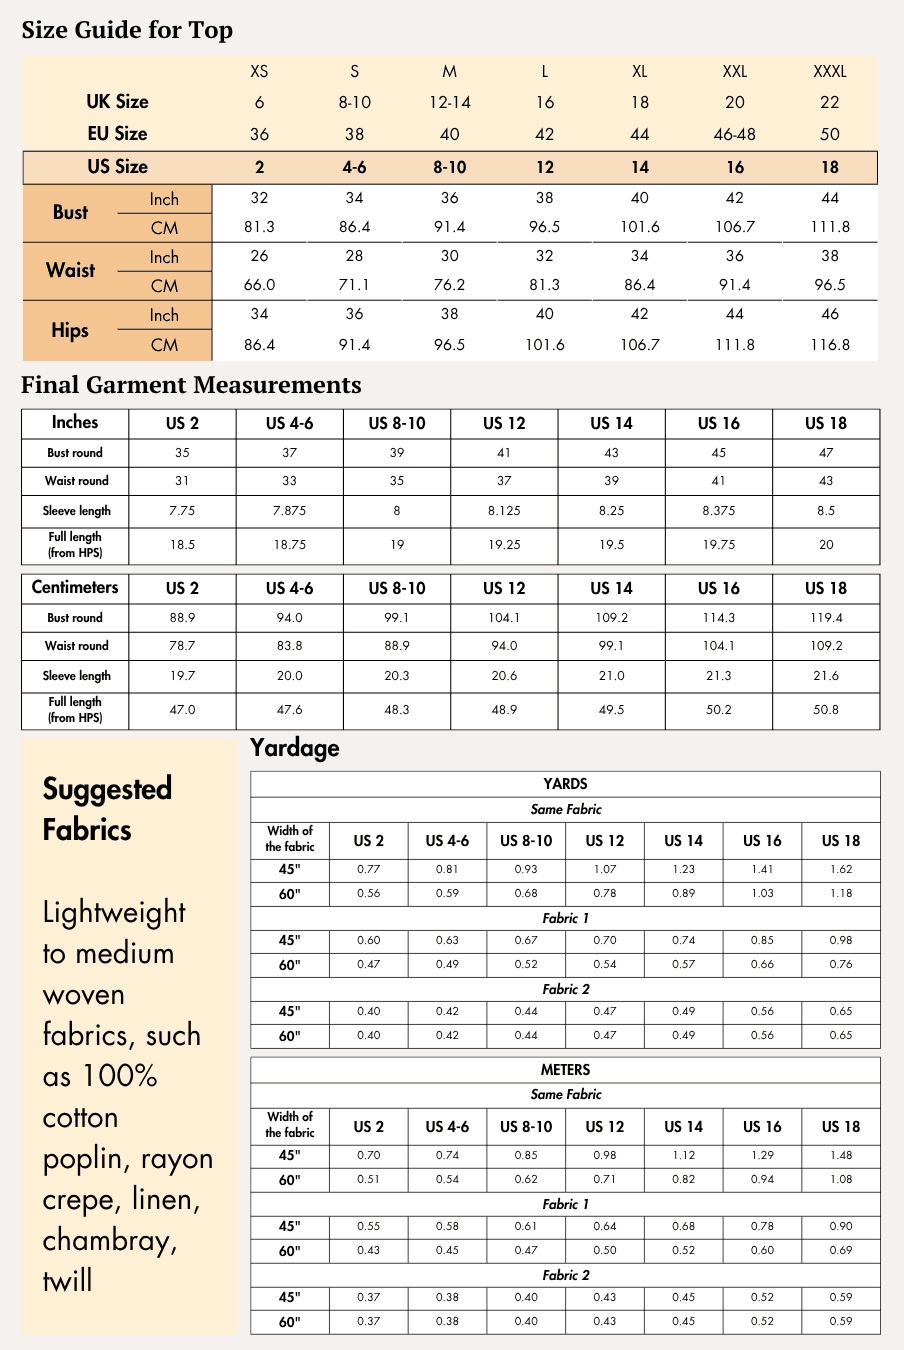
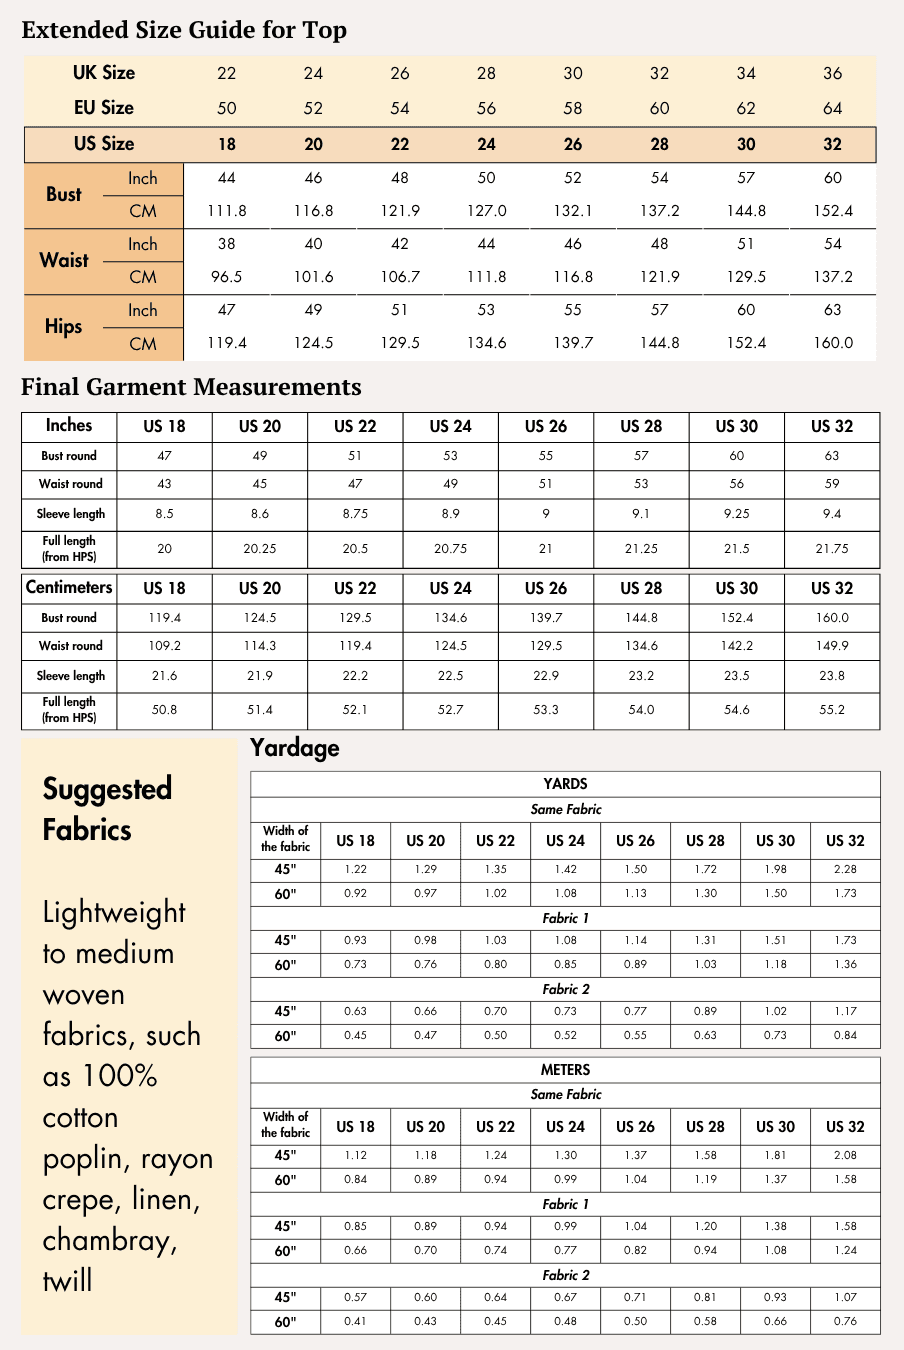
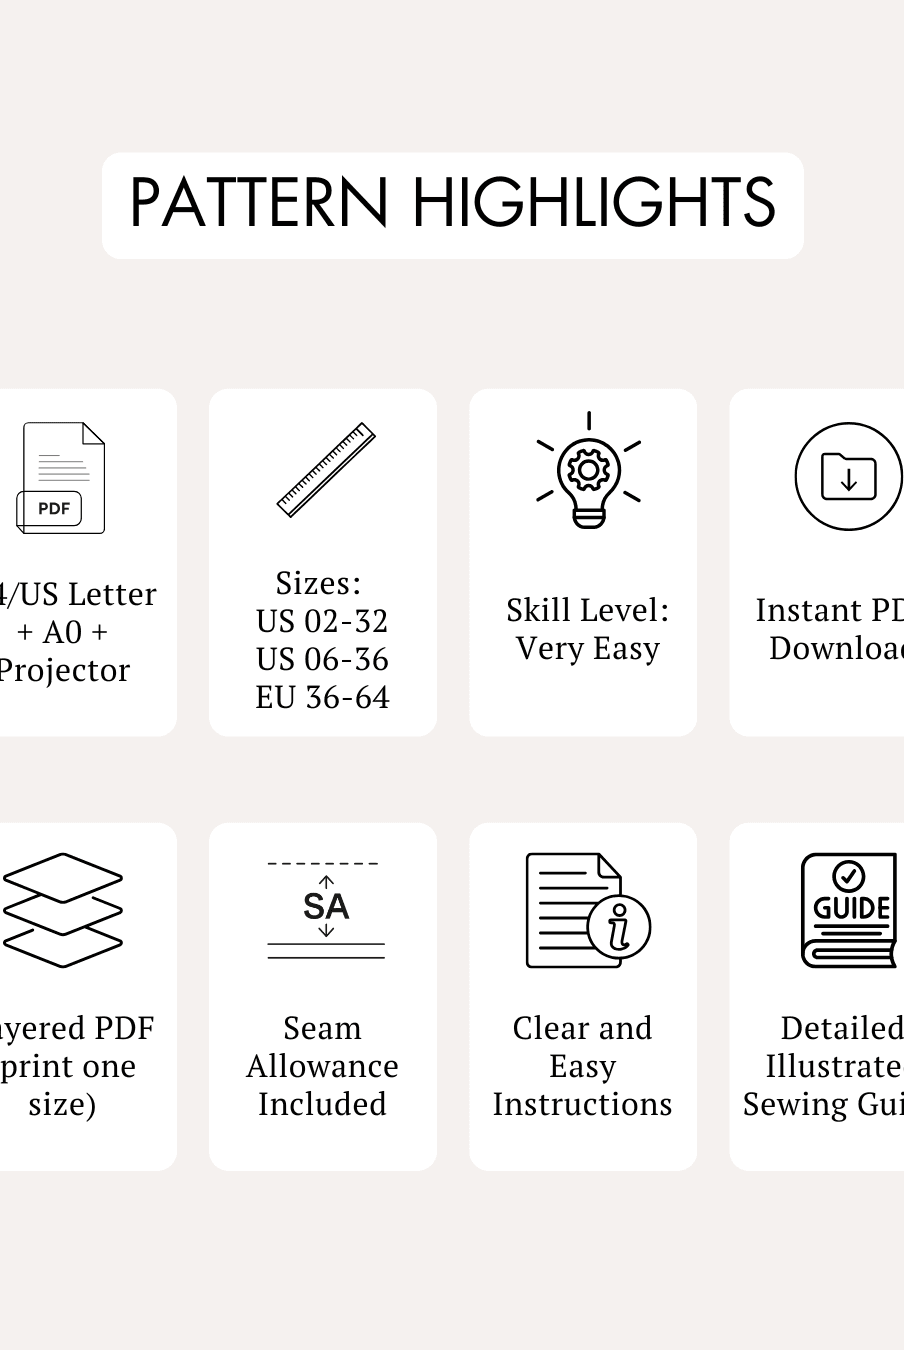
- Available Sizes: US 02 - US 32 | UK 06 - UK 36 | EU 36 - EU 64
Supplies & Notions
Before you begin, gather the following supplies:
- Lightweight woven fabric
- 3-ply polyester thread
- Sewing machine
- Sewing needles
- Elastic thread
- 6 mm elastic band
- Fabric shears
- Thread cutter
- Tape measure
- Fabric marking chalk
- Pins
- Iron
Fabric Recommendations
The Reese Peplum Top is designed for lightweight woven fabrics, including:
- Cotton voile
- Crepe
- Cotton lawn
- Poplin
- Viscose satin
- Rayon challis
- Modal satin
- Lightweight taffeta
- Polyester satin
The sample garment shown in the sewing guide is made from plain modal satin.
Modal satin is recommended because it offers:
- Soft feel against the skin
- Durability
- Breathability
- Soft drape
- Easy care
Size Charts
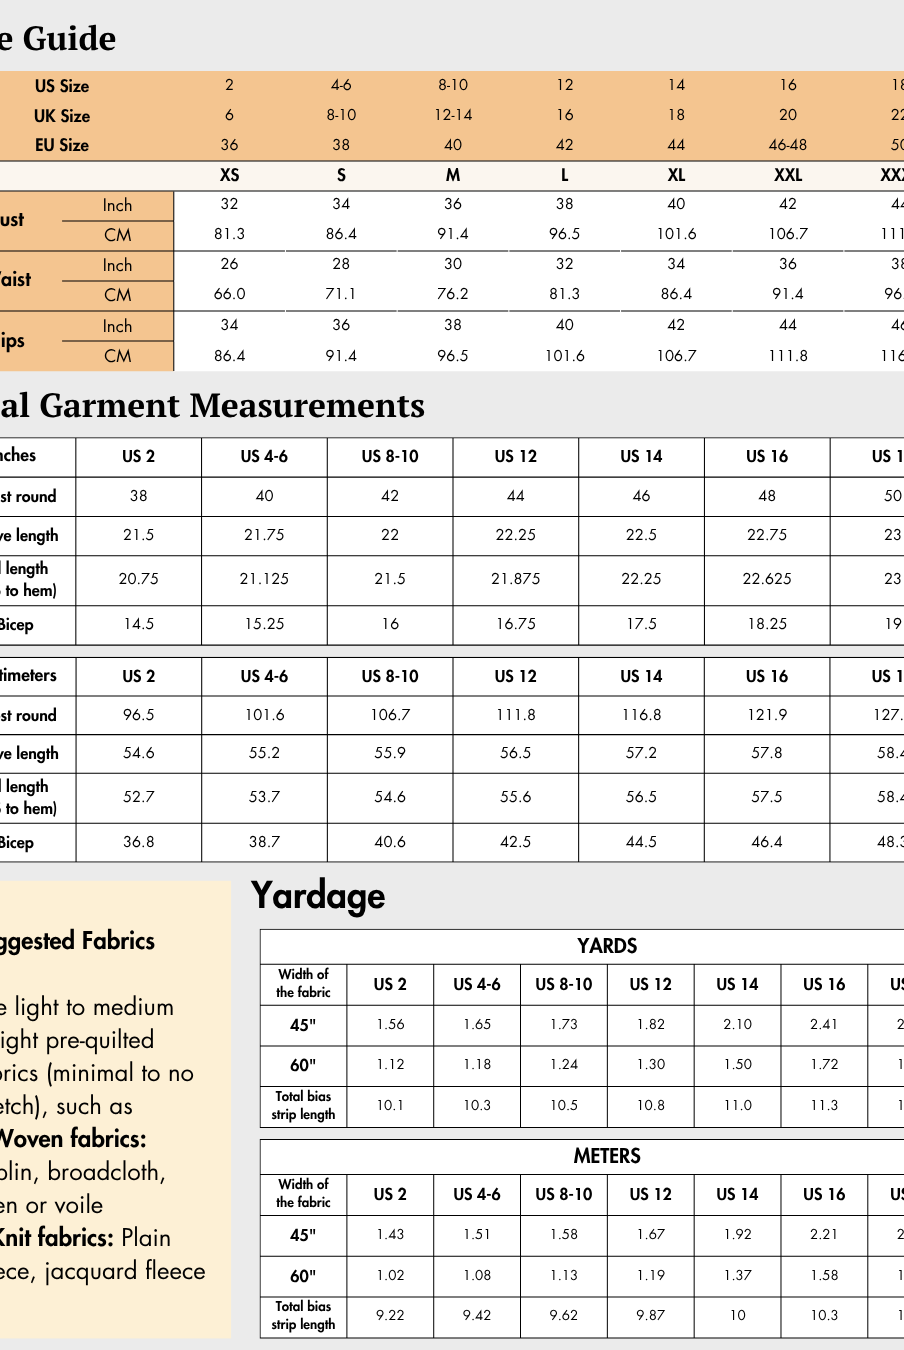
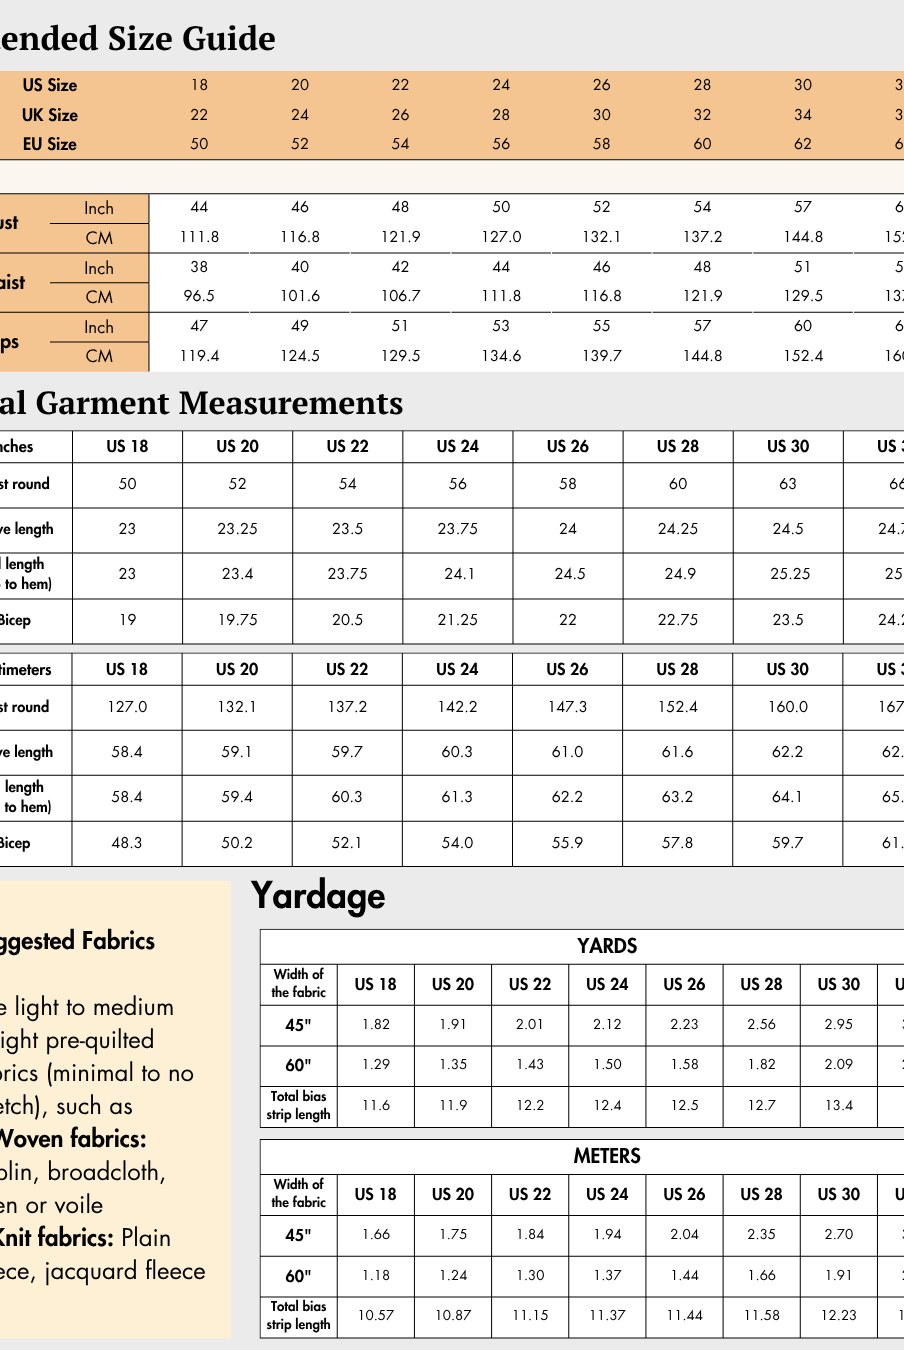
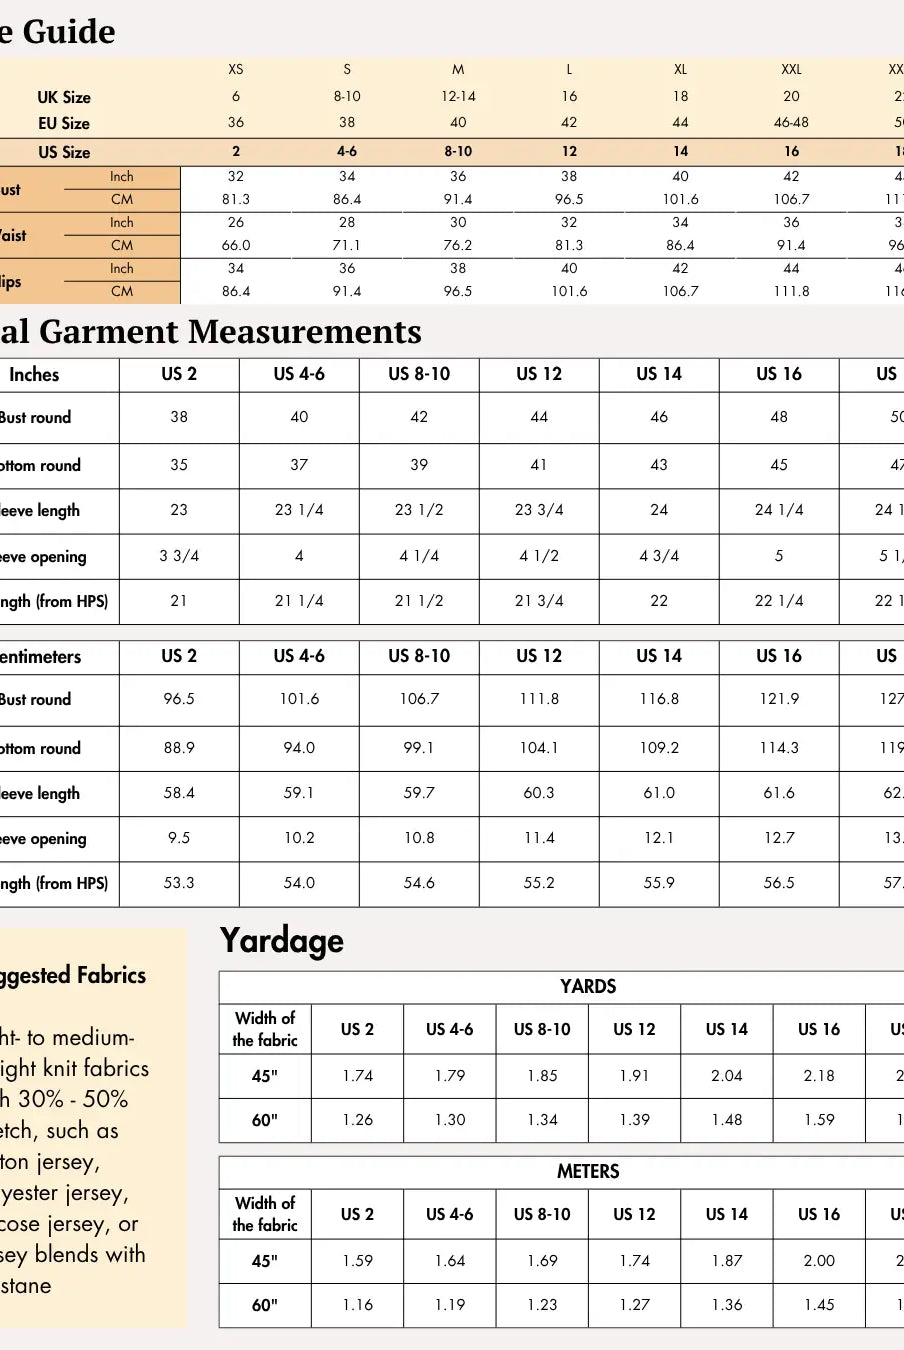
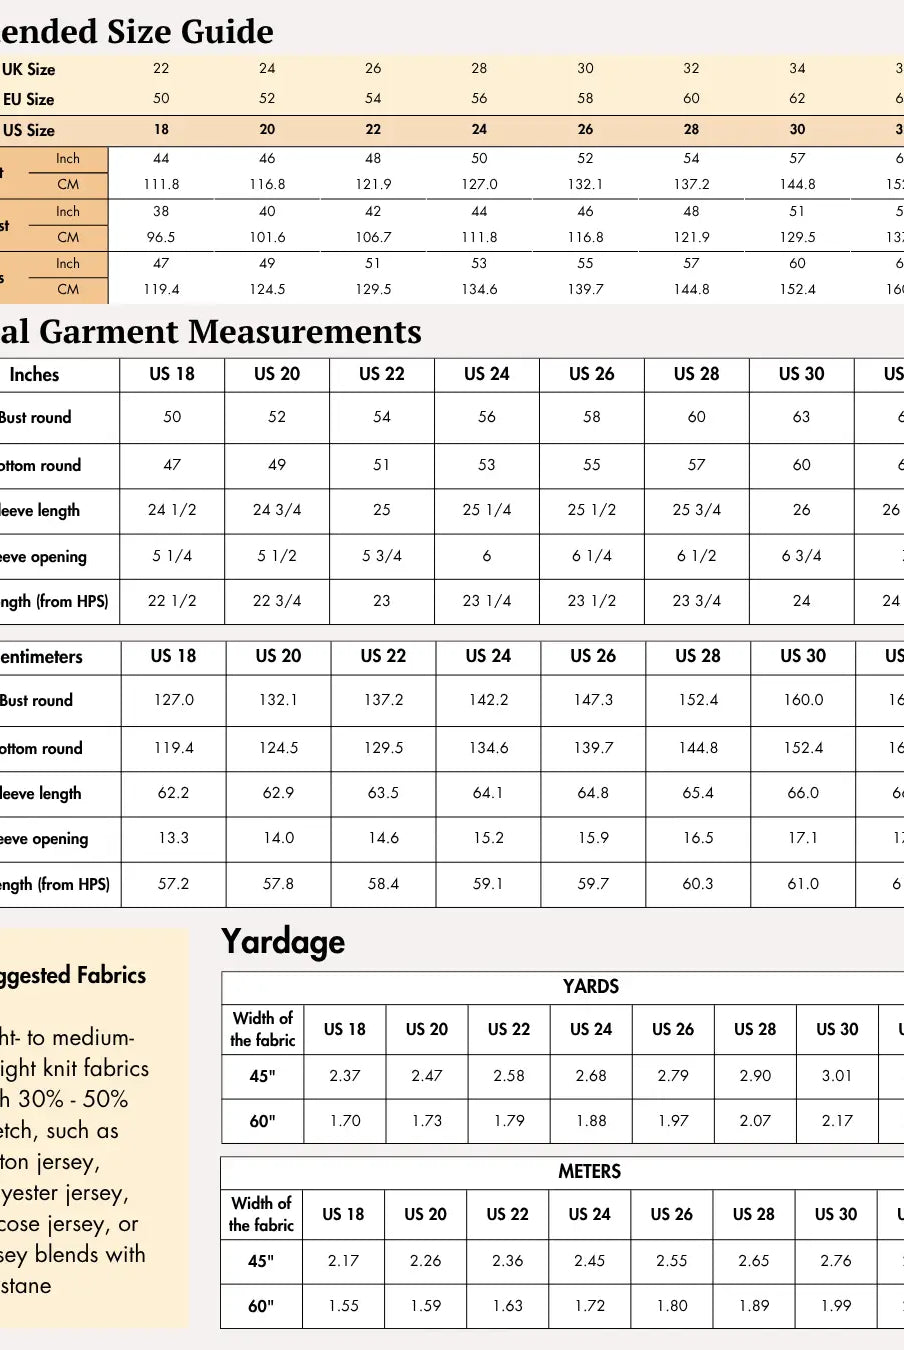
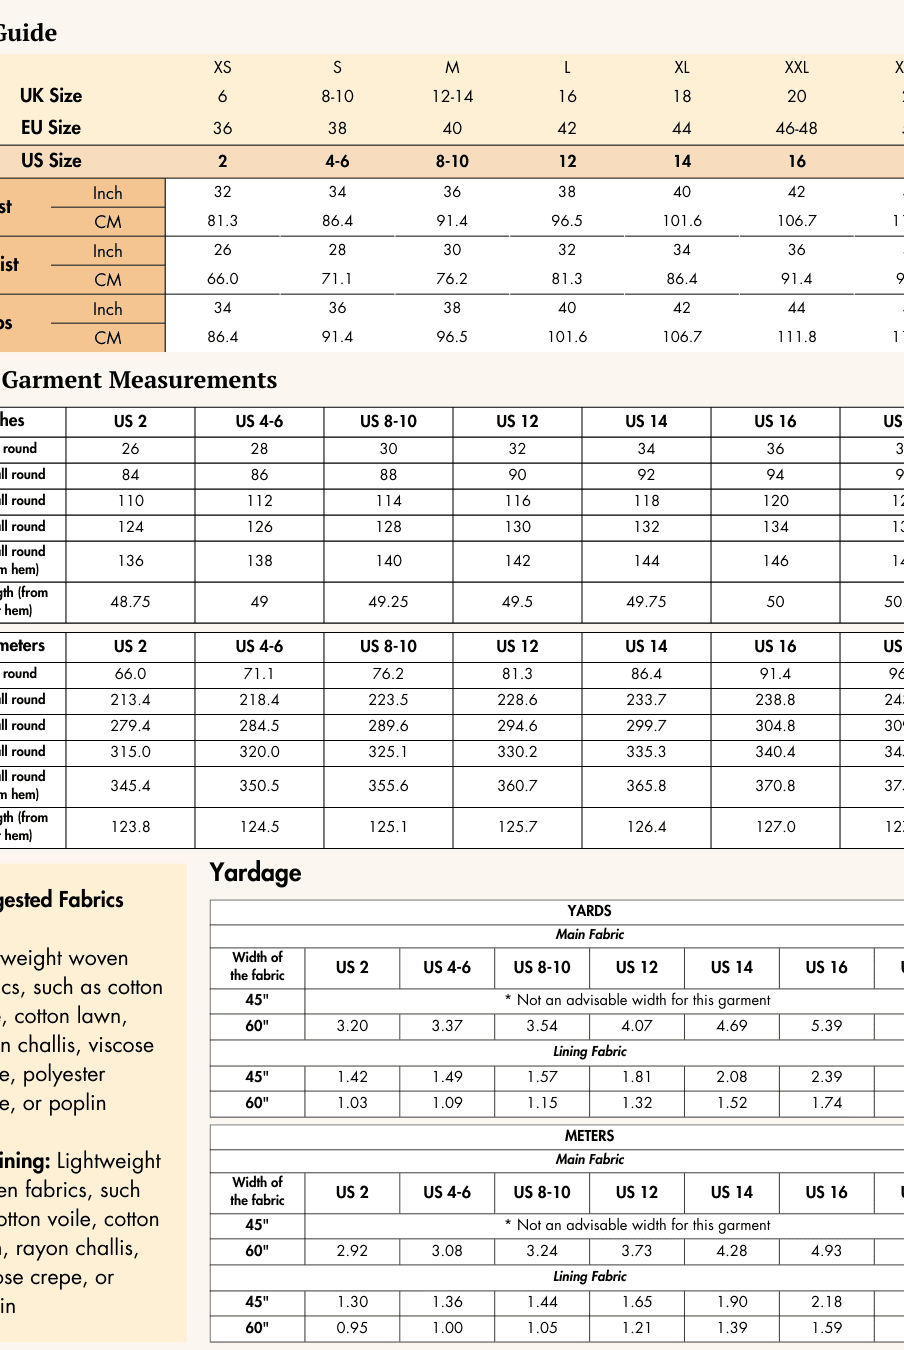
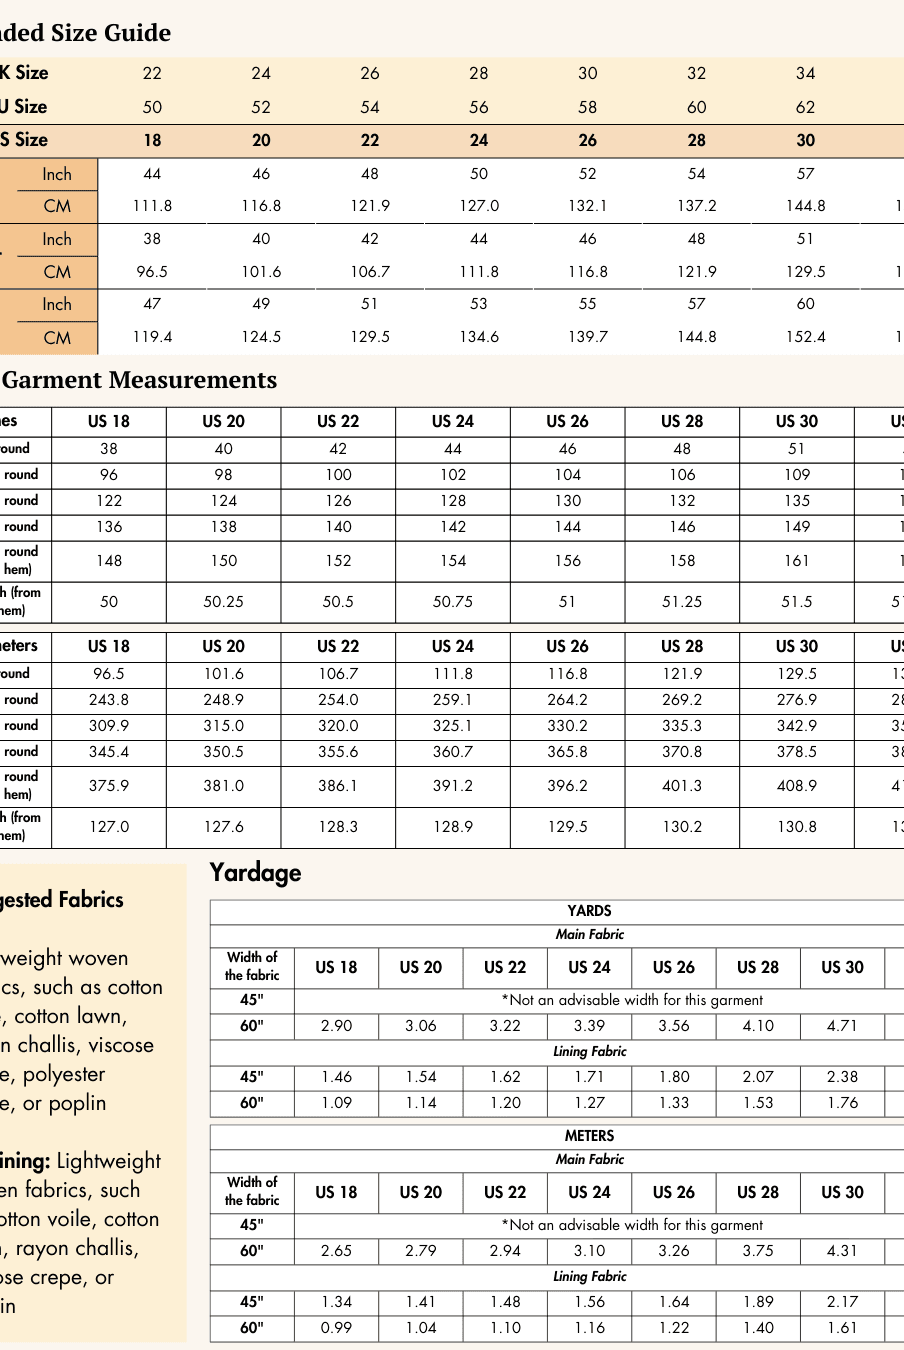
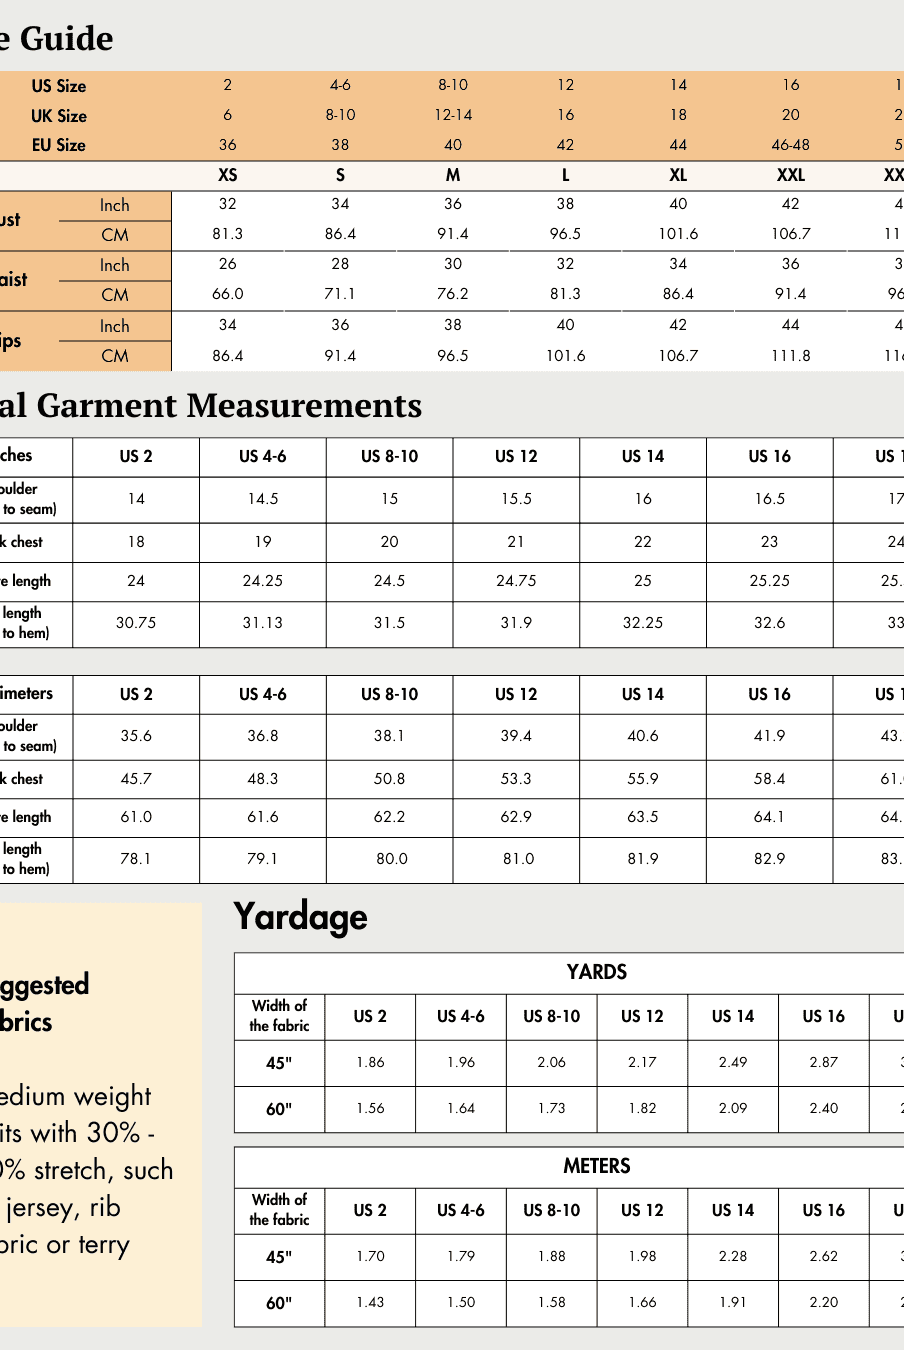
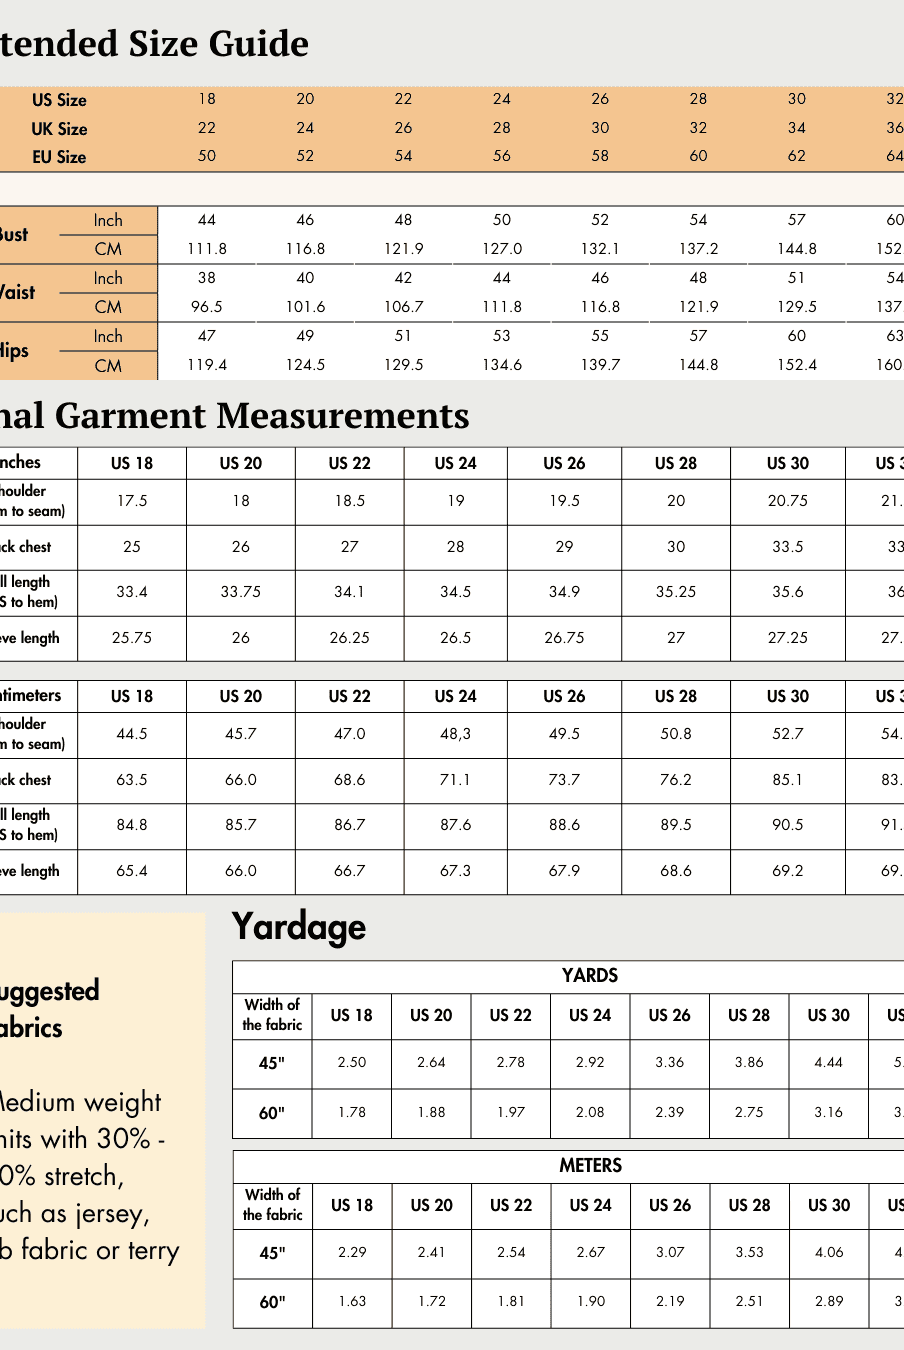
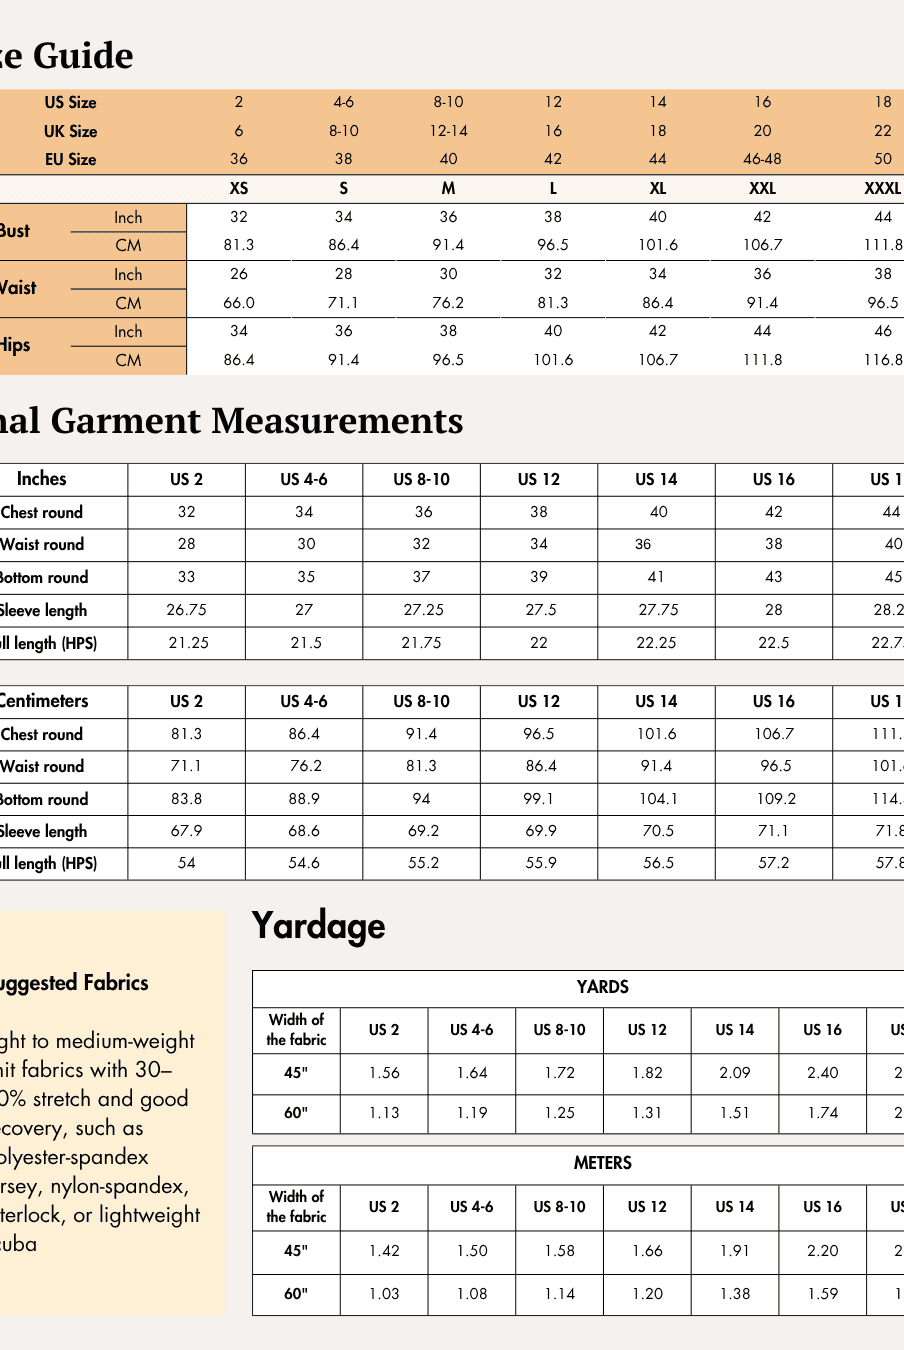
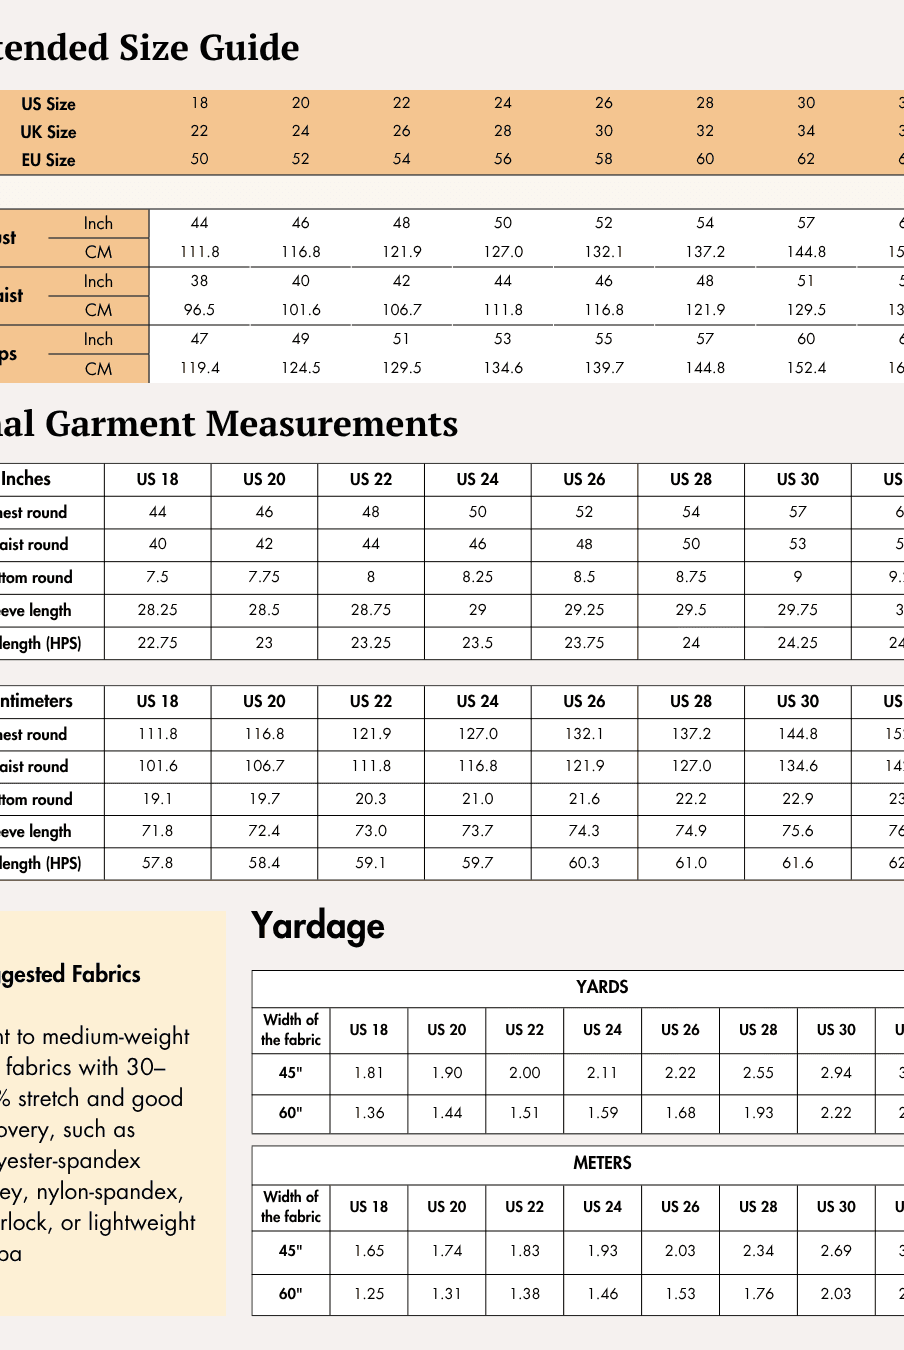
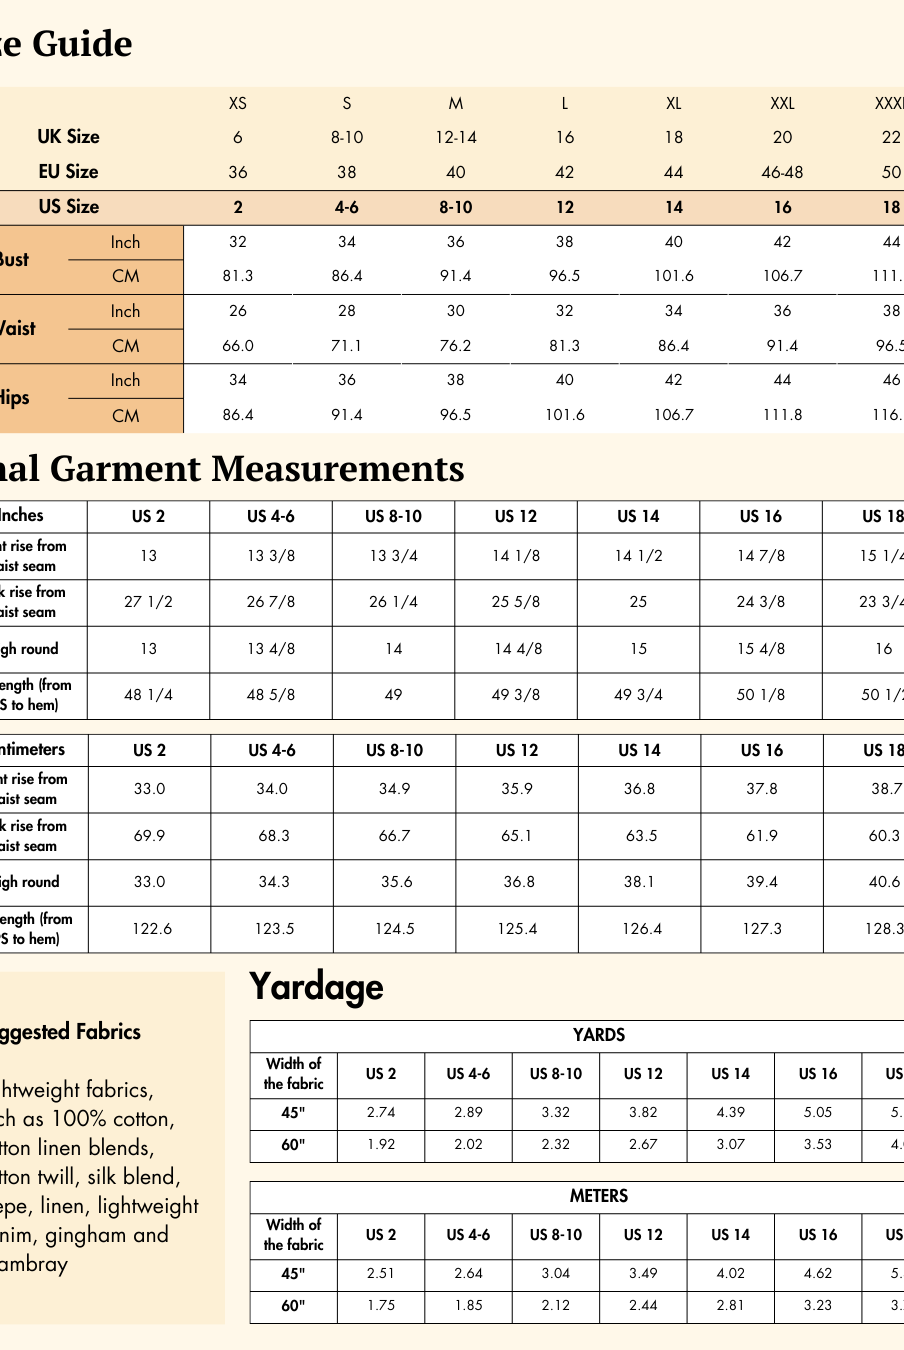
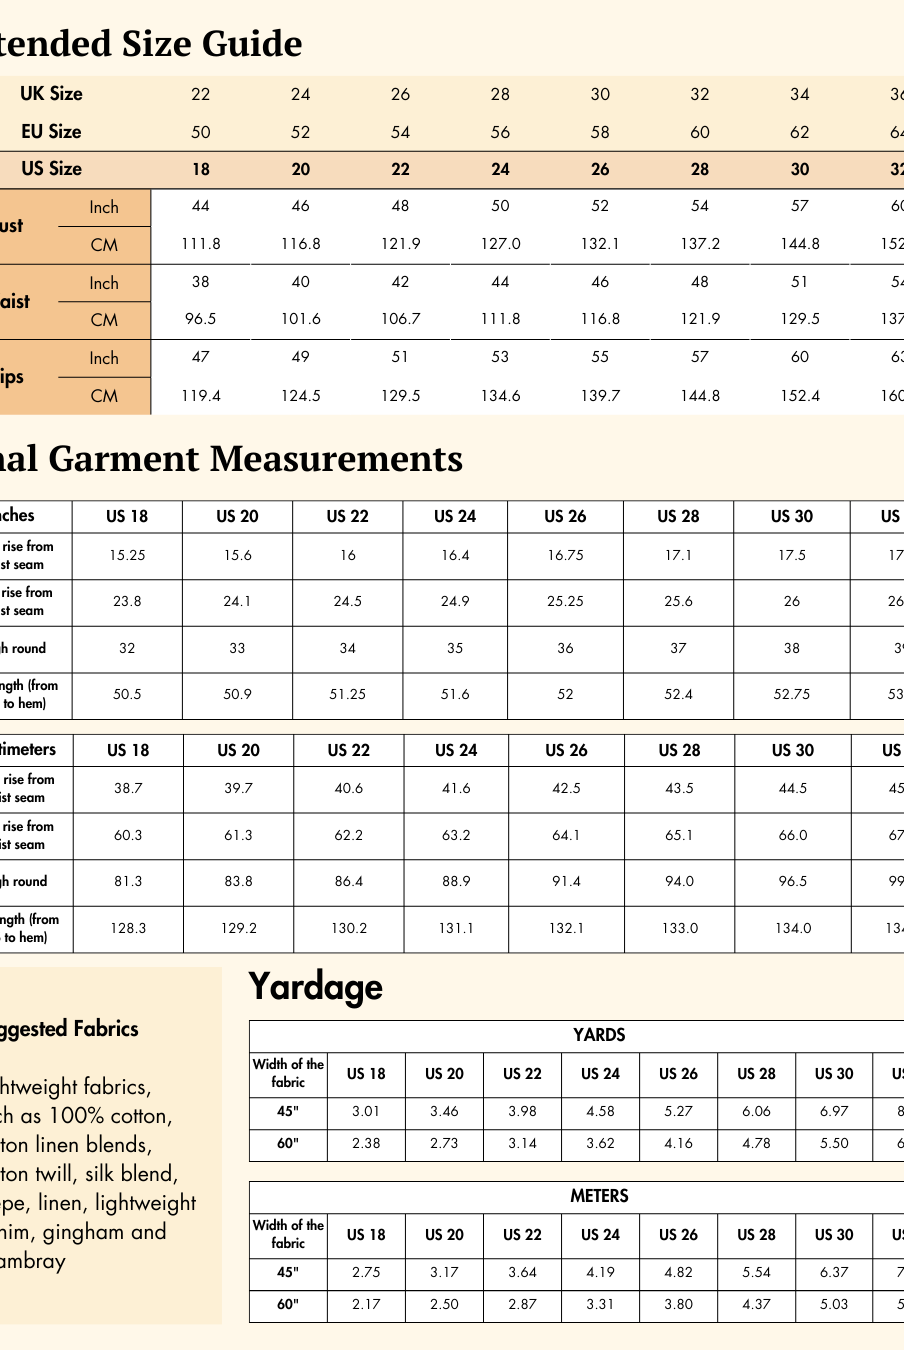
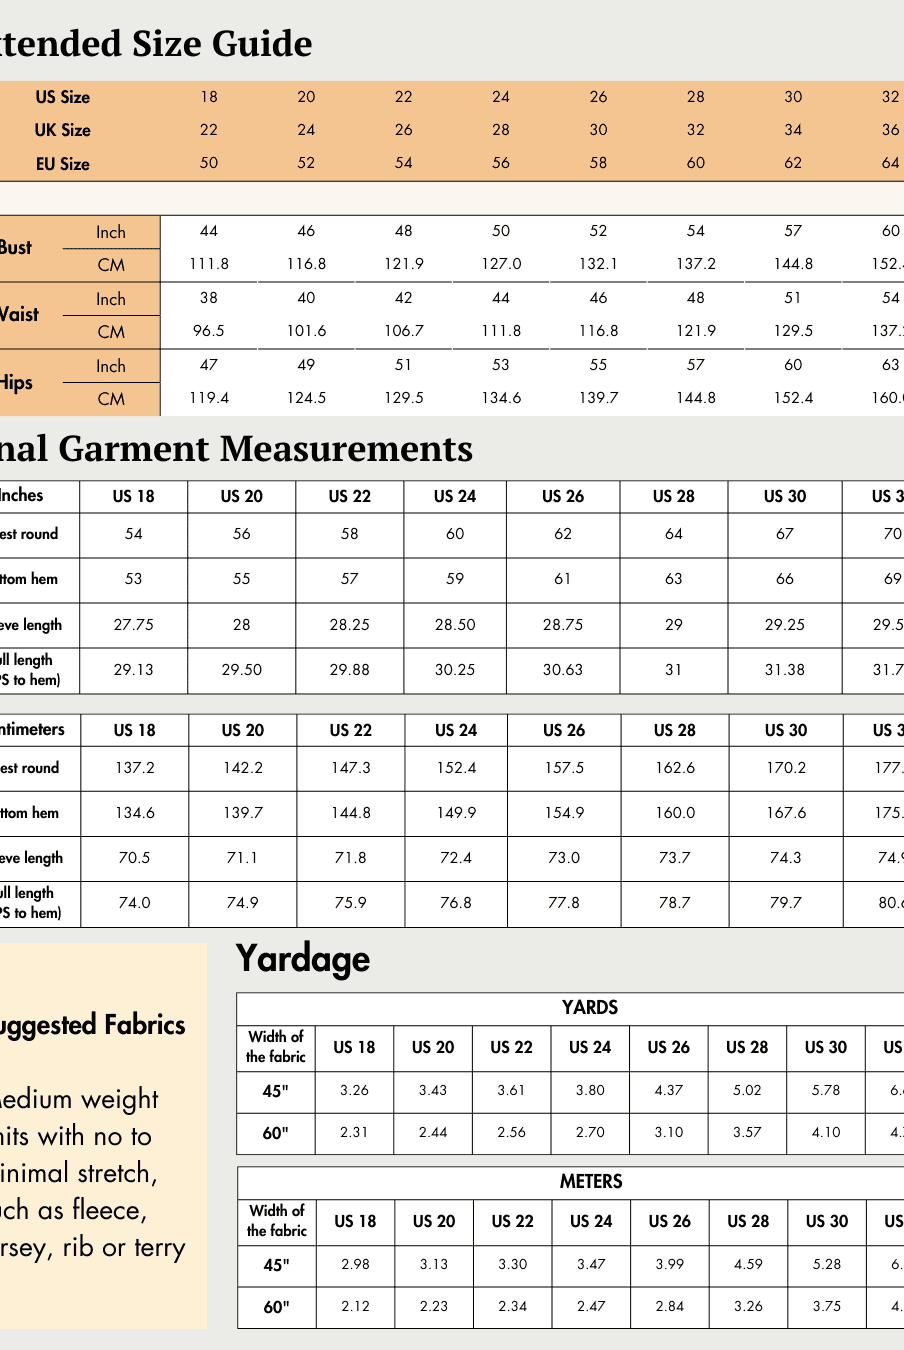
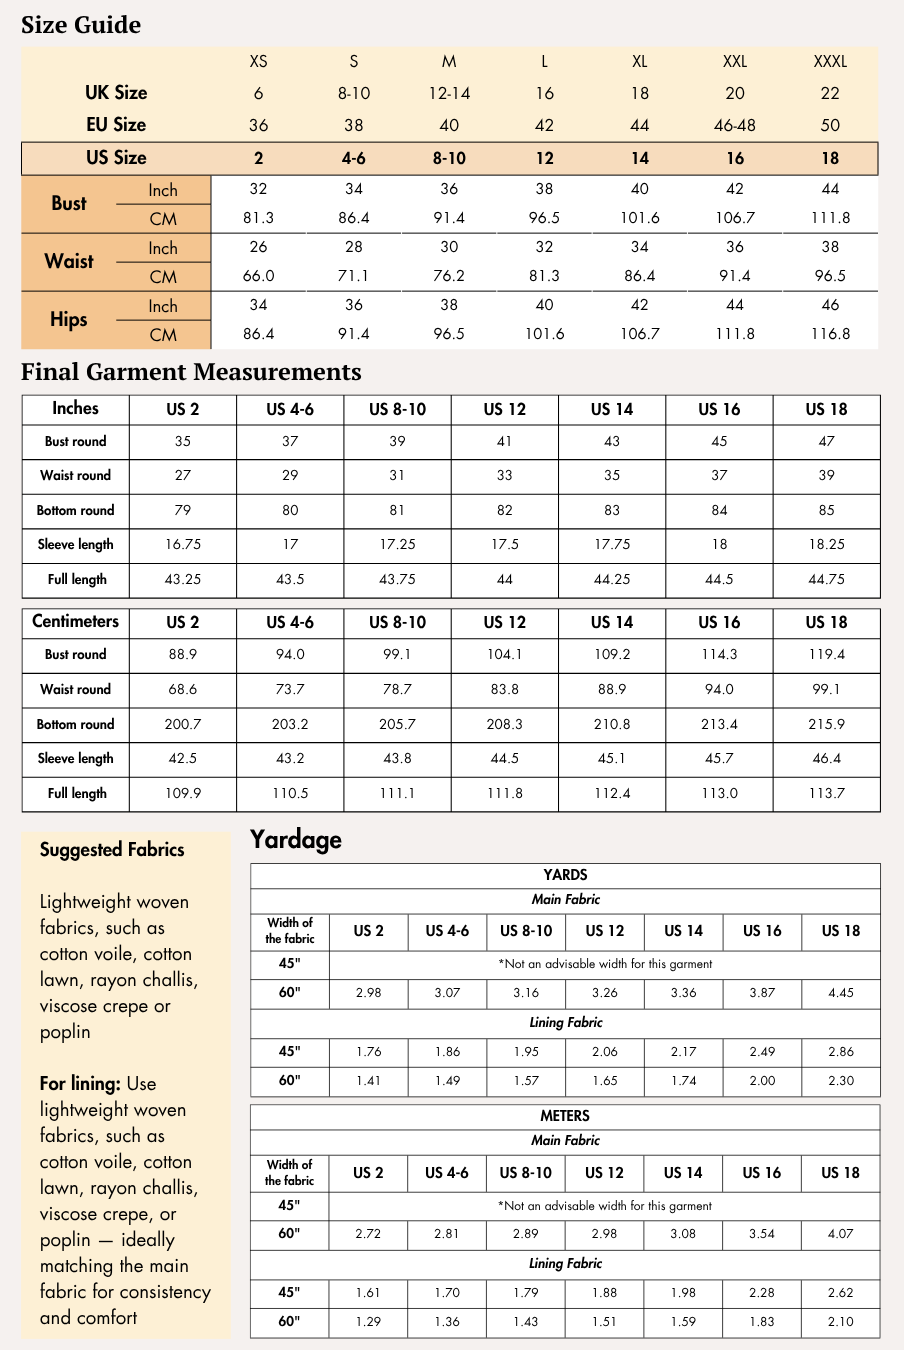
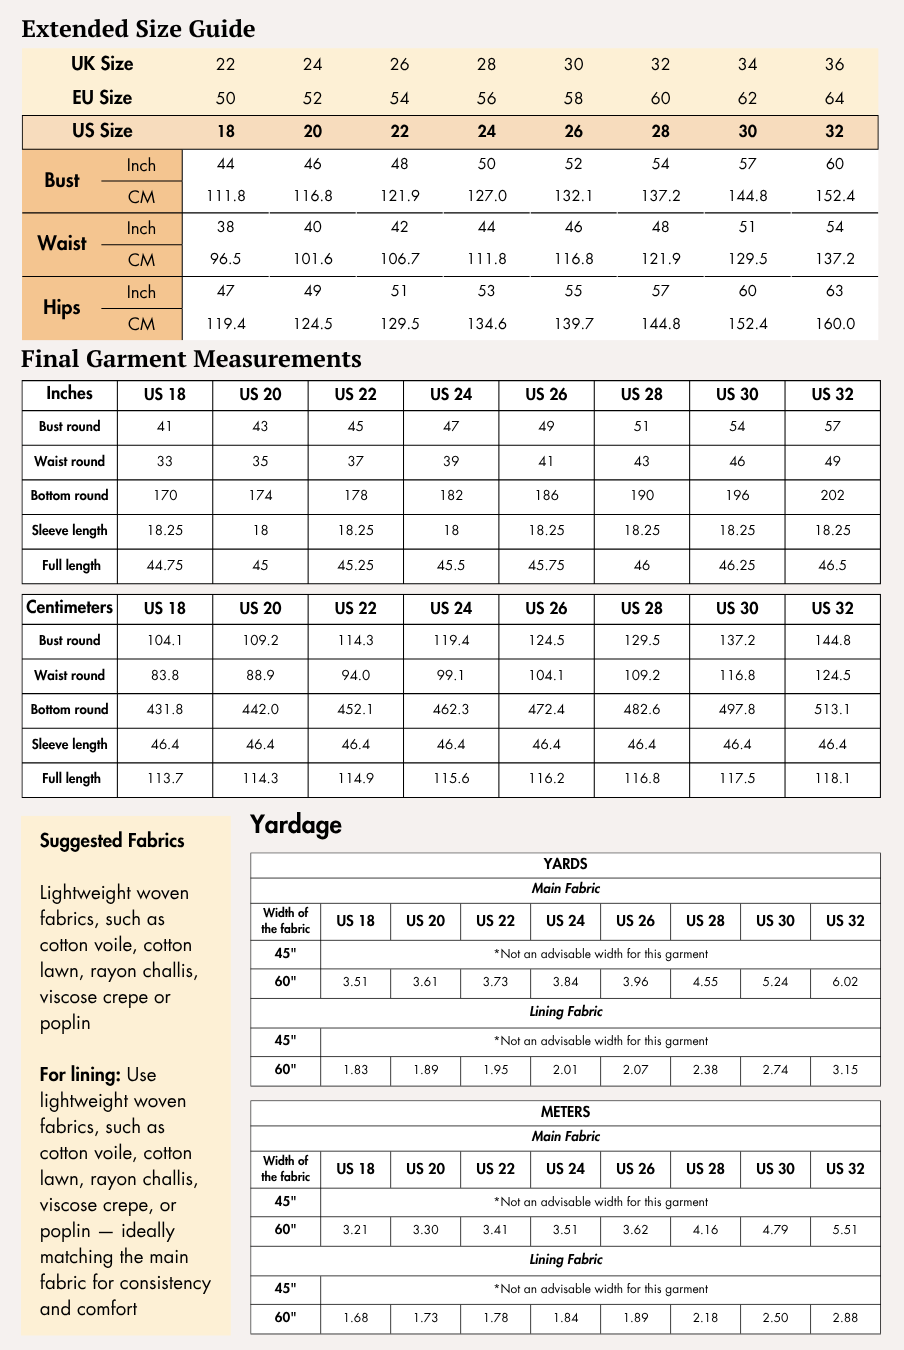
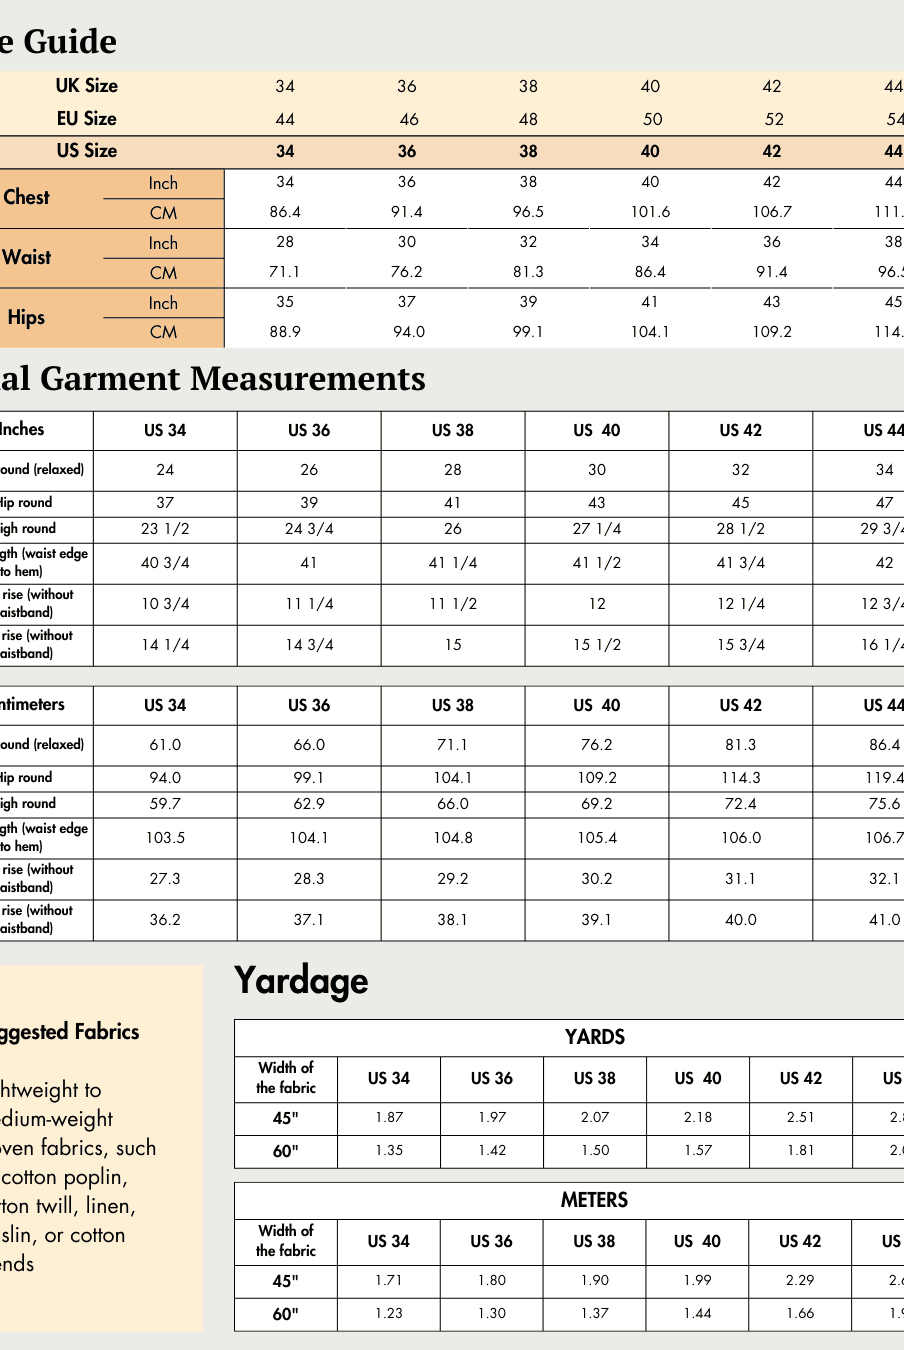
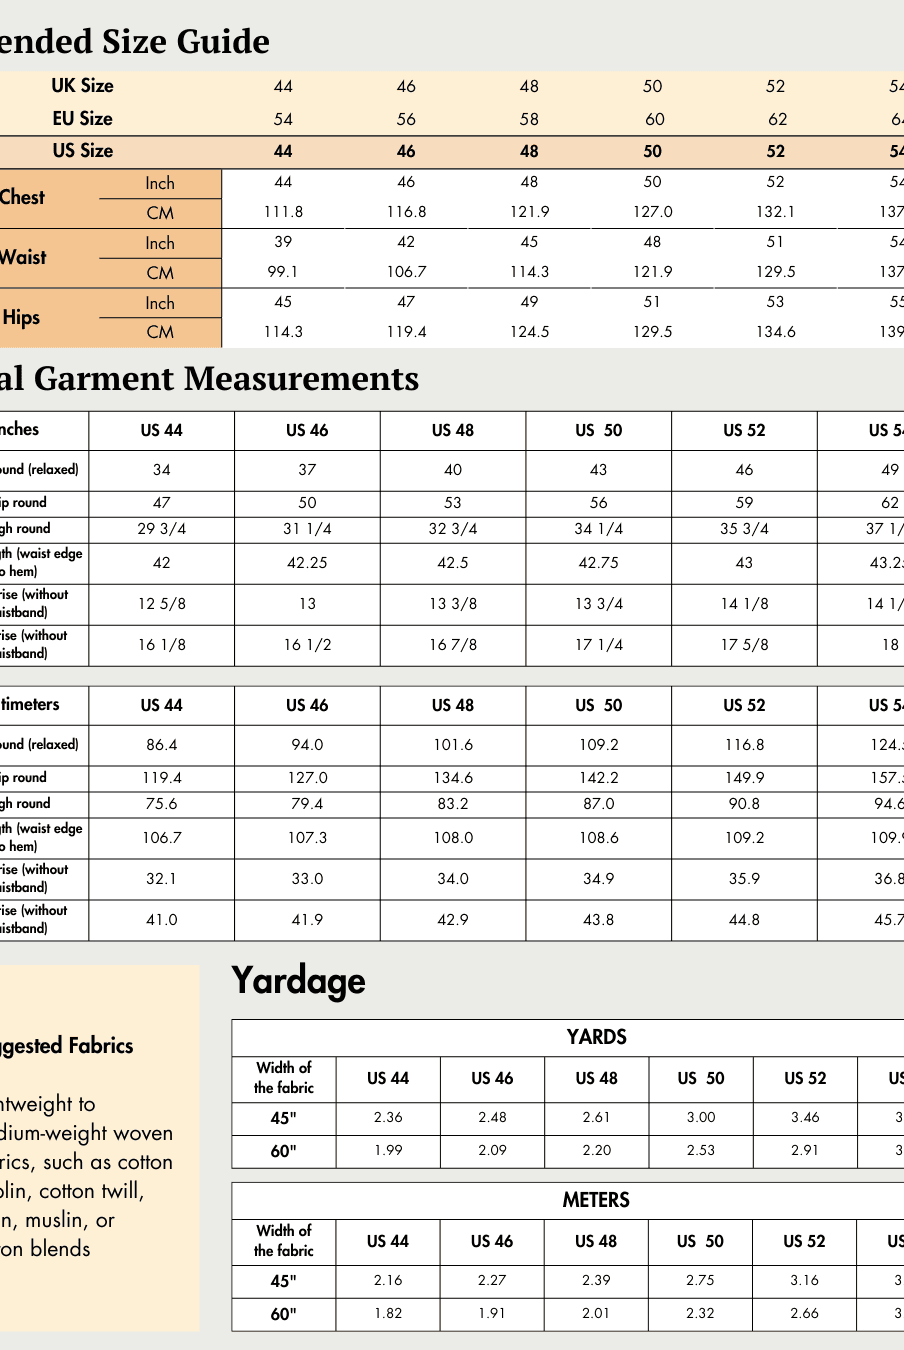
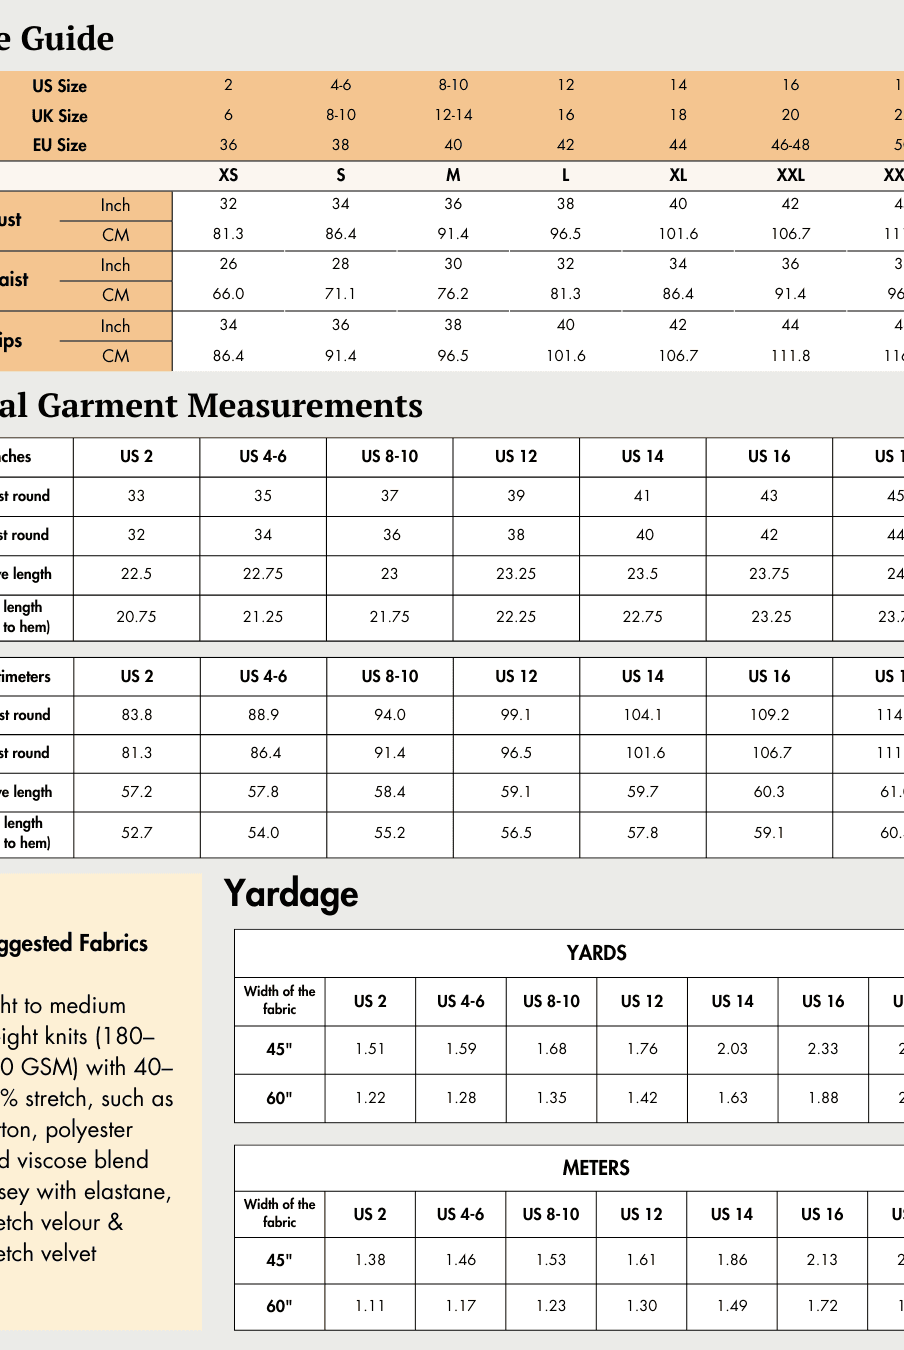
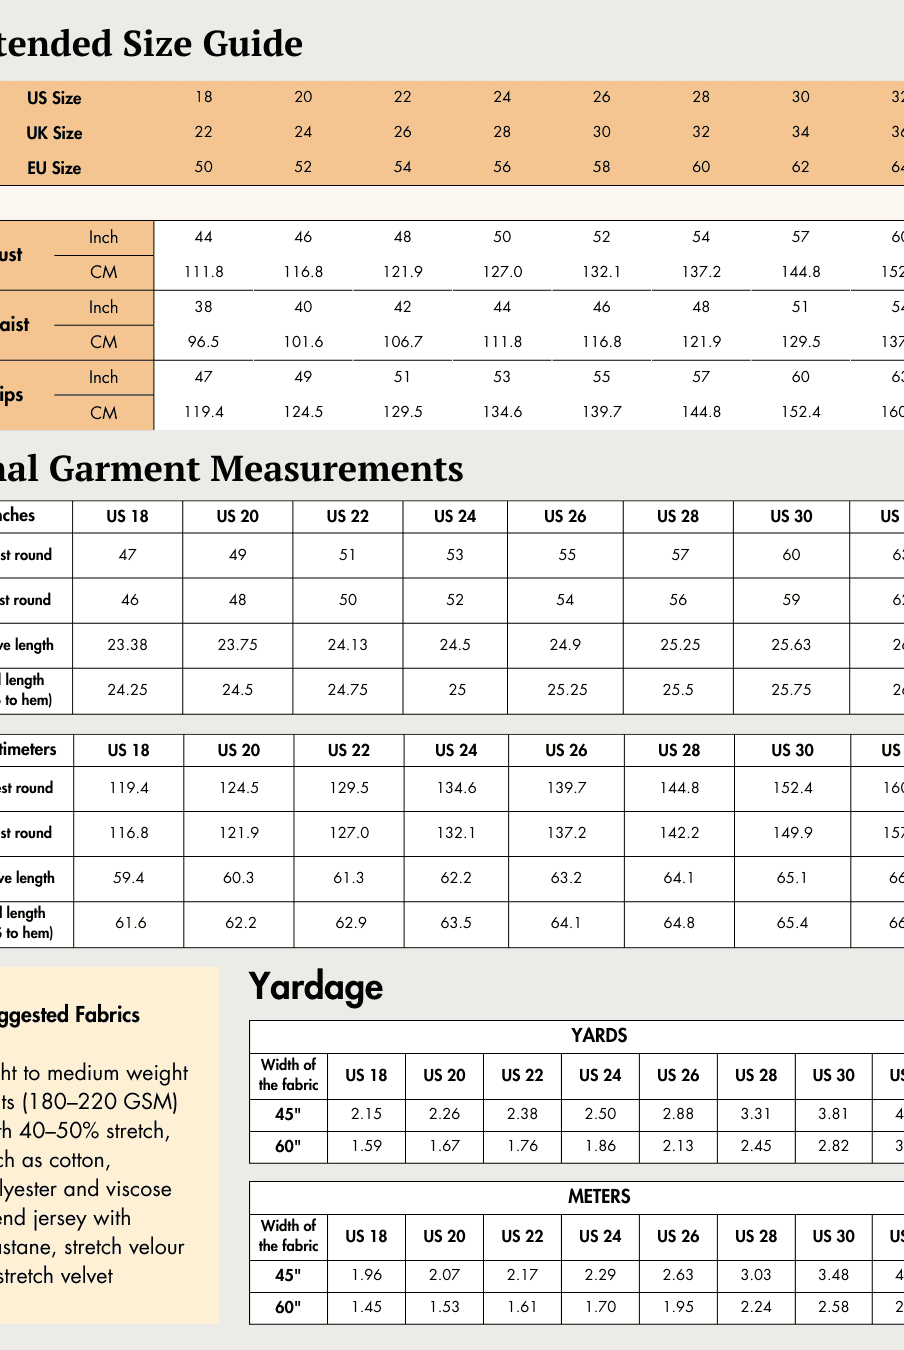
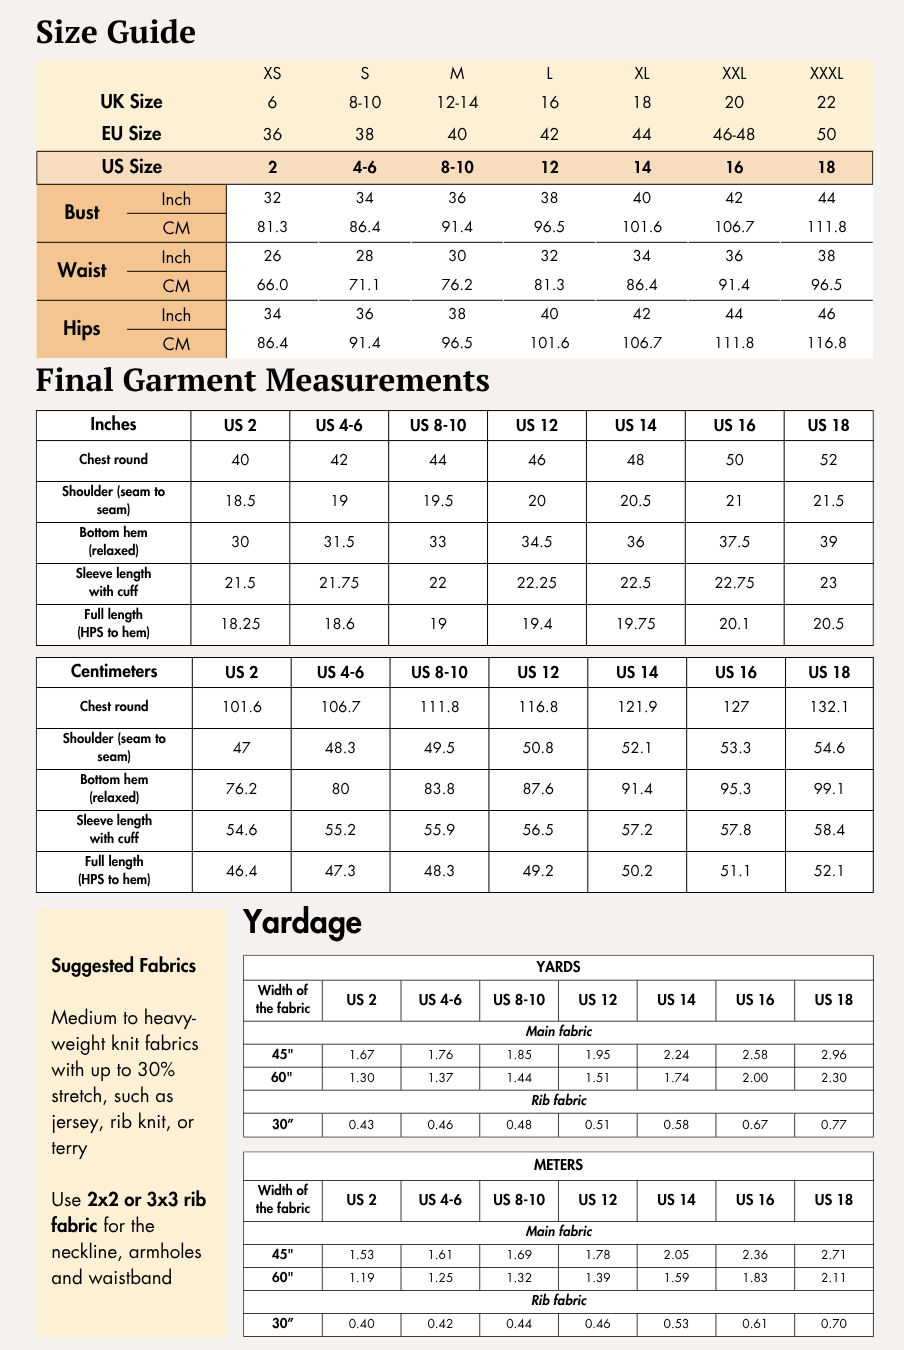
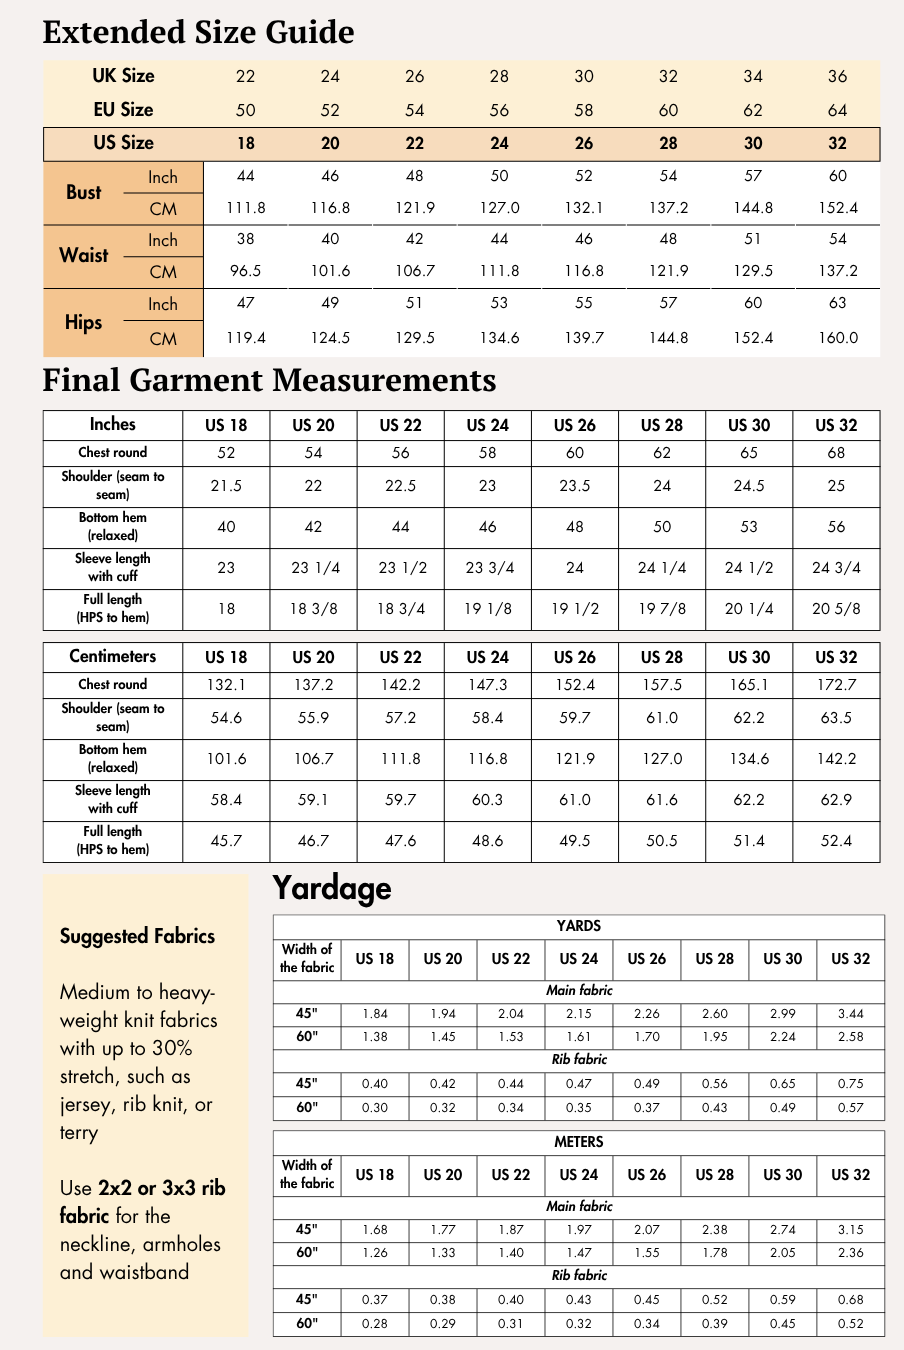
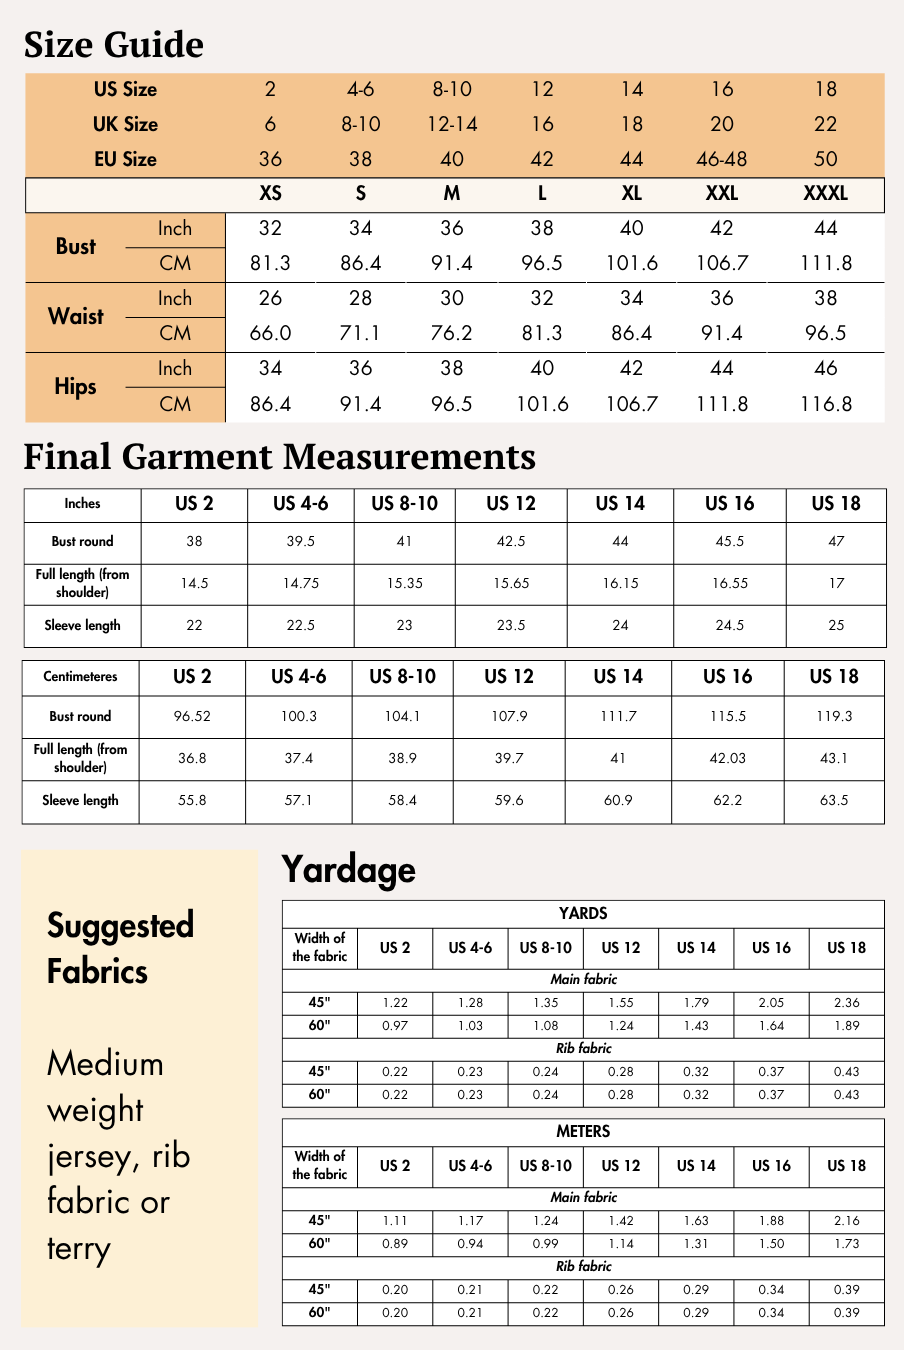
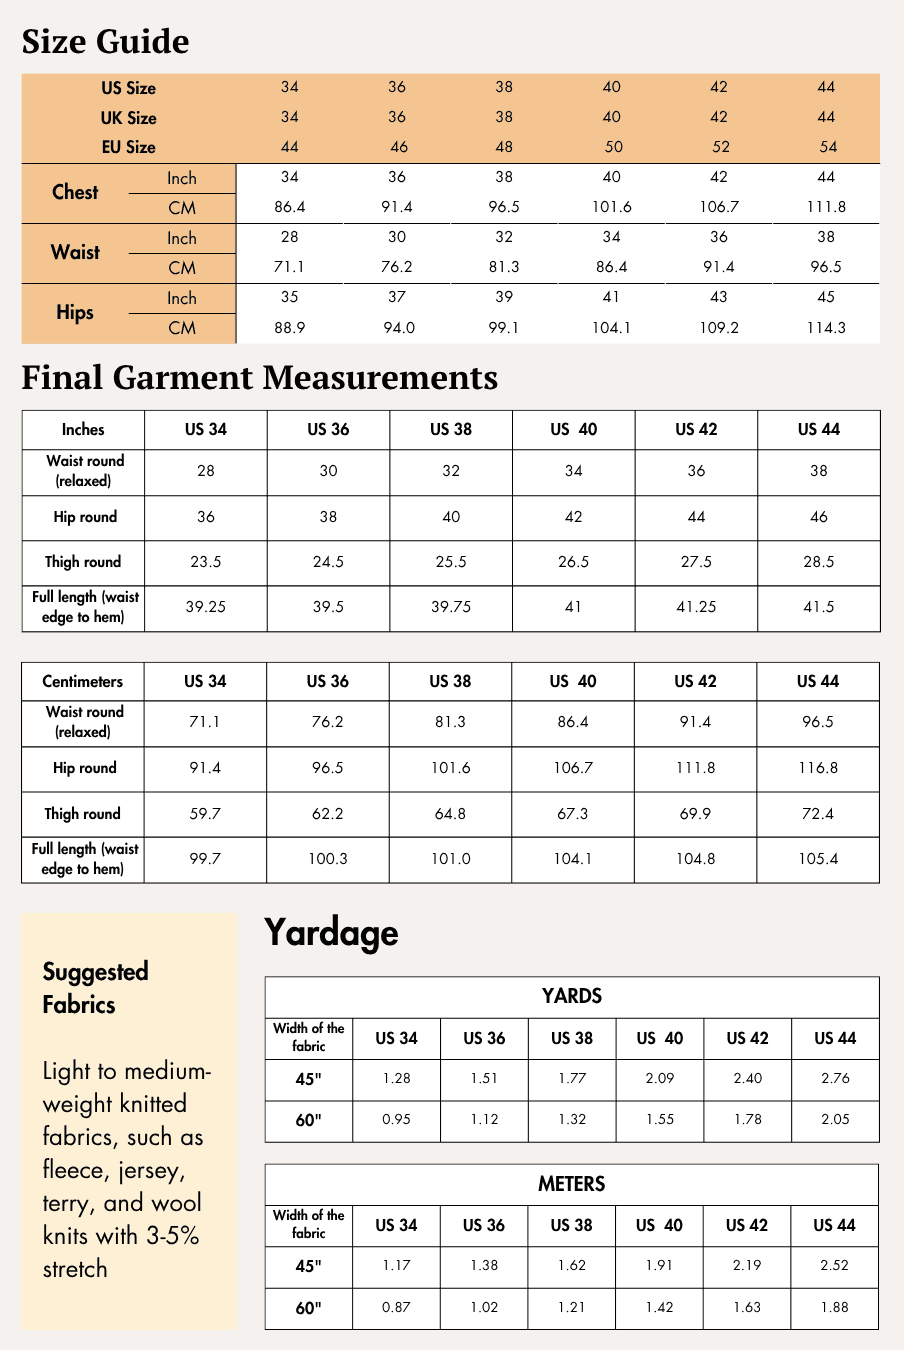
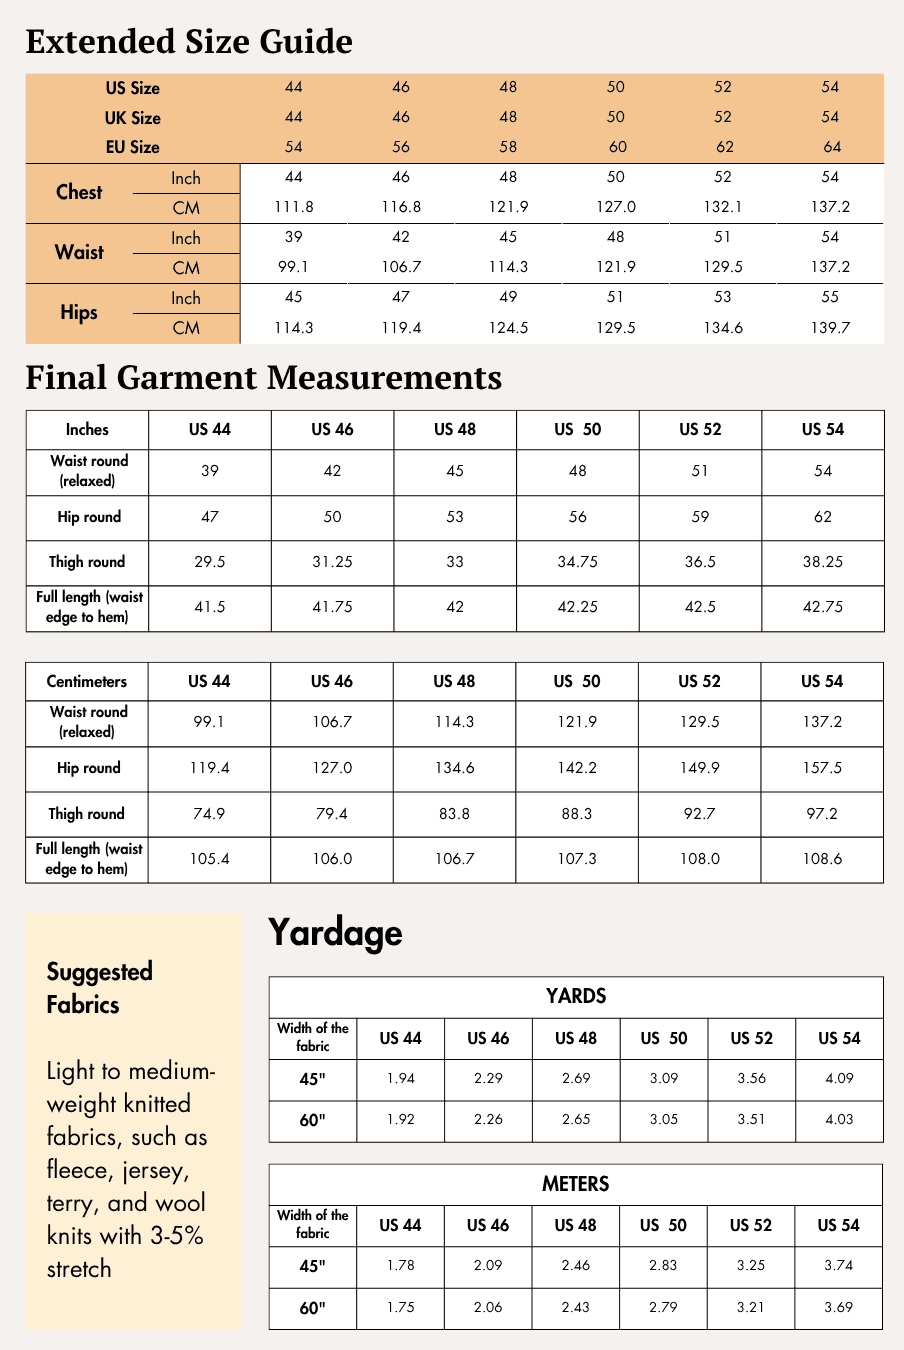
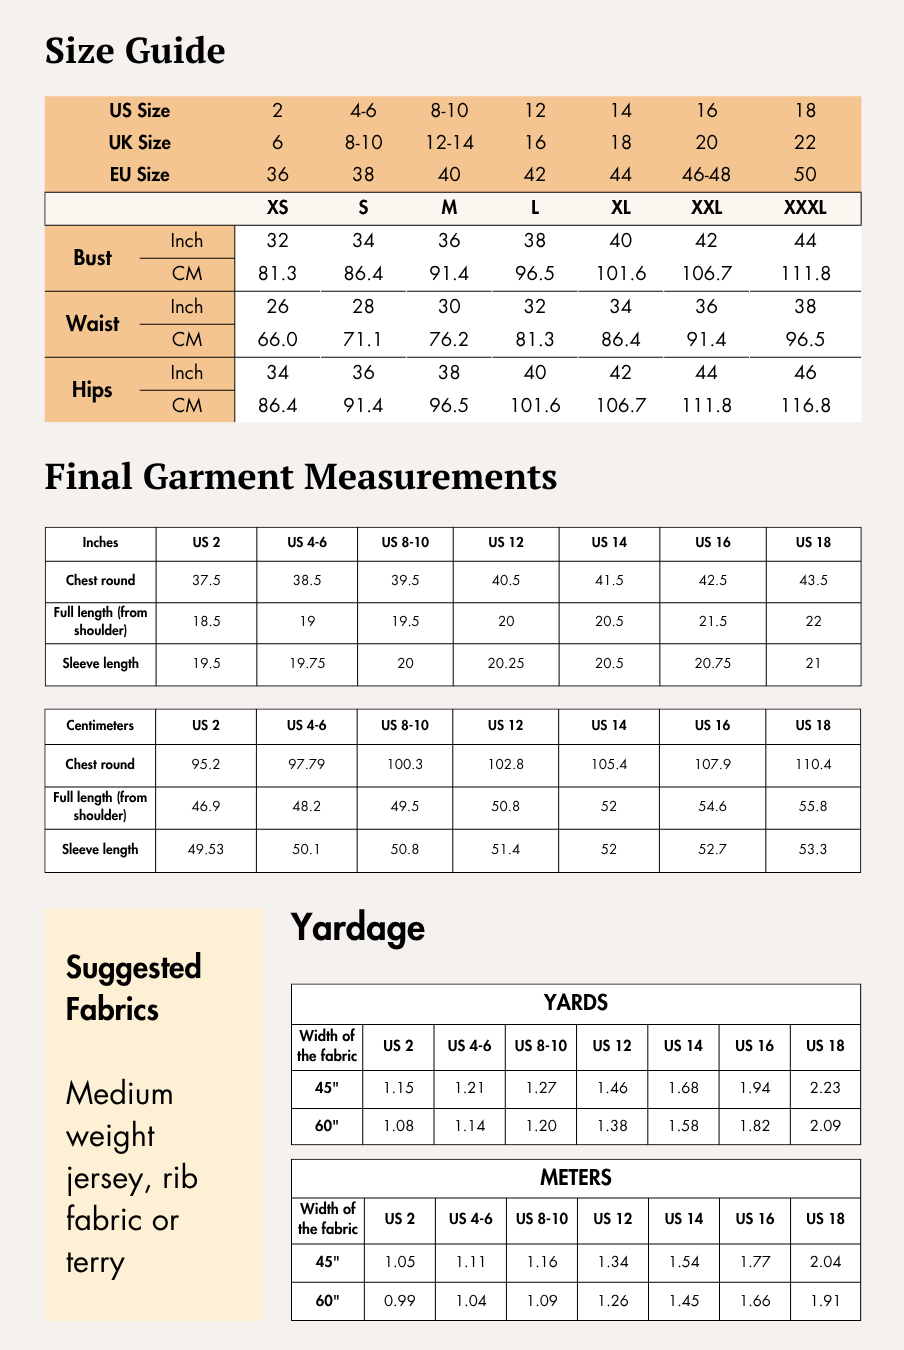
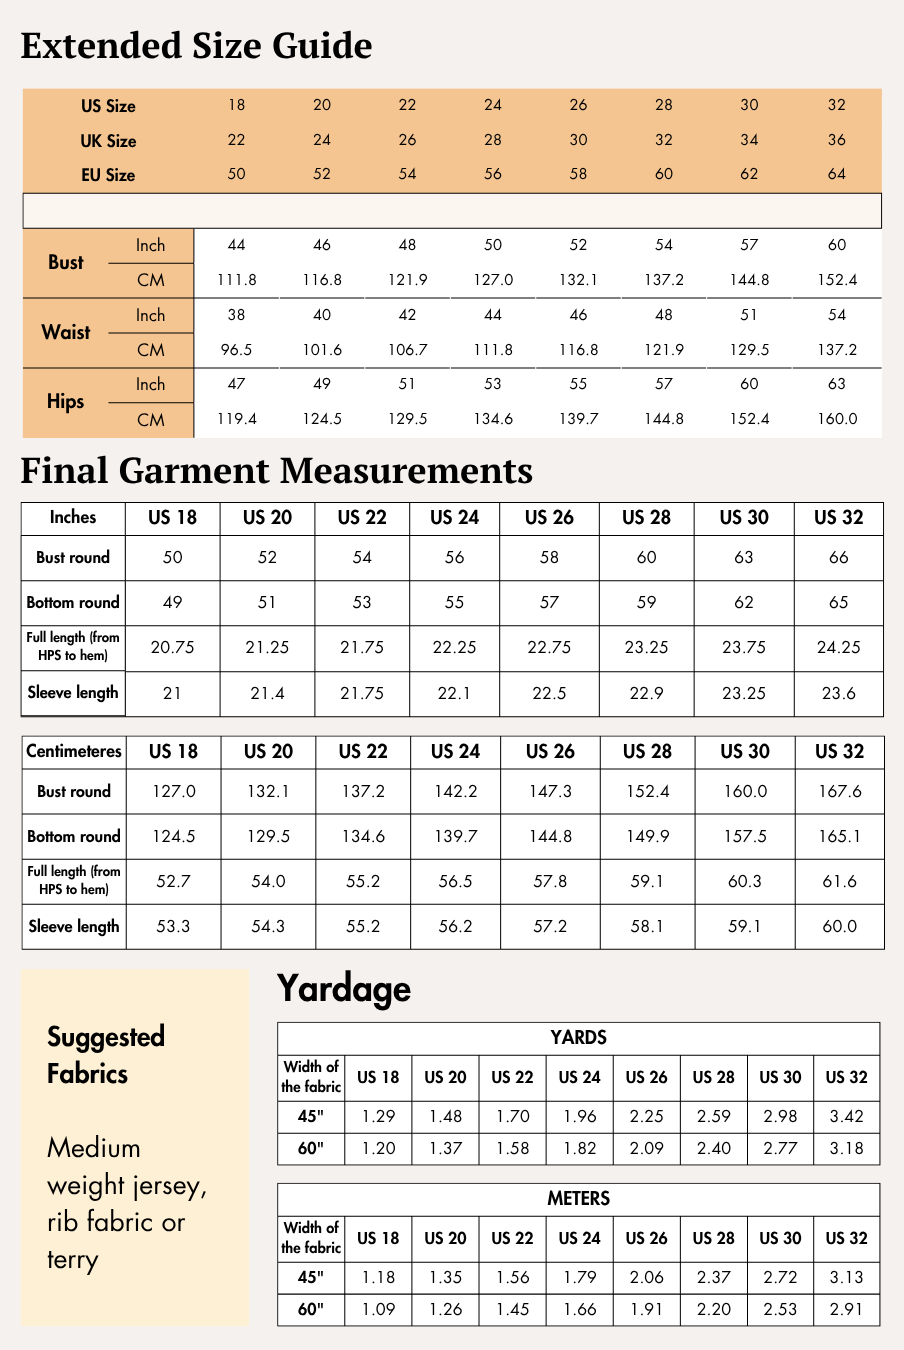
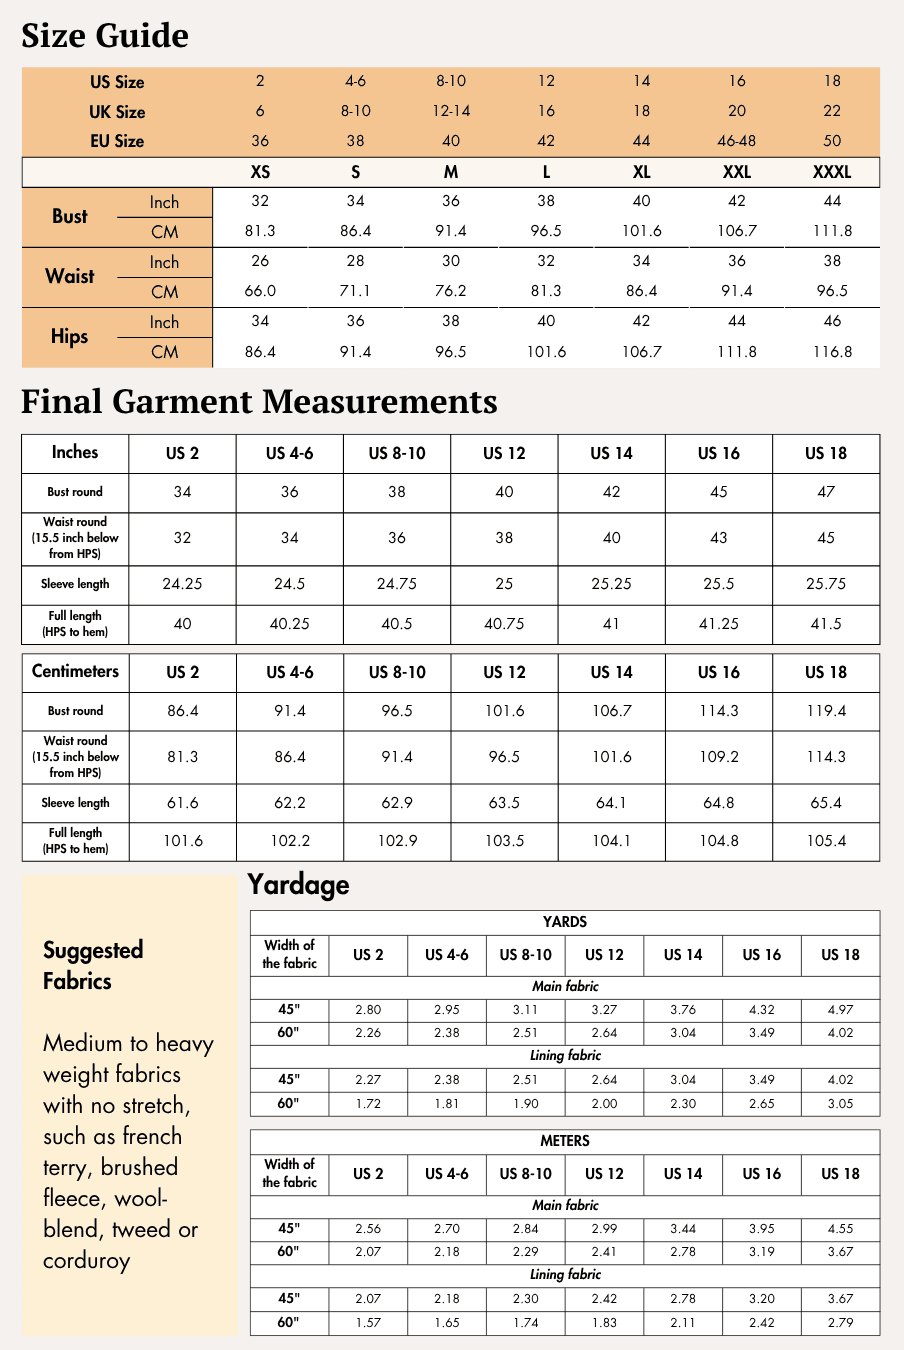
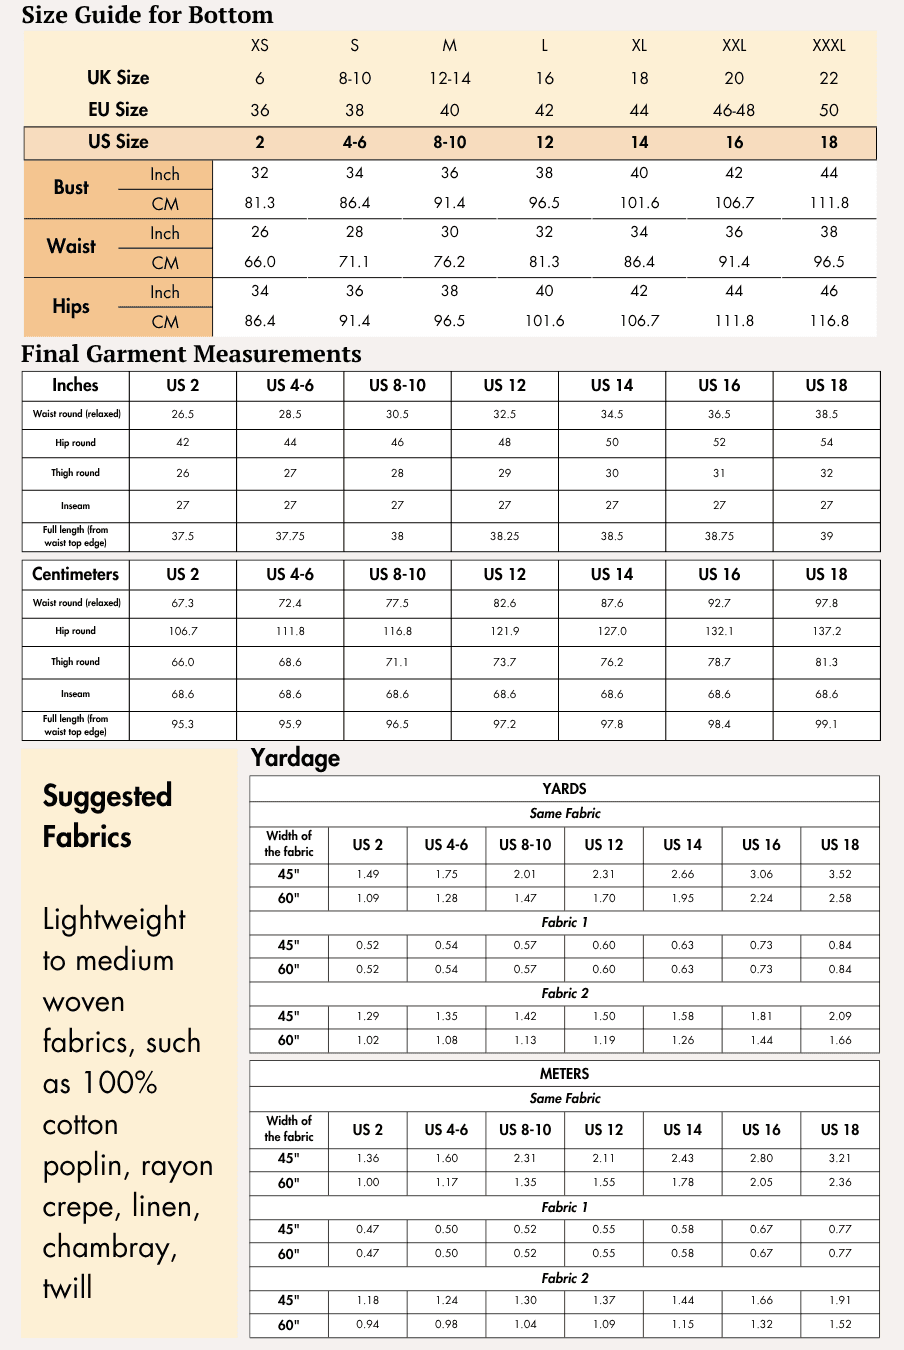
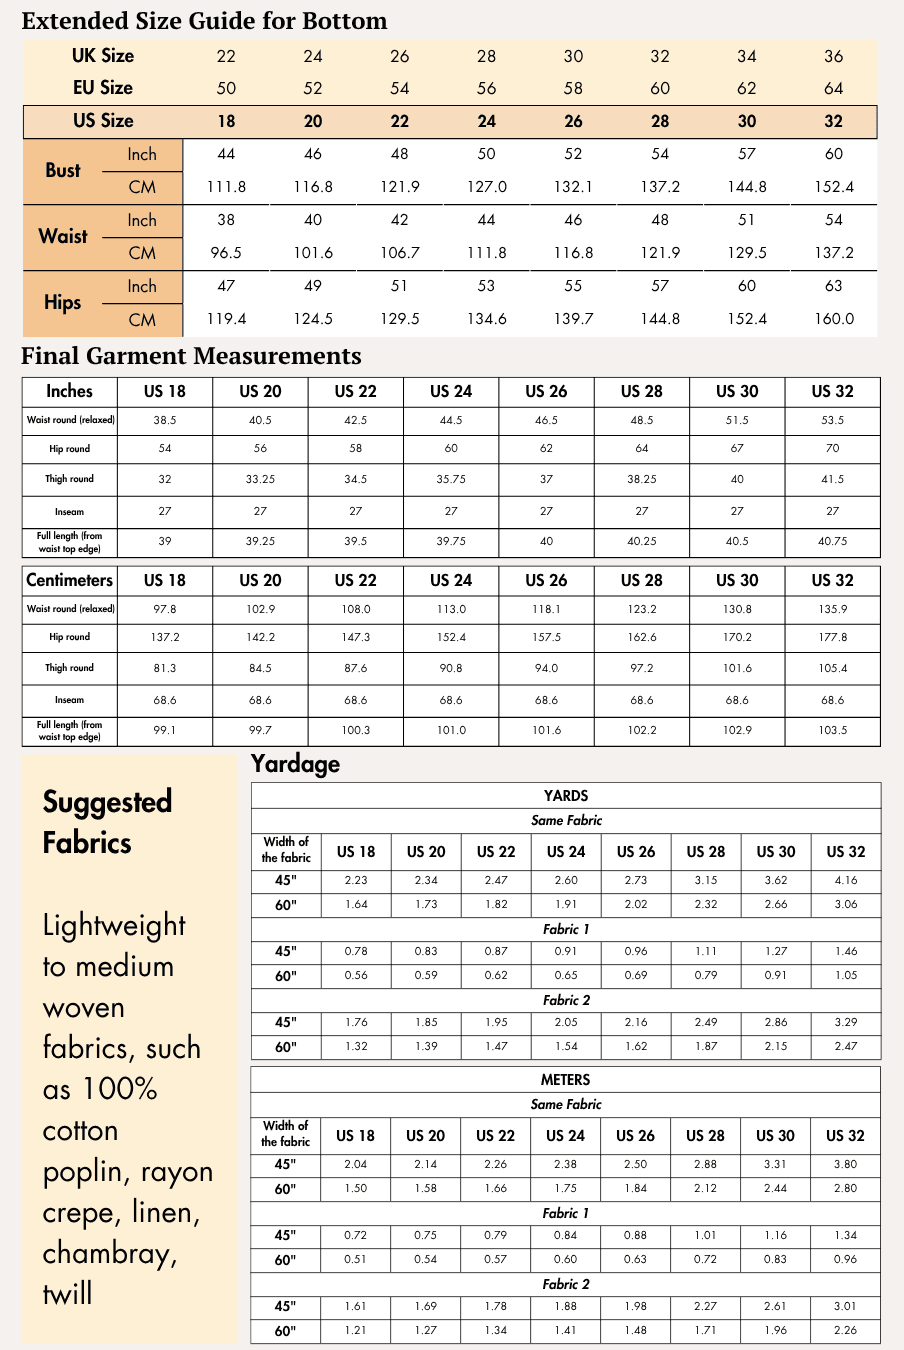
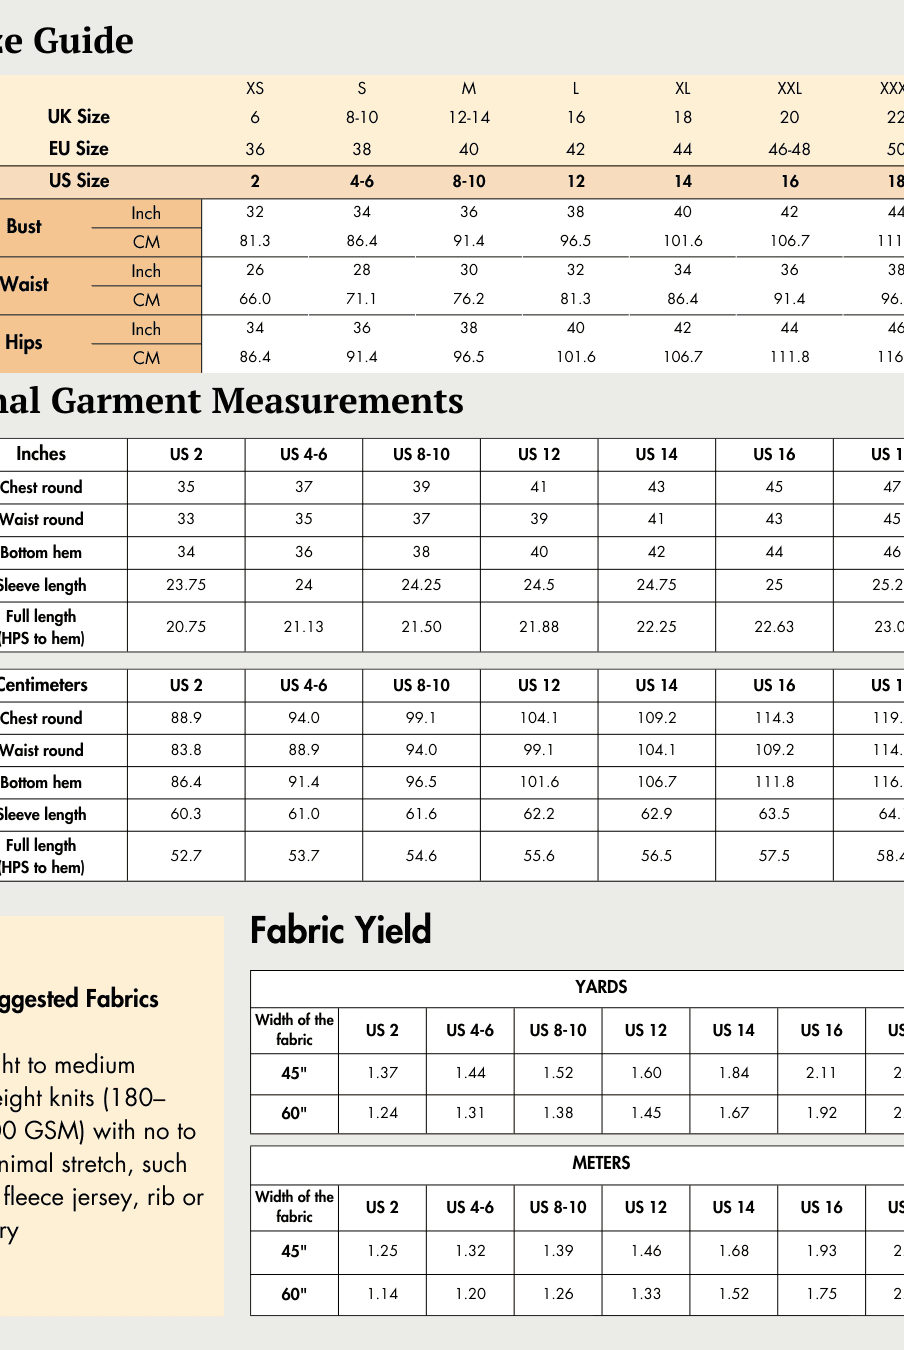
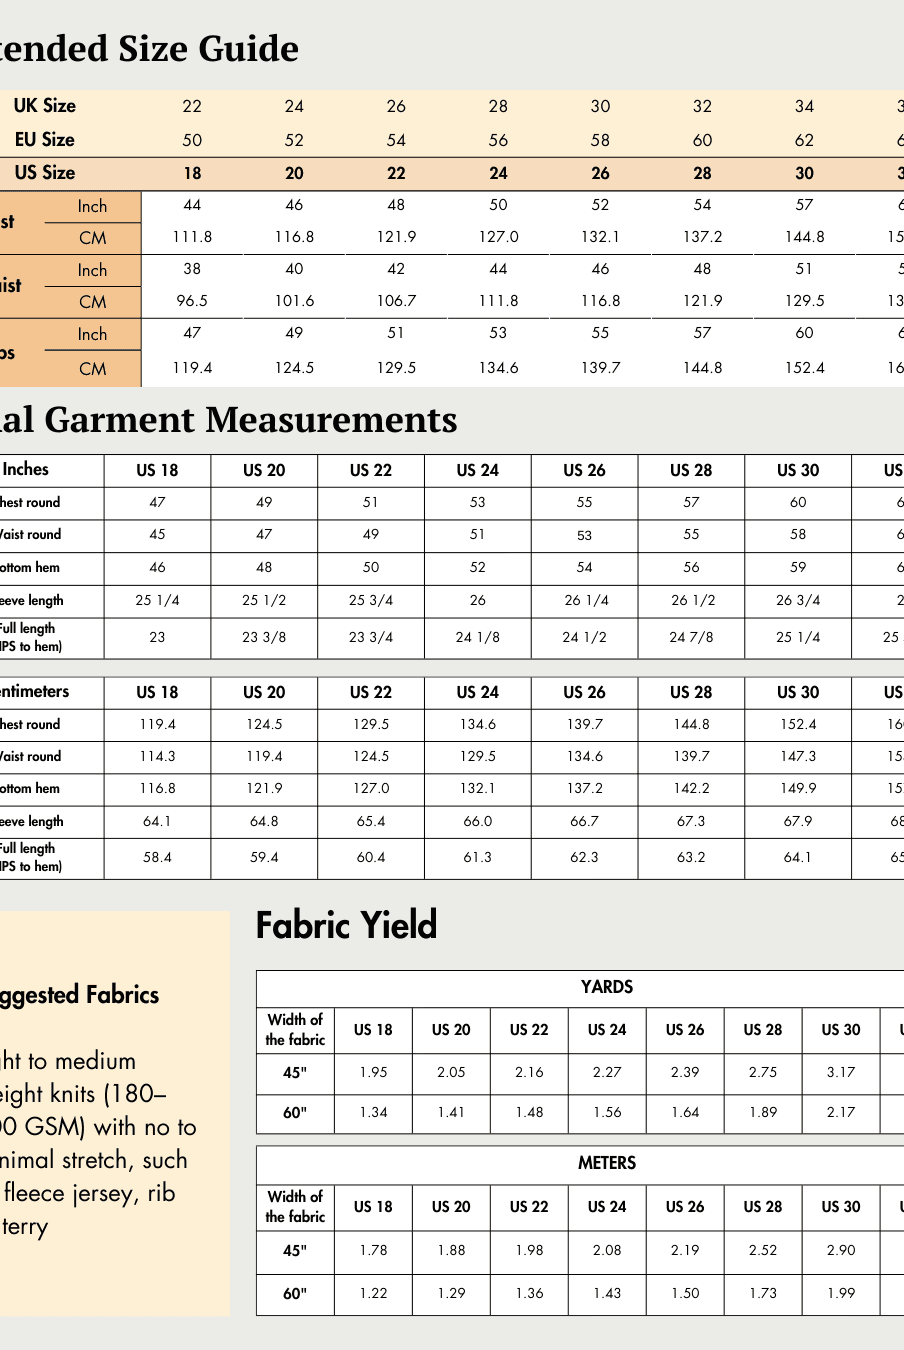
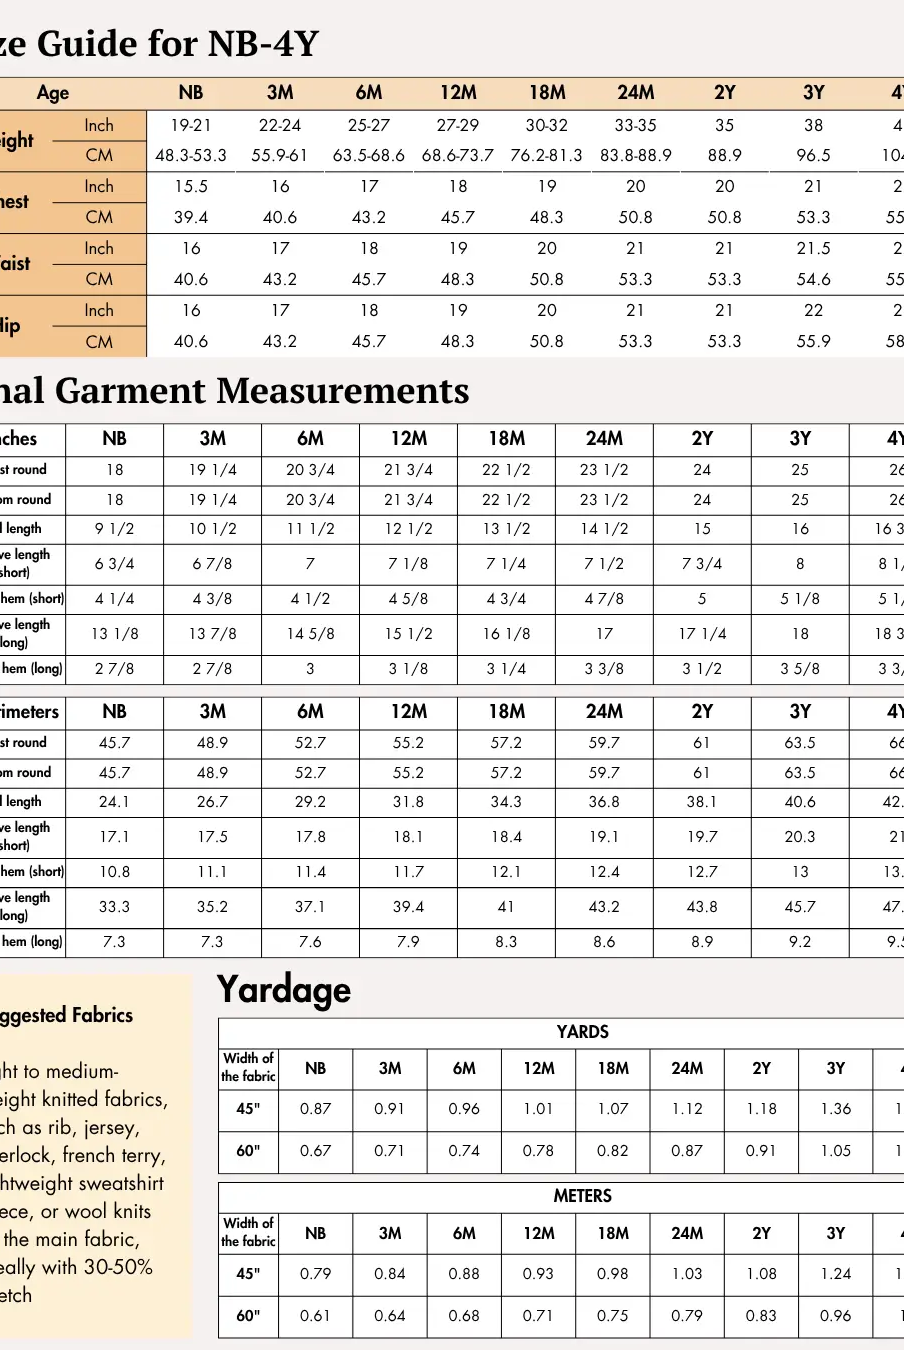
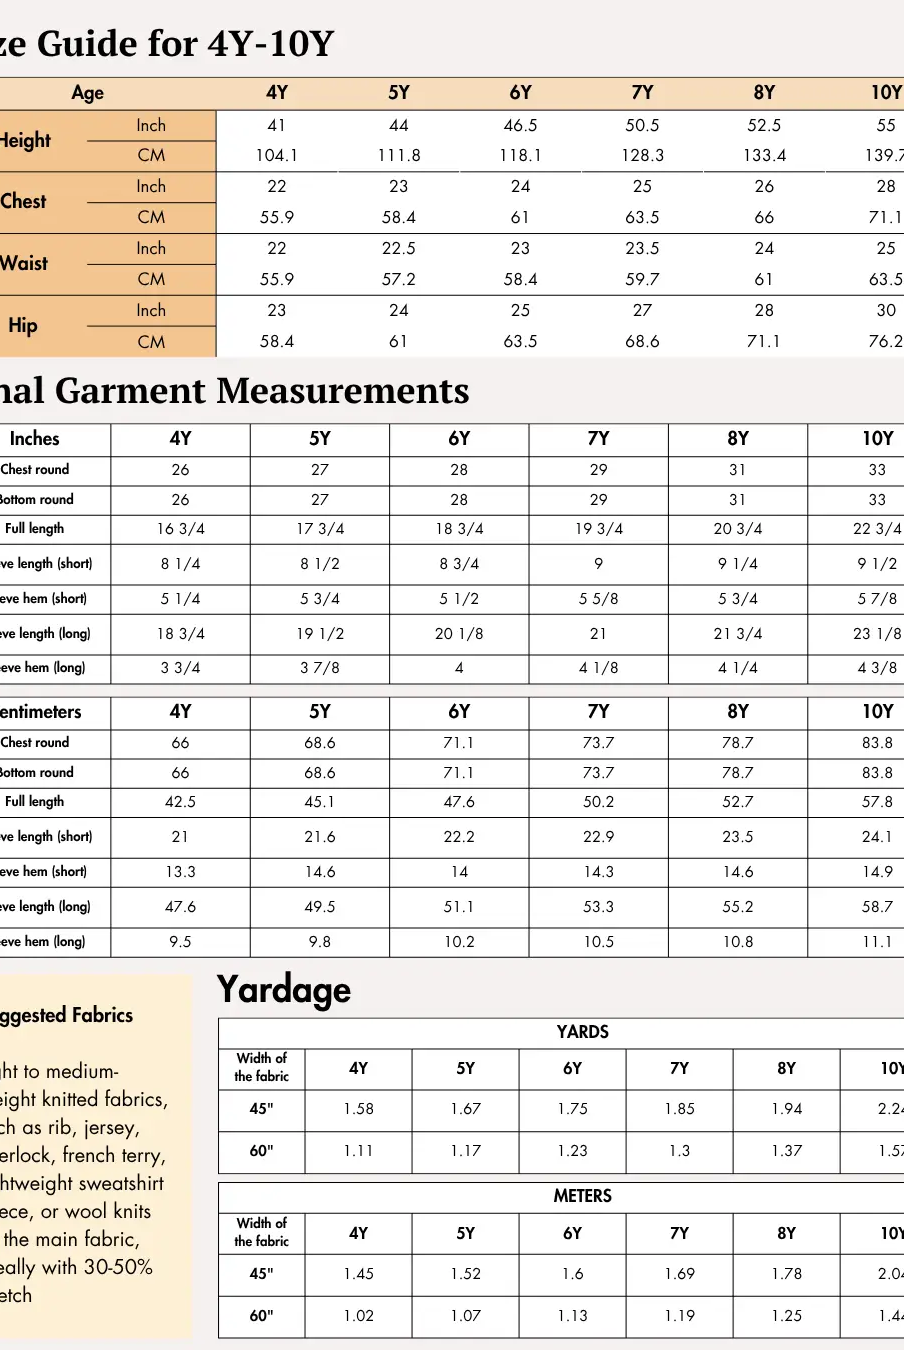
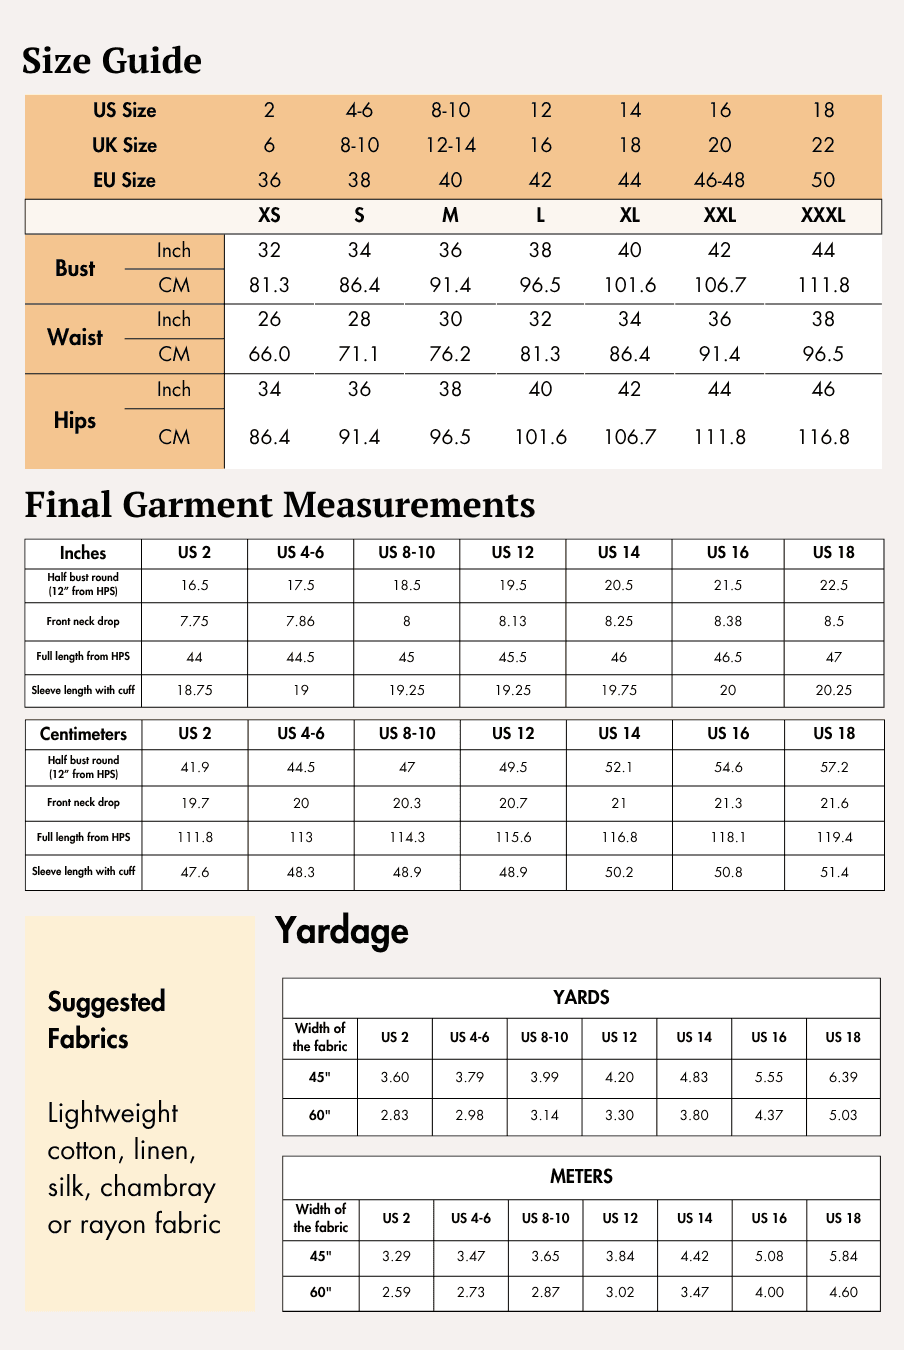
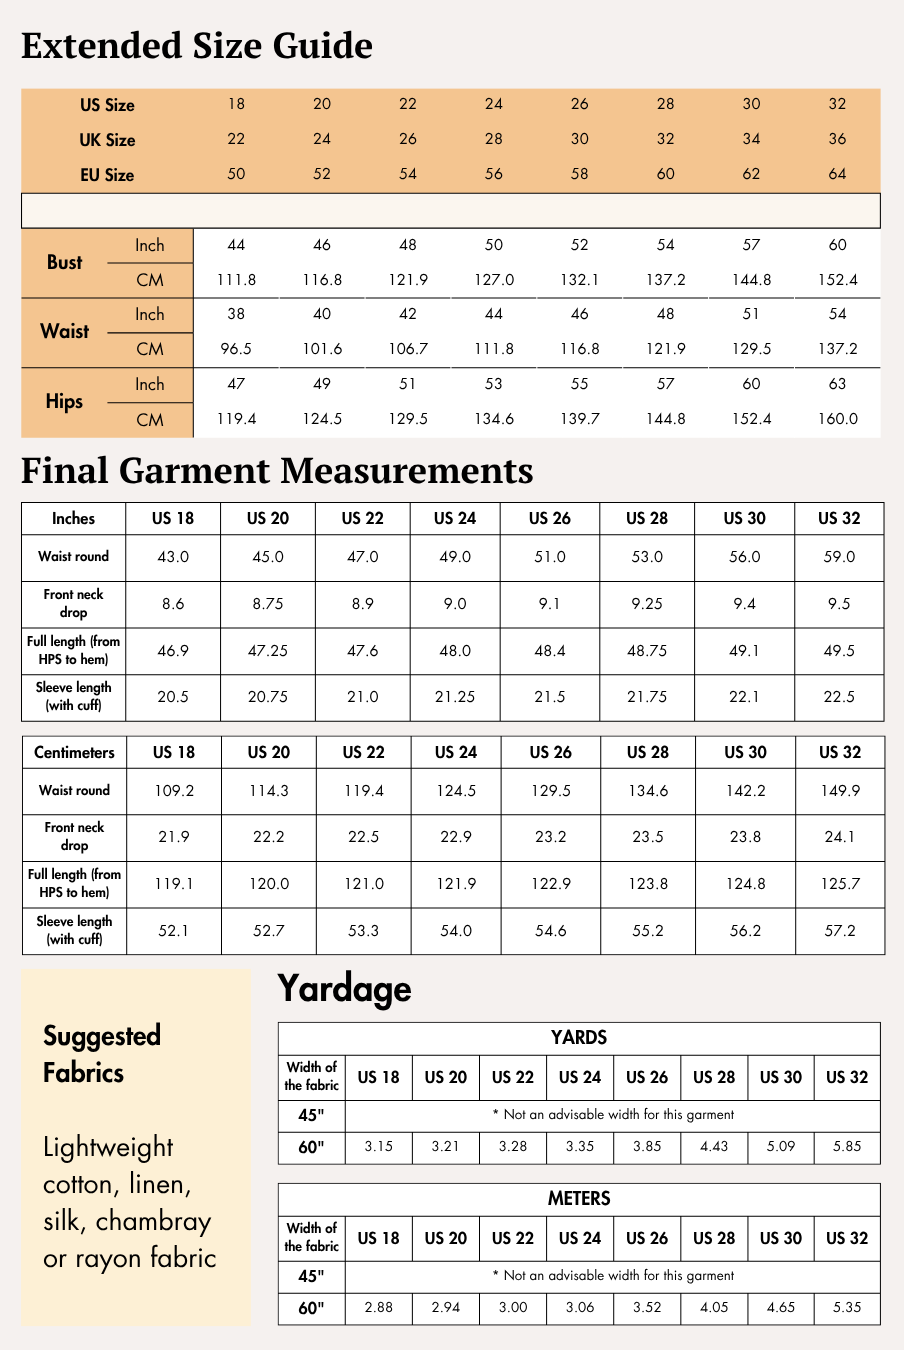
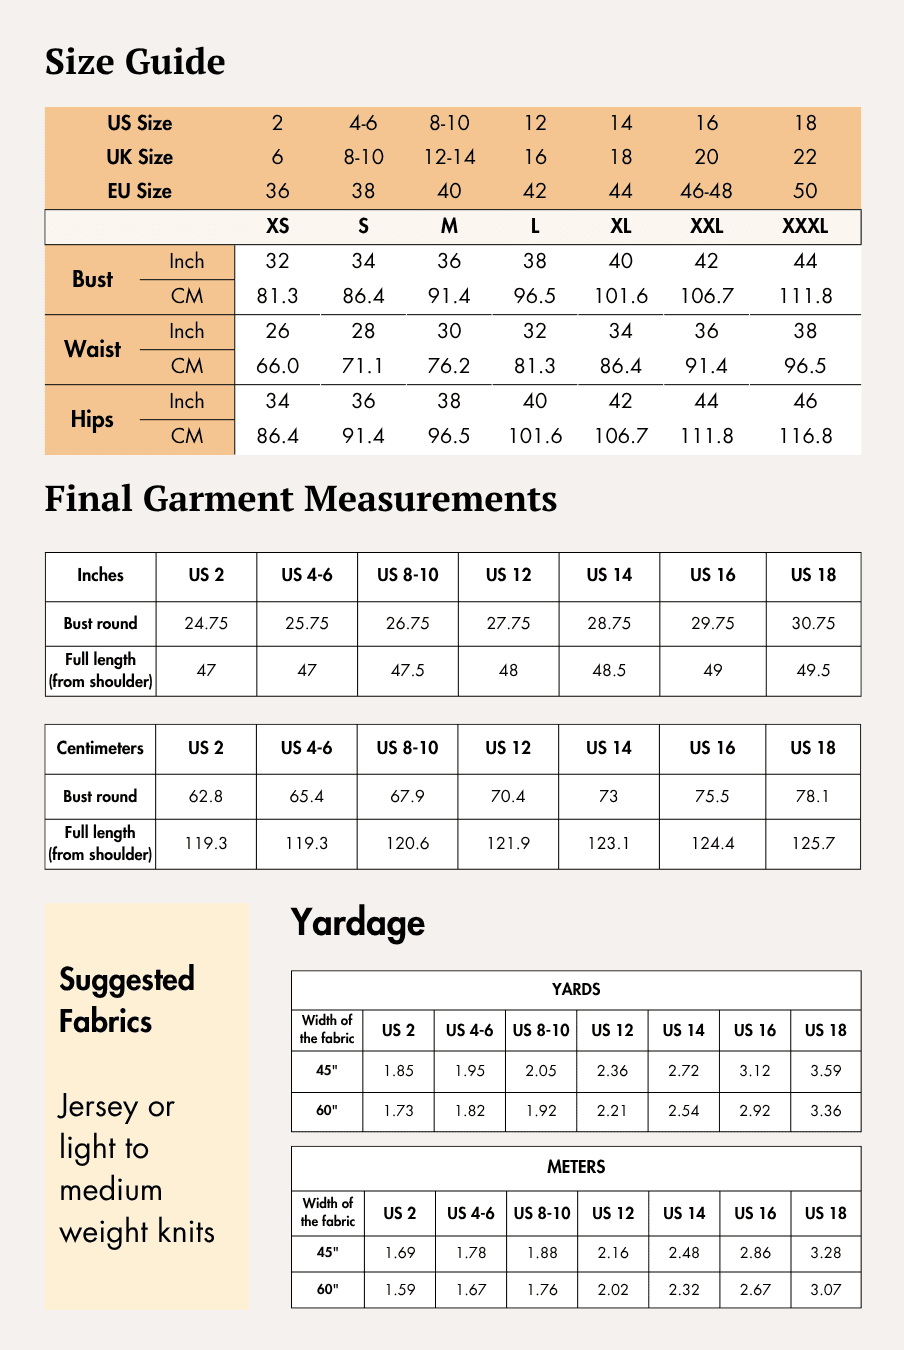
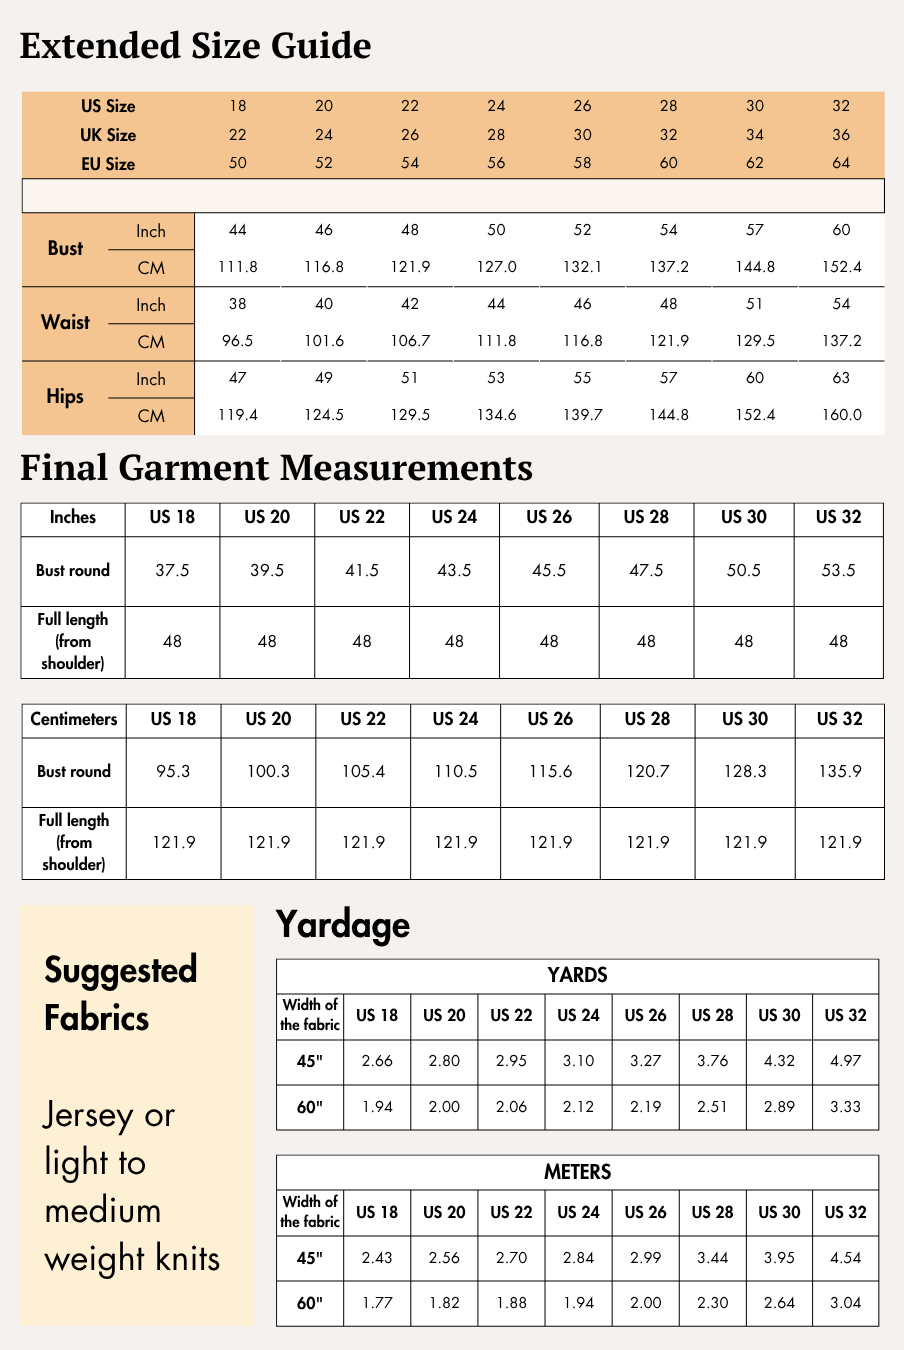
Check the size charts and measure yourself to select the correct size, using the garment and body measurement tables in the guide.
Verify how much fabric you need by referencing the fabric yield table in the guide.
Pattern Inventory: What Pieces to Prepare

Prepare the following pattern pieces before cutting your fabric:
- A. Front Upper — Cut 1 Fabric
- B. Front Lining — Cut 1 Fabric
- C. Back Bottom — Cut 1 Fabric
- D. Back Smocking Block — Cut 1 Fabric
- i. Back Smocking Ready — Cut 1 (used to measure the finished smocking panel after shirring)
- E. Front Bottom — Cut 1 Fabric
- F. Sleeve — Cut 2 Fabric
- G. Strap — Cut 2 Fabric
If you're printing at home, use the A4/US Letter pattern.
If you're printing through a copy shop, use the A0 pattern.
Pattern Marking


Transfer all pattern markings before cutting your fabric. The Reese pattern includes markings for:
- Grainlines
- Neckline
- Side seams
- Armholes
- Front and back strap notches
- Armhole center
- Waistline and waistline notches
- Darts
- Pleat lines and pleat notches
- Gather markings
- Center front and center back notches
- Hemline
- Seam allowances
- Smocking panel reference markings
Cutting Layout


Arrange the pattern pieces according to the cutting layout diagrams, ensuring that each grainline runs parallel to the fabric selvage before cutting.
Separate layouts are provided for 45-inch and 60-inch fabric widths. The layouts are intended for non-directional fabrics. If your fabric has a nap or directional print, purchase additional fabric to accommodate the layout.
The sewing guide illustrates the layouts using the small size as an example.
Fabric Cutting and Preparation
Arrange the pattern pieces according to the cutting layout diagrams before pinning them to the fabric, making sure each grainline arrow is parallel to the selvage.
If you're using fabric shears, trace the pattern pieces before cutting. Remove any marking lines as you cut, and clip all notches carefully to make assembly easier.
Transfer all pattern markings, including circles, buttonholes, fold lines, and the center front marking on pieces cut on the fold, to the wrong side of the fabric before sewing.
Seam Allowance
Please follow the seam allowances as indicated on the pattern file layers. These are provided specifically for each piece to ensure accurate construction.
This pattern uses:
- All around: 1 cm (3/8")
- Bottom hem: 1.3 cm (1/2")
- Sleeve hem: 2.25 cm (7/8")
- Back smocking panel (all around): 2.5 cm (1")
- Front upper side seams and waistline: 2.5 cm (1")
Step-by-Step Sewing Instructions
1. Create the Gathers
Set your sewing machine to a 5–7 mm stitch length. Sew basting stitches between the seam allowances where the gather notches are marked on the Sleeves (Pattern F), Front Bottom (Pattern E), and Back Bottom (Pattern C).
Tie the thread at one end, then gently pull the thread from the opposite end to create the gathers. Adjust them later during assembly to match the adjoining pattern pieces evenly.
2. Finish the Top Edge of the Back Smocking Block
2a. Place the 6 mm elastic band along the top seam allowance of the Back Smocking Block (Pattern D). The elastic can match the full width of the smocking panel or be shortened by ½–1 inch for a firmer fit, depending on your preference.
2b. Fold the top seam allowance twice—first fold 1 cm and press, then fold again along the seamline. Sew close to the folded edge to create a casing that encloses the elastic.
Remove the elastic after creating the casing and set it aside. Insert it again after the smocking has been completed.
3. Create the Smocked Back Panel
Prepare your sewing machine with elastic thread wound onto the bobbin and reduce the thread tension before sewing. Test the settings on a scrap piece of fabric before working on the garment.
Mark evenly spaced stitching lines across the Back Smocking Block (Pattern D). The sample garment uses 19 rows of smocking.
Secure the beginning of the first row with a few stitches and a knot, then sew each row across the panel. Continue until all smocking rows are complete.
After shirring, place the Back Smocking Ready (Pattern i) template over the smocked panel and trim the fabric to the finished shape.
Finally, insert the 6 mm elastic into the casing prepared in Step 2.
4. Create the Back Panel
4a. Place the prepared Back Bottom (Pattern C) onto the waistline of the completed smocking panel with right sides together. Adjust the gathers evenly and pin.
4b. Sew along the waist seam.
4c. Open the seam and press it flat.
5. Sew the Pleats and Darts on the Front Upper
5a. Match each pair of pleat notches on the Front Upper (Pattern A) with right sides together. Sew along the marked pleat stitch line. Continue until all pleats are completed.
5b. Press the pleats so they lie evenly and parallel.
5c. Fold each dart with right sides together, matching the dart legs. Sew along the marked dart line on the wrong side of the fabric and press each dart toward the direction of the adjacent pleats.
6. Sew the Front Lining Darts
Fold each dart on the Front Lining (Pattern B) with right sides together, matching the dart legs. Sew along the marked dart lines and press the darts toward one side.
Repeat for all remaining darts.
7. Create the Front Panel
7a. Place the prepared Front Lining over the Front Upper with right sides together. Align the neckline and sew between the neckline notches.
7b. Turn the lining to the inside and press the neckline neatly.
7c. Place the prepared Front Bottom (Pattern E) onto the waistline of the prepared front upper. Adjust the gathers evenly across the waistline and sew the seam.
7d. Open the waist seam and press it flat.
8. Prepare the Straps
8a. Position a 25 mm wide elastic along the back strap section of each Strap (Pattern G), making the elastic approximately 1 inch shorter than the back strap length.
8b. Stretch the elastic evenly to match the strap length while sewing along both edges to secure it.
8c. Fold each strap in half lengthwise and press.
Repeat for the second strap.
9. Attach the Straps to the Sleeves
Place the open edge of each prepared strap along the armhole of the sleeve with right sides together. Match the center gather notch on the sleeve with the strap armhole notch, then adjust the gathers evenly and pin.
Sew the strap to the sleeve along the armhole edge, then open the strap away from the sleeve and press it flat.
Repeat for the second sleeve.
10. Attach the Sleeves to the Bodice
10a. Place one prepared sleeve onto the front panel with right sides together, matching the armhole notches. Sew the front armhole seam.
10b. Attach the opposite side of the sleeve to the back panel, again matching the notches. Sew the back armhole seam.
10c. Repeat Steps 10a–10b for the second sleeve.
10d. Finish the armhole seam allowances using a serger or a zigzag stitch and press them toward the sleeves.
11. Sew the Side Seams
Place the front and back of the top with right sides together, aligning the underarm seams, side seams, and sleeve seams.
Sew continuously from the sleeve hem, through the underarm, and down to the bottom hem on both sides.
Finish the seam allowances using a serger or a zigzag stitch and press them toward the back.
12. Finish the Sleeve Hems
Fold each sleeve hem toward the wrong side using the sleeve hem allowance provided in the pattern.
Create the elastic casing by stitching close to the folded edge, leaving a small opening.
Insert the elastic through the casing using a safety pin, overlap the elastic ends, and stitch them securely together.
Close the casing opening and distribute the gathers evenly around the sleeve hem.
13. Finish the Bottom Hem
Fold the bottom hem toward the wrong side using the hem allowance provided in the pattern.
Press the fold, then stitch close to the folded edge to secure the hem with a clean finish.


Ready to Sew Your Own Peplum Top?


The Reese Peplum Top Sewing Pattern is a rewarding project that combines elegant details with practical sewing techniques. Featuring a flattering square neckline, puff long sleeves, a comfortable smocked back, and a softly gathered peplum hem, this pattern creates a feminine silhouette that's easy to dress up or down.
Whether you're expanding your sewing skills or looking for a standout handmade blouse, the Reese Peplum Top offers a satisfying project with beautiful results. Download the Reese Peplum Top Sewing Pattern today and create a timeless top you'll enjoy wearing for seasons to come.
Explore More Sewing Patterns
Browse our Top Sewing Pattern Collection for more stylish handmade tops, including blouses, crop tops, peplum tops, and everyday wardrobe essentials for every season.
Join the Community & Get Support
Share your finished Reese Peplum Top Sewing Pattern on social media with #MadeWithWinslets. If you have questions, feedback, or customization requests, contact the Winslet's team at support@winslets.com.