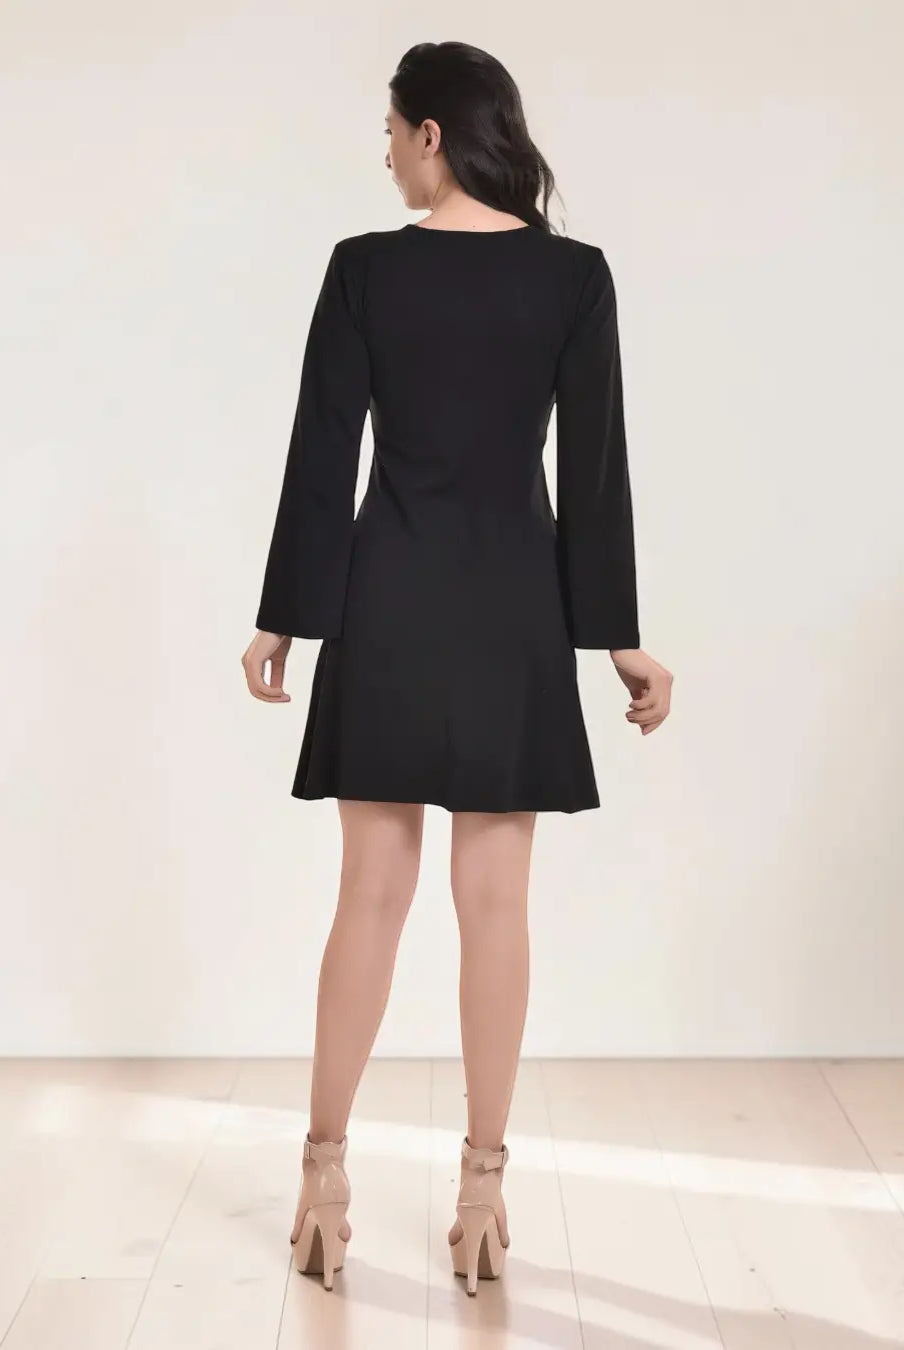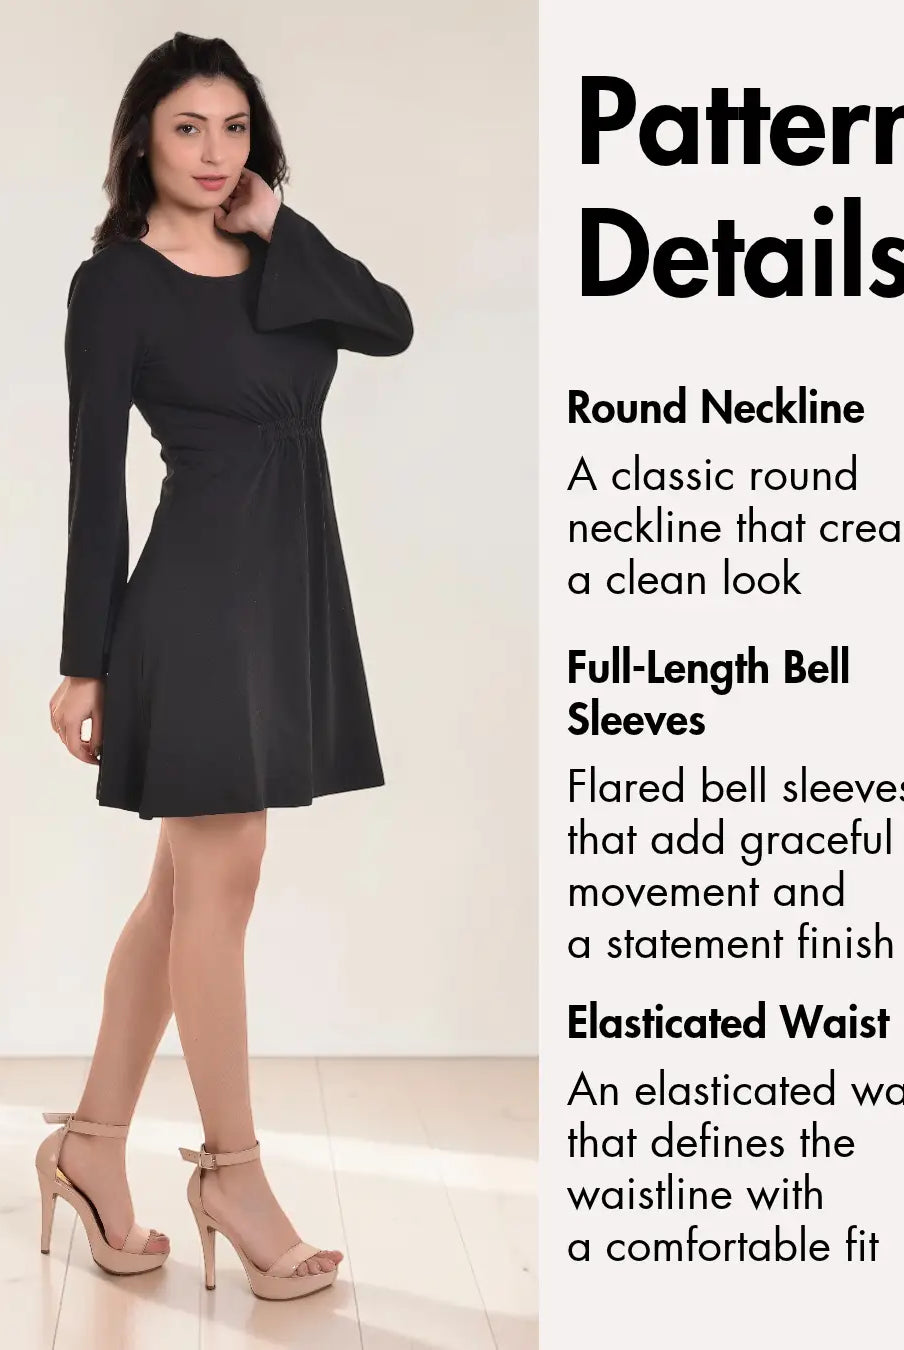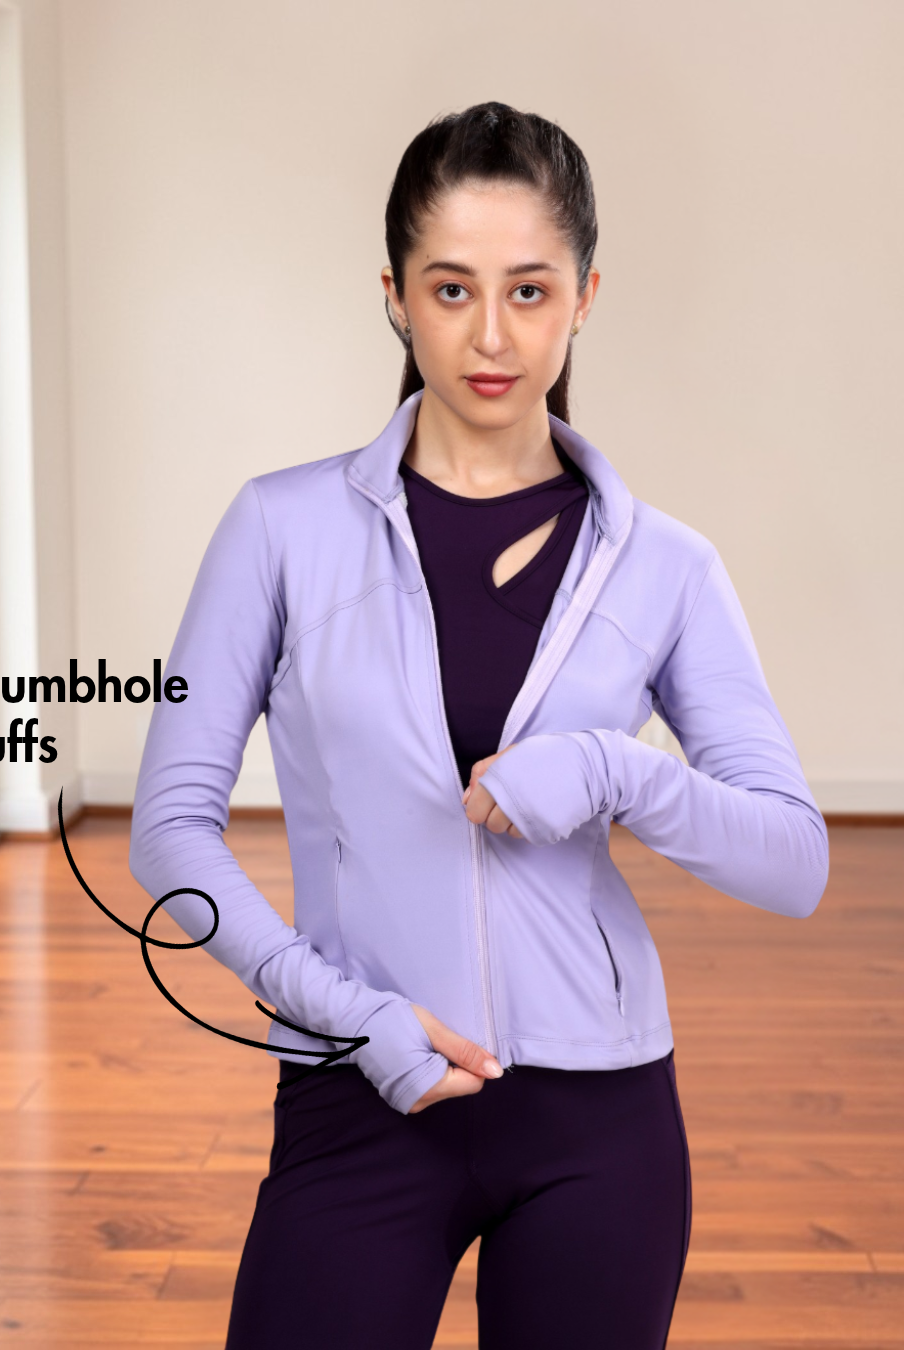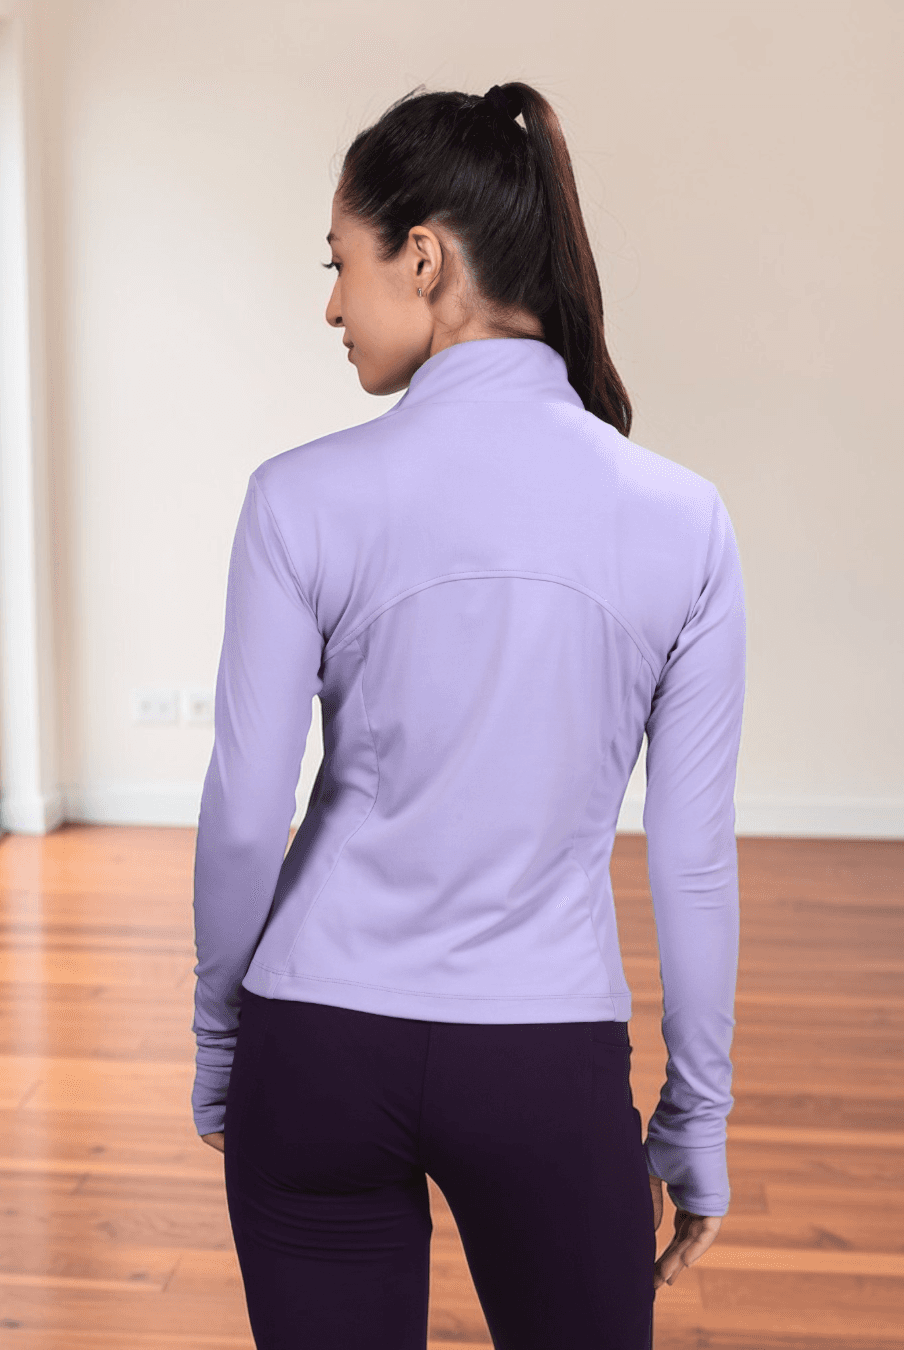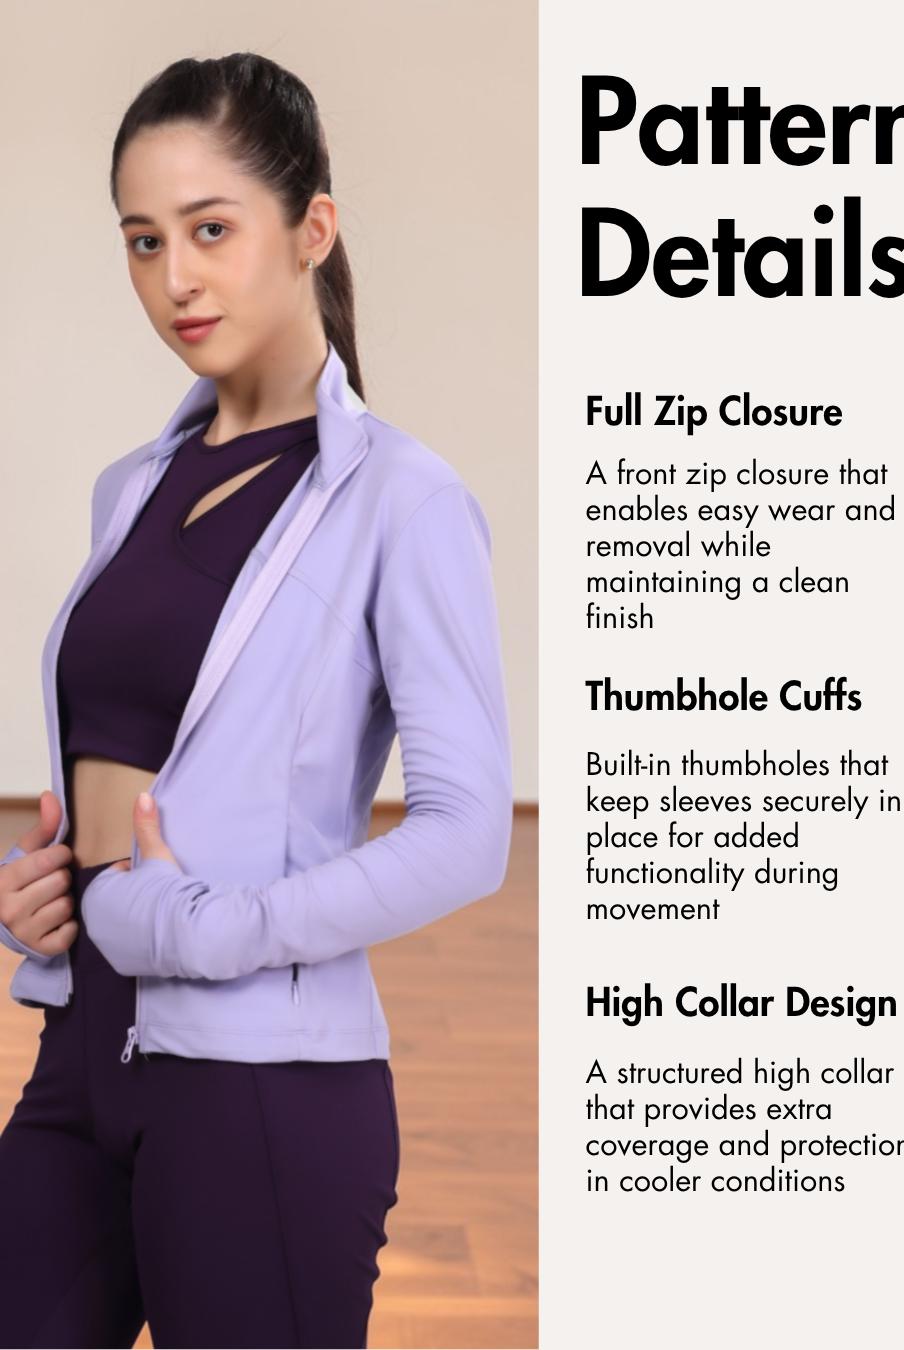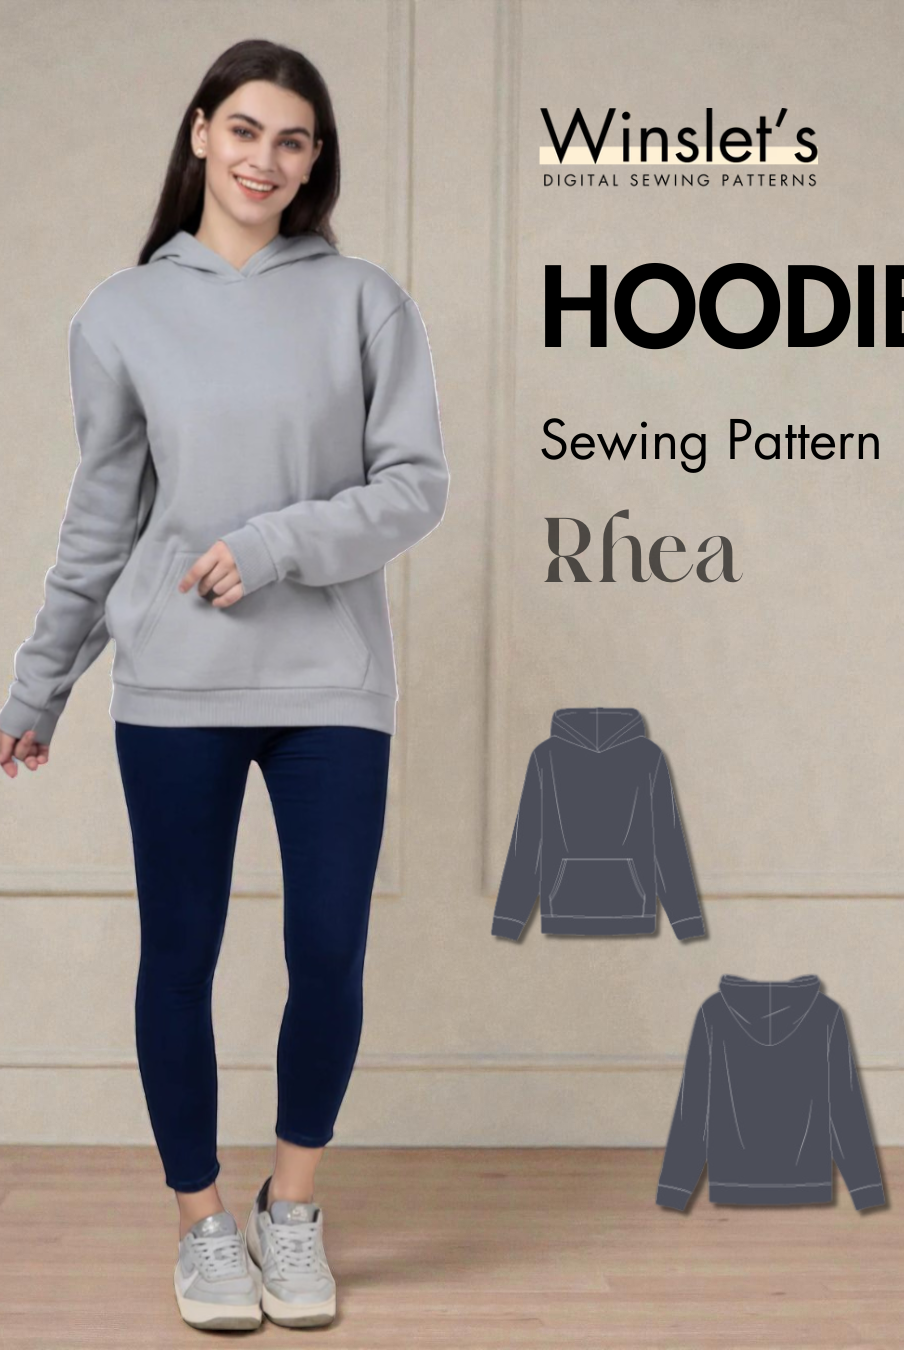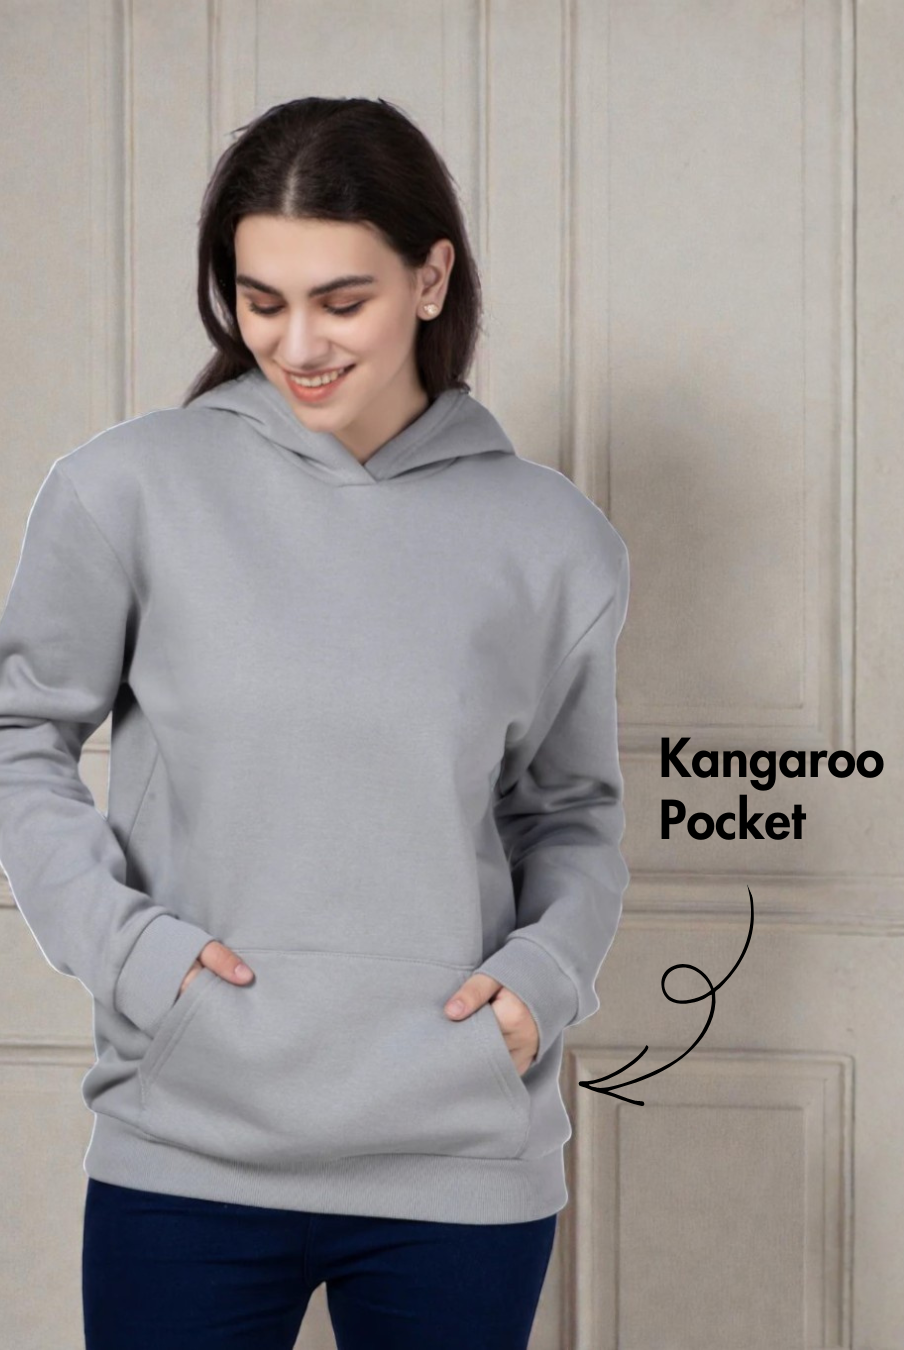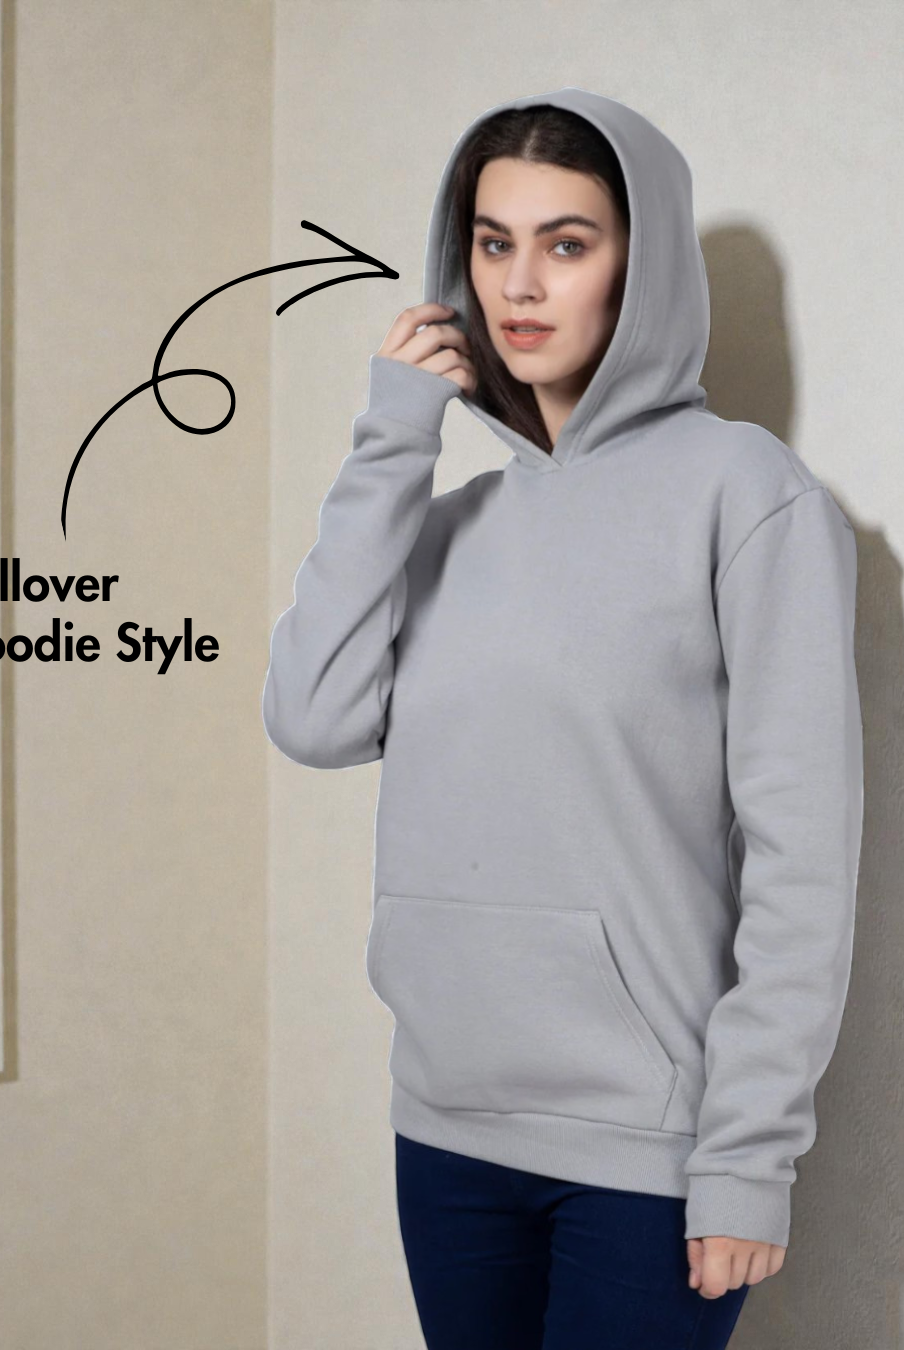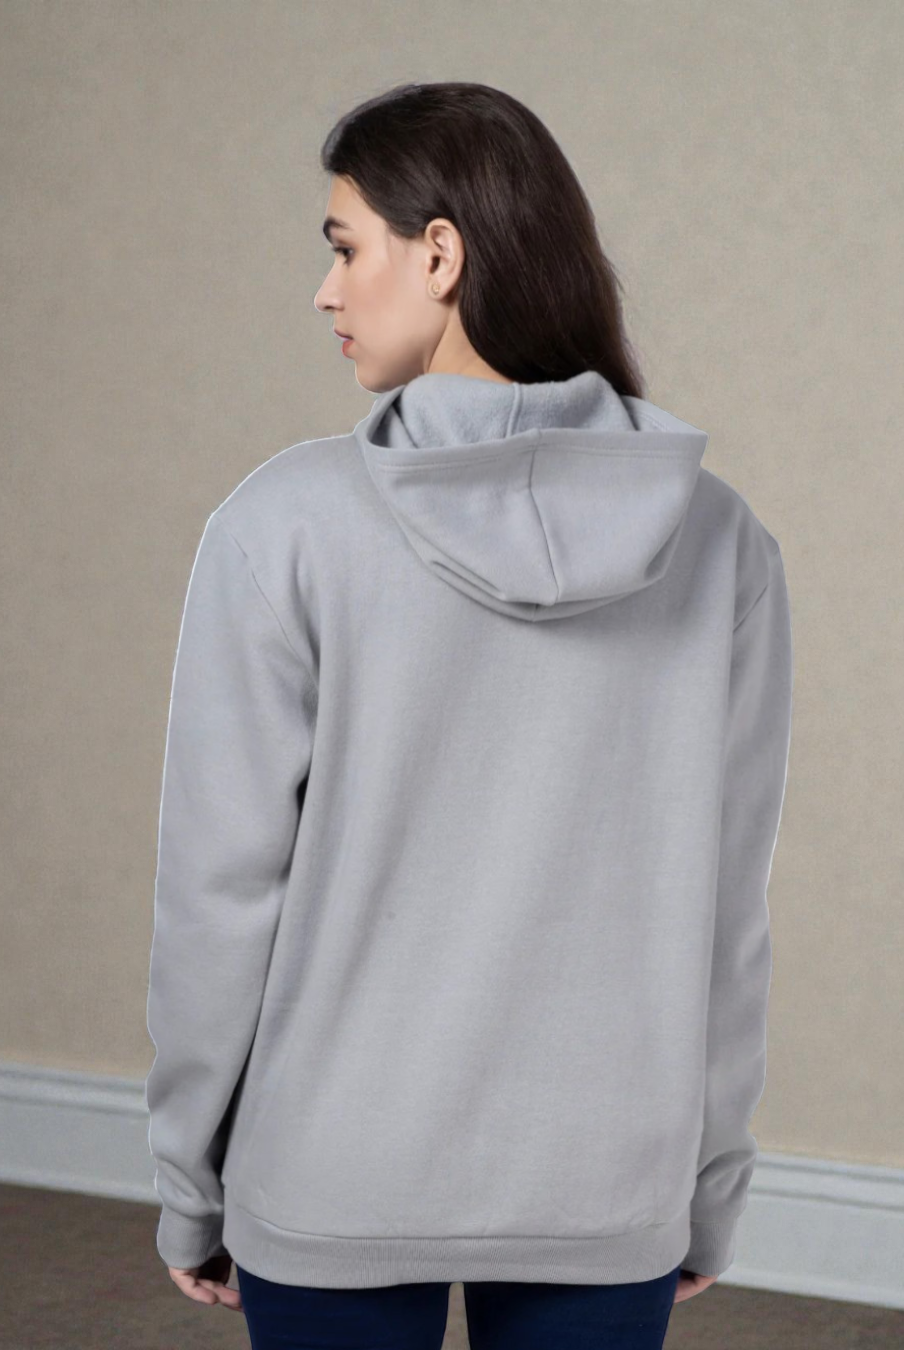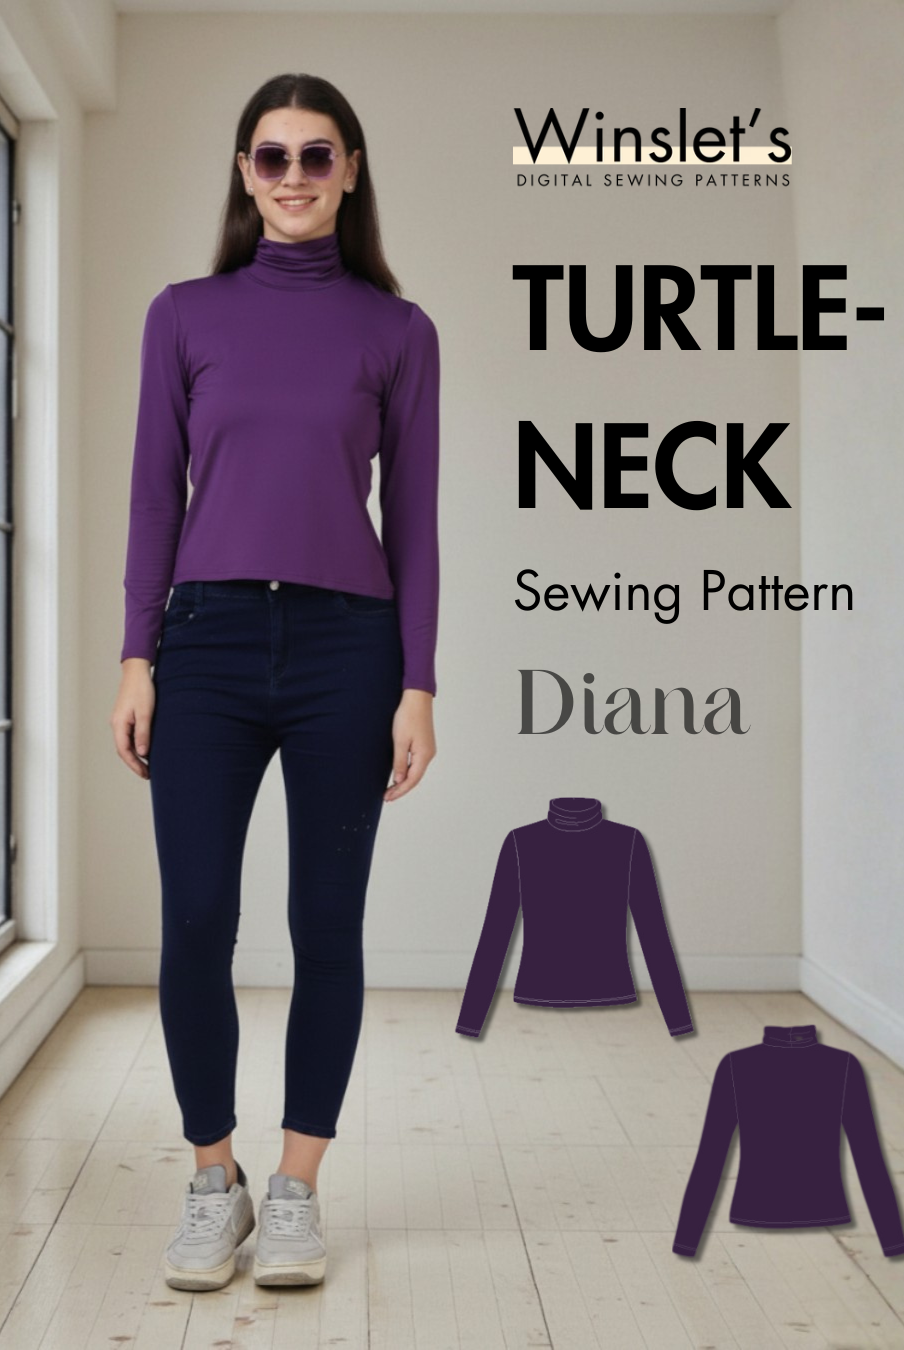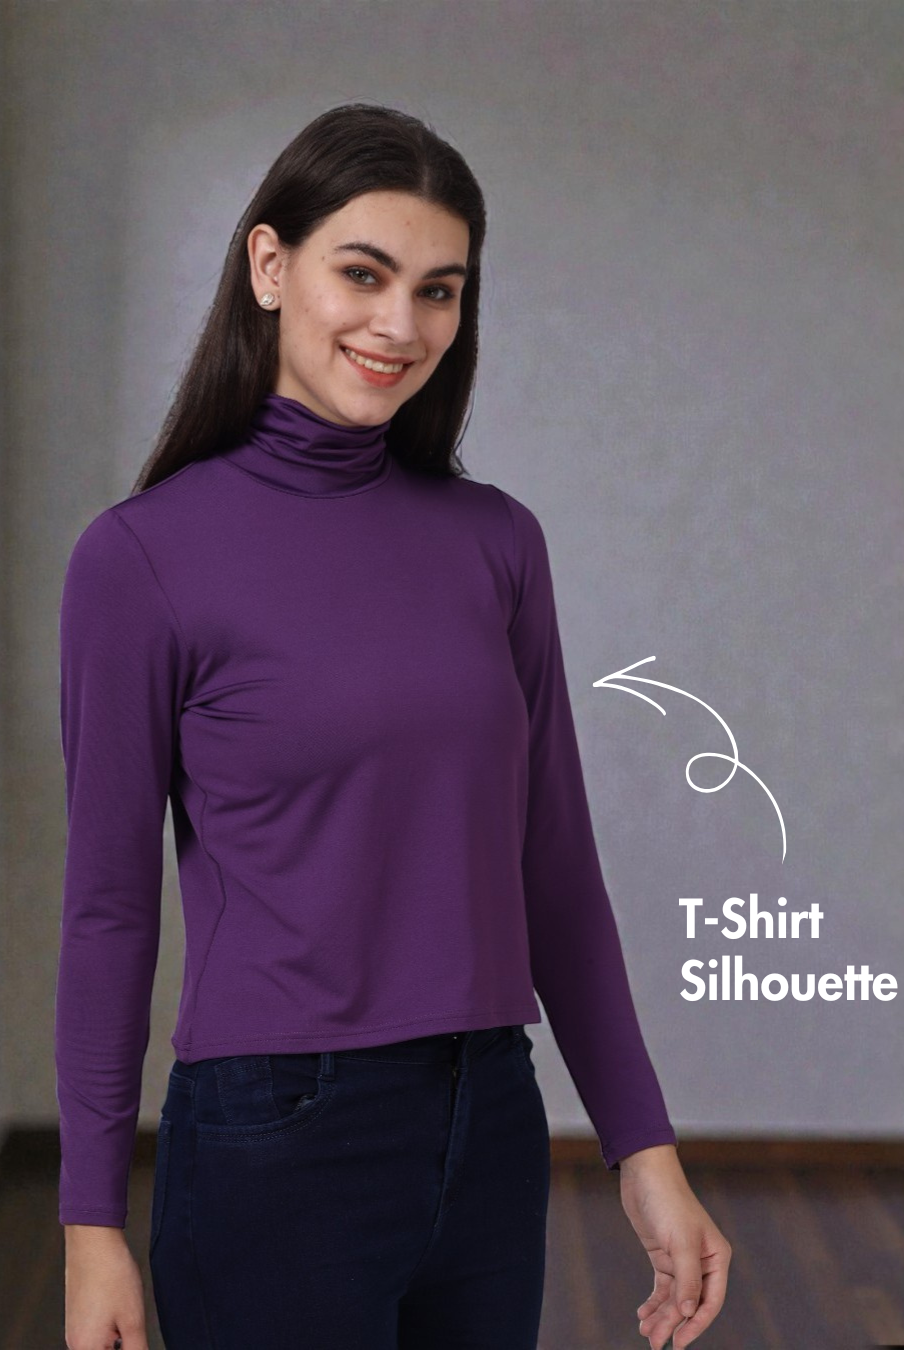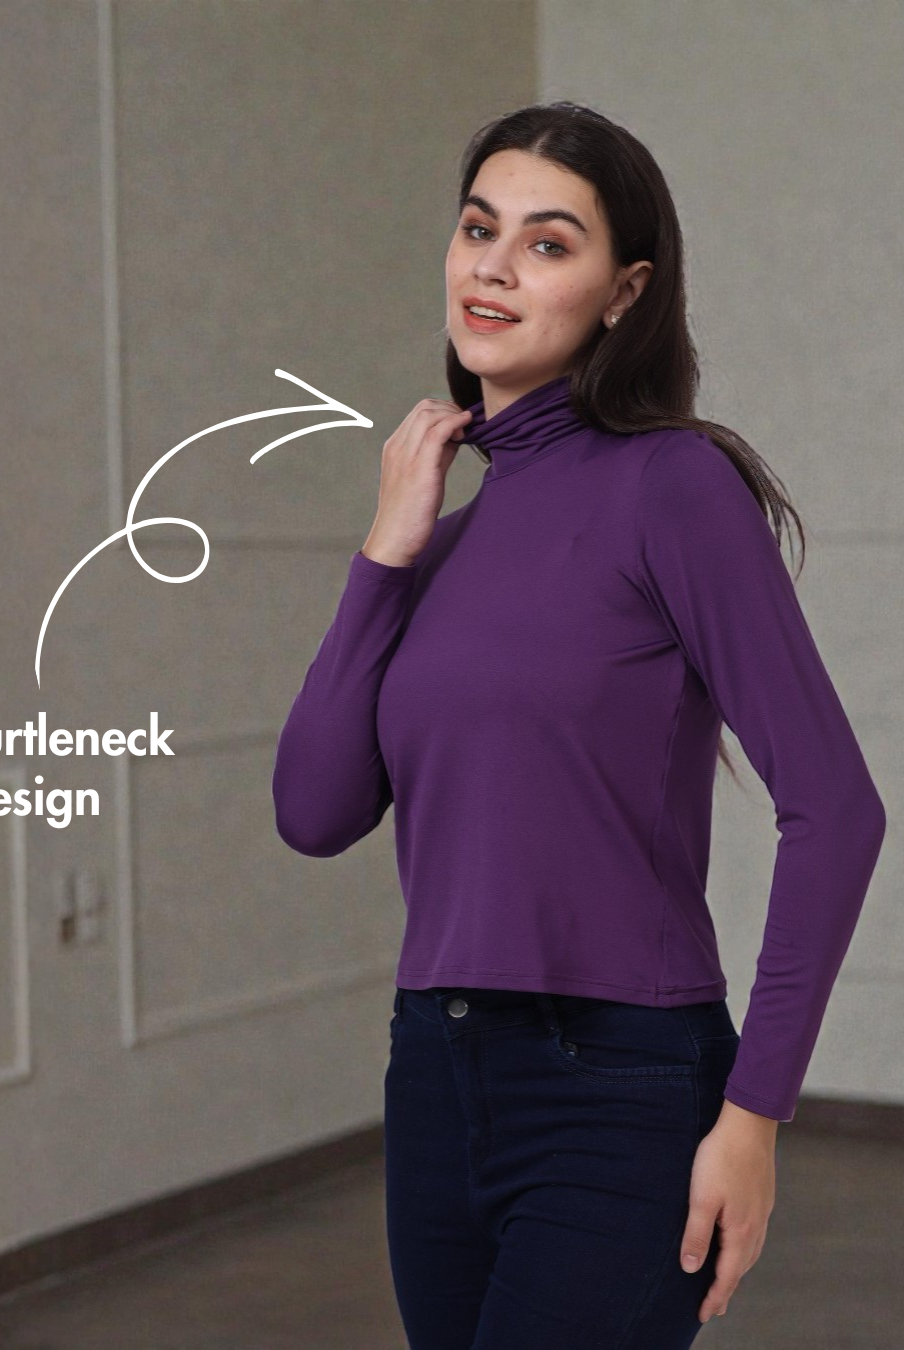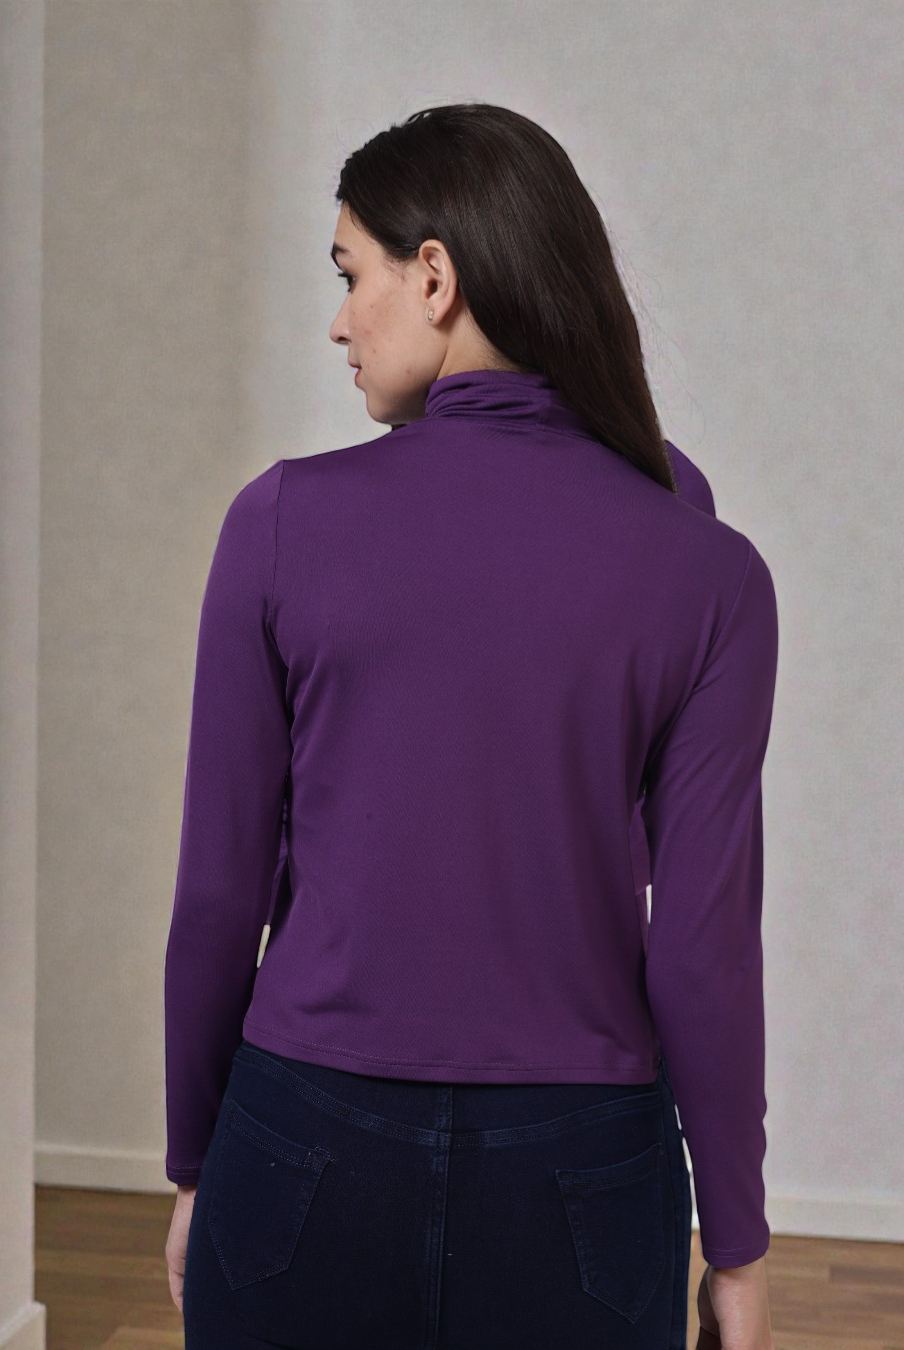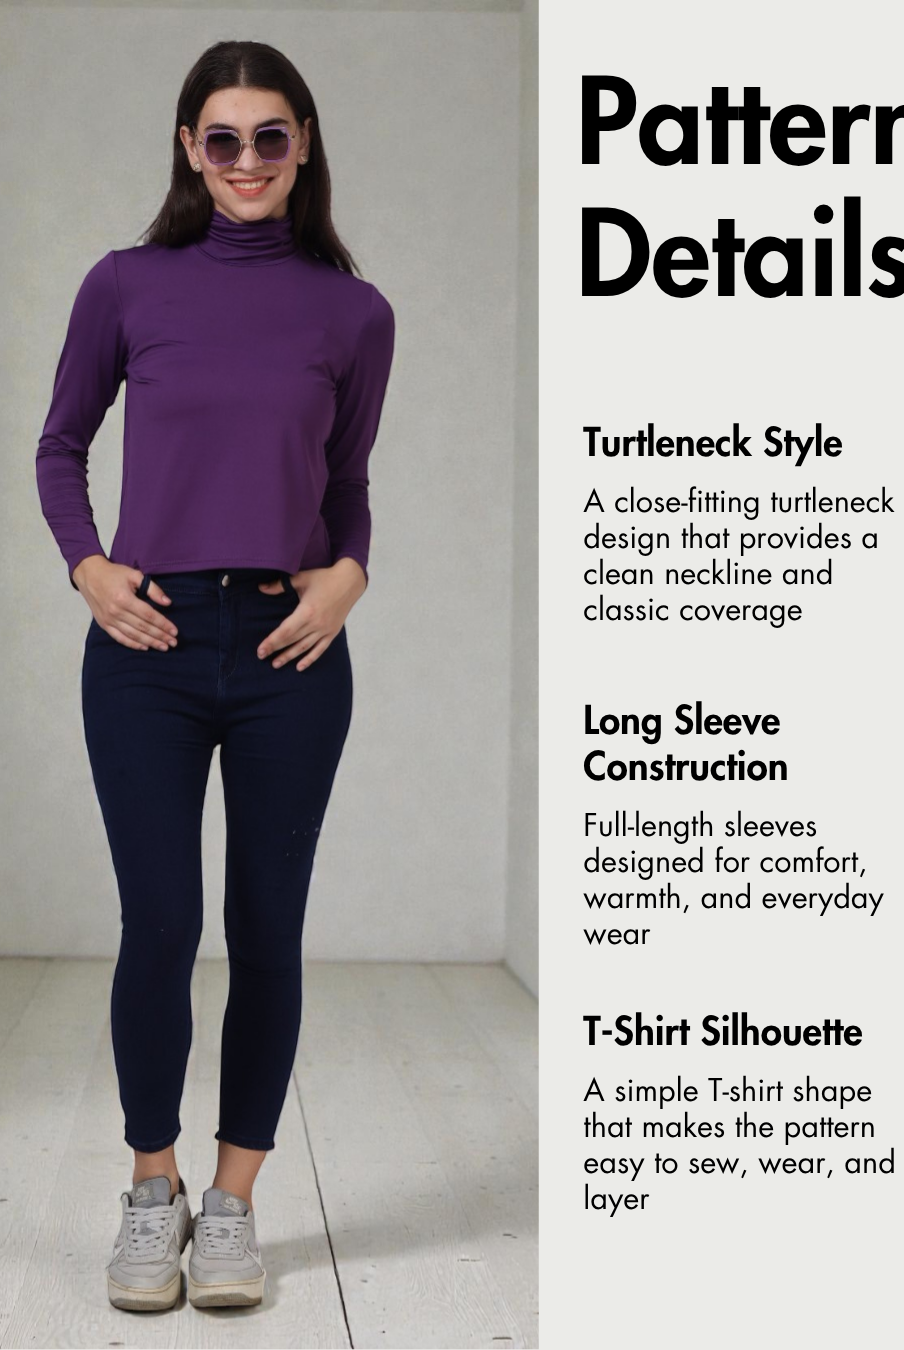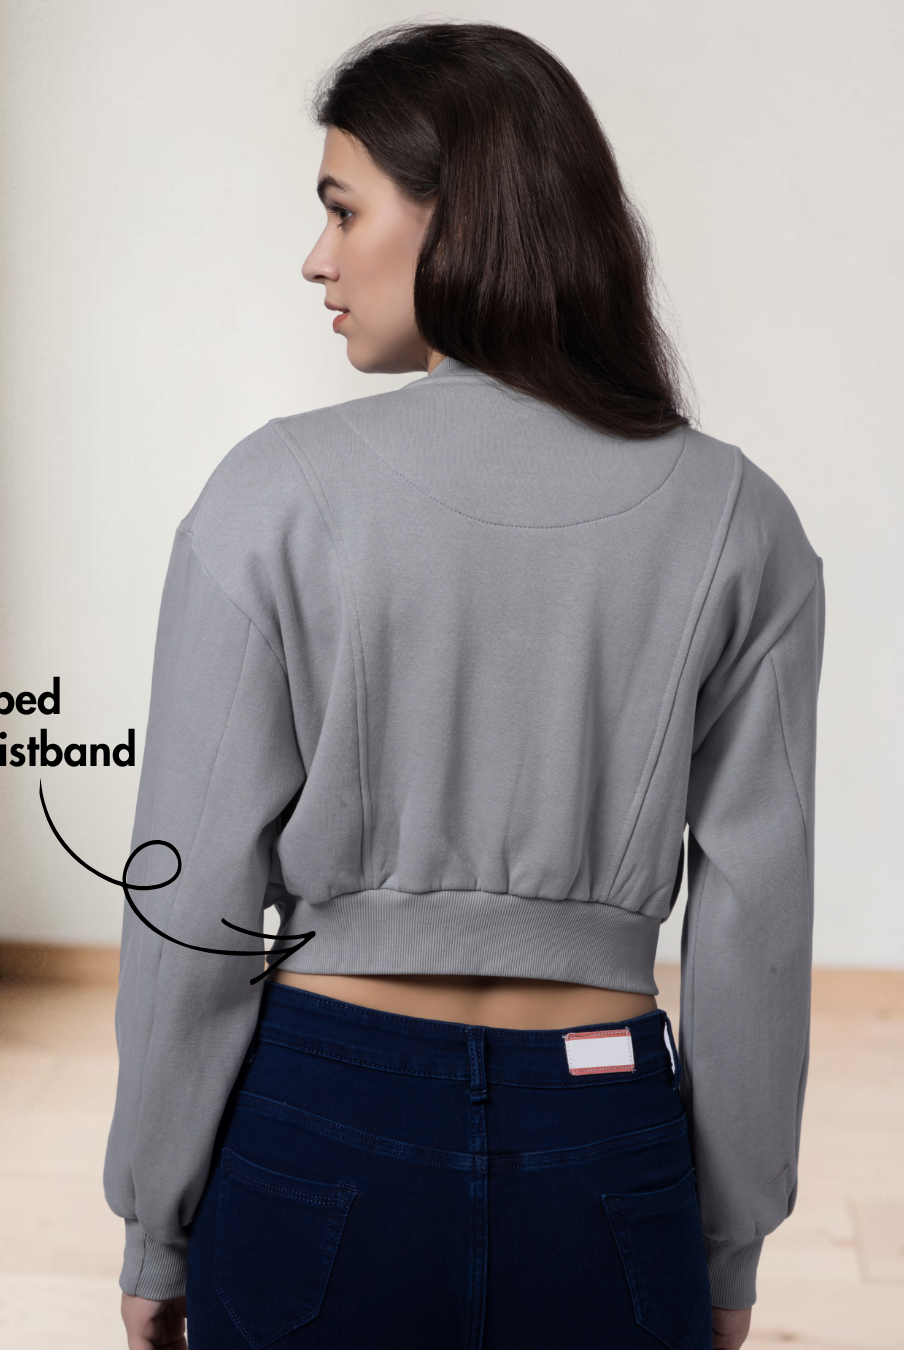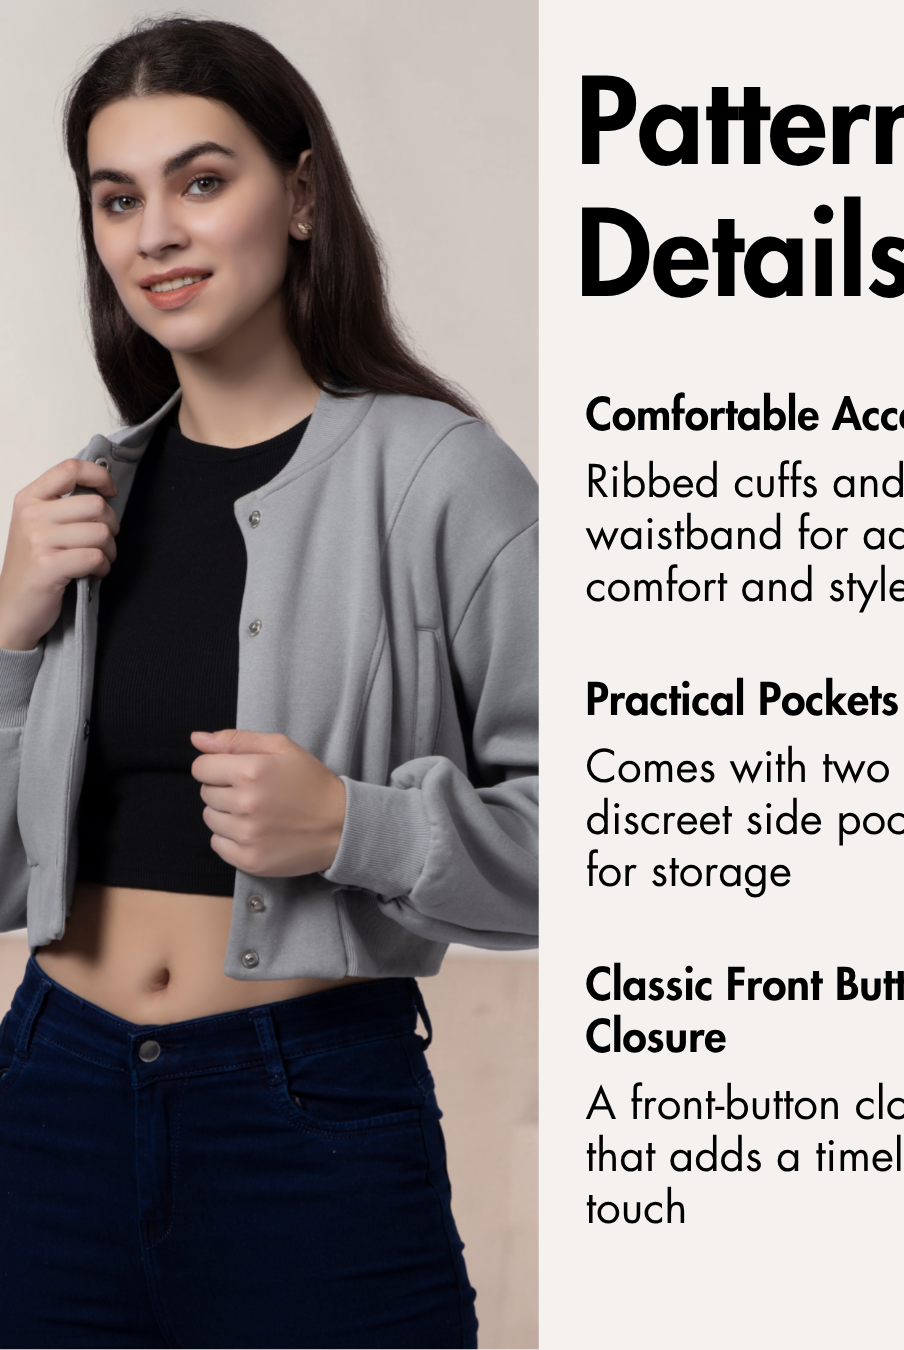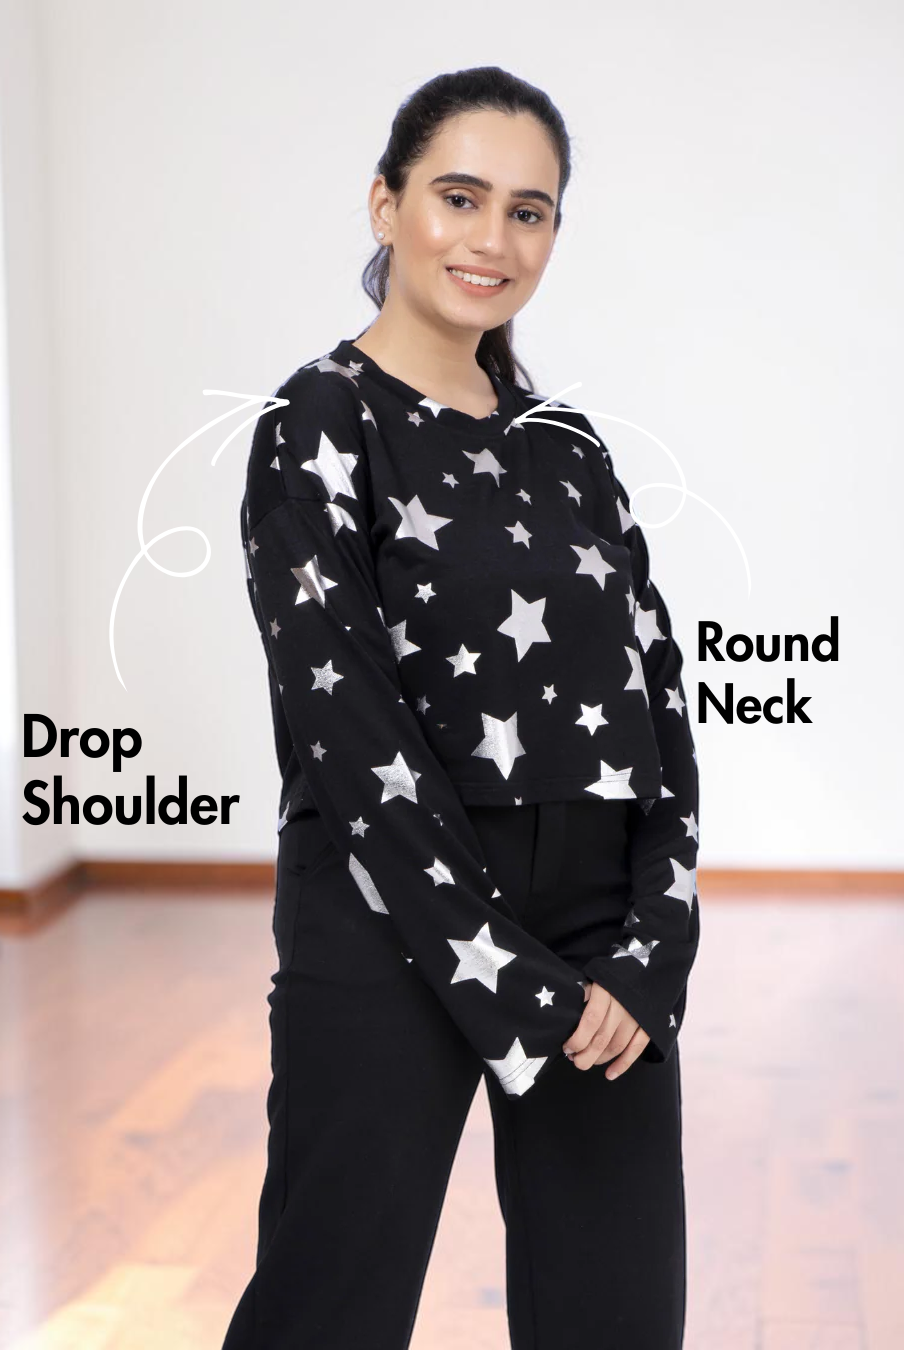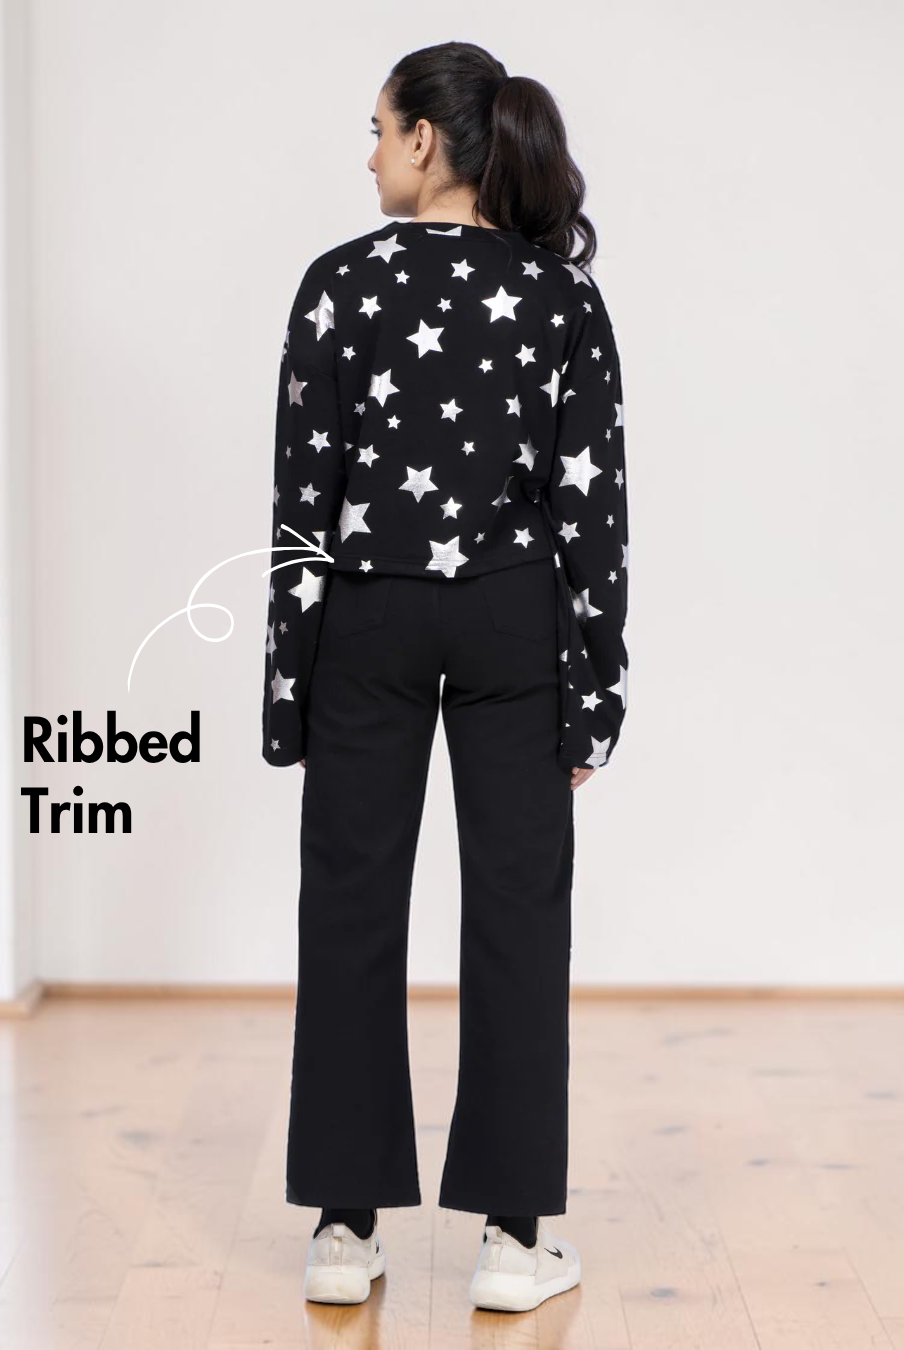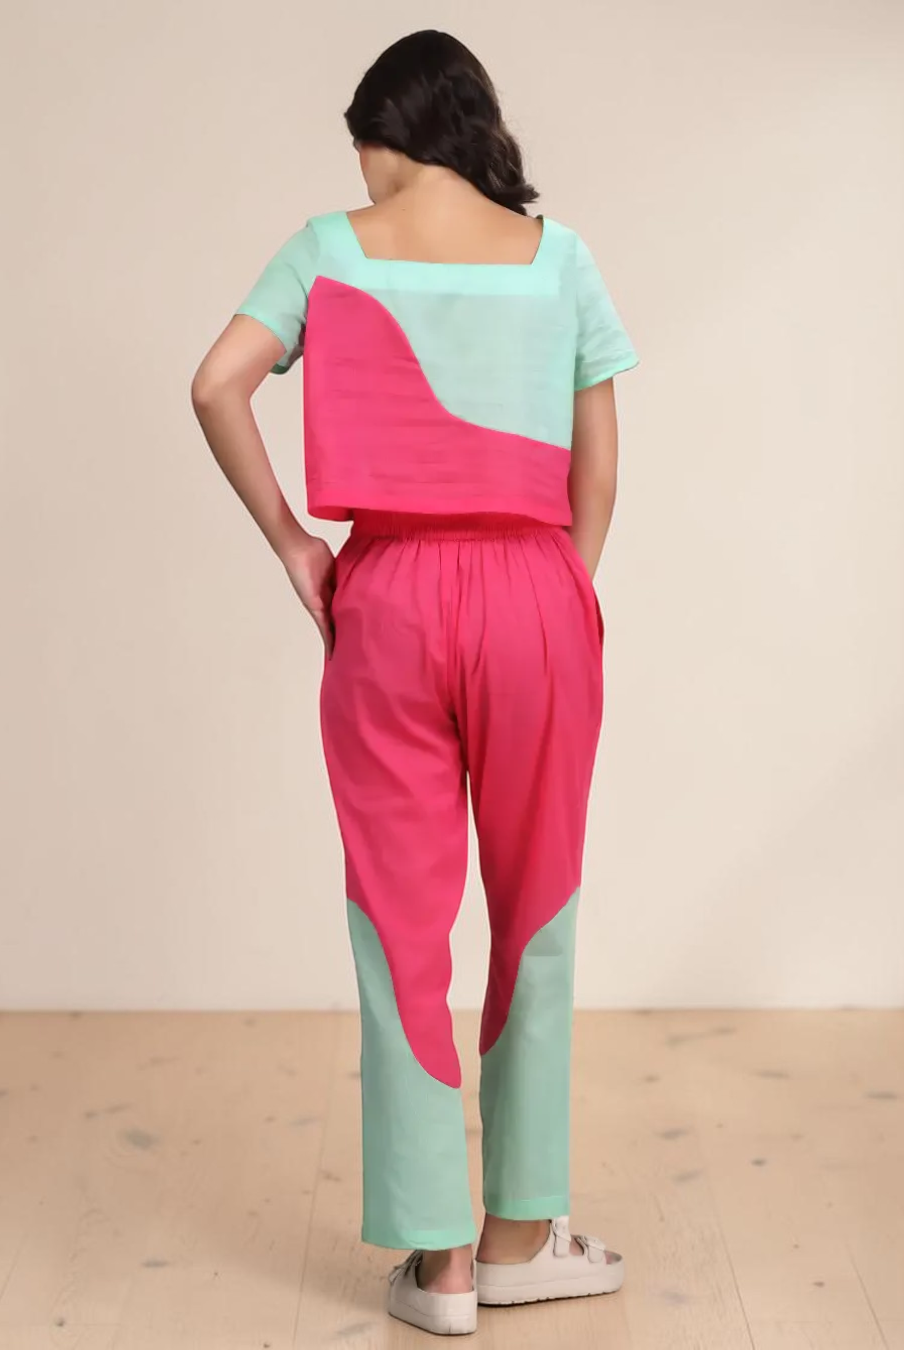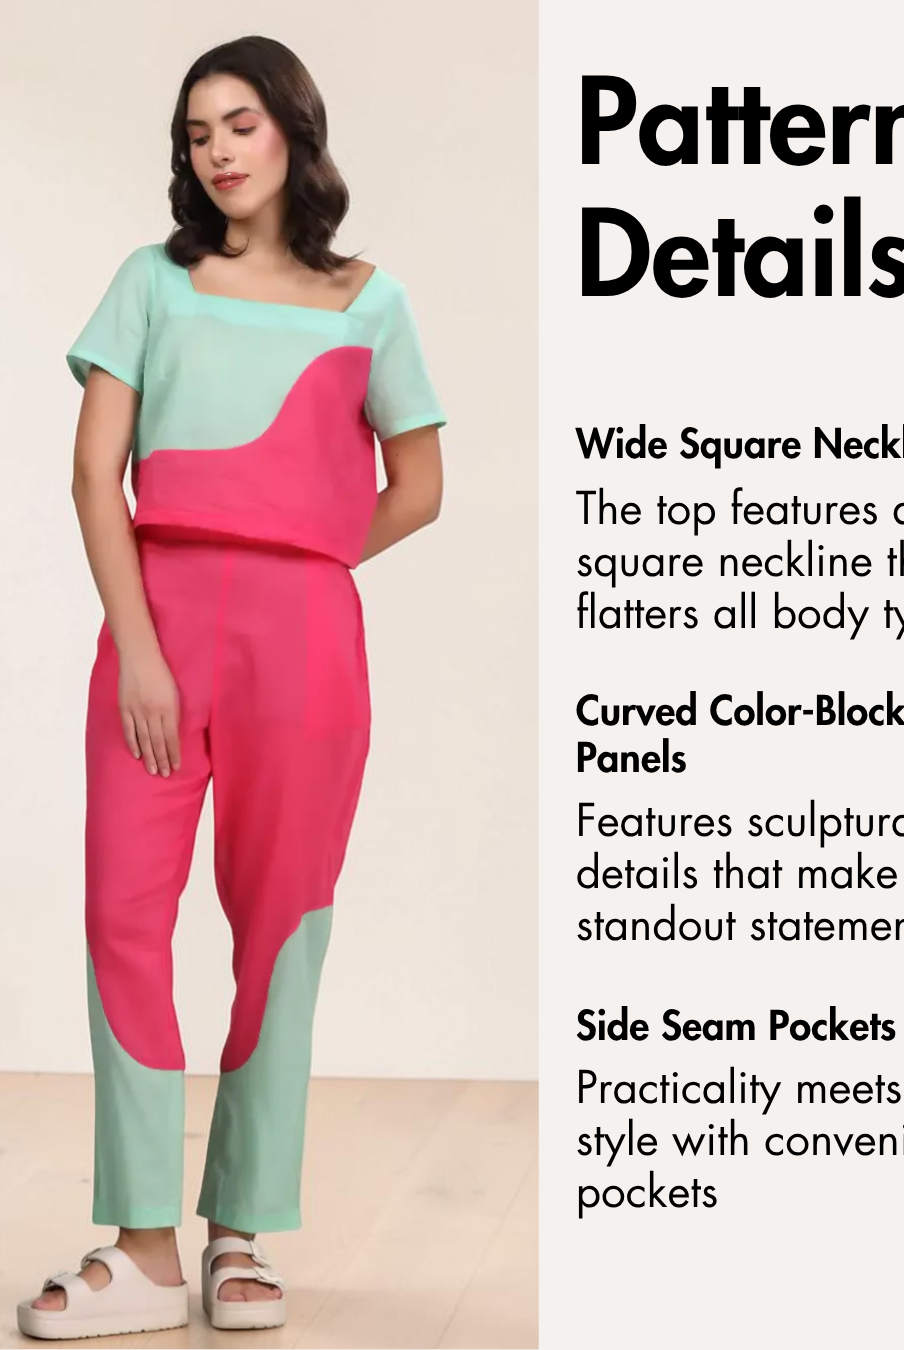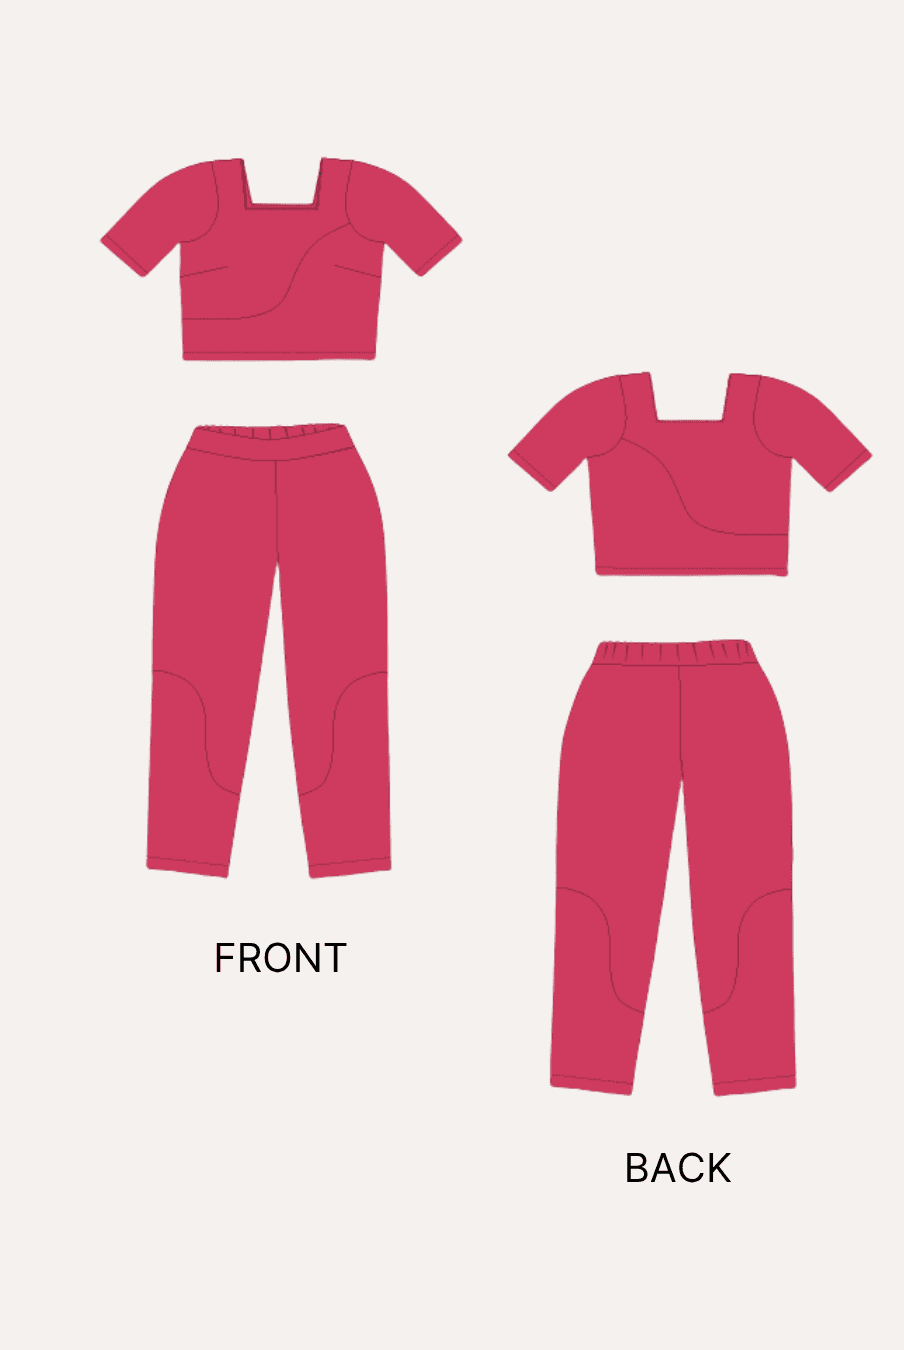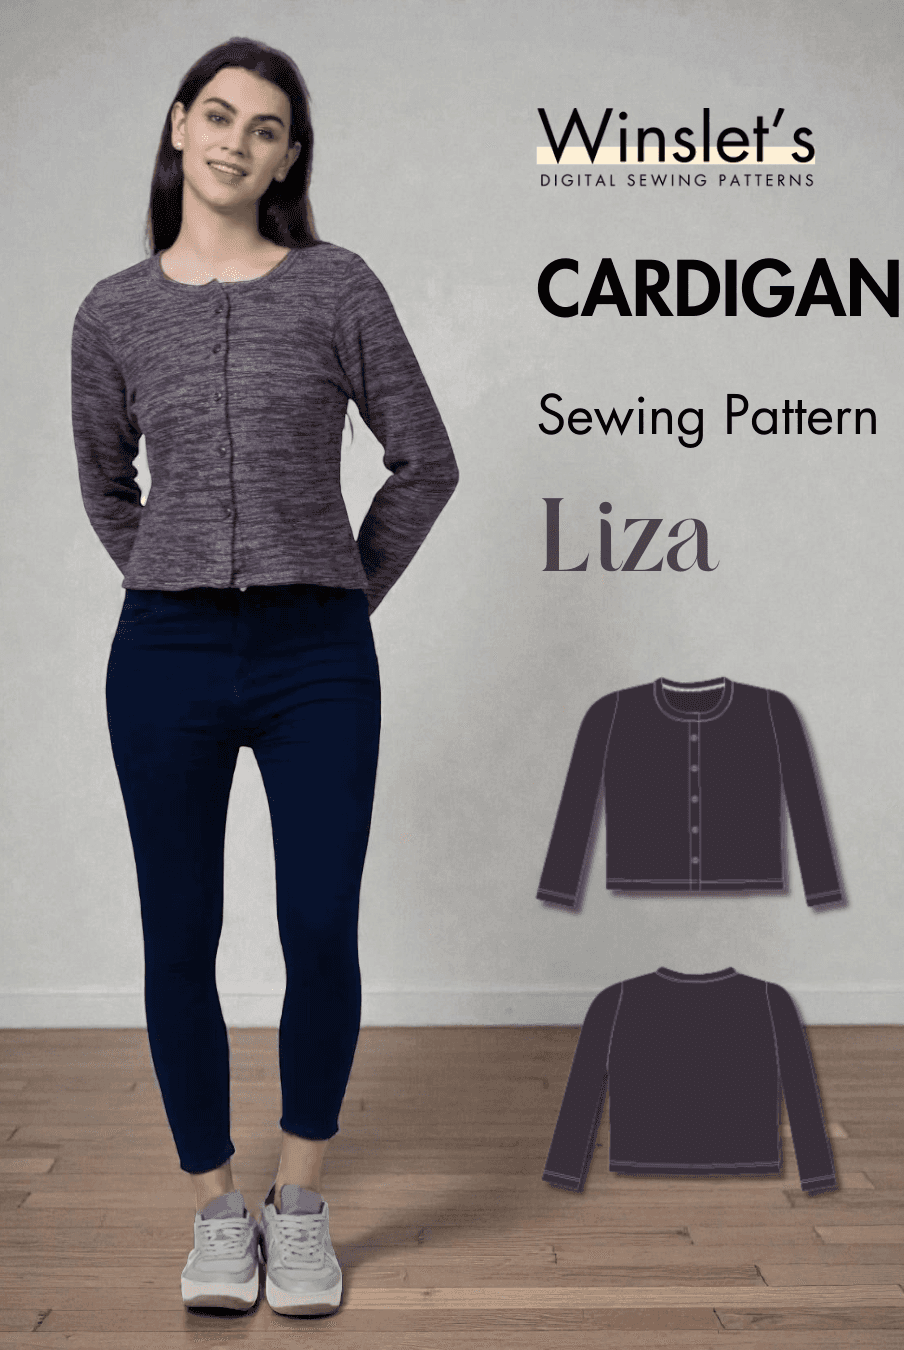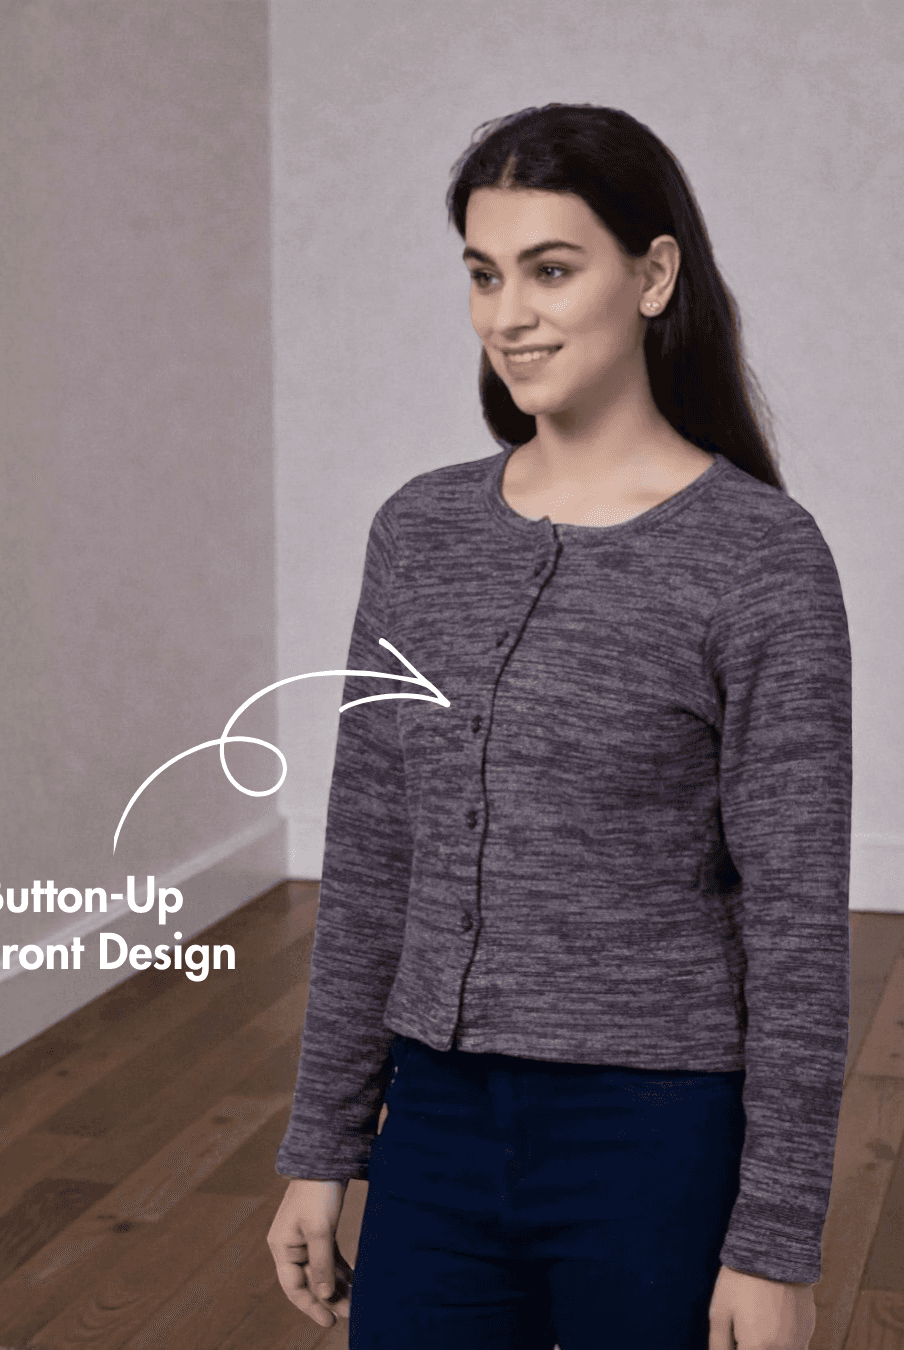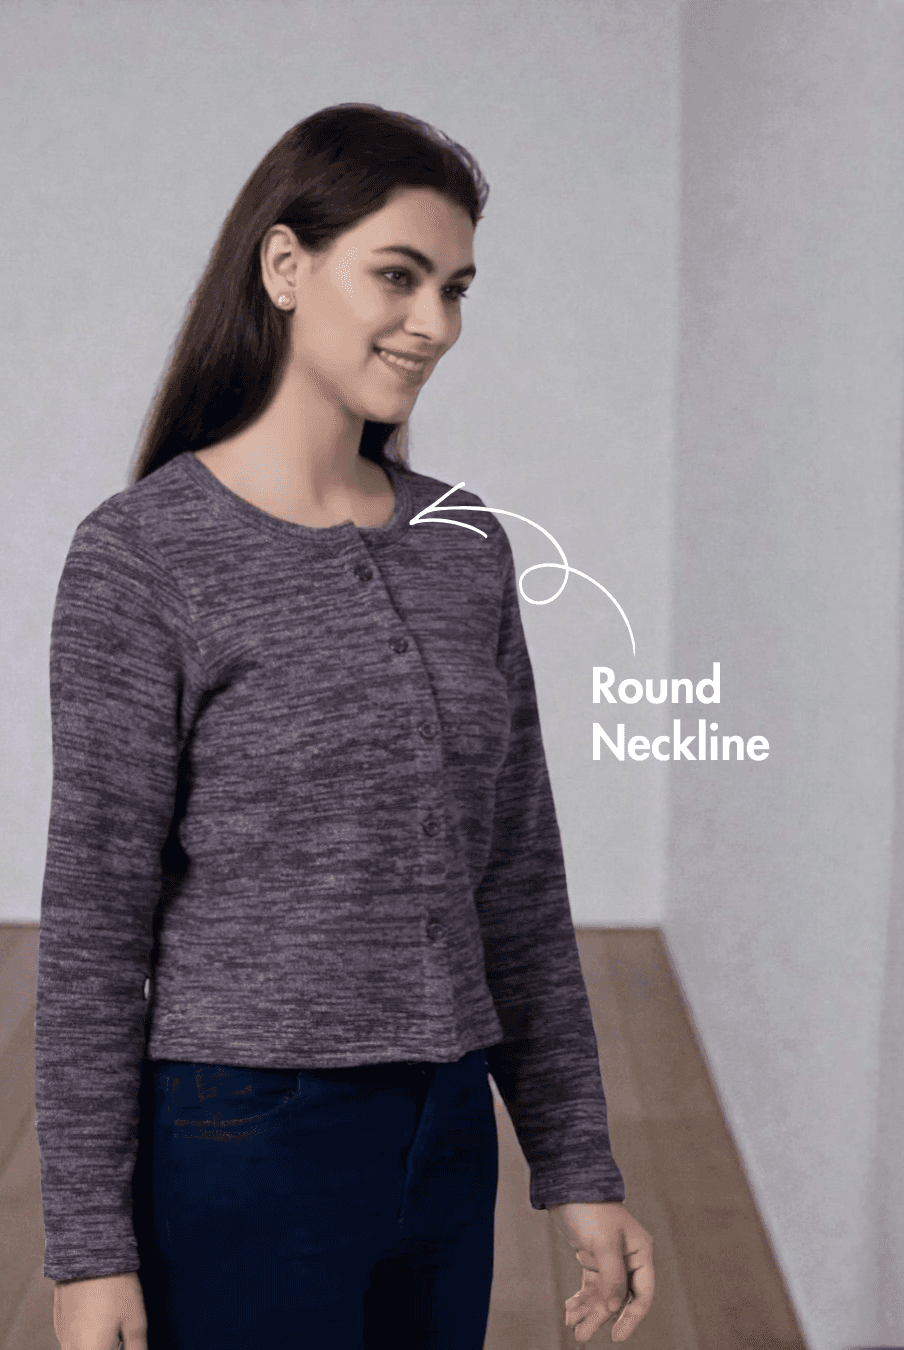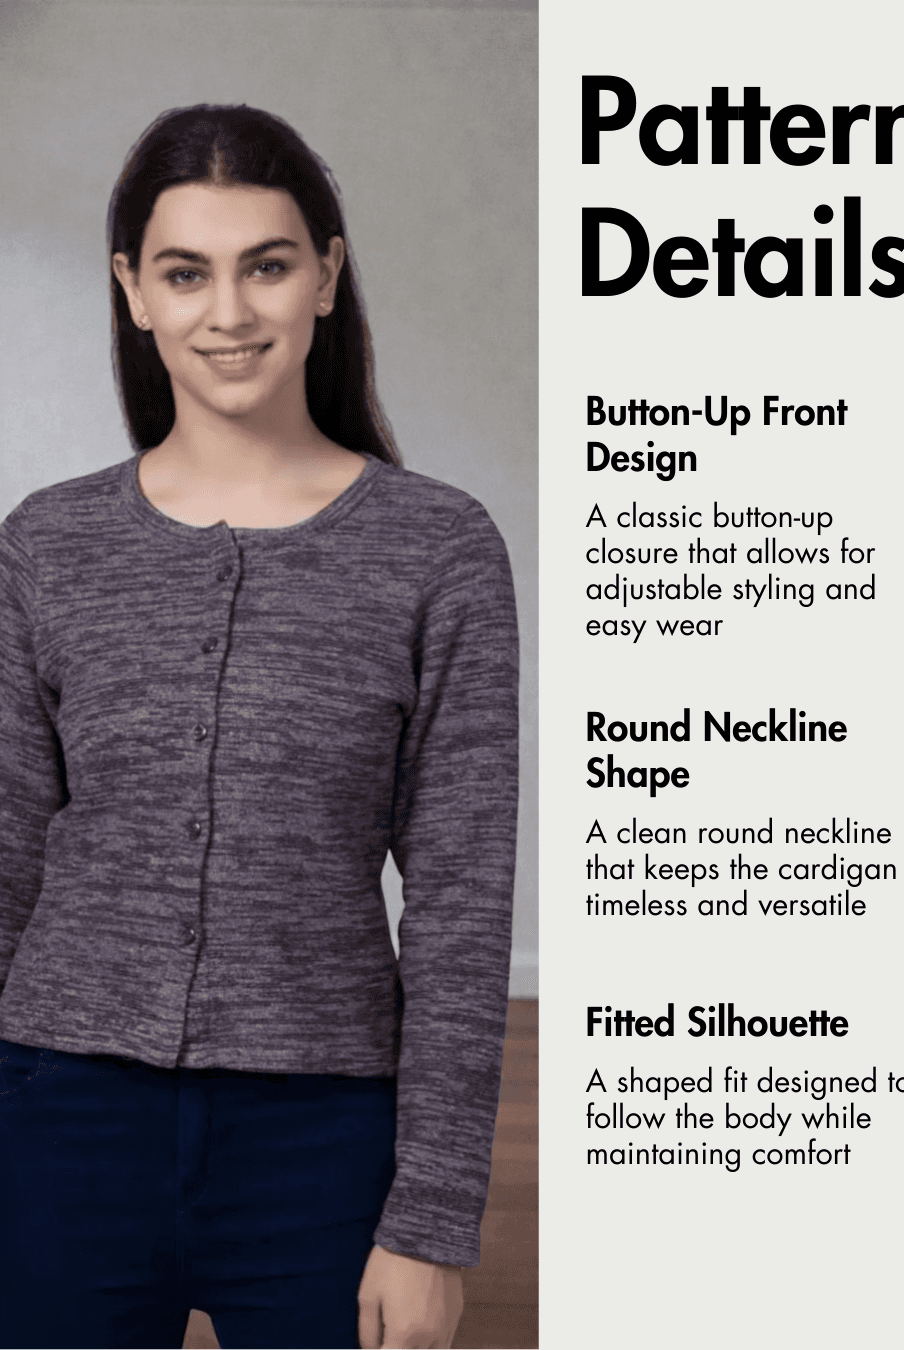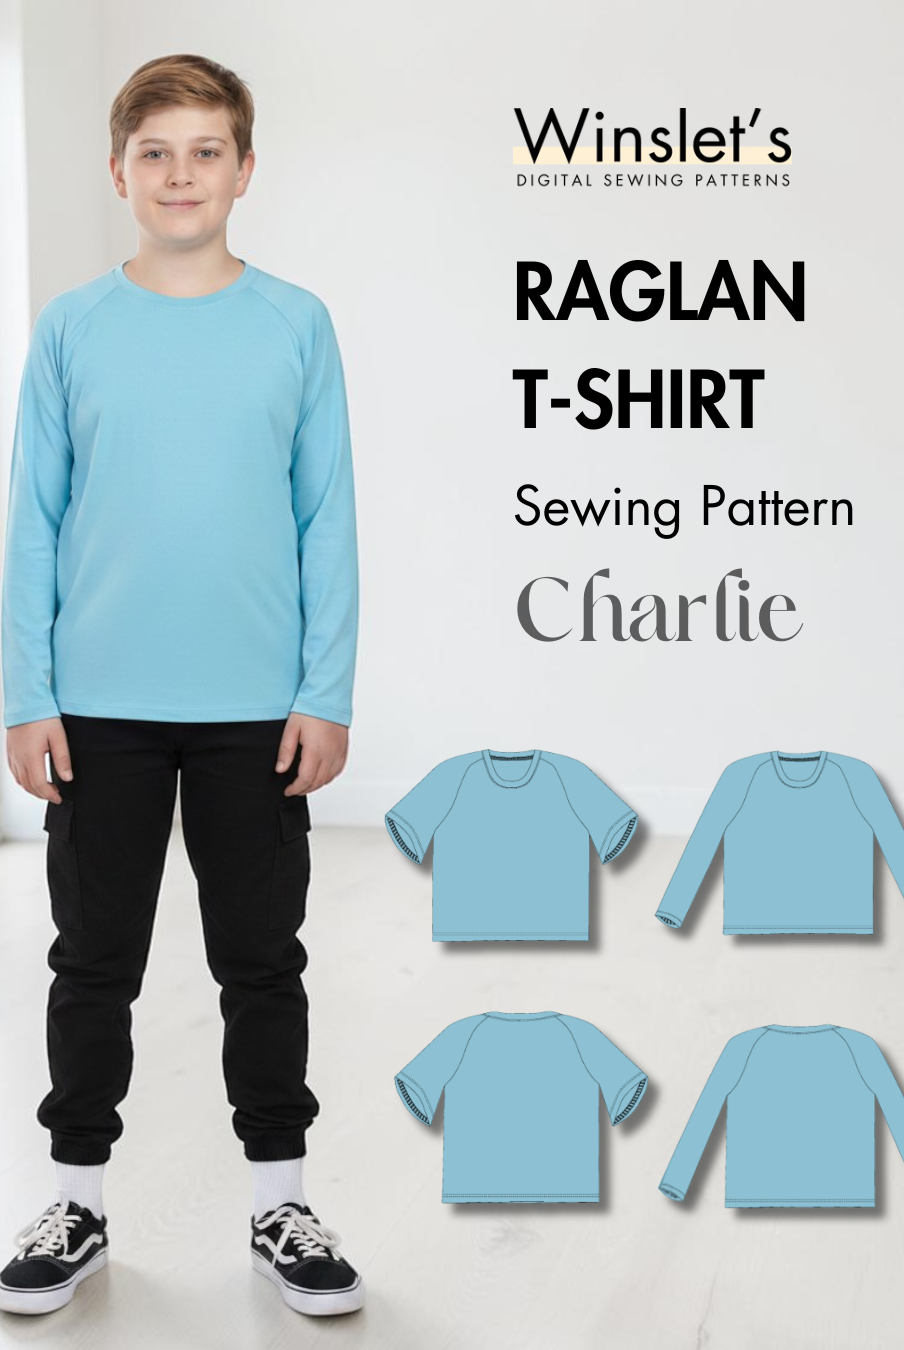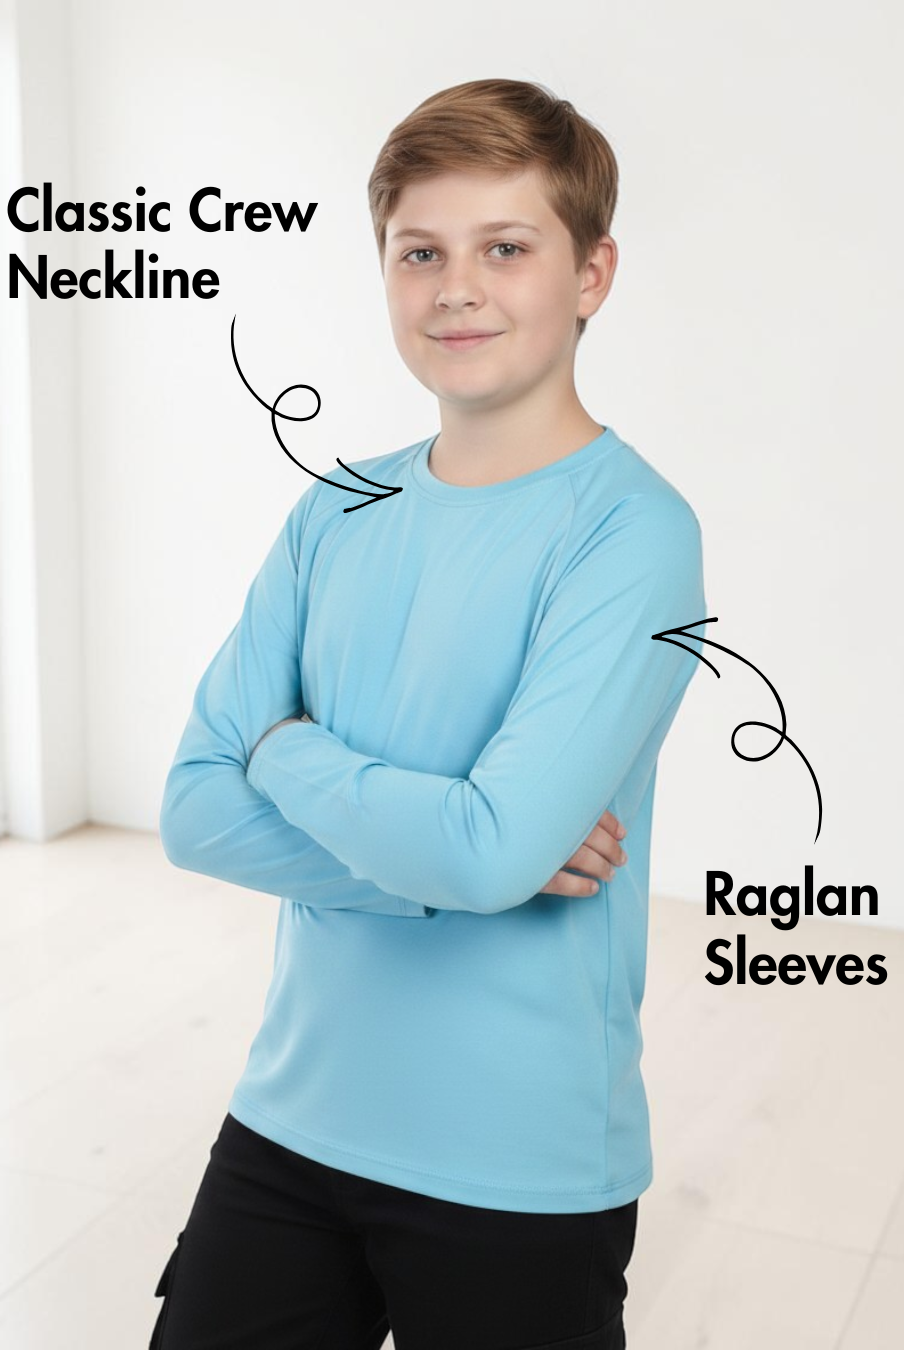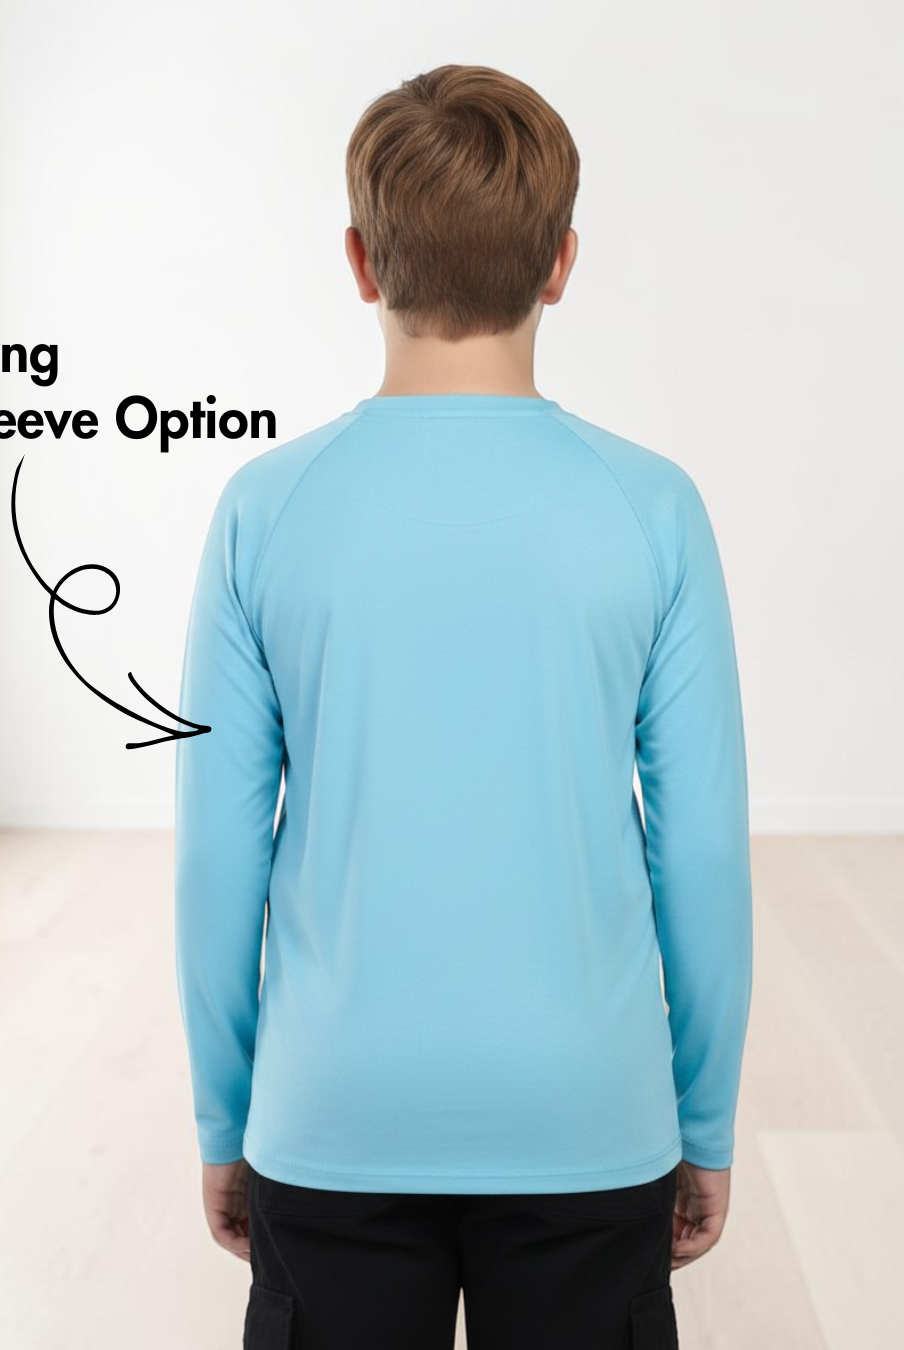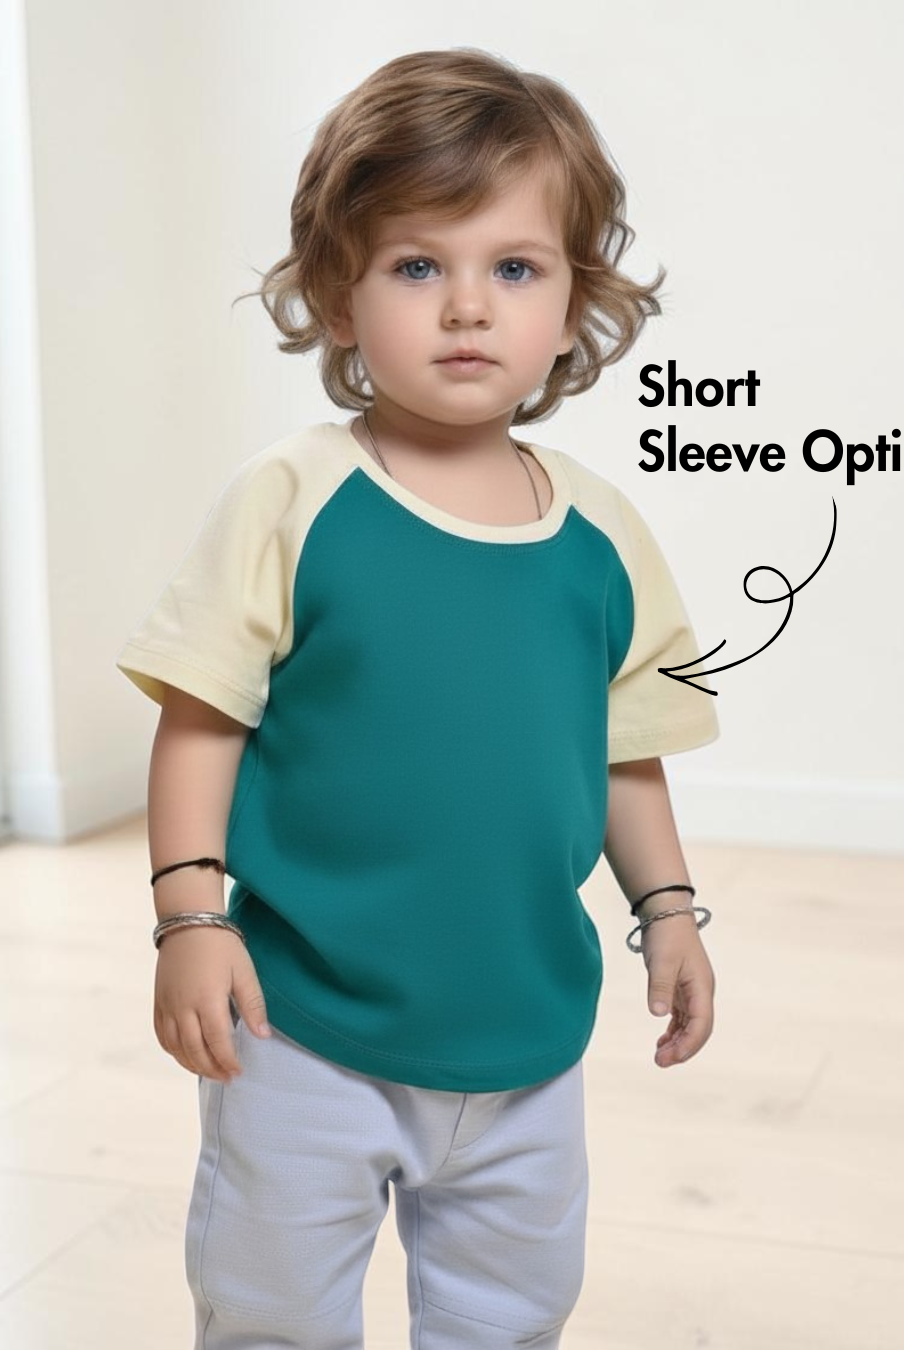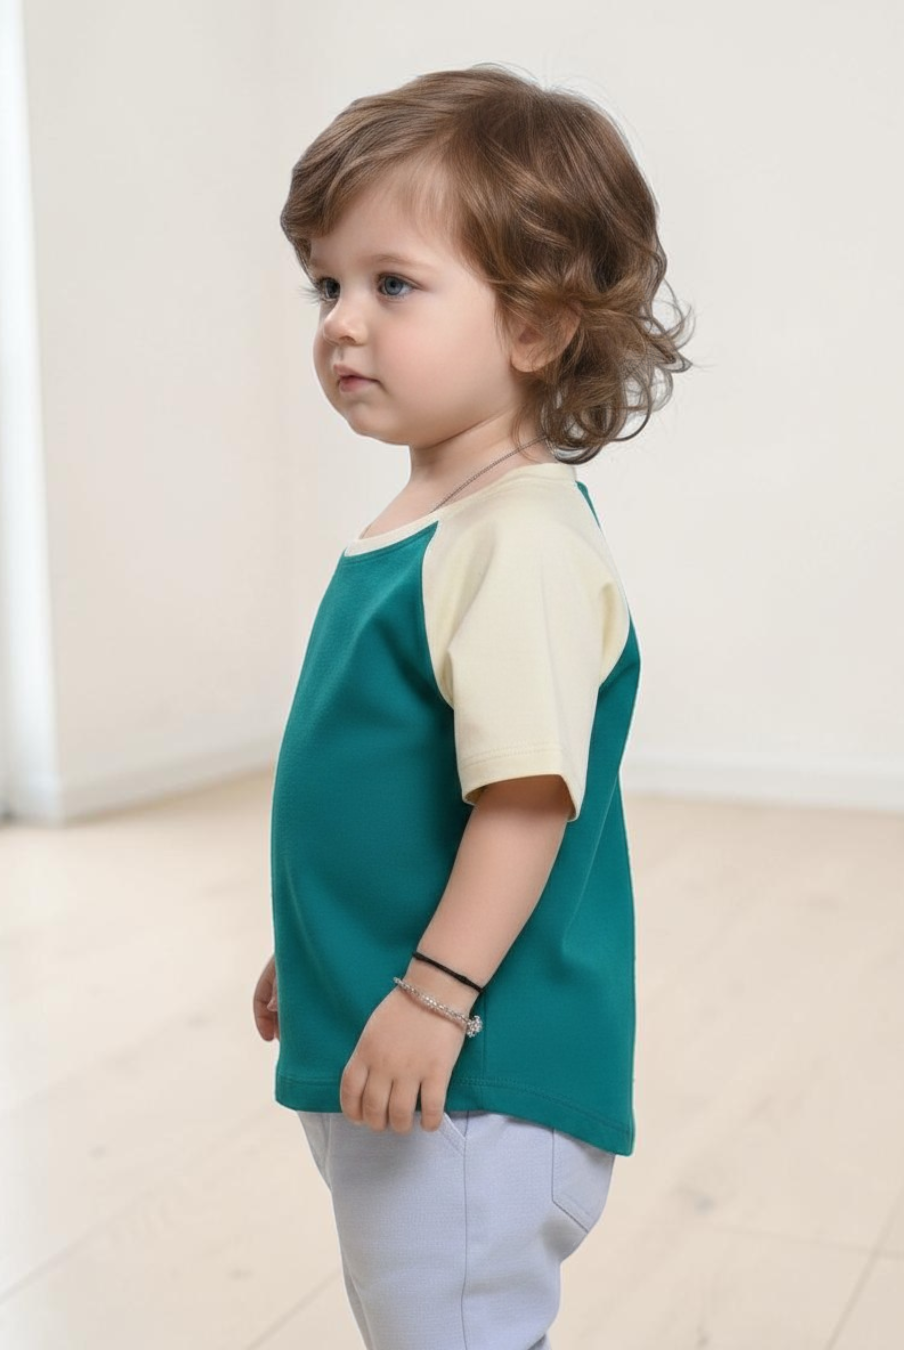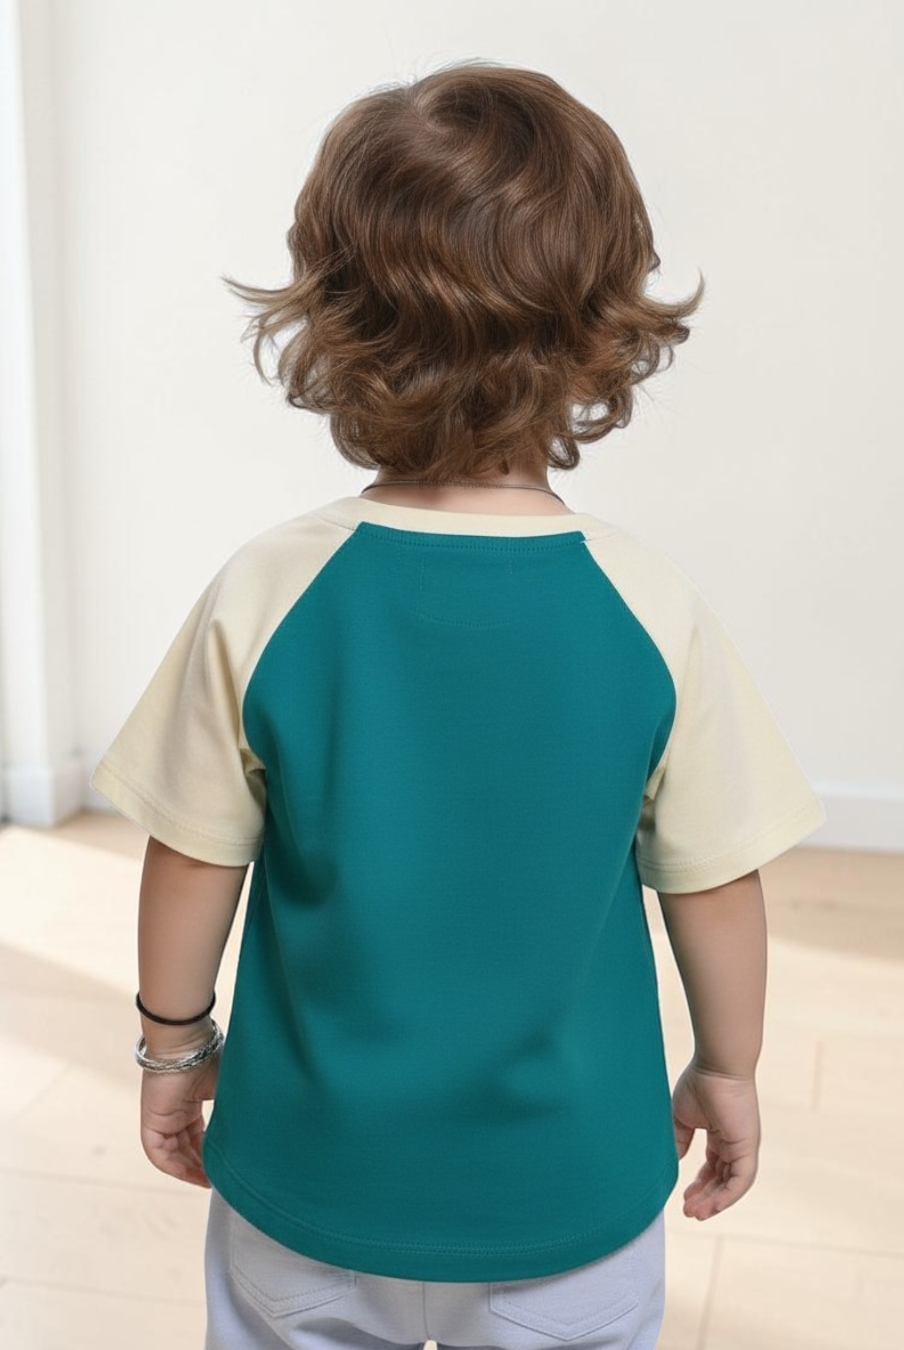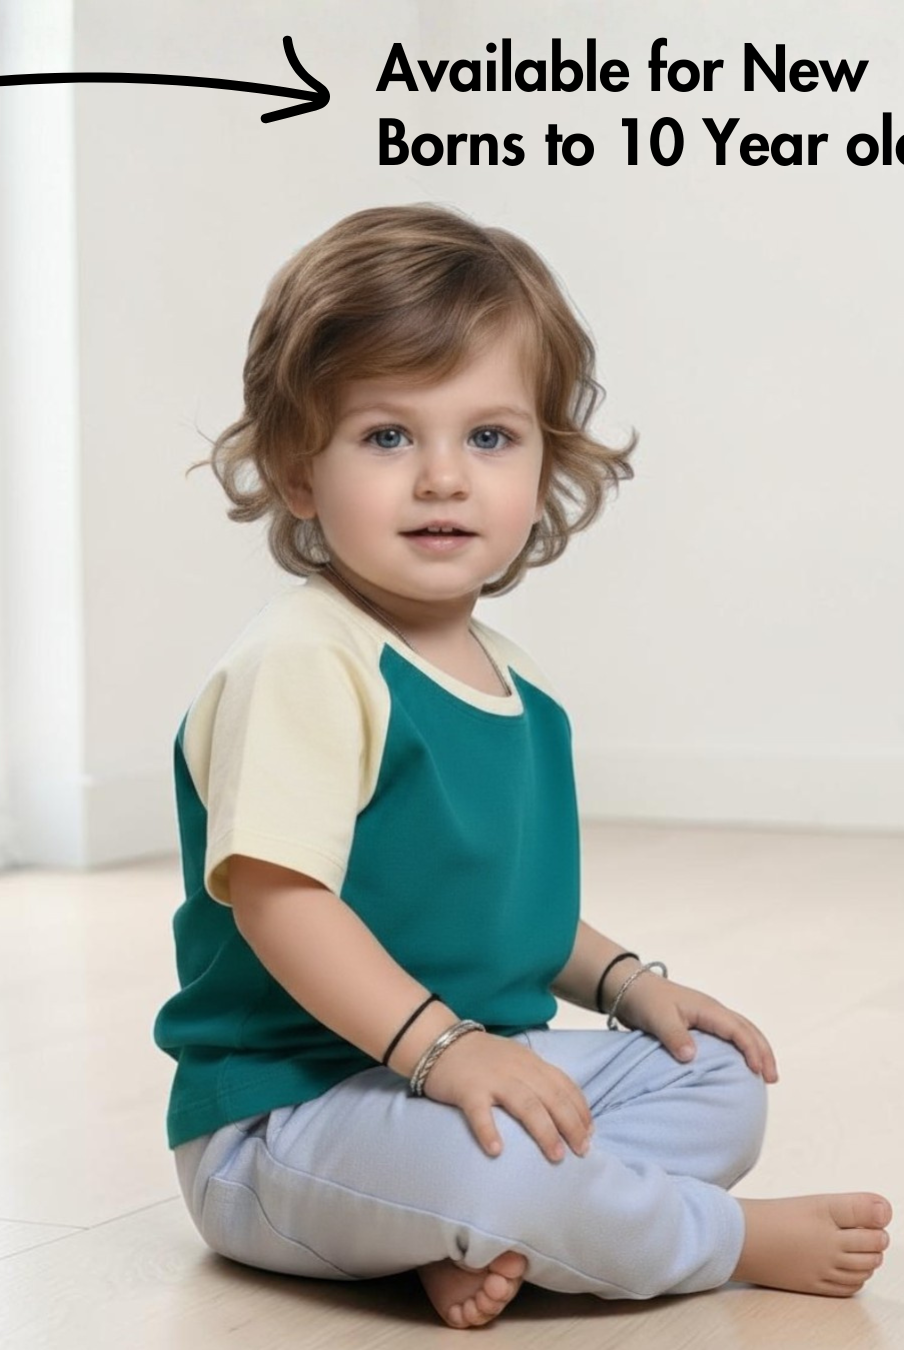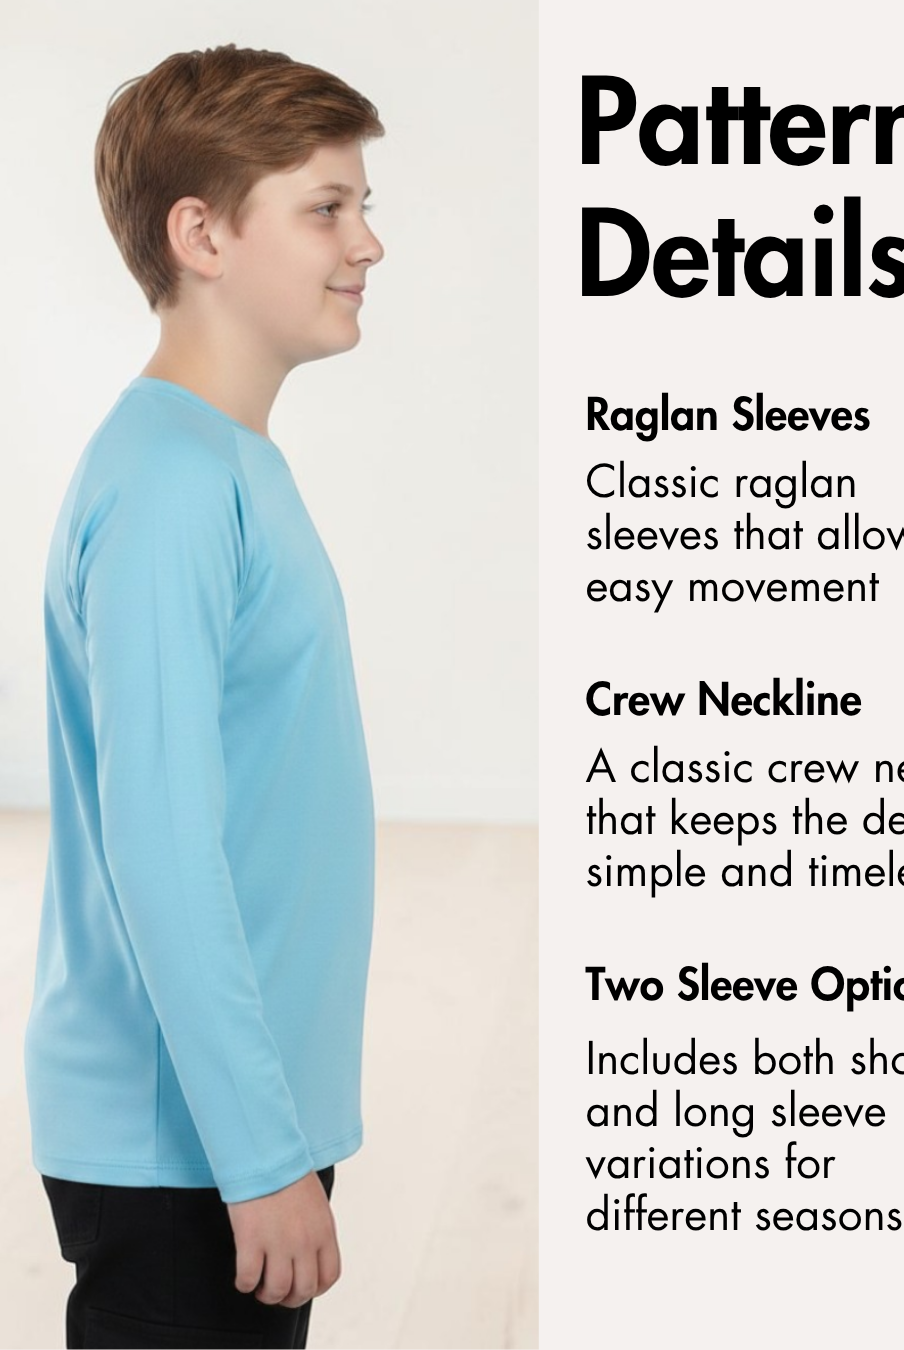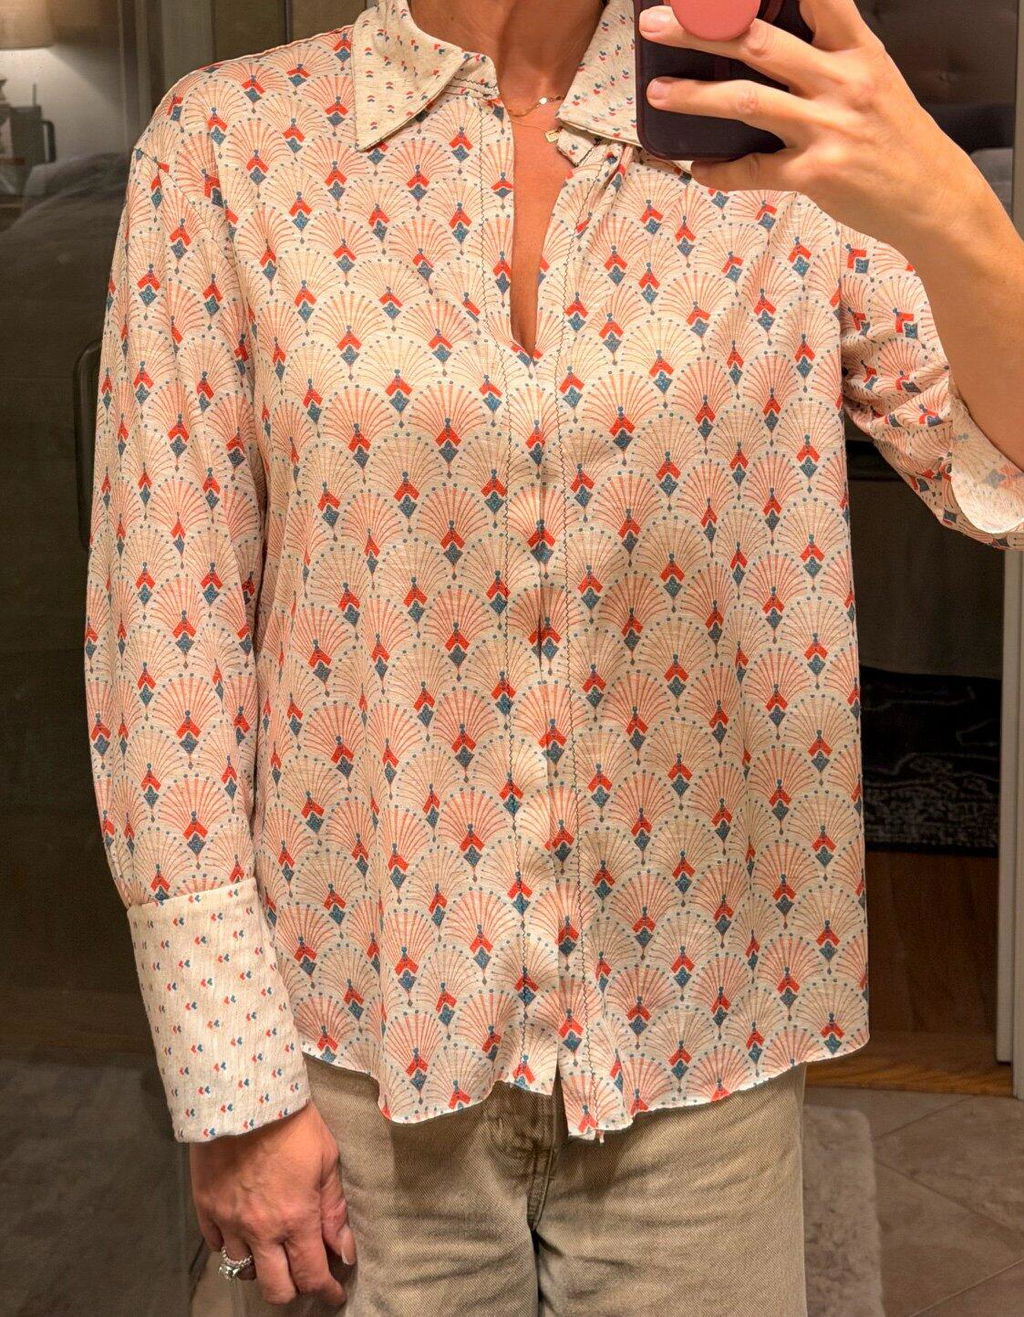
A boxy T-shirt is one of the most versatile garments you can sew. With its relaxed silhouette, comfortable fit, and simple construction, it's a great project for beginners while still offering polished results that you'll reach for again and again. Whether paired with jeans, shorts, skirts, or layered under jackets, a boxy tee is an everyday wardrobe staple.
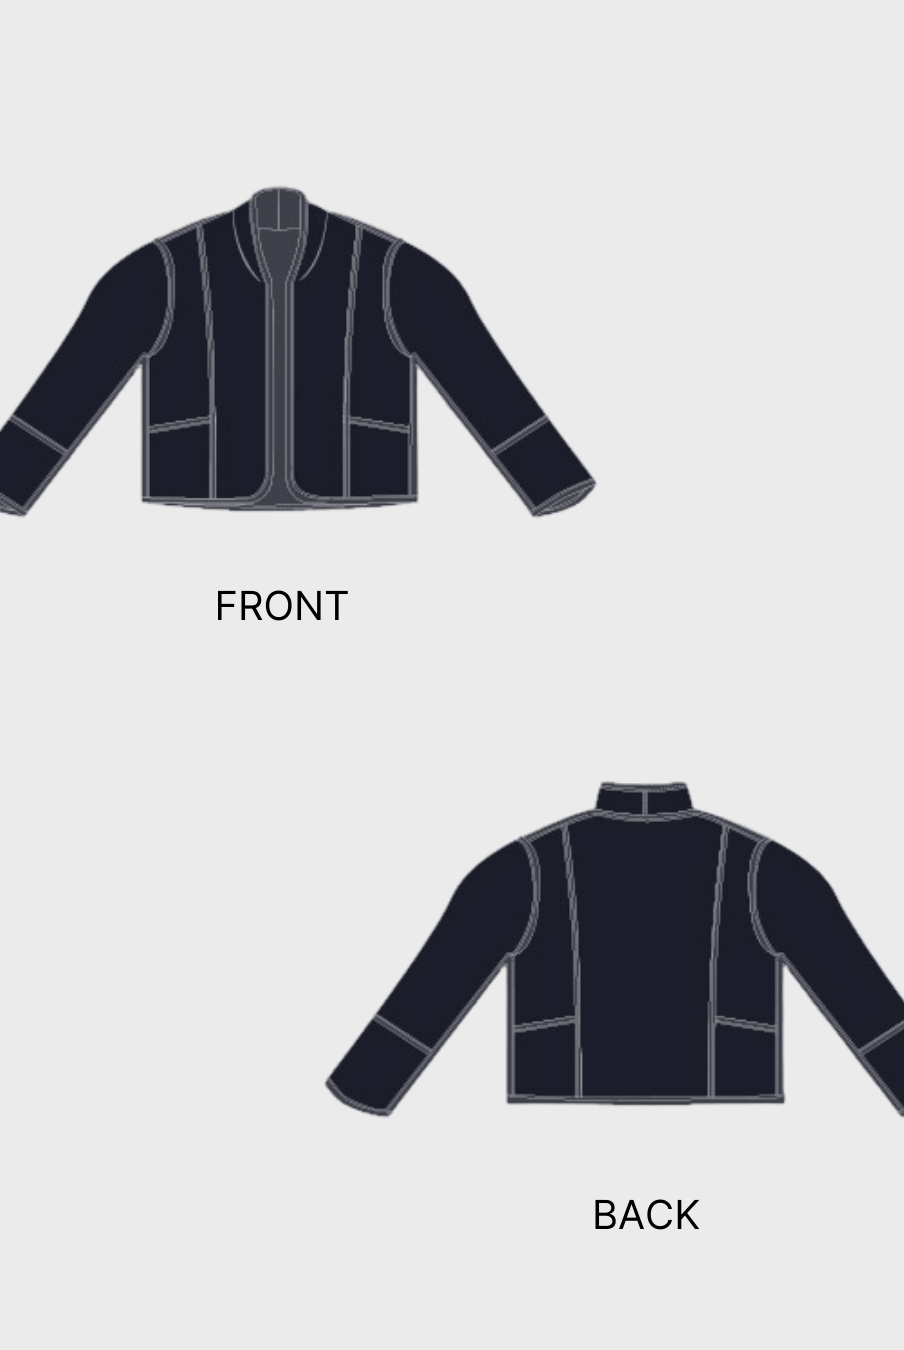
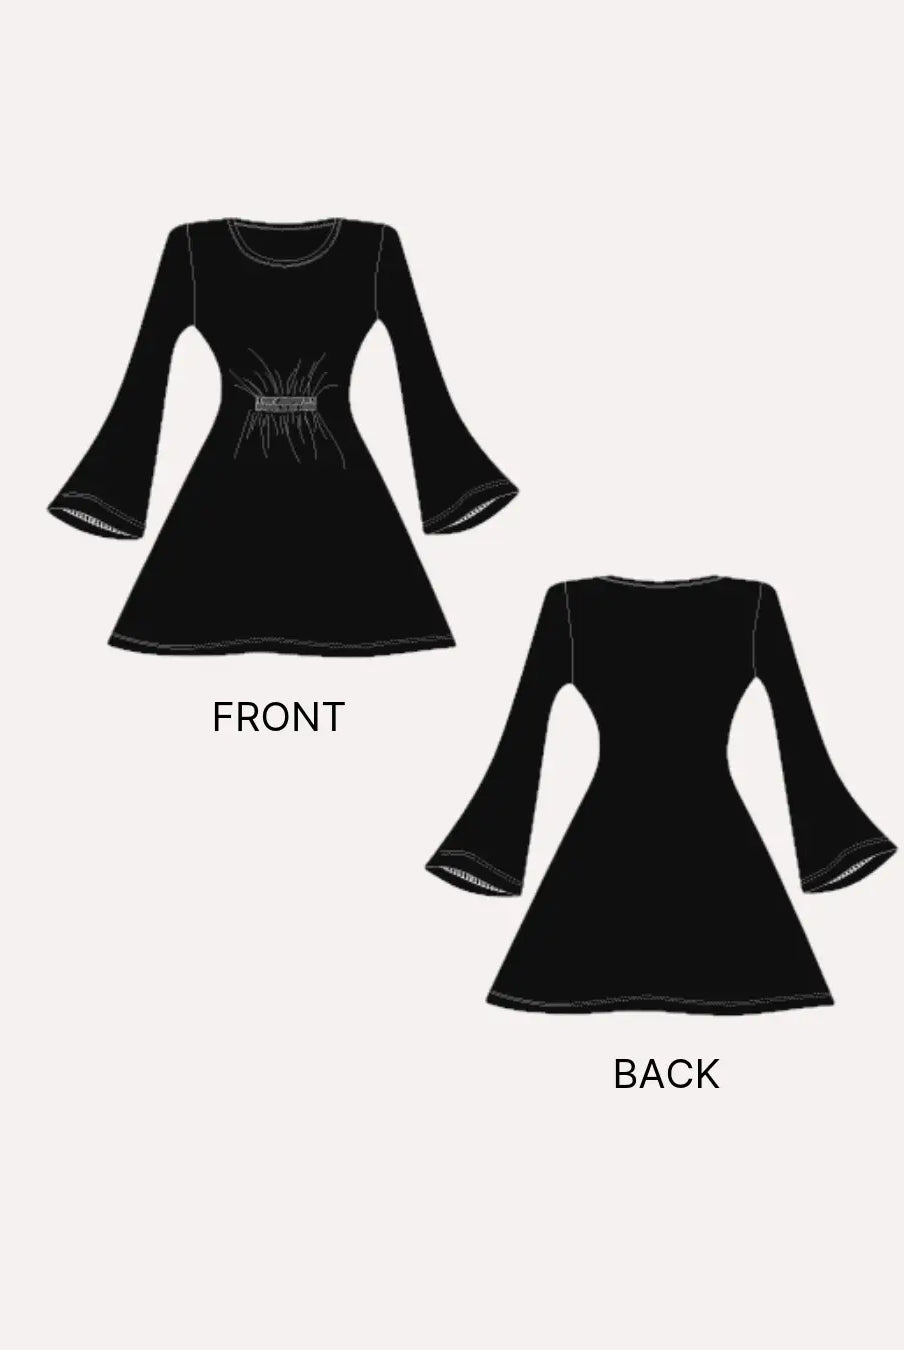
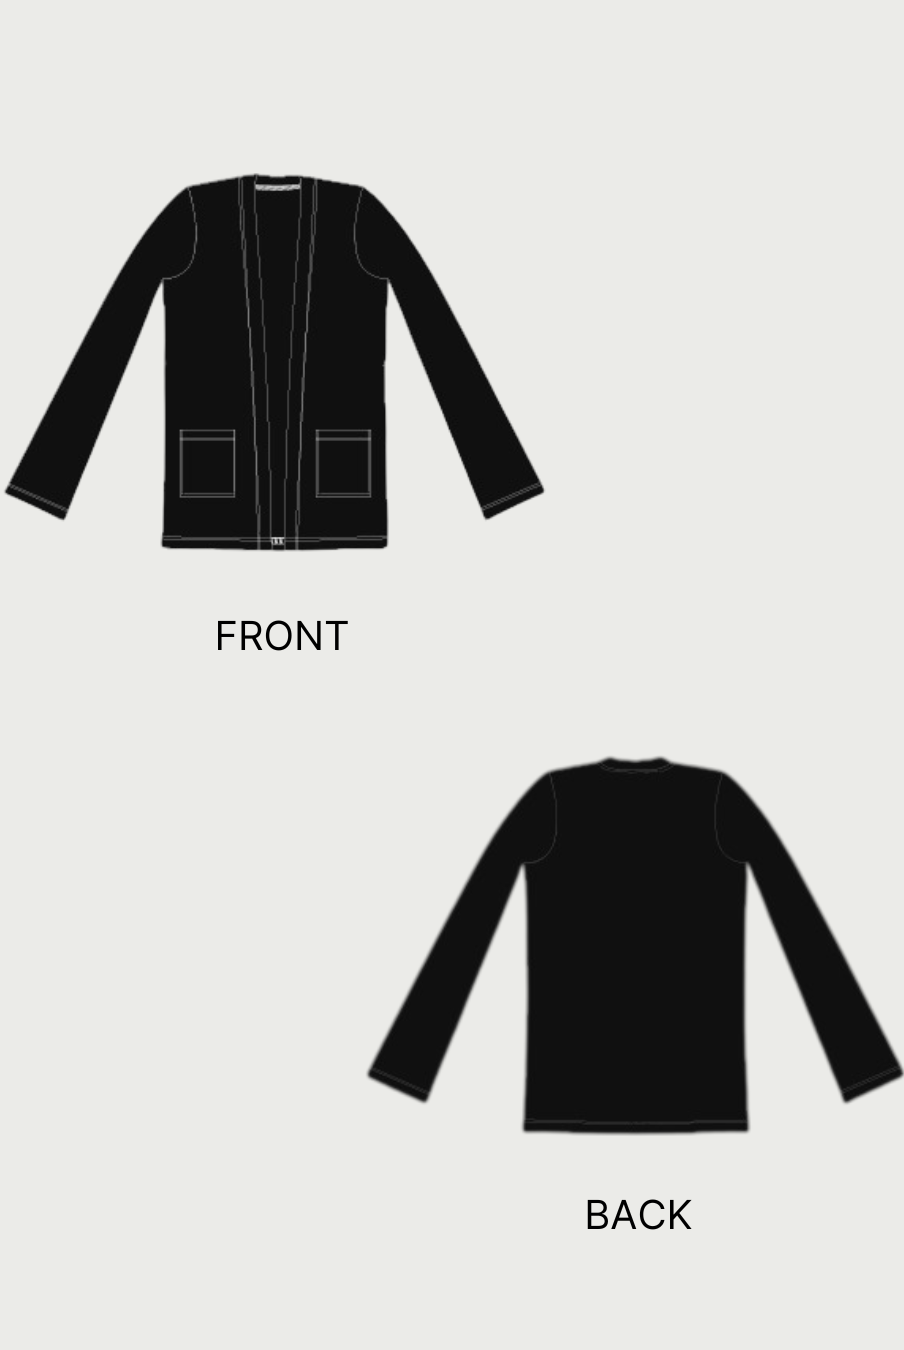
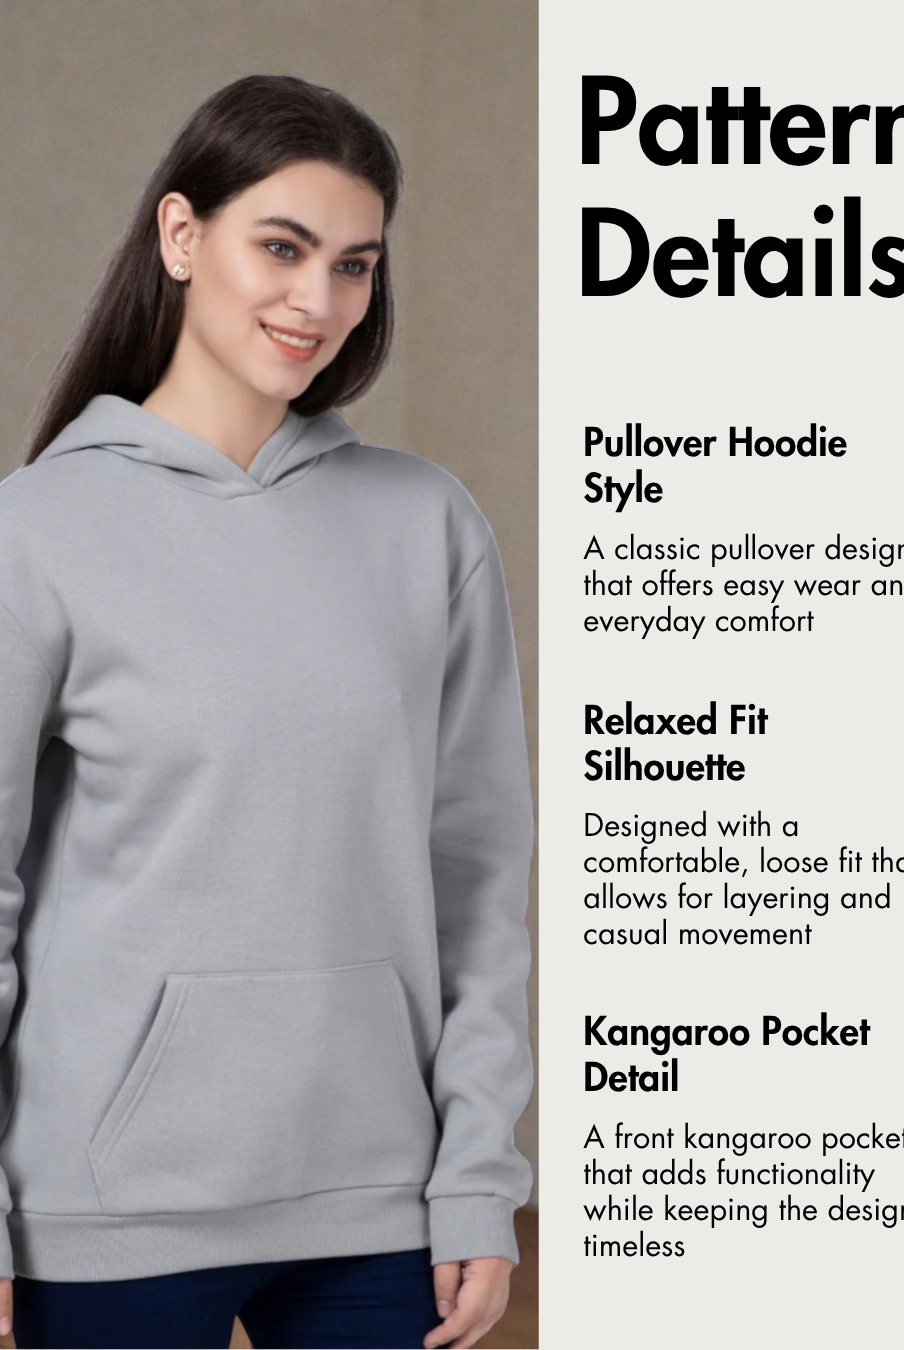
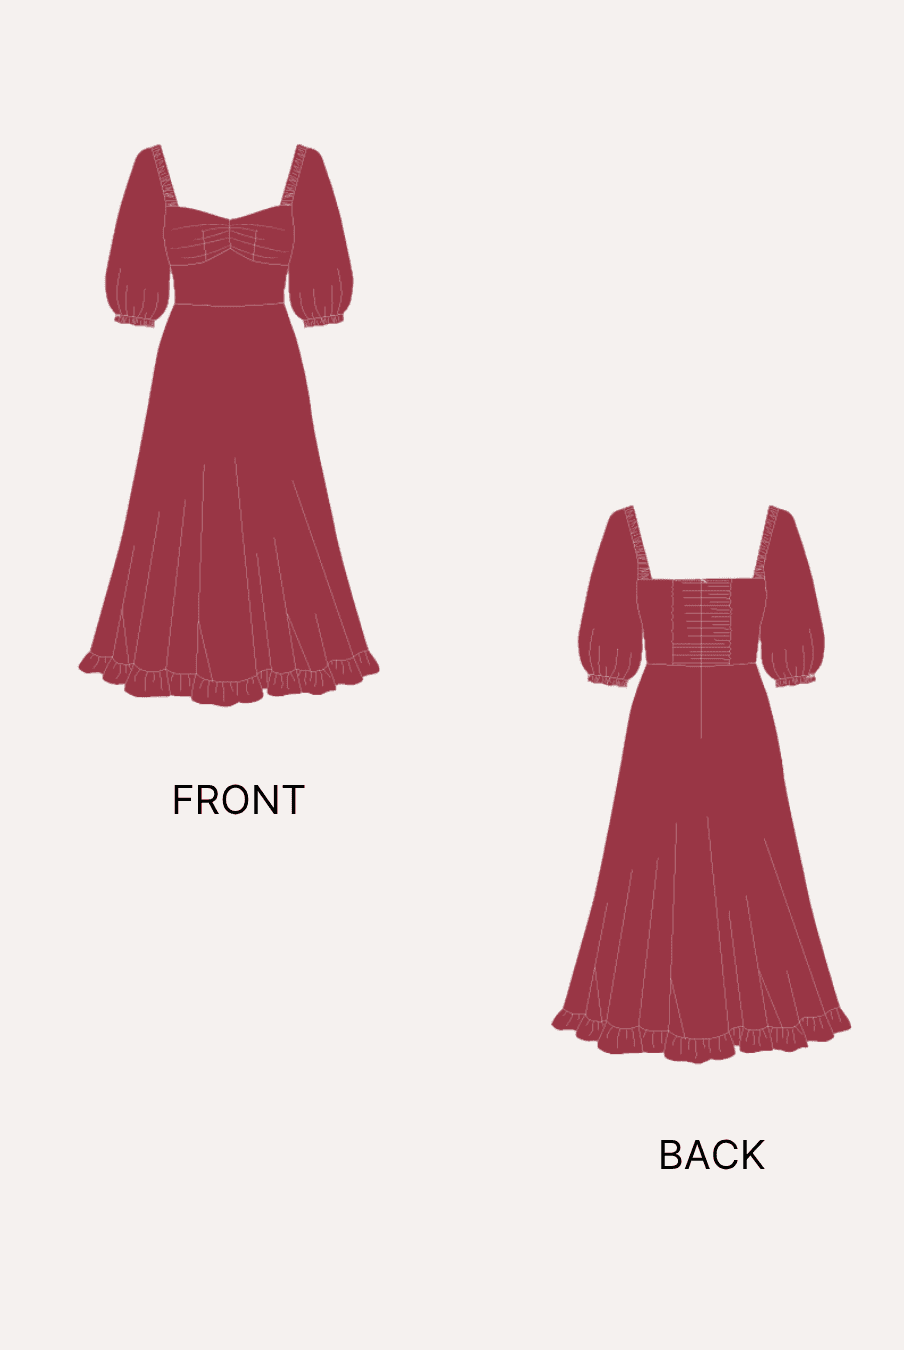
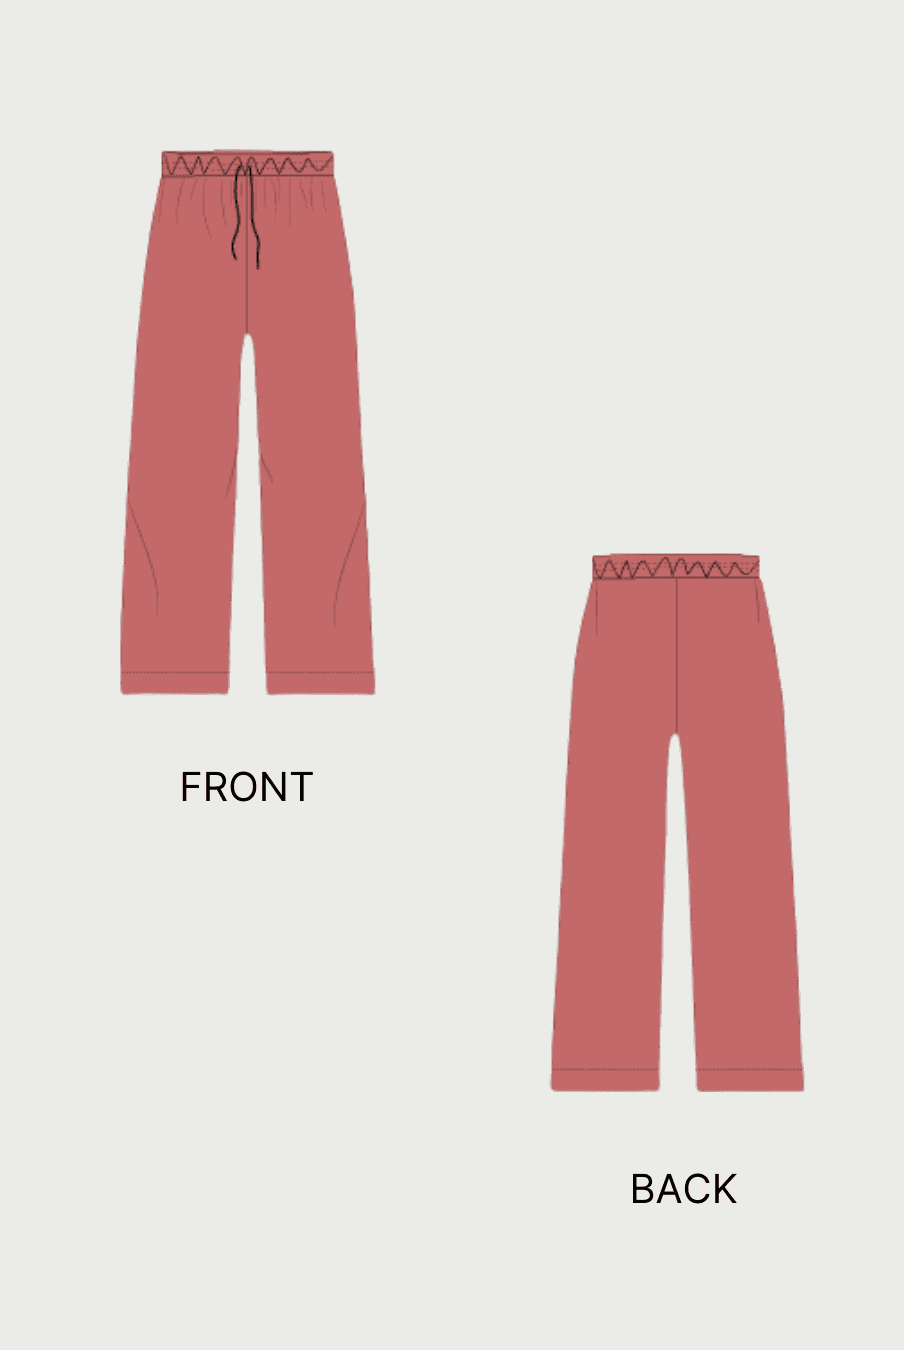
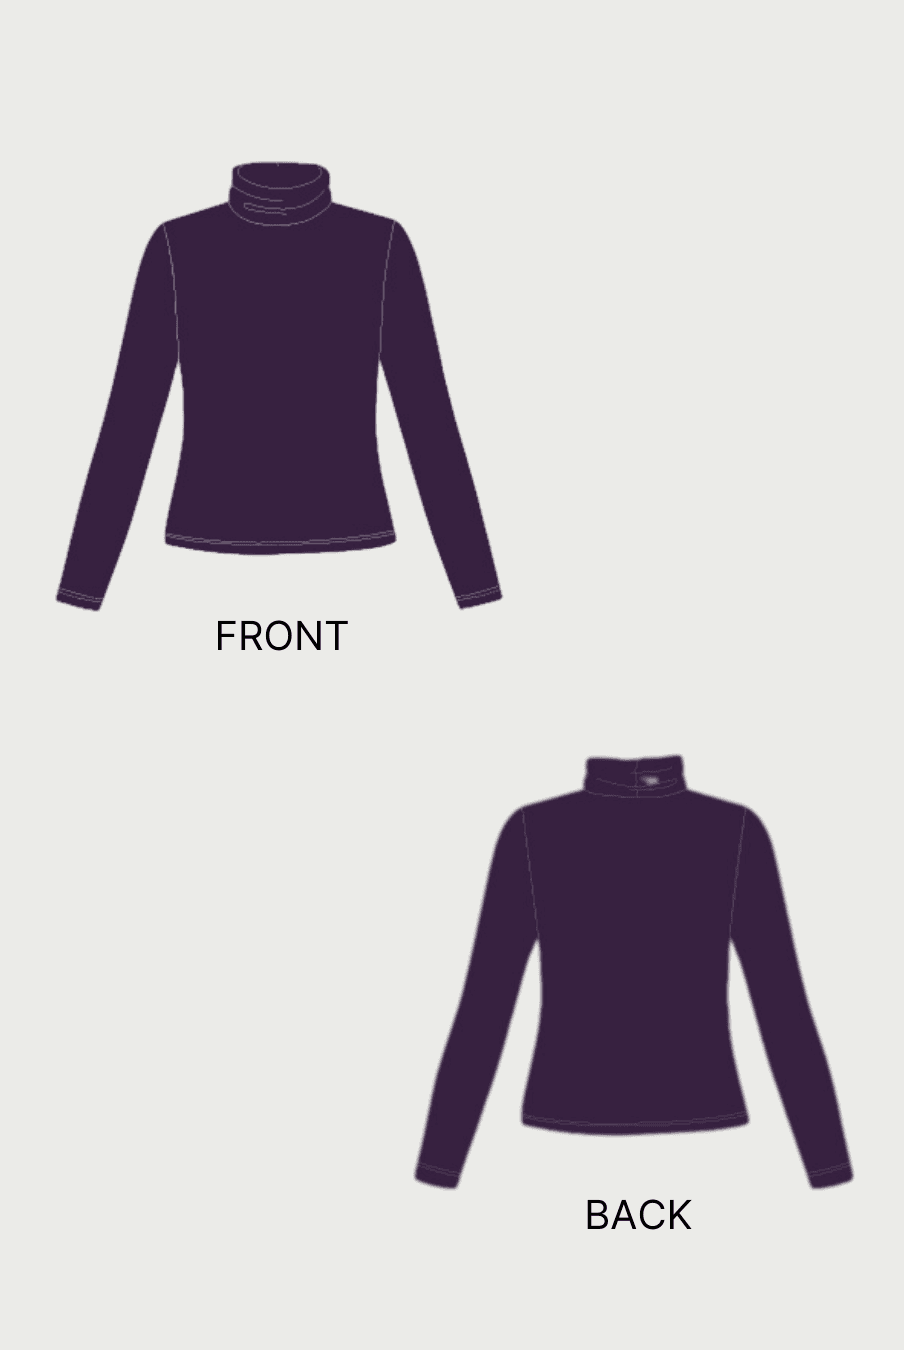
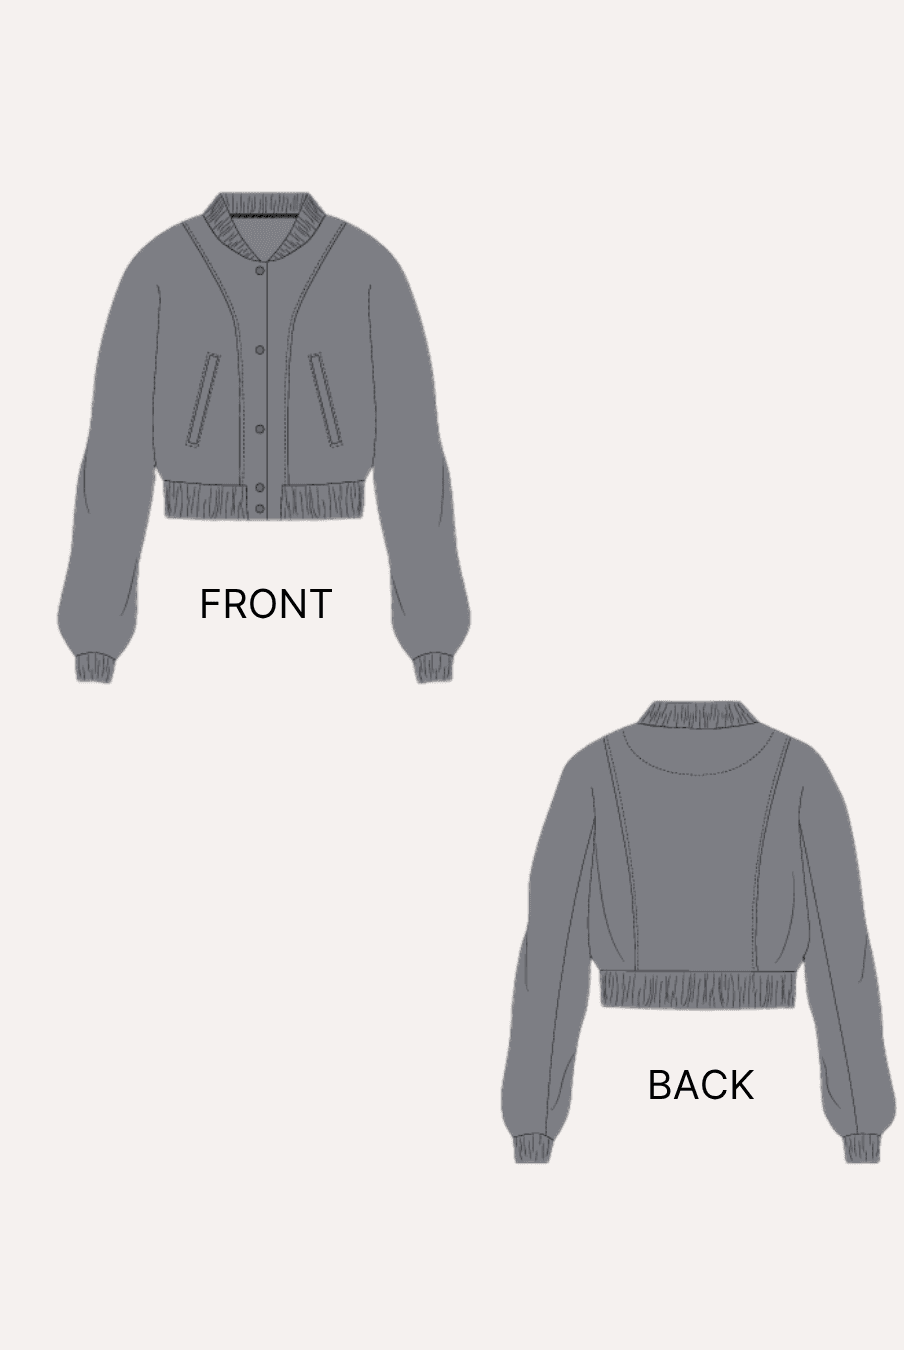
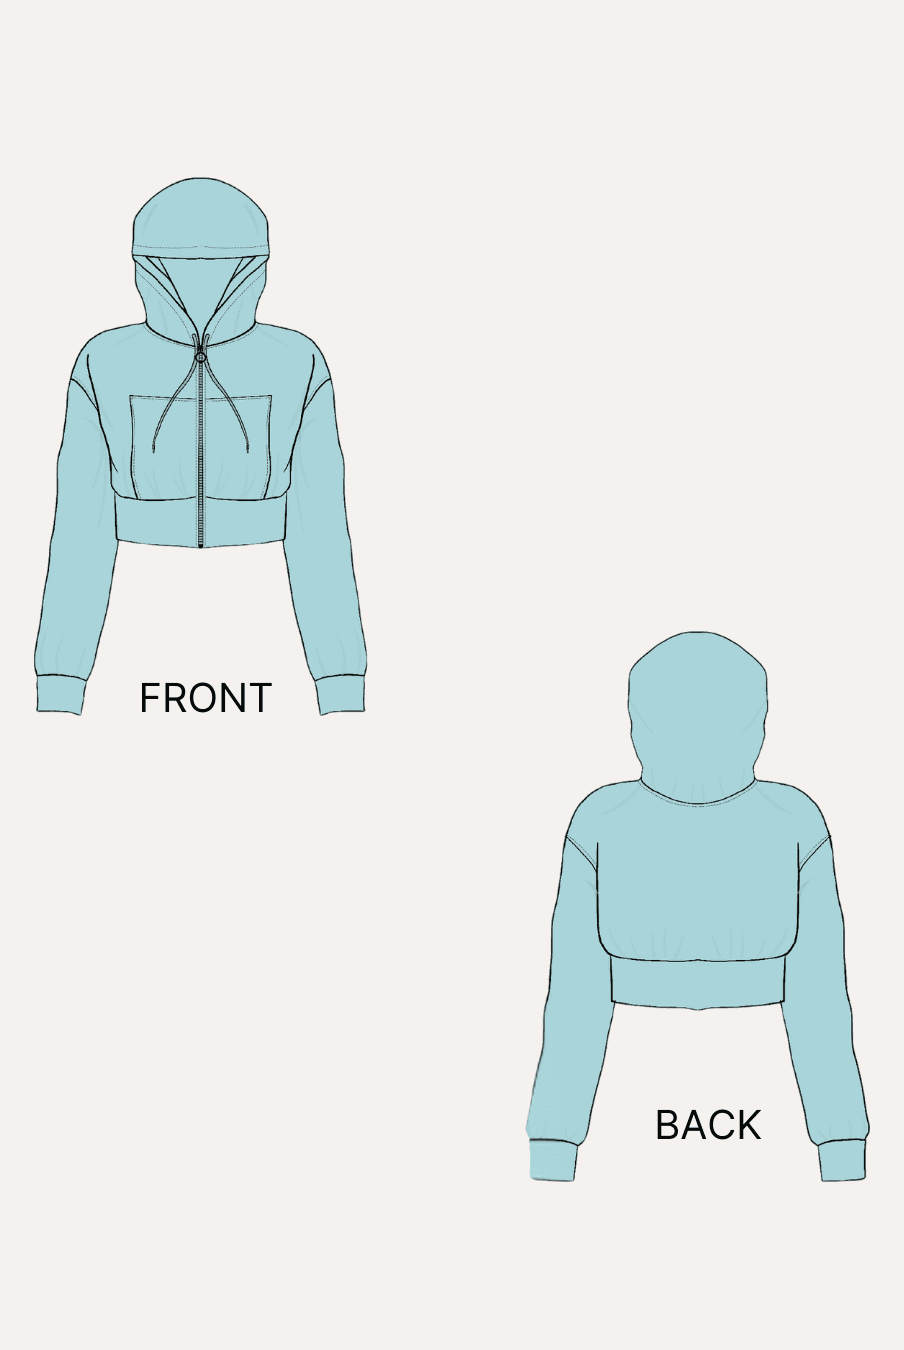
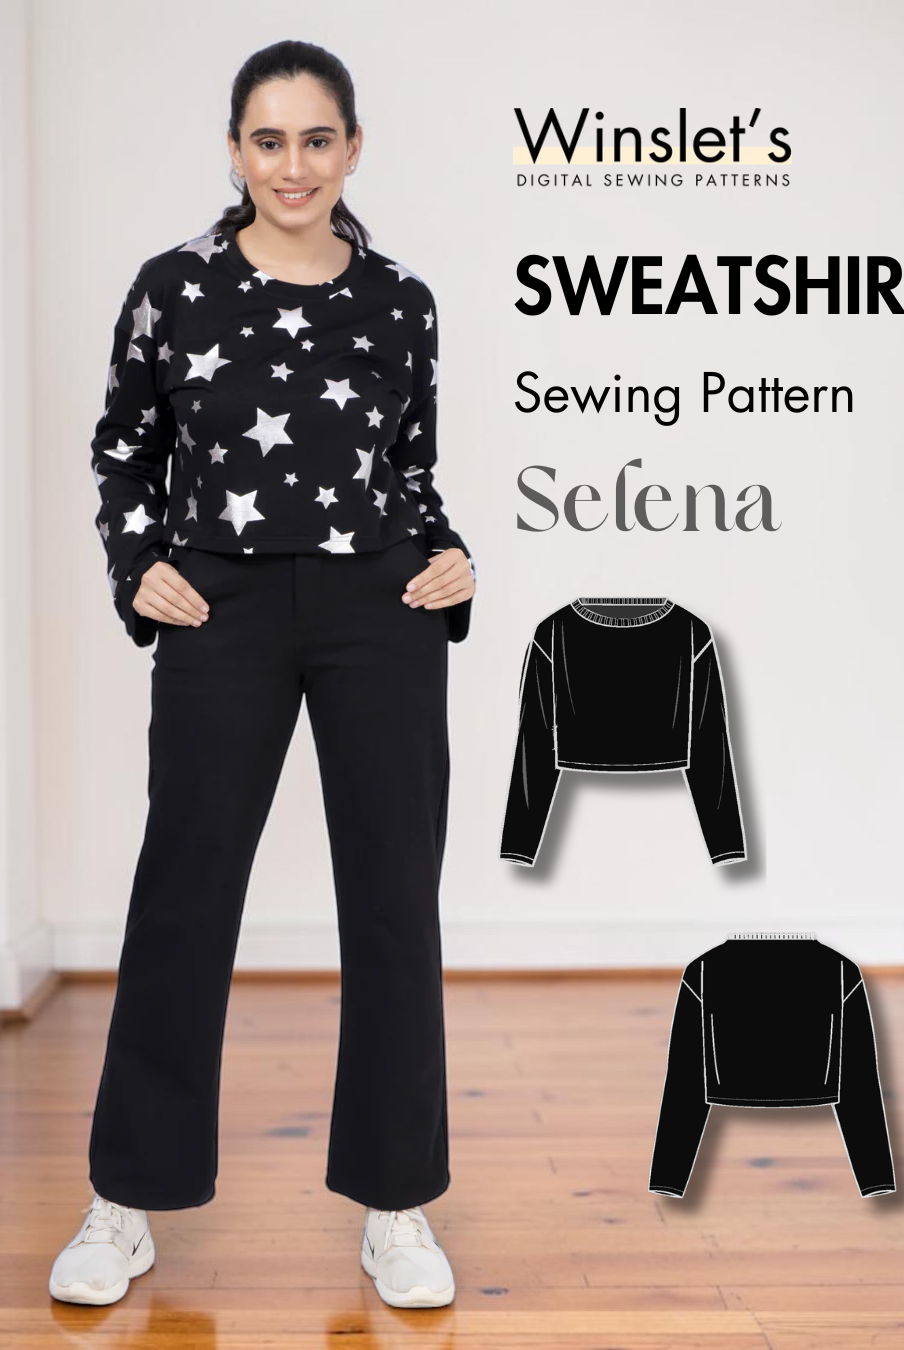
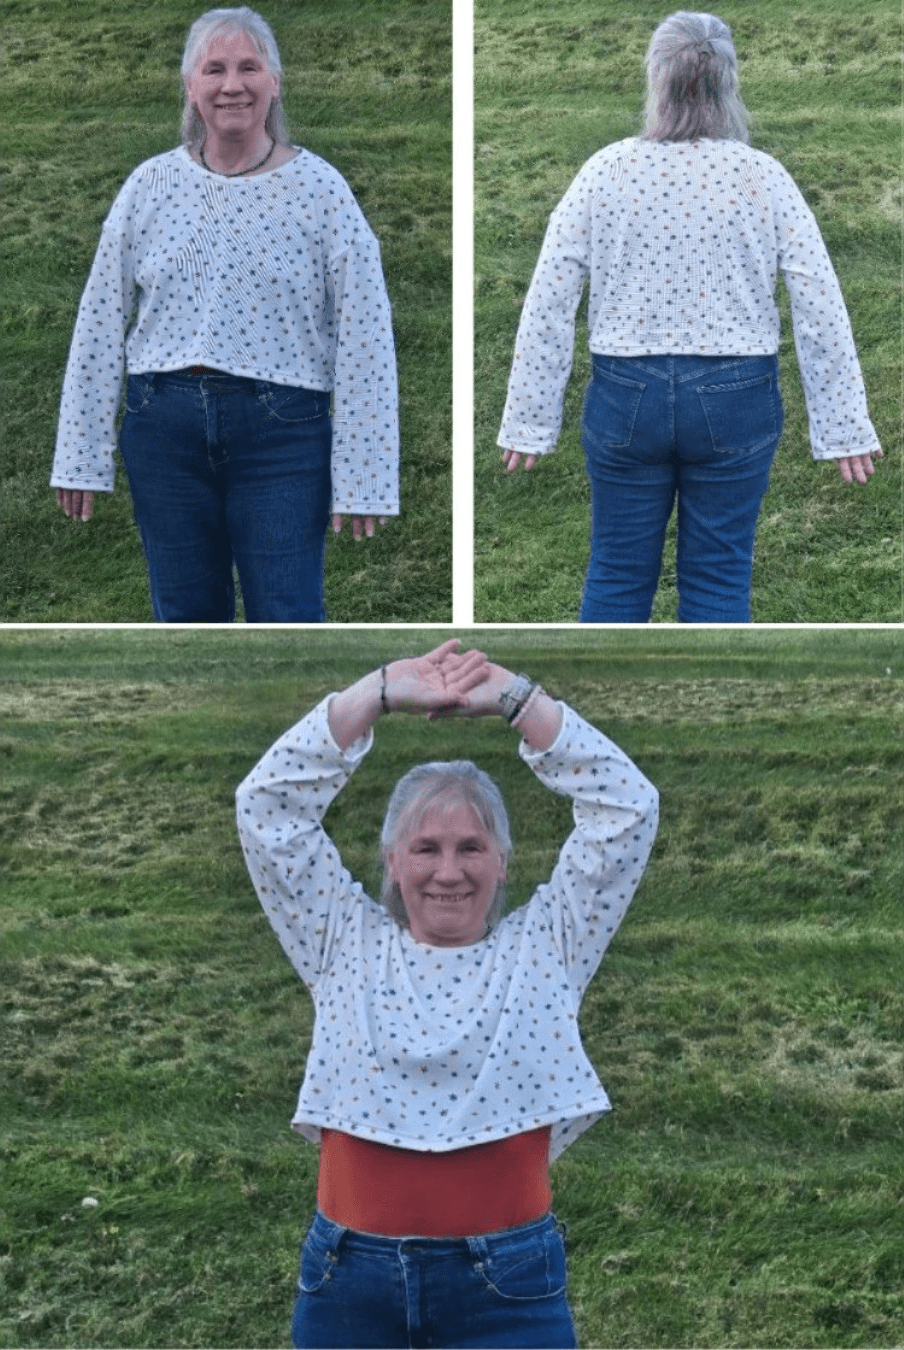
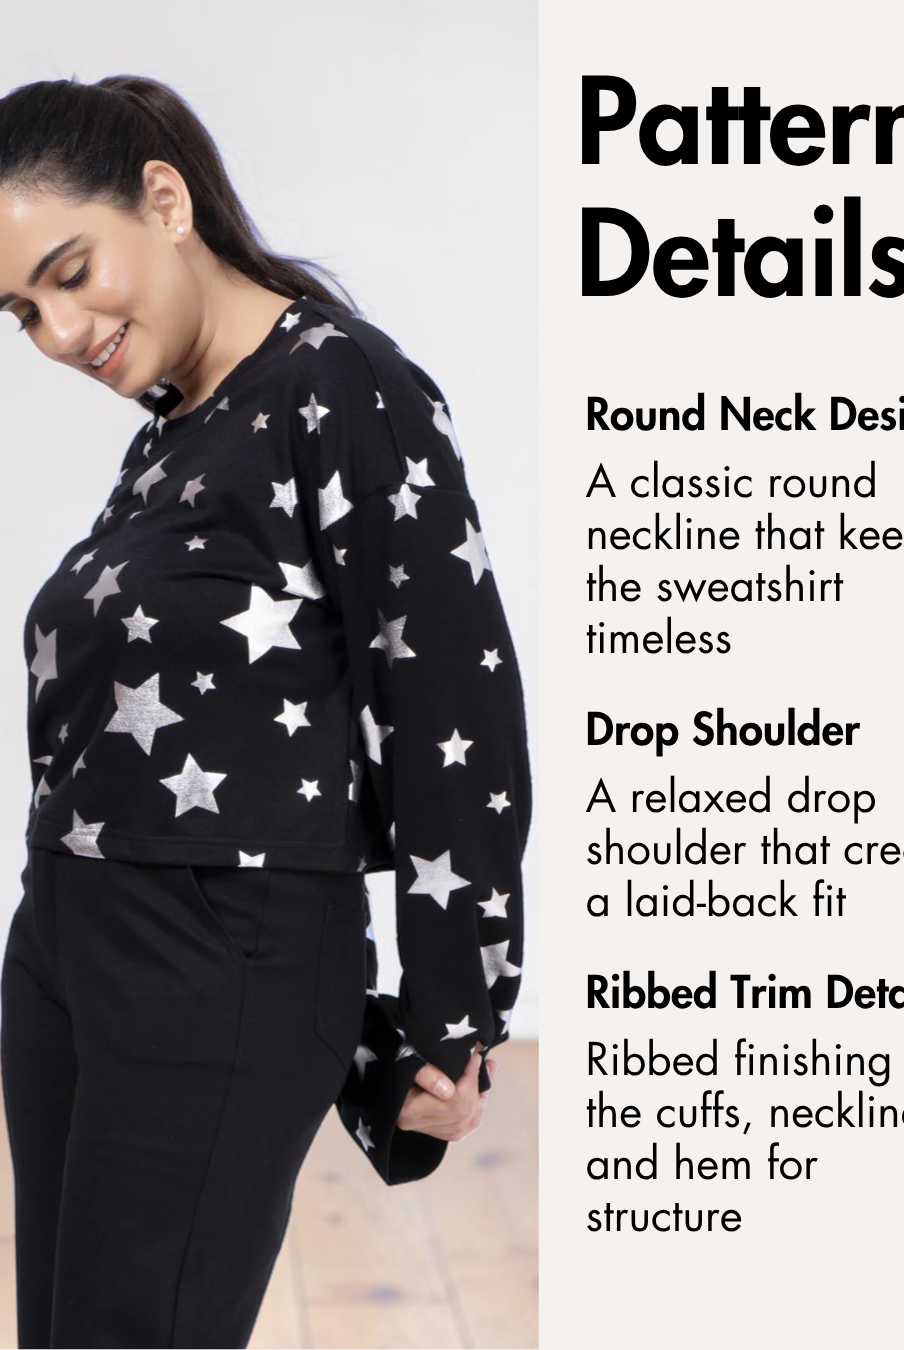
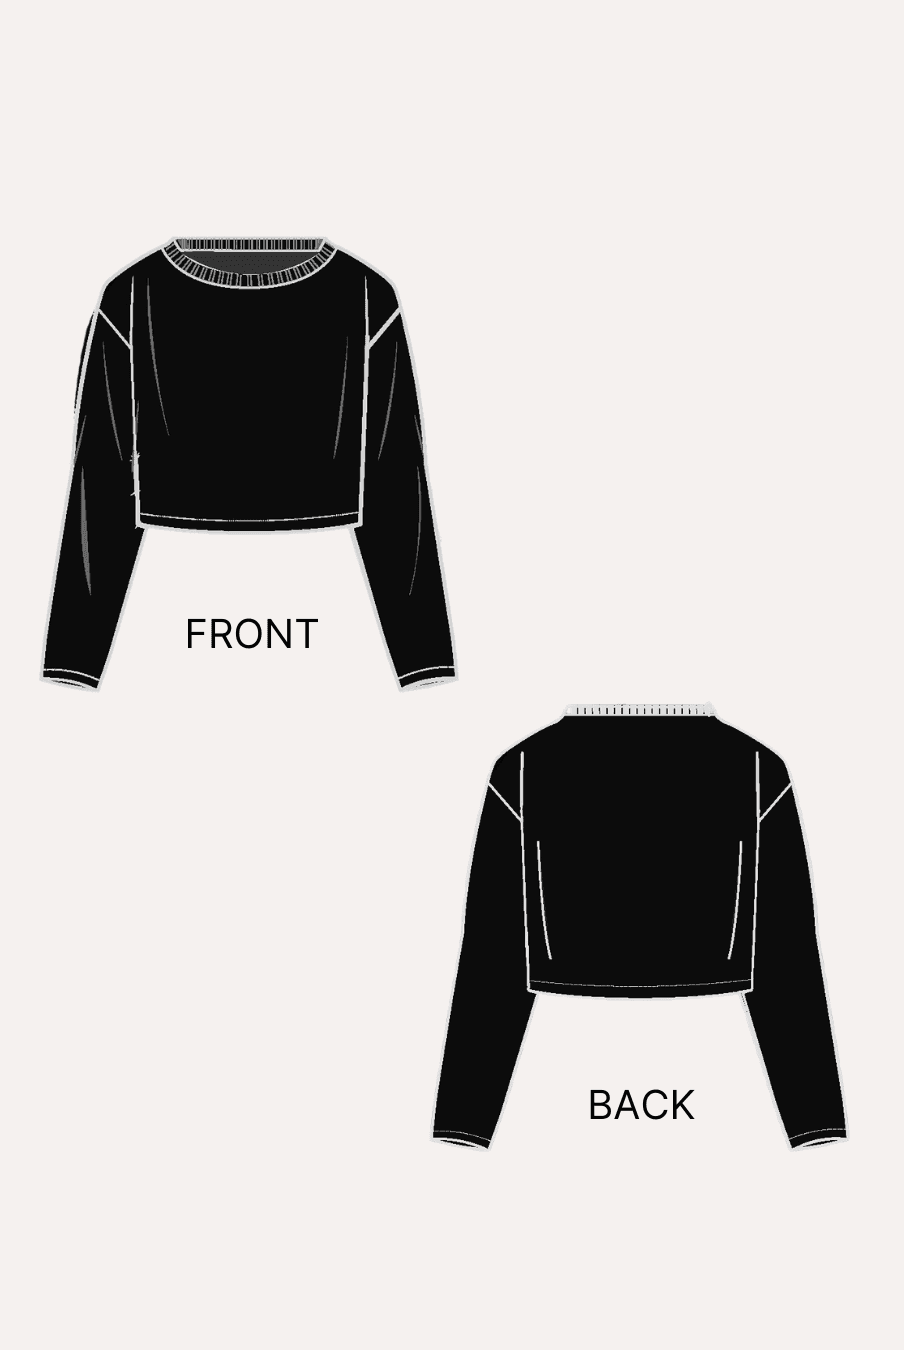
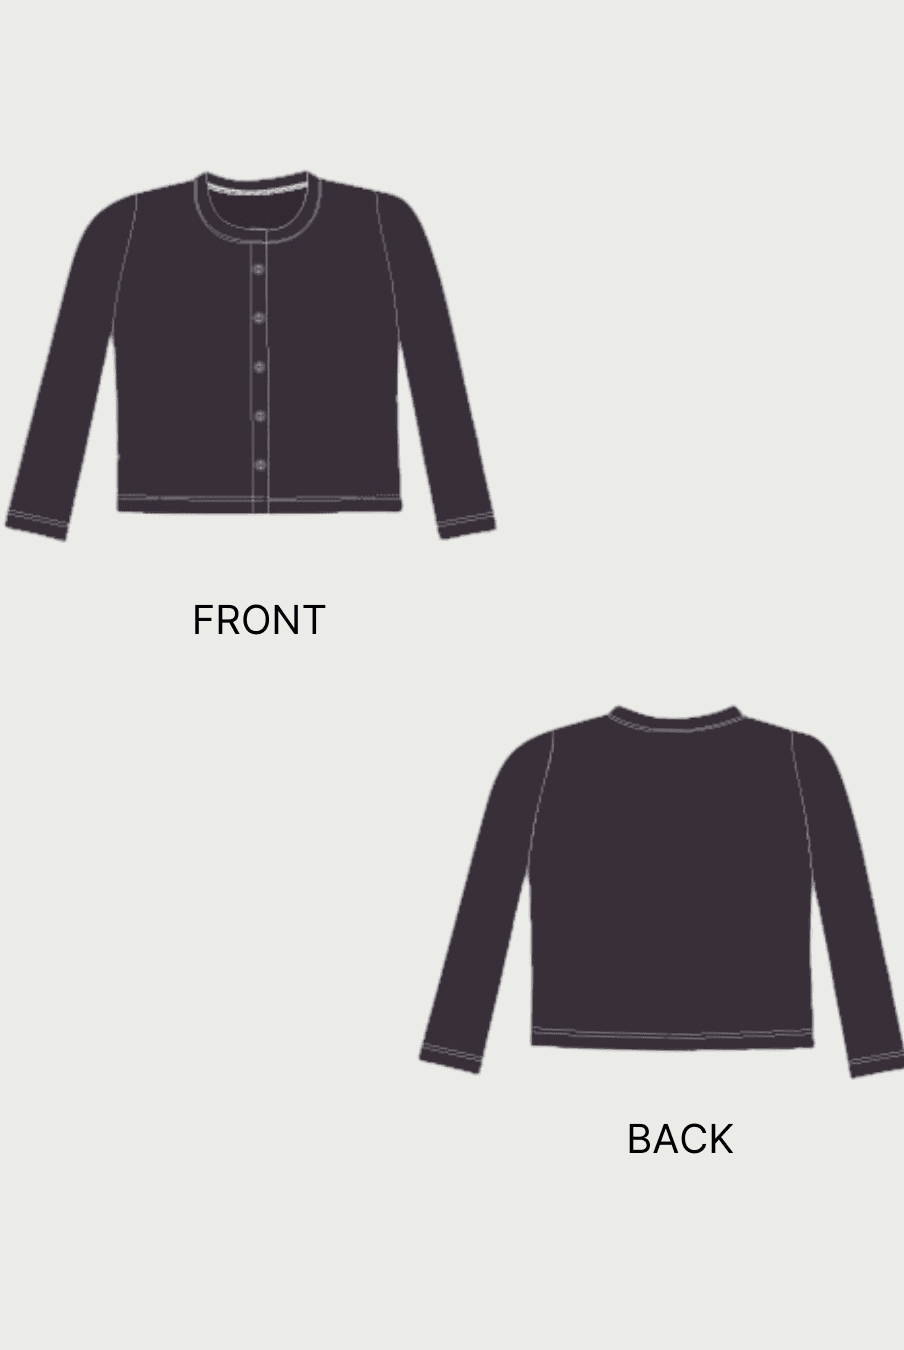
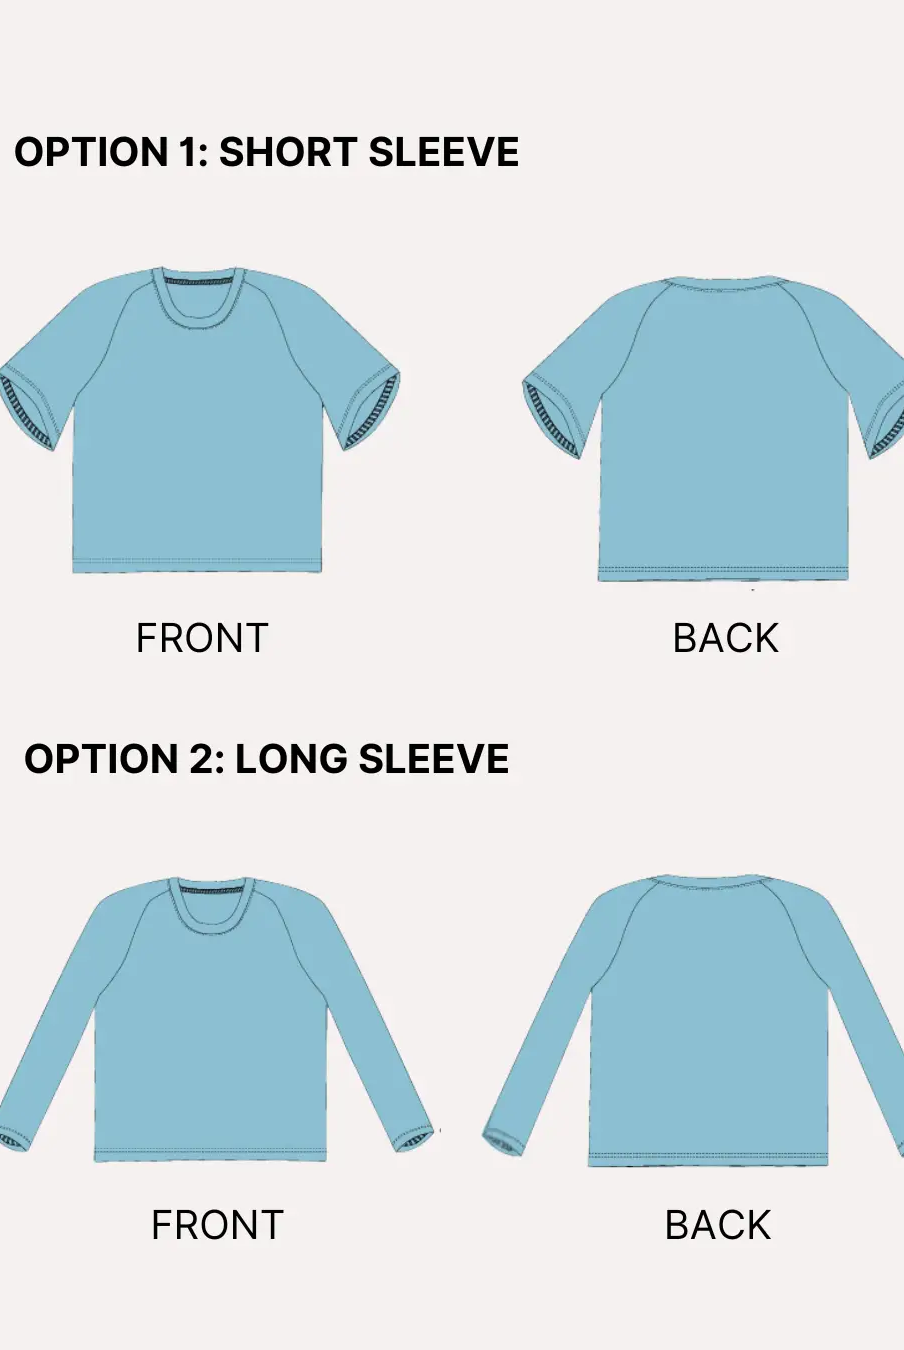
The Winslet's Lisa Boxy T-Shirt Sewing Pattern is designed to make sewing this modern essential approachable and enjoyable. Featuring a relaxed boxy fit, drop shoulders, a crew neckline, and unique front side placket details, this very easy pattern is perfect for creating a stylish knit top with professional finishes.

Why Sew a Boxy T-Shirt?
- Create a comfortable everyday wardrobe staple with a relaxed boxy silhouette.
- Learn essential knit sewing techniques, including neckband application, overlocking, and coverstitch hemming.
- Enjoy a modern drop-shoulder design that's easy to wear and style.
- Add distinctive front side placket details for a unique finished look.
- Sew a quick project that's perfect for everyday casual outfits.
Why Choose the Winslet's Lisa Boxy T-Shirt Sewing Pattern?

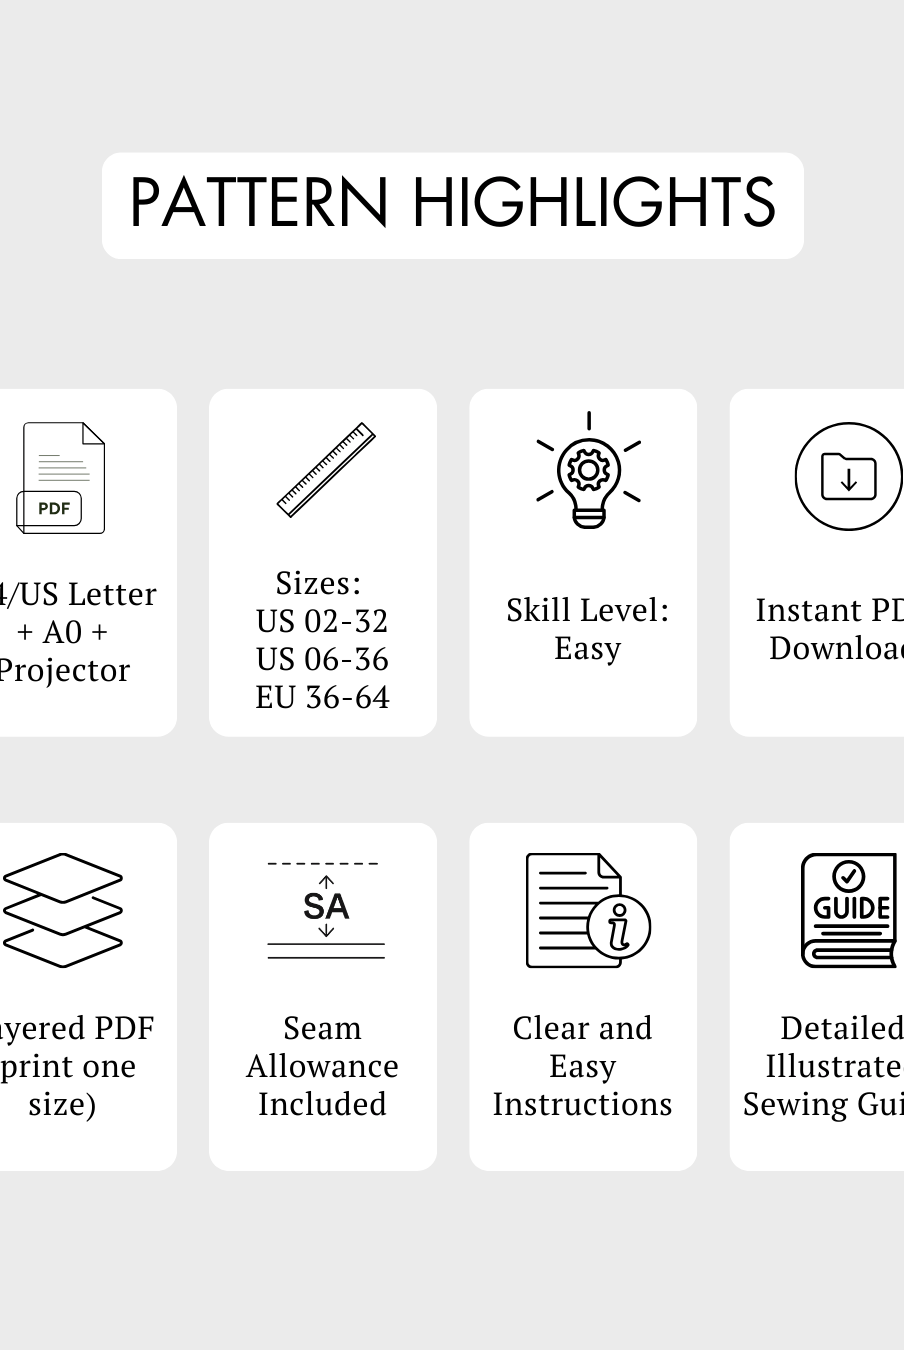
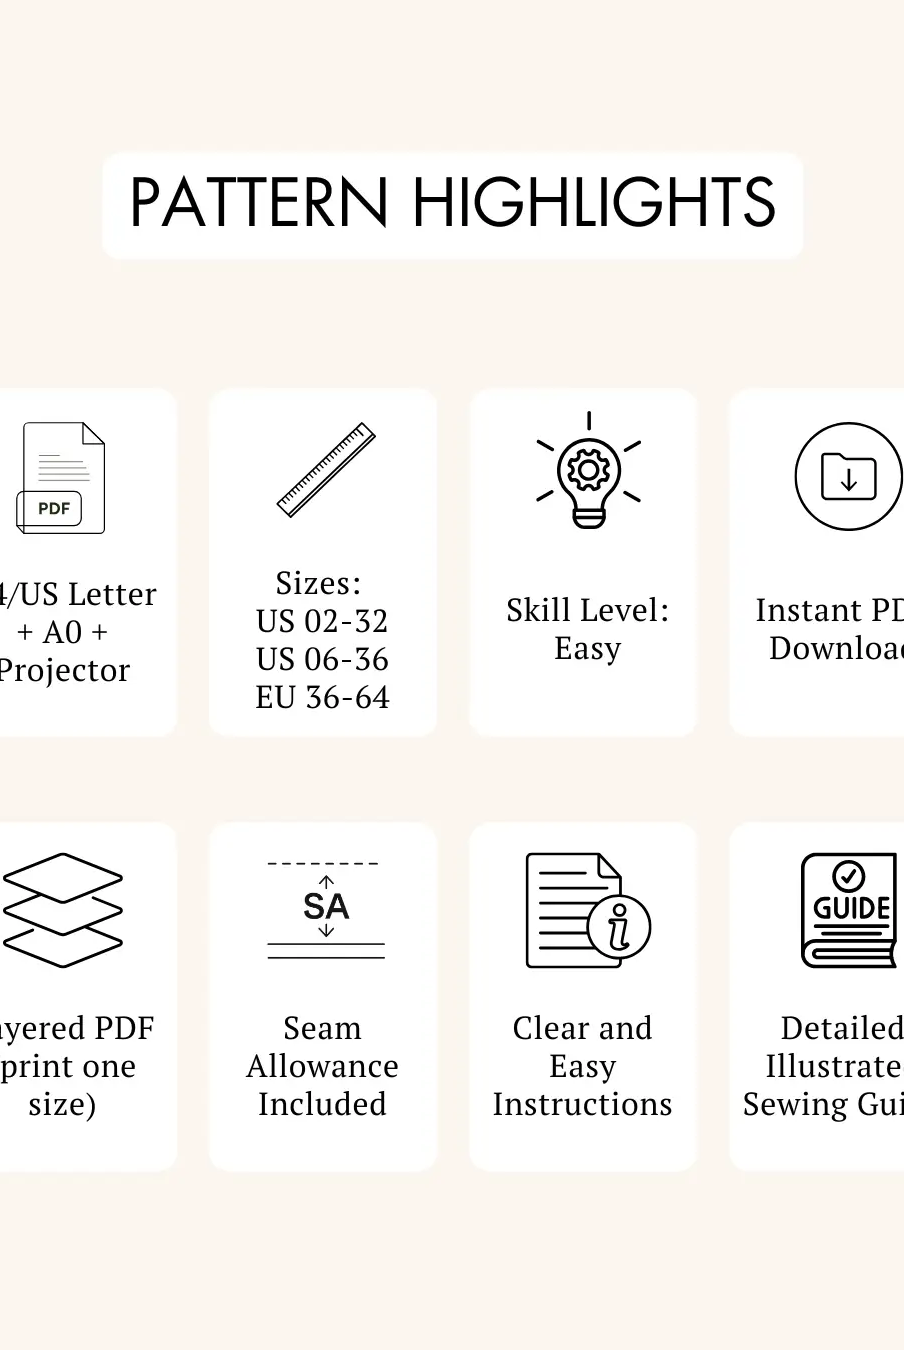
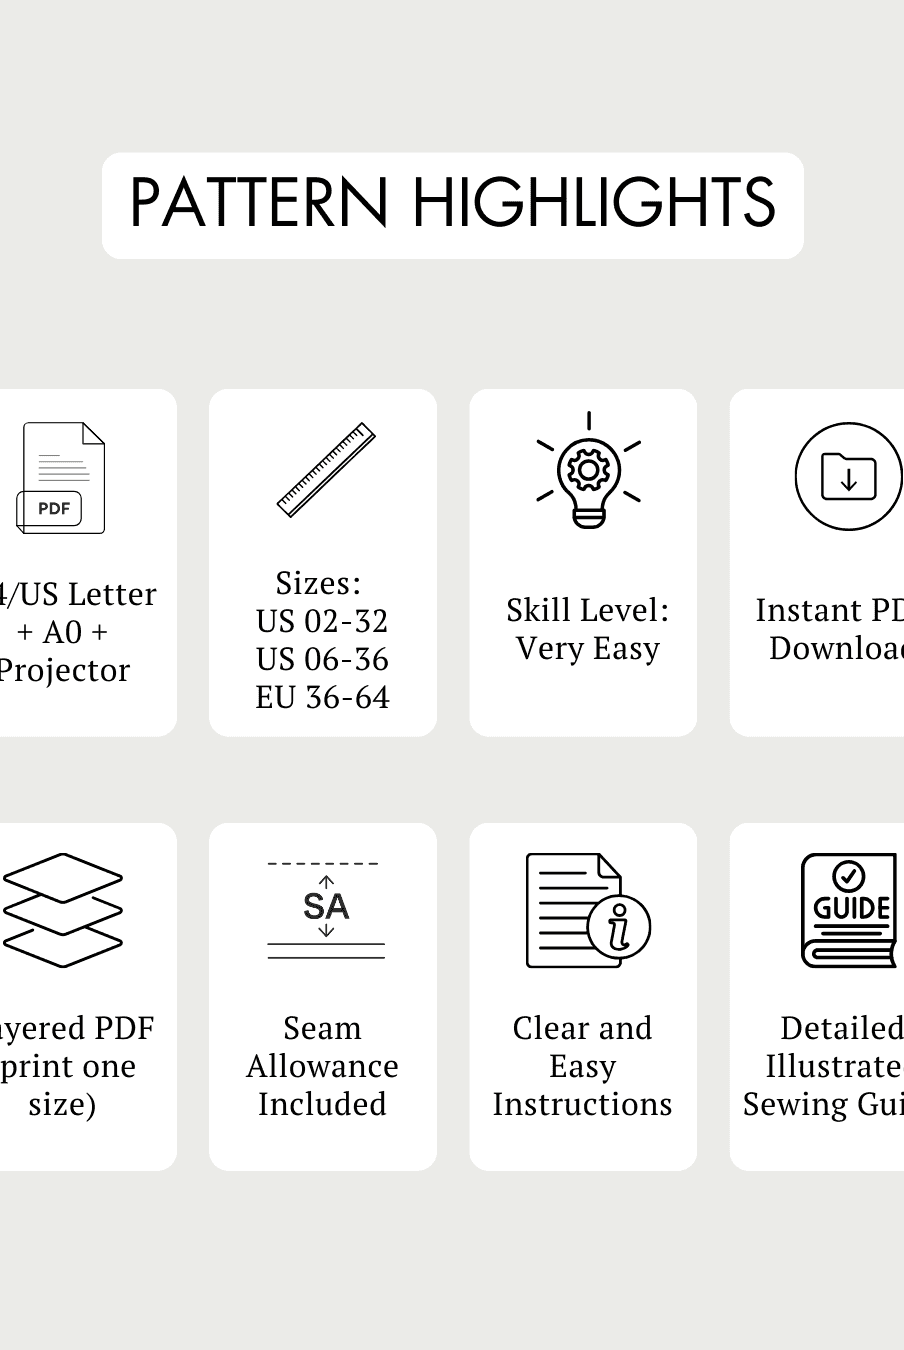
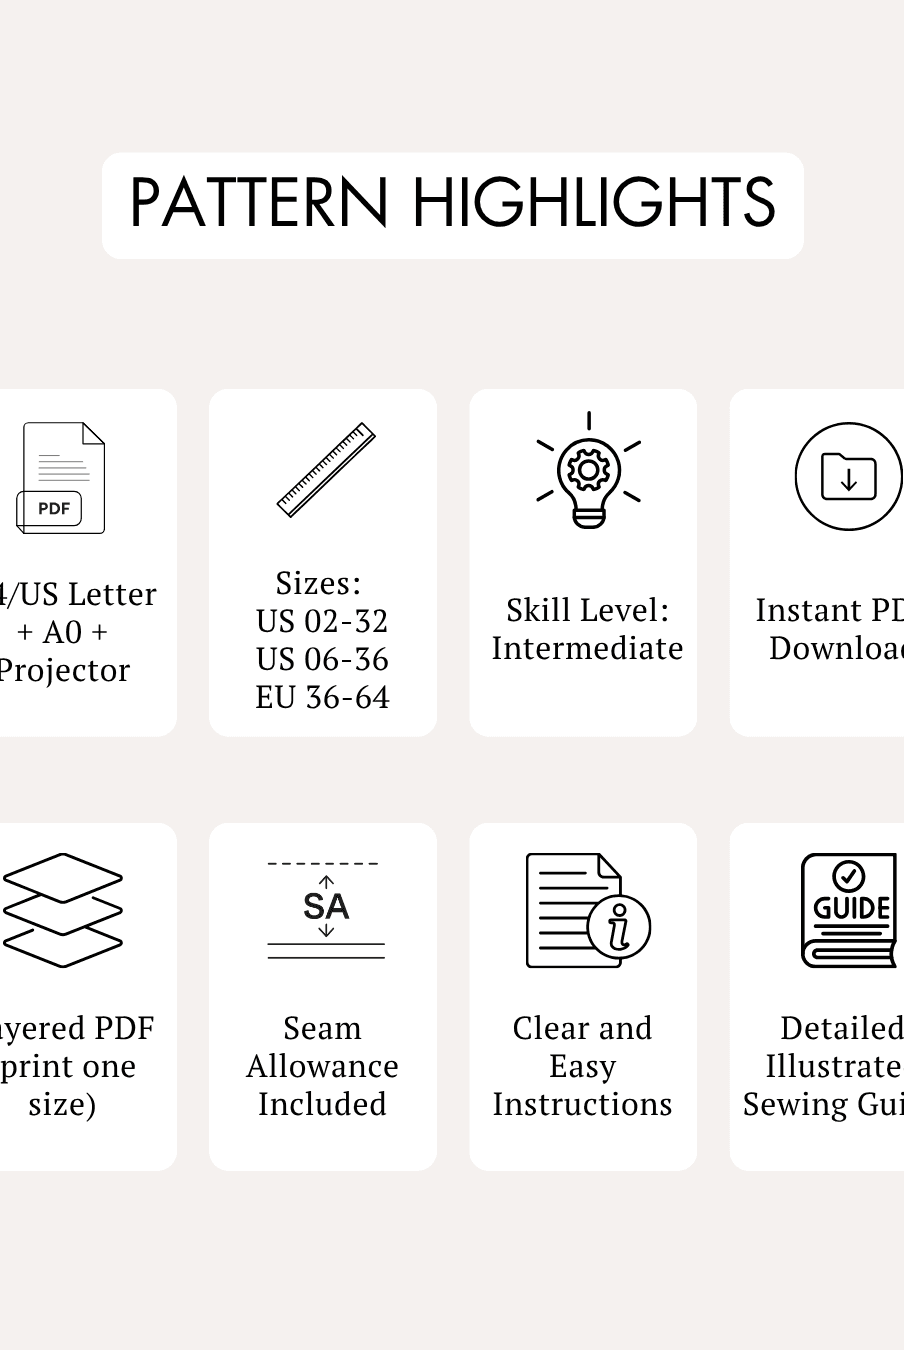
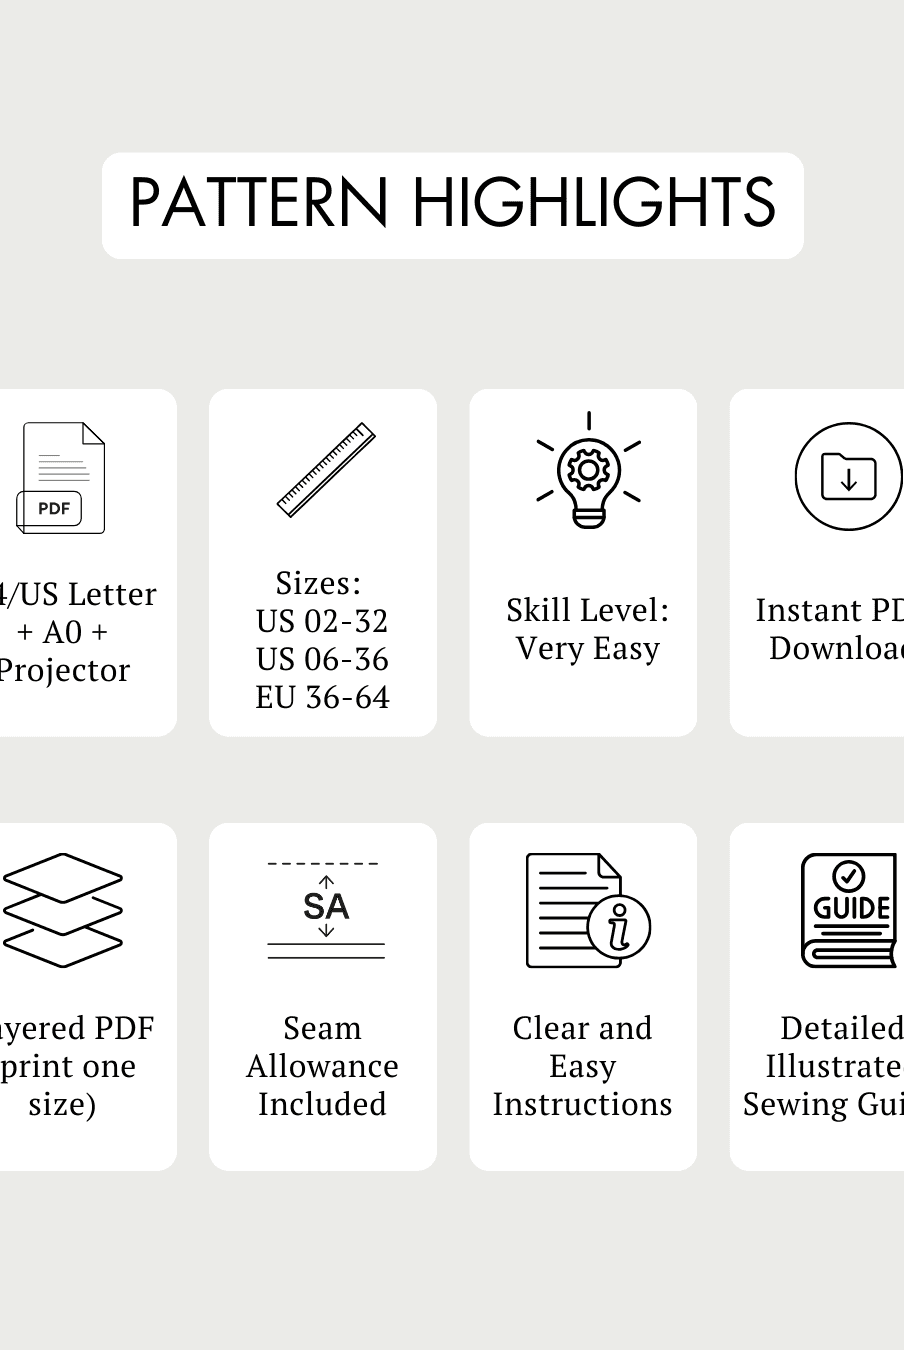
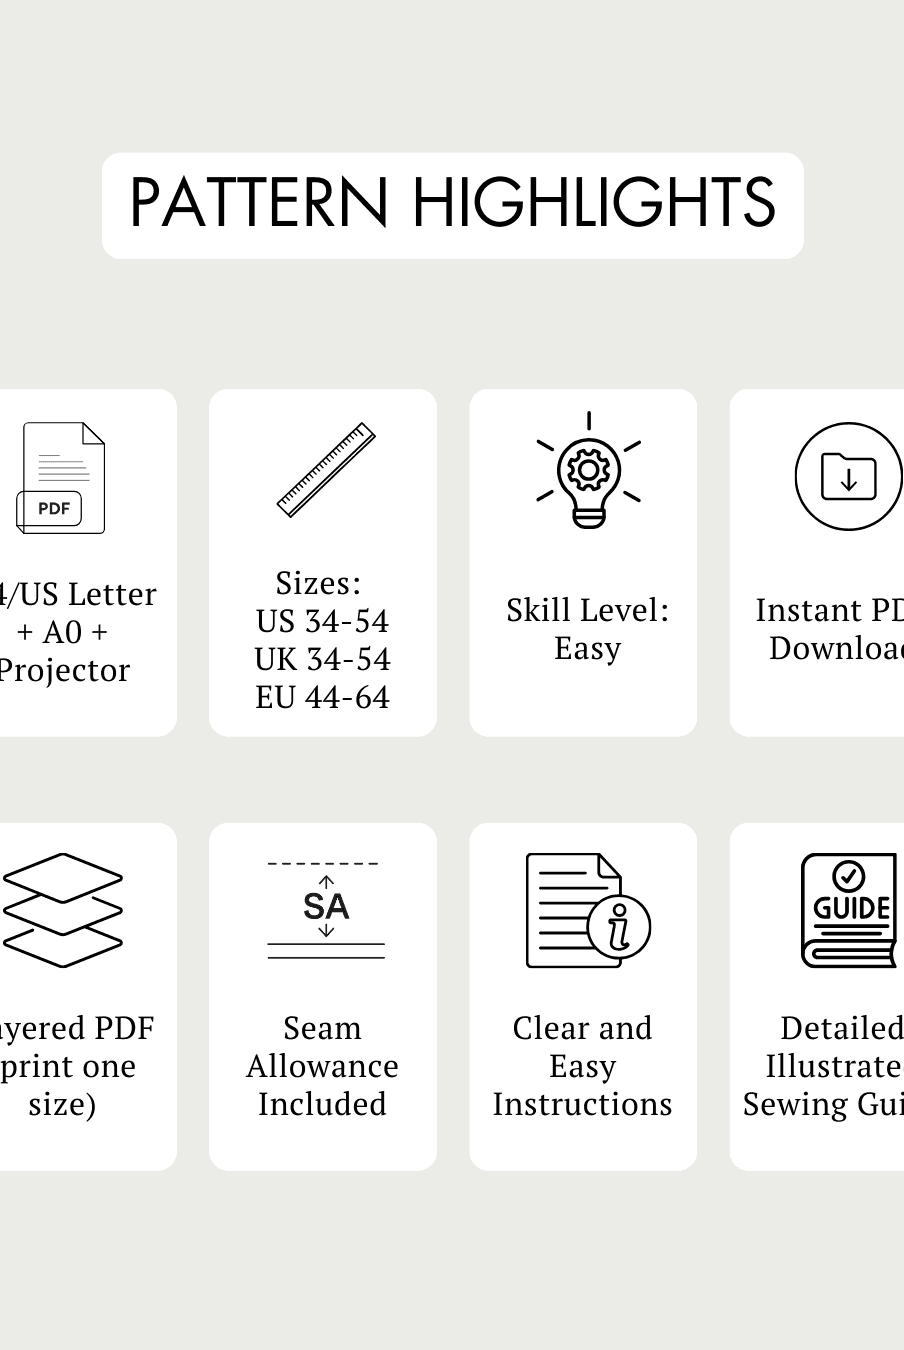
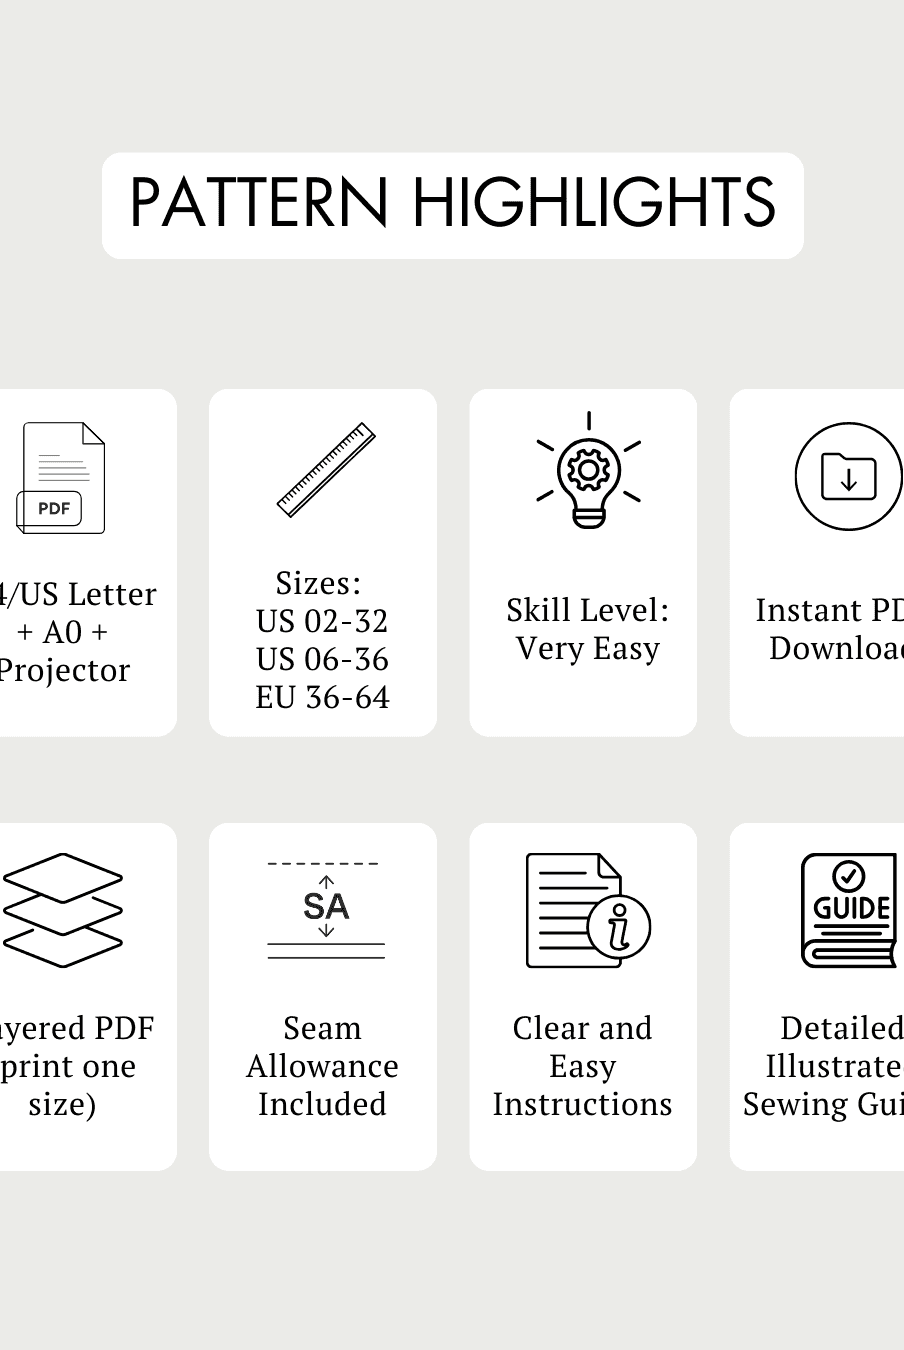
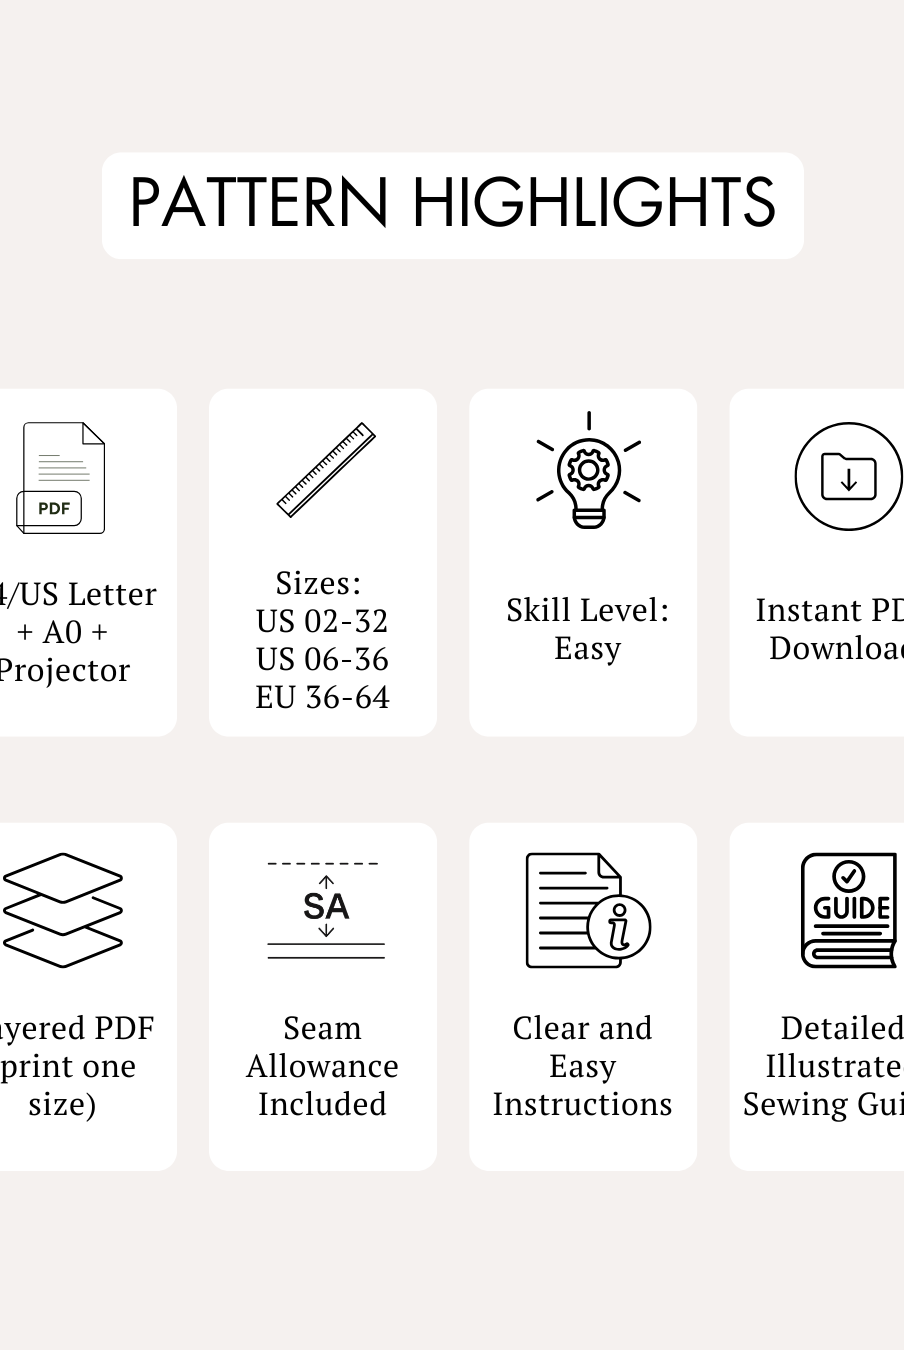
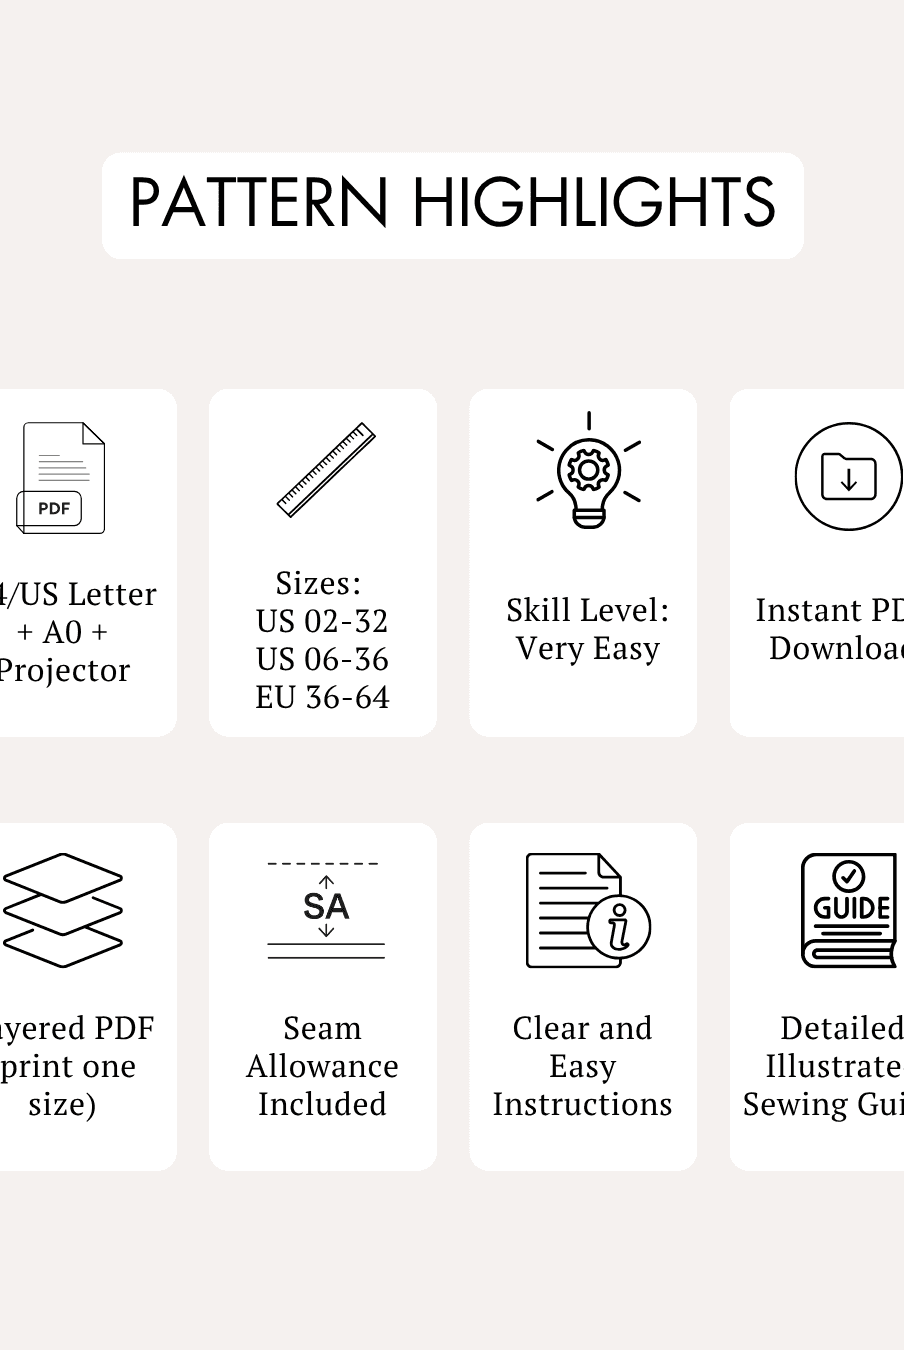
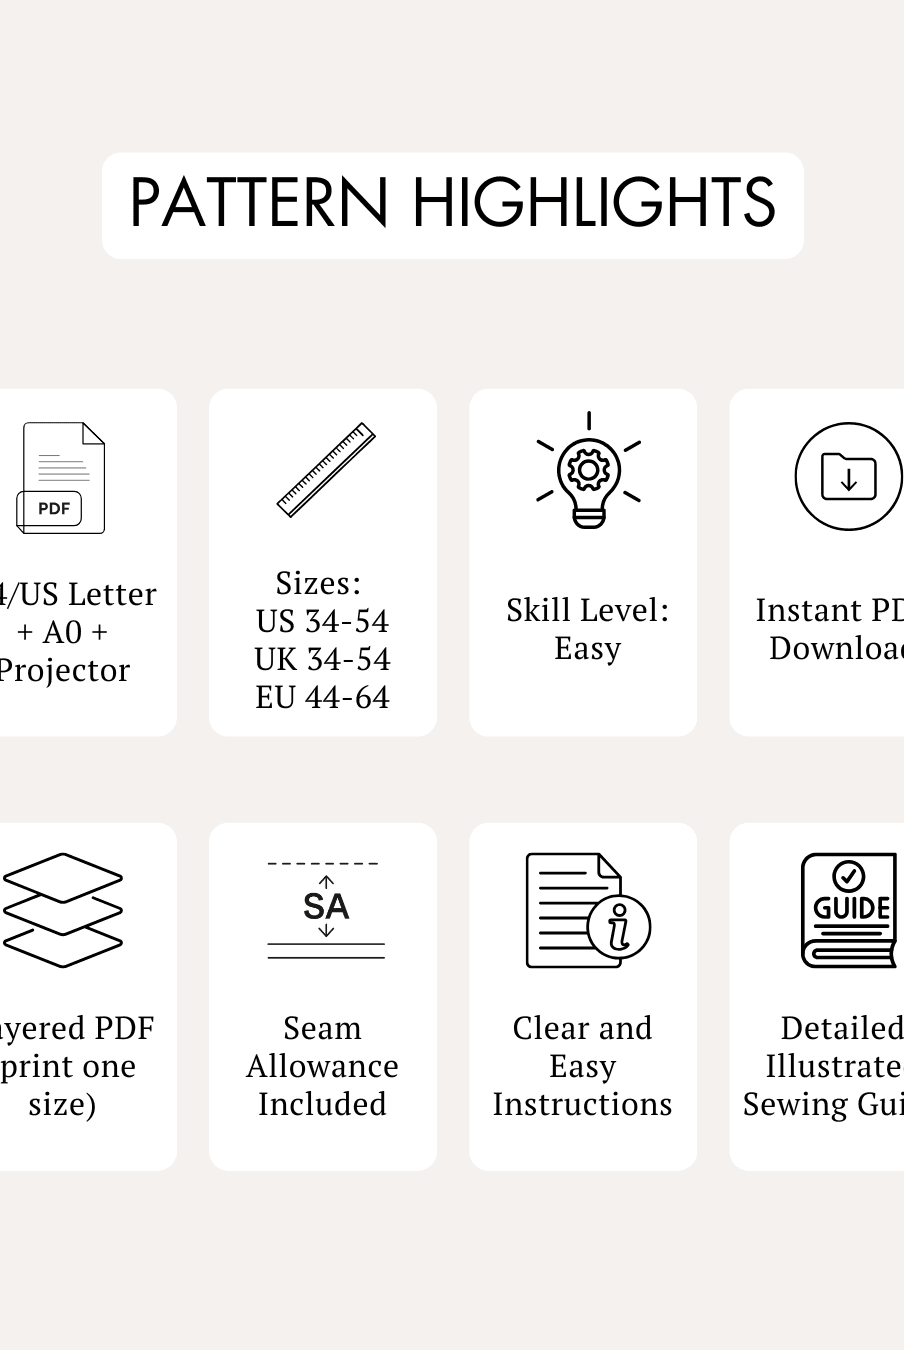
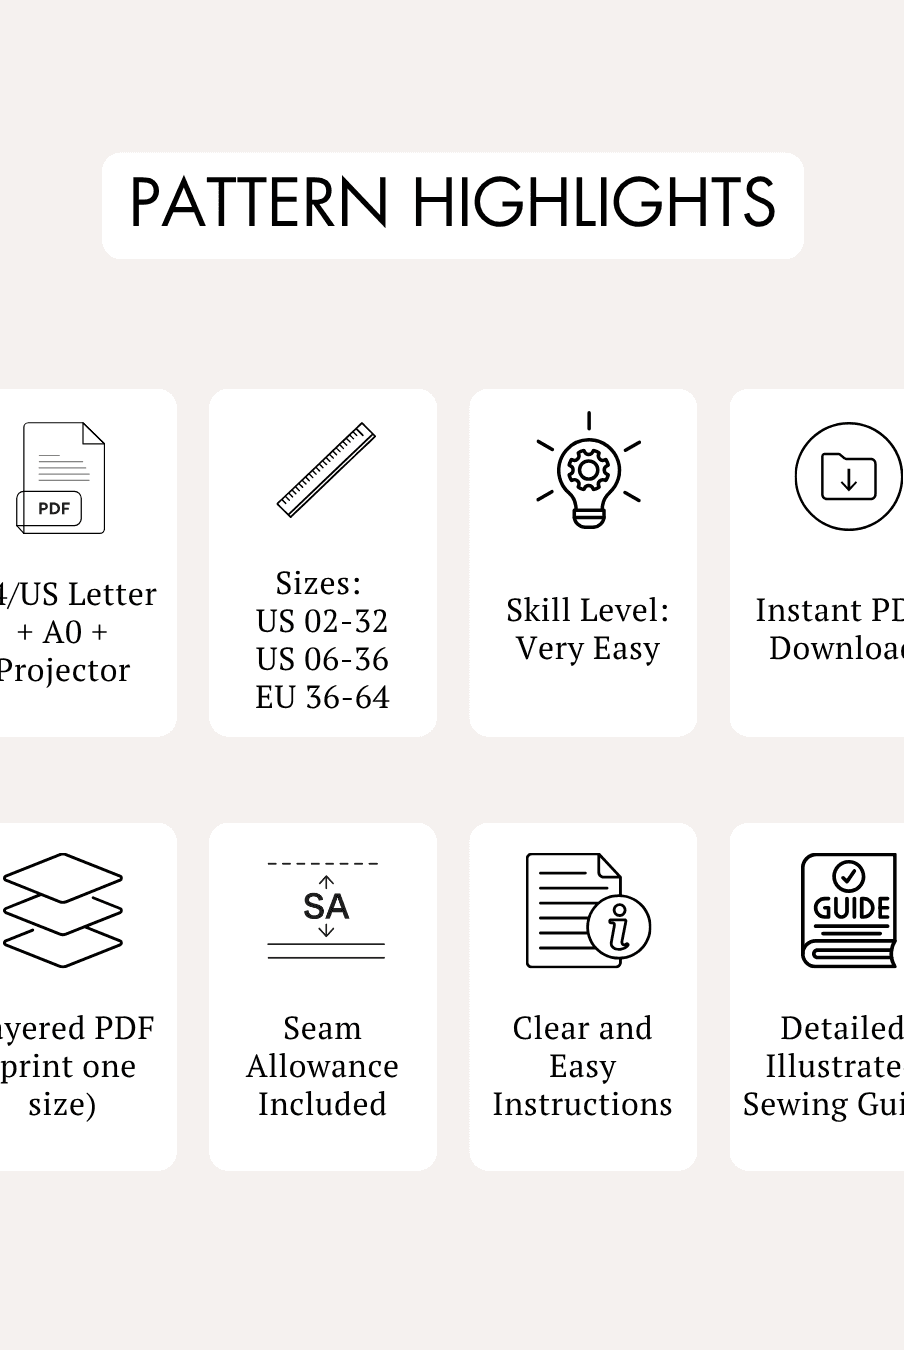
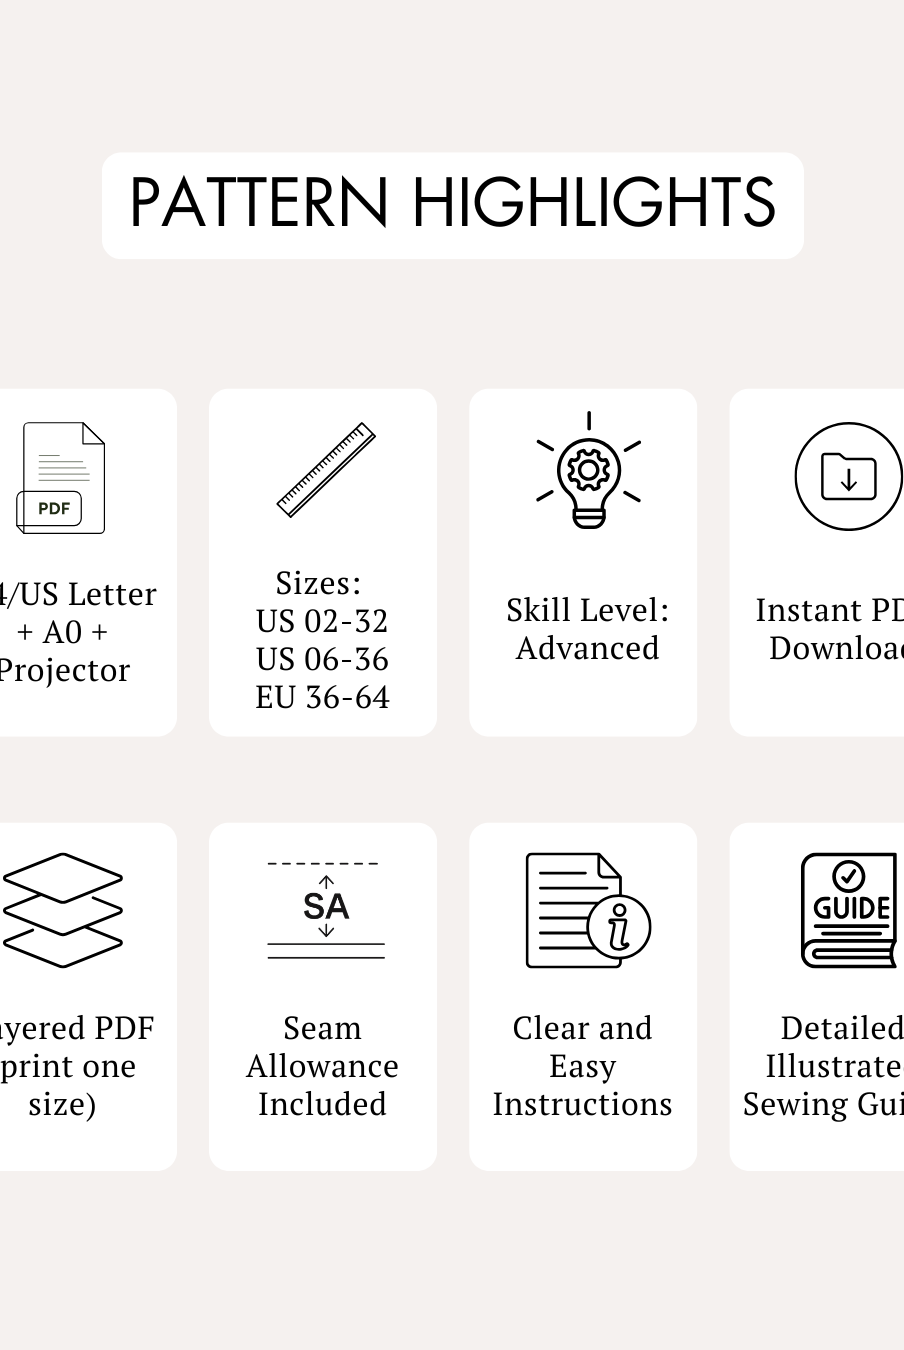
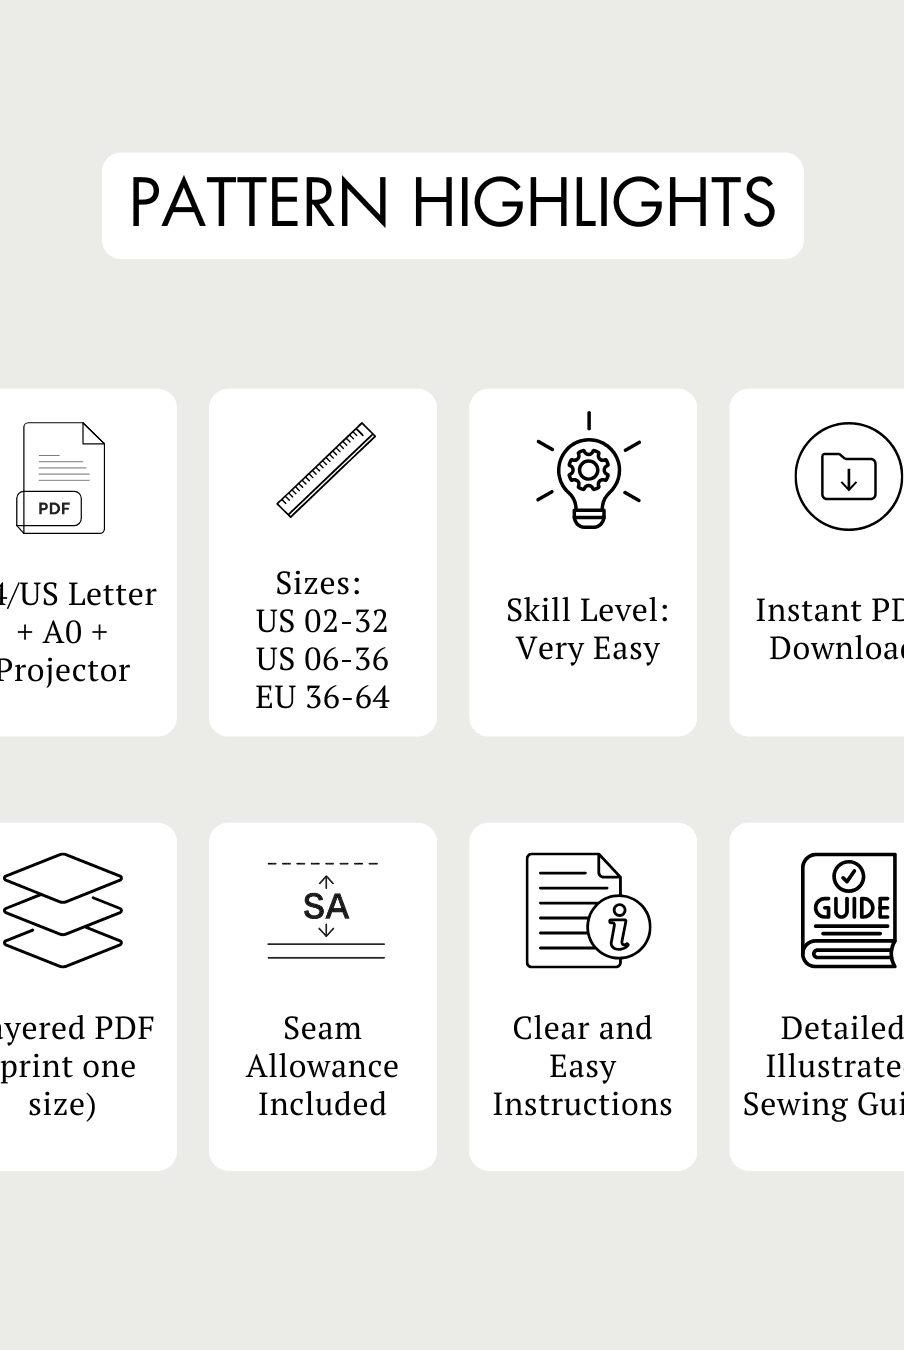
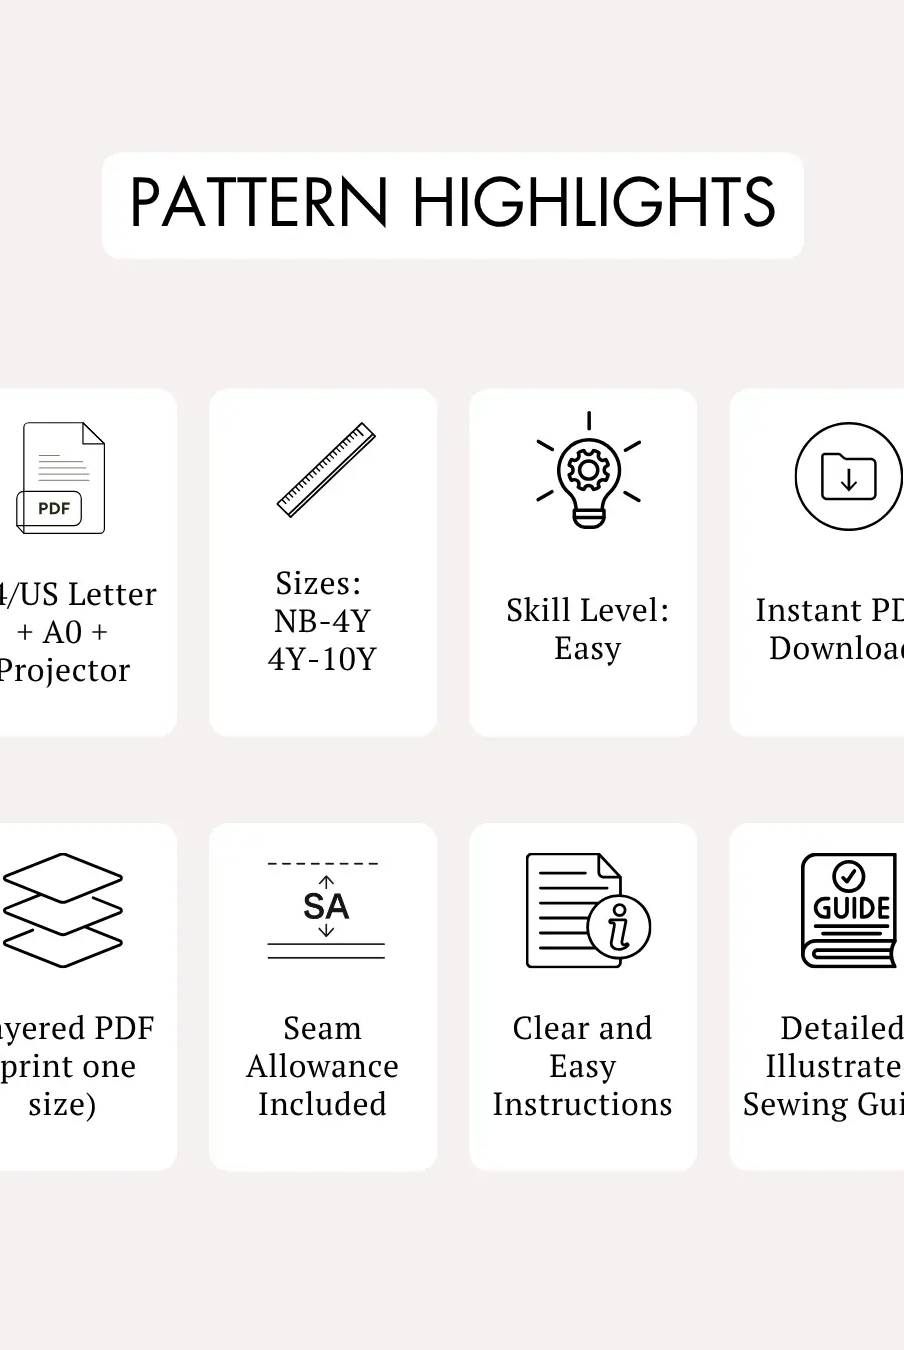
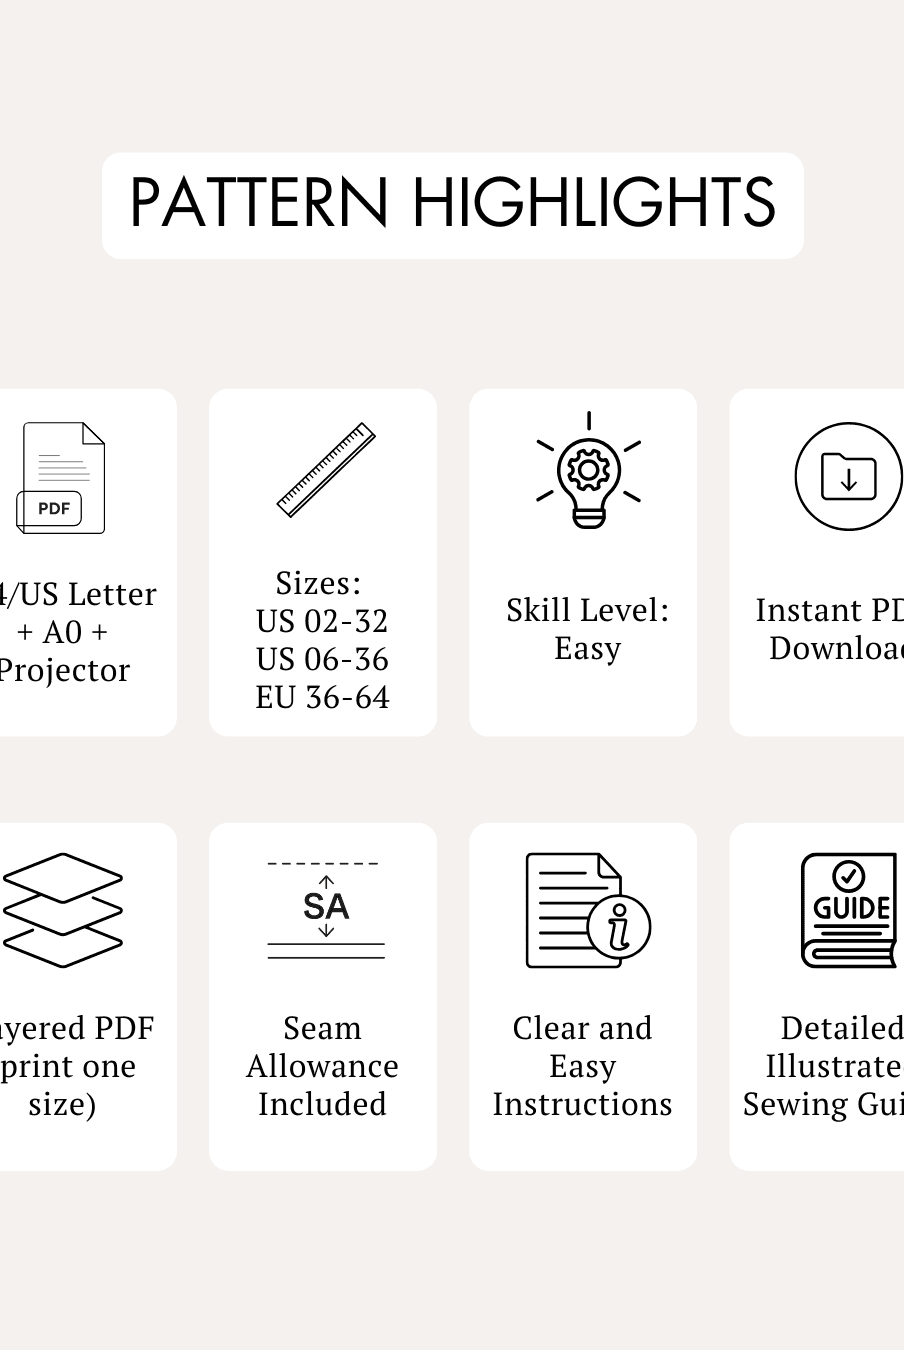
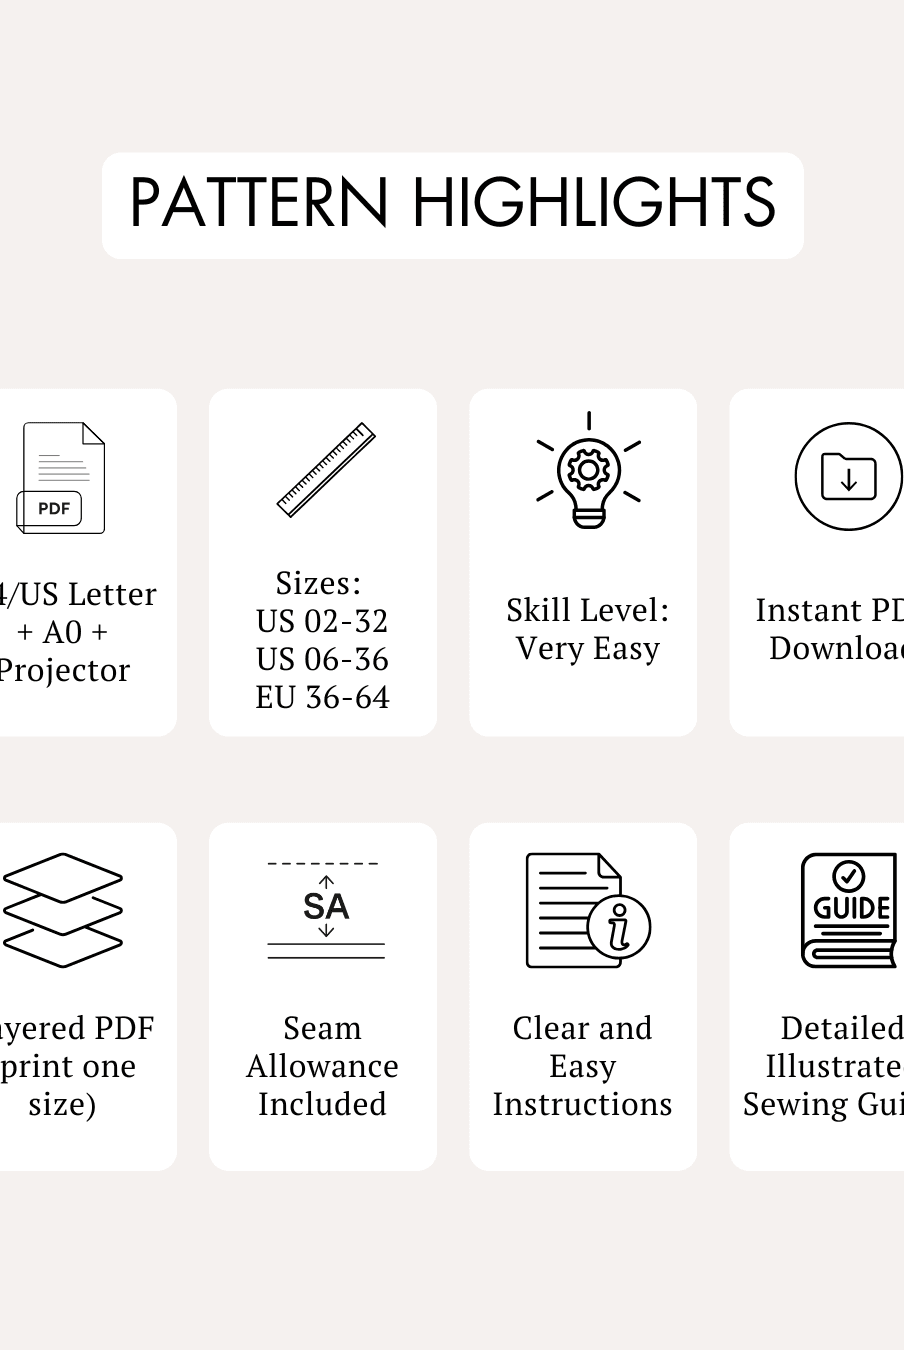
- Skill Level: Very Easy
- Design Features: Boxy T-shirt with drop shoulders, crew neck, and front side placket details.
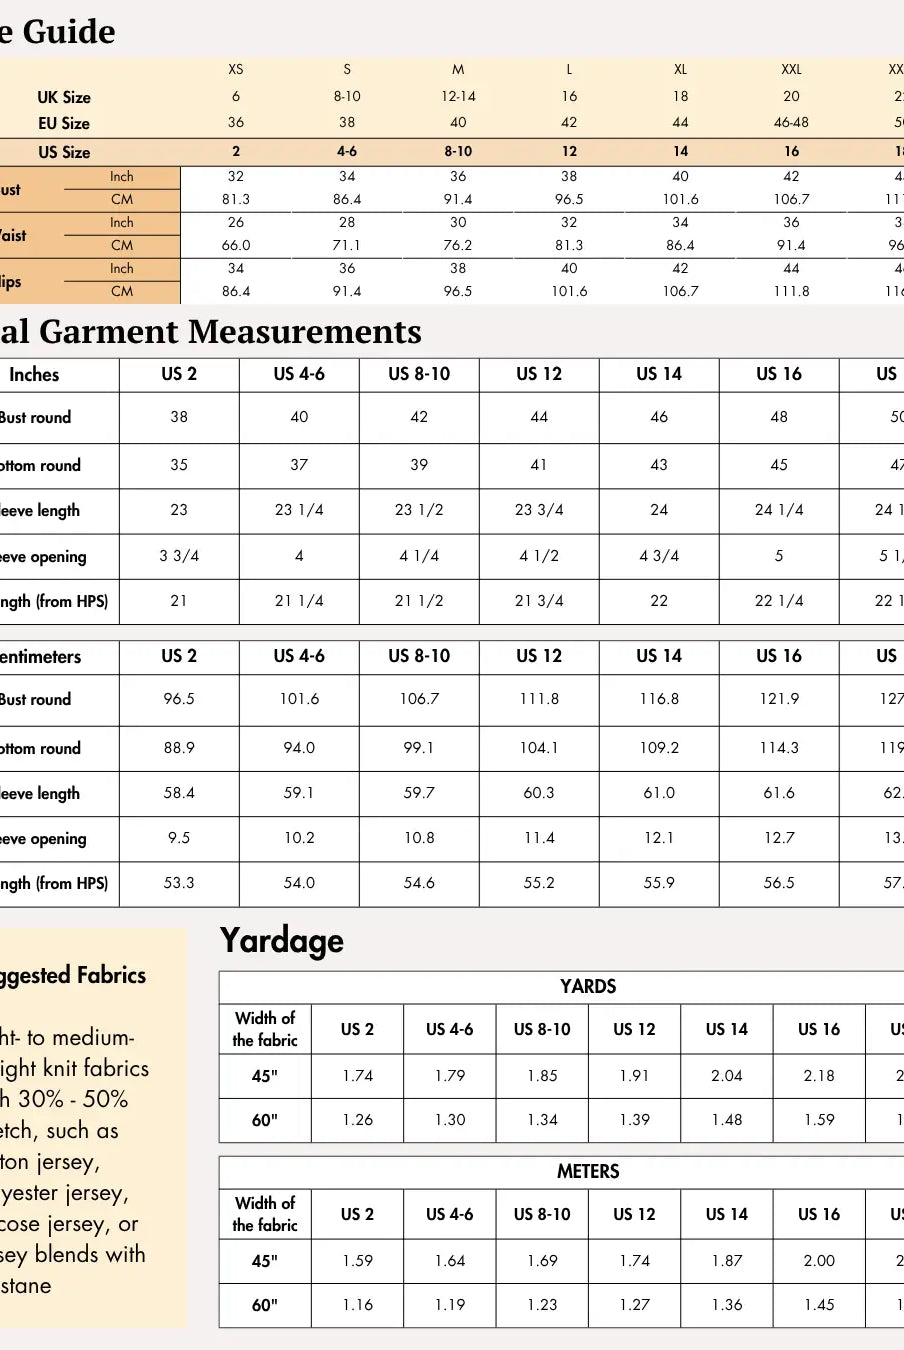
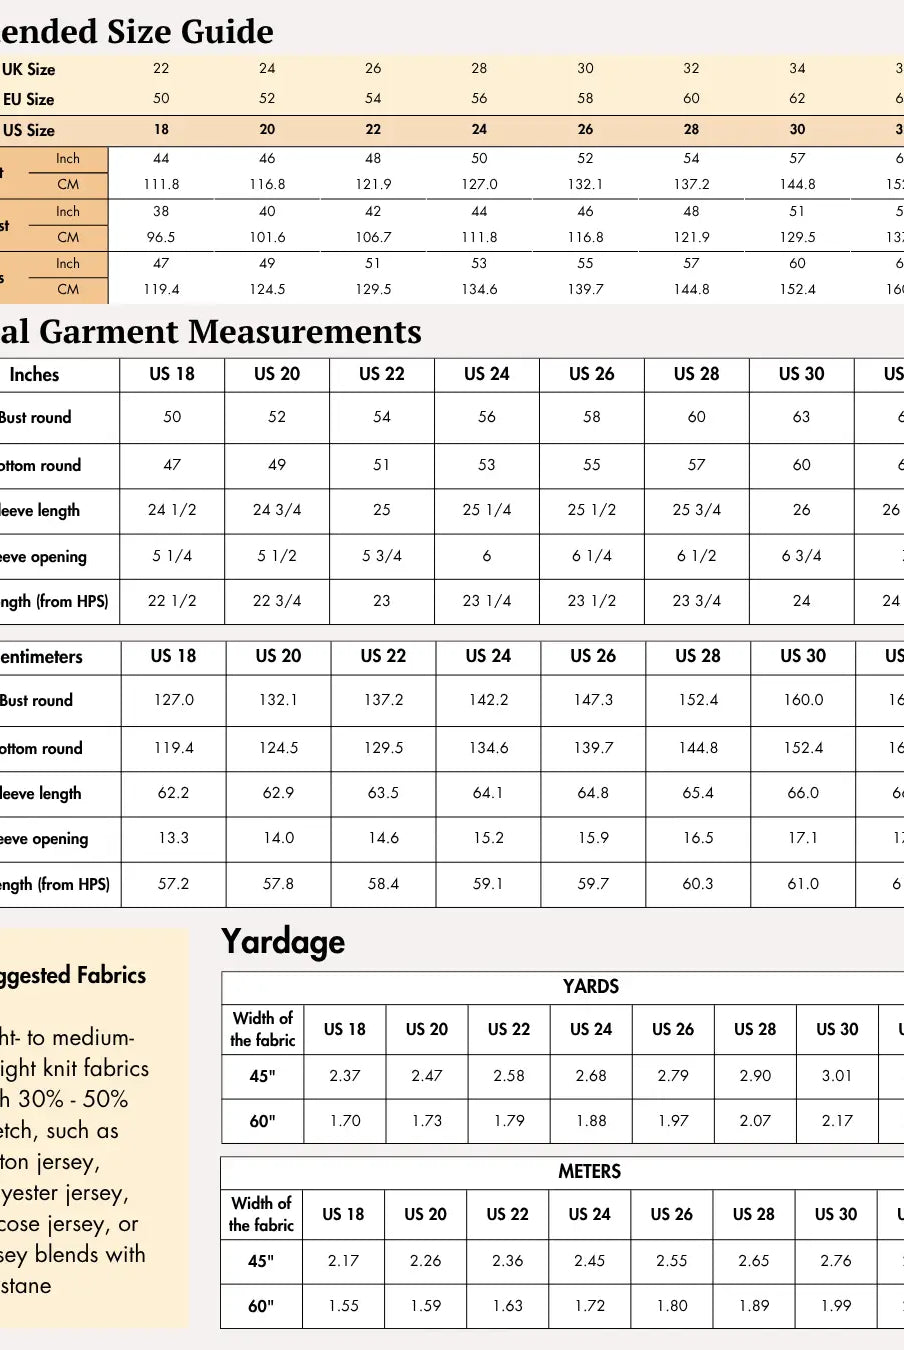
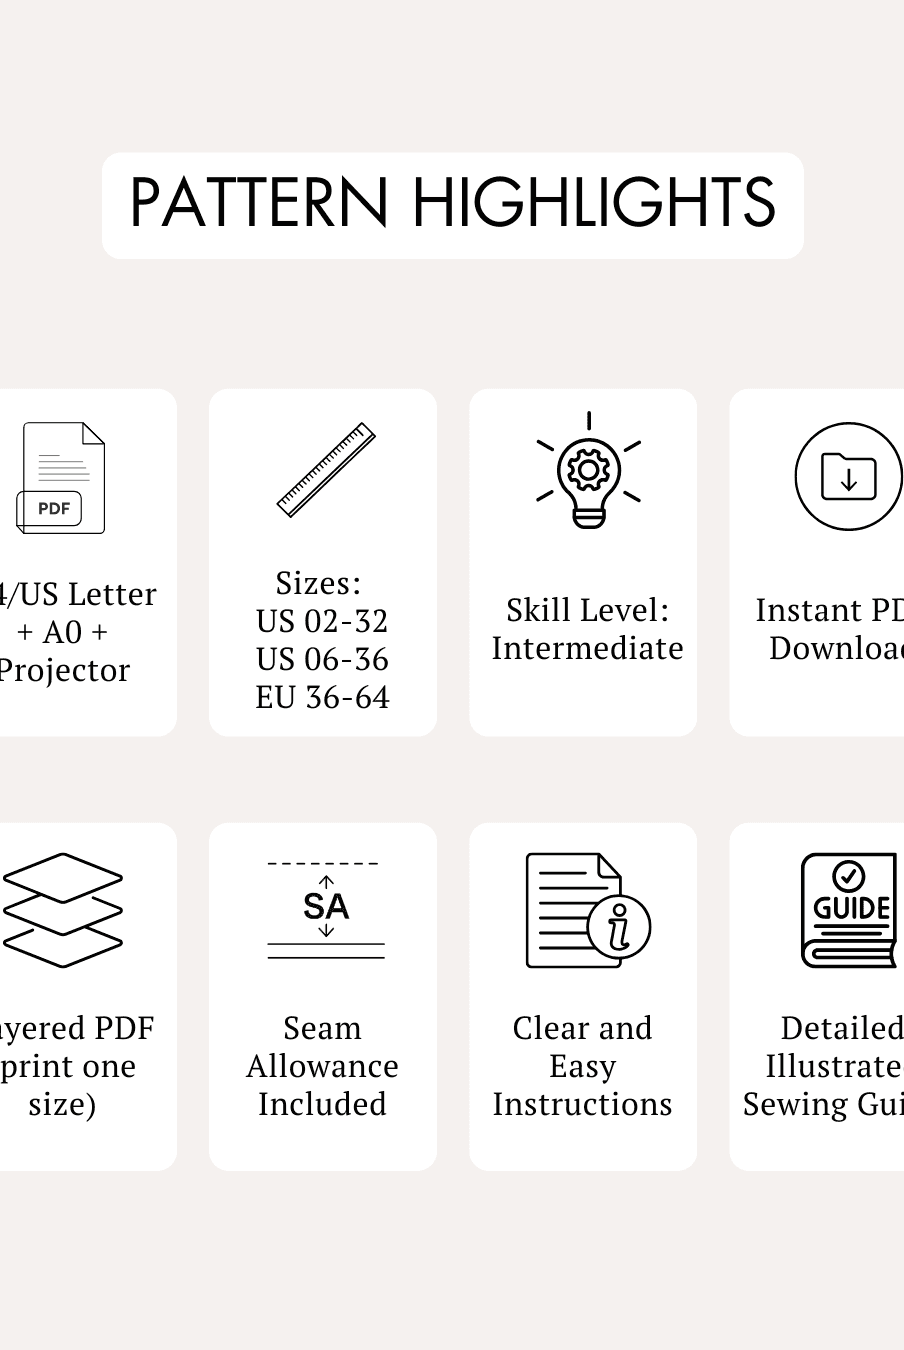
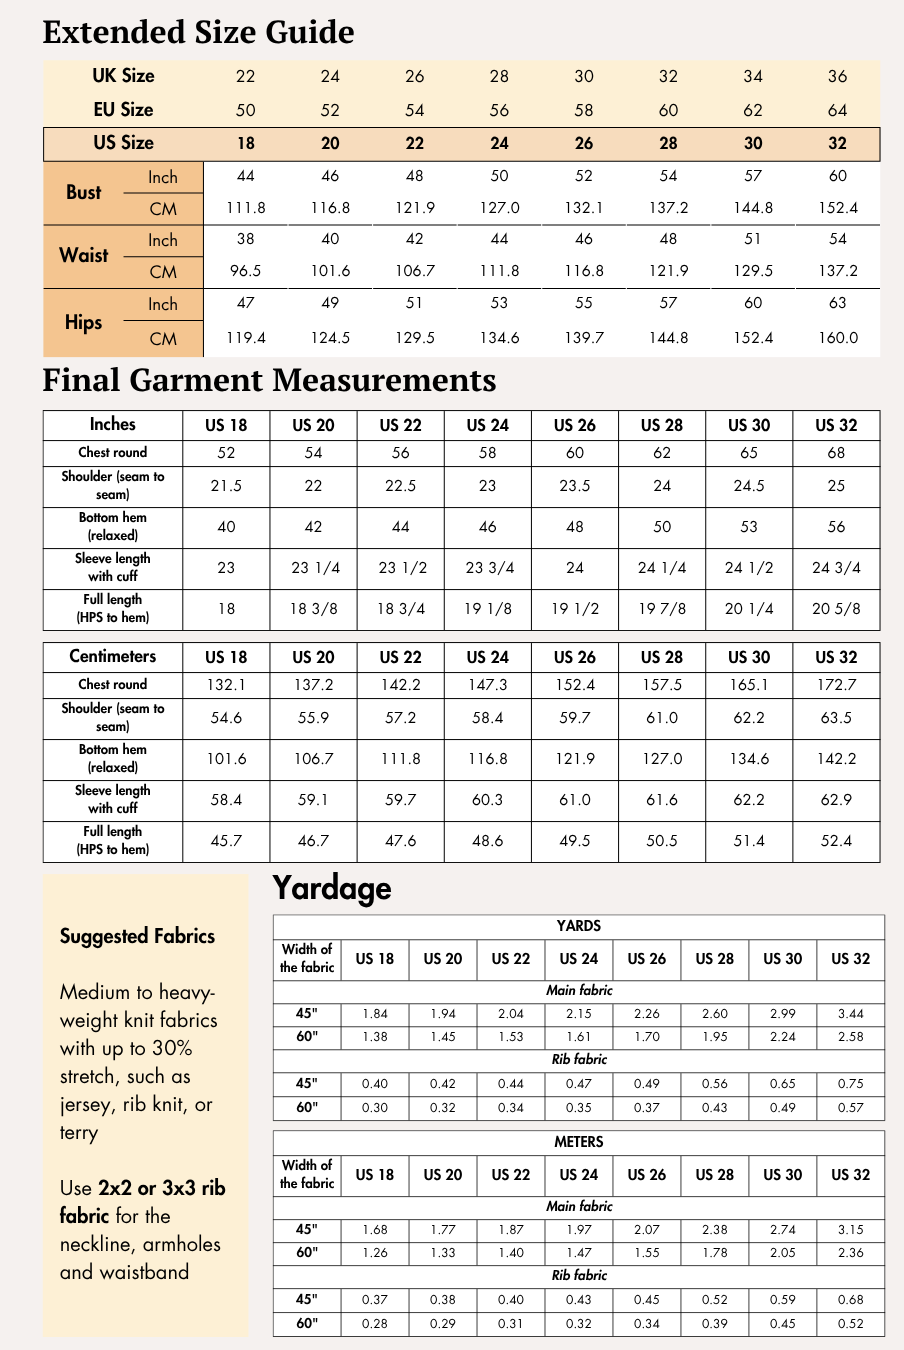
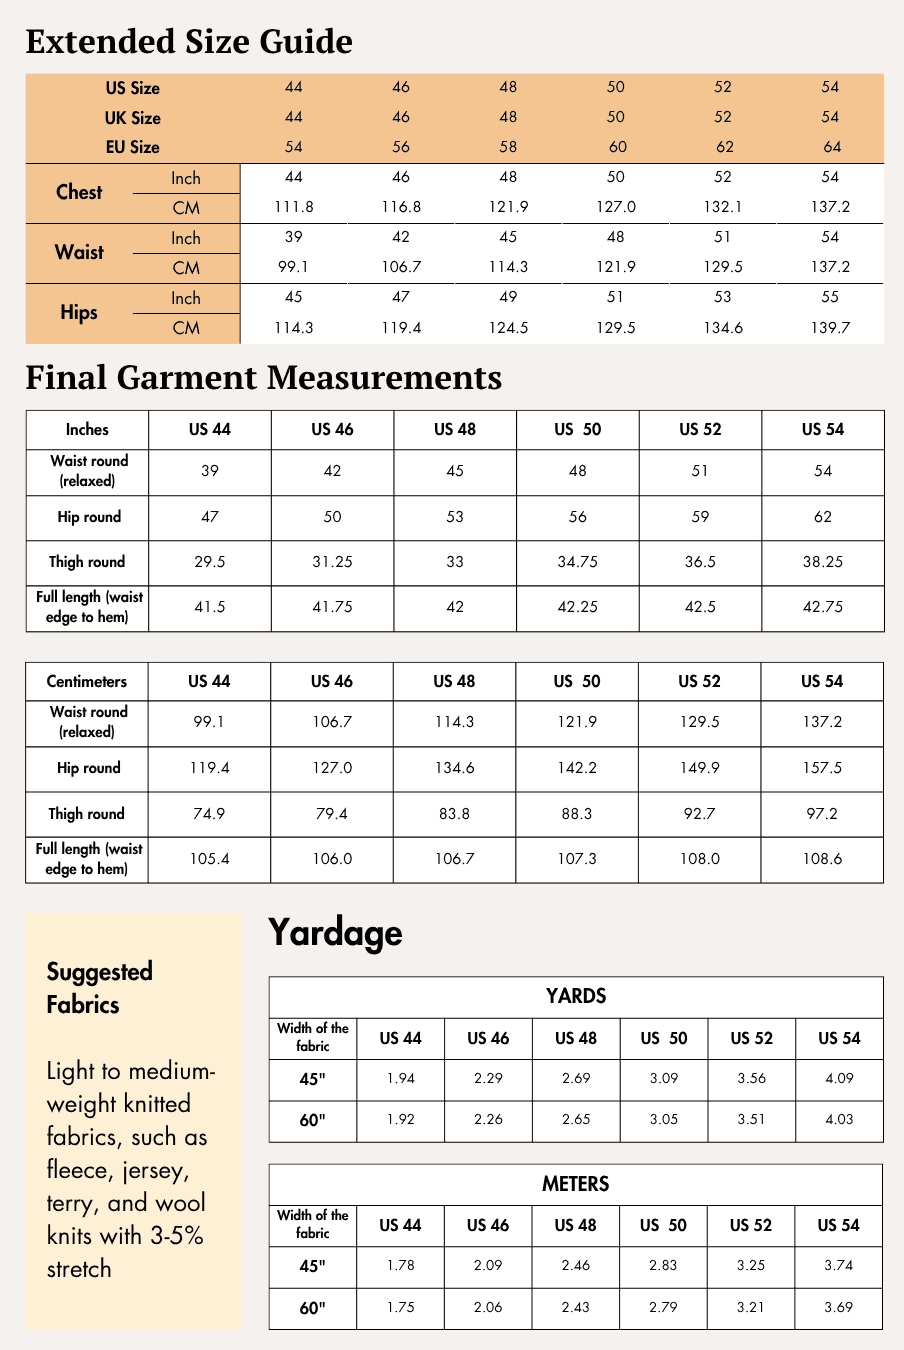
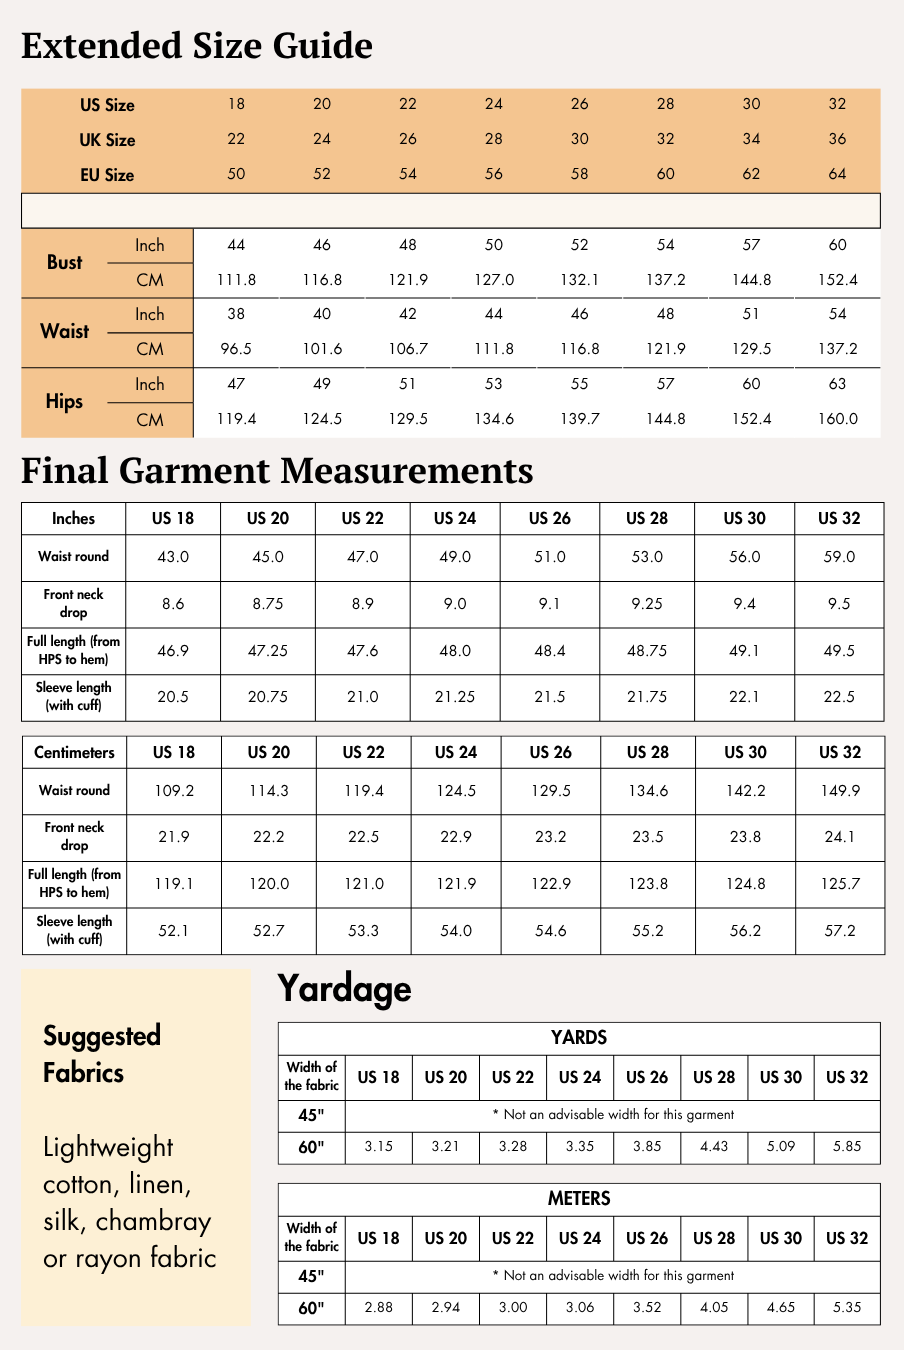
- Available Sizes: US 02 - US 32 | UK 06 - UK 36 | EU 36 - EU 64
Supplies & Notions
Gather the following supplies before you begin:
- Light to medium-weight knit fabric
- 3-ply polyester thread
- Sewing machine
- Stretch sewing needle
- Serger (or zigzag stitch alternative)
- Coverstitch machine (or twin needle alternative)
- Fabric shears
- Thread cutter
- Tape measure
- Fabric marking chalk
- Pins
- Iron
Fabric Recommendations
The Lisa Boxy T-Shirt is designed for light to medium-weight knit fabrics with up to 30% stretch, including:
- 1×1 rib knit
- 2×2 rib knit
- Jersey
- Interlock
The sample garment shown in the sewing guide is made from 1×1 cotton rib fabric.
Cotton rib is recommended because it offers:
- Soft feel against the skin
- Comfortable stretch
- Breathability
- Easy sewing with a stretch needle
Size Charts
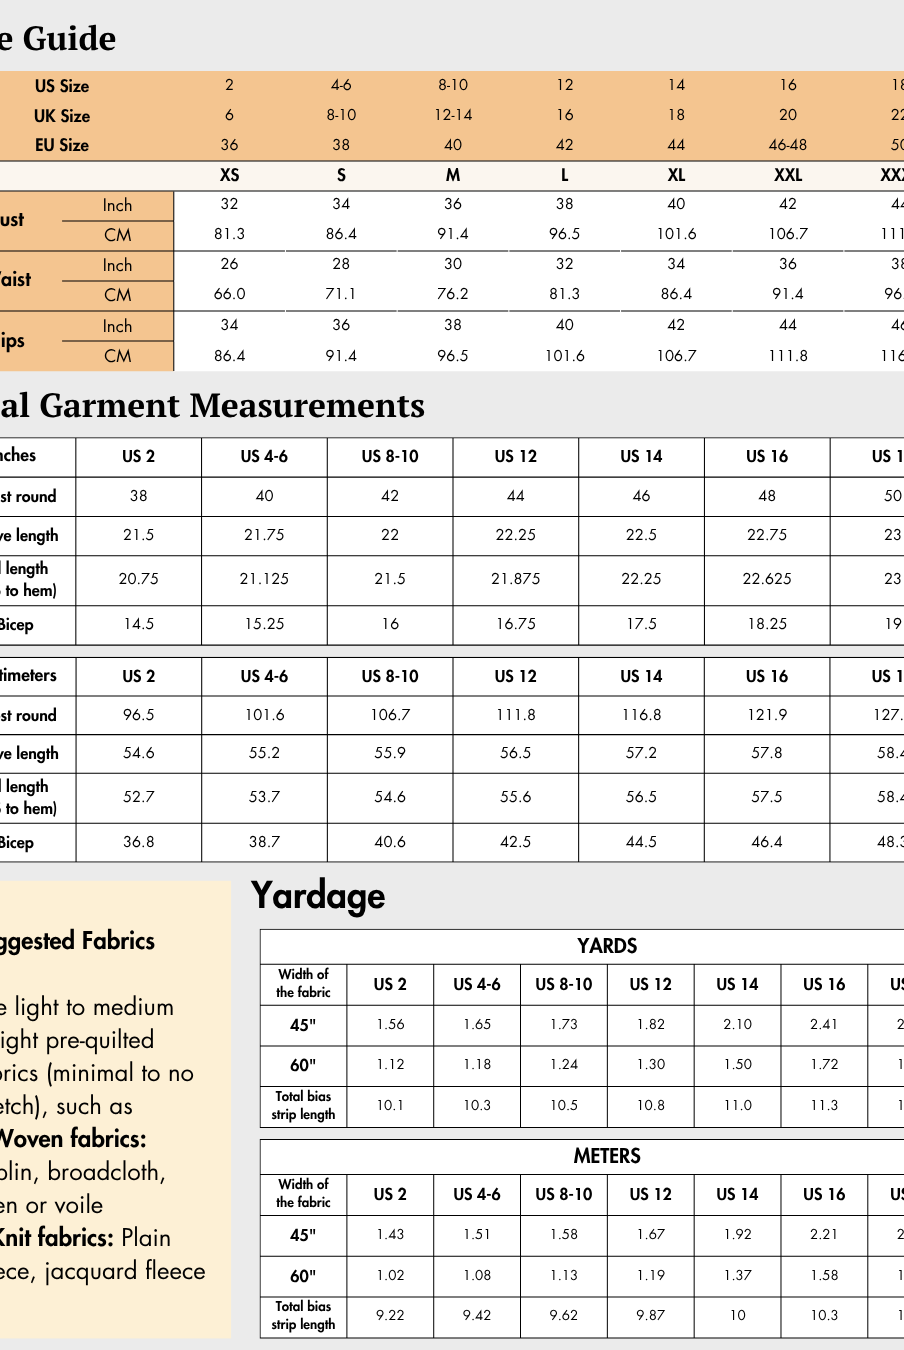
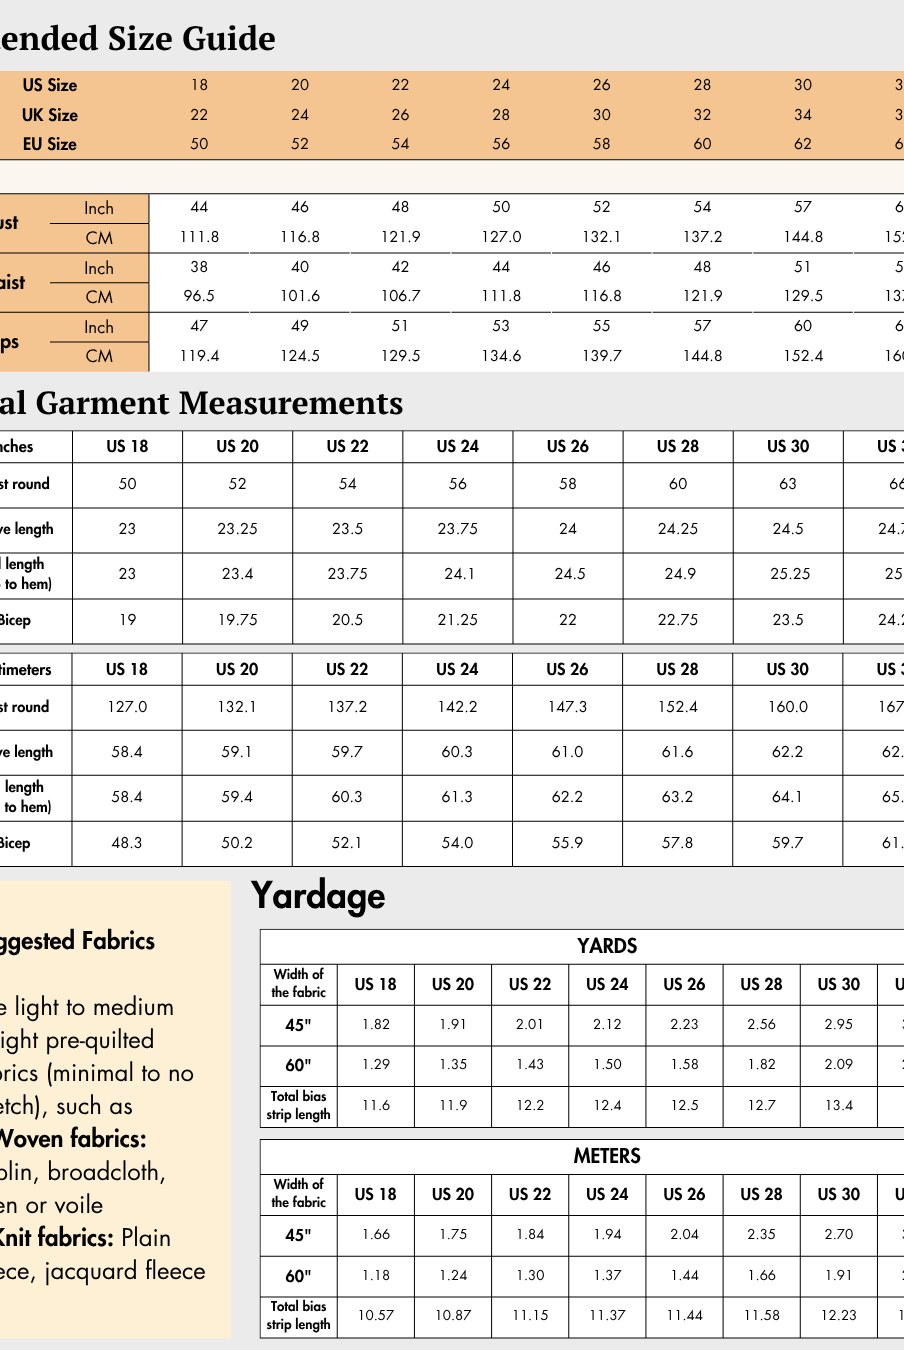
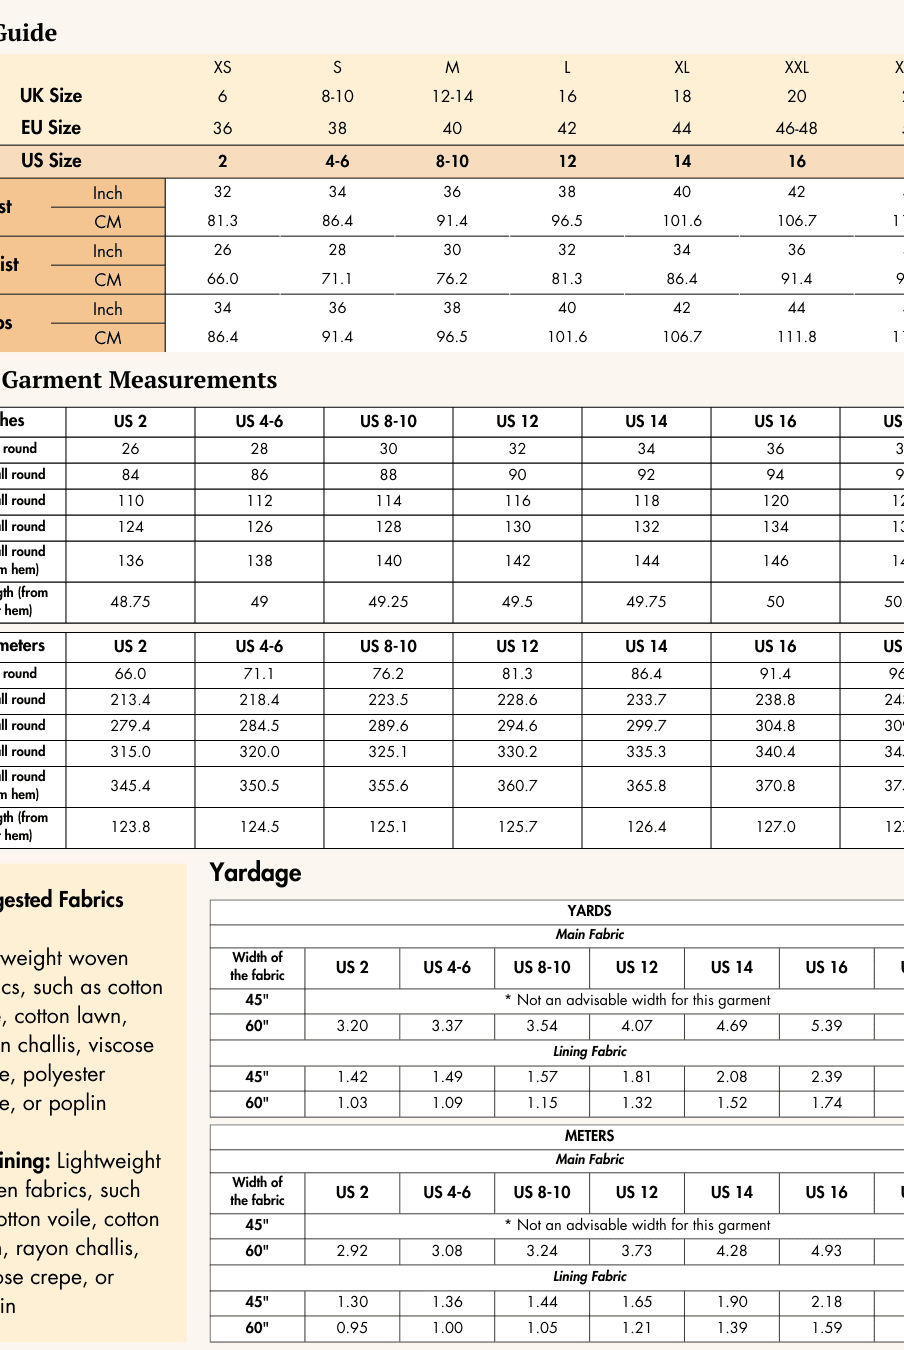
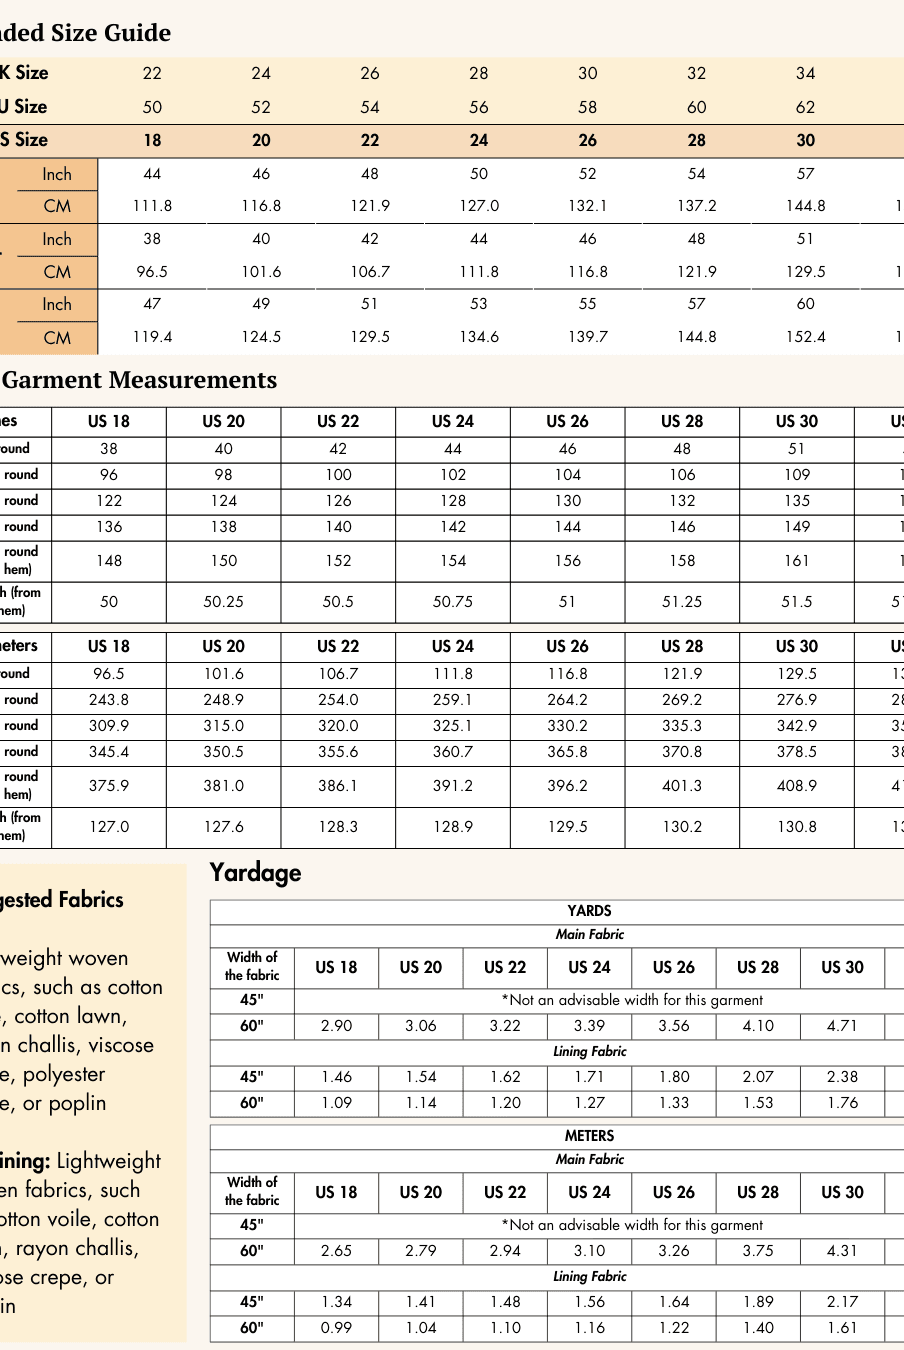
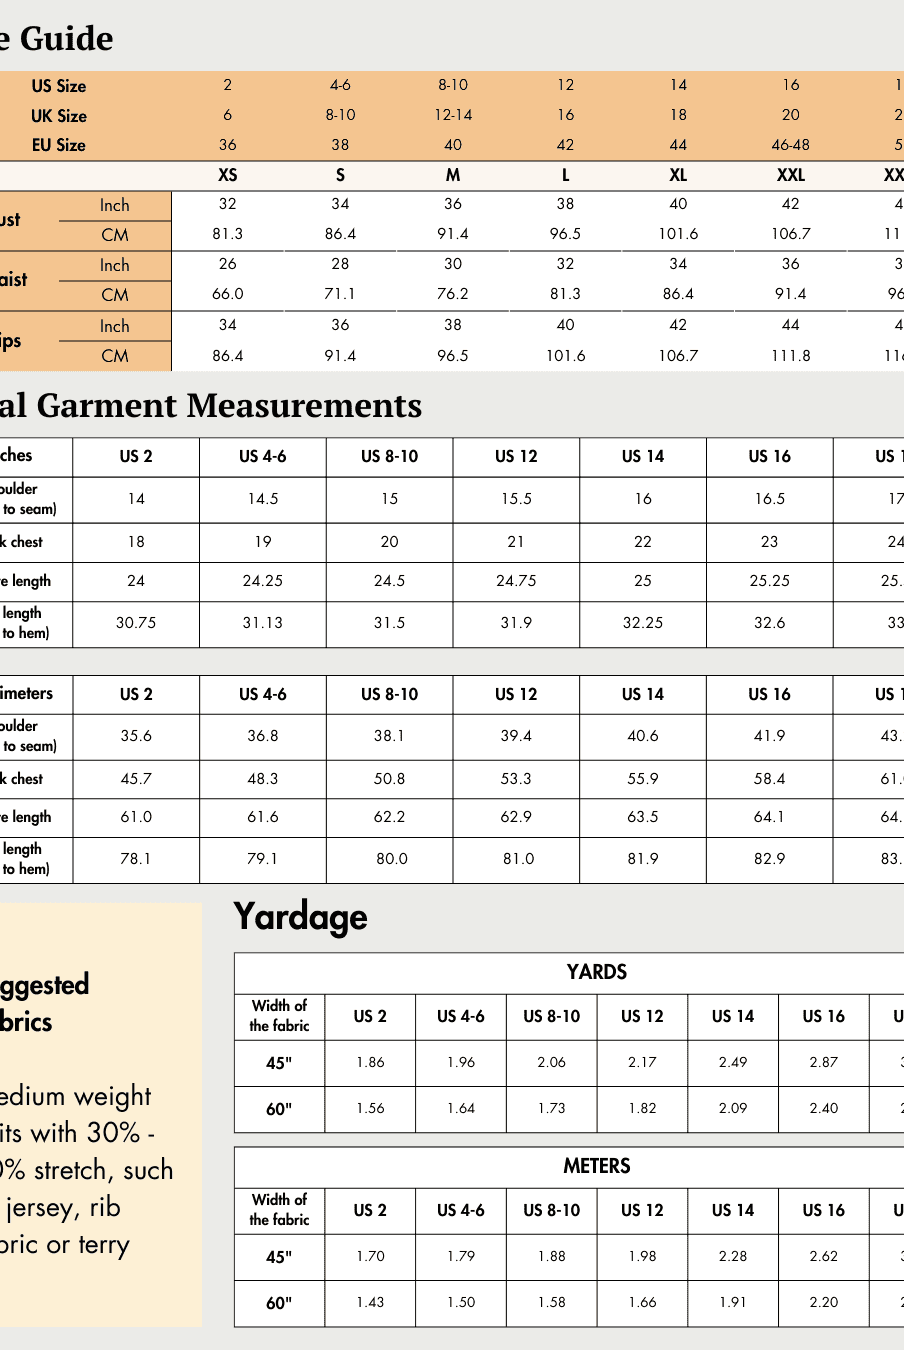
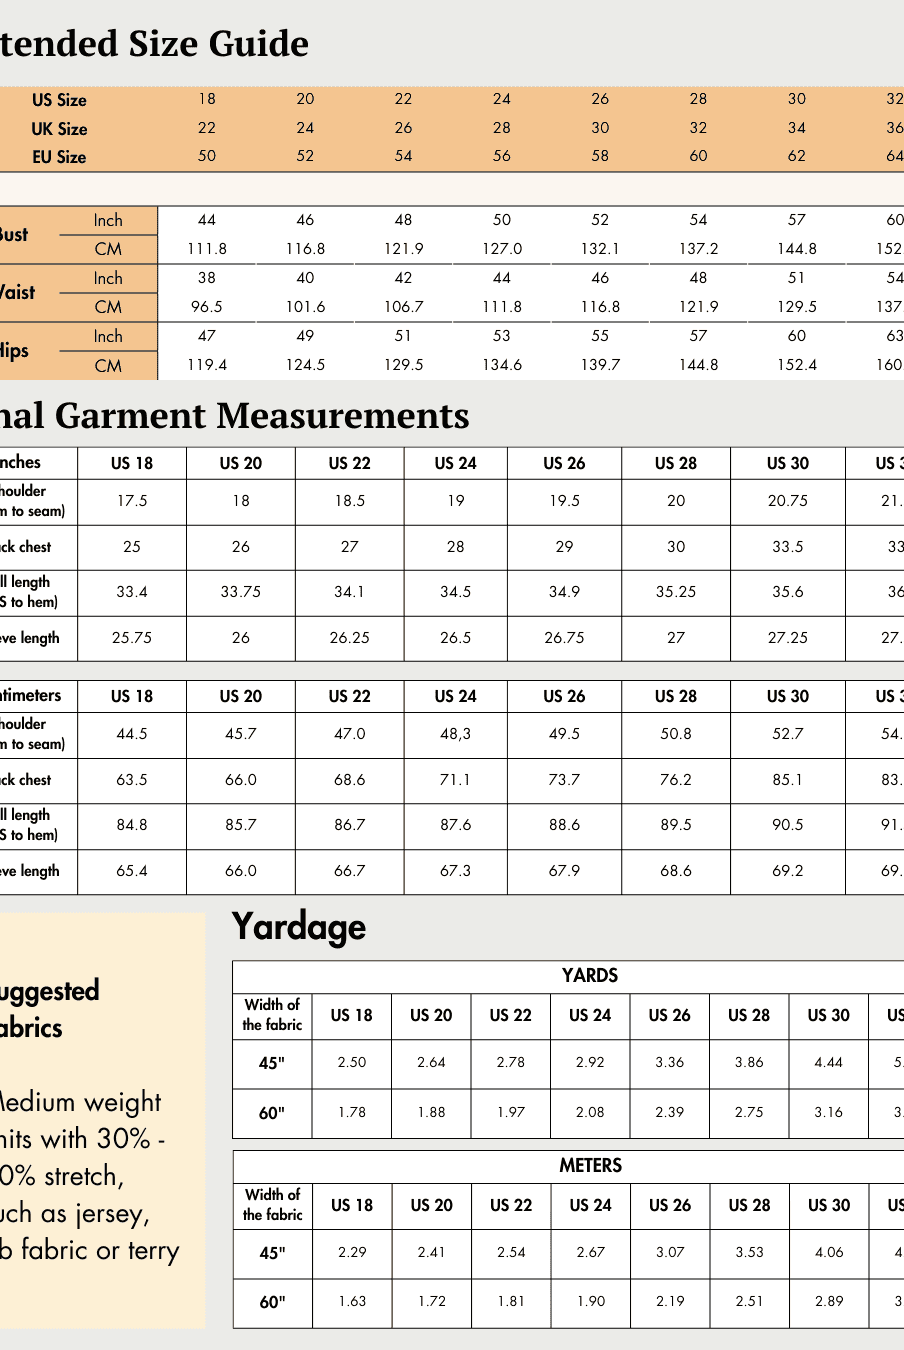
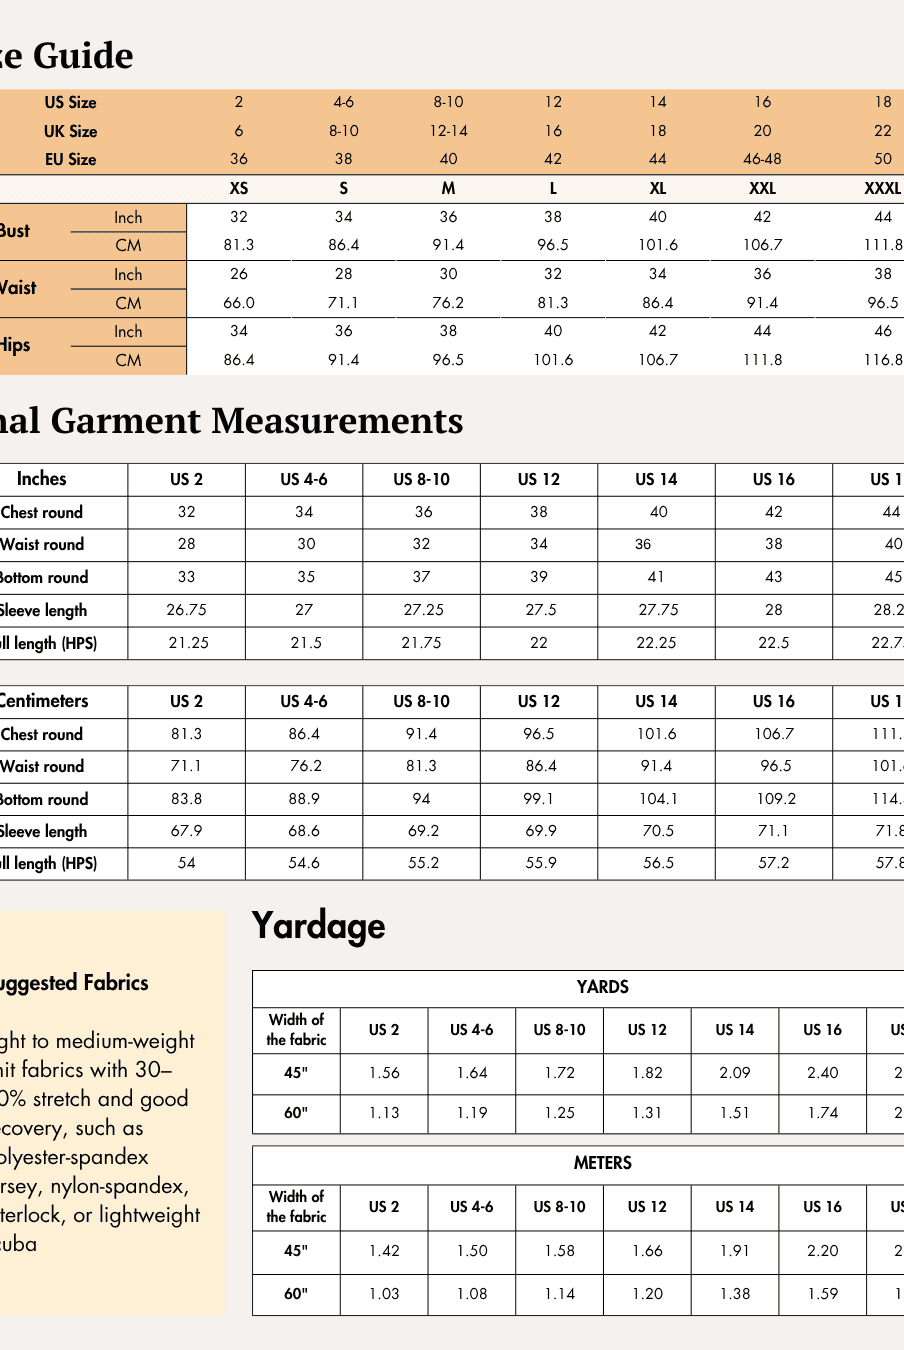
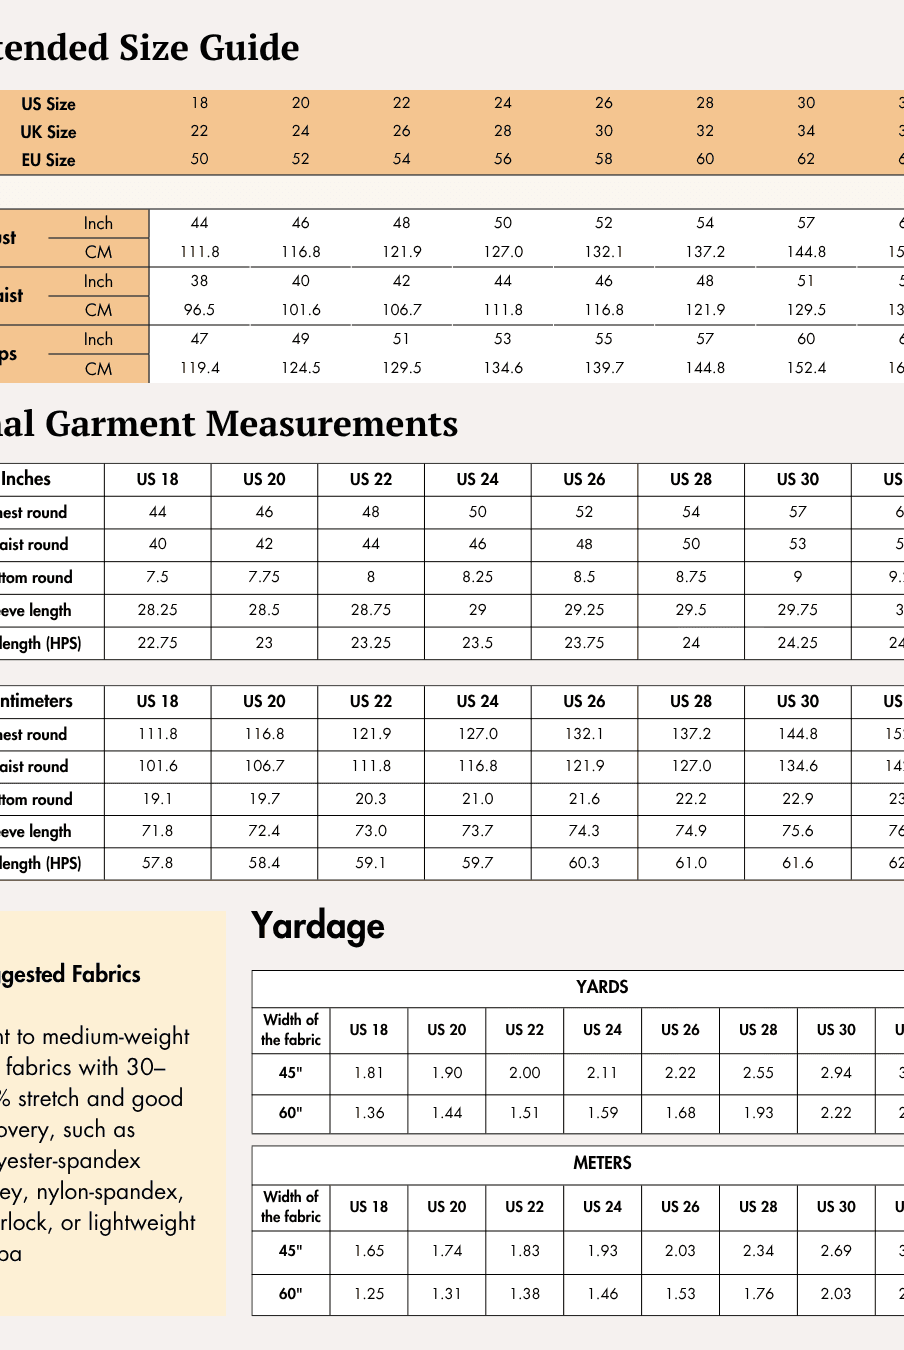
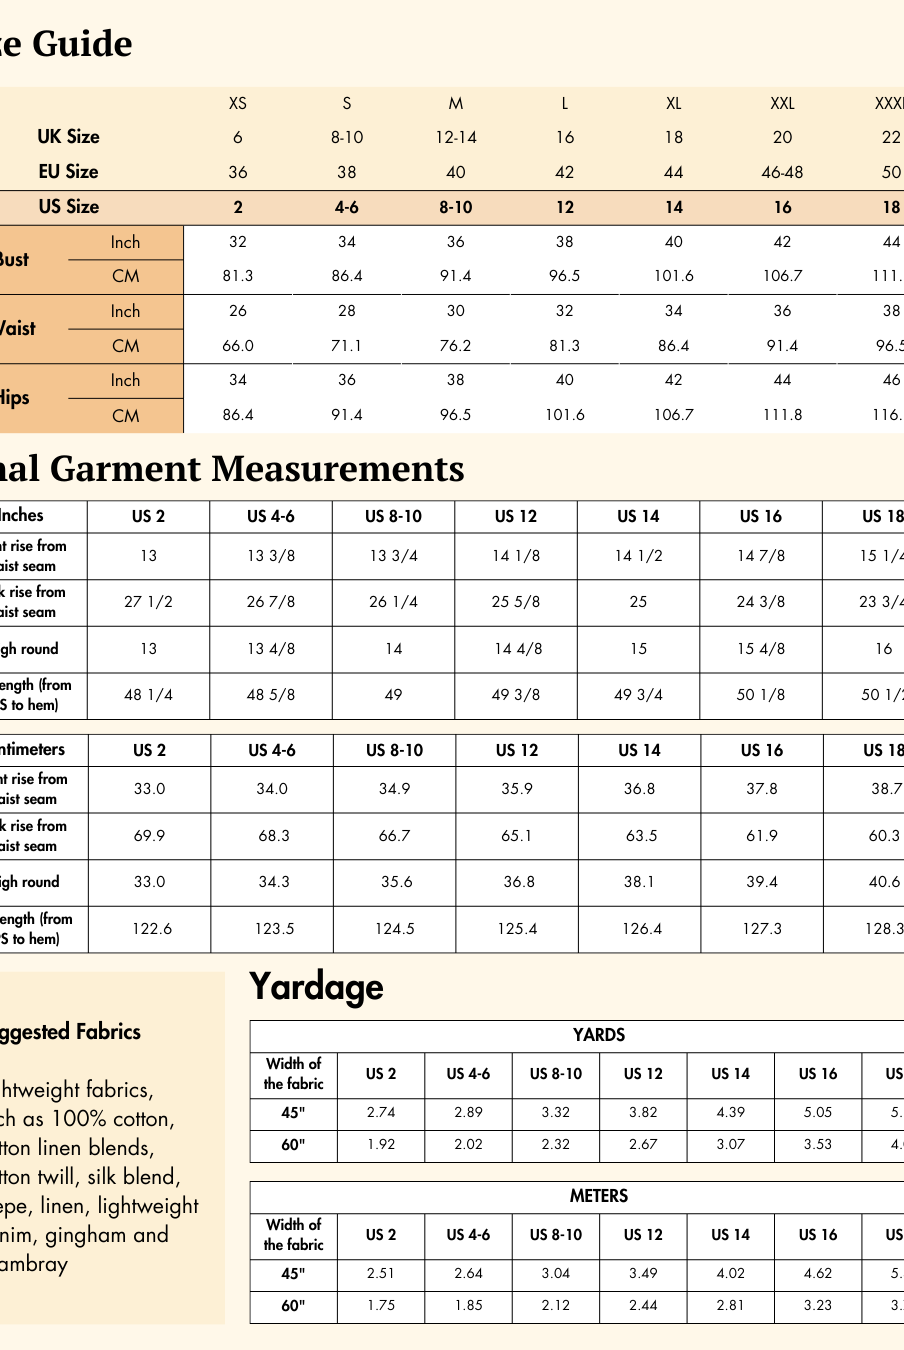
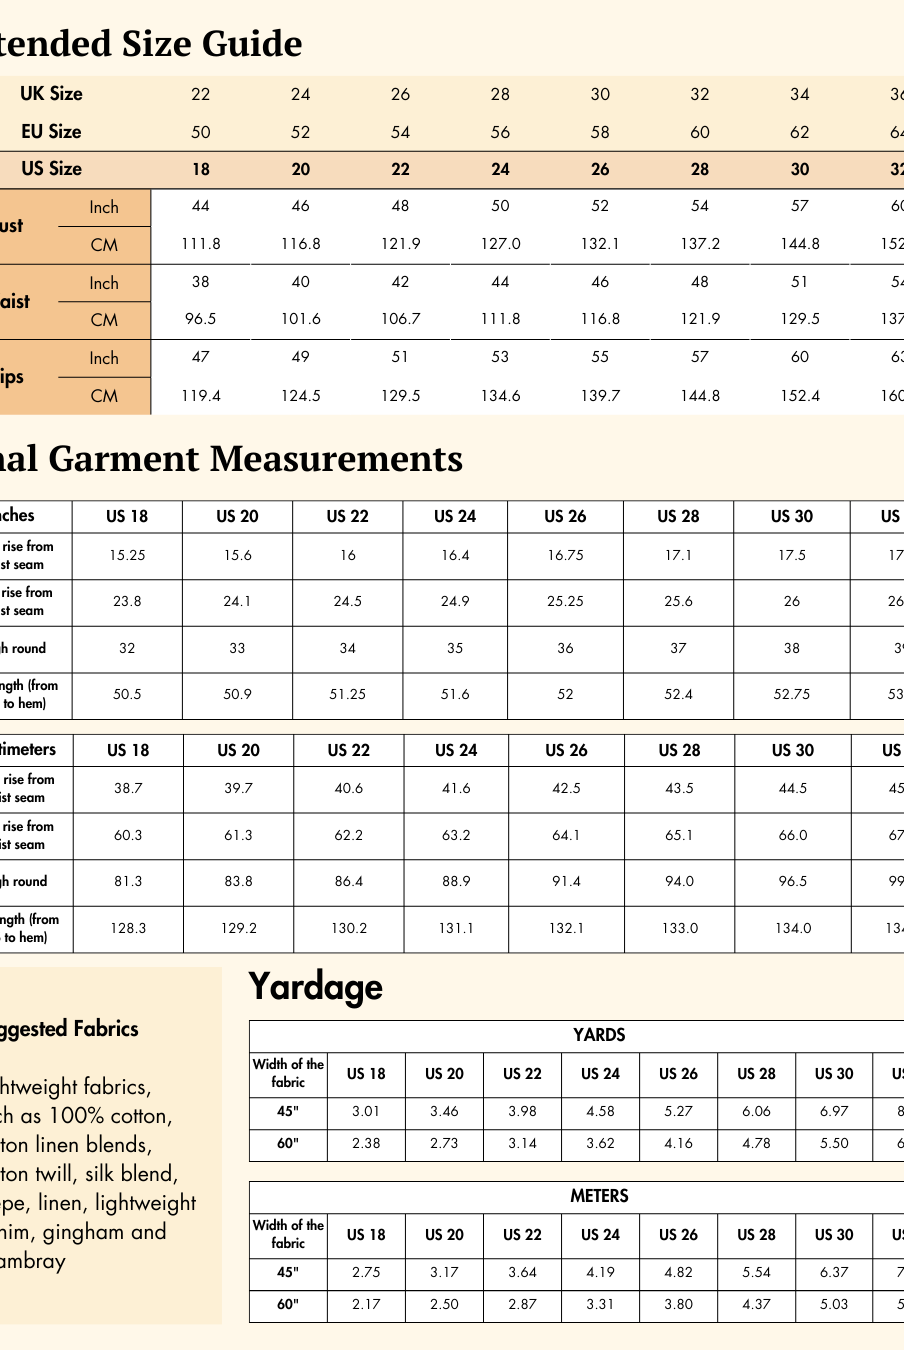
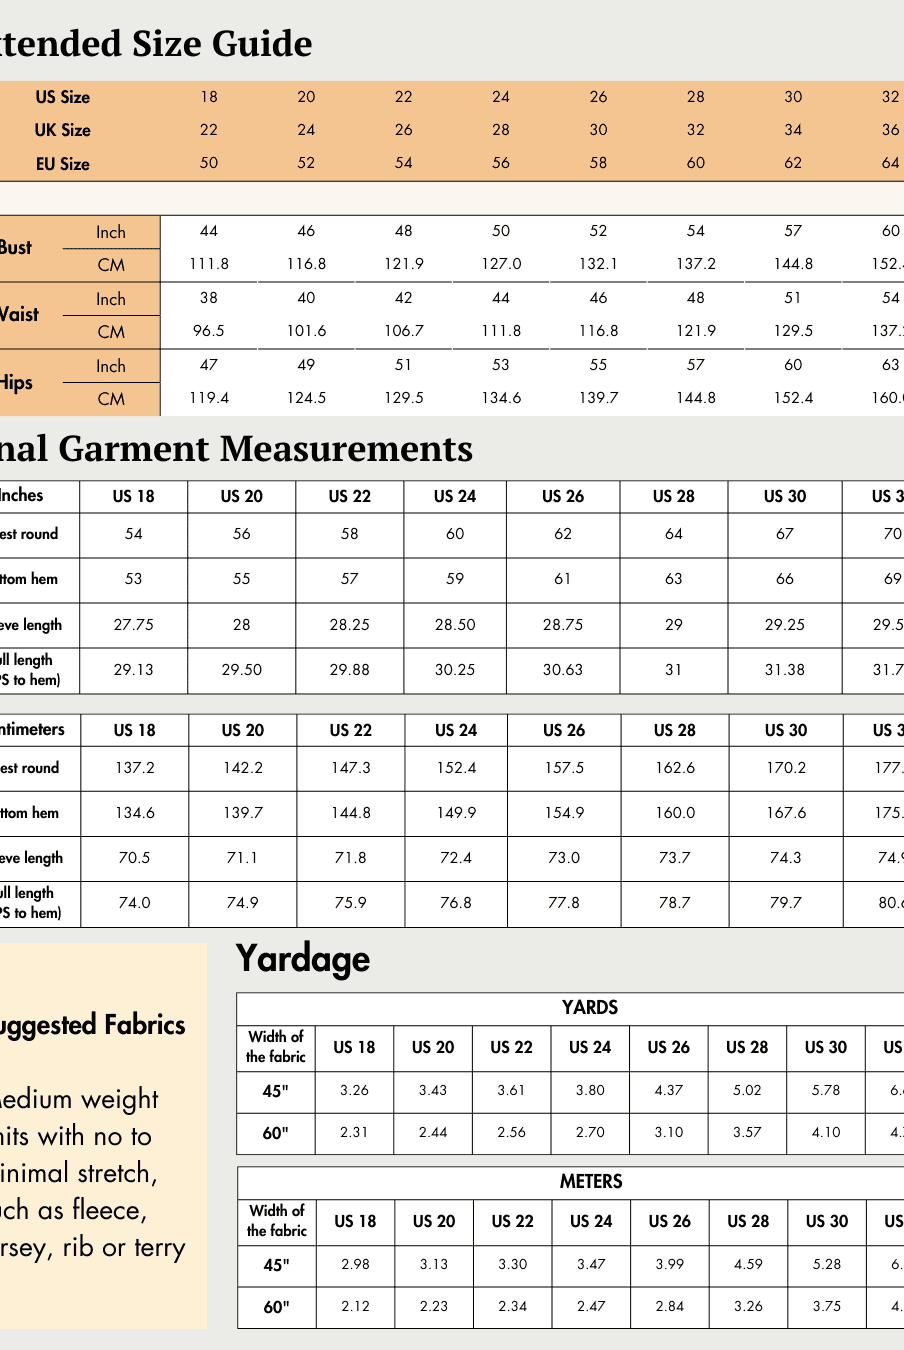
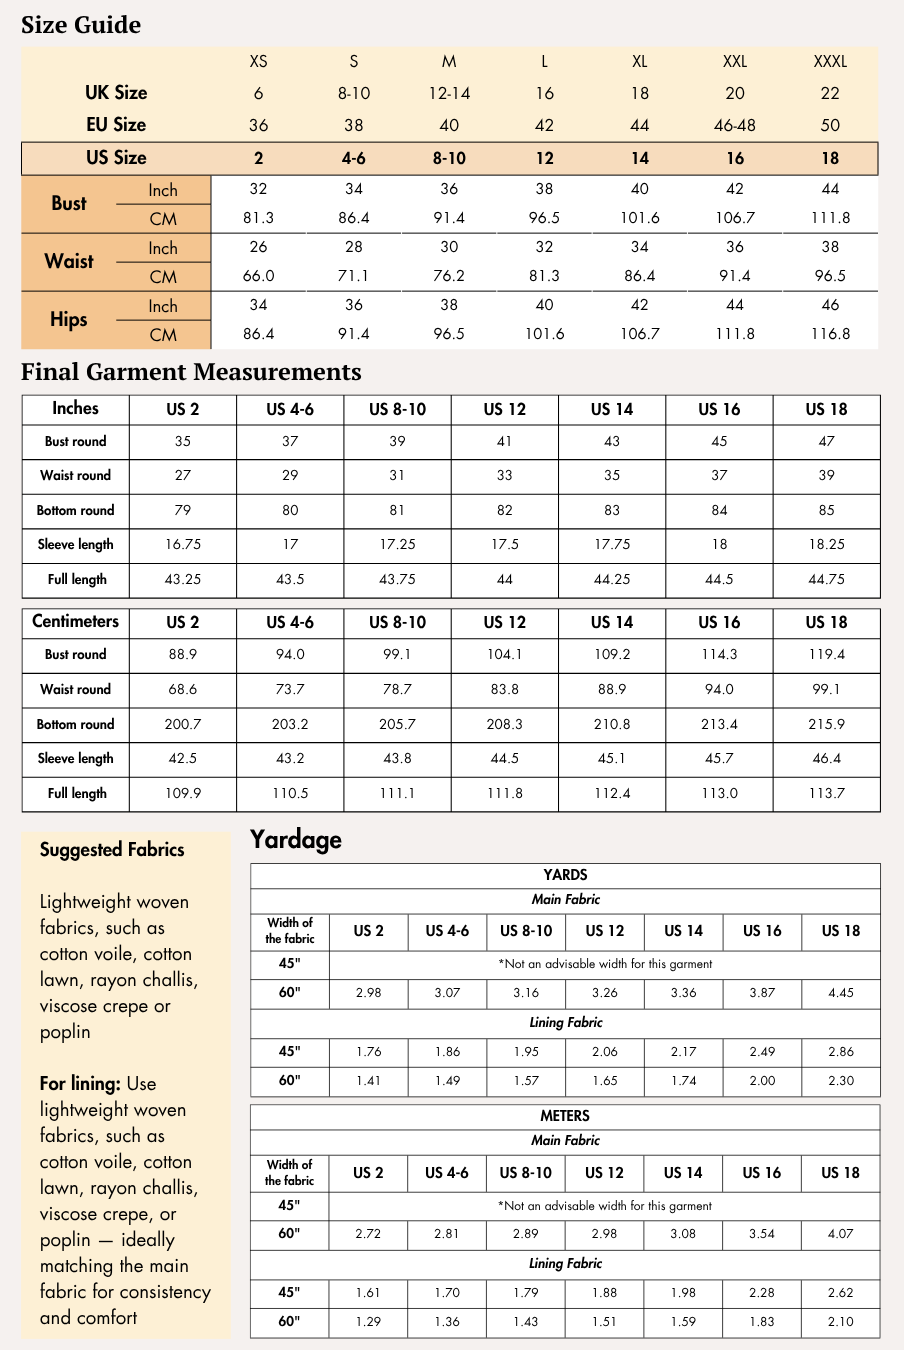
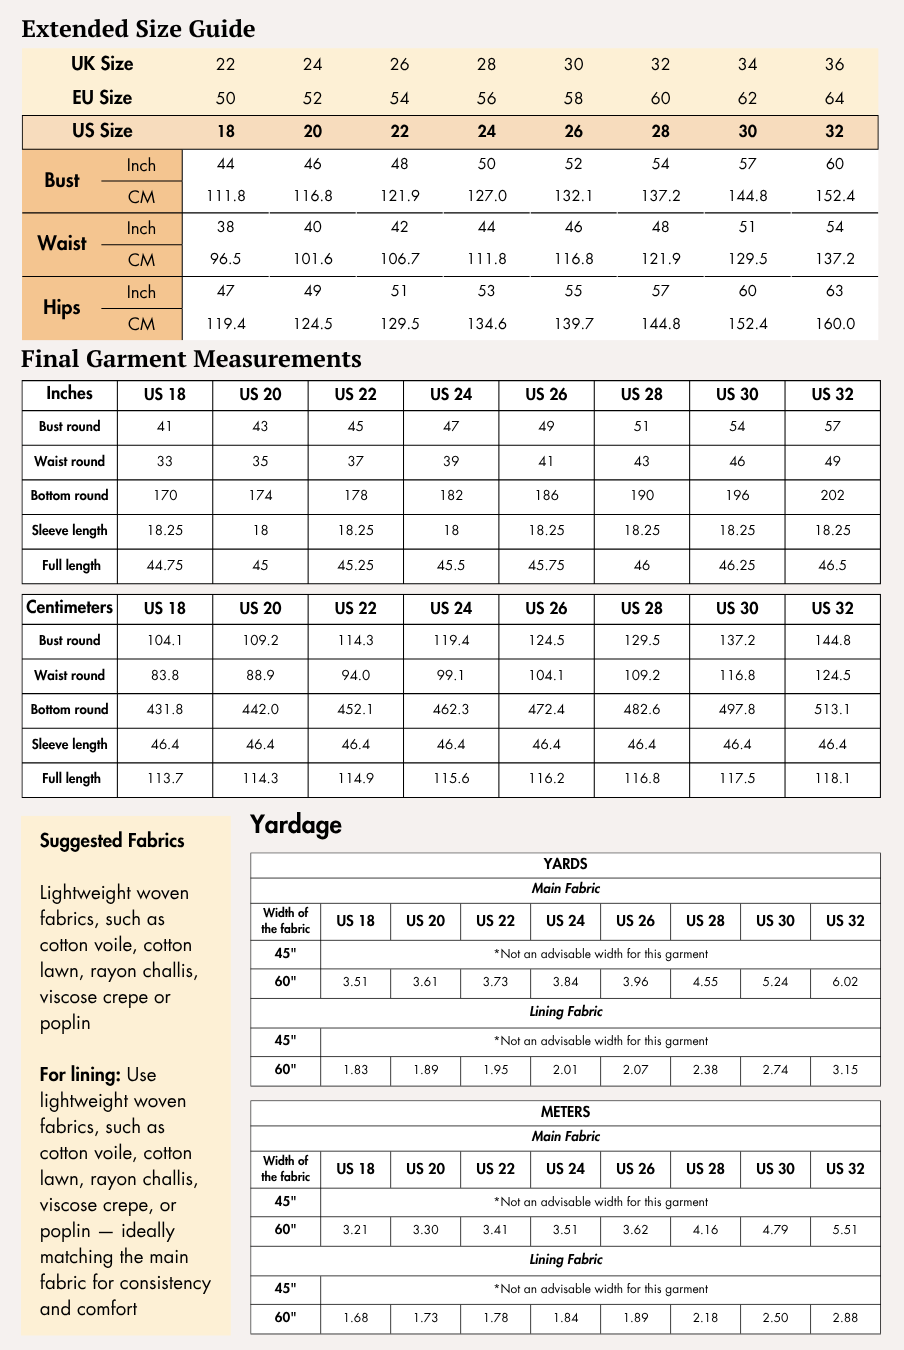
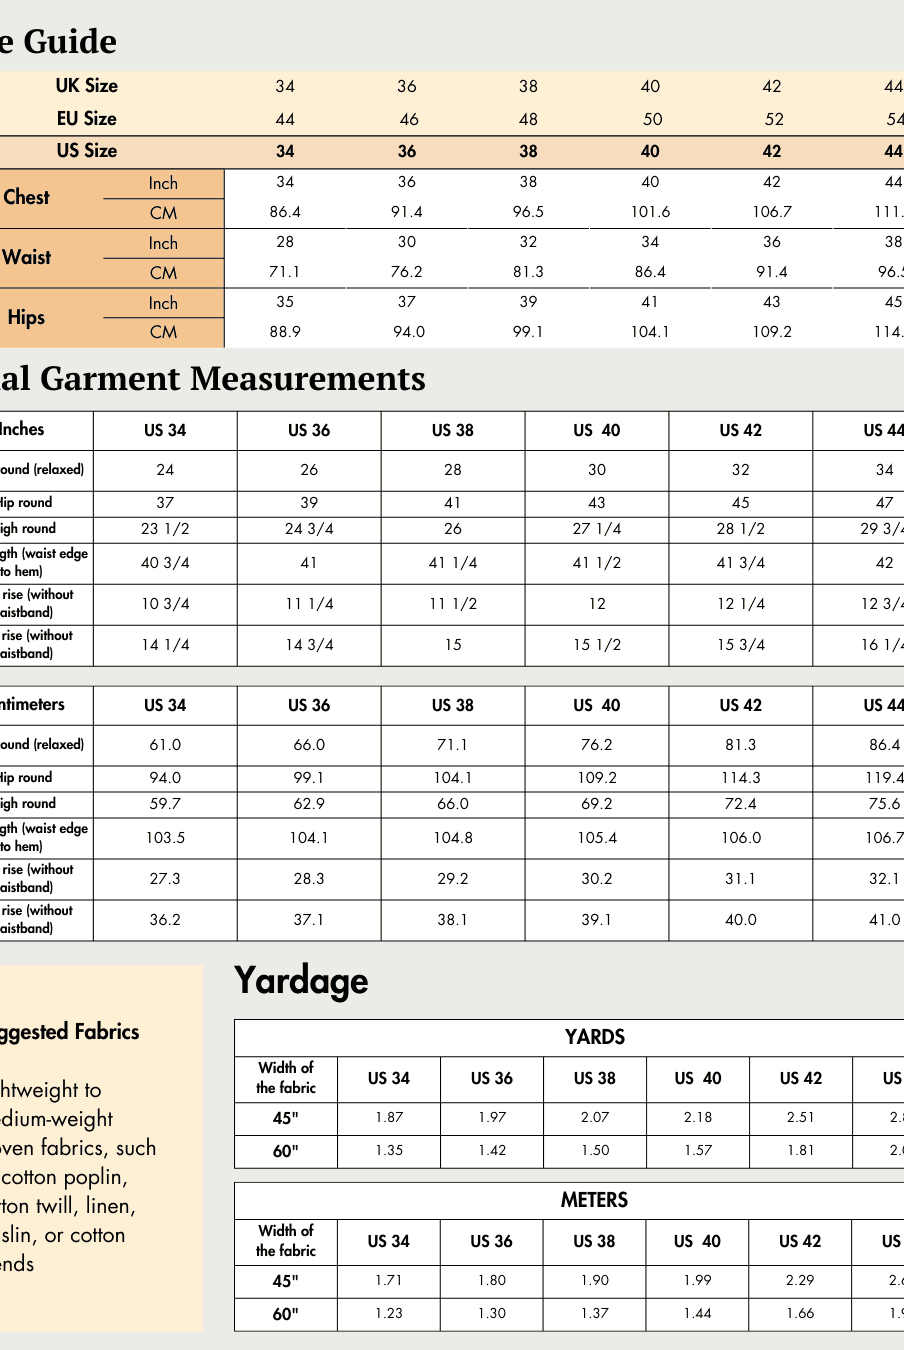
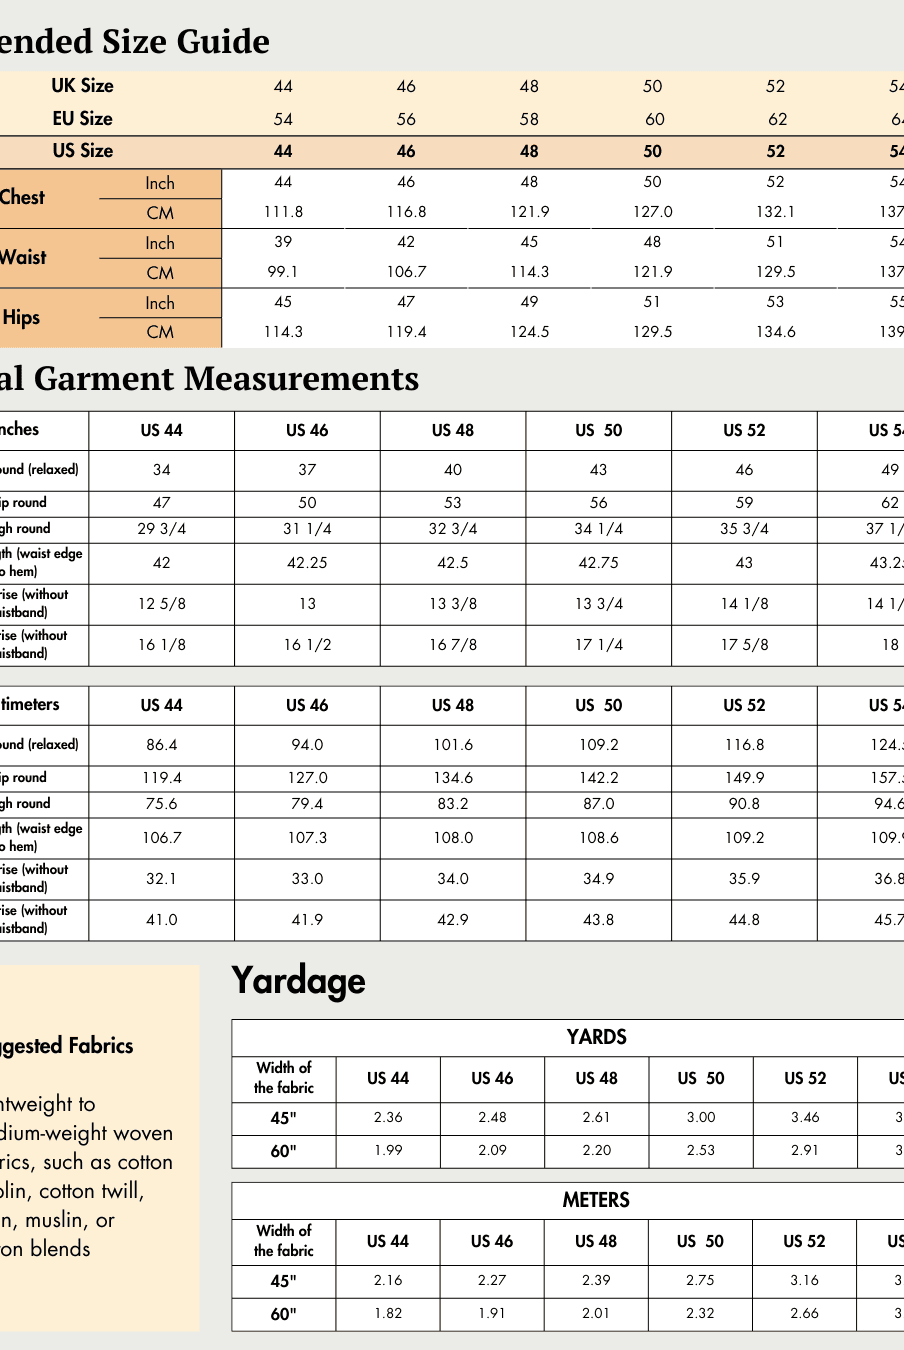
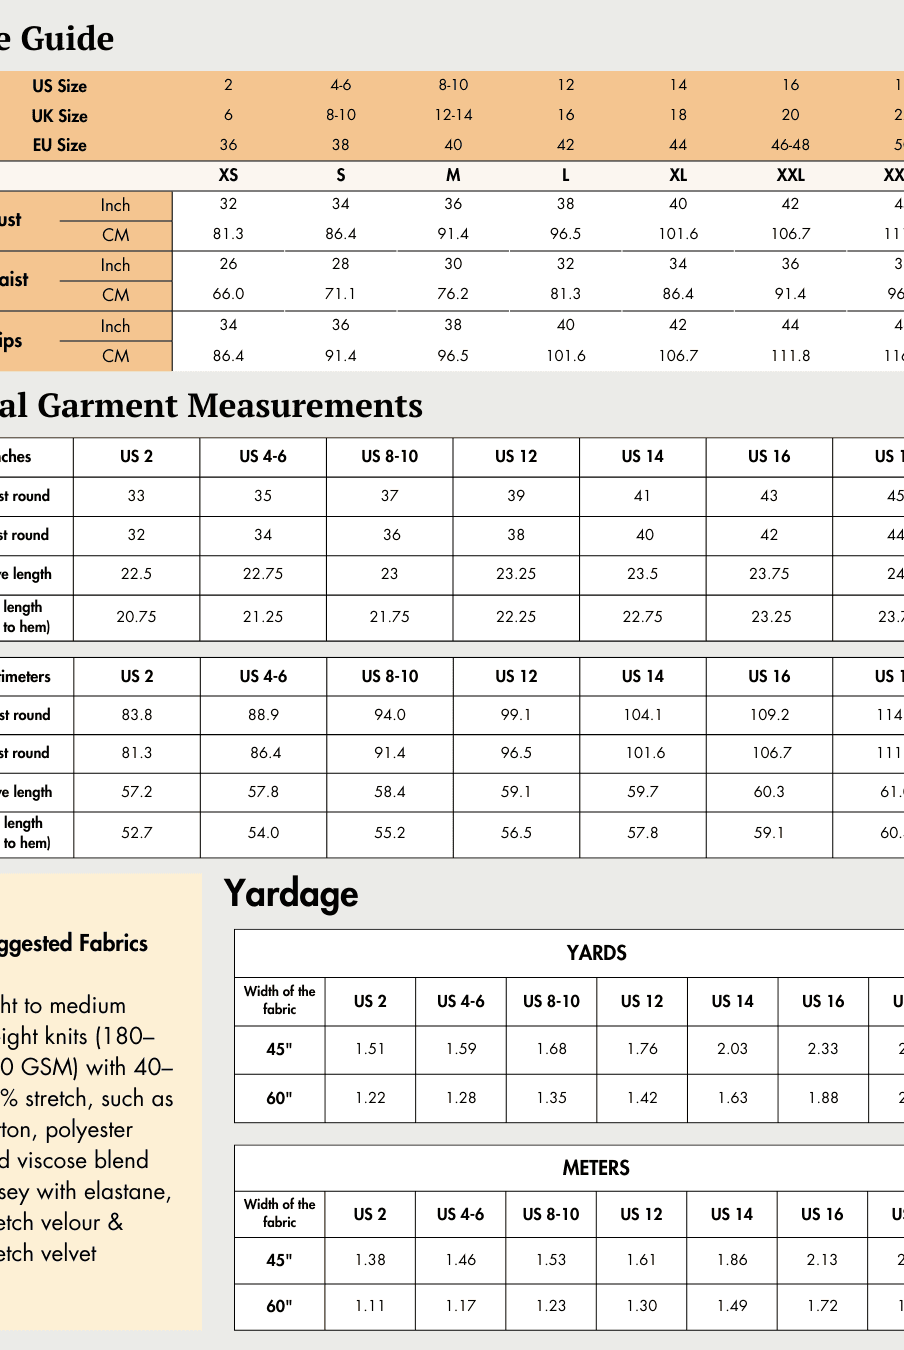
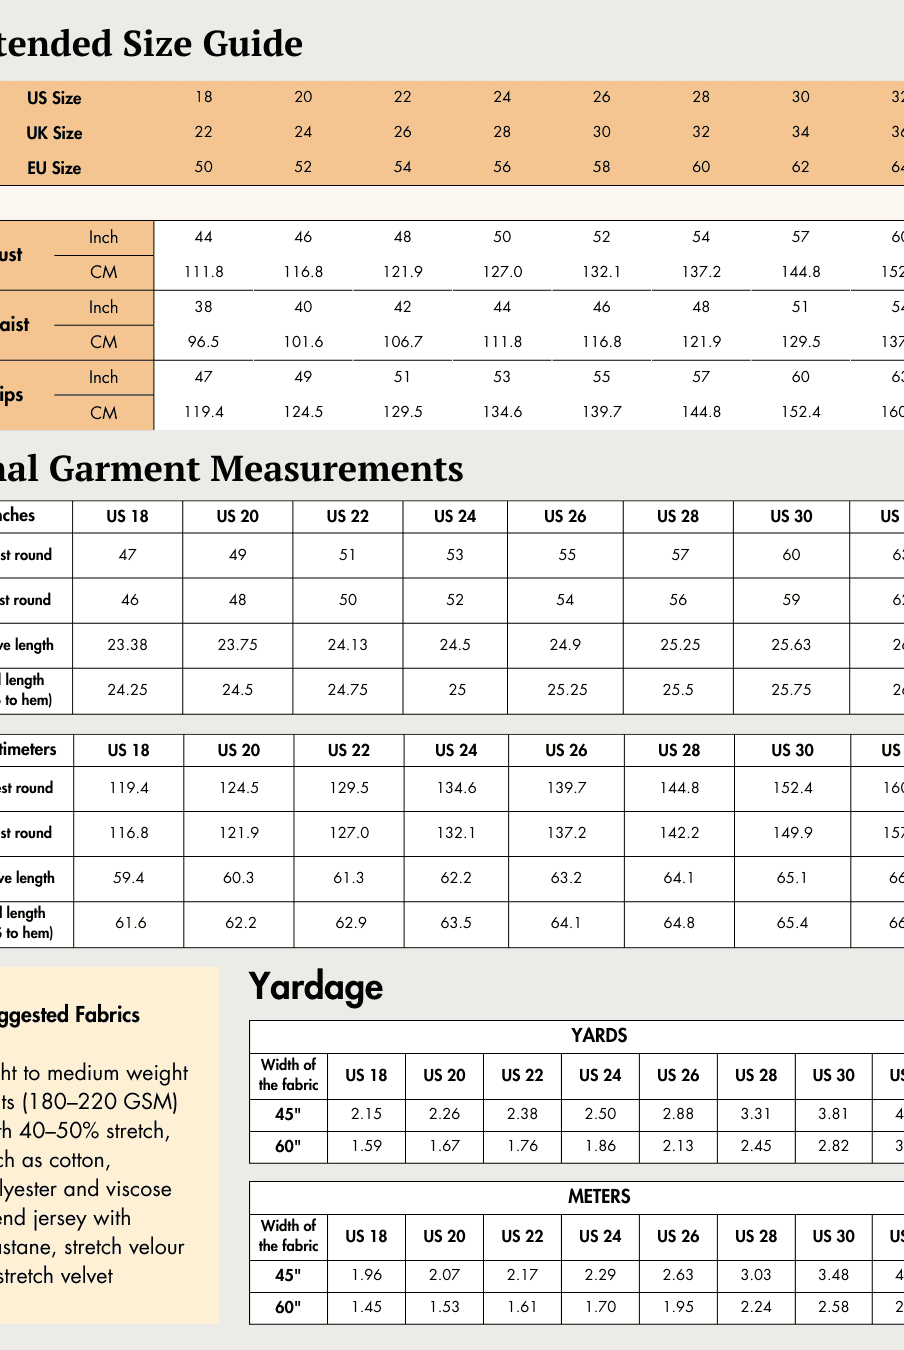
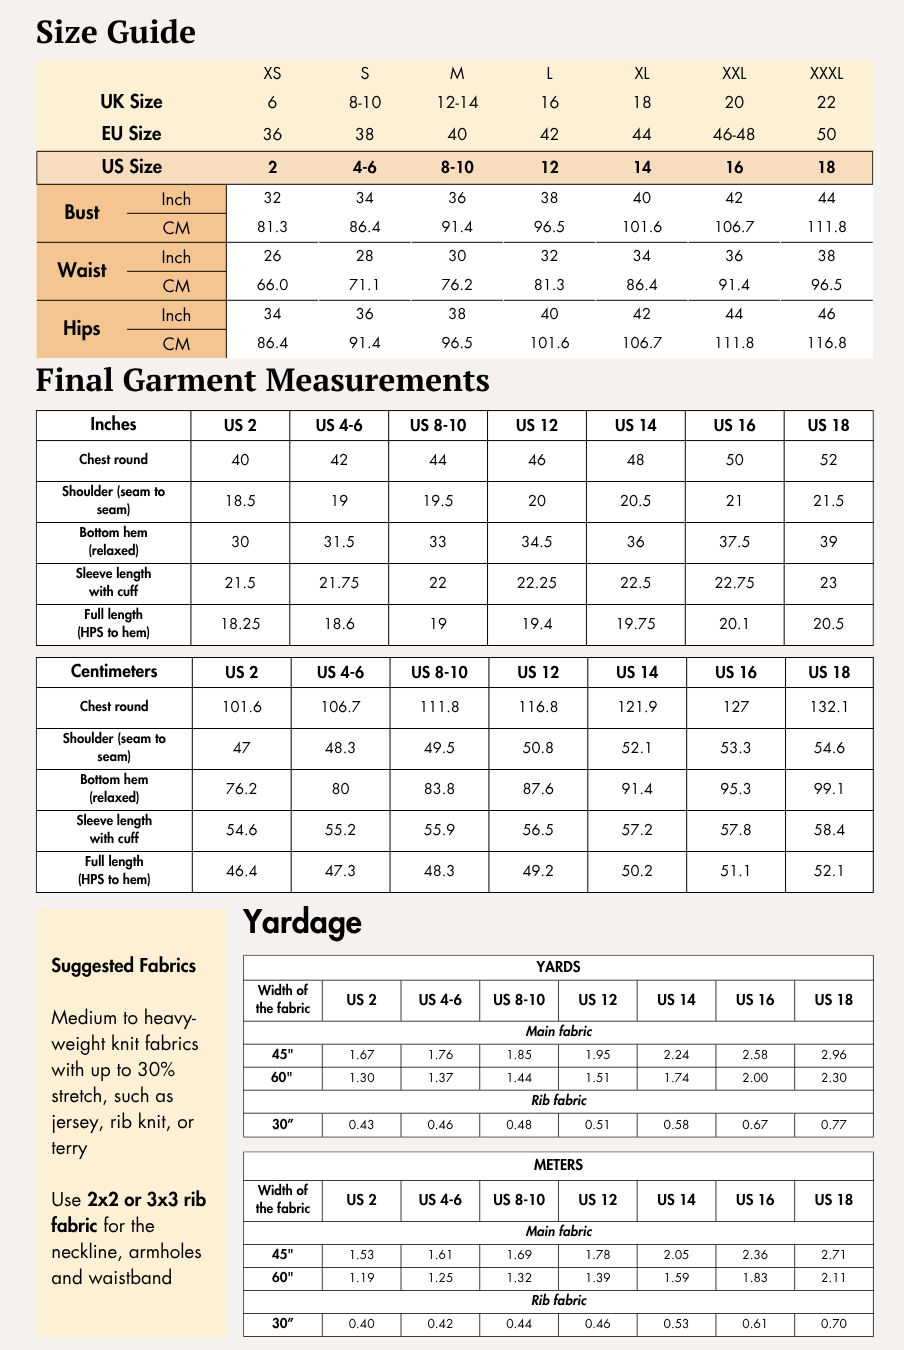
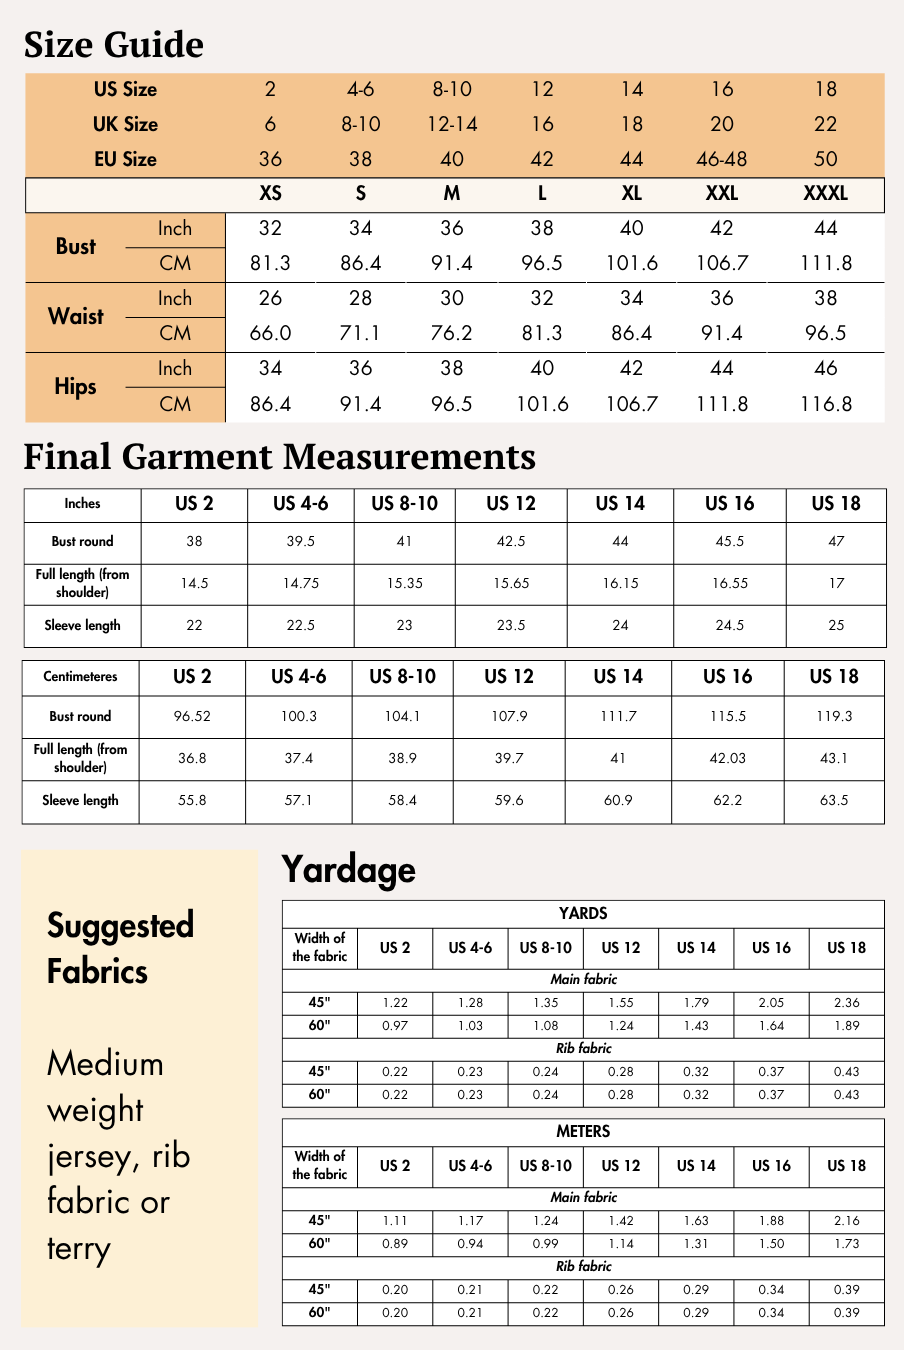
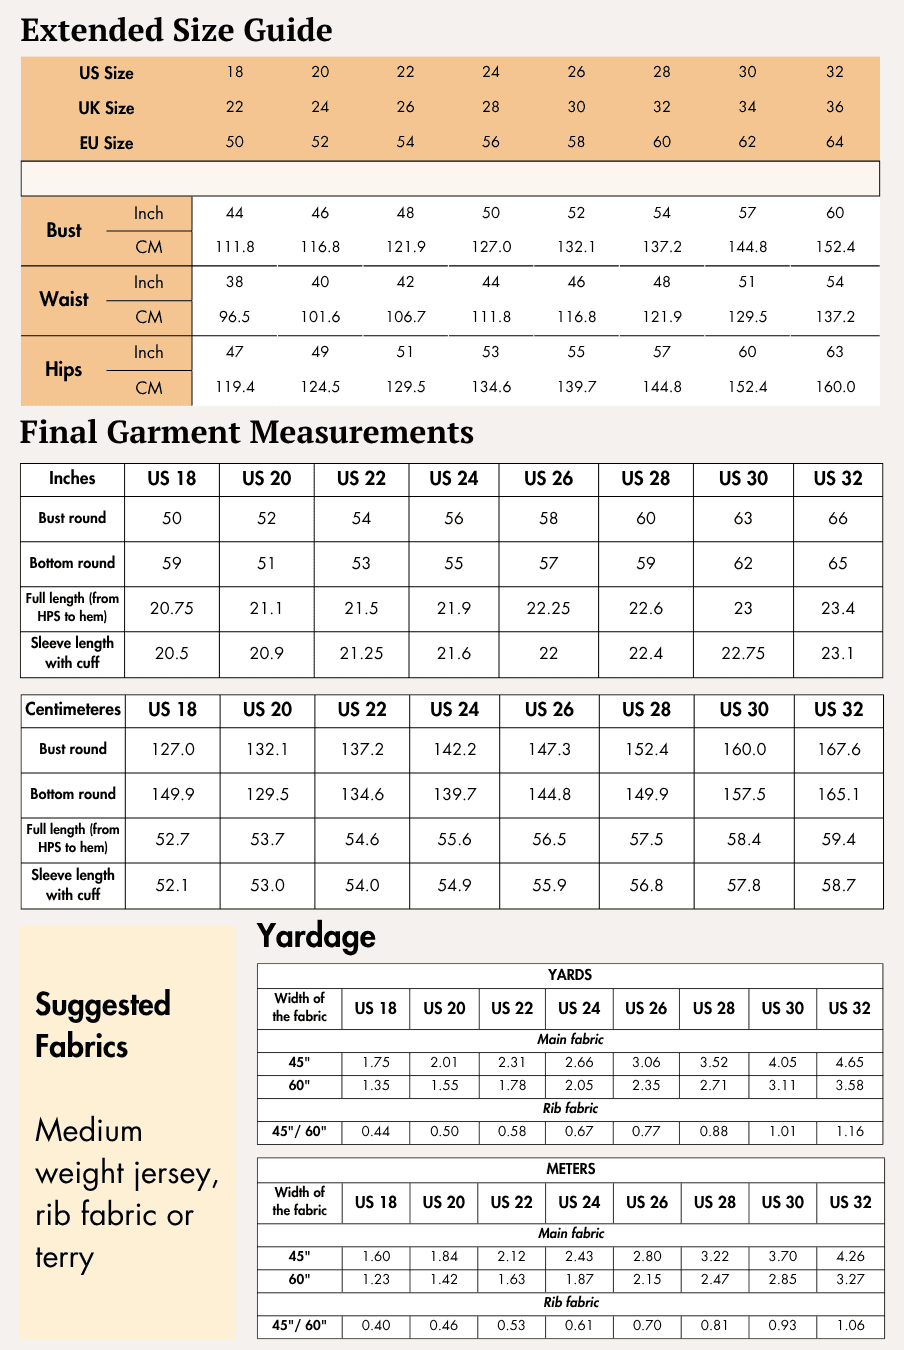
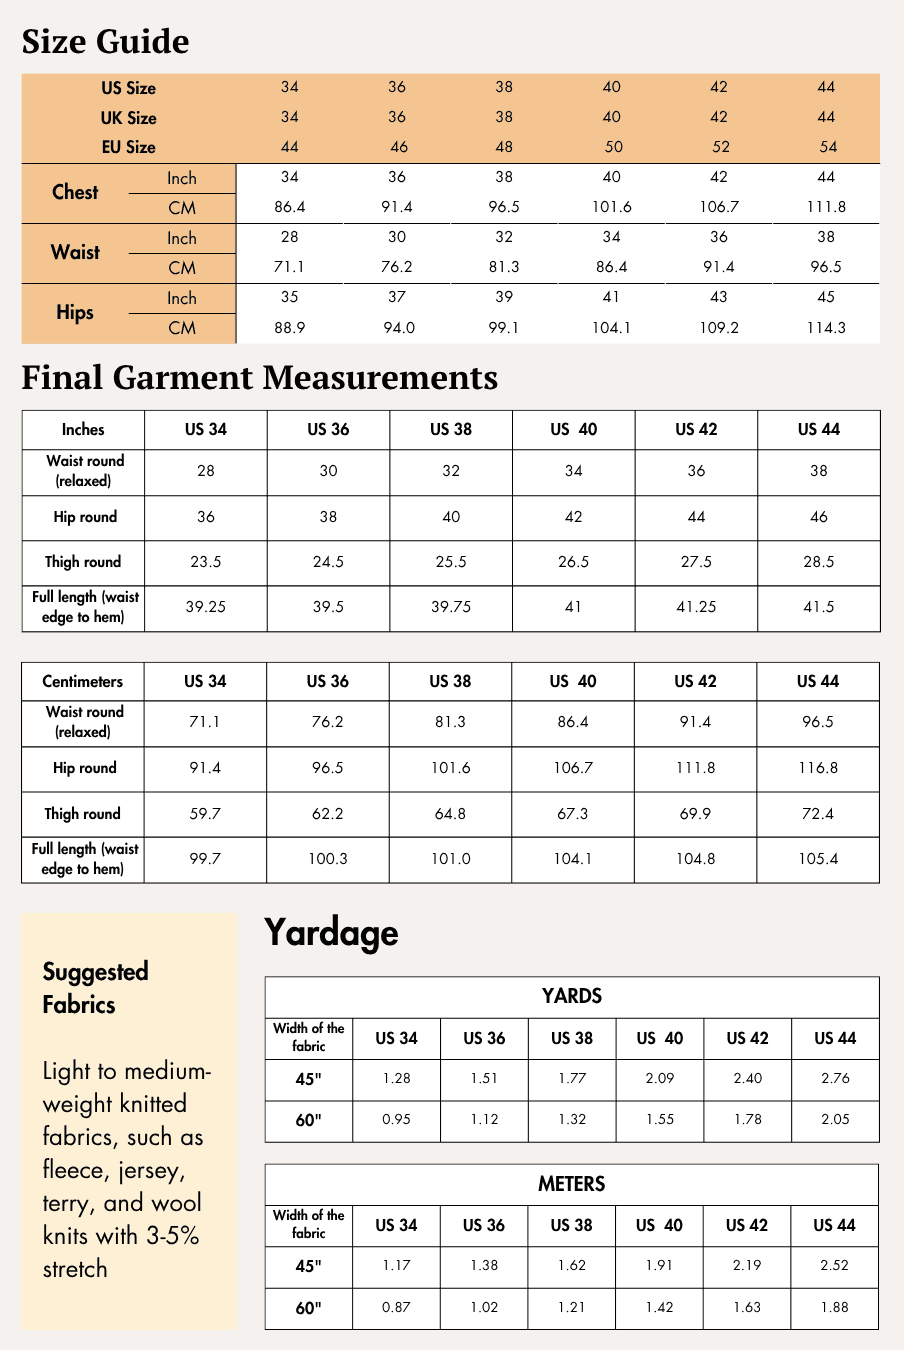
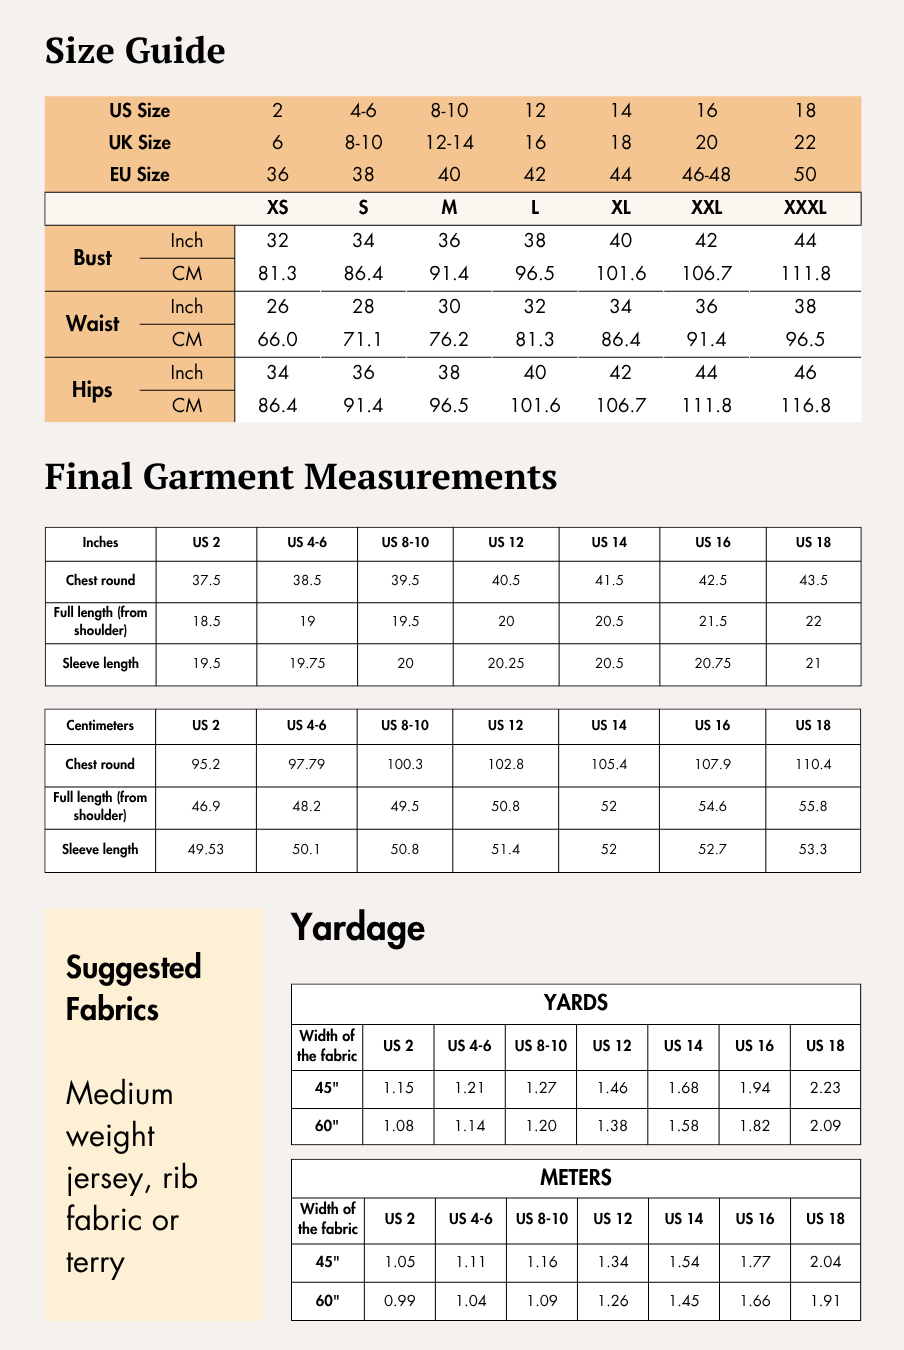
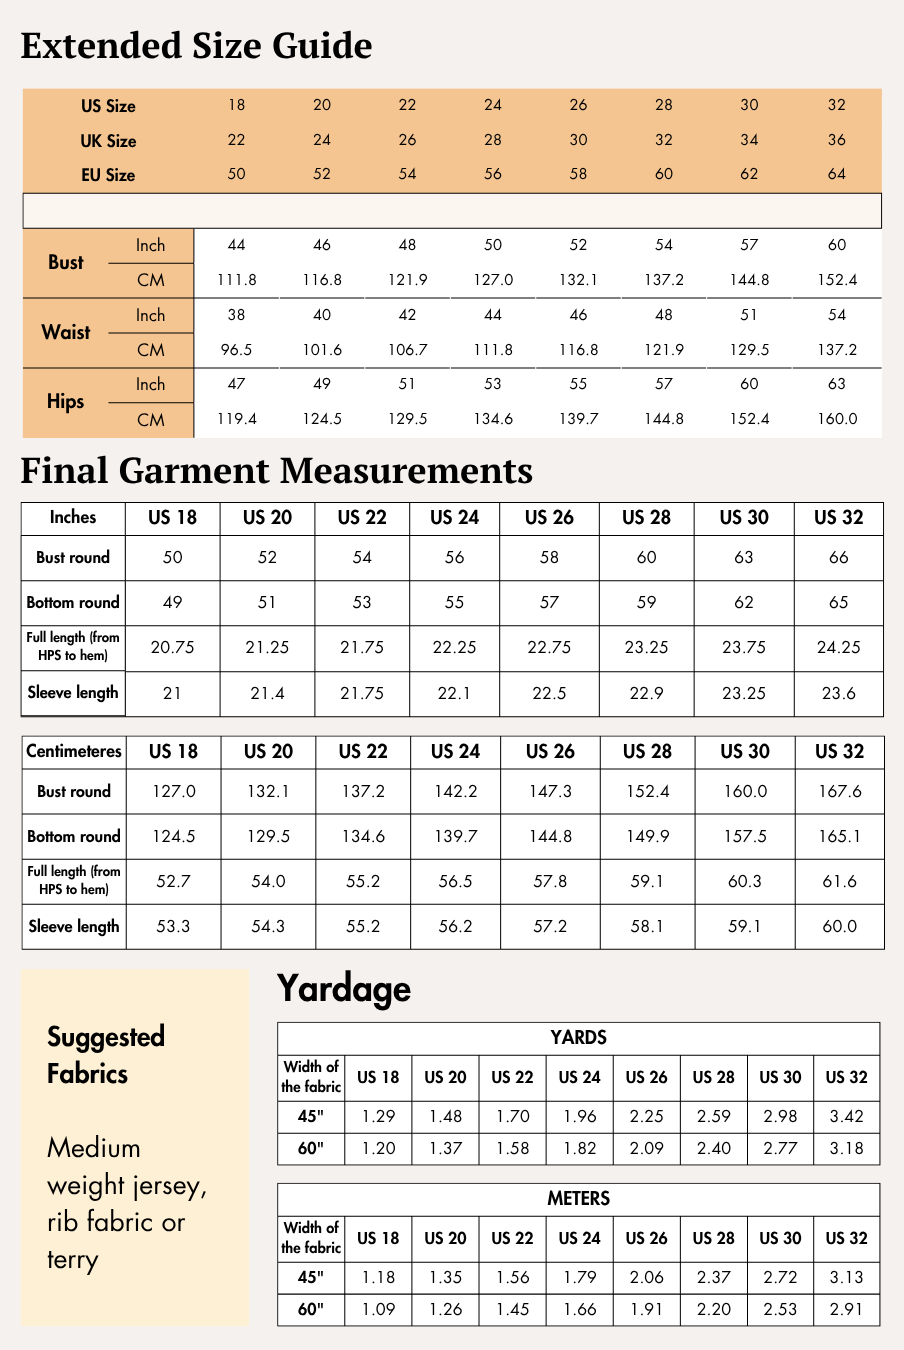
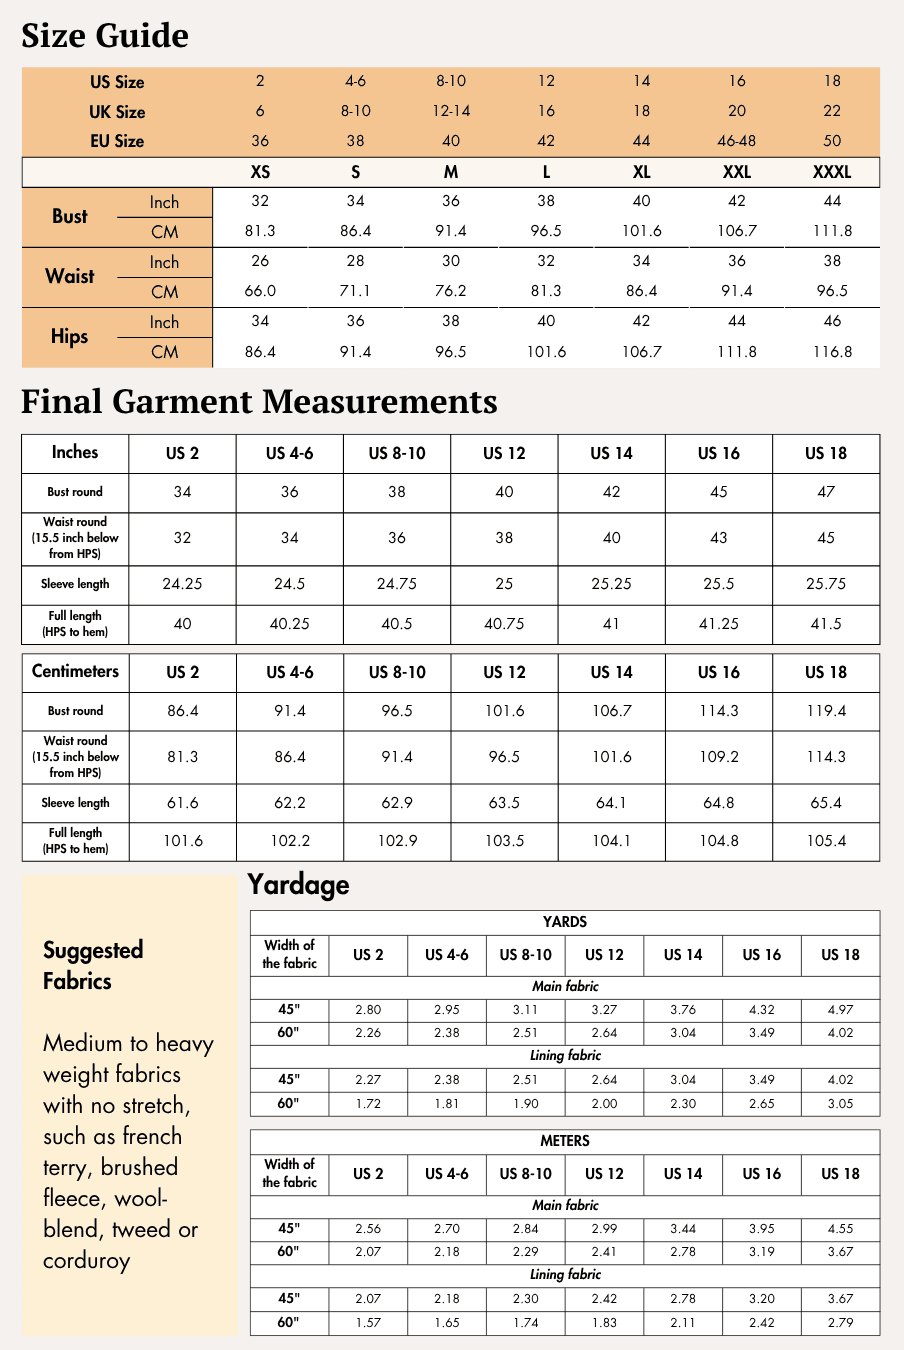
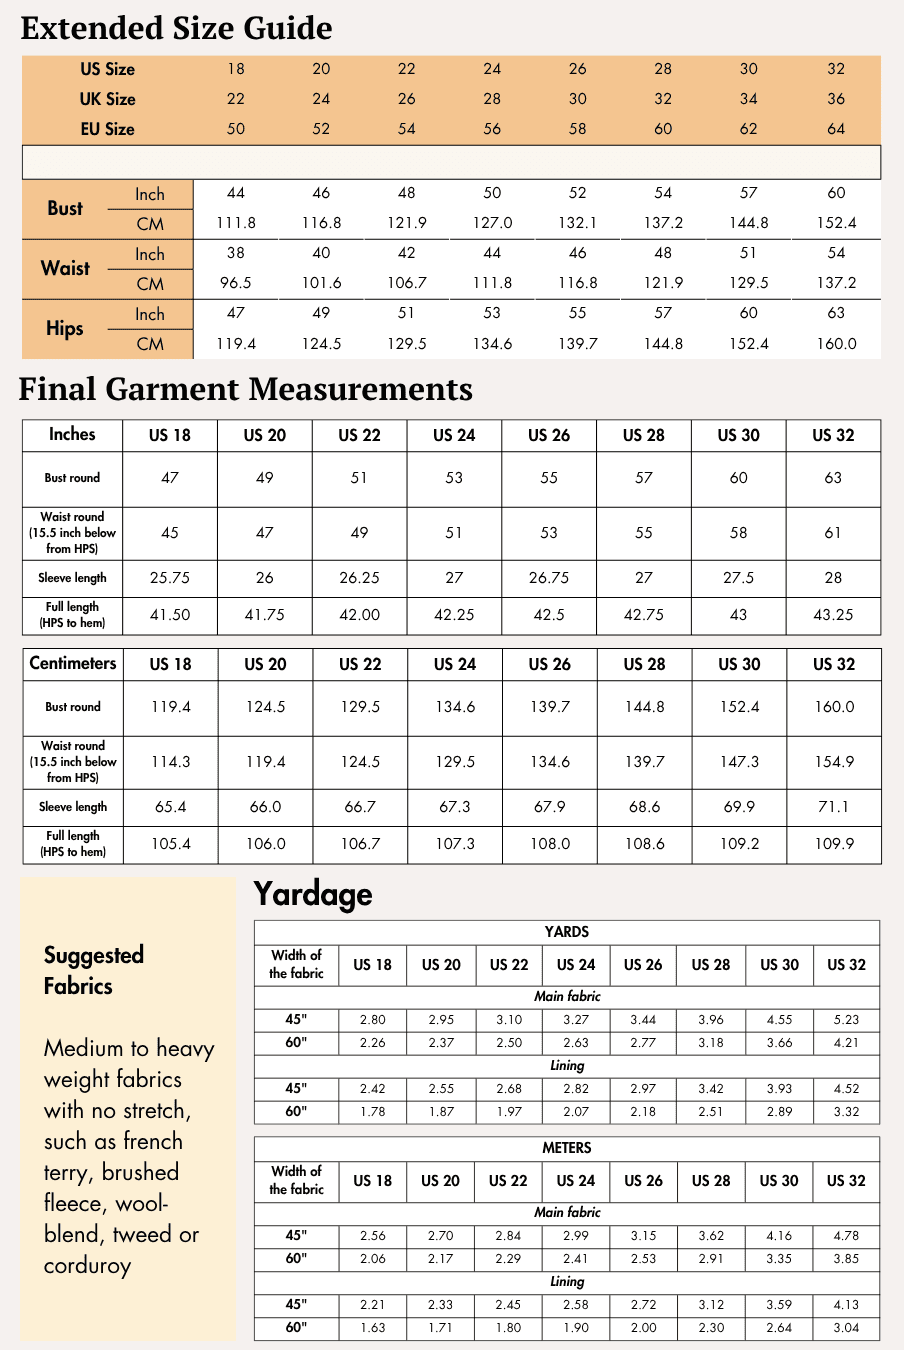
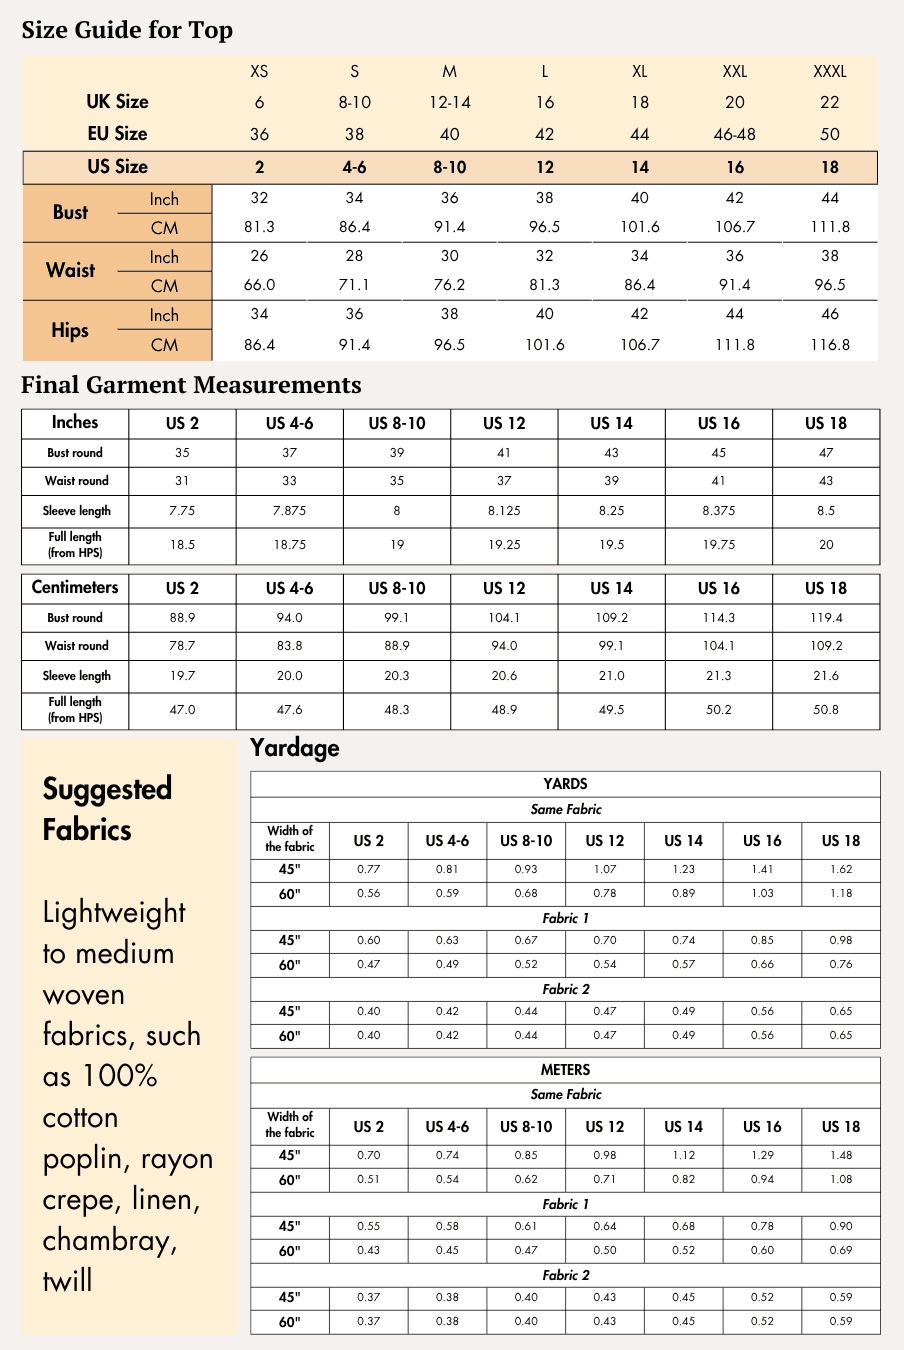
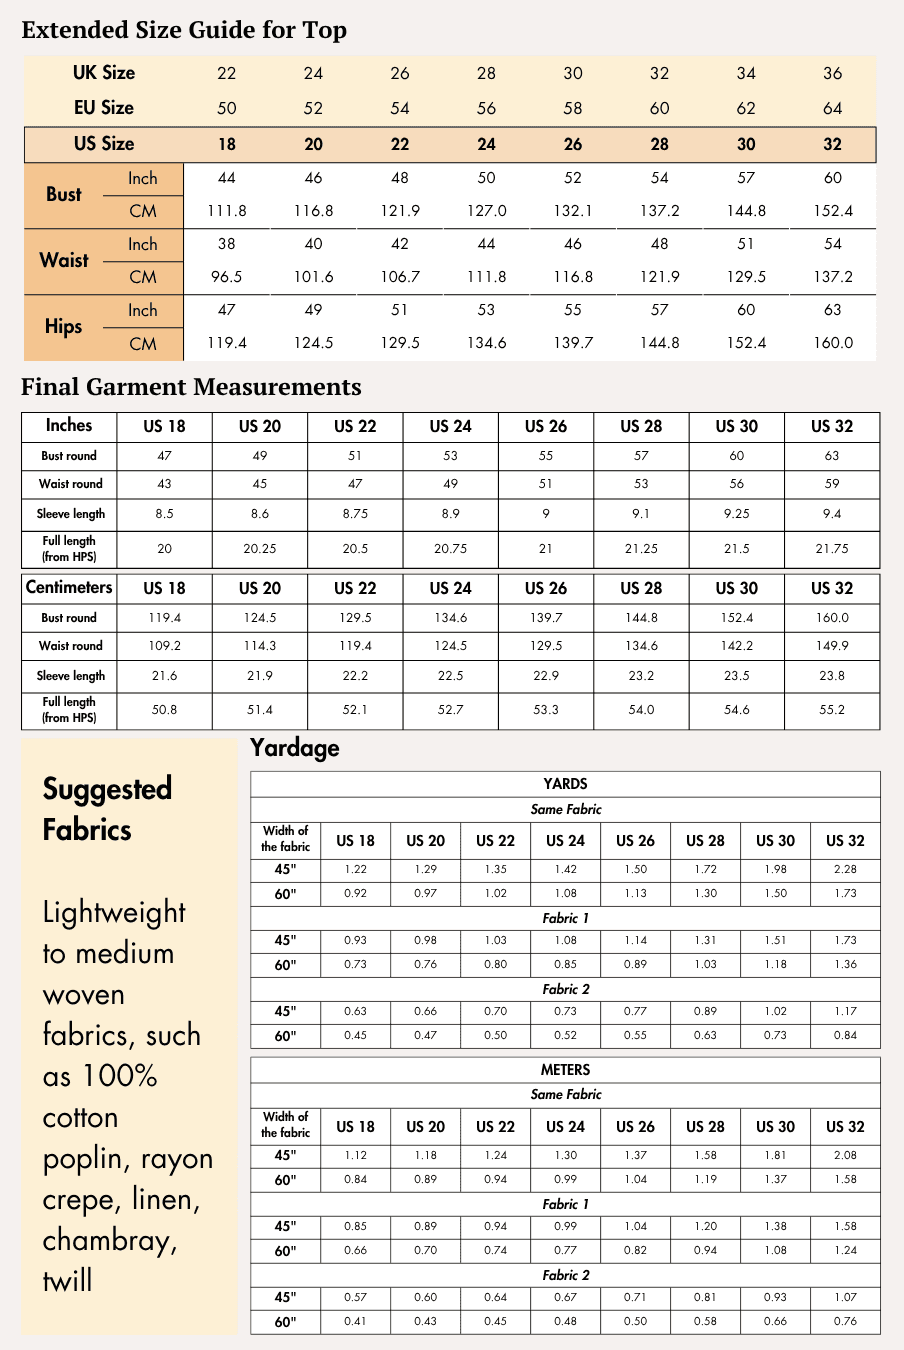
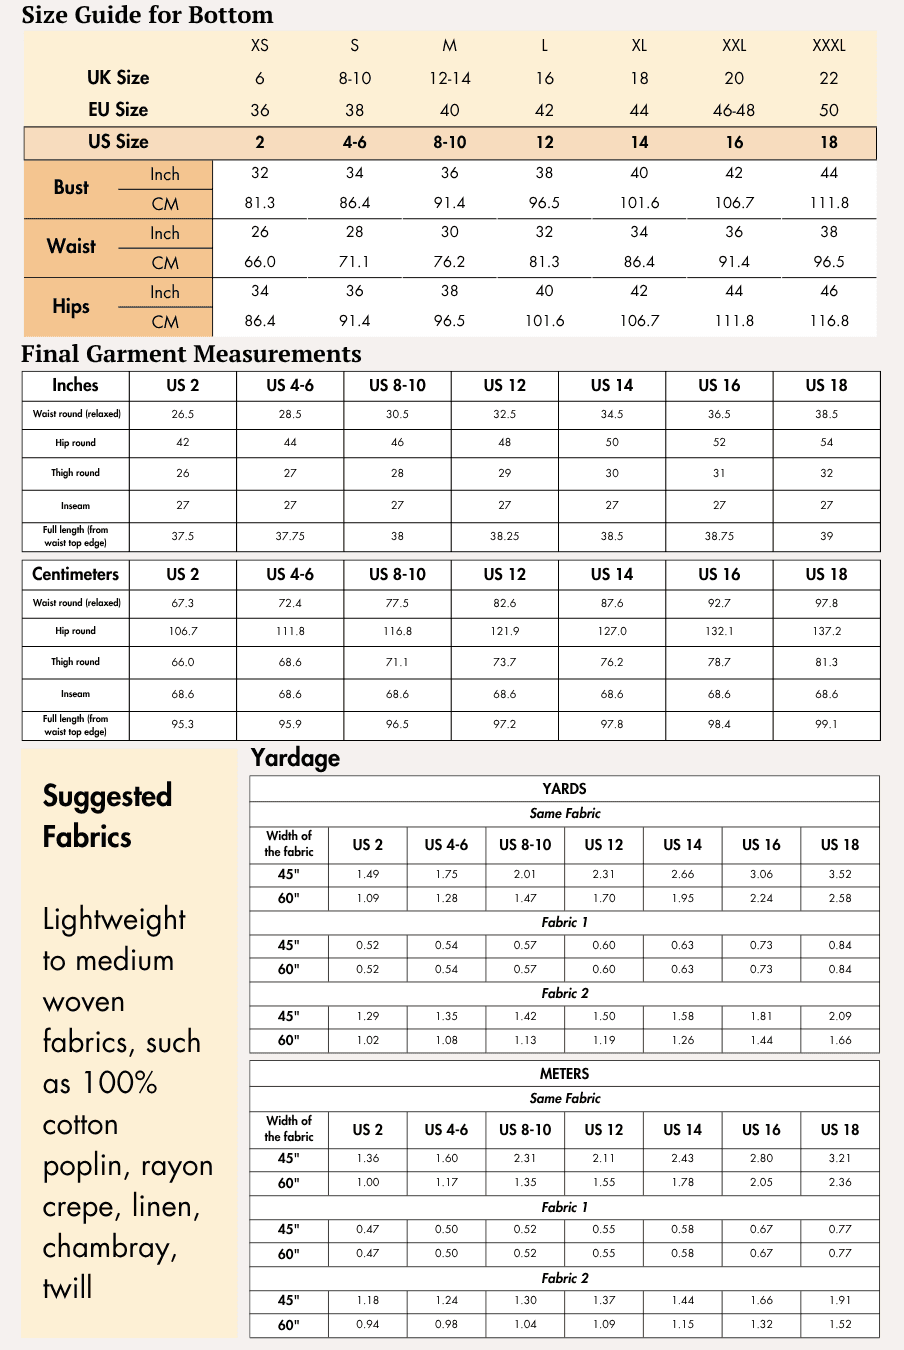
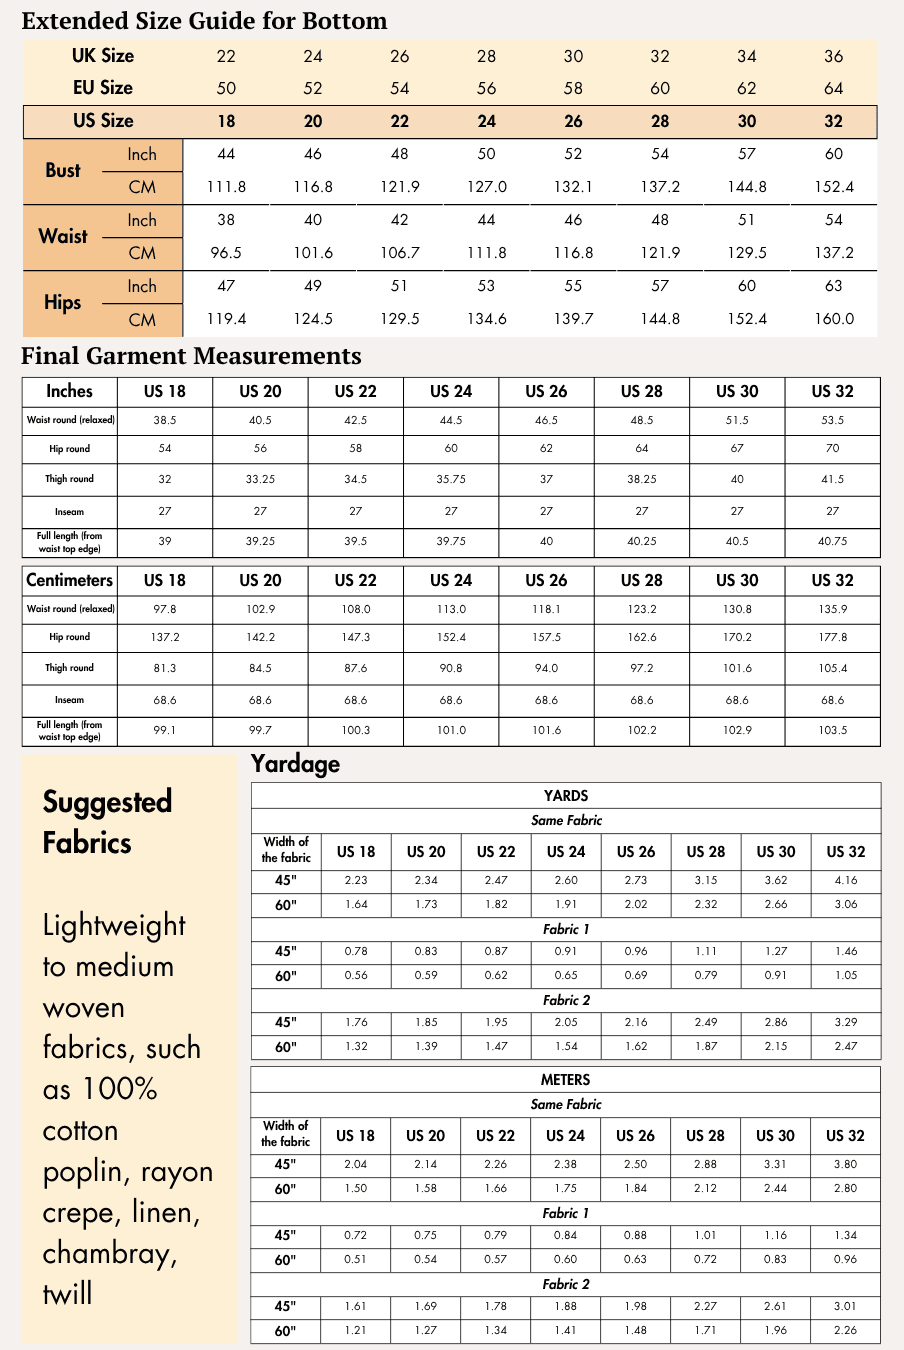
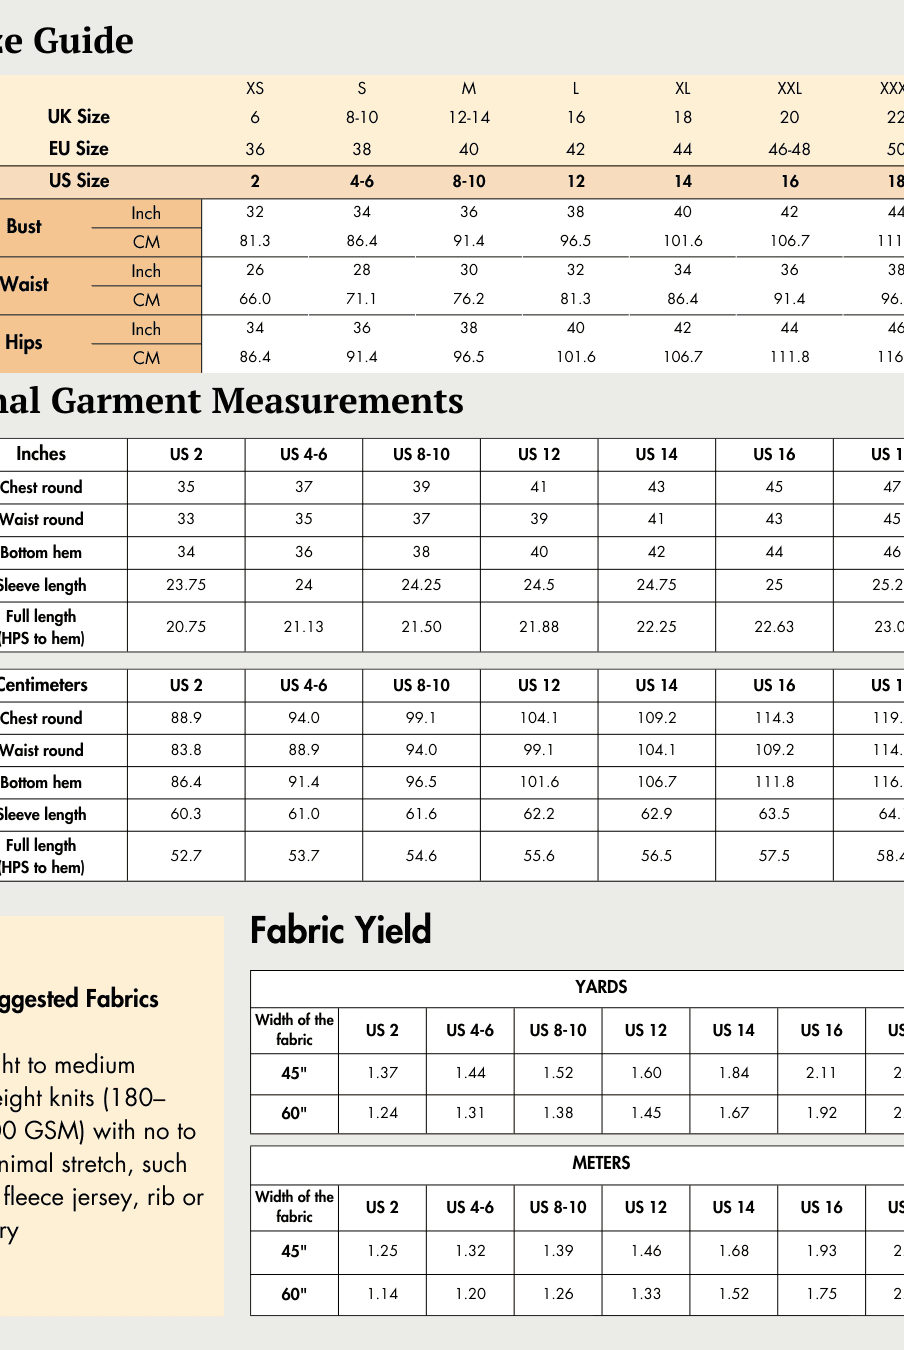
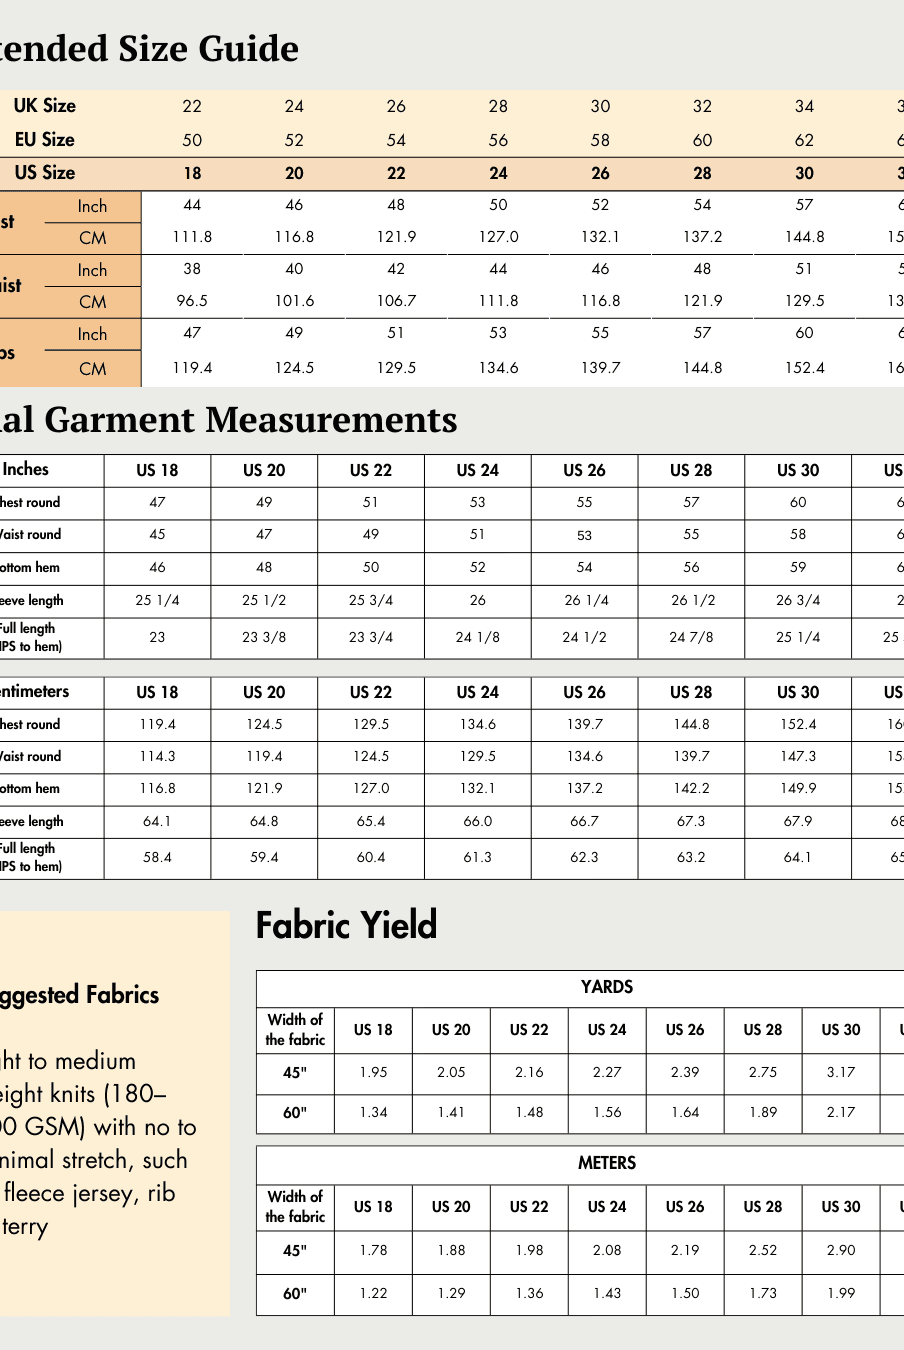
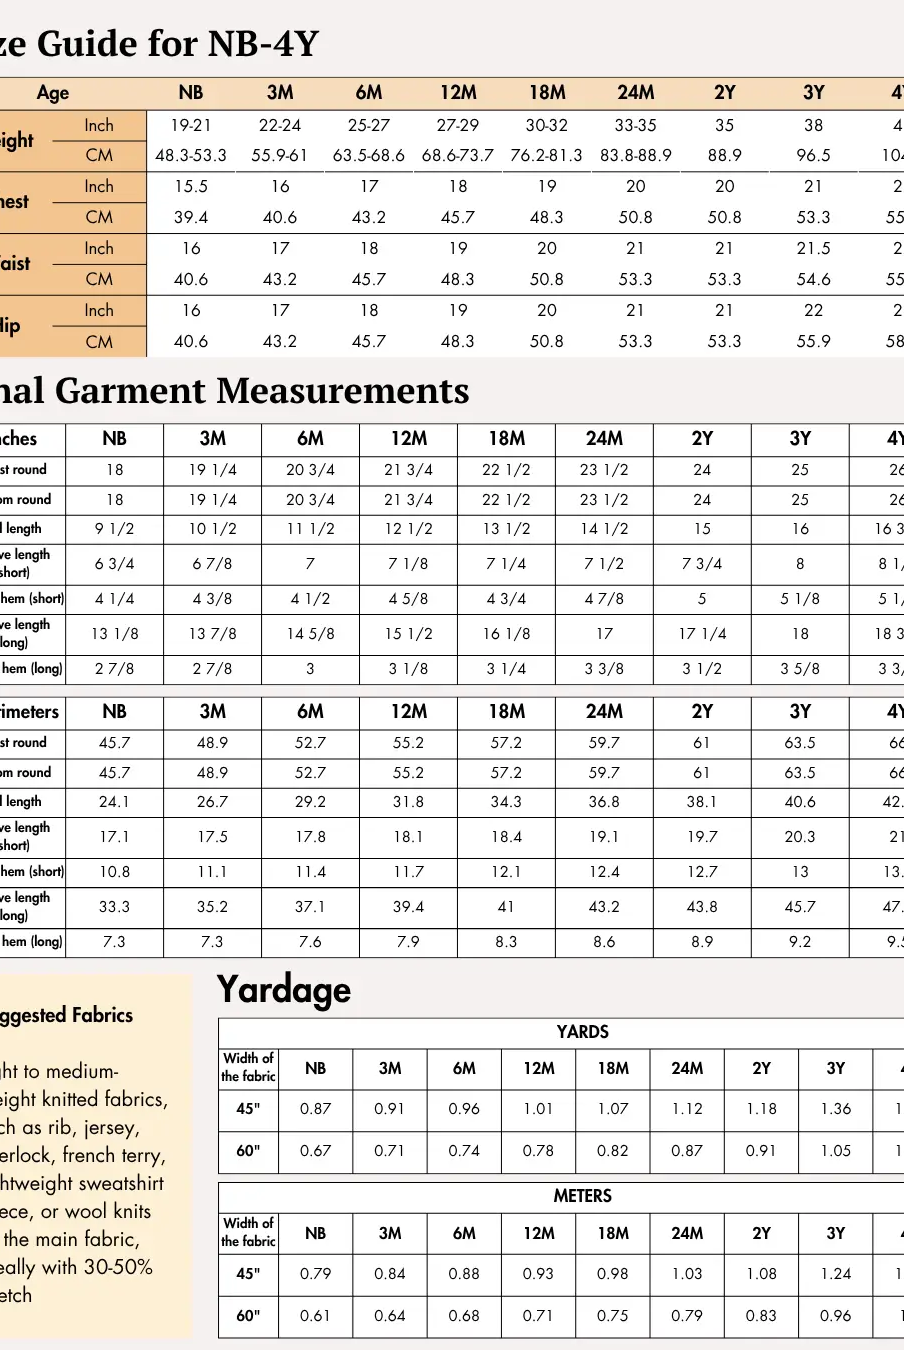
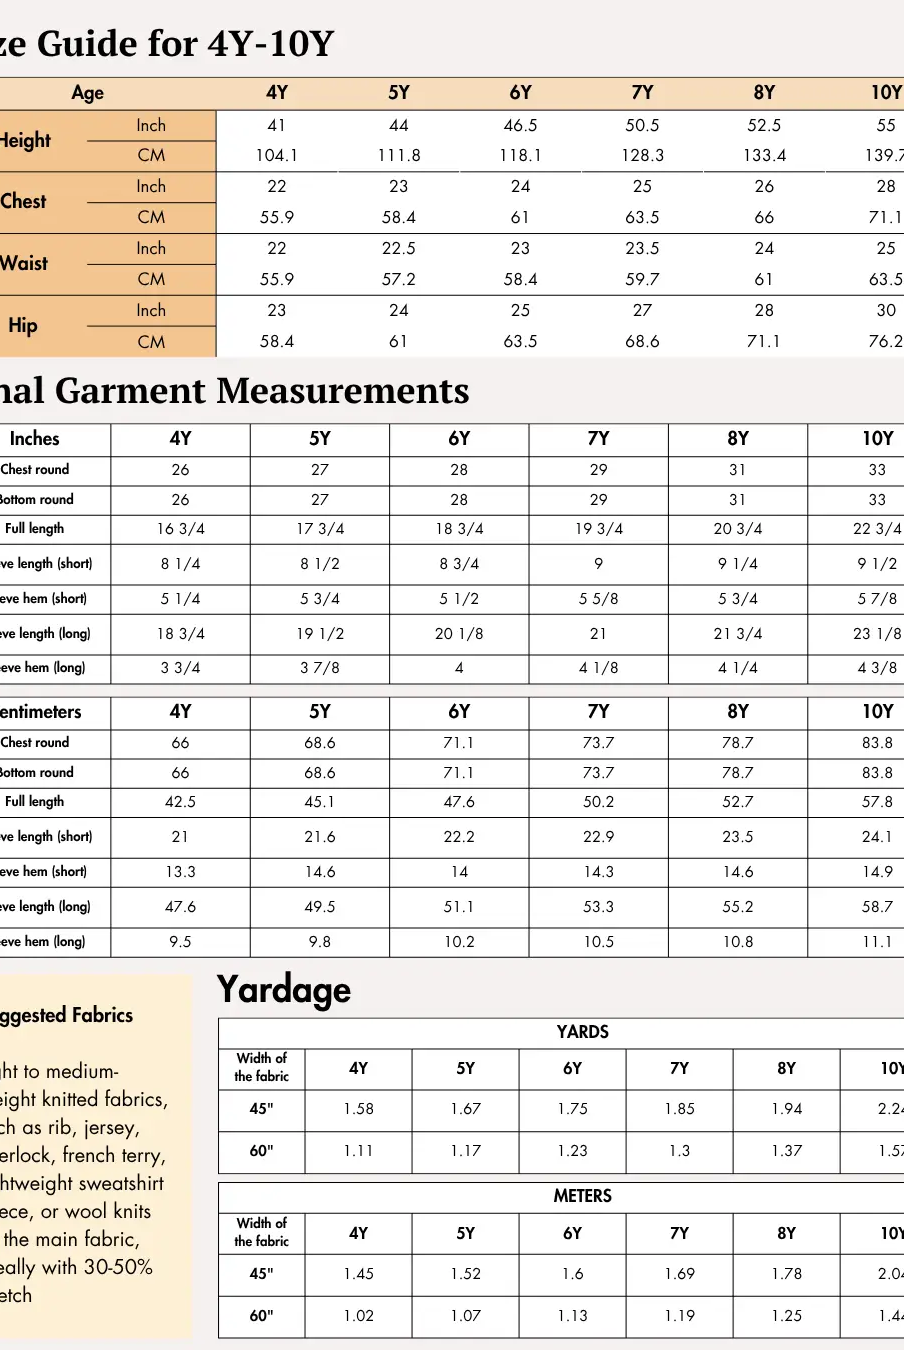
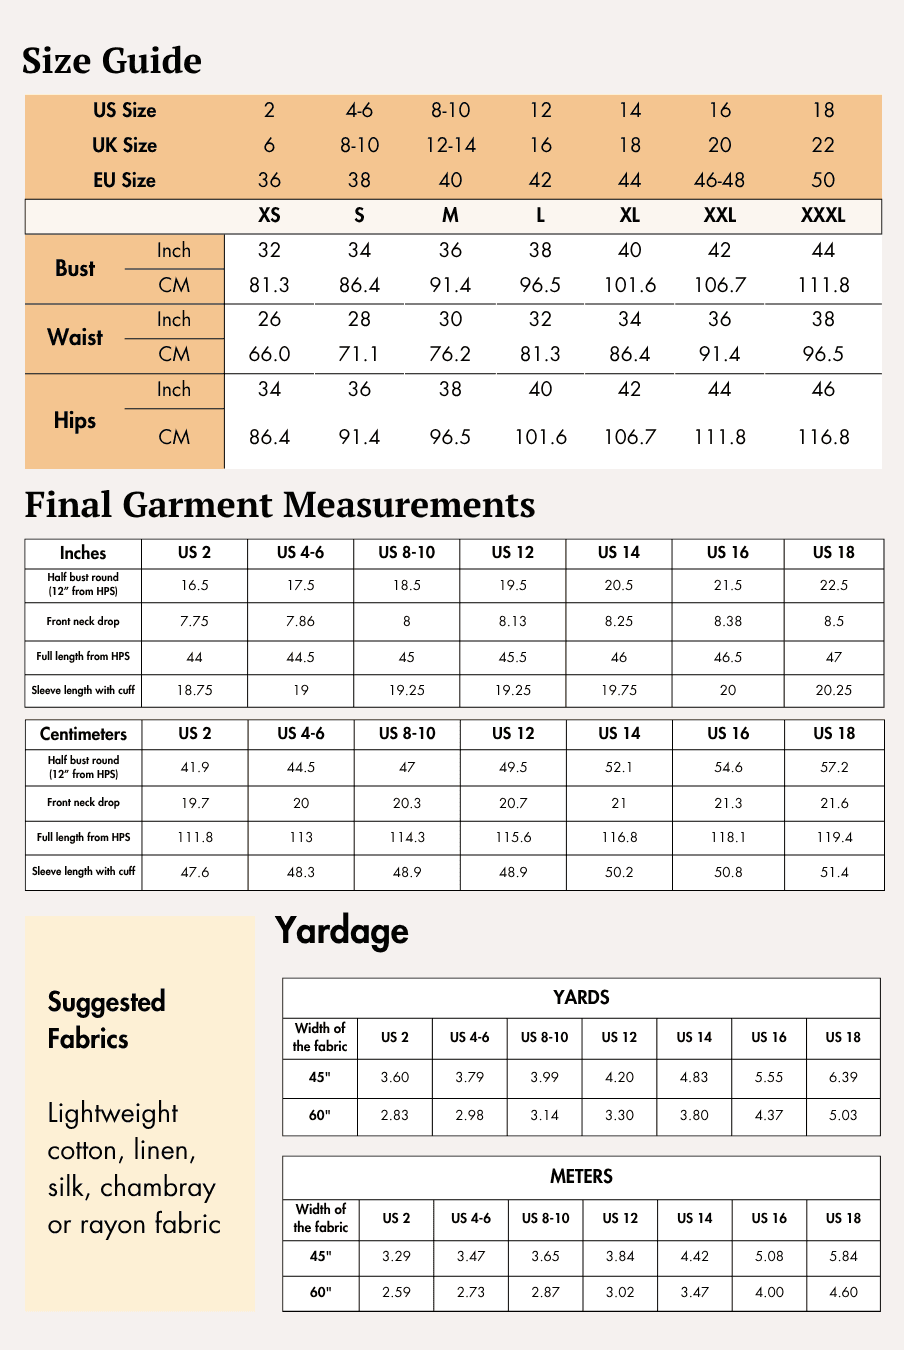
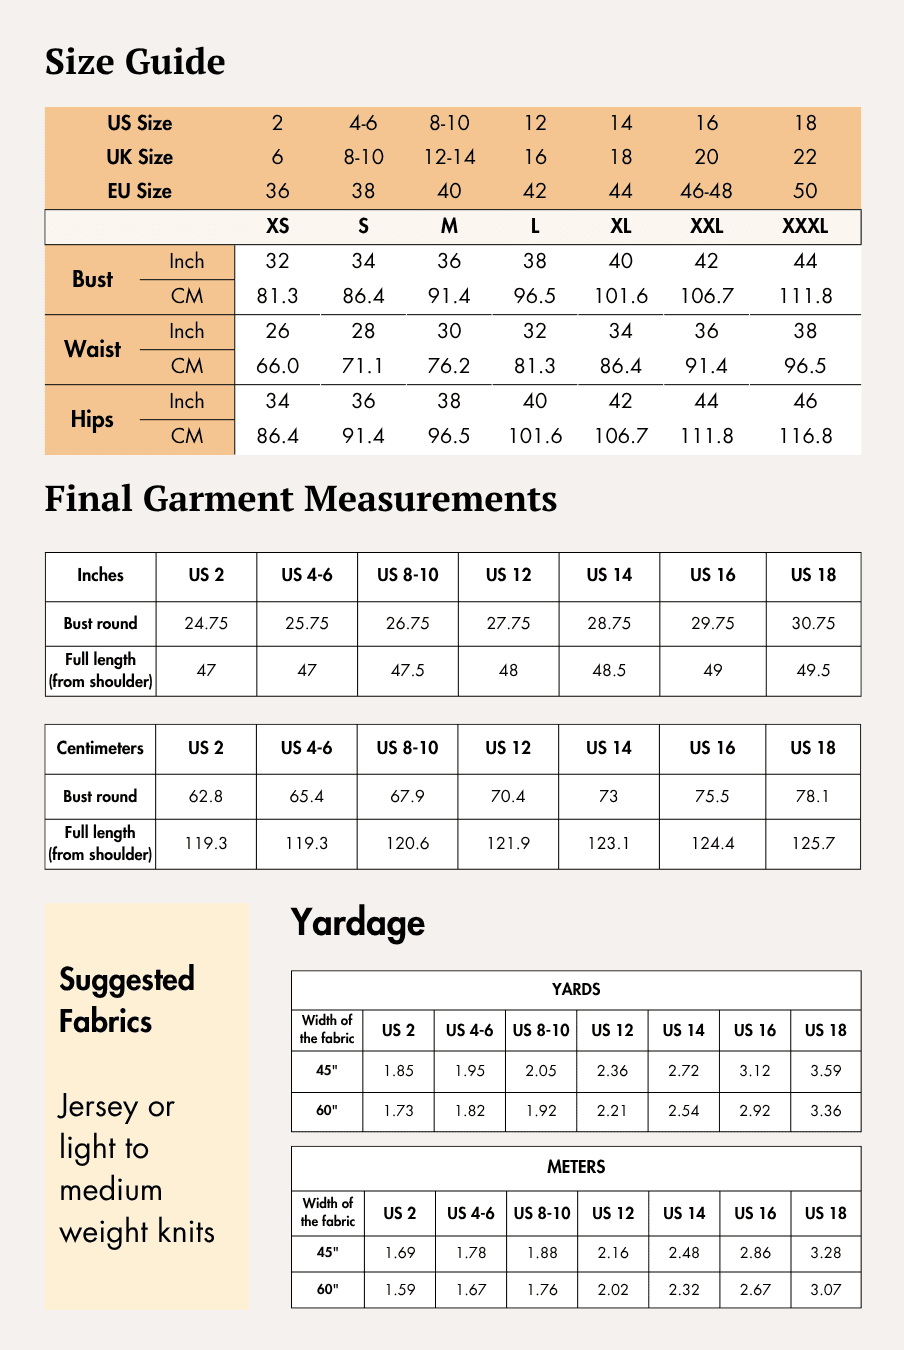
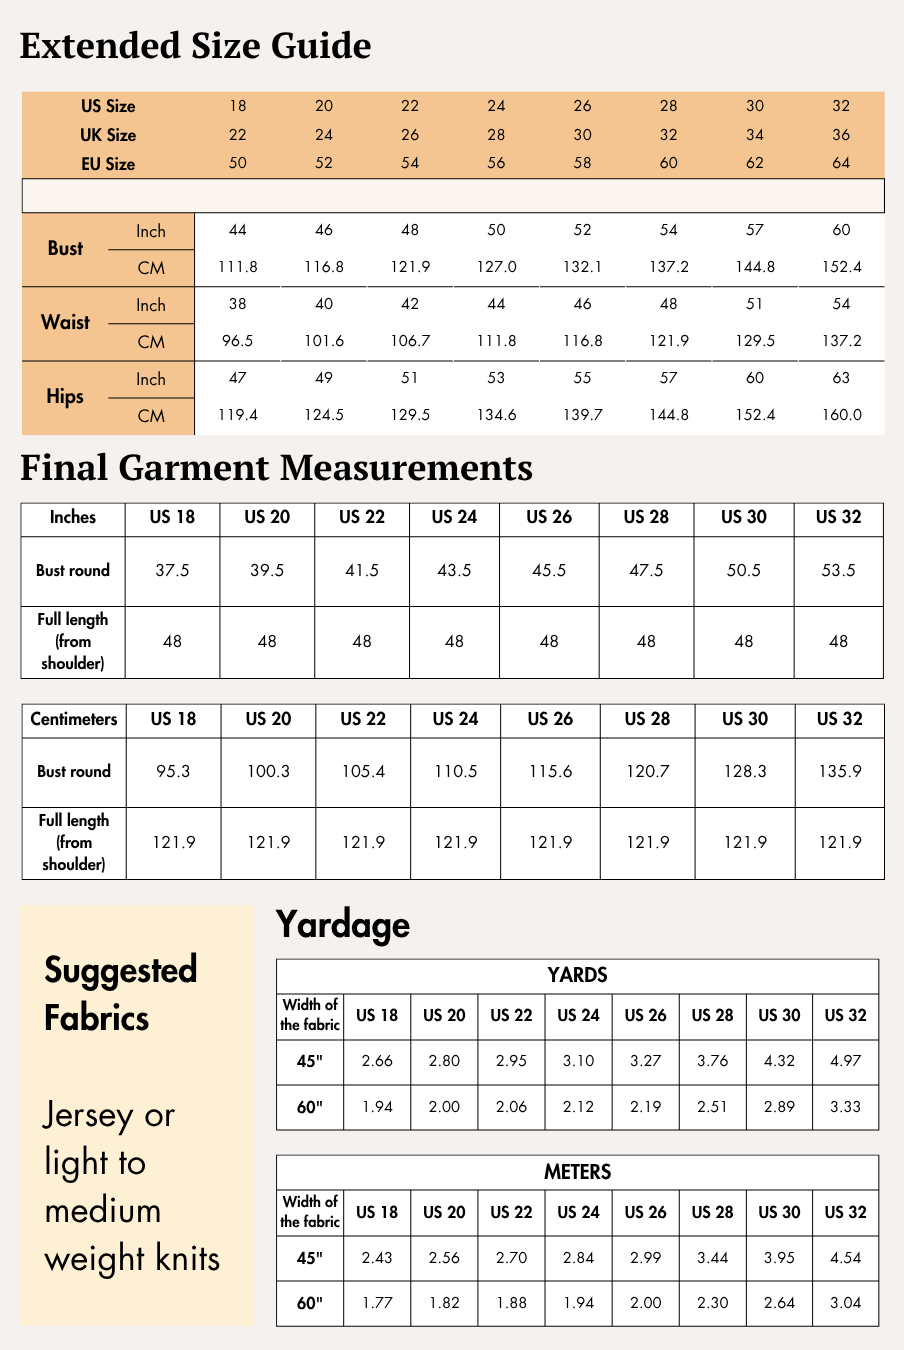
Check the size charts and measure yourself to select the correct size, using the garment and body measurement tables in the guide.
Verify how much fabric you need by referencing the fabric yield table in the guide.
Pattern Inventory: What Pieces to Prepare

Prepare the following pattern pieces before cutting your fabric:
- A. Front — Cut 1 fabric
- B. Back — Cut 1 fabric
- C. Front Placket — Cut 2 fabric
- D. Neck Band — Cut 1 fabric
If you're printing the pattern at home, use the A4/US Letter pattern.
If you're printing at a copy shop, use the A0 pattern.
Pattern Marking

Transfer all pattern markings before cutting your fabric. The Lisa pattern includes markings for:
- Grainlines
- Neckline
- Shoulders
- Armholes
- Side seams
- Top side
- Bottom side
- Hem
- Seam allowance
Cutting Layout


Arrange the pattern pieces according to the cutting layout diagrams, ensuring each grainline runs parallel to the fabric selvage before cutting.
Separate layouts are provided for 45-inch and 60-inch-wide fabrics. The layouts are intended for non-directional fabrics. If you're using fabric with a nap or directional print, purchase additional fabric to accommodate the layout.
The sewing guide uses US 18 as the example size for both cutting layouts.
Fabric Cutting and Preparation
Arrange the pattern pieces according to the cutting layout diagrams, ensuring each grainline arrow runs parallel to the fabric selvage before pinning the pieces in place.
If you're using fabric shears, trace the pattern pieces before cutting. Remove any pen, pencil, or chalk lines as you cut, and clip all notches carefully to help align the garment during assembly.
Transfer all pattern markings, including circles, buttonholes, fold lines, and the center front on pieces cut on the fold, to the wrong side of the fabric using a marking pen, pencil, or chalk before sewing.
Seam Allowance
Use the seam allowances marked on each pattern piece. These are precisely included to ensure proper fit.
This pattern uses:
- 1 cm (3/8") seam allowance all around.
- 2 cm (3/4") seam allowance at the hem and armhole.
Step-by-Step Sewing Instructions
1. Attach the First Shoulder
1a. Place the front (Pattern A) and back (Pattern B) pieces with their right sides together. Align one shoulder seam.
1b. Overlock along the shoulder seam to join the pieces.
2. Finish the Neckline
2a. Fold the neck band (Pattern D) in half lengthwise with the wrong sides together and press.
2b. Open the sewn shoulder seam from Step 1 and lay the bodice flat with the right side facing up.
2c. Position the folded neck band along the neckline, aligning its raw edges with the neckline edge. Overlock the neck band to the neckline.
2d. Turn the neck band upward and press. Sew an understitch close to the neckline seam with the seam allowance underneath to help the neck band lie flat.
3. Attach the Second Shoulder
Align the remaining shoulder seam with the right sides together and overlock to complete the shoulder construction.
4. Finish the Armholes and Hem
4a. Fold each armhole toward the wrong side along the seam allowance and press. Coverstitch or sew with a twin needle around each armhole from the right side, creating a neat double row of stitching. Repeat for both armholes.
4b. Repeat the same process to finish the hem of both the front and back bodice.
5. Prepare the Front Plackets
5a. Fold each front placket (Pattern C) in half lengthwise with the right sides together and press.
5b. Sew across the top and bottom edges along the seam lines.
5c. Trim the corners slightly, turn each placket right side out, and repeat the process for the second front placket.
6. Finish the Side Seams
6a. Place one prepared front placket along the side seam of the back bodice with right sides together. Position the front bodice side seam over it, sandwiching the placket between the two bodice pieces. Align the bottom of the placket with the bottom hems and pin securely.
6b. Overlock along the side seam to attach the placket.
6c. Repeat Steps 6a–6b for the opposite side seam using the second front placket.
6d. Turn the bodice right side out.
6e. Align each front placket with the front bodice edge and topstitch along all three open sides to create a clean, structured block effect at the side seam. Repeat on the opposite side.


Ready to Sew Your Own Boxy T-Shirt?


The Lisa Boxy T-Shirt Sewing Pattern is a quick and satisfying project that's perfect for creating a comfortable everyday essential. With its relaxed boxy silhouette, modern drop shoulders, classic crew neckline, and distinctive front side placket details, this pattern combines simple construction with stylish design elements.
Whether you're sewing the first knit garment or adding another handmade staple to your wardrobe, the Lisa Boxy T-Shirt is an enjoyable project that you'll want to make in multiple colors. Download the Lisa Boxy T-Shirt Sewing Pattern today and create a versatile knit top you'll wear throughout the year.
Explore More Sewing Patterns
Browse our T-Shirt Sewing Pattern Collection for more stylish handmade tops, from classic everyday tees and oversized styles to modern knit garments for every season.
Join the Community & Get Support
Share your finished Lisa Boxy T-Shirt Sewing Pattern on social media with #MadeWithWinslets. If you have questions, feedback, or customization requests, contact the Winslet's team at support@winslets.com.