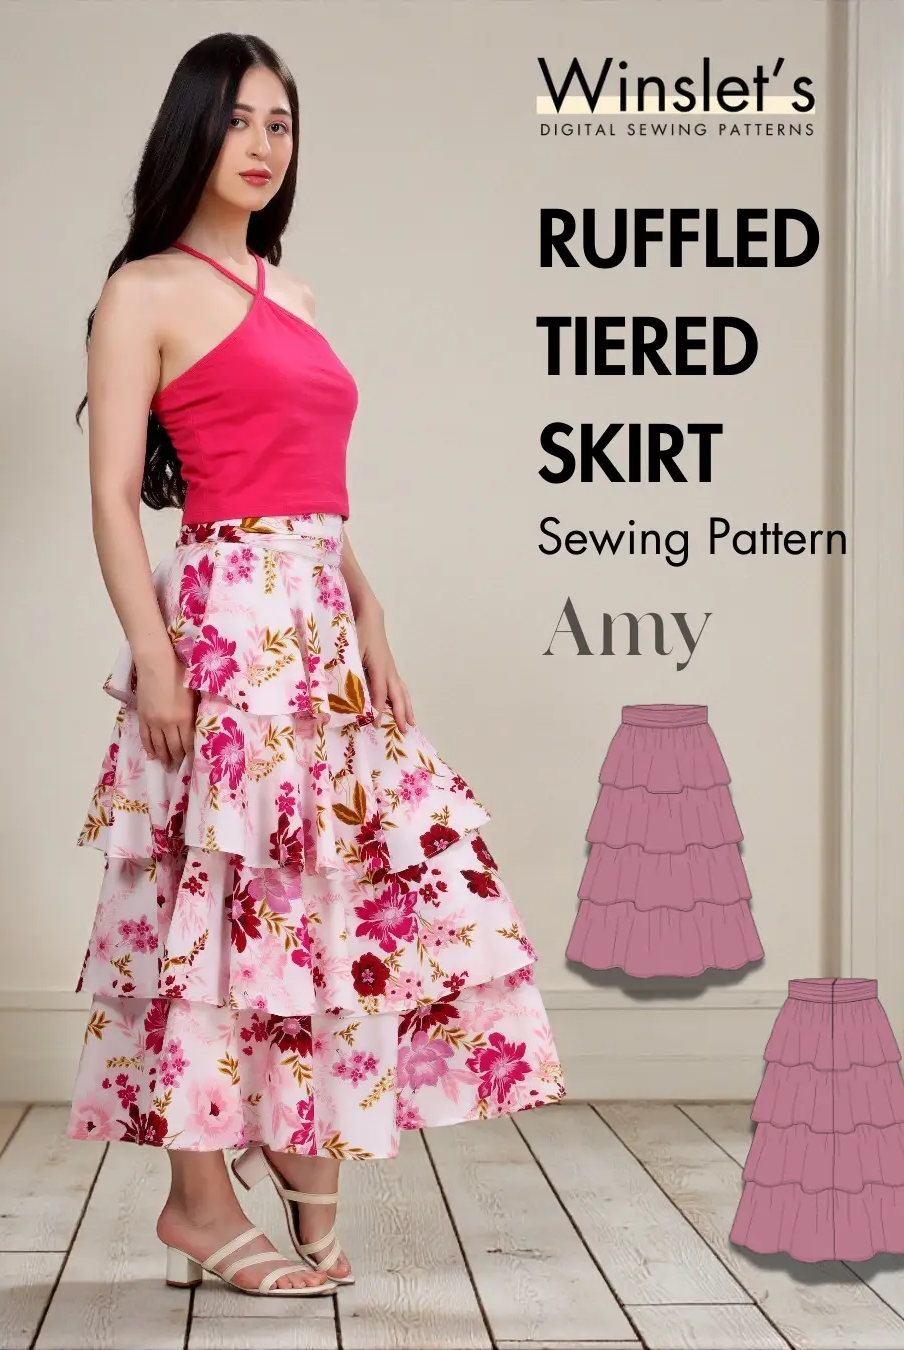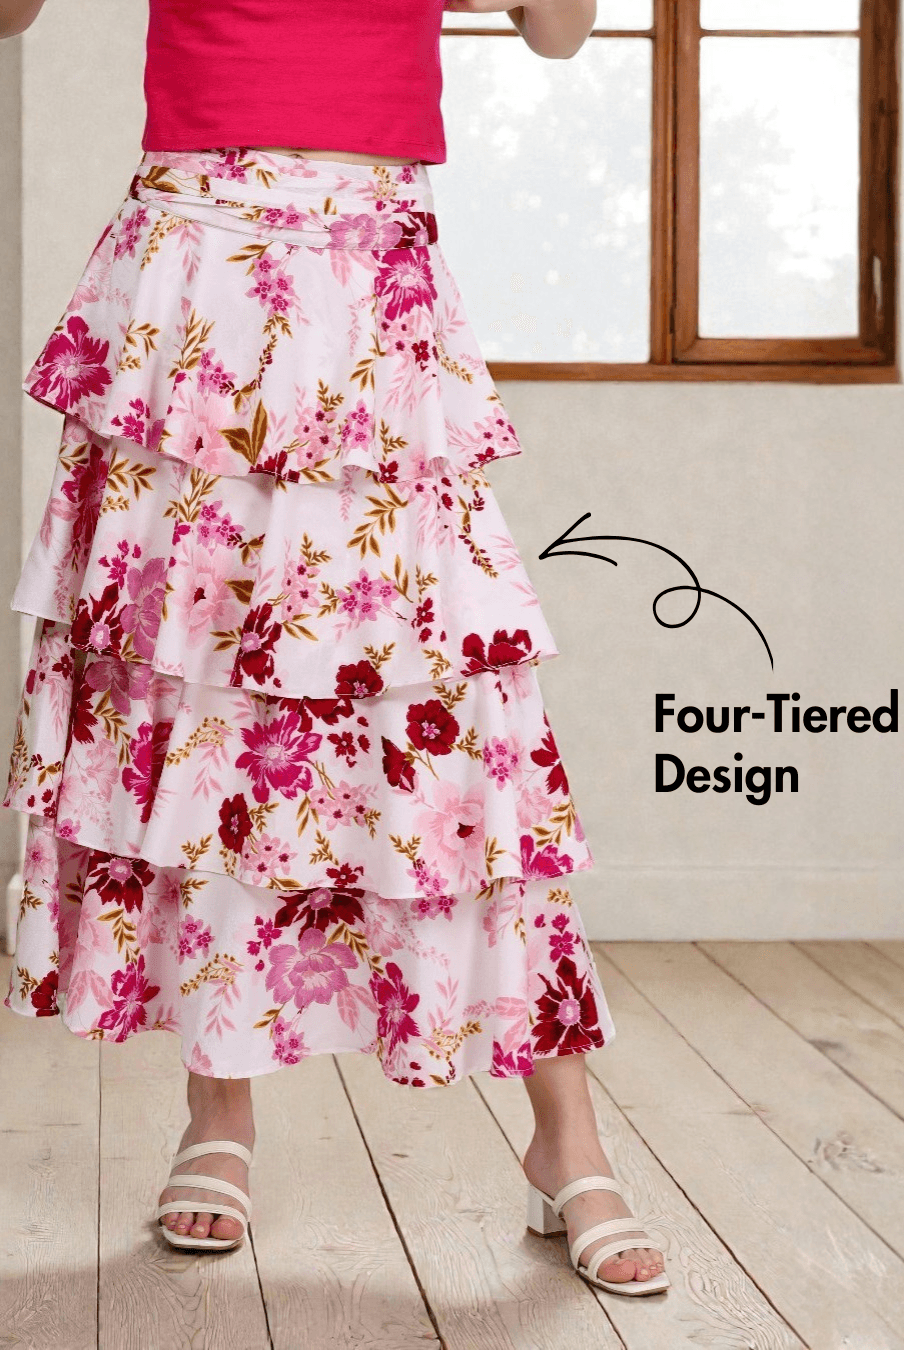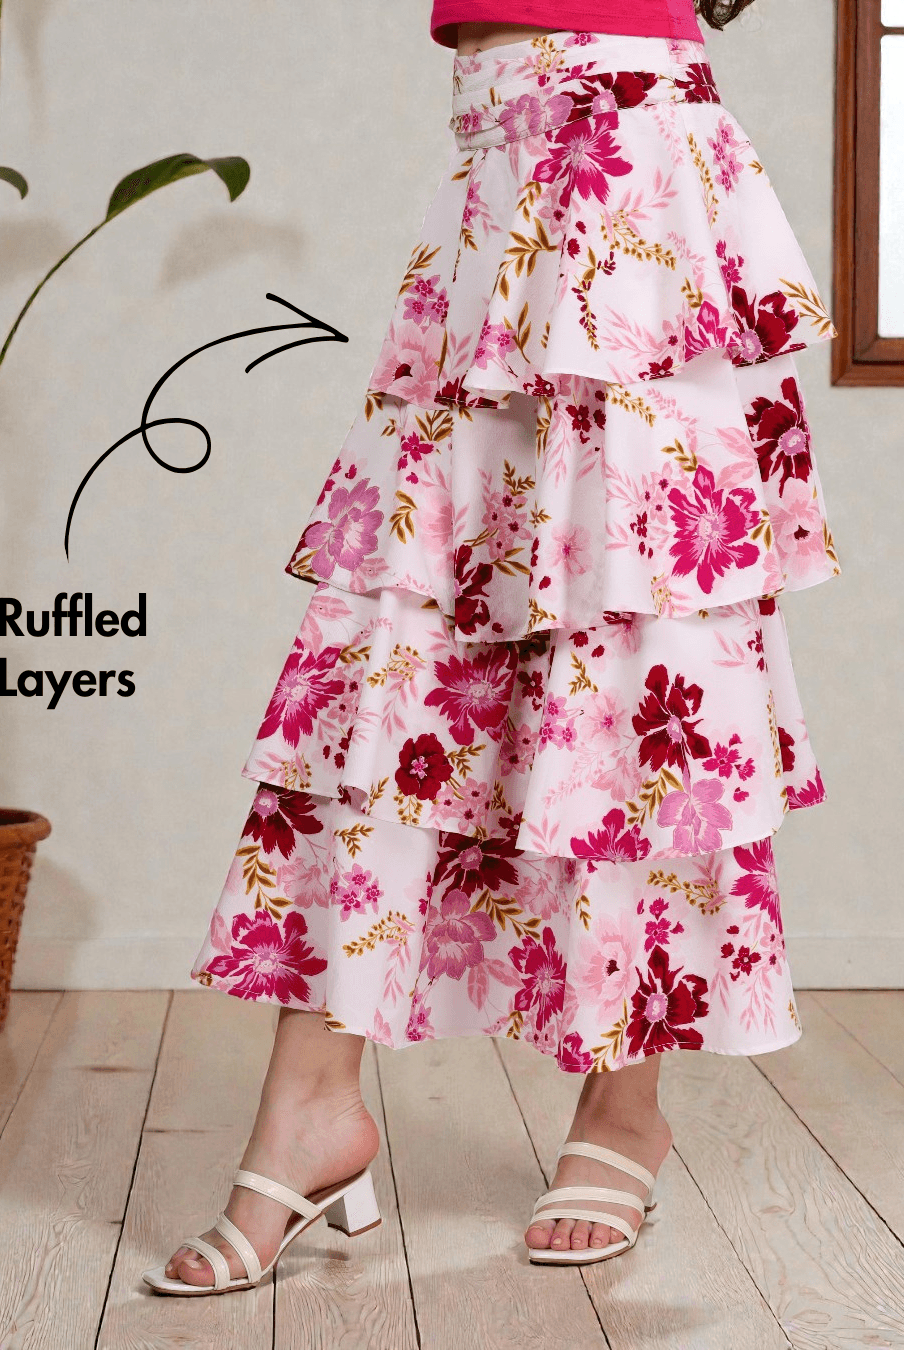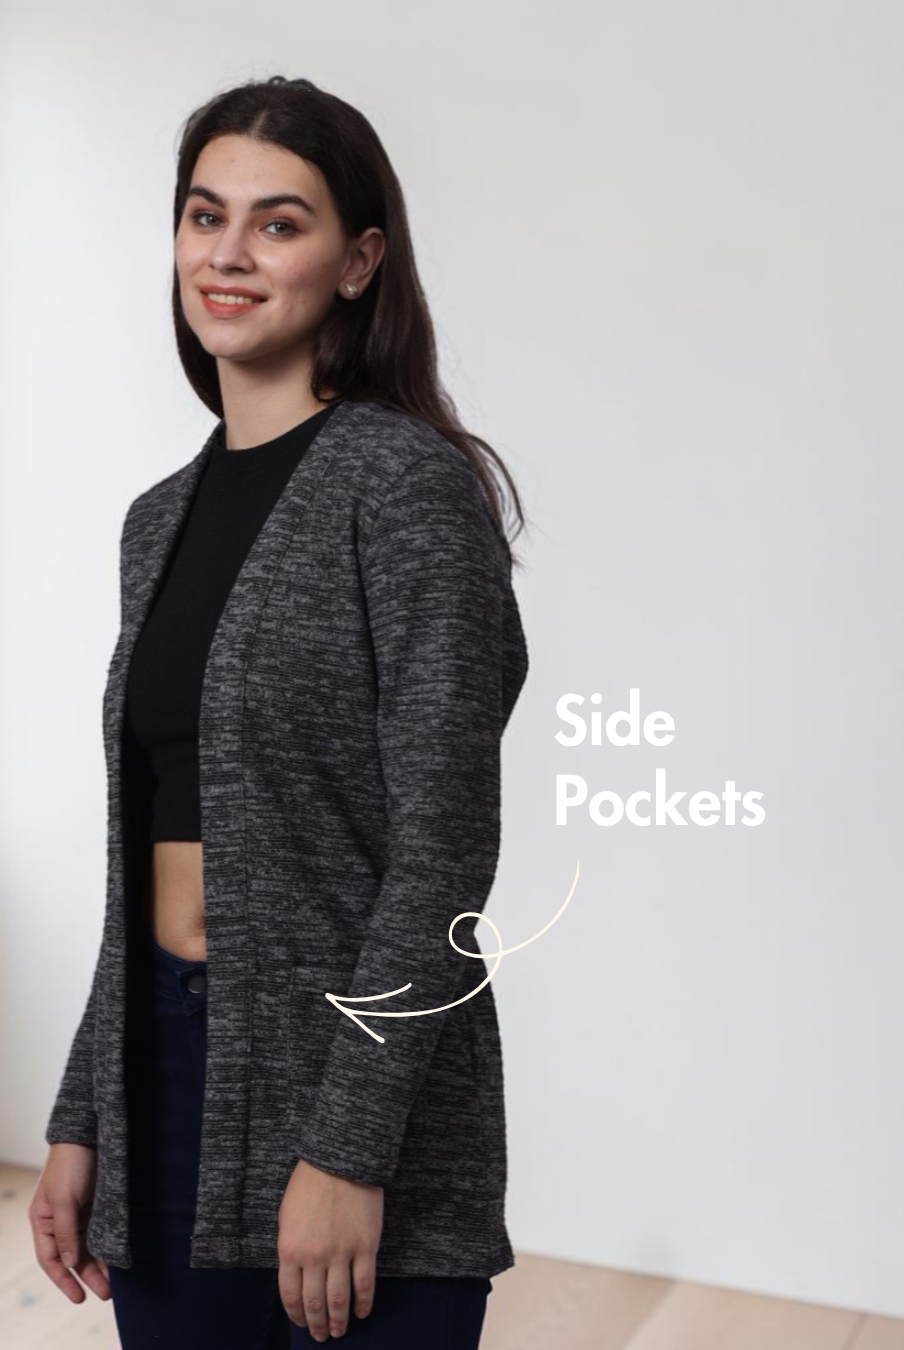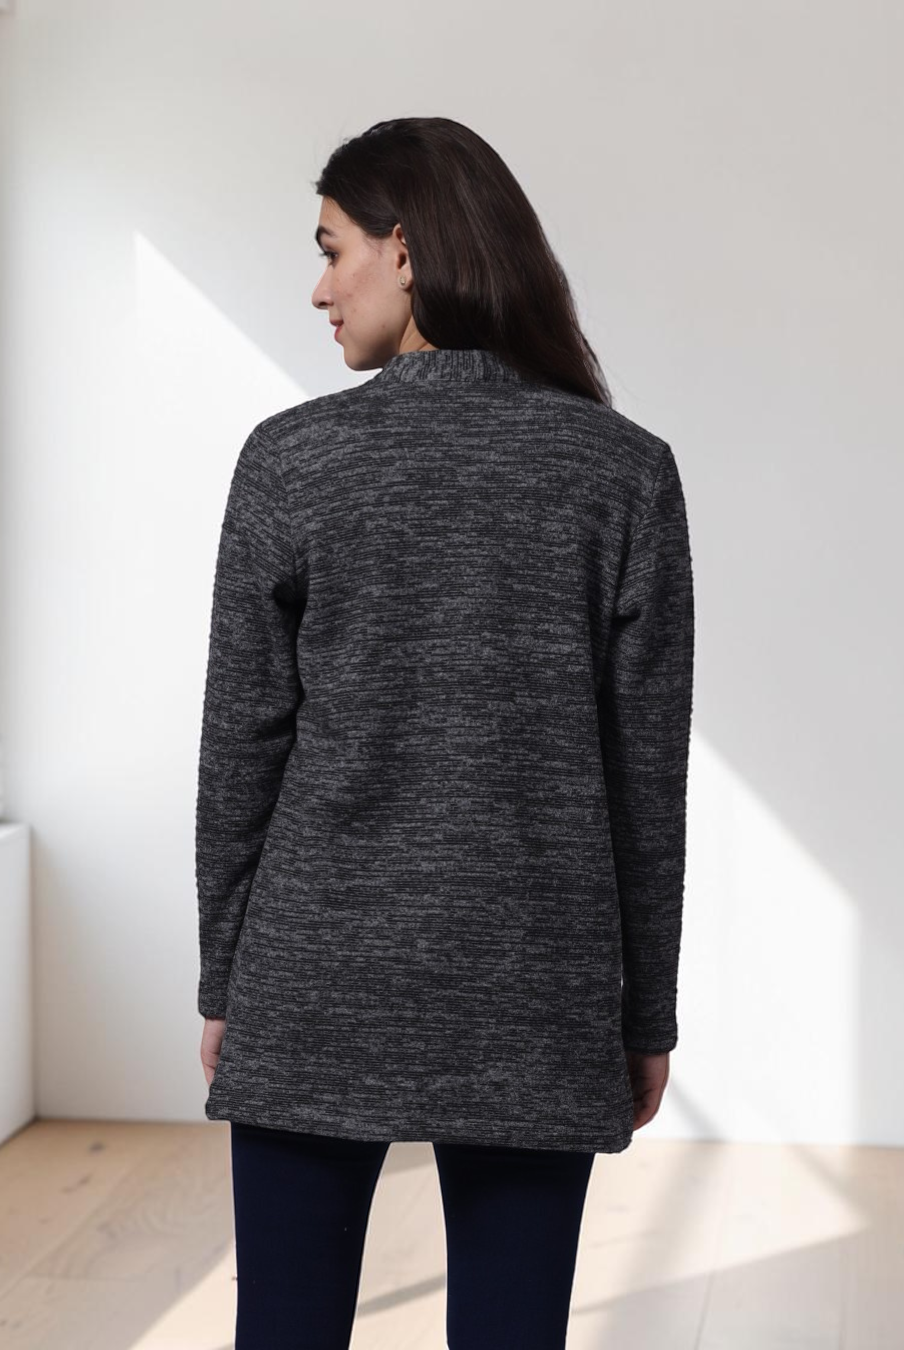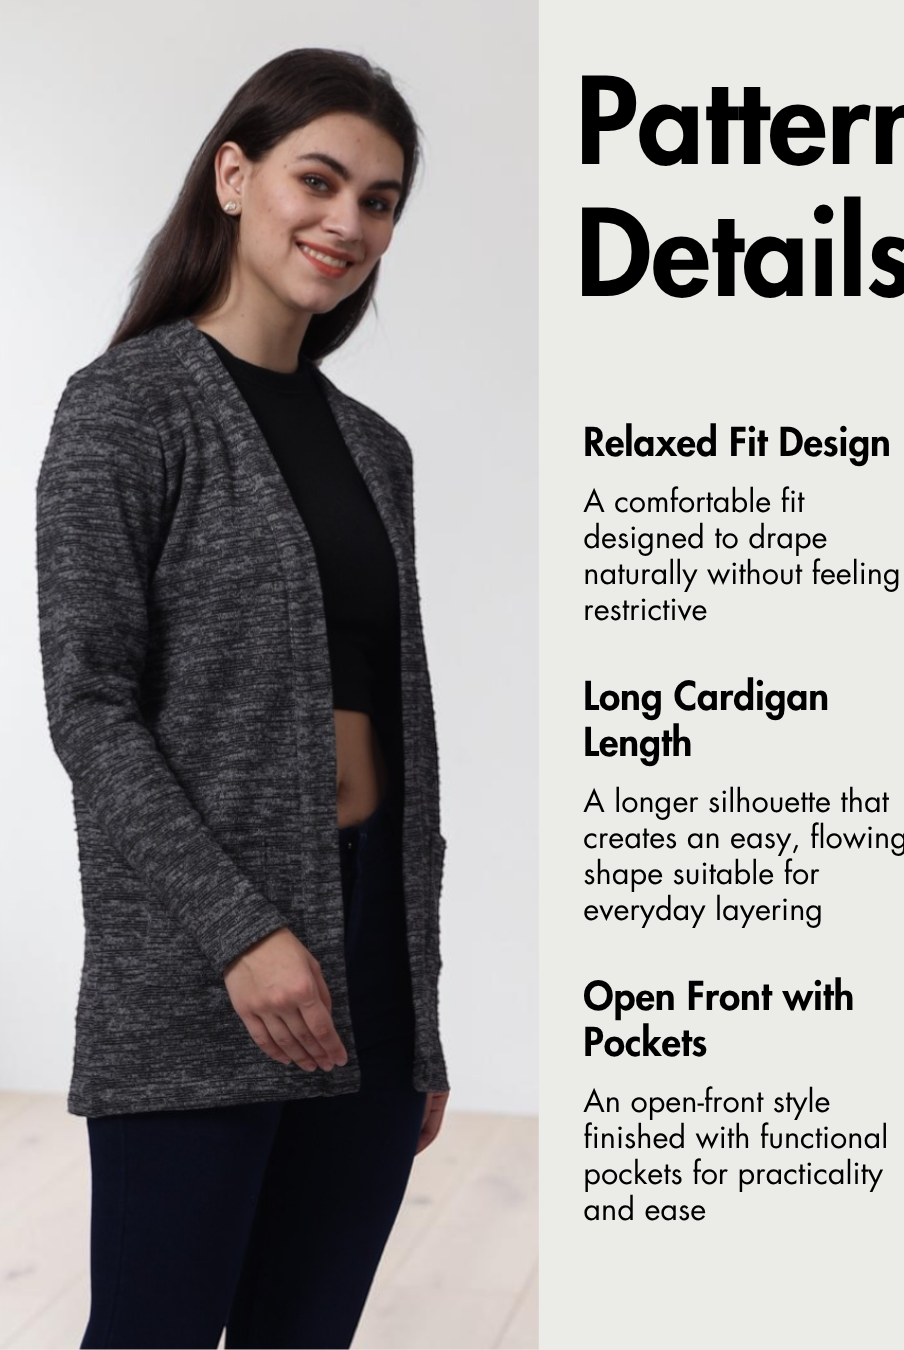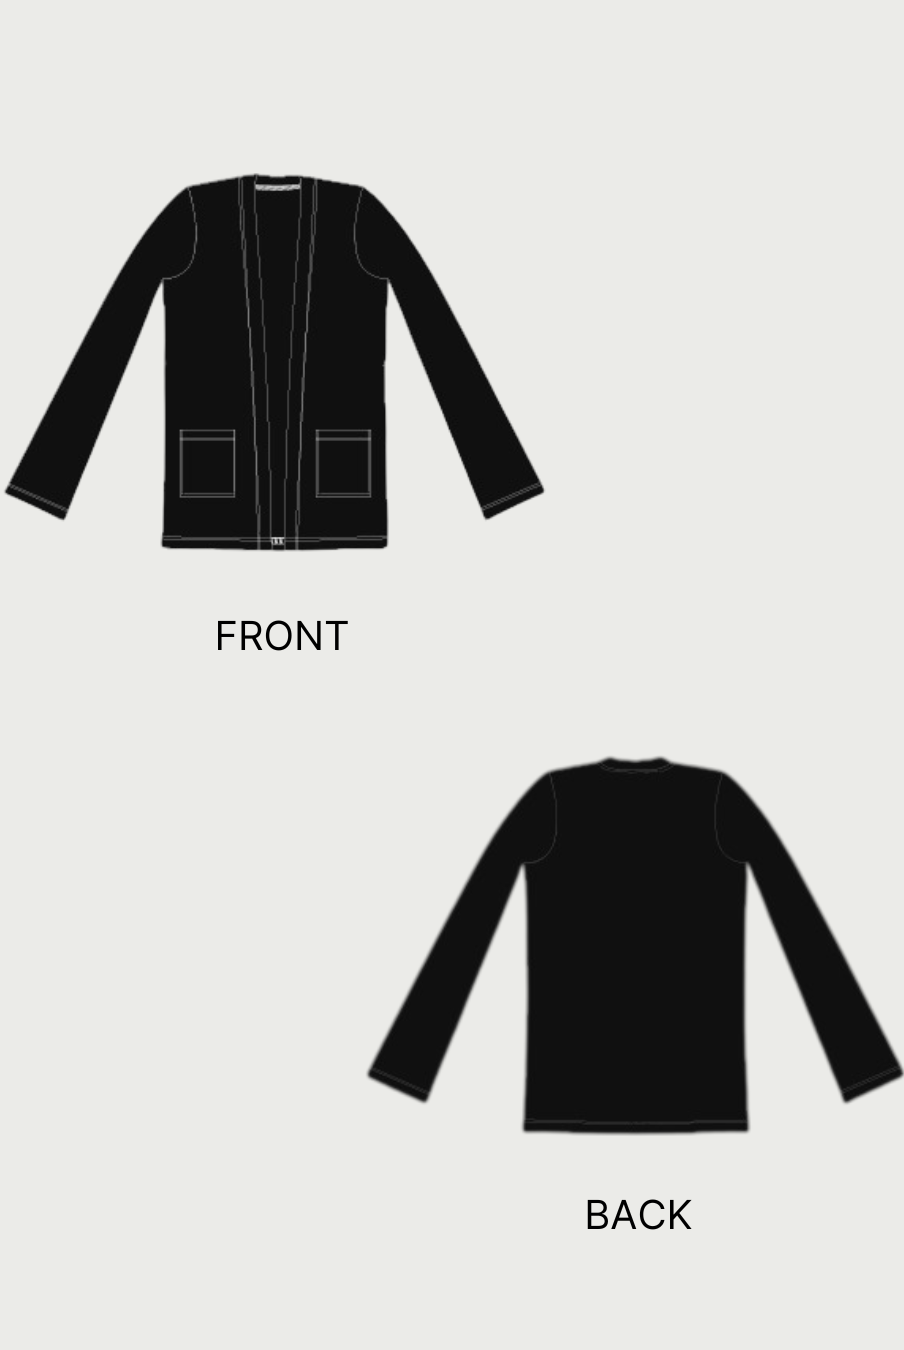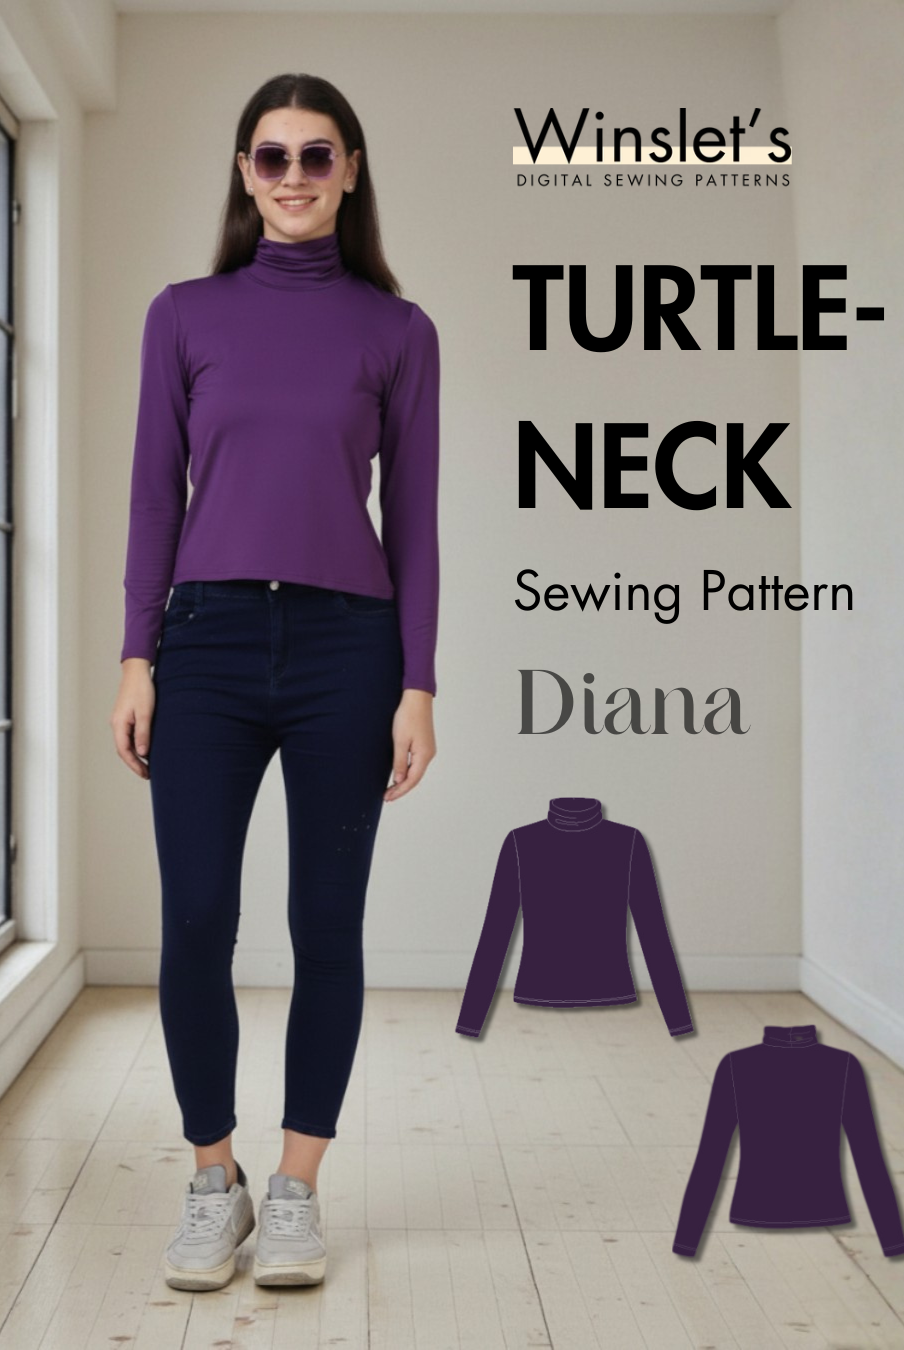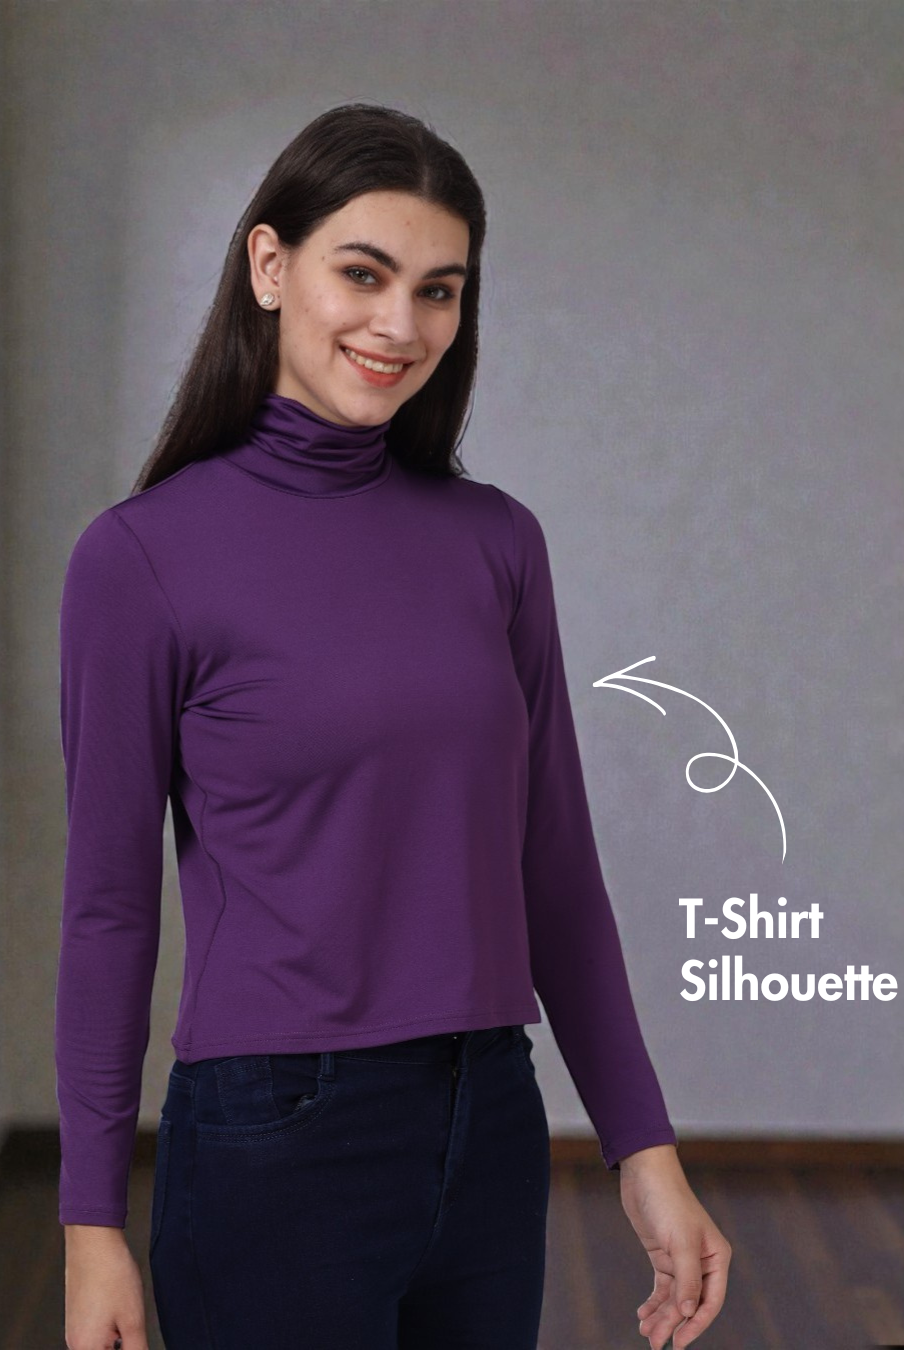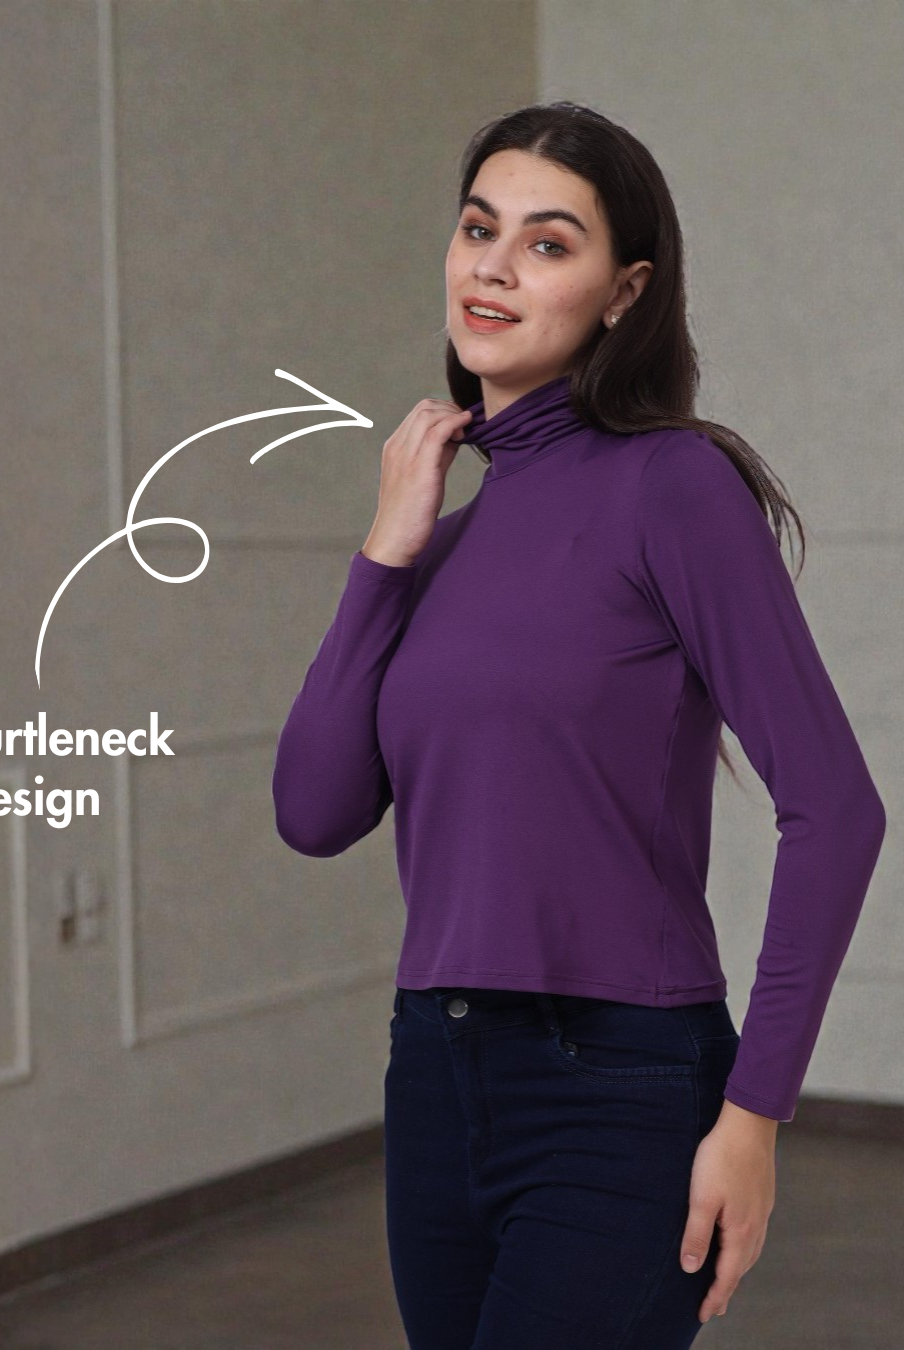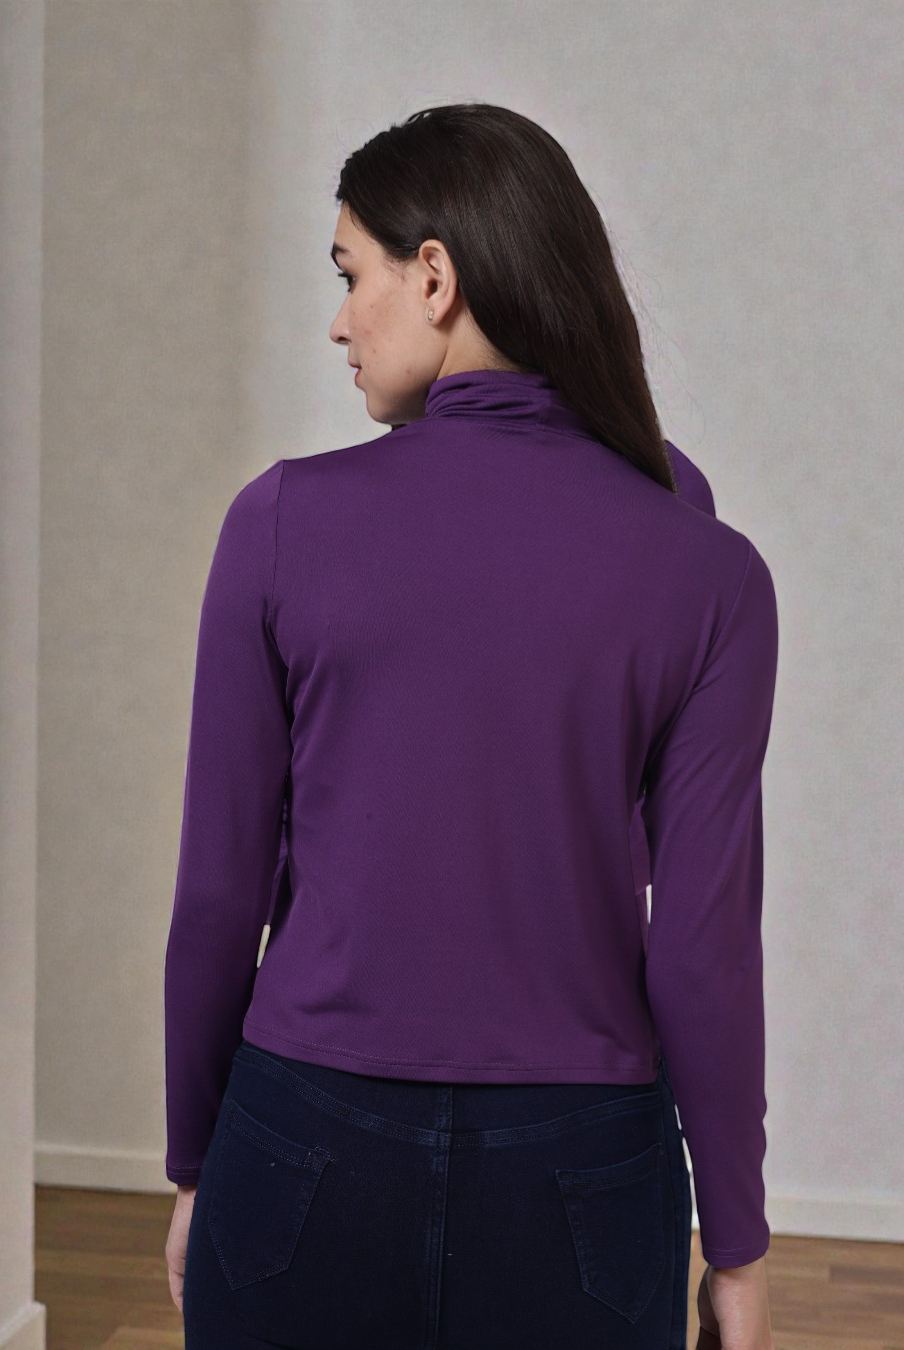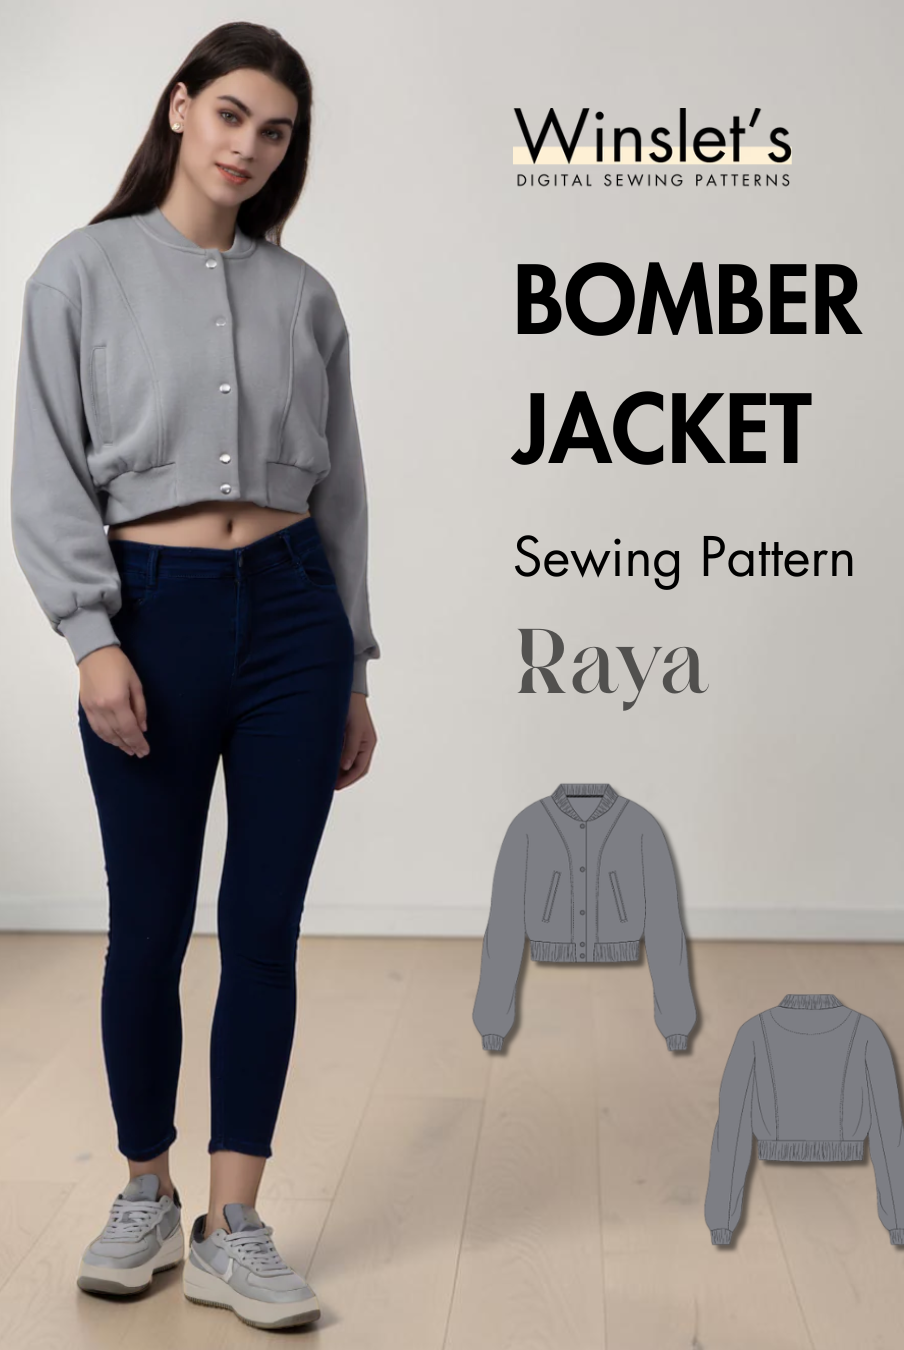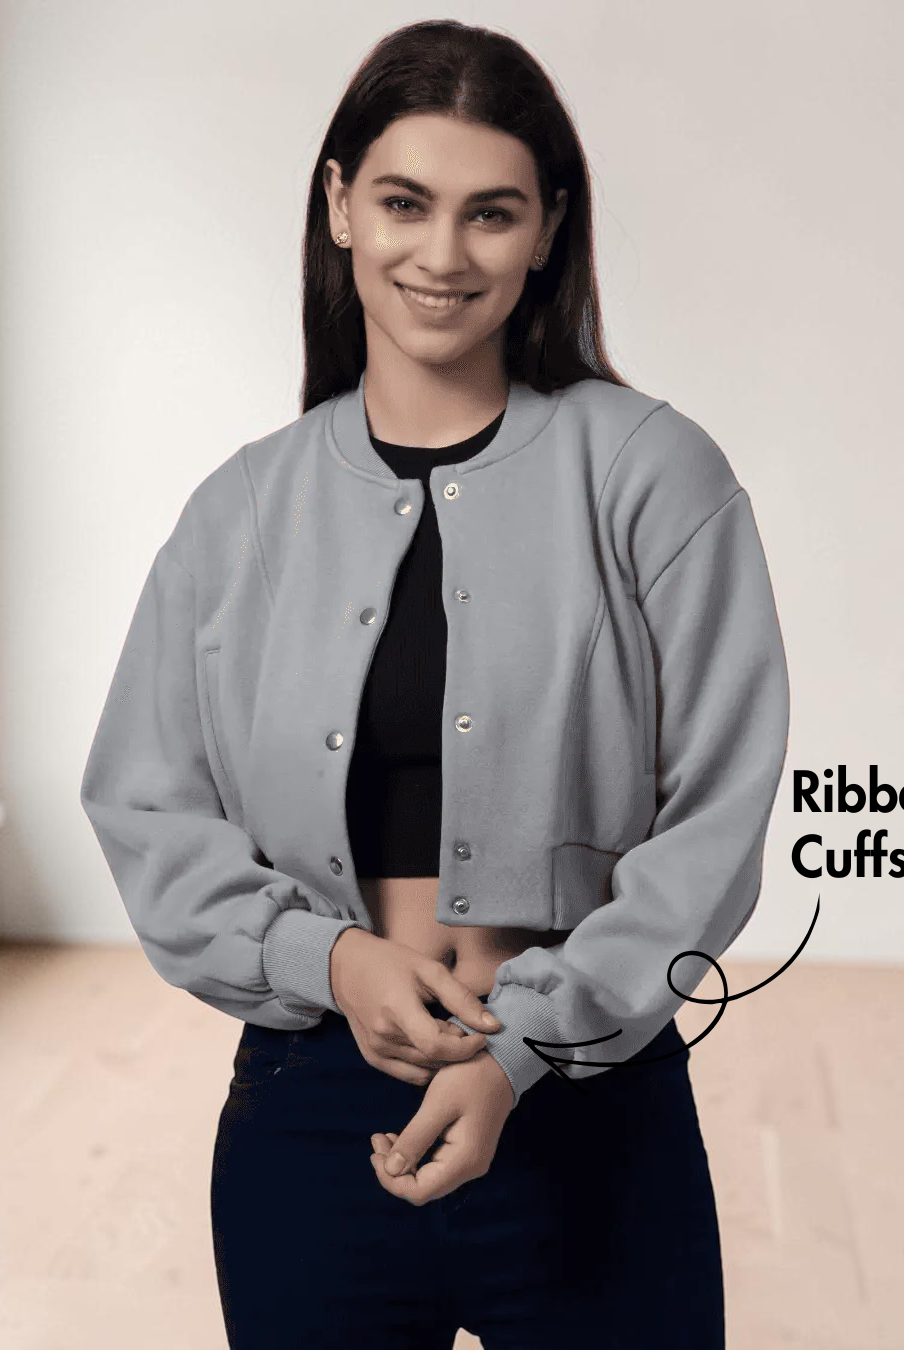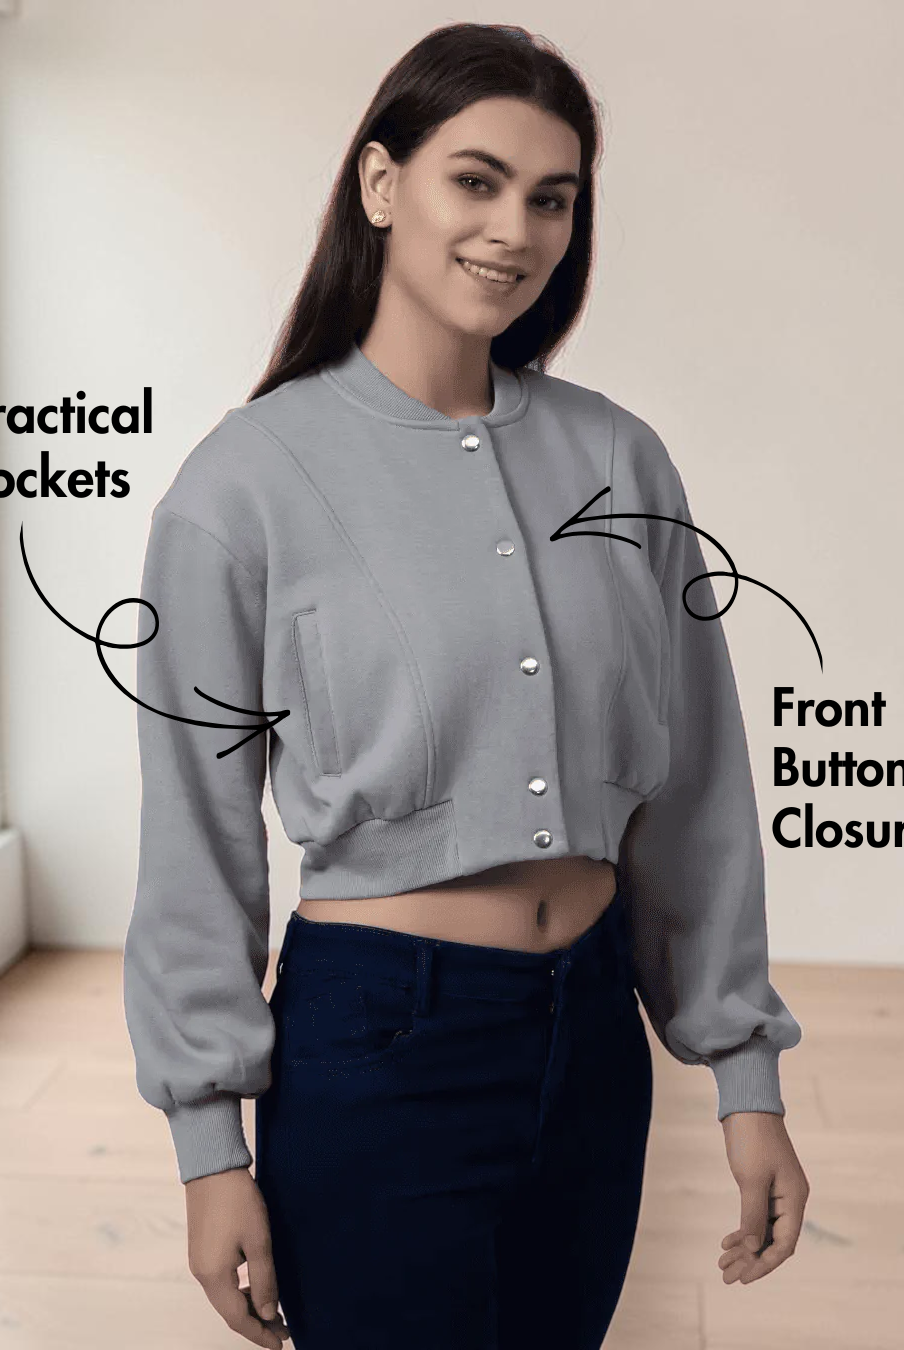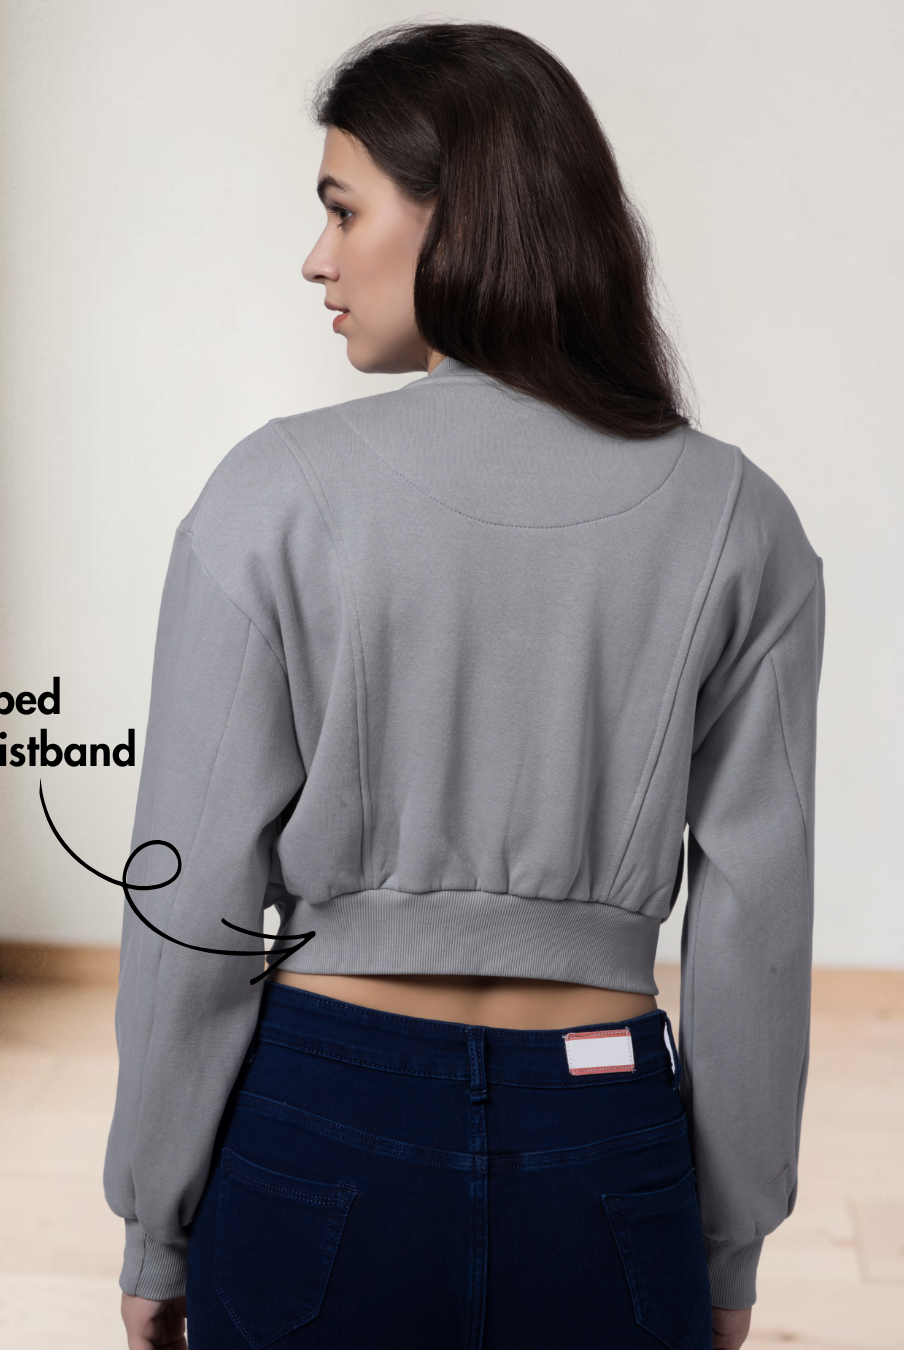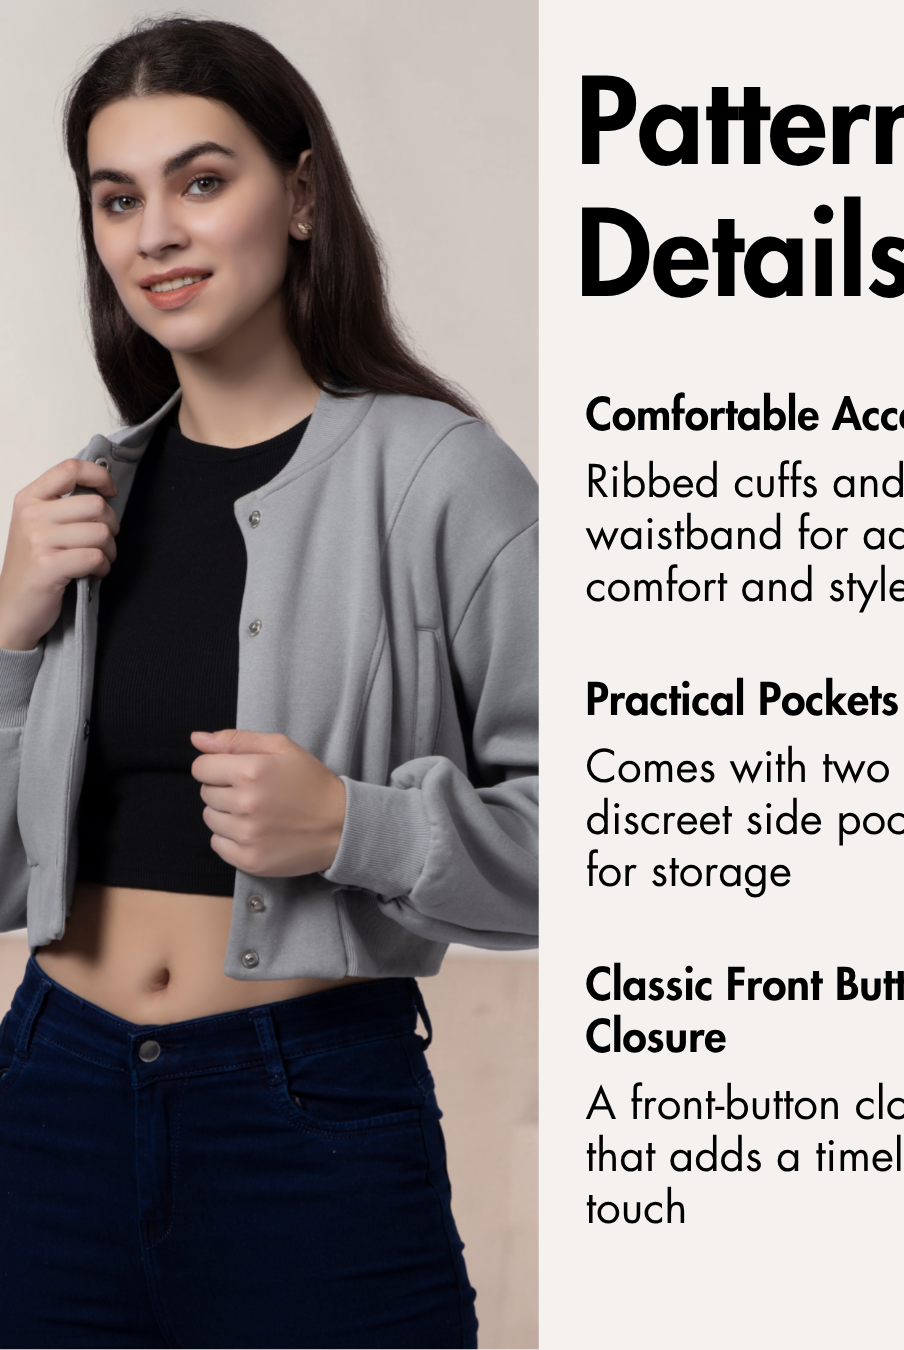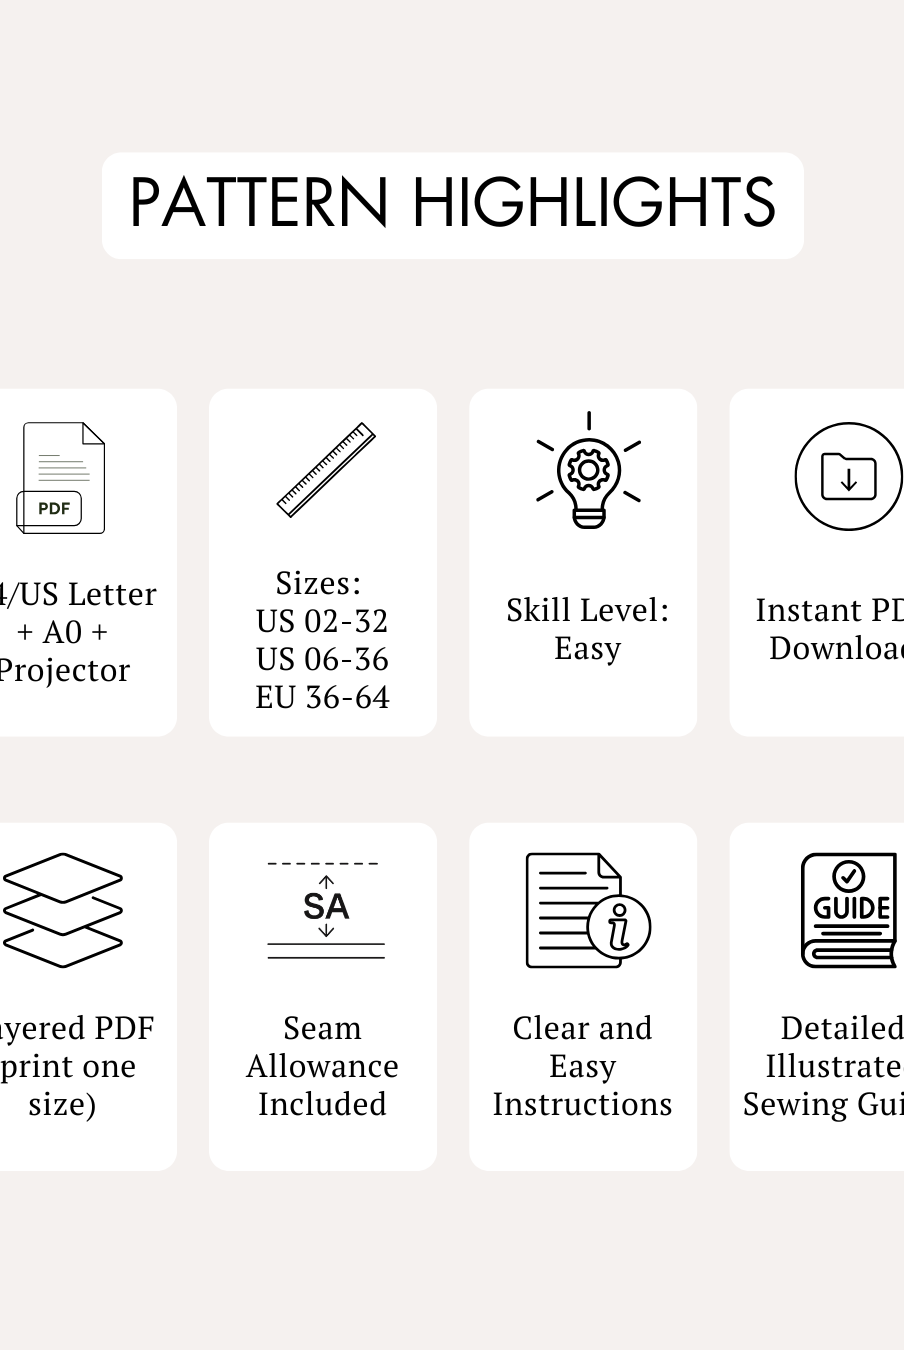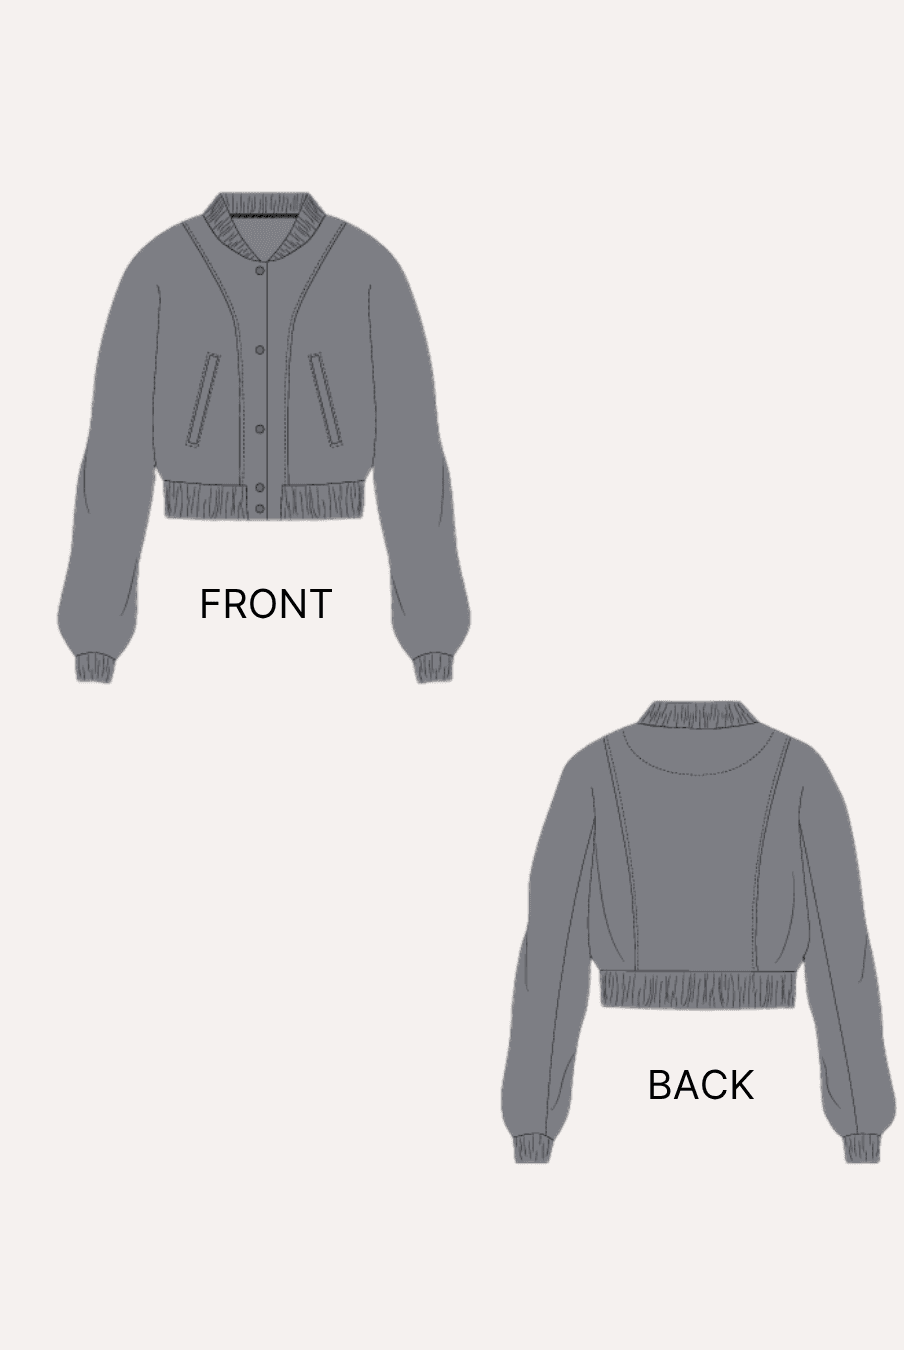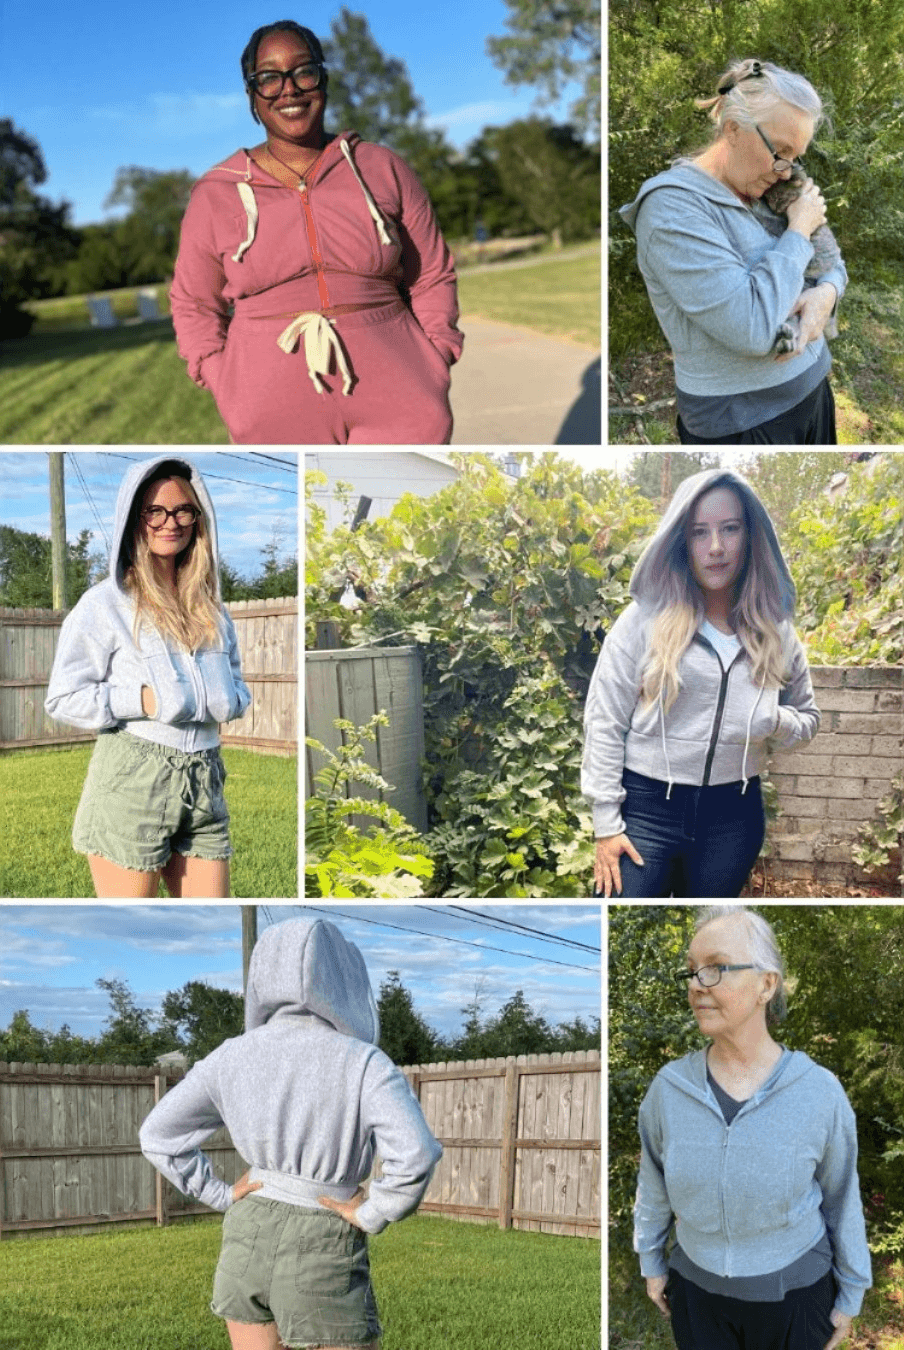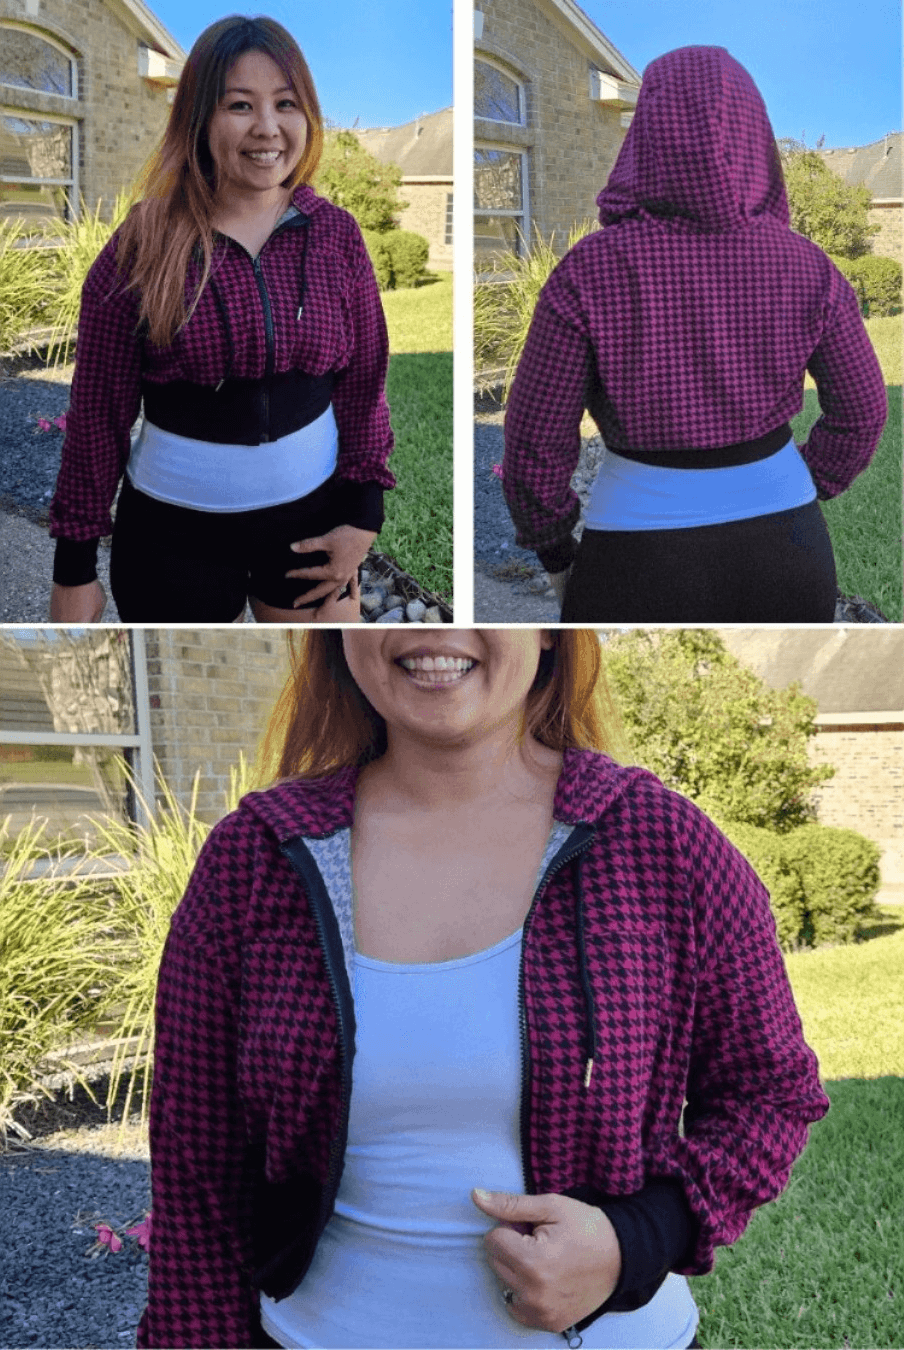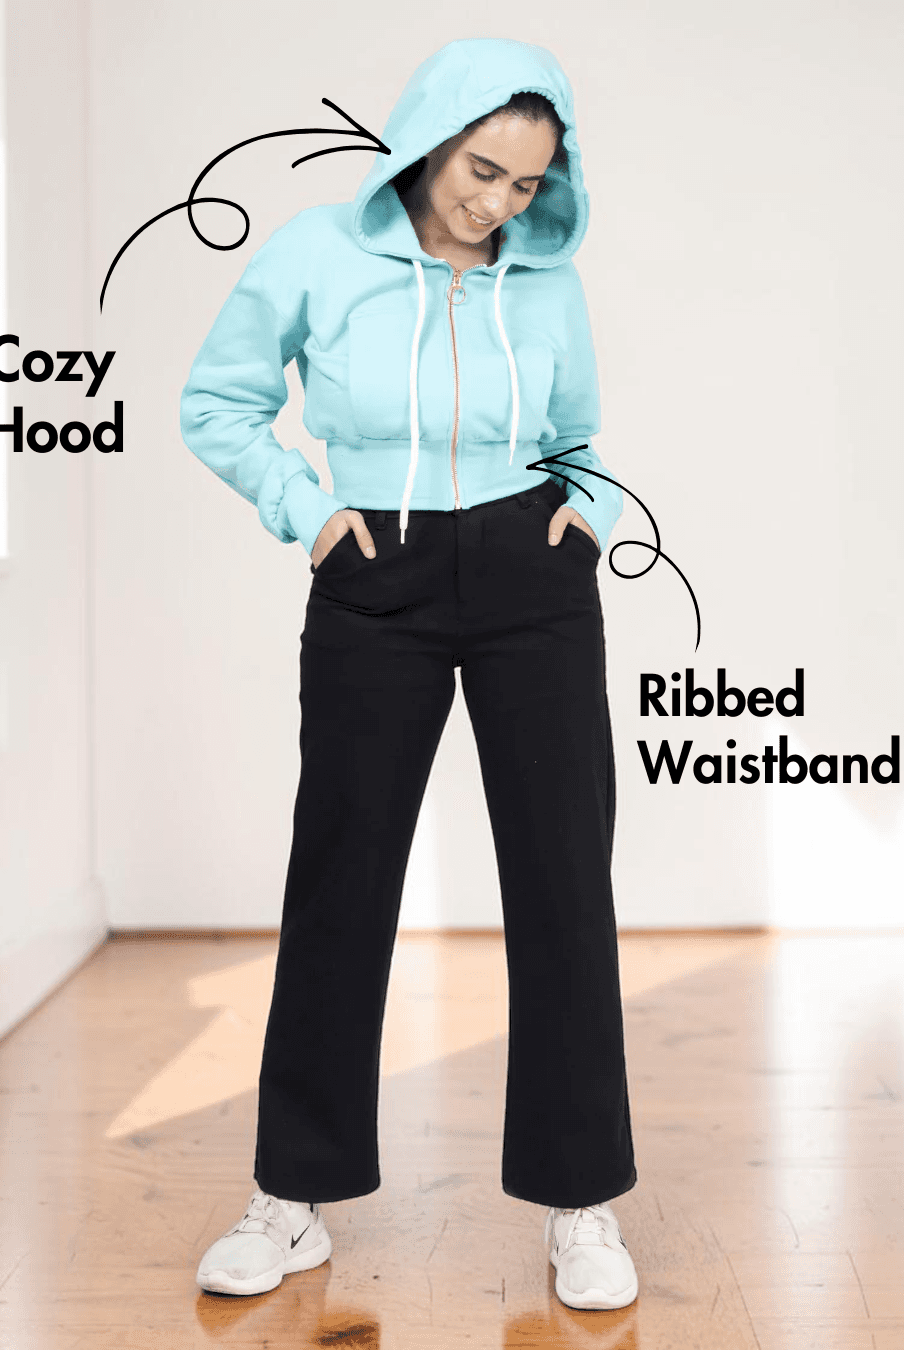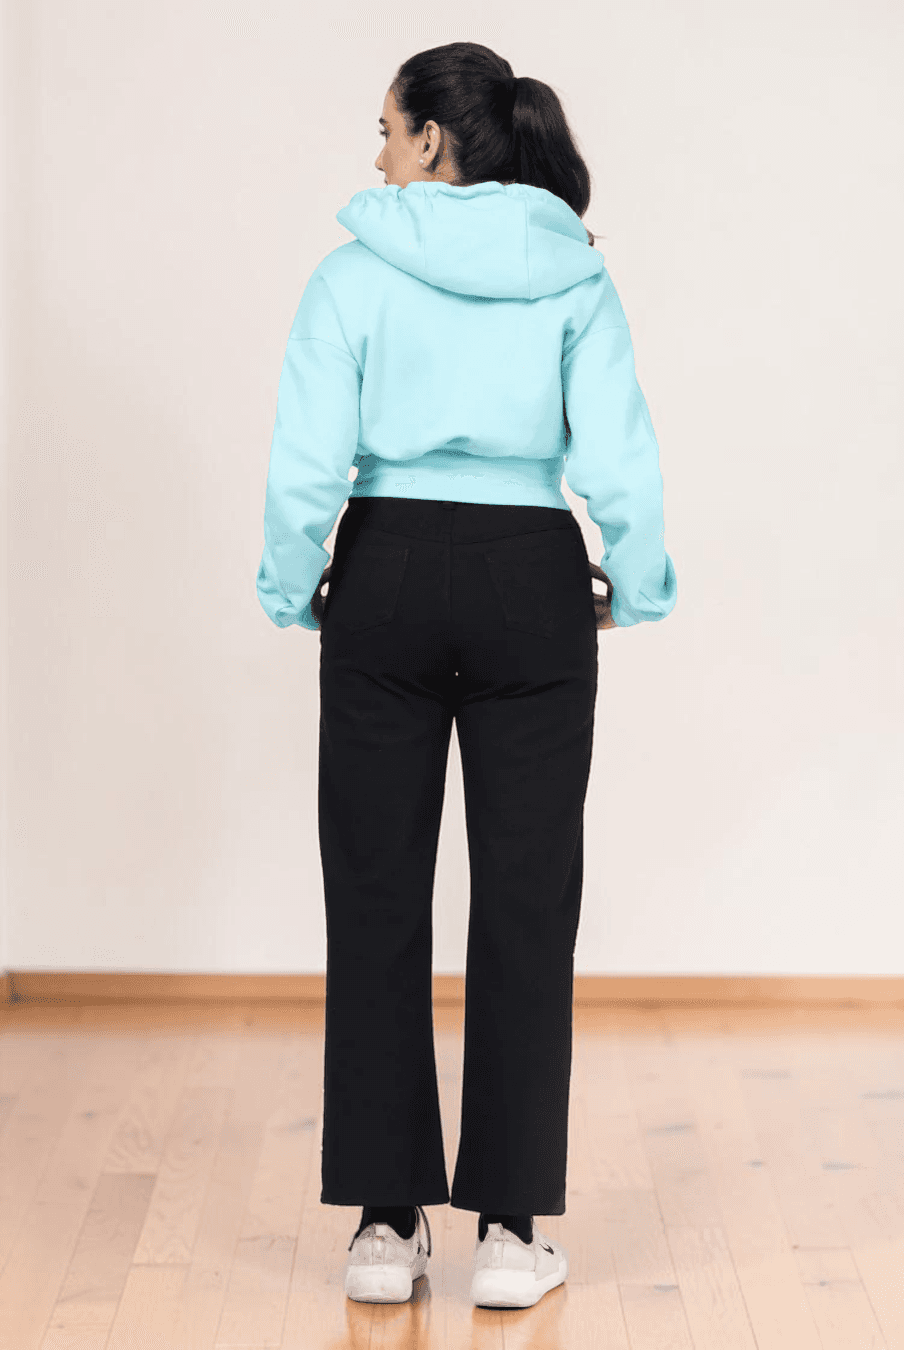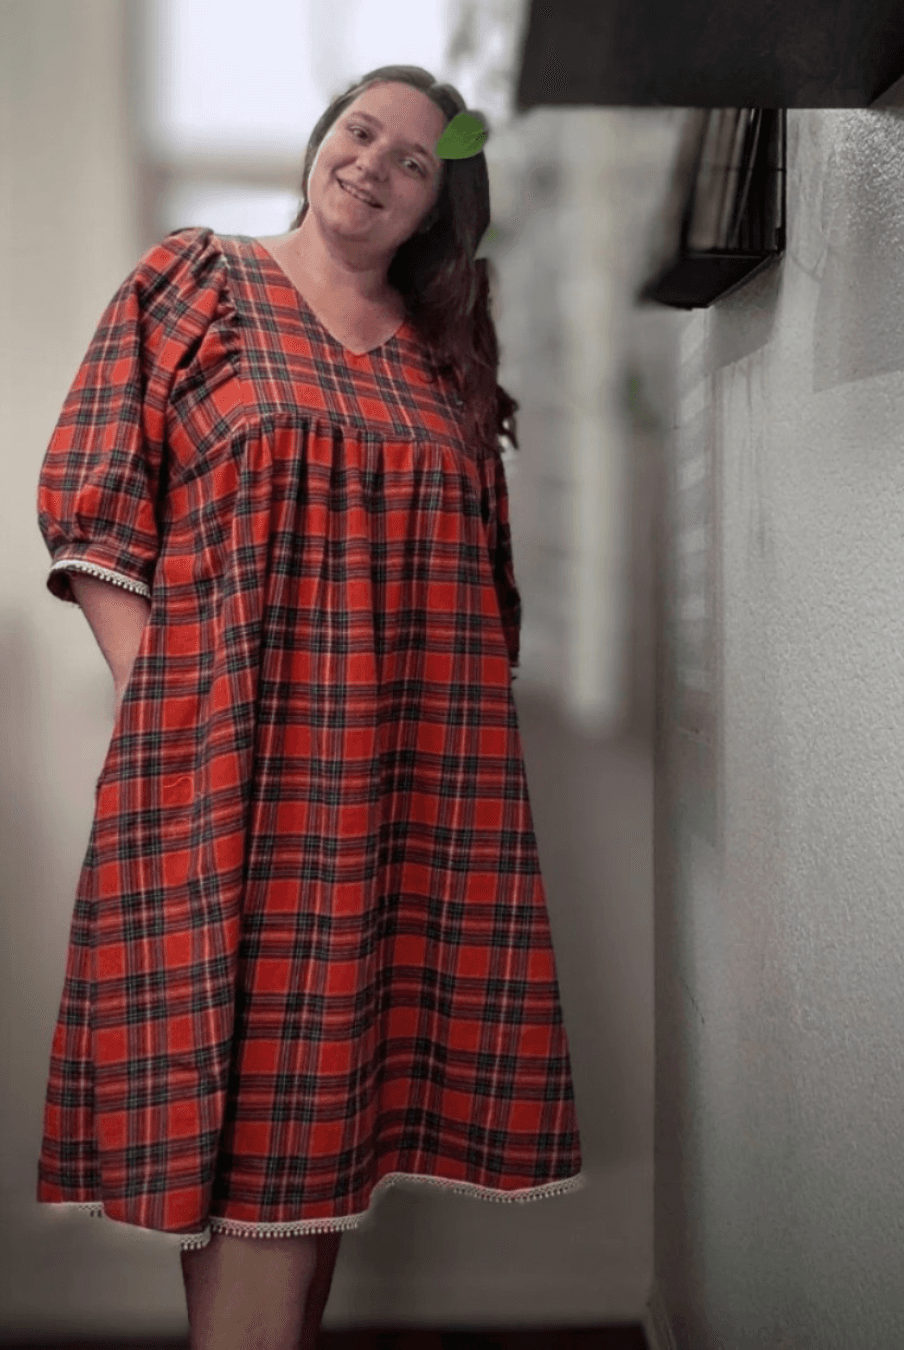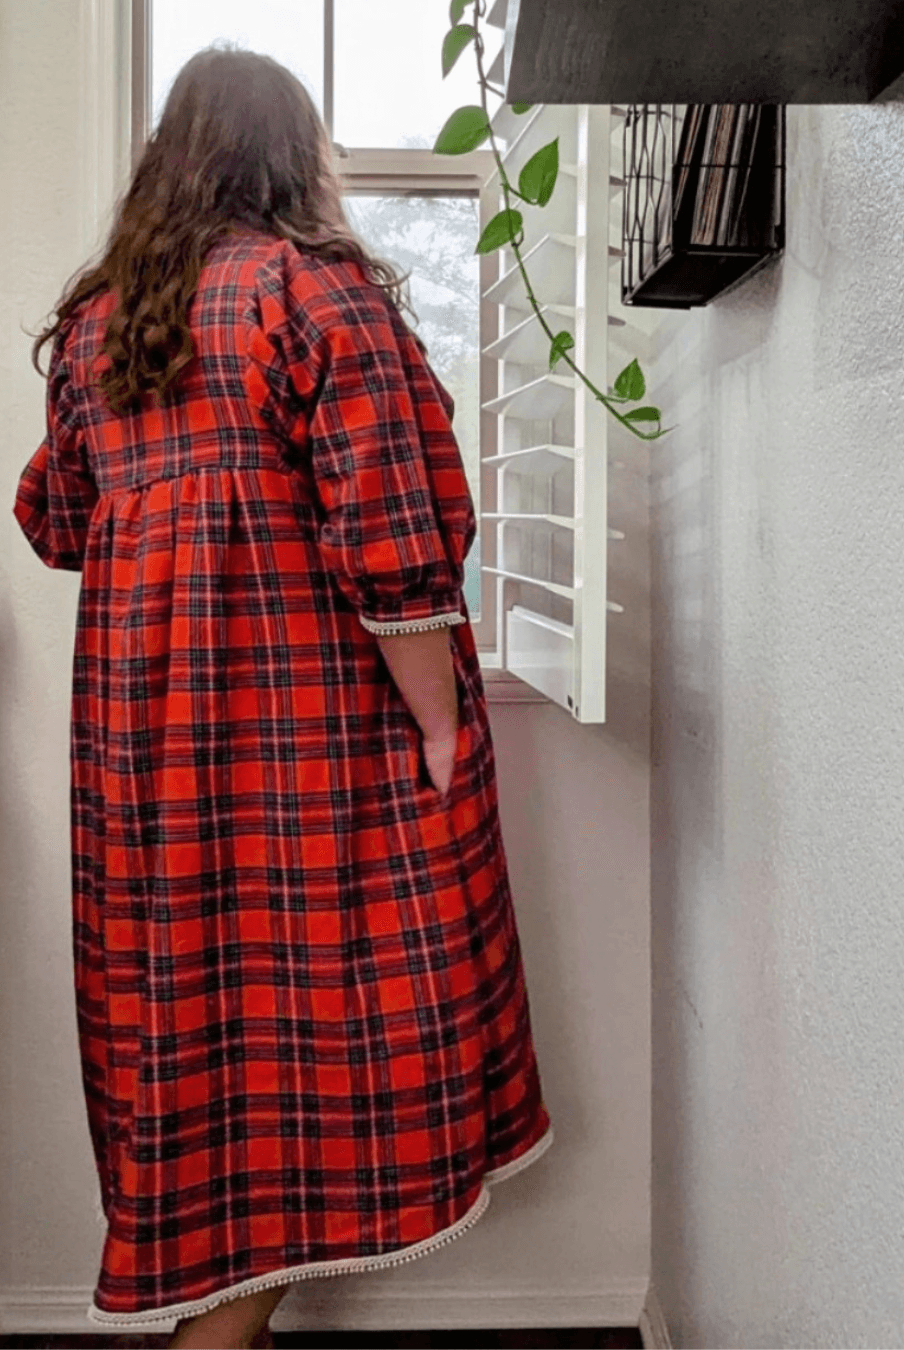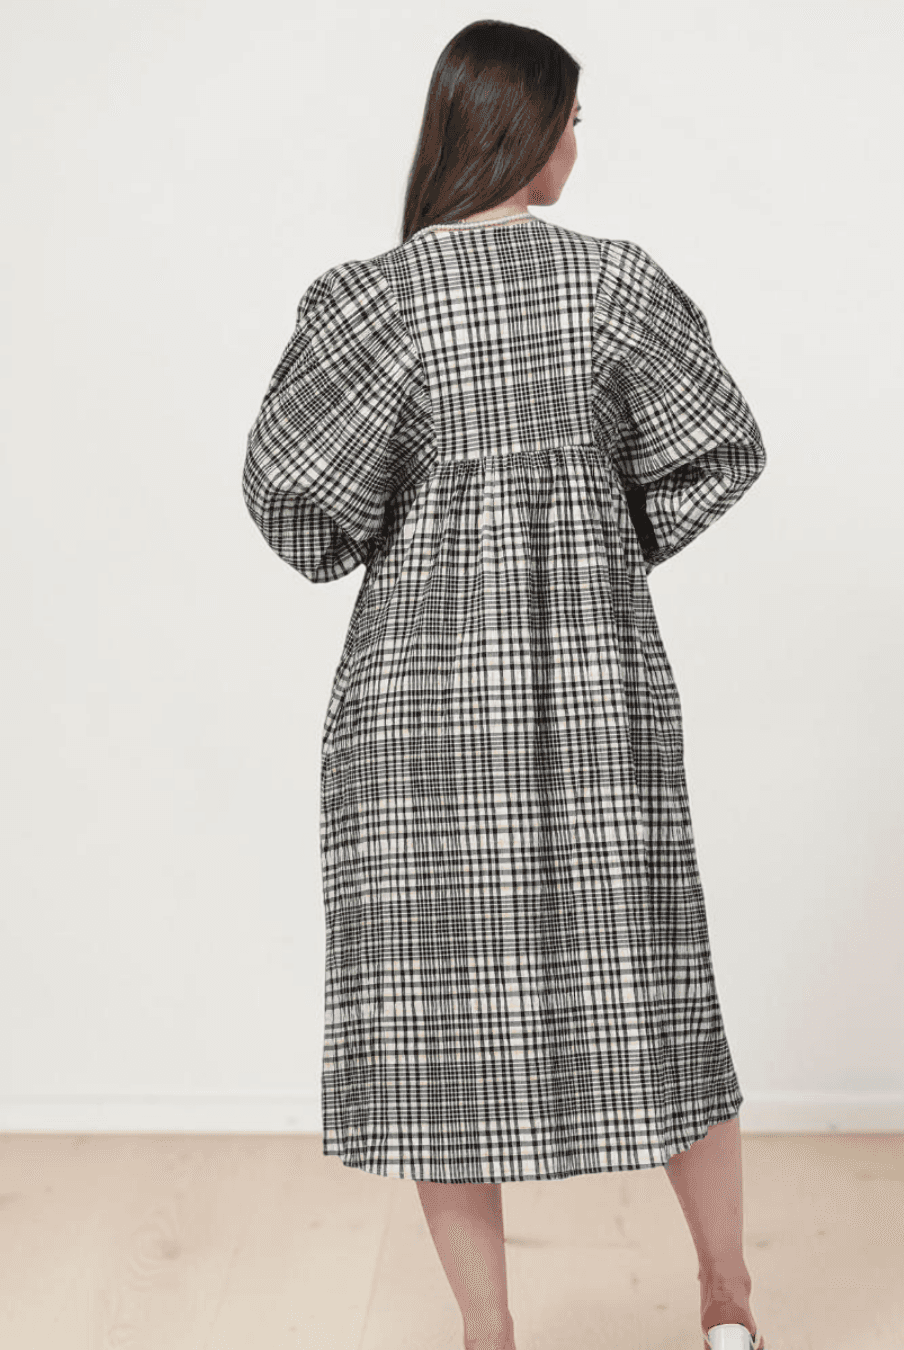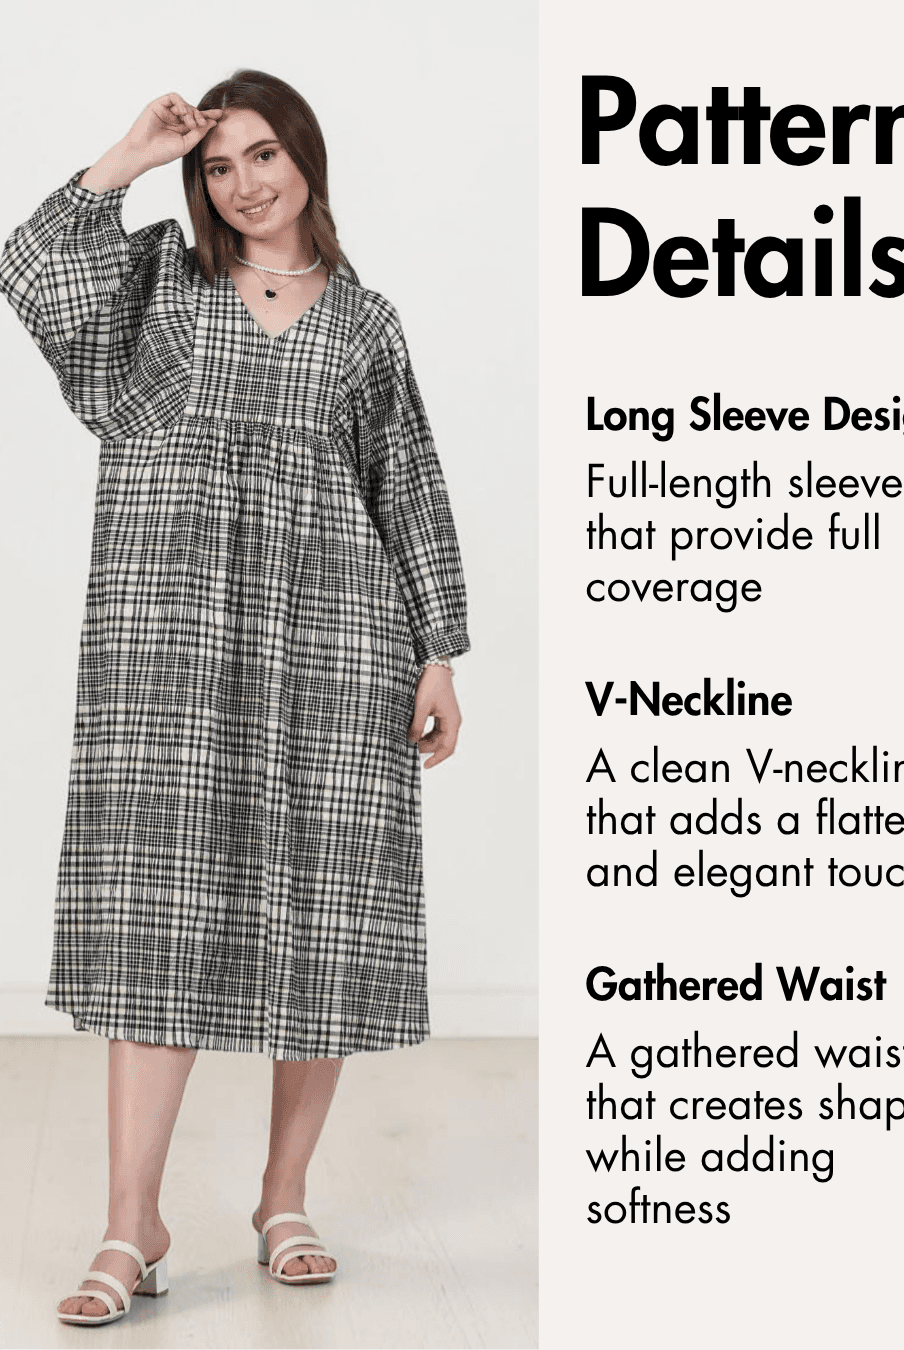
One shoulder kimono tops are a stylish addition to any handmade wardrobe, offering a modern silhouette that stands out while remaining comfortable to wear. Whether you're sewing for a casual day out, a vacation, or a special occasion, this versatile garment is a rewarding project that lets you practice techniques such as gathers, facings, and drawstring ruching.
The Winslet's Gleam One Shoulder Kimono Top is designed to help beginner and intermediate sewists create an elegant one shoulder top with beautiful ruched detailing. Its easy-to-follow construction and thoughtful design make it an enjoyable project that results in a flattering handmade garment.

Why Sew a One Shoulder Kimono Top?
- Create a fashionable statement piece with an elegant one shoulder silhouette.
- Add adjustable side ruching for a customizable fit and styling.
- Sew a lightweight top that's comfortable for warm weather and vacations.
- Learn useful sewing techniques including gathering, neckline facings, and fabric cords.
- Pair effortlessly with jeans, shorts, skirts, or tailored trousers for a variety of outfits.
Why Choose the Winslet's Gleam One Shoulder Kimono Top Pattern?

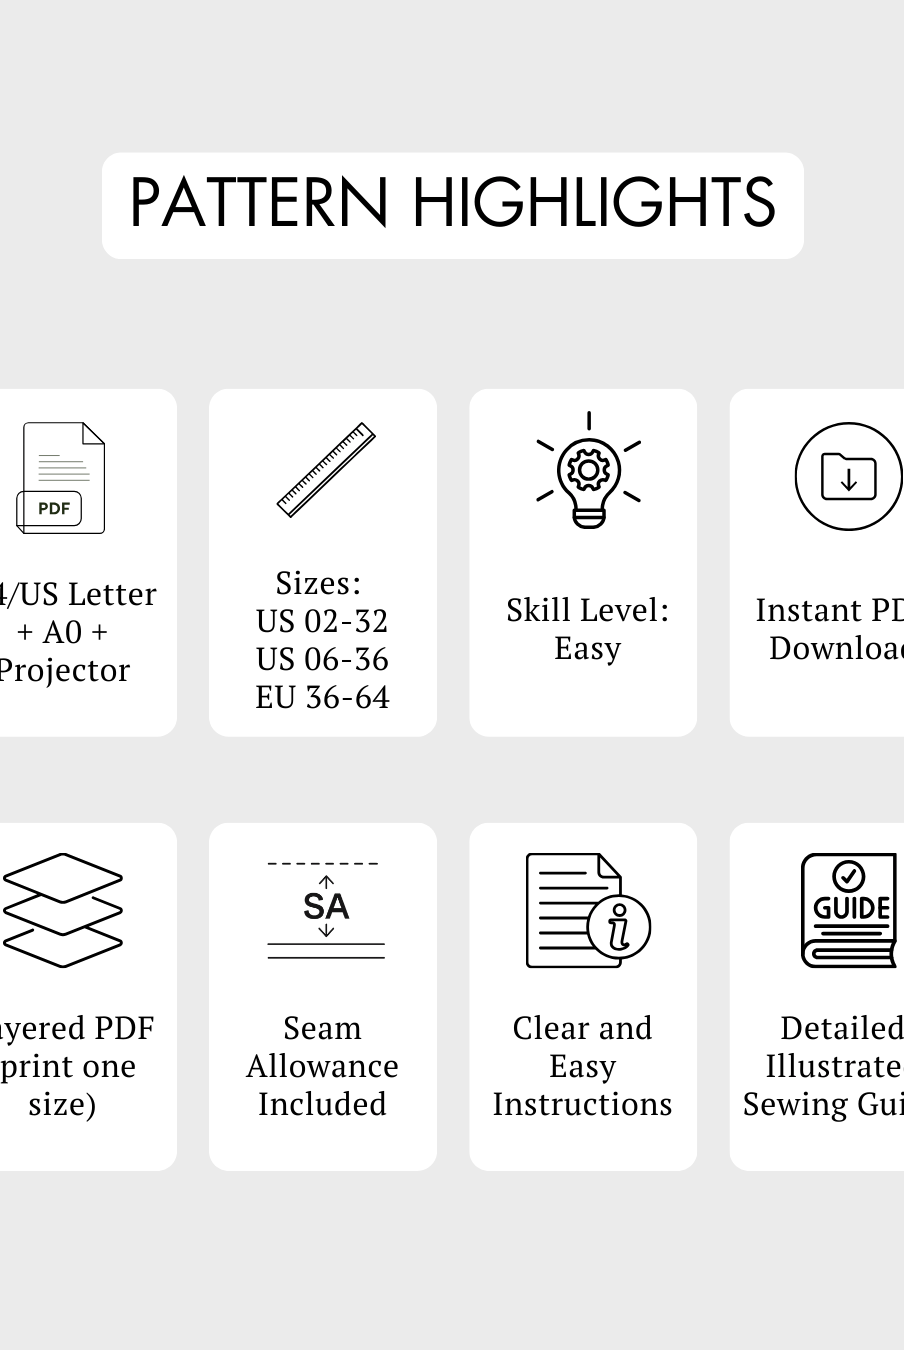
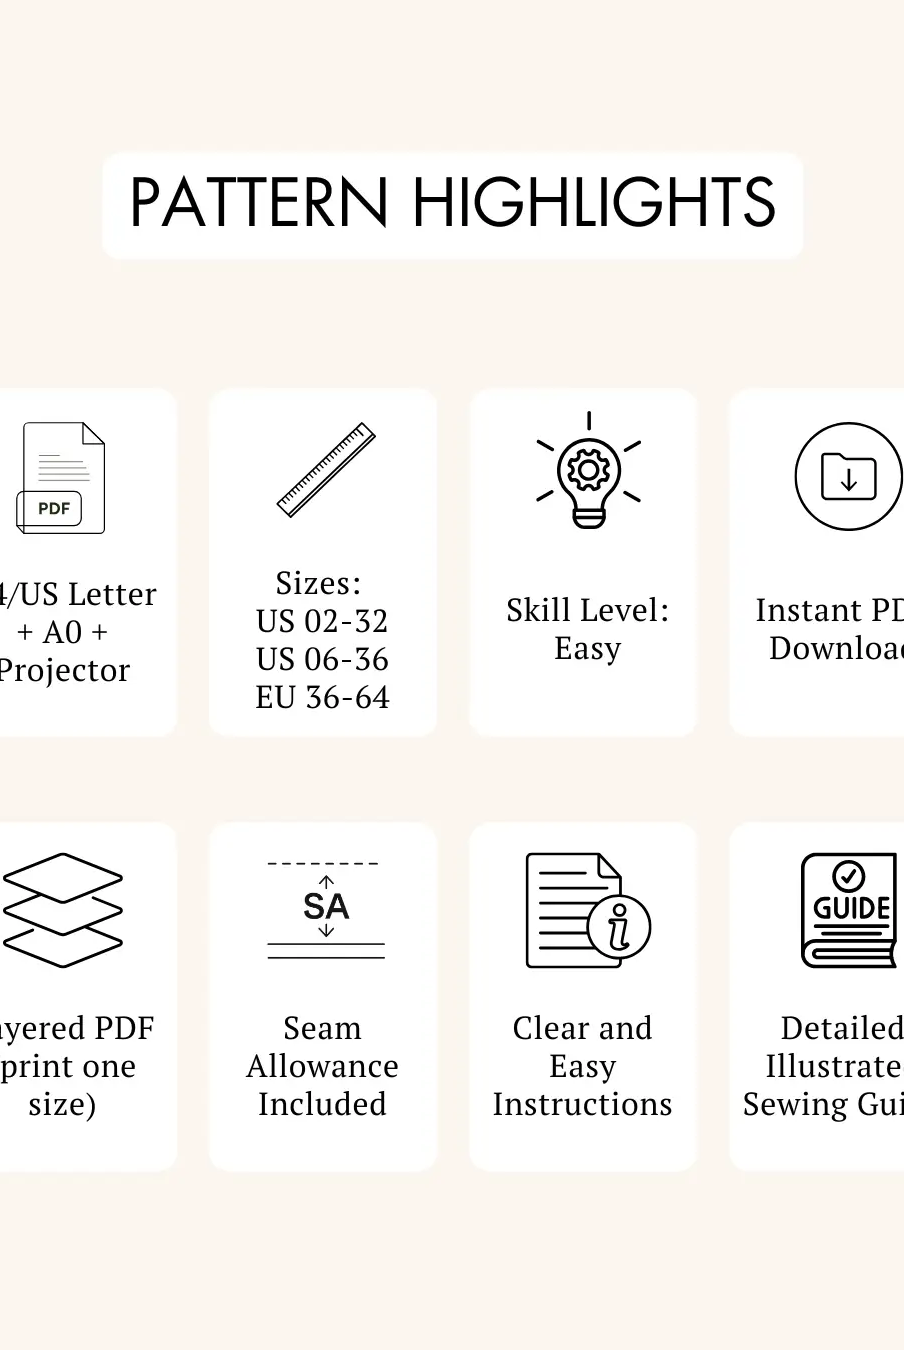
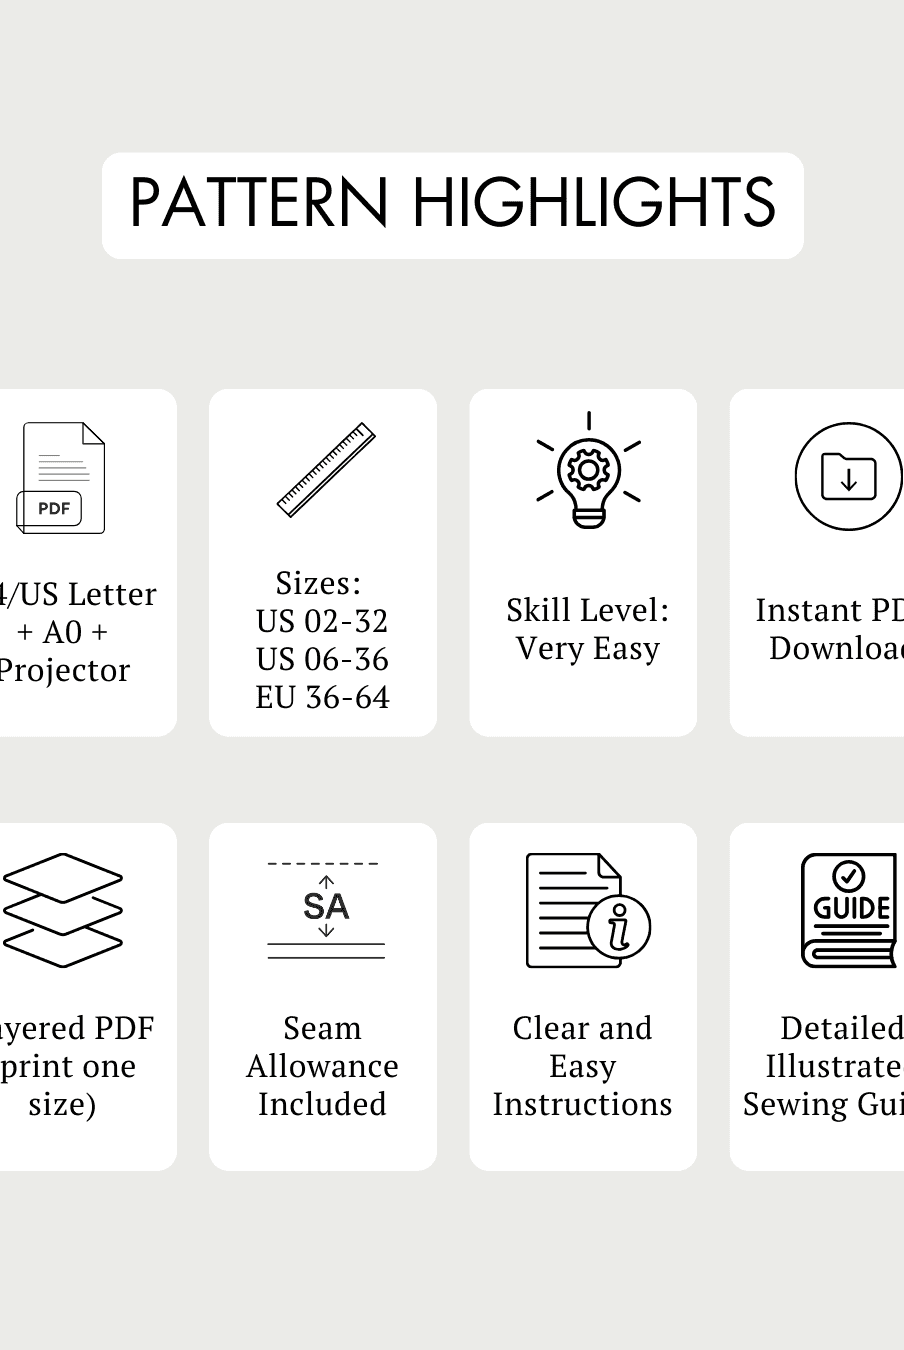
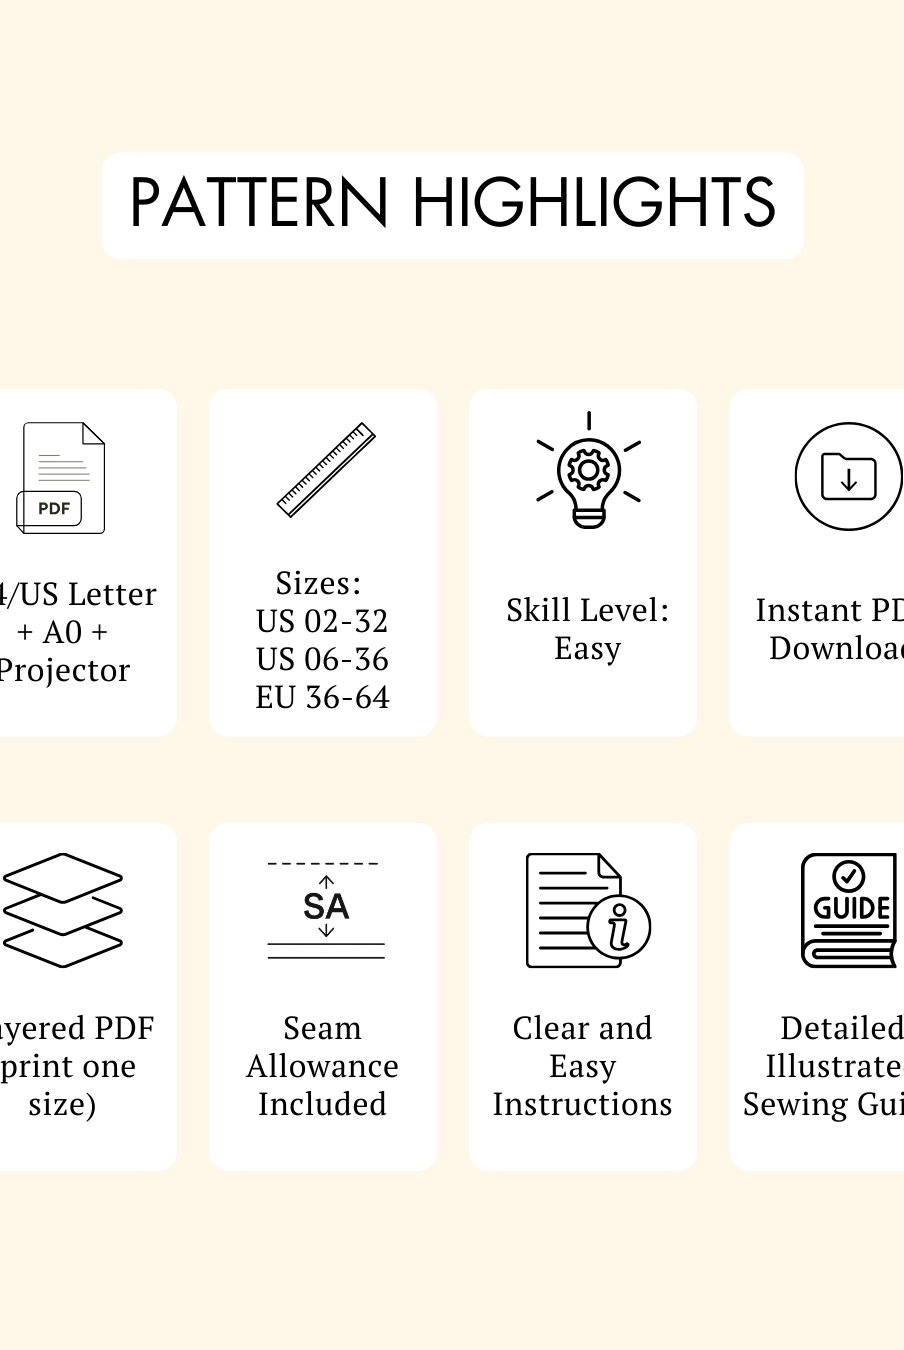
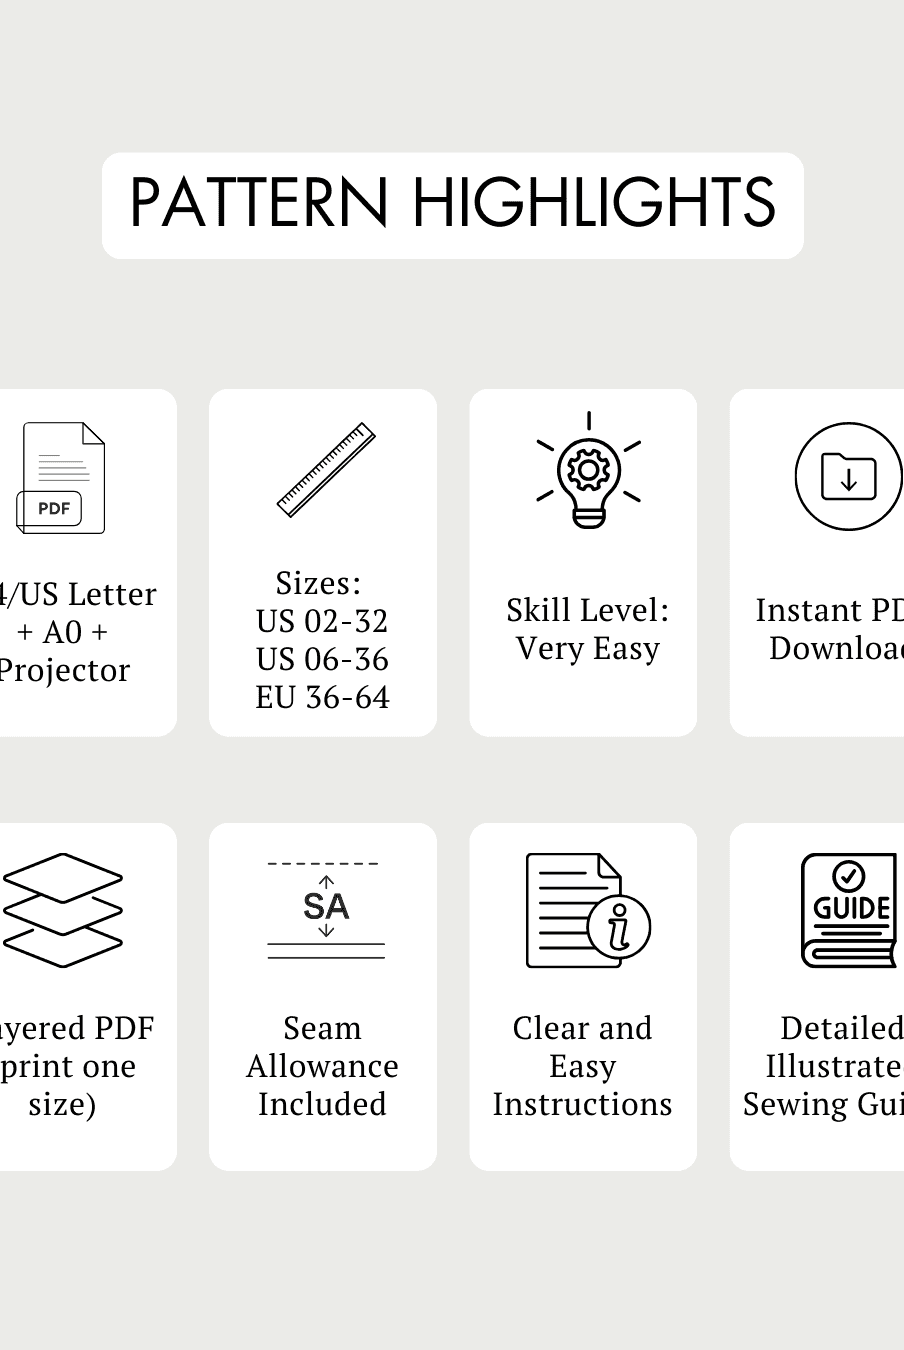
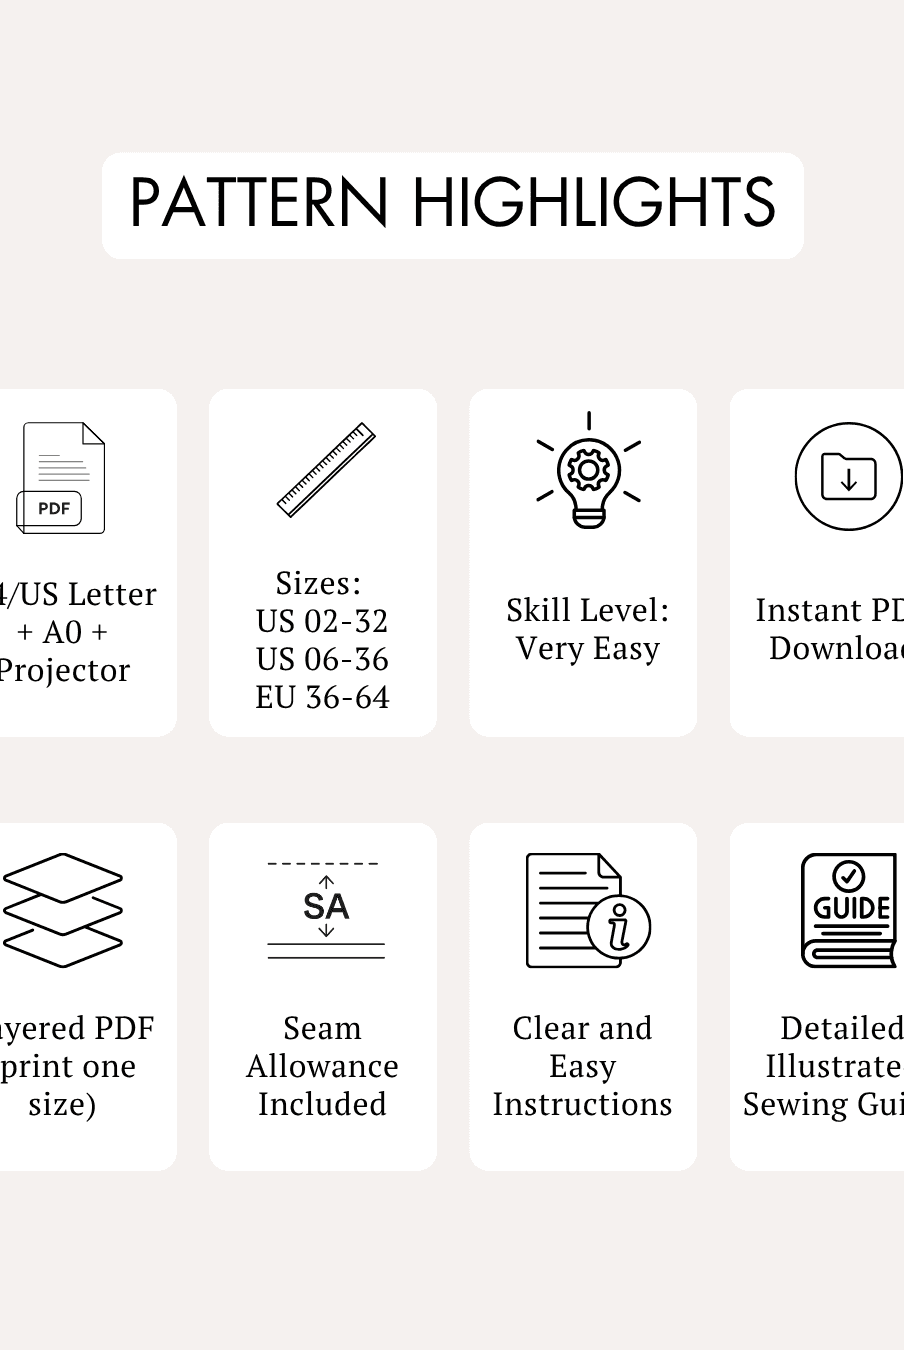
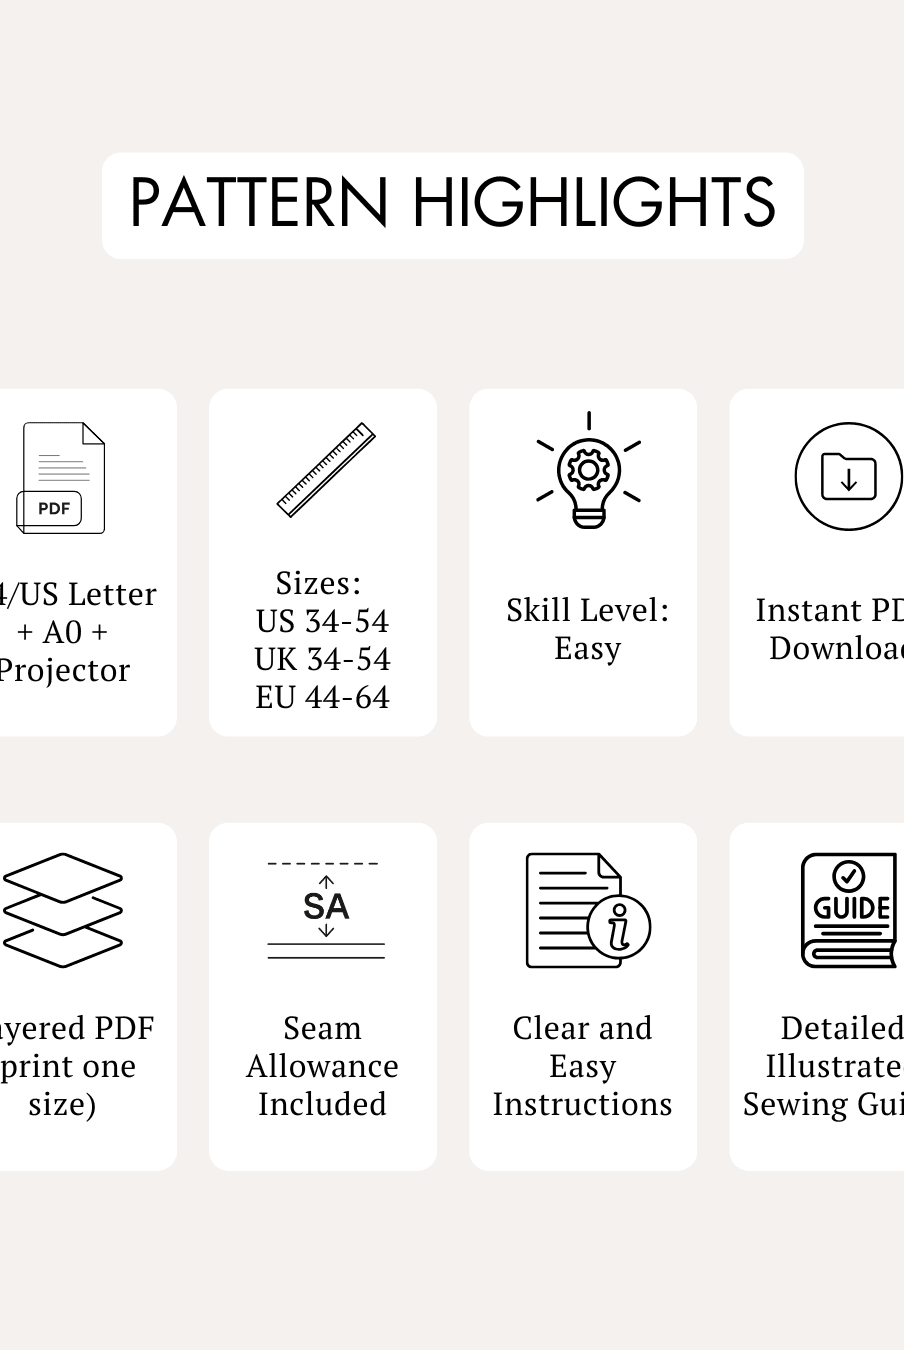
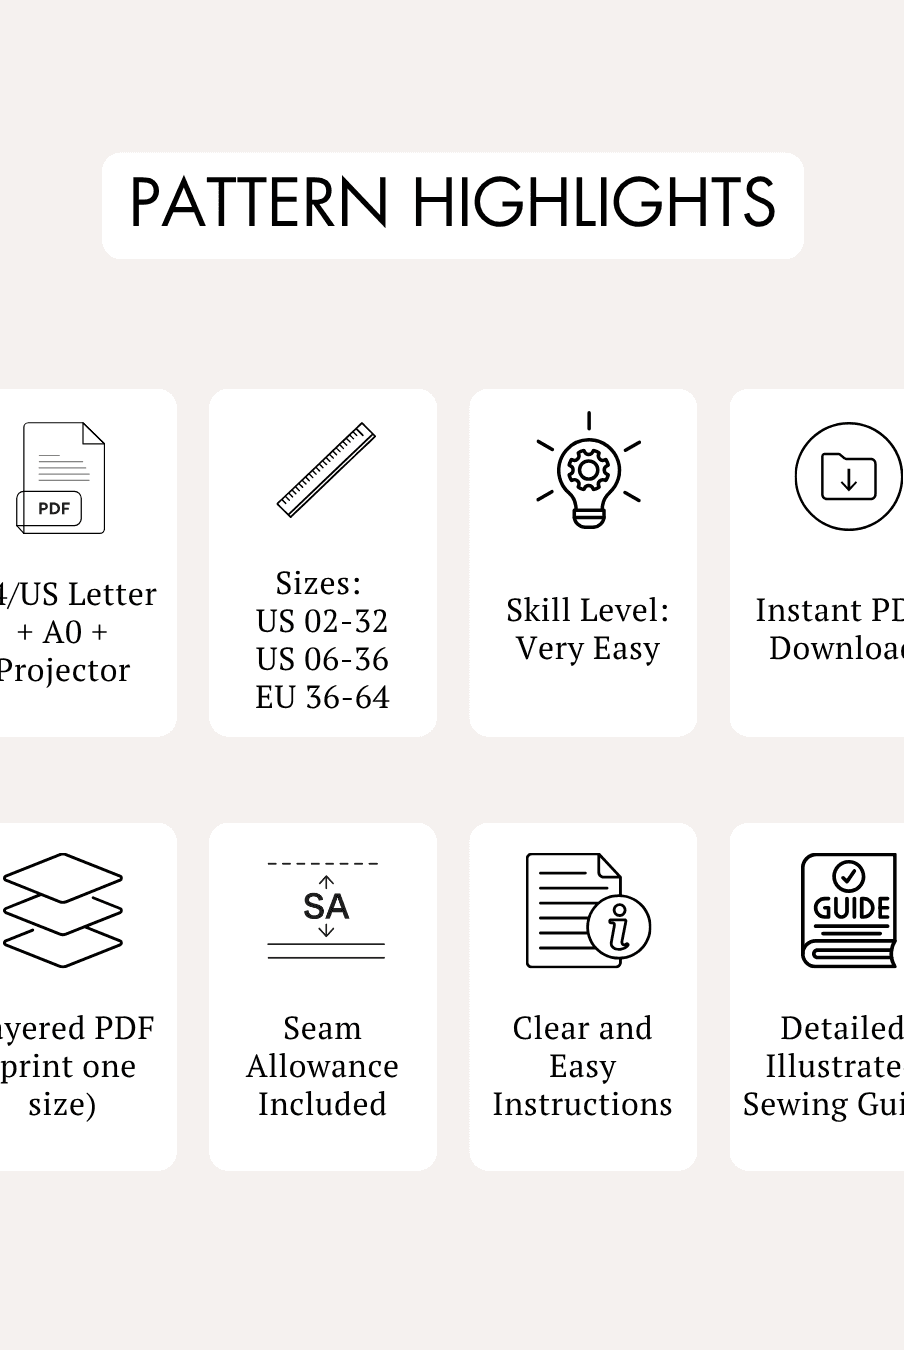
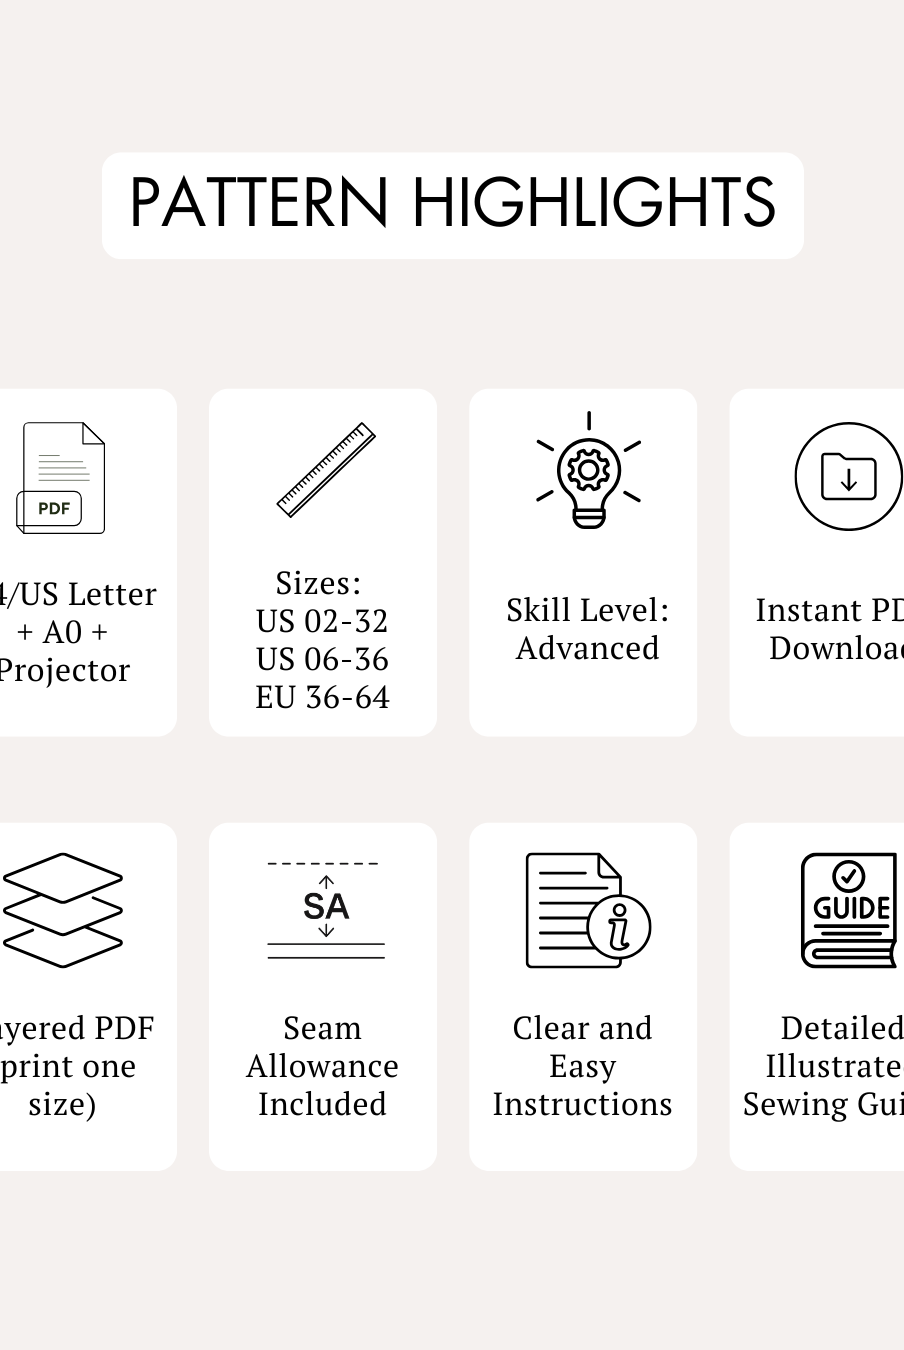
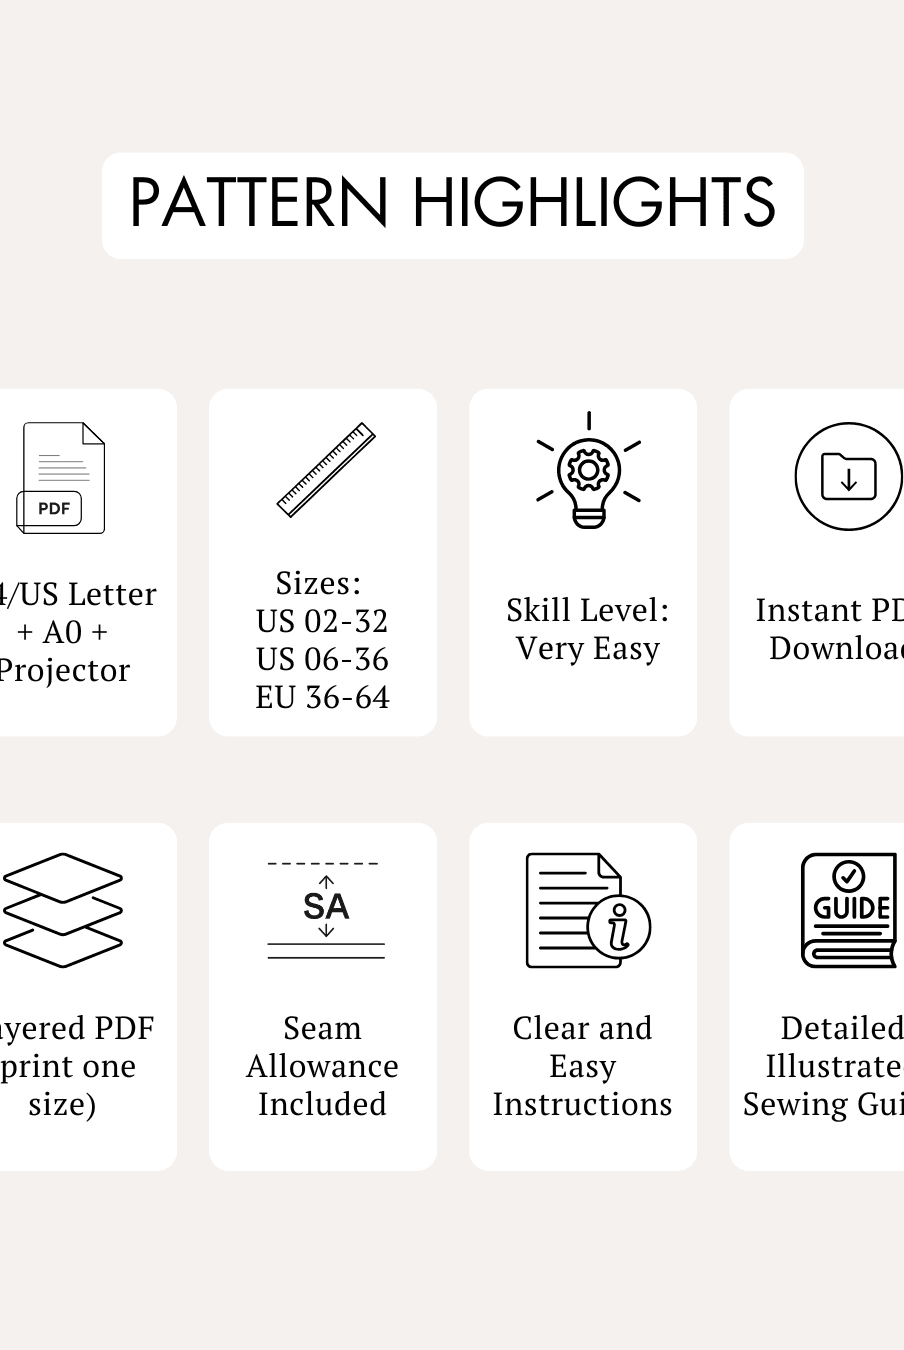
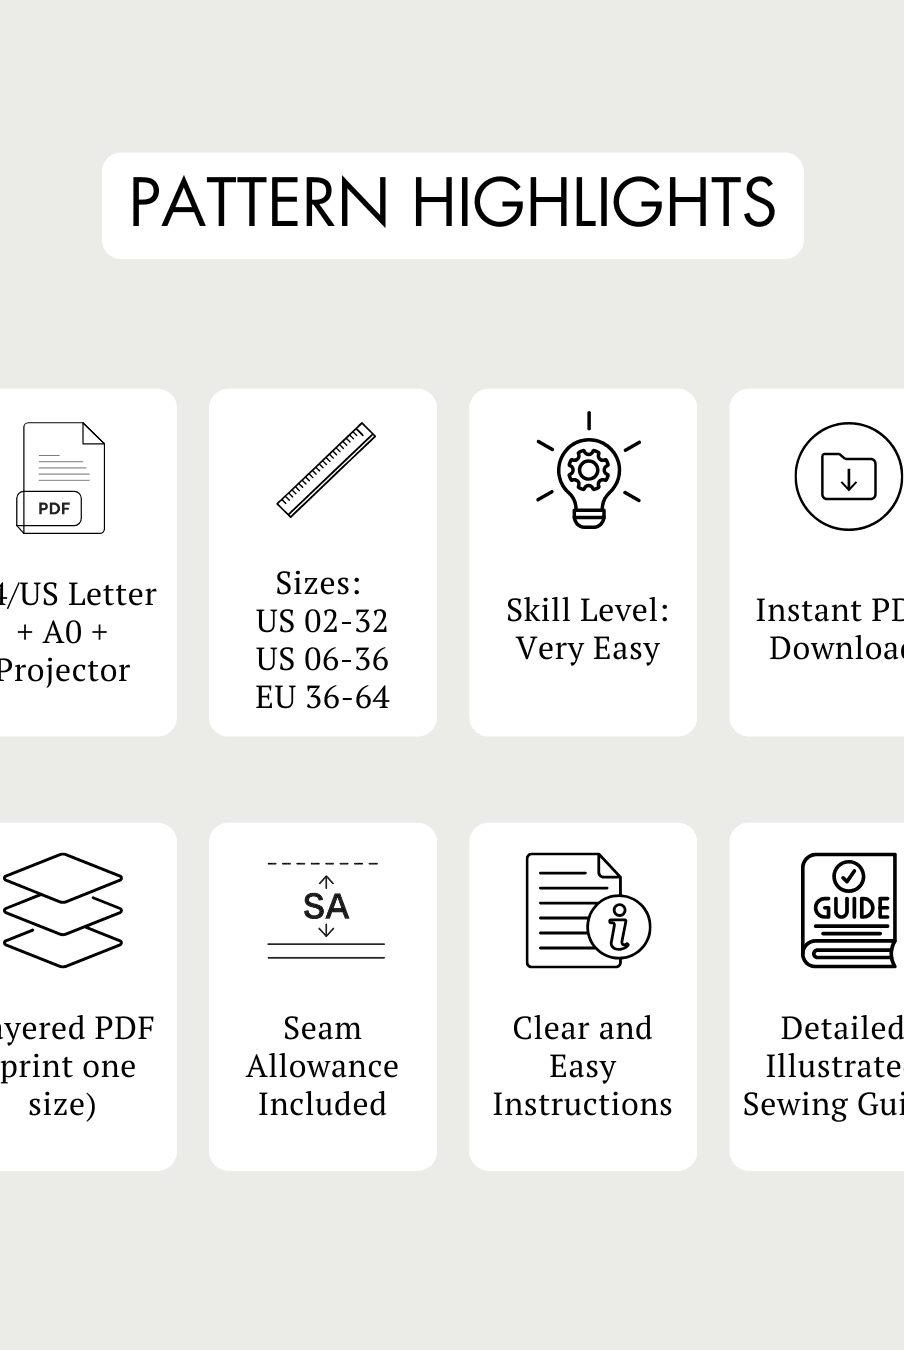
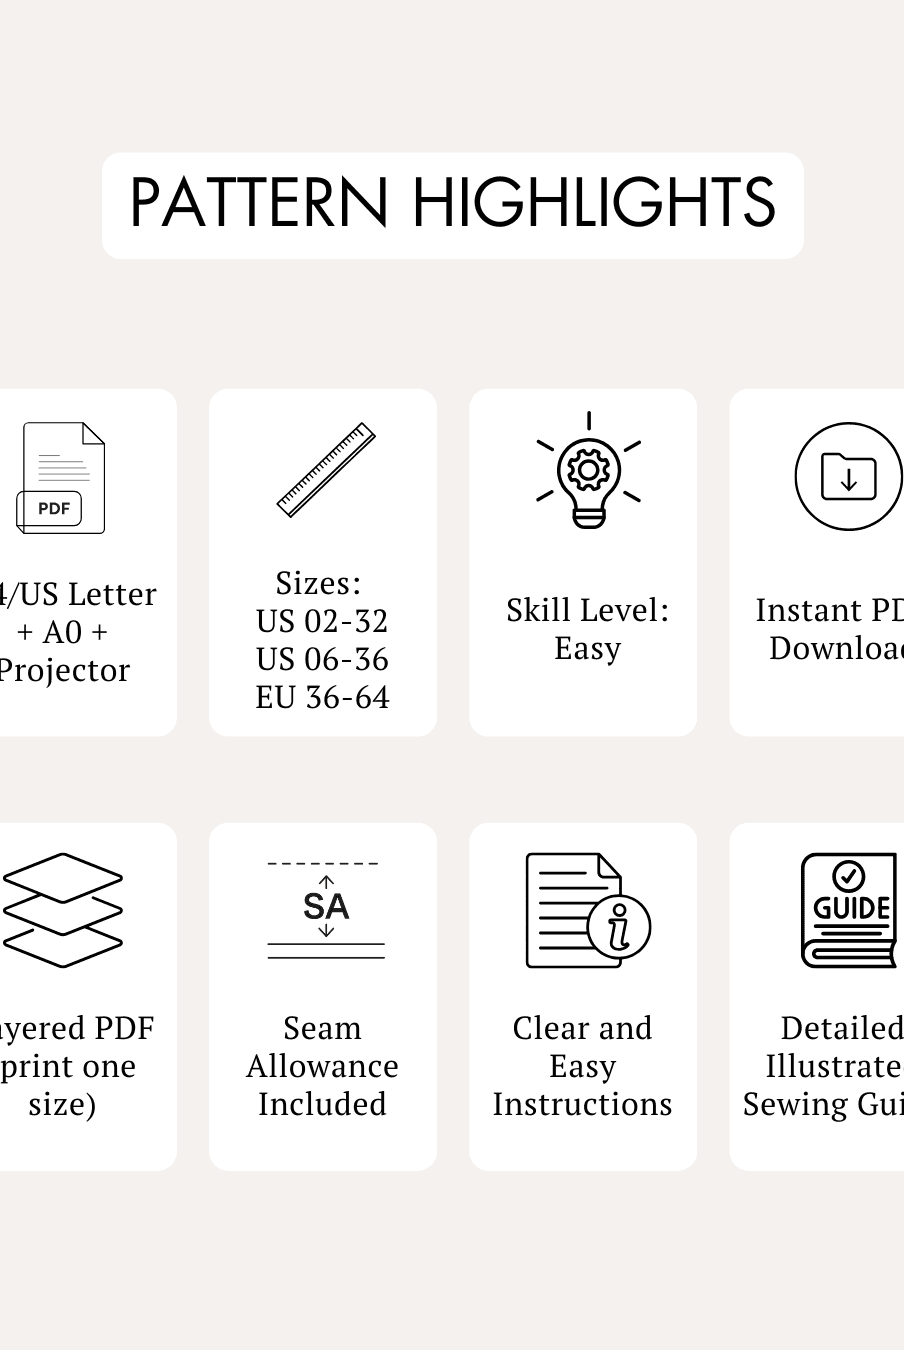
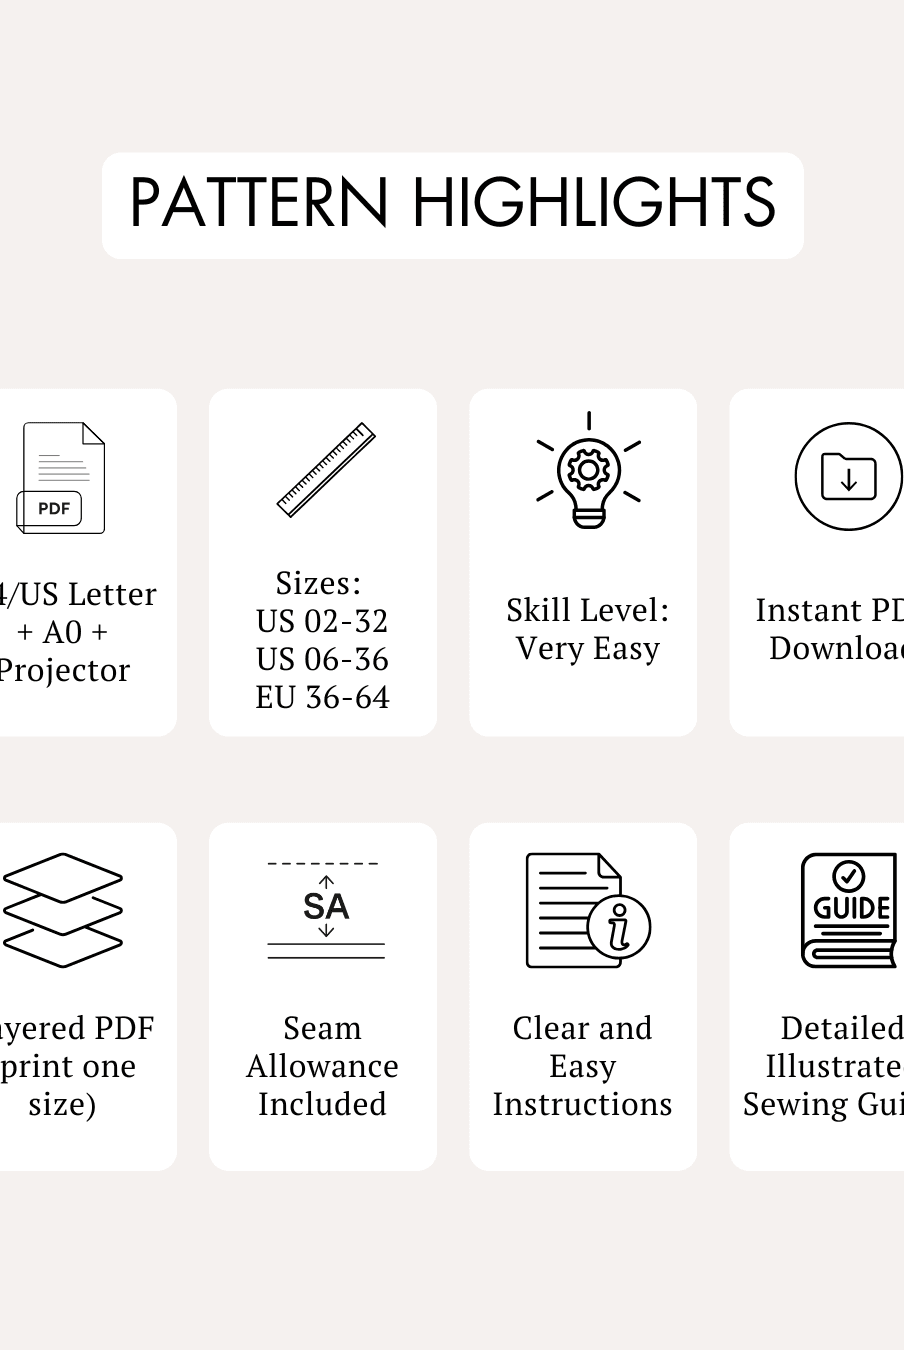
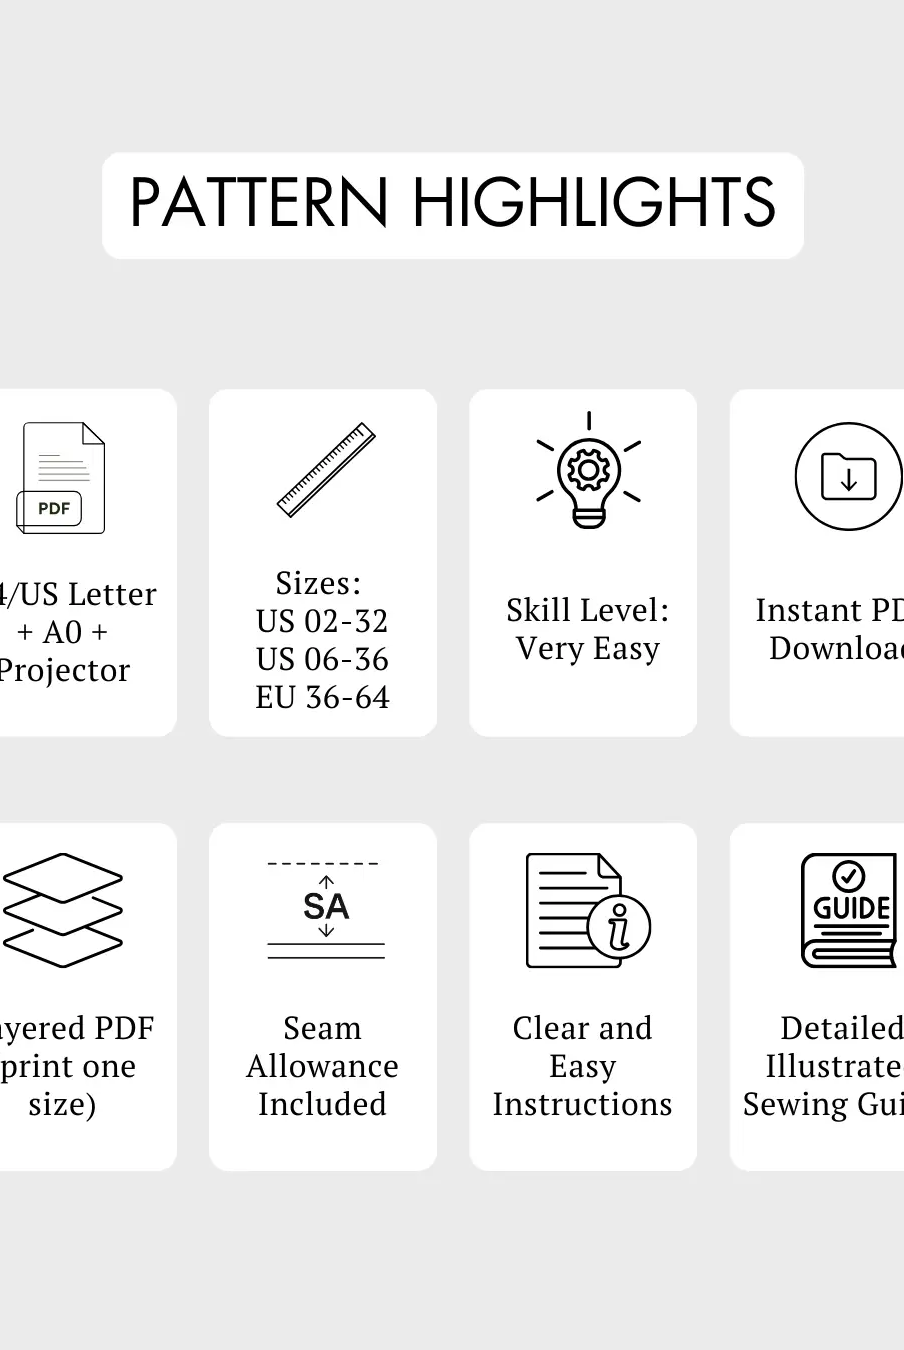
- Skill Level: Easy
- Features a one shoulder design with elegant ruched detailing.
- Includes a fabric drawstring that allows the side gathers to be adjusted.
- Designed to create a flattering draped silhouette with a comfortable fit.
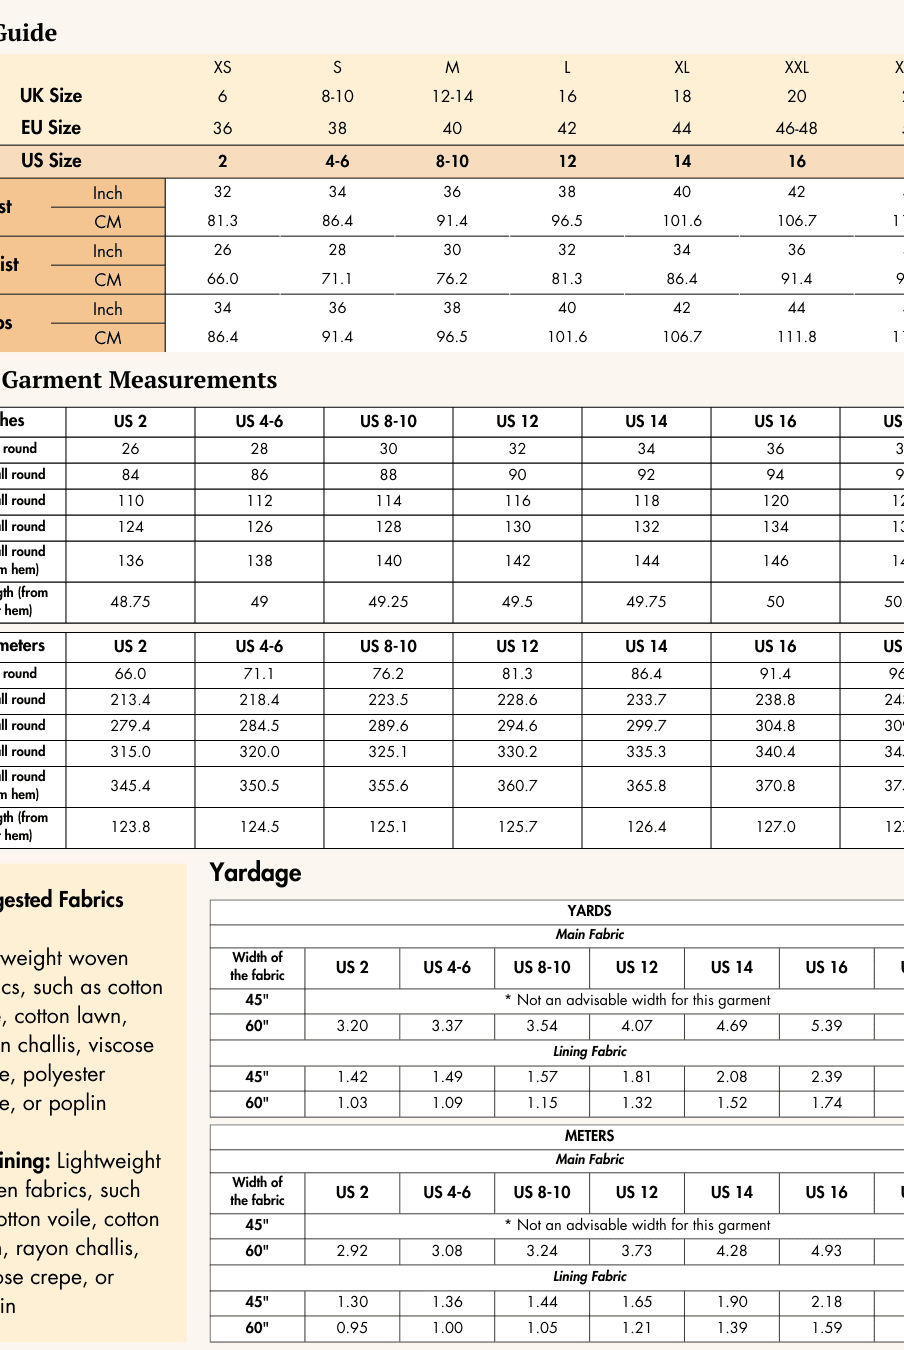
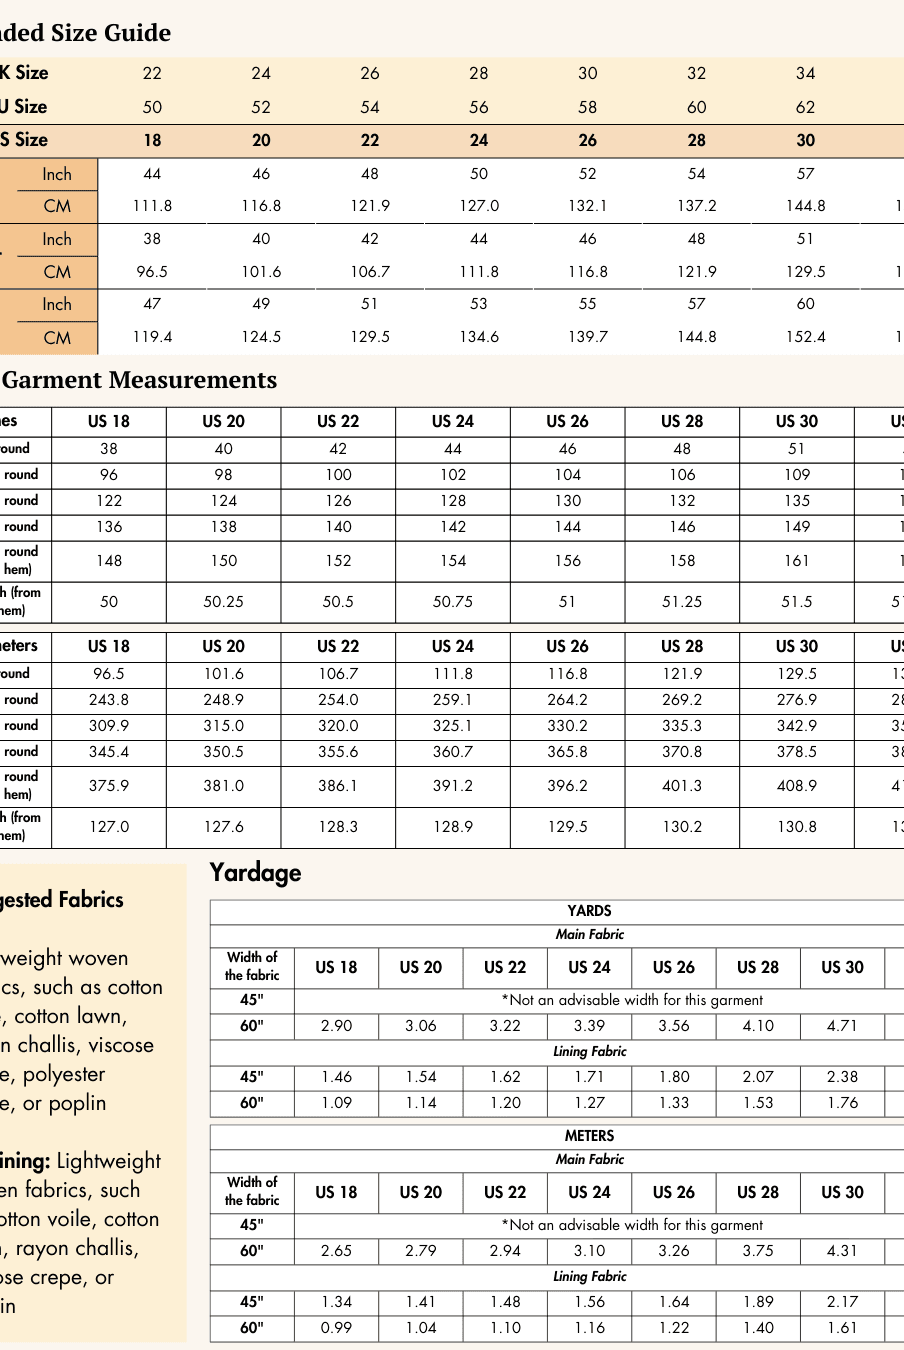
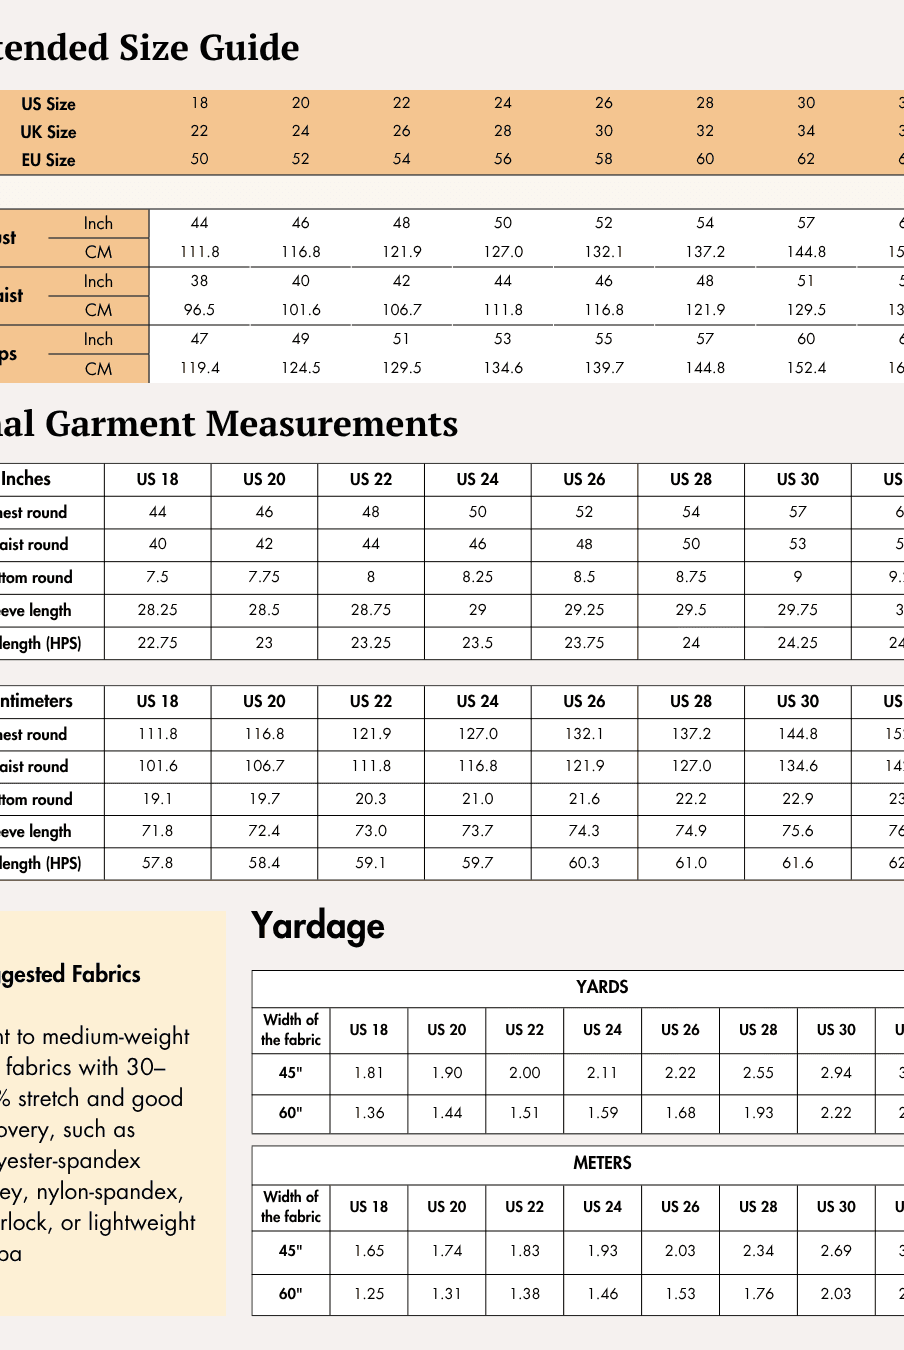
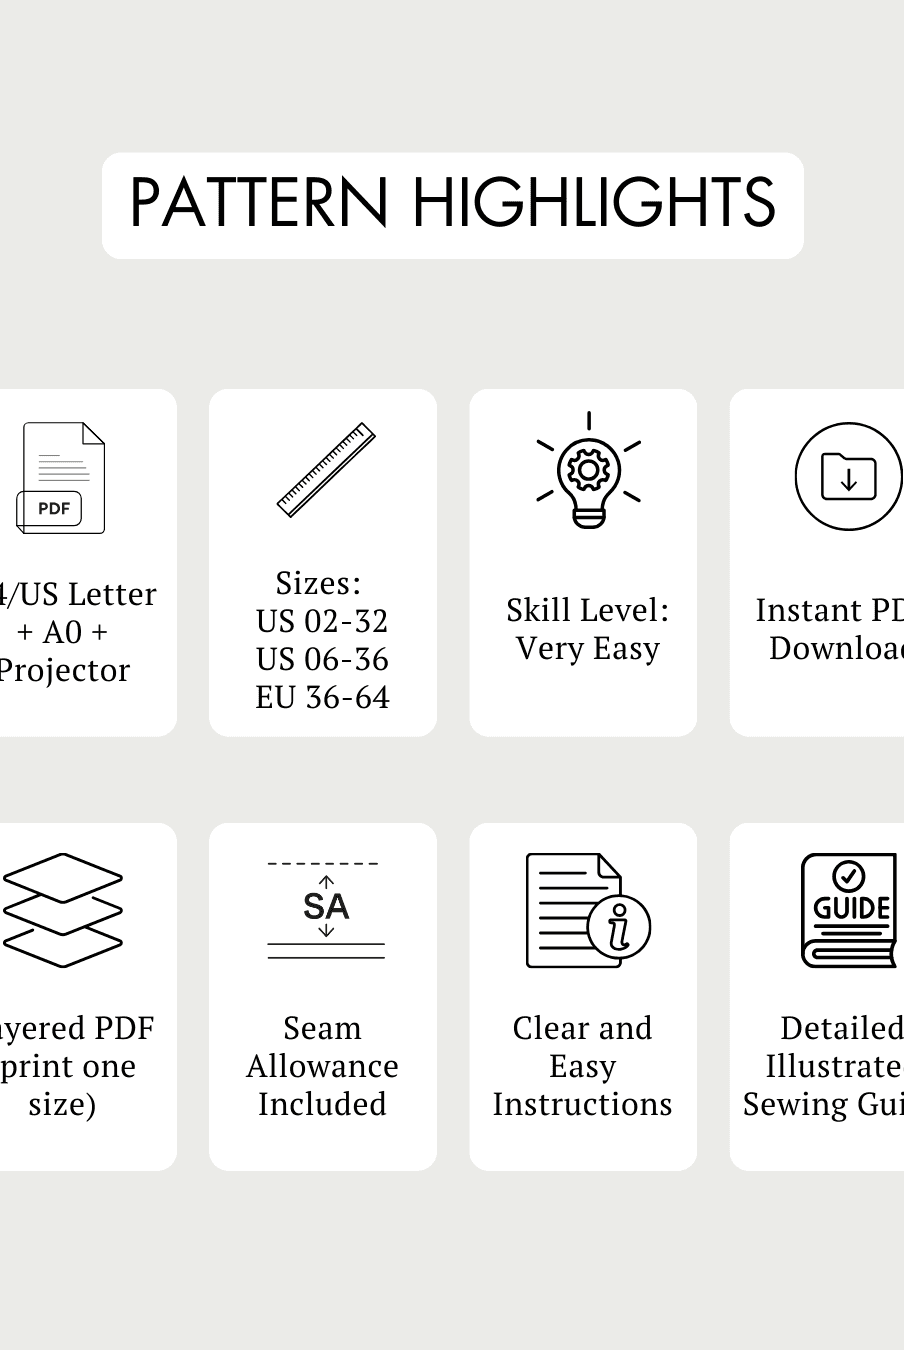
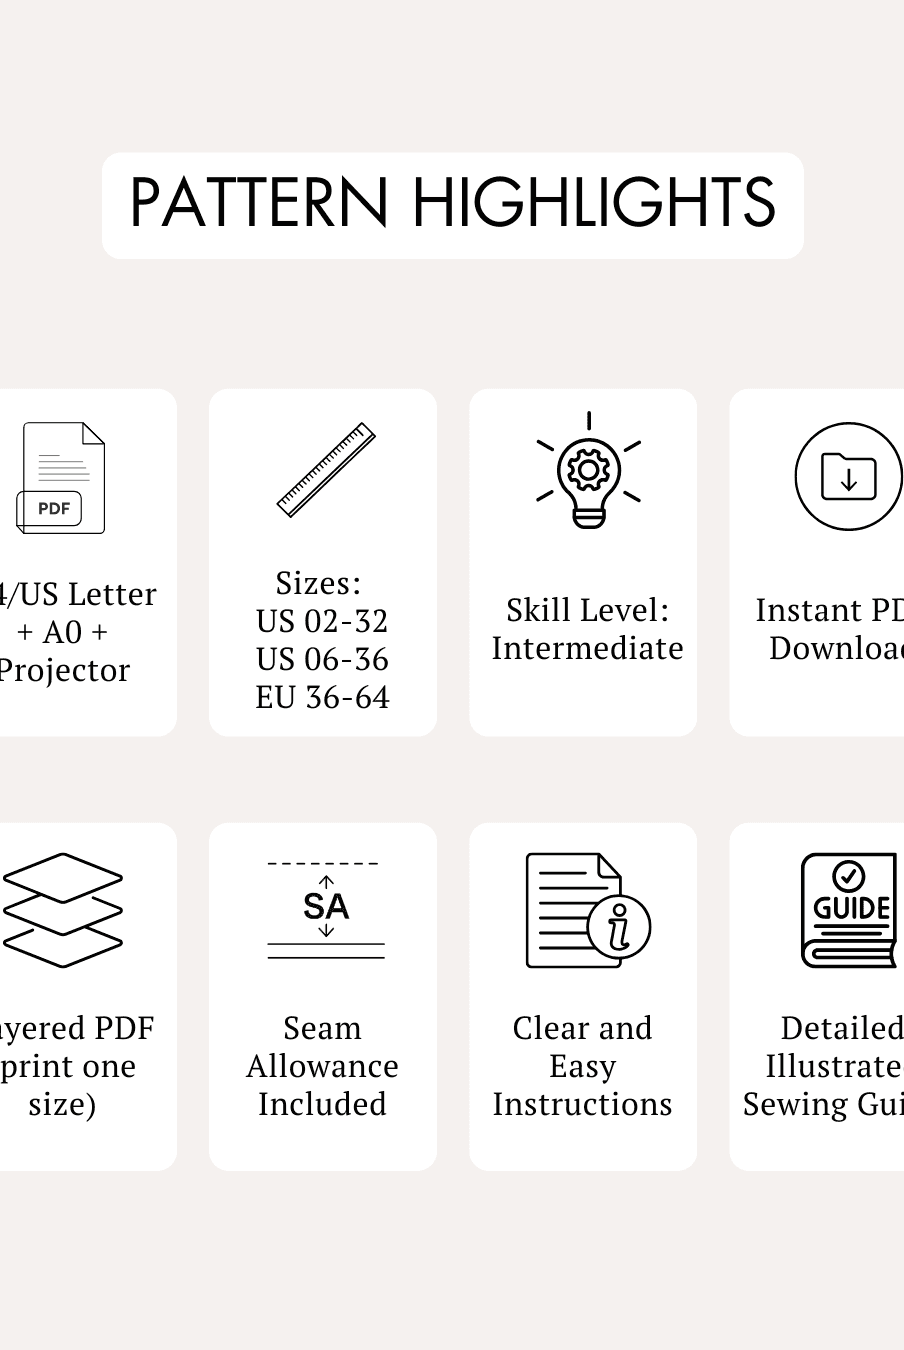
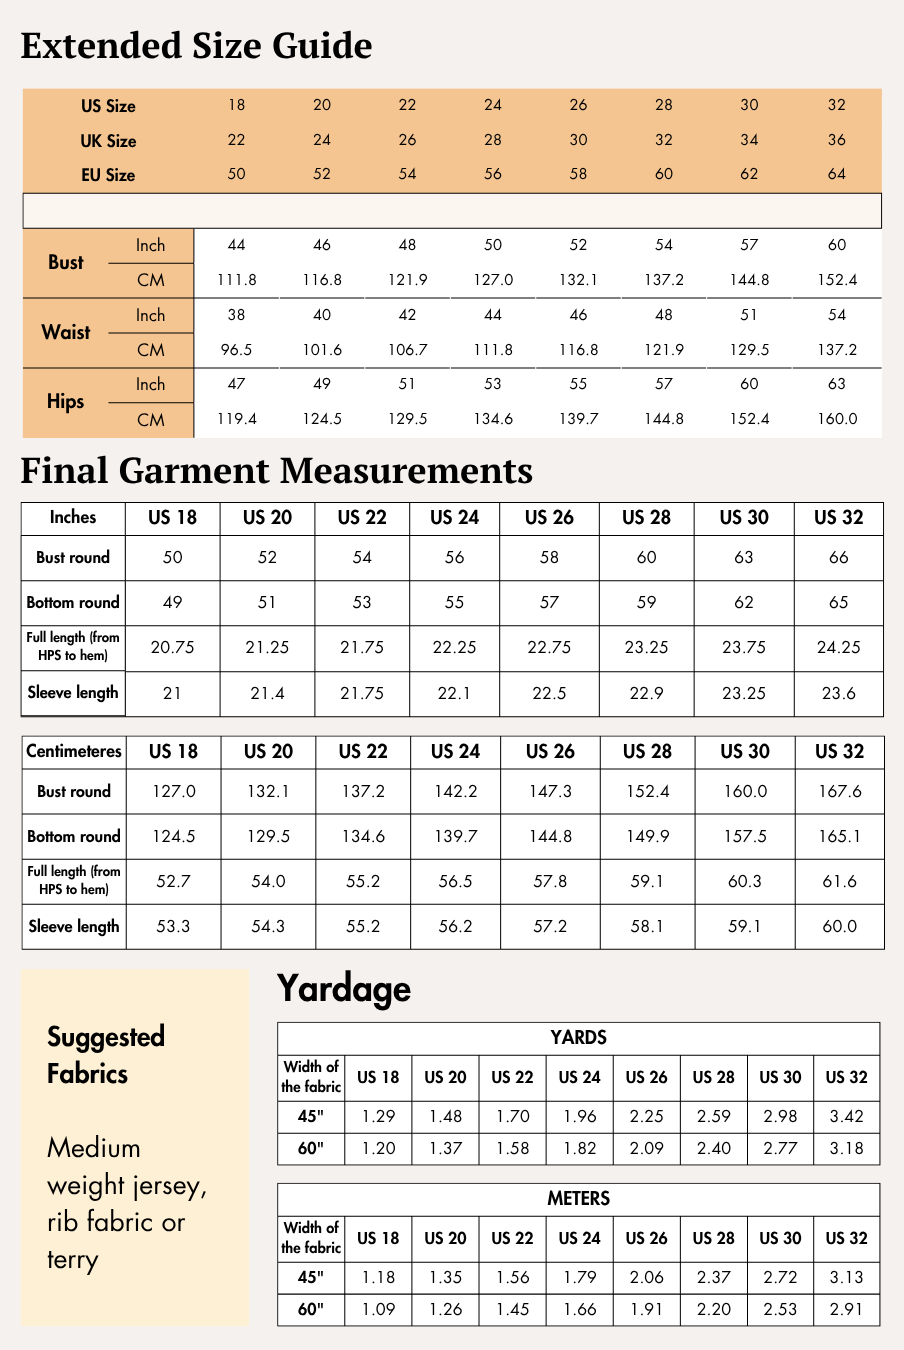
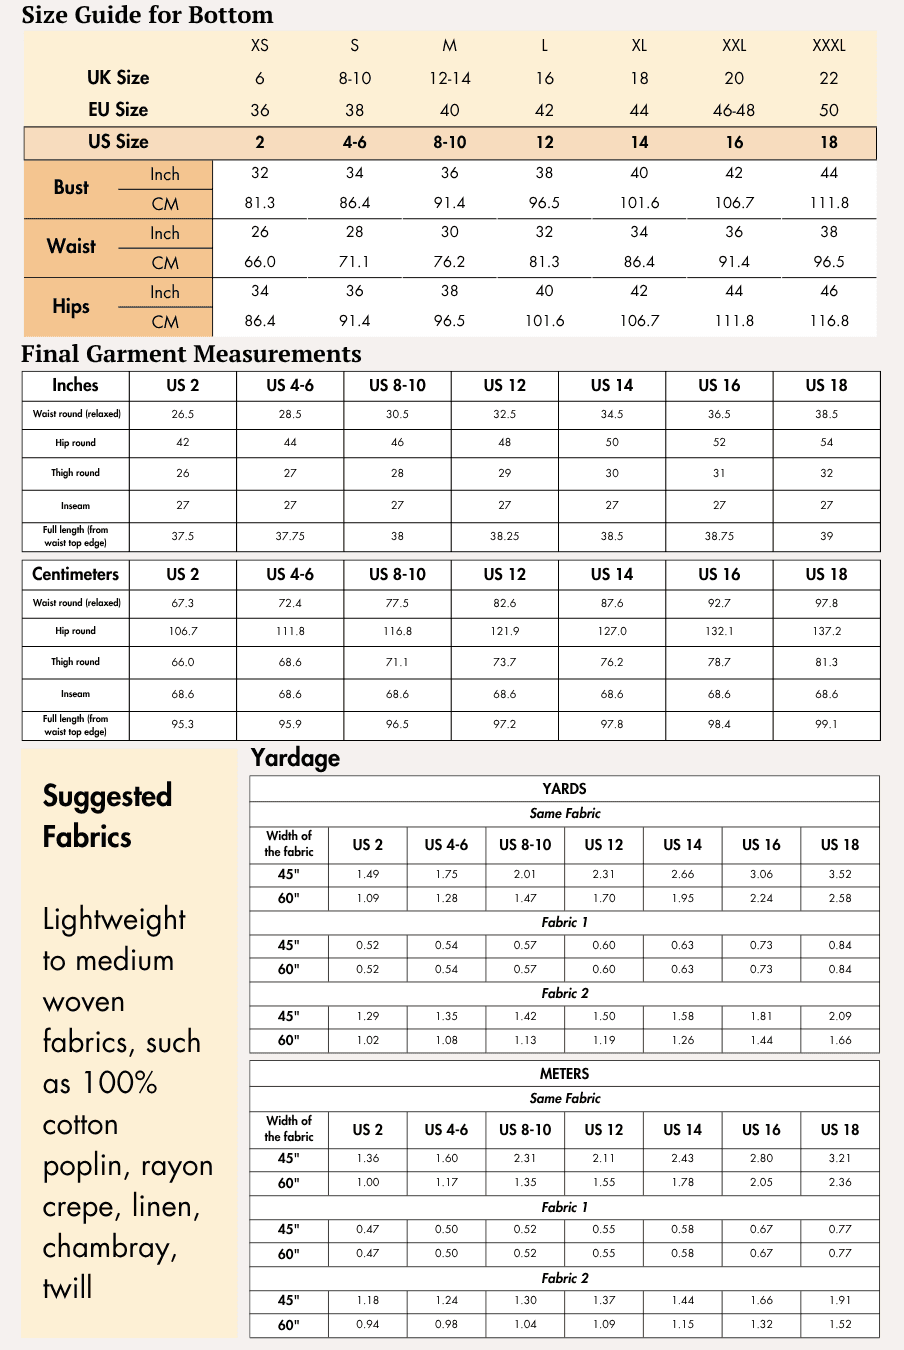
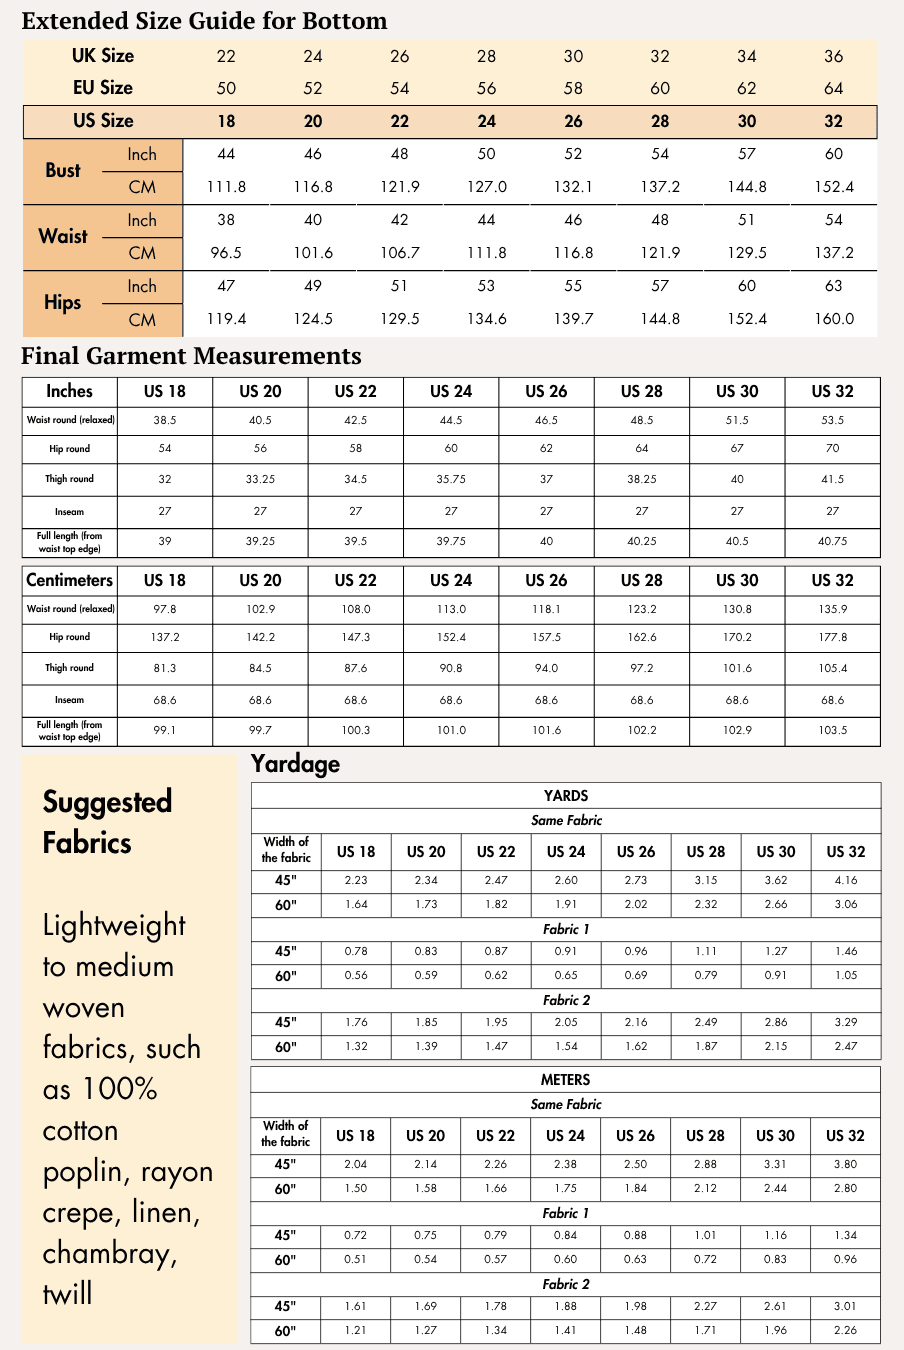
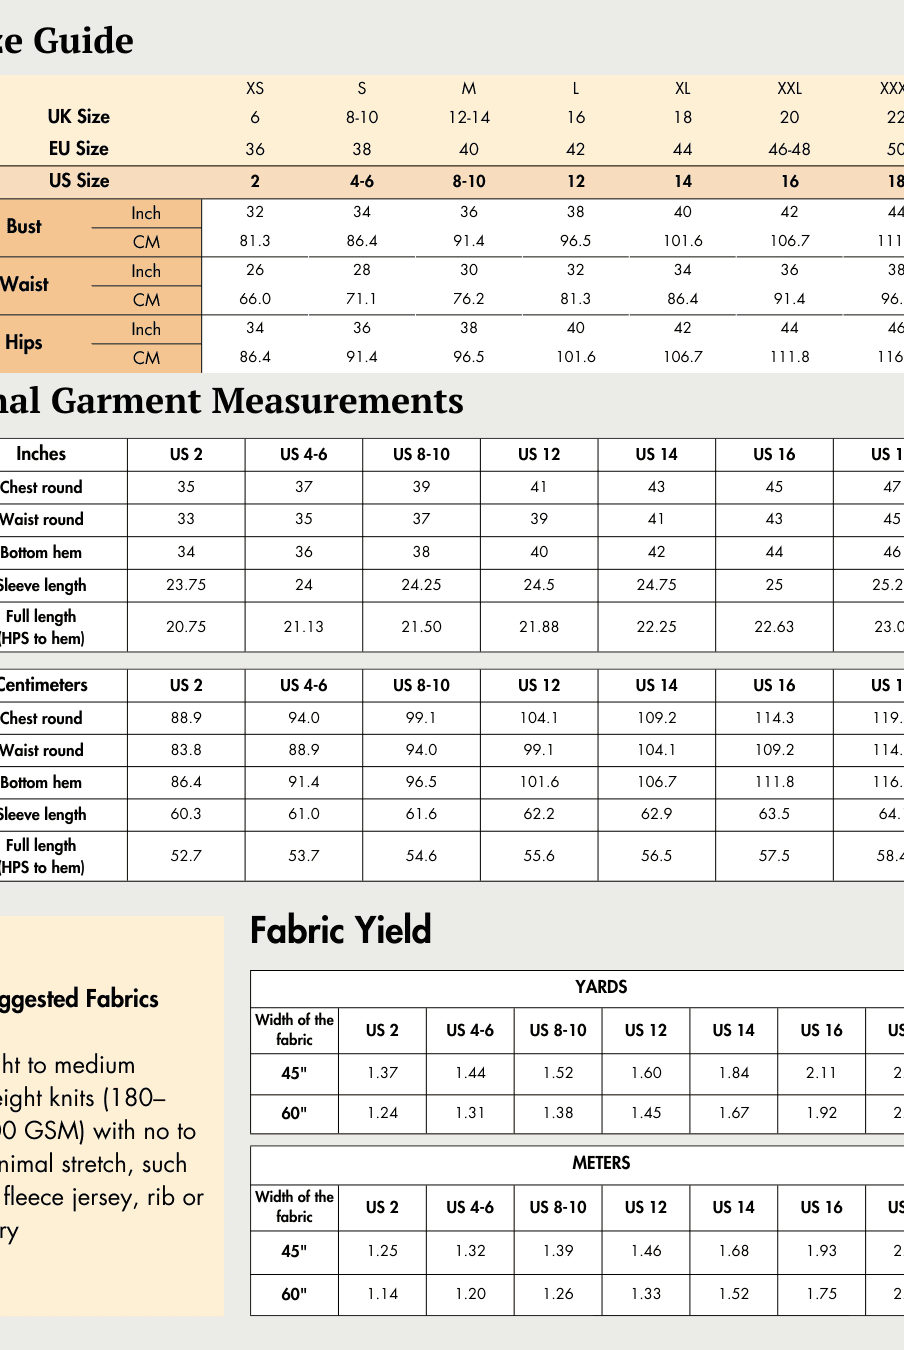
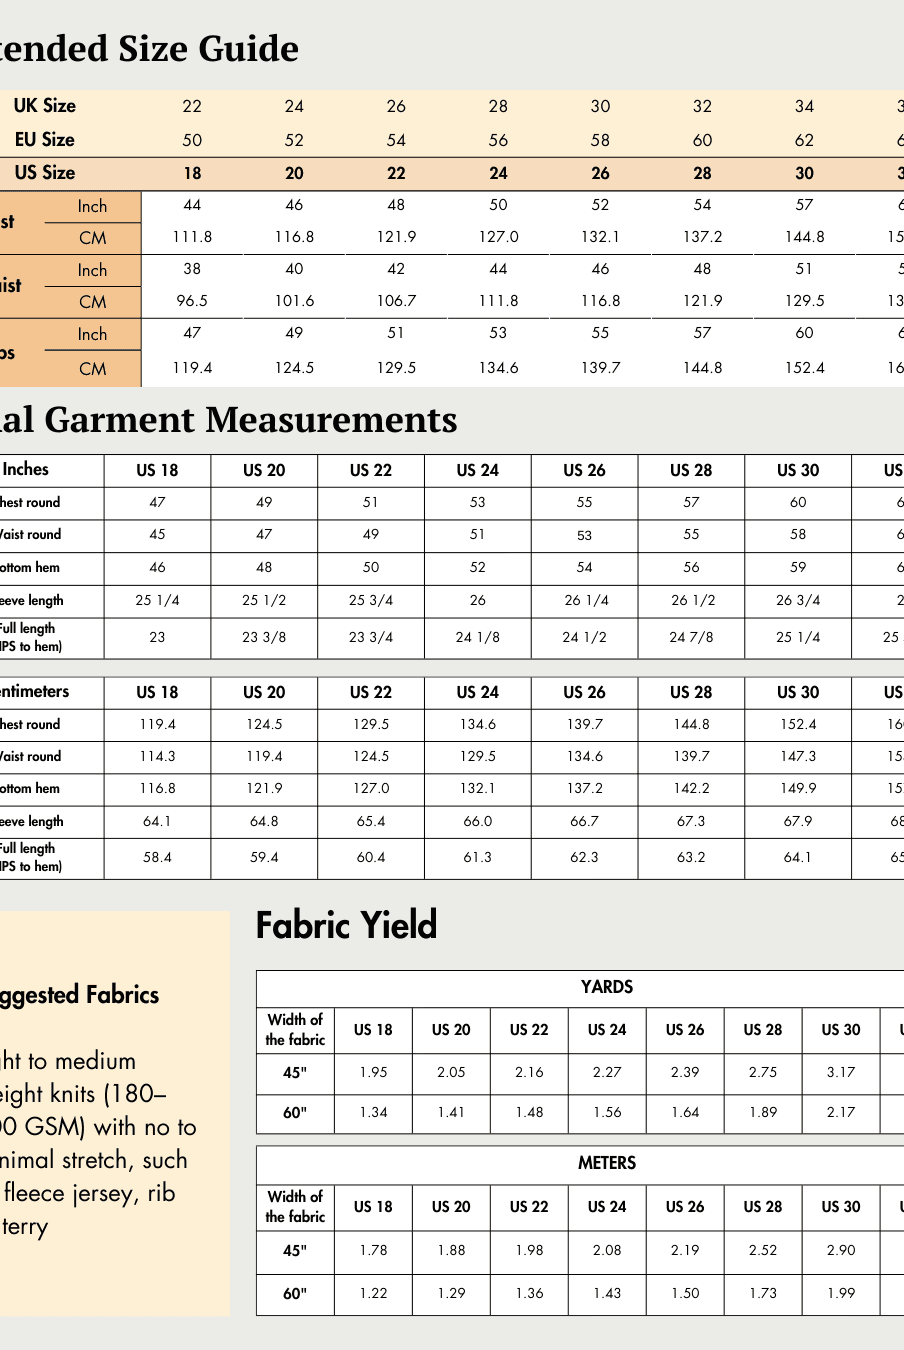
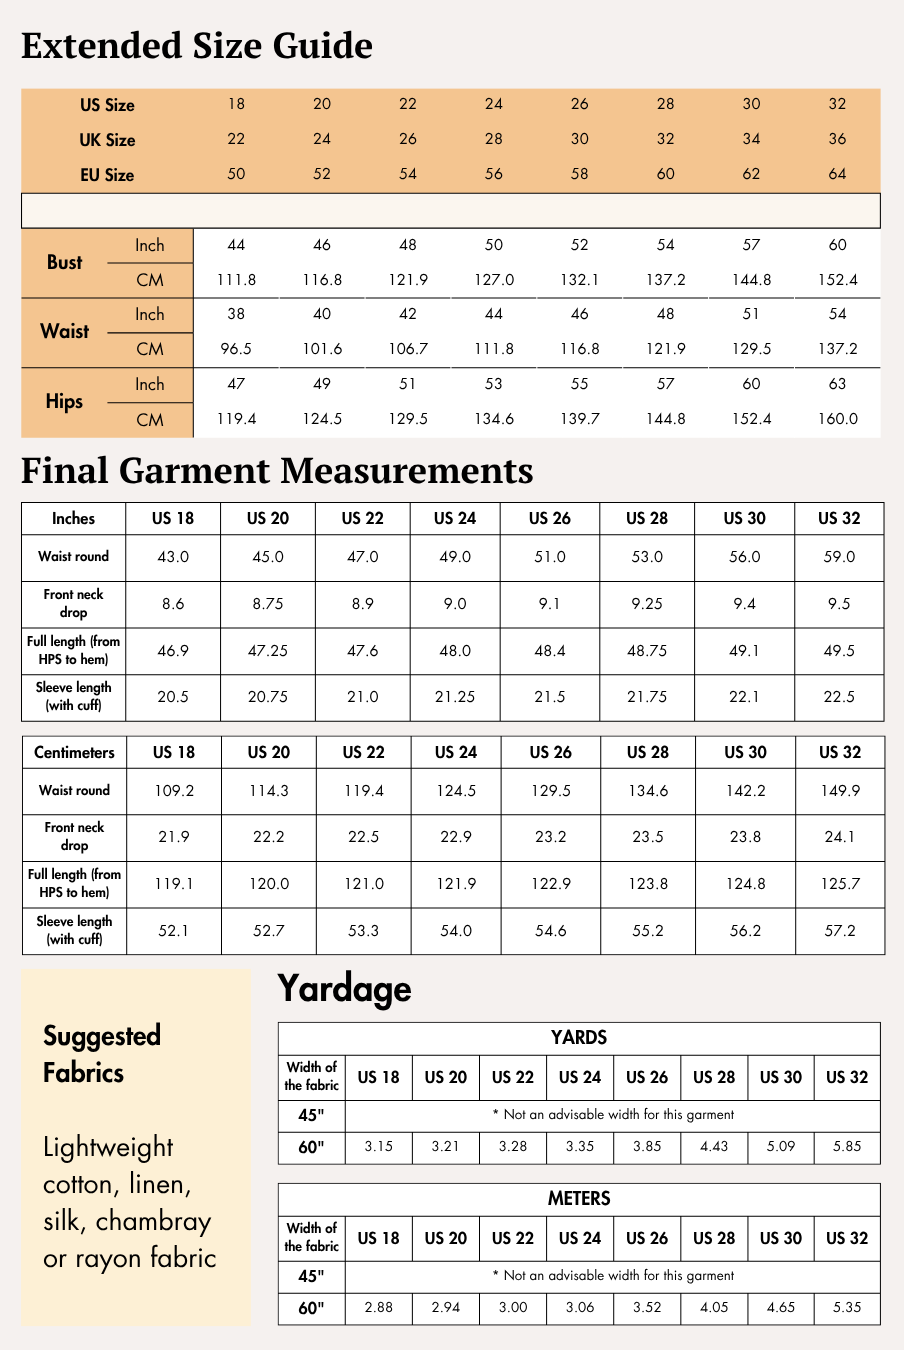
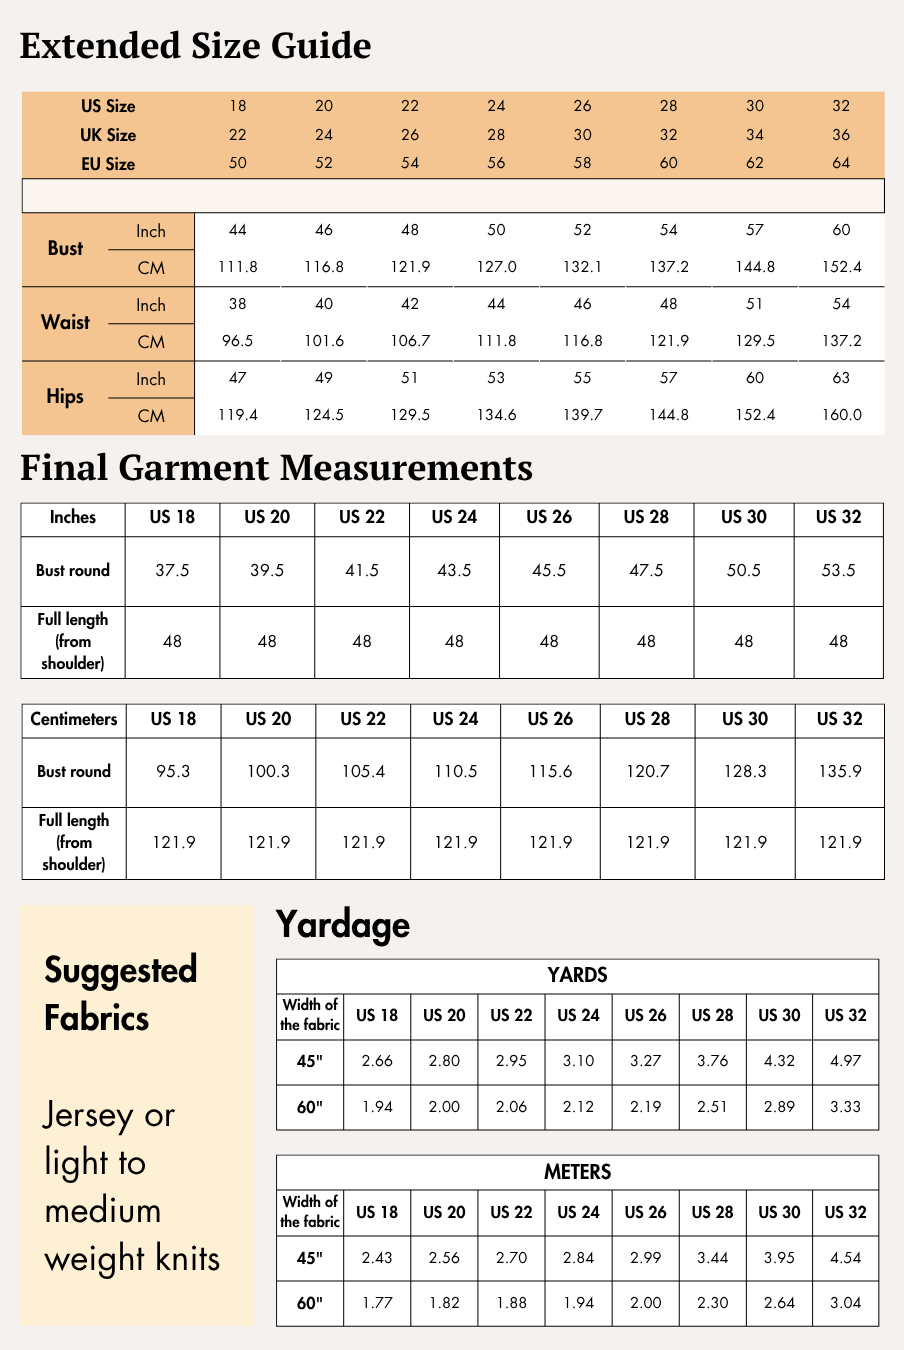
- Available Sizes: US 02 - US 32 | UK 06 - UK 36 | EU 36 - EU 64
Supplies & Notions
Prepare the following supplies before you begin sewing:
- Fabric
- 3-ply polyester thread
- Sewing machine
- Sewing needles
- Fabric shears
- Thread cutter
- Pins
- Measuring tape
- Tailor's chalk
- Iron
Fabric Recommendations
This pattern is suitable for lightweight woven fabrics with beautiful drape.
Recommended fabrics include:
- Cotton blends
- Viscose
- Modal satin
- Silk
The sample garment shown in the guide is sewn using georgette, which is recommended because it:
- Is highly breathable.
- Is lightweight.
- Has a crinkled surface that enhances the garment's aesthetic appeal.
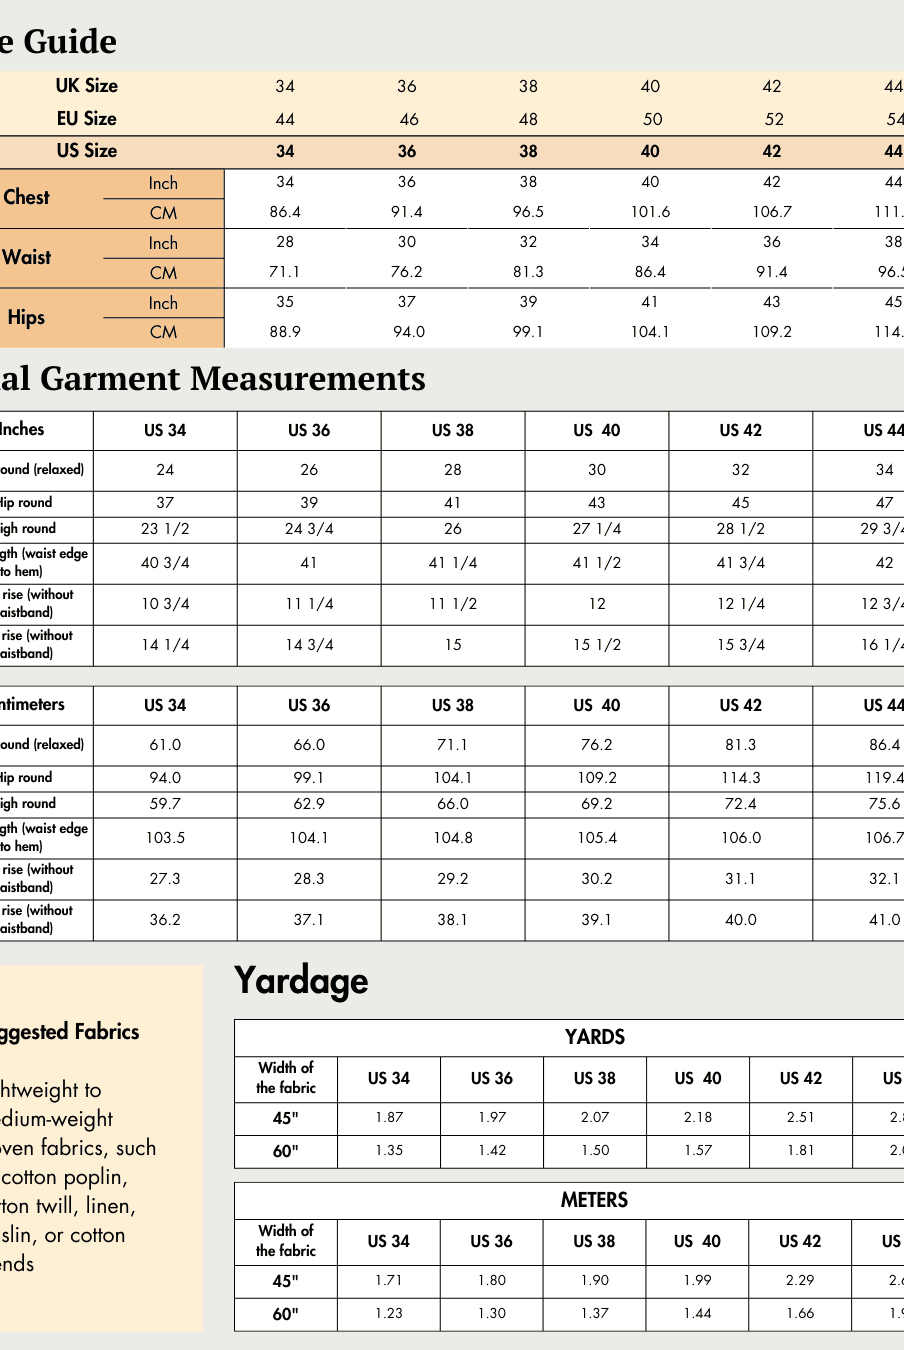
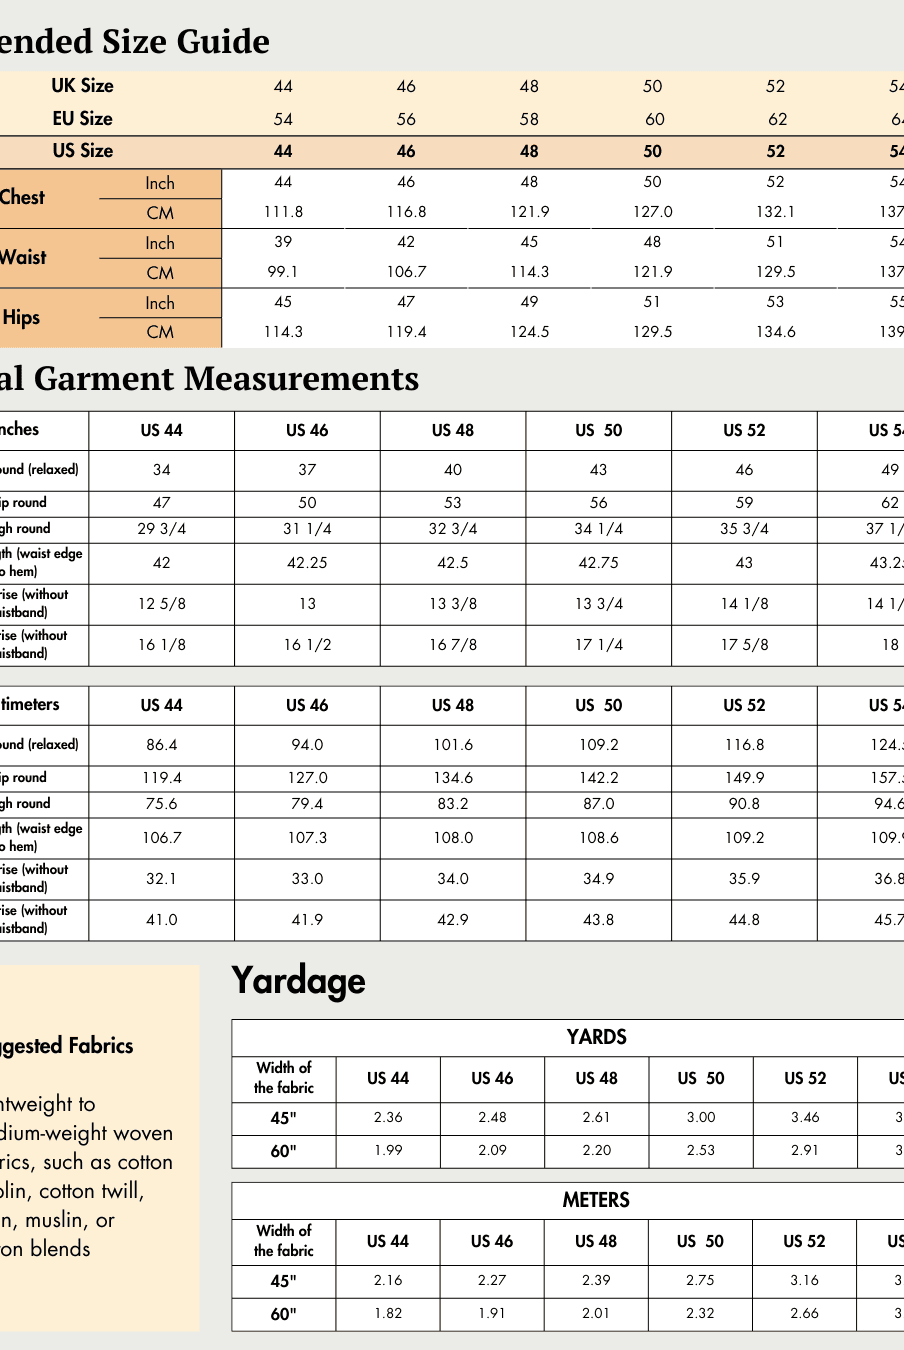
Size Charts
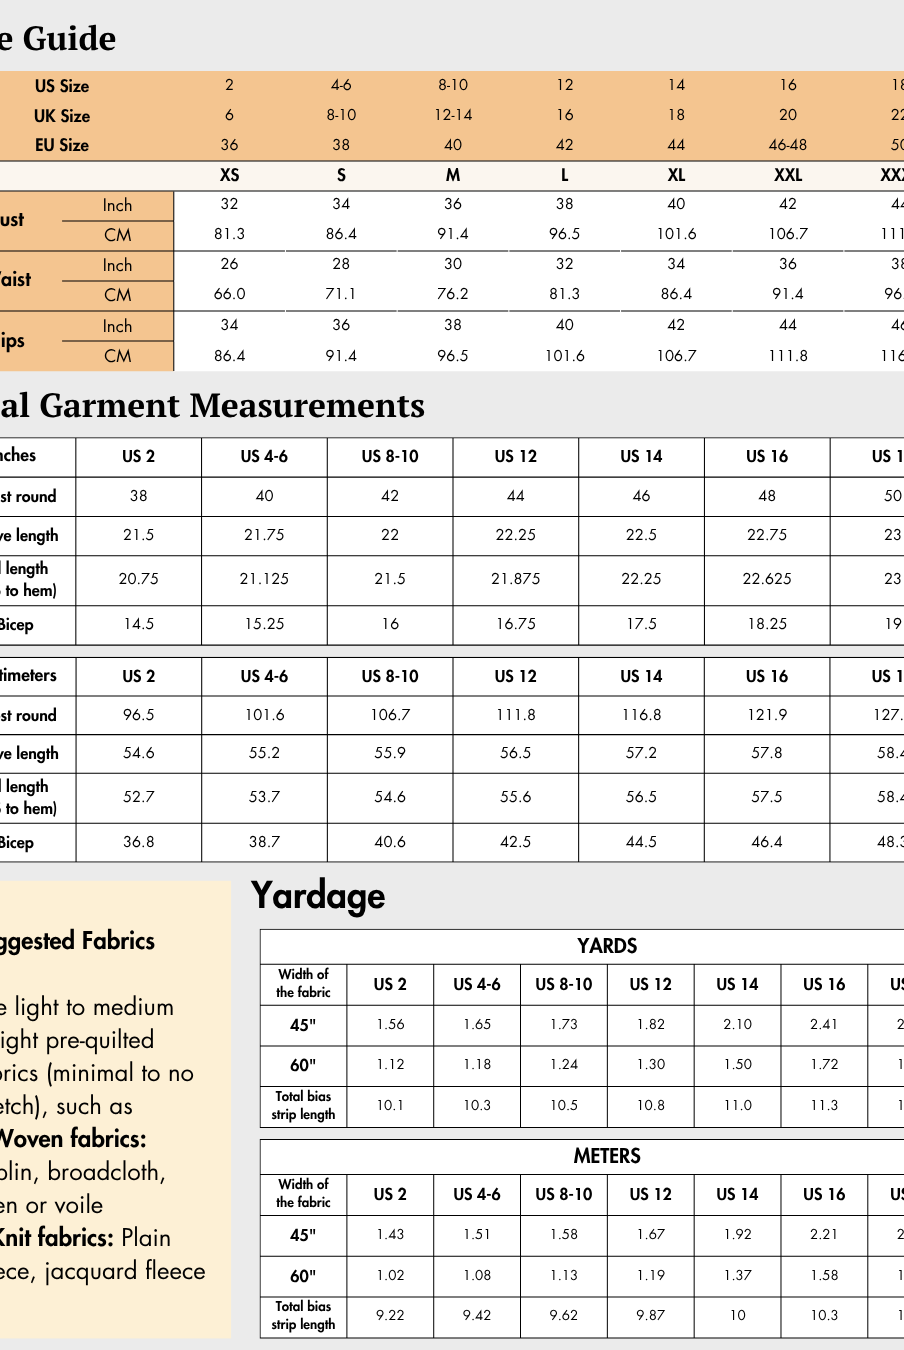
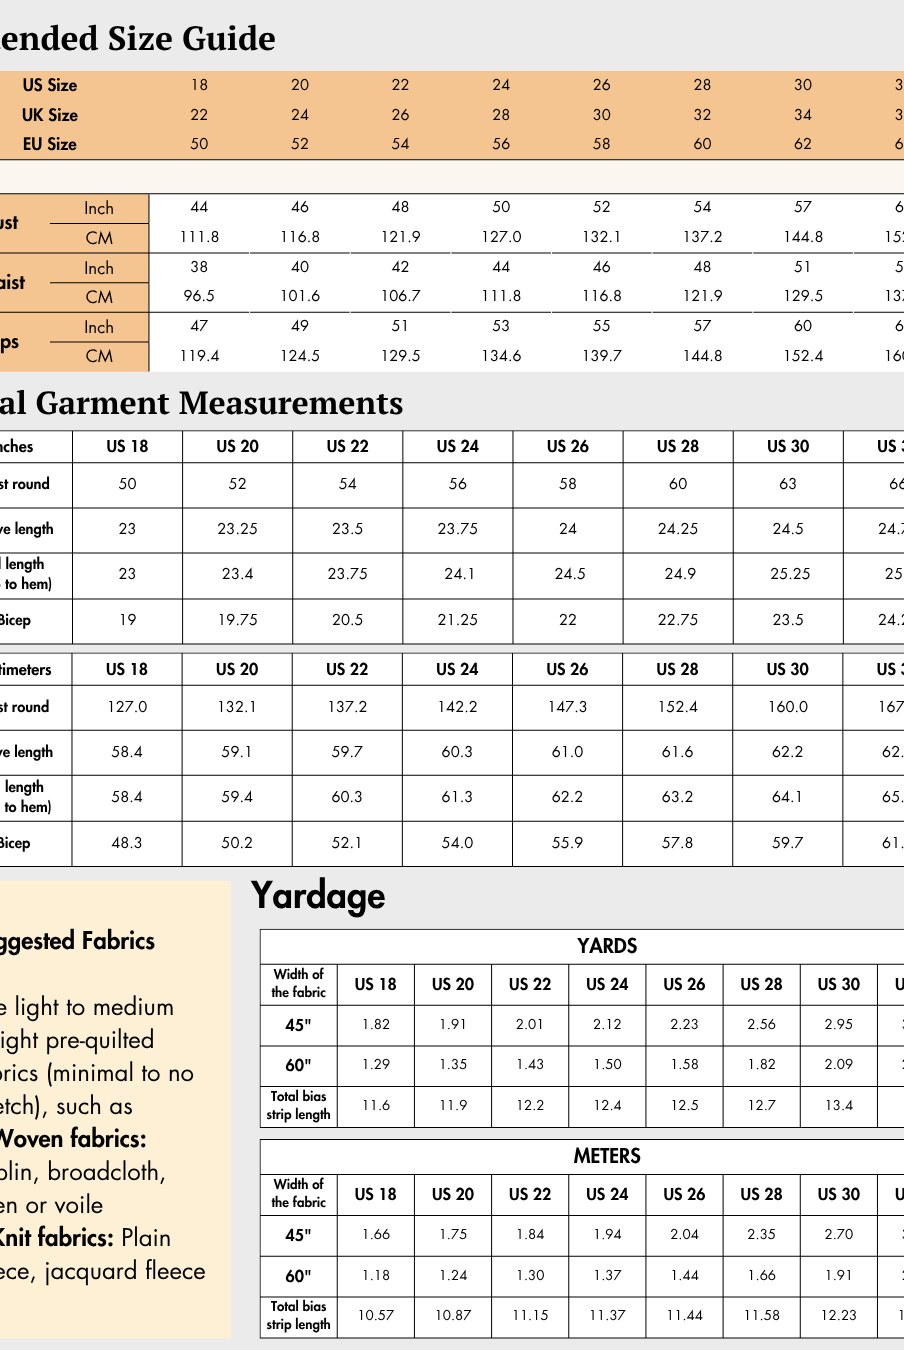
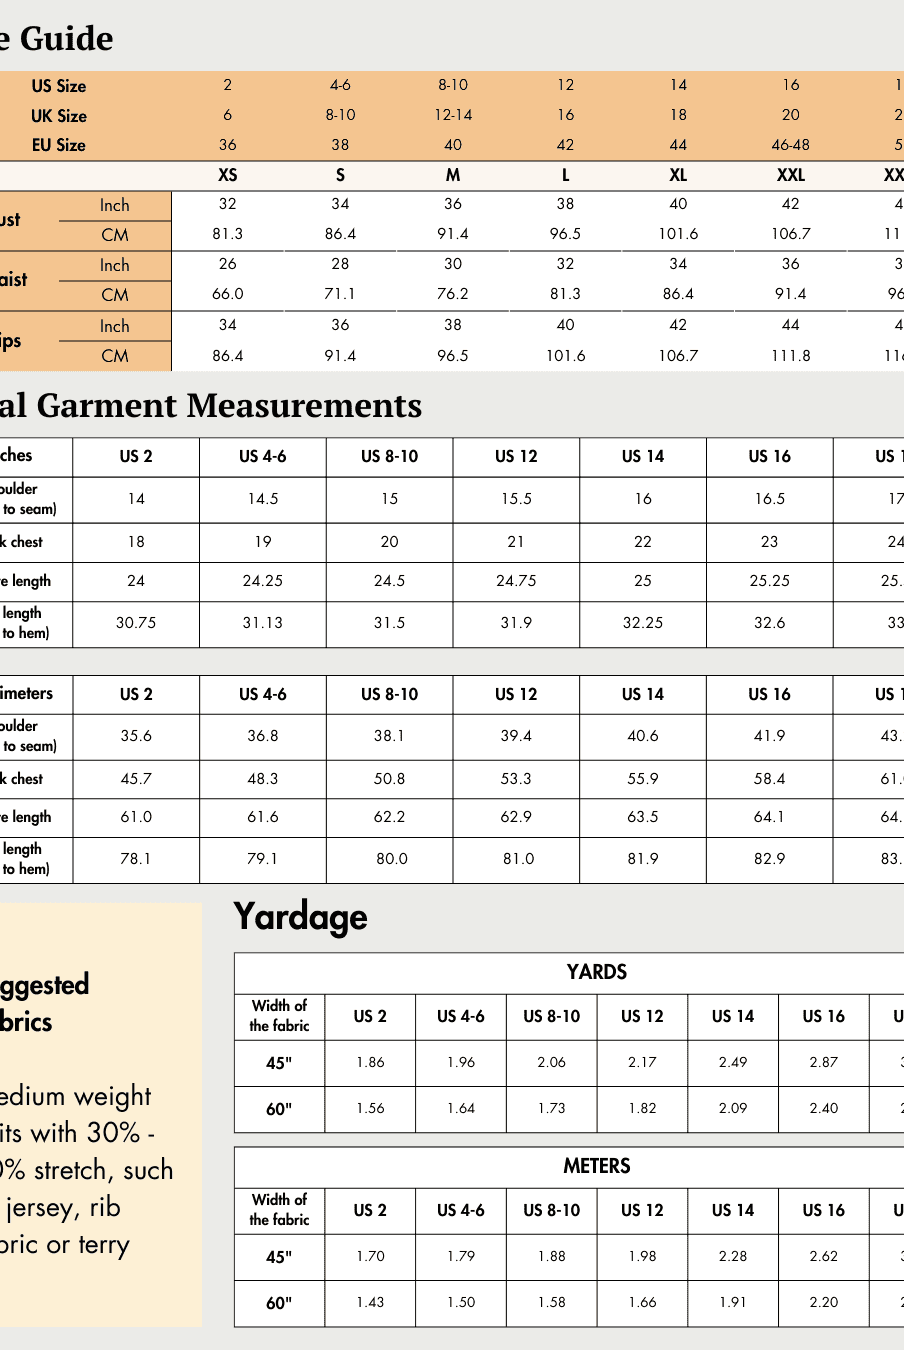
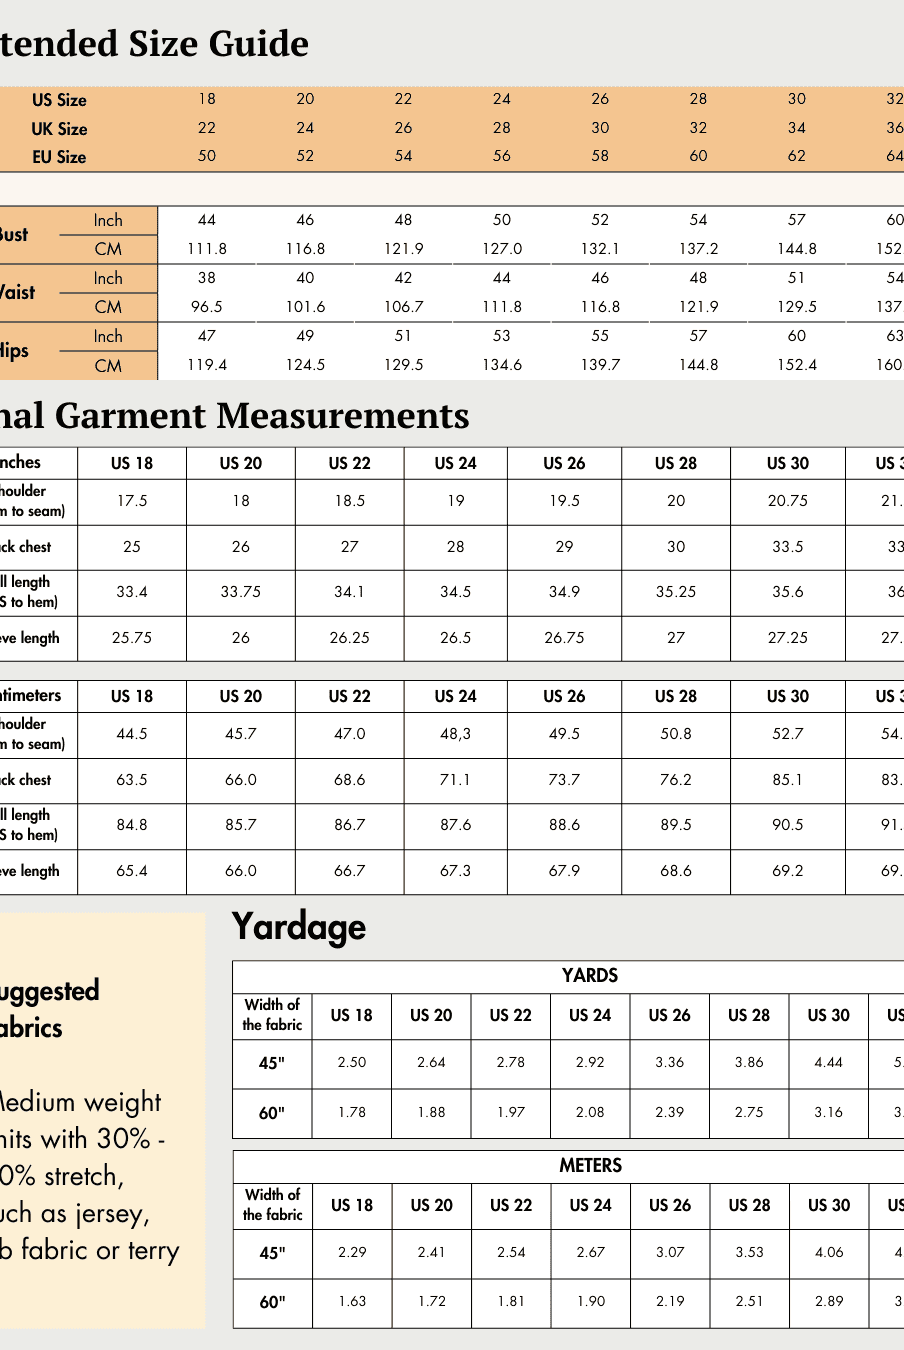
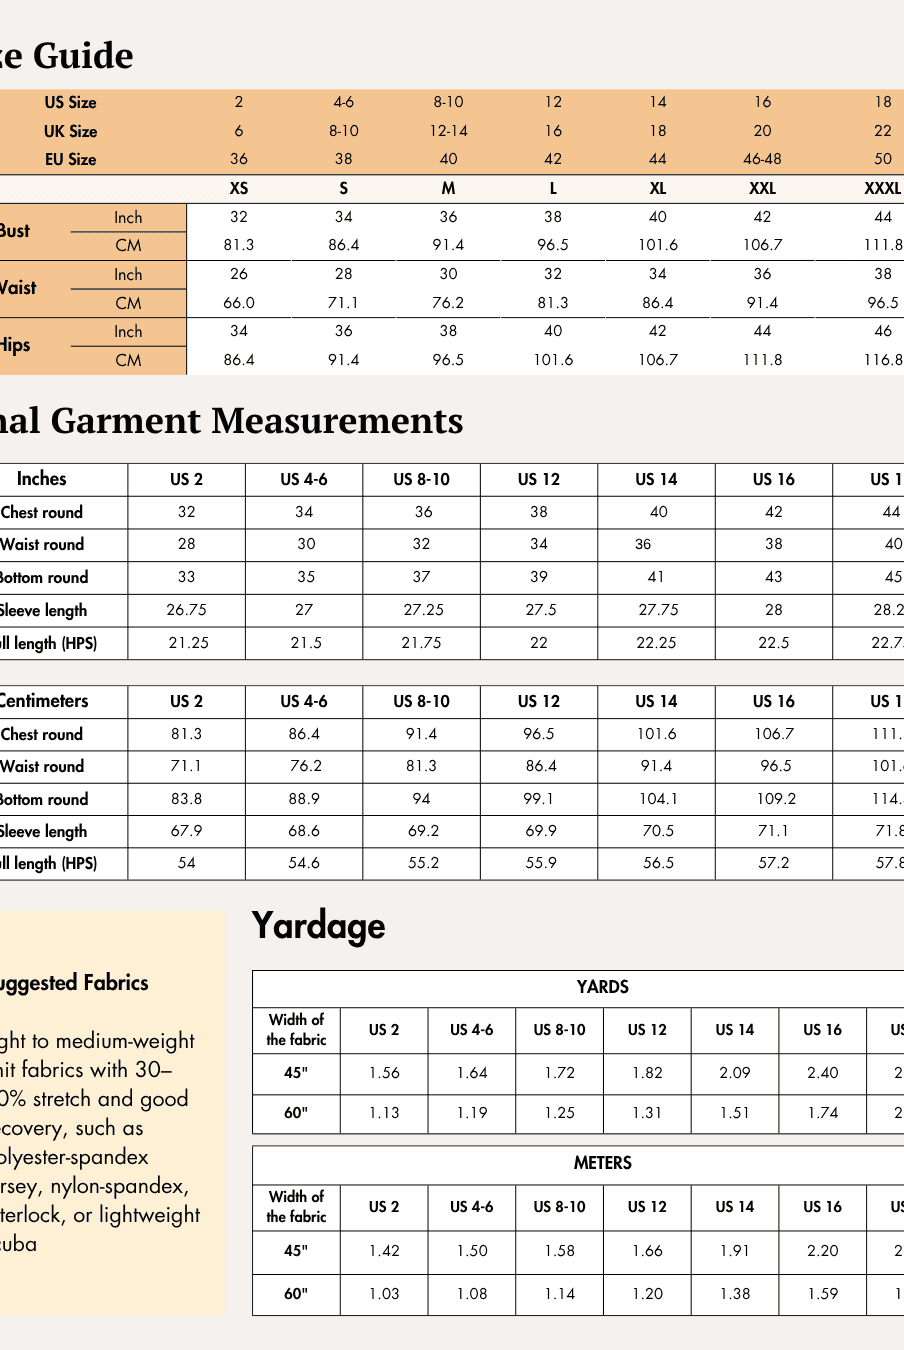
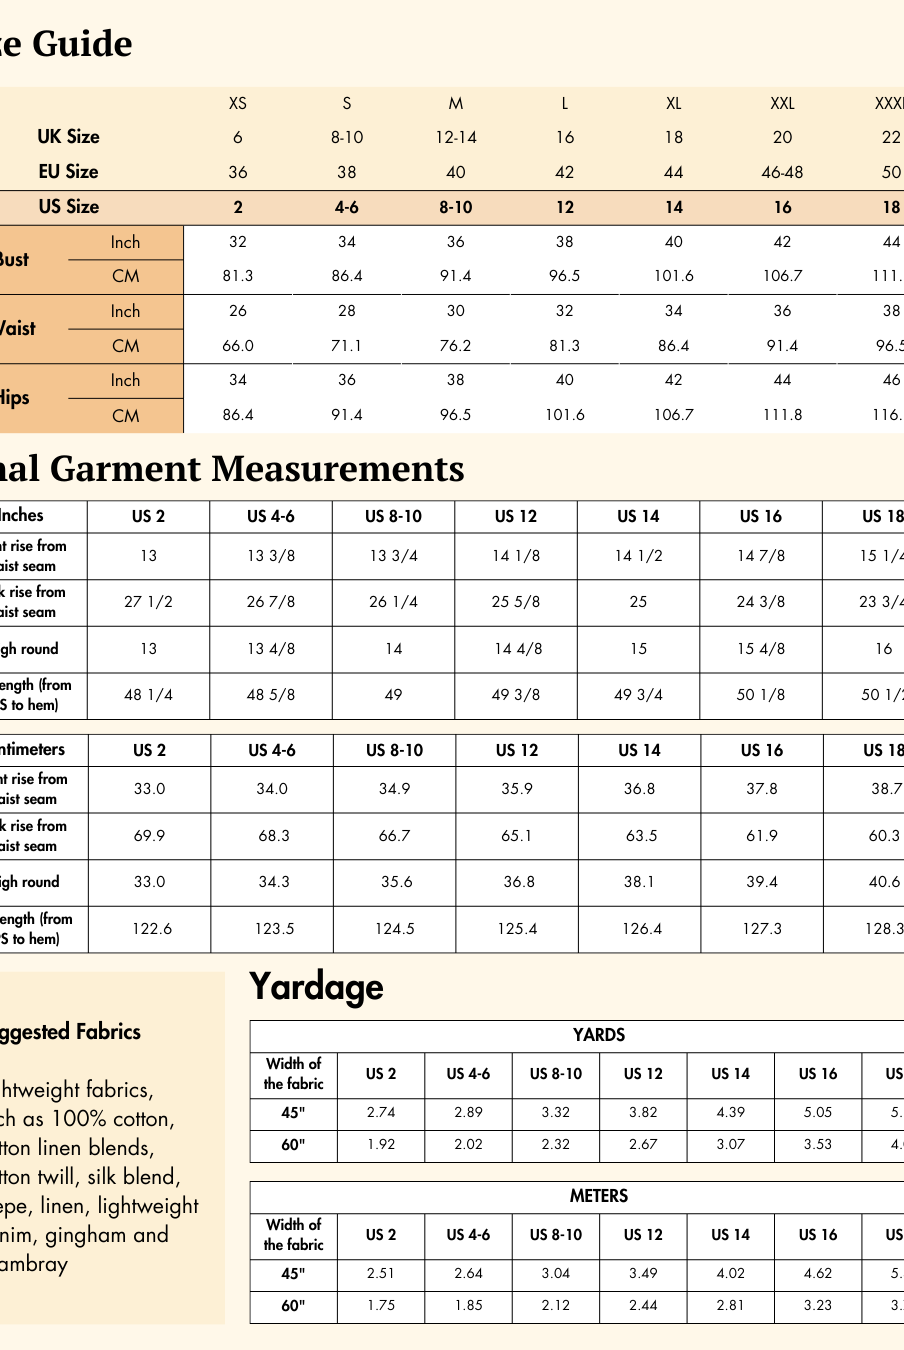
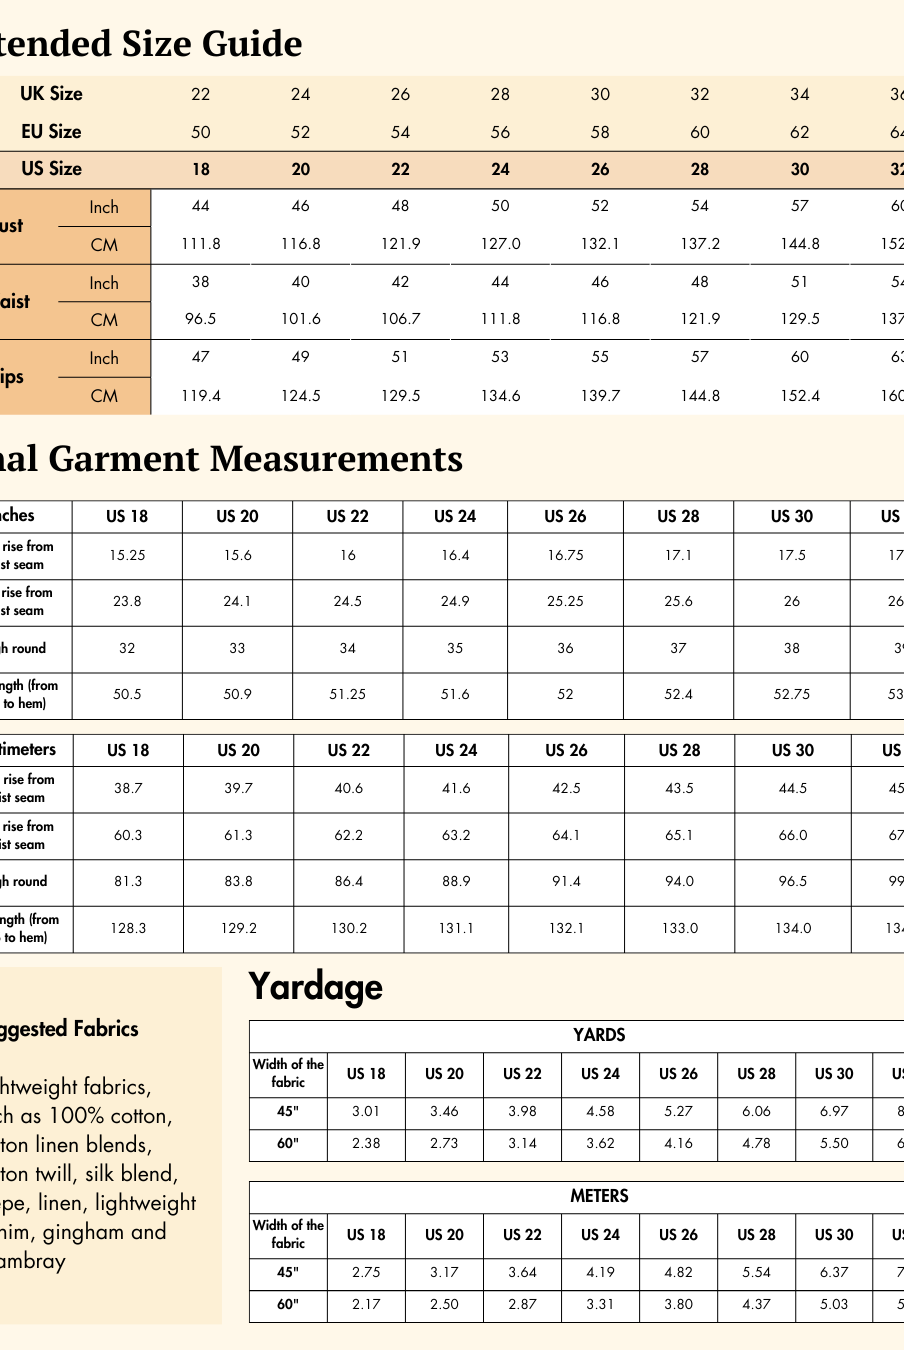
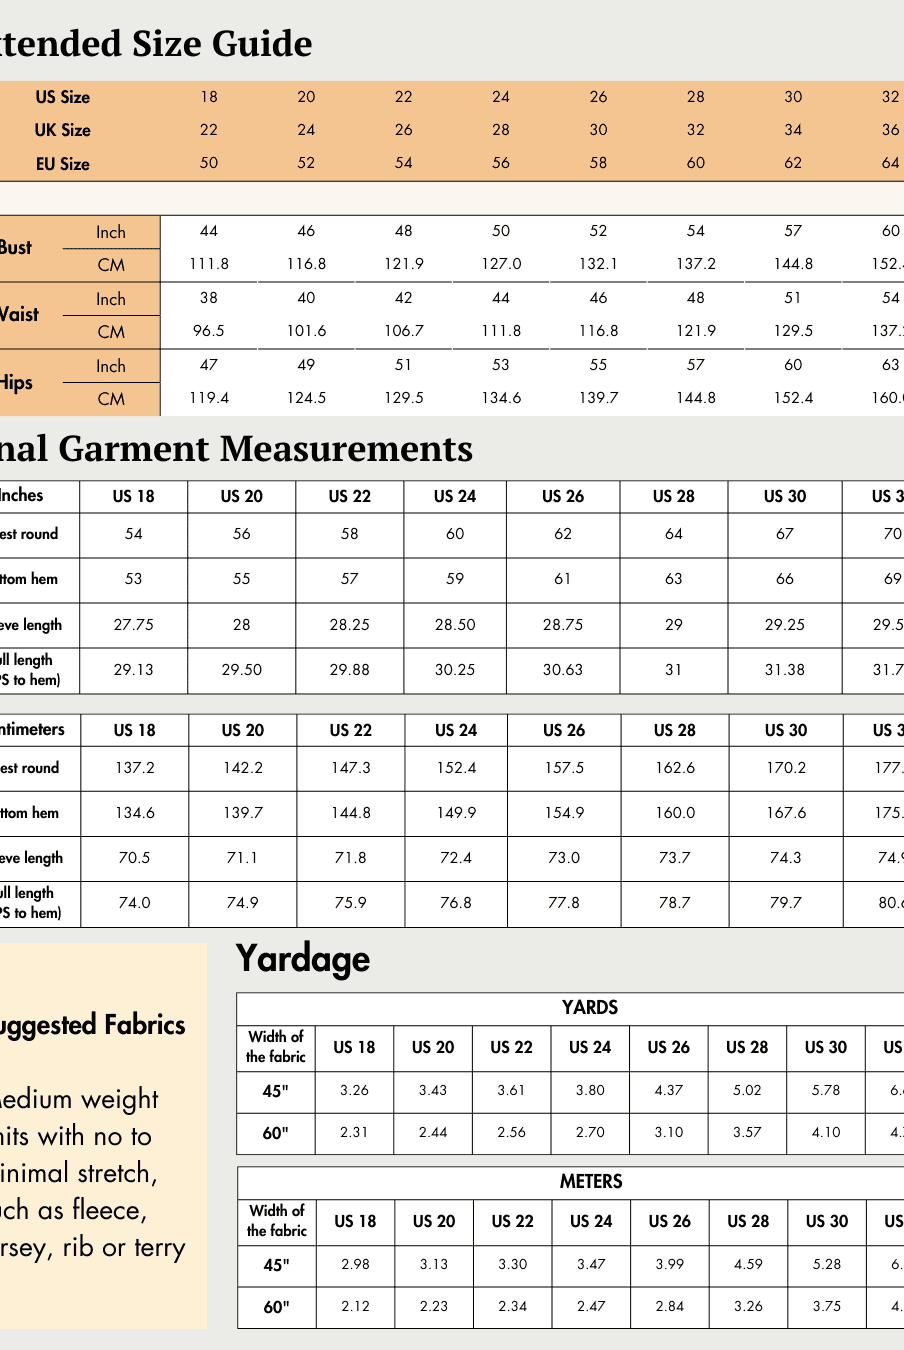
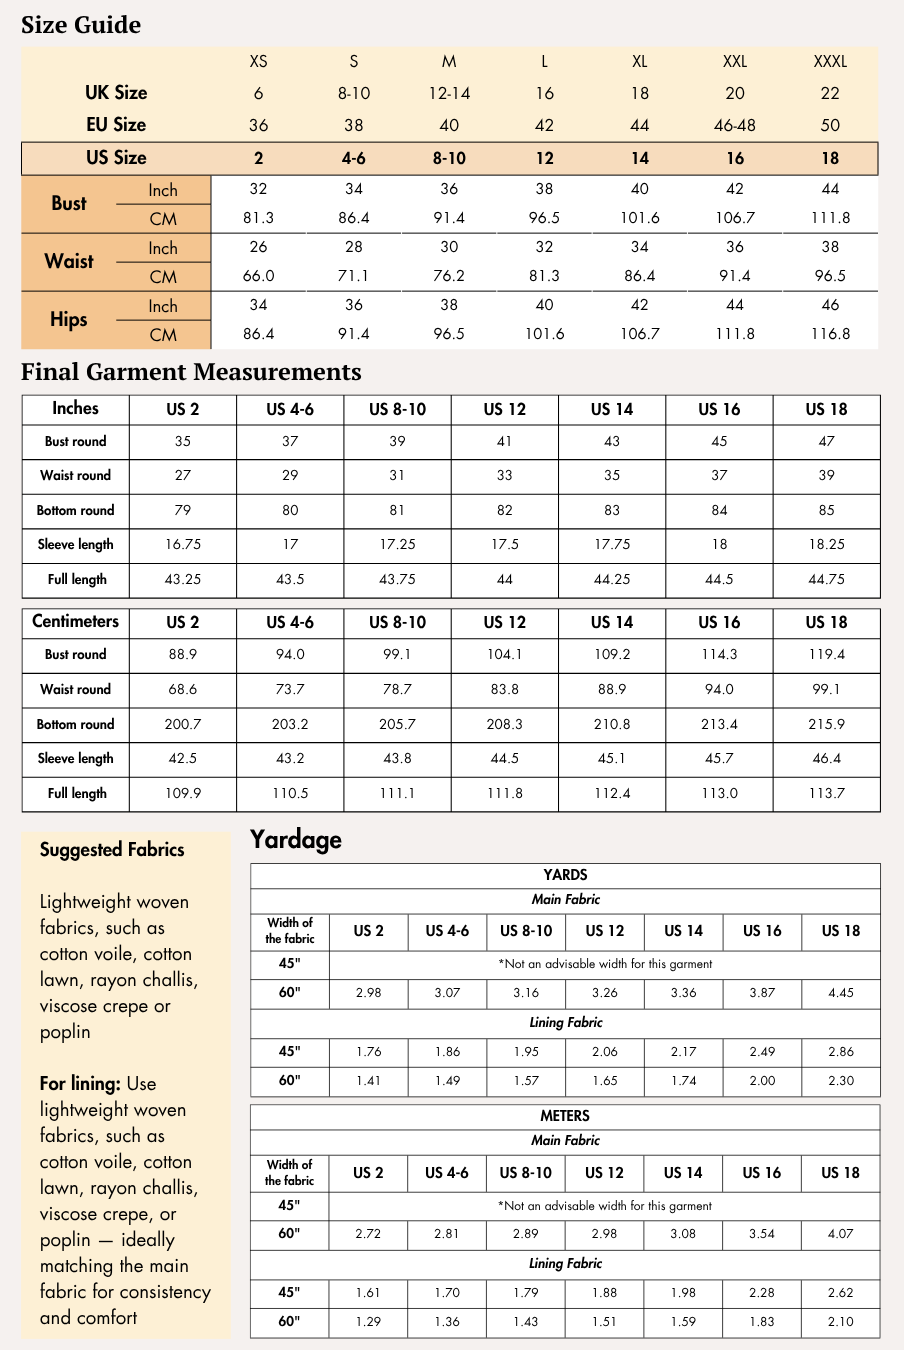
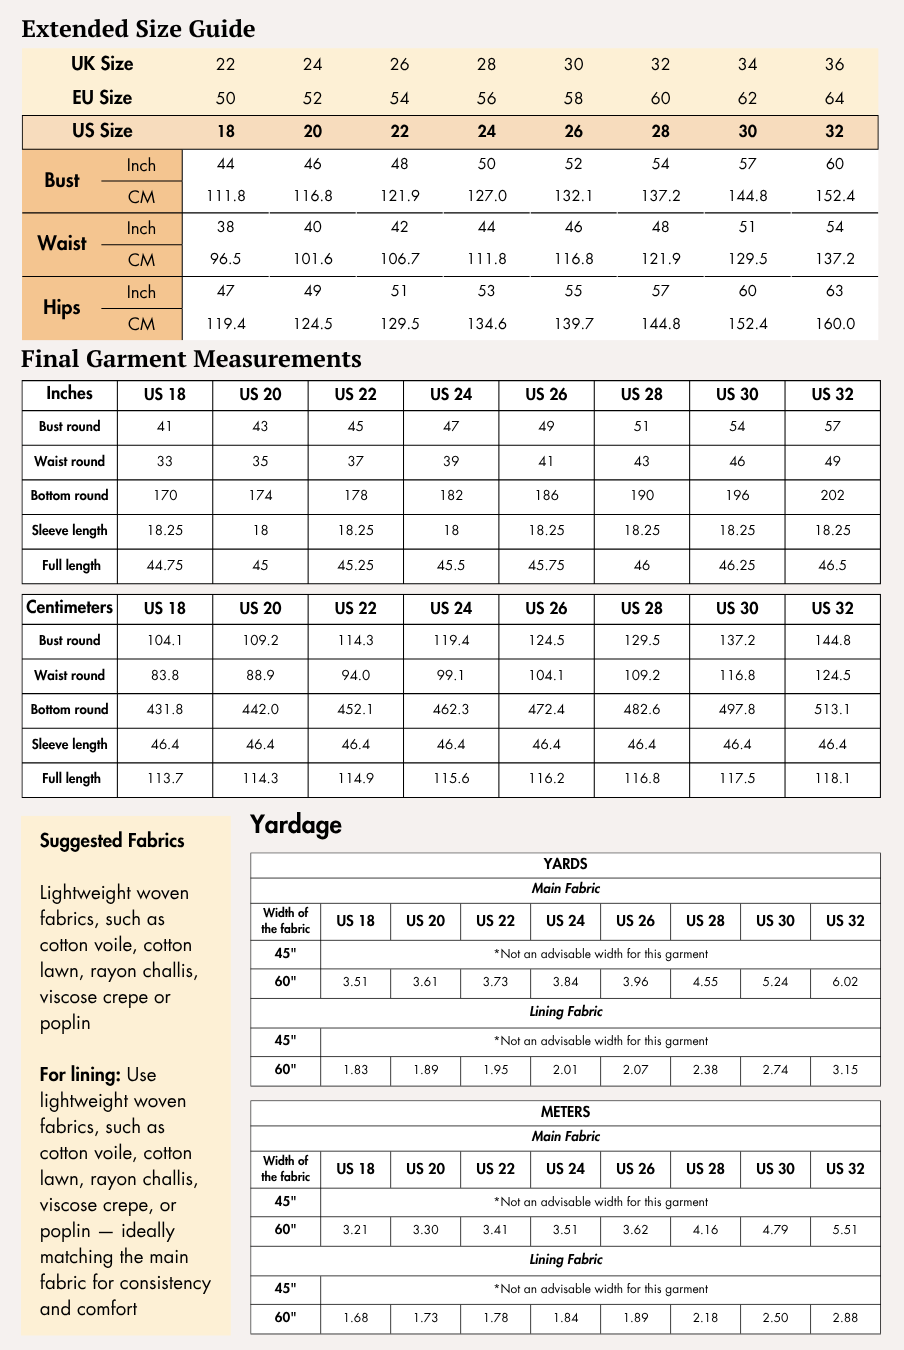
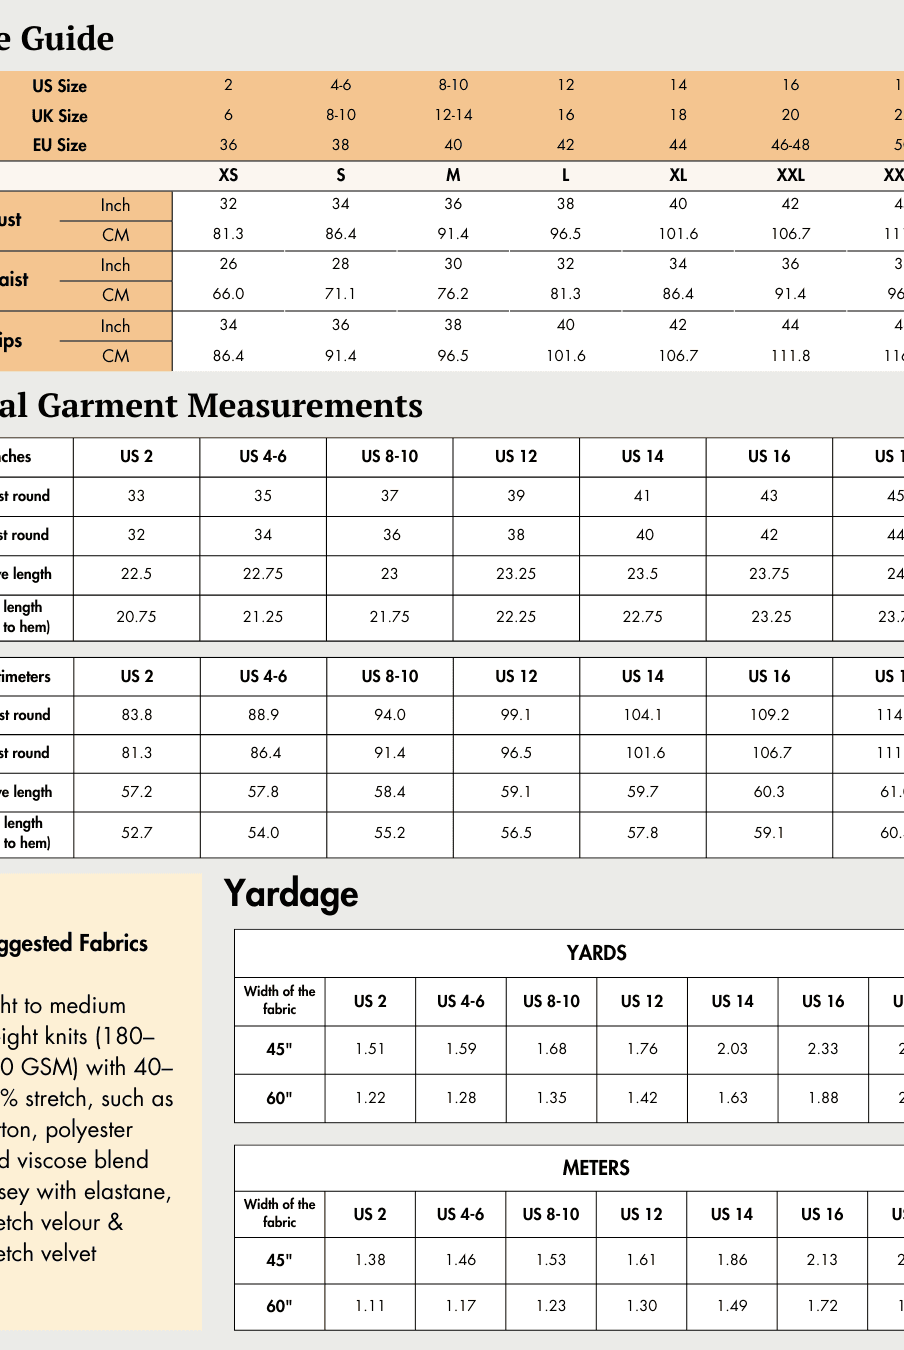
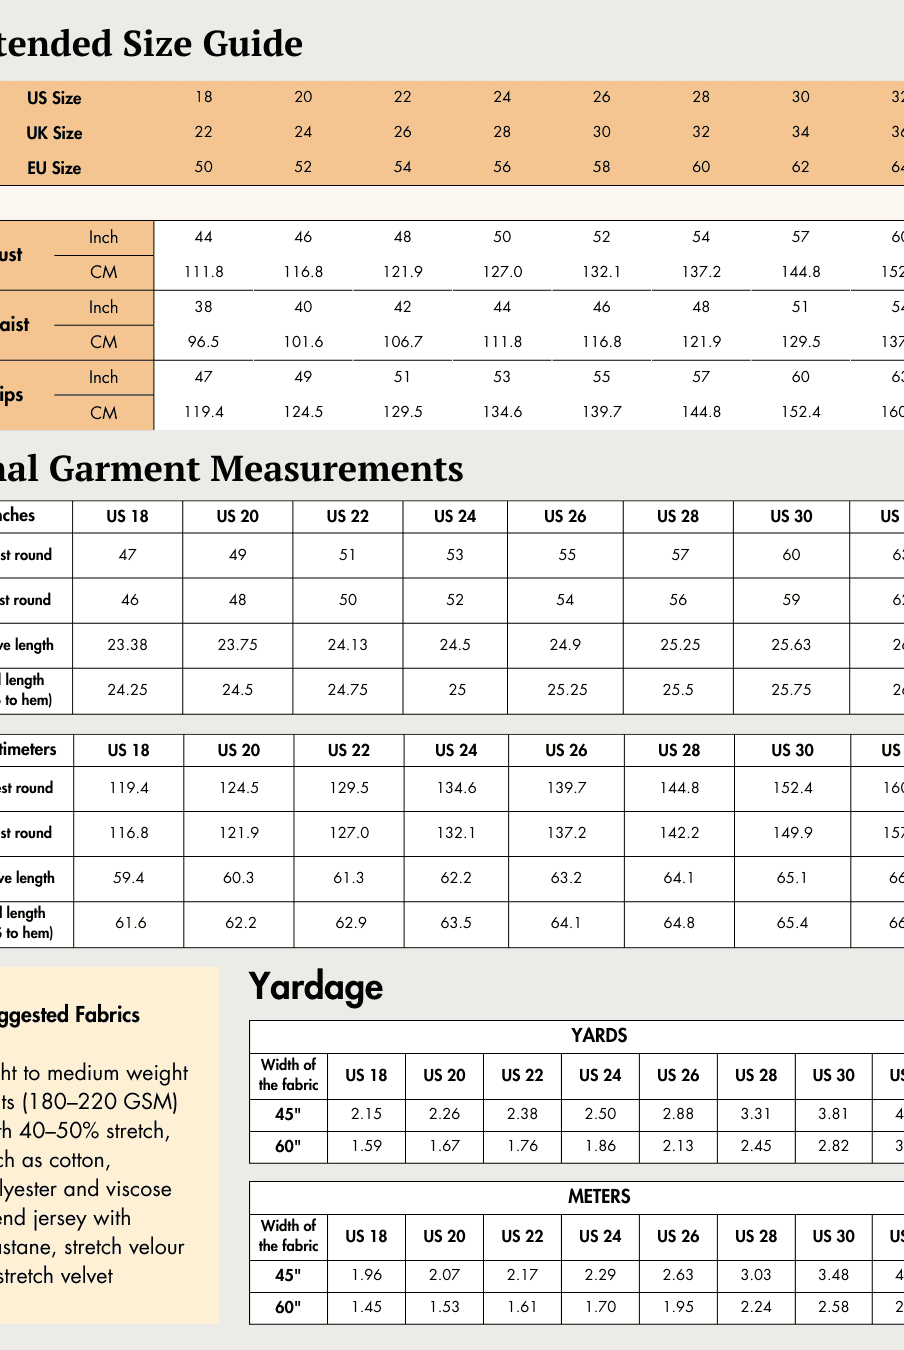
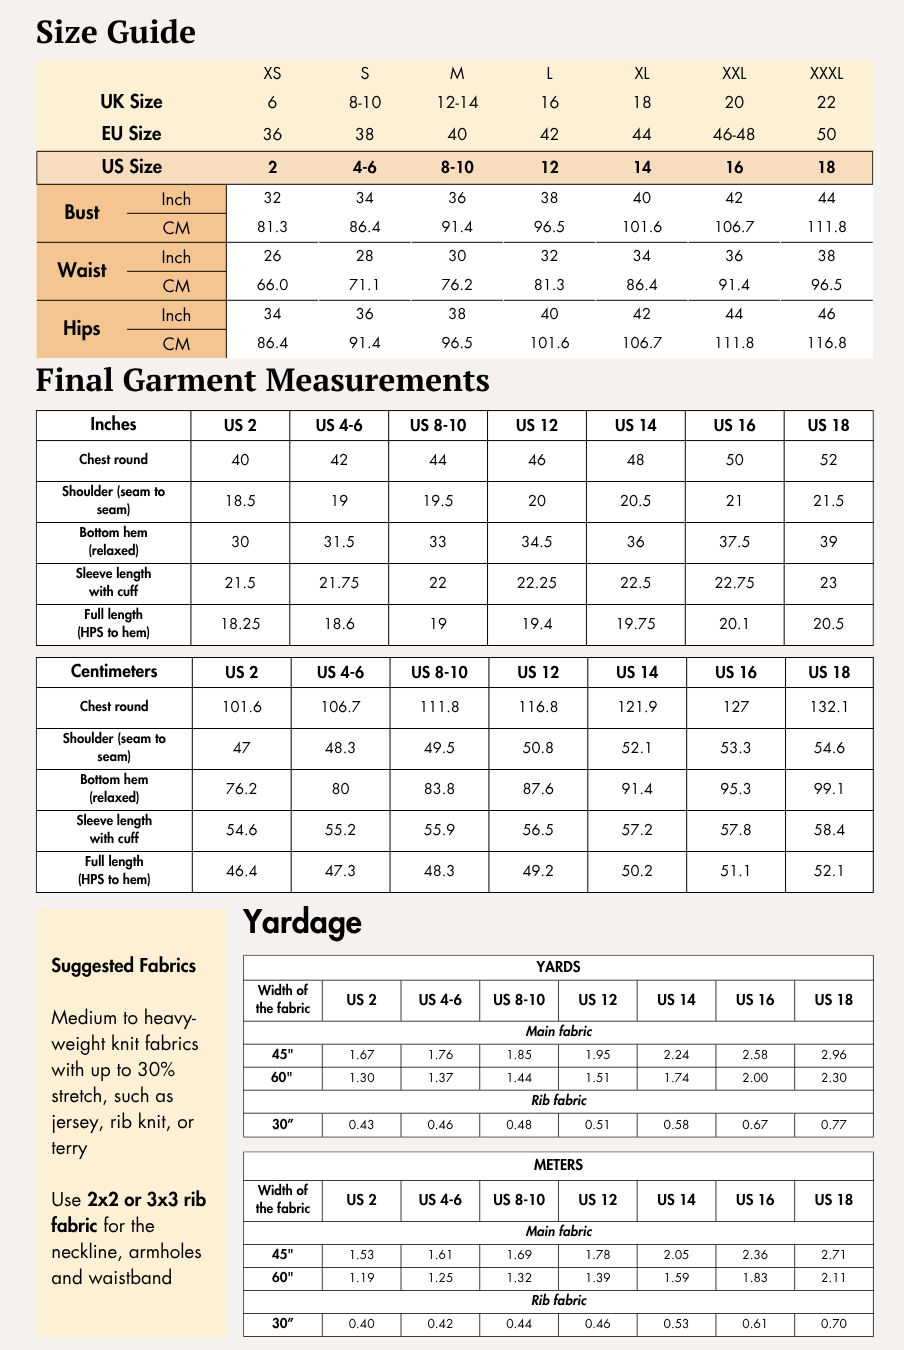
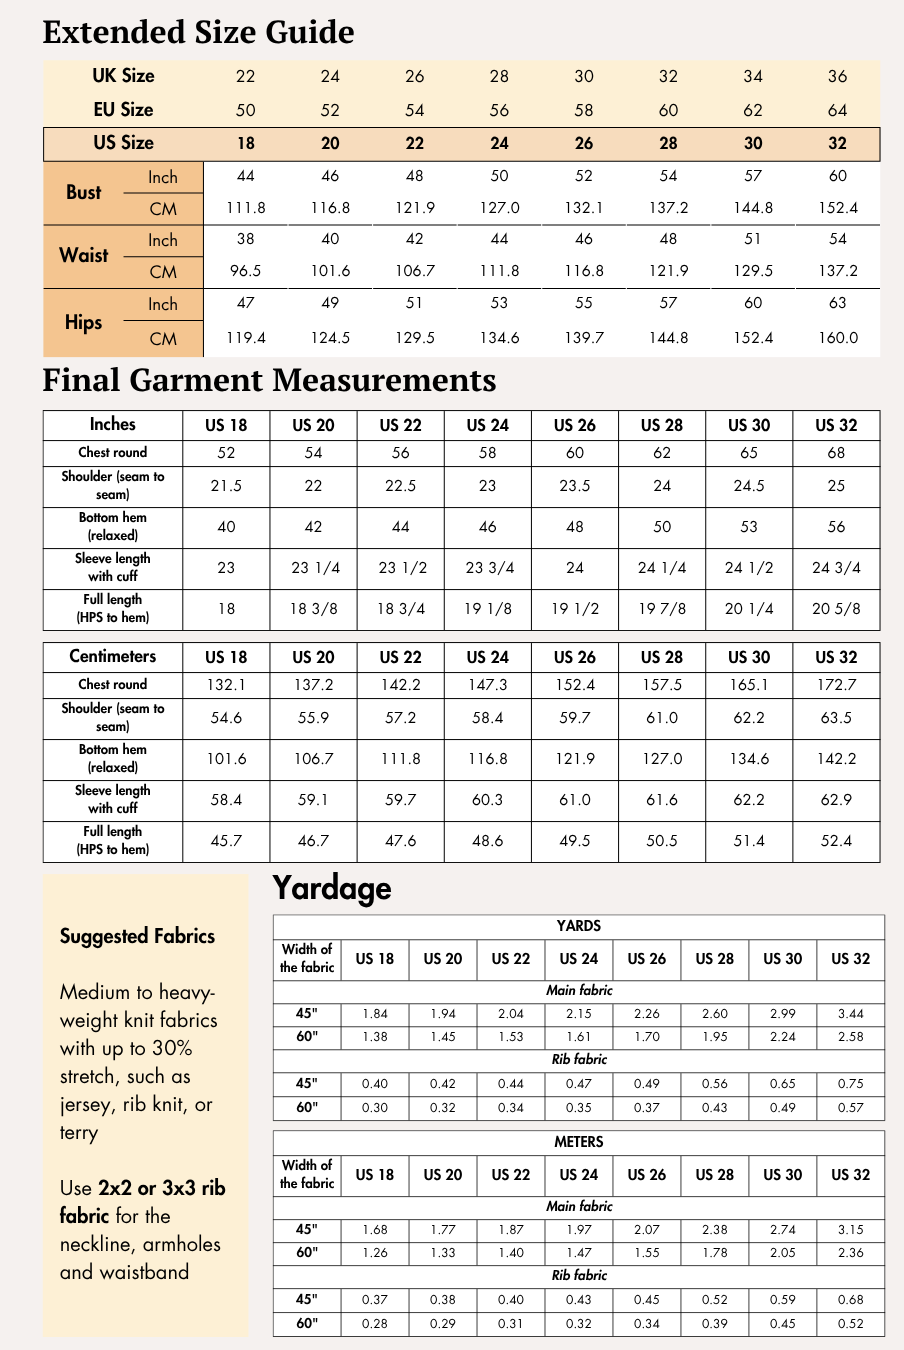
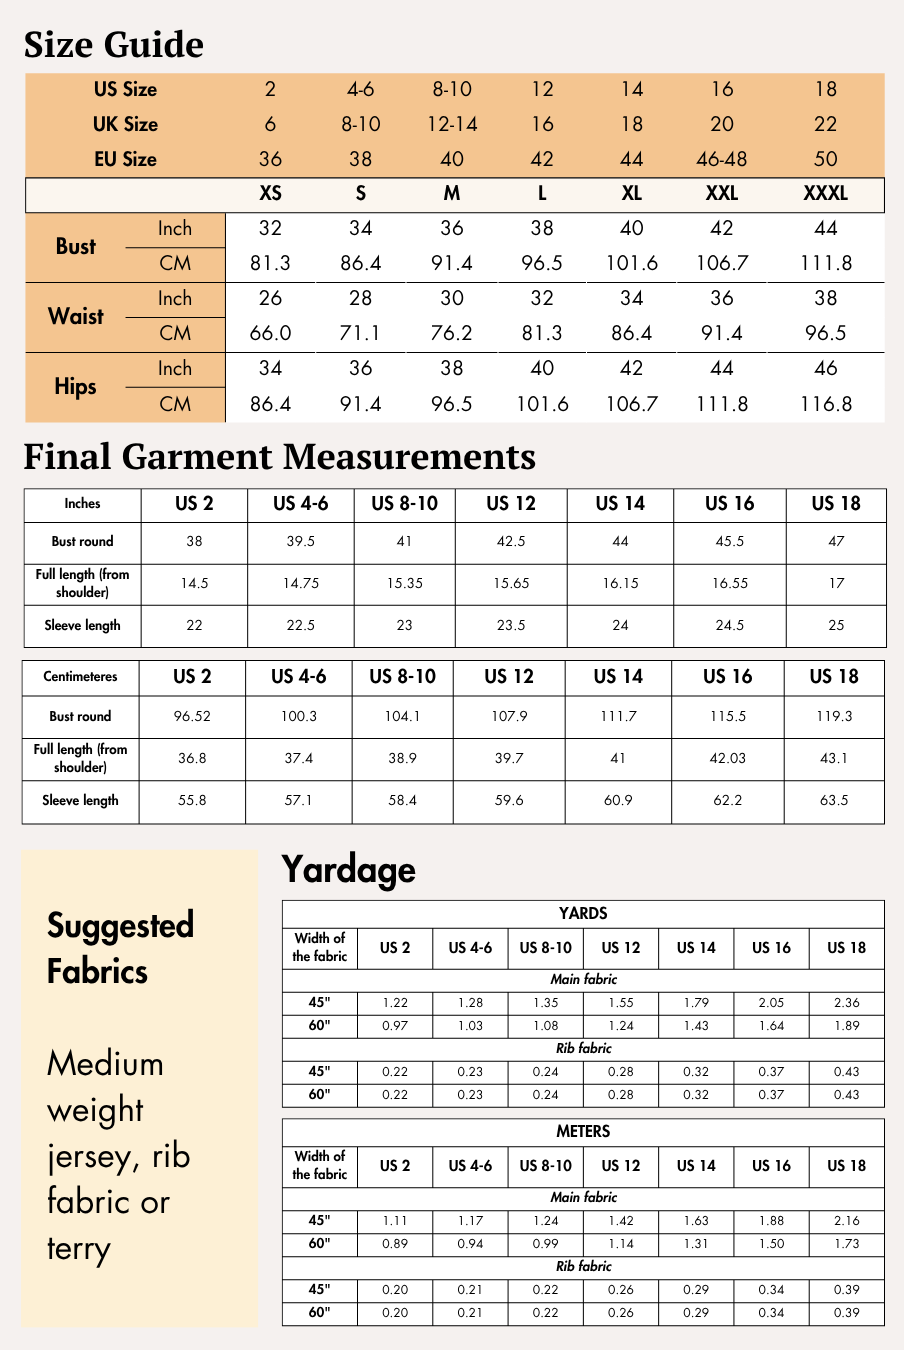
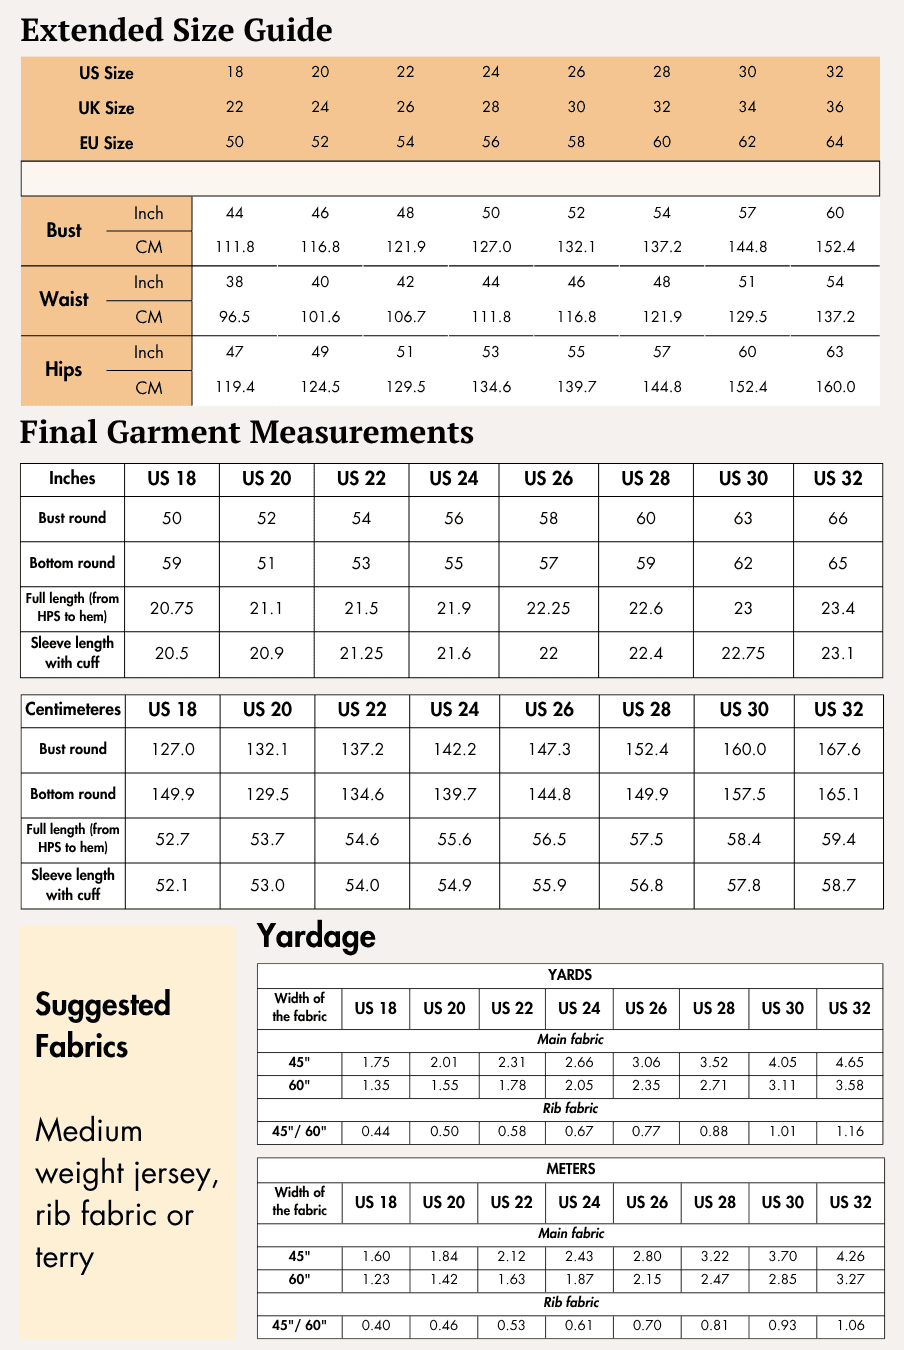
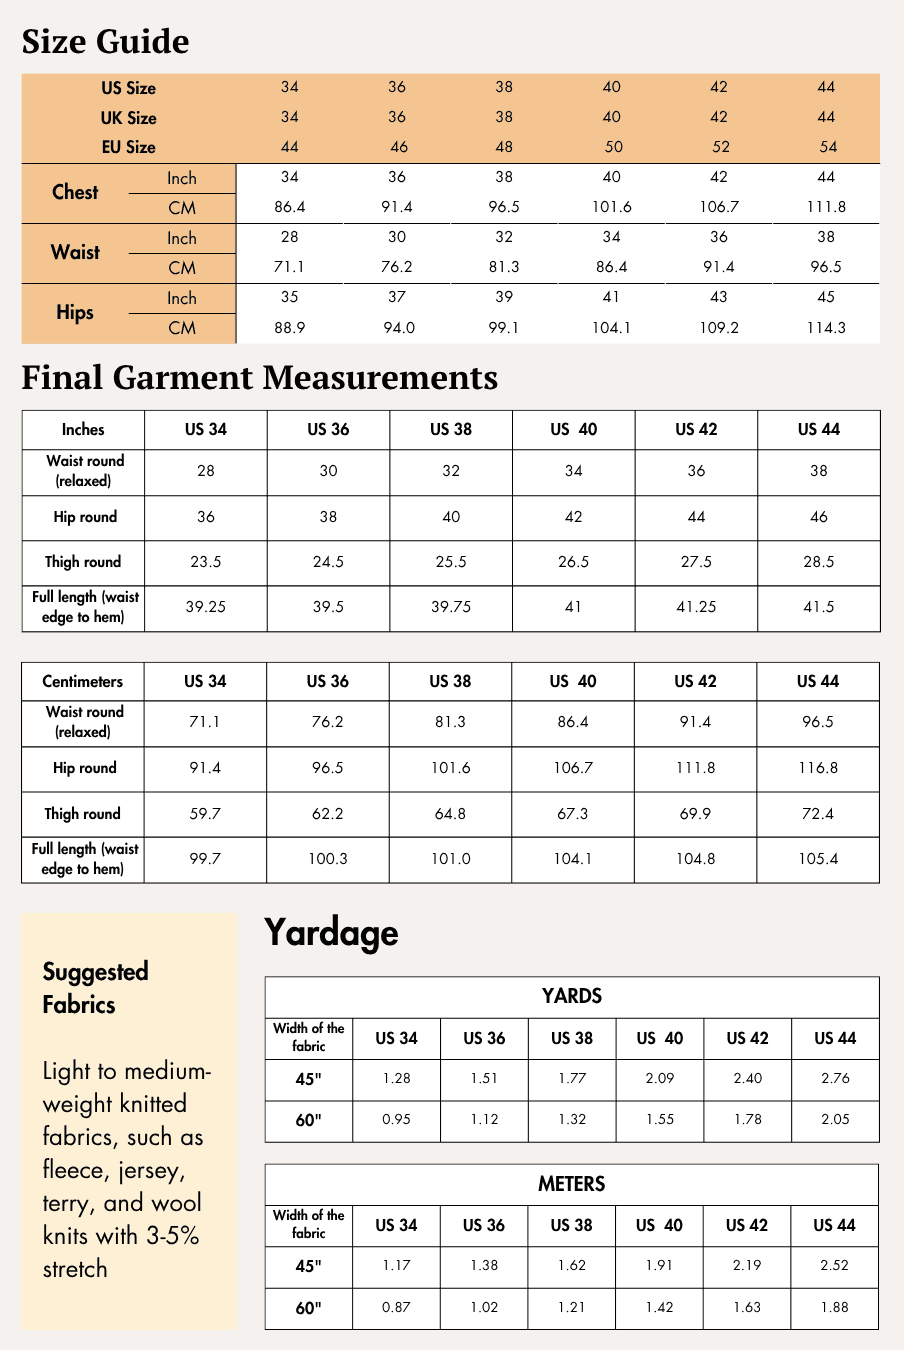
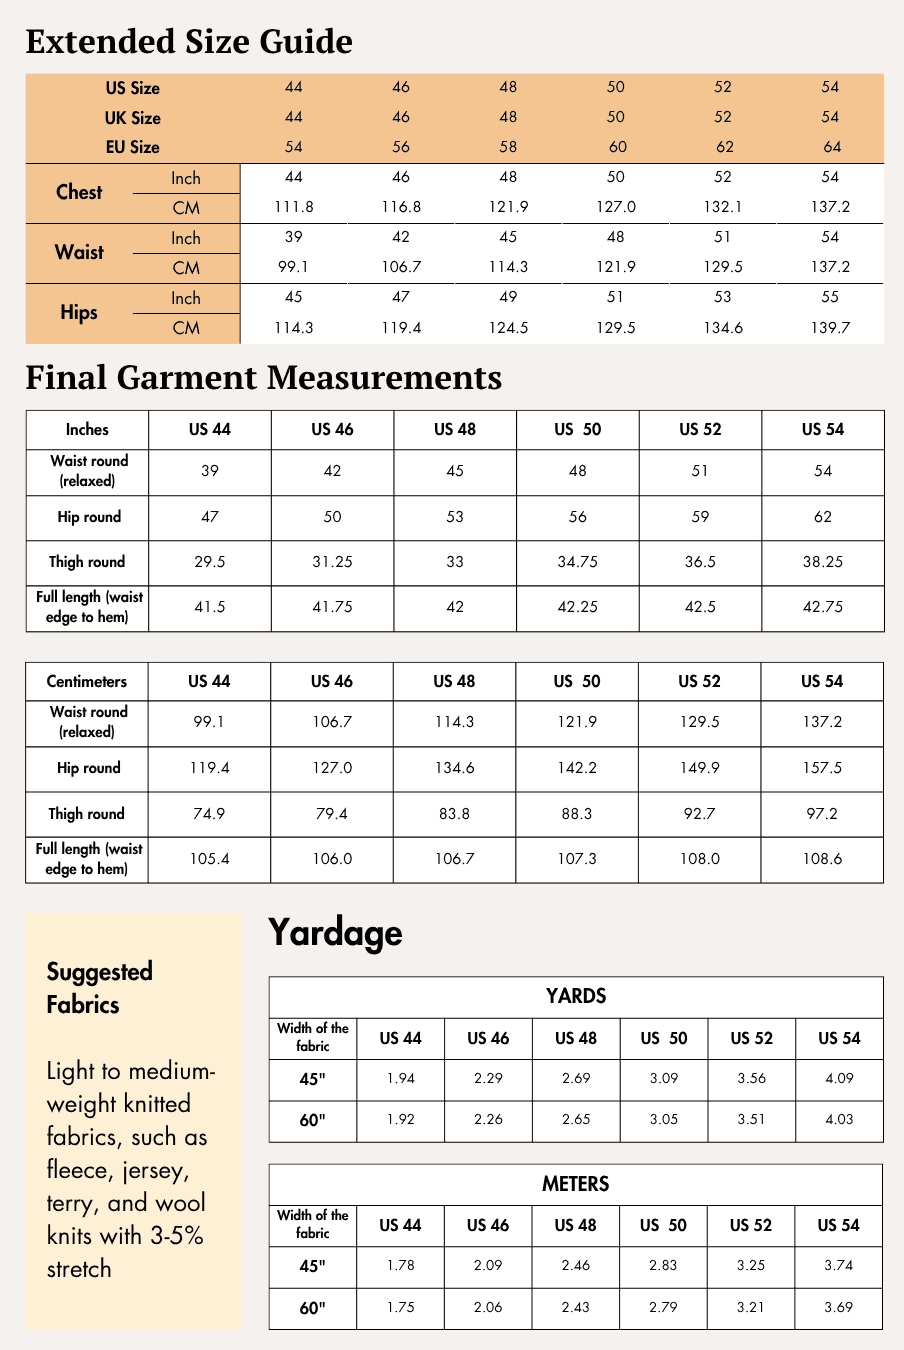
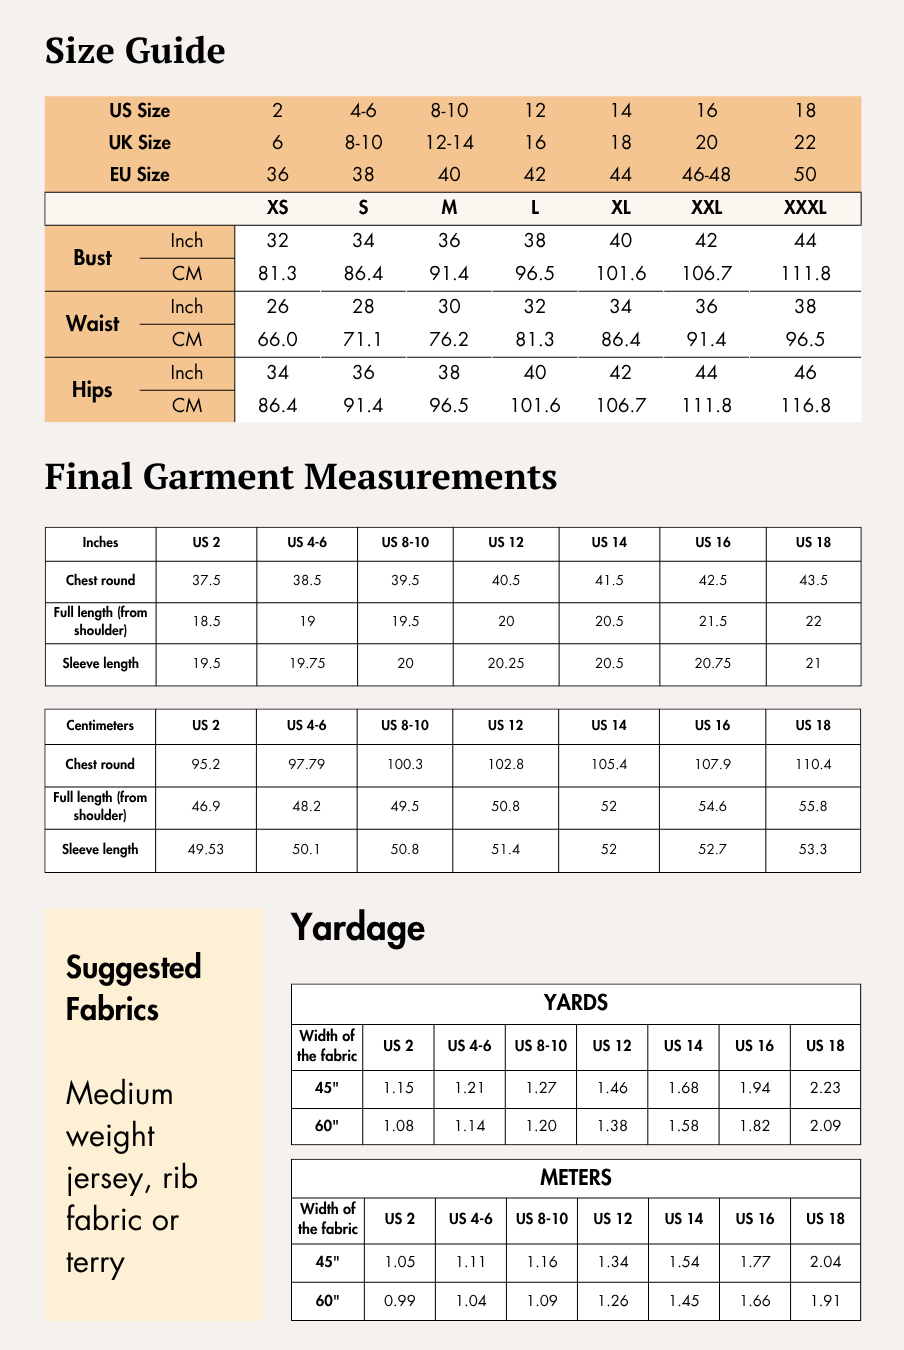
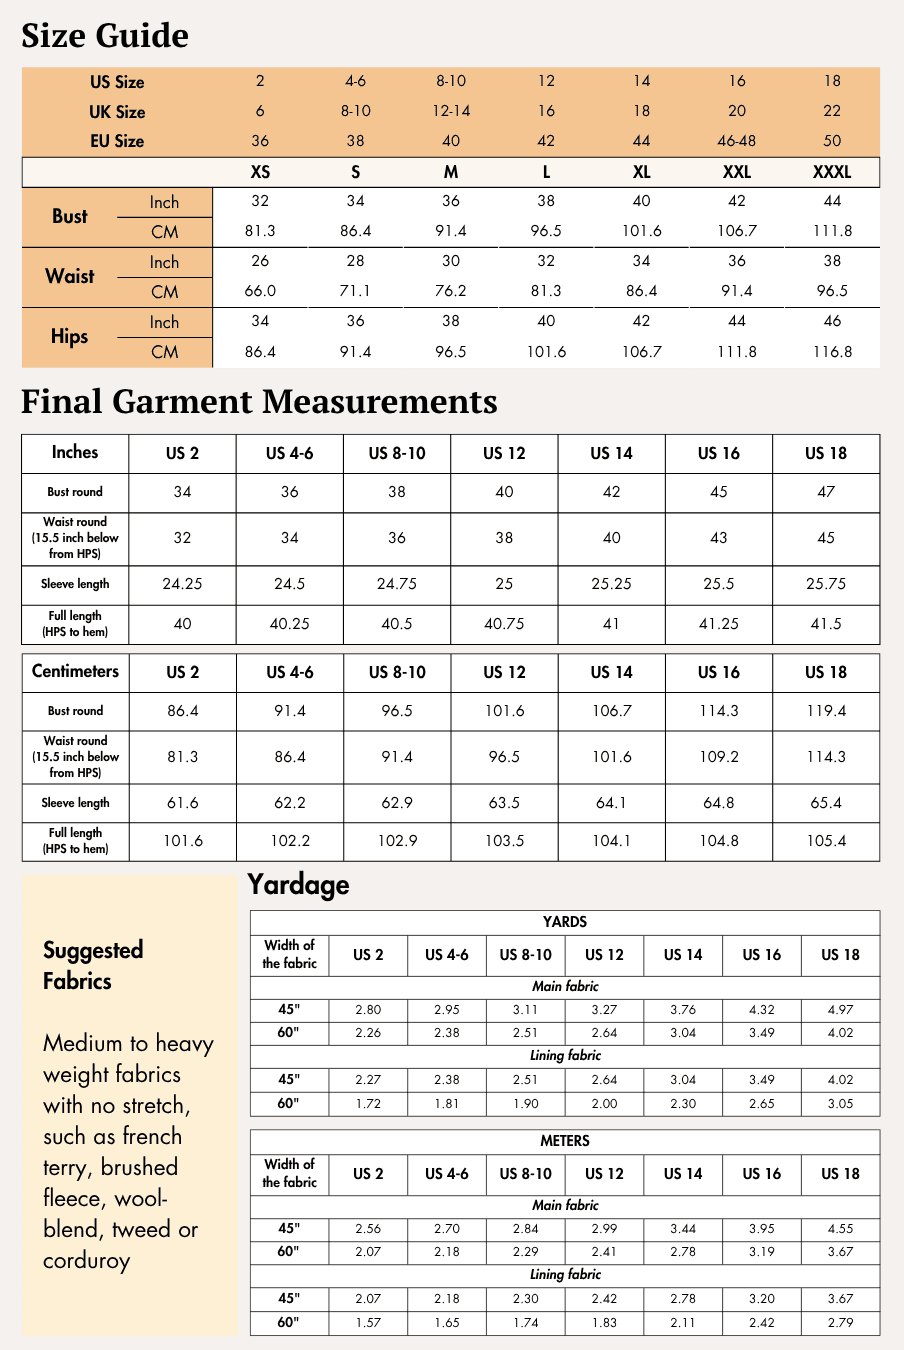
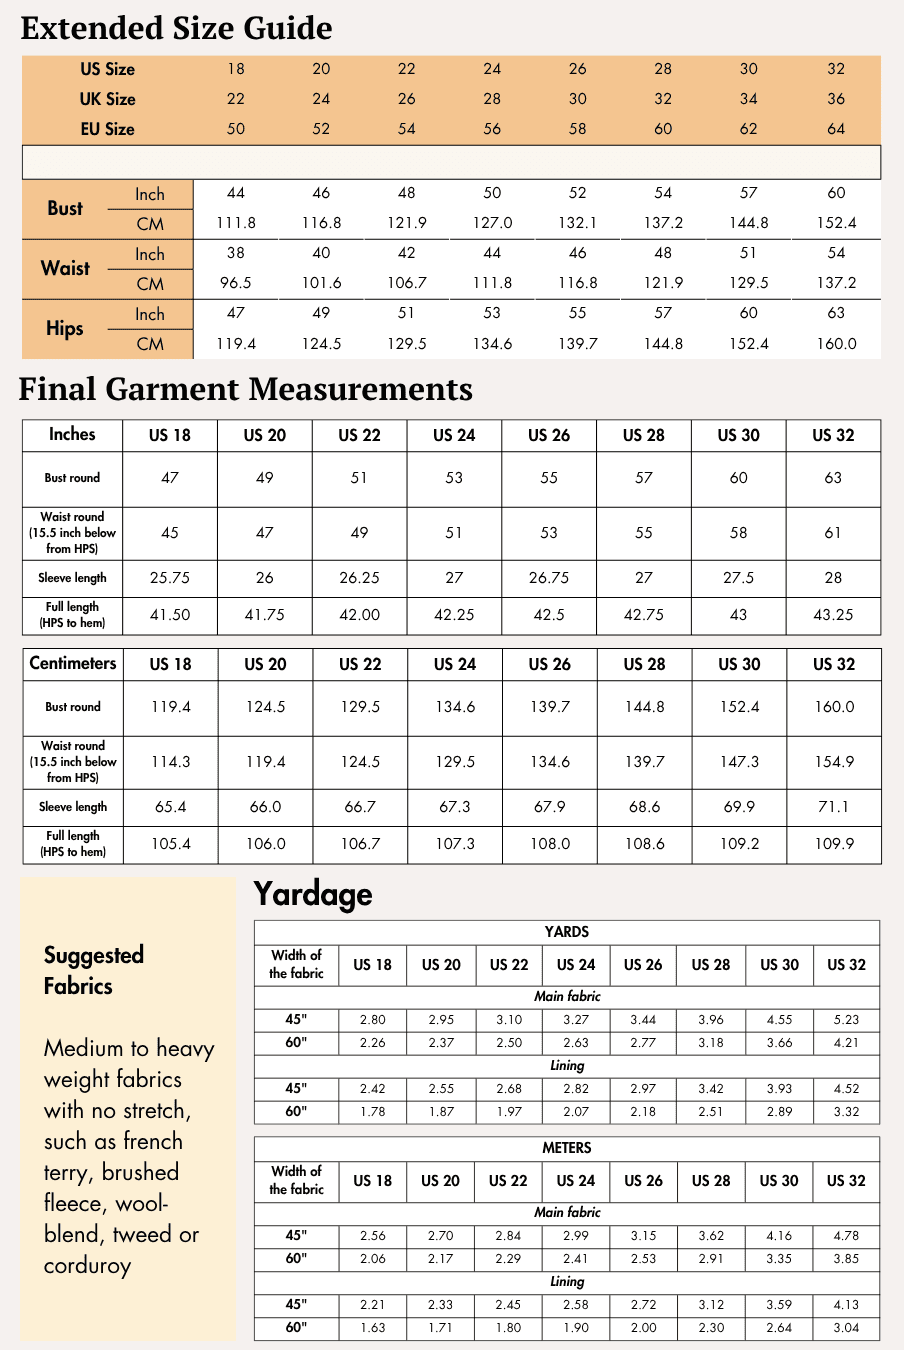
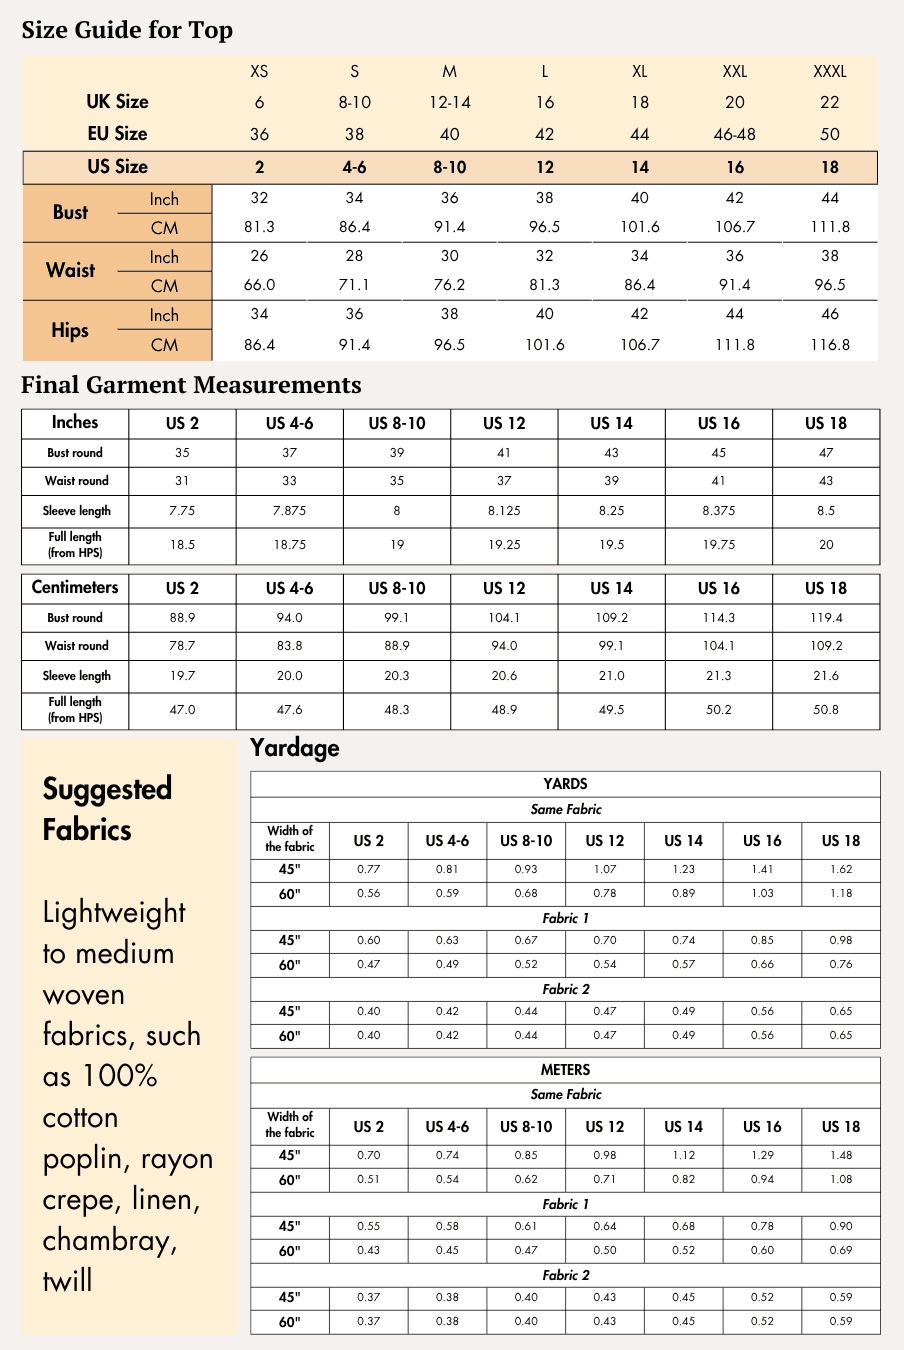
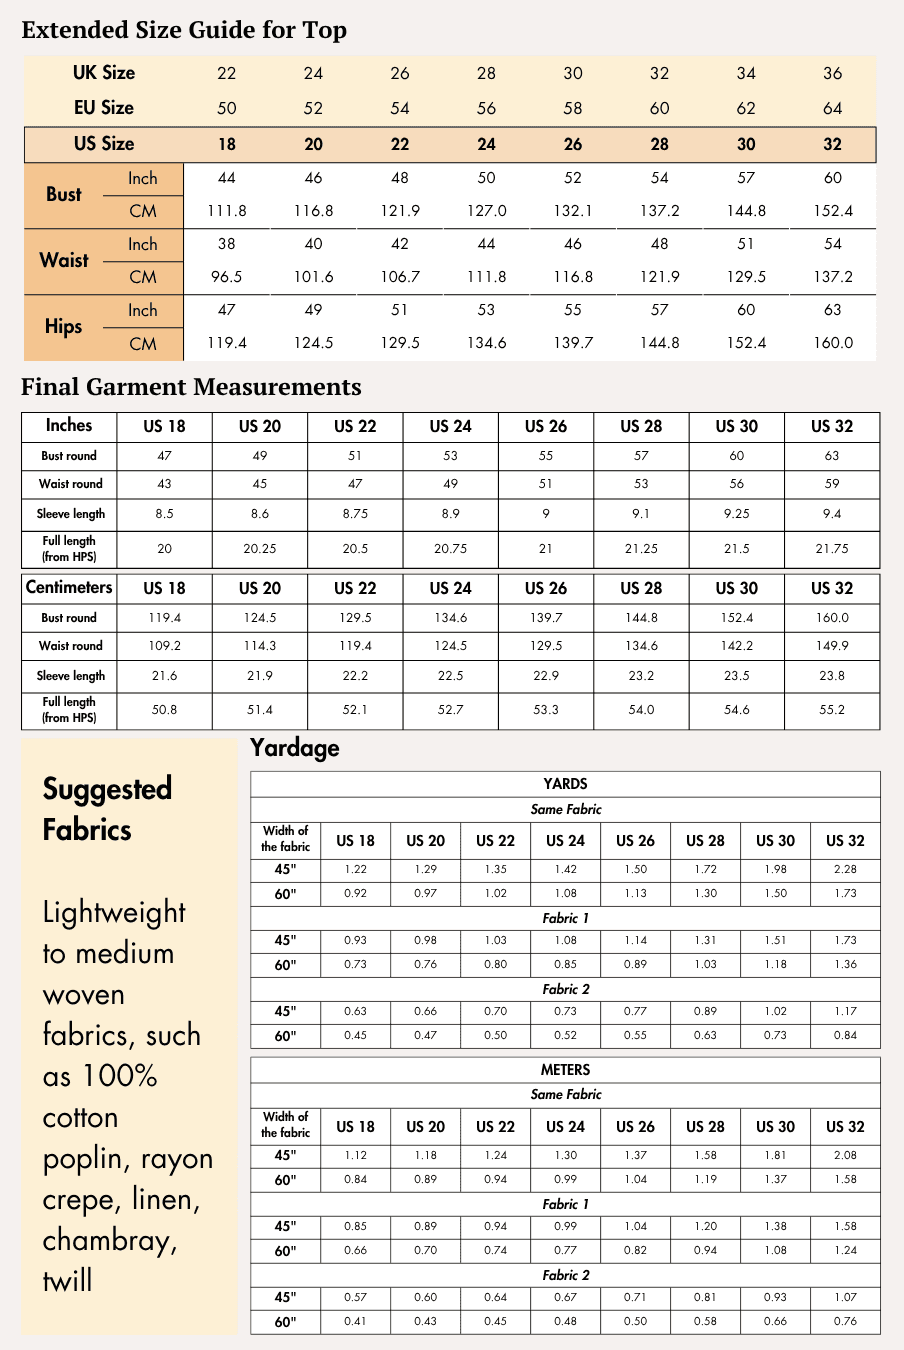
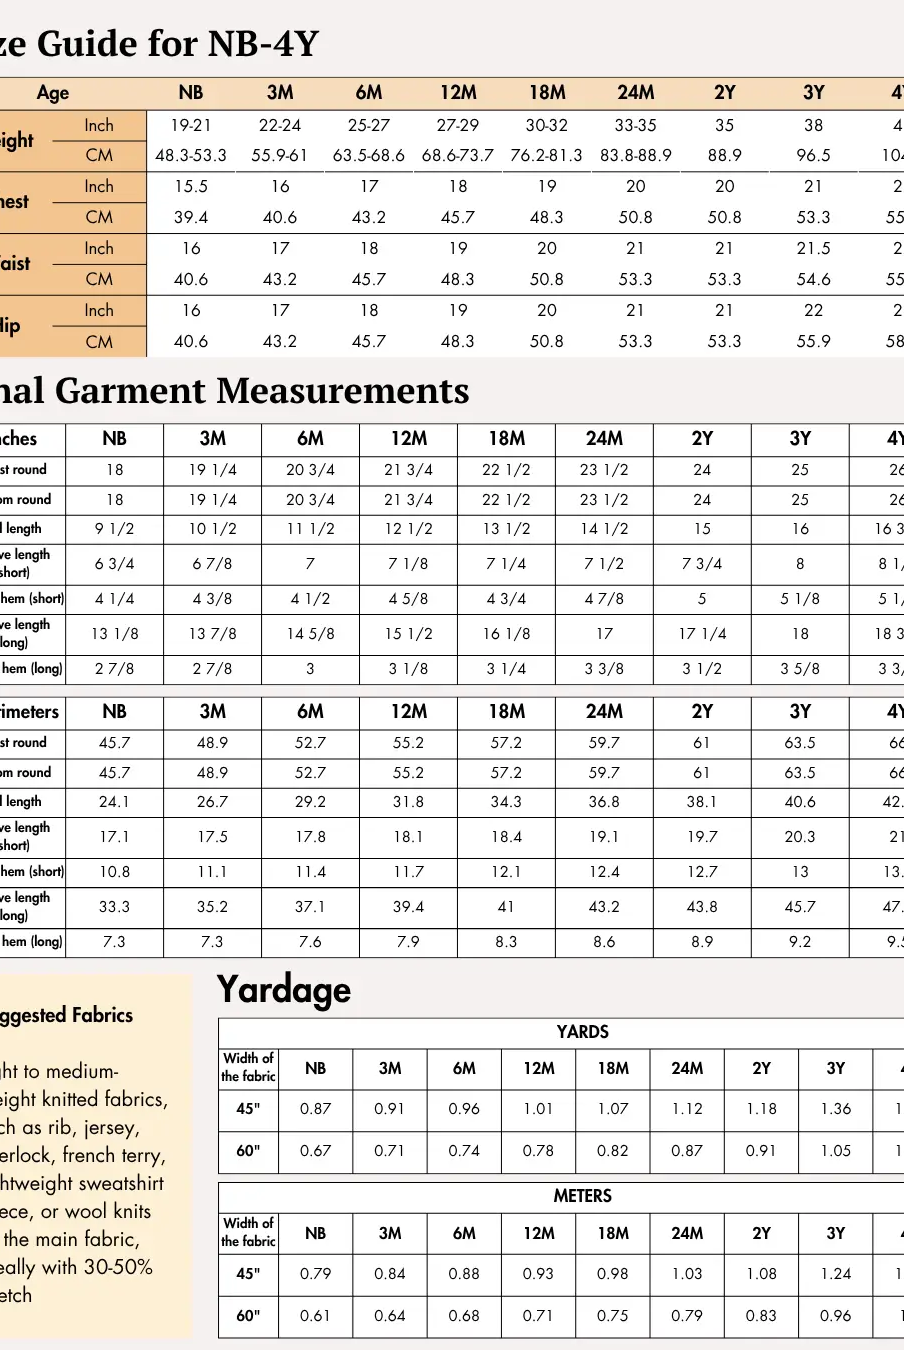
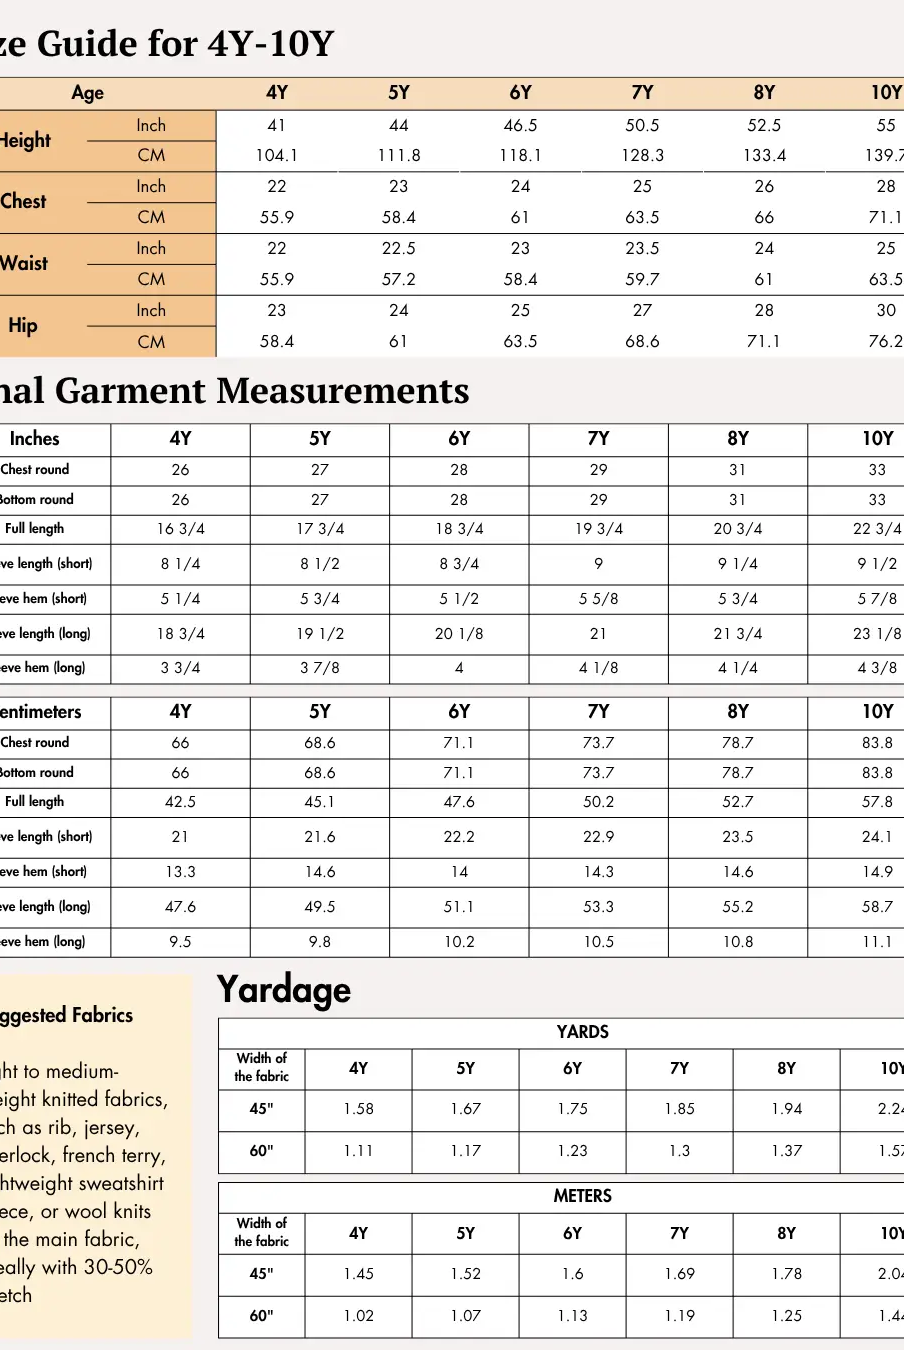
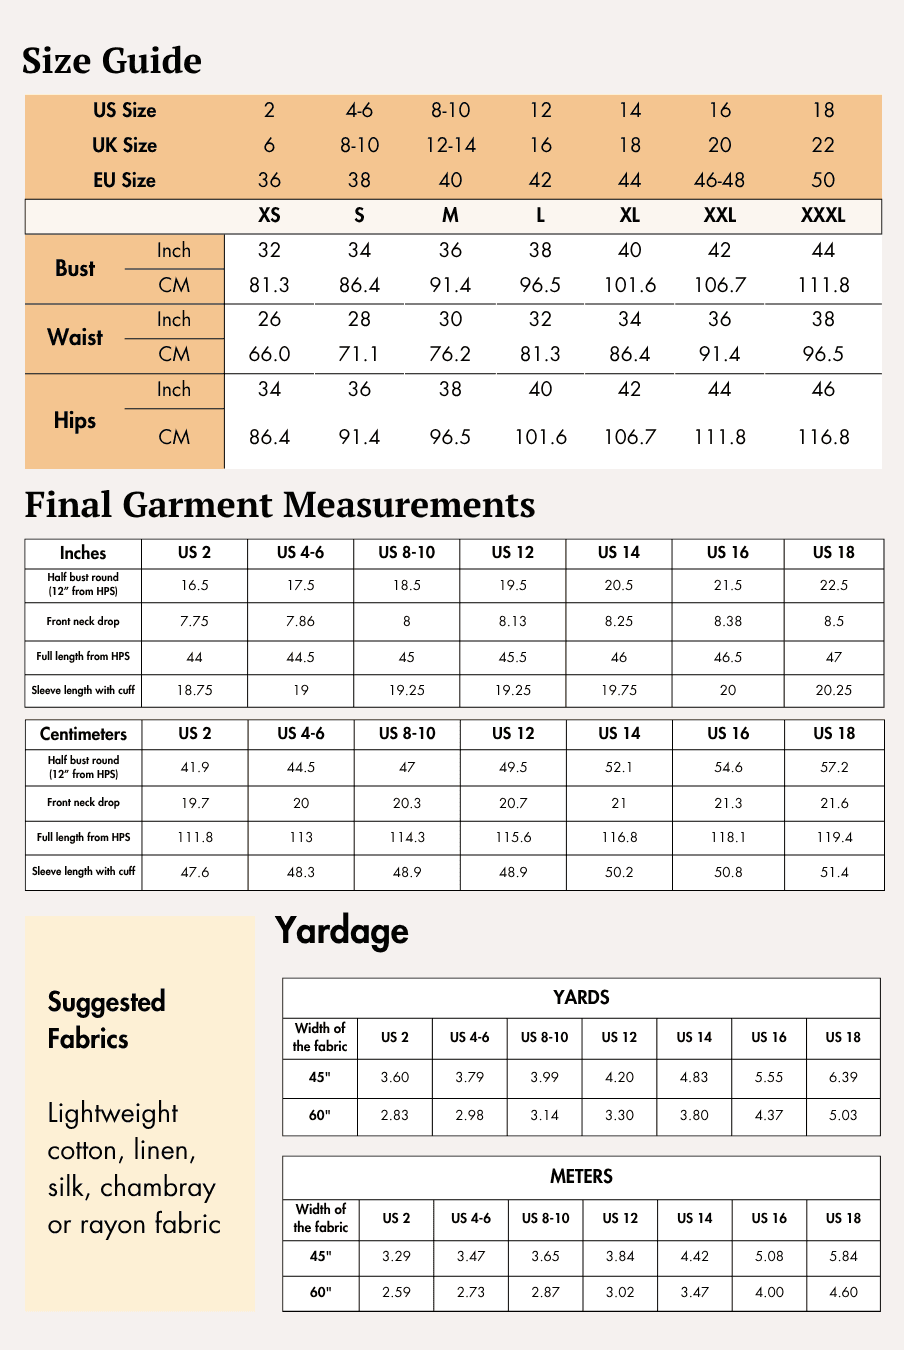
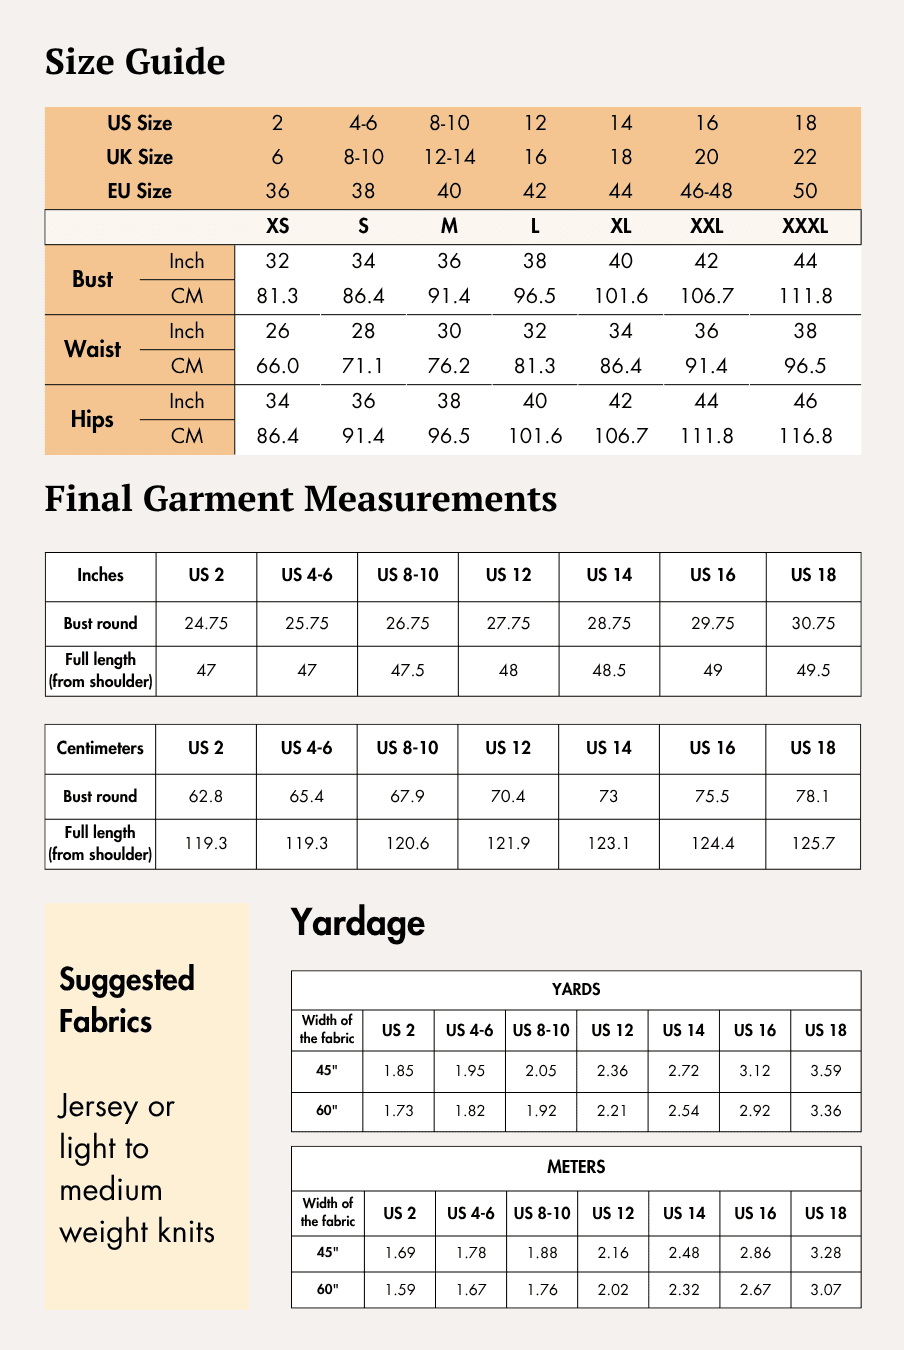
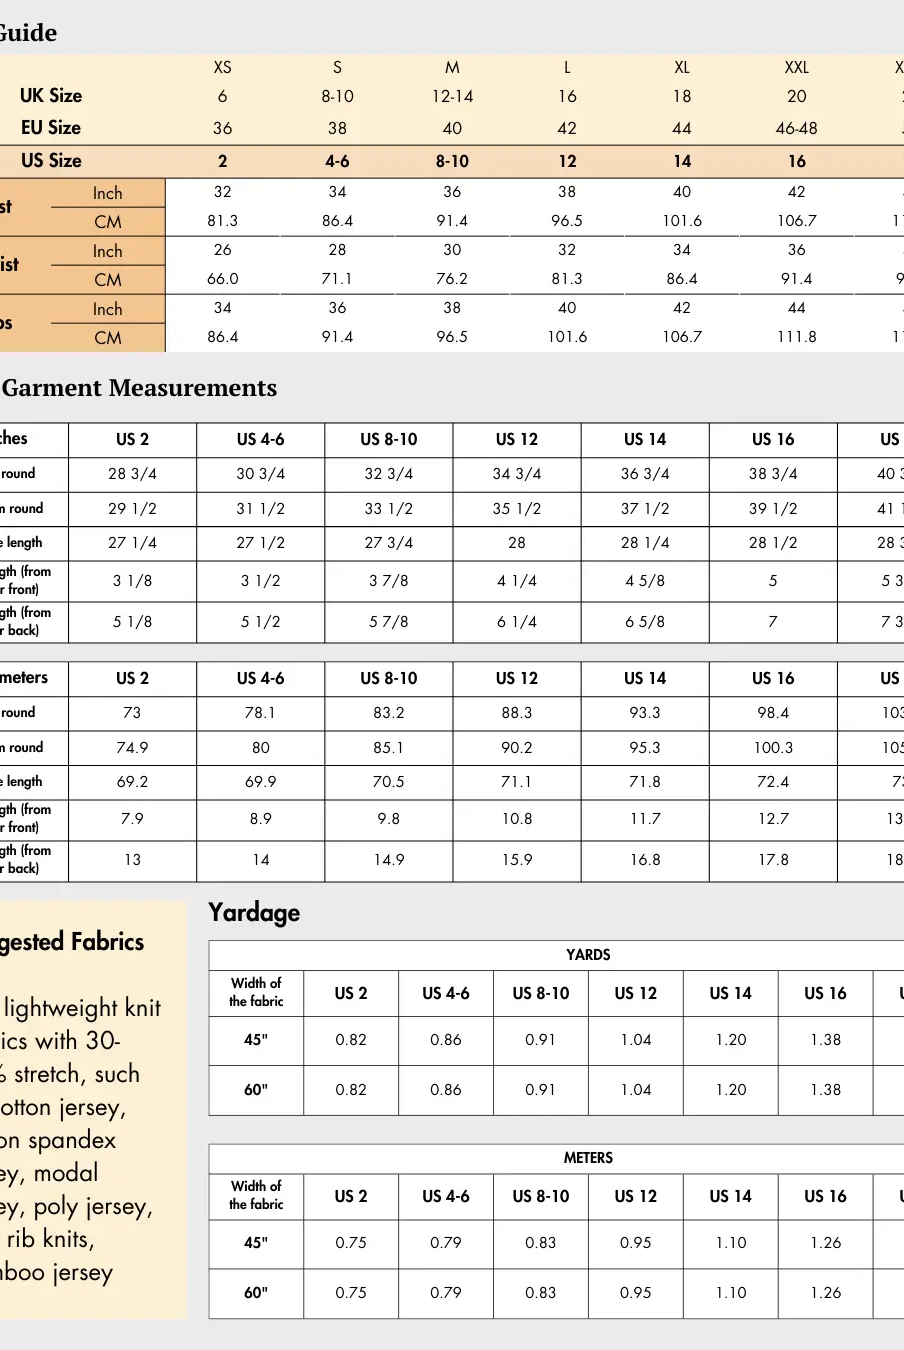
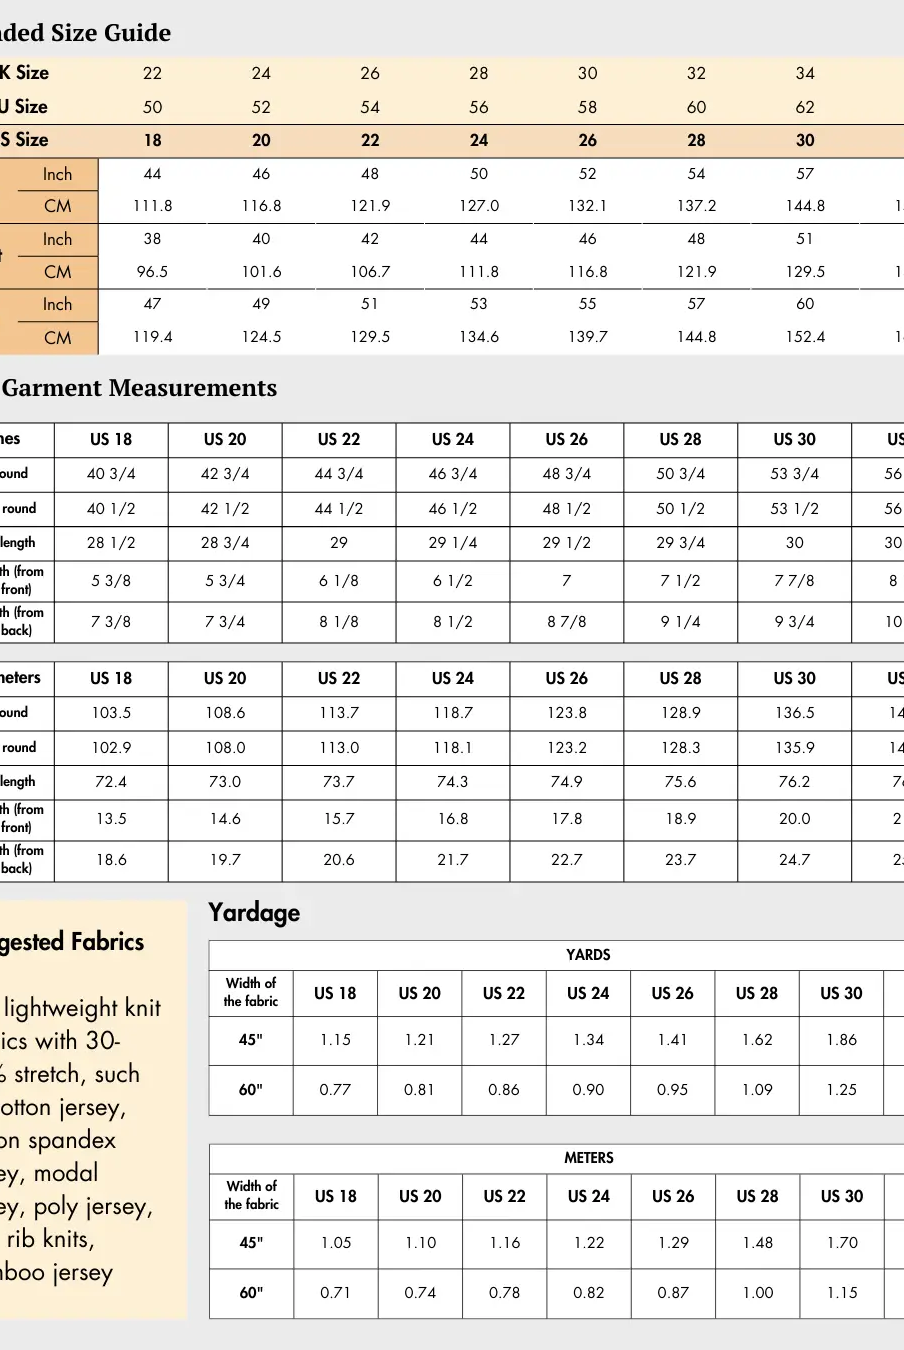
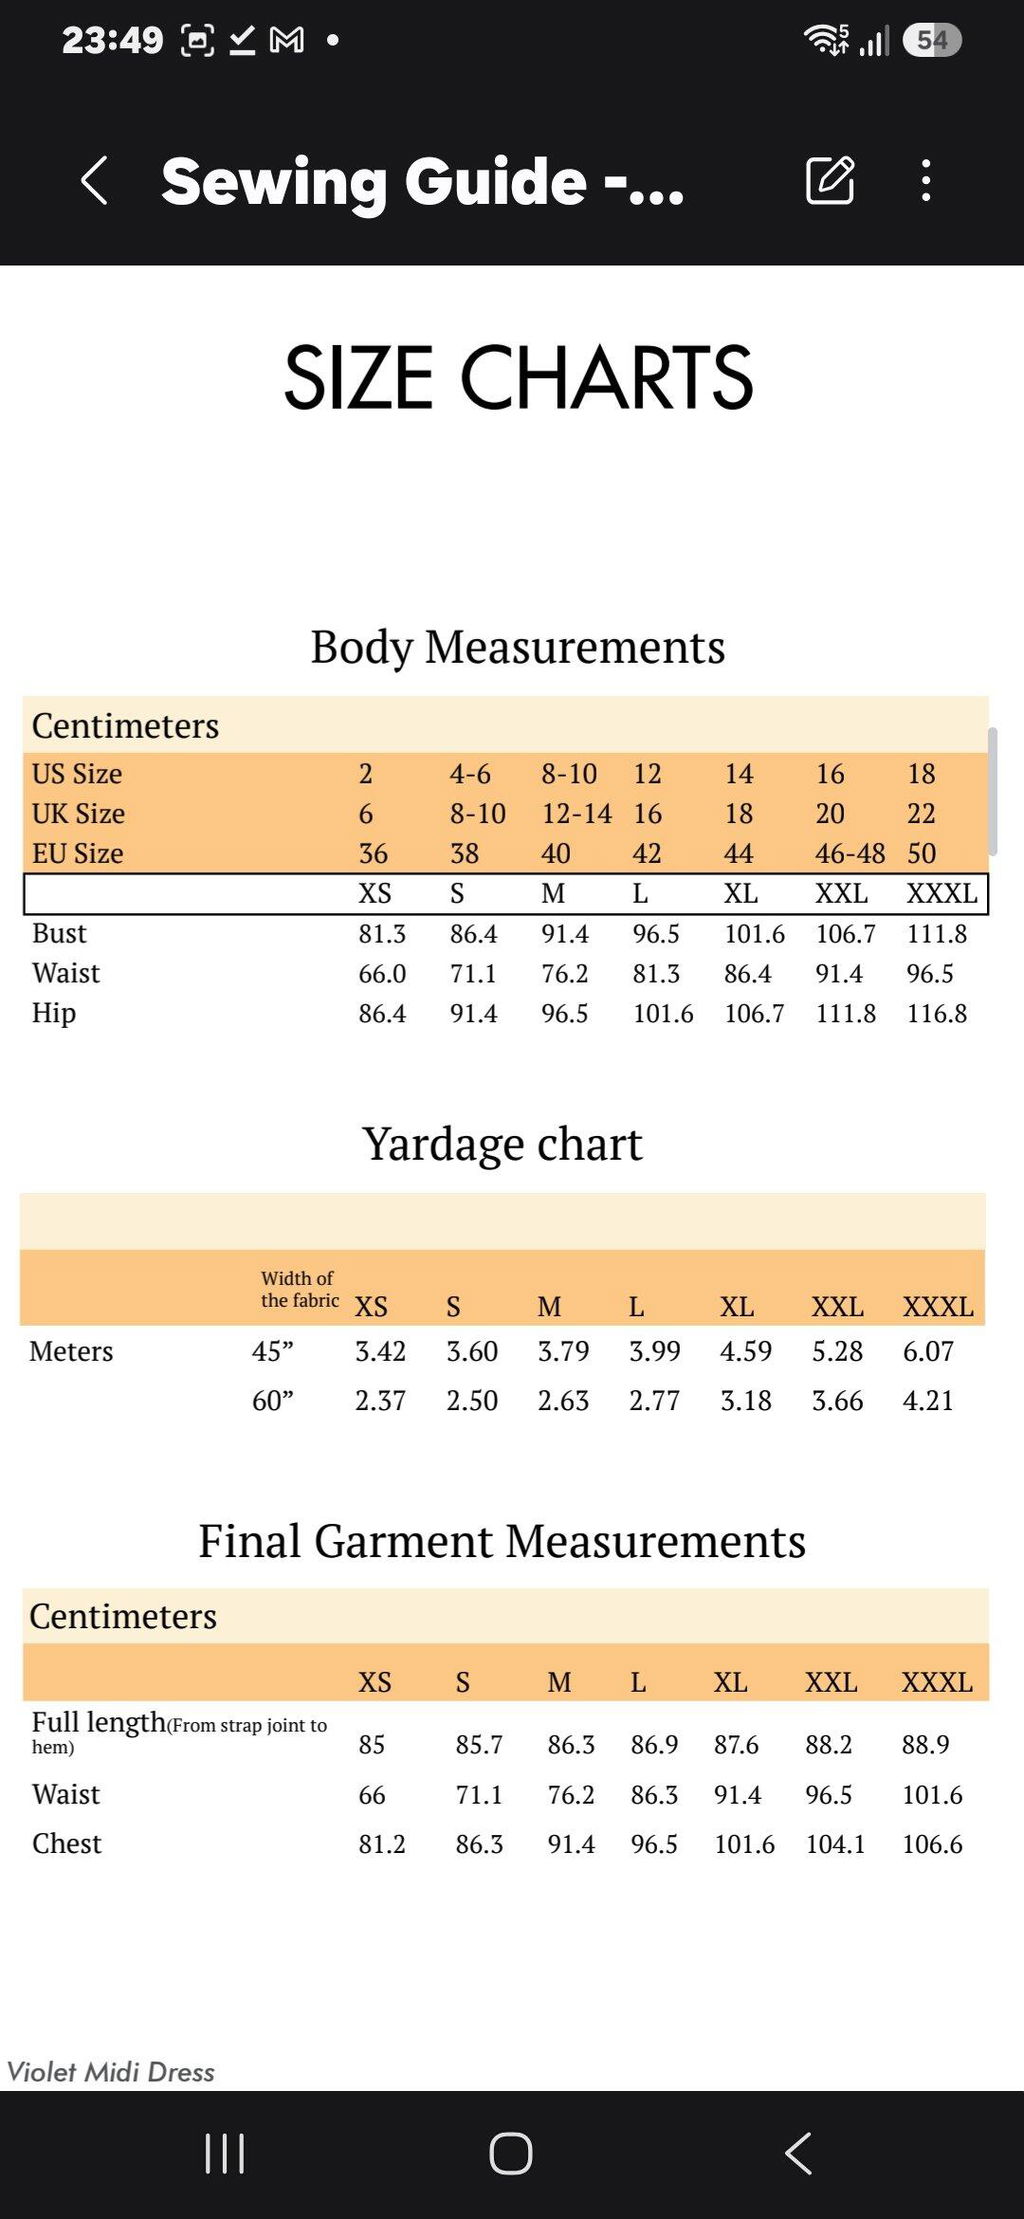
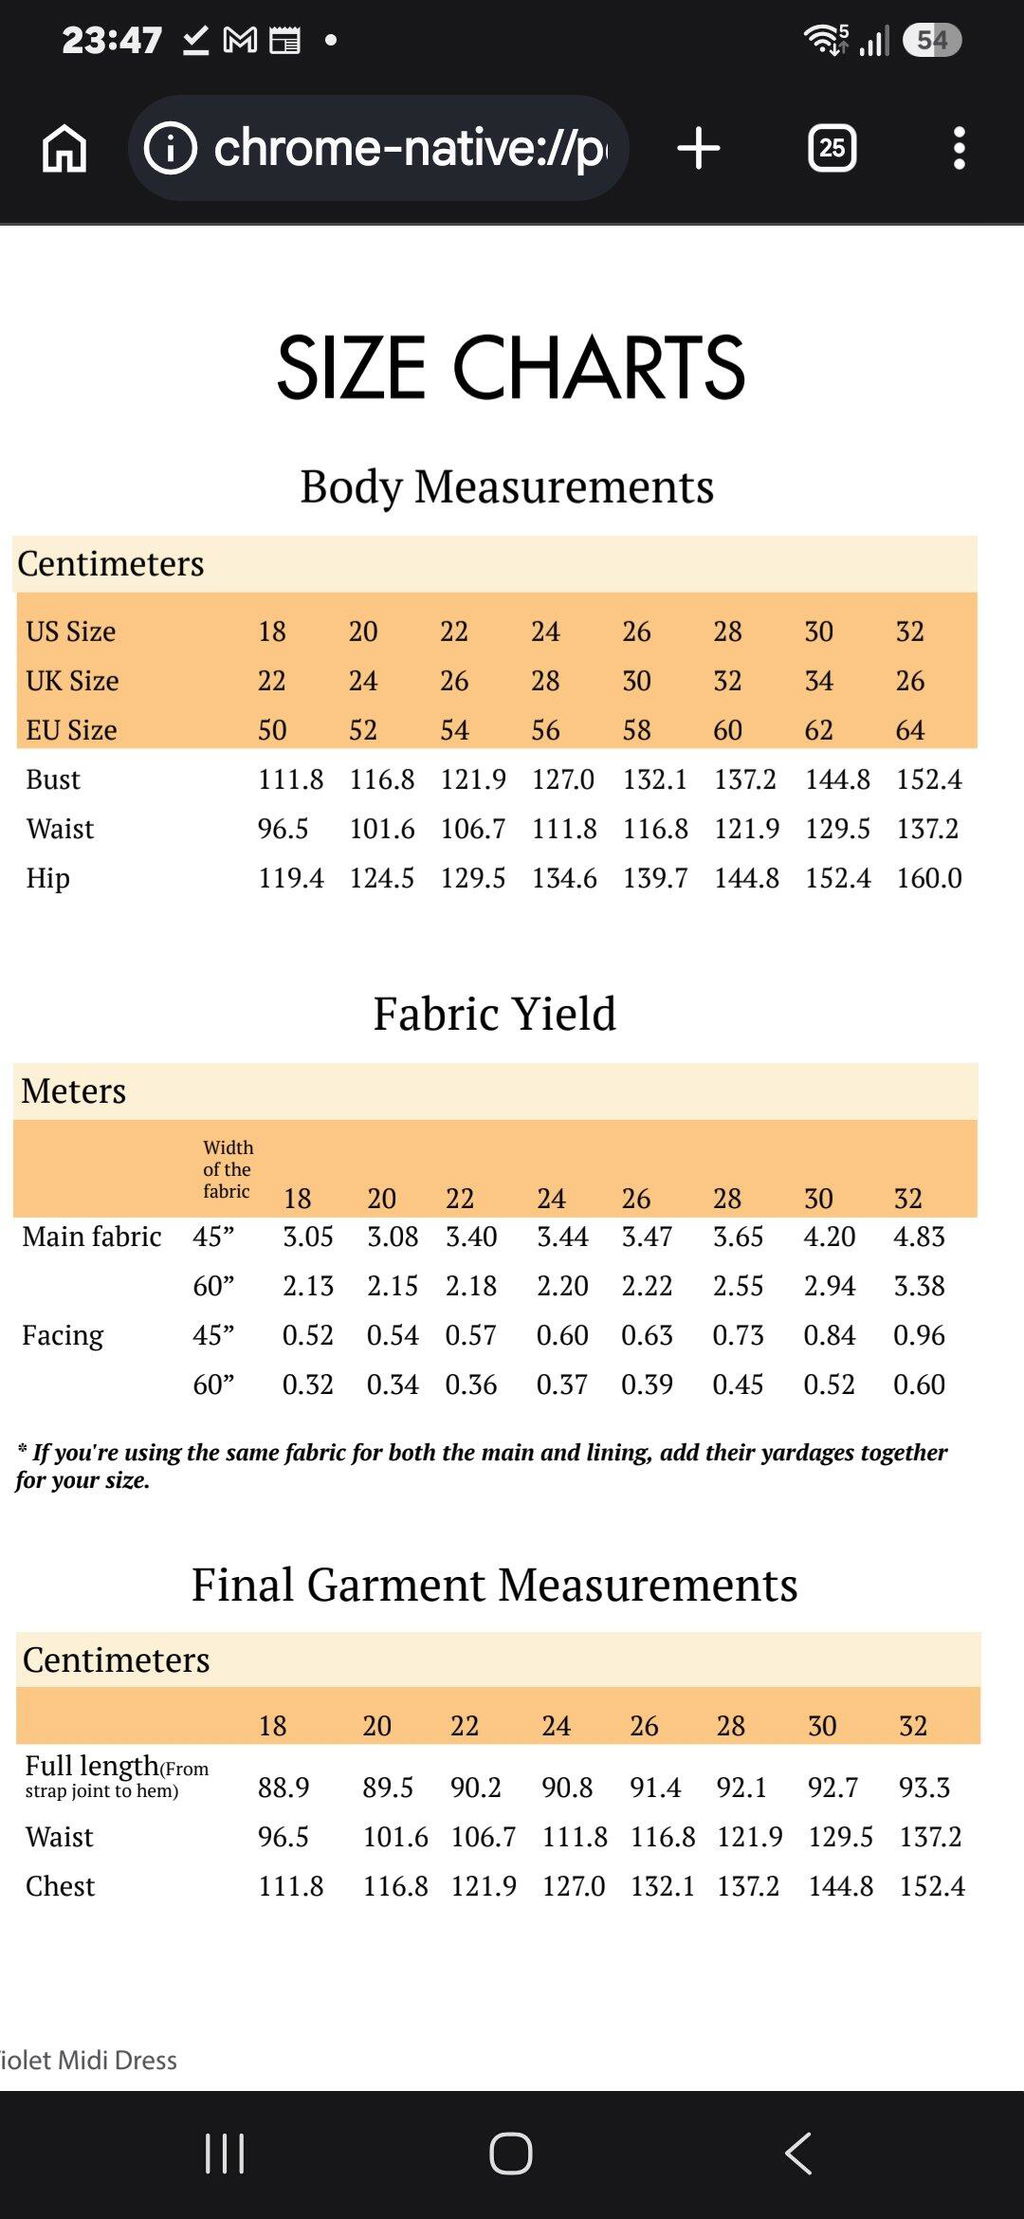
Check the size charts and measure yourself to select the correct size, using the garment and body measurement tables in the guide.
Verify how much fabric you need by referencing the fabric yield table in the guide.
Pattern Inventory: What Pieces to Prepare

Prepare the following pattern pieces before cutting your fabric:
- A. Front — cut 1 fabric
- B. Back — cut 1 fabric
- C. Front neckline facing — cut 1 fabric
- D. Back neckline facing — cut 1 fabric
- E. Cord — cut 2 fabric
If you are printing at home, use the A4/US Letter pattern. For copy shop printing, use the A0 pattern.
Pattern Marking

The pattern includes markings that help align the garment accurately during construction. These include:
- Grainlines
- Shoulder line
- Shoulder
- Front neck notch
- Back neck notch
- Gather guideline
- Side seam
- Cord seam
- Sleeve hem
Transfer all markings carefully before sewing to ensure accurate assembly.
Cutting Layout


The sewing guide provides cutting layouts for both 45-inch and 60-inch fabric widths.
When arranging your pattern pieces:
- Keep the grainline arrows parallel to the fabric selvage.
- Pin pattern pieces securely before cutting for greater accuracy.
- The illustrated layouts are designed for non-directional fabrics.
- Purchase additional fabric if your material has a directional print or nap.
- The layouts shown use the medium size for illustration purposes.
Fabric Cutting and Preparation
Before sewing, prepare your fabric carefully for accurate construction.
Lay Out Your Pattern Pieces
Arrange all pattern pieces according to the cutting layout diagrams. Position each piece so the grainline arrow remains parallel to the selvage.
Cut Your Fabric
Trace the pattern pieces if desired before cutting. Remove any chalk or pencil lines while cutting, and be sure to cut all notches, as they help align the pieces during construction.
Transfer Pattern Markings
Transfer all pattern markings—including circles, buttonholes, fold lines, and center front markings—to the wrong side of the fabric using tailor's chalk or a fabric marking tool. These markings make assembling the garment much easier.
Seam Allowance
Please follow the seam allowances as indicated on the pattern file layers. These are provided specifically for each piece to ensure accurate construction.
This pattern uses:
- 0.9 cm (0.38 inch) seam allowance all around.
- 1.6 cm (0.63 inch) at the hem.
- 1.2 cm (0.5 inch) at the top.
- 2.2 cm (0.88 inch) at the sides.
- 1 cm (0.38 inch) at the bottom of the front and back facing.
- 2.3 cm (0.8 inch) at the center front and center back.
Step-by-Step Sewing Instructions
Step 1: Finish the Side Seams
1a.
Finish the raw edges of the front and back side seams separately using a serger or a zigzag stitch.
1b.
Place the front and back pieces right sides together and stitch both side seams.
1c.
Press the seam allowances open.
Step 2: Gather the Front Neckline
2a.
Sew two rows of gathering stitches along the front neckline between the marked notches. Leave long thread tails so you can pull them later.
2b.
Gently pull the gathering threads until the gathered neckline matches the corresponding front neckline facing.
2c.
Distribute the gathers evenly and secure the gathering threads.
Step 3: Prepare the Neckline Facing
3a.
Place the front neckline facing and back neckline facing right sides together.
3b.
Stitch the shoulder seam of the facing.
3c.
Finish the lower raw edge of the facing using a serger or zigzag stitch.
3d.
Press the shoulder seam open.
Step 4: Attach the Neckline Facing
4a.
Place the prepared neckline facing and the main garment right sides together, matching the shoulder seam, side seams, and neckline notches.
4b.
Sew around the neckline.
4c.
Trim the seam allowance where necessary and clip the curved sections to help the neckline lie smoothly.
4d.
Turn the facing to the inside of the garment and press the neckline carefully.
4e.
Understitch close to the seamline on the facing side to help keep the facing rolled neatly to the inside.
4f.
Secure the facing at the shoulder seam and side seams with a few hand stitches if desired.
Step 5: Sew the Sleeve and Side Hems
5a.
Finish the sleeve hem and the lower hem of the garment using a serger or zigzag stitch if required.
5b.
Fold the sleeve hem toward the wrong side along the hem allowance and press.
5c.
Topstitch the sleeve hem in place.
5d.
Repeat the same process for the garment hem.
Step 6: Prepare the Fabric Cords
6a.
Fold each cord piece lengthwise with right sides together.
6b.
Stitch along the long edge to form a narrow tube.
6c.
Trim the seam allowance if necessary.
6d.
Turn the cord right side out using a loop turner or safety pin.
6e.
Press the cords neatly.
Step 7: Create the Drawstring Channel
7a.
Fold the side casing allowance toward the wrong side as indicated on the pattern.
7b.
Topstitch the casing to create the drawstring channel.
7c.
Use a safety pin to thread the prepared fabric cord through the channel.
7d.
Adjust the gathers to your preferred amount and tie the cord securely to finish the ruched side detail.


Ready to Sew Your Own One Shoulder Kimono Top?


The Gleam One Shoulder Kimono Top Sewing Pattern is a rewarding project that combines an elegant silhouette with thoughtful construction techniques. From creating soft neckline gathers to finishing the adjustable ruched side detail, you'll build skills while sewing a versatile top that's perfect for everyday wear or special occasions.
Whether you're making your first one shoulder garment or expanding your handmade wardrobe, this pattern offers clear instructions and a polished finish that's enjoyable to sew. Choose a lightweight woven fabric, personalize the amount of ruching, and create a stylish top you'll reach for again and again.
Ready to start your next sewing project? Pick up the Gleam One Shoulder Top Kimono Sewing Pattern and enjoy creating a beautifully handcrafted garment you'll be proud to wear.
Explore More Sewing Patterns
Browse our Tops Sewing Pattern Collection for more stylish handmade tops that are perfect for warm-weather wardrobes. You'll find a variety of modern designs, from casual everyday tops to elegant statement pieces that pair beautifully with skirts, shorts, and trousers.
Join the Community & Get Support
Share your finished Gleam One Shoulder Kimono Top Sewing Pattern on social media with #MadeWithWinslets. If you have questions, feedback, or customization requests, contact the Winslet's team at support@winslets.com.