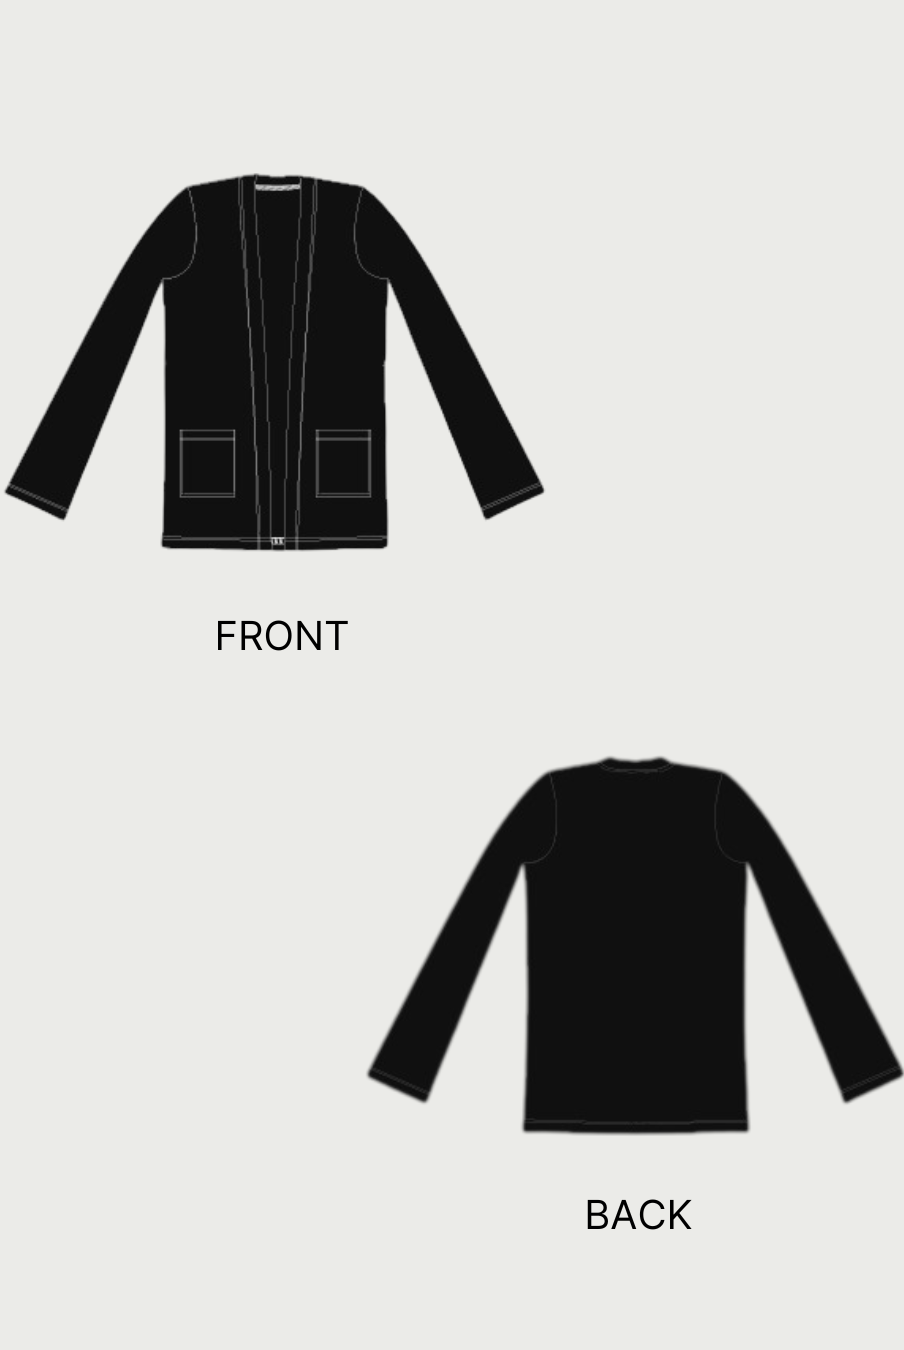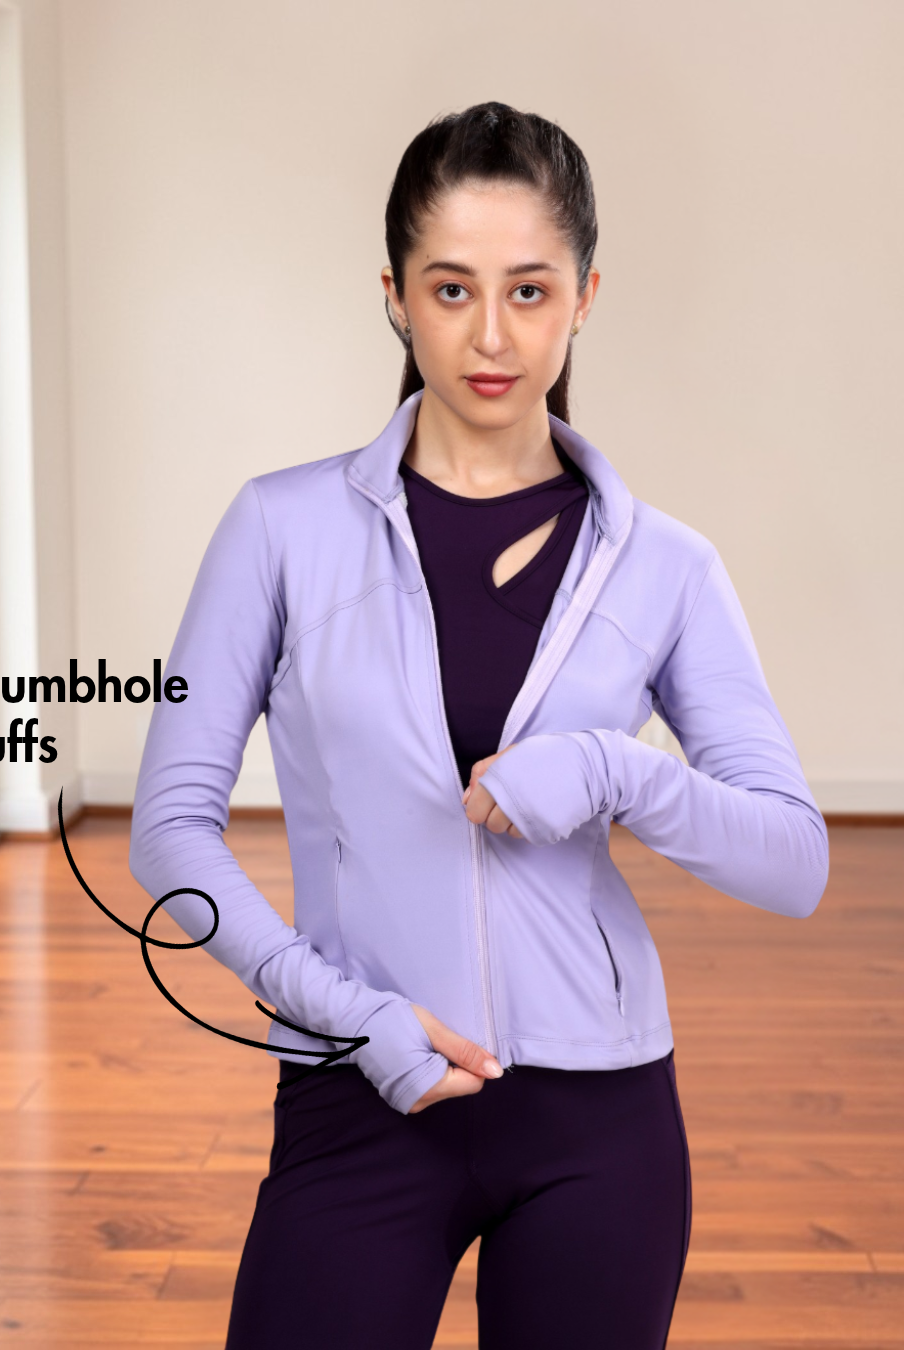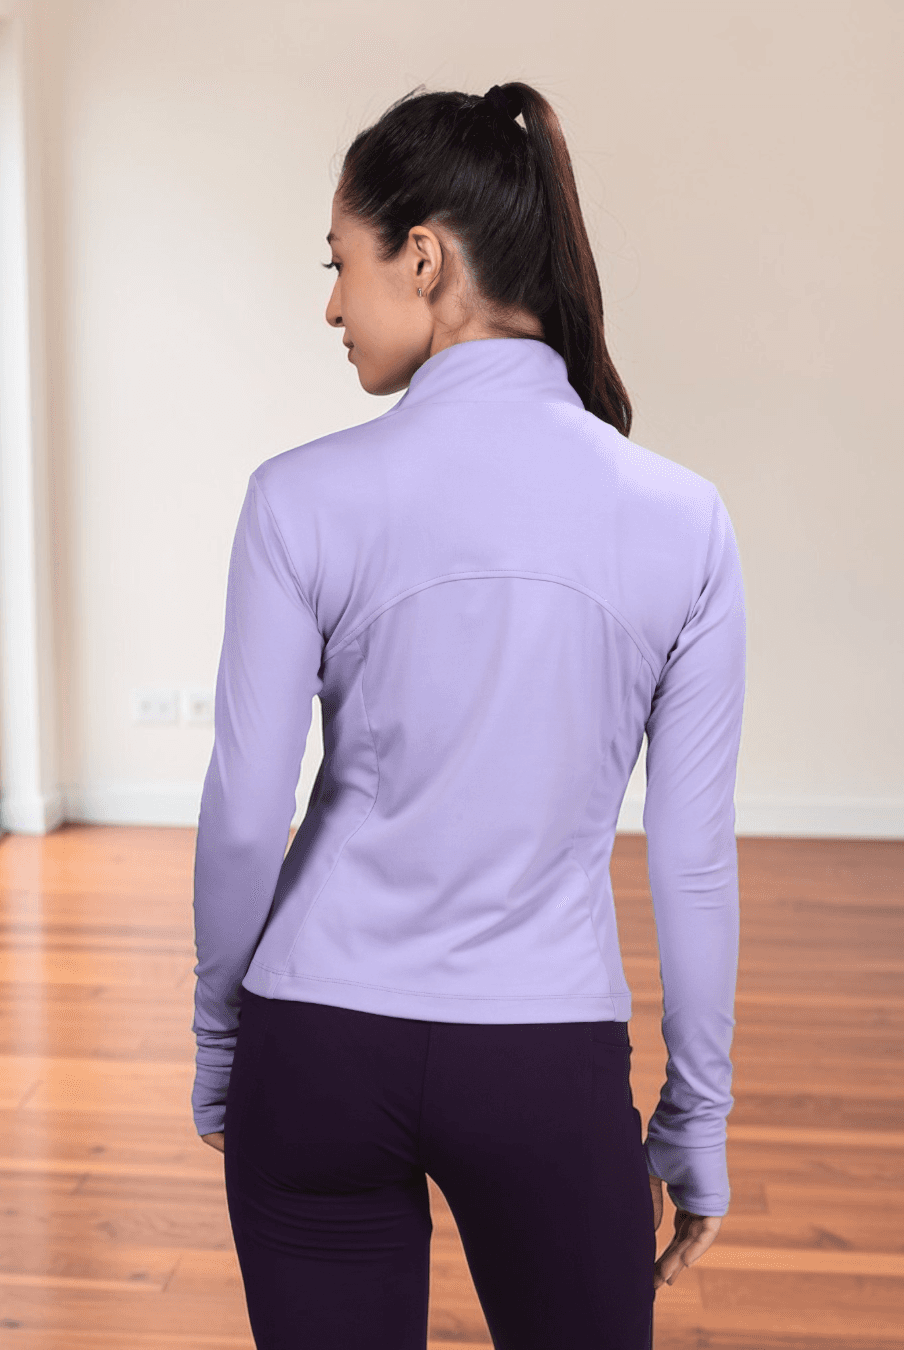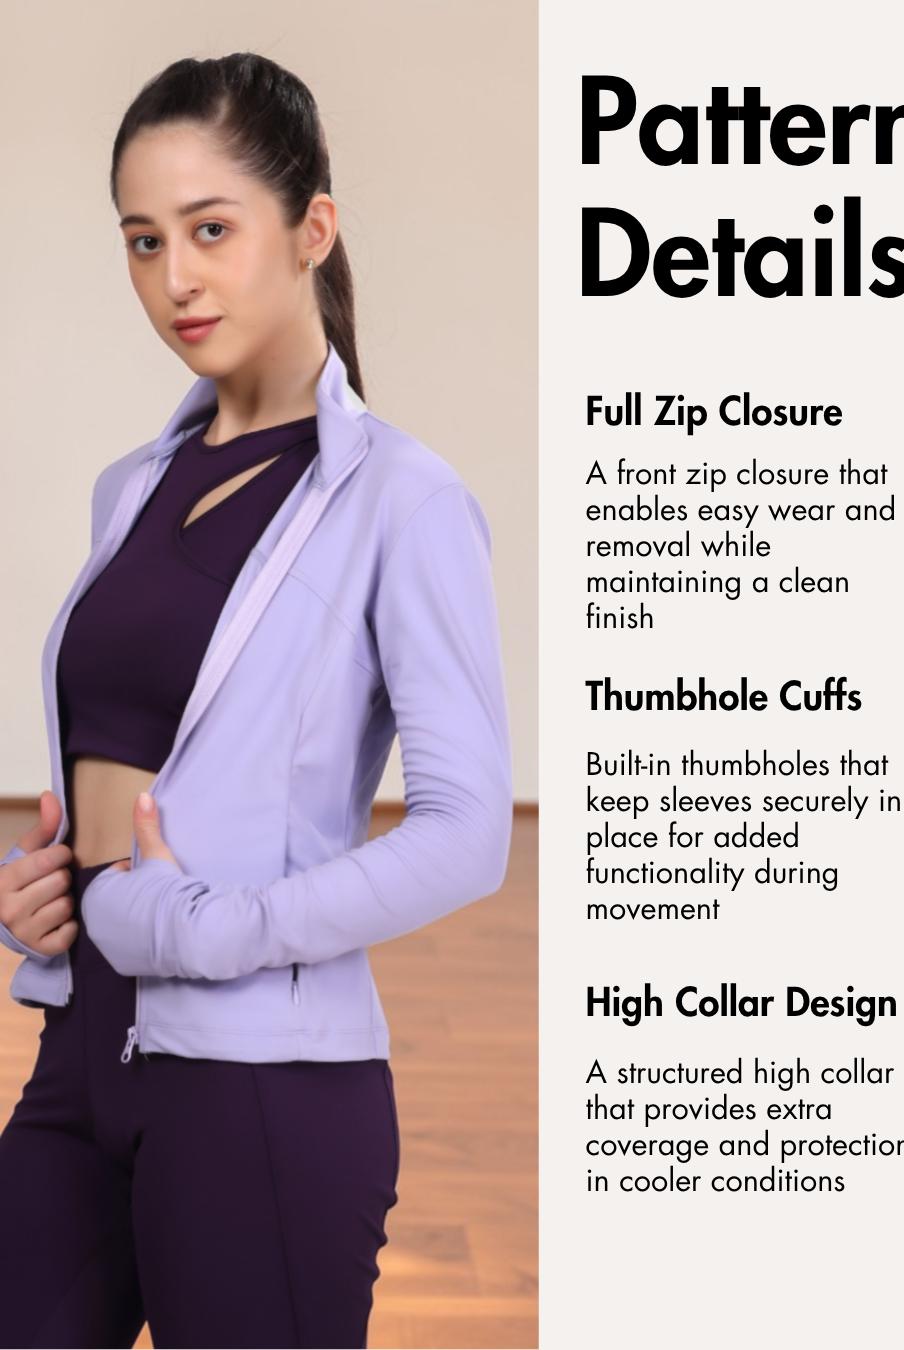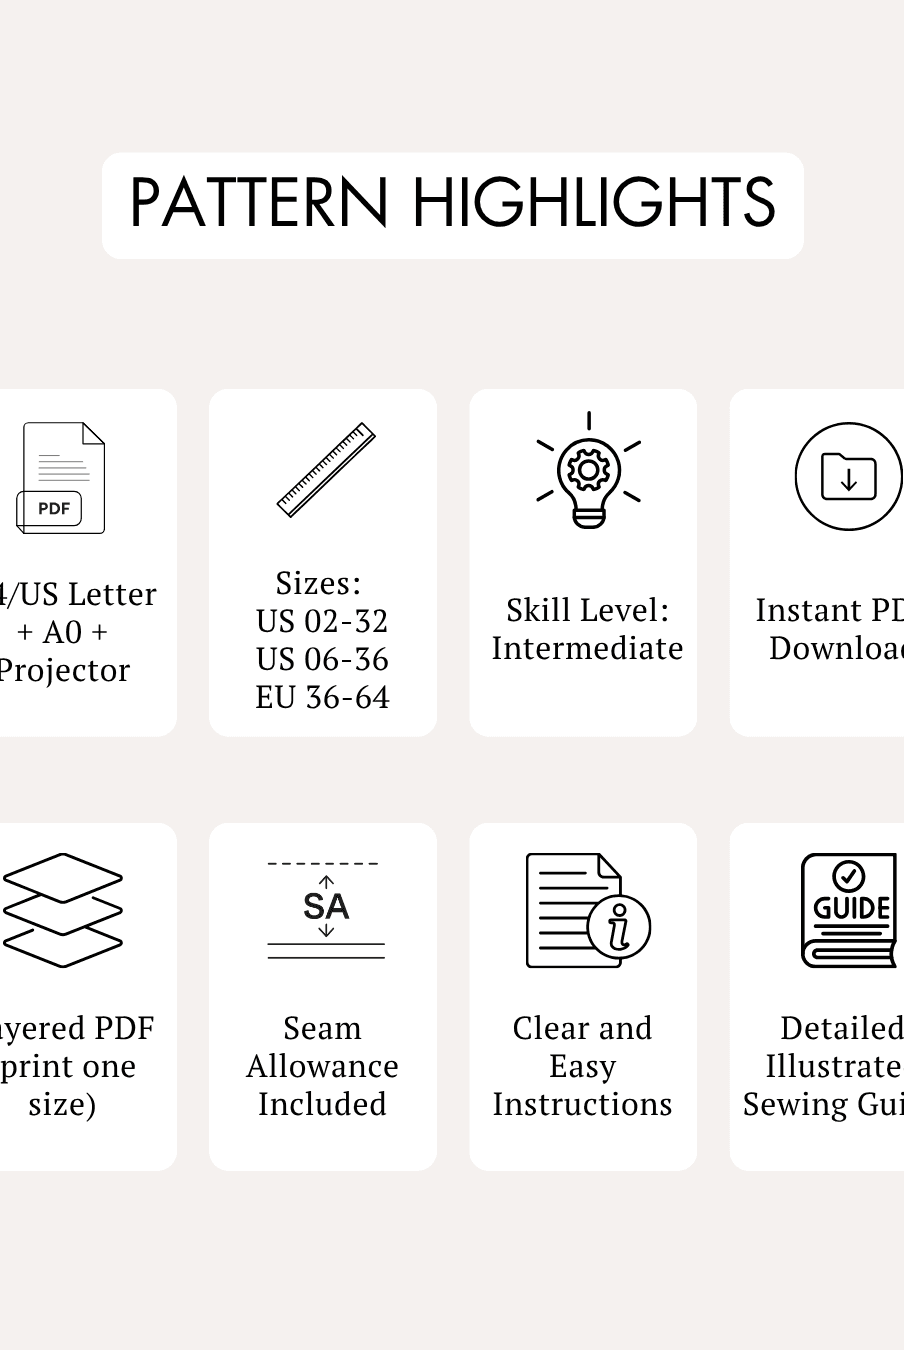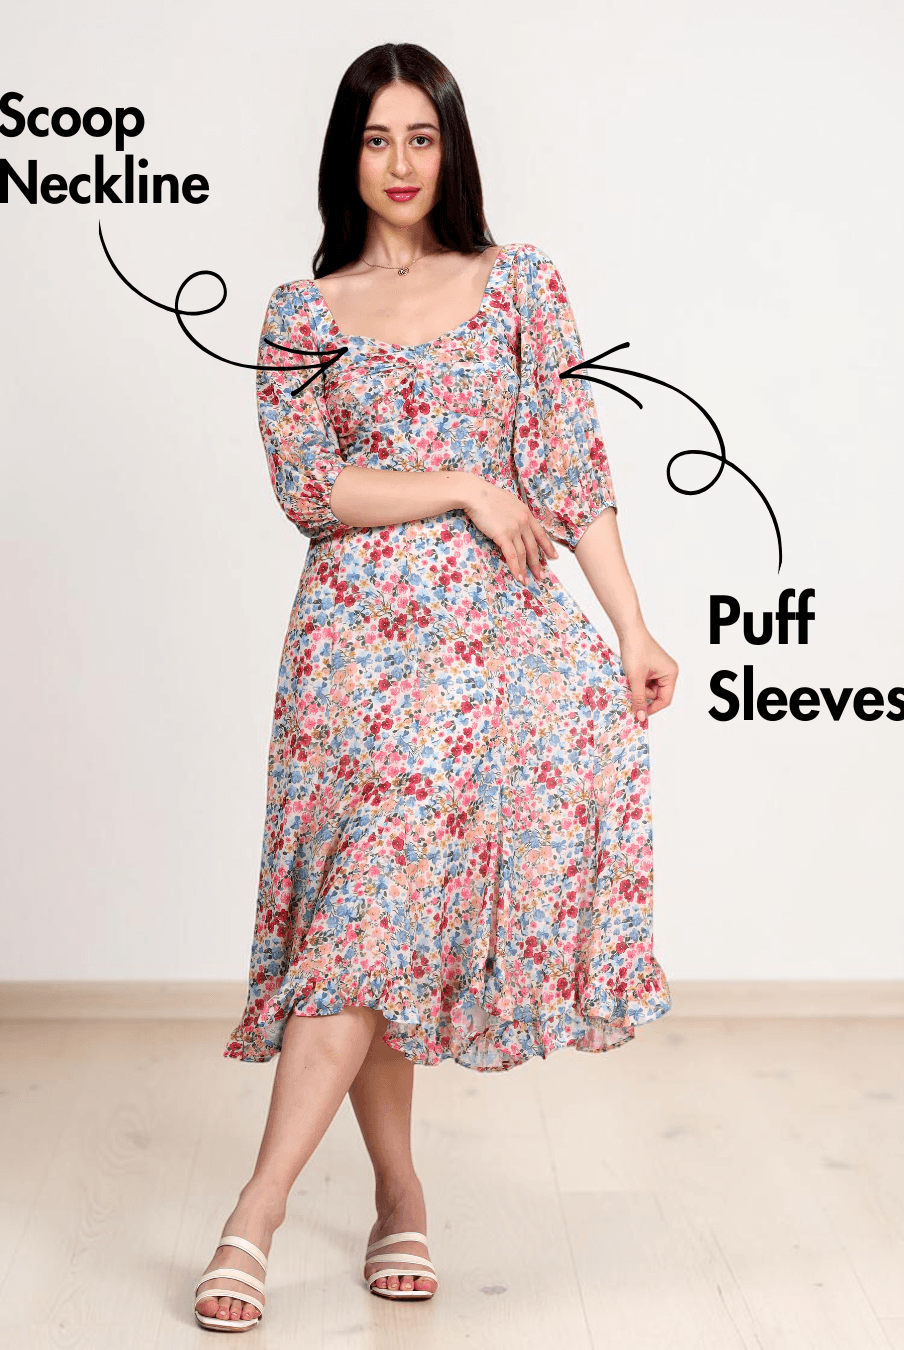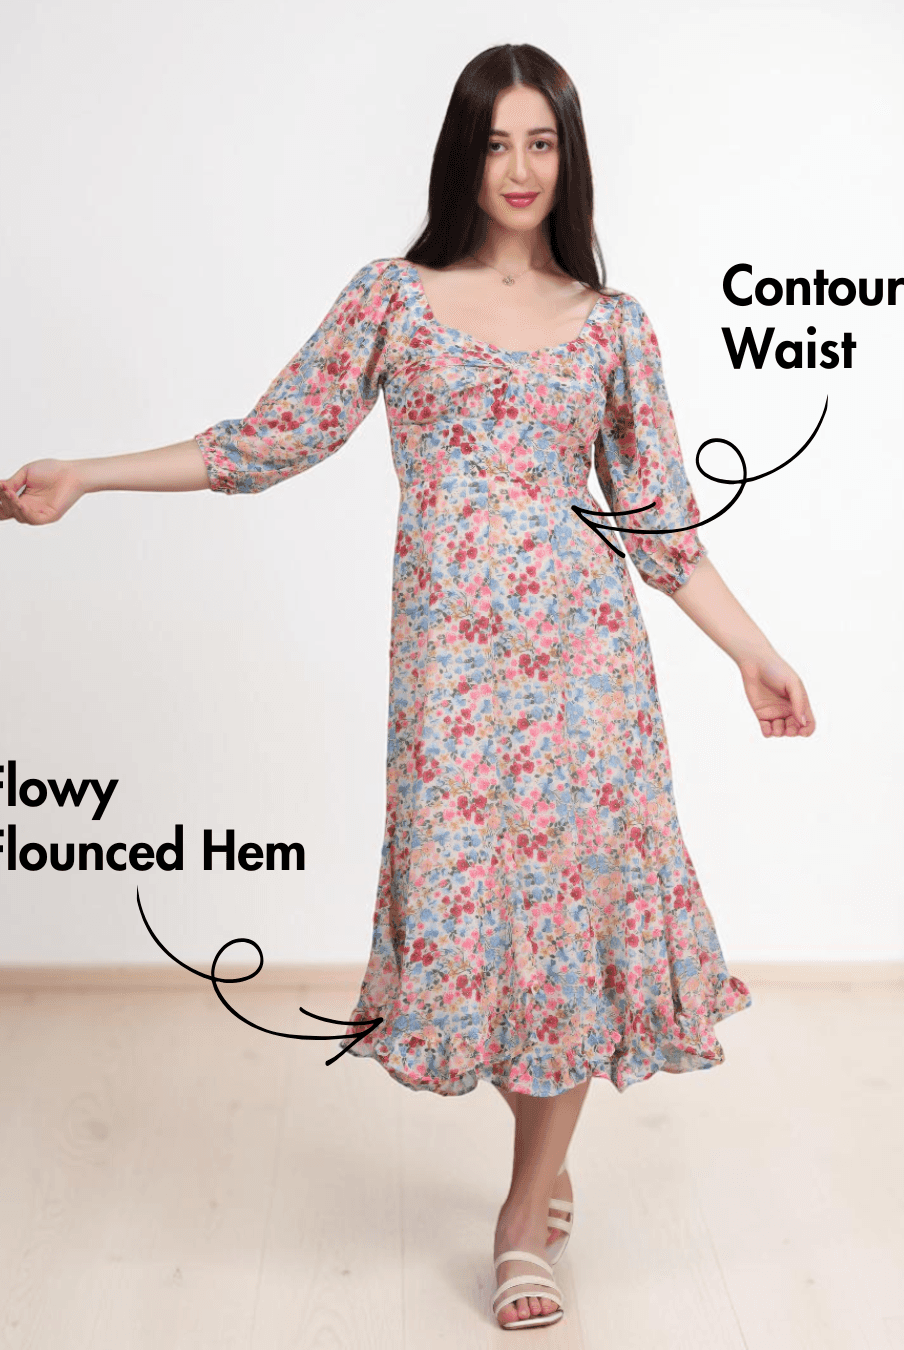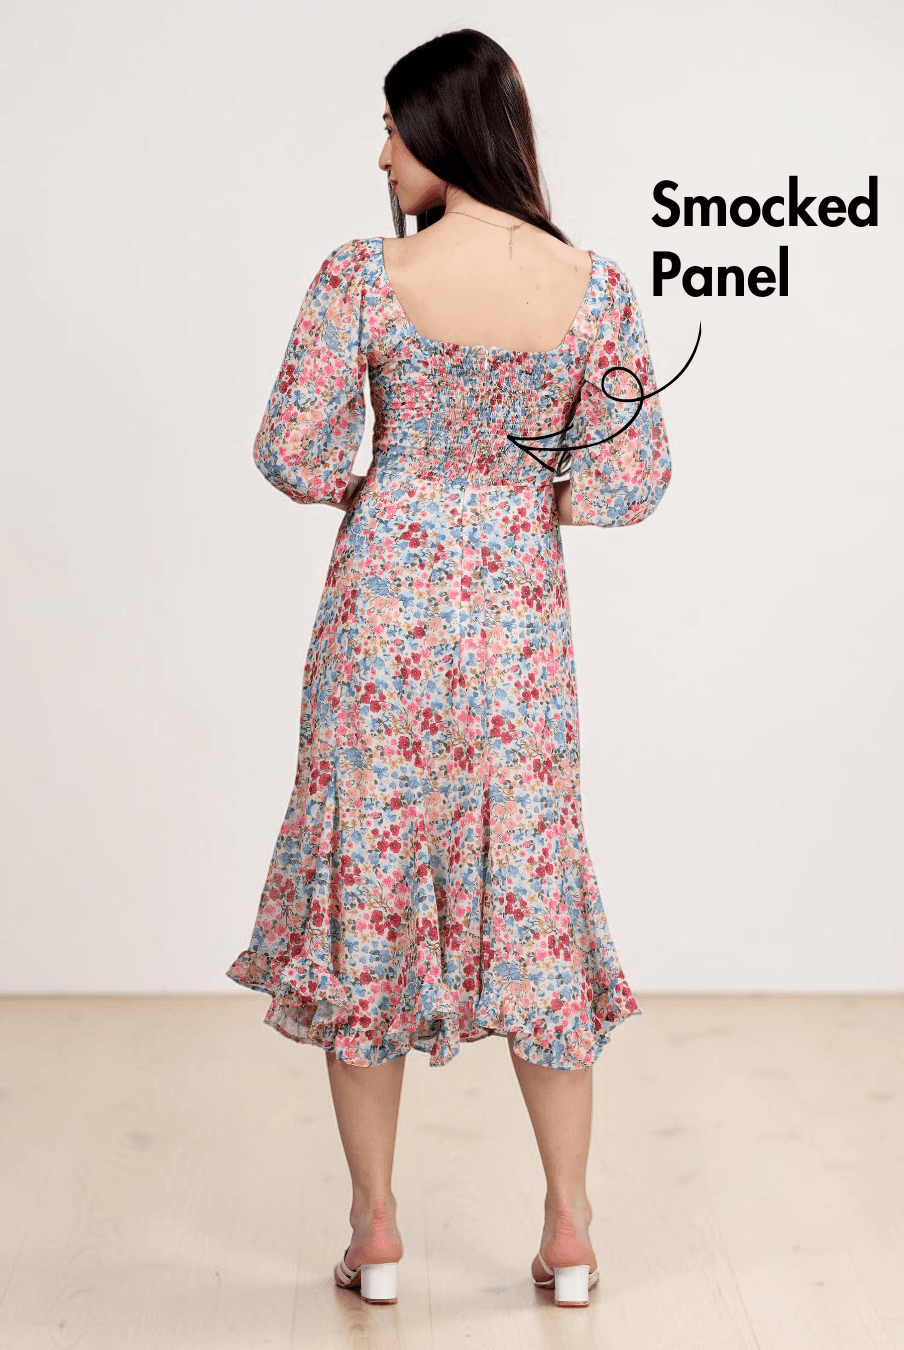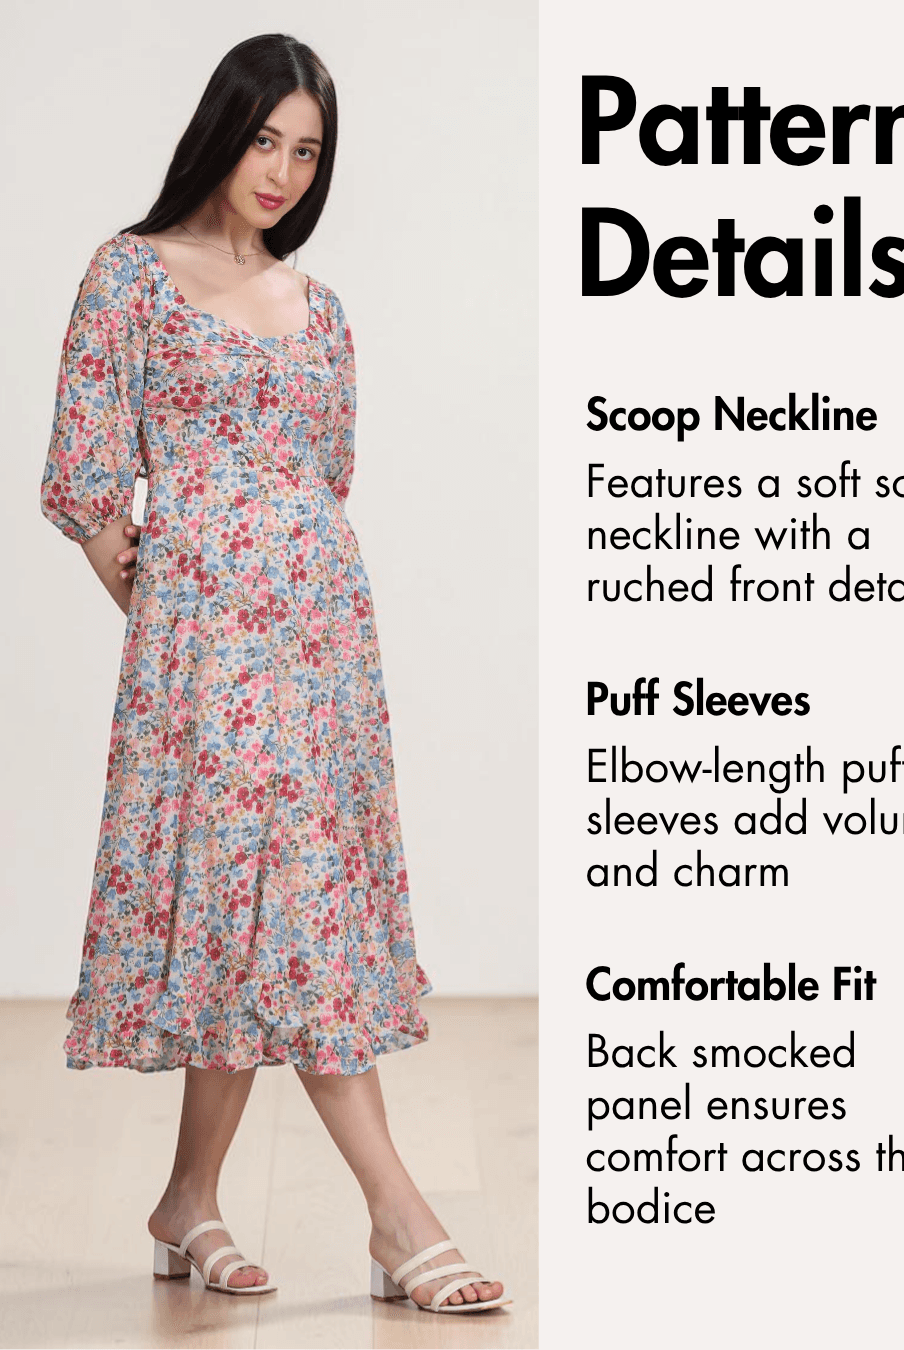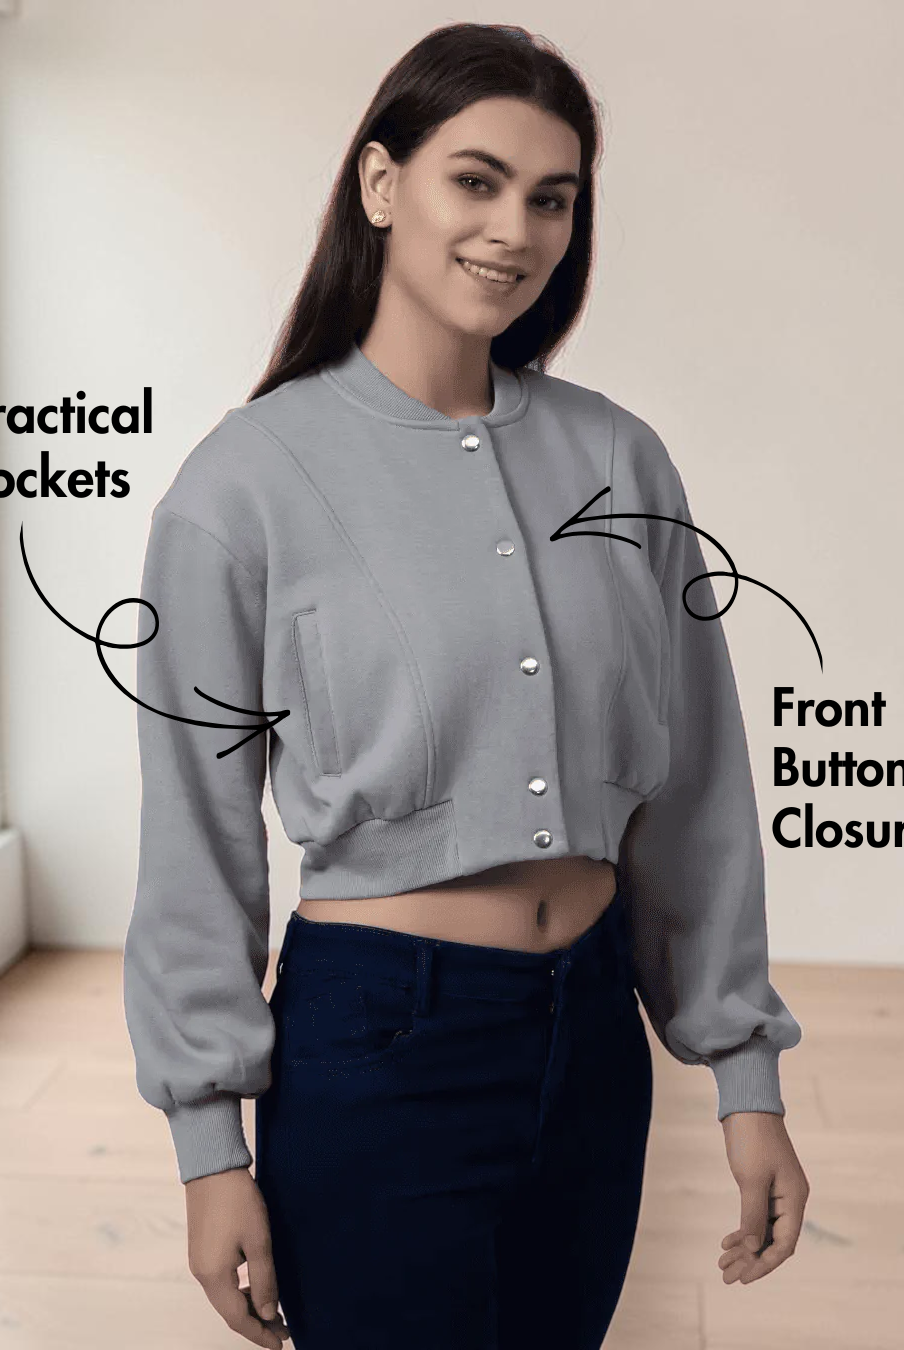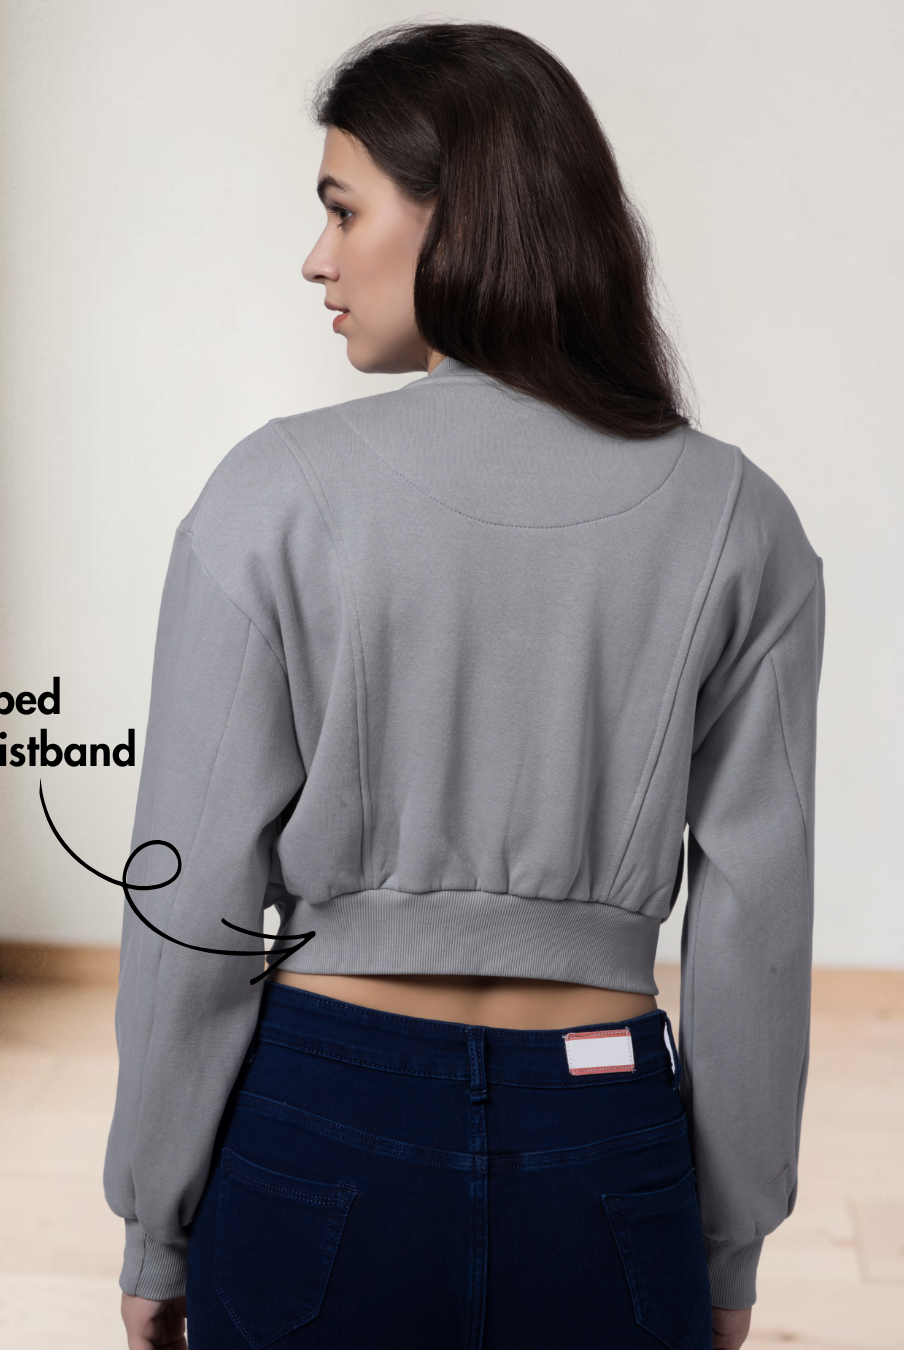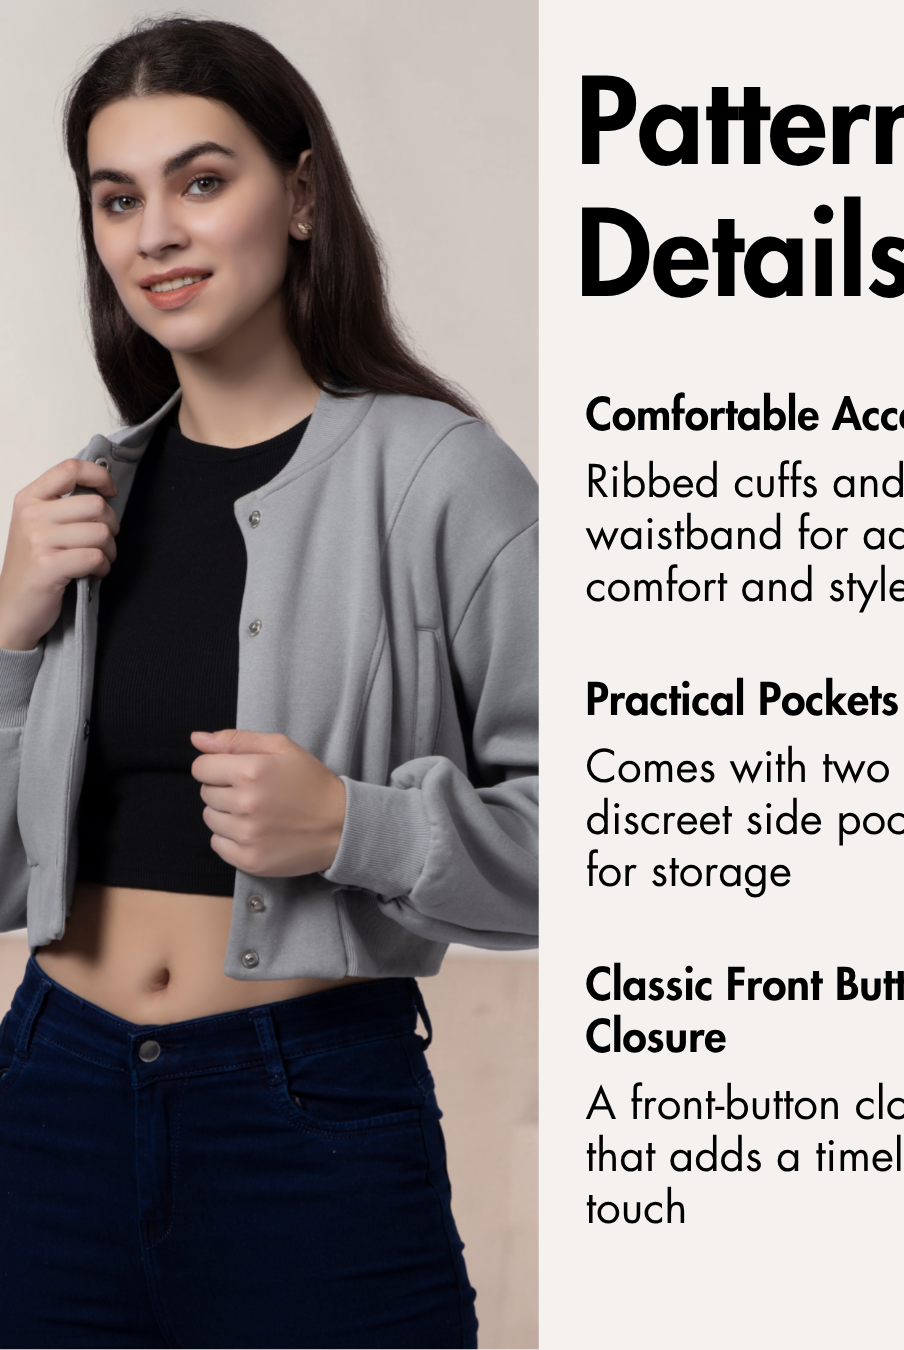
A lounge bra is a comfortable sewing project for anyone interested in making their own everyday basics, loungewear, or light activewear. With a close fit, soft stretch fabric, and pull-on construction, it creates a practical garment that can be worn on its own or layered underneath casual clothing.
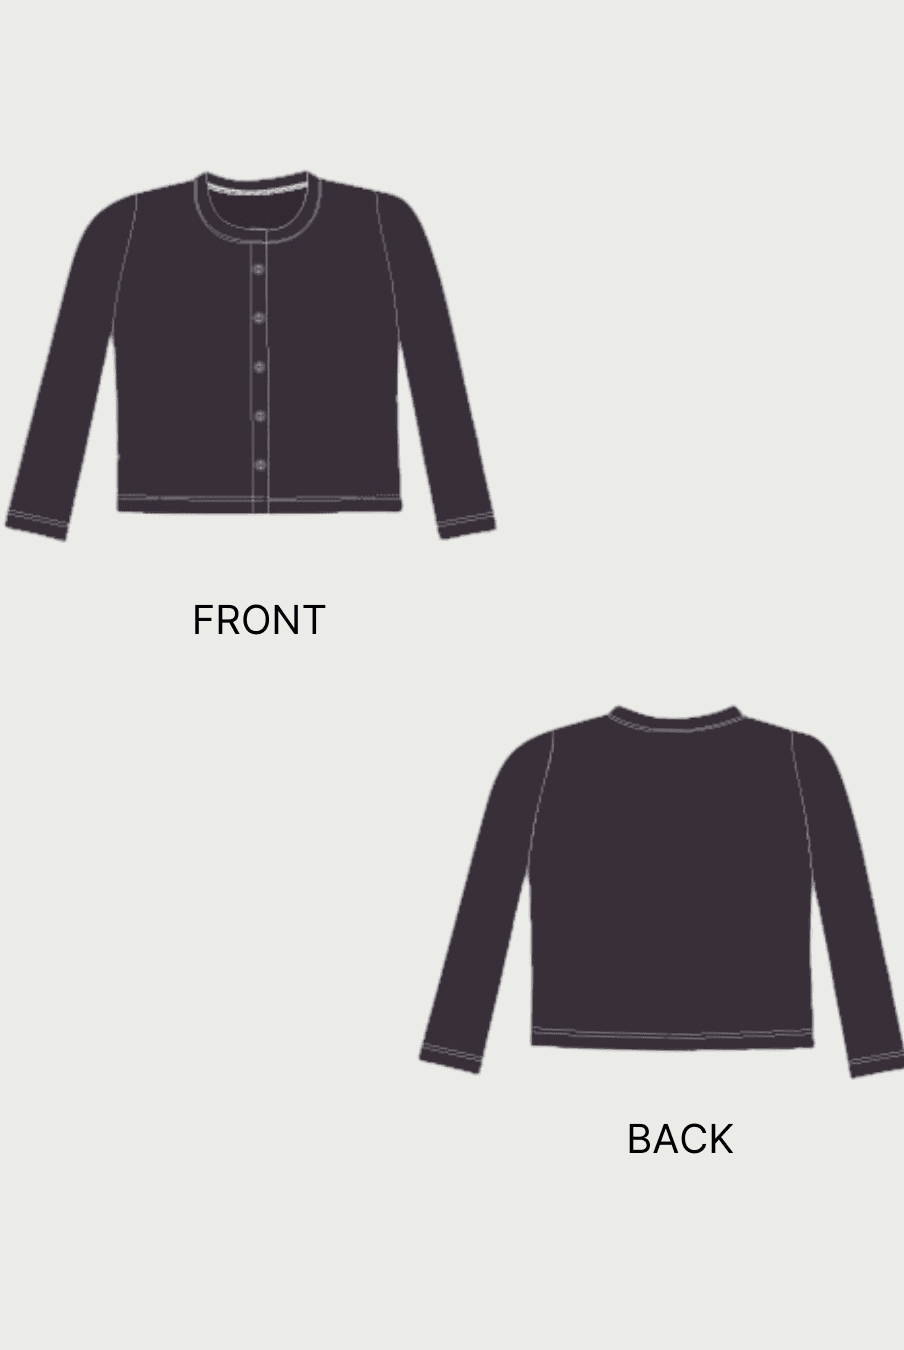
The Winslet's Stacey Lounge Bra Sewing Pattern features a scoop neckline, wide shoulder straps, a racerback cut, and a snug crop-length silhouette. The front is fully lined with openings for optional removable bra cups, while the wide underbust band helps the finished bra sit securely against the body.

Why Sew a Lounge Bra?
- Create a comfortable everyday bra for lounging, casual wear, layering, and light activities.
- Sew a snug crop-length style with wide shoulder straps for comfortable coverage.
- The racerback design leaves the shoulder blades open for comfortable upper-body movement.
- Add optional removable bra cups for extra coverage, or wear the finished bra without them.
- The pull-on construction eliminates the need for hooks, clasps, or other closures.
- Pair the finished lounge bra with leggings, joggers, biker shorts, or lounge pants.
Why Choose the Winslet's Stacey Lounge Bra Pattern?

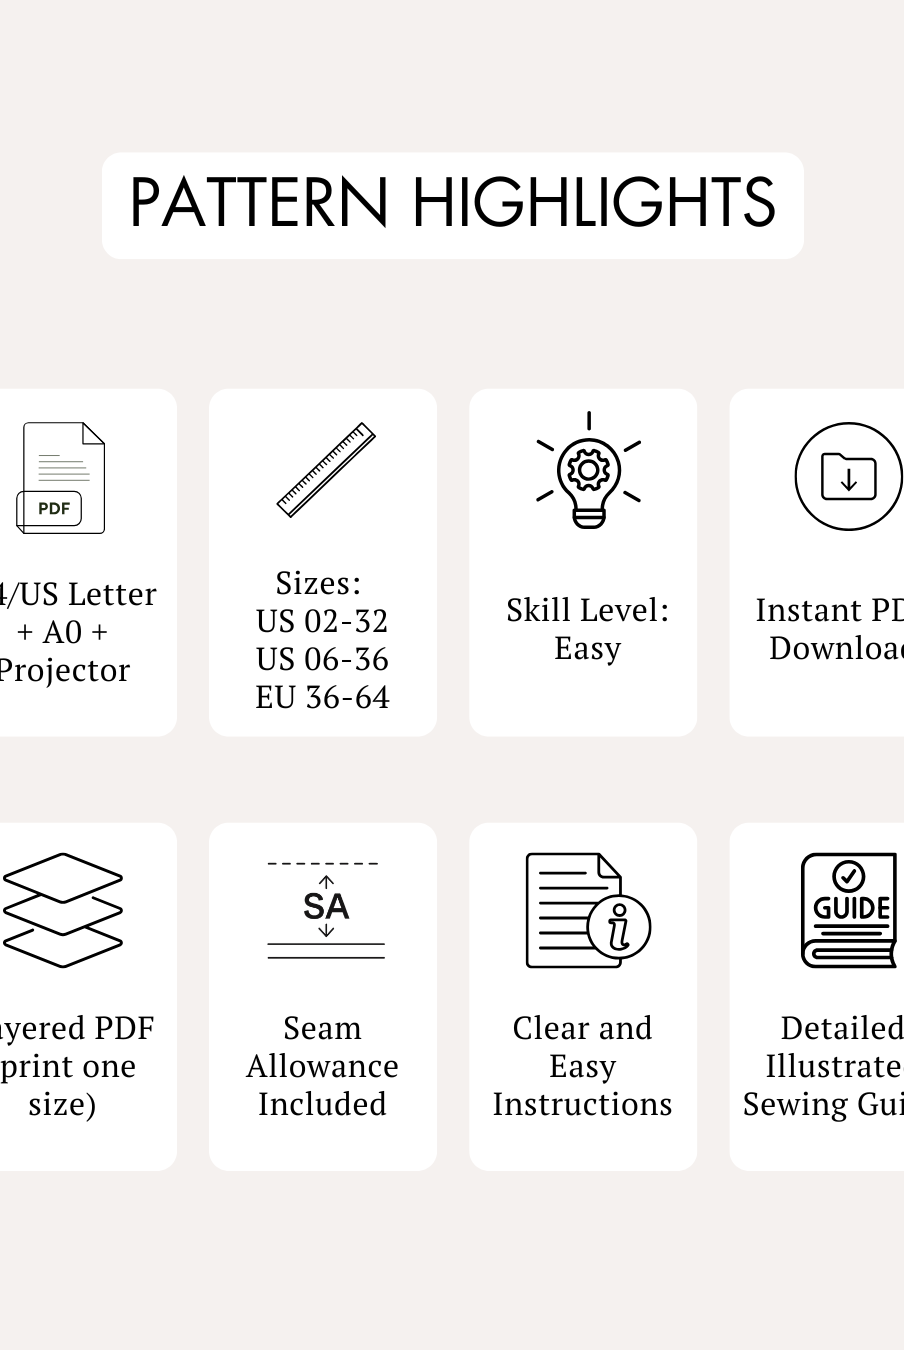
The Winslet's Stacey Lounge Bra Sewing Pattern combines a simple pull-on construction with practical details designed for comfortable everyday wear.
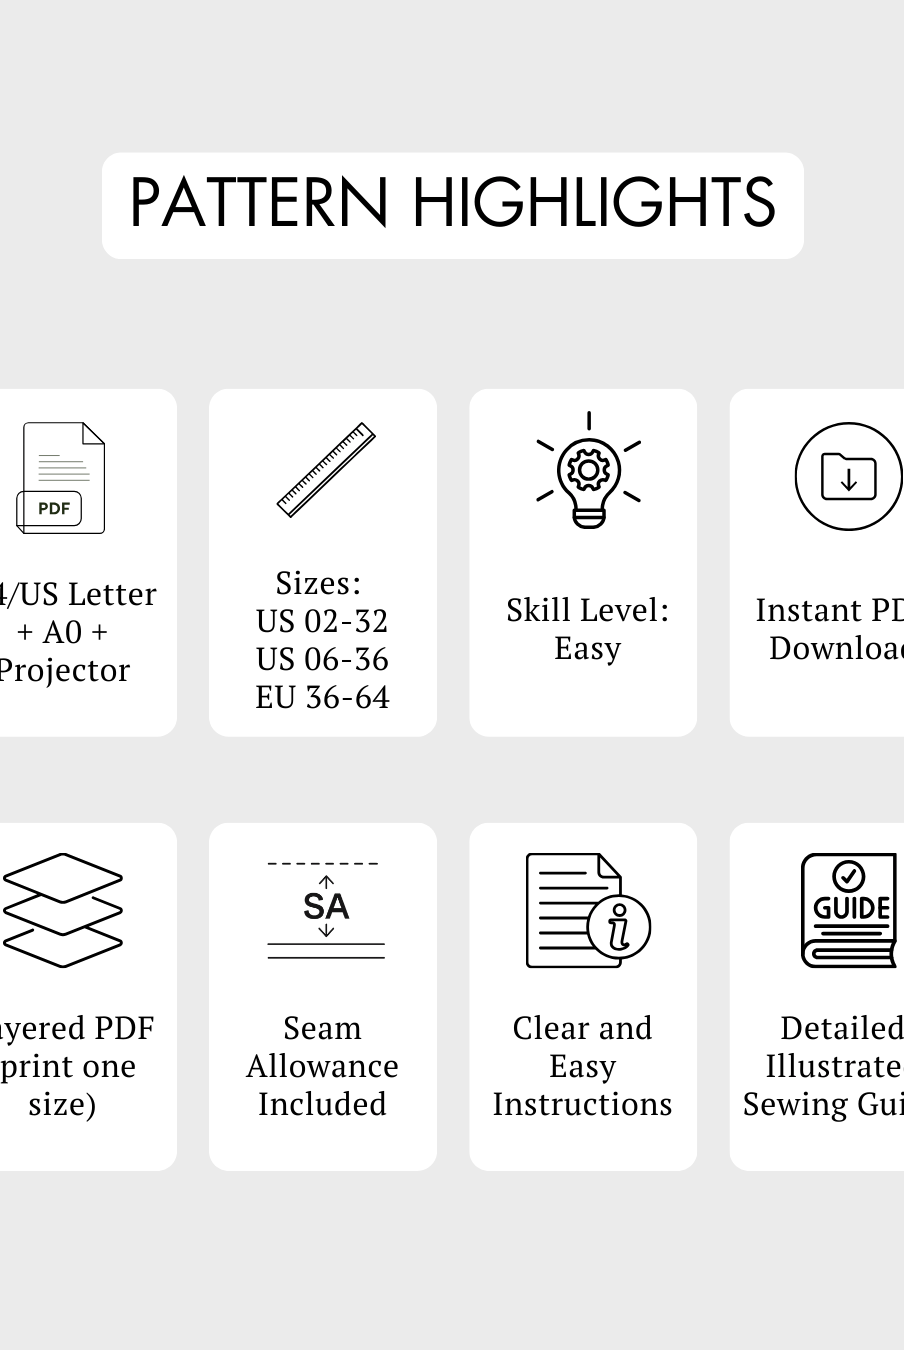
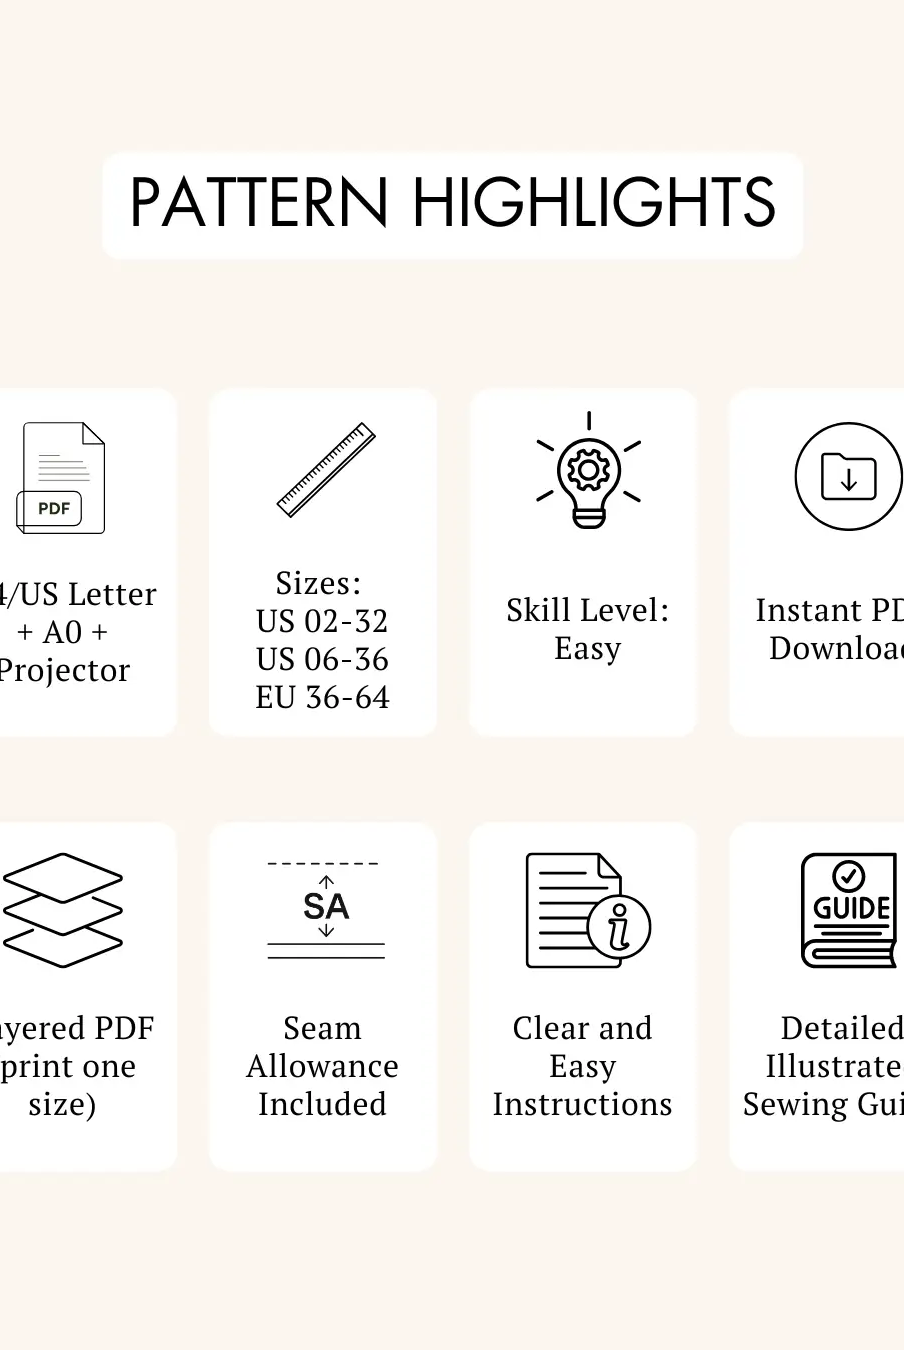
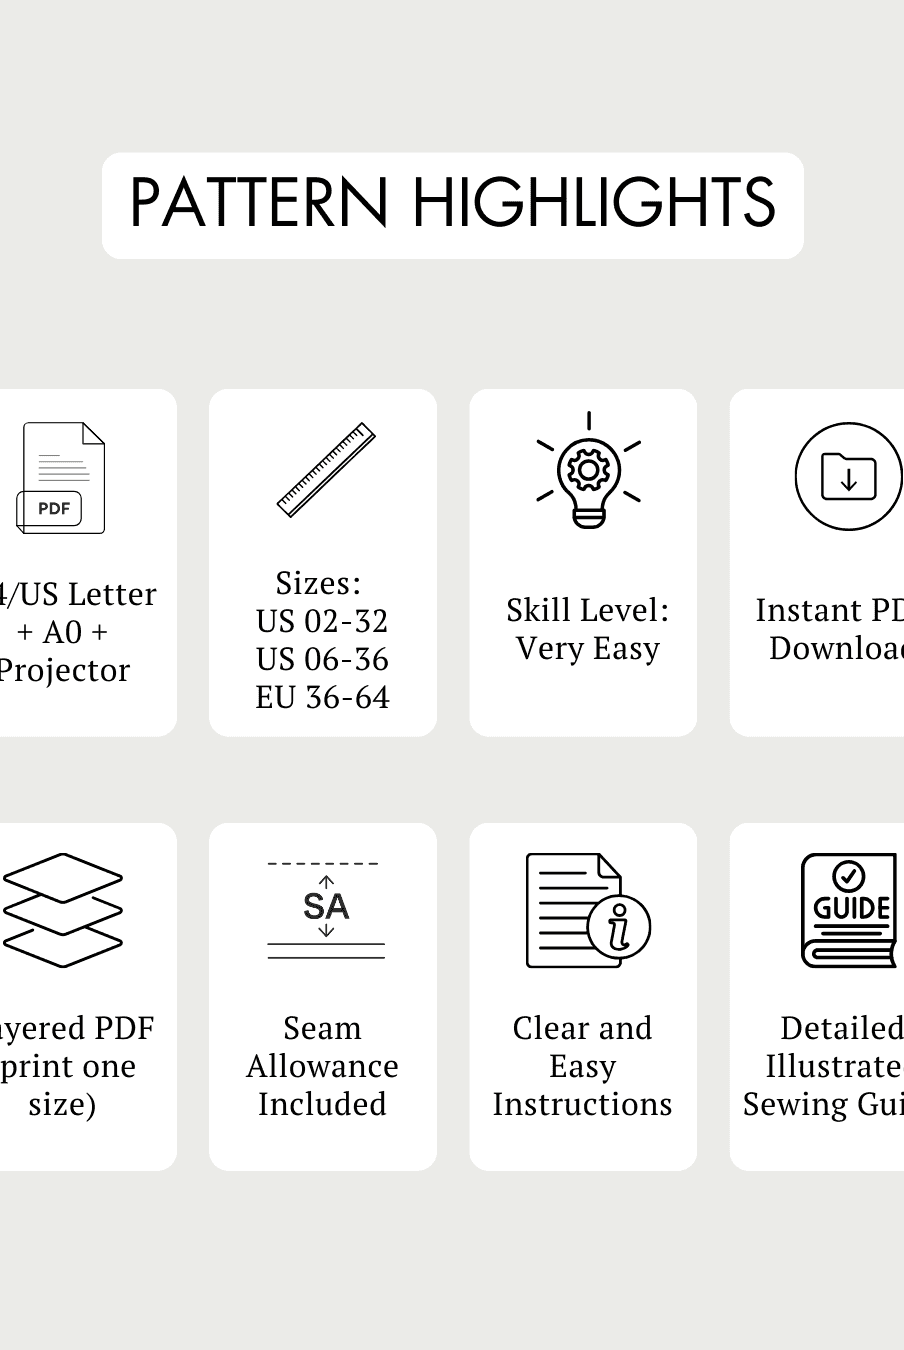
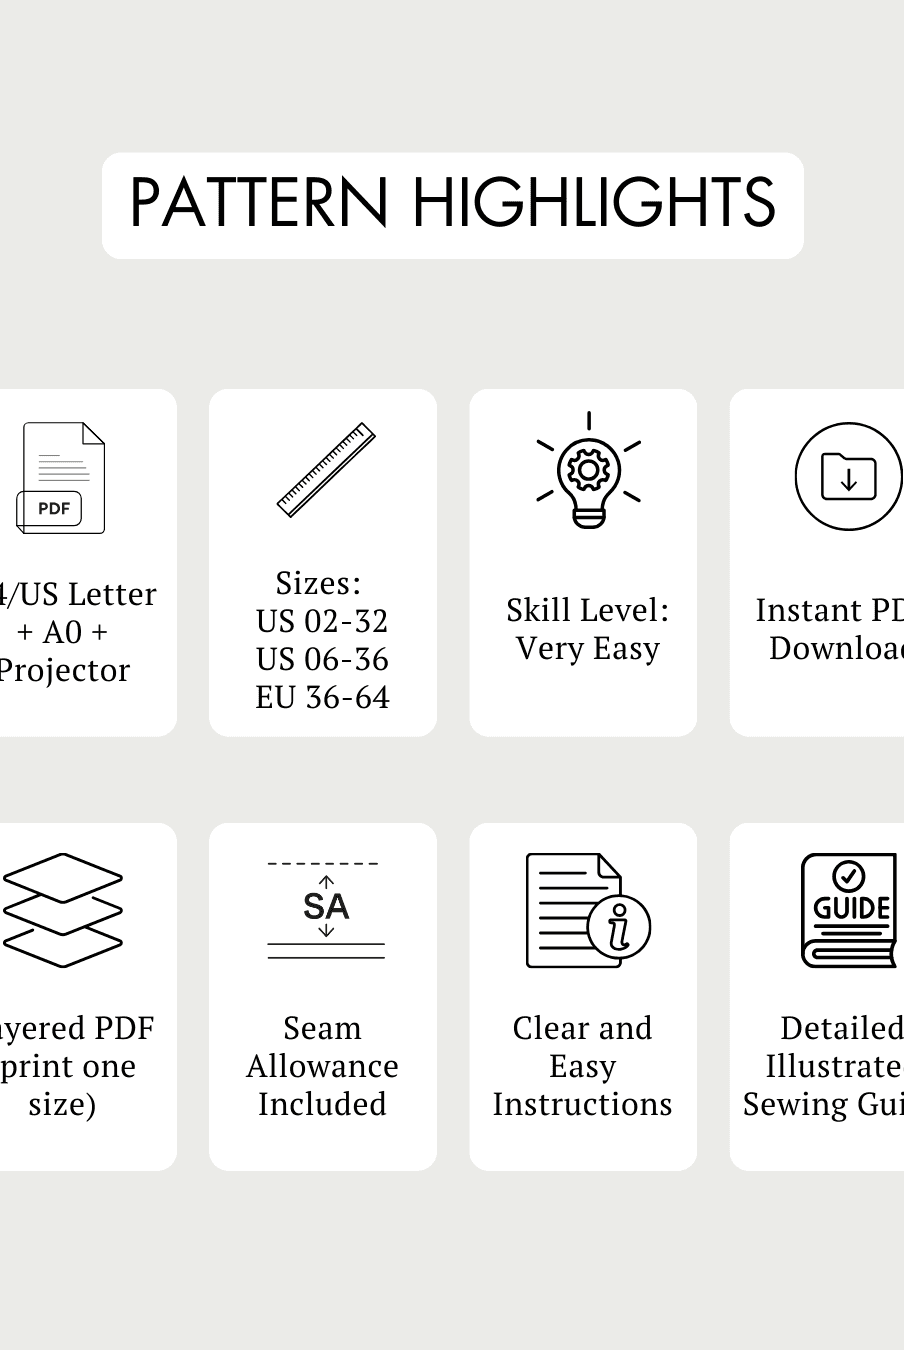
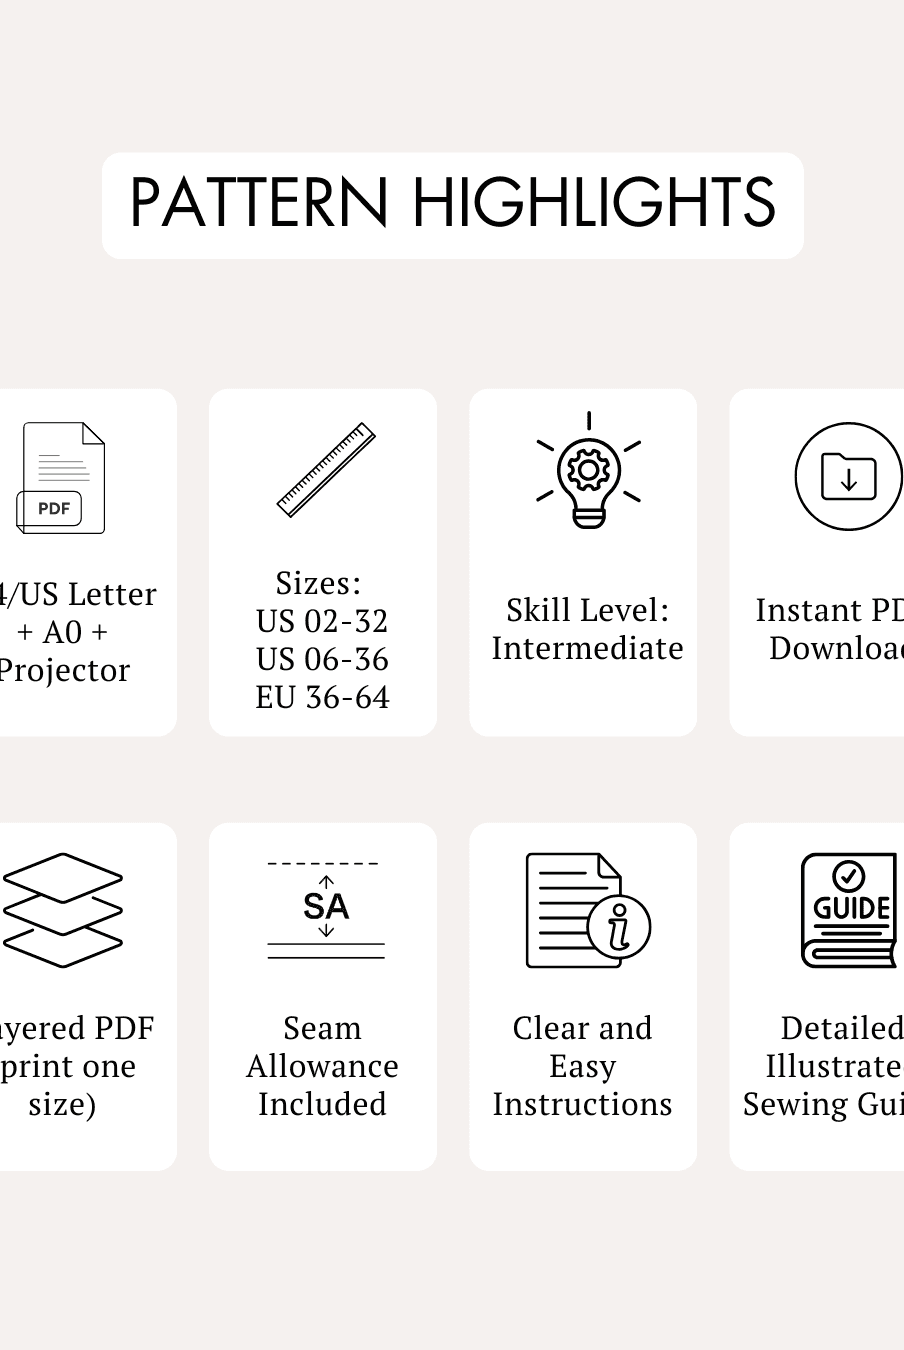
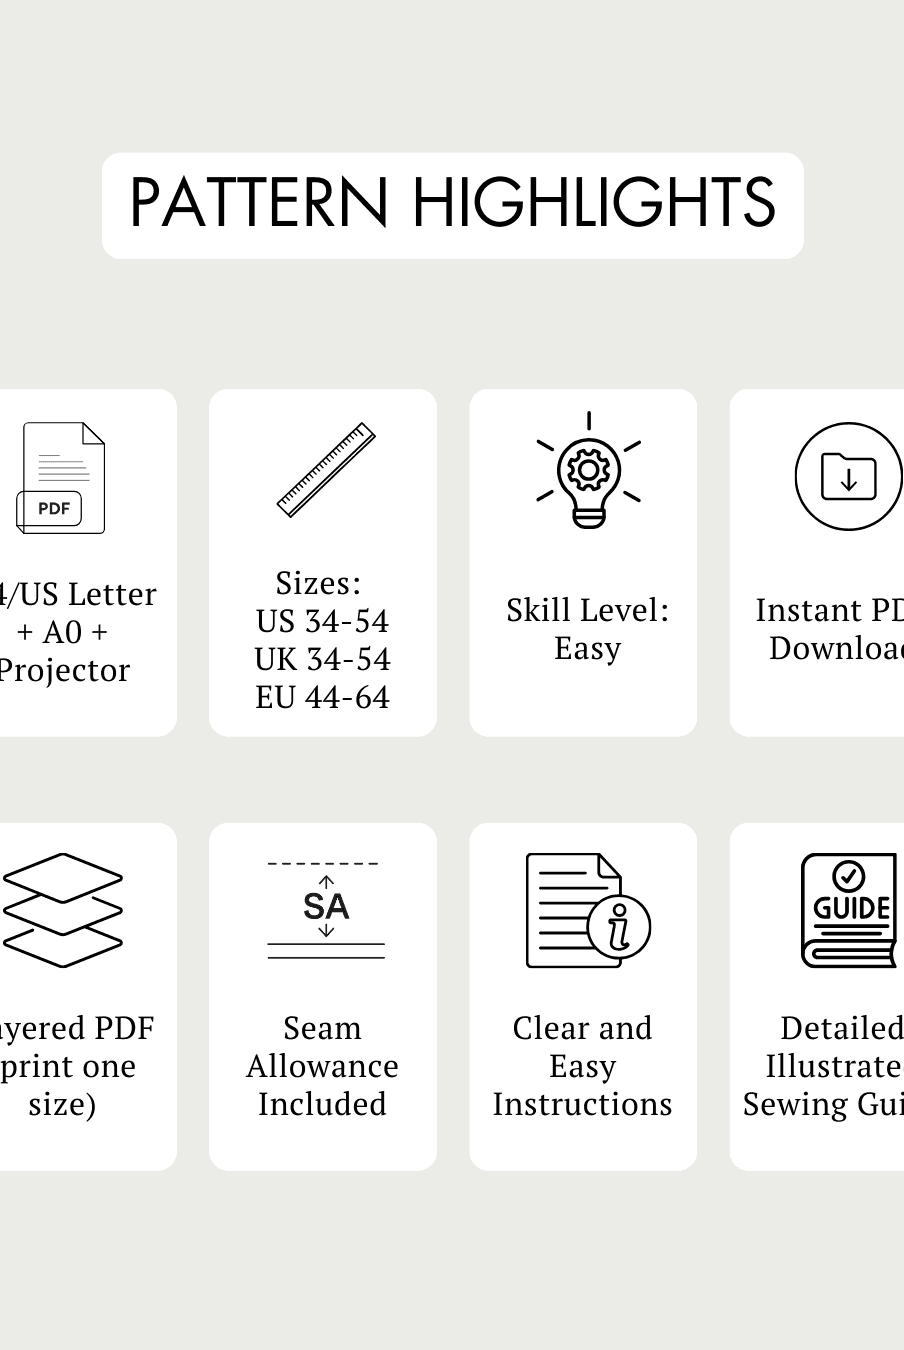
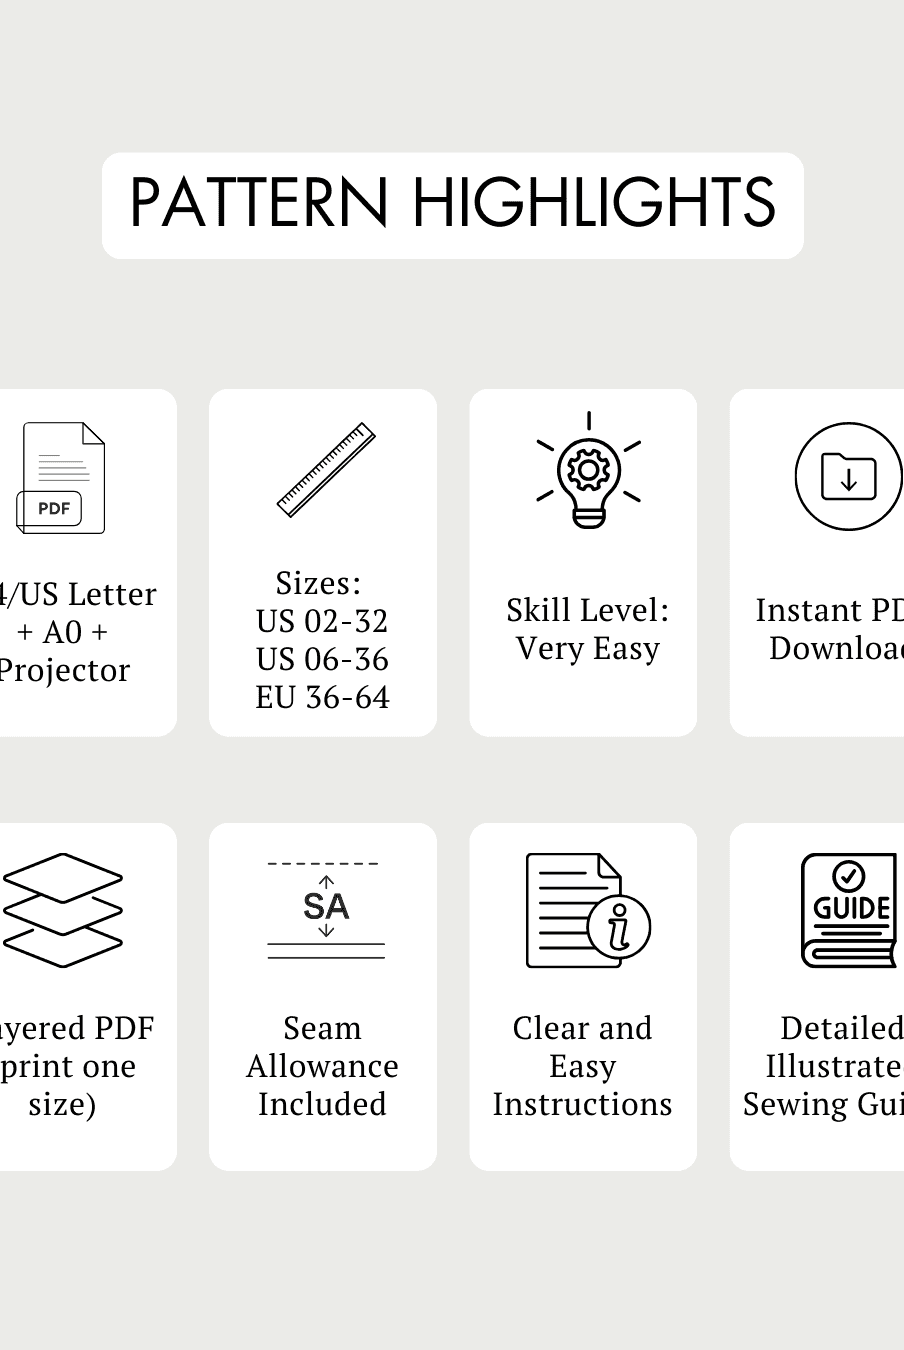
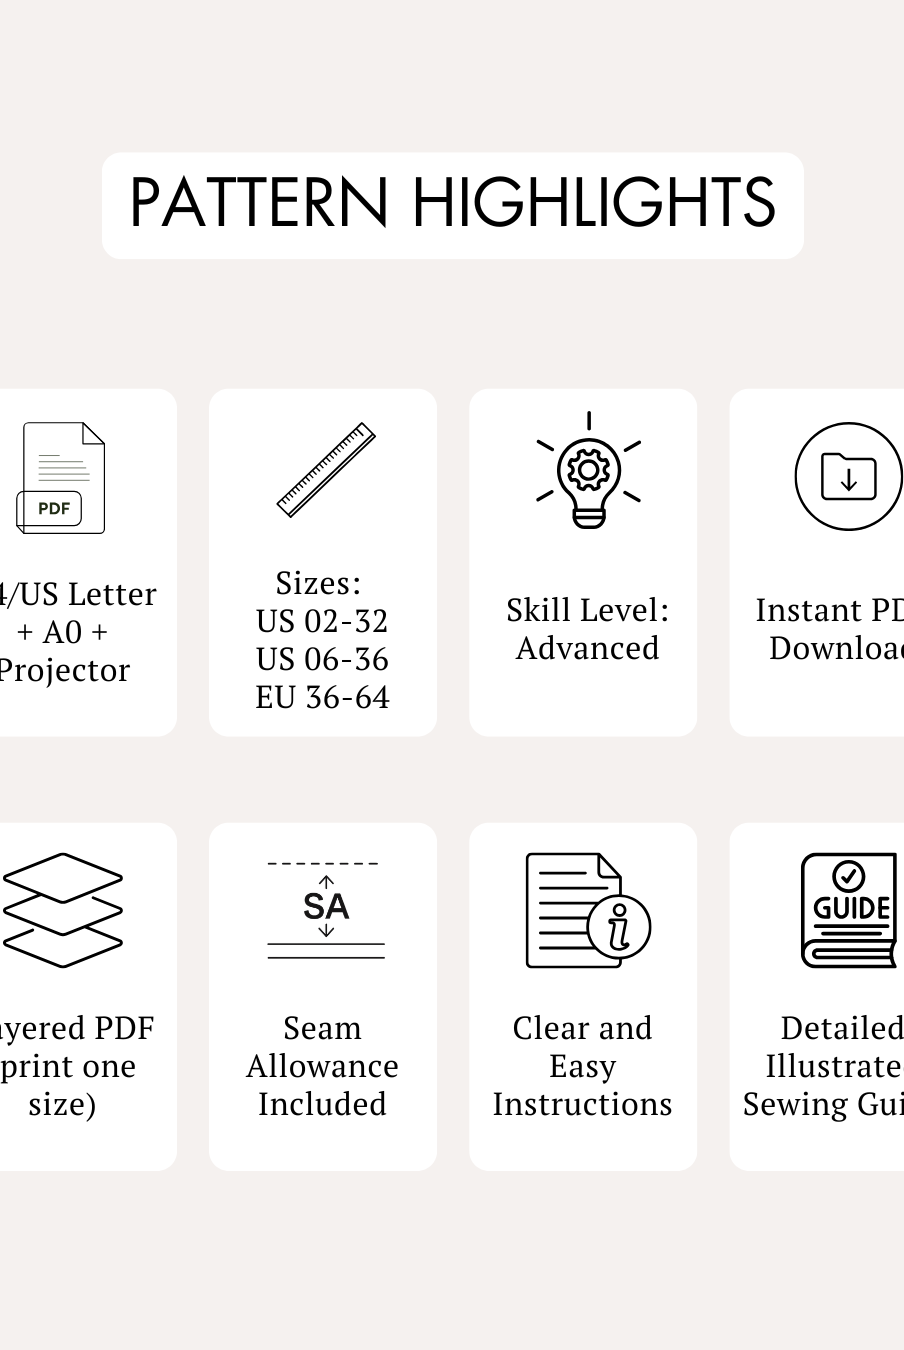
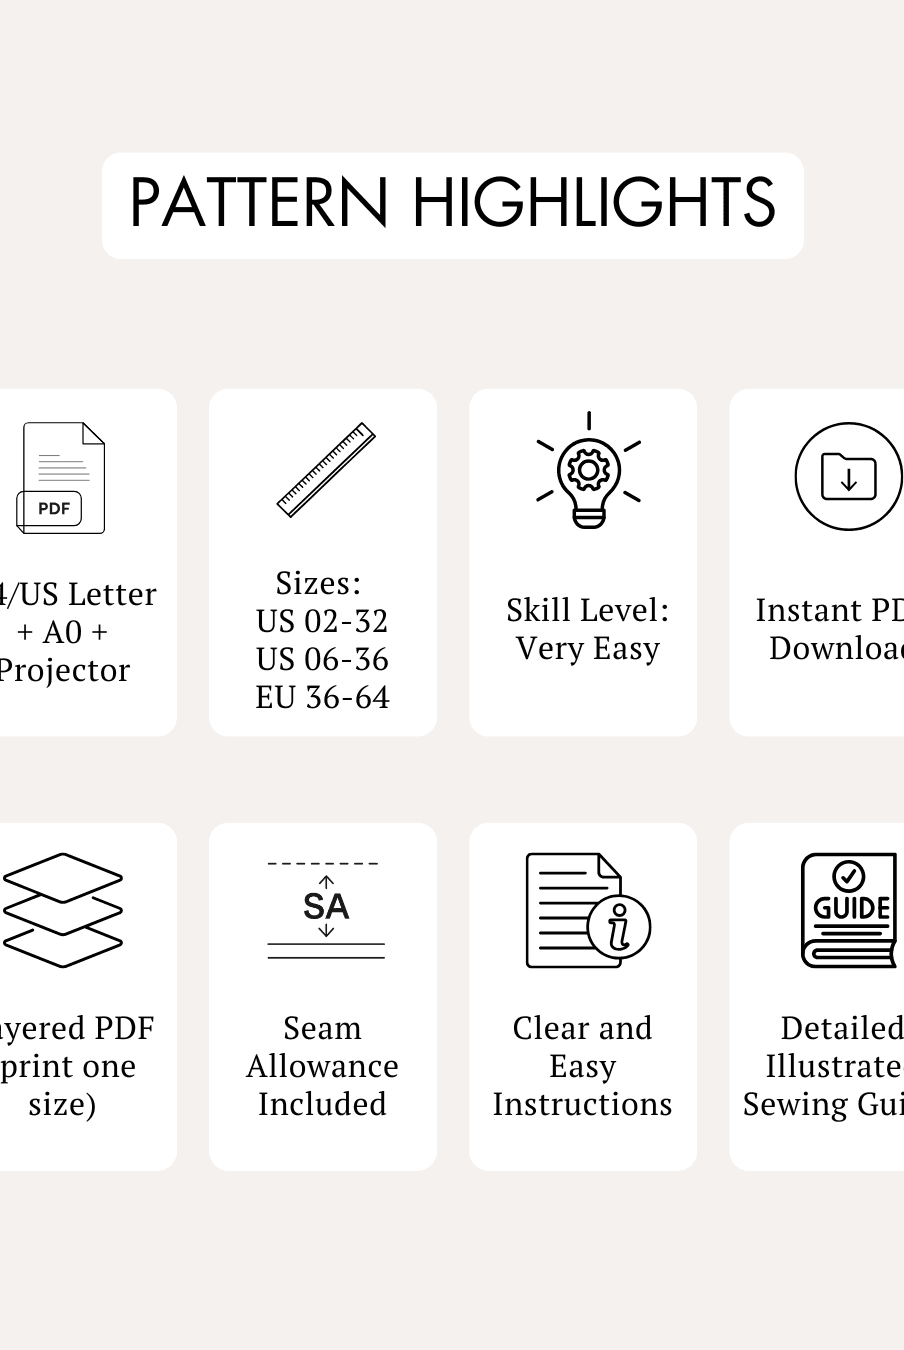
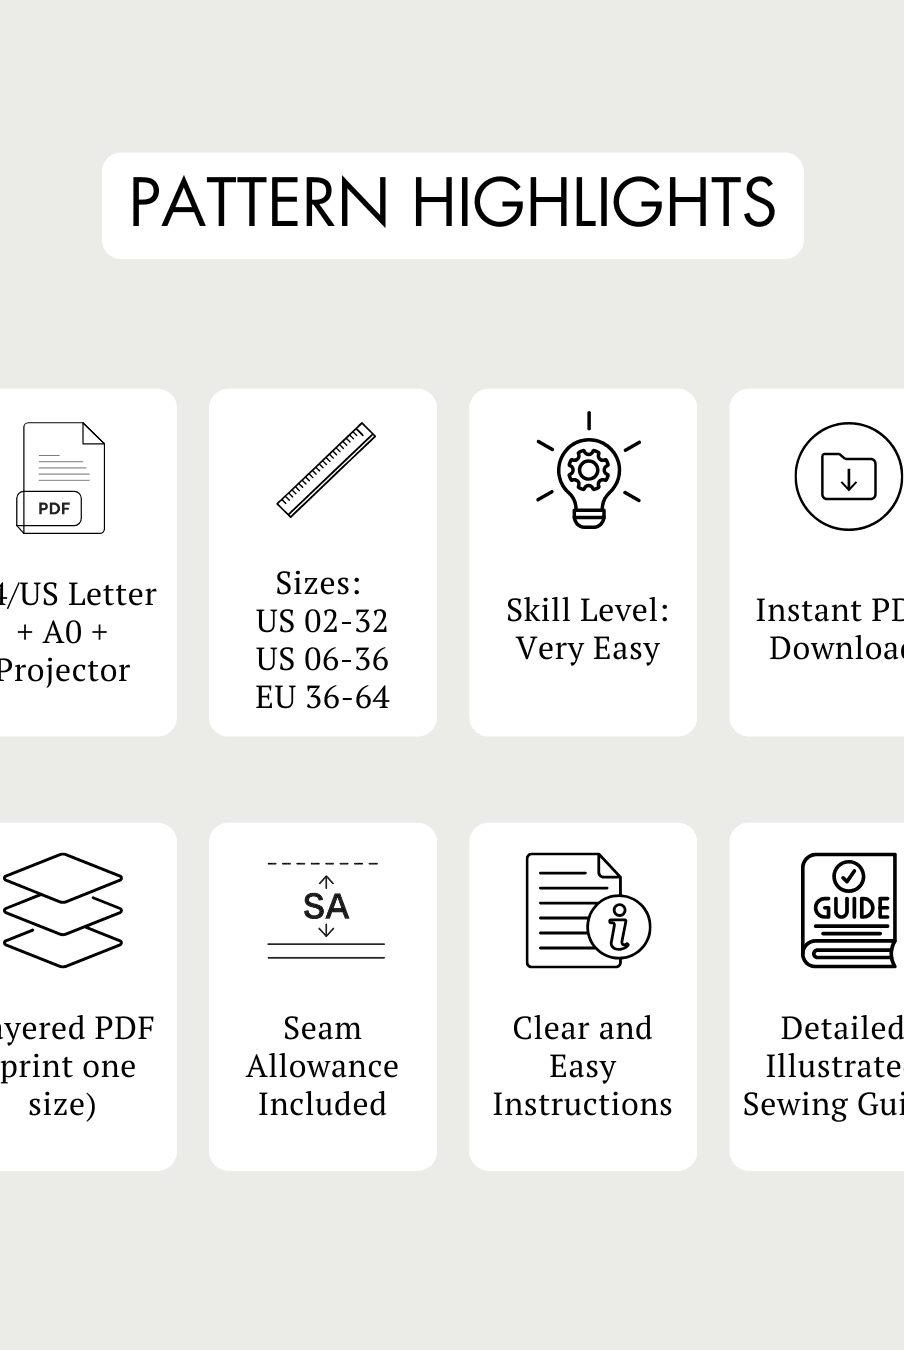
- Skill Level: Very Easy
- Scoop neckline
- Wide shoulder straps
- Racerback cut
- Snug crop-length fit
- Wide underbust band
- Fully lined front
- Openings for optional removable bra cups
- Pull-on construction without hooks or clasps
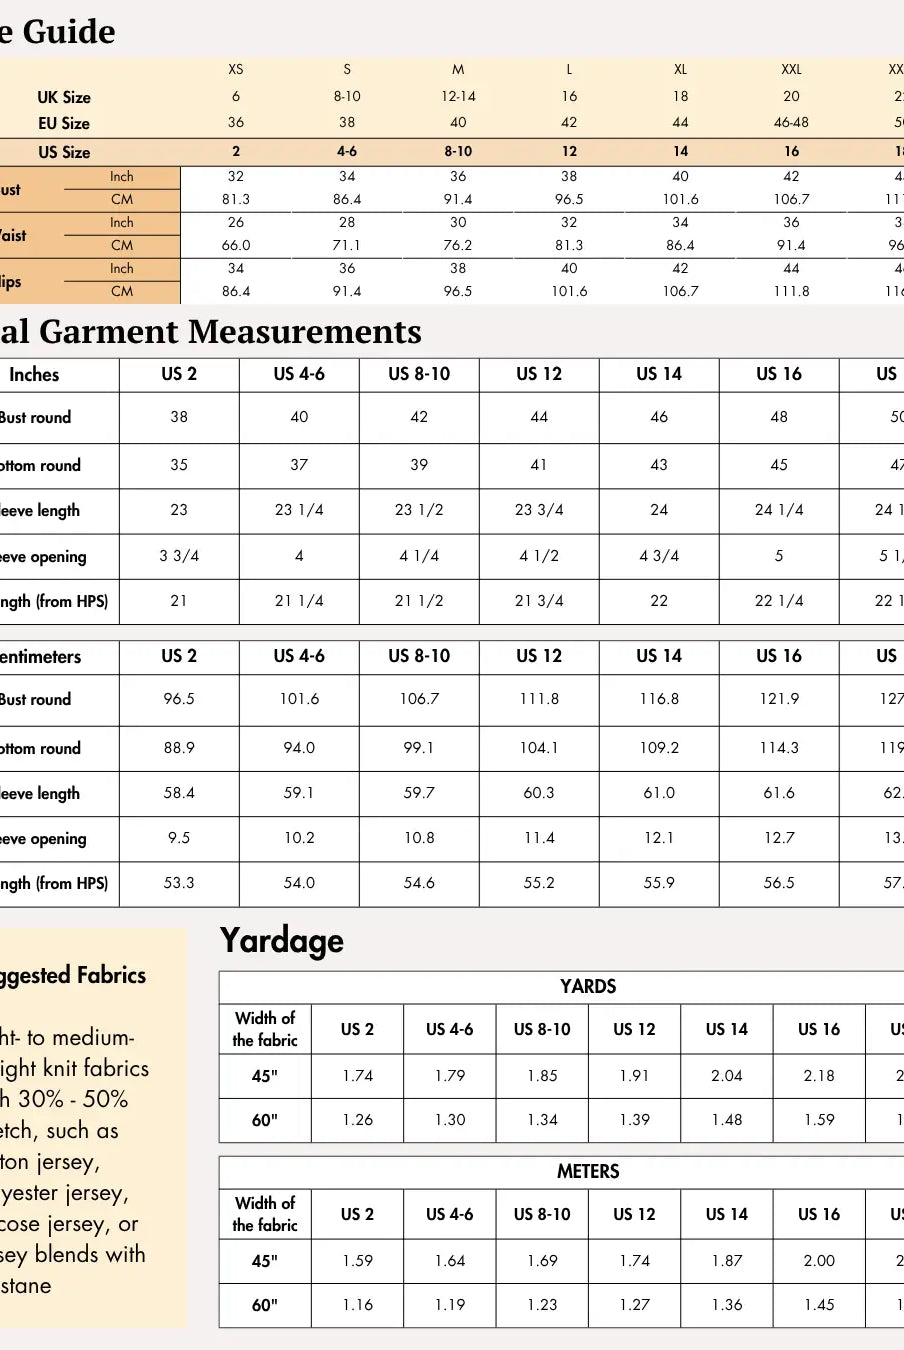
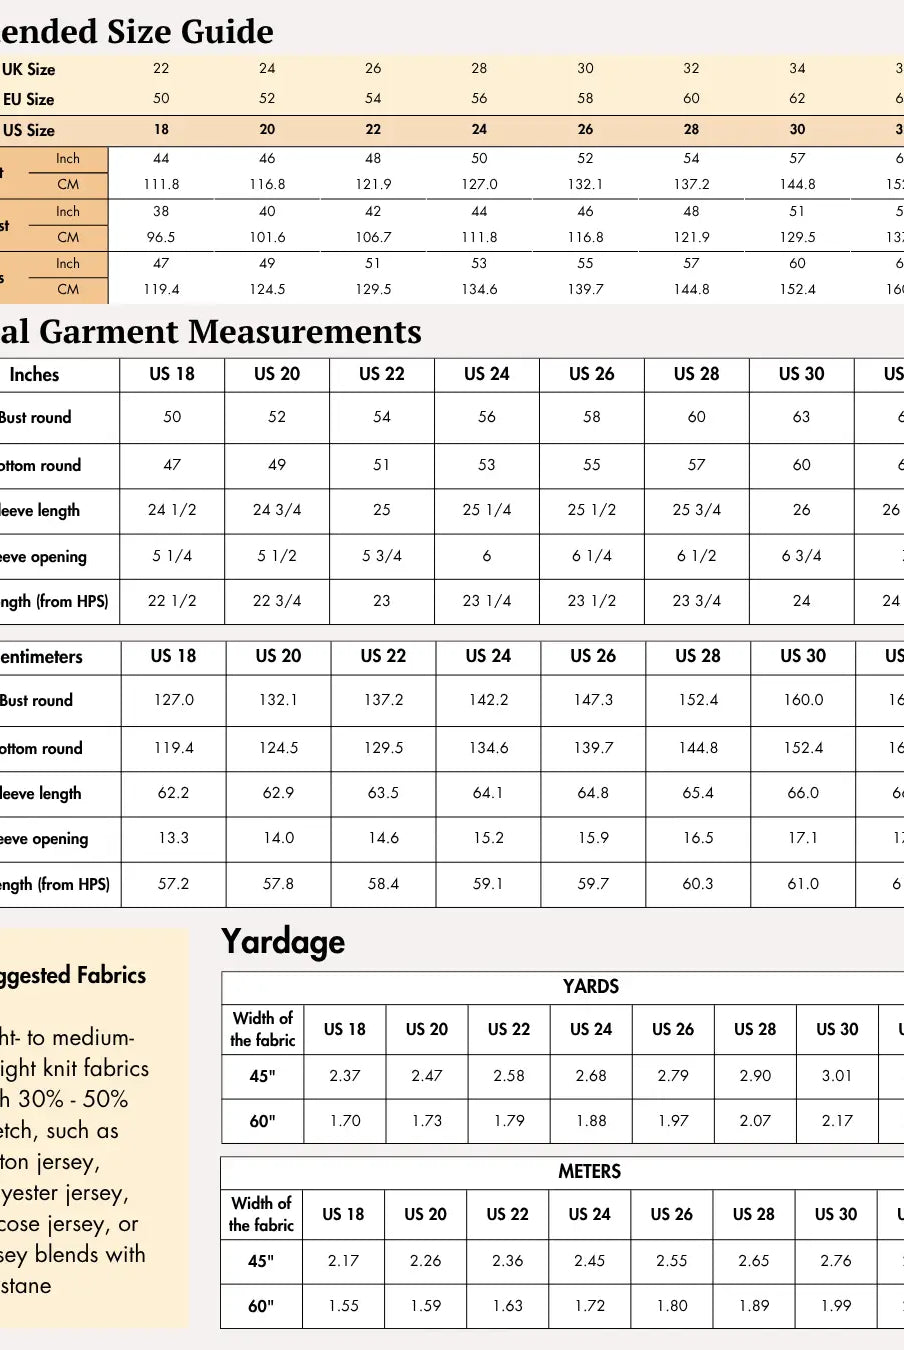
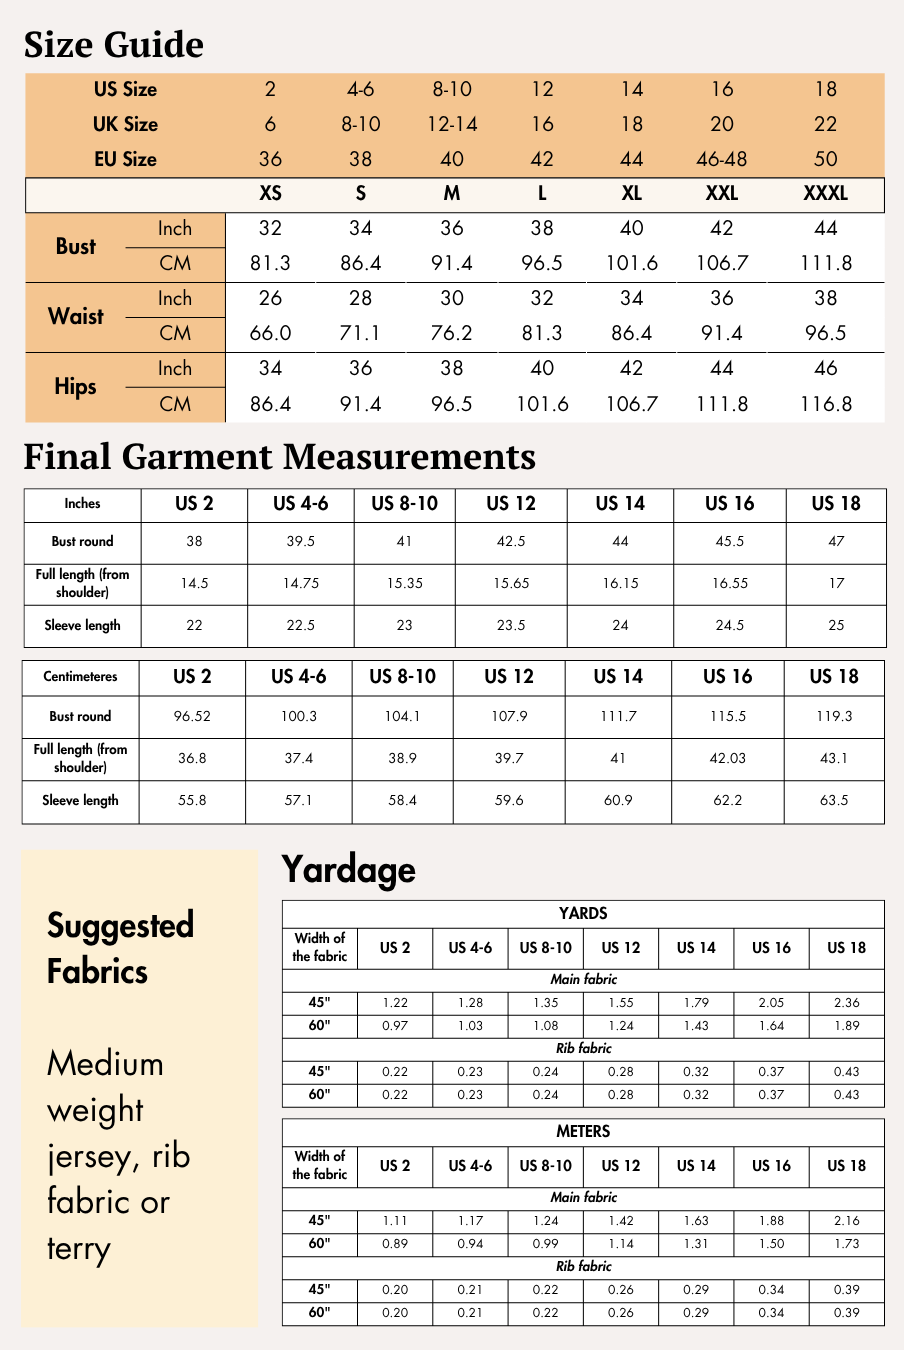
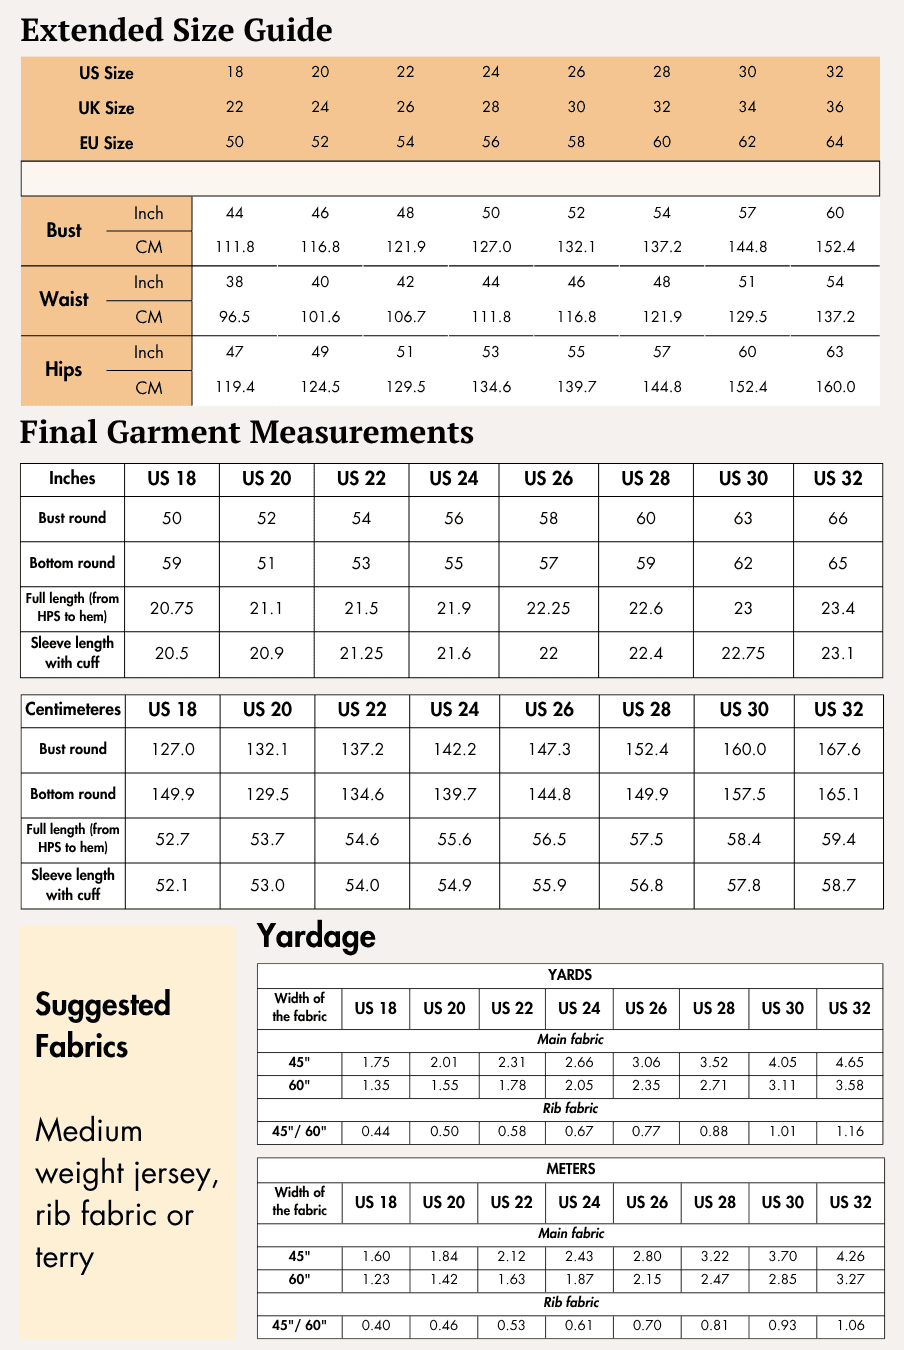
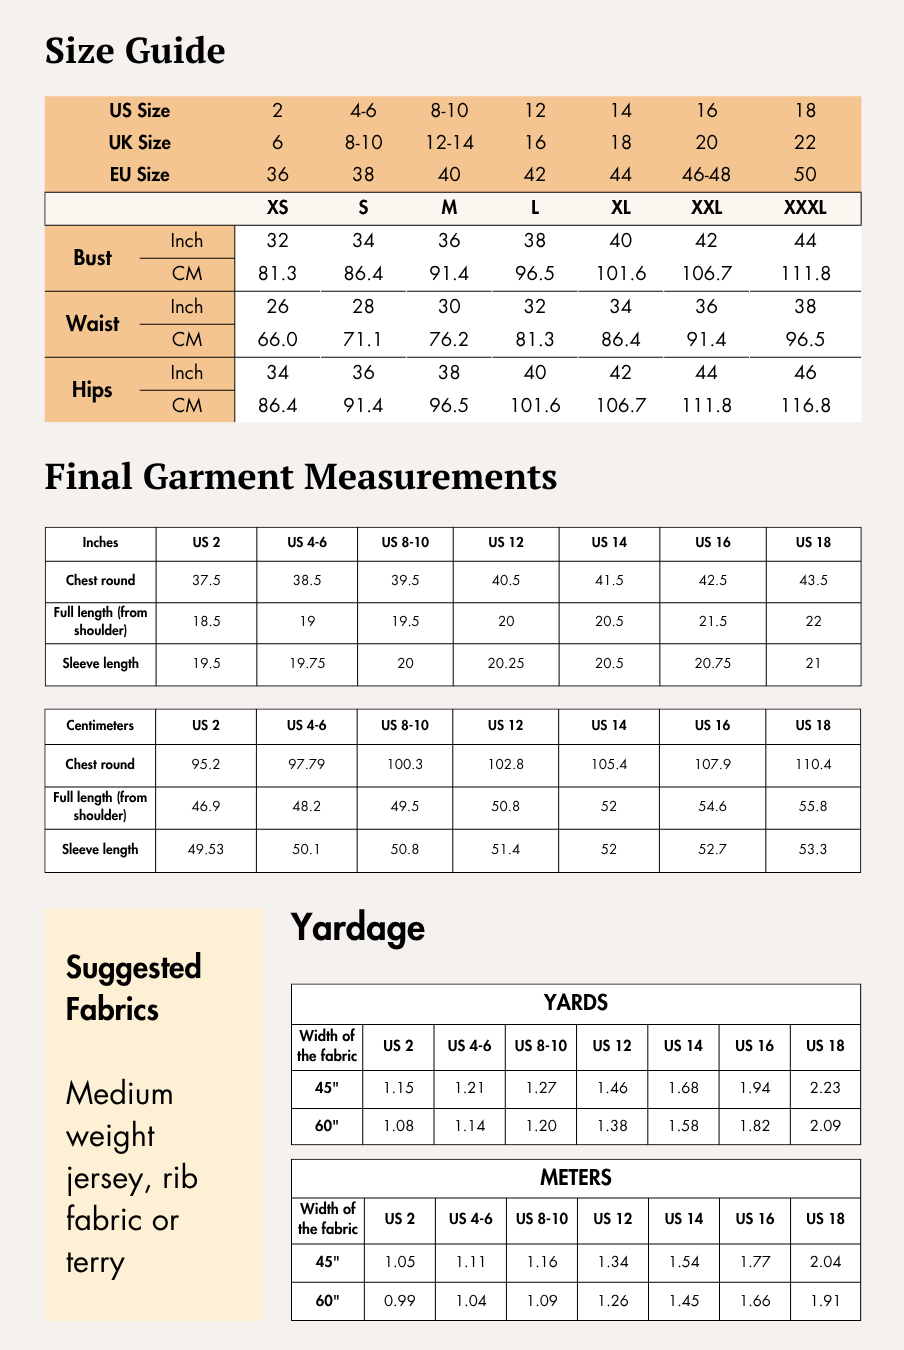
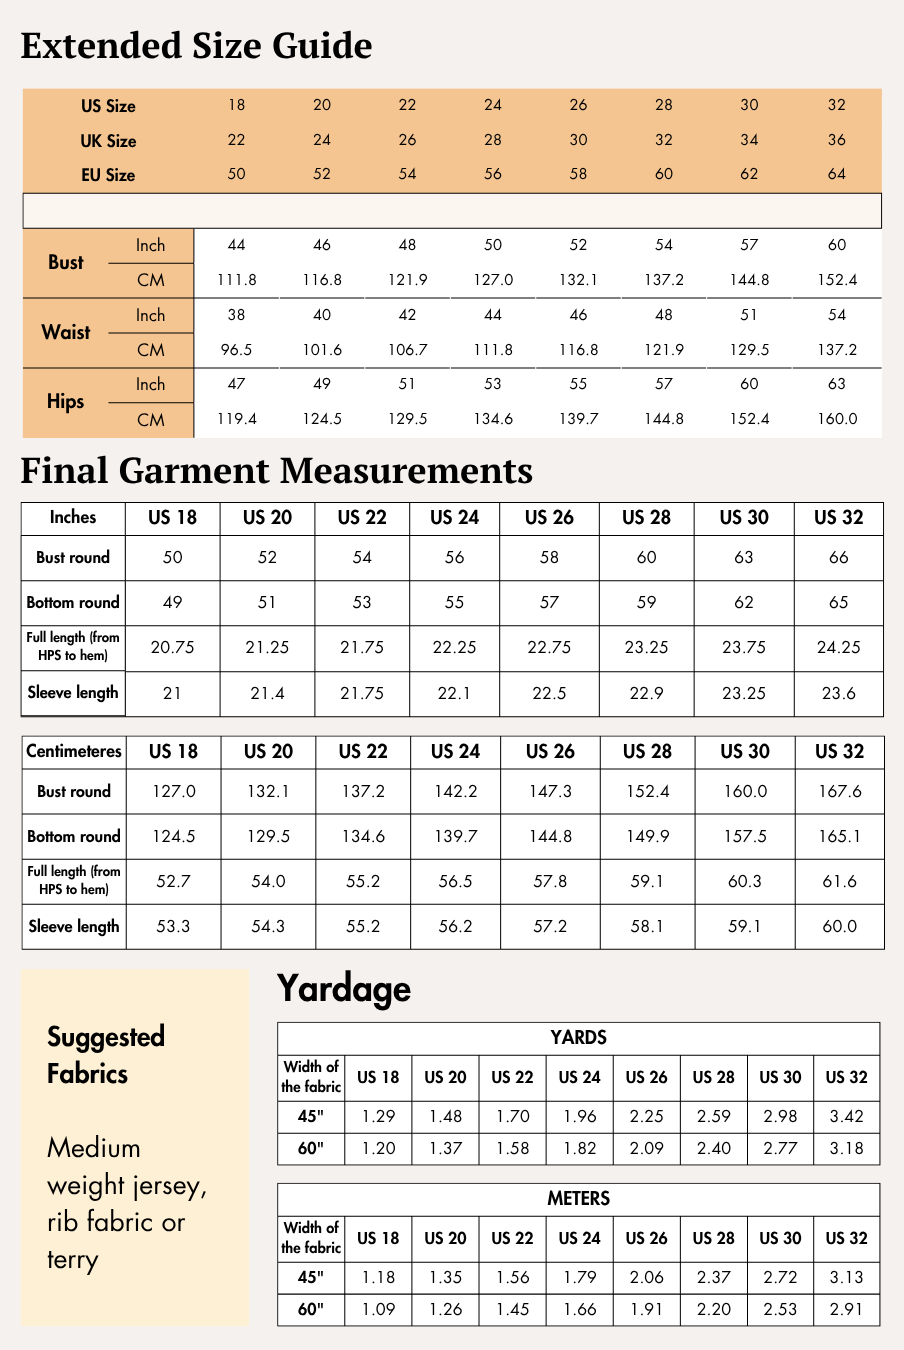
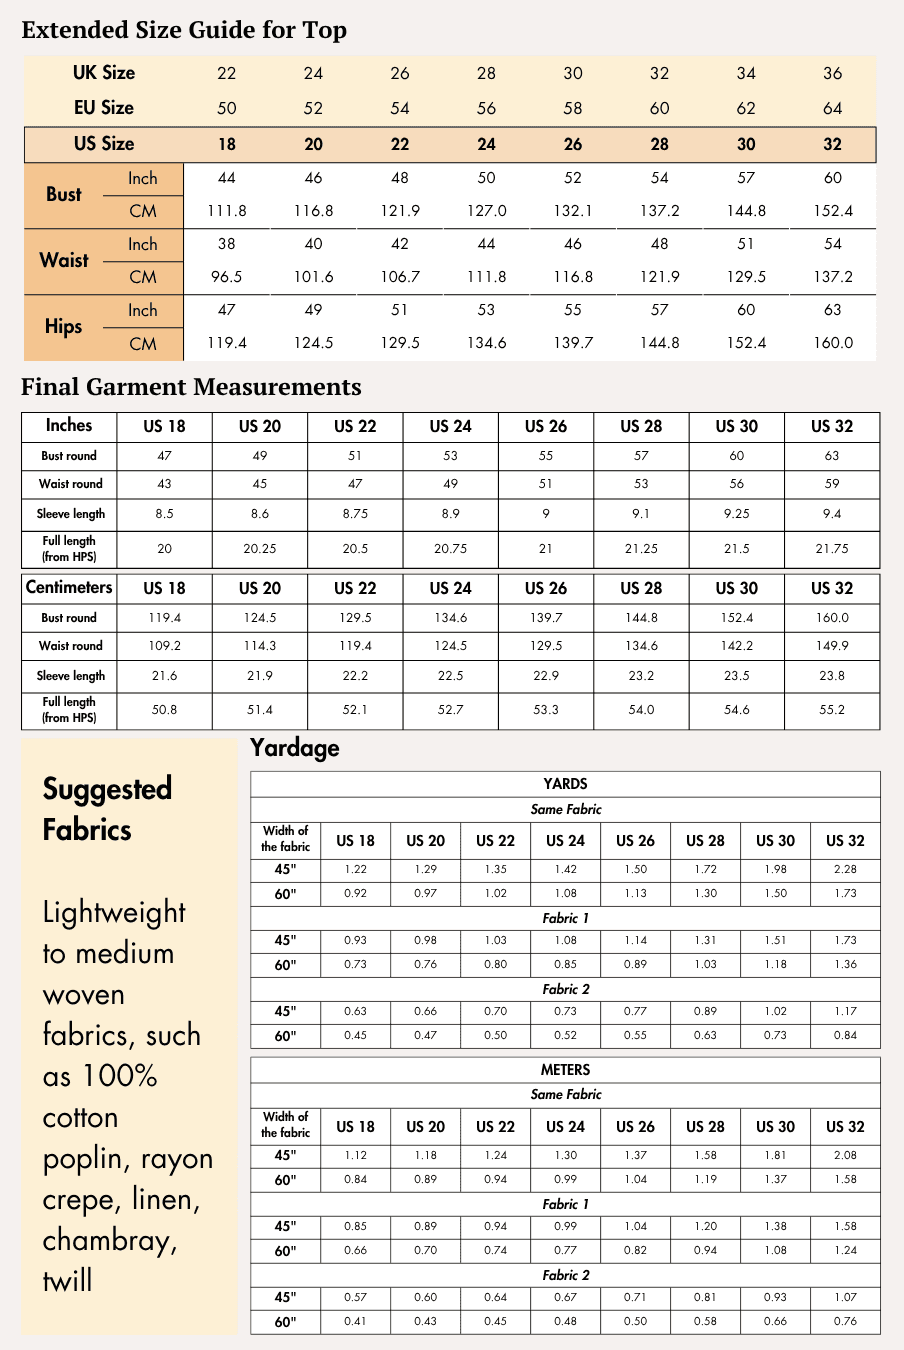
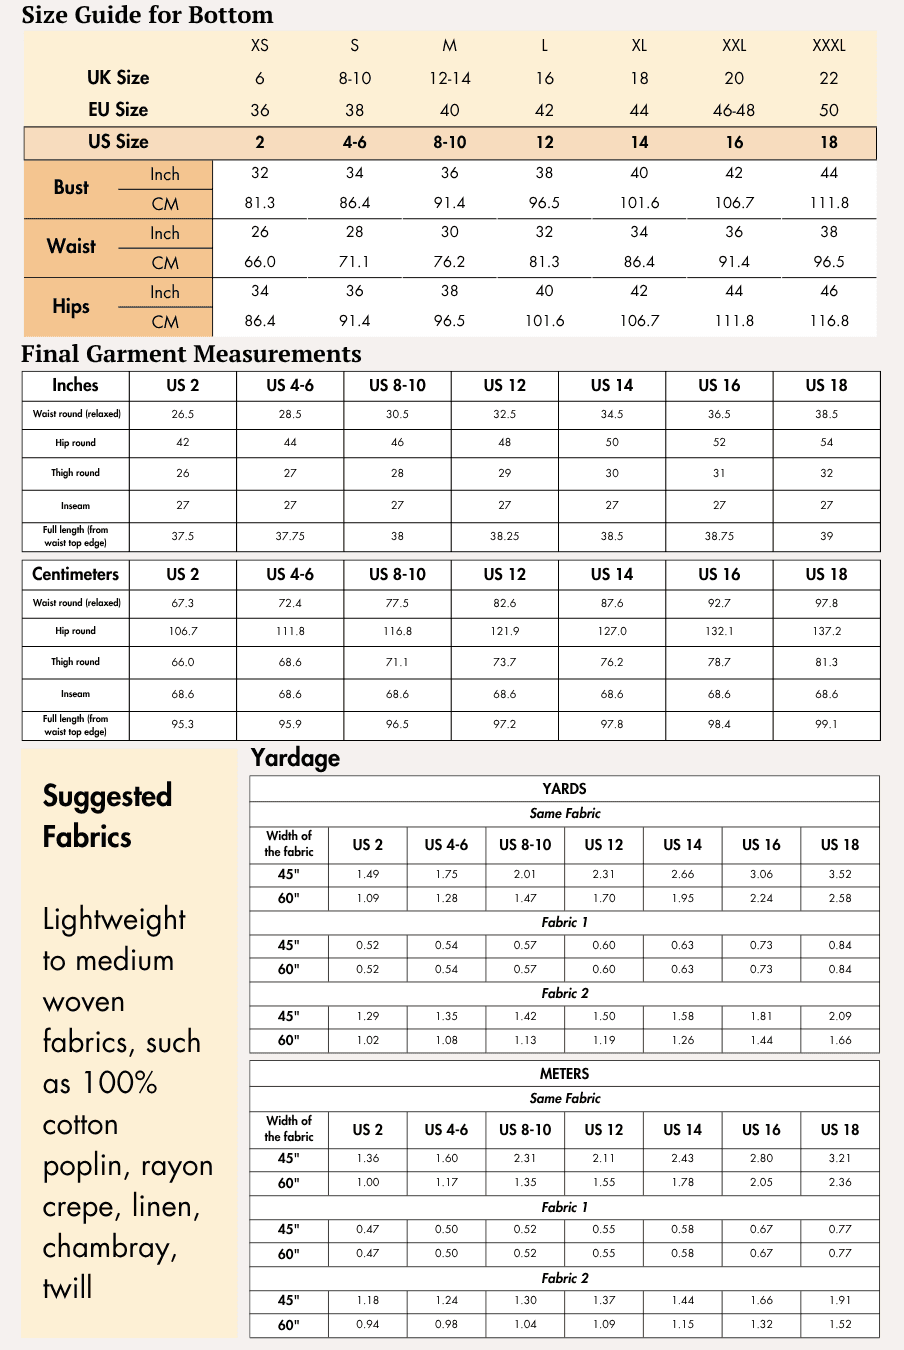
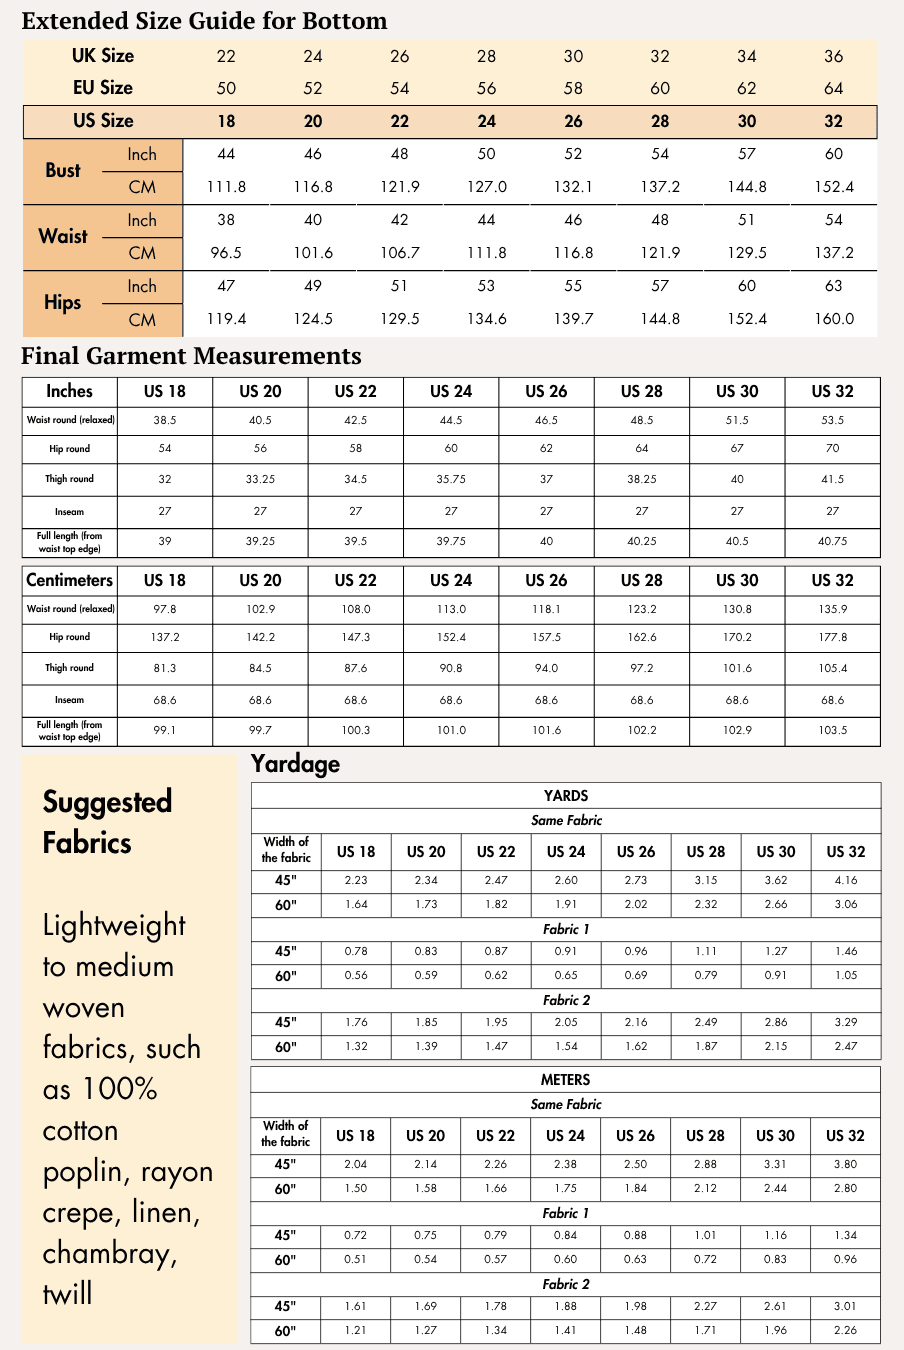
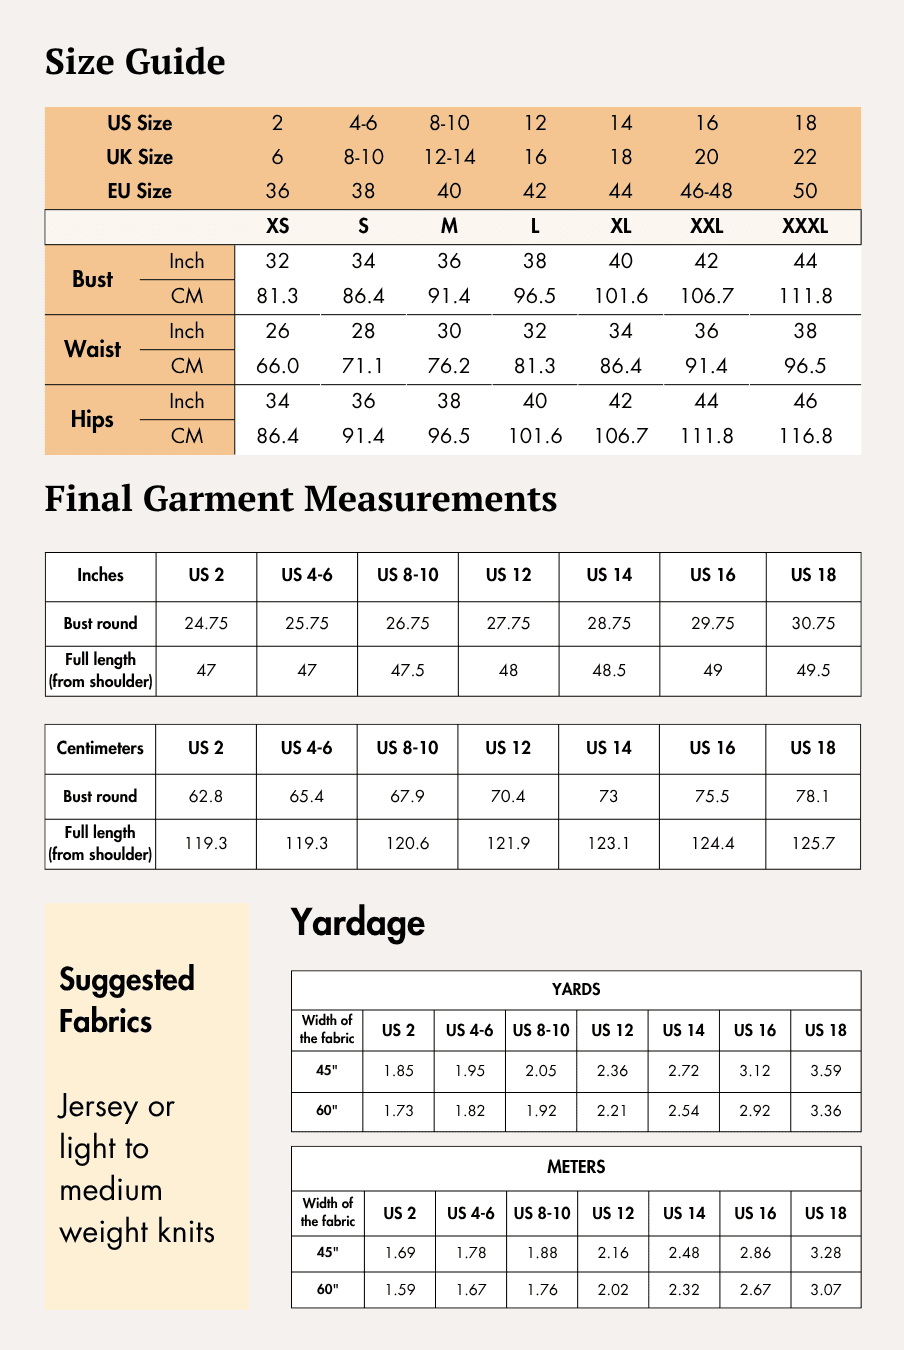
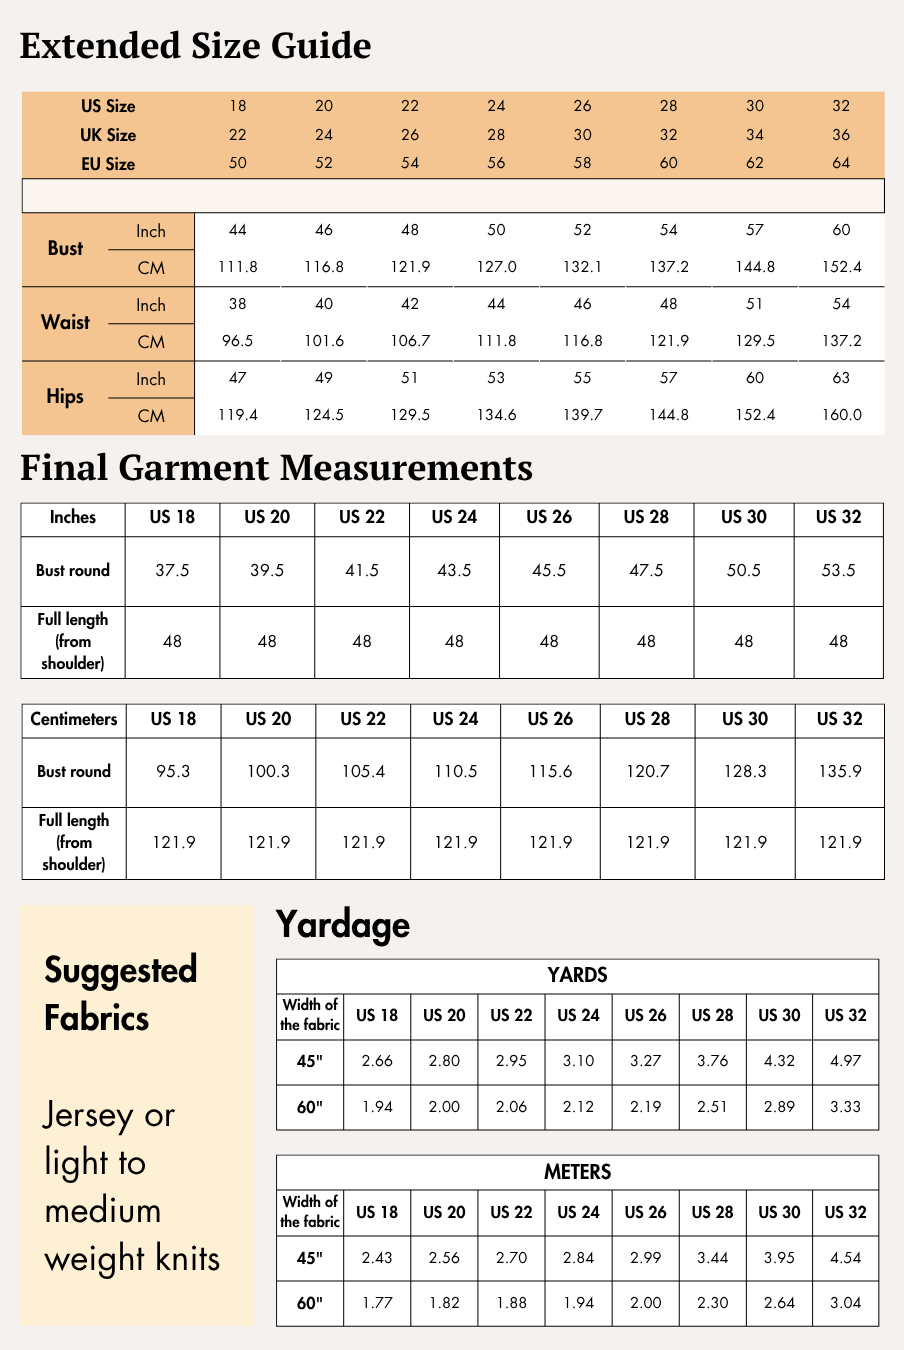
- Available Sizes: US 02 - US 32 | UK 06 - UK 36 | EU 36 - EU 64
Supplies & Notions
The sewing guide lists the following supplies and notions:
- Tape measure
- Shears
- Iron
- 3-ply polyester thread
- Chalk
- Thread cutter
- Pins
- Ballpoint or stretch needles
- Sewing machine
- Serger
- 6 mm wide elastic strip or swimwear elastic
- Removable bra cups (optional)
- 1–2 inch wide elastic band (optional)
If you do not have a serger, the guide recommends using a zigzag stitch with the presser foot setting lower than 1 and, if available, a walking foot. The guide also notes that the optional elastic band can be skipped if your fabric has good stretch recovery.
Fabric Recommendations
The Stacey Lounge Bra Sewing Pattern guide recommends a light- to medium-weight four-way stretch knit fabric of approximately 180–220 GSM. Your fabric should have at least 40–50% crosswise stretch with good recovery.
Suitable fabrics include:
- Cotton blend jersey with spandex
- Polyester blend jersey with spandex
- Viscose blend jersey with spandex
The sample lounge bra is made from poly-spandex single jersey containing approximately 5–10% spandex. The guide describes this fabric as lightweight, smooth and soft, stretchy with good drape and recovery, durable, breathable, comfortable, and crease-resistant.
Always try on a sample before sewing the actual garment.
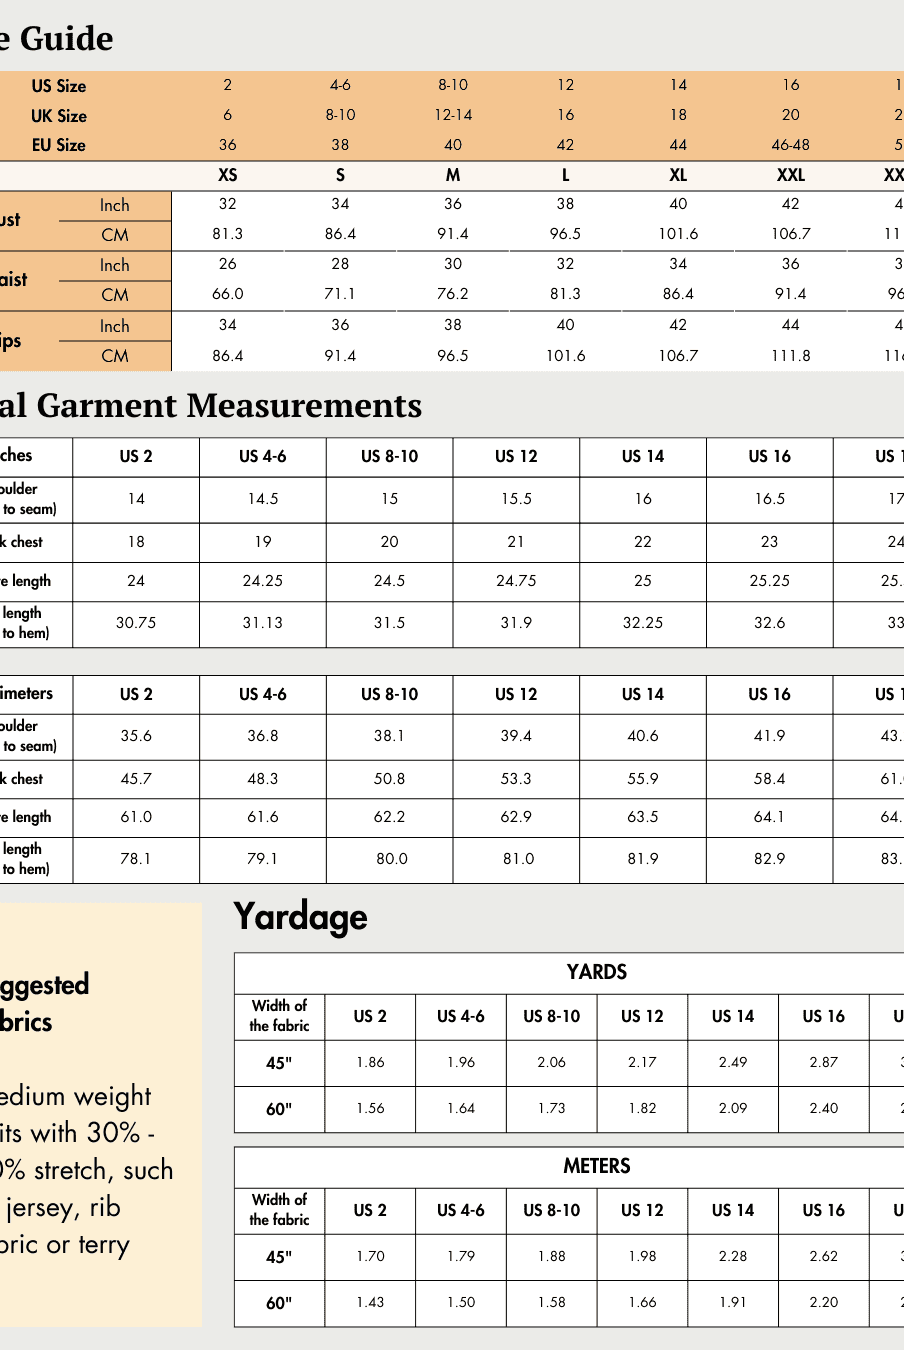
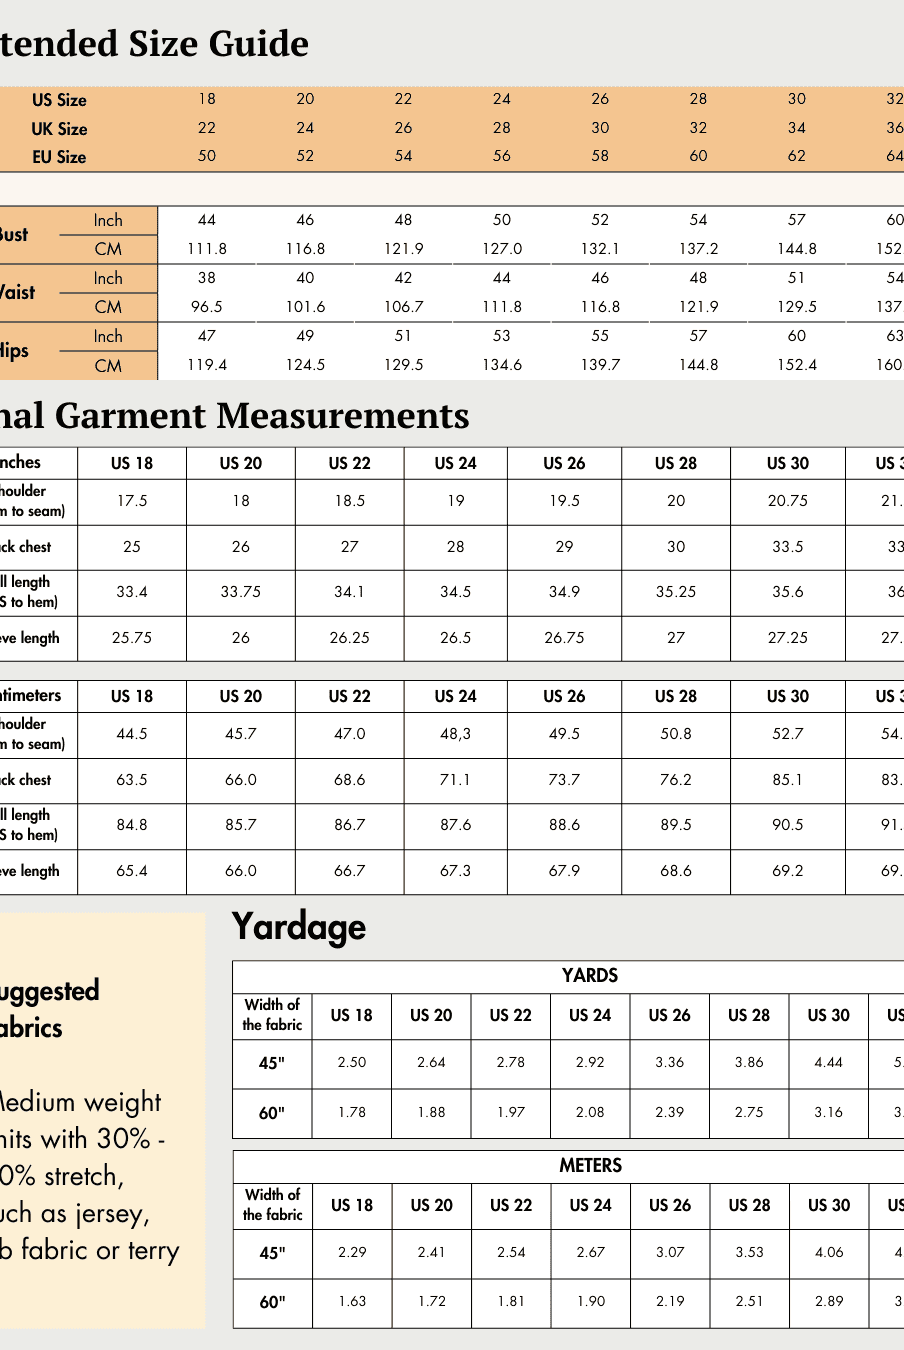
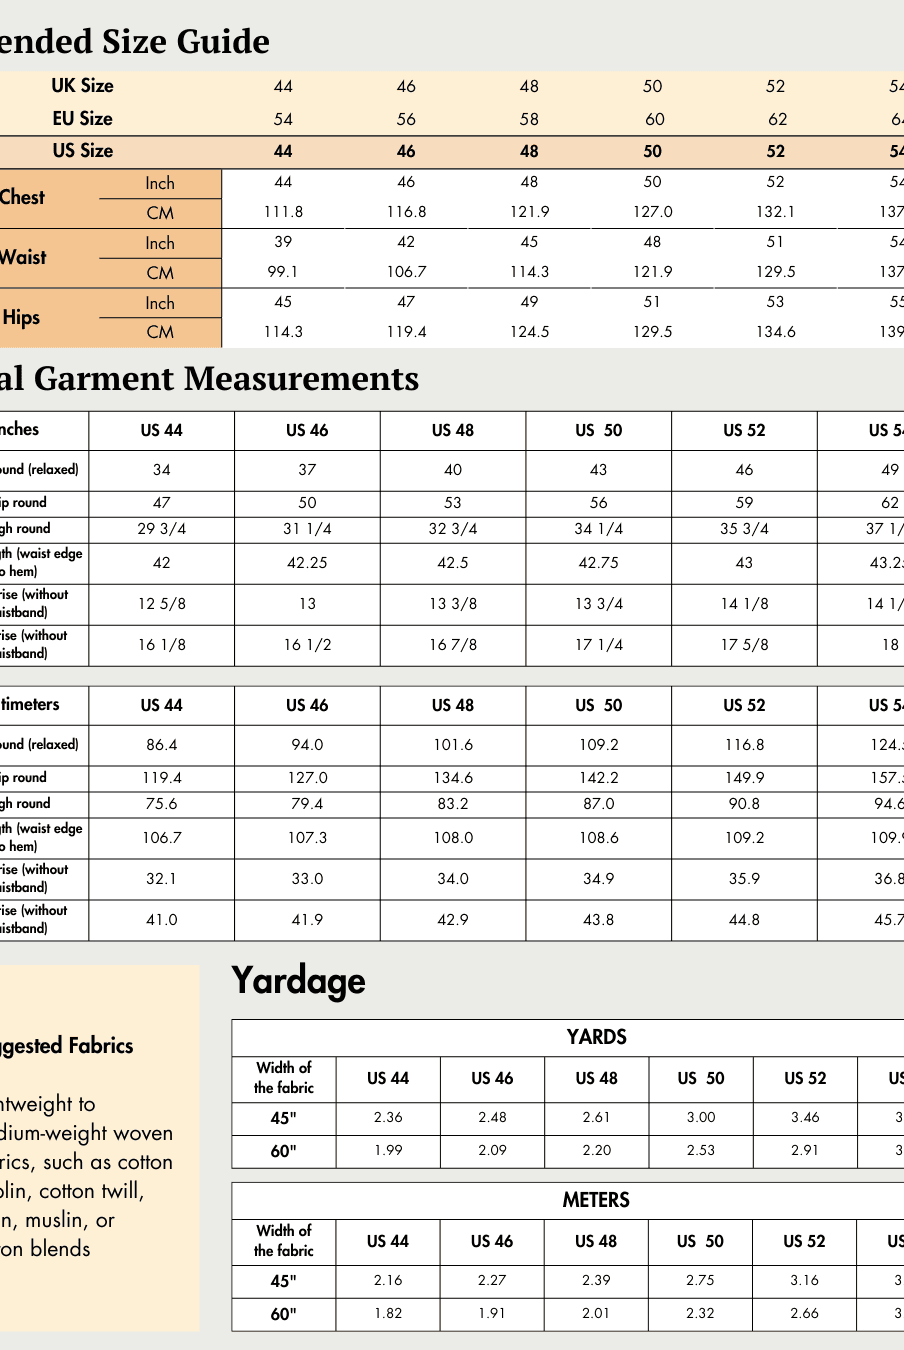
Size Charts
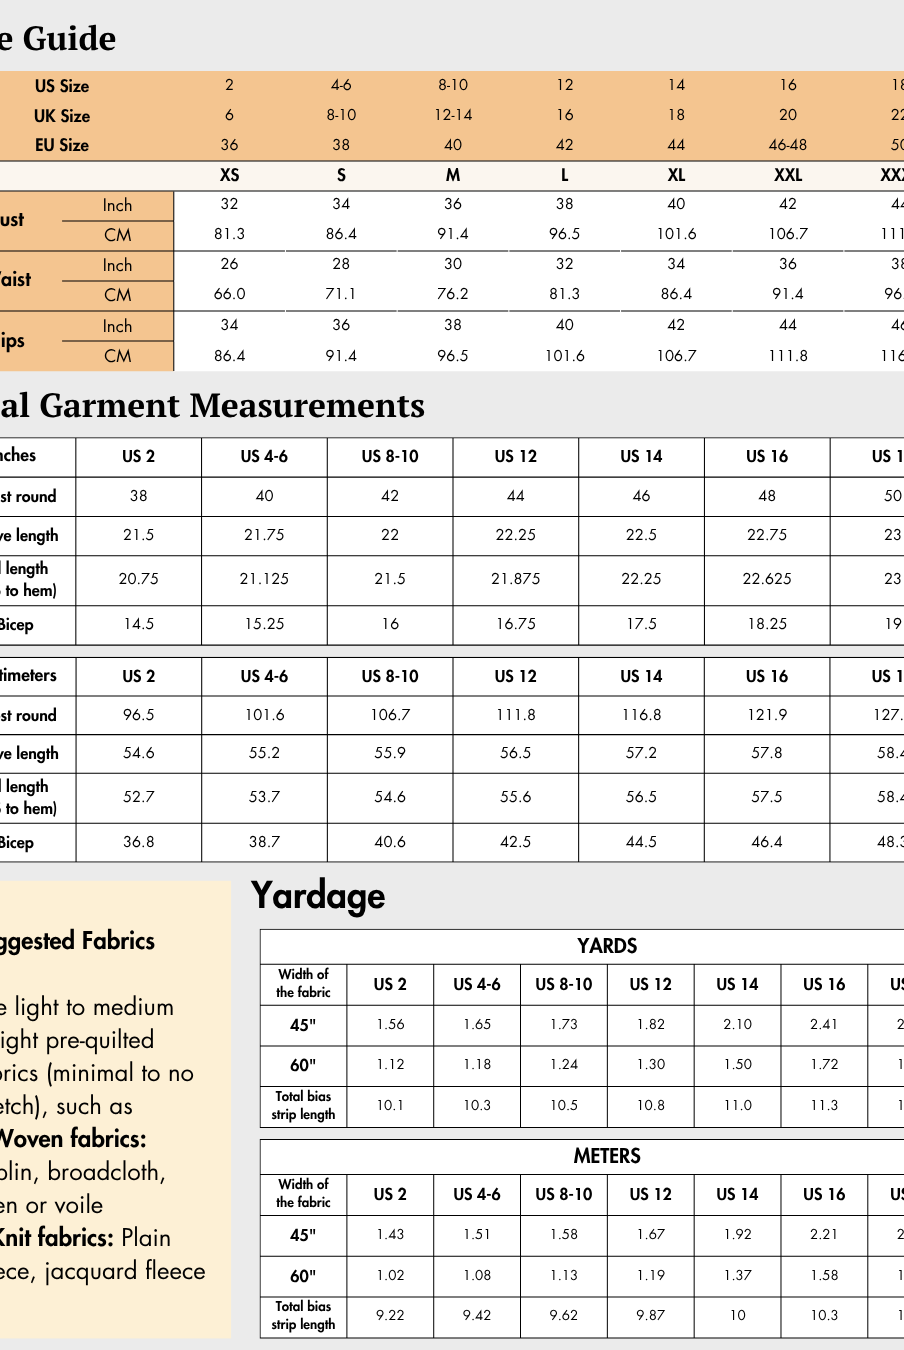
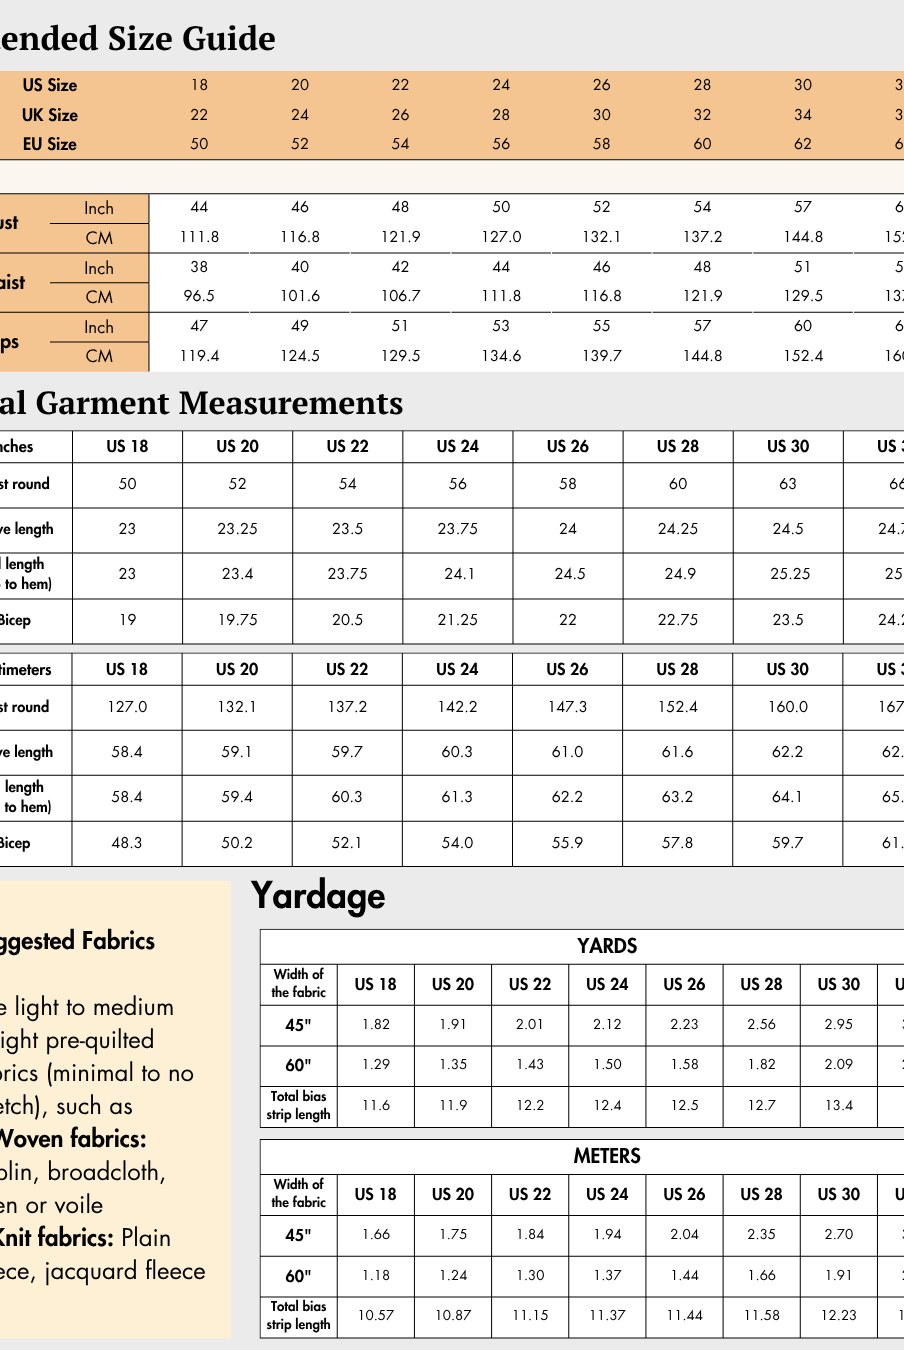
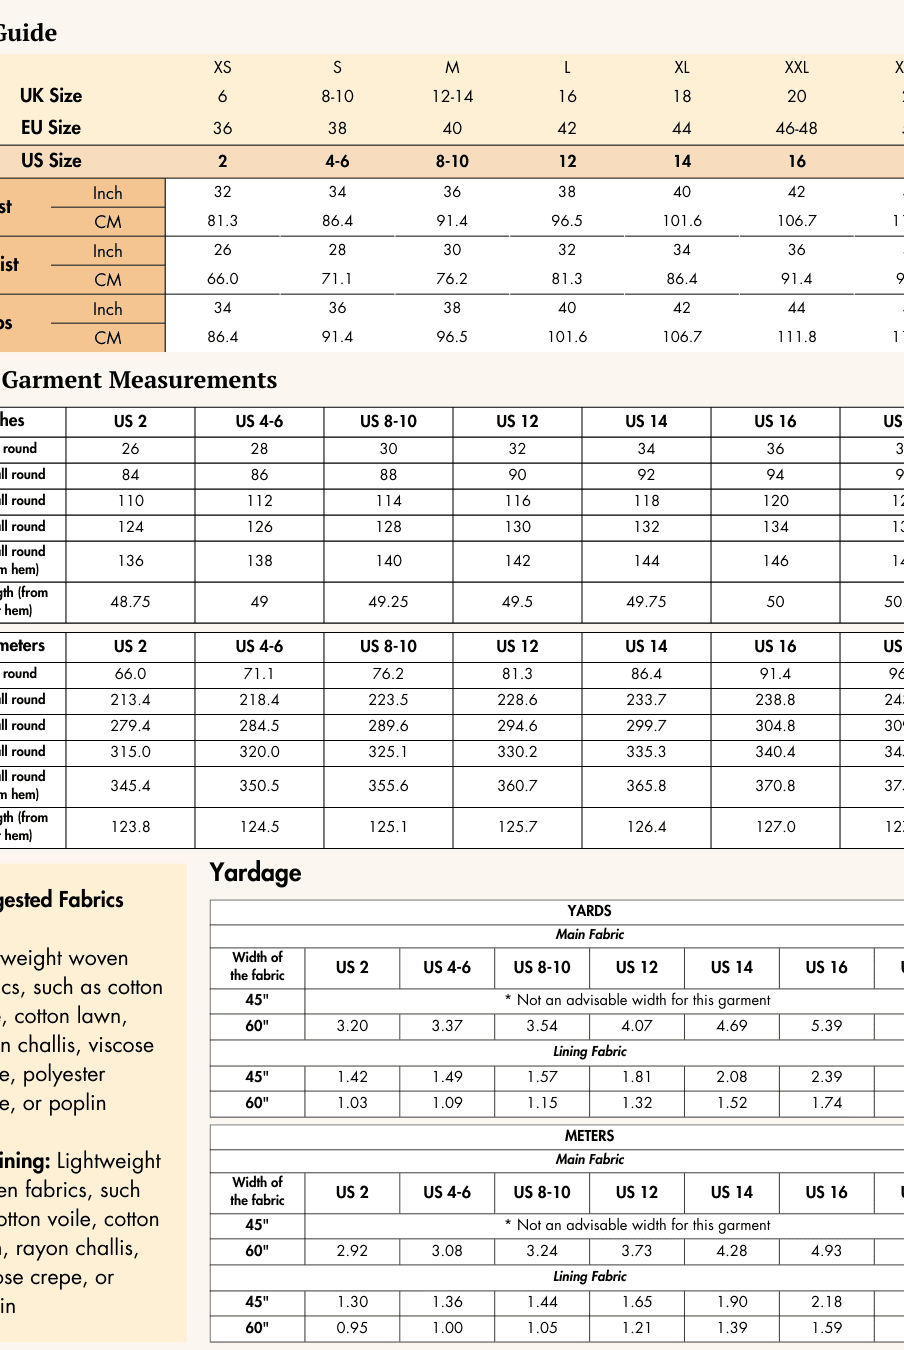
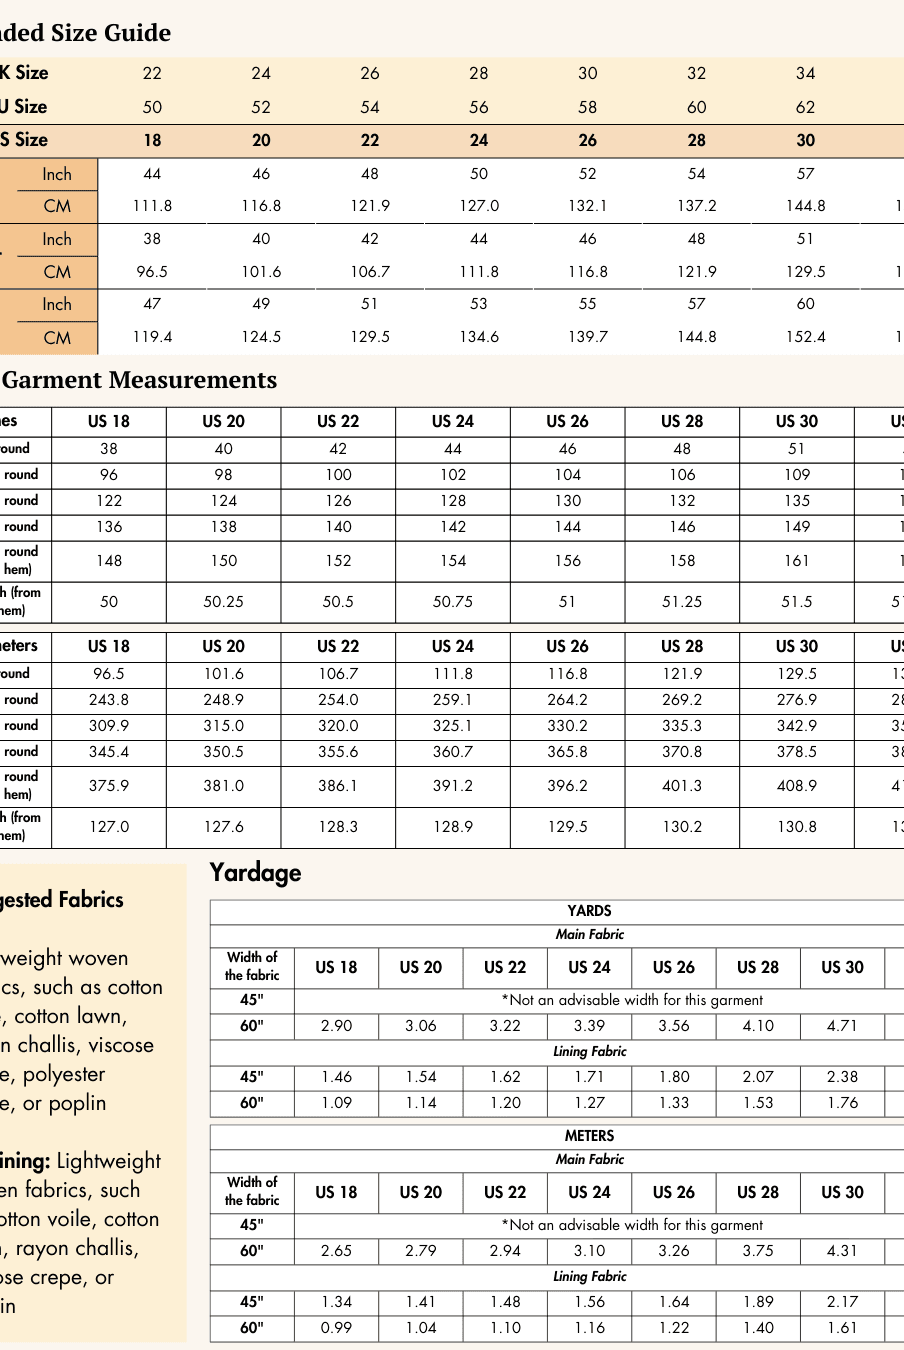
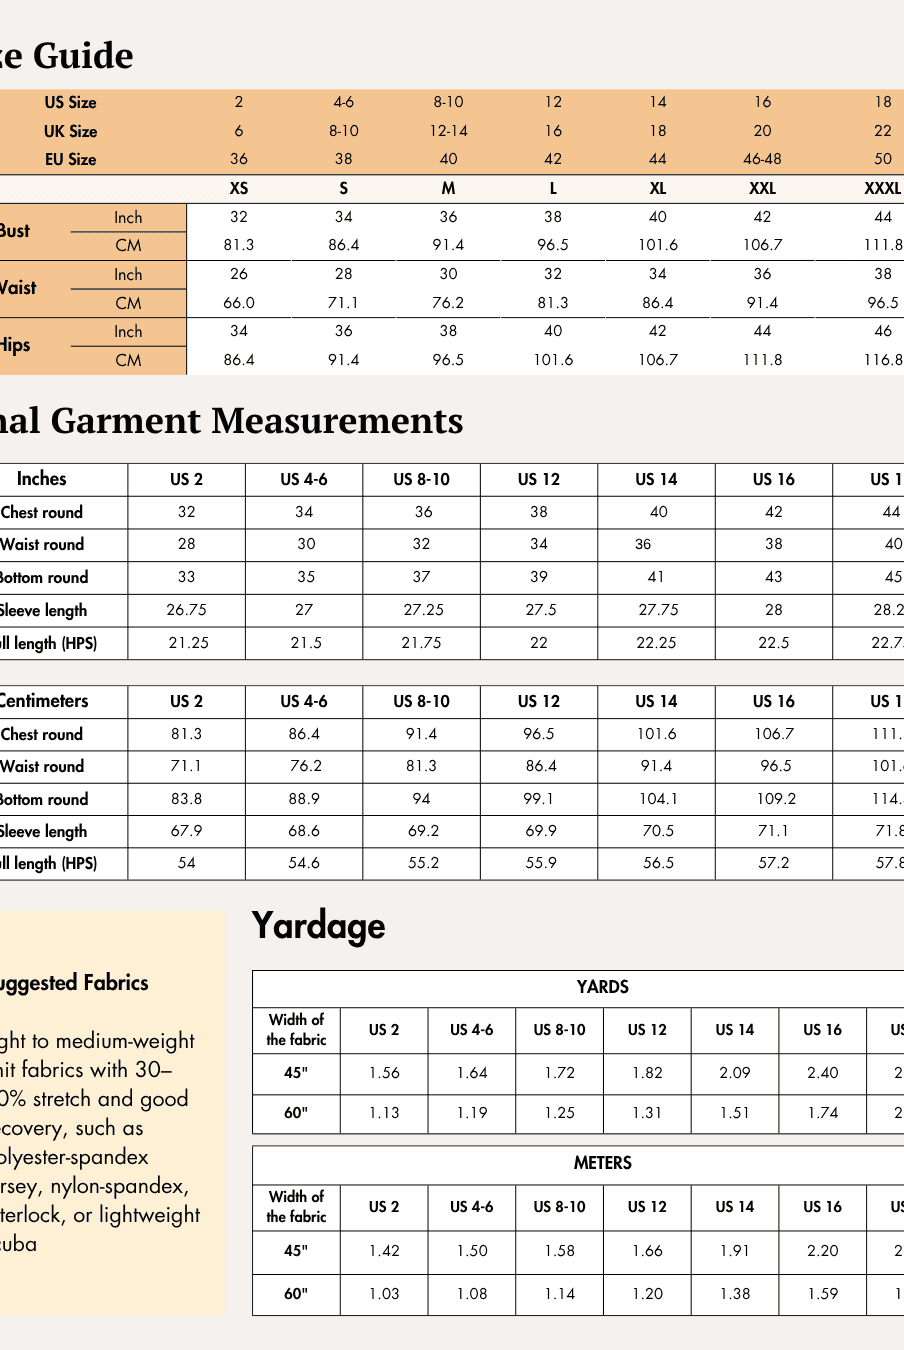
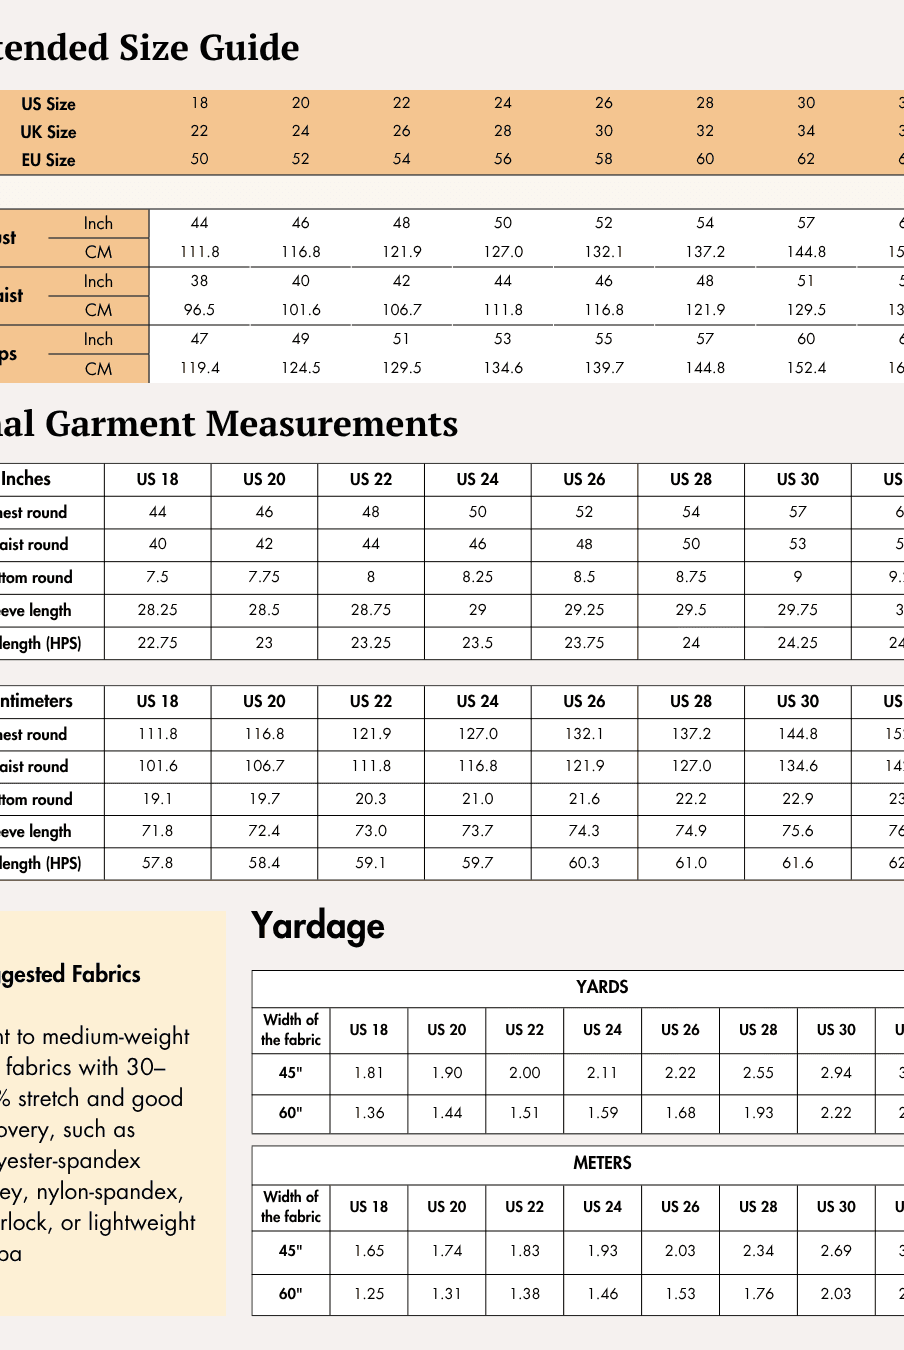
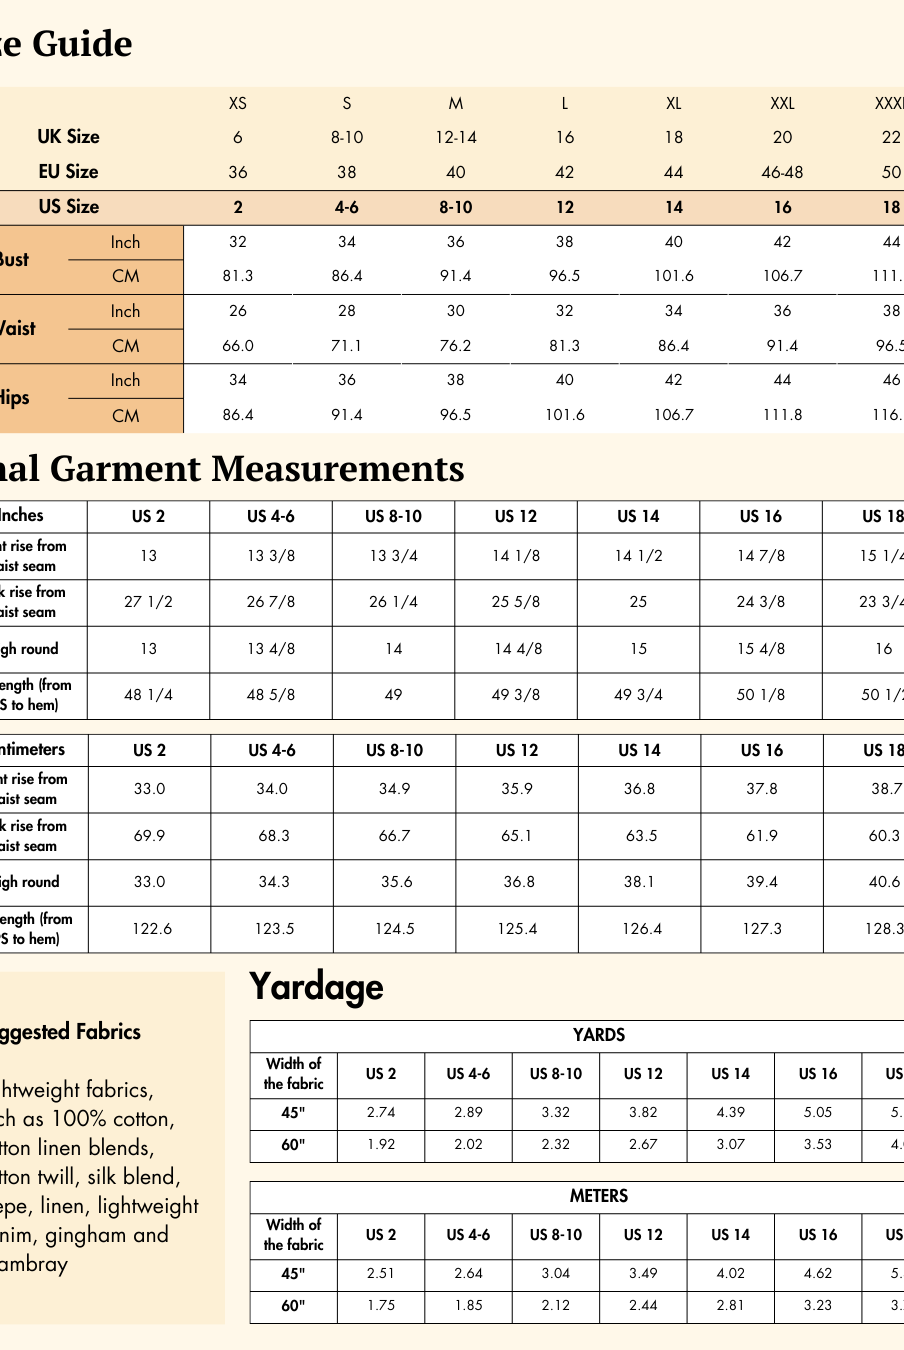
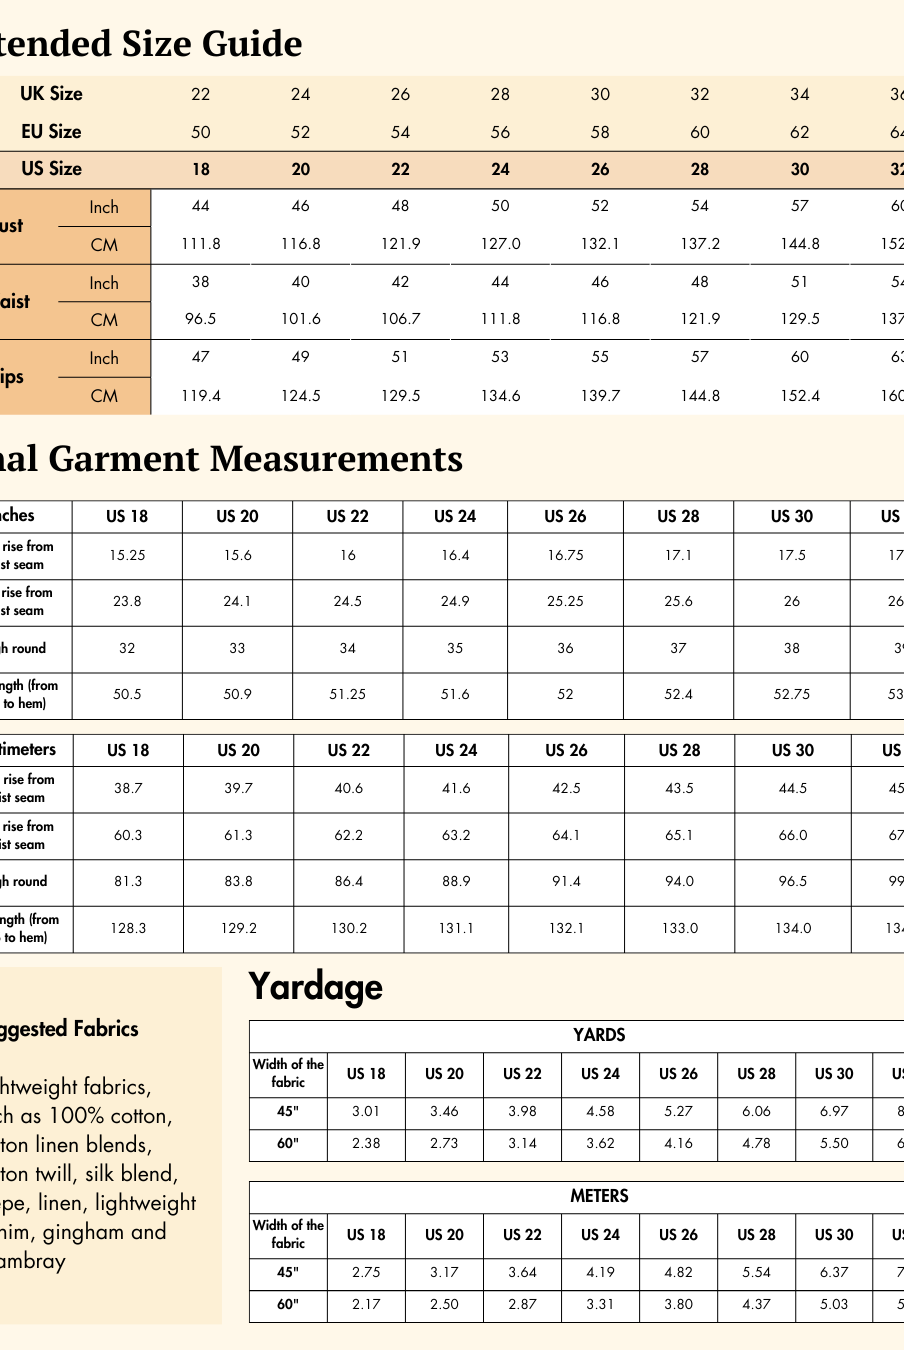
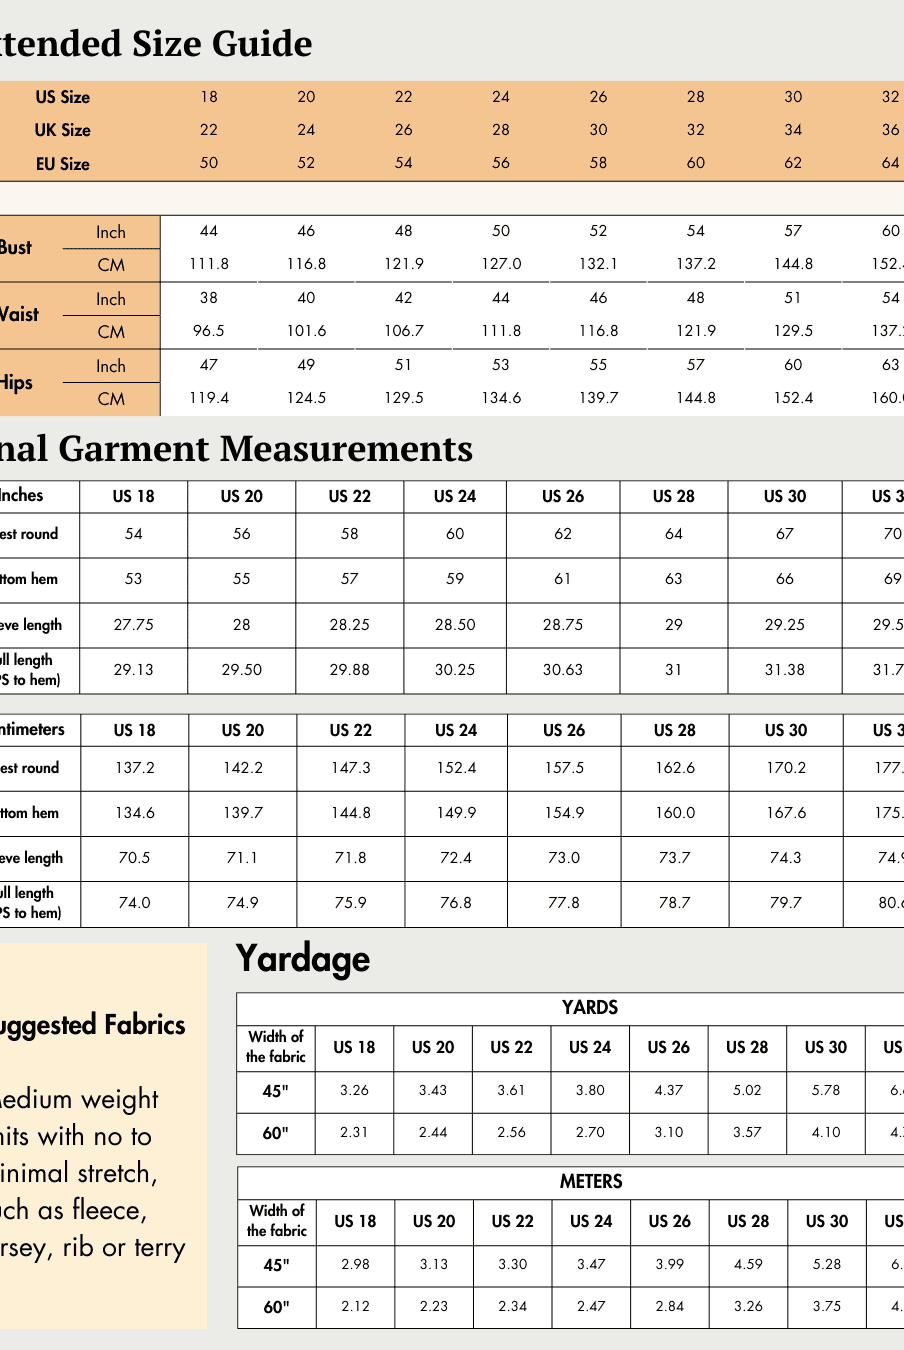
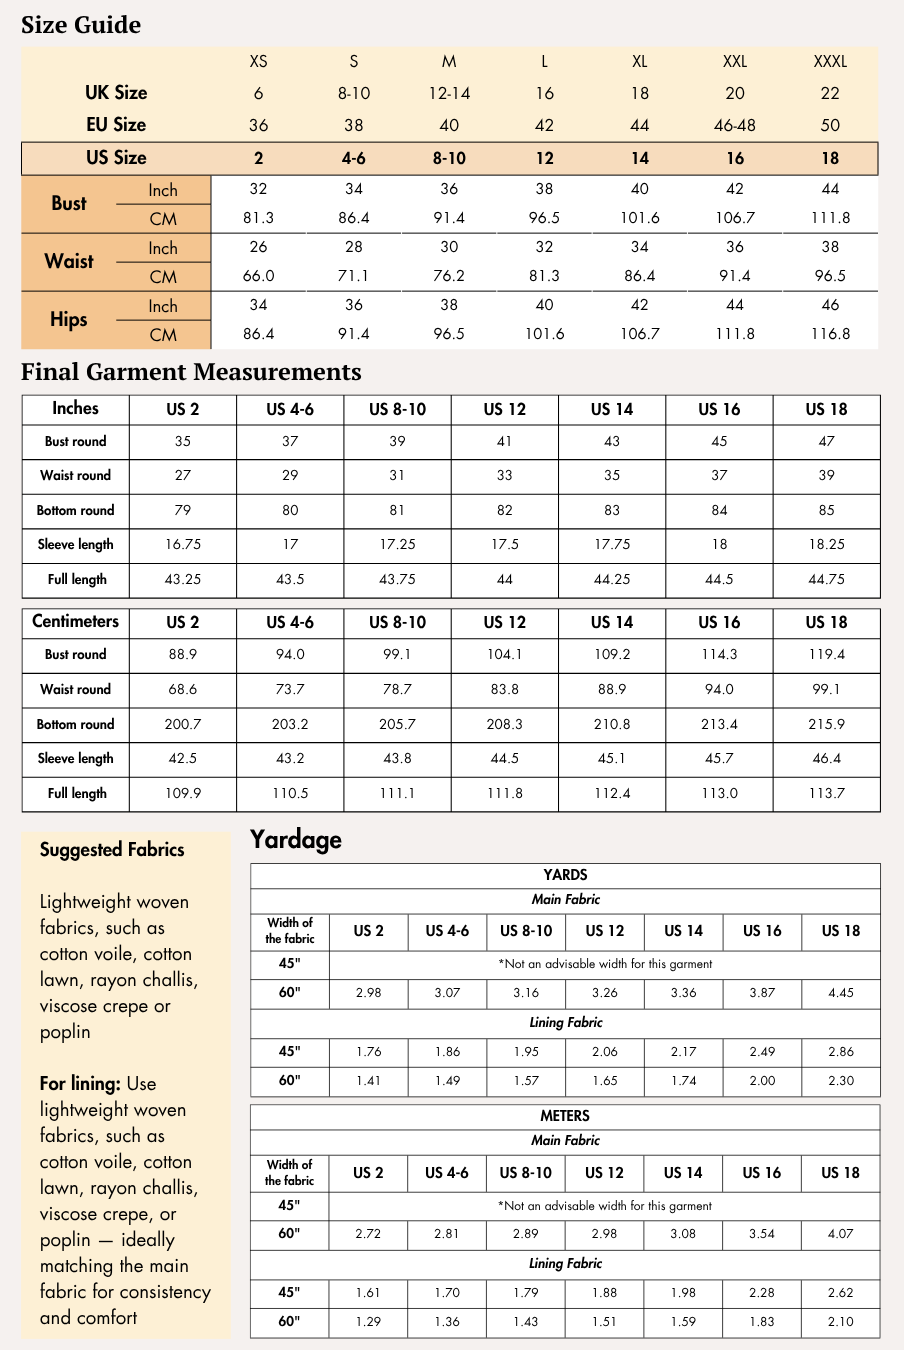
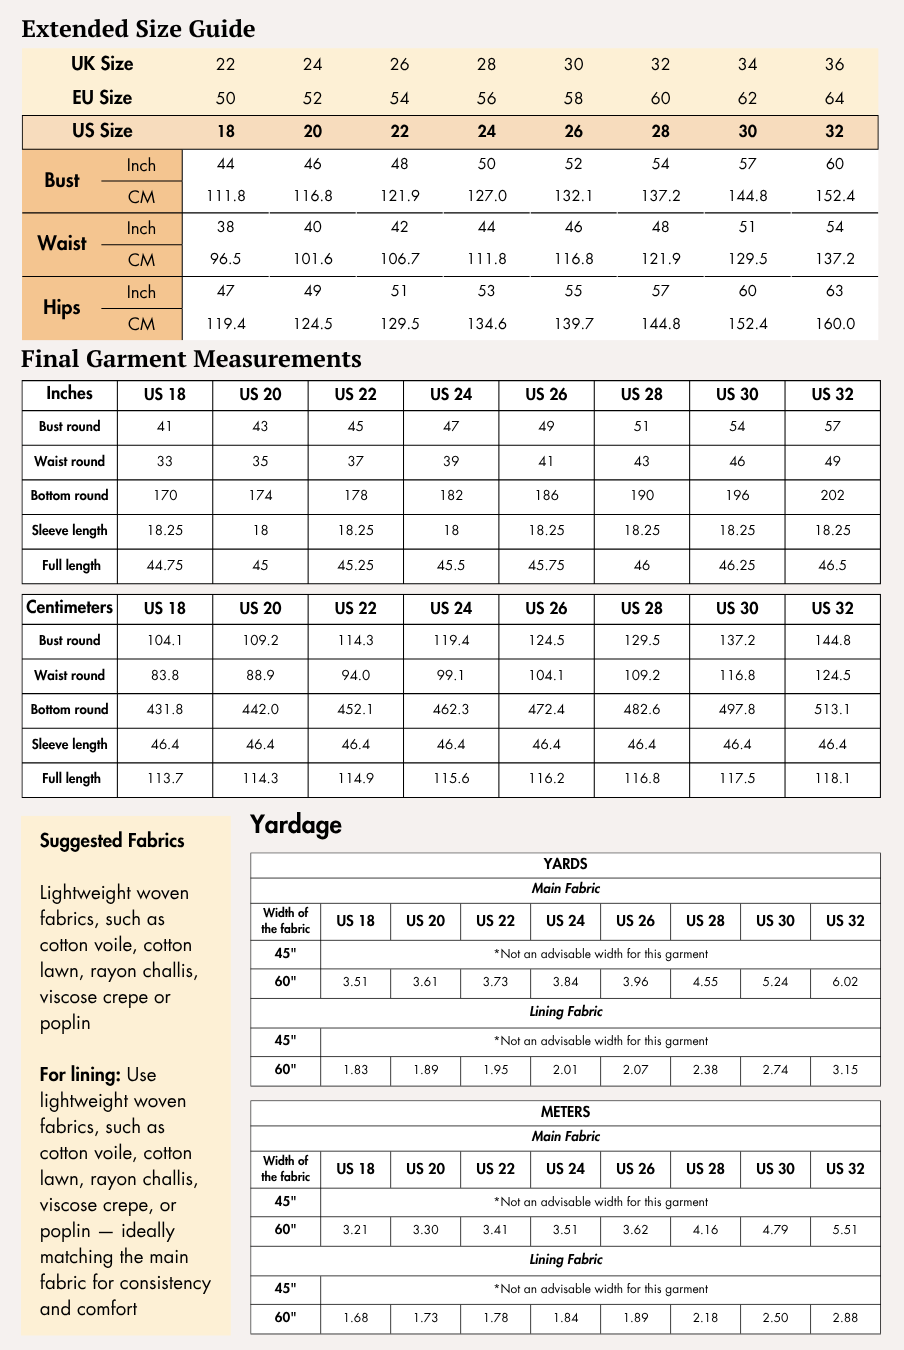
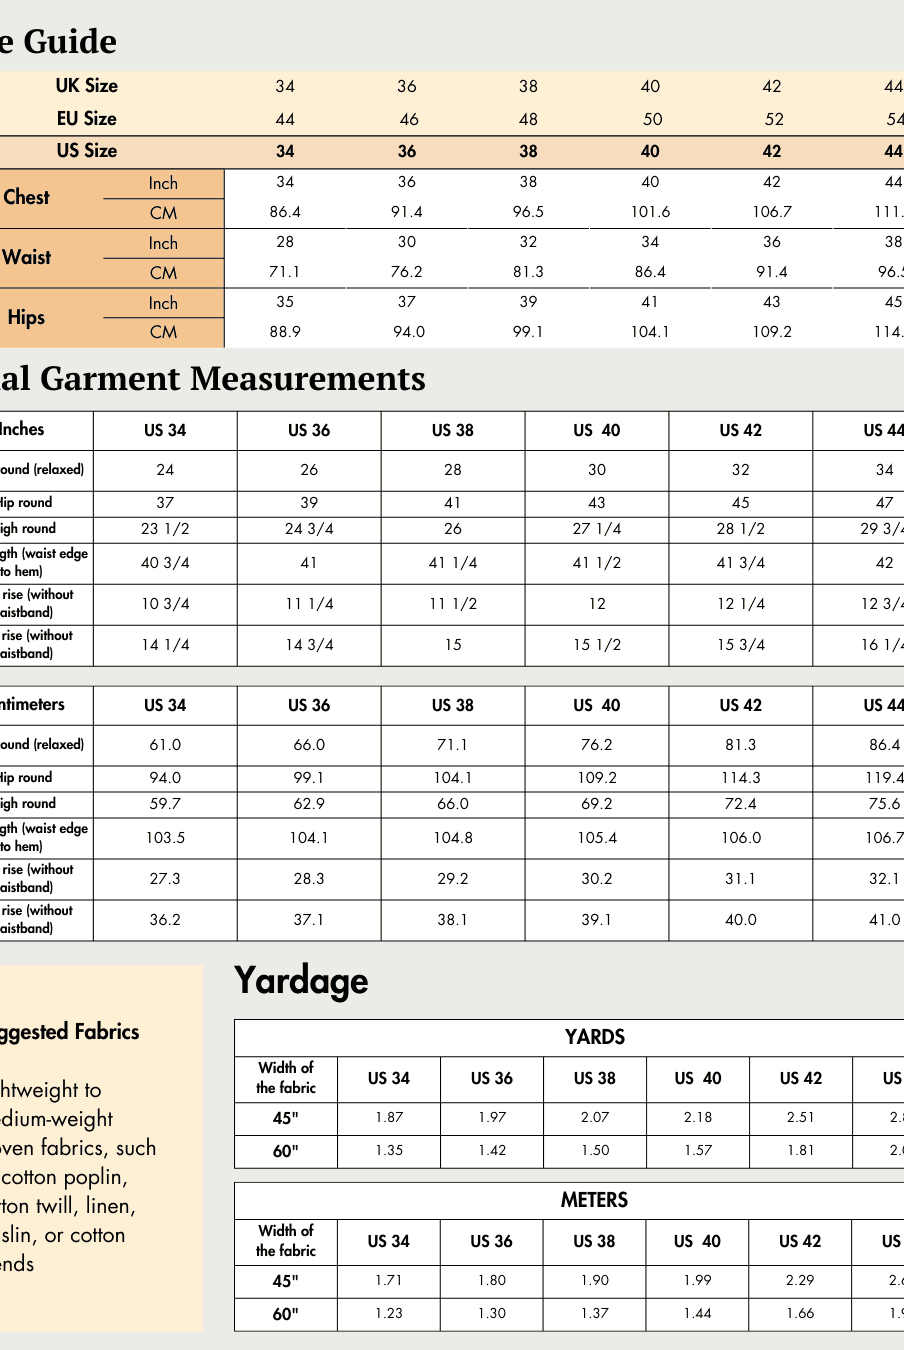
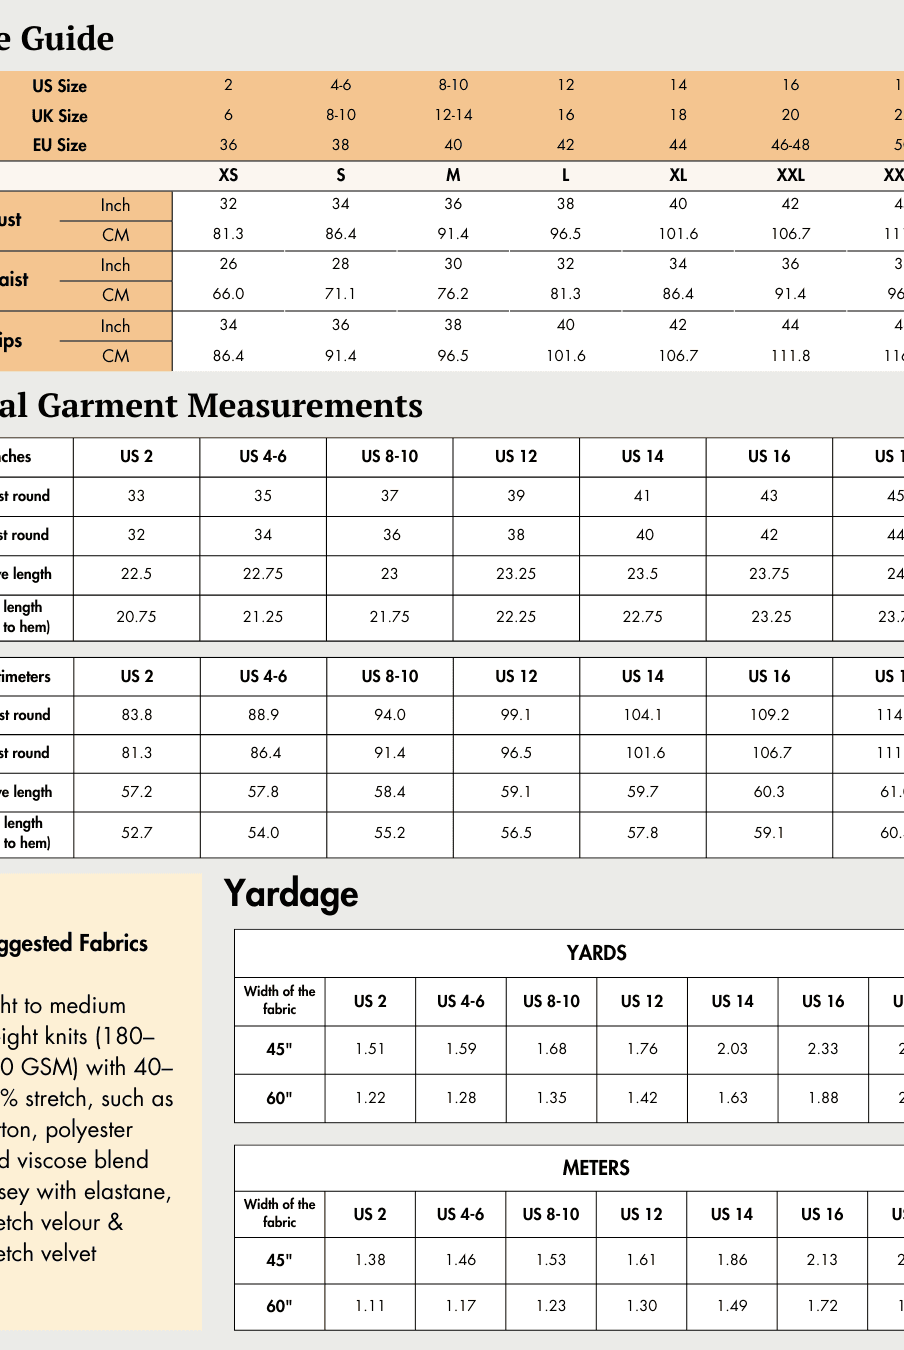
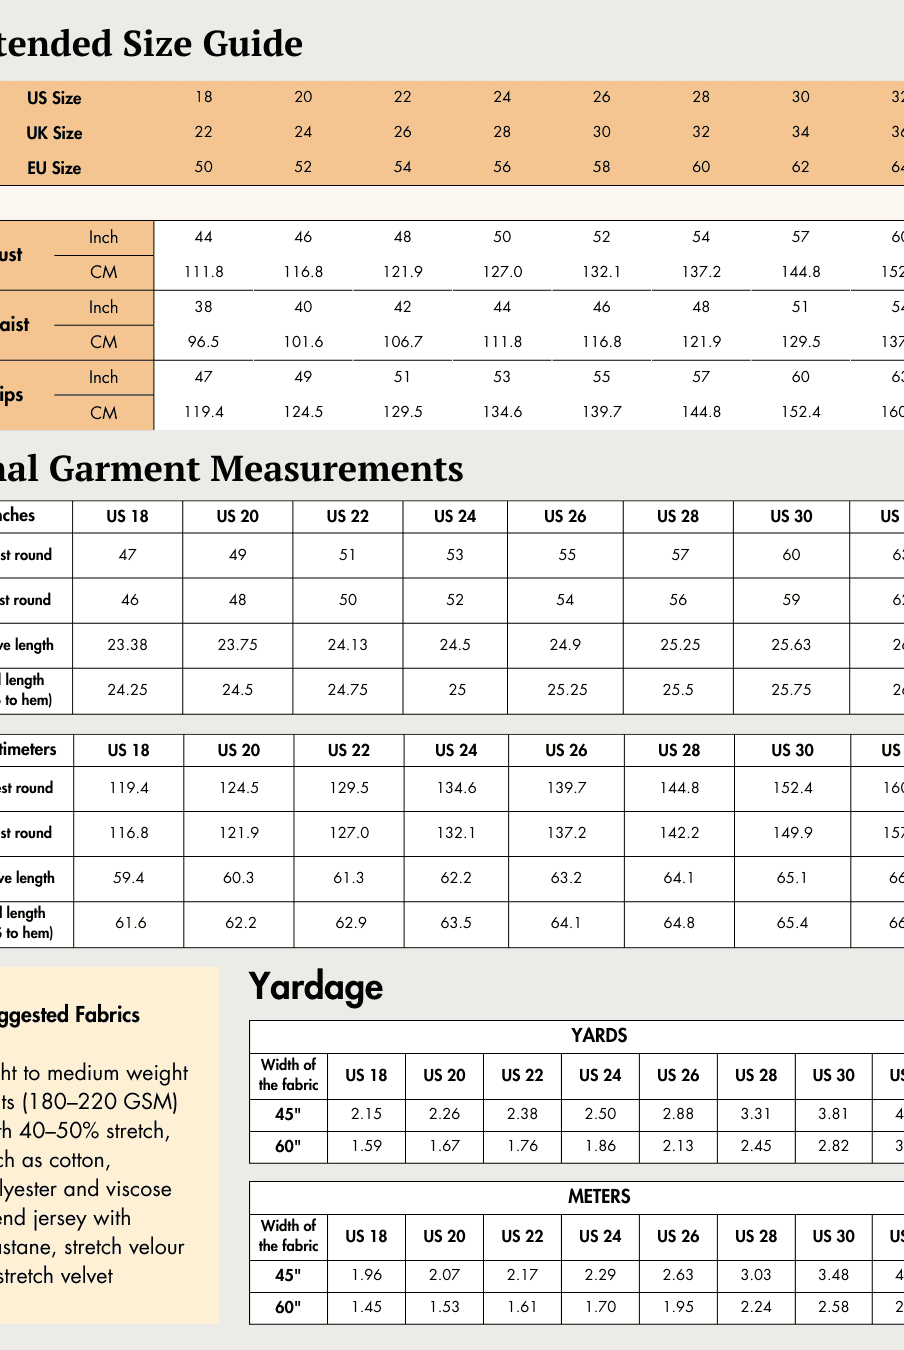
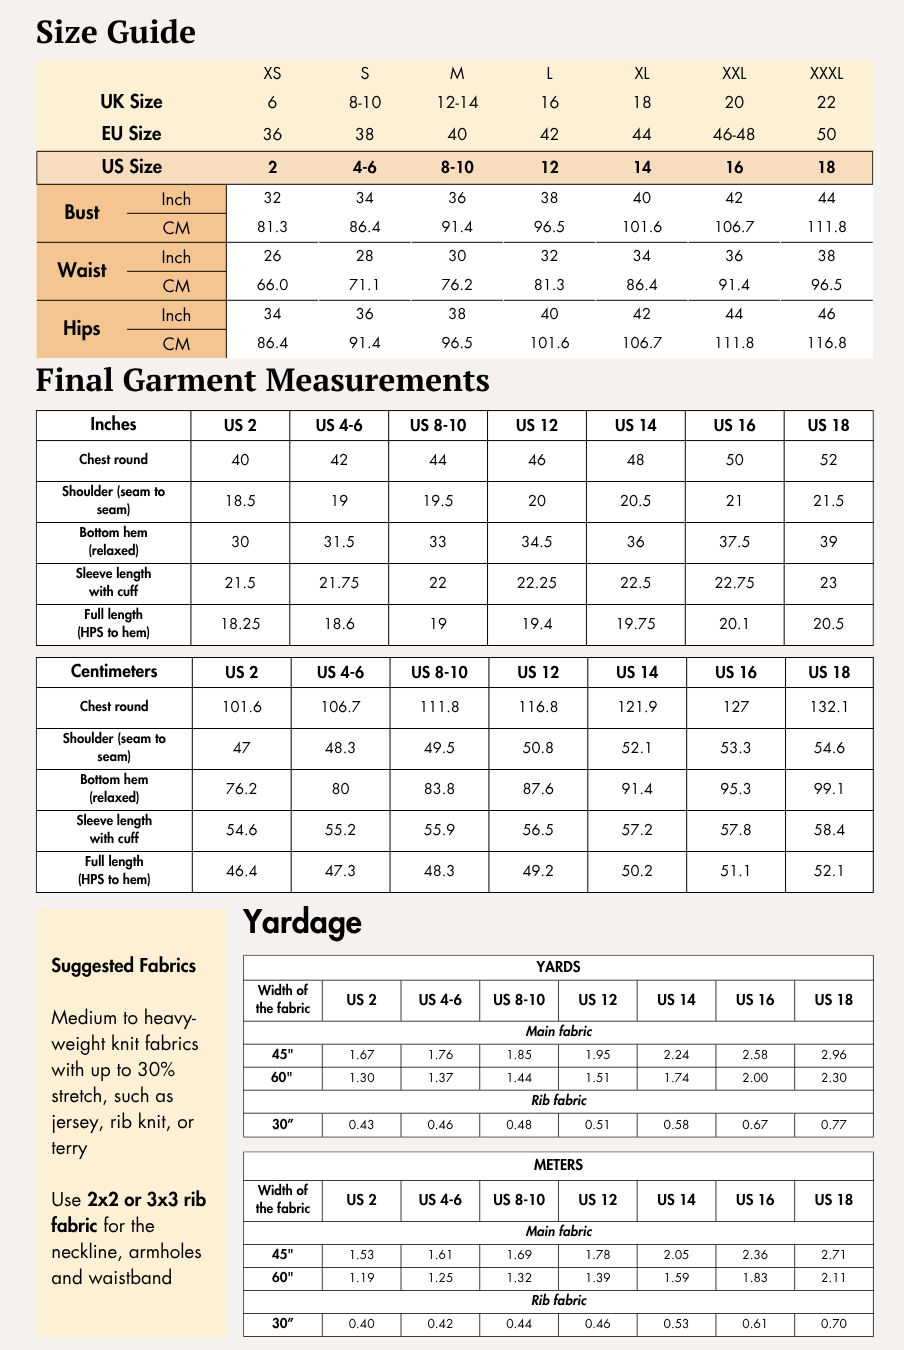
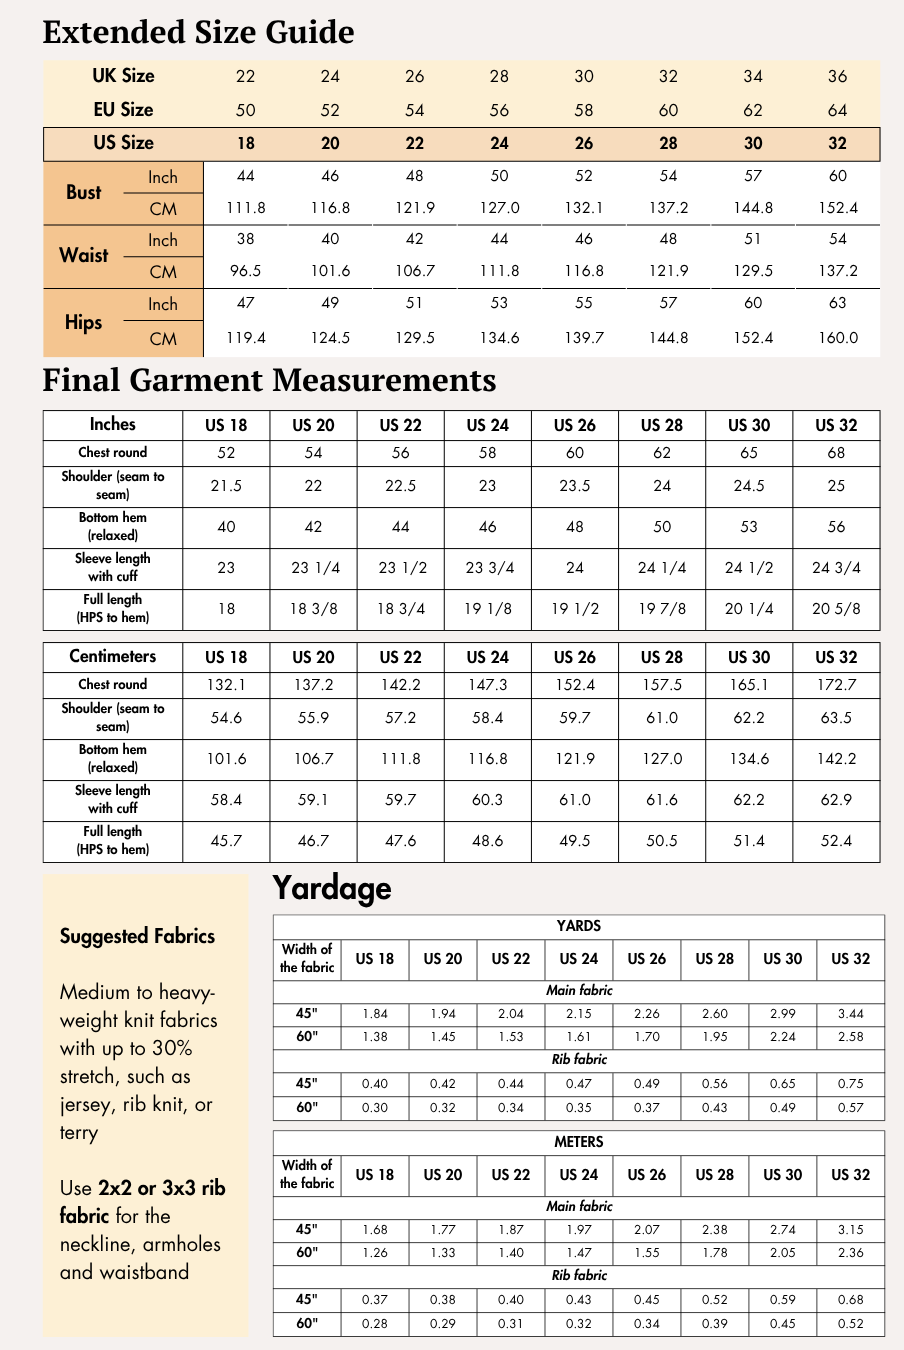
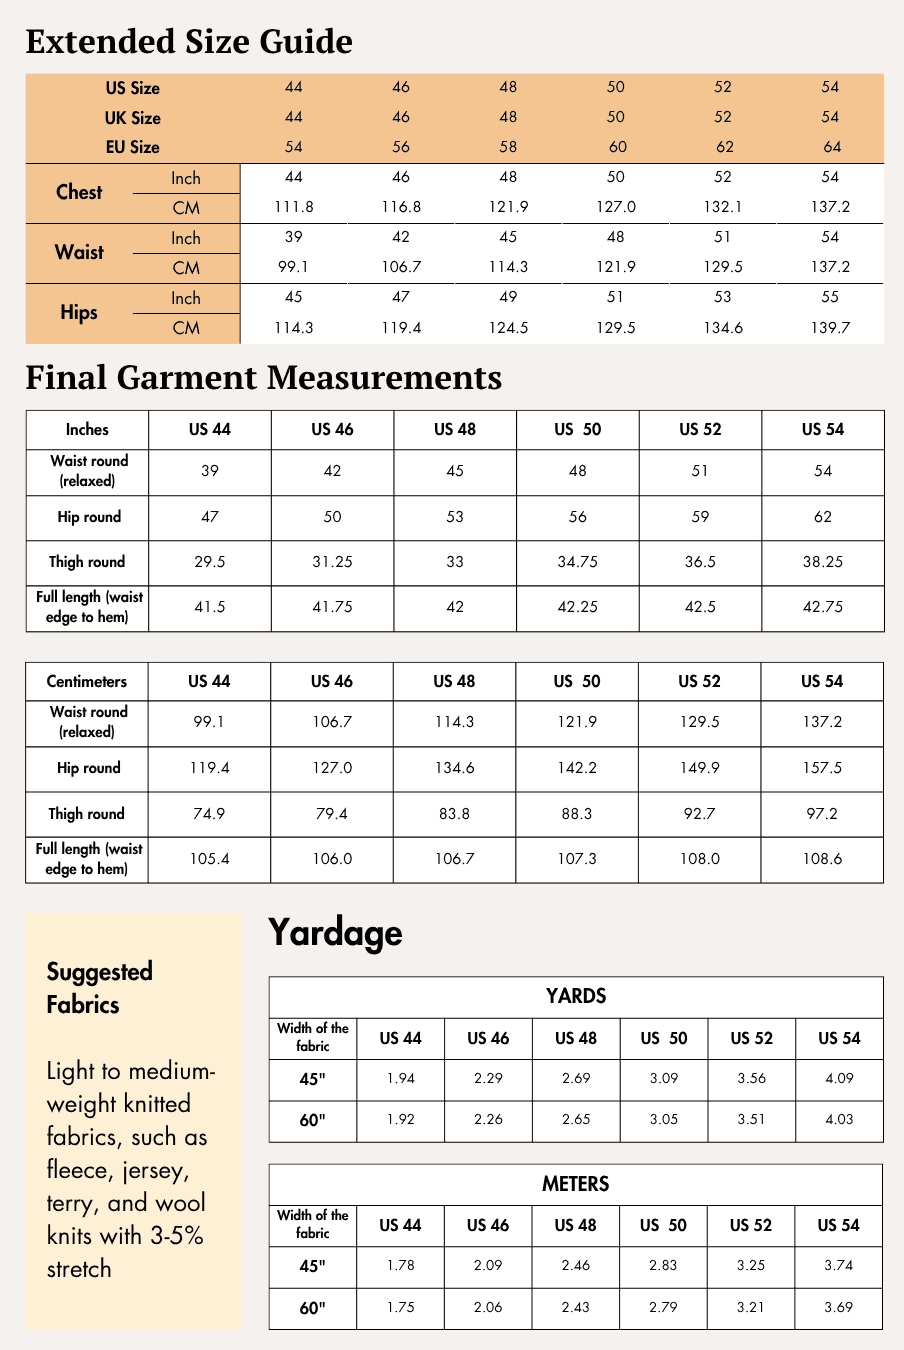
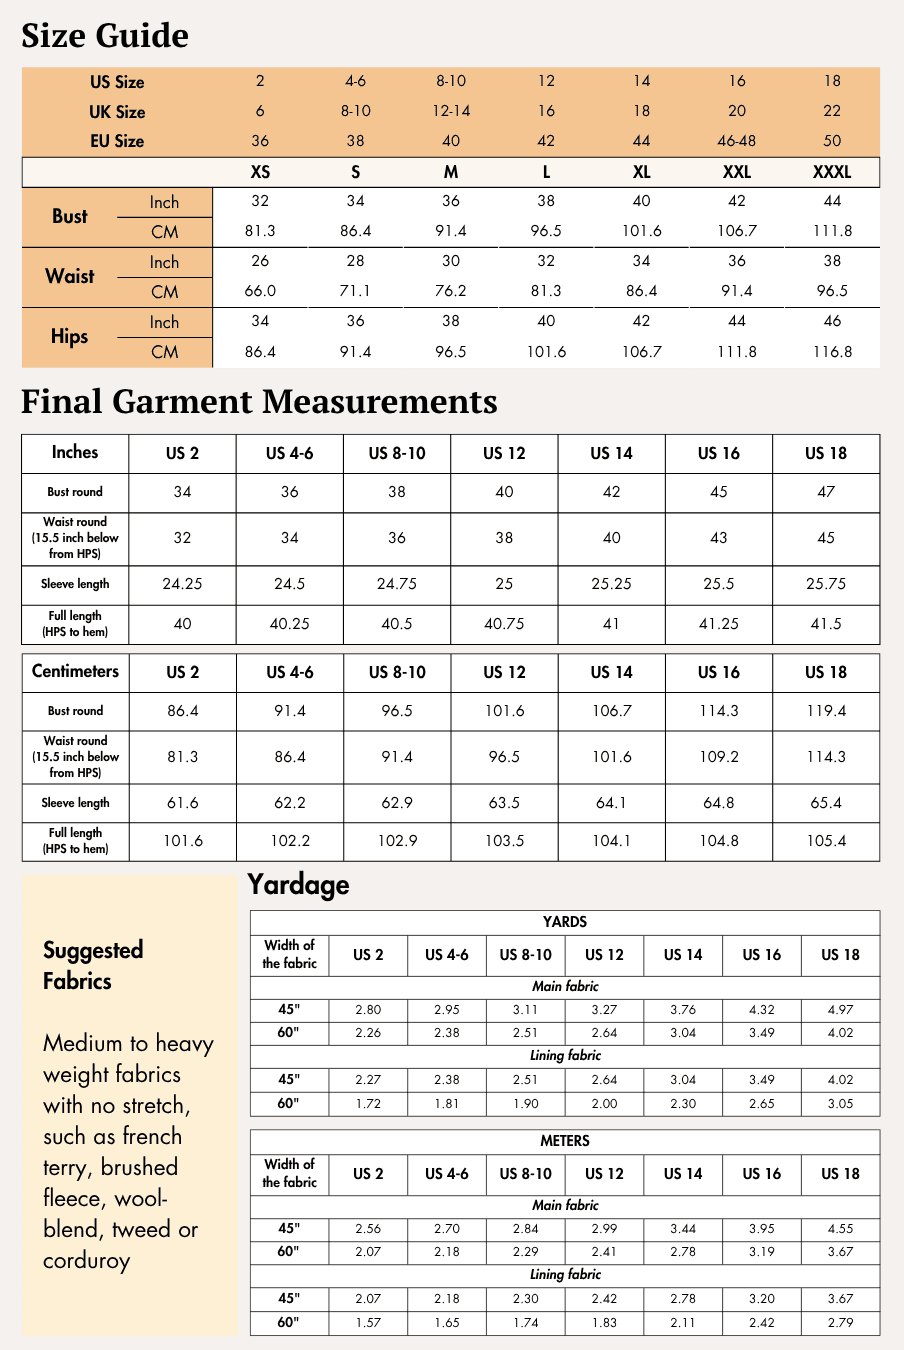
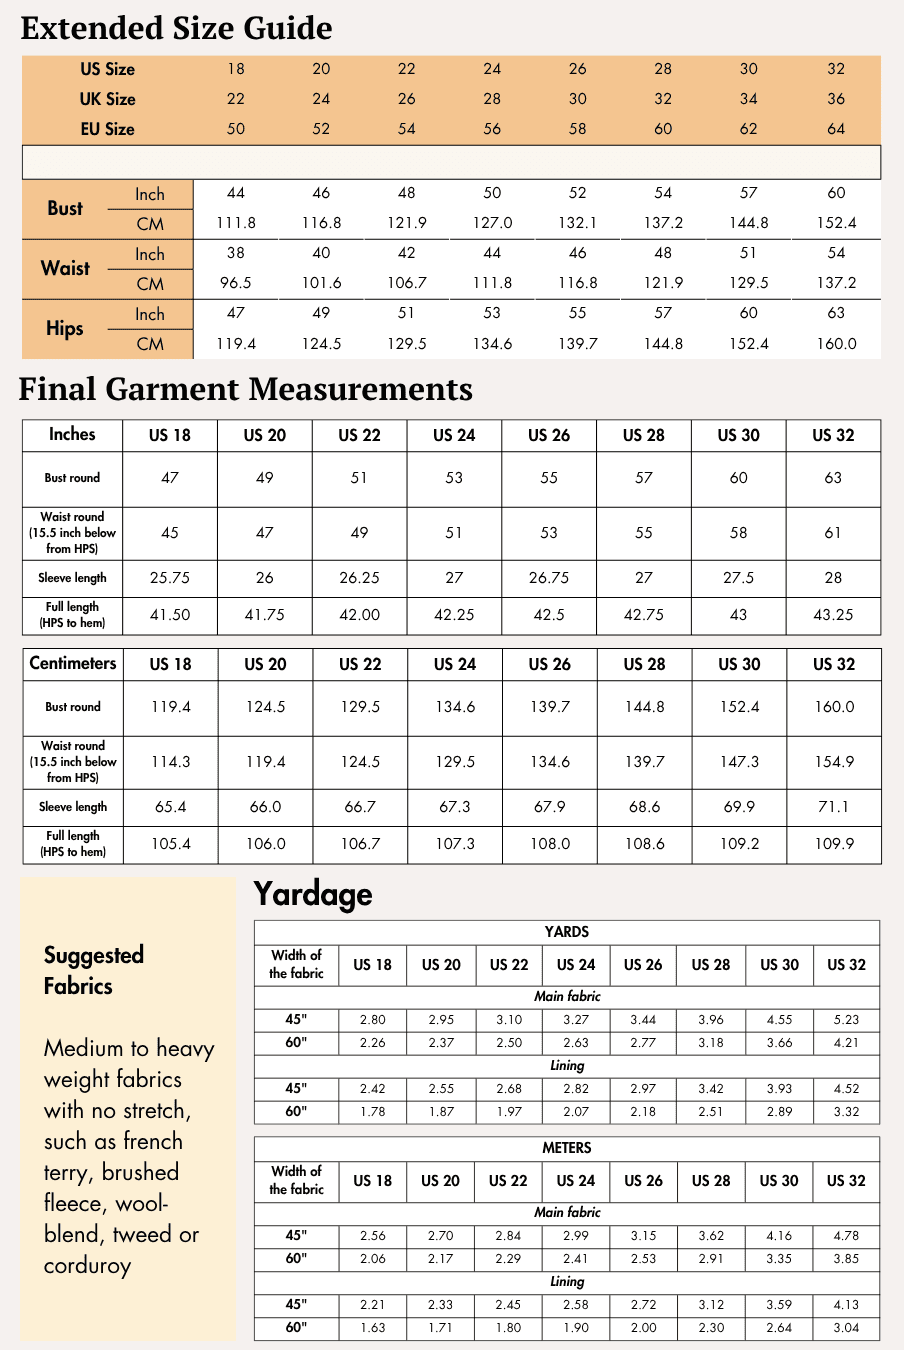
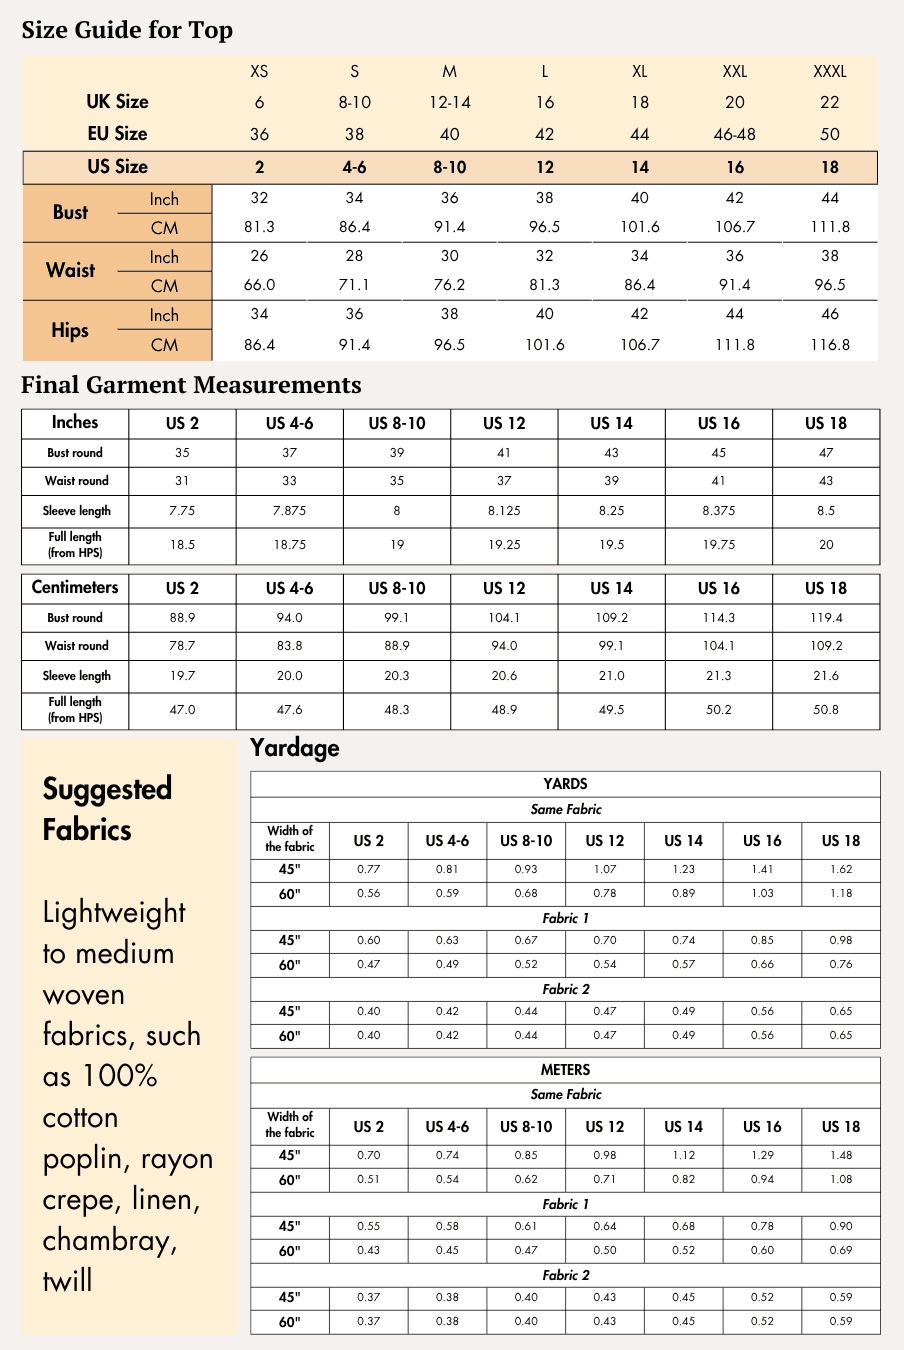
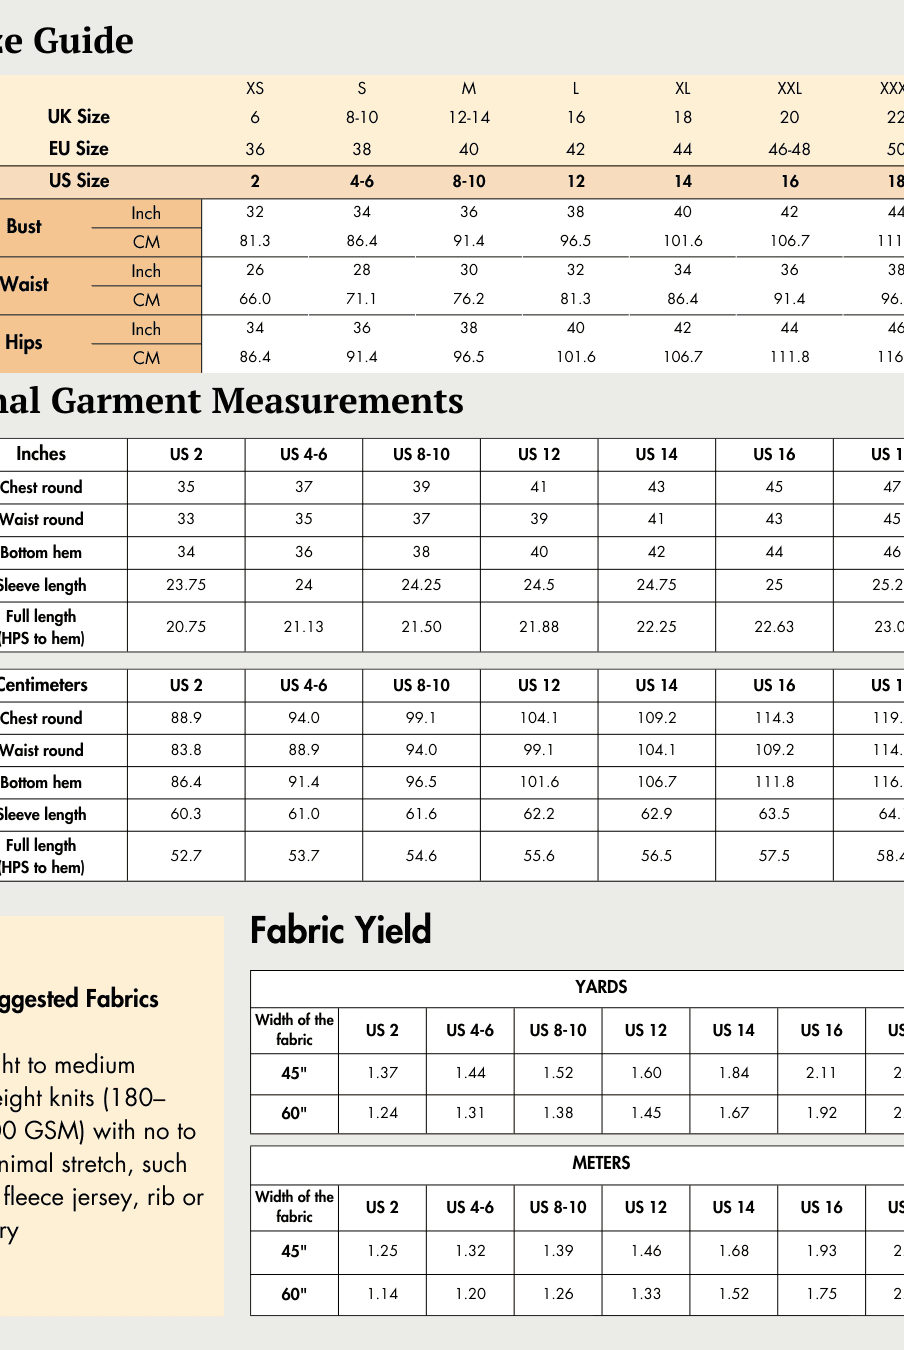
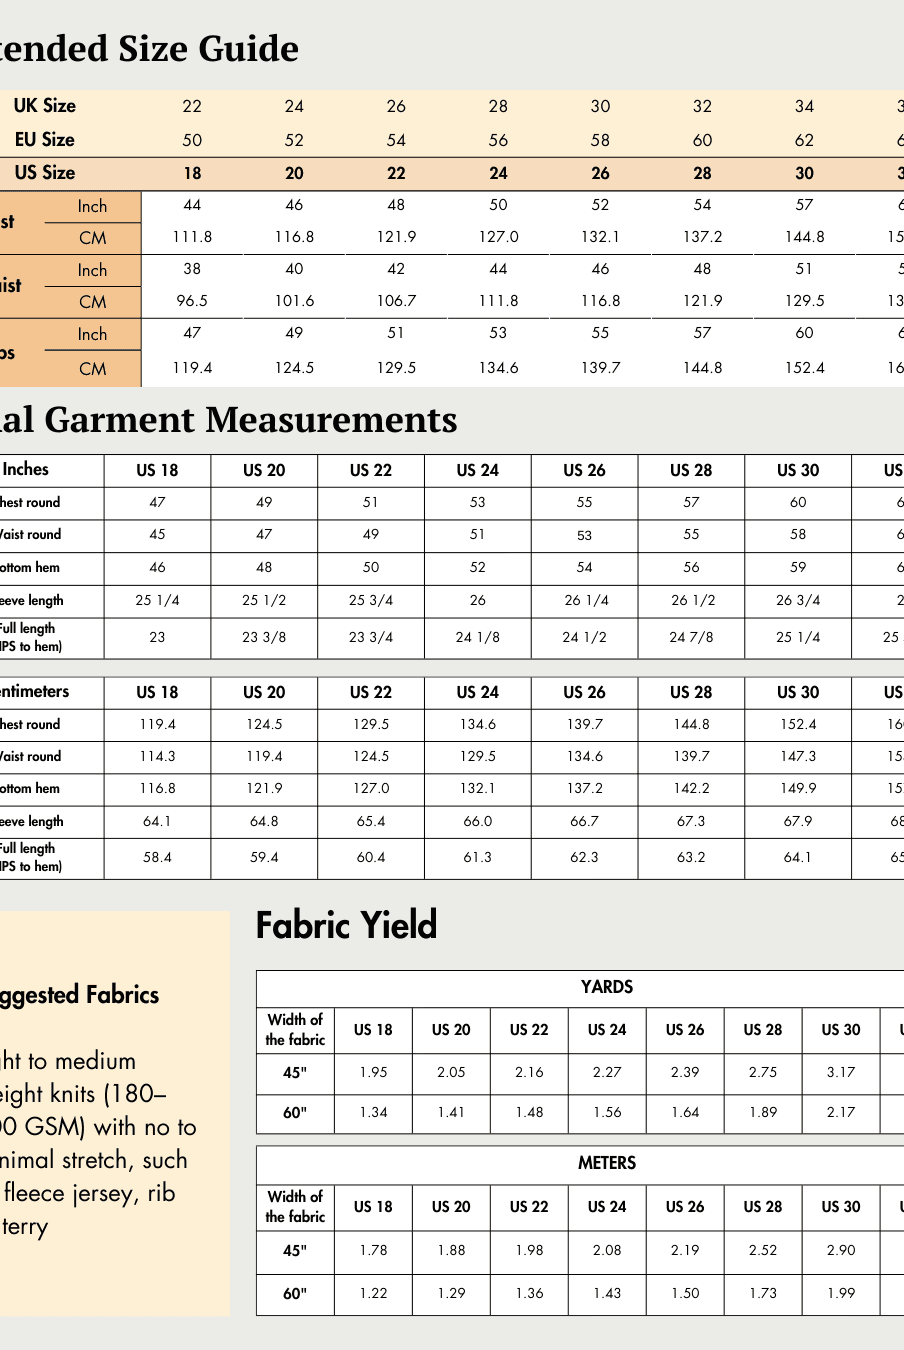
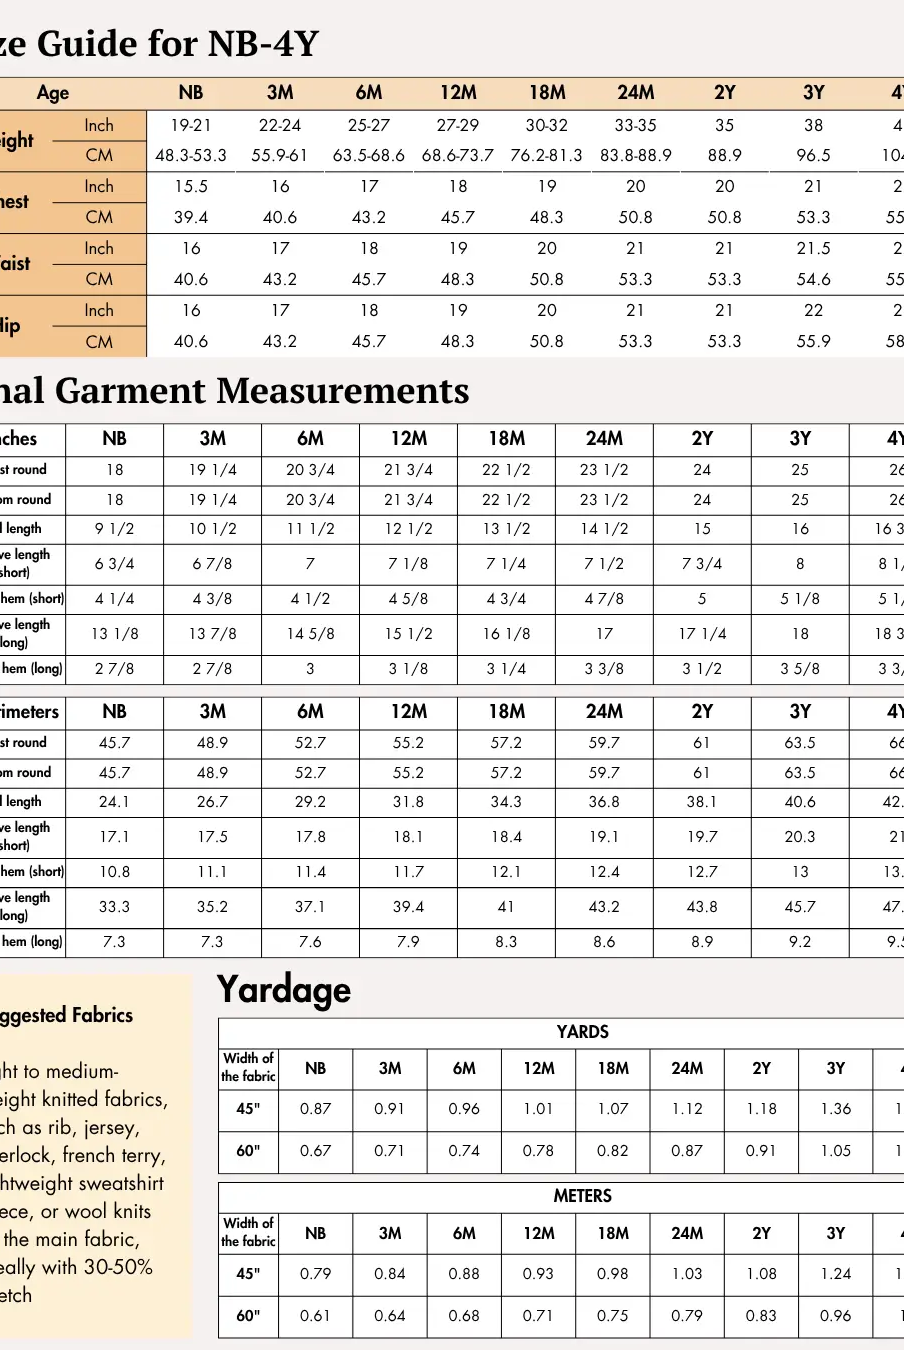
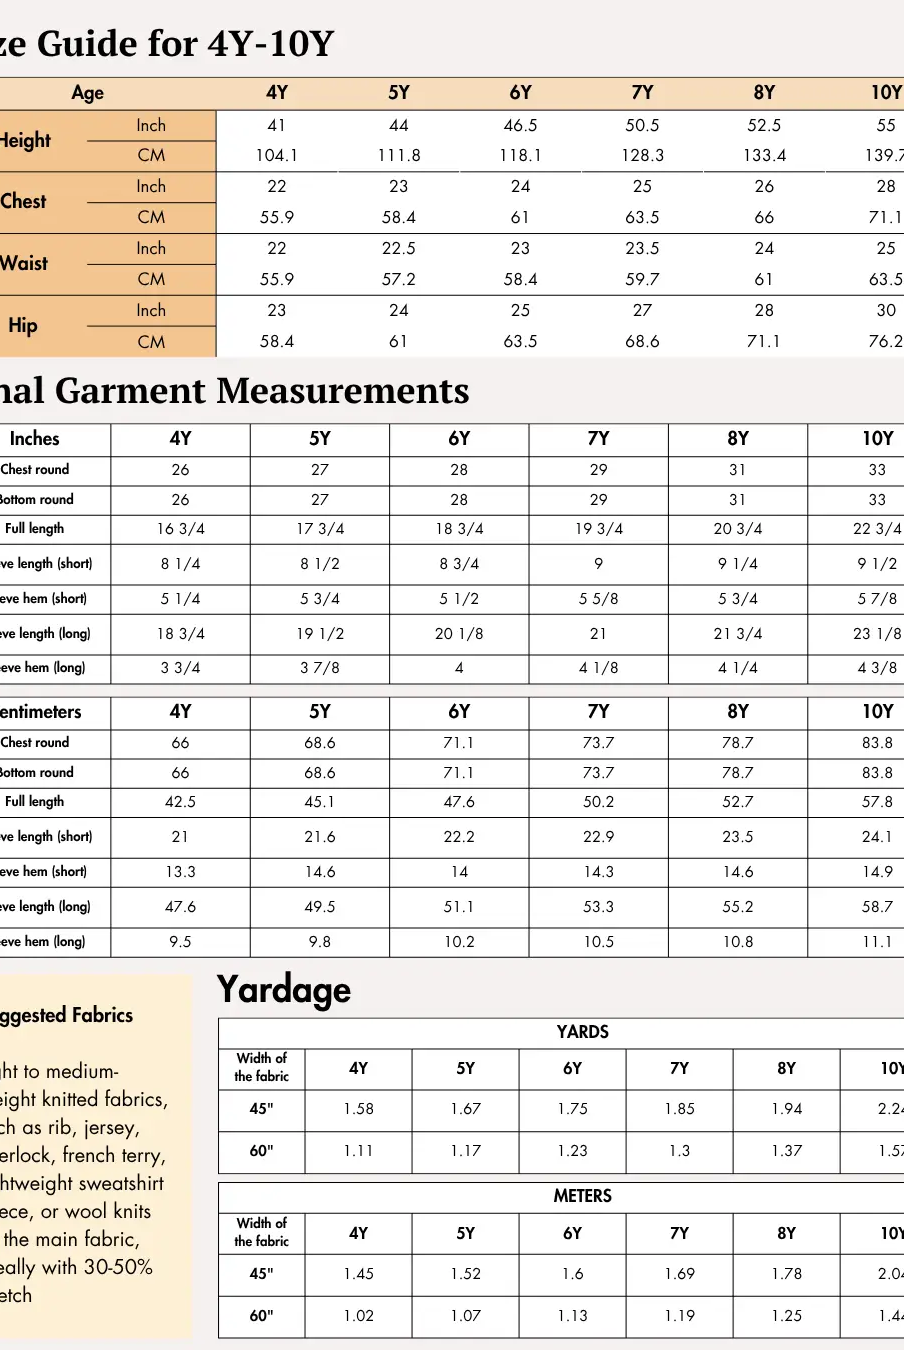
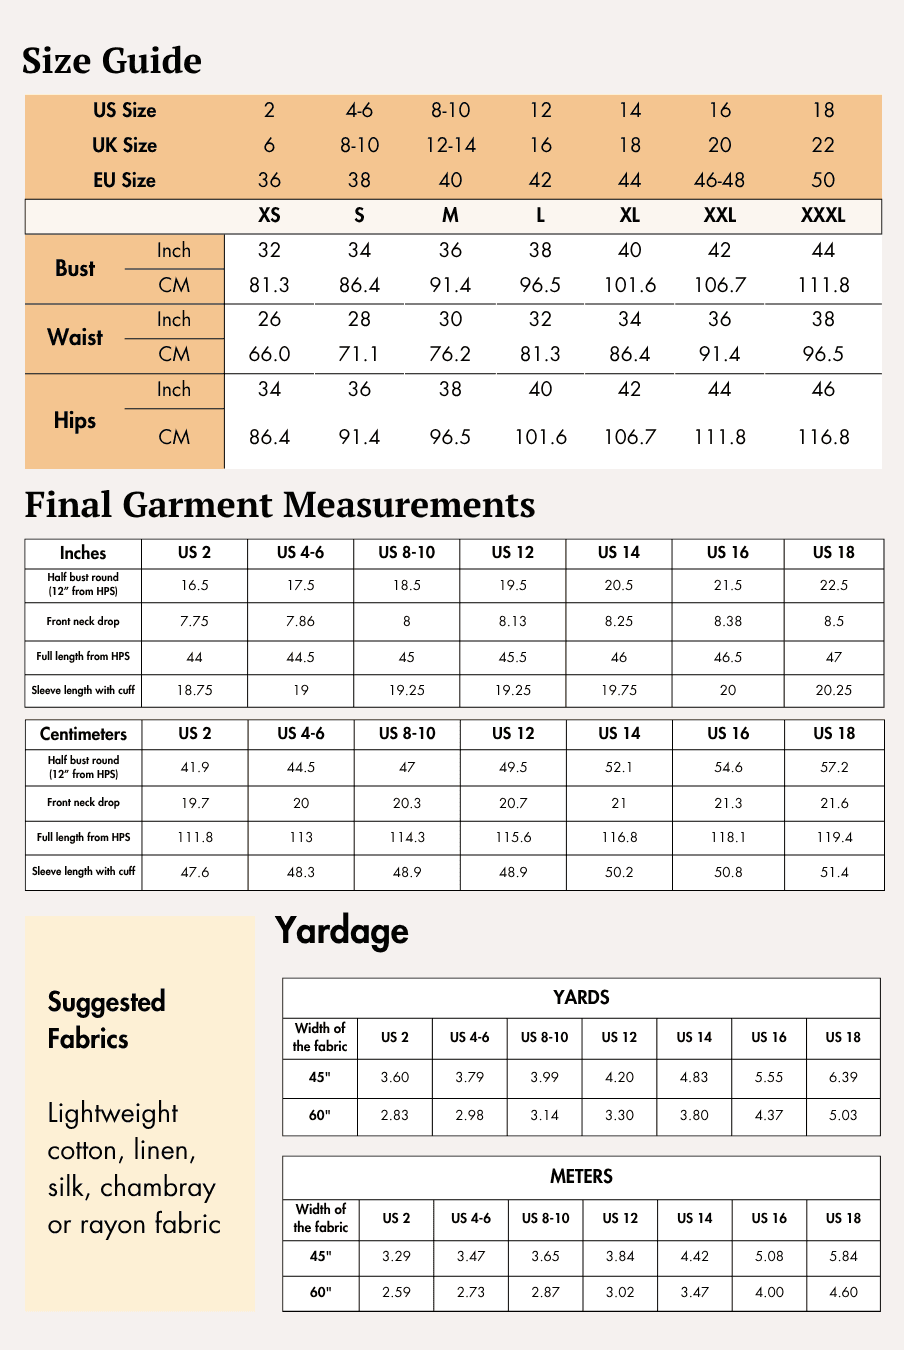
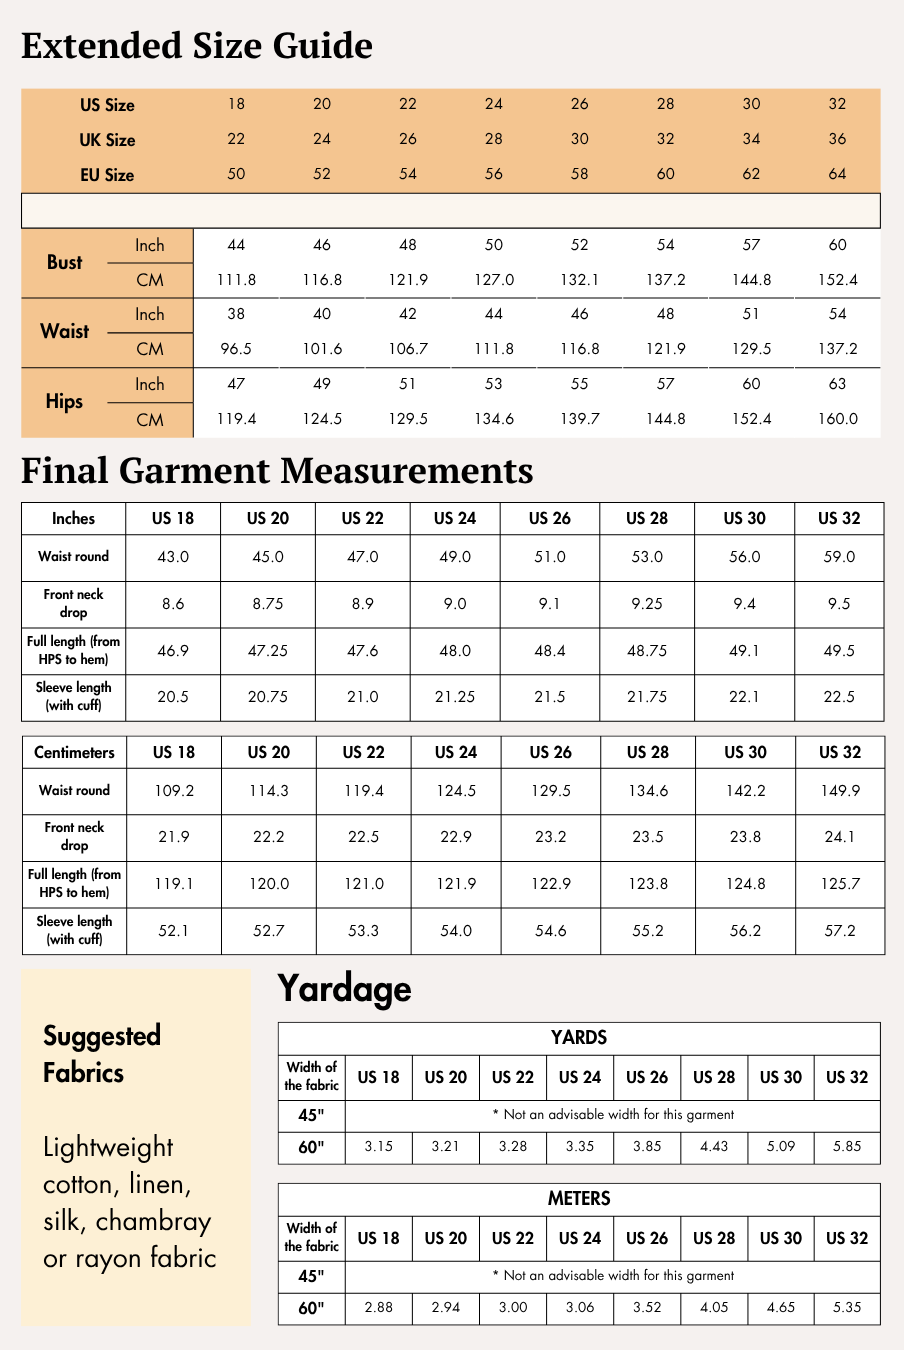
Check the size charts and measure yourself to select the correct size, using the garment and body measurement tables in the guide.
Verify how much fabric you need by referencing the fabric yield table in the guide.
Pattern Inventory: What Pieces to Prepare

The Stacey Lounge Bra Sewing Pattern contains five pattern pieces:
- A. Front – cut x1 fabric
- B. Front inner – cut x1 fabric
- C. Back – cut x2 fabric
- D. Front bottom – cut x1 fabric
- E. Back bottom – cut x1 fabric
If you are printing at home, use the A4/US Letter pattern. If you are having the pattern printed at a copy shop, you can use the A0 pattern.
Pattern Marking

The Stacey Lounge Bra Sewing Pattern includes construction markings for the front, front inner, back, front bottom, and back bottom pieces. Transfer the applicable markings accurately before beginning construction.
These include:
- Grainlines
- Seam allowances
- Shoulder markings
- Center shoulder markings
- Necklines
- Armholes
- Side seams
- Side seam notches
- Hem markings
- Padding cut-outs
- Waist/top
- Waist/bottom
- Center/fold lines
Cutting Layout

The Stacey Lounge Bra Sewing Pattern guide provides cutting layouts for both 45-inch and 60-inch fabric widths. A large size is used to represent the layouts.
Arrange the pattern pieces so that the grainline arrow runs parallel to the selvage. The layouts are non-directional, so you will need to purchase additional fabric if you are working with a nap or print that requires directional placement.
Pinning the pieces in position before cutting will help you cut the shapes accurately and keep the garment on-grain.
Fabric Cutting and Preparation
For the Stacey Lounge Bra Sewing Pattern, arrange the pieces according to the cutting layout diagrams and make sure each grainline arrow is parallel to the selvage.
If you are cutting with fabric shears, trace the pattern pieces first and then cut them out, cutting away any pen, pencil, or chalk lines. Remember to cut the notches along the edges, as these will help you align the pieces accurately during construction.
Use a marking pen, pencil, or chalk to transfer markings such as circles, buttonholes, and fold lines to the wrong side of the fabric. Mark the center front on pieces cut on the fold to help with accurate alignment.
Seam Allowance
Please follow the seam allowances as indicated on the pattern file layers. These are provided specifically for each piece to ensure accurate construction.
This pattern uses a 1 cm (3/8”) seam allowance all around, 1.3 cm (1/2”) at the waistbands.
Step-by-Step Sewing Instructions
1. Finish the Removable-Cup Openings
On the front inner (pattern B), finish the raw edge of each removable-cup opening with a narrow overlock or zigzag stitch.
Do not stitch the openings closed. They need to remain accessible so that the optional bra cups can be inserted after construction.
2. For Attaching Shoulder
2a.
Place the front inner and one back (pattern C) pieces with right sides together.
2b.
Align and overlock both shoulder seams. Your inner panel is now assembled.
2c.
Repeat Steps 2a and 2b for the front (pattern A) and the other back piece. Your front/outer panel is now assembled.
3. For Finishing Neckline
3a.
Place the outer panel and inner panel right sides together, matching the neckline and shoulder seams.
3b.
Place the 6 mm clear elastic strip along the wrong side of the inner-panel neckline. Align one edge of the elastic with the neckline raw edge, then pin or clip it in place without stretching.
3c.
Overlock the neckline through the outer panel, inner panel, and elastic.
Do not stretch the elastic while sewing.
3d. Optional Step
Turn the inner panel away from the outer panel and press the neckline seam allowance toward the inner panel.
Understitch through the inner panel and seam allowance approximately 2–3 mm from the seam. Do not stitch through the outer panel.
4. For Attaching Armholes
4a.
Lay the bra flat with the outer panel facing upward. Starting at one open side edge, tightly roll the garment toward one armhole. Continue rolling until the opposite armhole edges remain exposed. This exposed armhole will be sewn first.
4b.
Wrap the inner panel around the rolled garment. Bring the inner and outer armhole edges right sides together, matching the shoulder seam and armhole notches.
Place the 6 mm clear elastic along the inner-panel side of the armhole, aligning it with the raw edge. Pin without stretching.
4c.
Overlock around the armhole using the stated seam allowance. Sew slowly and check frequently to make sure the rolled garment is not caught in the stitching.
4d.
Carefully pull the rolled garment through the open end until the armhole seam turns right side out. Smooth the seam and check that no fabric has been caught in the stitching.
4e.
Repeat Steps 4a–4d for the second armhole, rolling the garment in the opposite direction.
5. For Attaching Side Seams
5a.
Turn the garment right side out and lay it flat.
5b.
At one side, separate the outer panel from the inner panel and open both side edges.
5c.
Bring the side edges right sides together, matching the outer front to the outer back and the inner front to the inner back. Match the underarm seam so the outer and inner layers meet accurately.
5d.
Overlock from the lower edge of the outer panel, across the underarm seam, and down the side edge of the inner panel in one continuous seam. Make sure the neckline and armhole layers are not twisted before sewing.
5e.
Repeat Steps 5b–5d on the opposite side.
6. For Preparing Waistband
6a.
Place the front bottom (pattern D) and back bottom (pattern E) right sides together, matching one side edge.
6b.
Overlock the side seam.
6c.
Match and overlock the remaining side seam to form a continuous band.
6d.
Fold the band in half lengthwise with wrong sides together, matching the raw upper edges. Press the fold using an appropriate heat setting.
Mark the center front, center back, and both side seams.
7. Optional – For Preparing Elastic Band
If your fabric demonstrates good stretch recovery, skip the elastic waistband.
7a.
Follow the elastic chart in the sewing guide for the required length:
- US 2 – 25.5"
- US 4–6 – 27.5"
- US 8–10 – 29.5"
- US 12 – 31.5"
- US 14 – 33.5"
- US 16 – 35.5"
- US 18 – 37.5"
7b.
Sew the elastic ends together with a zigzag stitch, overlapping them by approximately 1–1.5 cm. Remember to add approximately 1–1.5 cm to the charted elastic length for this overlap.
For thicker elastic, the guide provides an alternative: use a muslin piece 1.5 inches long and the same width as the elastic. Place it beneath the joining edges and secure them with a zigzag stitch. Do not add seam allowance when using this method.
7c.
Insert the elastic into the folded waistband, making sure it remains flat and is not twisted. Match the elastic join to one side seam.
8. For Attaching Waistband
8a.
With the bra right side out, place the waistband around the lower edge with right sides together. Align both raw waistband edges with the raw lower edge of the bra.
Match the side seams, center-front, and center-back marks. Pin or clip evenly, keeping the elastic flat inside the band.
Overlock around the lower edge, taking care not to trim or stitch through the elastic unnecessarily.
8b.
Turn the waistband downward and gently press the seam allowance toward the bra using a low heat setting.
Tip: Stitch in the ditch at both side seams to secure the elastic and prevent it from twisting inside the waistband.


Ready to Sew Your Own Lounge Bra?


The Winslet's Stacey Lounge Bra Sewing Pattern is a compact stretch-sewing project with a fully lined front, wide straps, racerback shaping, and a comfortable underbust band. Optional removable bra cups and an optional elastic band also allow you to adapt the construction to your fabric and preferred finish.
With a Very Easy difficulty rating and a straightforward pull-on design, STACEY is a useful project for building confidence with stretch fabrics, elastic, overlocking, enclosed armholes, and lined construction.
Get the Stacey Lounge Bra Sewing Pattern and start sewing your own handmade lounge bra.
Explore More Sewing Patterns
Browse our Women's Sewing Pattern Collection for more handmade activewear designs that pair well with the STACEY Lounge Bra, including leggings, shorts, tops, and other comfortable pieces.
Join the Community & Get Support
Share your finished STACEY Lounge Bra on social media with #MadeWithWinslets. If you have questions, feedback, or customization requests, contact the Winslet's team at support@winslets.com.