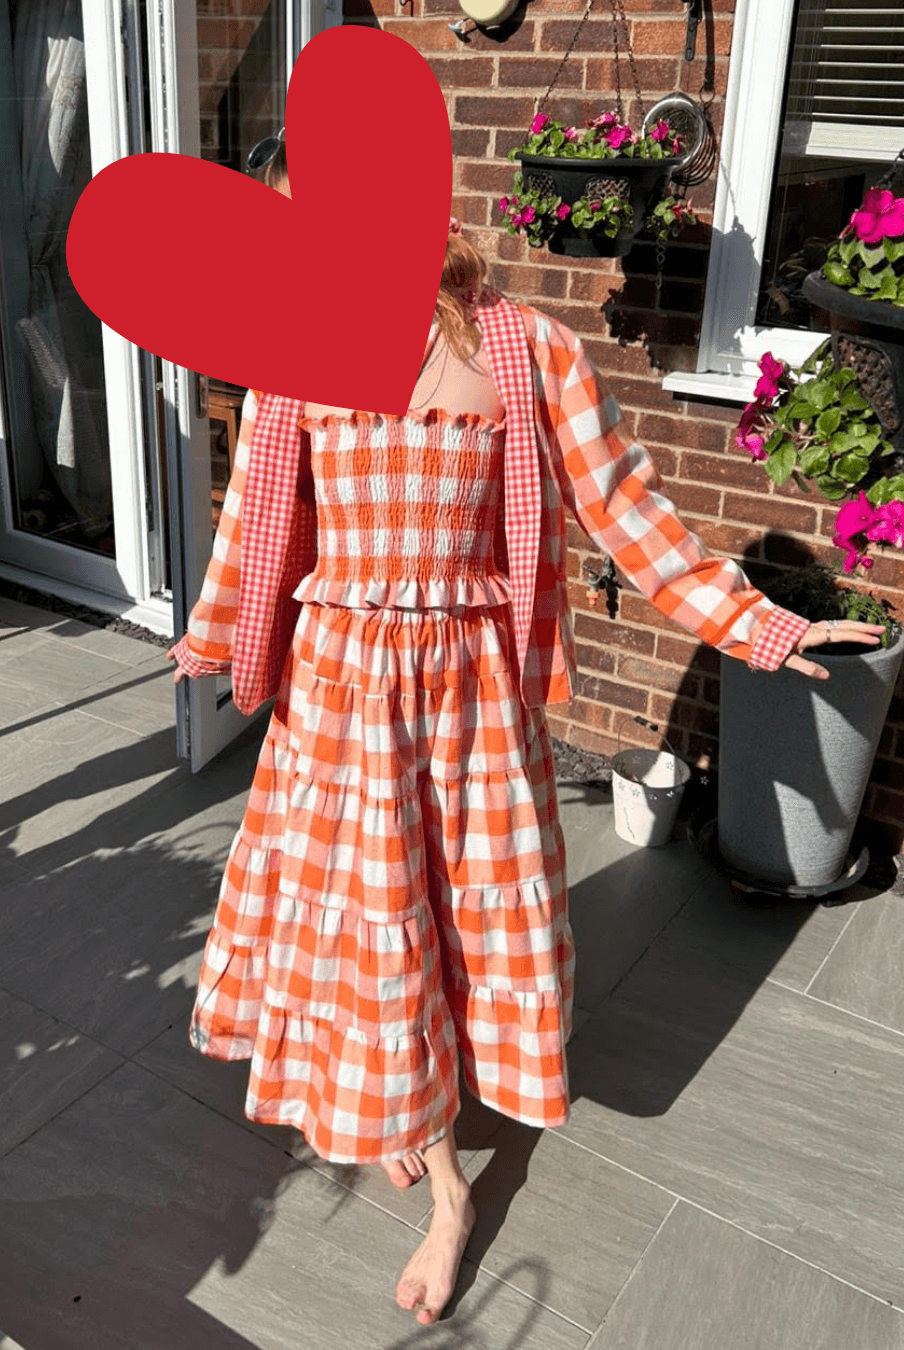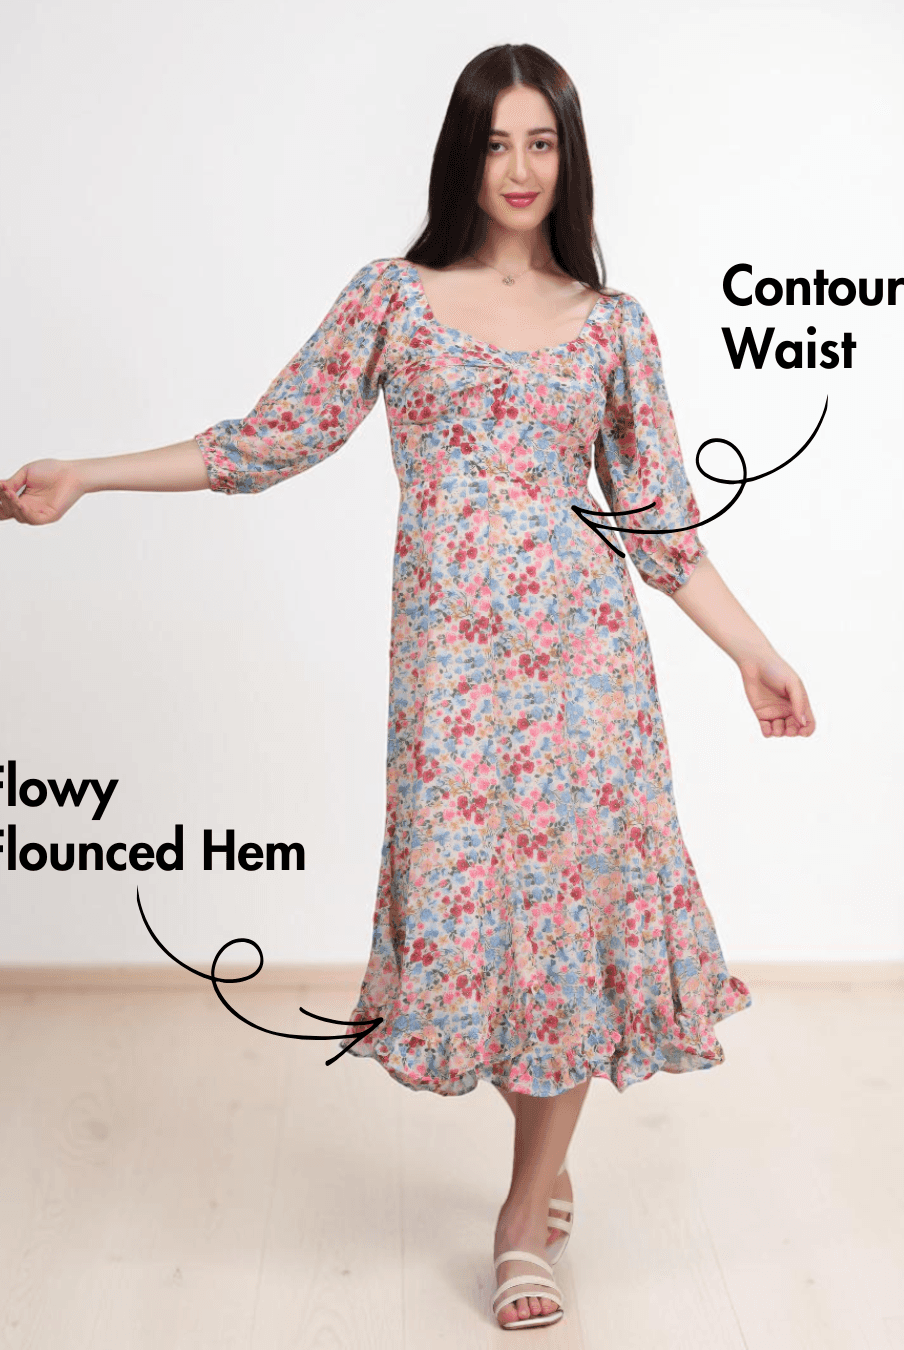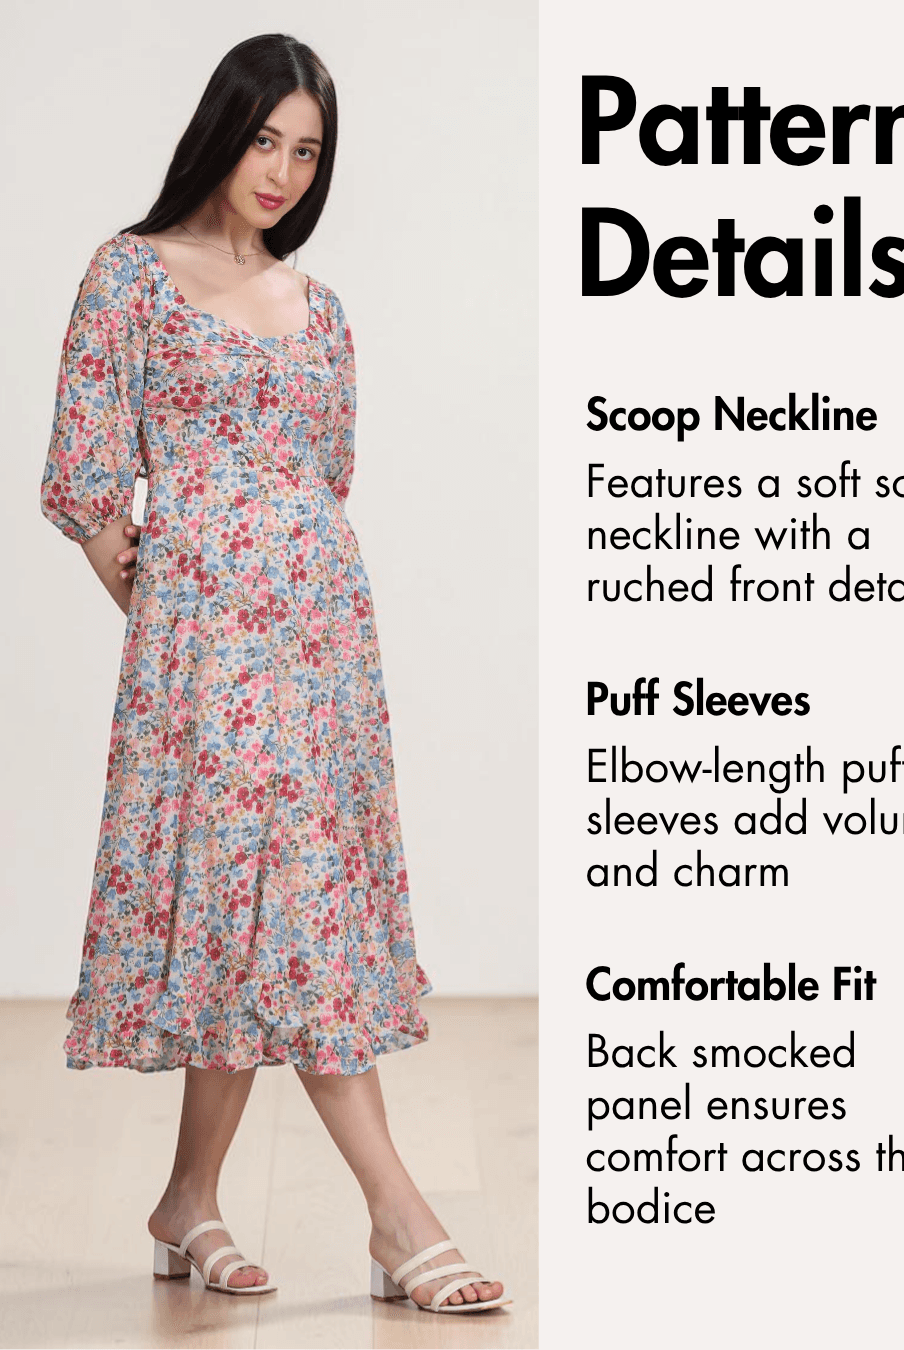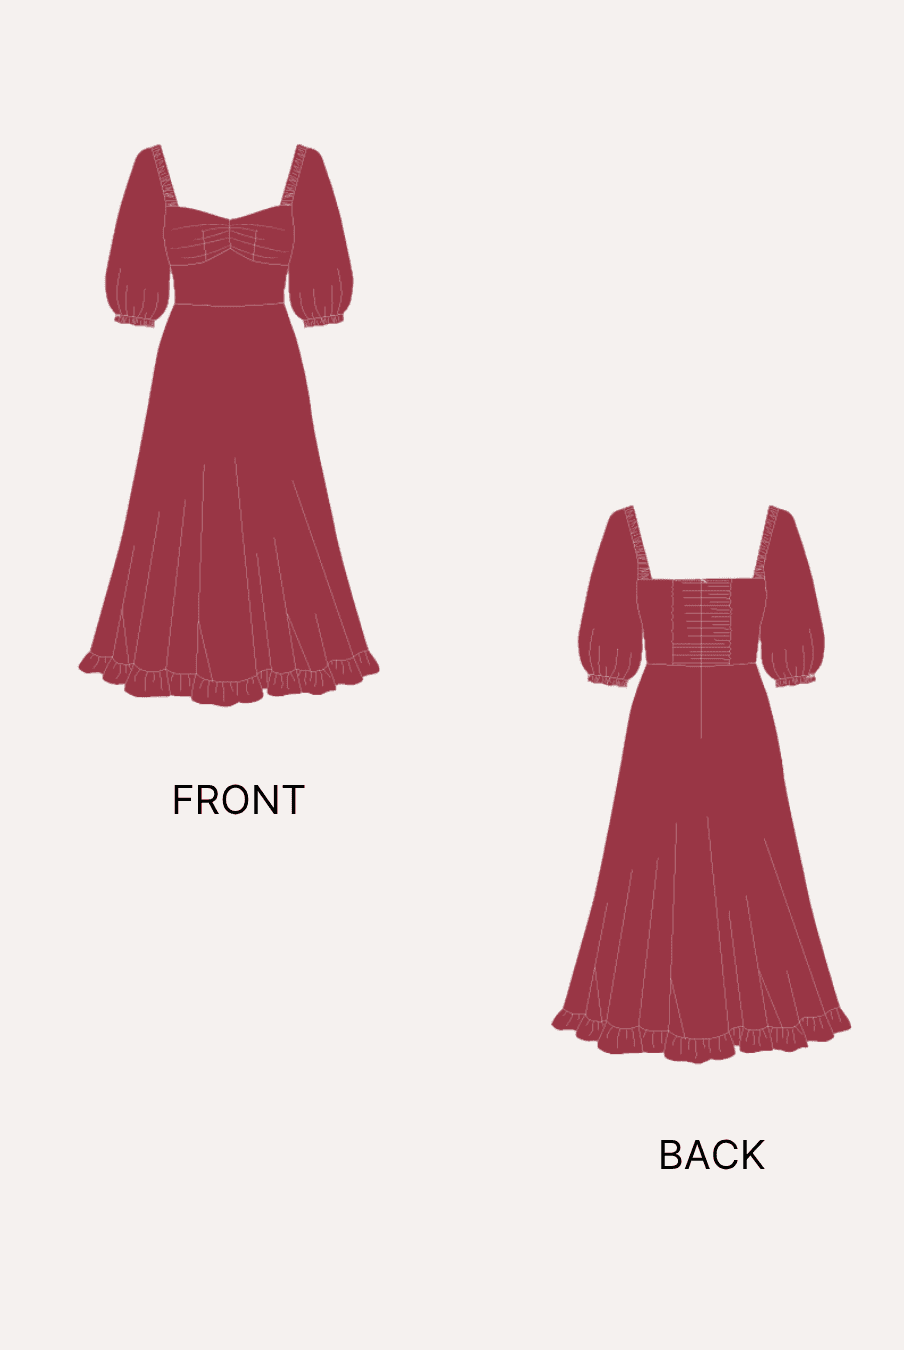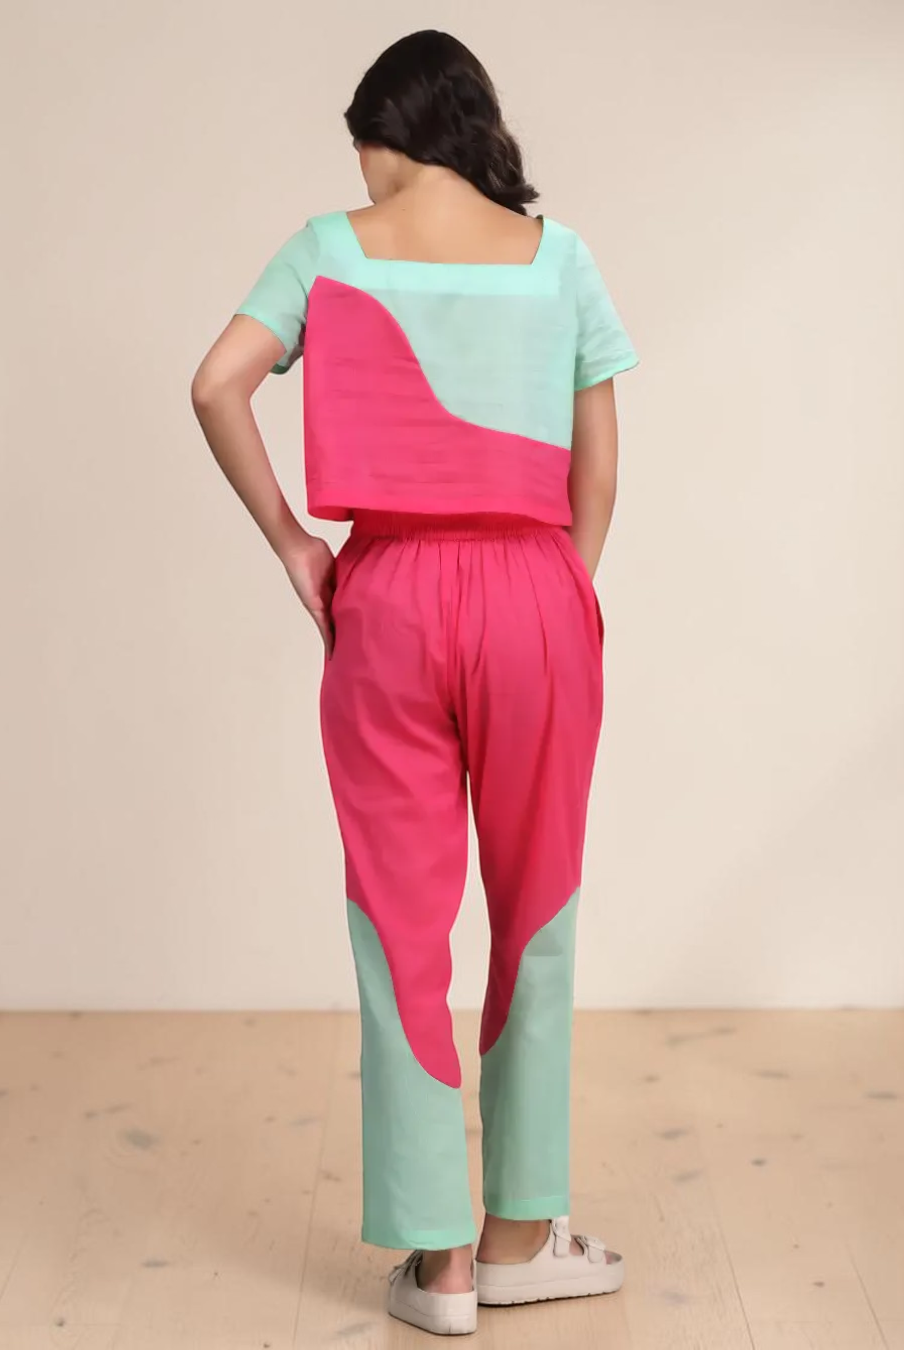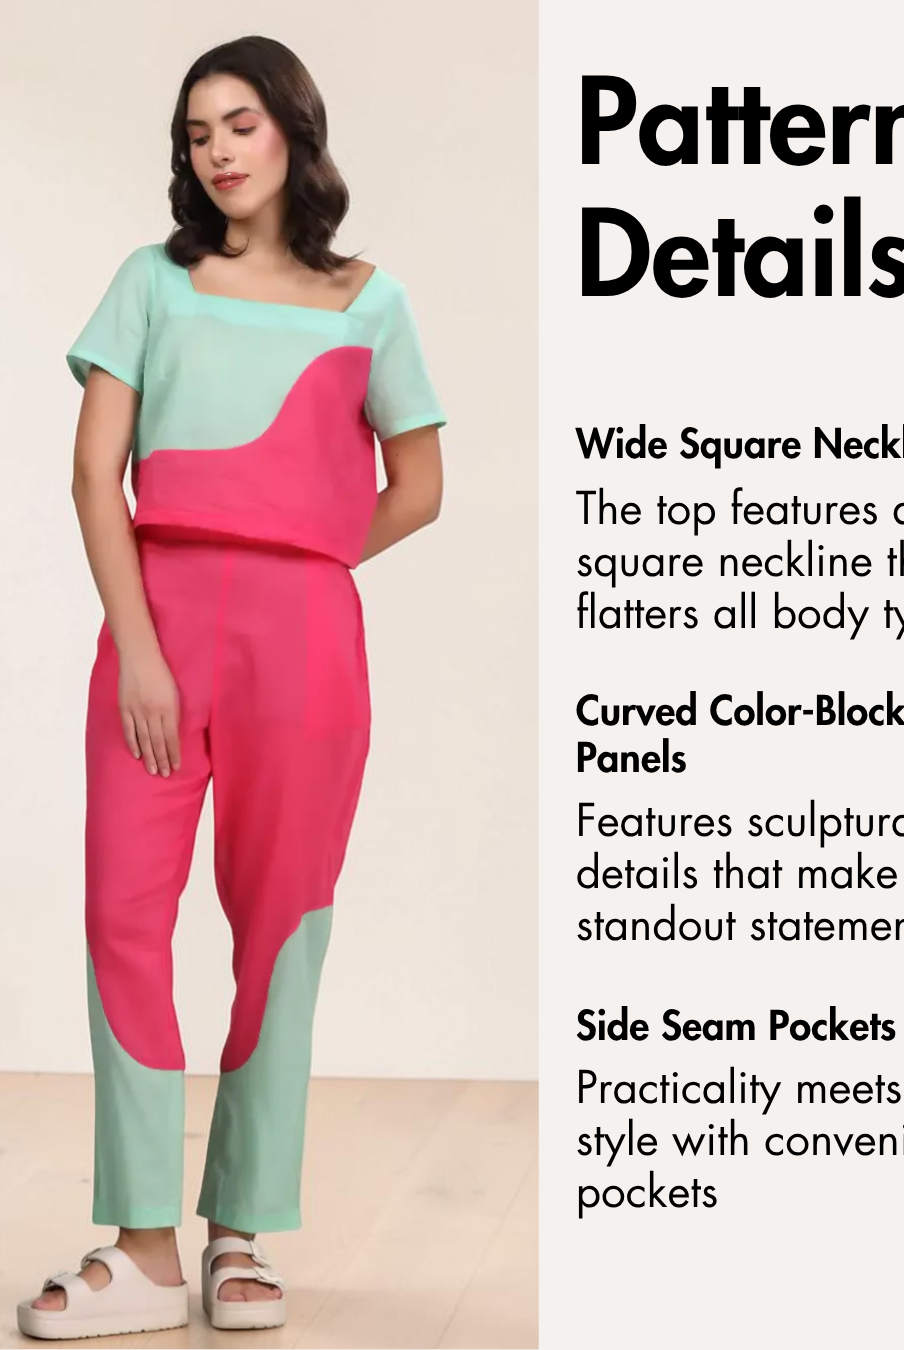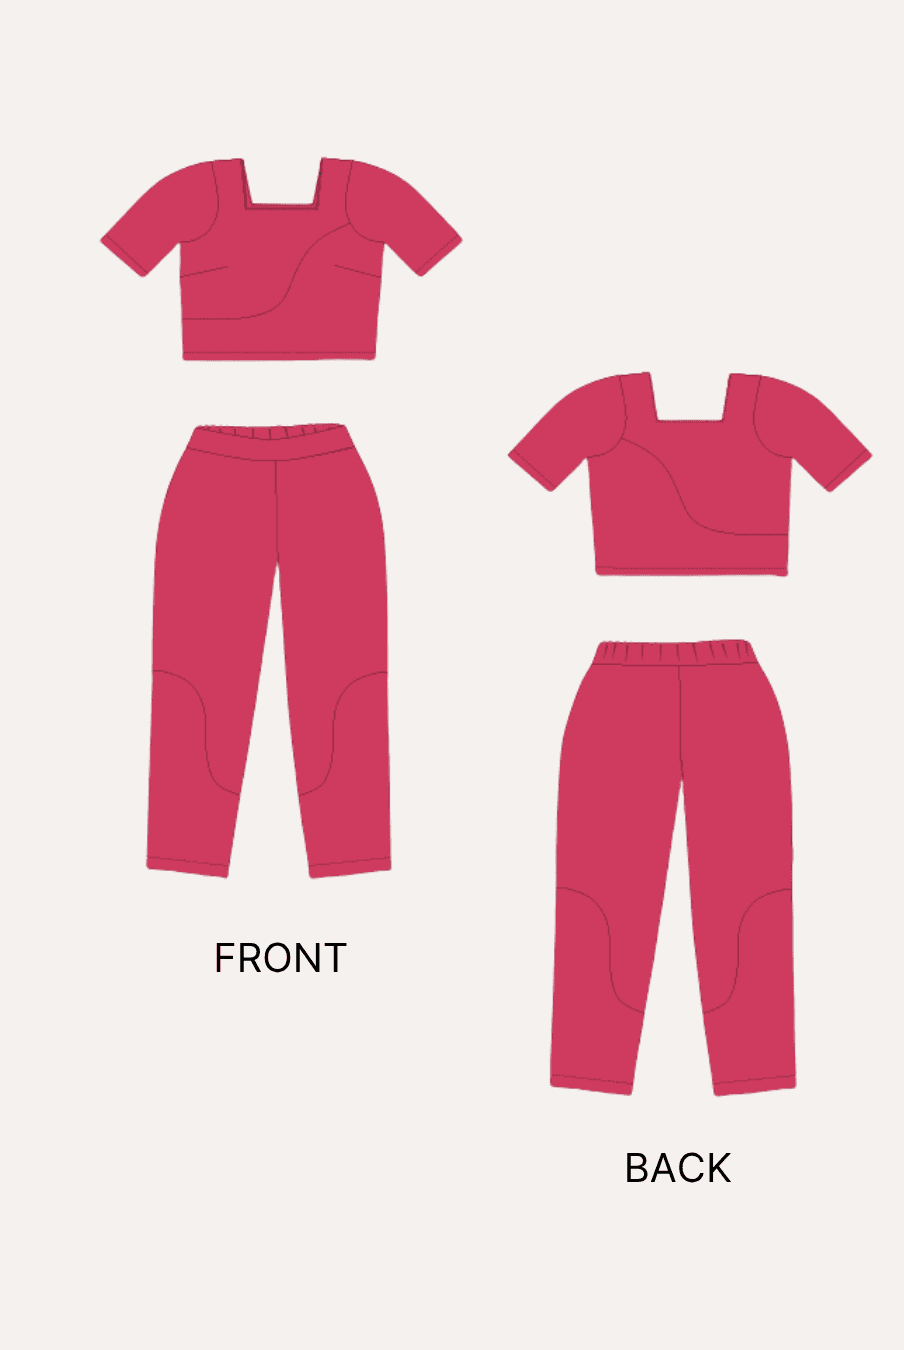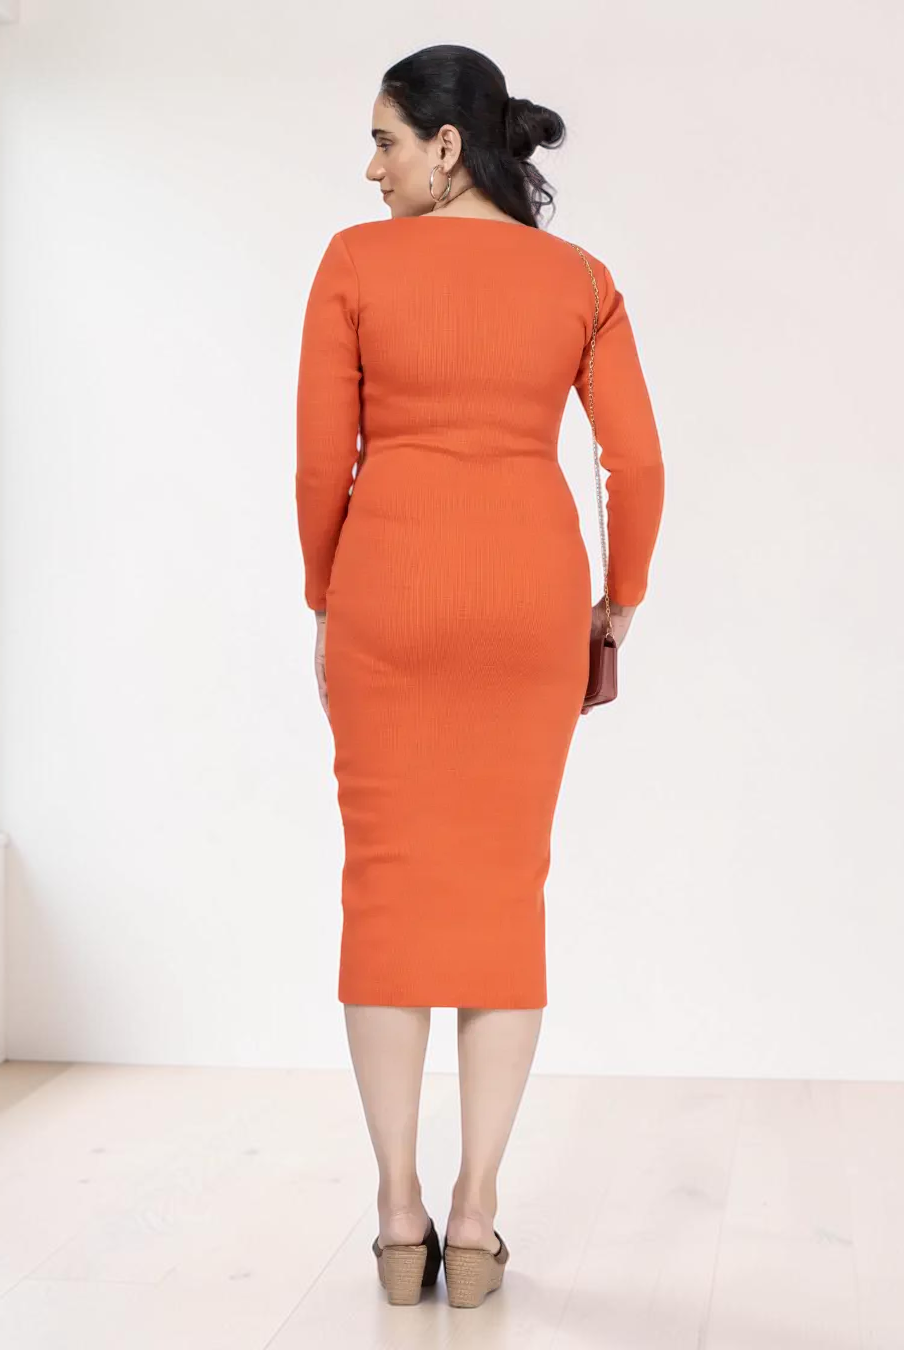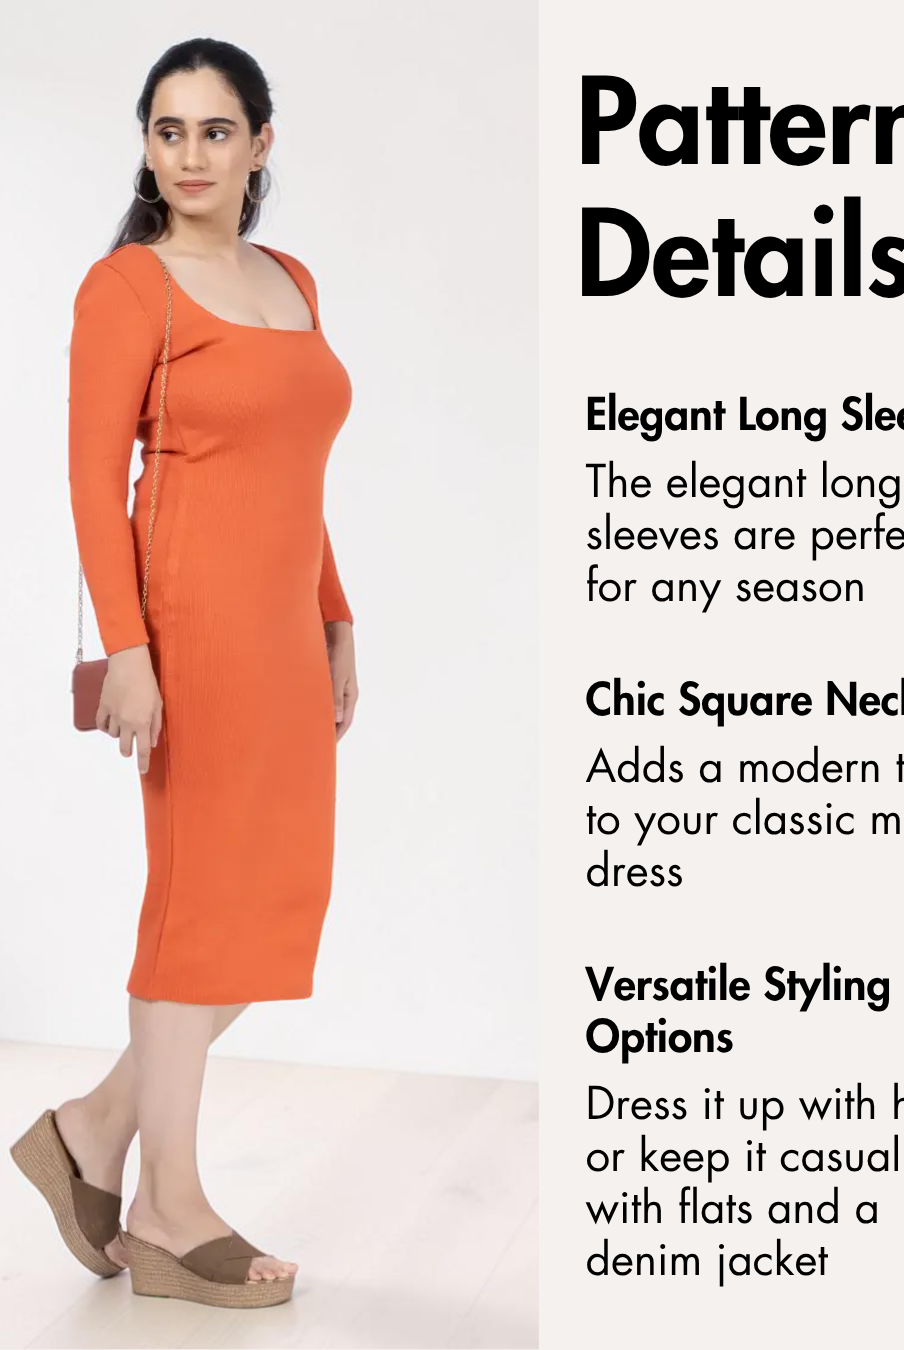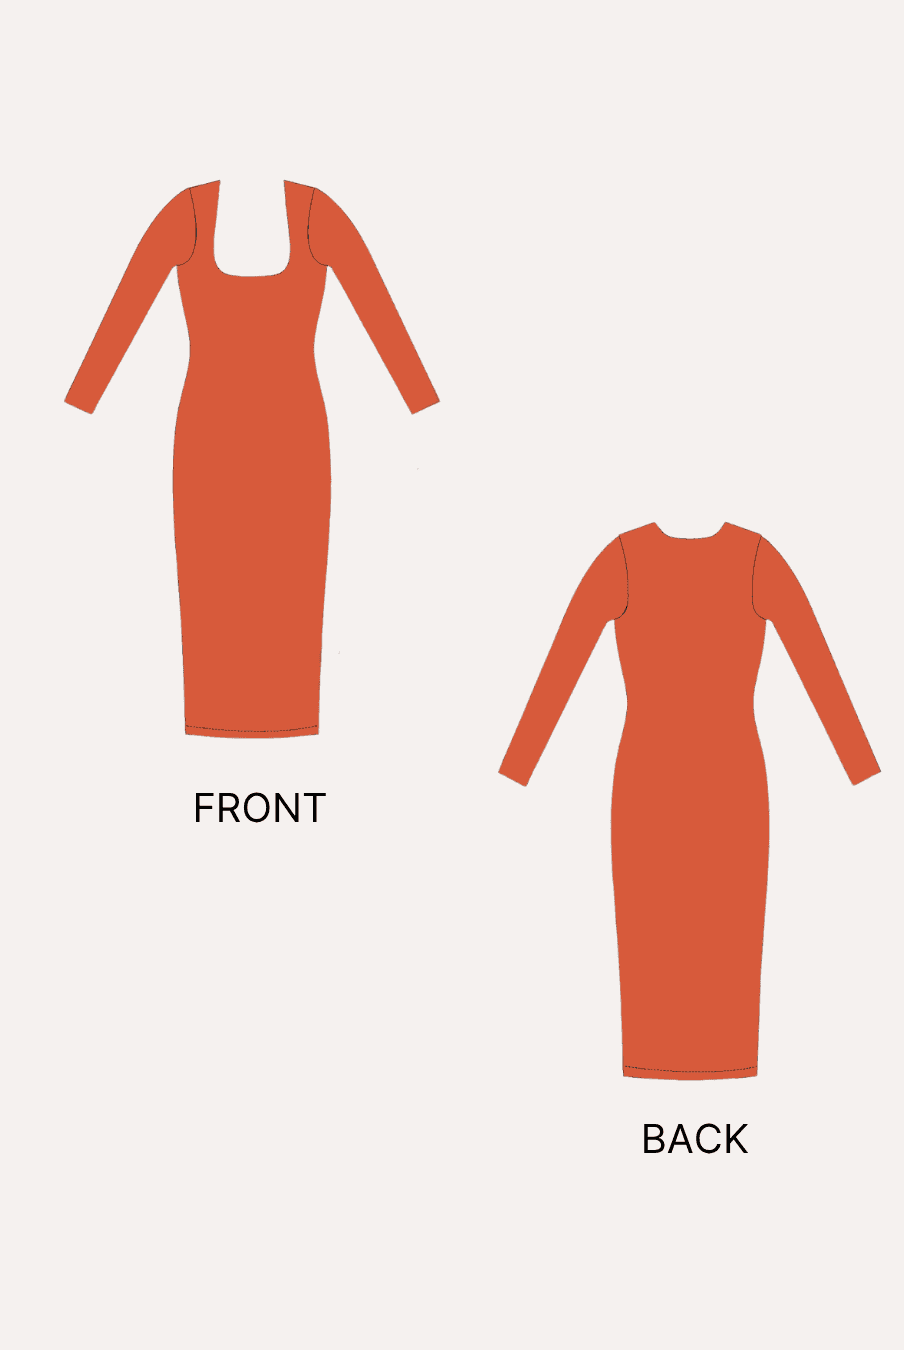
Vintage-inspired coord sets are timeless wardrobe staples that let you create a perfectly coordinated outfit from scratch. Sewing your own matching set gives you complete control over the fit while allowing you to enjoy the satisfaction of creating two garments that work beautifully together or can be styled separately.
The Winslet's Vintage Coord Set Sewing Pattern combines a feminine bustier top with a flouncy mini skirt for a stylish handmade outfit. Designed for confident beginners and intermediate sewists, this pattern includes detailed instructions to help you create a polished coord set you'll enjoy wearing again and again.

Why Sew a Vintage Coord Set?
- Create a perfectly coordinated outfit with a matching bustier top and mini skirt.
- Mix and match both garments with other wardrobe staples for countless styling options.
- Learn useful garment construction techniques, including bustier construction, smocking, gathers, and zipper insertion.
- Sew a lightweight outfit that's ideal for warm-weather dressing, vacations, brunches, and casual outings.
- Enjoy a rewarding project that results in two versatile handmade garments.
Why Choose the Winslet's Vintage Coord Set Sewing Pattern?


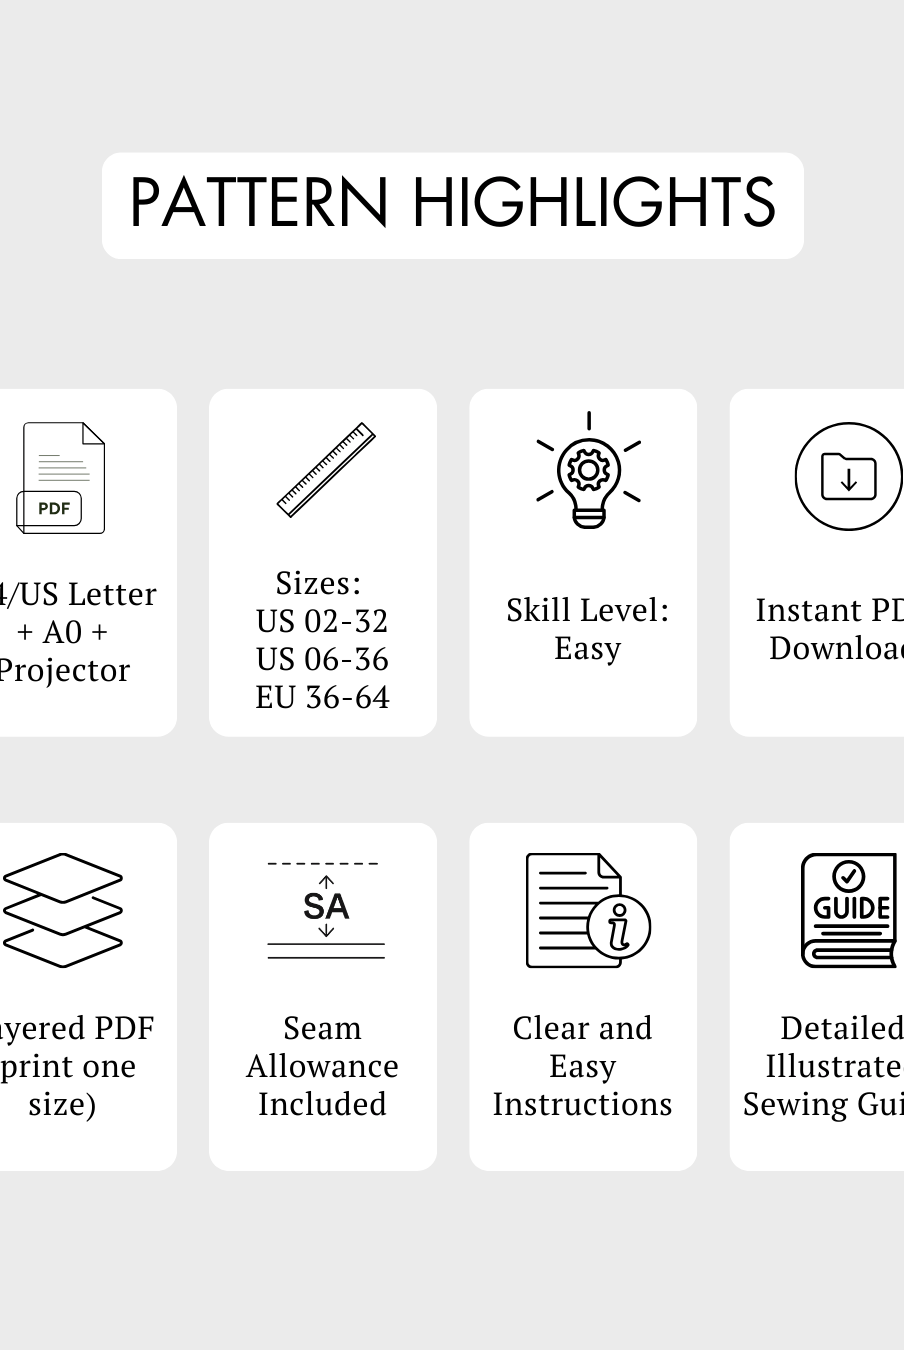
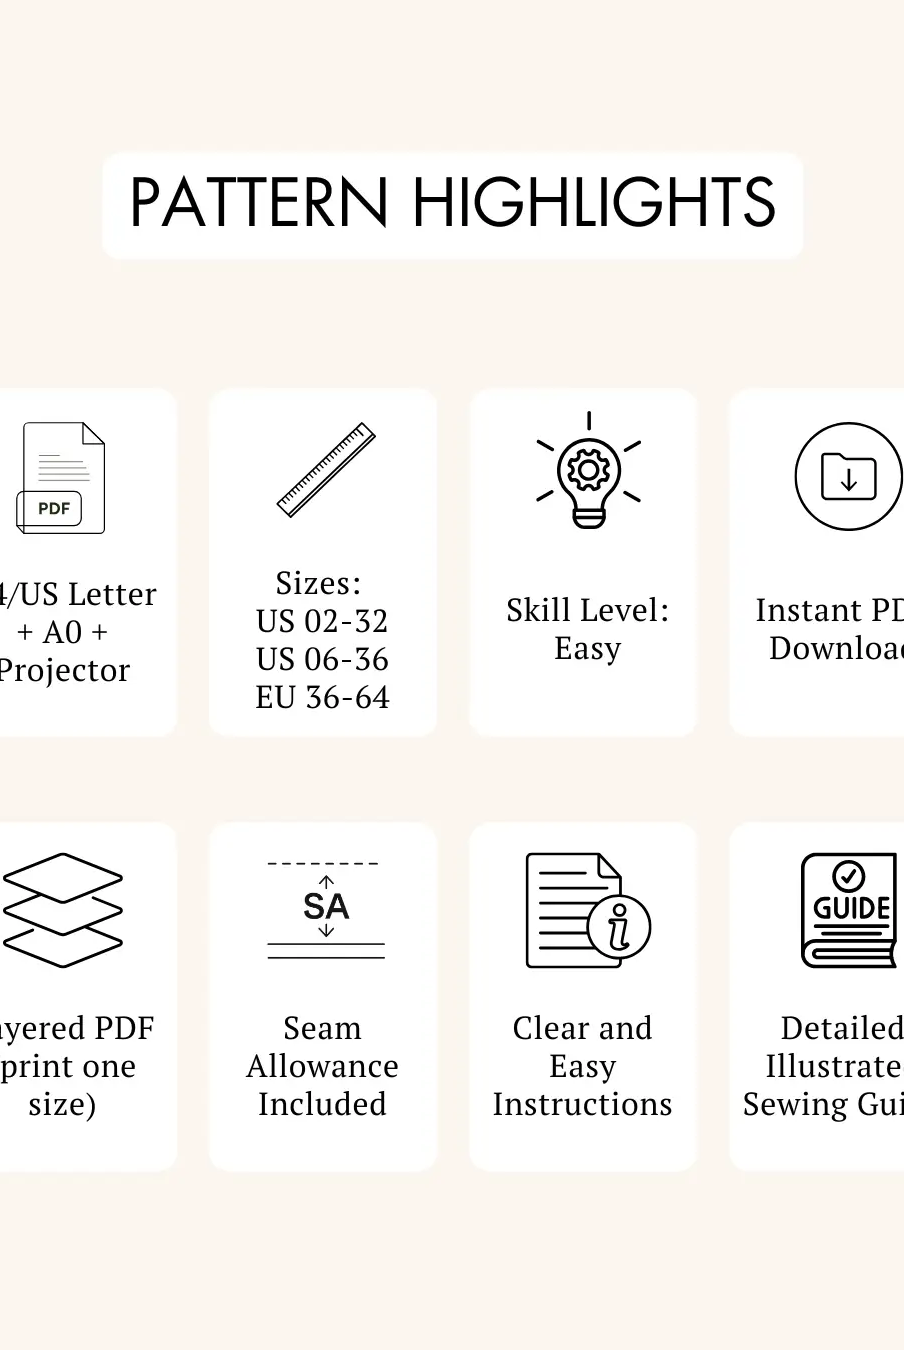
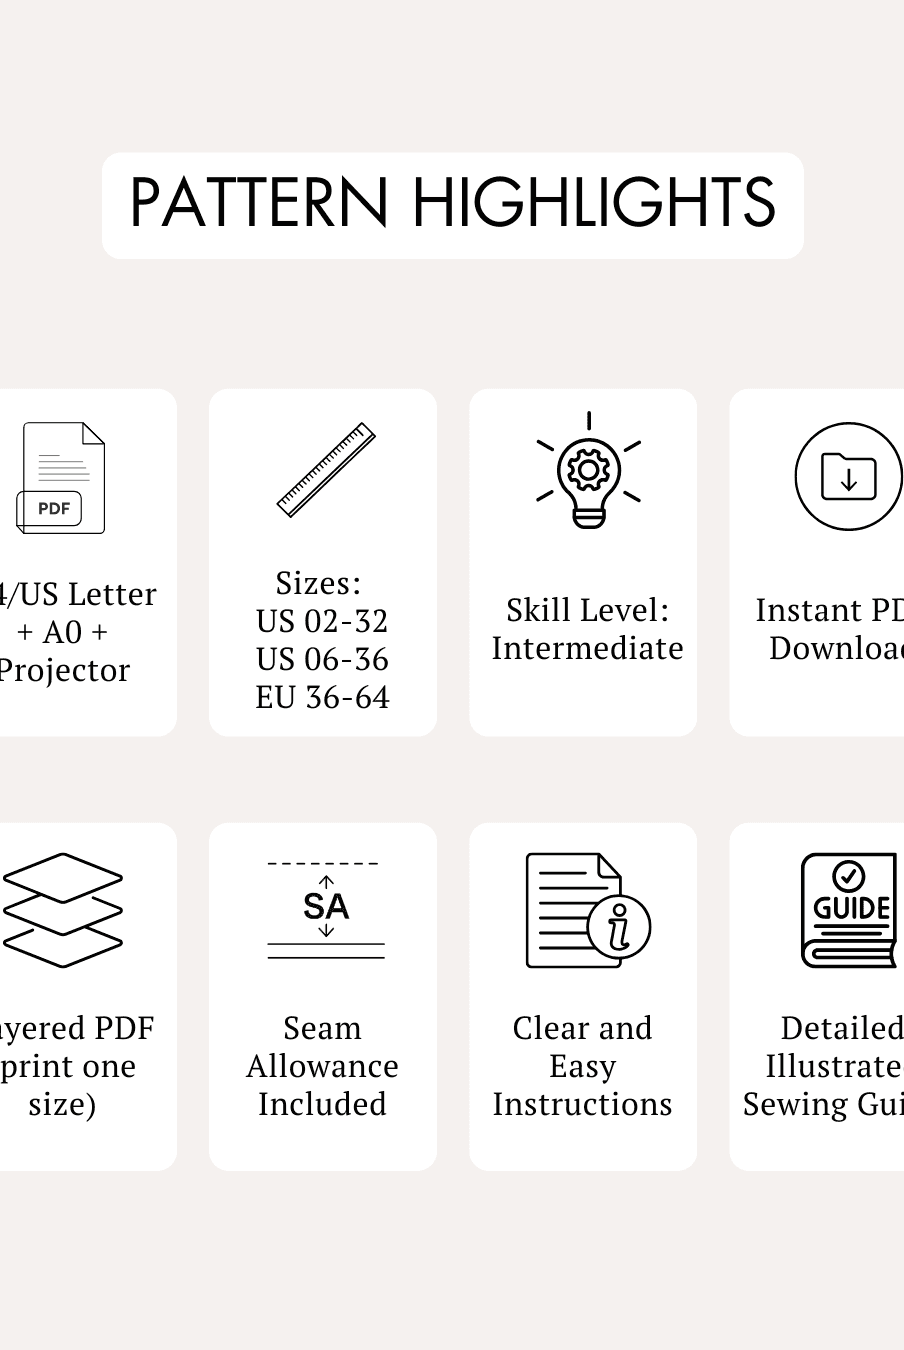
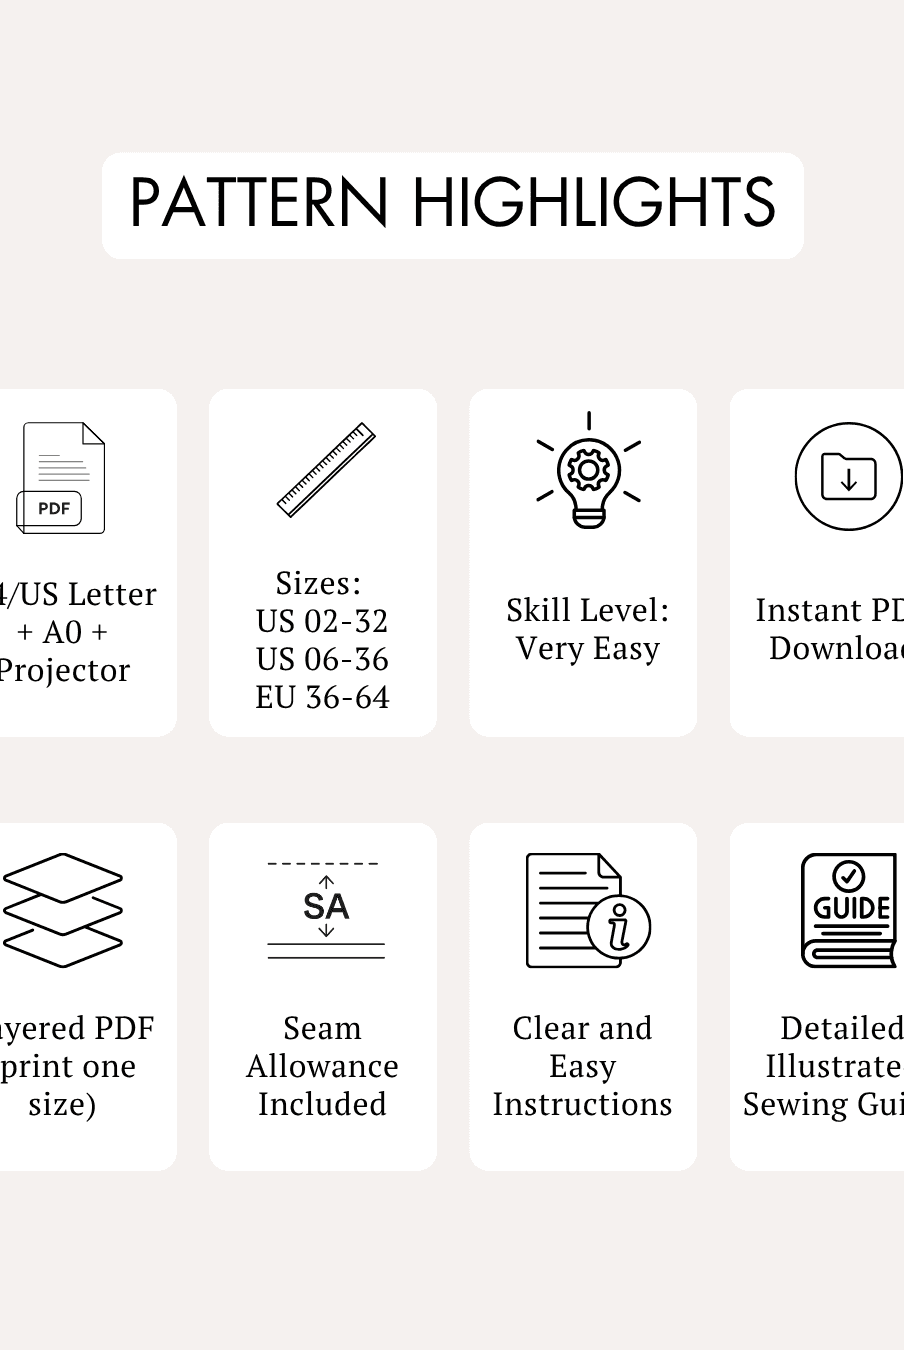
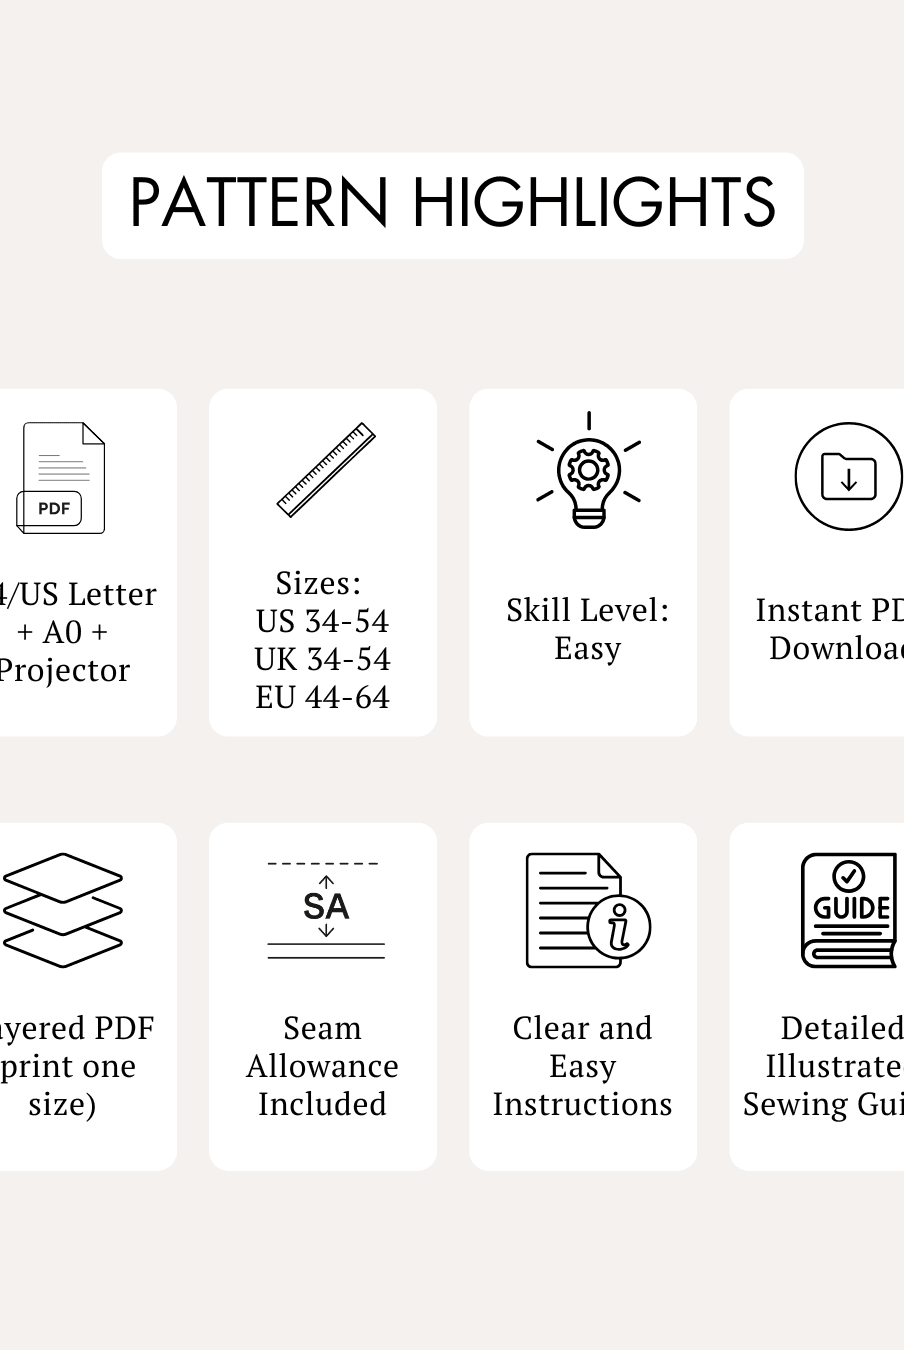
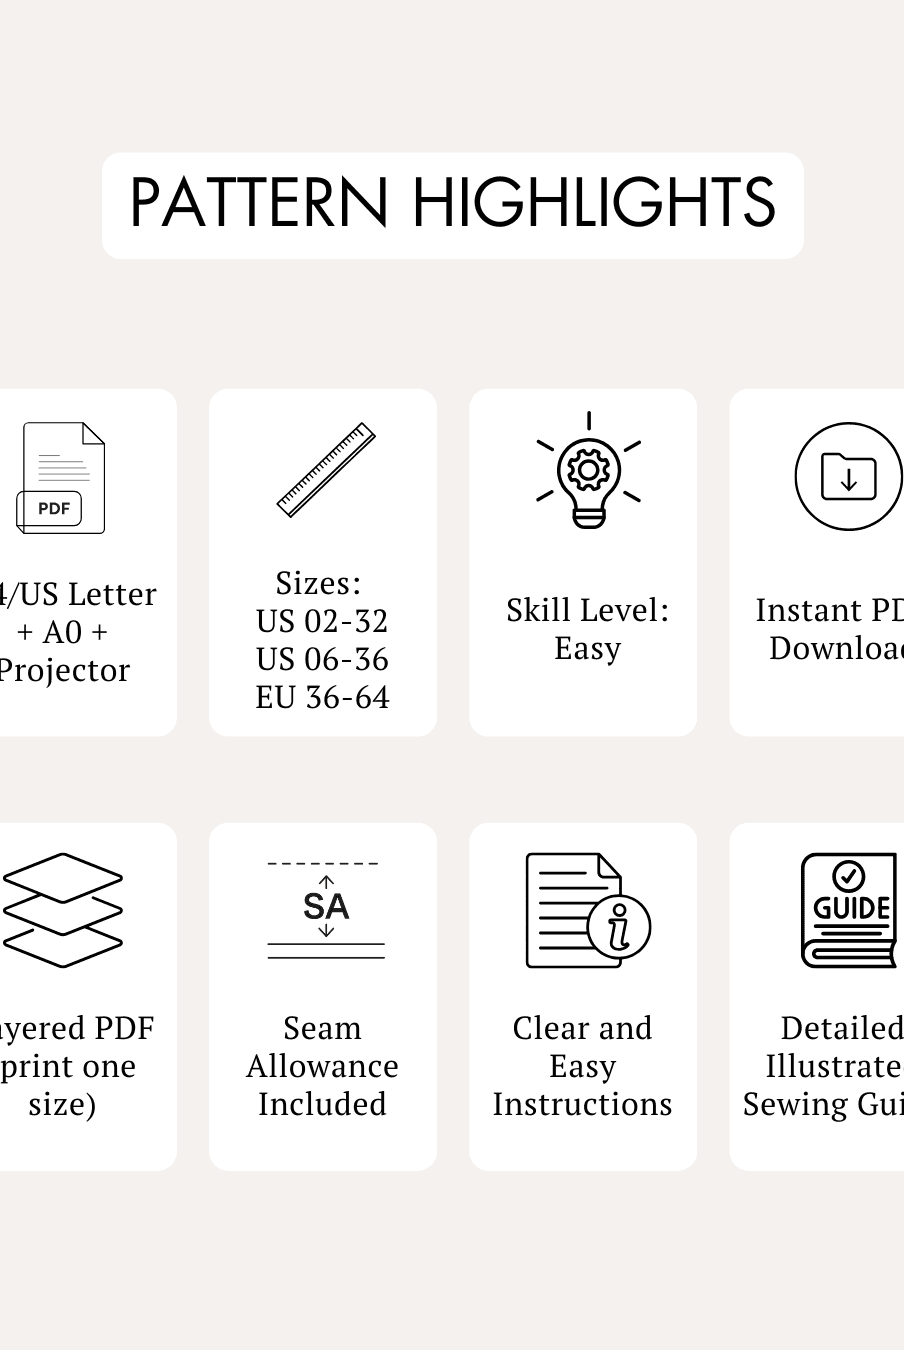
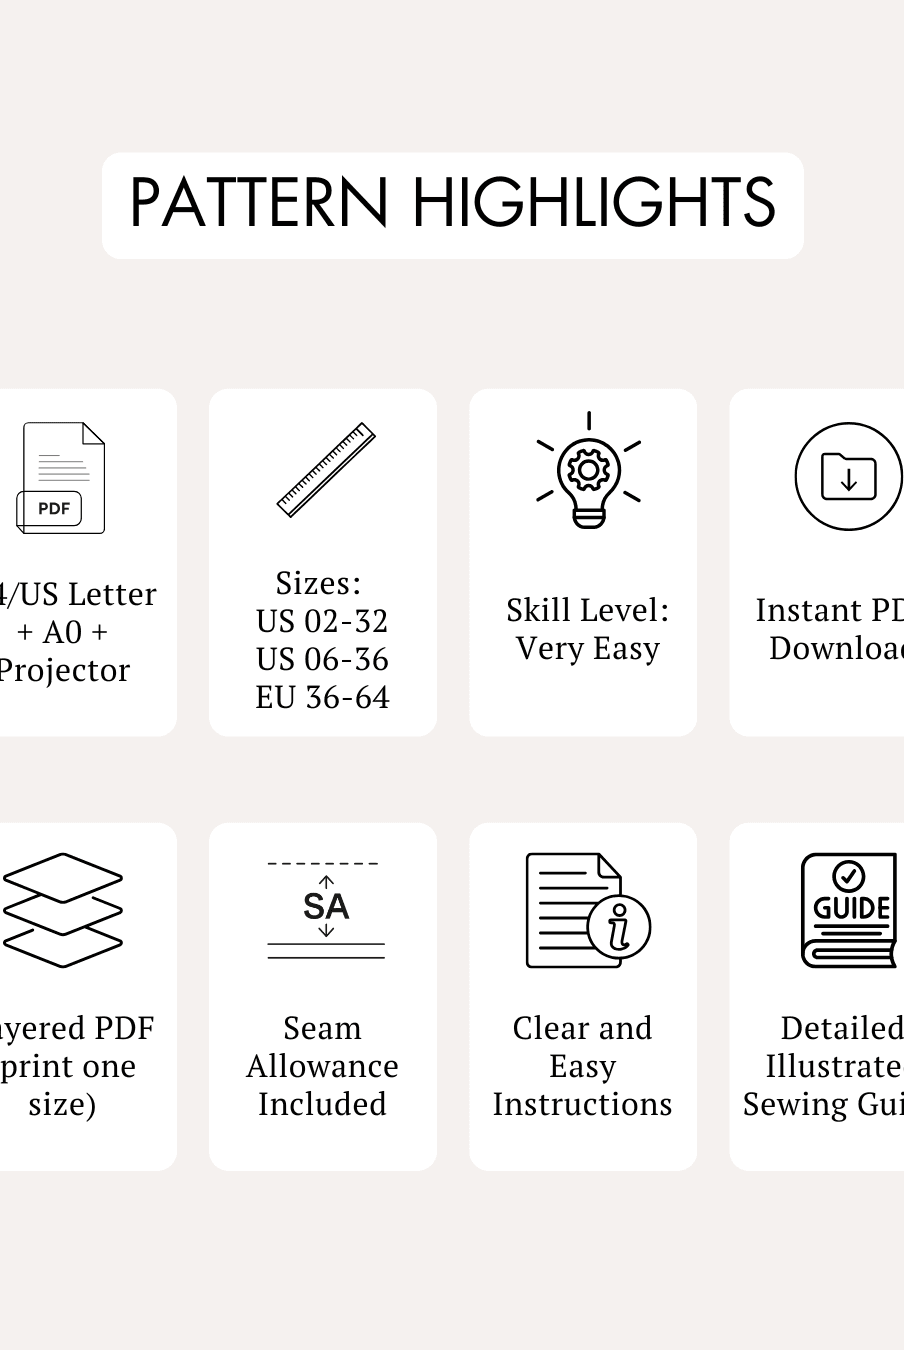
- Skill Level: Intermediate
-
Pattern Includes:
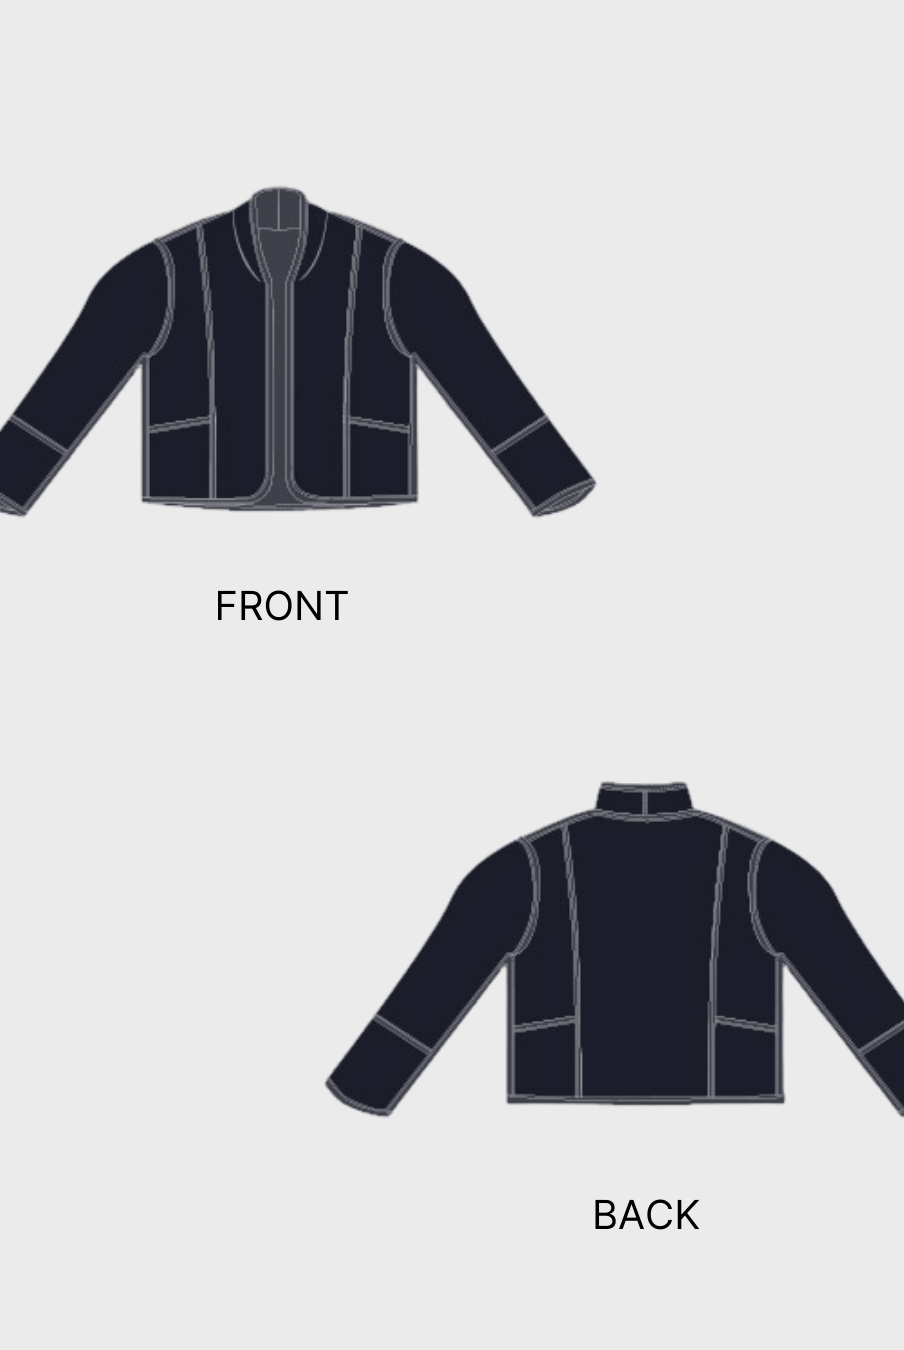
- Strappy bustier crop top
- Frill neckline
- Knotted shoulder straps
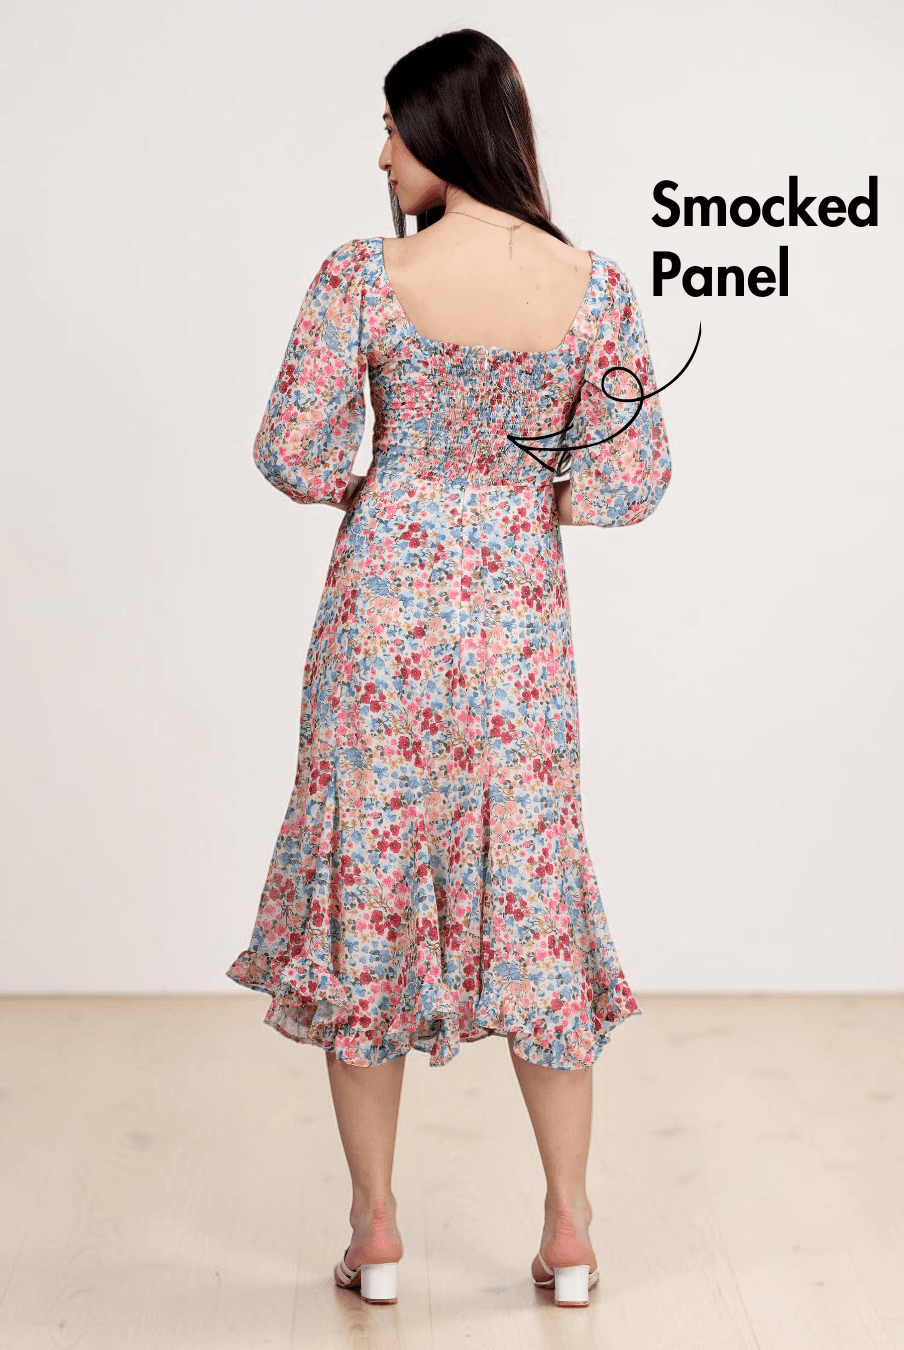
- Shirred/smocked back panel
- Mini flounce skirt
- Gathered ruffle hem
- Side zipper closure
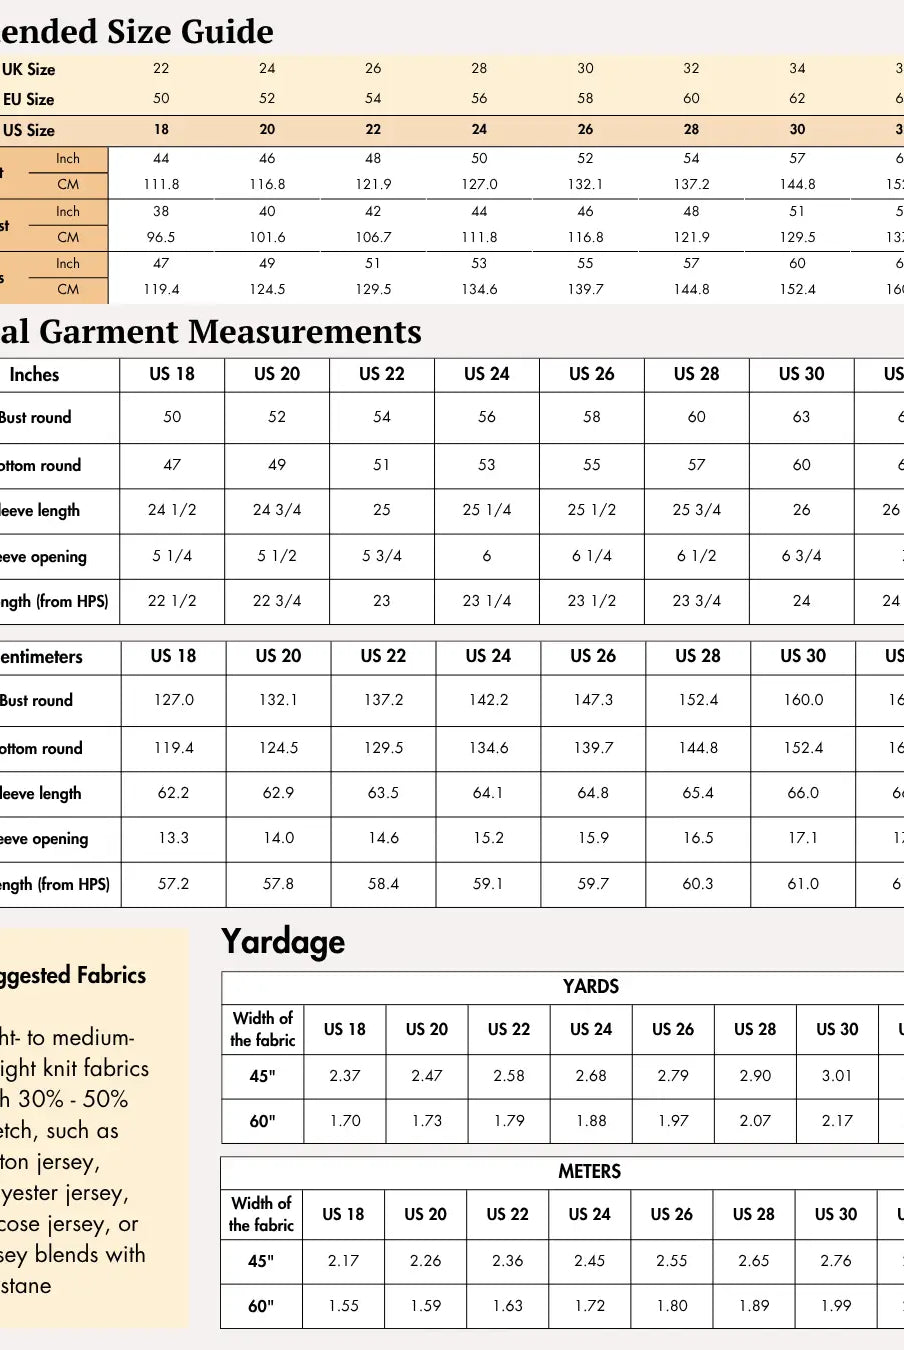
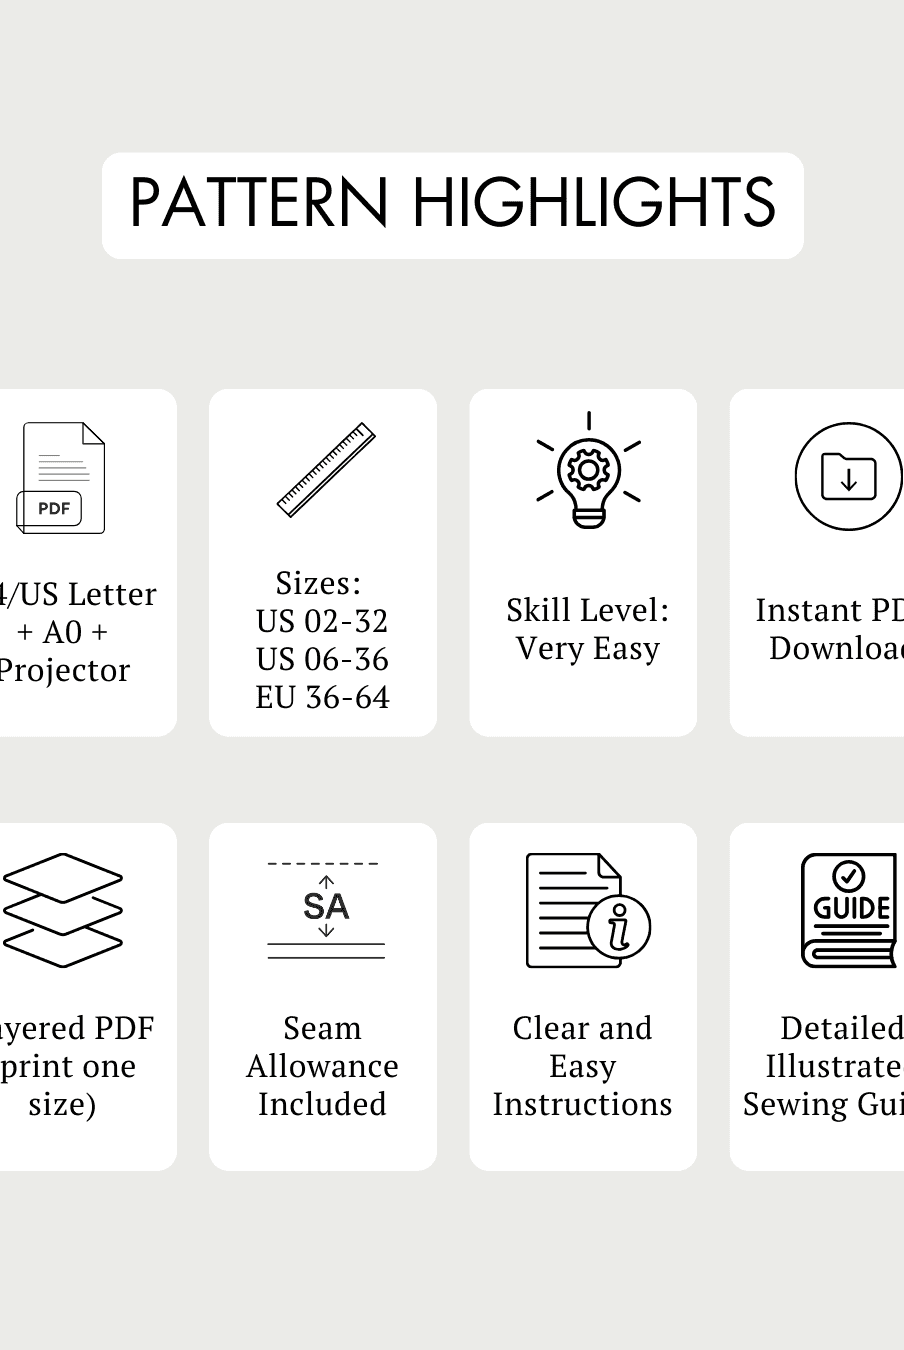
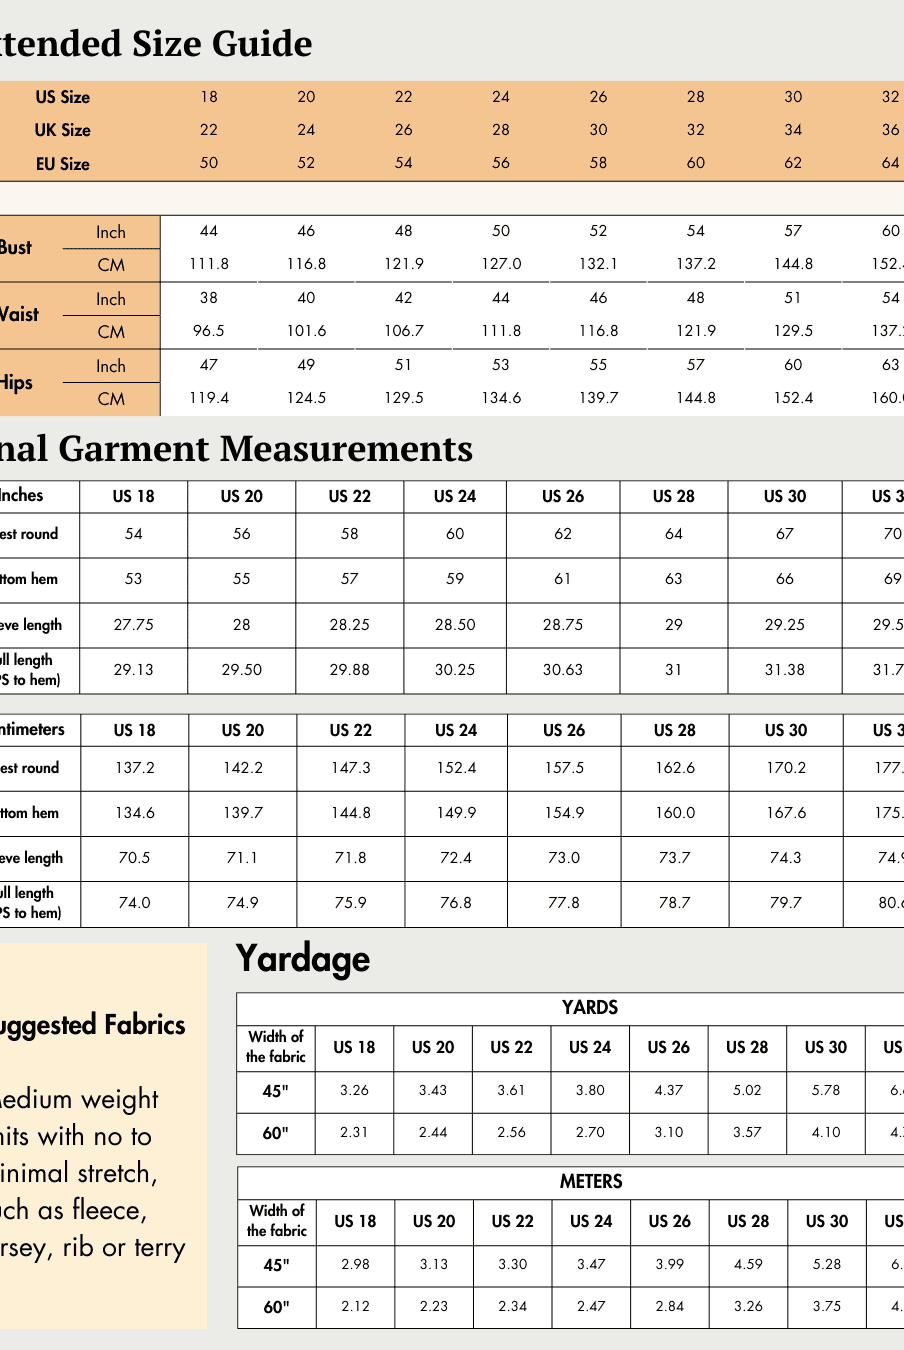
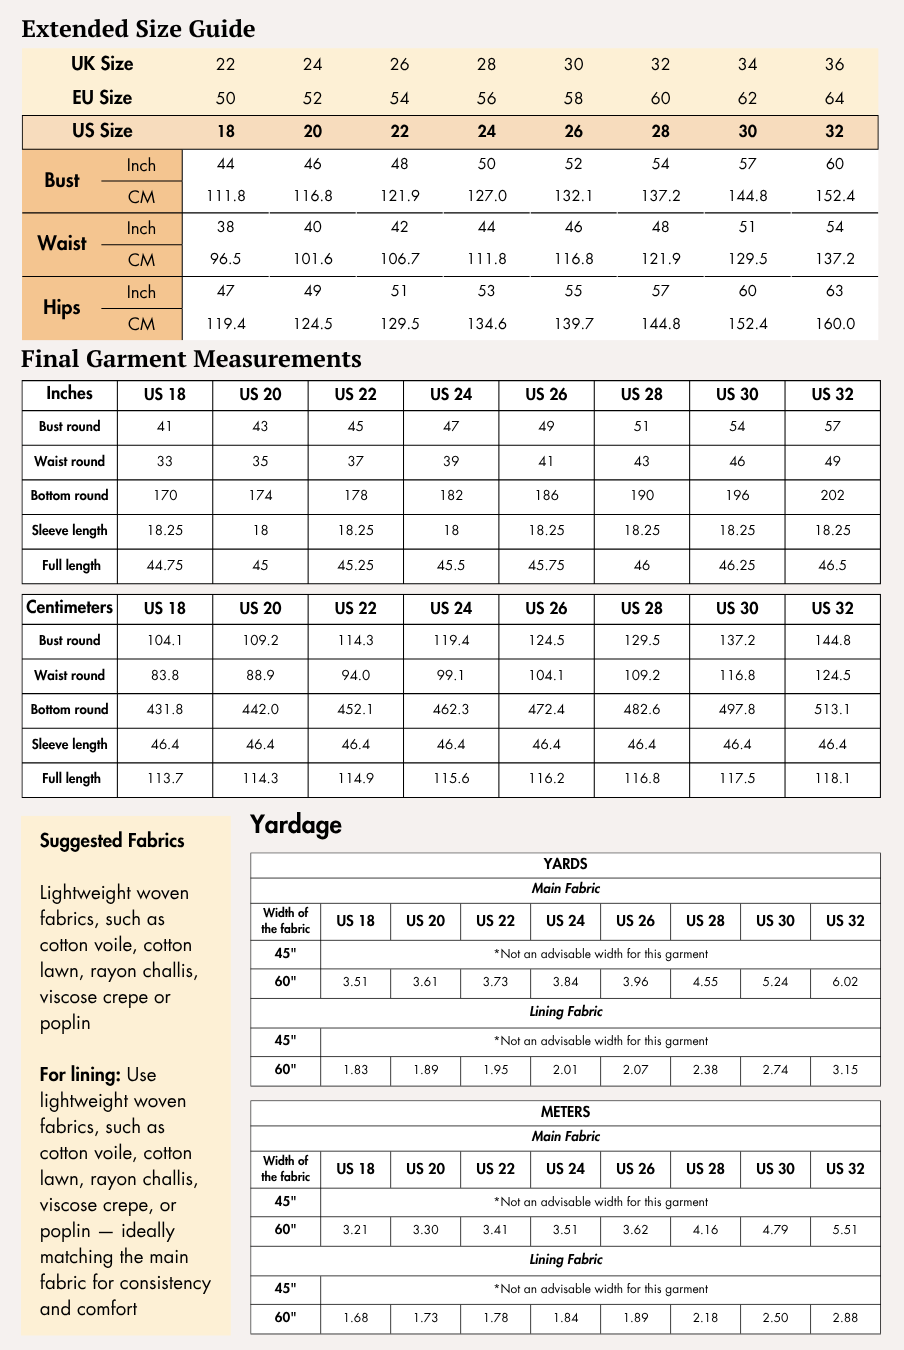
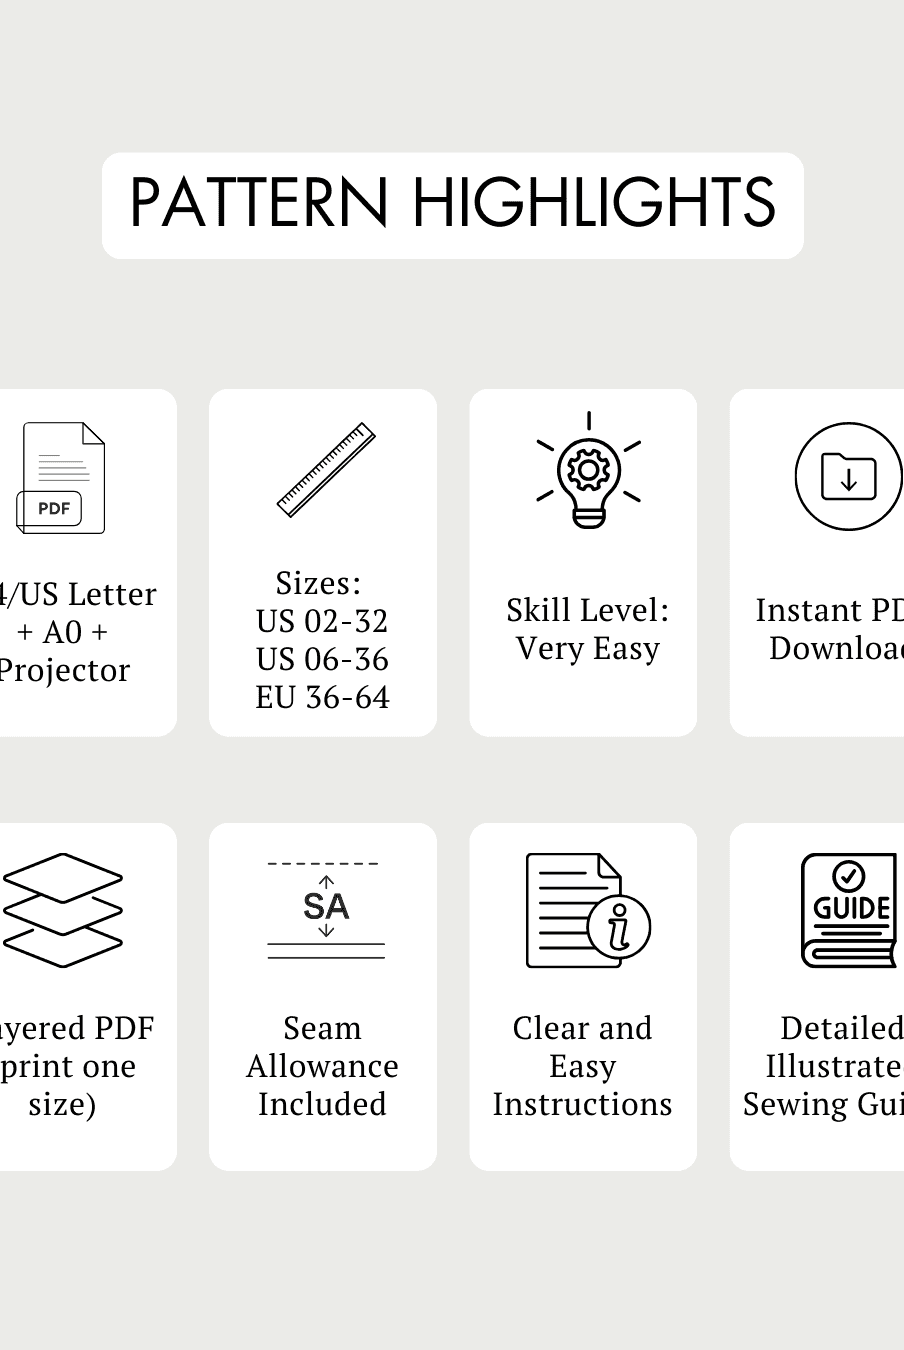
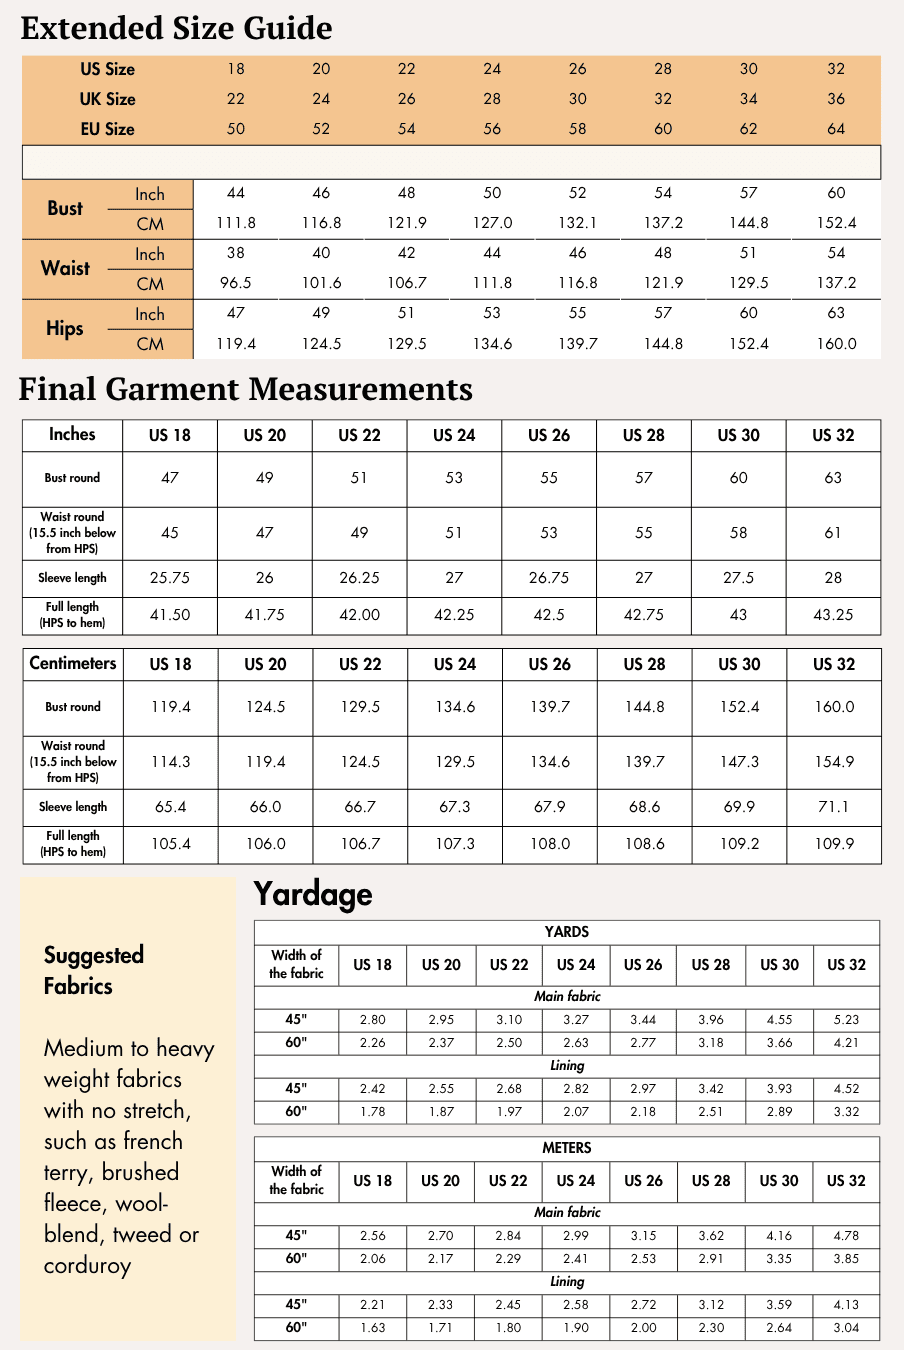
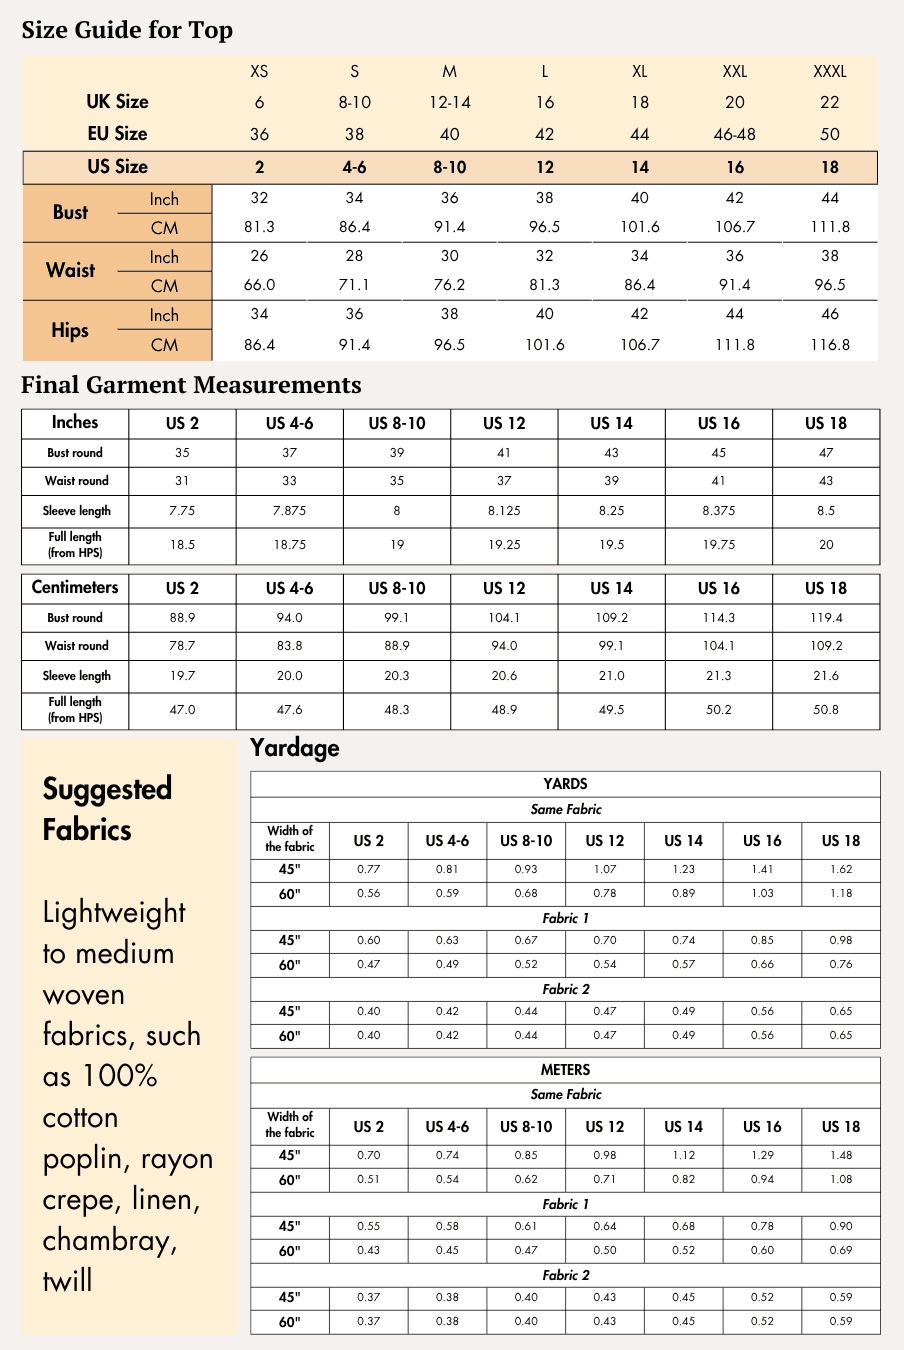
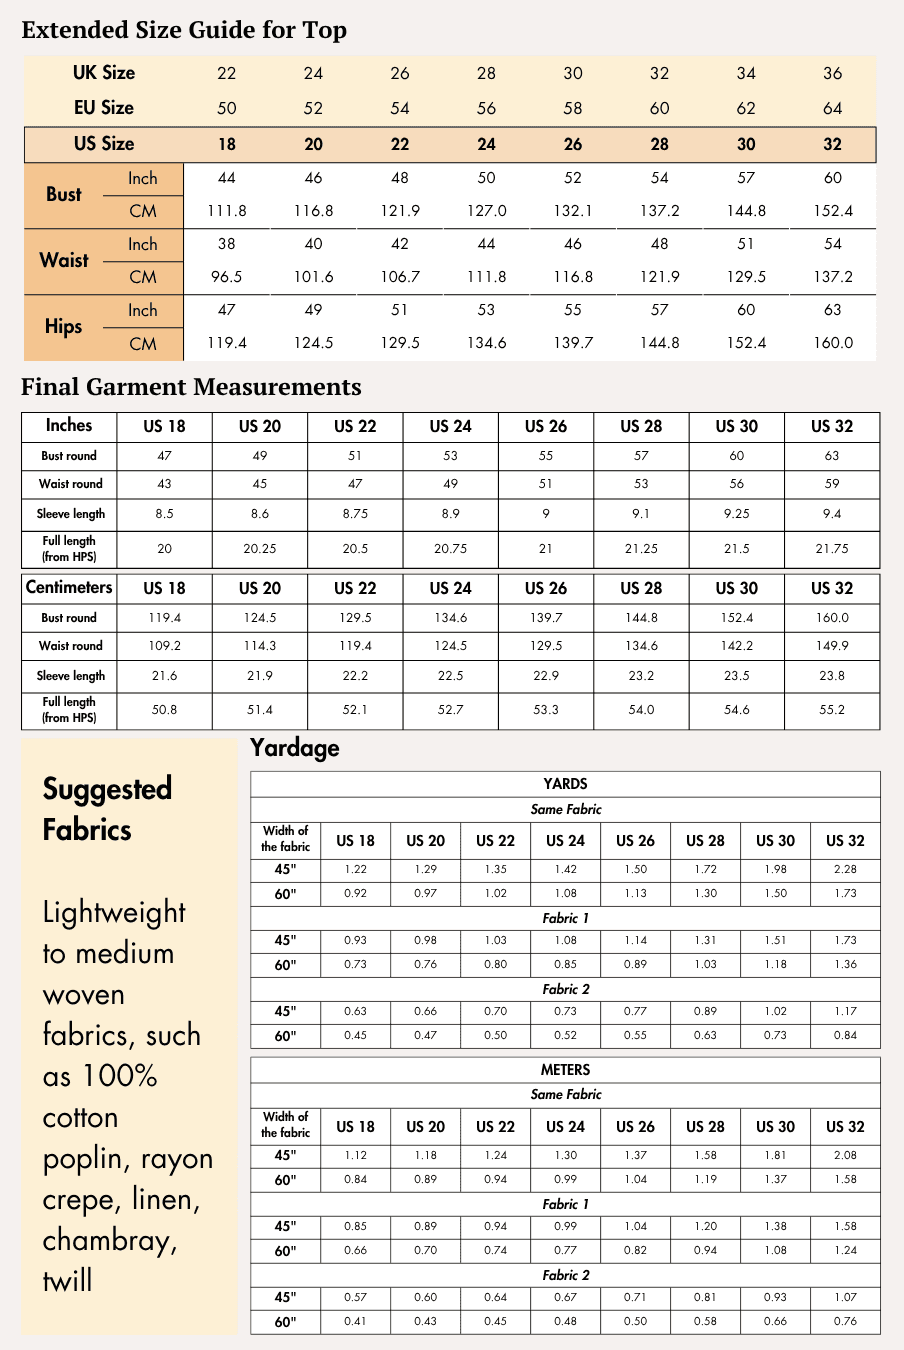
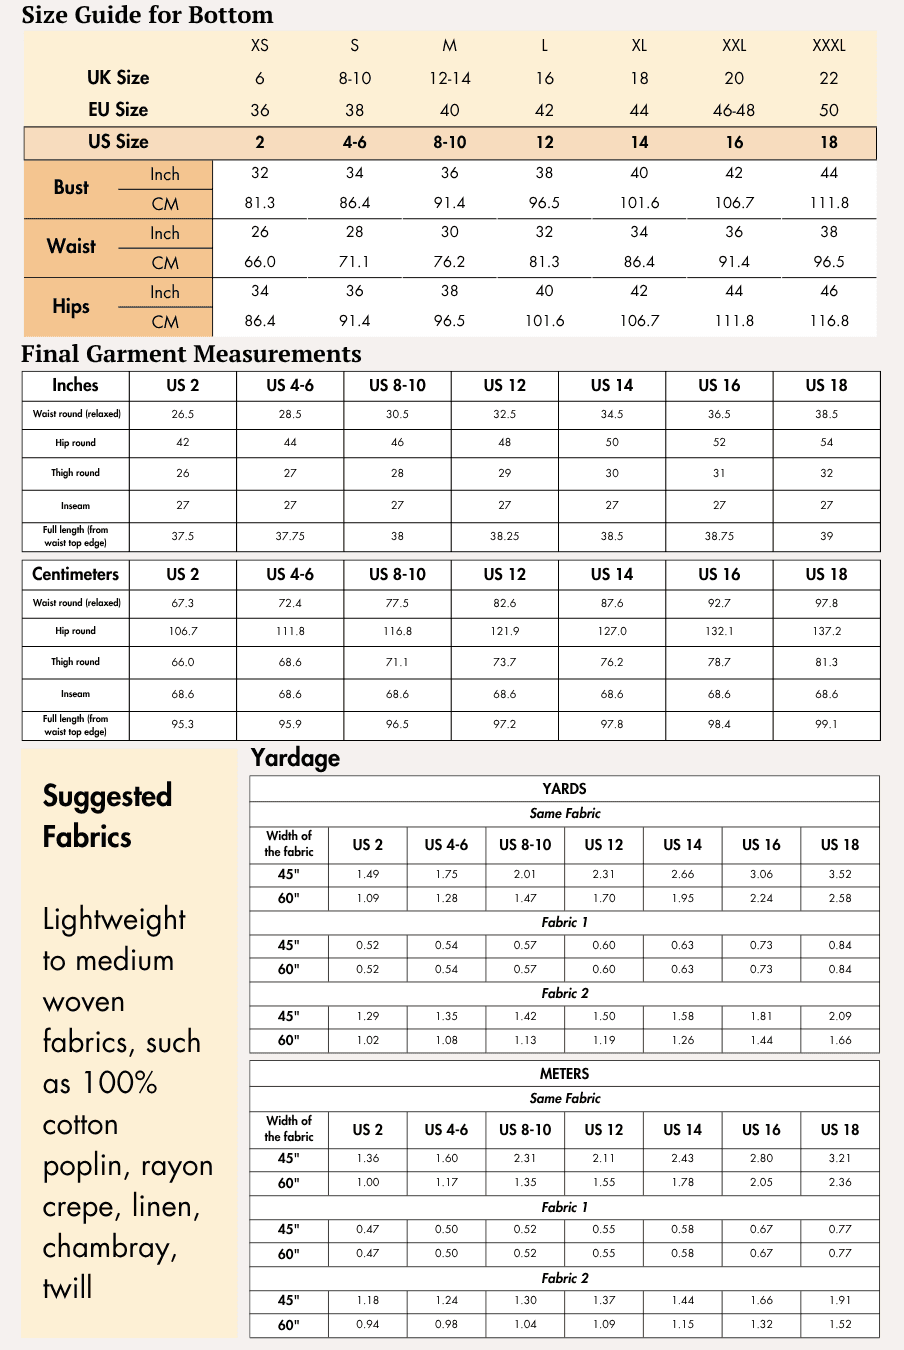
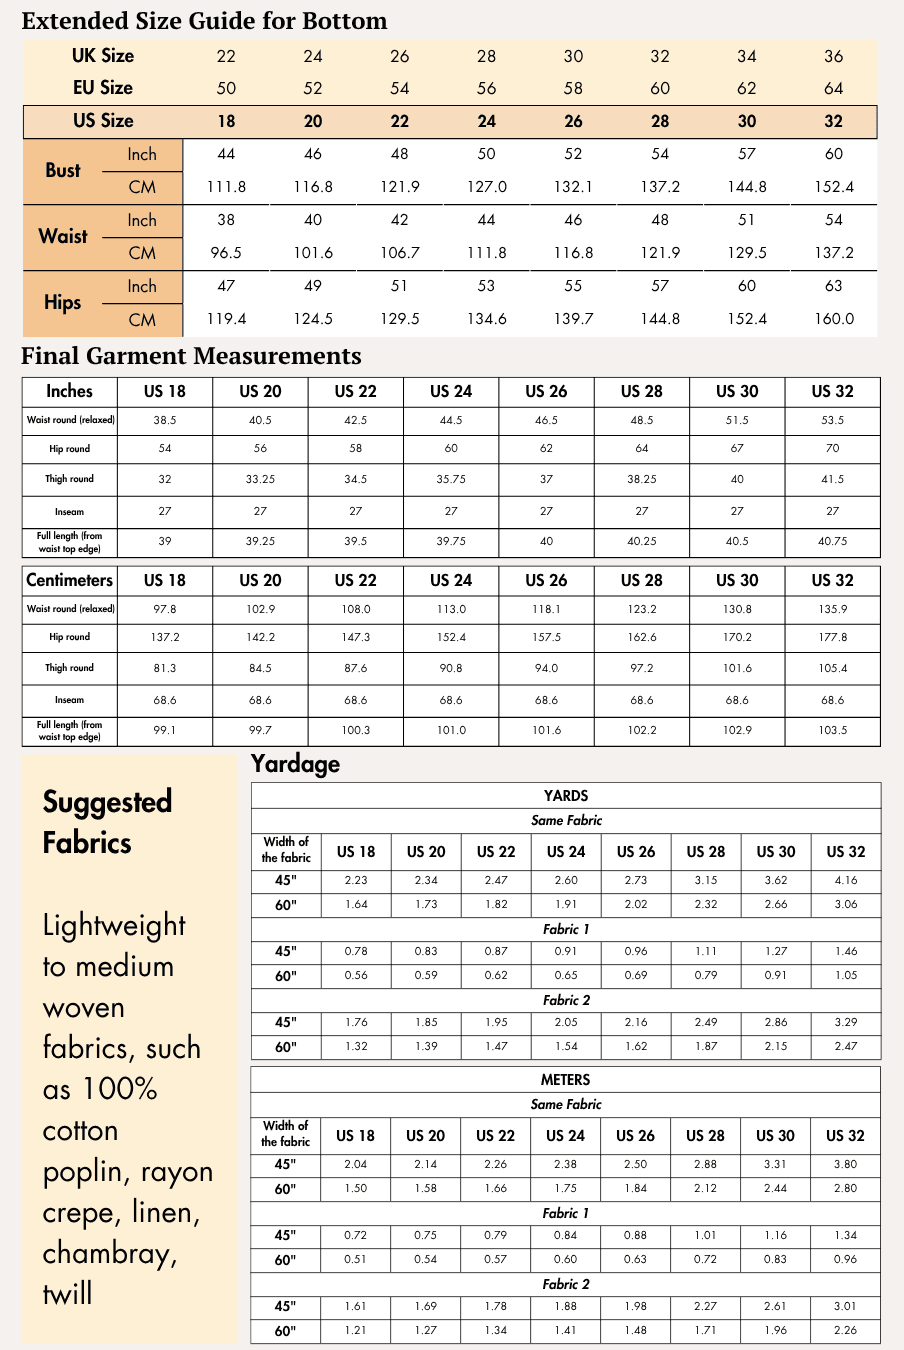
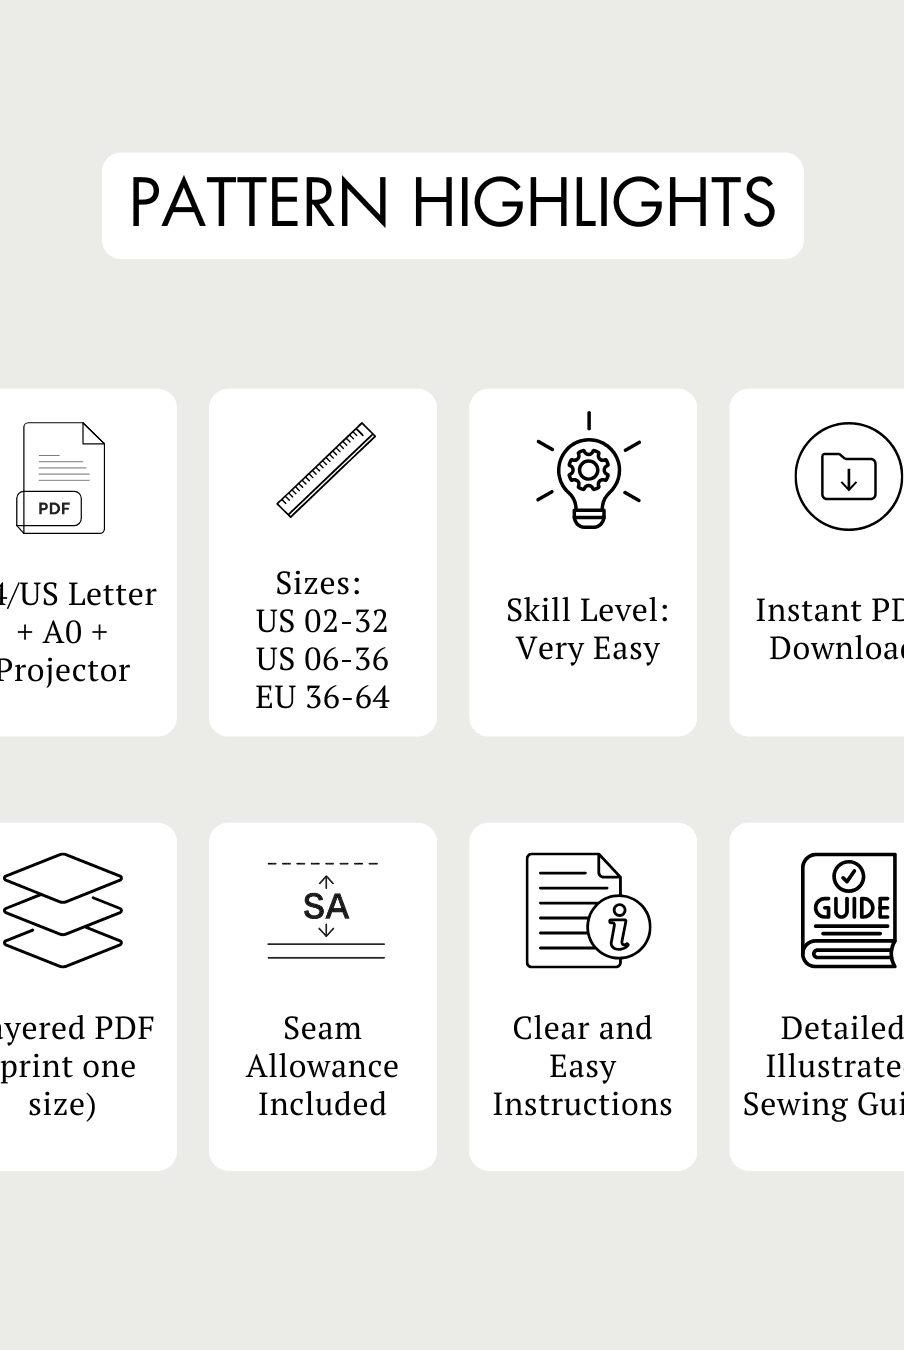
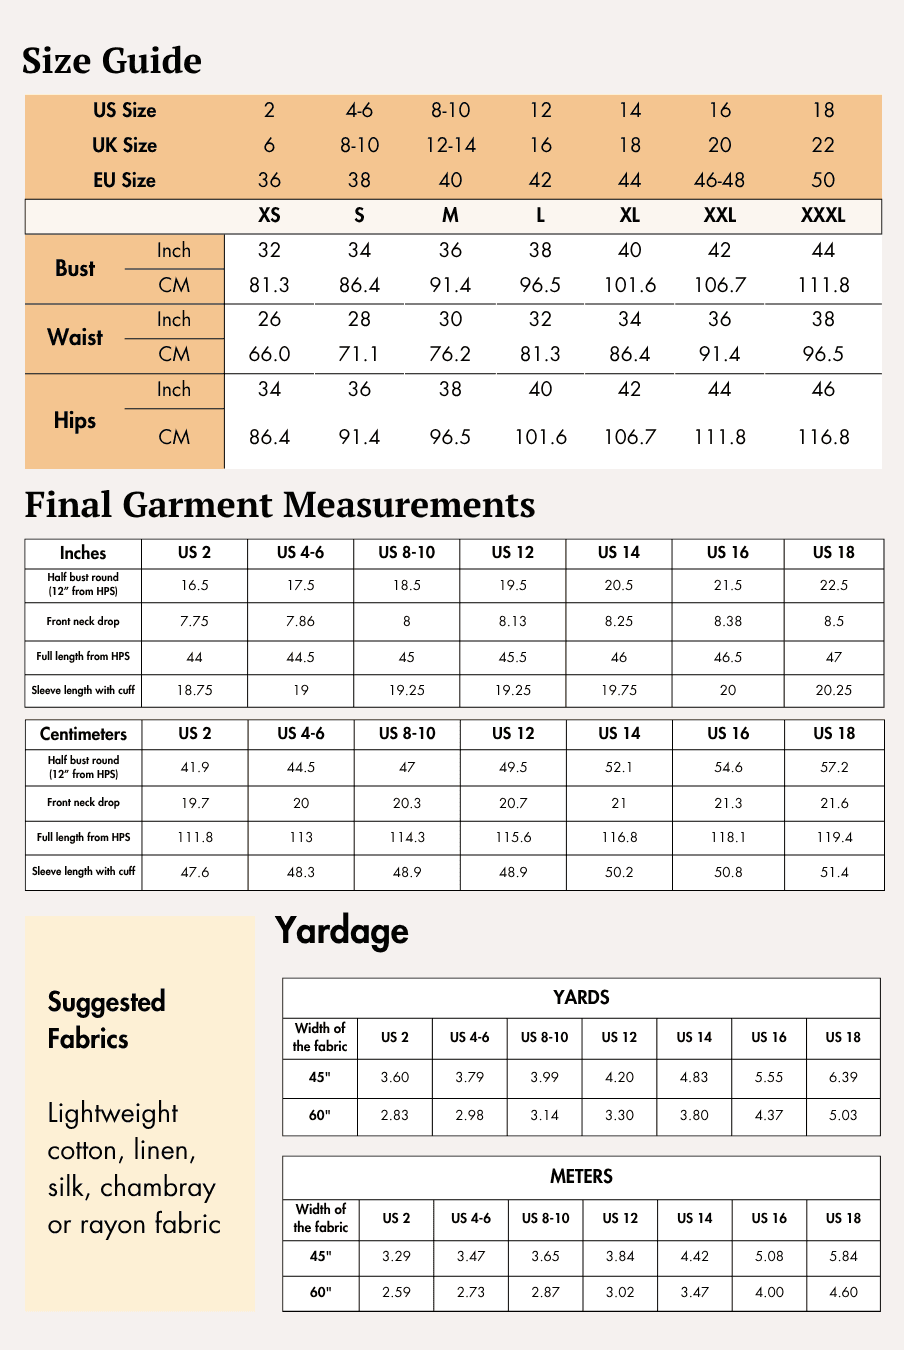
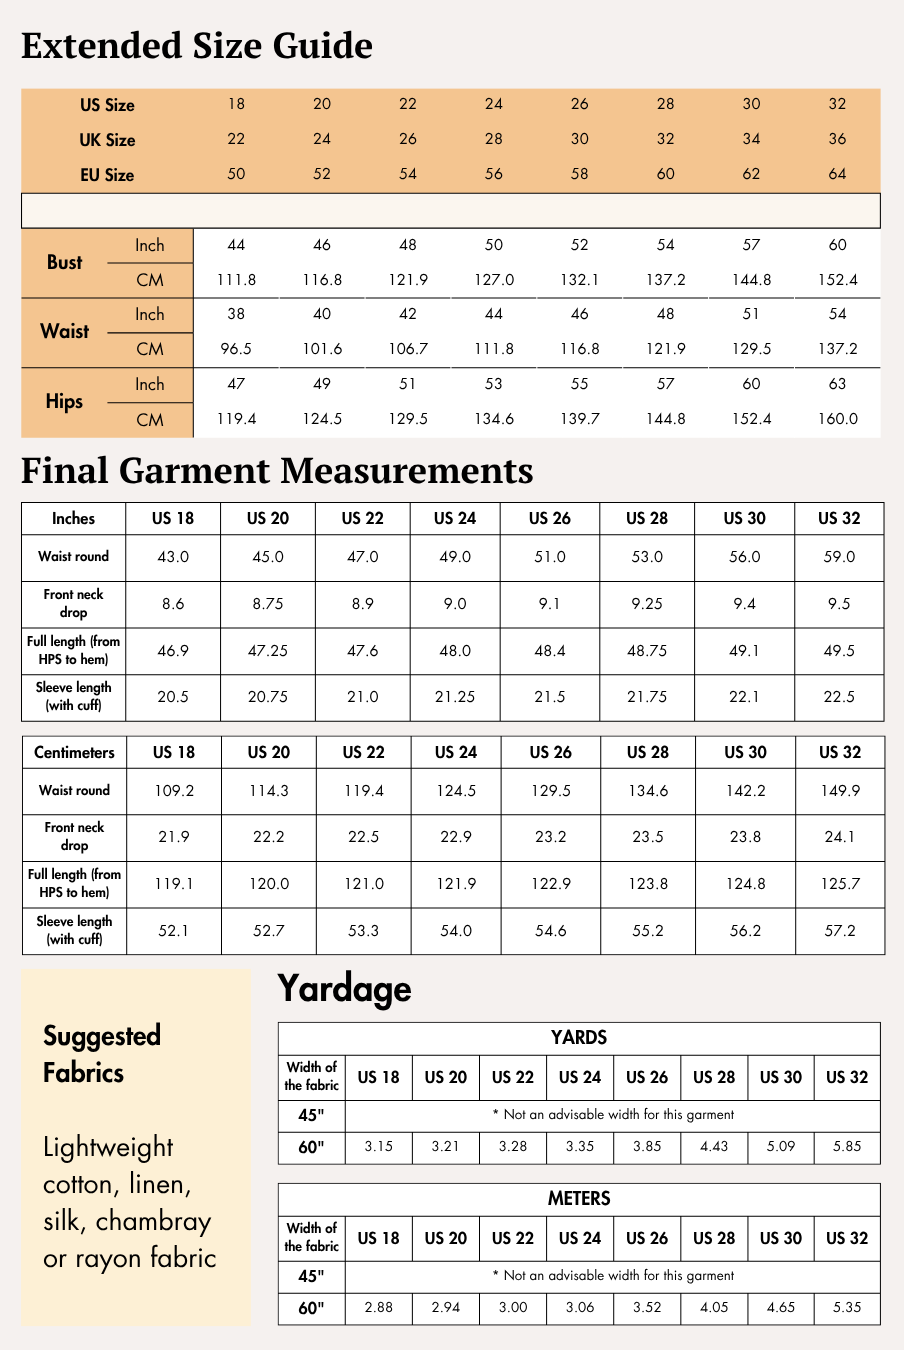
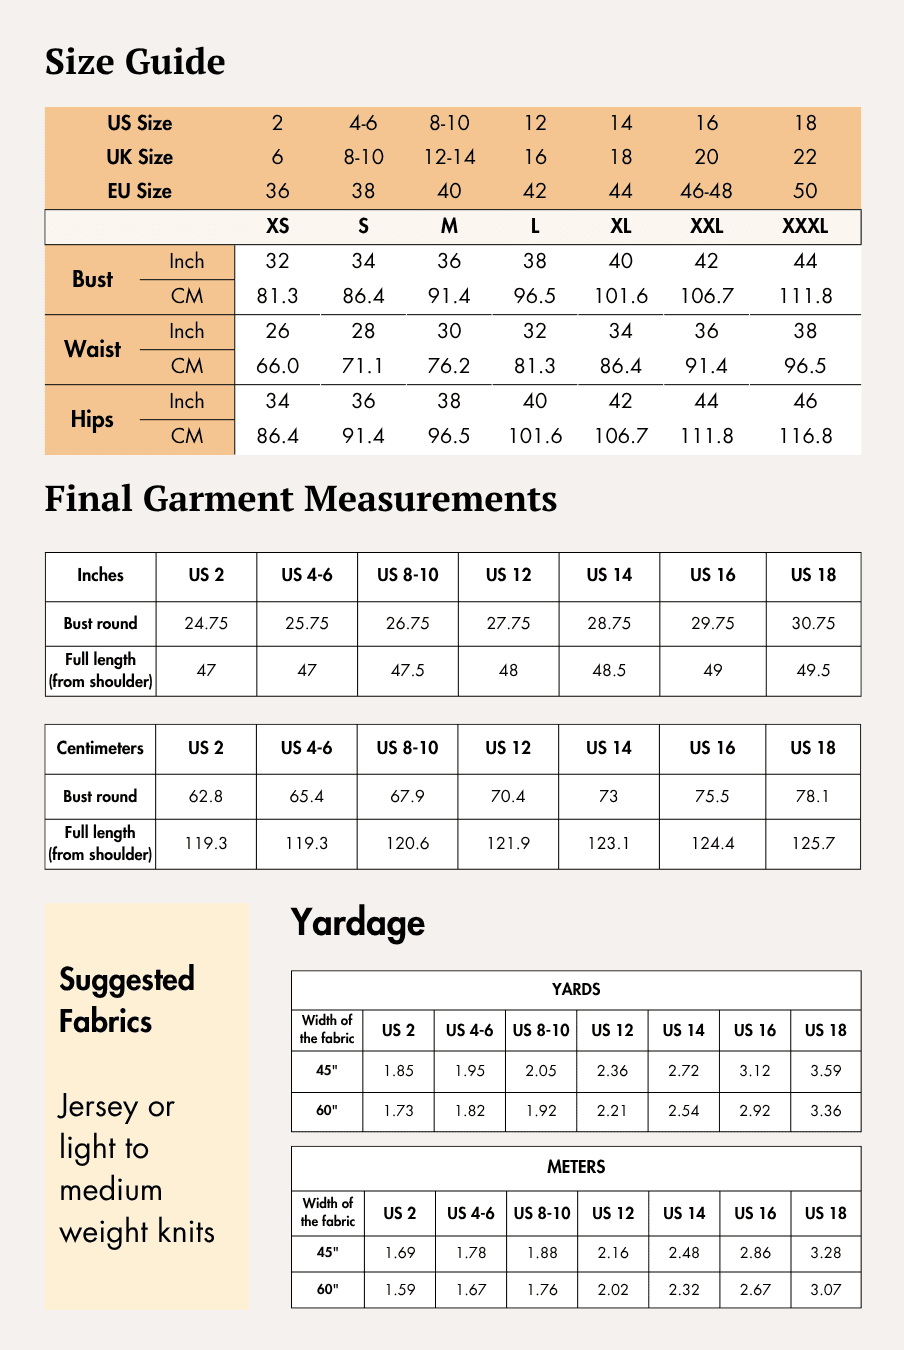
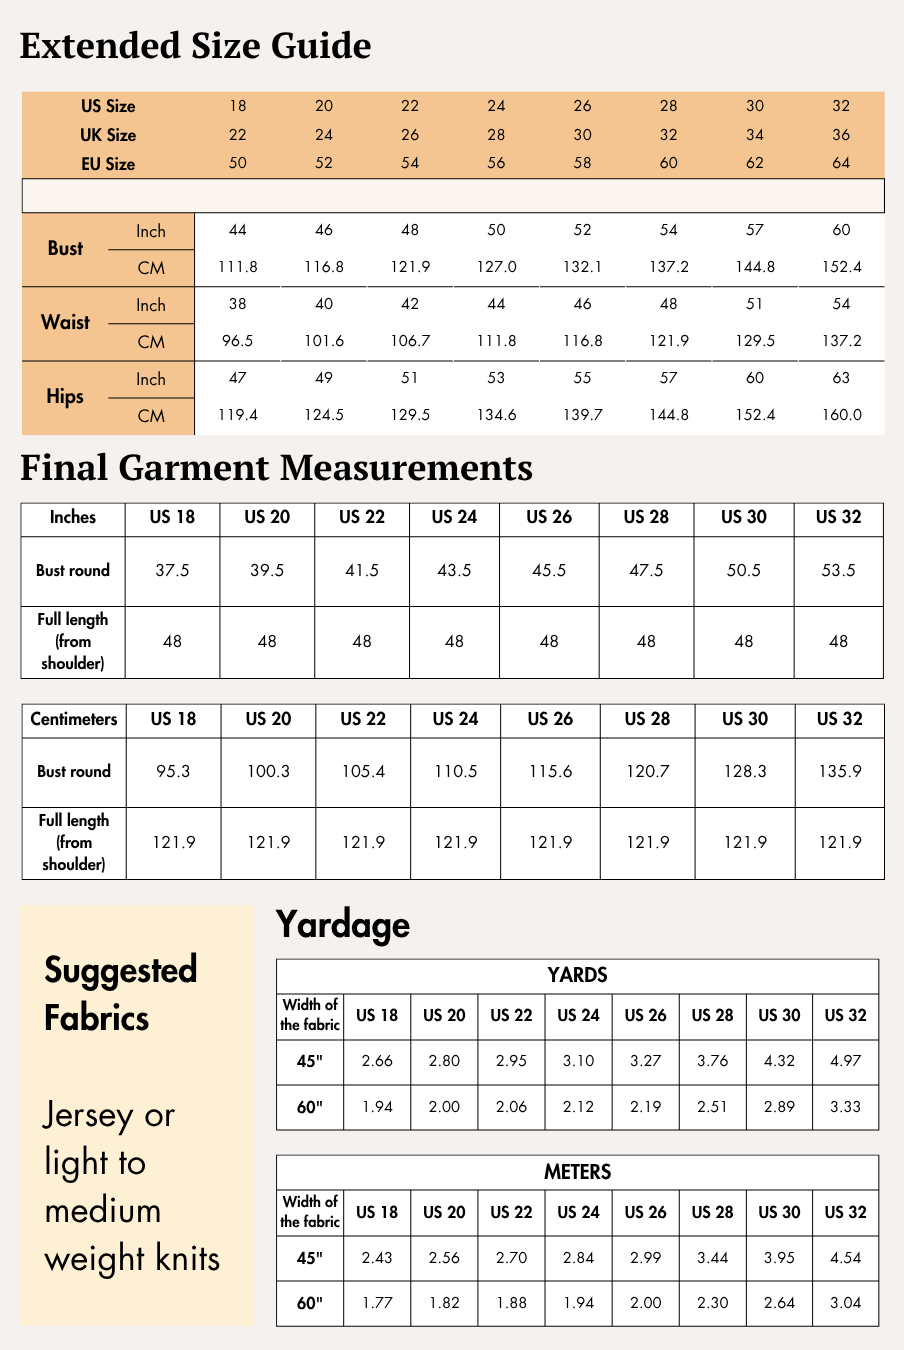
- Available Sizes: US 02 - US 32 | UK 06 - UK 36 | EU 36 - EU 64
Supplies & Notions
Bustier Top
You'll need:
- Lightweight woven fabric
- 3-ply polyester thread
- Sewing machine
- Sewing needles
- Fabric shears
- Thread cutter
- Measuring tape
- Pins
- Tailor's chalk
- Iron
- Hook and eye
- Elastic thread
Mini Flounce Skirt
You'll need:
- Main fabric
- Lining fabric
- 3-ply polyester thread
- Sewing machine
- Sewing needles
- Fabric shears
- Thread cutter
- Measuring tape
- Pins
- Tailor's chalk
- Iron
- 8-inch zipper
Fabric Recommendations
Bustier Top
Recommended lightweight woven fabrics include:
- 100% cotton
- Cotton blends
- Cotton twill
- Silk blends
- Crepe
- Georgette
- Viscose
The sample garment is sewn in polyester crepe, chosen because it is:
- Breathable, lightweight and soft
- Comfortable across different climates
- Drapes beautifully
- Moisture-wicking
- Crease-resistant
- Easy to iron
- Machine washable in cold water with low-heat tumble drying
Mini Flounce Skirt
Recommended fabrics include:
- 100% cotton
- Cotton blends
- Silk blends
- Crepe
- Georgette
- Viscose
For the lining, use:
- Polyester
- Satin
- Cotton
The sample skirt is sewn in printed Schiffli cotton, selected for its:
- Soft, breathable feel
- Excellent moisture management
- Beautiful drape
- Crease resistance
- Easy-care properties
Size Charts
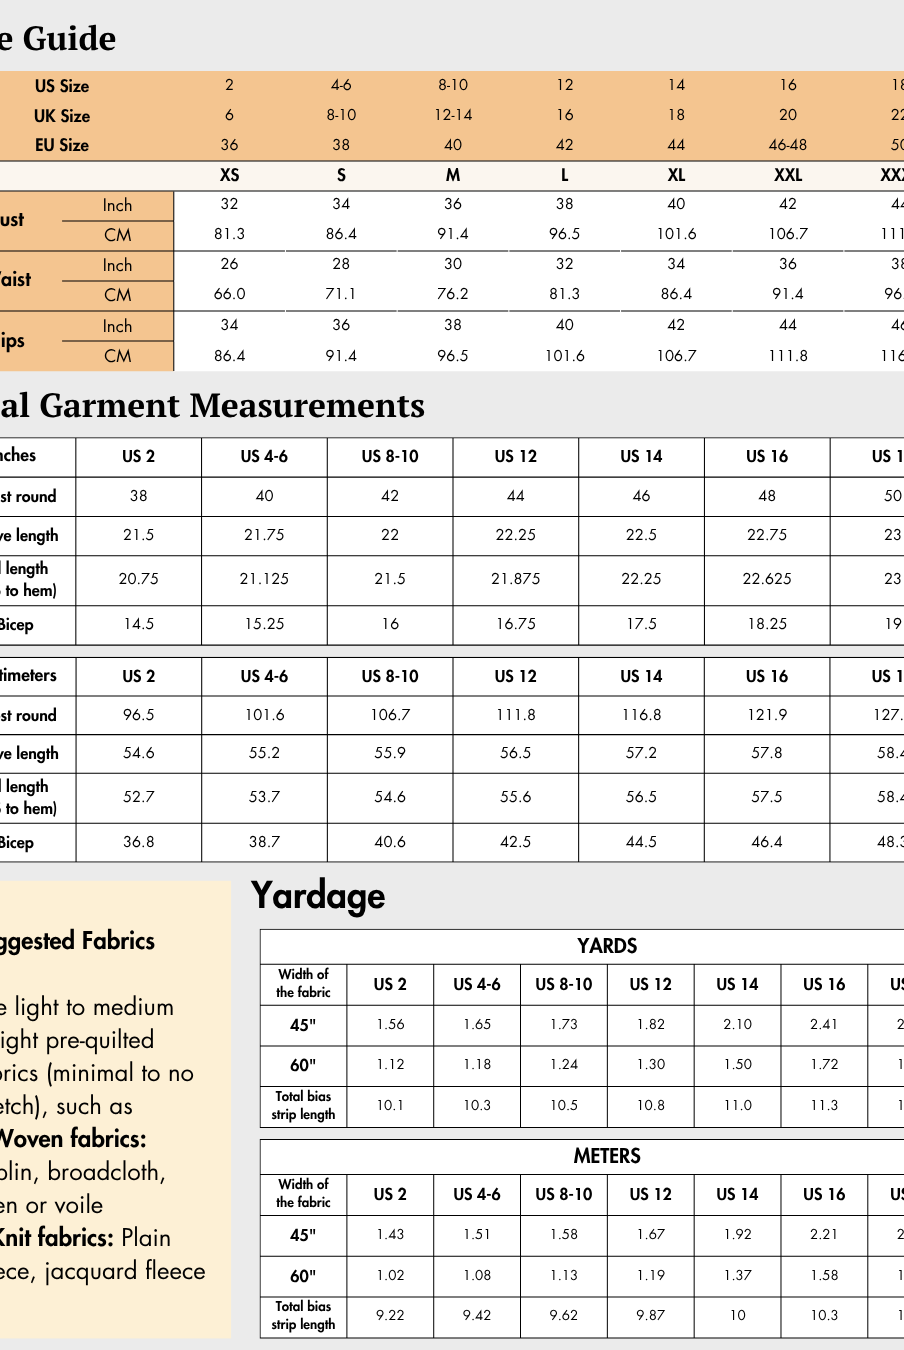
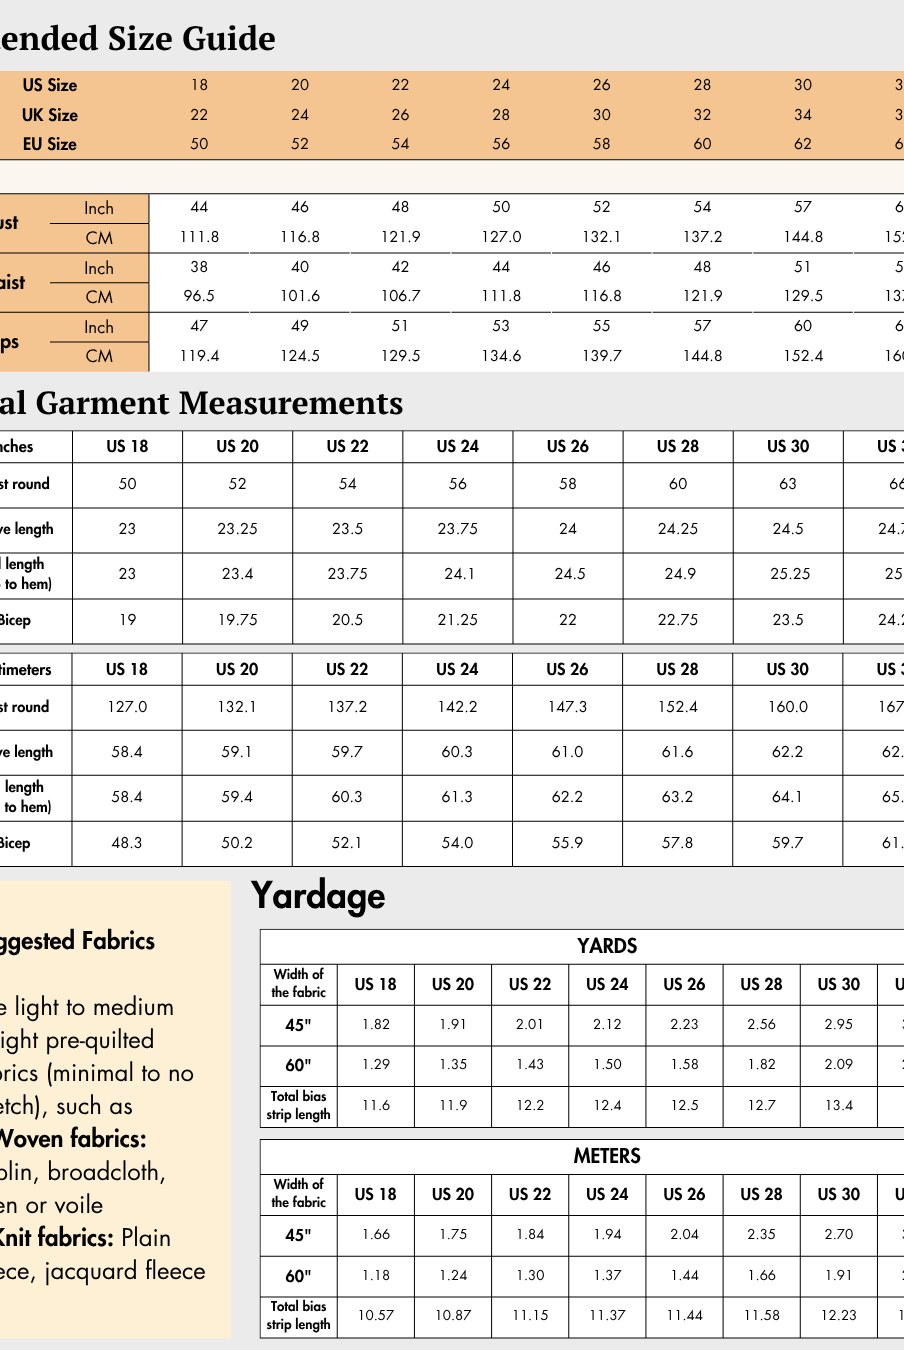
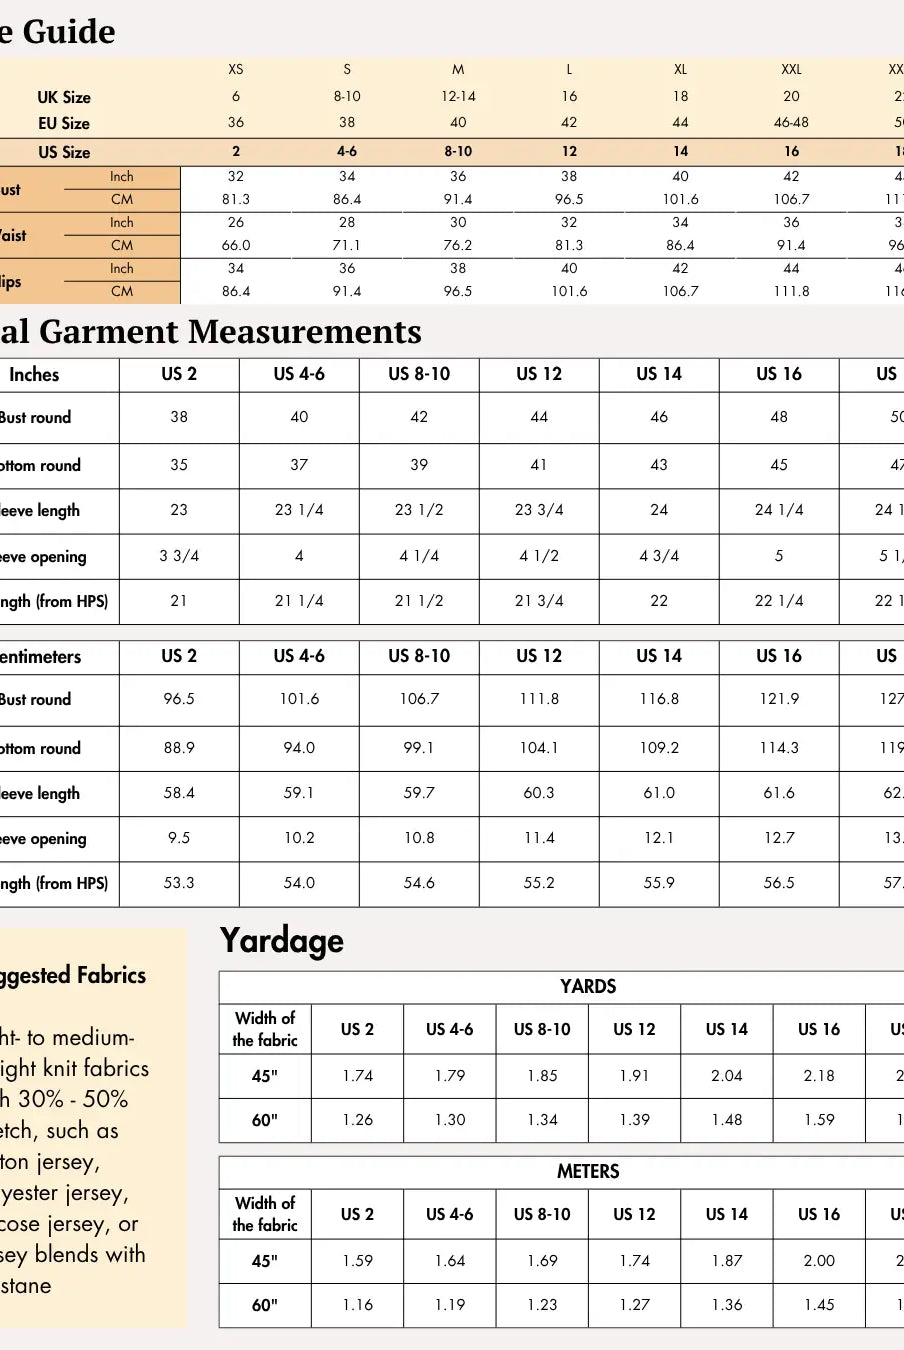
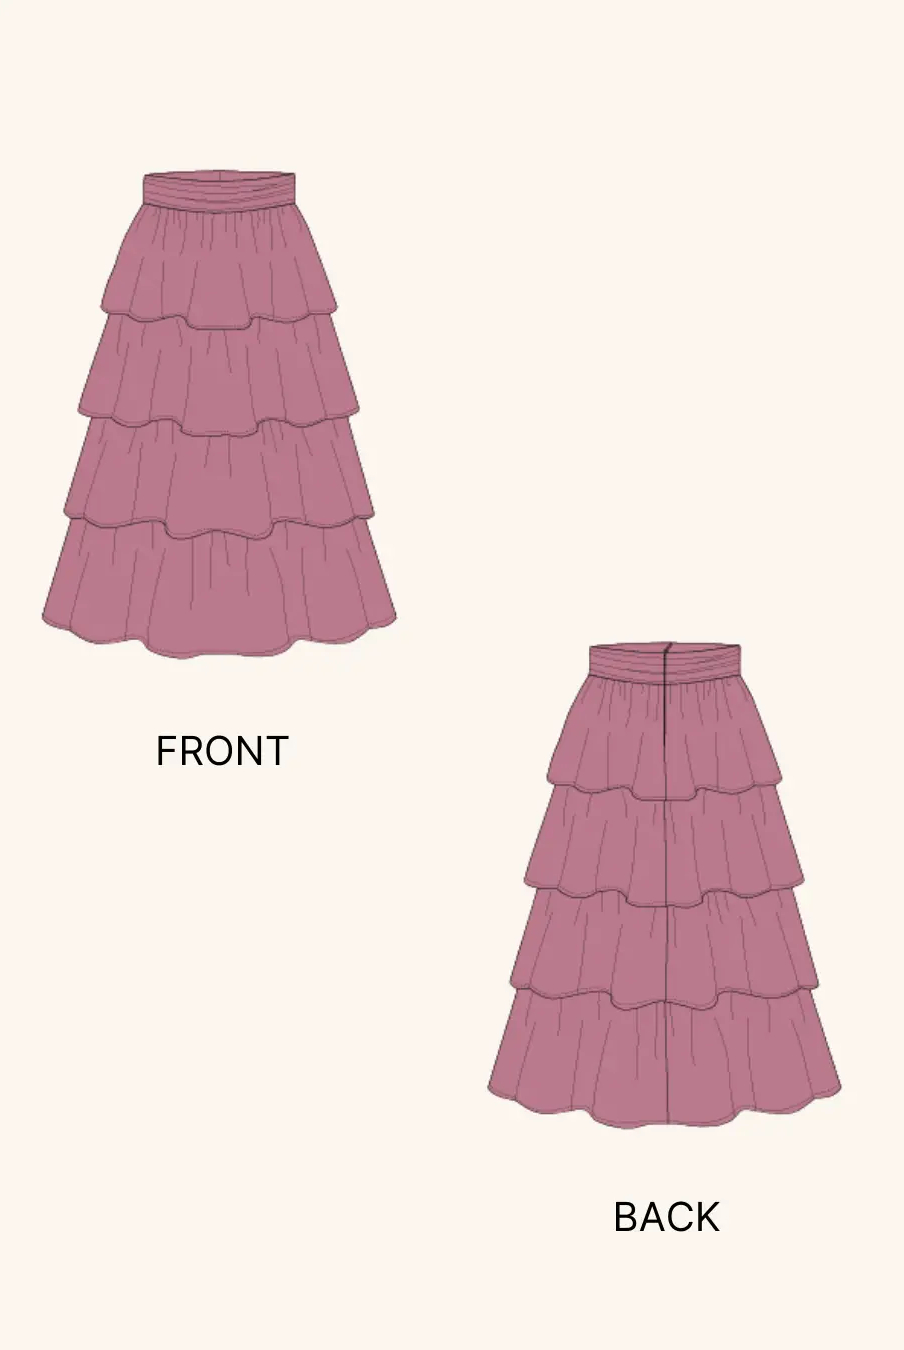
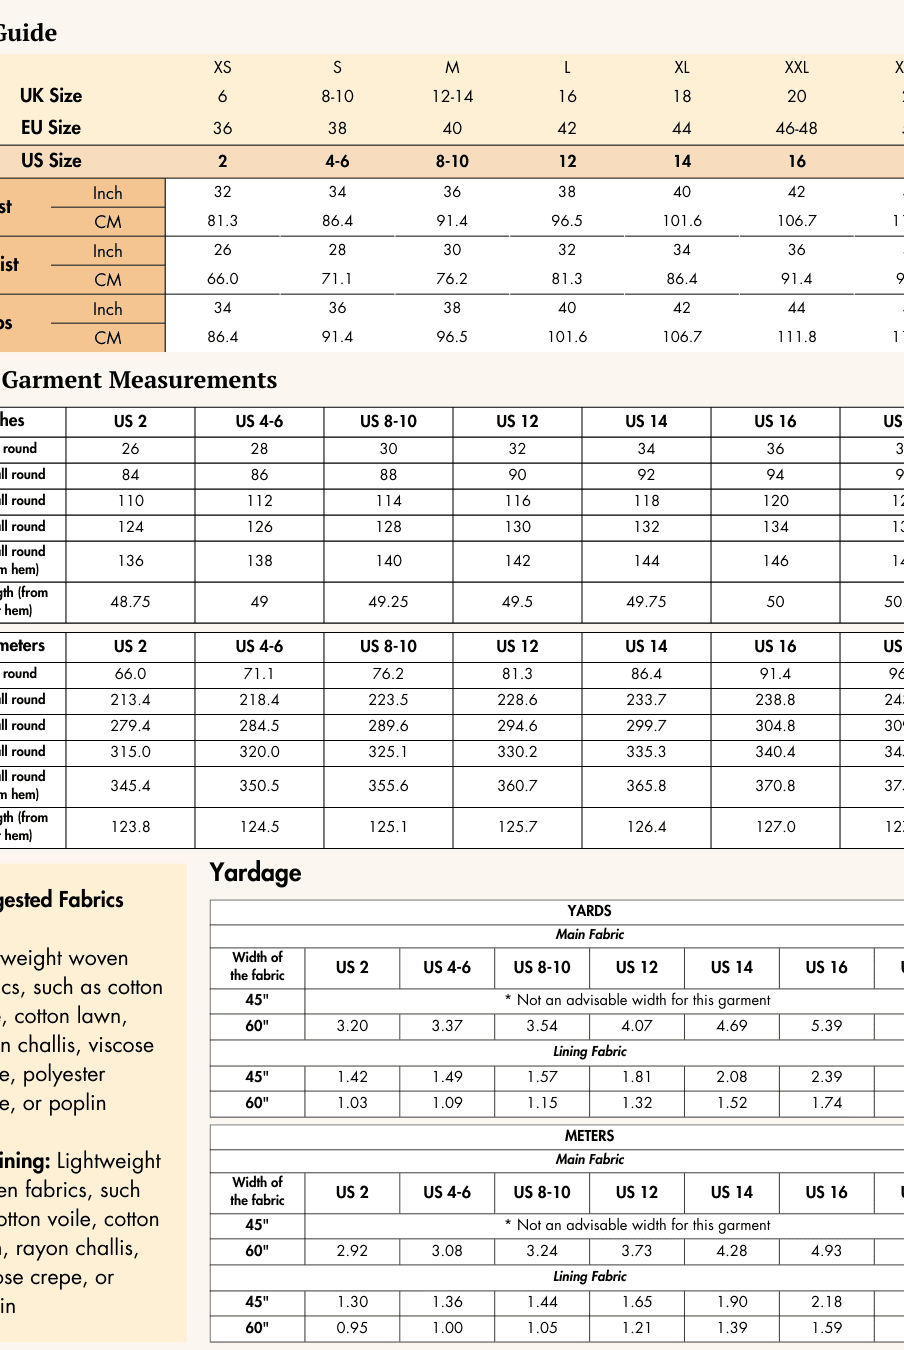
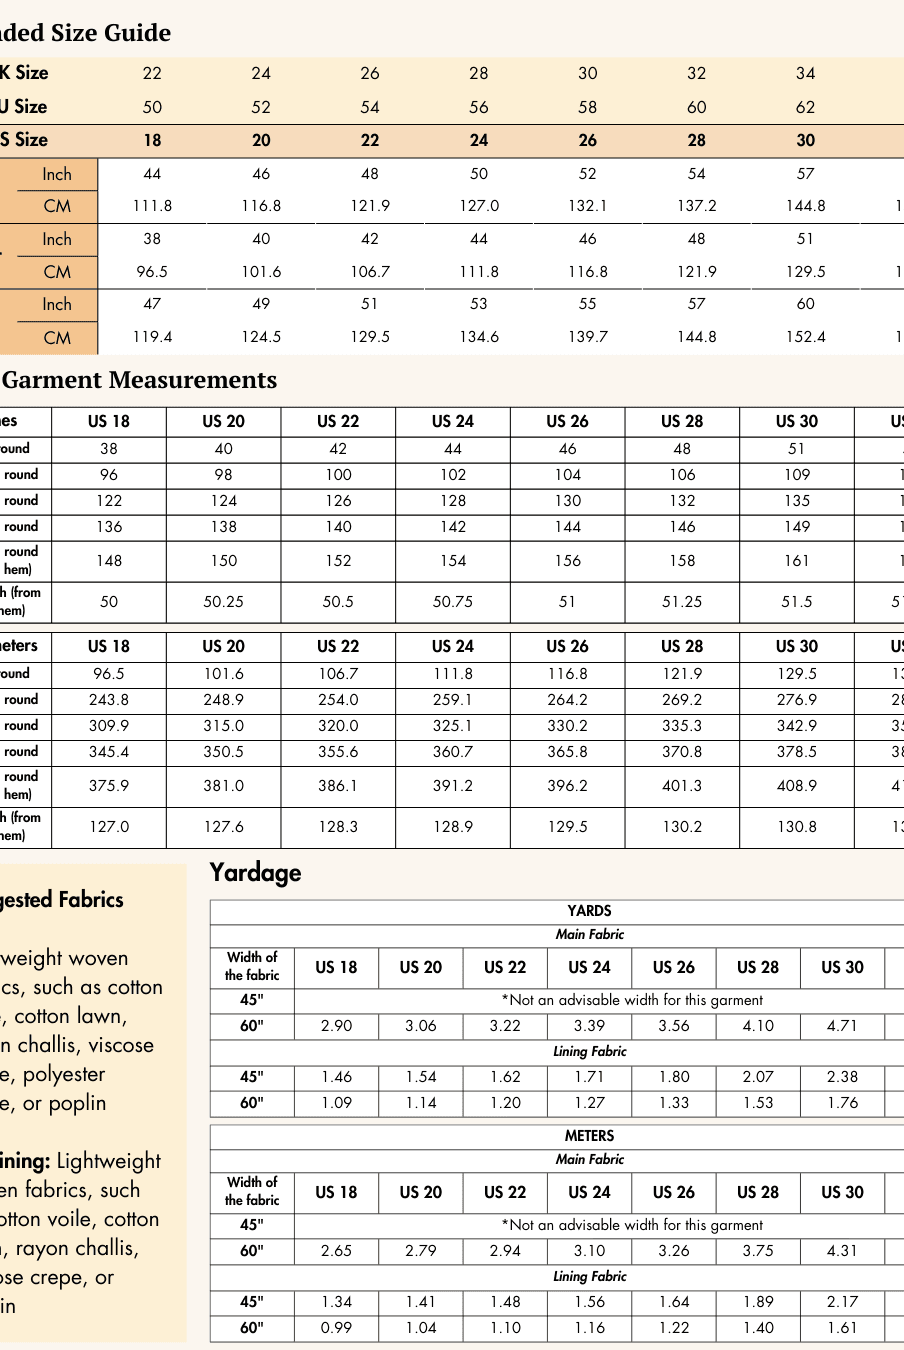
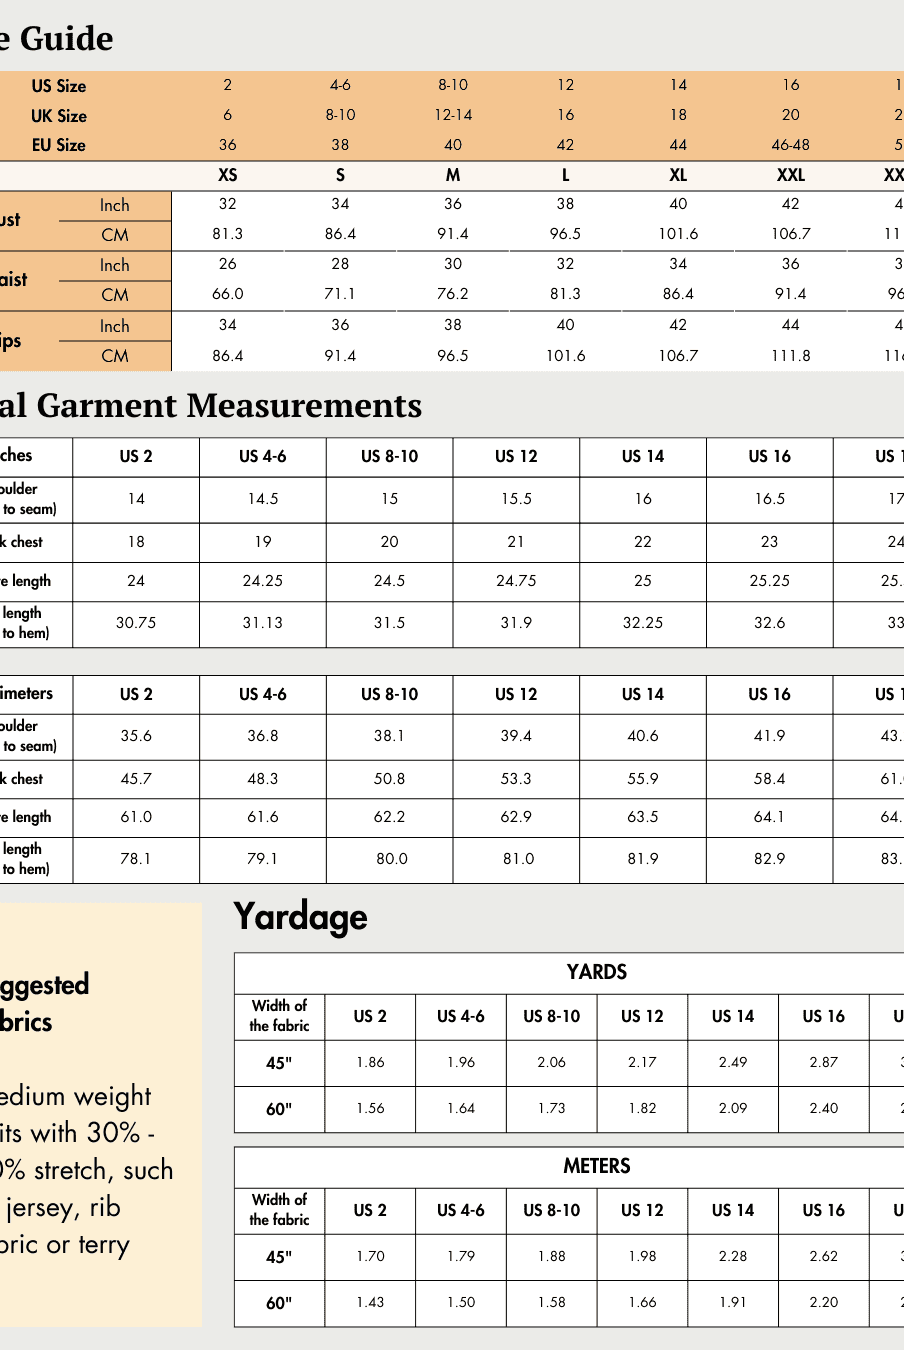
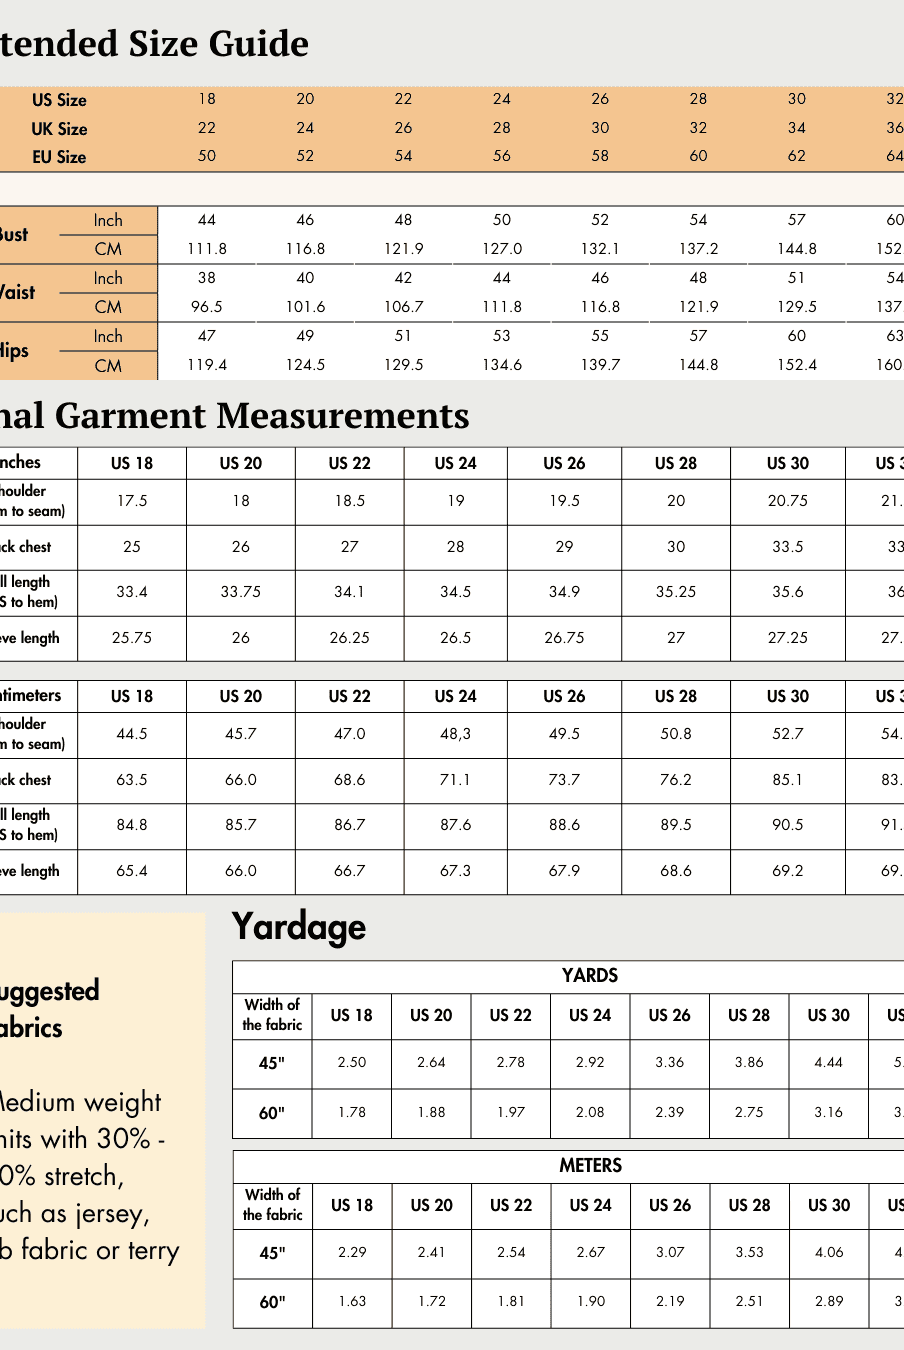
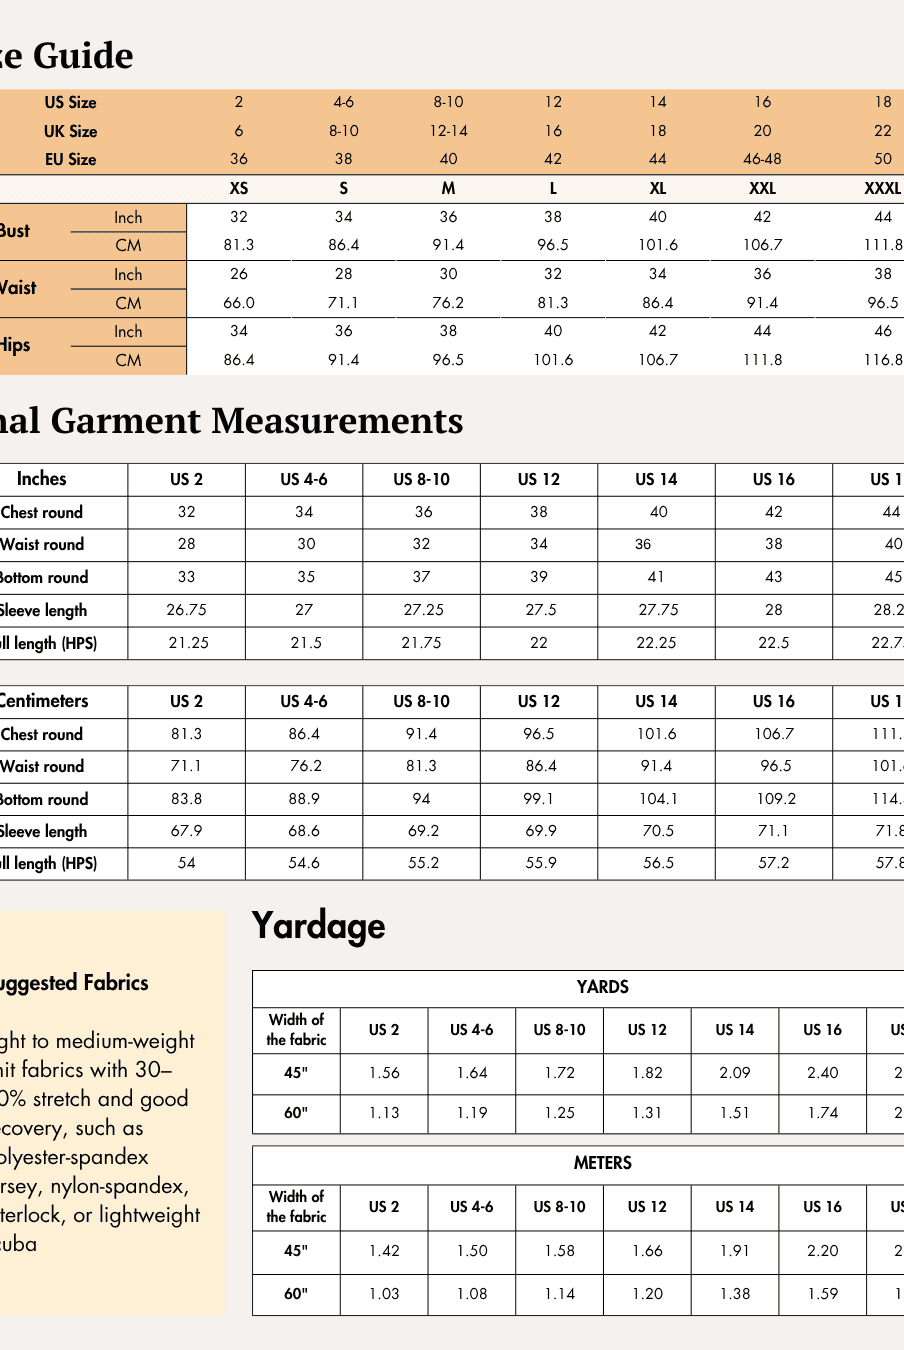
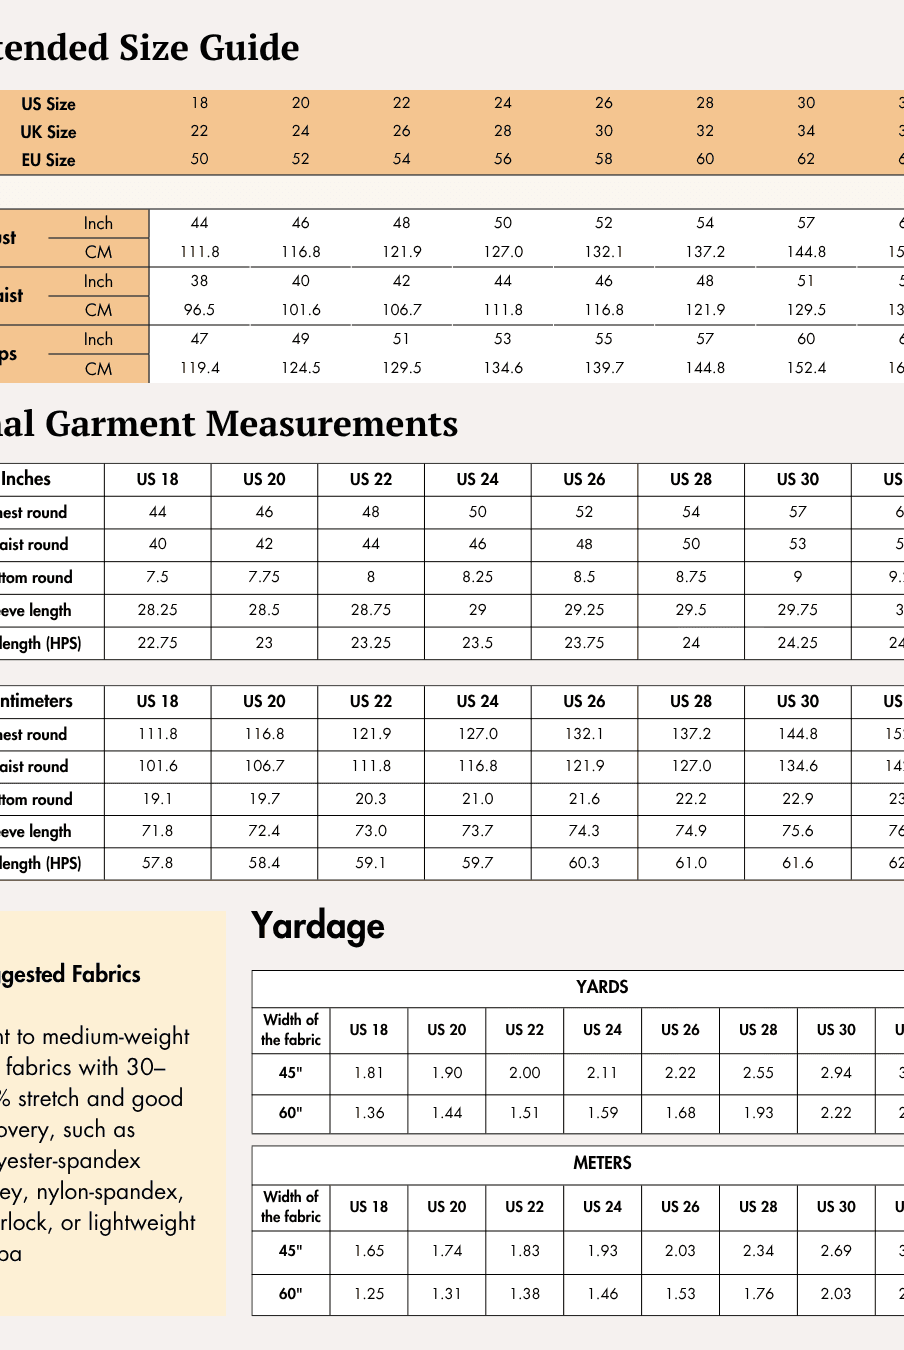
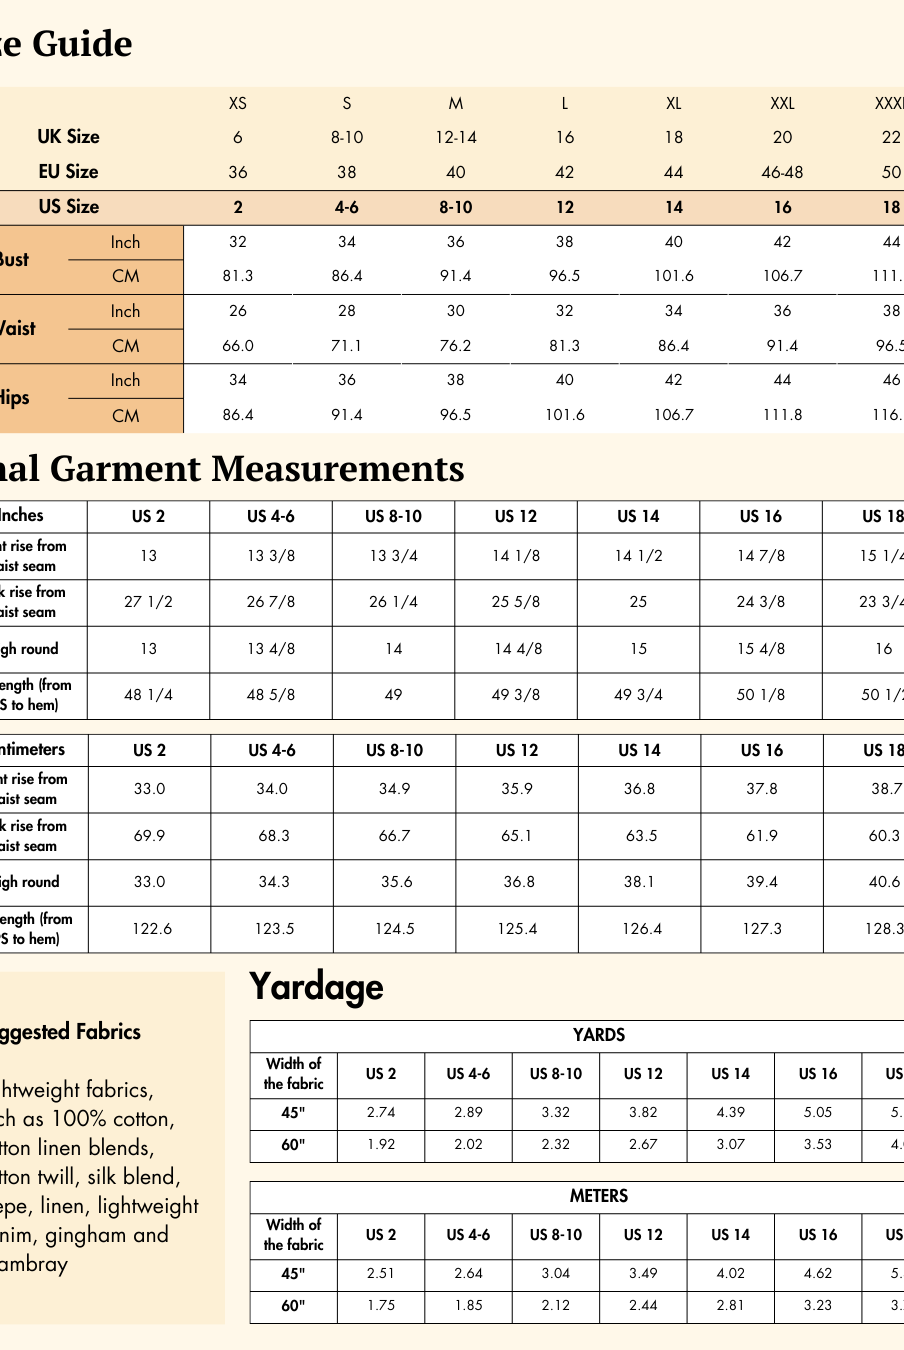
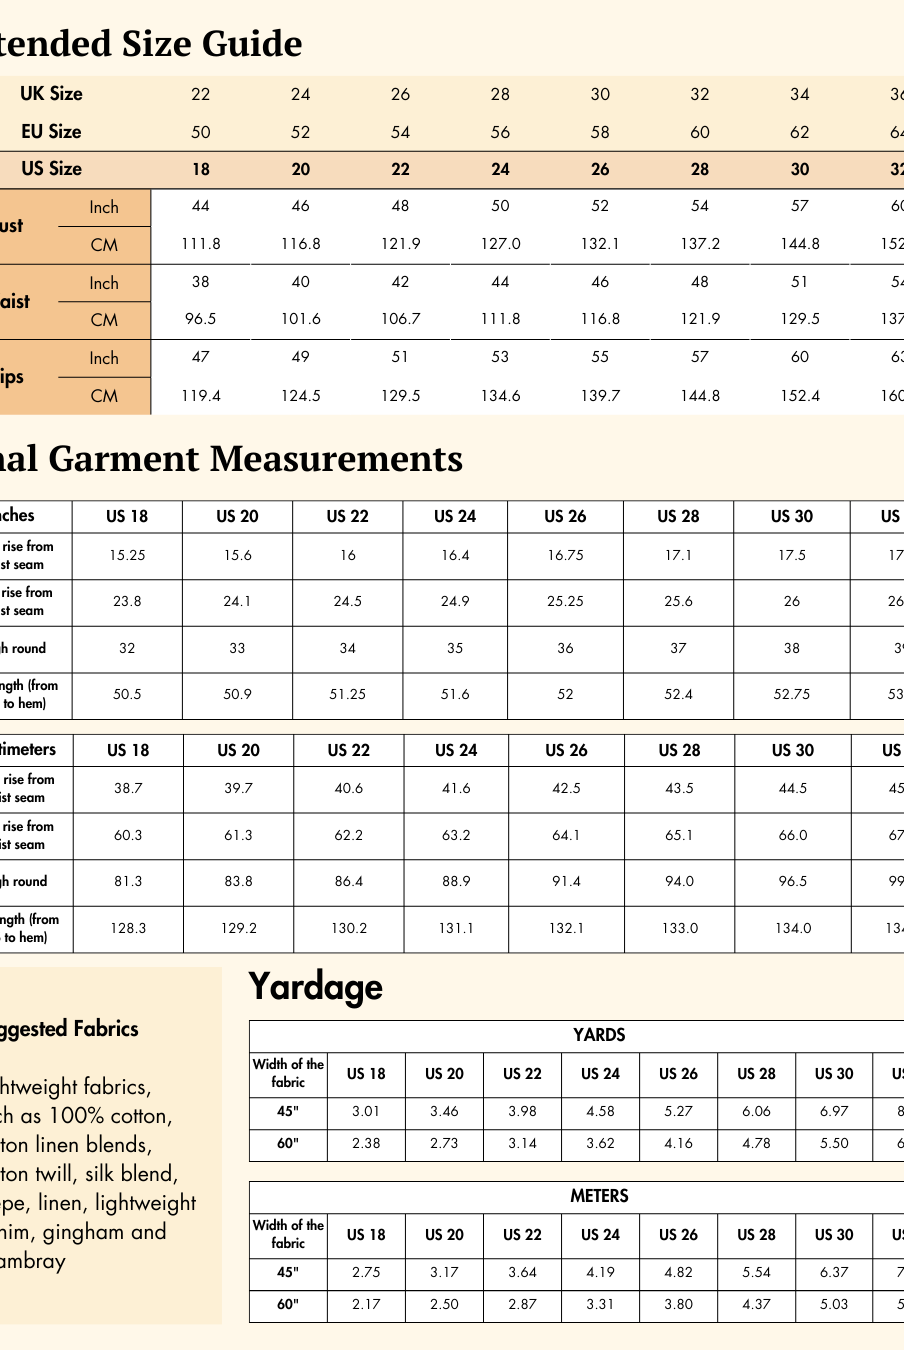
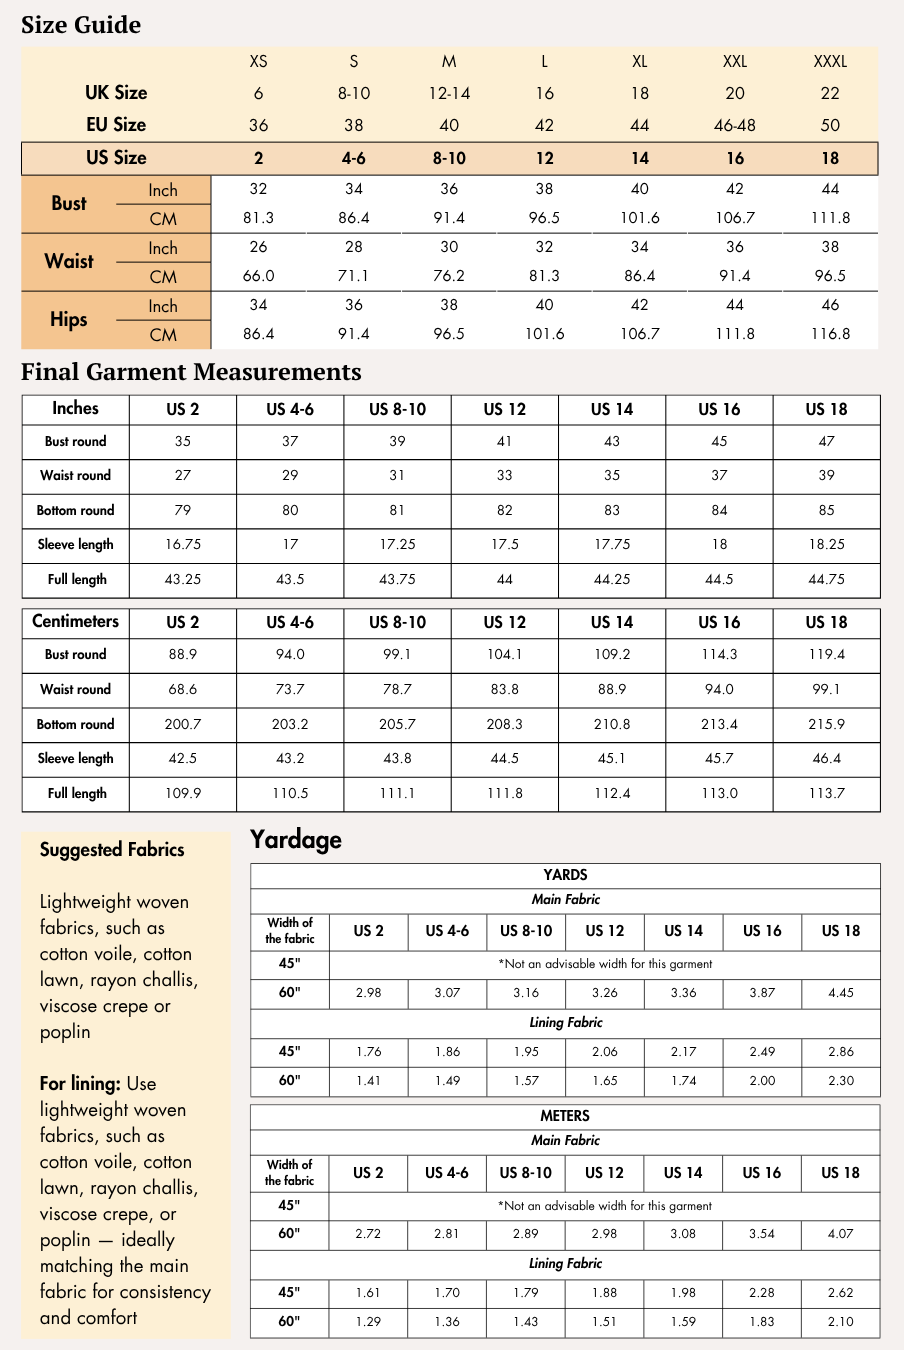
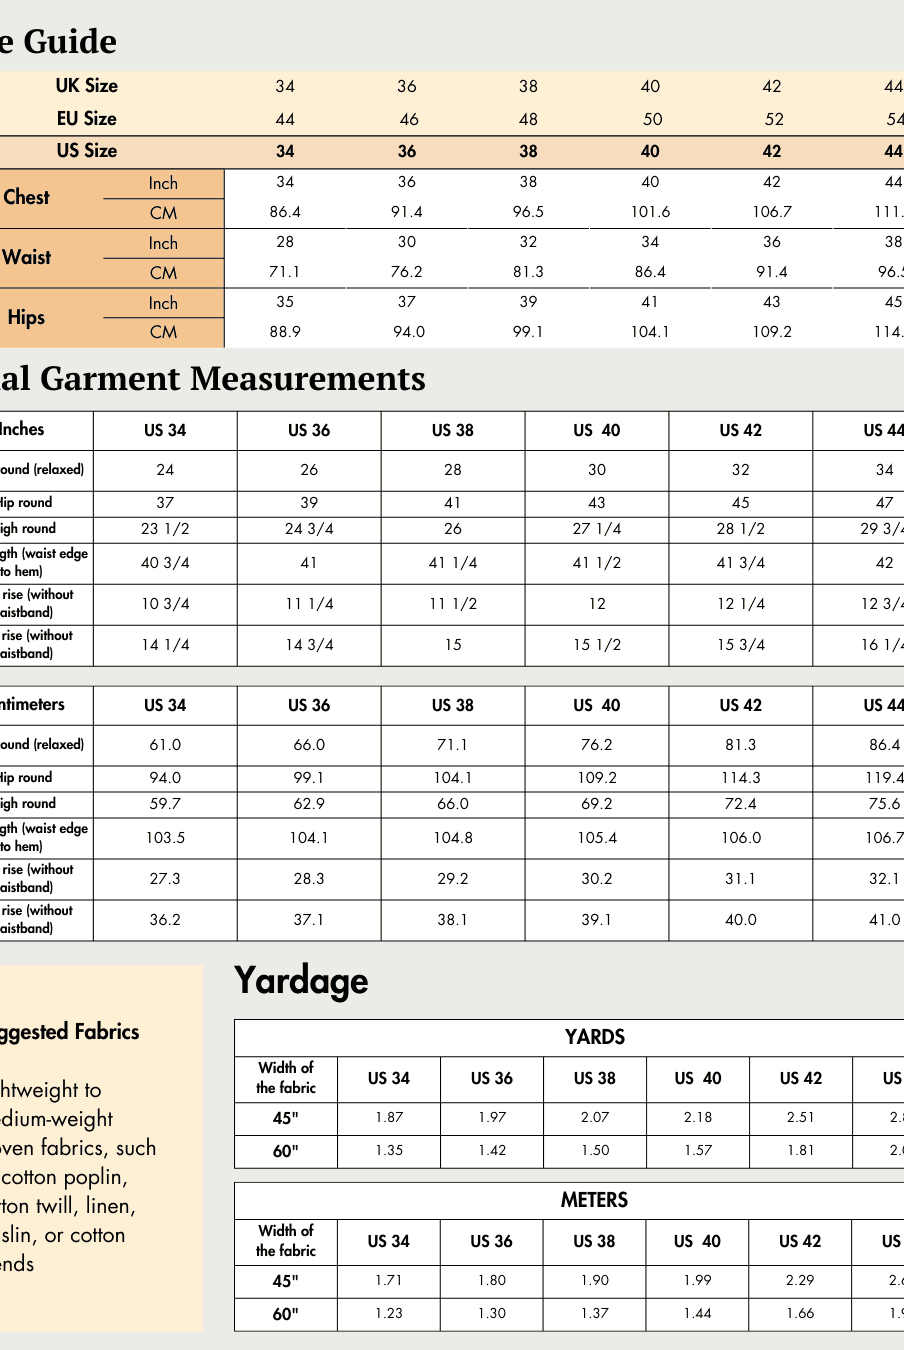
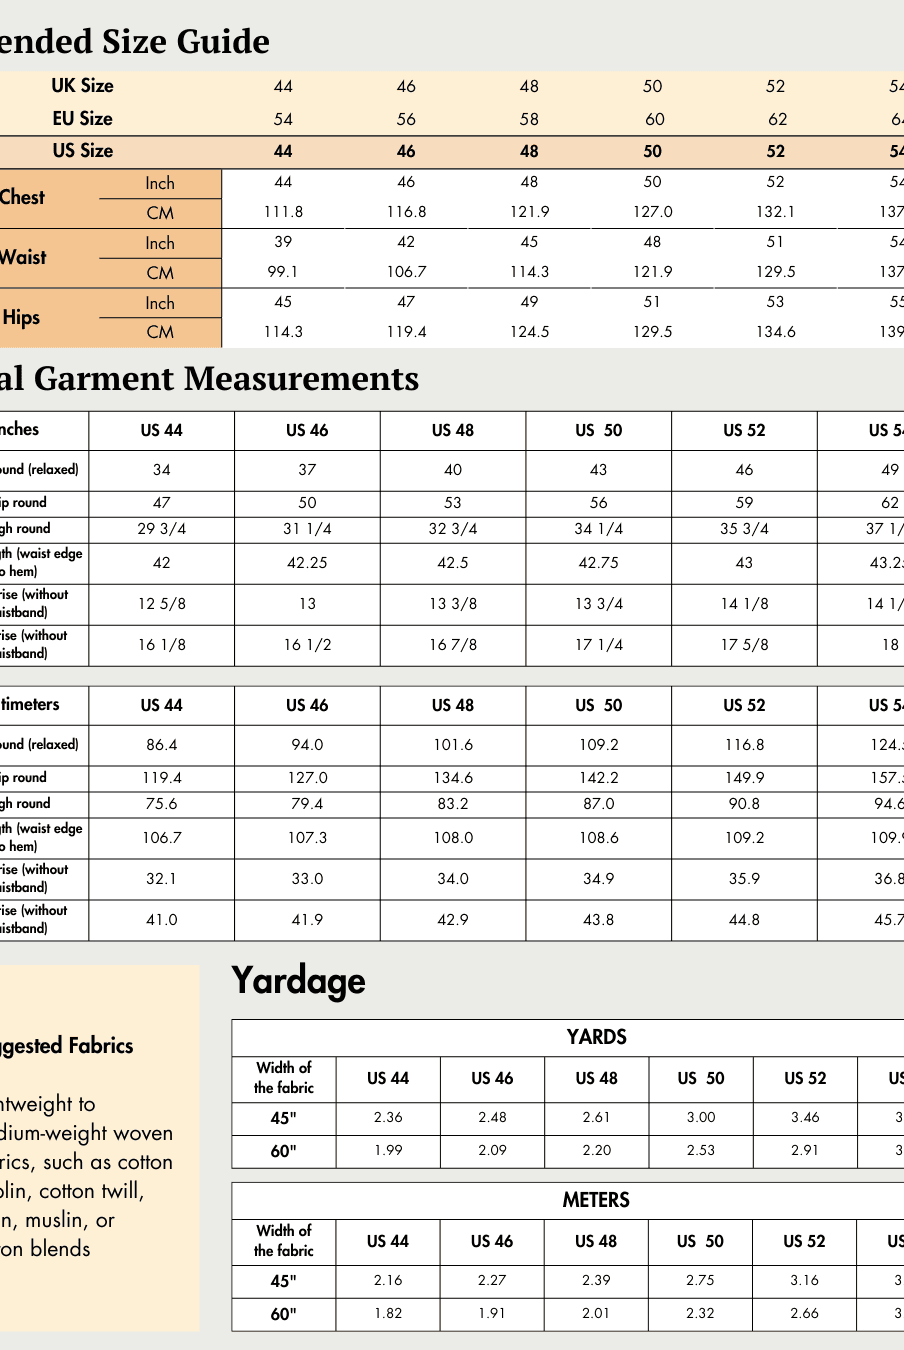
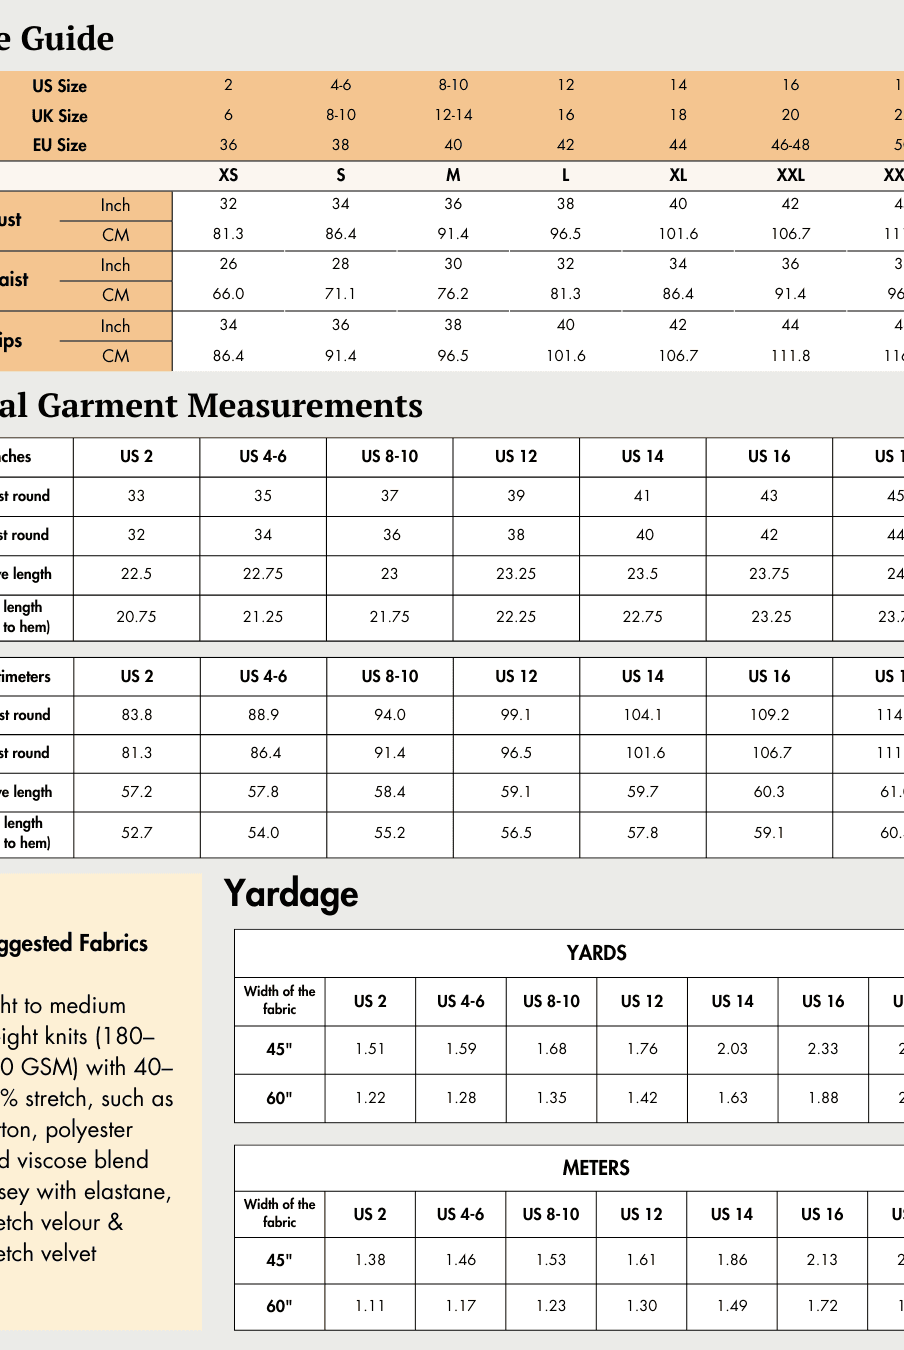
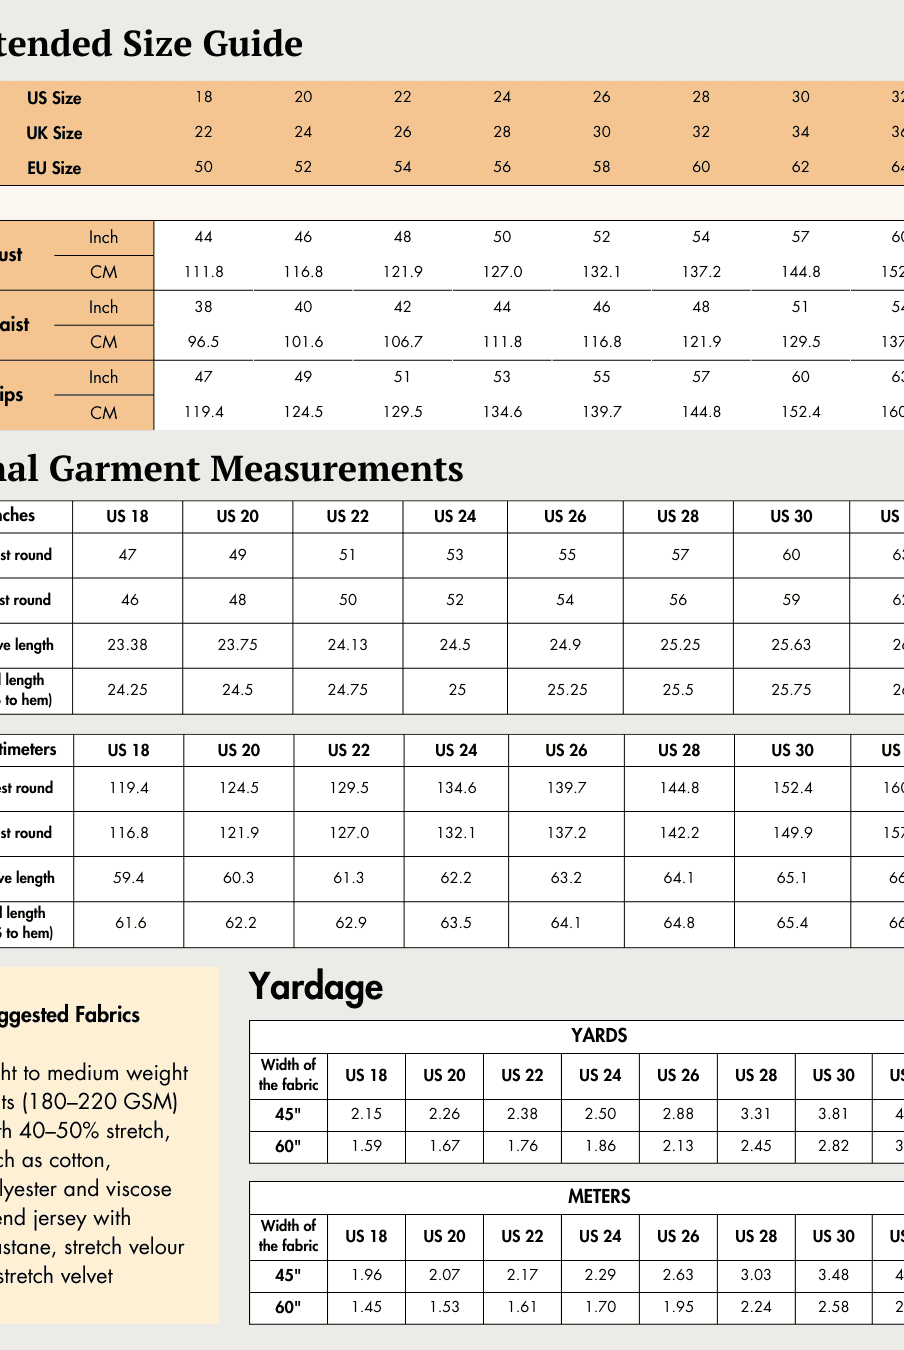
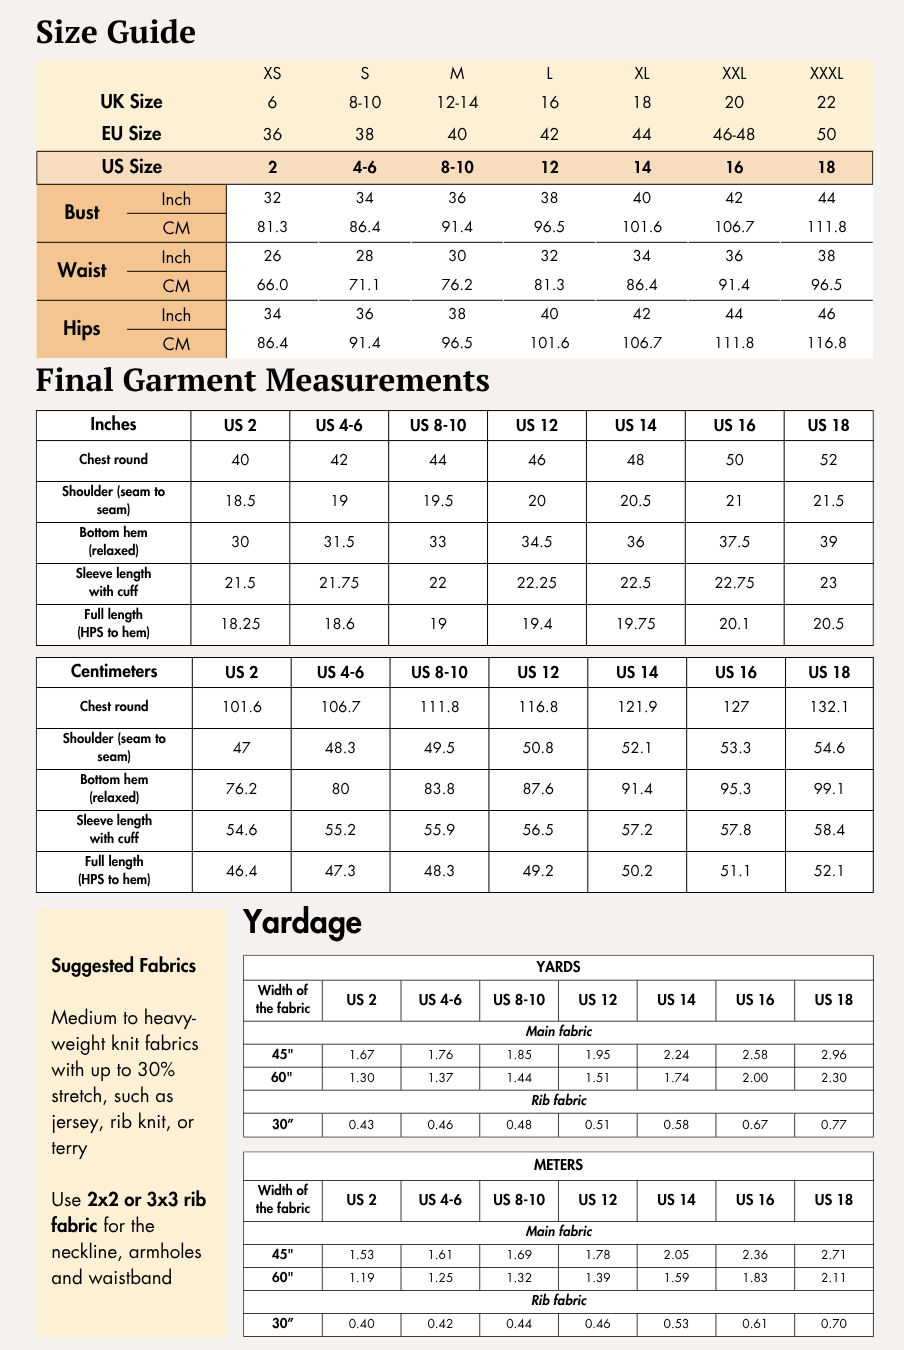
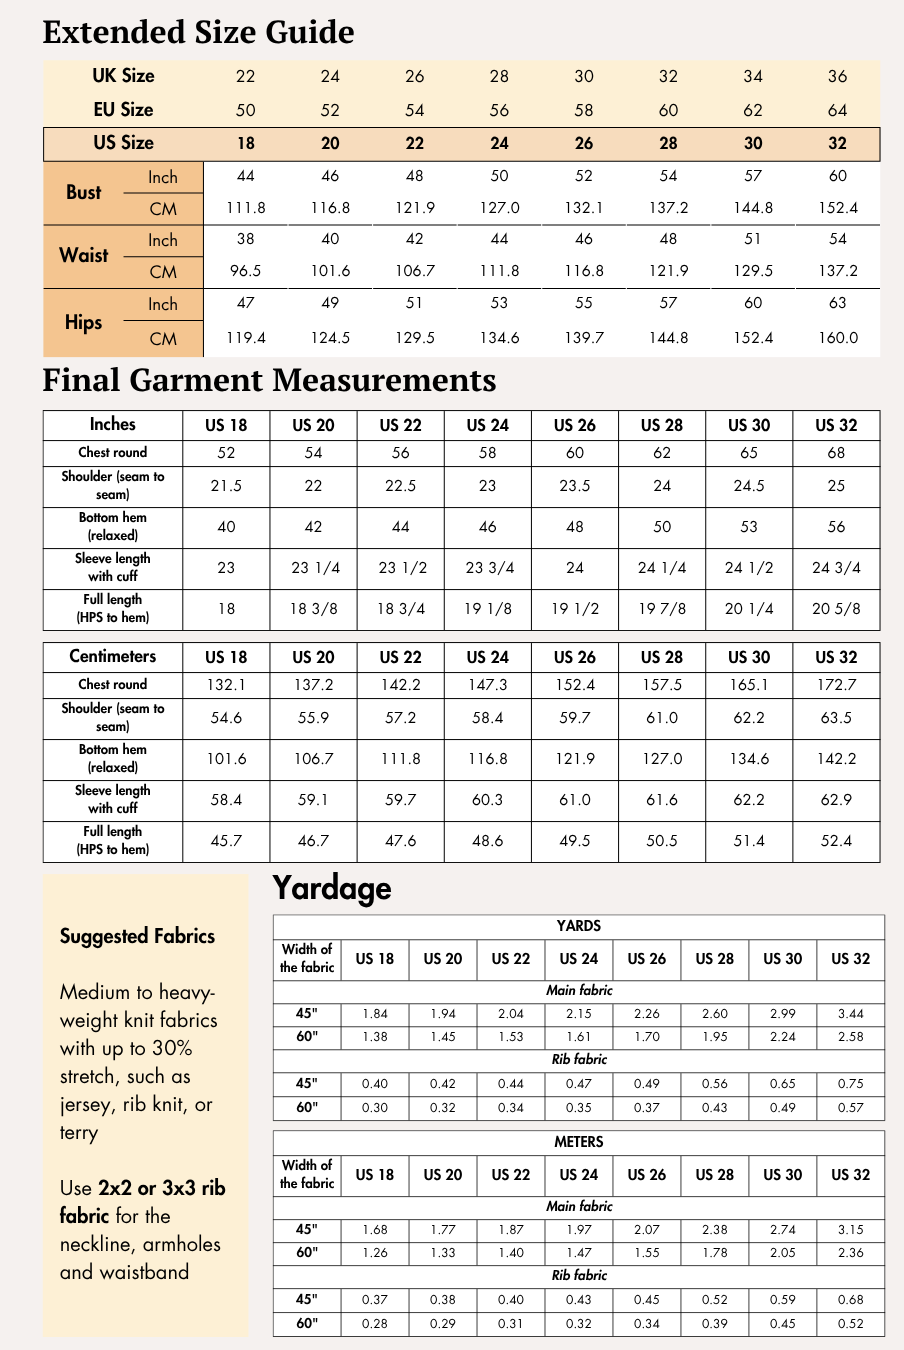
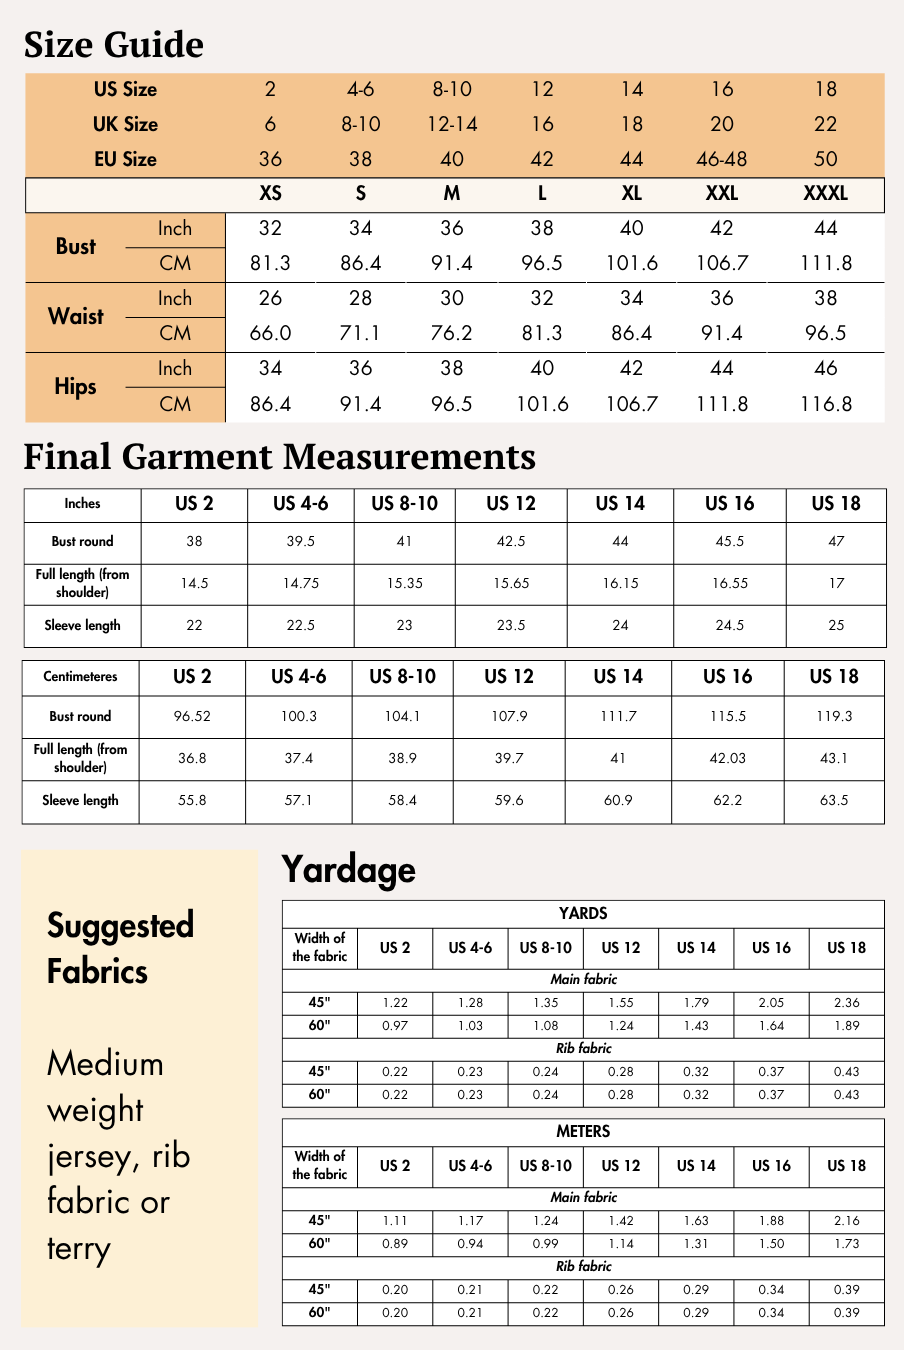
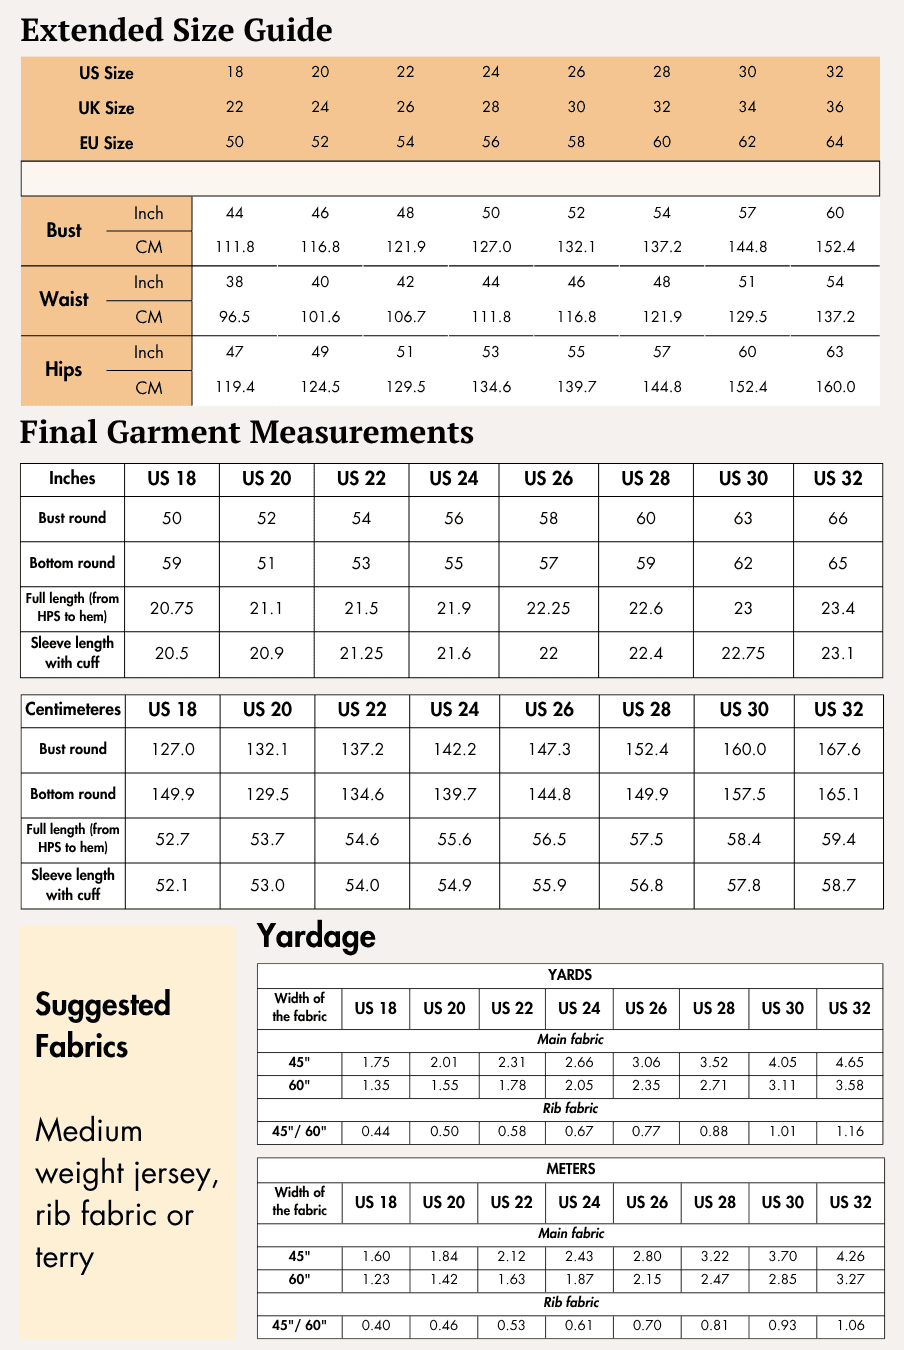
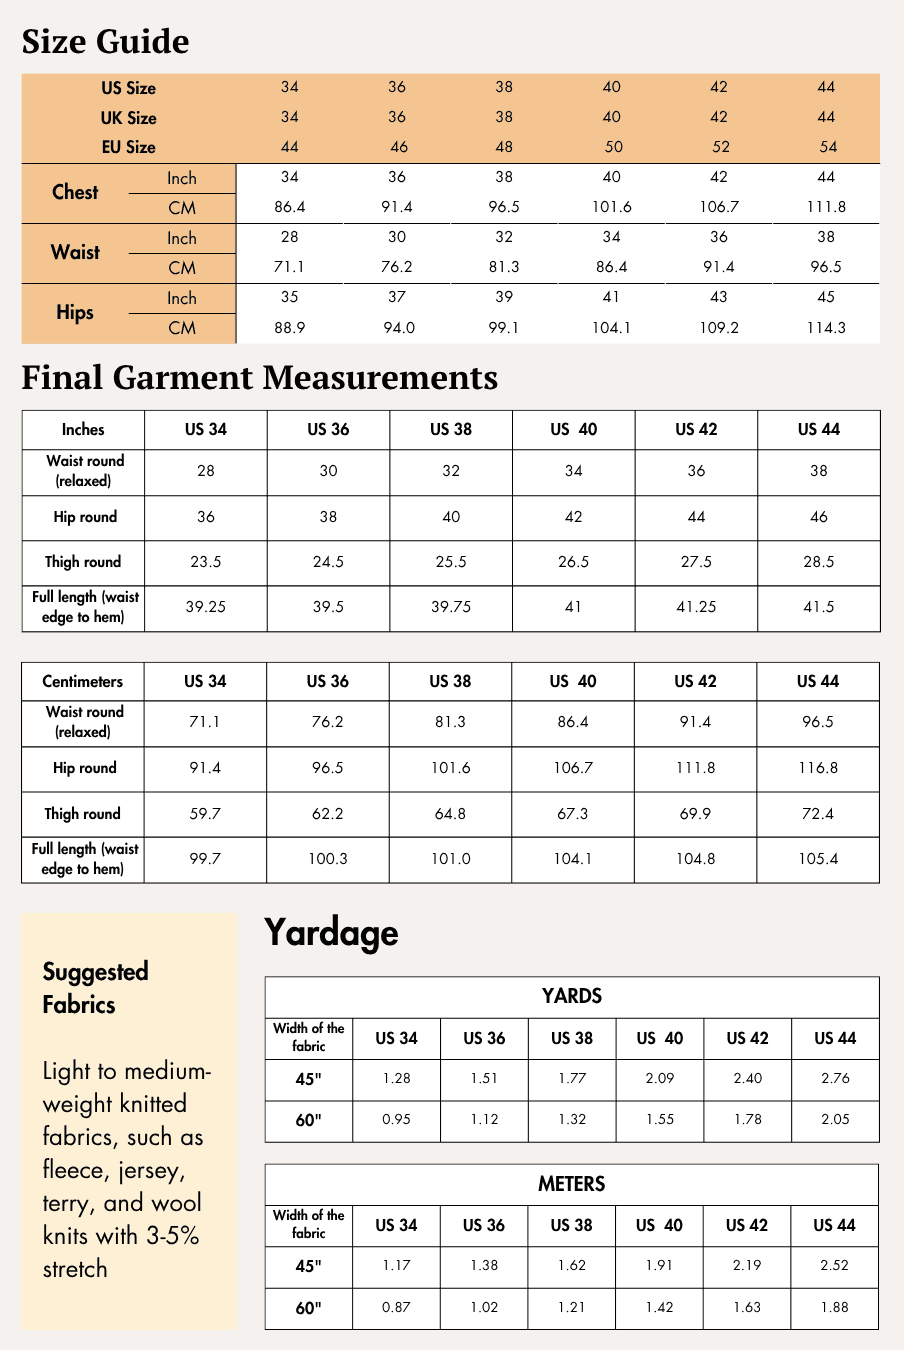
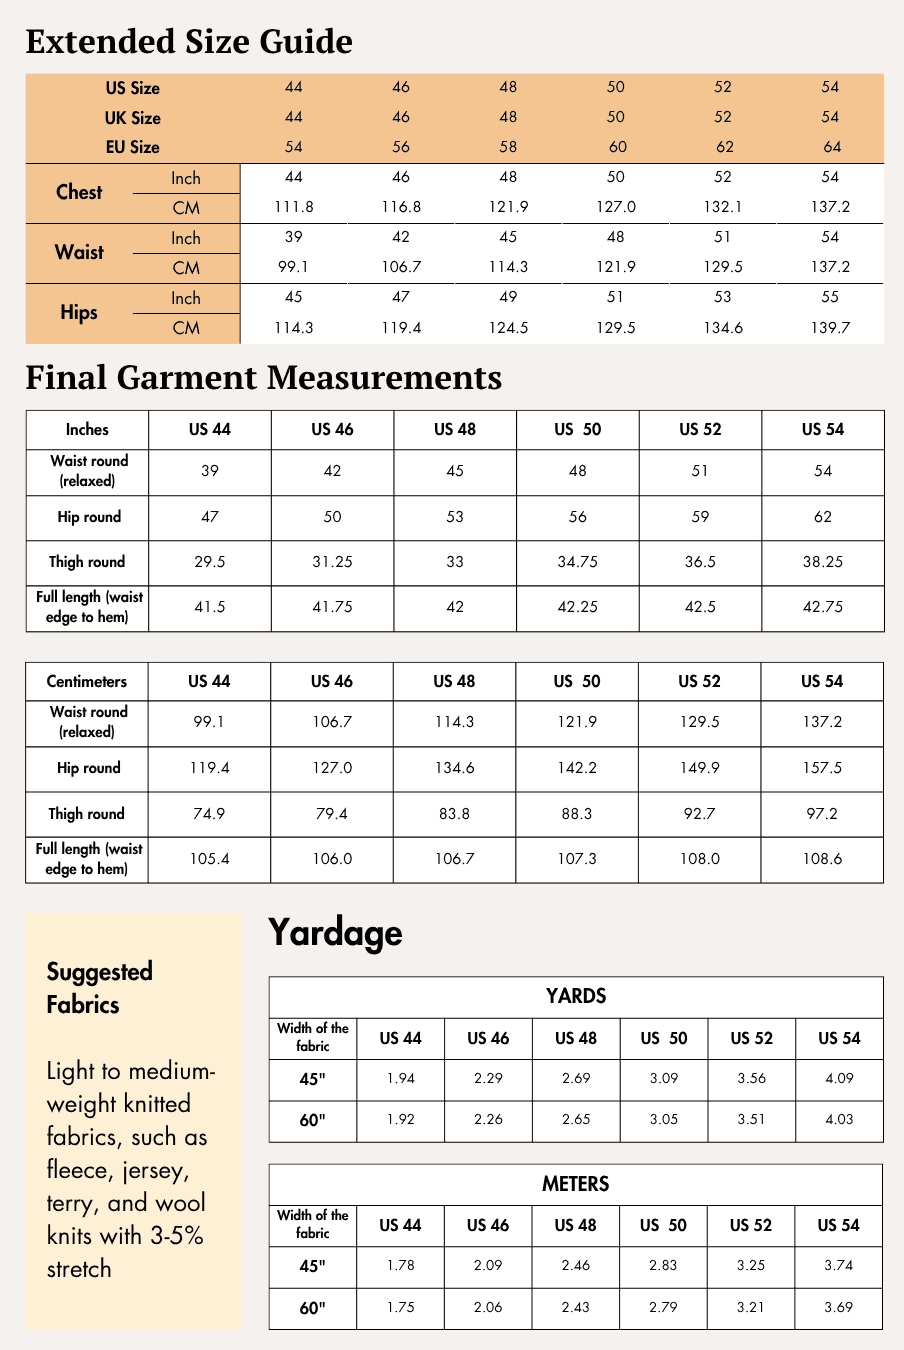
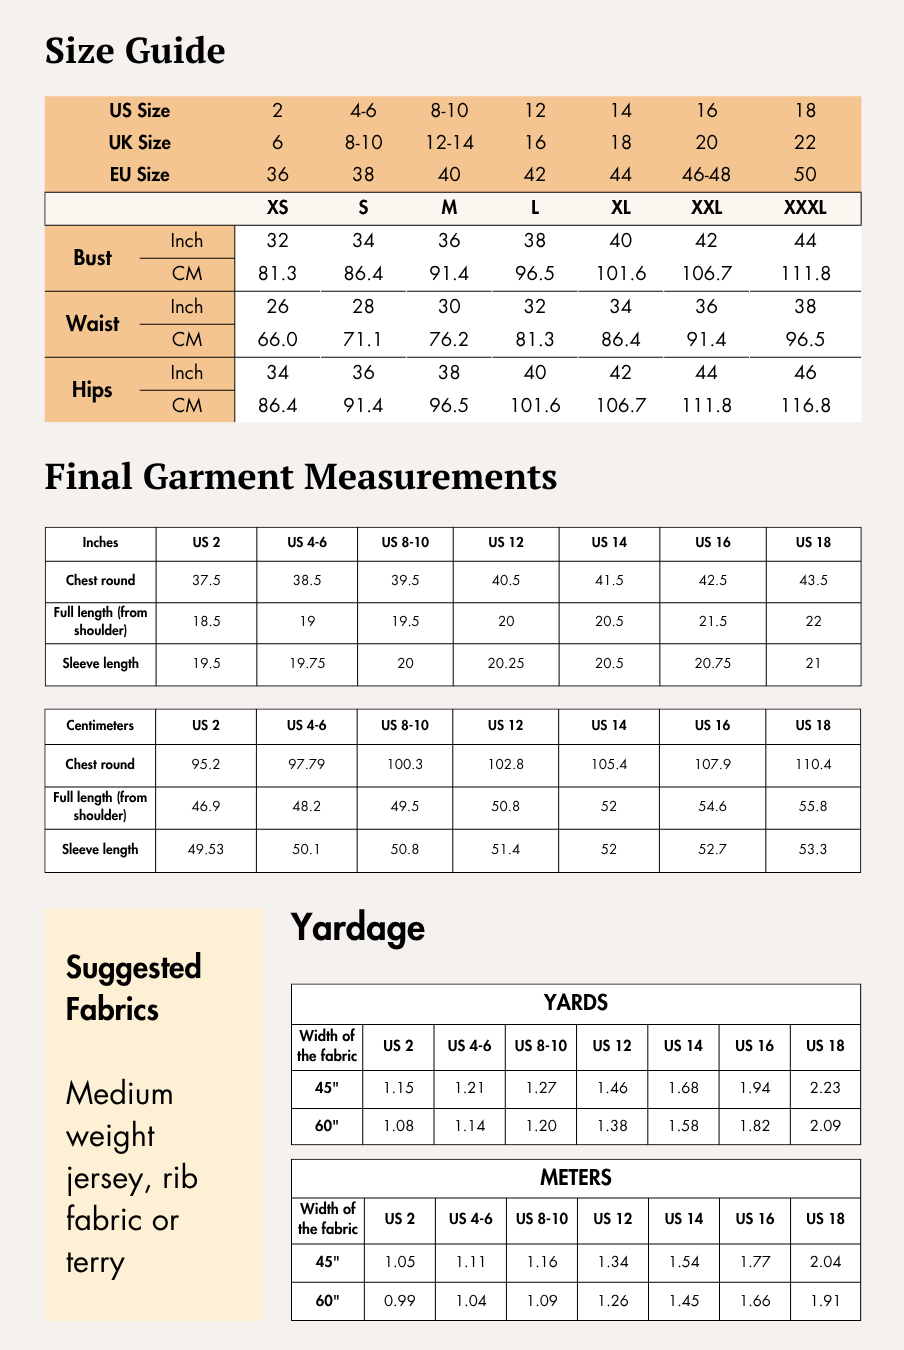
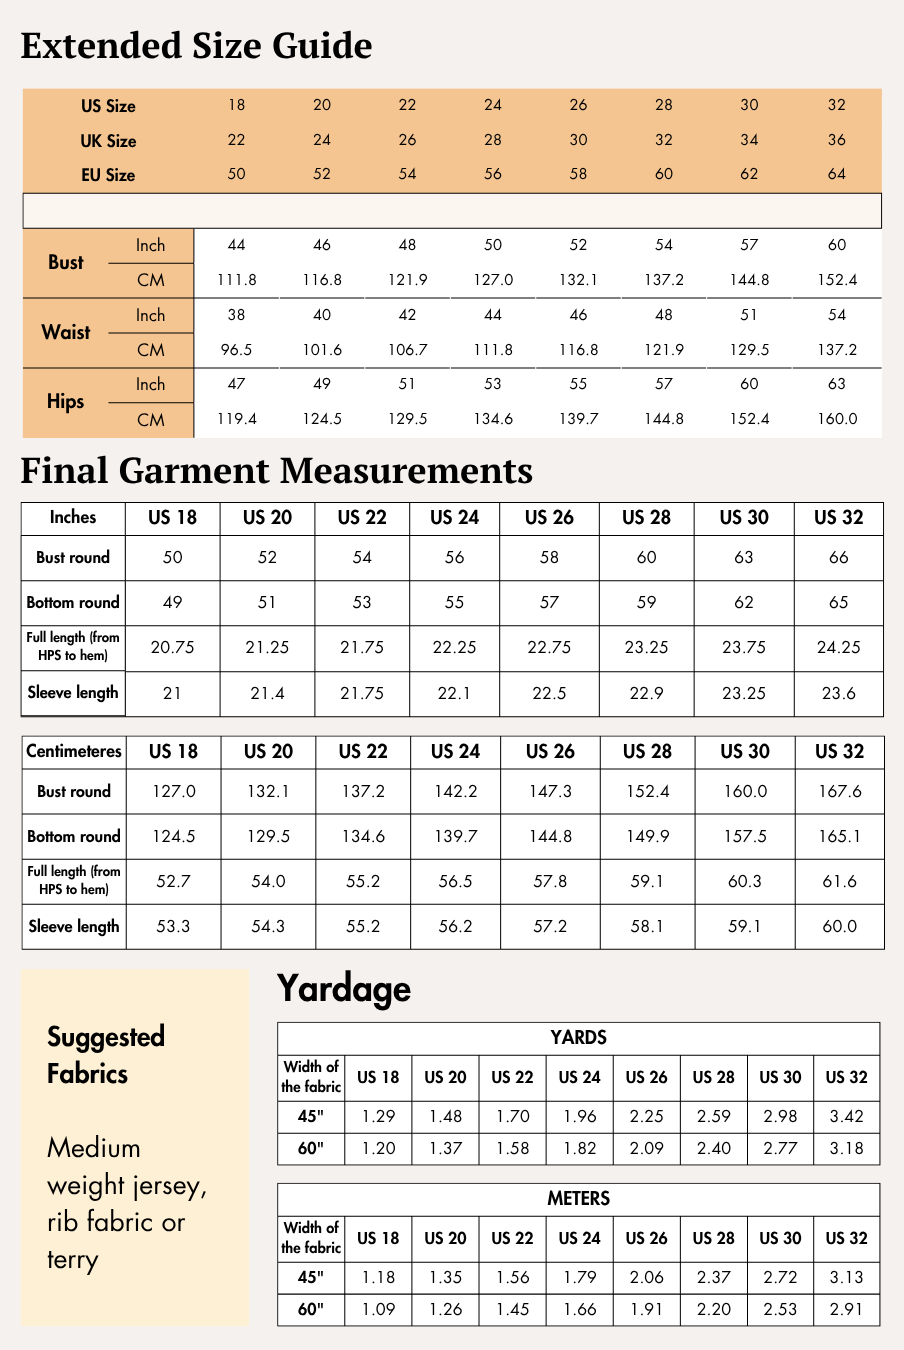
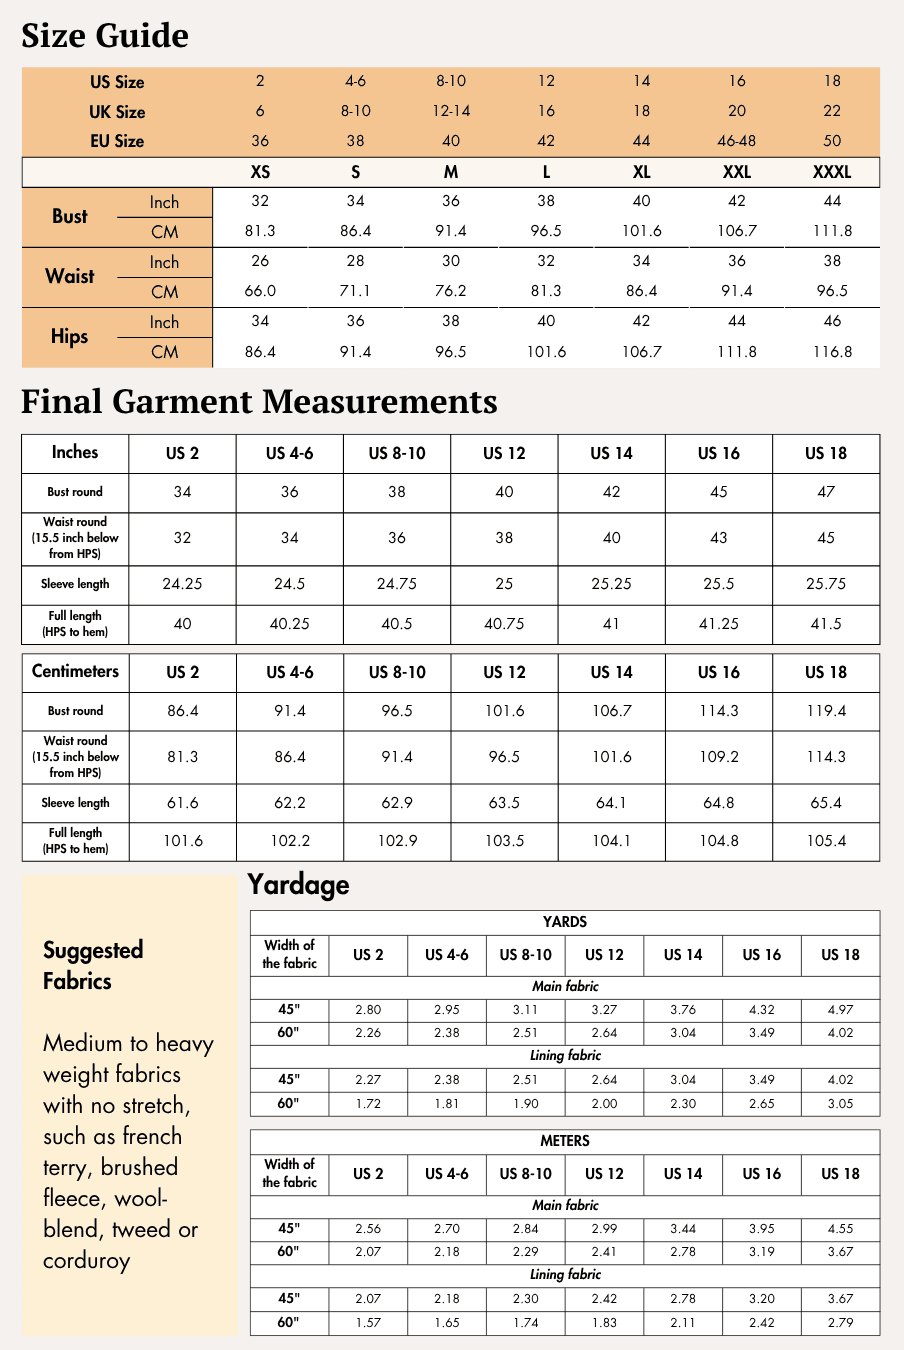
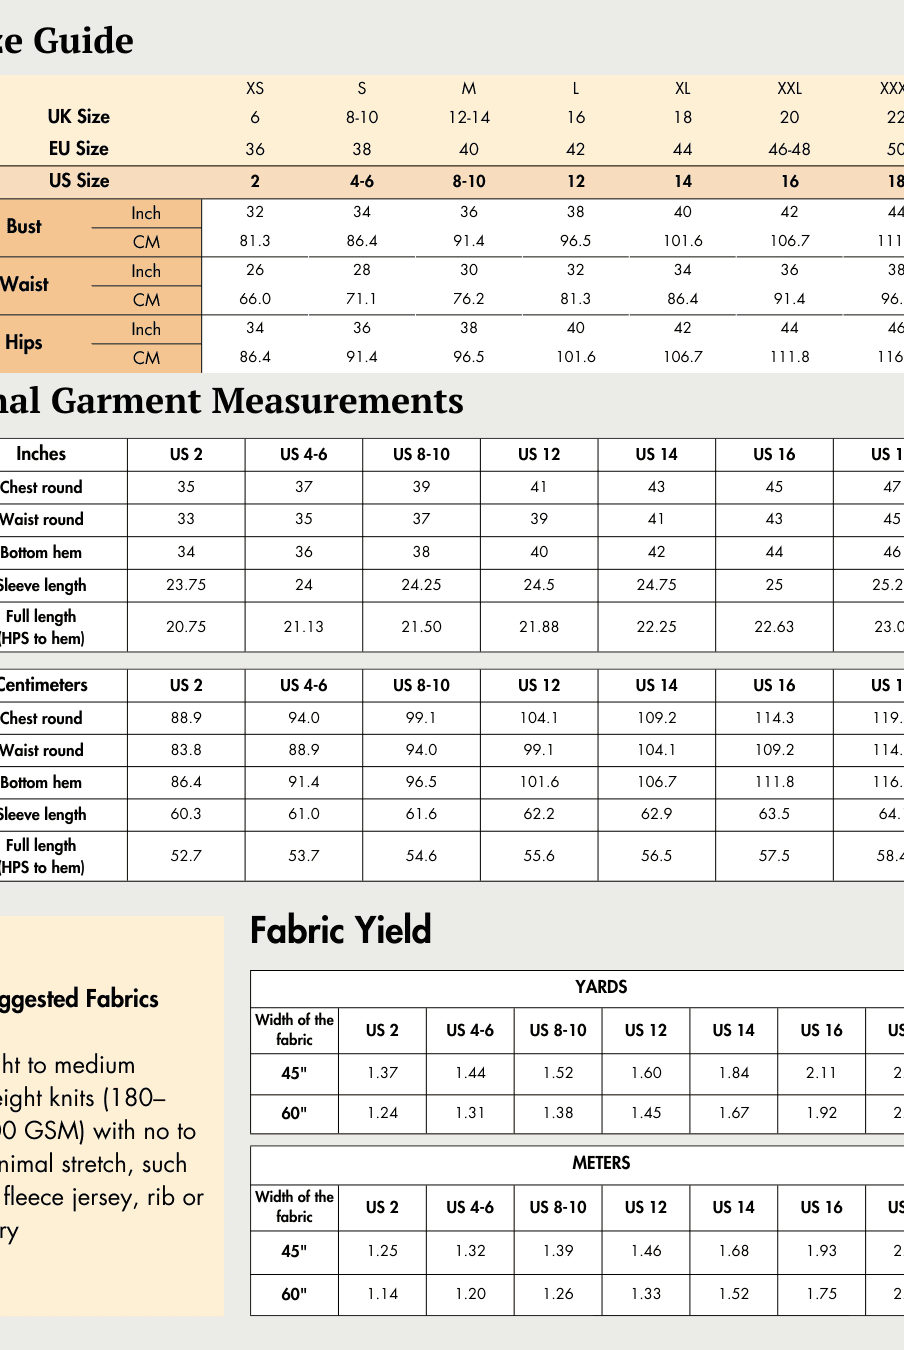
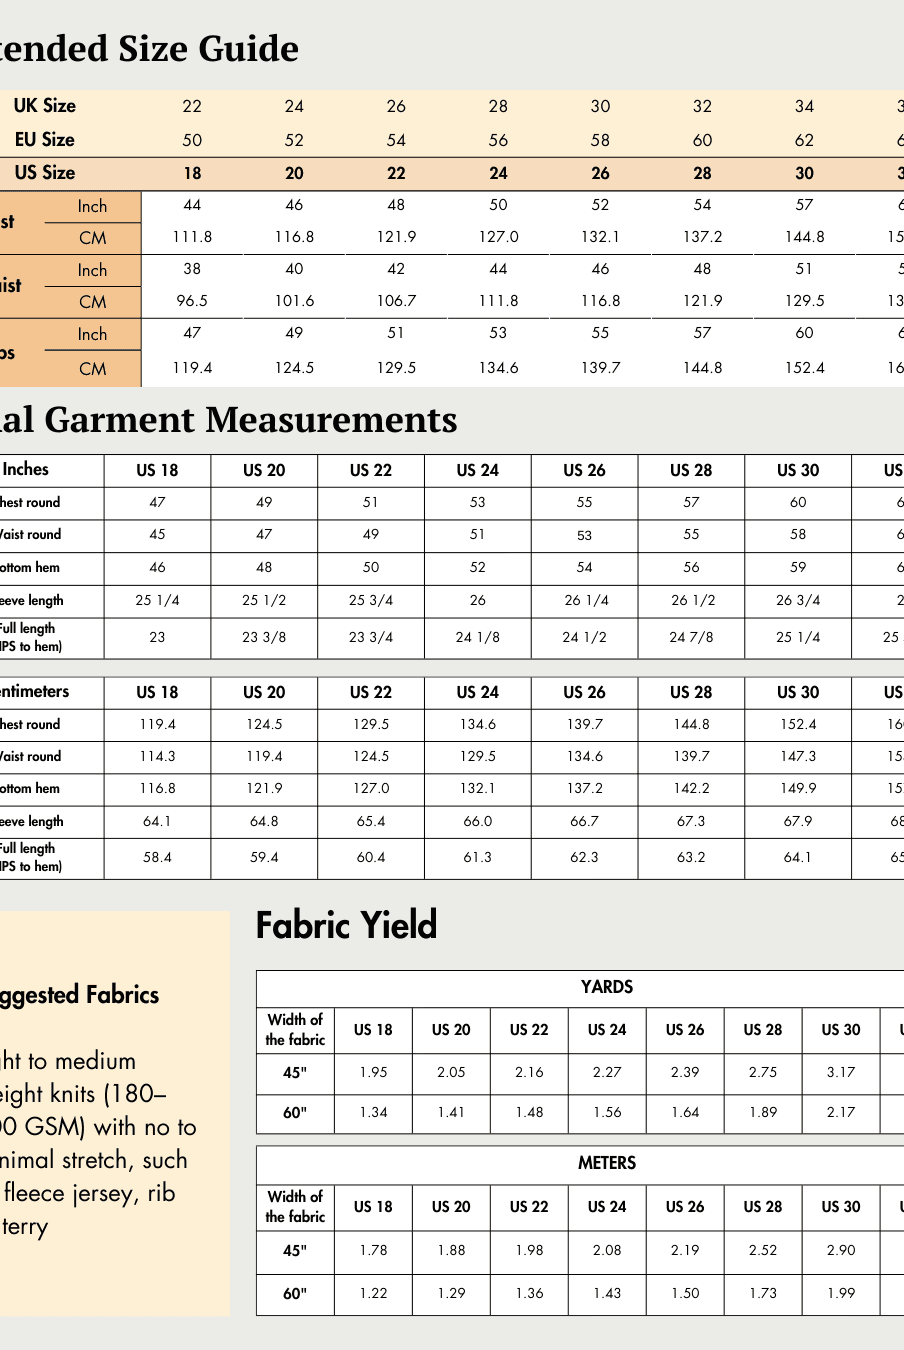
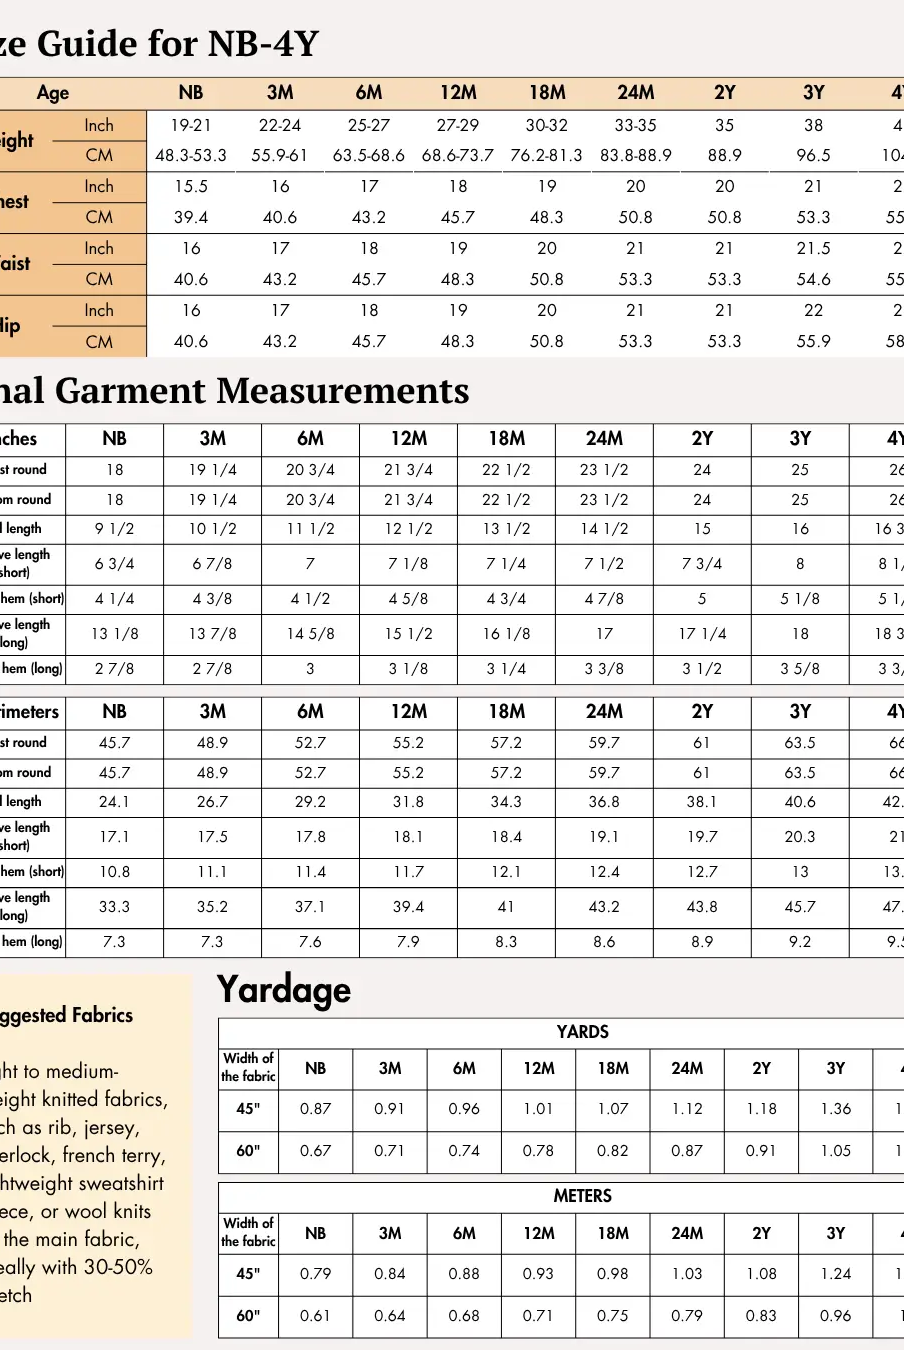
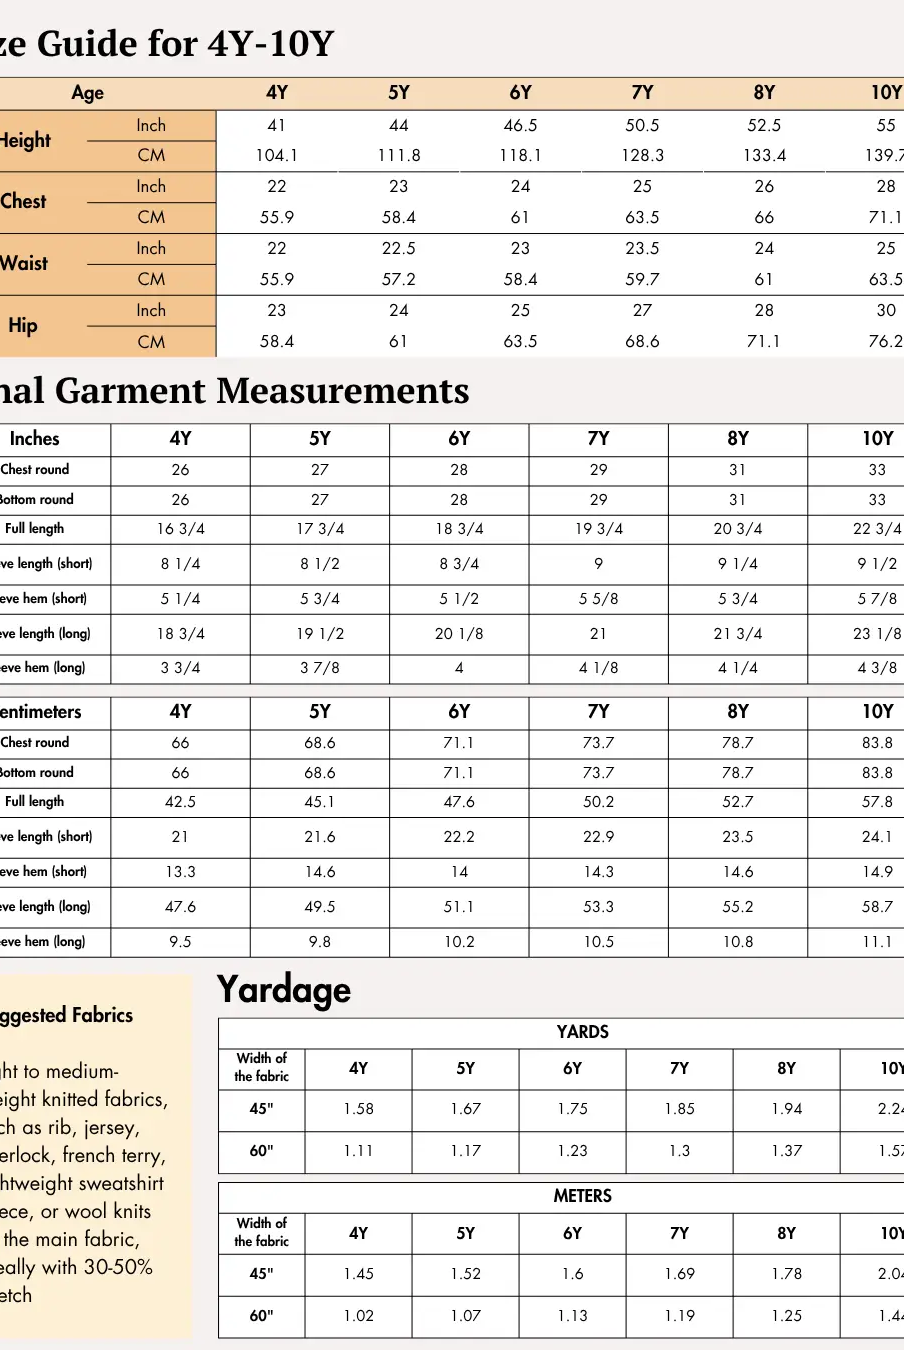
Check the size charts and measure yourself to select the correct size, using the garment and body measurement tables in the guide.
Verify how much fabric you need by referencing the fabric yield table in the guide.
Pattern Inventory: What Pieces to Prepare
Bustier Top

- Front Side — Cut 4 fabric
- Front Center — Cut 4 fabric
- Front Side Cup — Cut 4 fabric
- Front Center Cup — Cut 4 fabric
- Front Top Neck — Cut 4 fabric
- Back Smocking Block — Cut 1 fabric
- Side Back — Cut 4 fabric
- Neck Frill — Cut 2 fabric
- Strap — Cut 2 fabric
- Center Back Smocking Ready Pattern
Mini Flounce Skirt

- Front — Cut 1 fabric
- Back — Cut 1 fabric
- Bottom Frill — Cut 2 fabric
- Back Lining — Cut 1 fabric
- Front Lining — Cut 1 fabric
The guide also notes that the lining pieces may be cut from a different lining fabric or from the same lightweight fabric as the main garment.
Pattern Marking
The pattern includes clearly labelled markings to help with accurate assembly.
Bustier Top

Markings include:
- Grainlines
- Seam allowances
- Center front
- Side seams
- Front and back panel notches
- Cup notches
- Cup seam lines
- Top cup lines
- Frill seamlines
- Hemlines
- Smocking measurement reference
Mini Flounce Skirt

Pattern markings include:
- Grainlines
- Waistlines
- Side seams
- Mid-skirt lines
- Center frill notches
- Gather markings
- Hemlines
- Seam allowances
Cutting Layout
Bustier Top


Mini Flounce Skirt


Both guides provide cutting layouts for 45-inch and 60-inch fabric widths.
Follow the layouts to ensure all pattern pieces are placed on grain before cutting. The layouts are designed for non-directional fabrics. If you're using fabrics with a directional print or nap, purchase extra fabric to allow for proper pattern placement.
The layouts shown in the guides use the smallest size for illustration.
Fabric Cutting and Preparation
Before cutting your fabric:
- Prewash and press your fabric if appropriate.
- Arrange the pattern pieces according to the cutting layout diagrams.
- Keep each grainline parallel to the fabric selvage.
- Pin or secure the pattern pieces carefully before cutting.
- Transfer all notches and pattern markings accurately.
- Cut cleanly along the cutting lines, removing any chalk or tracing marks beyond the seam allowance.
- Keep all coordinating pieces together to make assembly easier.
Seam Allowance
Unless otherwise specified, the patterns include 3/8" (1 cm) seam allowance.
Step-by-Step Sewing Instructions (Bustier Top)
1. Prepare the Back Smocking Block
Fold the top edge of the Back Smocking Block (Pattern F) toward the wrong side by approximately 1 cm.
Press the fold and sew along the edge to finish the raw edge.
2. Create the Smocked Back
Prepare the Back Smocking Block (Pattern F) using elastic thread as the looper thread for lock stitching.
Reduce the thread tension on your sewing machine and test the settings on a scrap piece of fabric before sewing the garment.
Ensure there is enough elastic thread on the spool, as interrupted stitching can affect the smocking result.
Mark evenly spaced stitching lines across the smocking block. The sample garment uses 19 rows of smocking, but you may add more or fewer rows if desired.
Sew each smocking row, securing both ends with a few backstitches. The fabric will gather naturally after stitching.
3. Trim the Smocking Block
Allow the smocked fabric to relax without stretching it.
Using the Center Back Smocking Ready (Pattern J) as a guide, trim the smocked panel to its finished size.
Transfer the back panel notches from the pattern onto the prepared smocking block.
4. Prepare the Shoulder Straps
4a.
Place the two Strap (Pattern I) pieces with their right sides together.
Sew 0.25 inches from the raw edge across one short end.
4b.
Spread the seam allowance open and press.
4c.
Fold the strap in half lengthwise with the wrong side facing outward.
Press to create a crease.
4d.
Sew 0.25 inches from the raw edge along the long side.
4e.
Turn the strap right side out using a loop turner.
Cut the finished strap into two pieces according to your preferred shoulder tie length.
Alternatively, cut the back strap 2 inches longer than the front strap.
5. Assemble the Back Panel
5a.
Place one prepared strap on the right side of one Side Back (Pattern G) piece along the back panel seam.
5b.
Place the second Side Back piece over the strap with its wrong side facing the strap, sandwiching the strap between the two side back pieces.
5c.
Align the edges and sew along the back across seamline.
Repeat the same process for the remaining strap and side back pieces.
5d.
Insert the prepared Back Smocking Block between the completed side back panels.
Match the center back notch.
5e.
Sew along the side center back seamline.
5f.
Turn the side back panels right side out and press the across back seamline.
5g.
Repeat the same process for the opposite side of the smocking block.
6. Finish the Back Hem
Fold the hem seam allowance toward the wrong side and press.
Sew along the folded edge to finish the hem neatly.
7. Prepare the Neck Frill
7a.
Fold each Neck Frill (Pattern H) lengthwise with the right side facing outward.
Press flat.
7b.
Set the sewing machine to a 5–7 mm stitch length.
Sew along the open edge using a basting stitch.
7c.
Tie the thread at one end.
Pull the opposite thread to create even gathers.
Repeat the same process for the second neck frill.
8. Prepare the Bust Cups
8a.
Place one Front Side Cup (Pattern C) and one Front Center Cup (Pattern D) with the right sides together.
Match the cup notches and sew along the mid-cup seamline.
8b.
Spread the seam allowance open and press the cup to create its shape.
8c.
Place one Front Top Neck (Pattern E) piece onto the prepared cup with the right sides together.
Match the center cup notch to the mid-cup seamline.
Pin in place.
8d.
Sew the pieces together.
8e.
Open the upper front piece and press the seam smooth.
Repeat the same process for the second cup.
9. Assemble the Front Panels
Place one Front Side (Pattern A) and one Front Center (Pattern B) with their right sides together.
Match the front panel notches and sew along the panel seamline.
Repeat the same process for the second front panel.
10. Attach the Cups
Place one prepared cup onto the corresponding prepared front panel with the right sides together.
Match the end of the mid-cup seamline to the panel seam.
Align the cup lines, pin, and sew along the seamline.
Turn the pieces right side out from the sewn seam and press.
Repeat for the second front panel.
11. Finish the Front Panels
11a.
Place one strap end at the mid-cup seamline.
11b.
Align the gathered neck frill along the top edge of the prepared front panel and pin in place.
11c.
Place the second prepared front panel over the neck frill, aligning all edges.
Pin everything together.
11d.
Sew along the top edge, center front, and hem seamlines.
11e.
Clip the seam allowance where needed.
Turn the front panel right side out.
Use a point turner or similar tool to shape the corners neatly.
12. Complete the Bustier Top
Sew along the top edge of the front panel with the seam allowance pressed underneath to understitch the neck frill.
Place the prepared front panel and the back panel with their right sides together.
Align the side seams, pin, and sew.
Repeat for the opposite side.
Prepare the eye cover by cutting a rectangle matching the center front length and 2.5 inches wide. Fold it lengthwise with the right sides together, sew both short ends, turn it right side out, press, and finish the remaining raw edge with a zigzag stitch (preferred) or a lock stitch.
Position the prepared eye cover along the center front of the right front panel. Sew approximately 1 cm from the edge, spread it open, press, and understitch it to create a neat finish.
Finally, sew seven evenly spaced hook-and-eye closures along the center front to complete the Piper Strappy Bustier Top.


Step-by-Step Sewing Instructions (Mini Flounce Skirt)
1. Prepare the Bottom Flounce
1a. Place the two Bottom Frill pieces right sides together and sew both side seams.
1b. Finish the seam allowances with an overlock stitch or zig-zag stitch and press them open.
1c. Set your sewing machine to a long stitch length and sew two rows of gathering stitches along the upper edge of the flounce between the seam allowances.
1d. Pull the gathering threads evenly until the flounce matches the lower edge of the skirt. Distribute the gathers uniformly.
2. Attach the Flounce
2a. Place the gathered Bottom Frill right sides together with the lower edge of the skirt, matching the side seams and center frill notches.
2b. Adjust the gathers evenly, then stitch the flounce to the skirt.
2c. Finish the seam allowance with an overlock stitch or zig-zag stitch and press the seam upward toward the skirt.
3. Insert the Zipper and Sew the Skirt
3a. Place the front and back skirt pieces right sides together and sew one side seam completely.
3b. Finish the seam allowances and press them open.
3c. Insert the 8-inch zipper into the remaining side opening, sewing close to the zipper teeth. After inserting the zipper, sew the remaining section of the side seam from the zipper end down to the hem.
4. Sew the Lining
Place the Front Lining and Back Lining pieces right sides together.
Sew one side seam from the zipper end to the hem, matching the zipper opening of the outer skirt. Sew the opposite side seam from the waistline to the hem to complete the lining.
5. Attach the Lining
5a. Pull both zipper tapes toward the right side of the outer skirt.
5b. Insert the completed lining inside the skirt with right sides together.
5c. Sew around the waistline to join the lining and skirt.
5d. Sew along both zipper tapes close to the zipper teeth, stitching through the lining.
5e. Turn the lining inside the skirt and press the sewn waist seam neatly for a clean finish.
6. Finish the Hems
Fold the hem of both the main skirt and the lining 1 cm to the wrong side and press. Fold again along the hemline, then topstitch close to the folded edge to create a neat rolled hem finish.


Ready to Sew Your Own Vintage Coord Set?


The Winslet's Vintage Coord Set combines a beautifully detailed strappy bustier with a playful mini flounce skirt, giving you a stylish handmade outfit that's easy to wear together or separately. With thoughtfully drafted pattern pieces, detailed instructions, and multiple size options, it's an enjoyable project for sewists looking to expand their skills.
If you're ready to create your own handmade matching set, download the pattern today and start sewing your next wardrobe favorite.
Explore More Sewing Patterns
Browse our Coord Set Sewing Pattern Collection for more stylish matching outfits that you can sew for every season and occasion.
Join the Community & Get Support
Share your finished Vintage Coord Set Sewing Pattern on social media with #MadeWithWinslets. If you have questions, feedback, or customization requests, contact the Winslet's team at support@winslets.com.