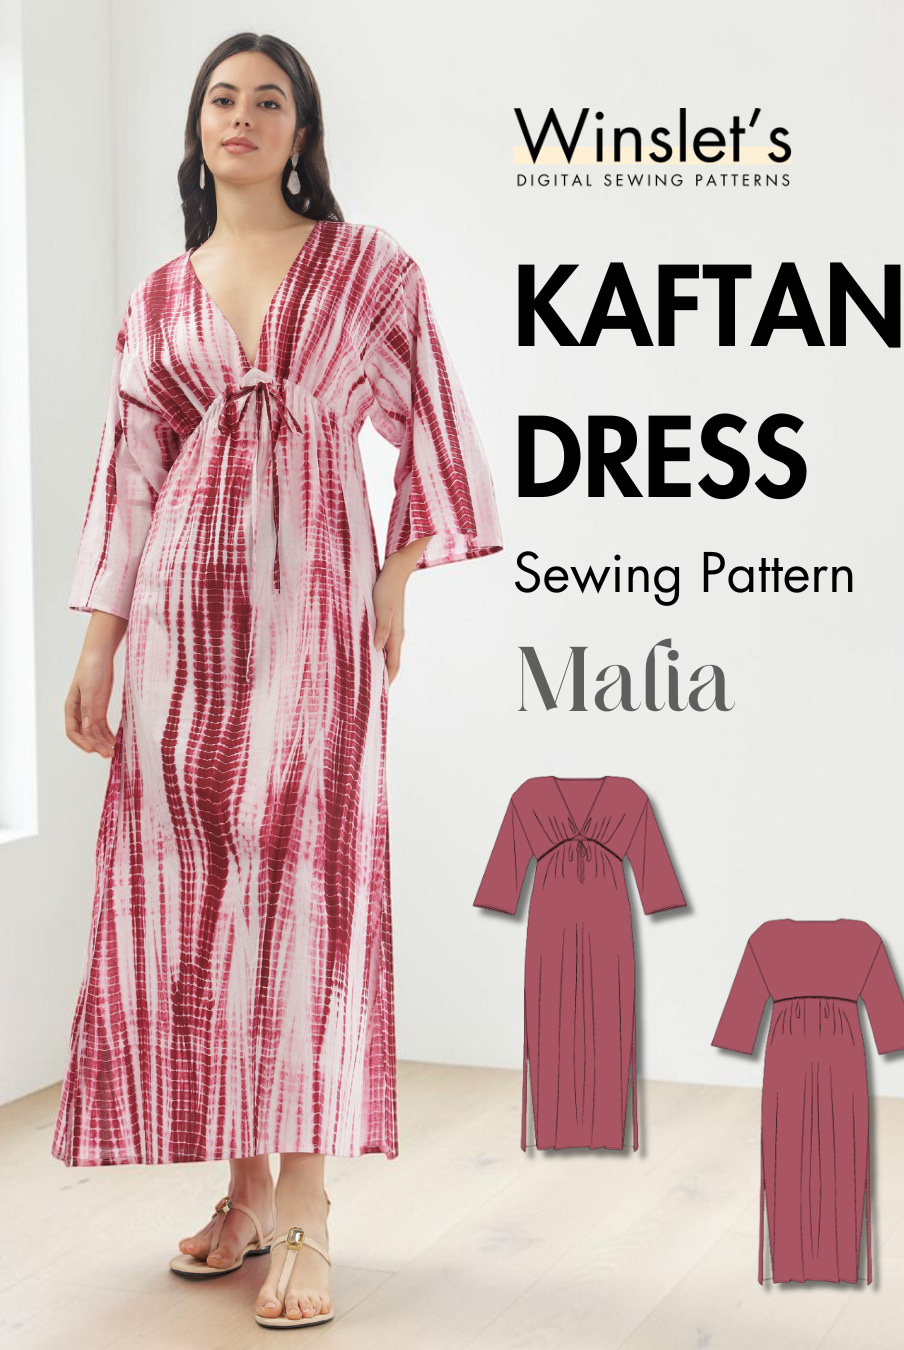
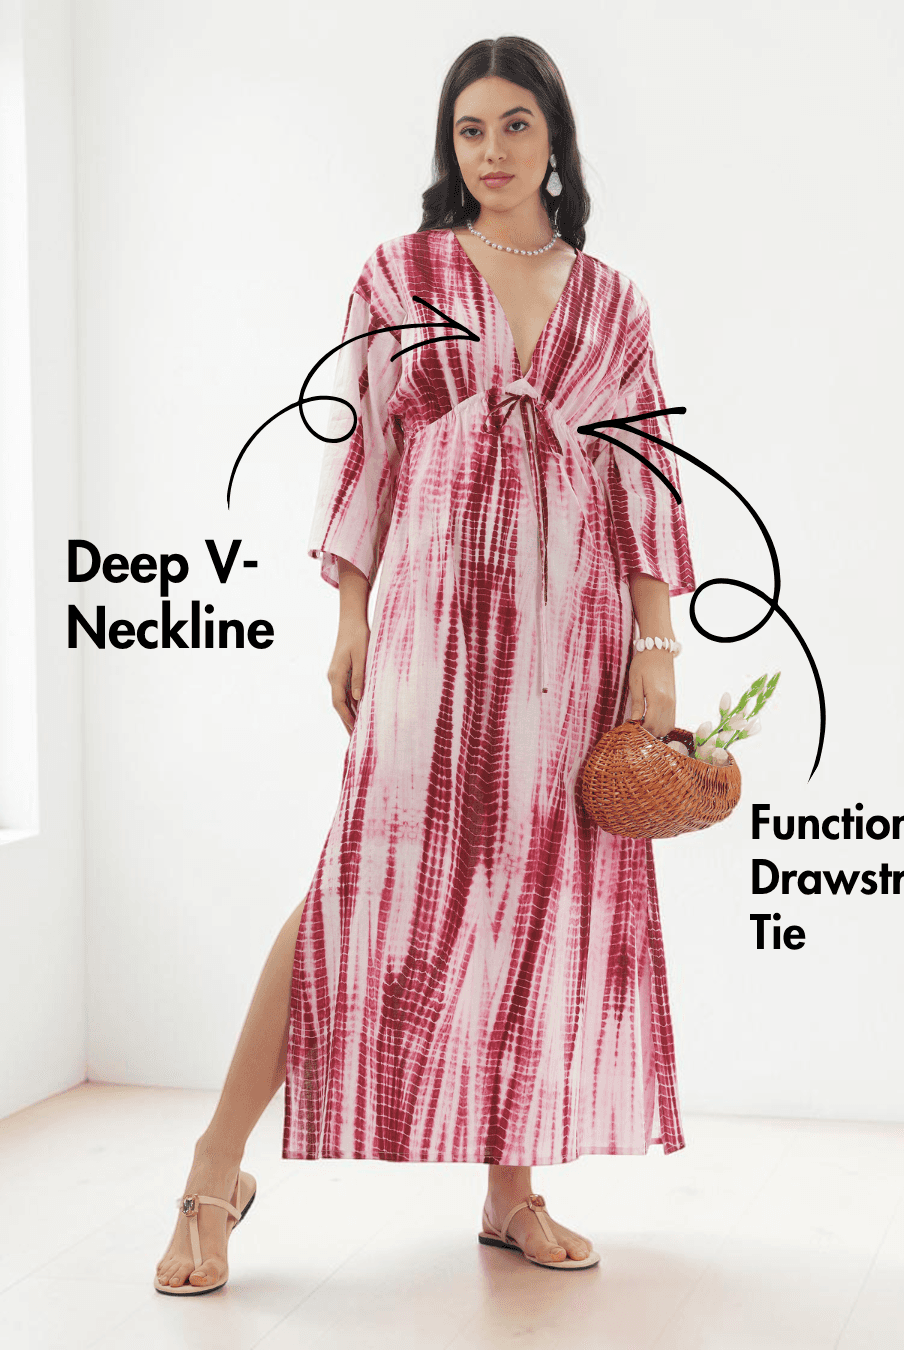
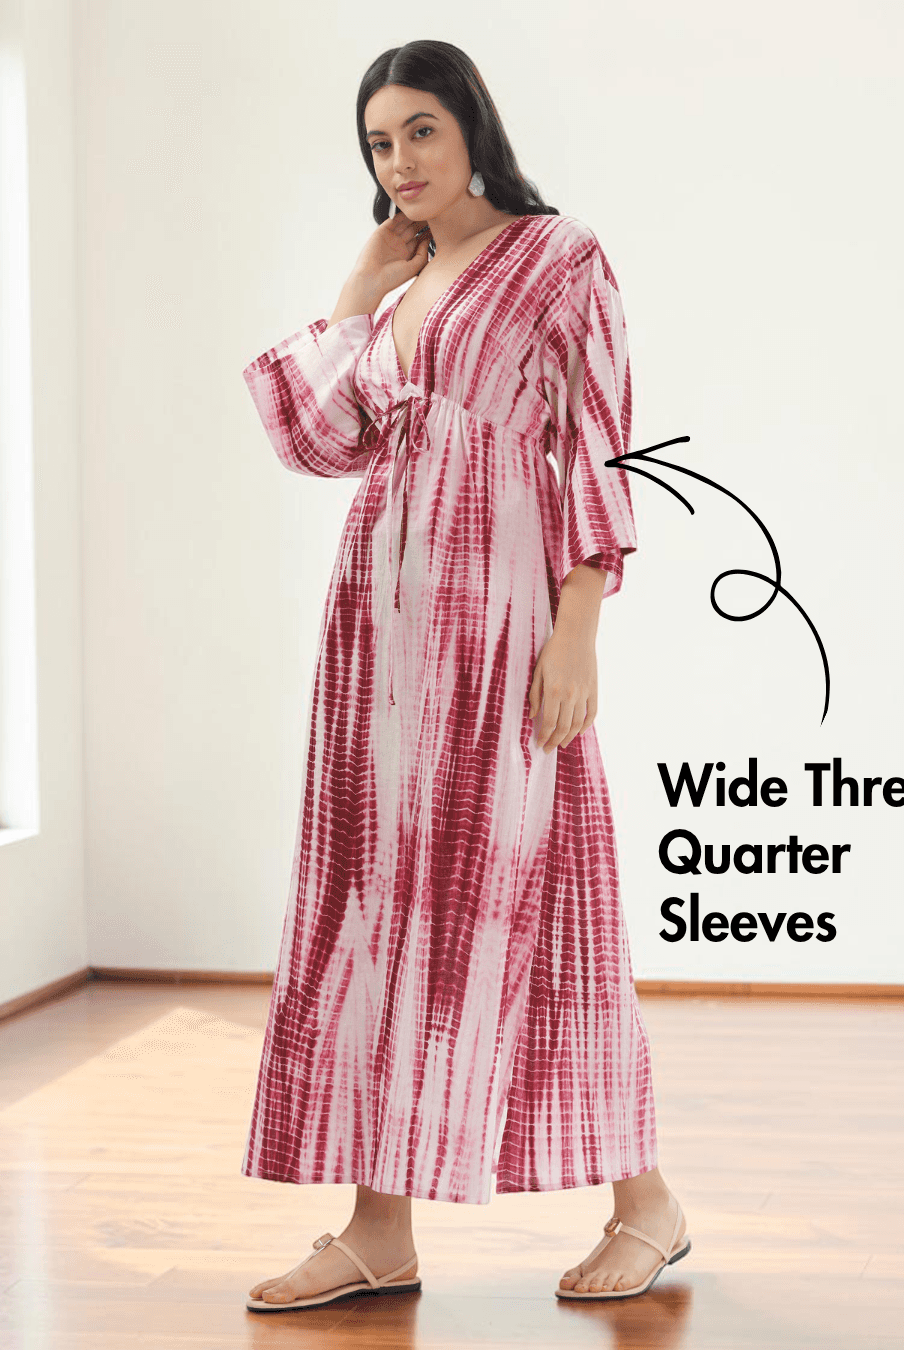
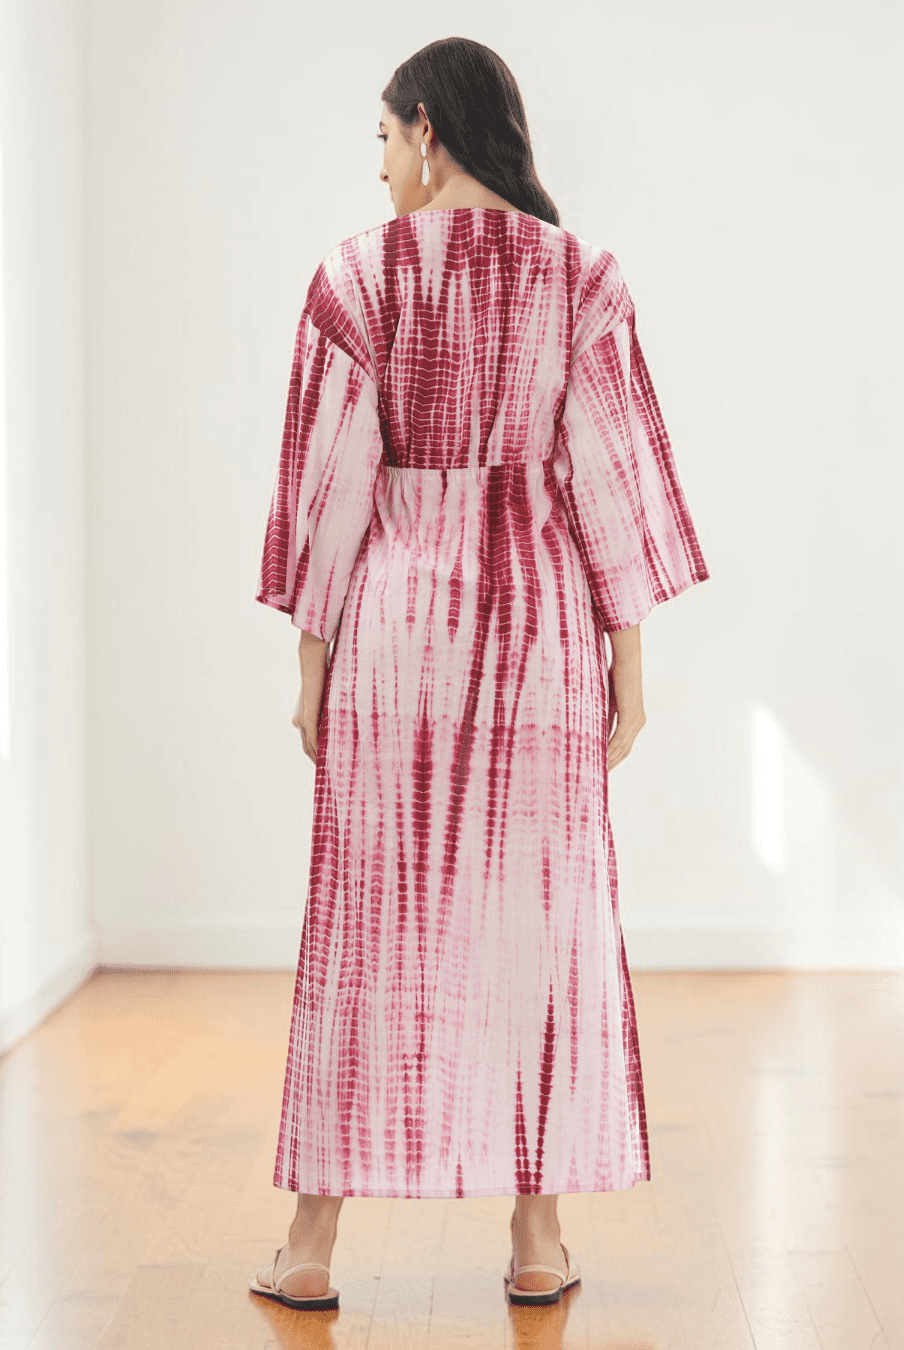
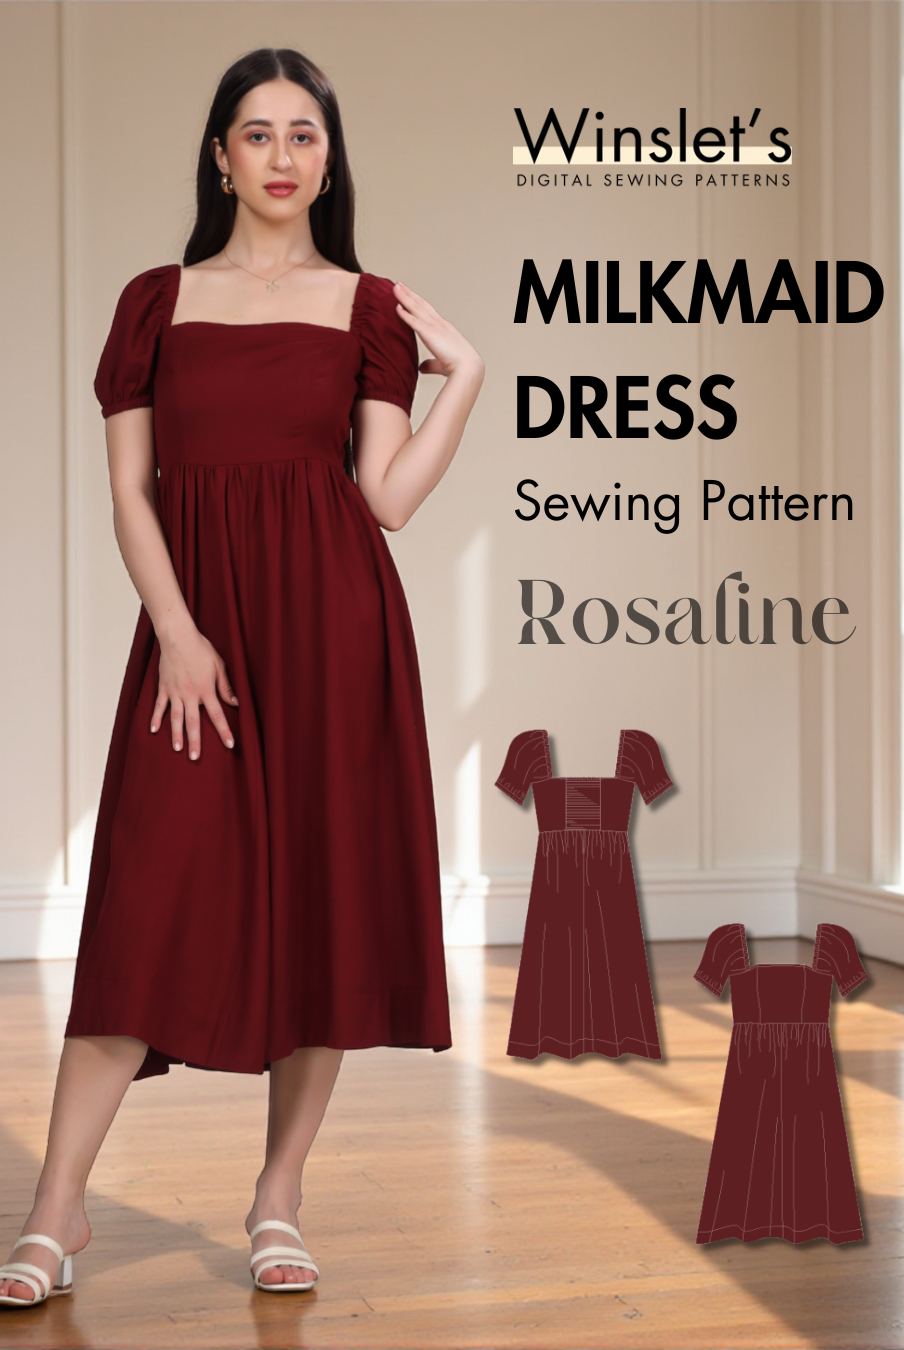
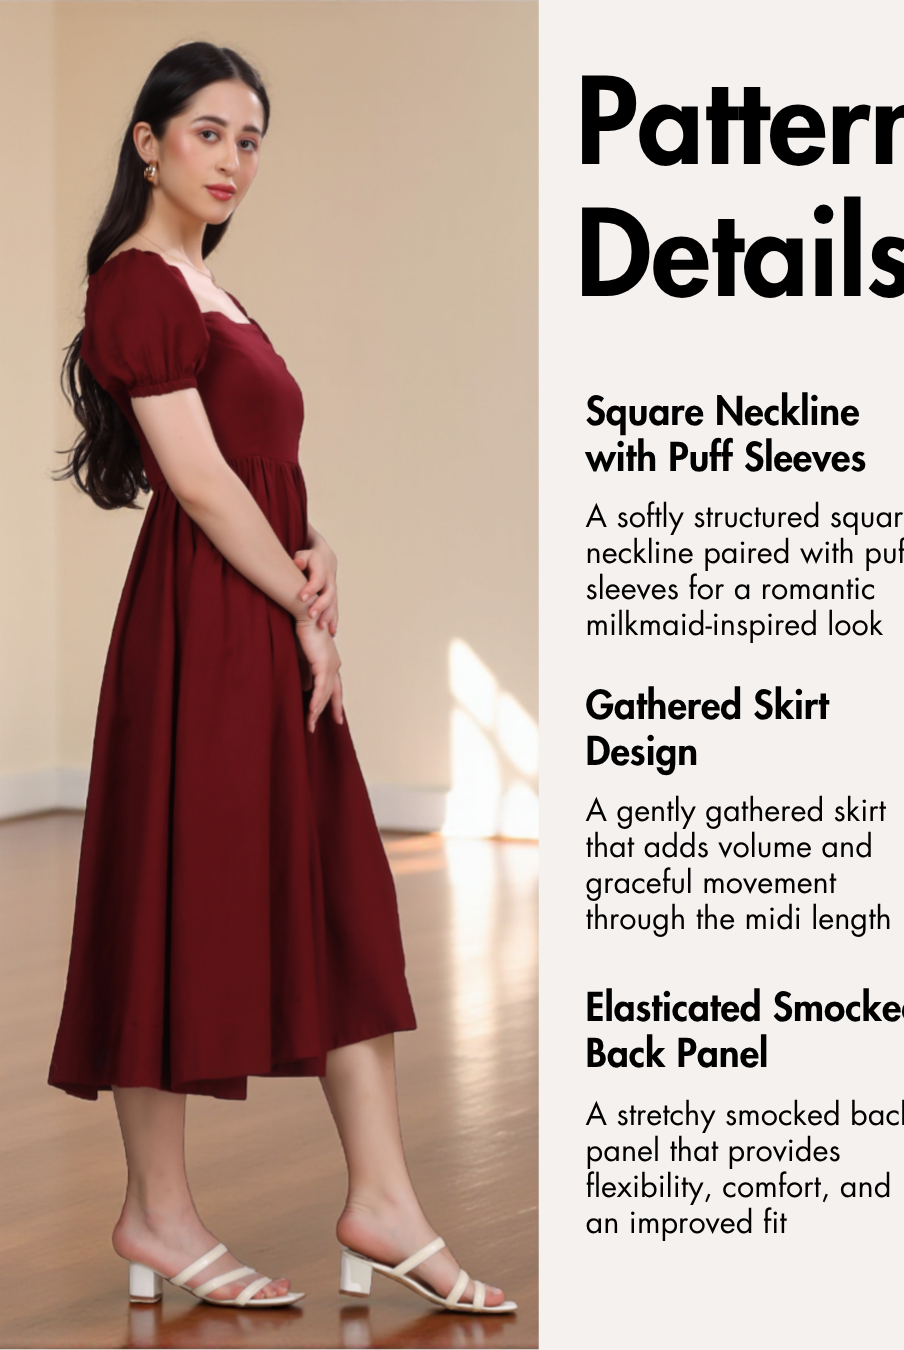
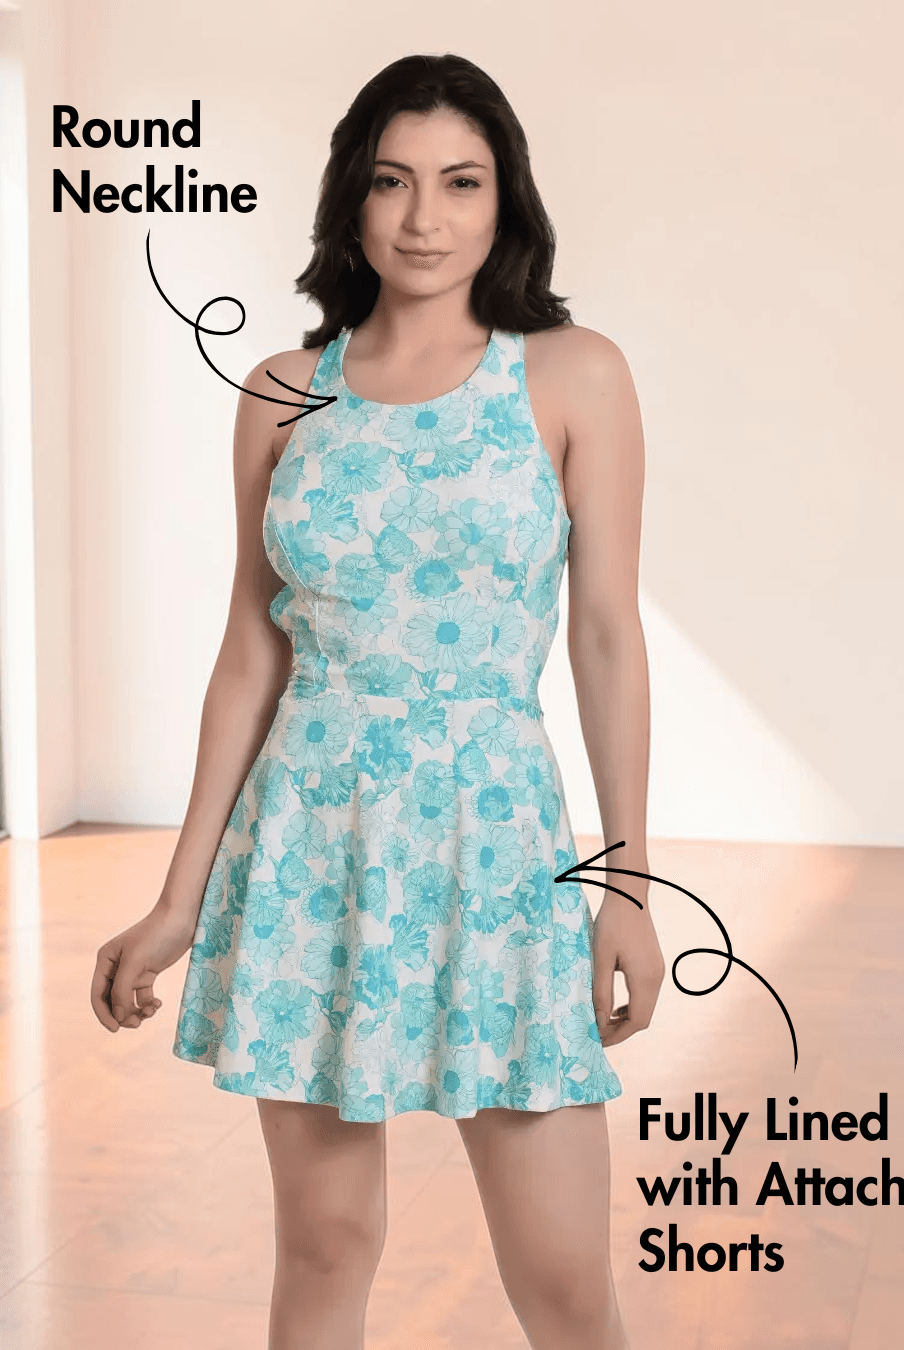
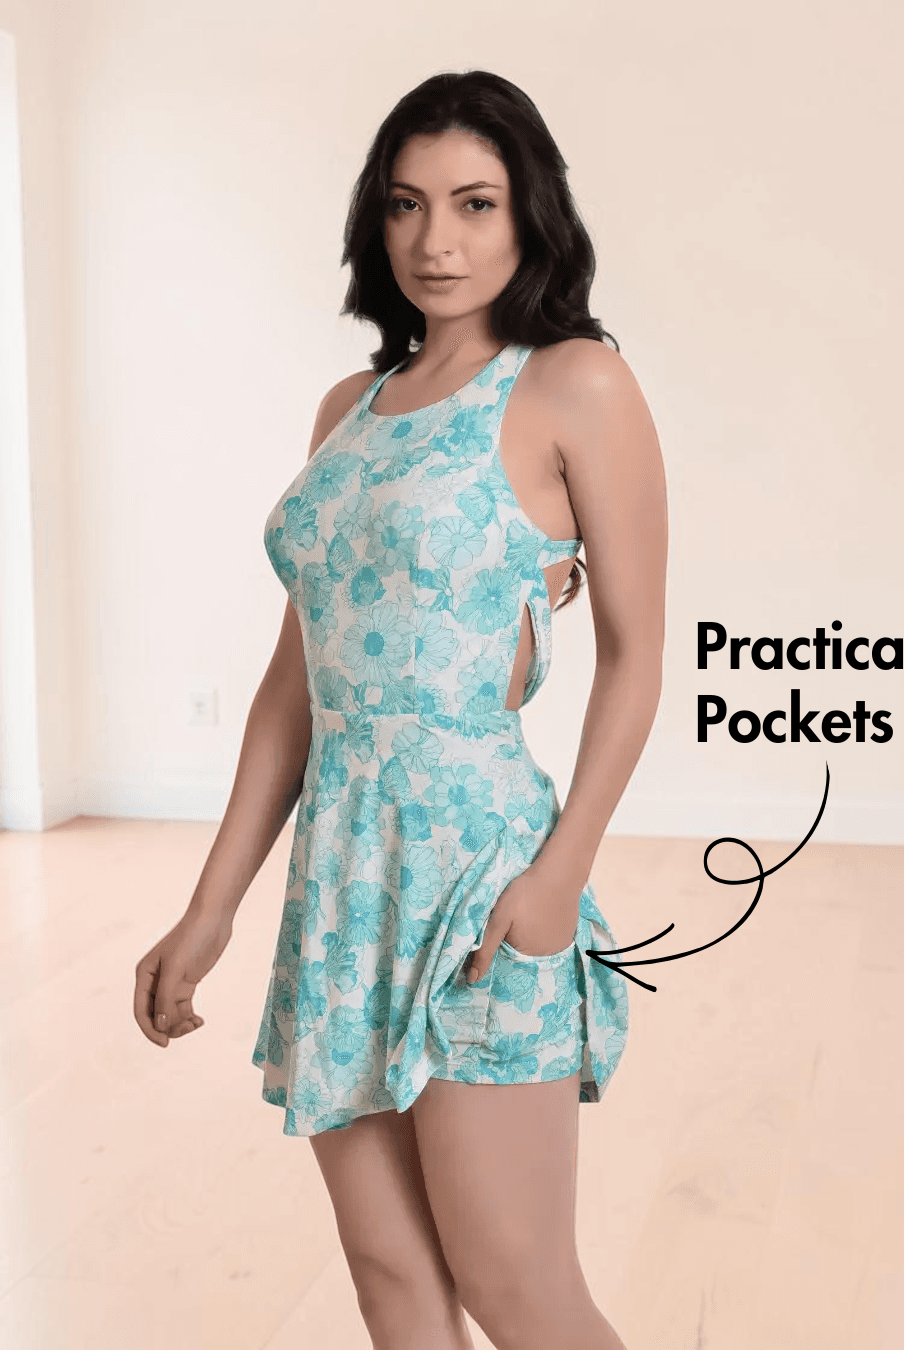
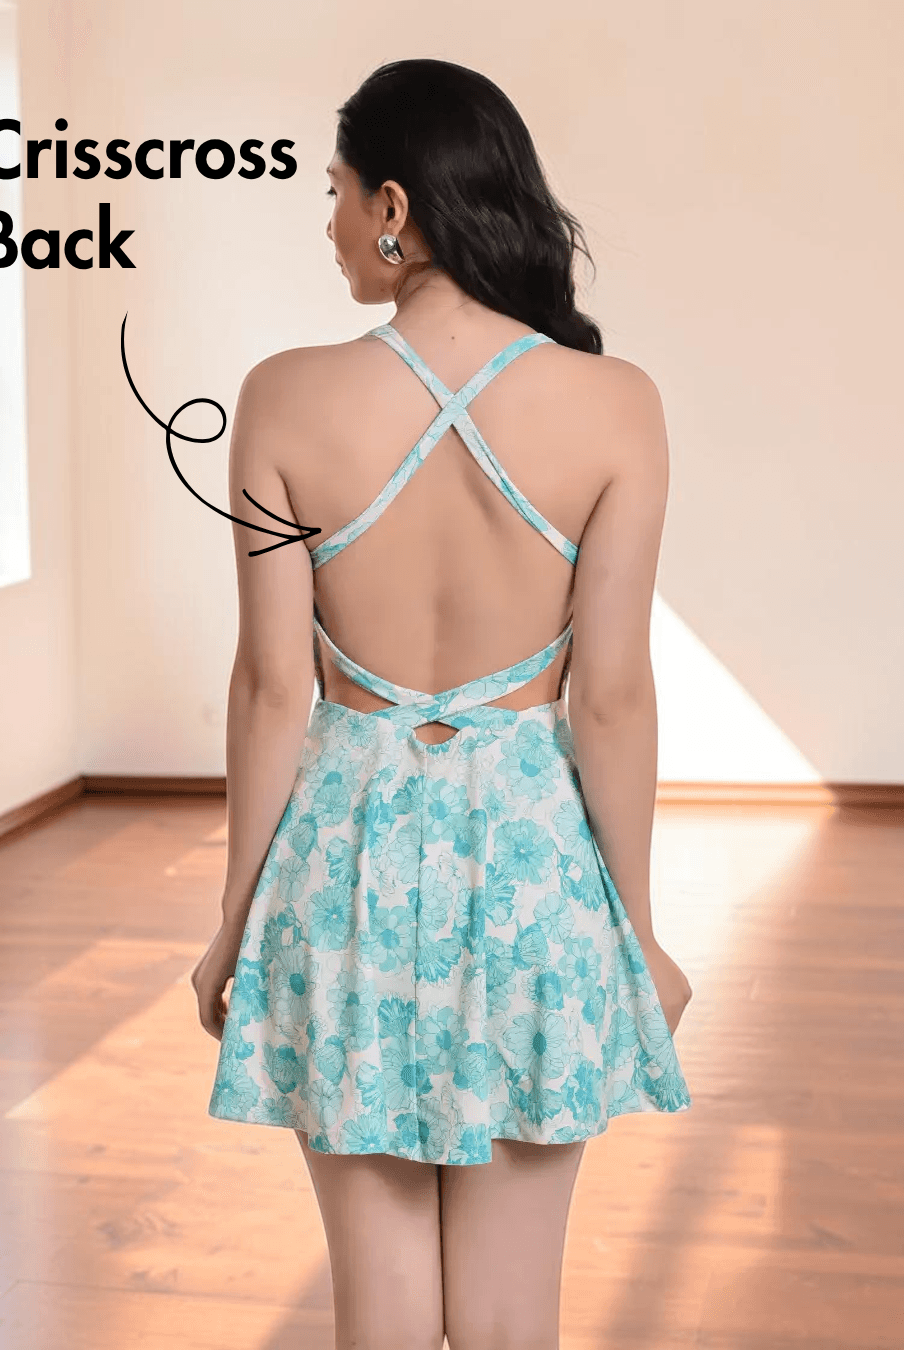
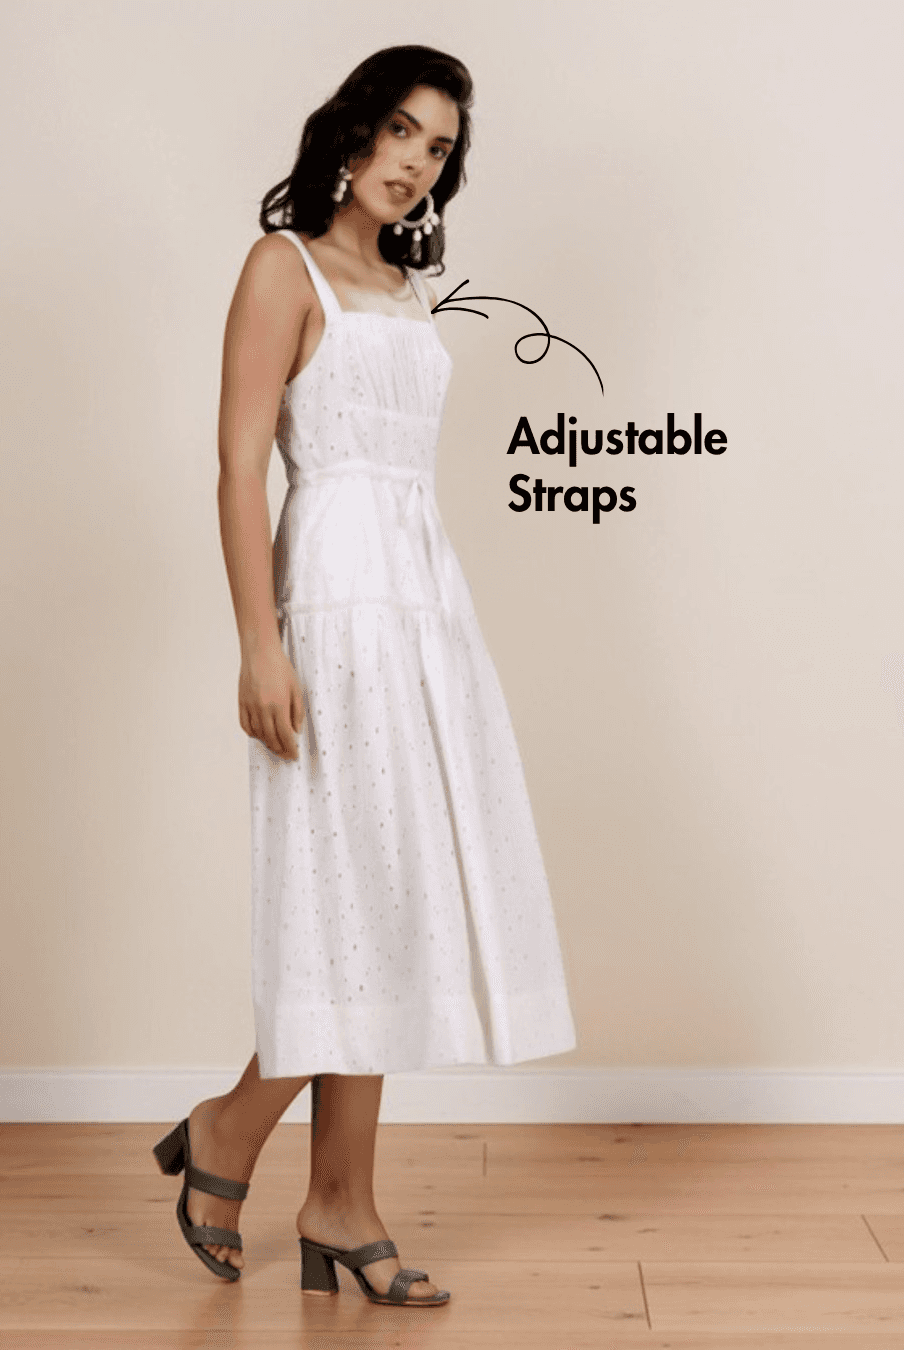
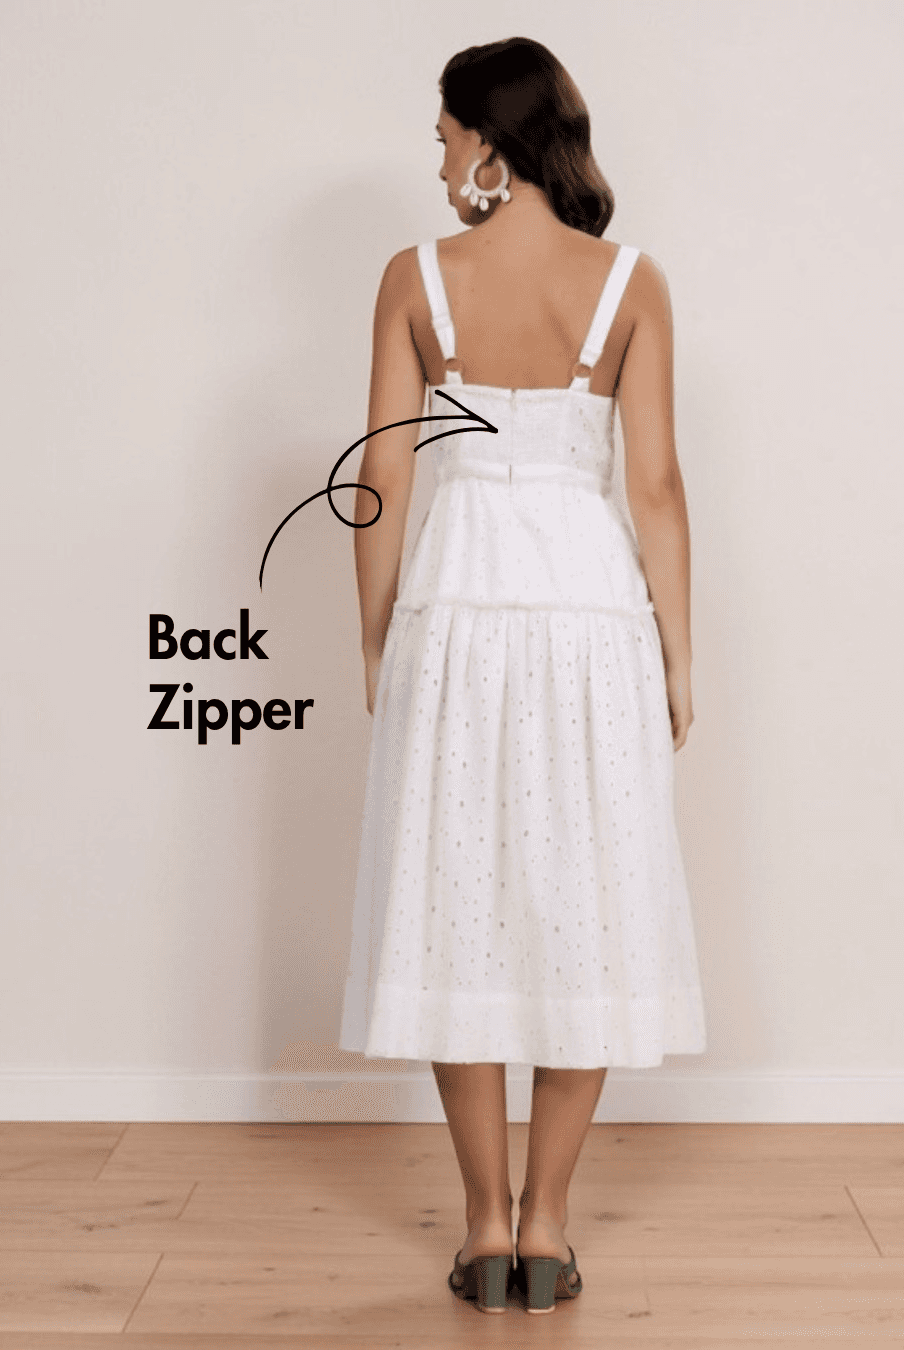
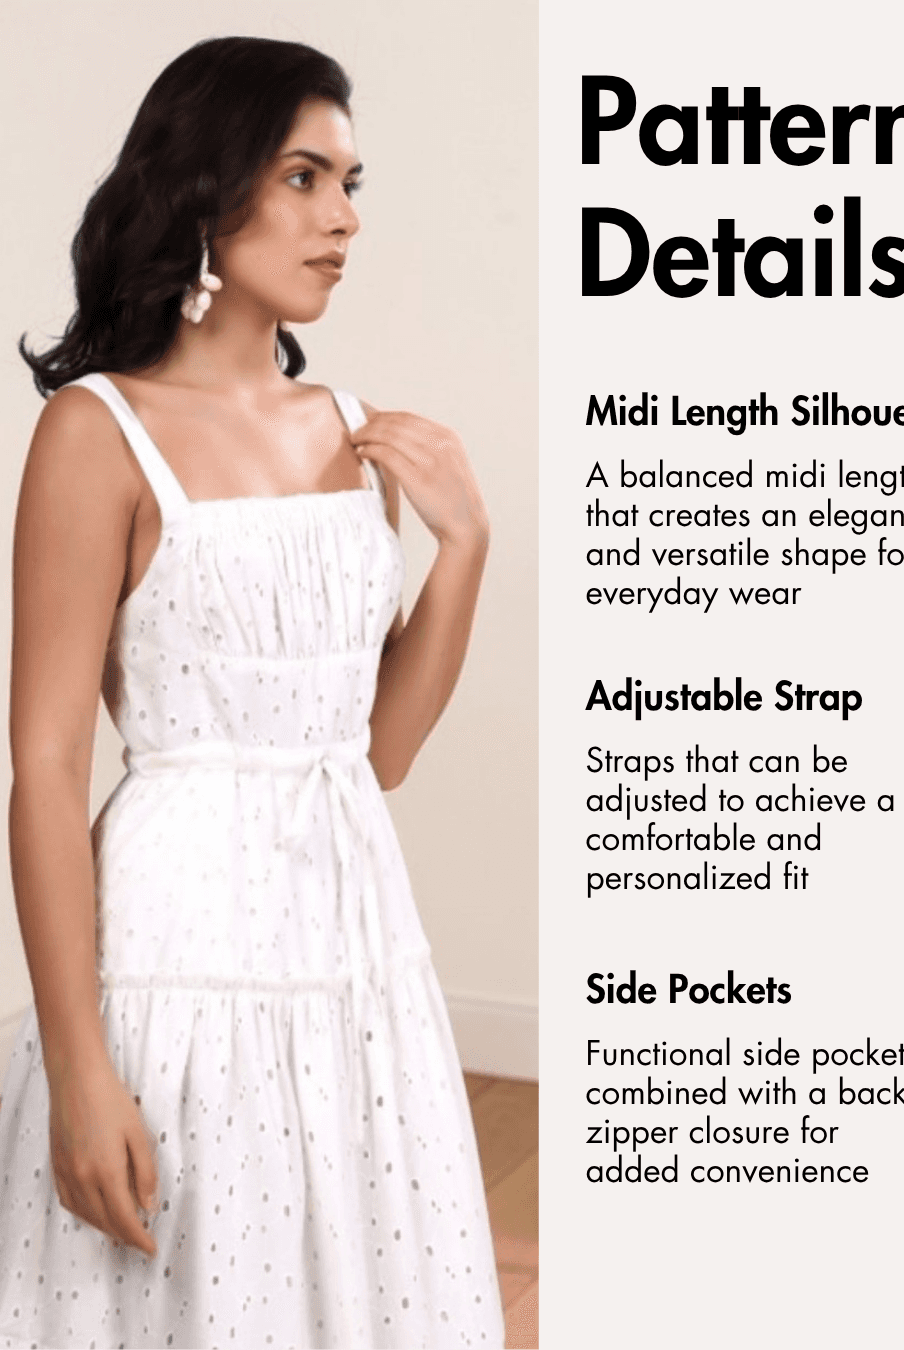
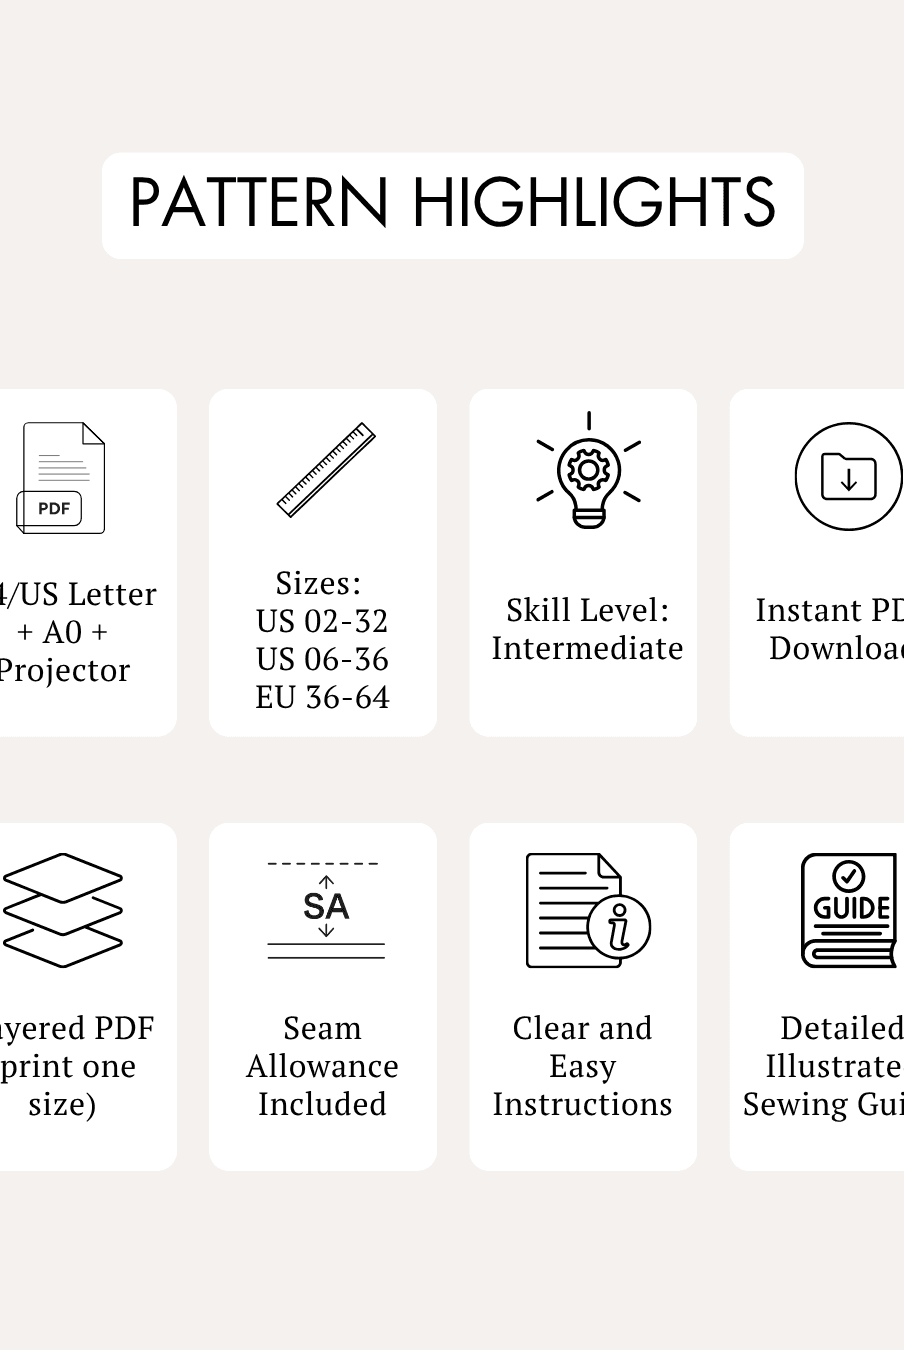
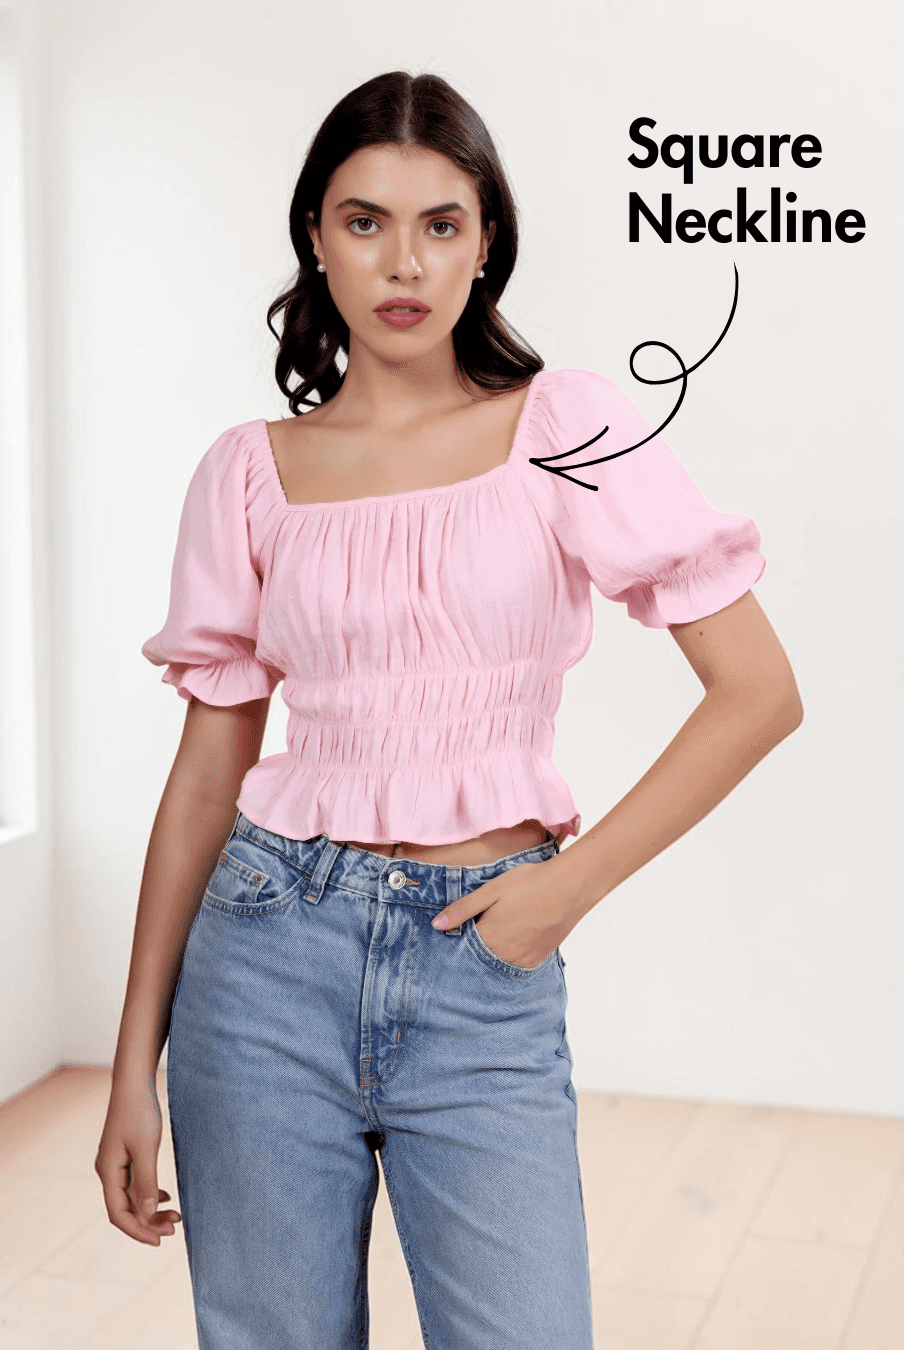
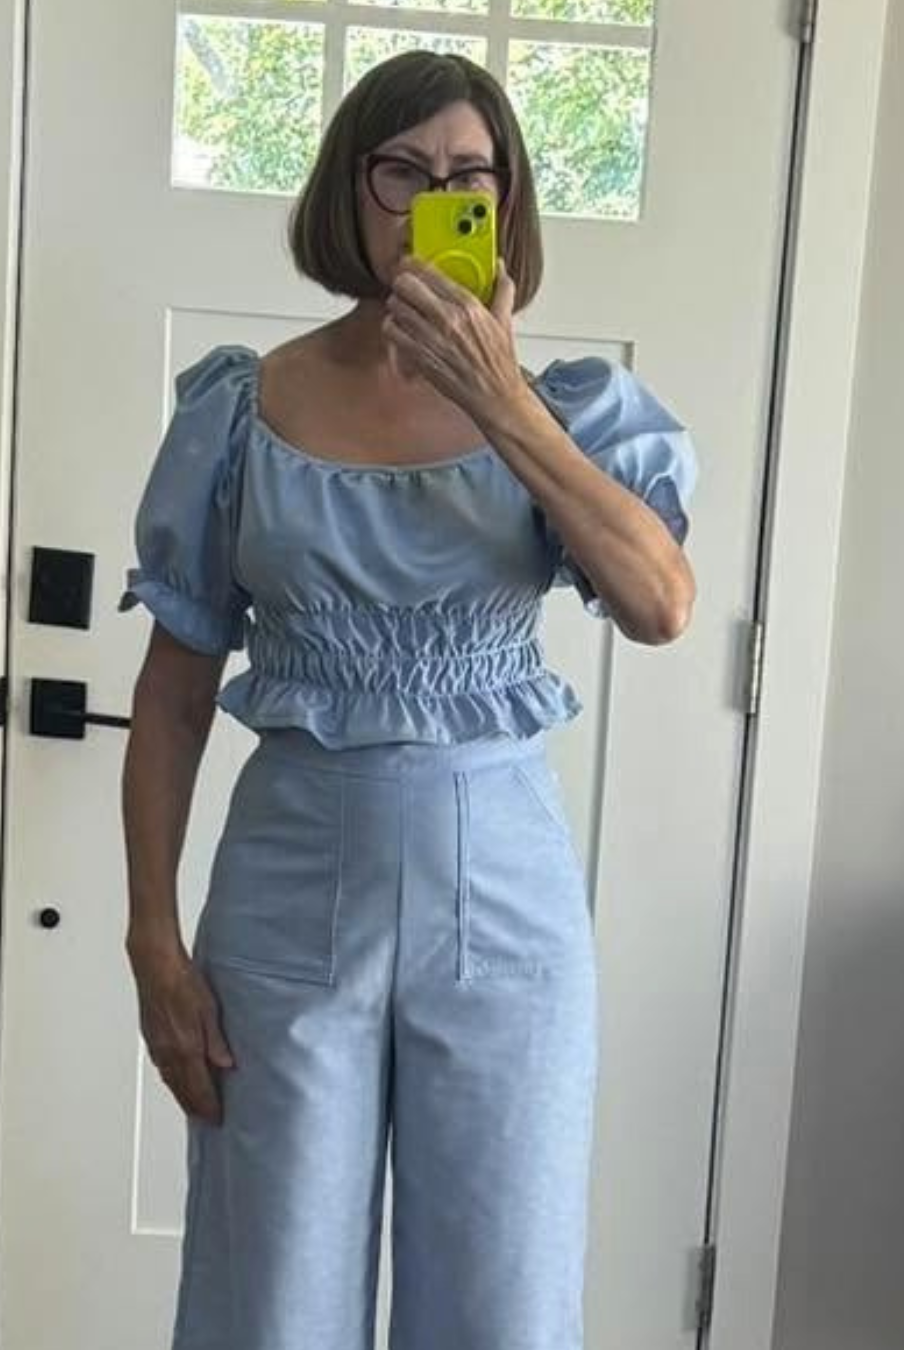
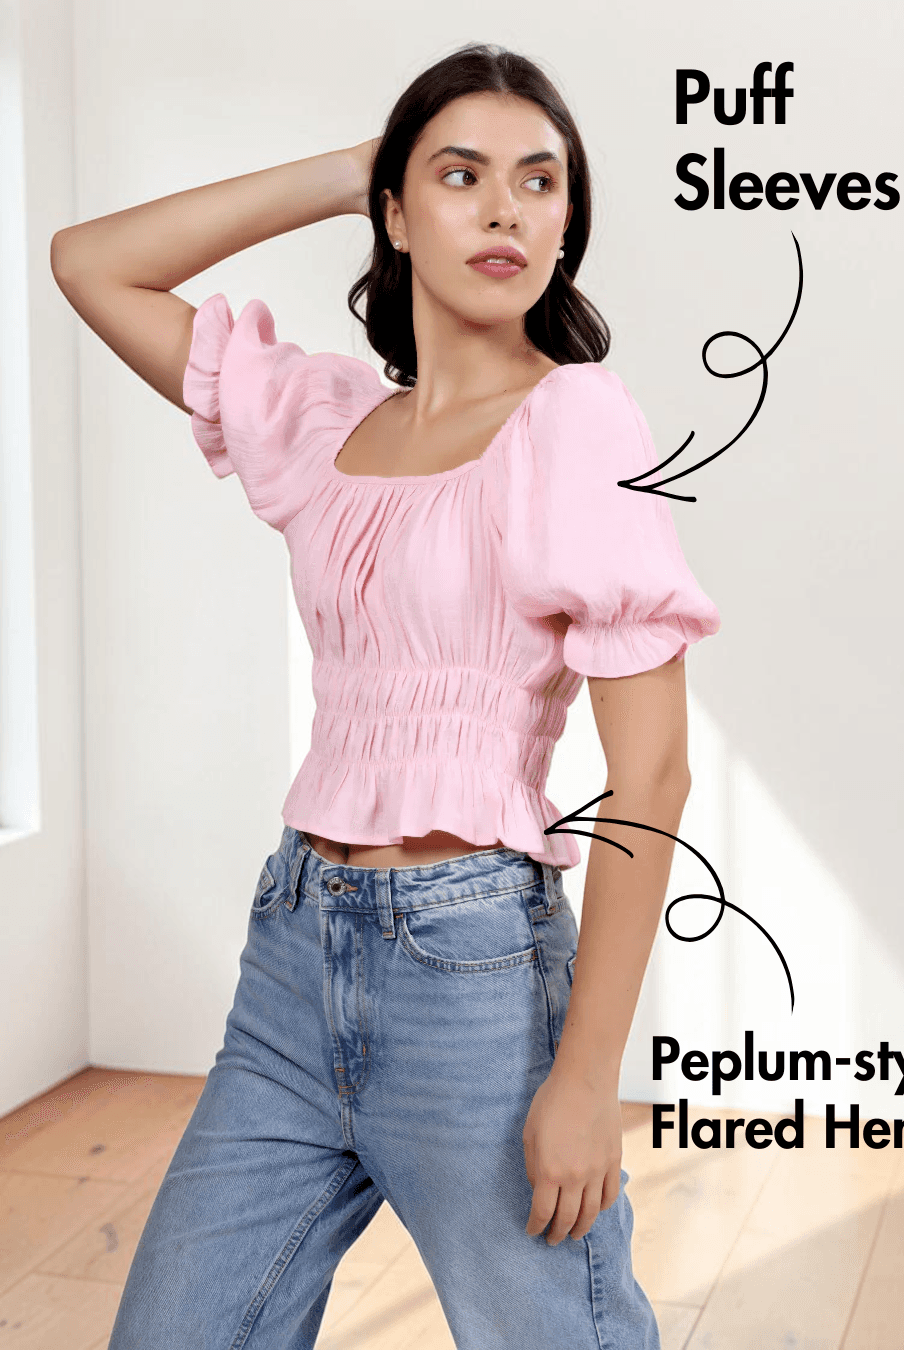
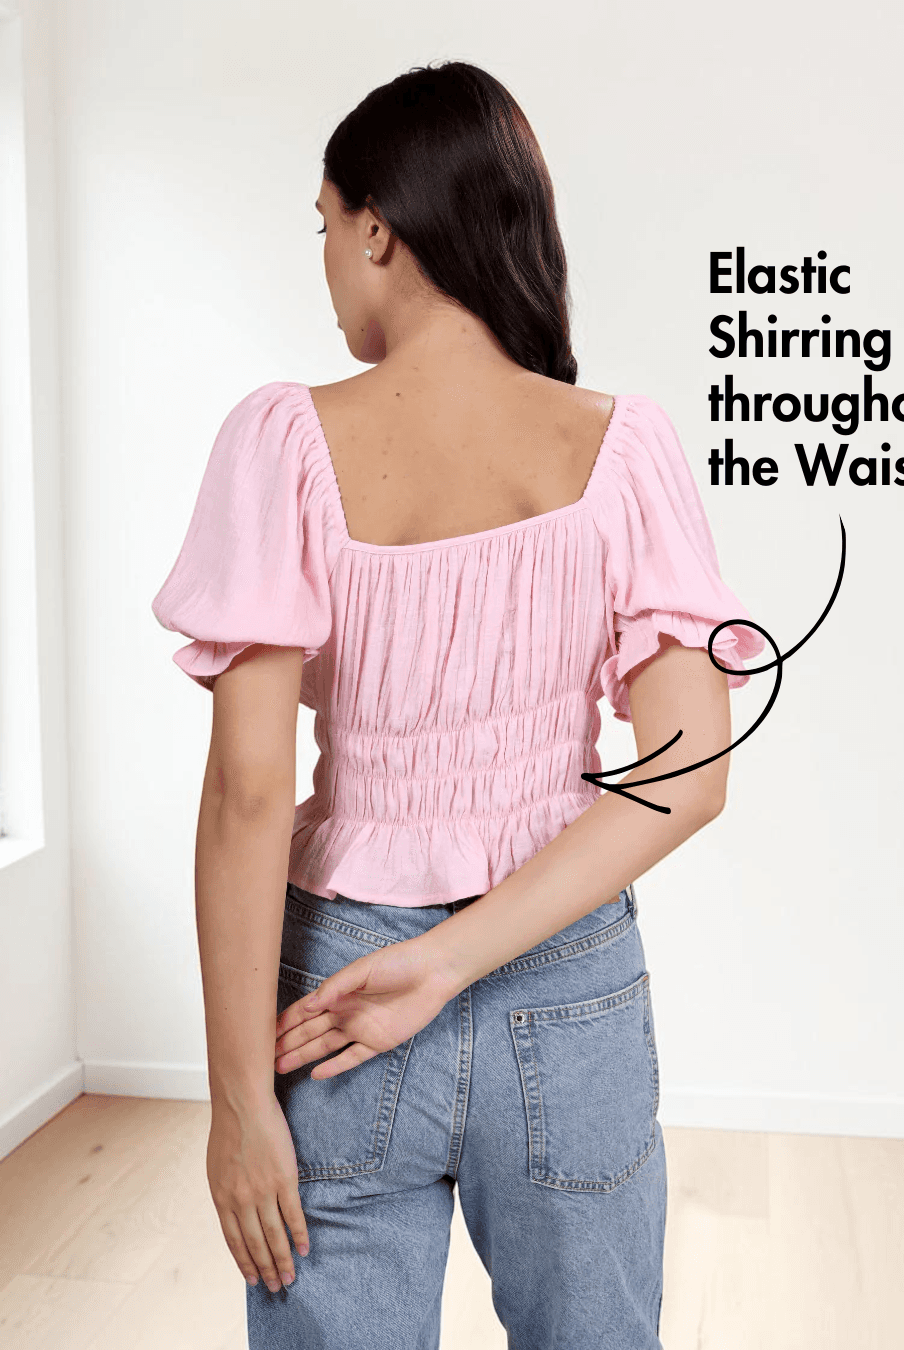
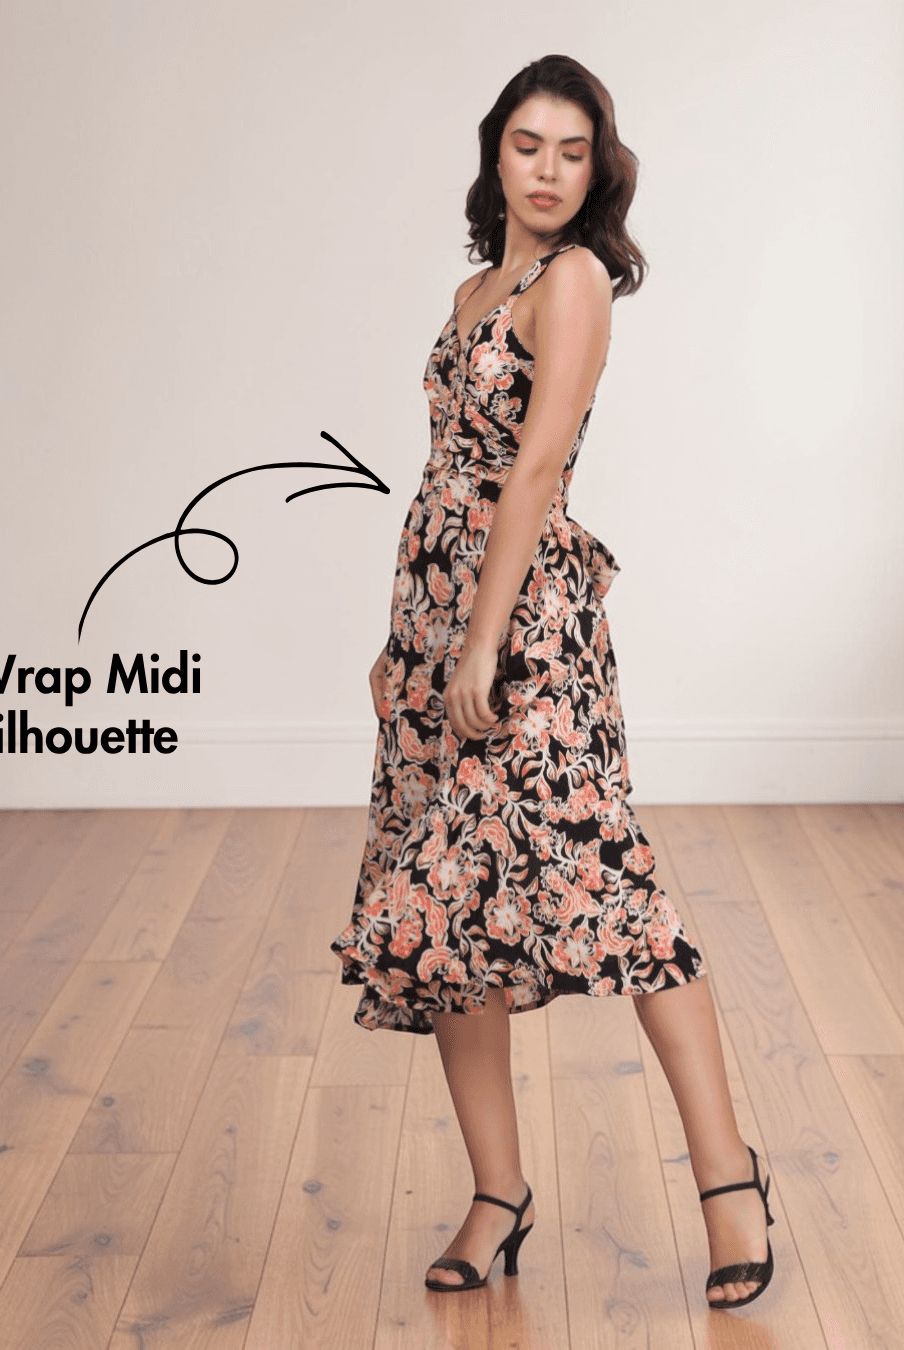
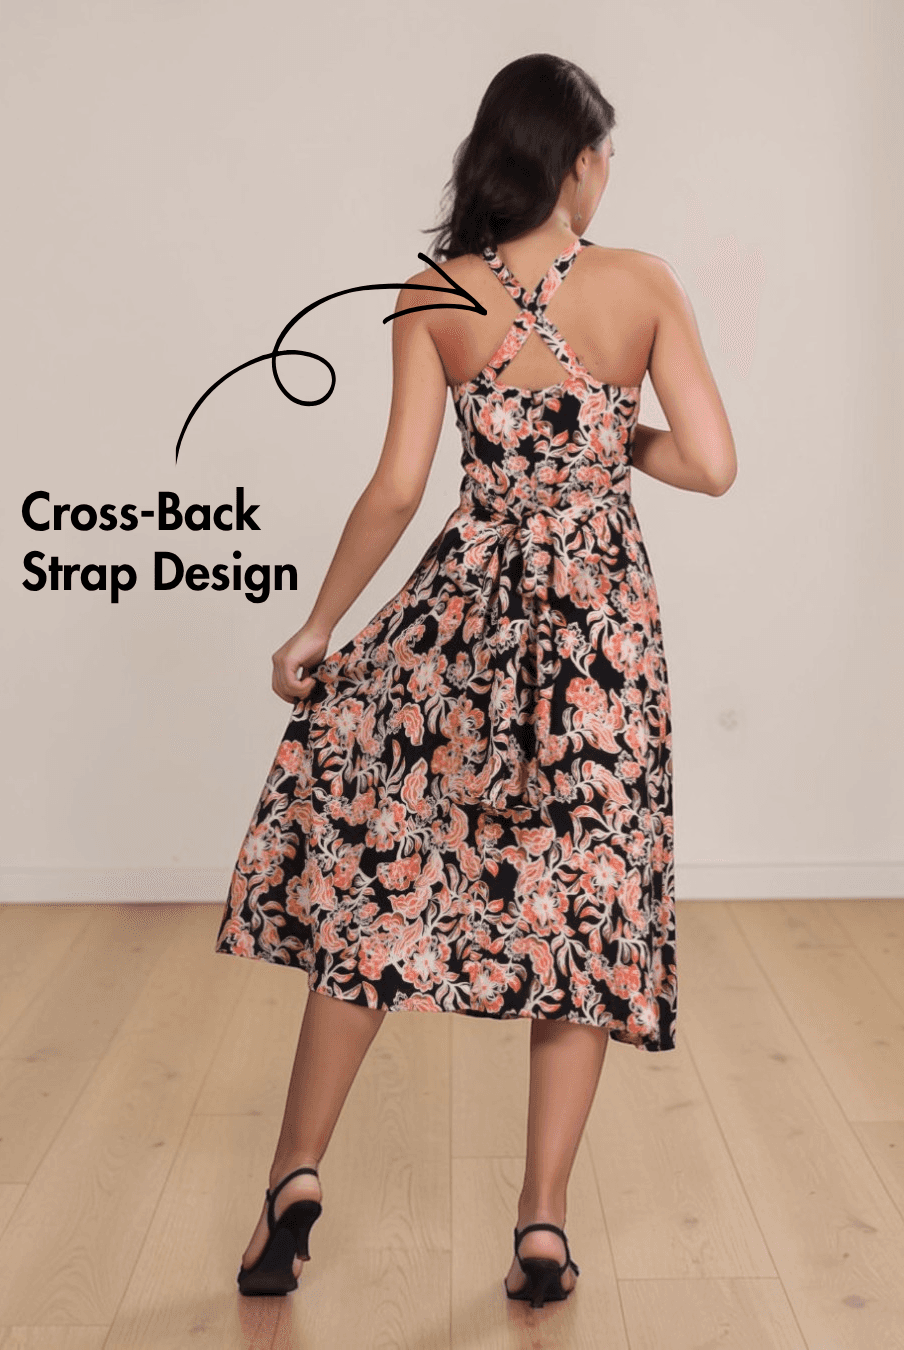
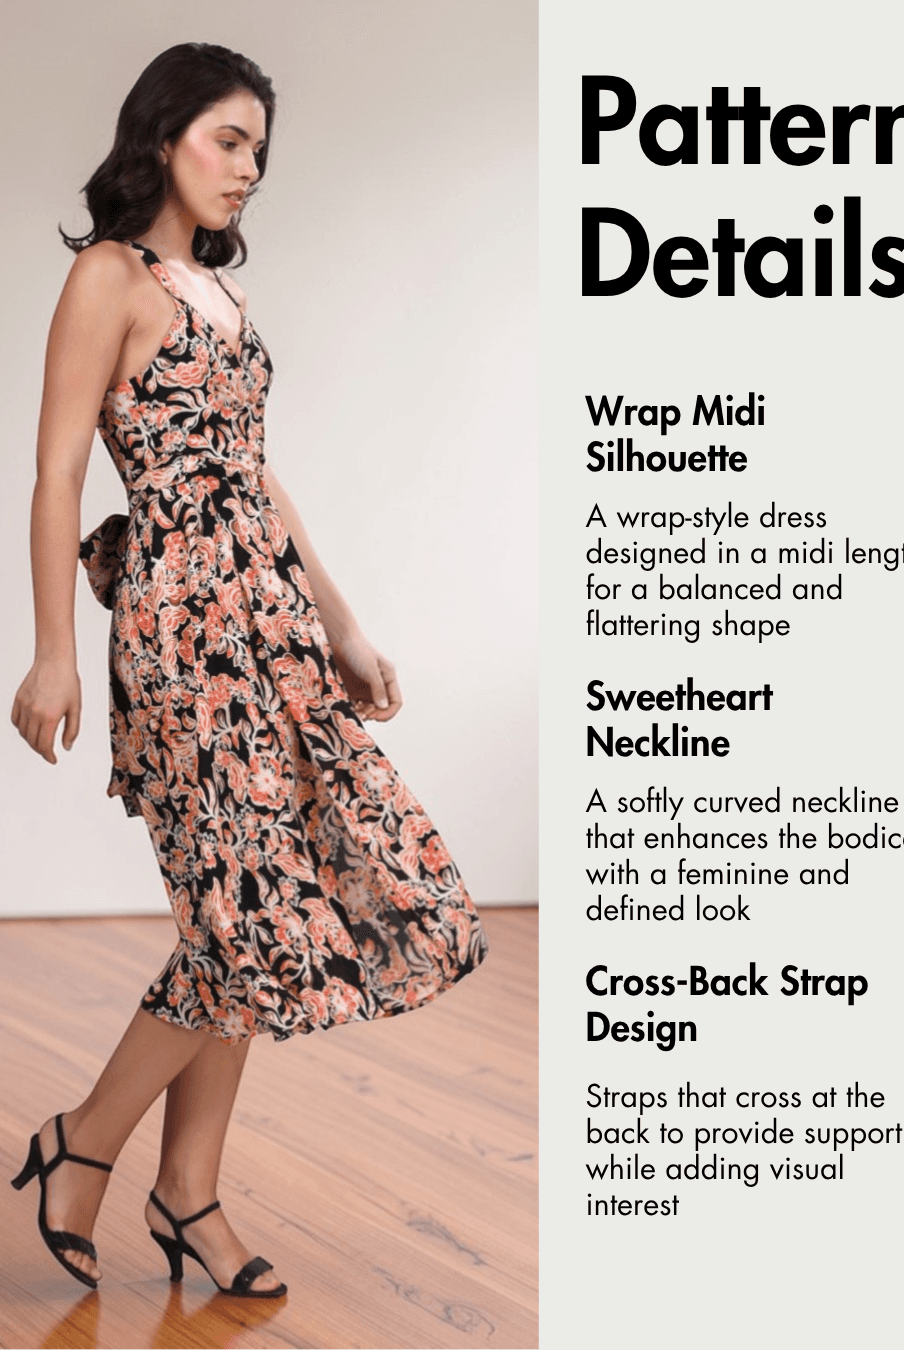
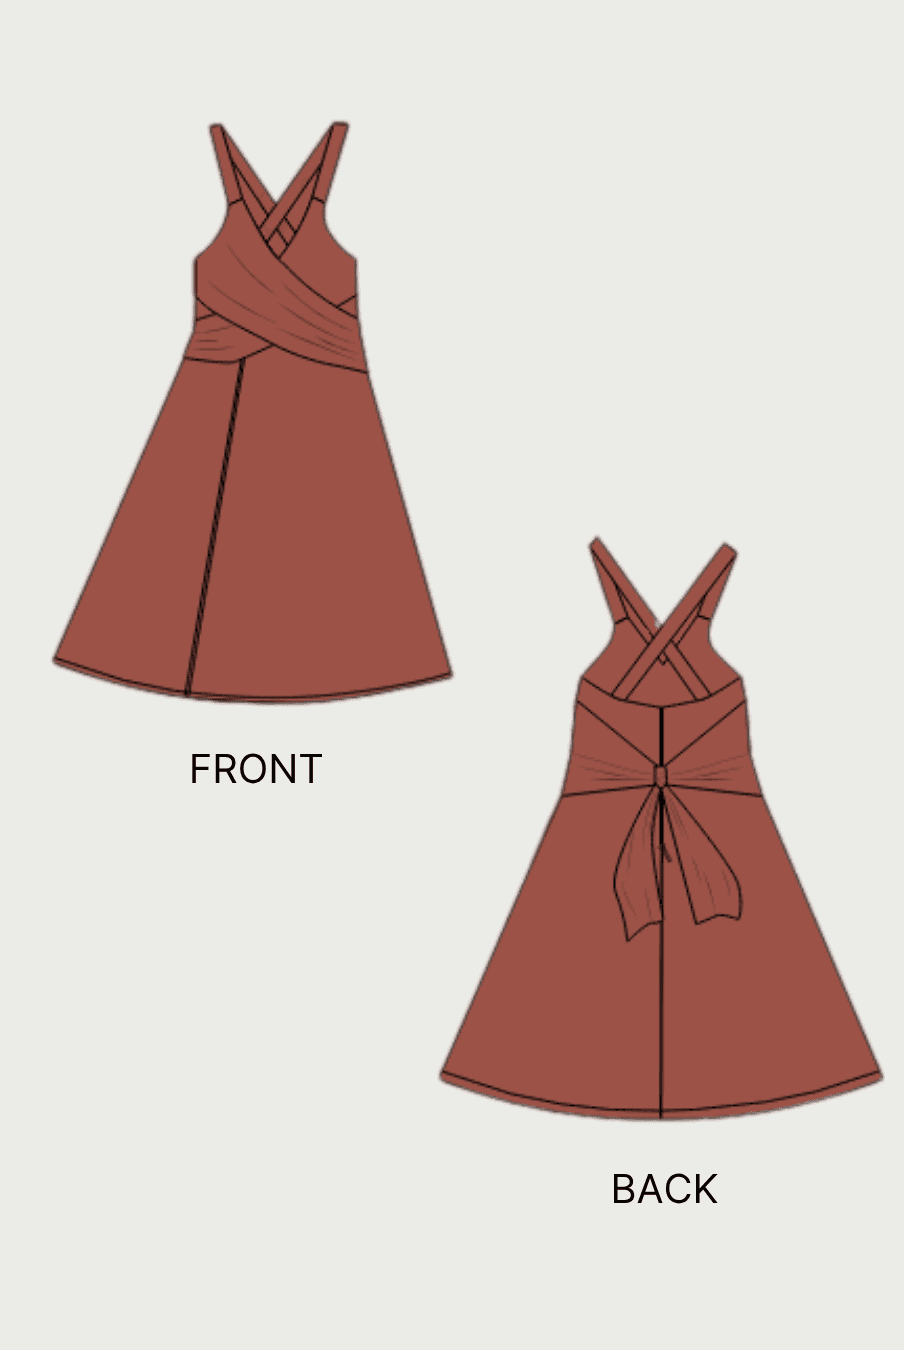
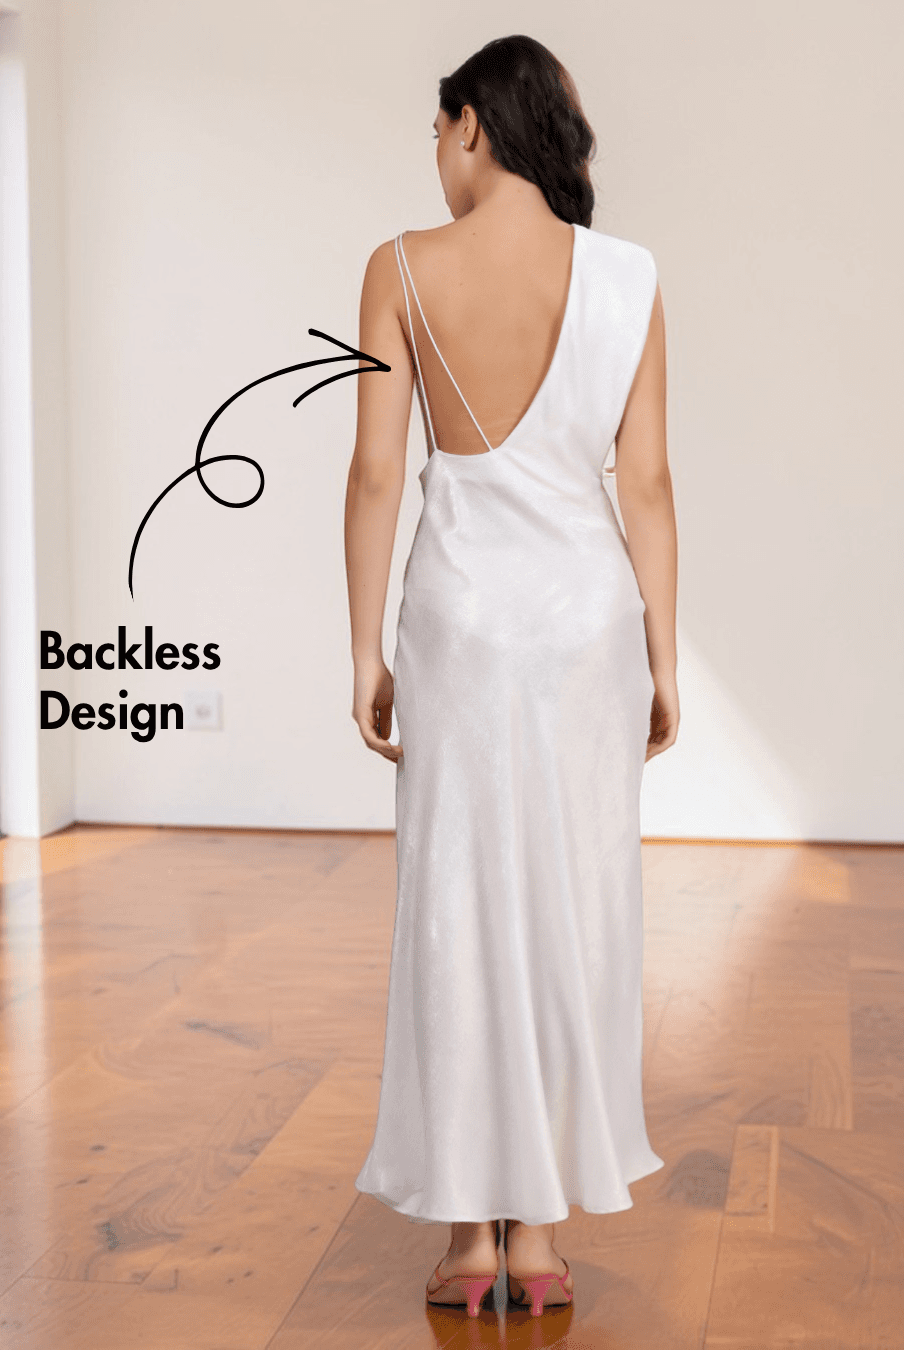
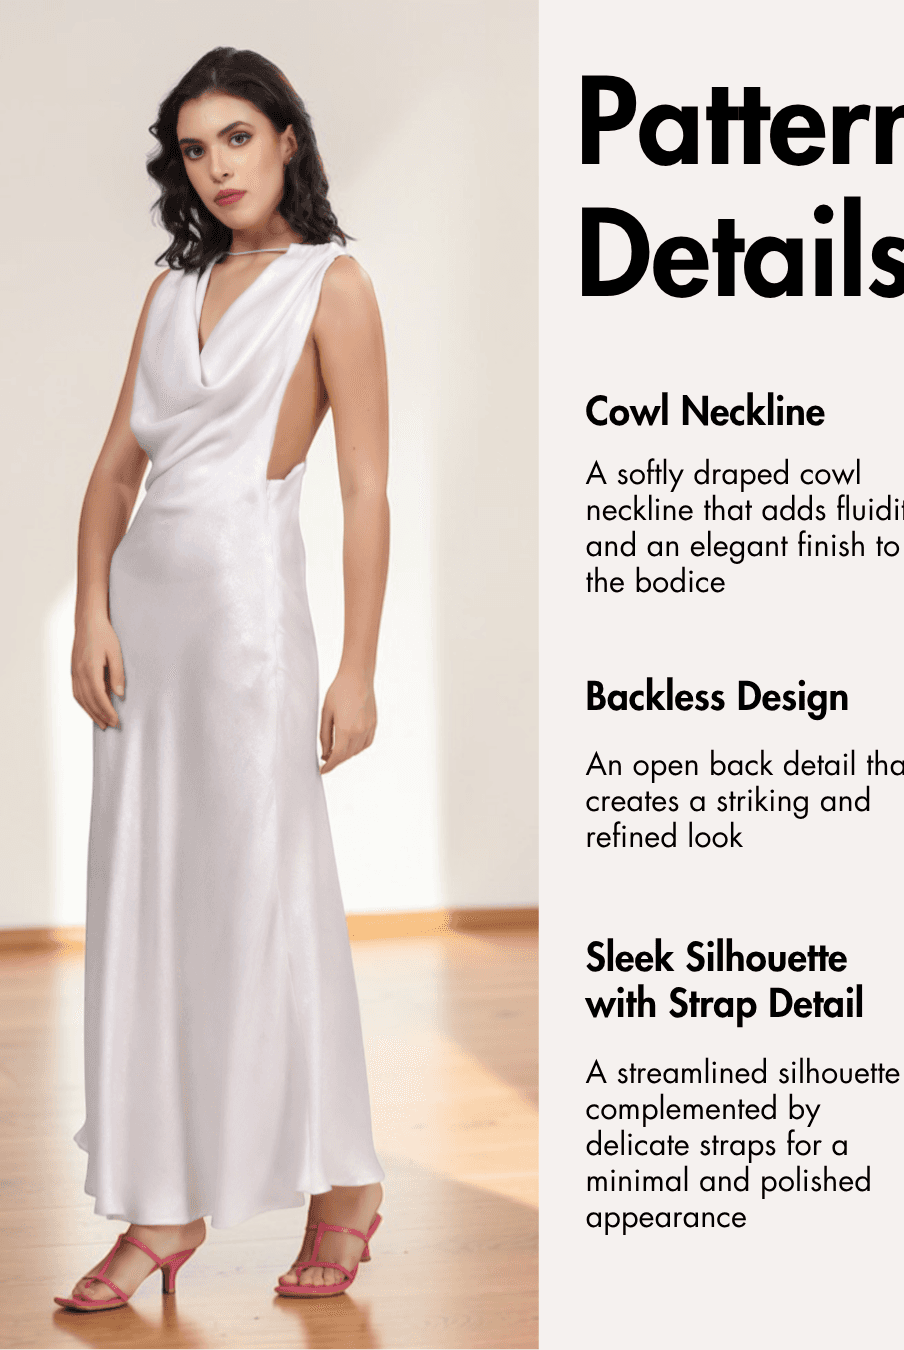
A formal jumpsuit is a sophisticated alternative to a dress, offering the perfect balance of elegance and comfort. Whether you're sewing for a wedding, an evening event, the office, or a special occasion, making your own jumpsuit allows you to choose the perfect fabric and create a garment tailored to your measurements.
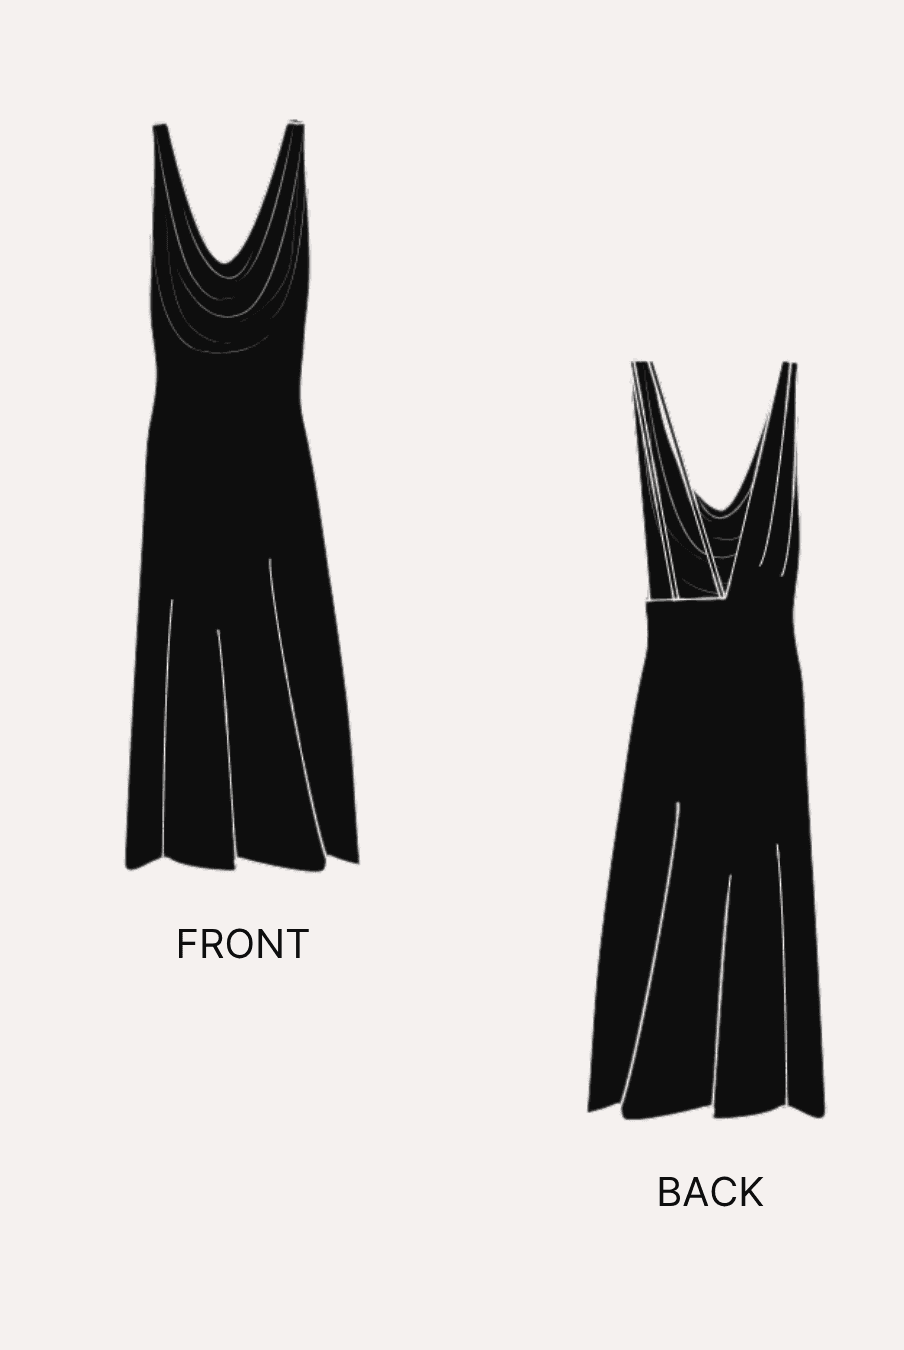
The Vivian Formal Jumpsuit Pattern by Winslet's is an excellent choice for sewists who want a polished, sleeveless jumpsuit with clean lines and a flattering fit-and-flare silhouette. Designed for easy-level sewists, this pattern features a fitted bodice, wide-leg trousers, neckline and armhole binding, and a center back zipper for a refined finish.

Why Sew a Formal Jumpsuit?
- Create an elegant one-piece outfit suitable for formal and semi-formal occasions.
- Enjoy a flattering fit-and-flare silhouette that complements many body shapes.
- The sleeveless design makes it comfortable while remaining easy to layer with jackets or blazers.
- Wide-leg trousers provide graceful movement and a polished appearance.
- Sewing your own jumpsuit allows you to customize the fabric and achieve a better fit.
- A handmade formal jumpsuit becomes a versatile wardrobe staple for celebrations, parties, dinners, and professional events.
Why Choose the Winslet's Vivian Formal Jumpsuit Pattern?

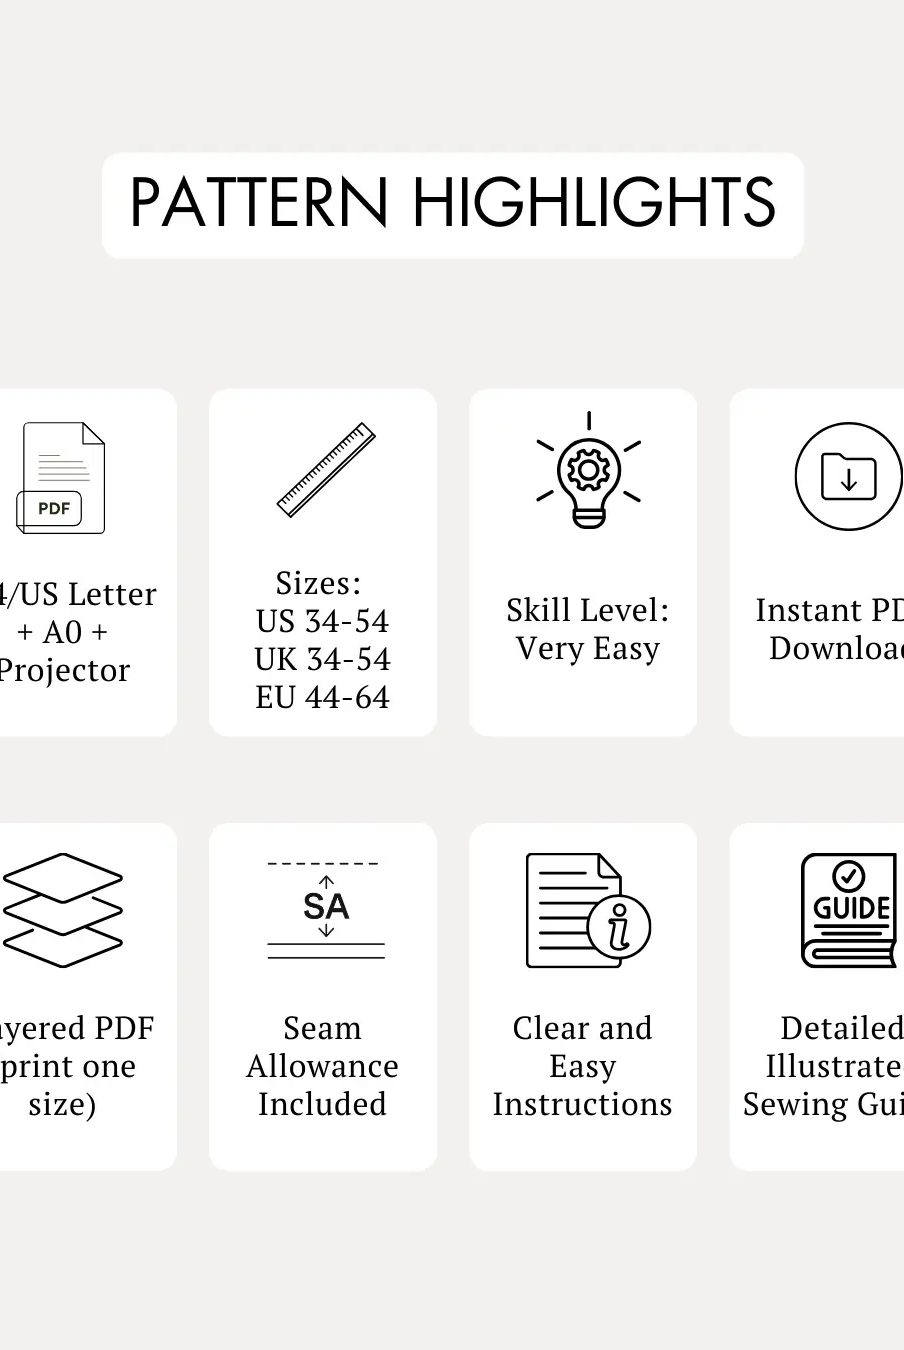
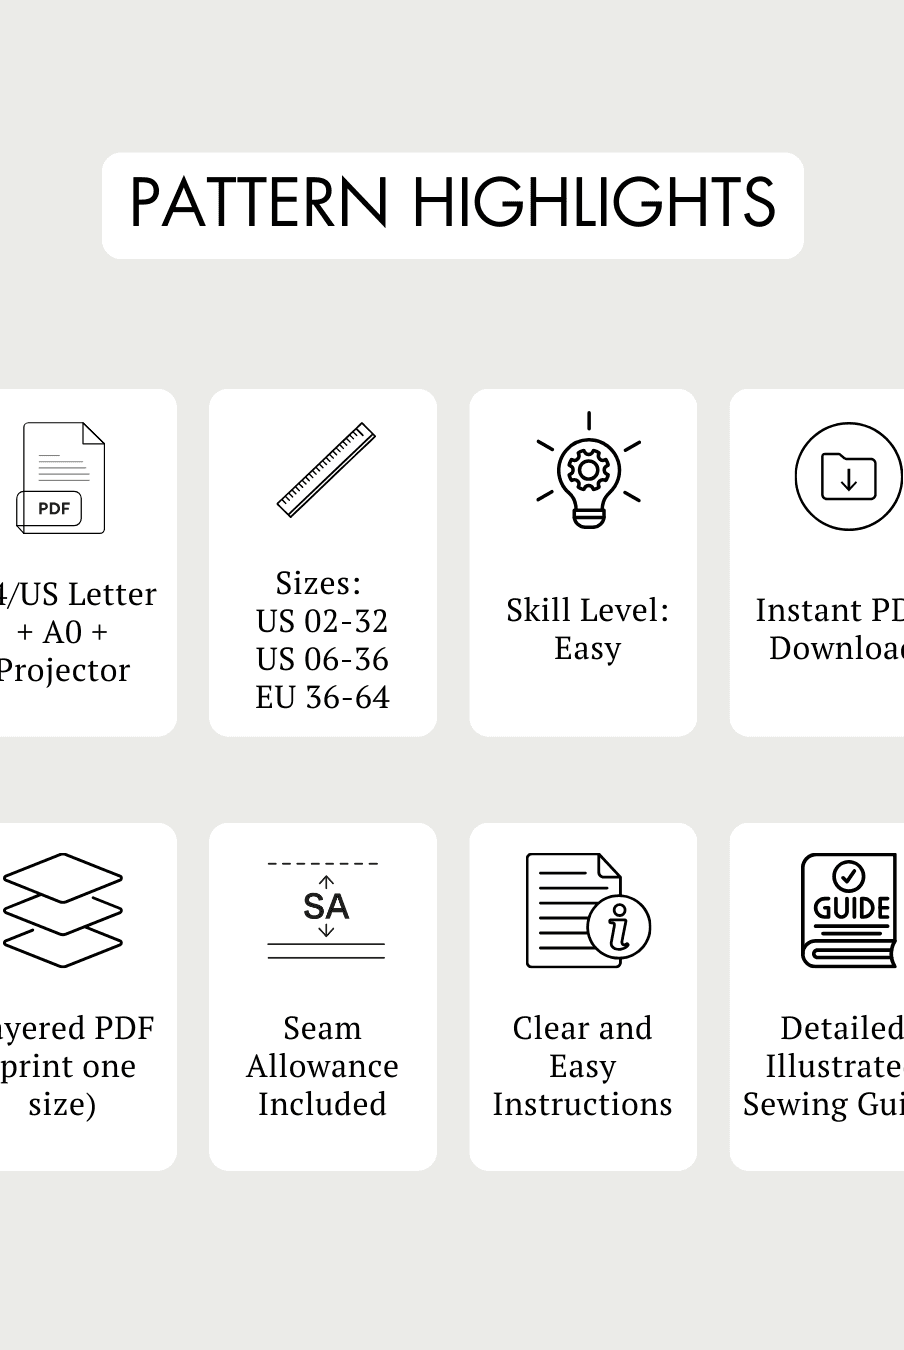
The Vivian Formal Jumpsuit Pattern by Winslet's combines elegant tailoring with straightforward construction, making it an approachable project for beginners while producing a polished finished garment.
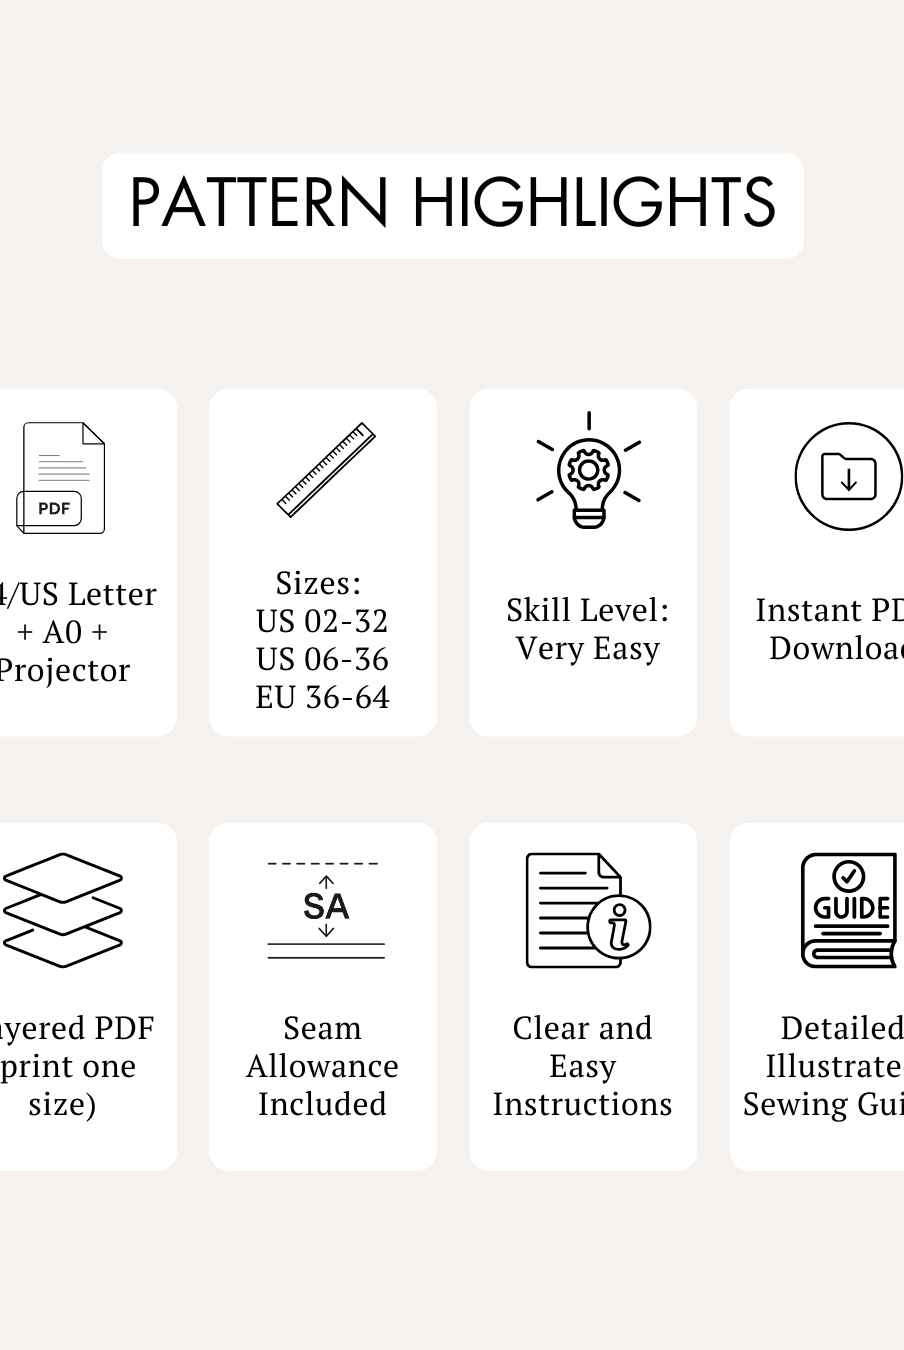
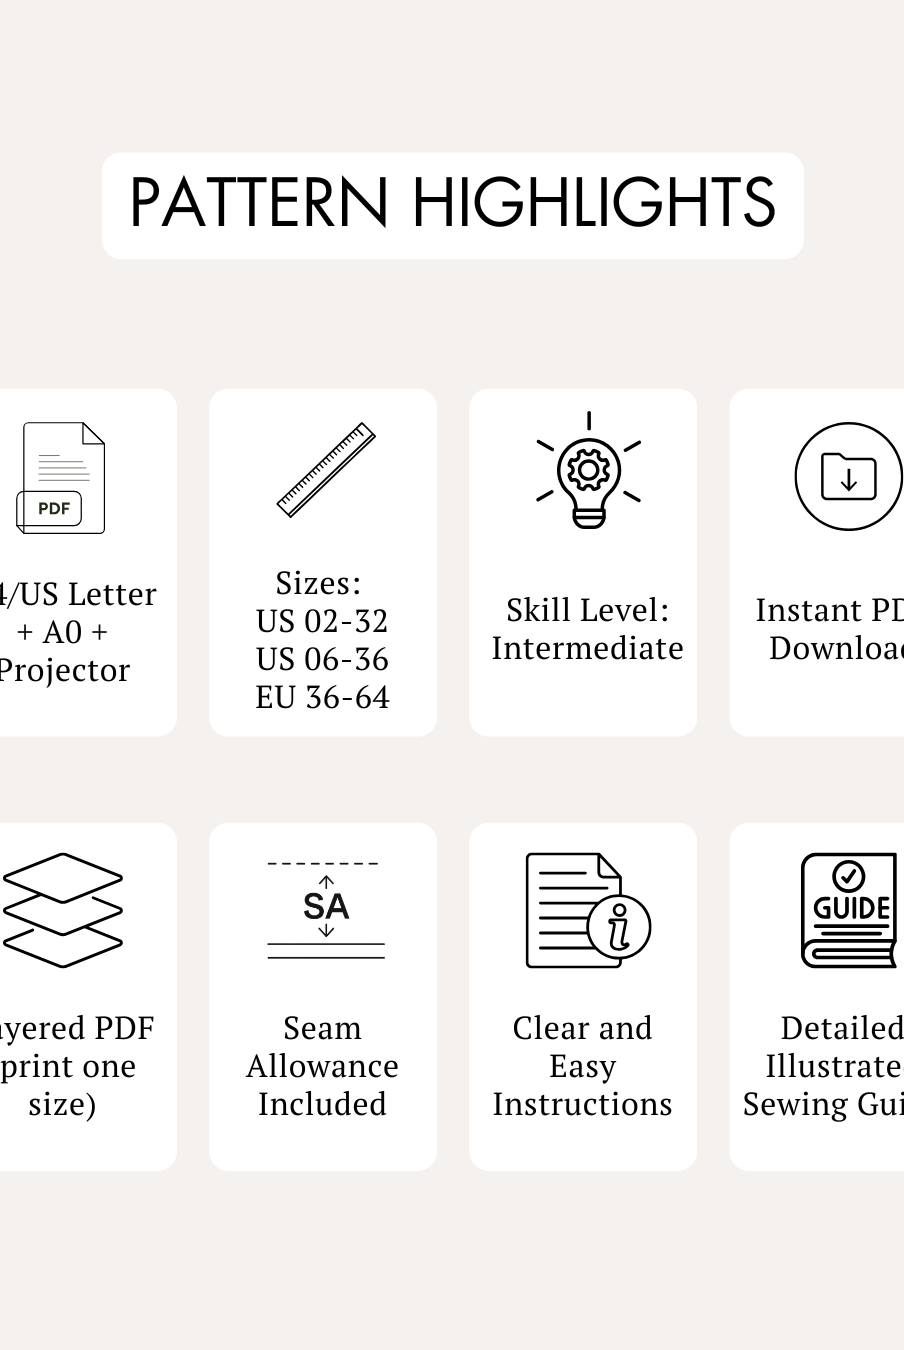
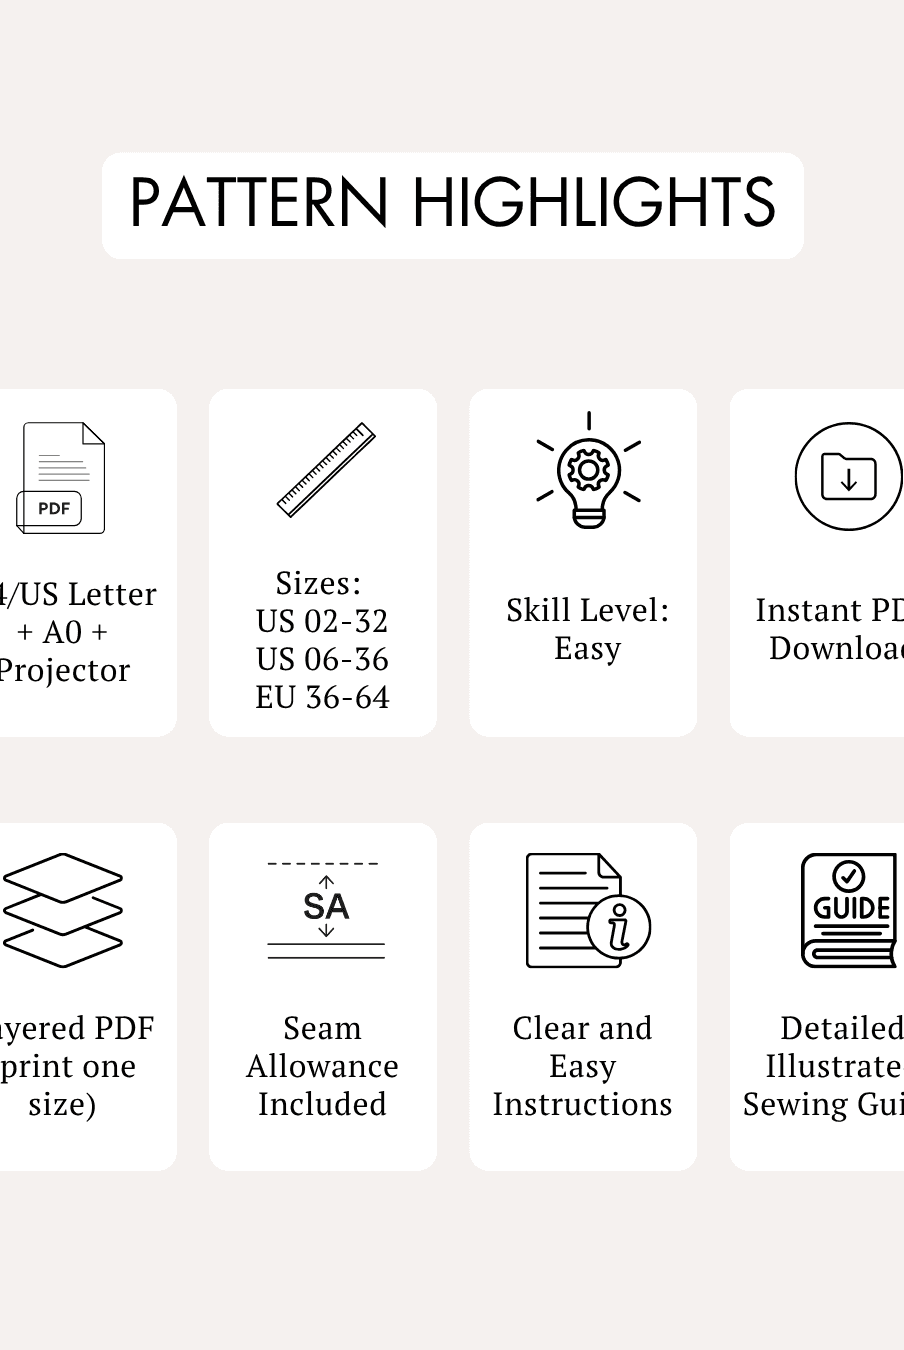
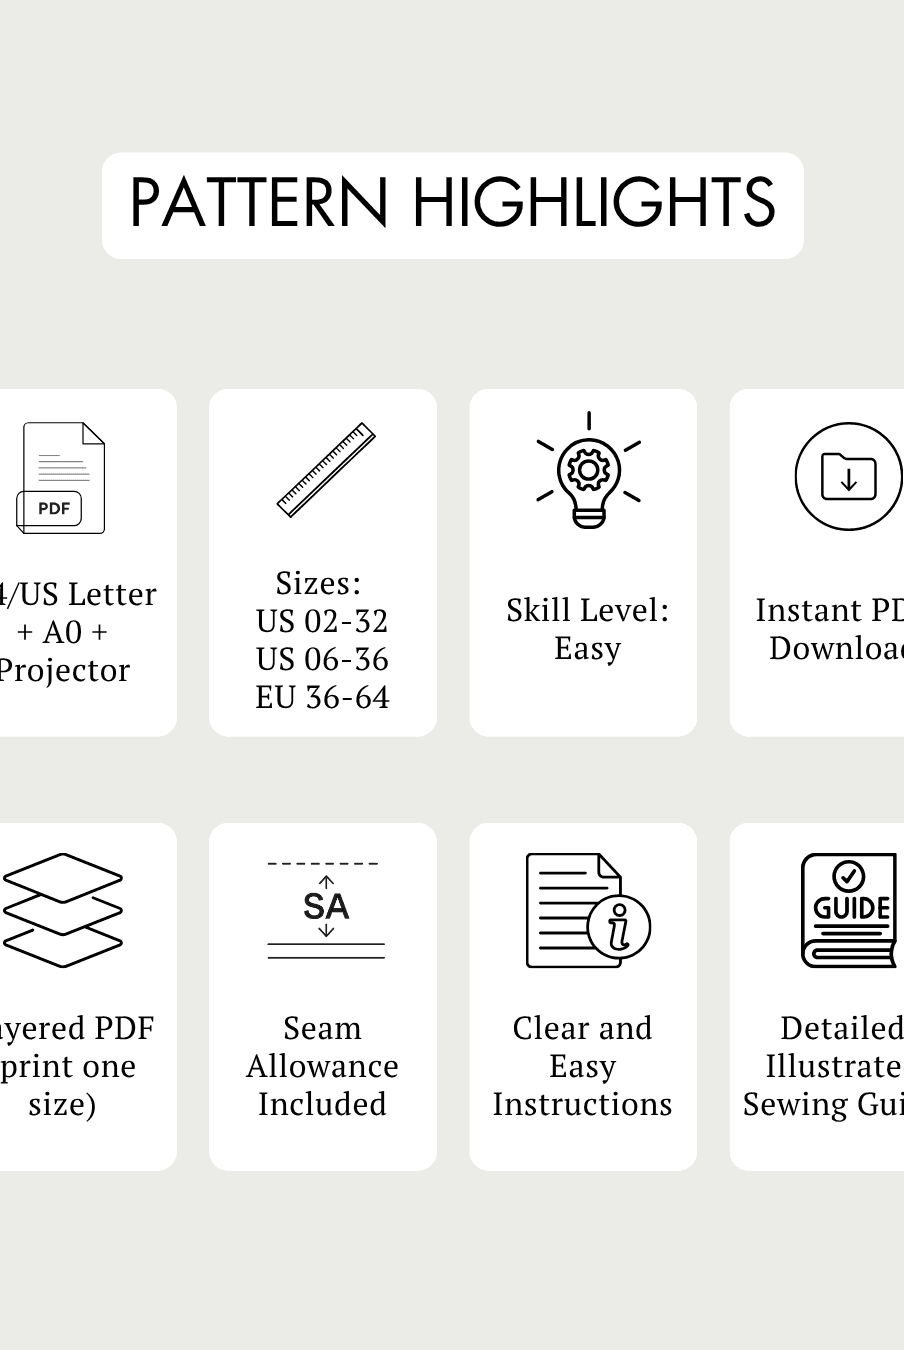
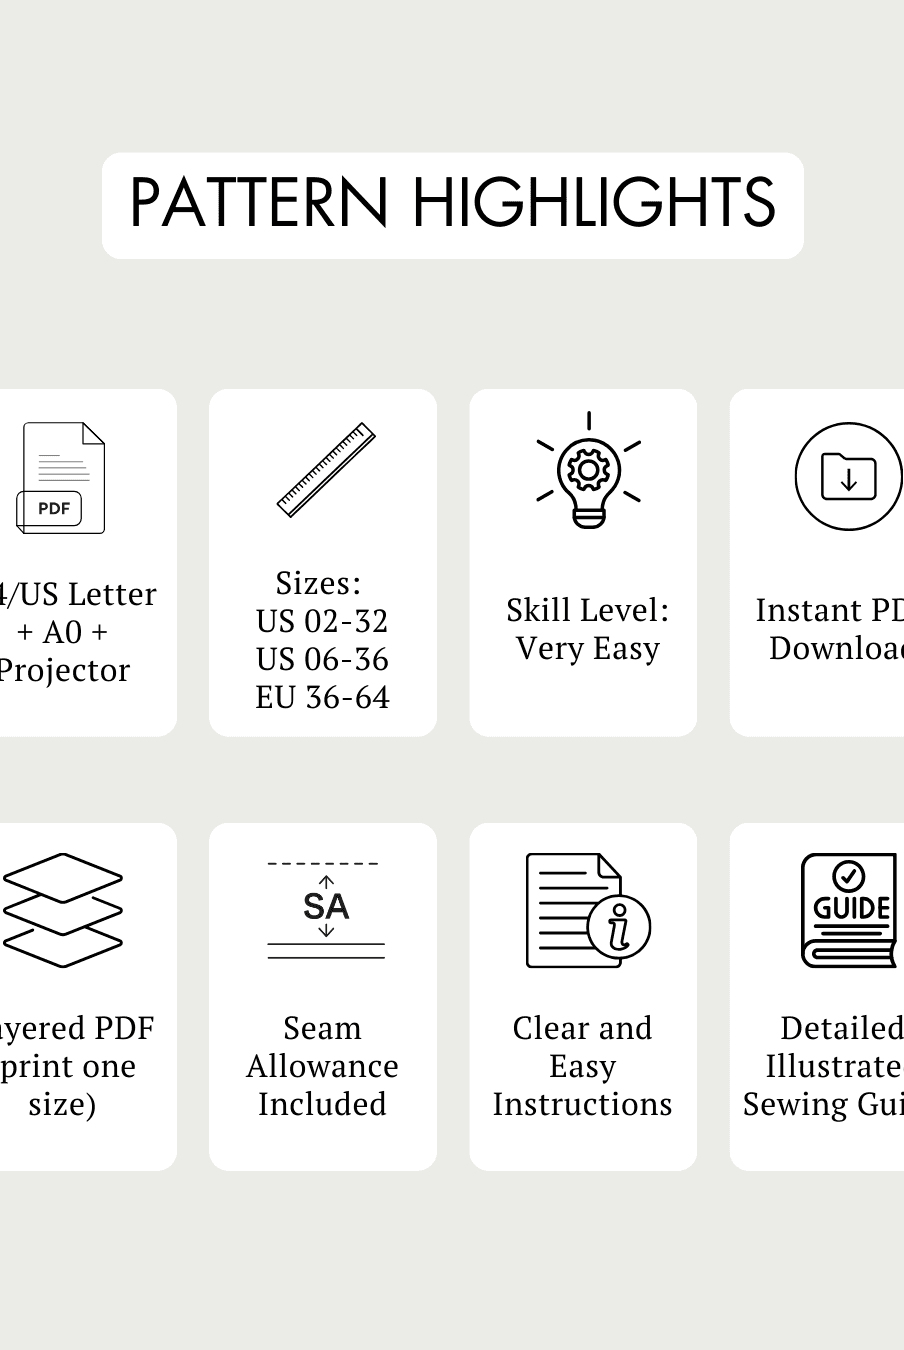
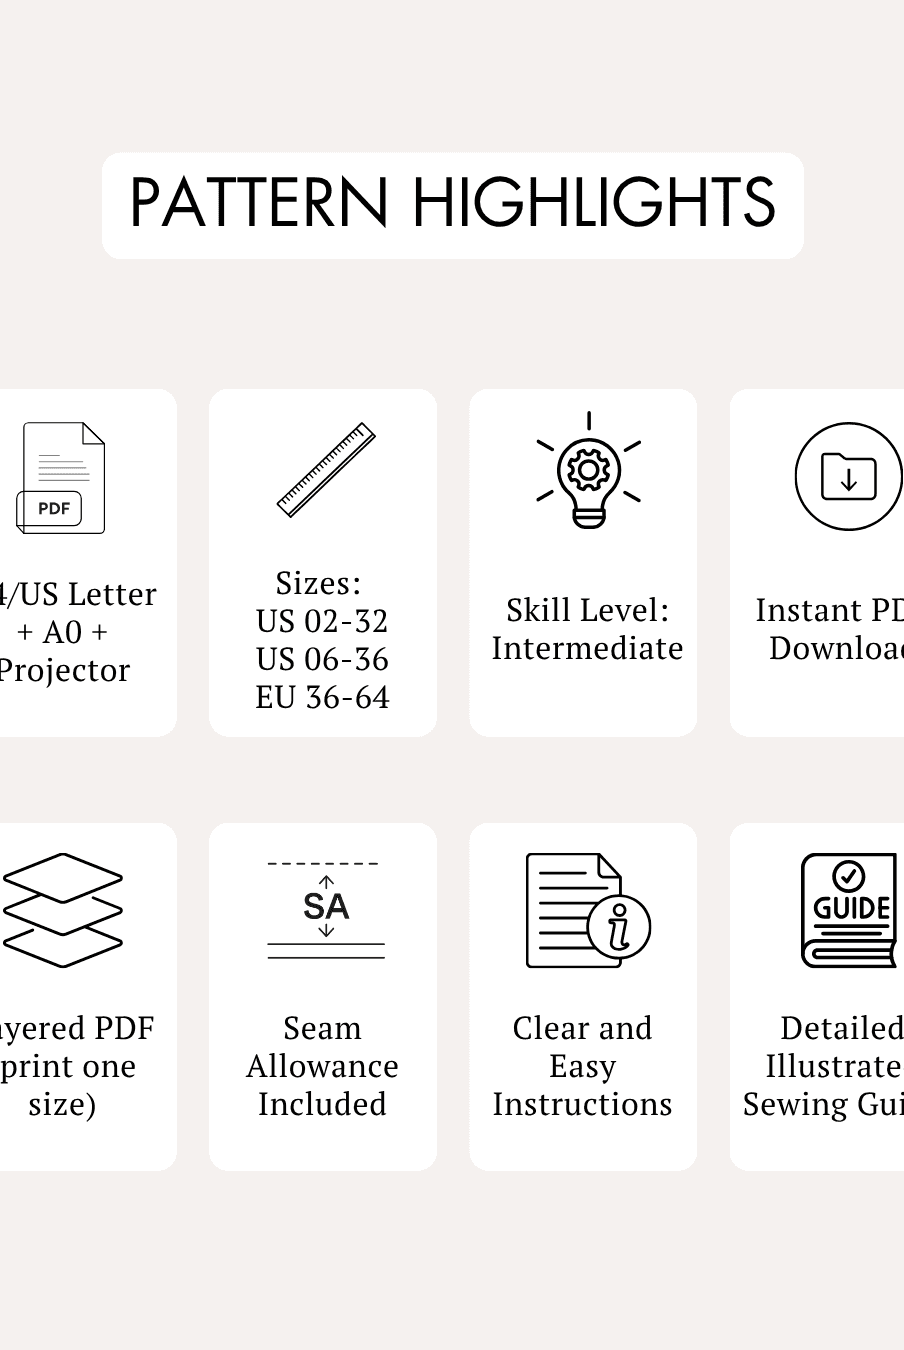
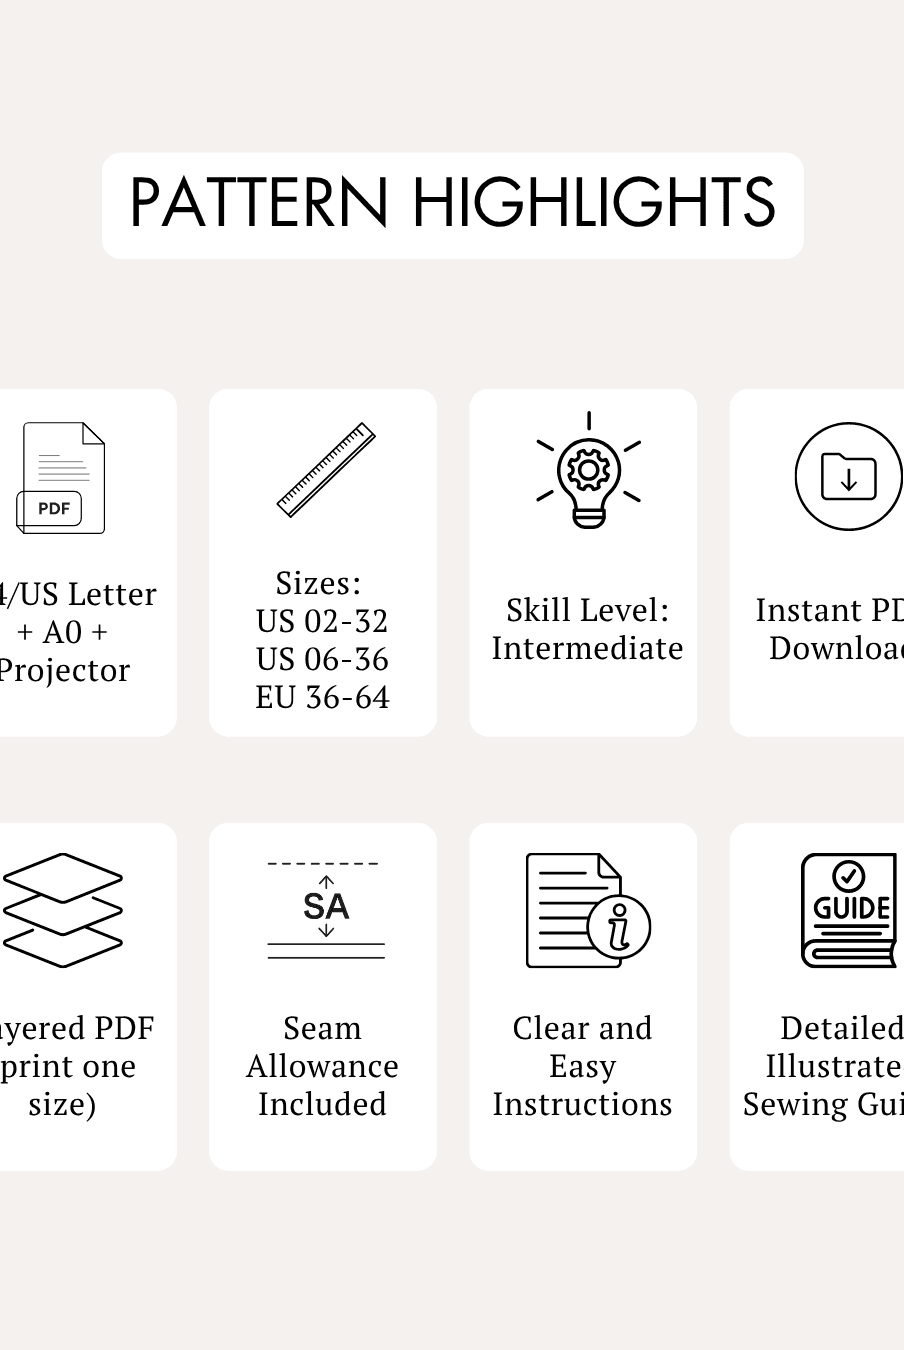
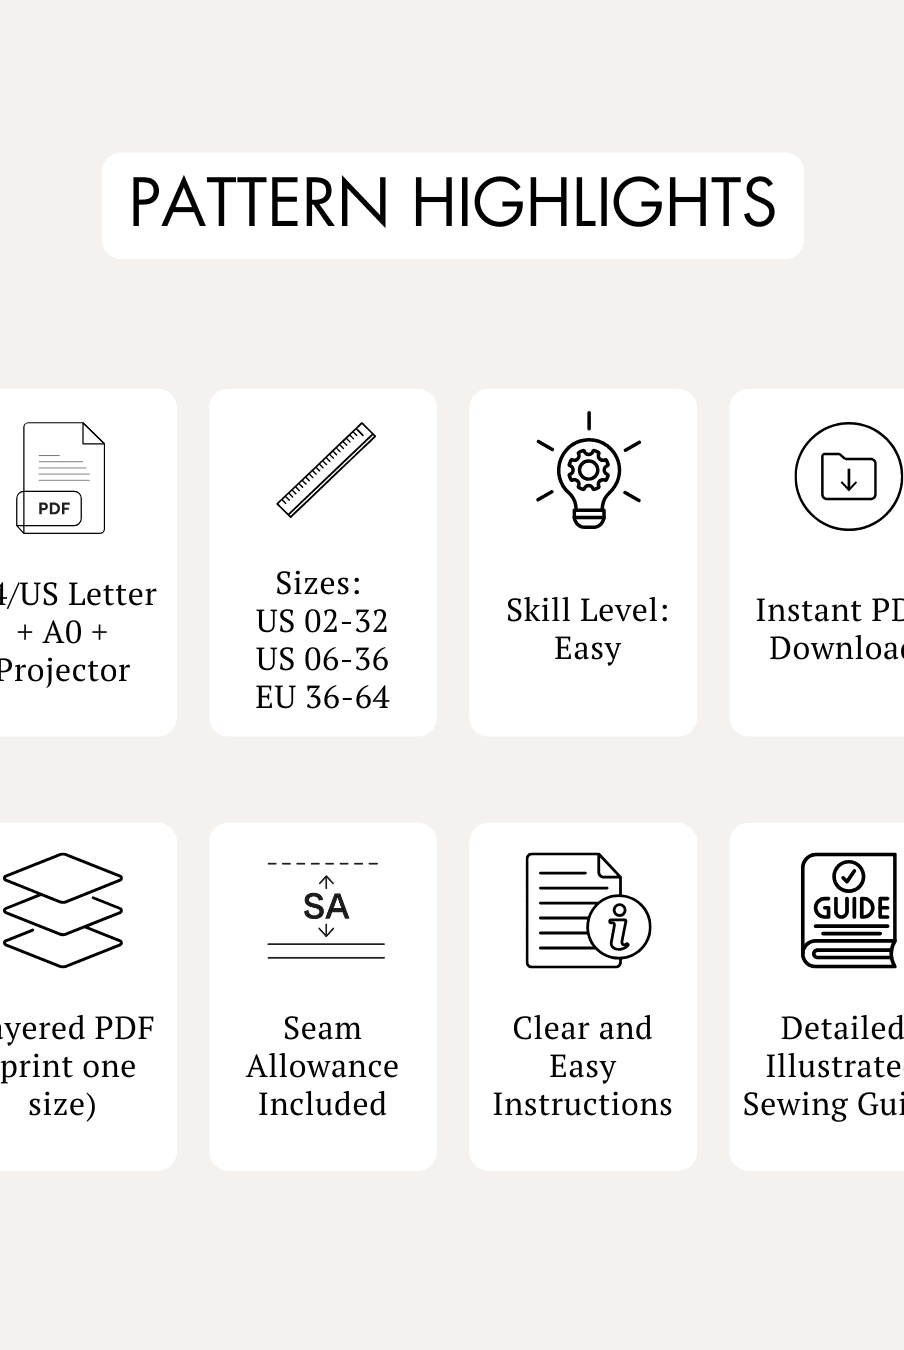
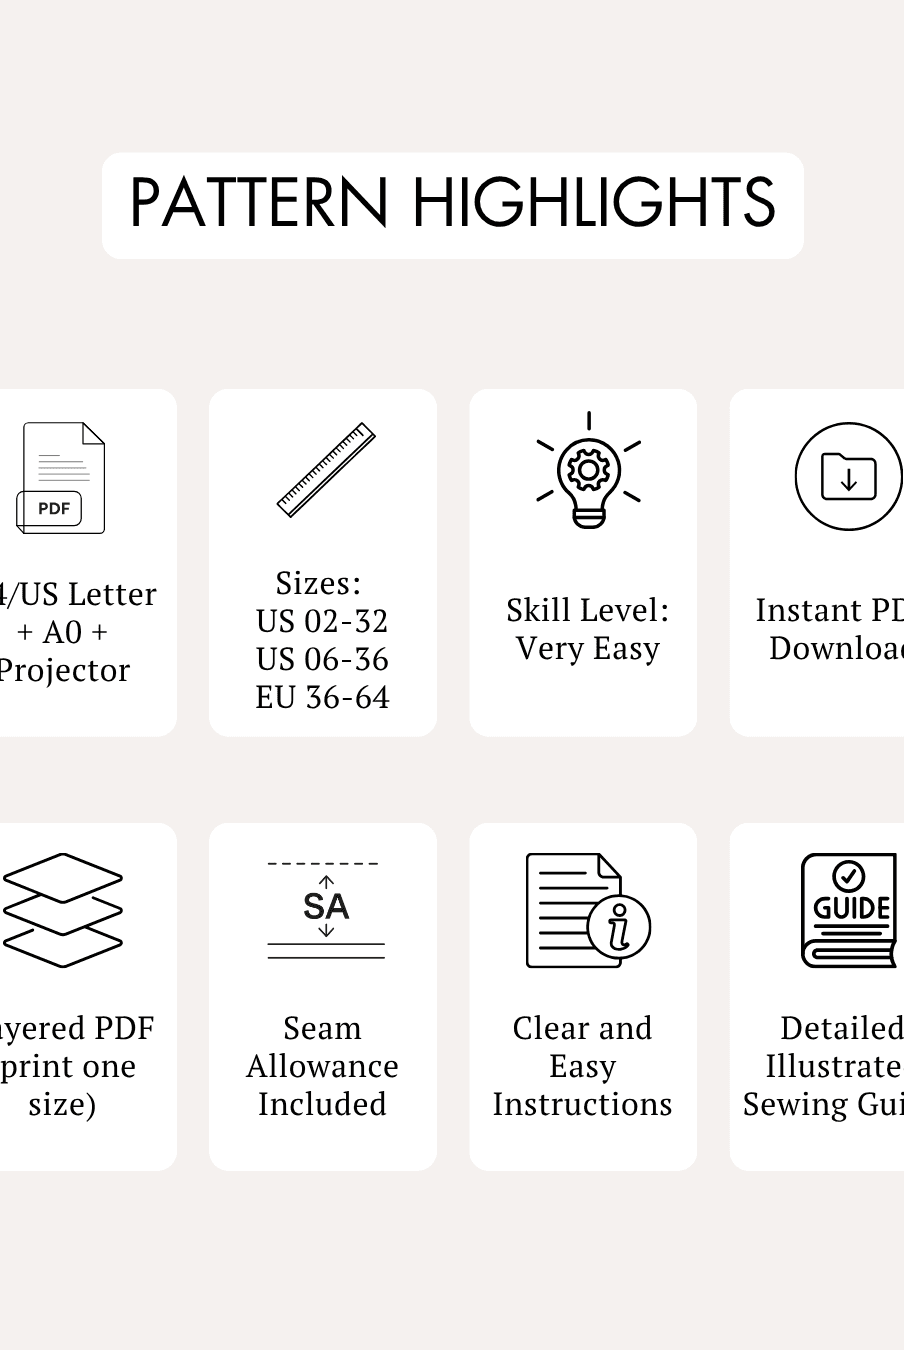
Skill Level
Easy
Key Features
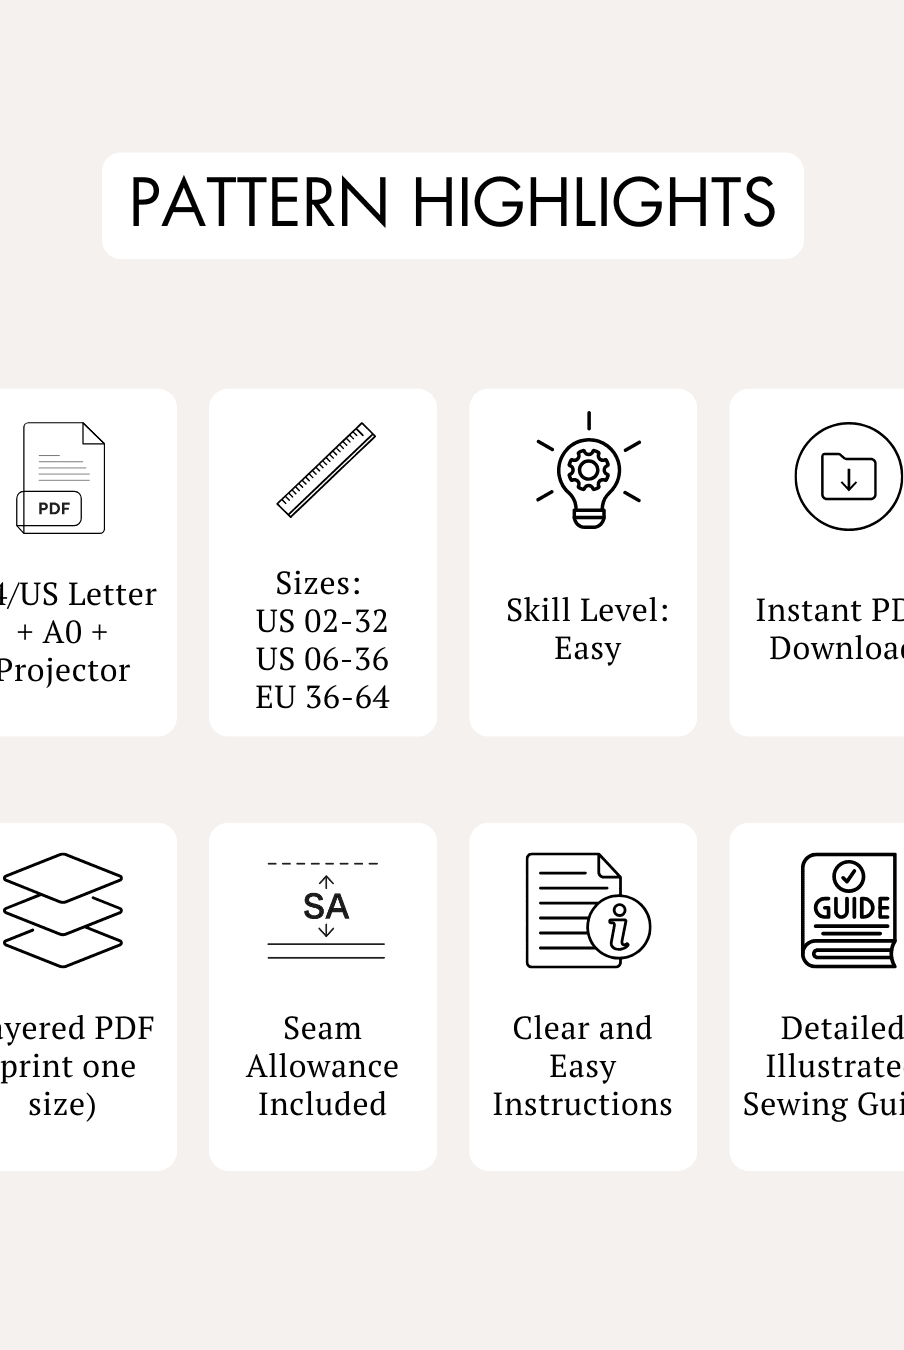
- Sleeveless bodice
- Fit and flare jumpsuit silhouette
- Wide-leg trousers
- Center back zipper
- Neckline binding
- Armhole binding
- Clean, structured design suitable for formal occasions
Available Sizes
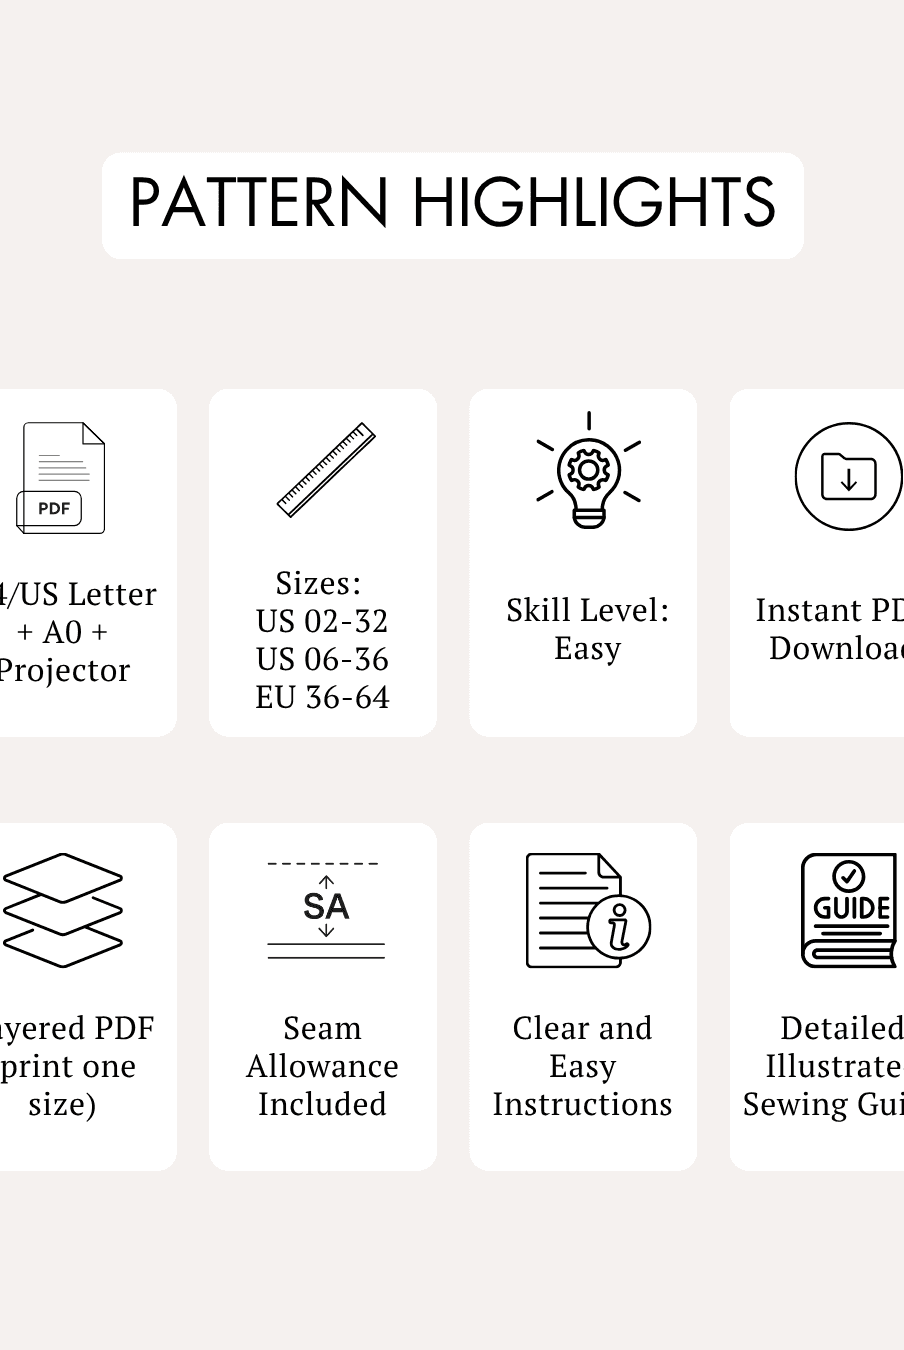
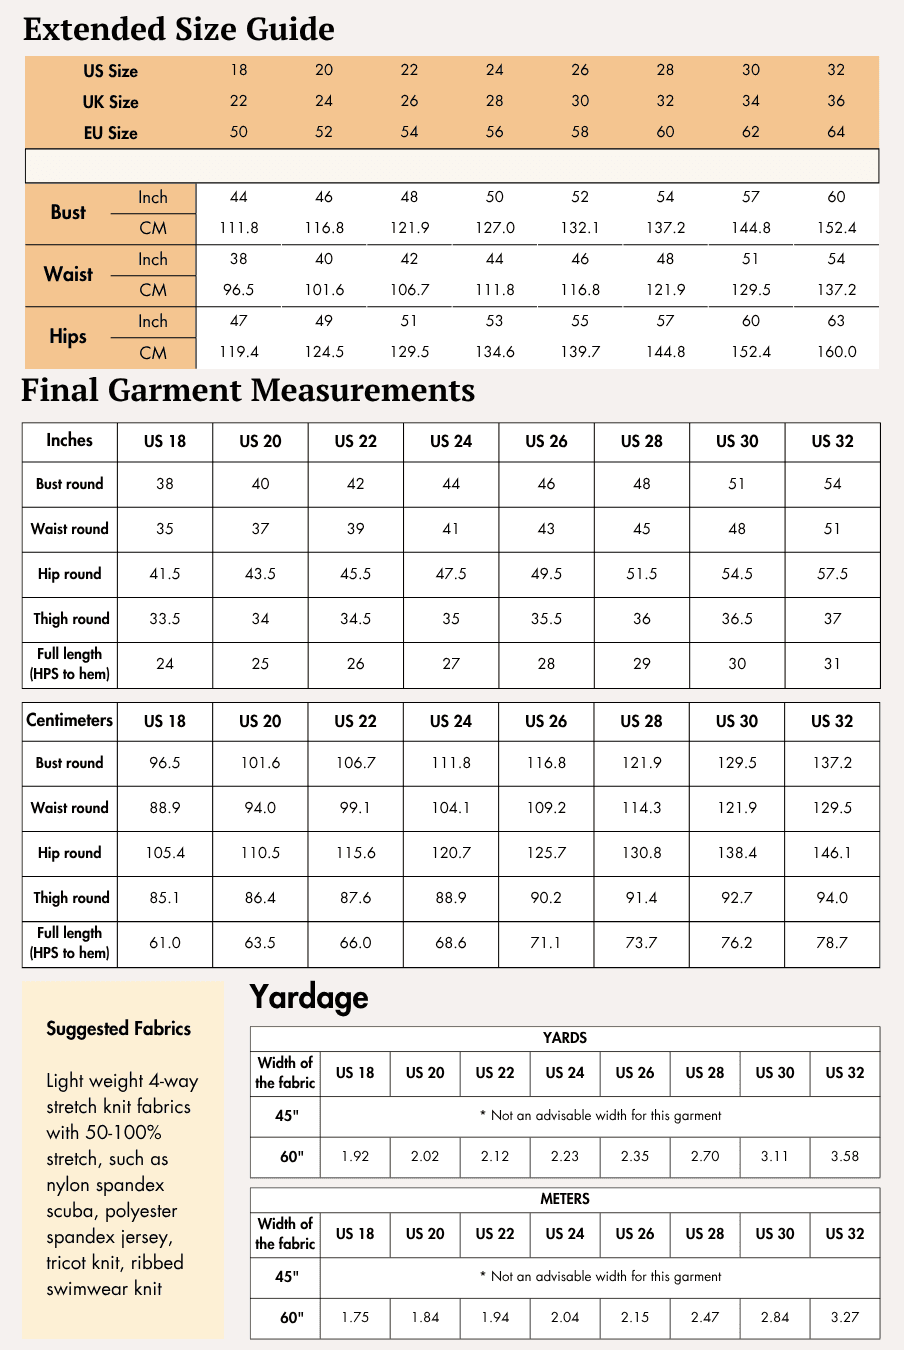
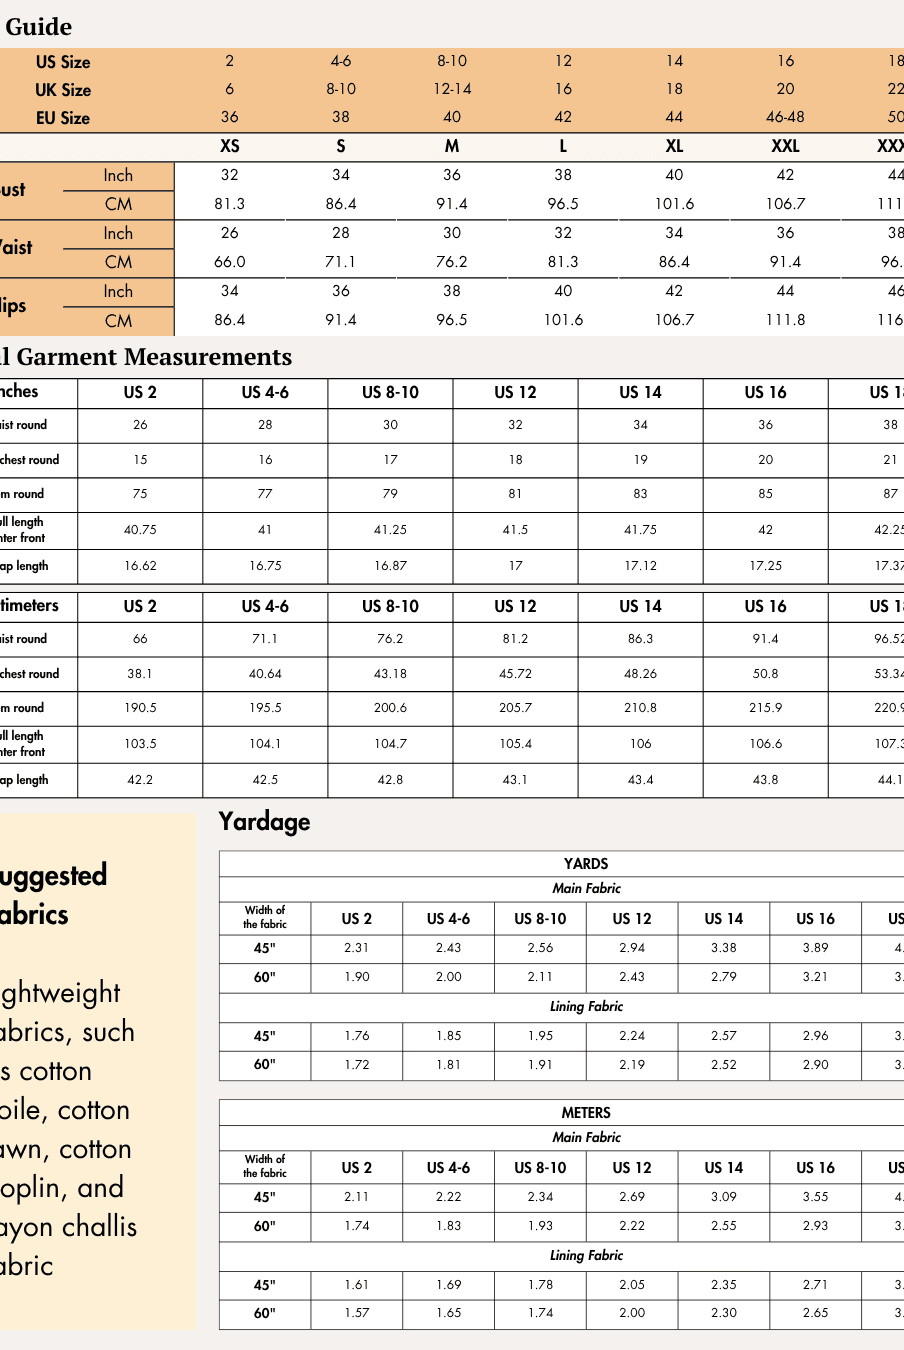
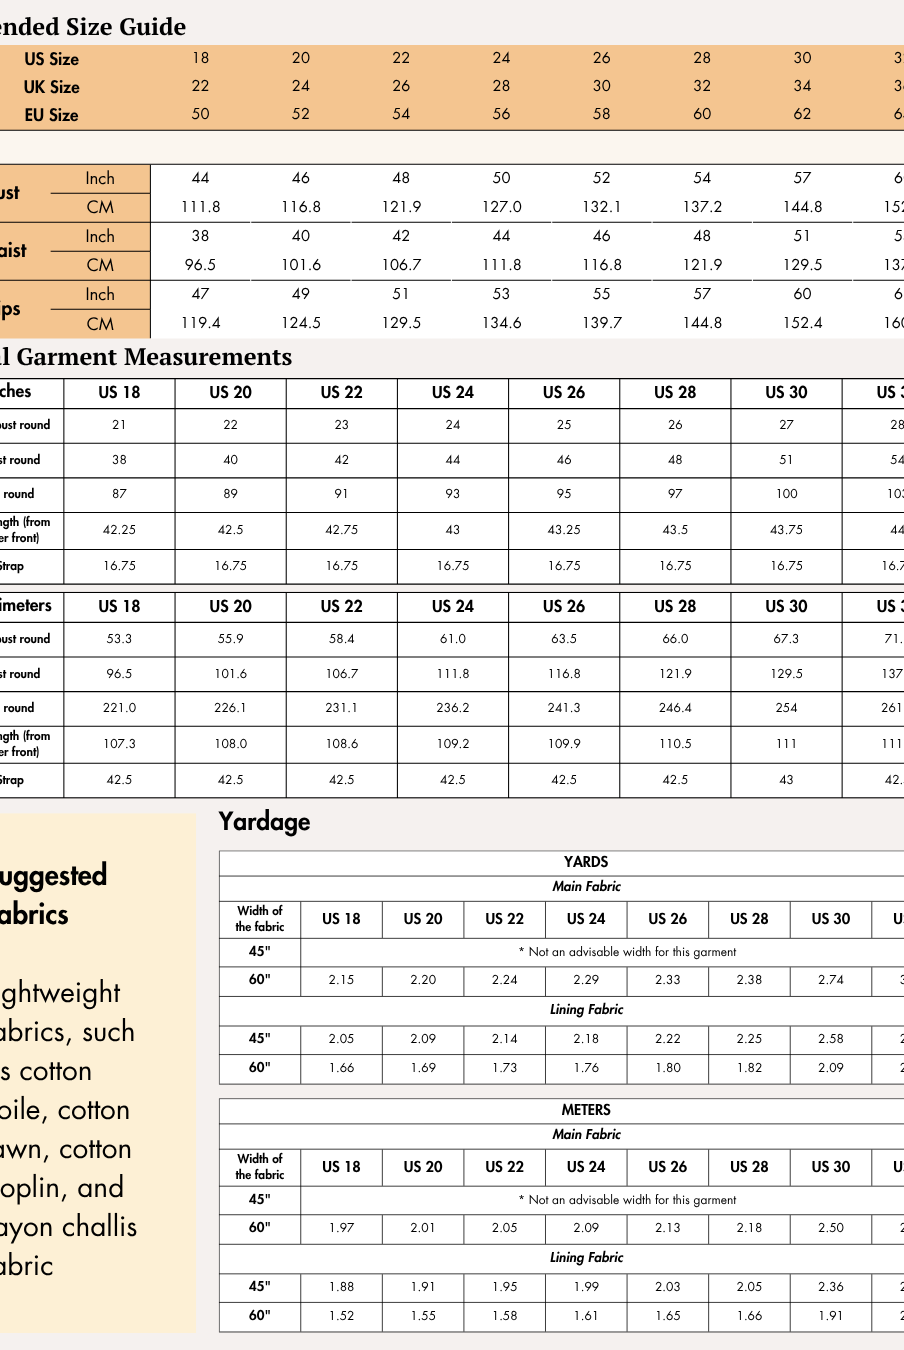
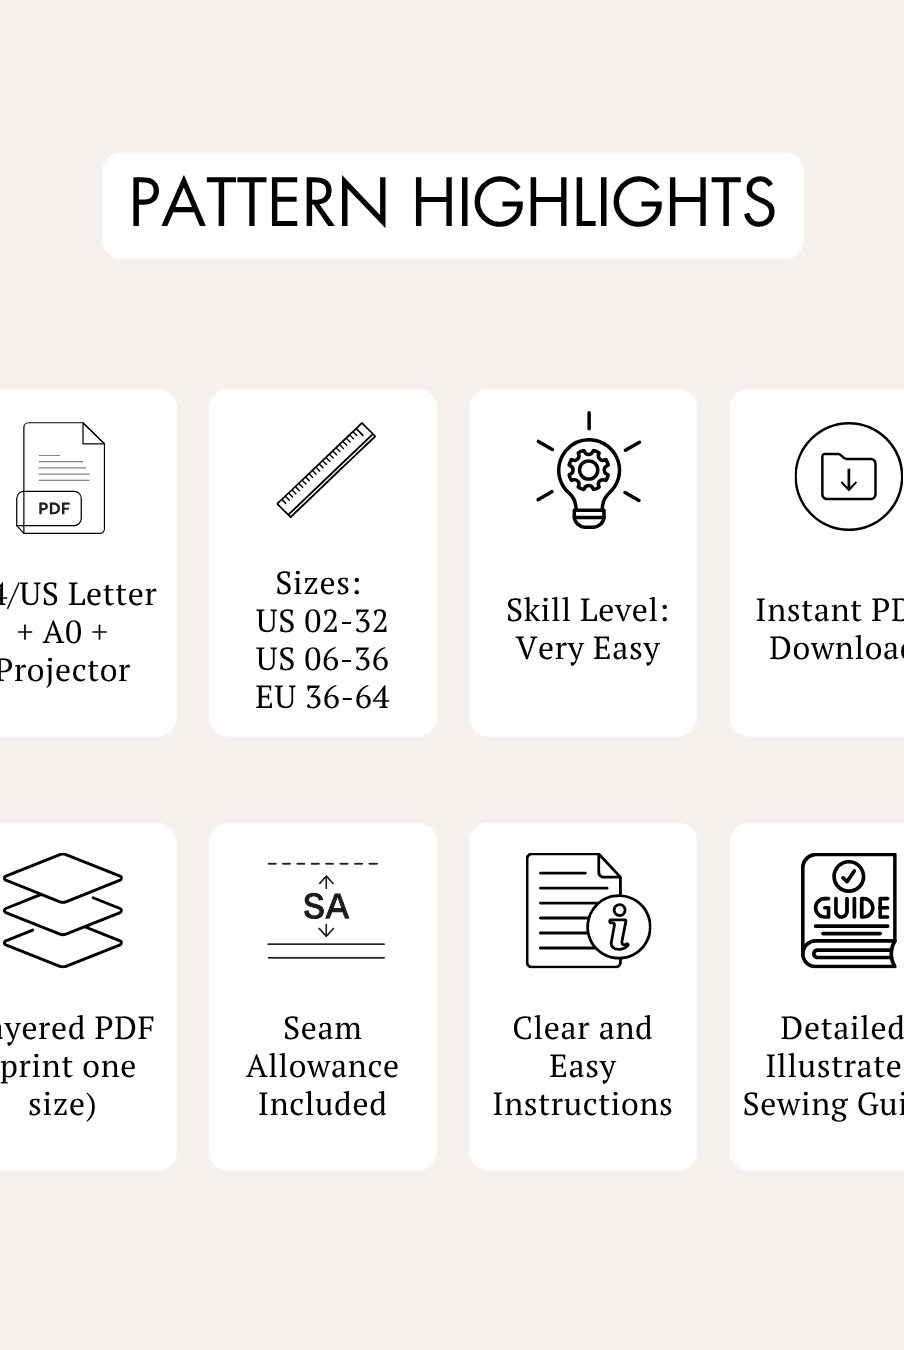
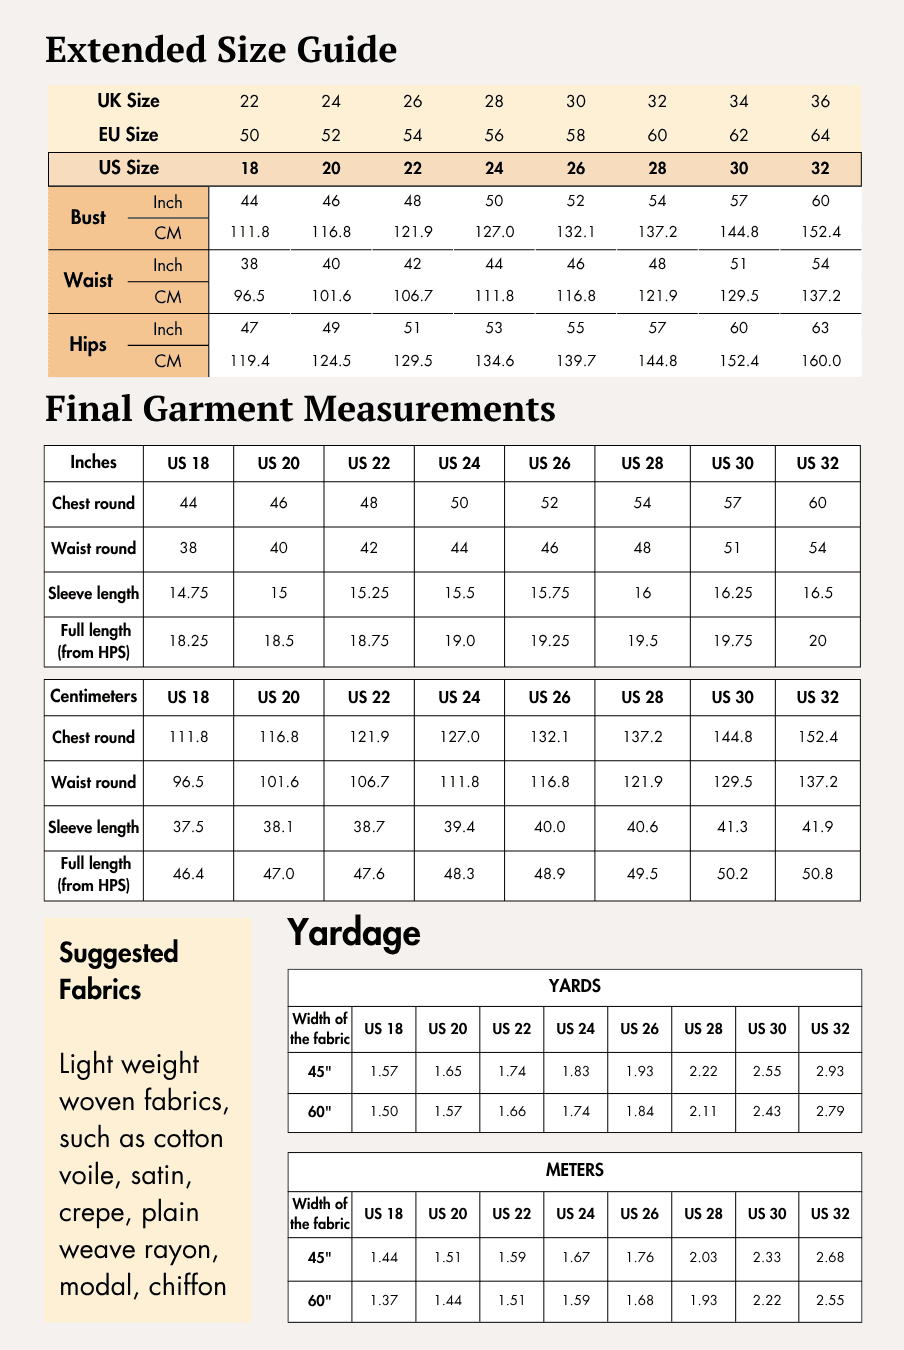
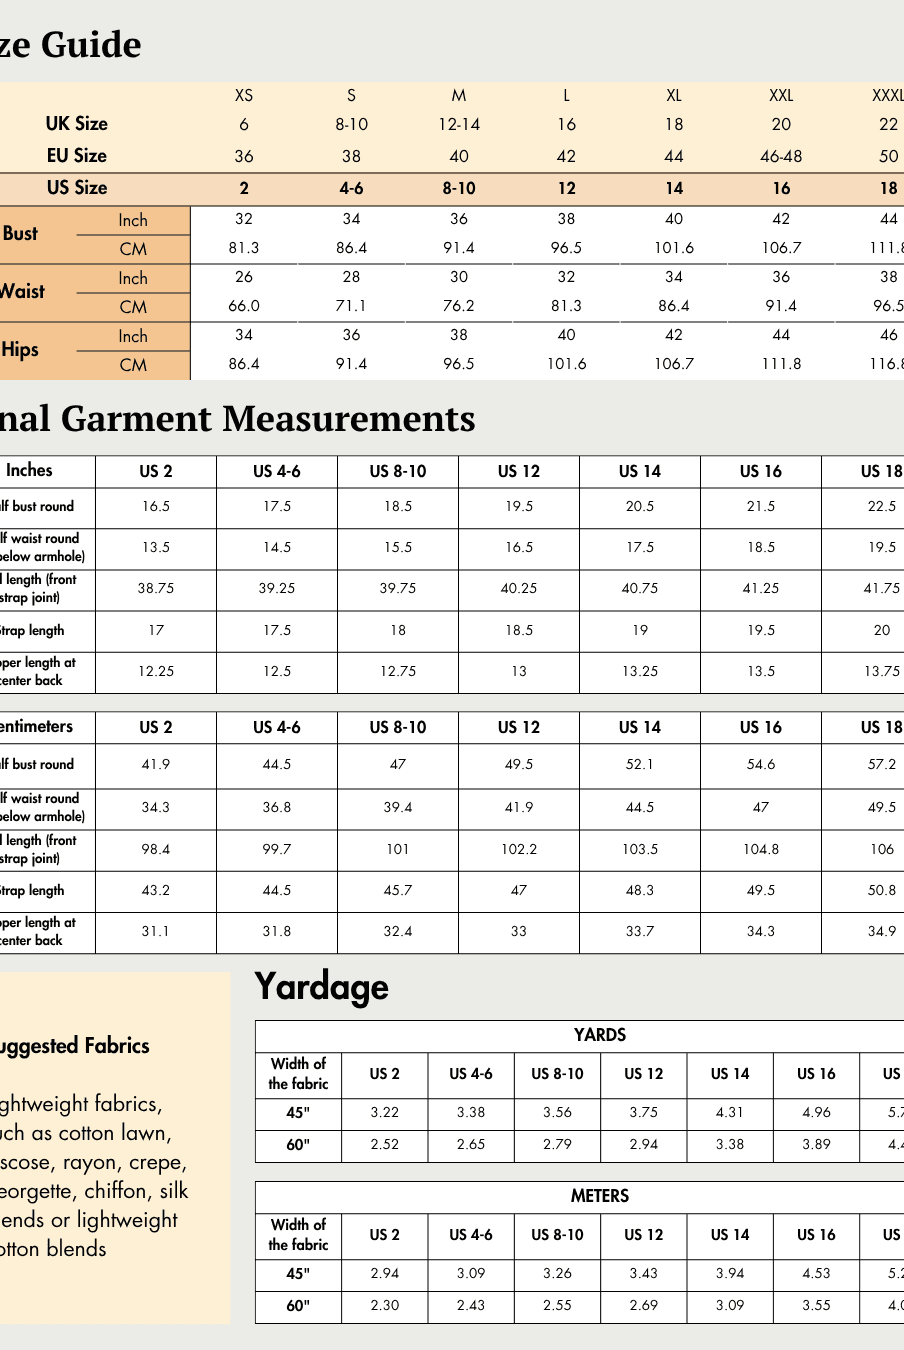
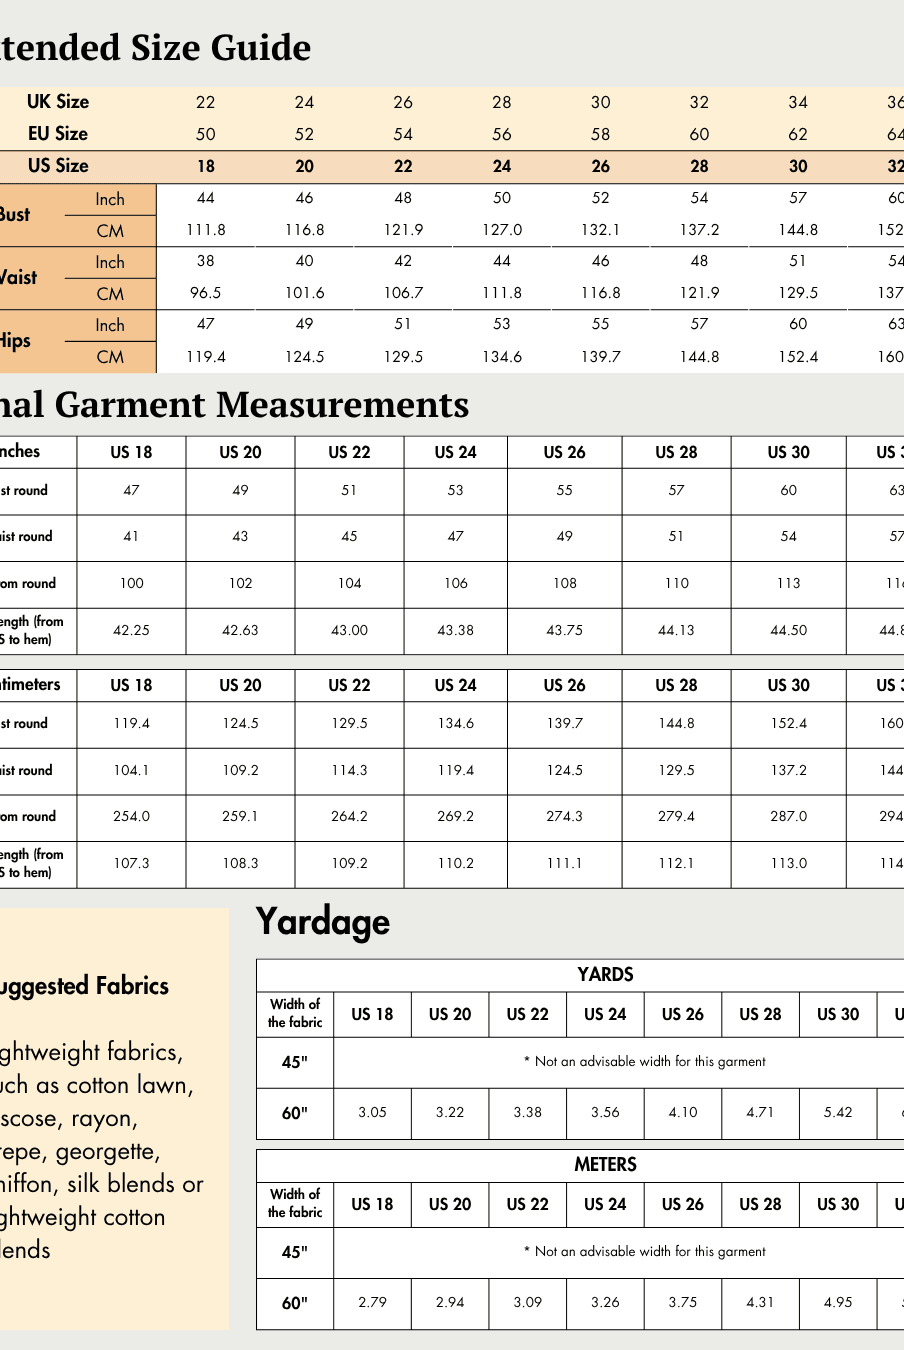
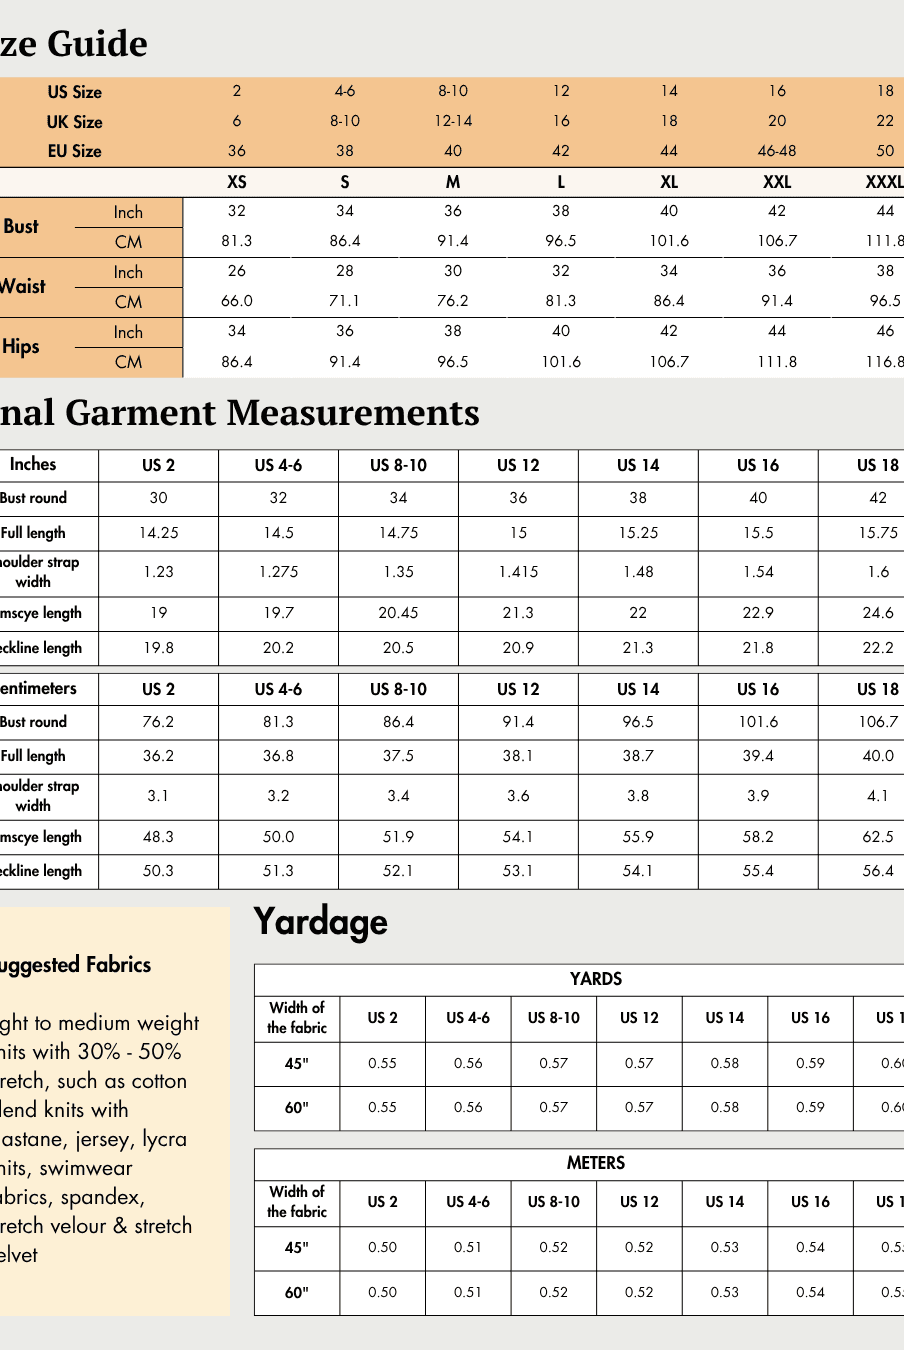
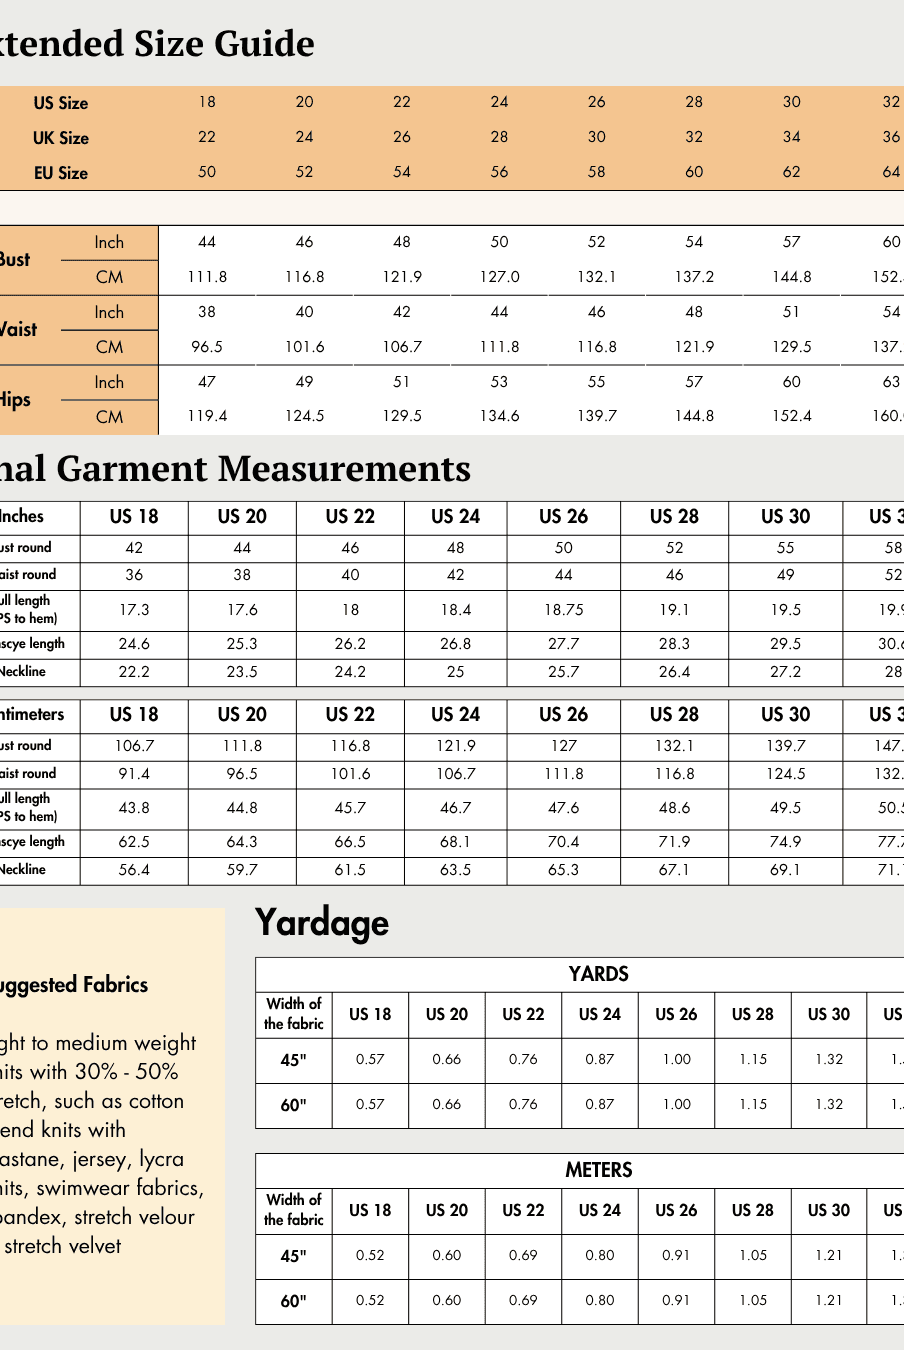
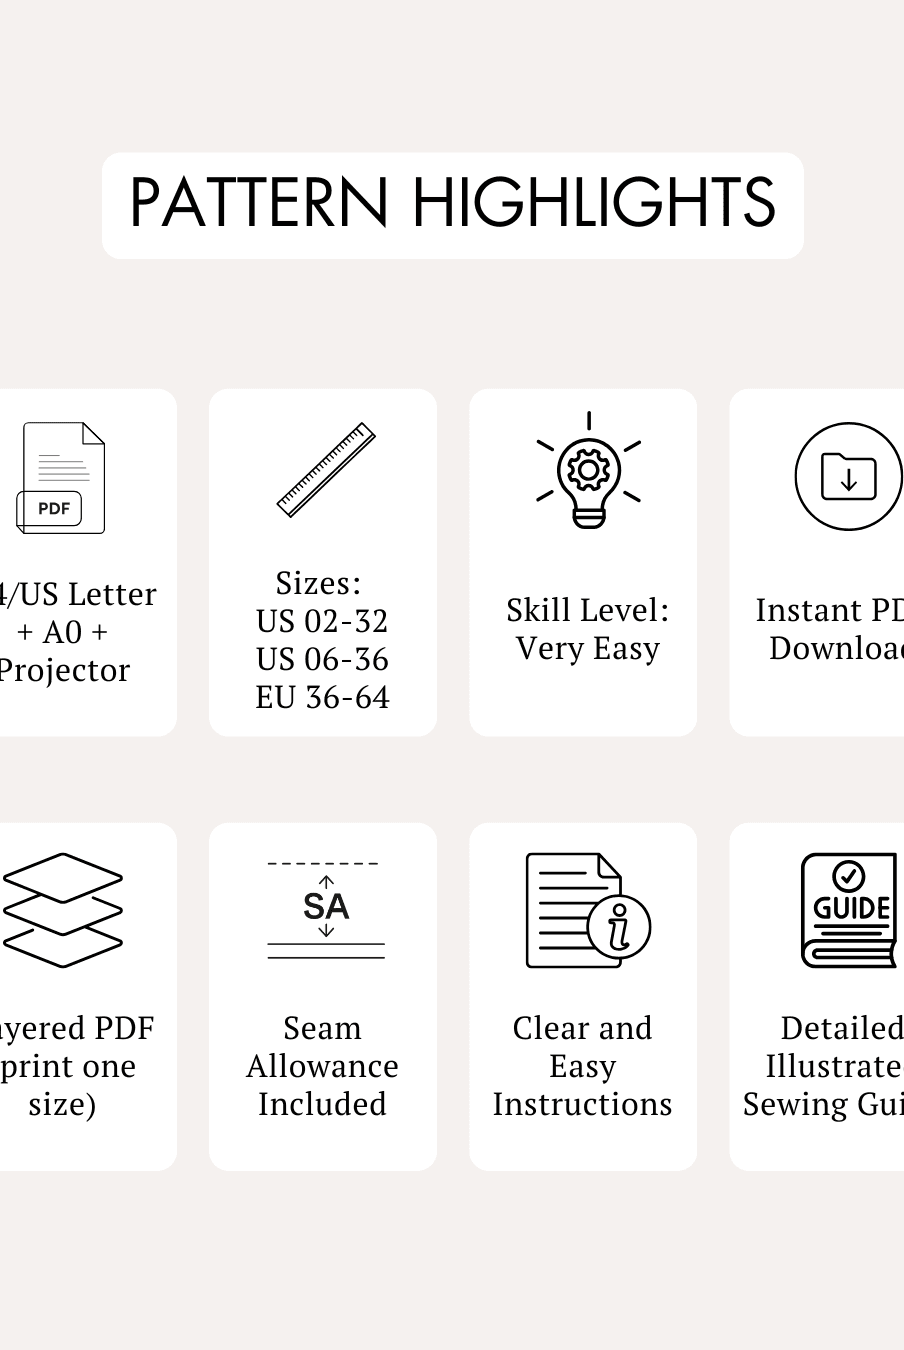
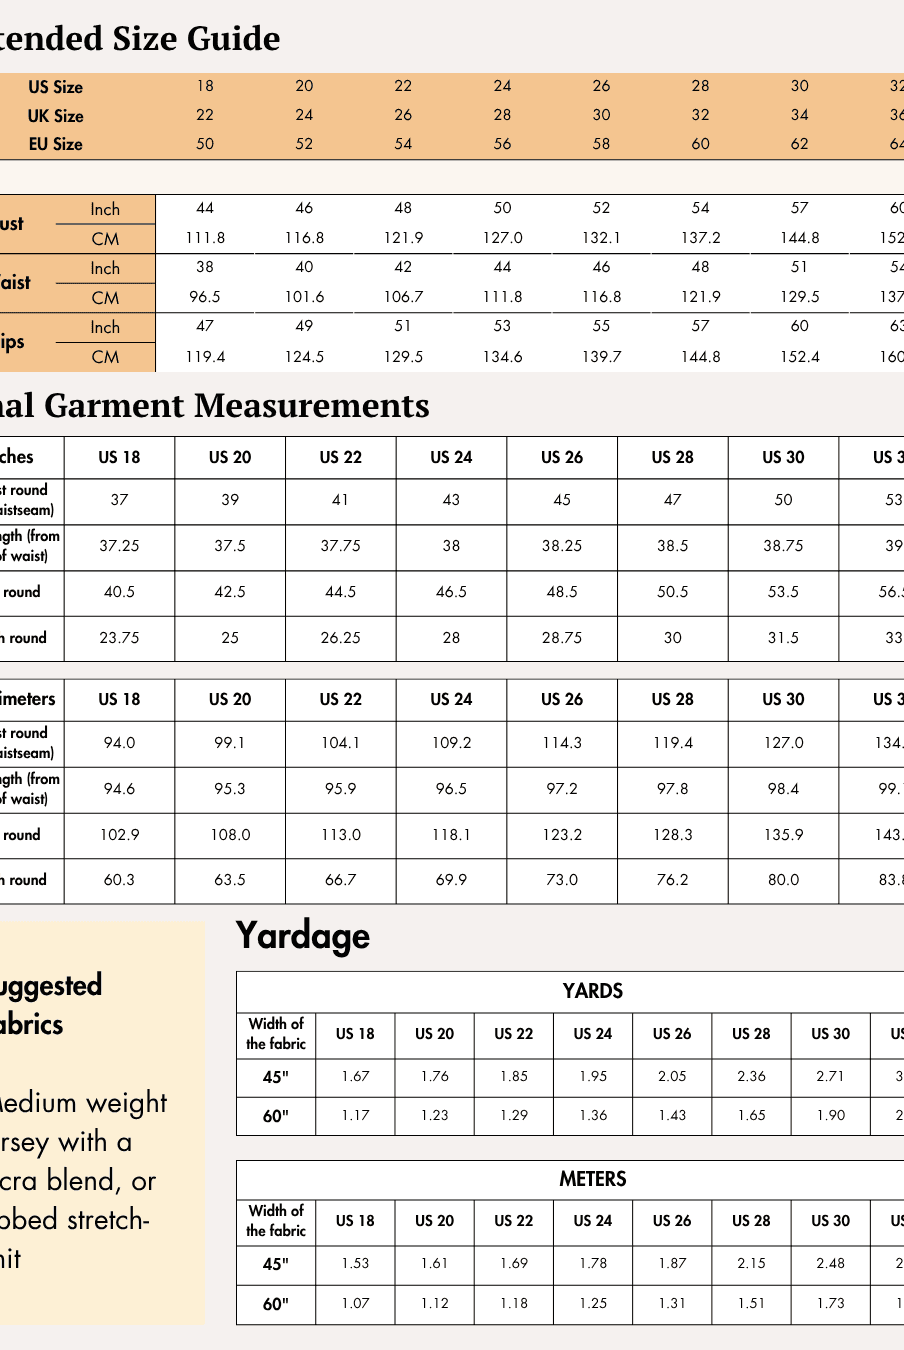
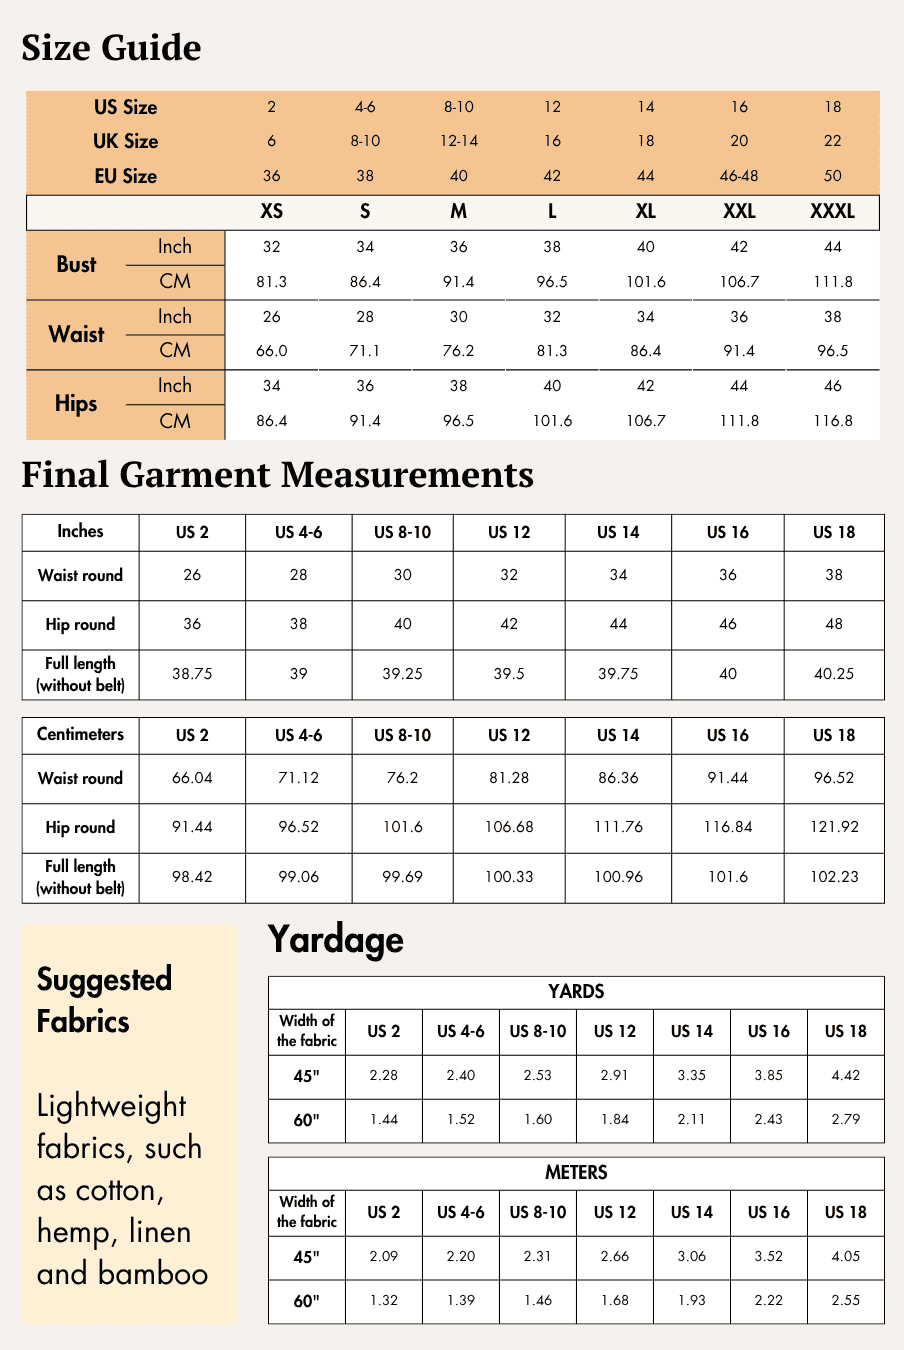
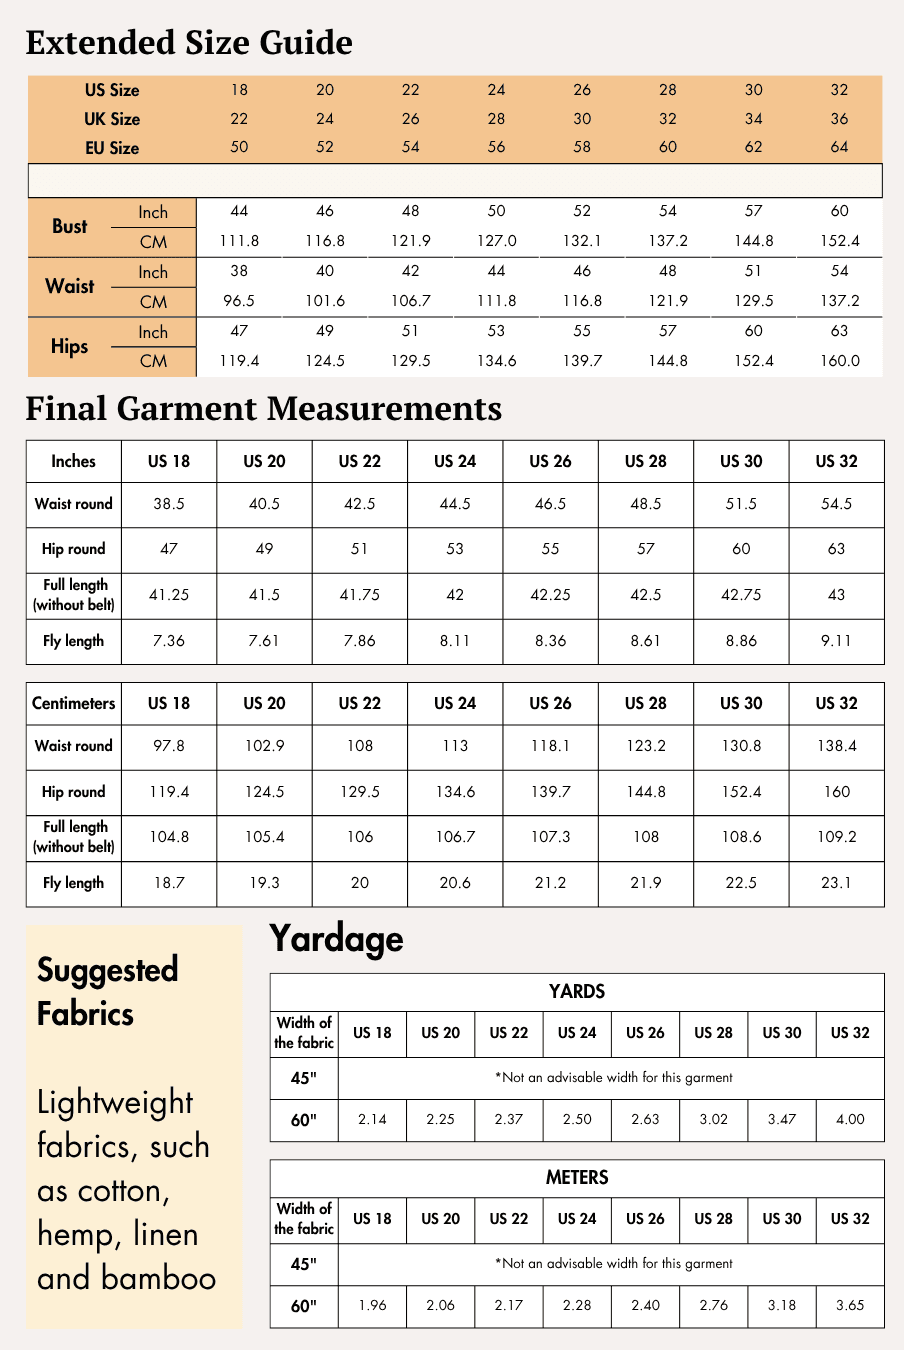
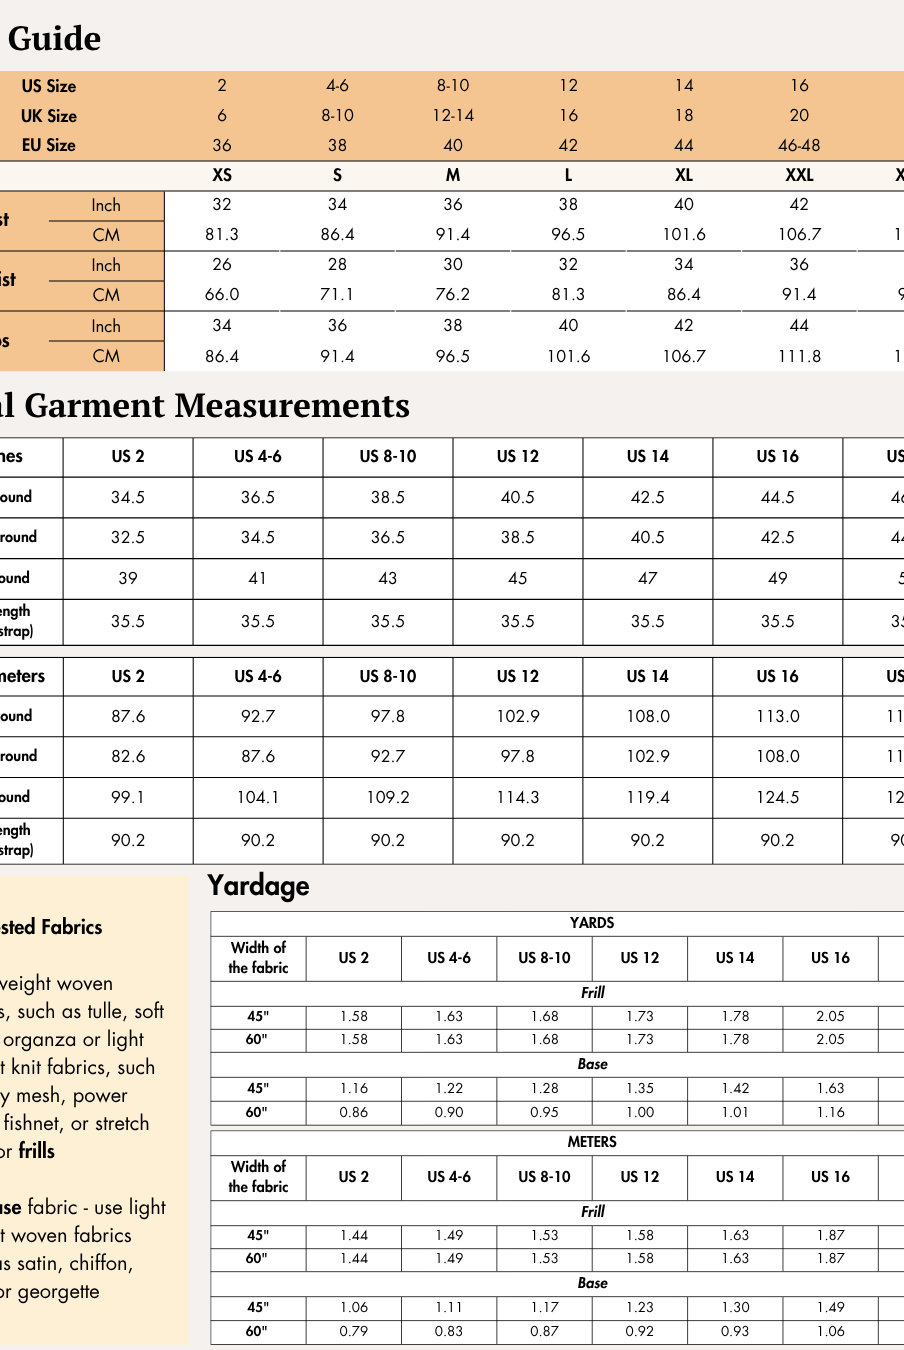
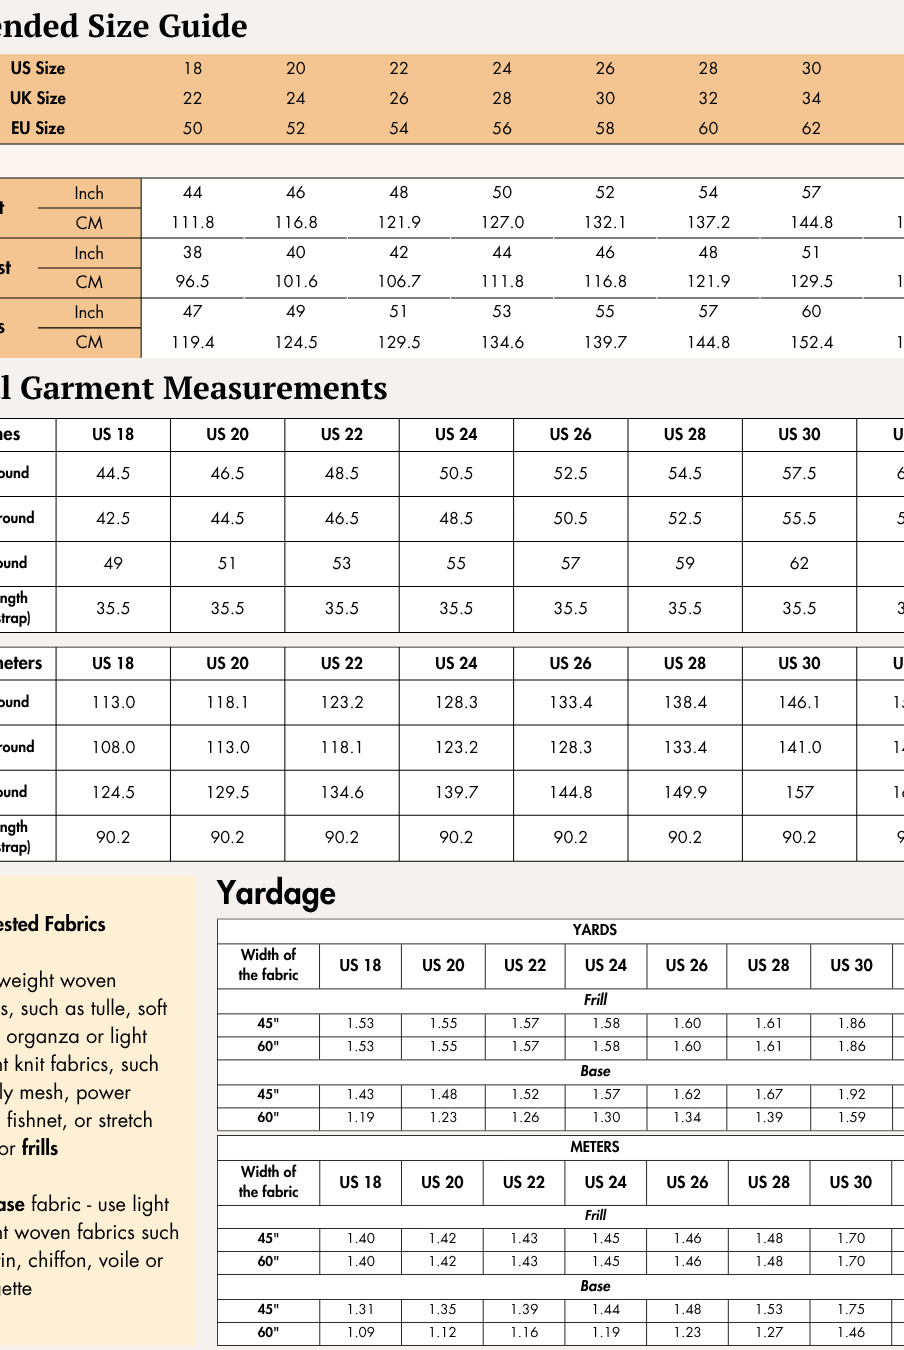
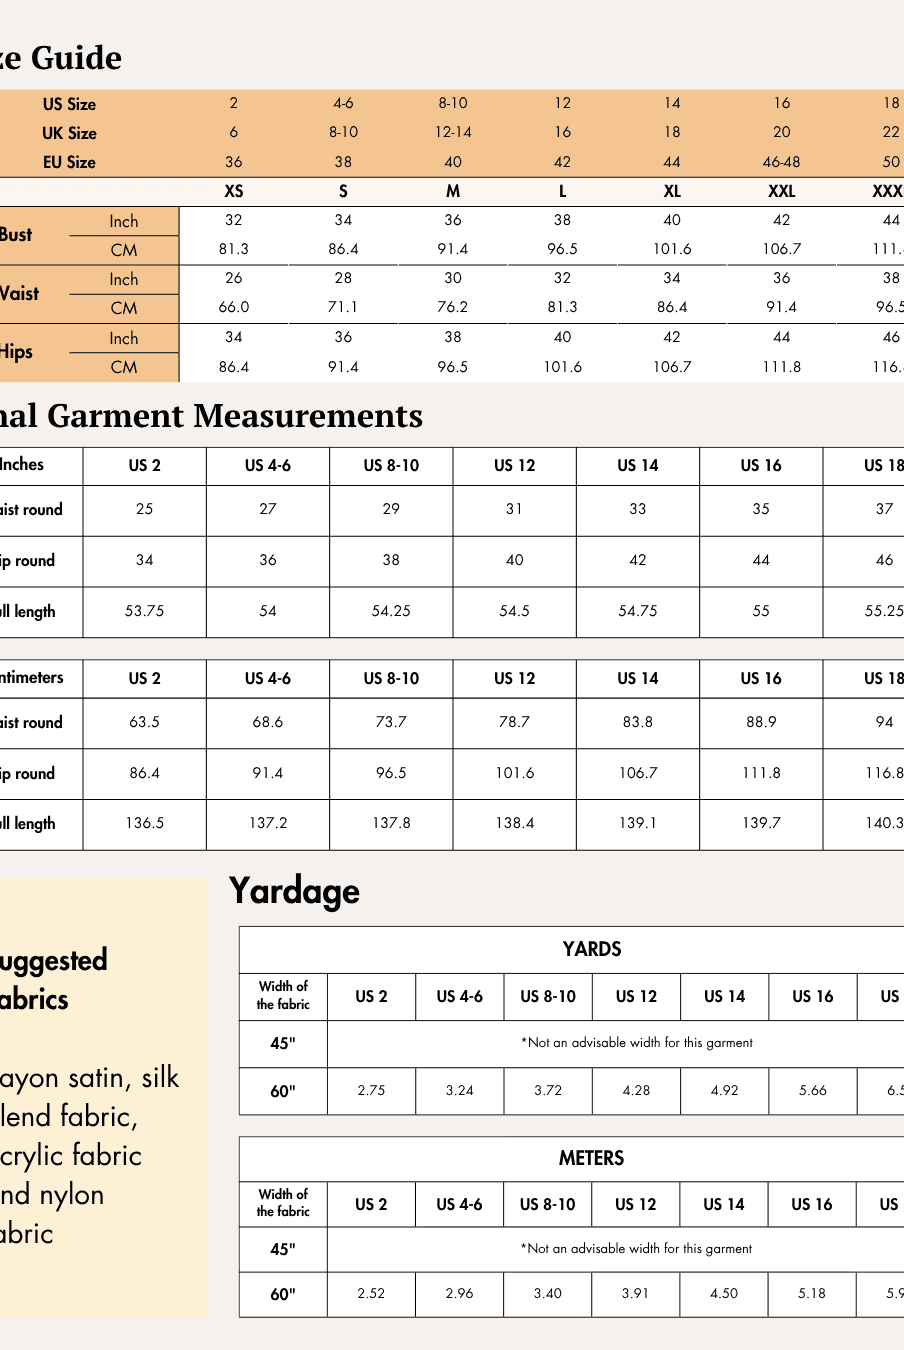
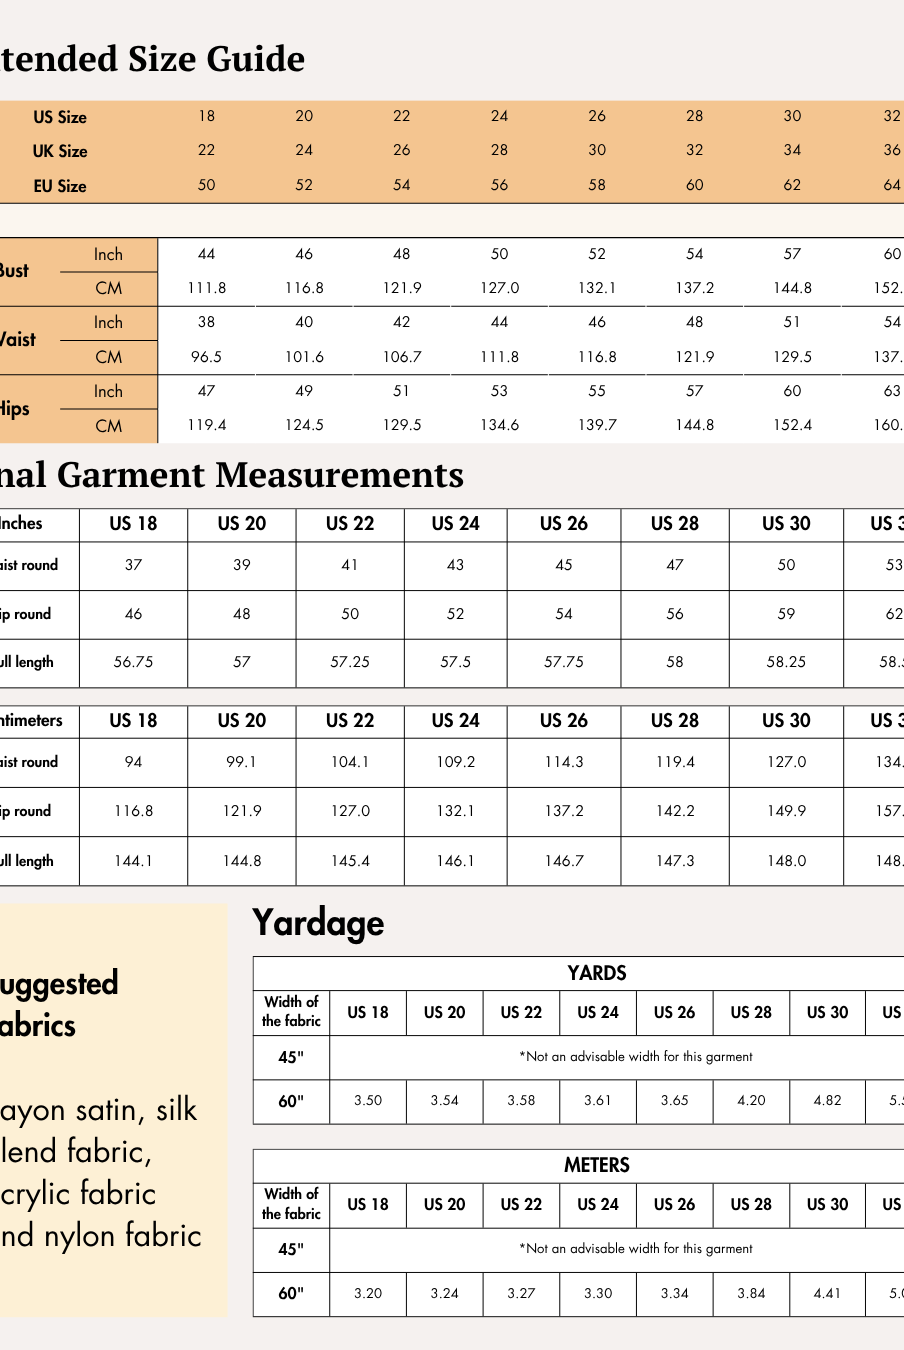
US 02 - US 32 | UK 06 - UK 36 | EU 36 - EU 64
Supplies & Notions
Prepare the following before you begin sewing:
- Lightweight woven fabric
- 3-ply polyester thread
- Tape measure
- Fabric shears
- Tailor's chalk
- Thread cutter
- Sewing pins
- Sewing machine
- Sewing needles
- Iron
- Zipper
Fabric Recommendations
The sewing guide recommends lightweight fabrics, including:
- 100% cotton
- Cotton blend
- Cotton twill
- Silk blend
- Crepe
- Georgette
- Viscose
The sample garment is sewn using poly twill, which is recommended because it offers:
- Breathability
- Durability
- Crease resistance
- Easy ironing
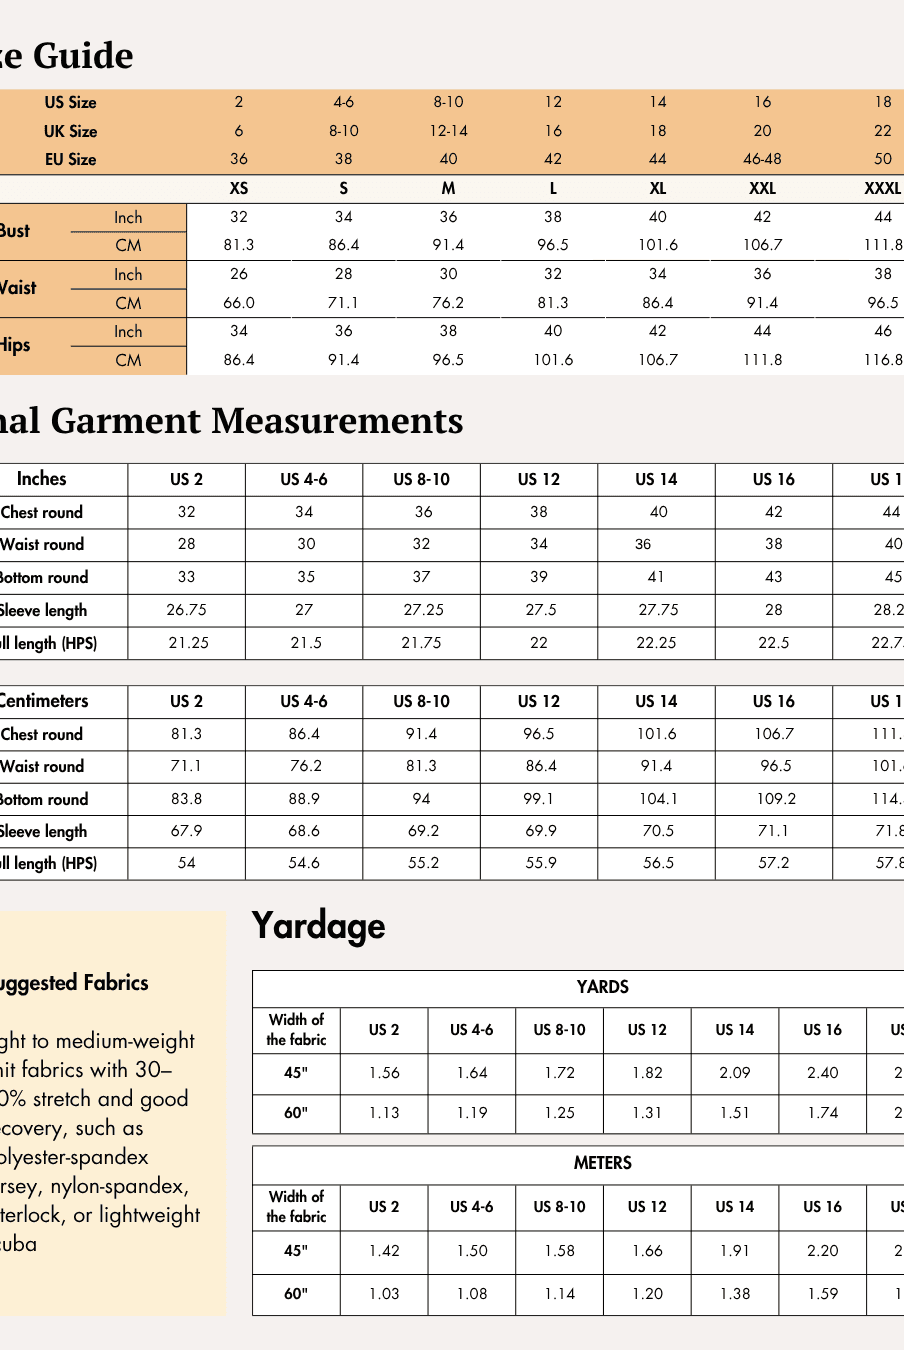
Size Charts
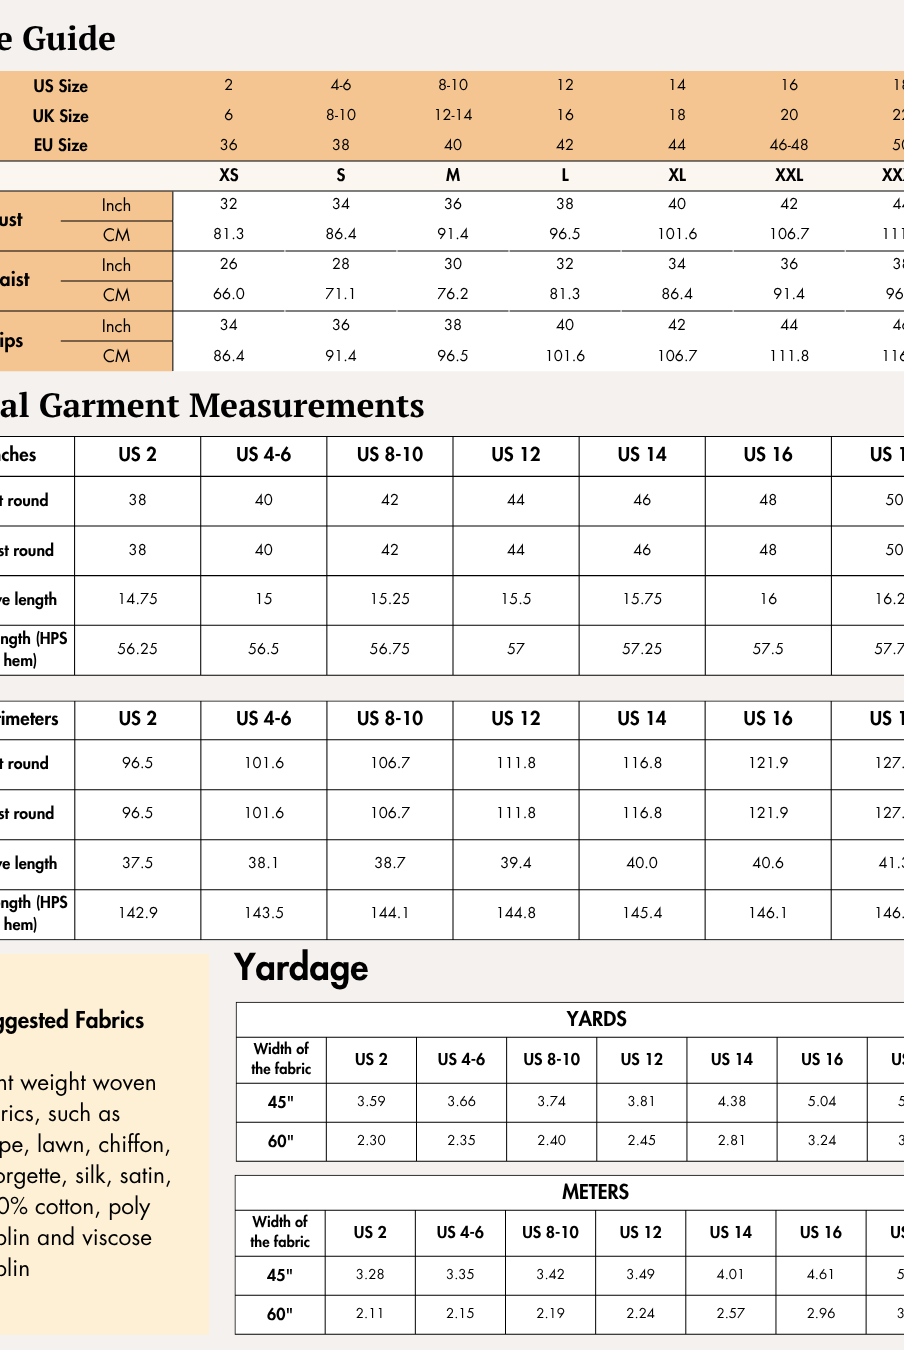
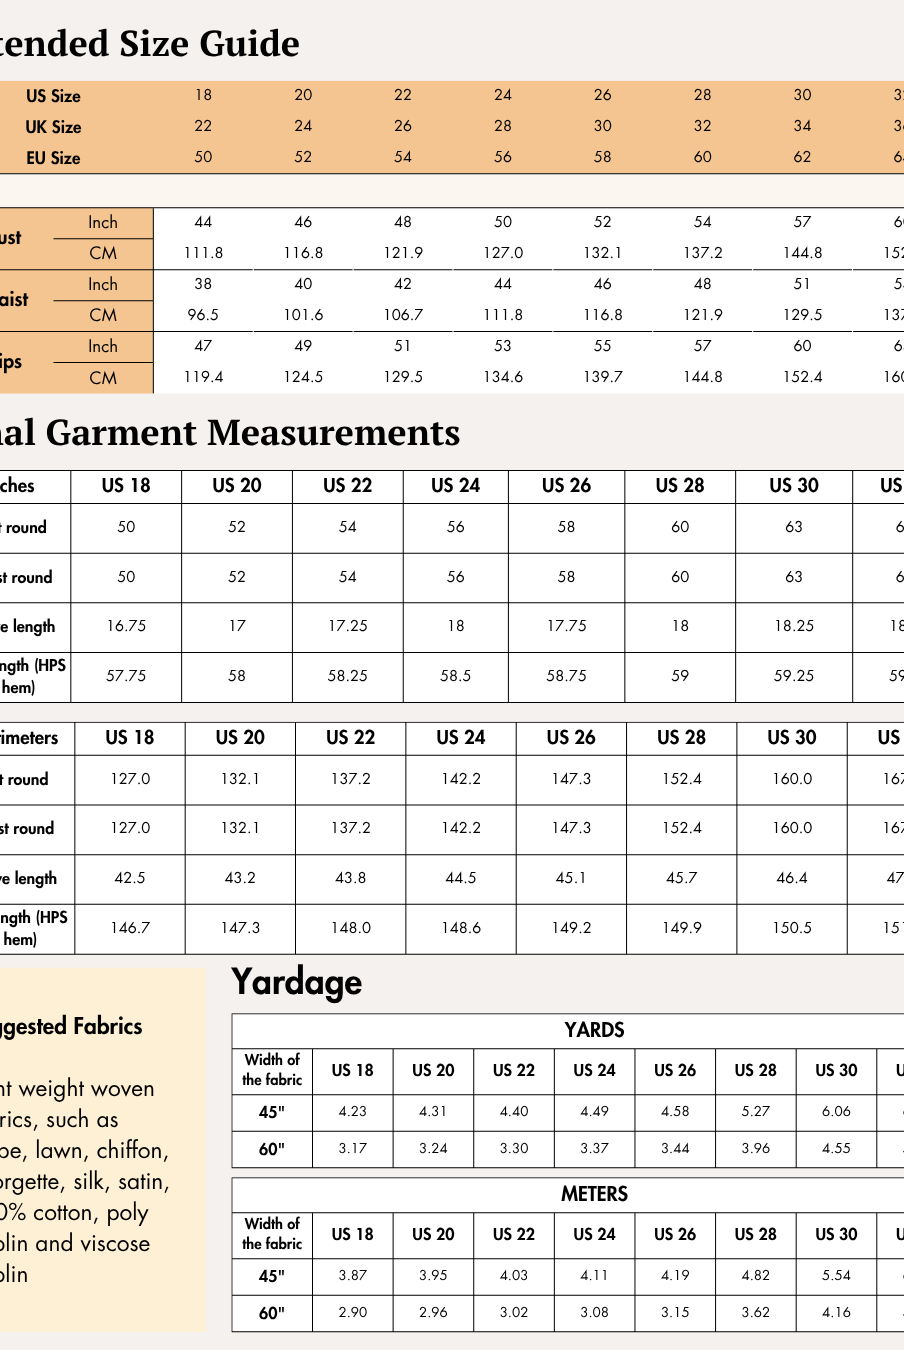
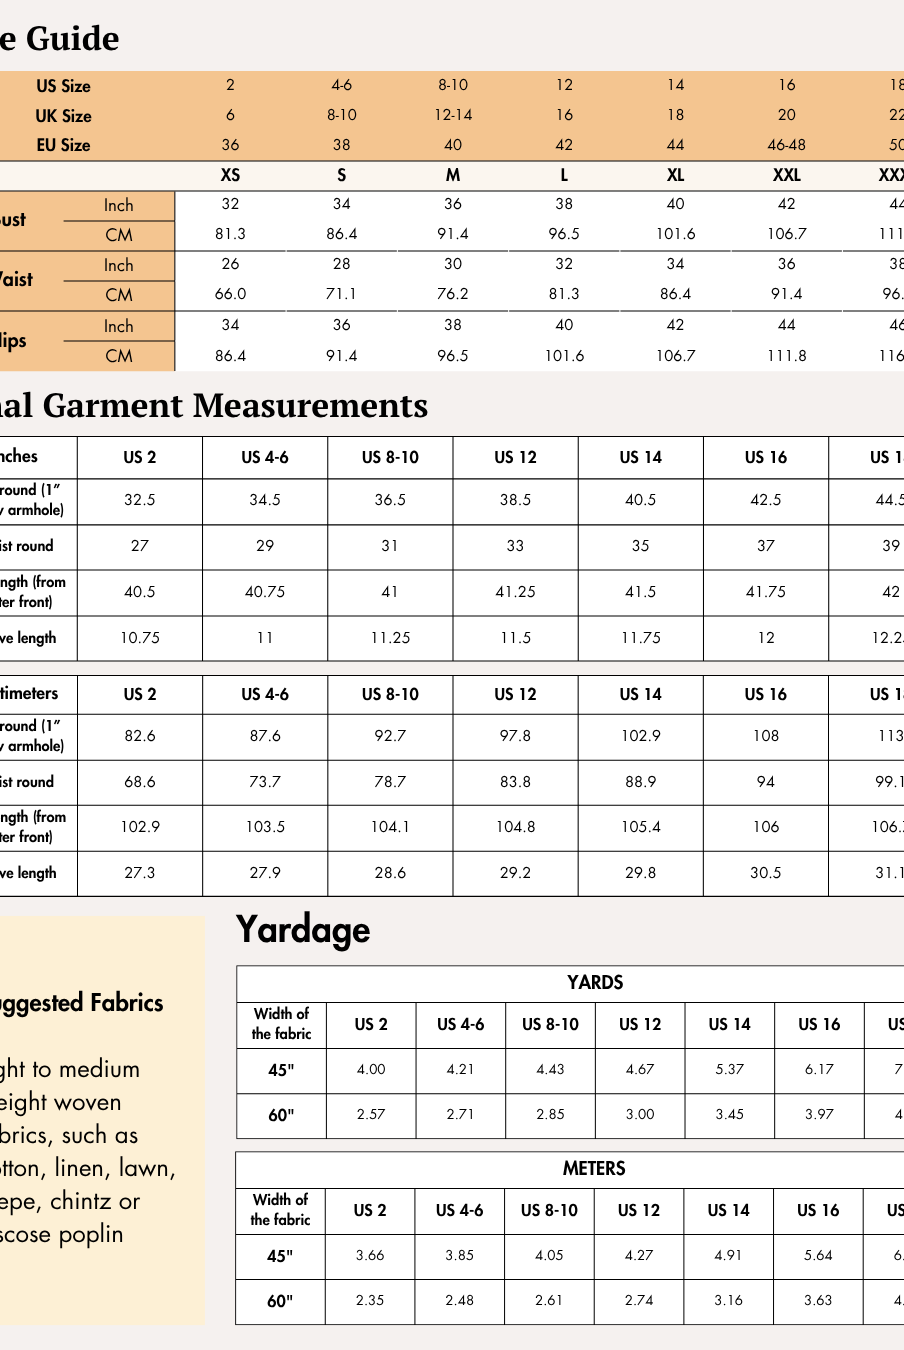
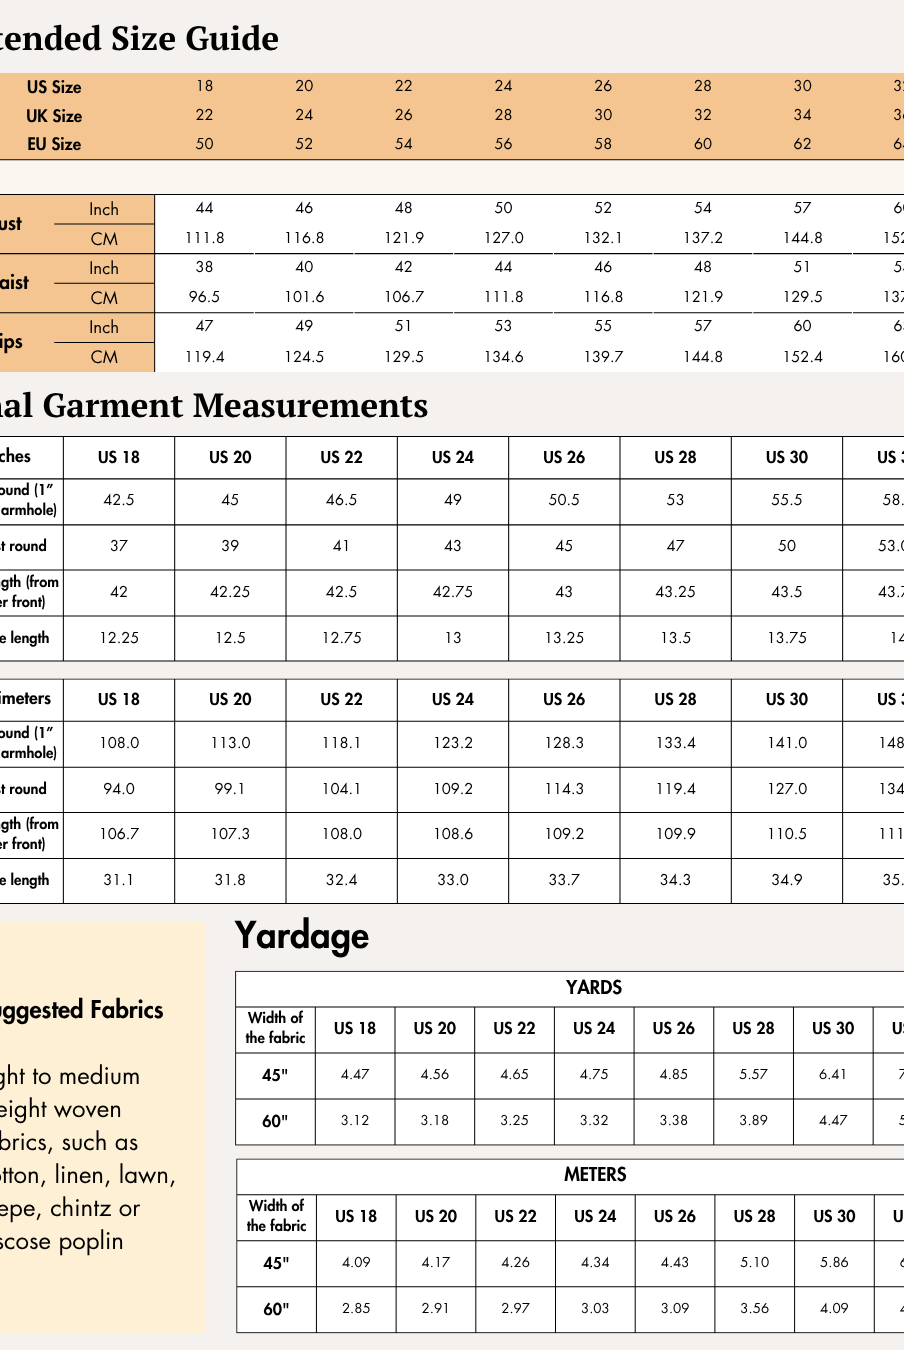
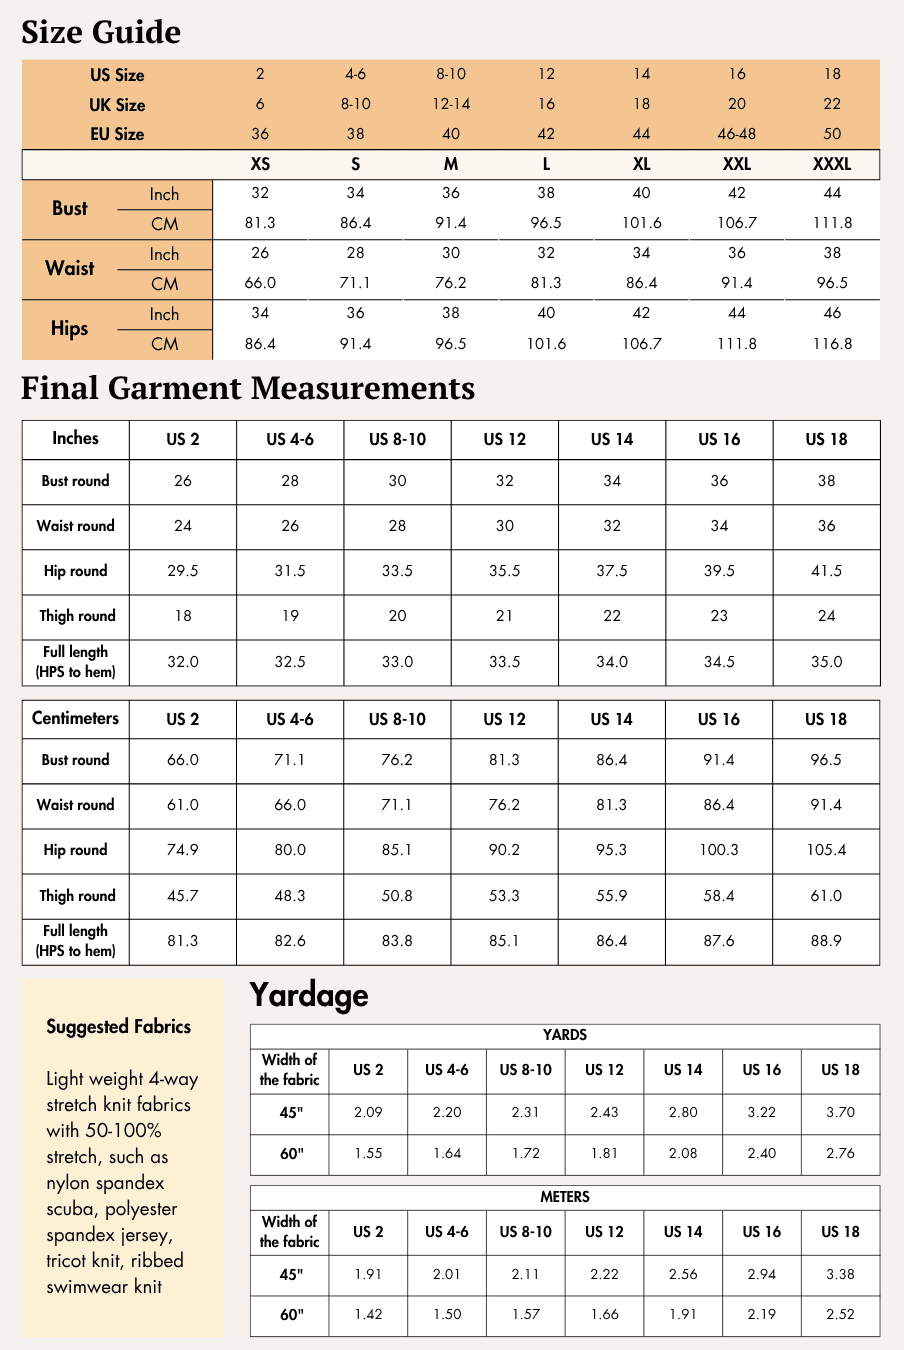
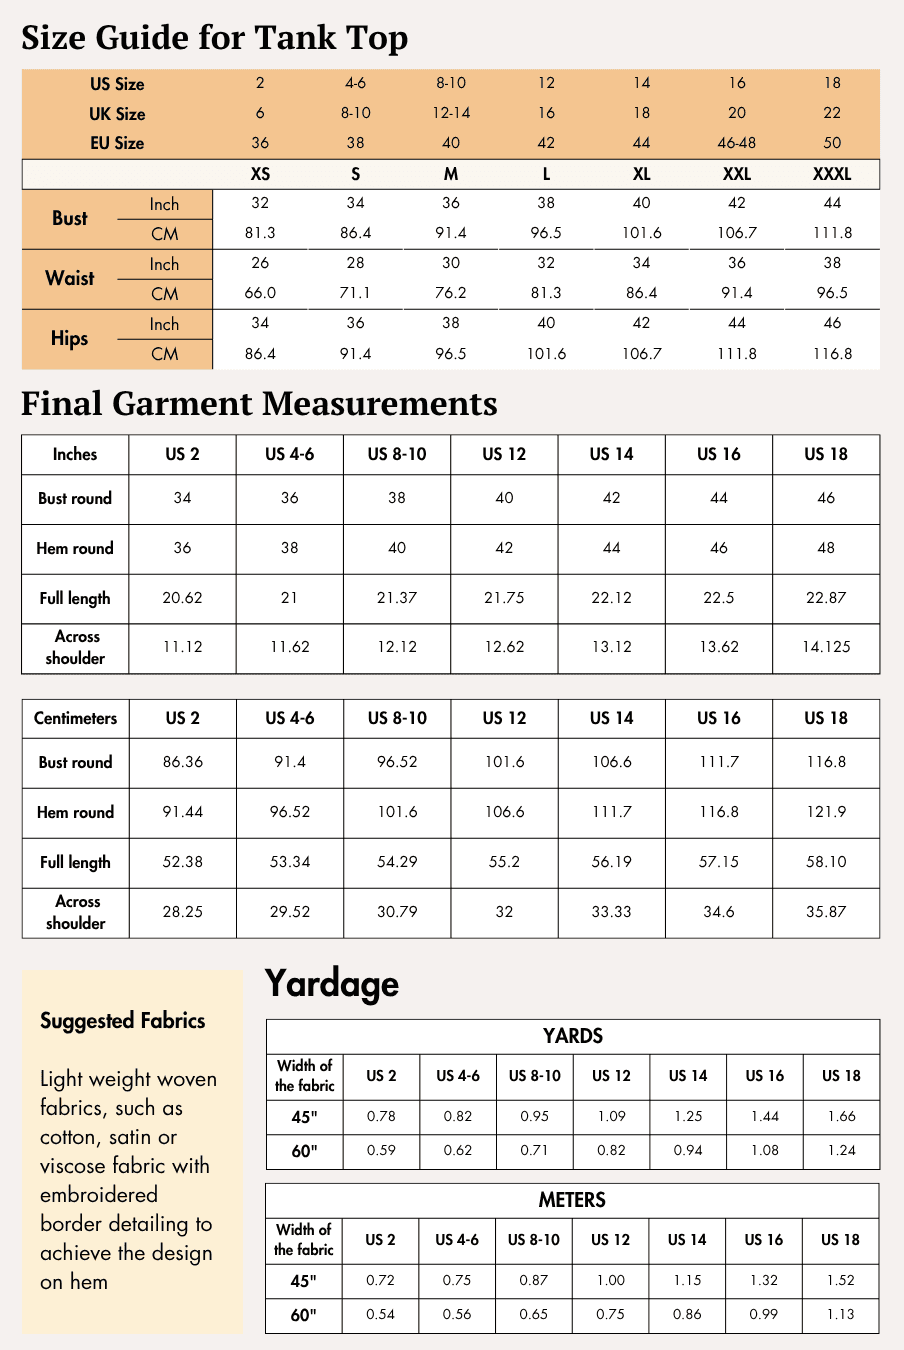
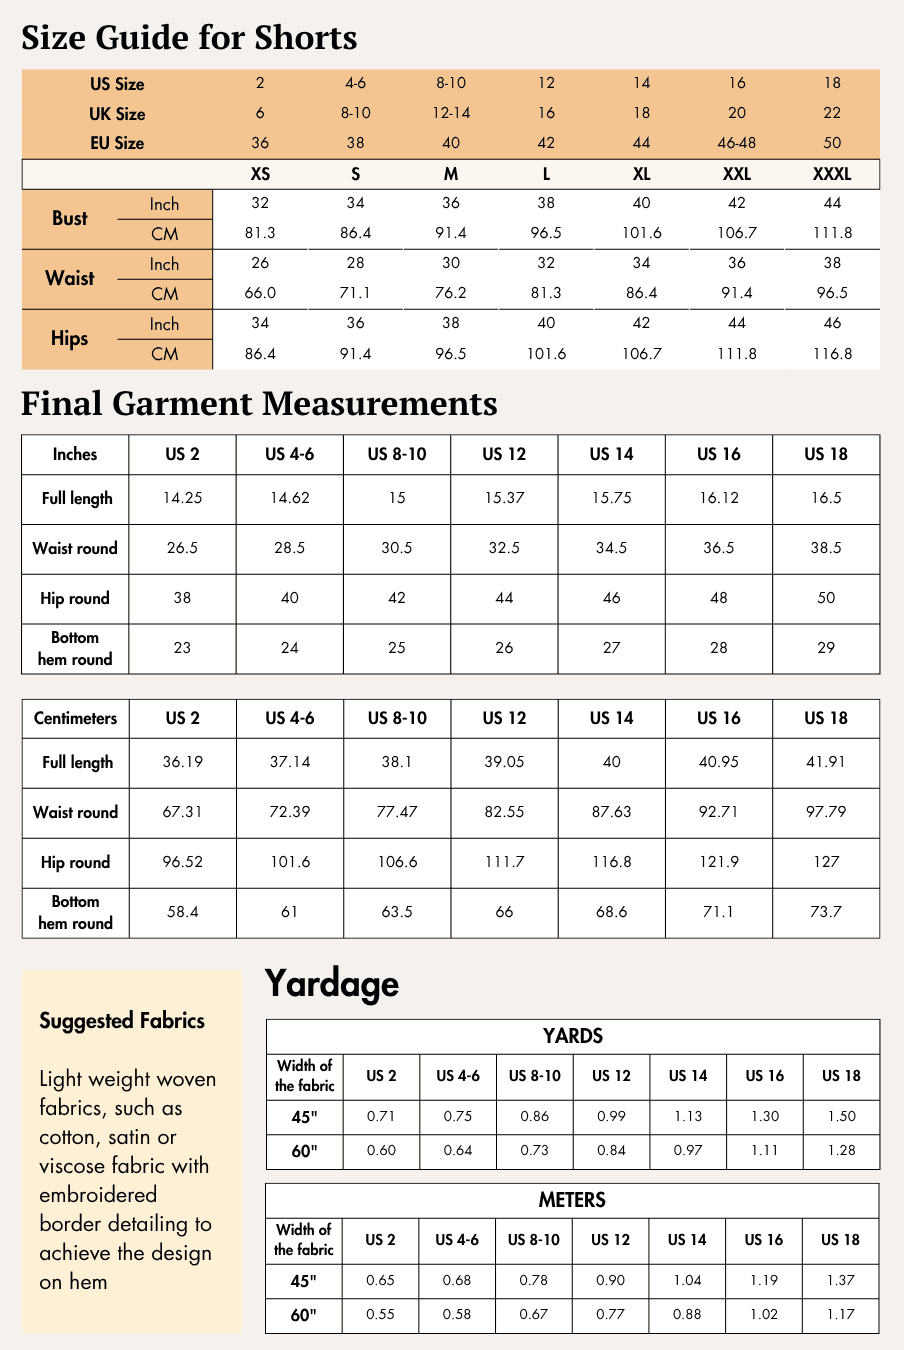
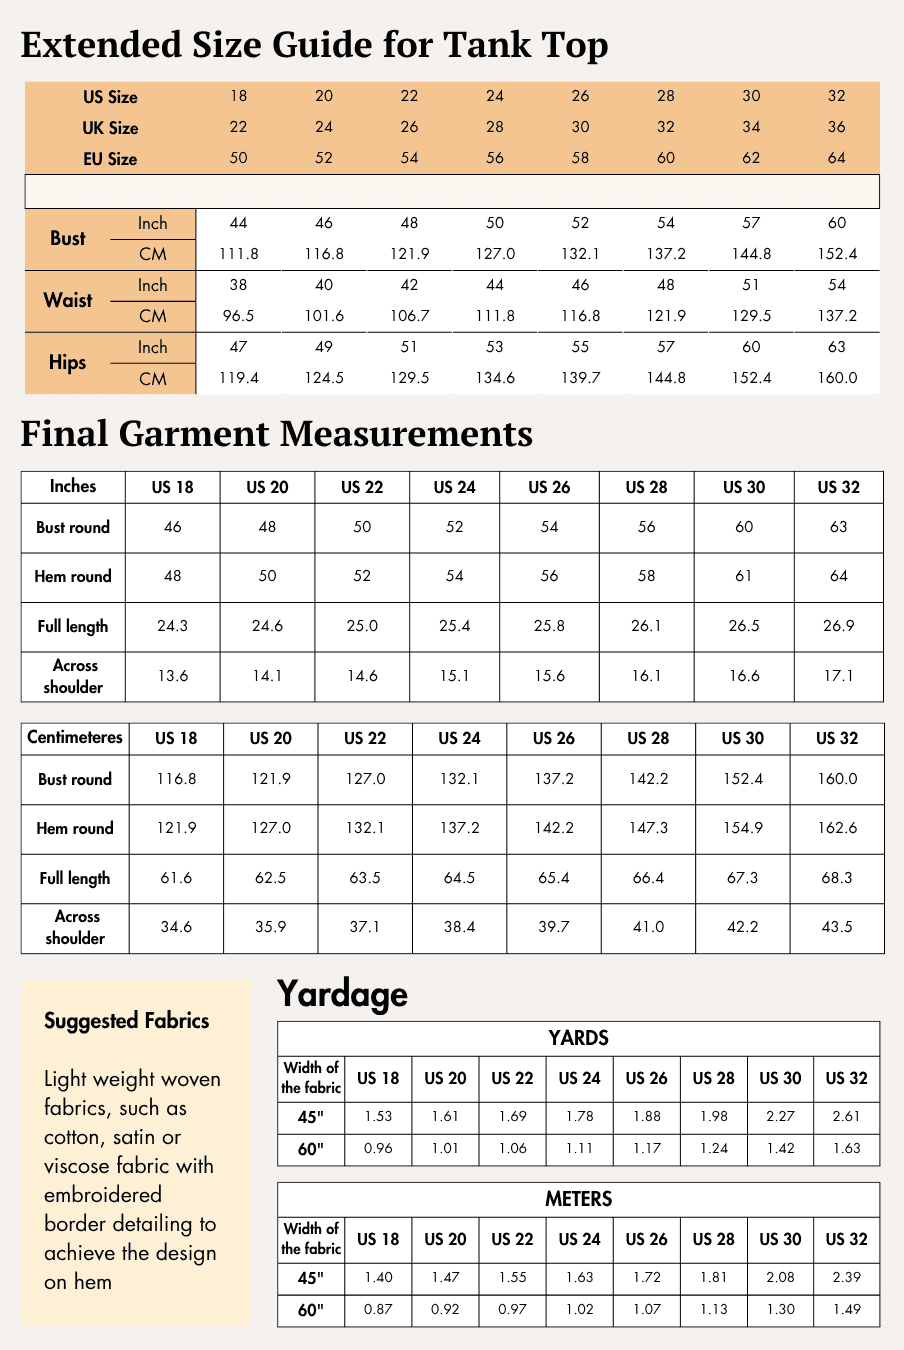
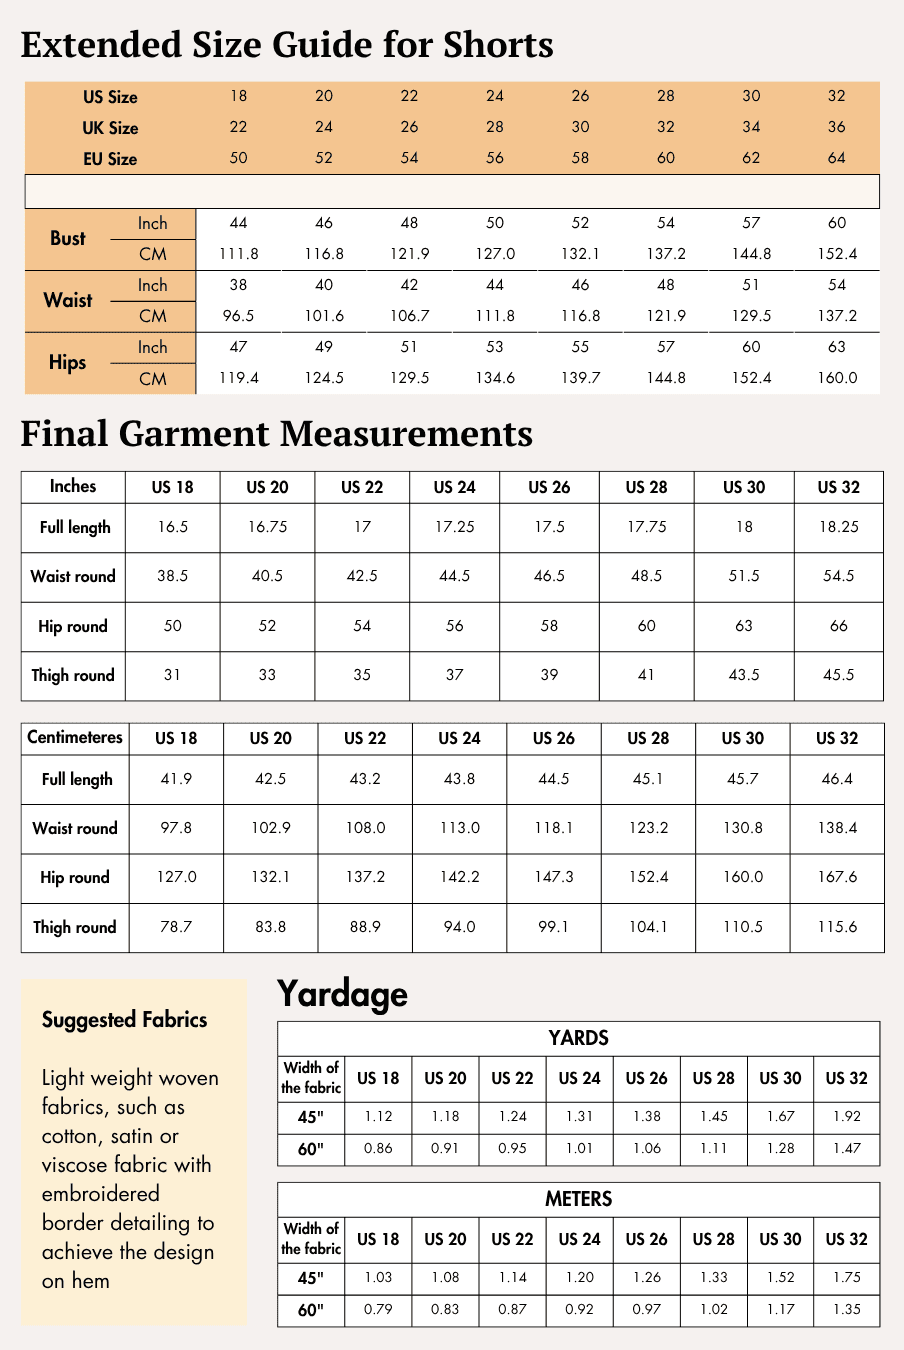
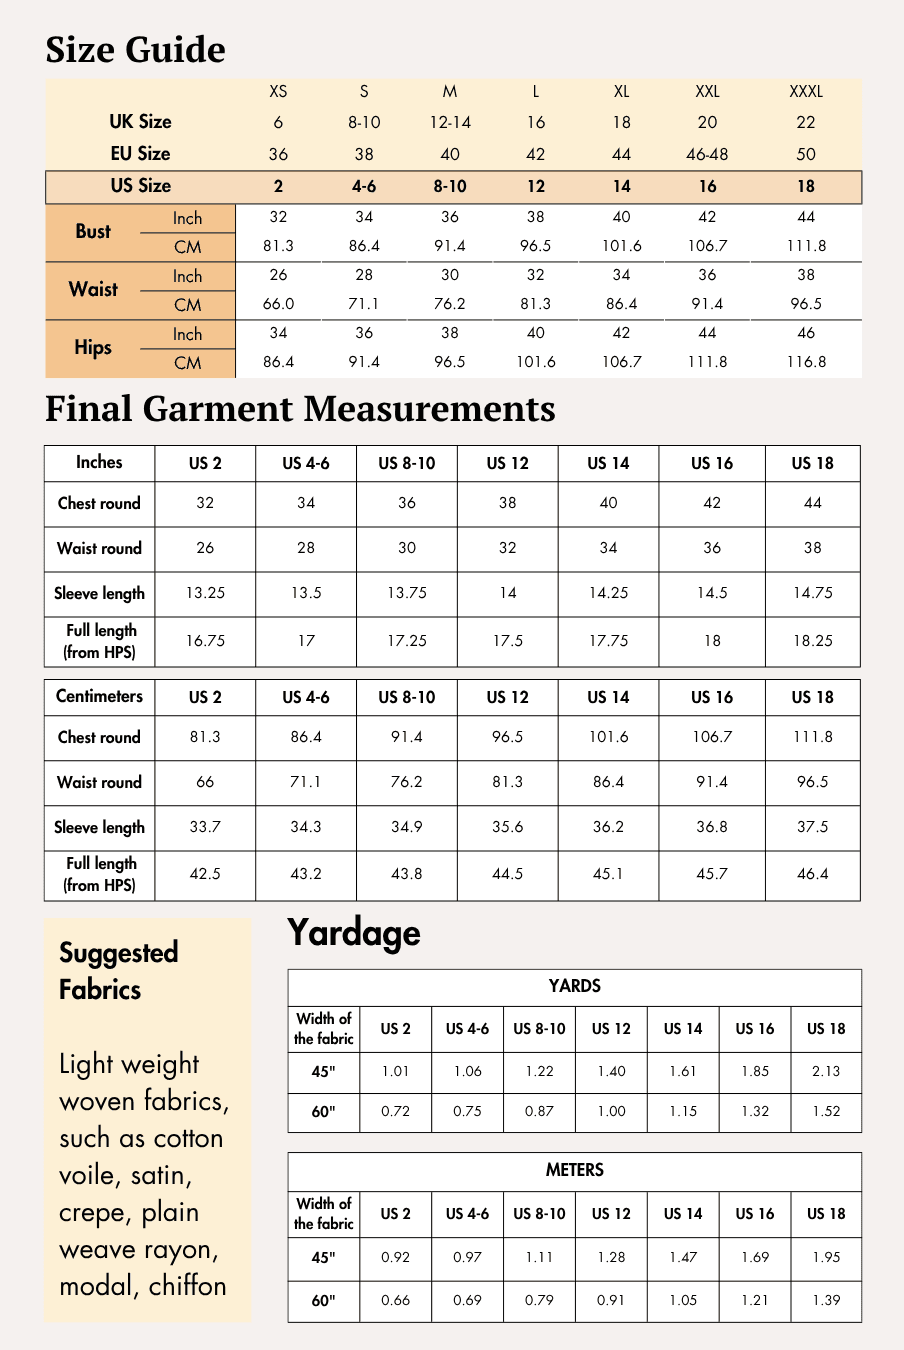
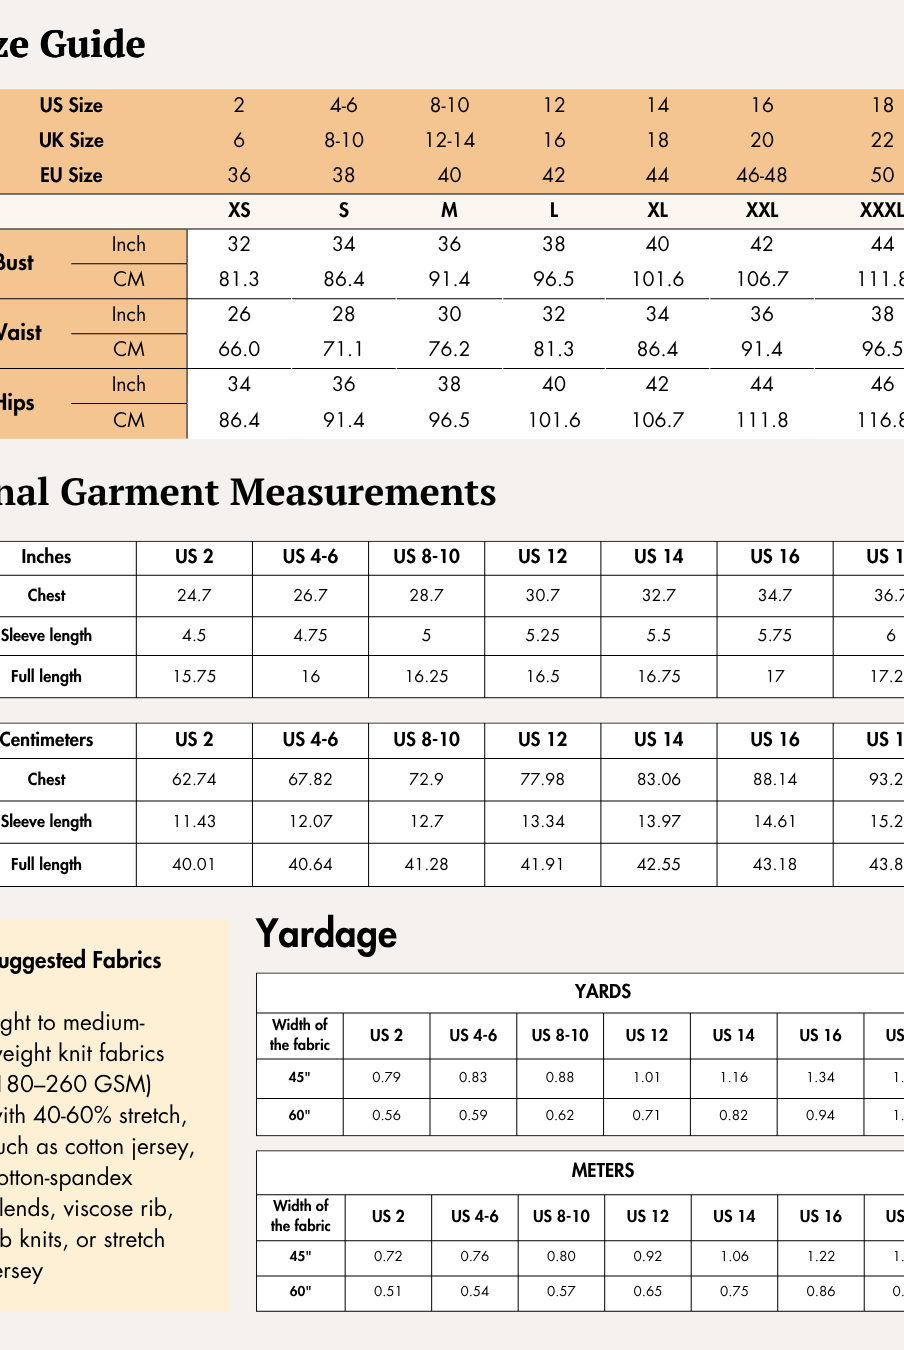
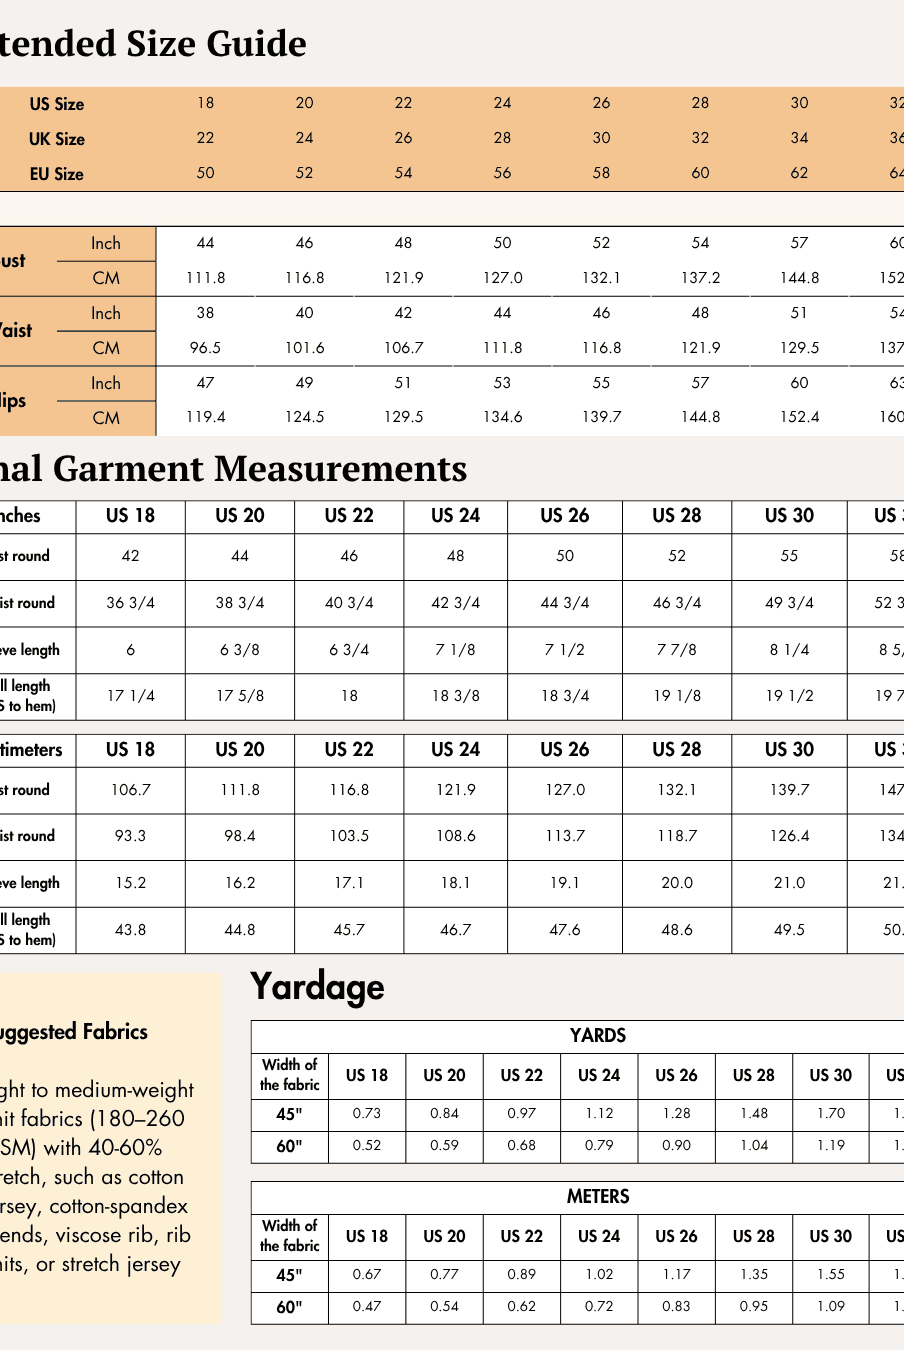
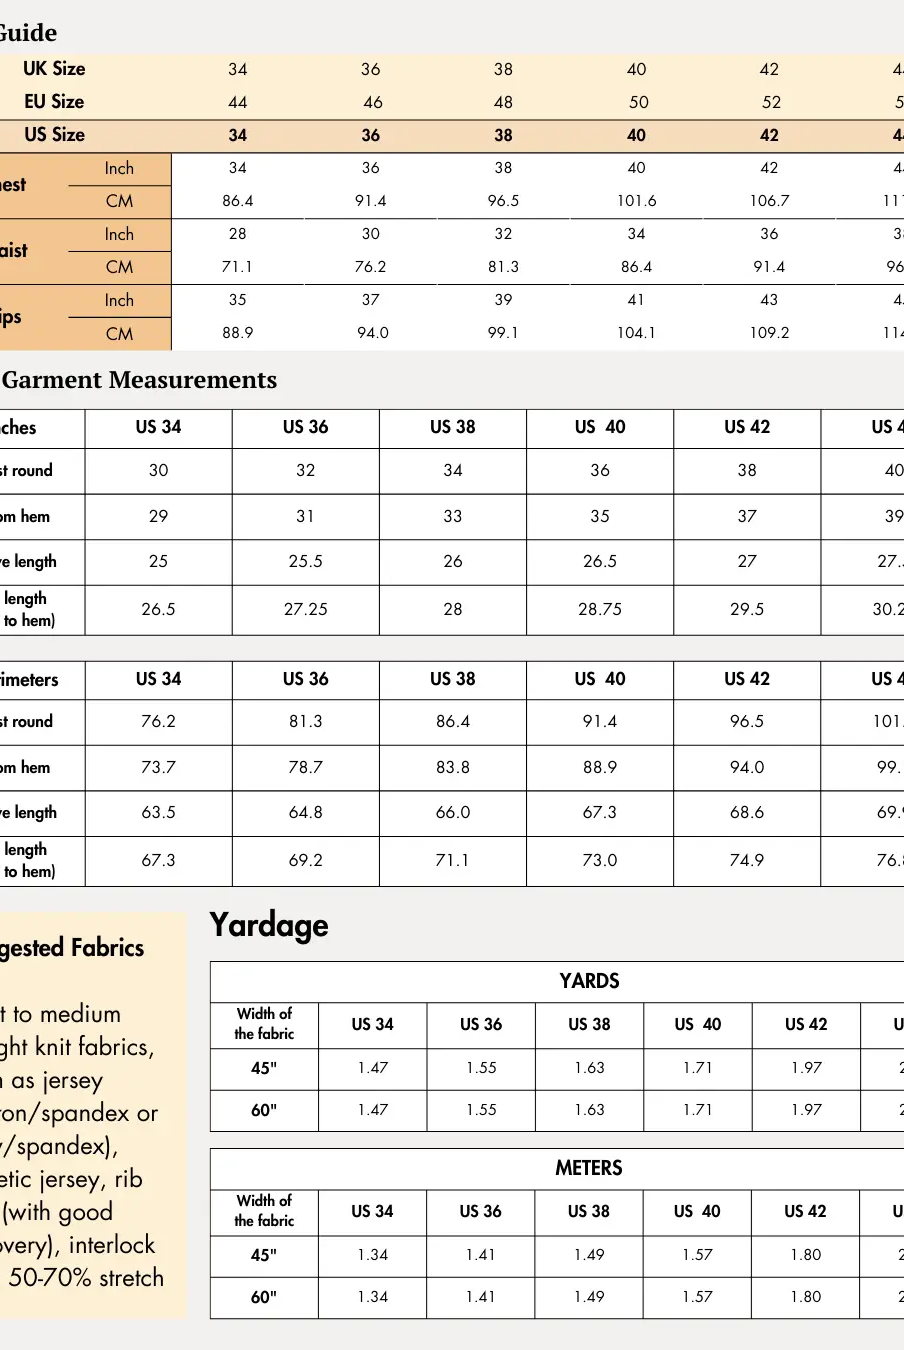
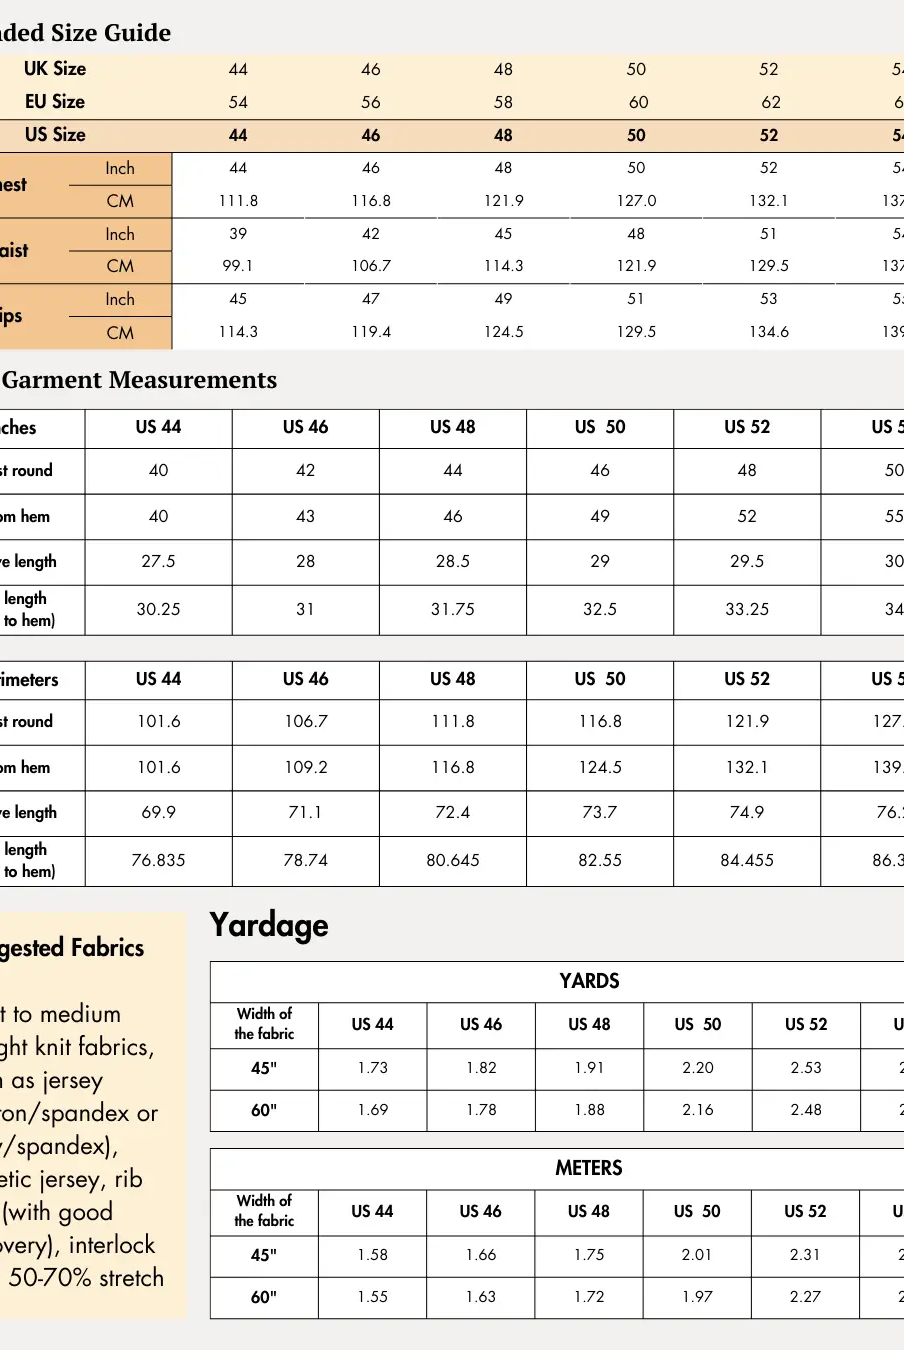
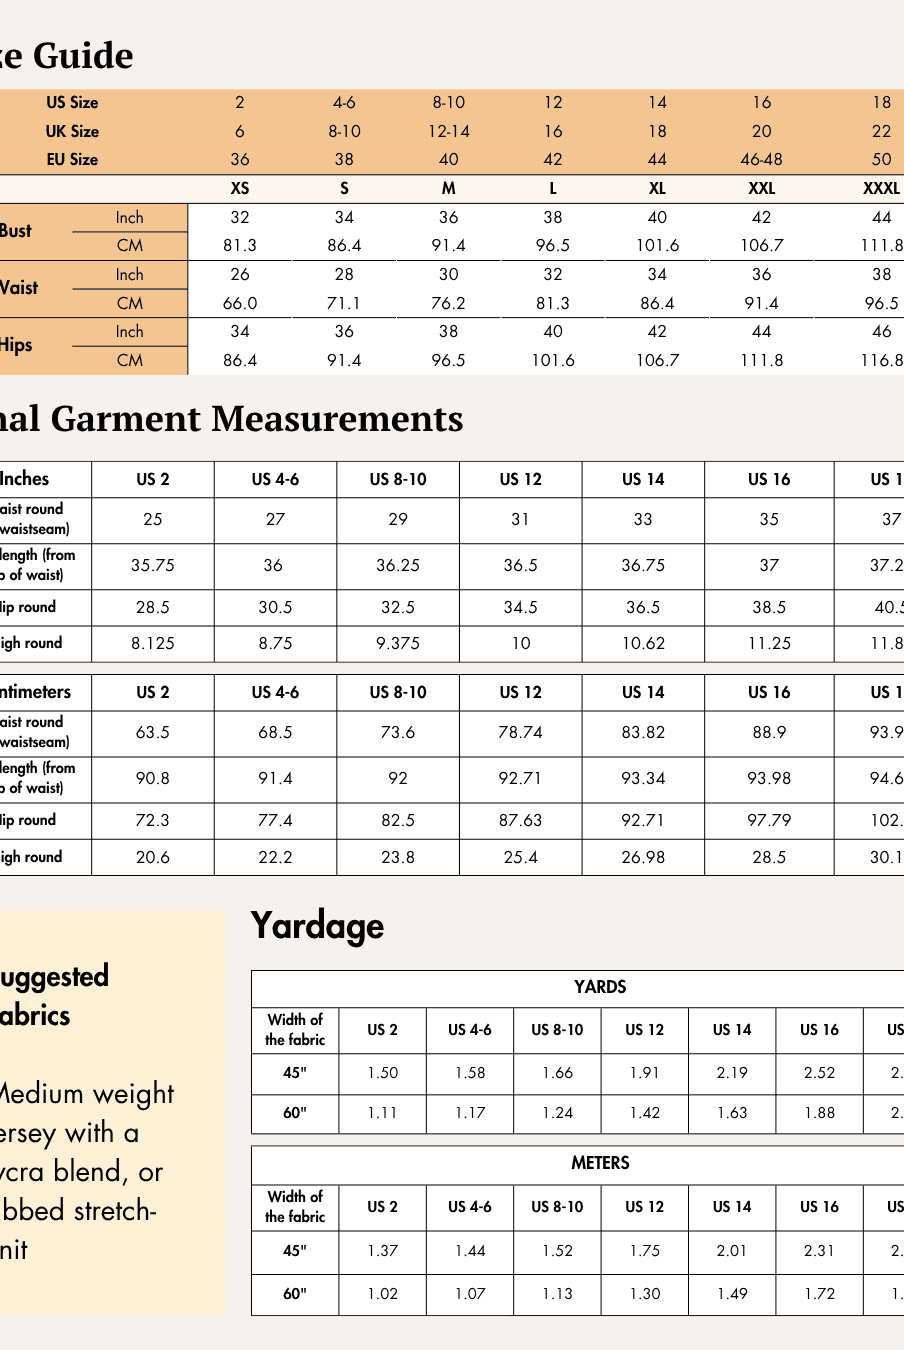
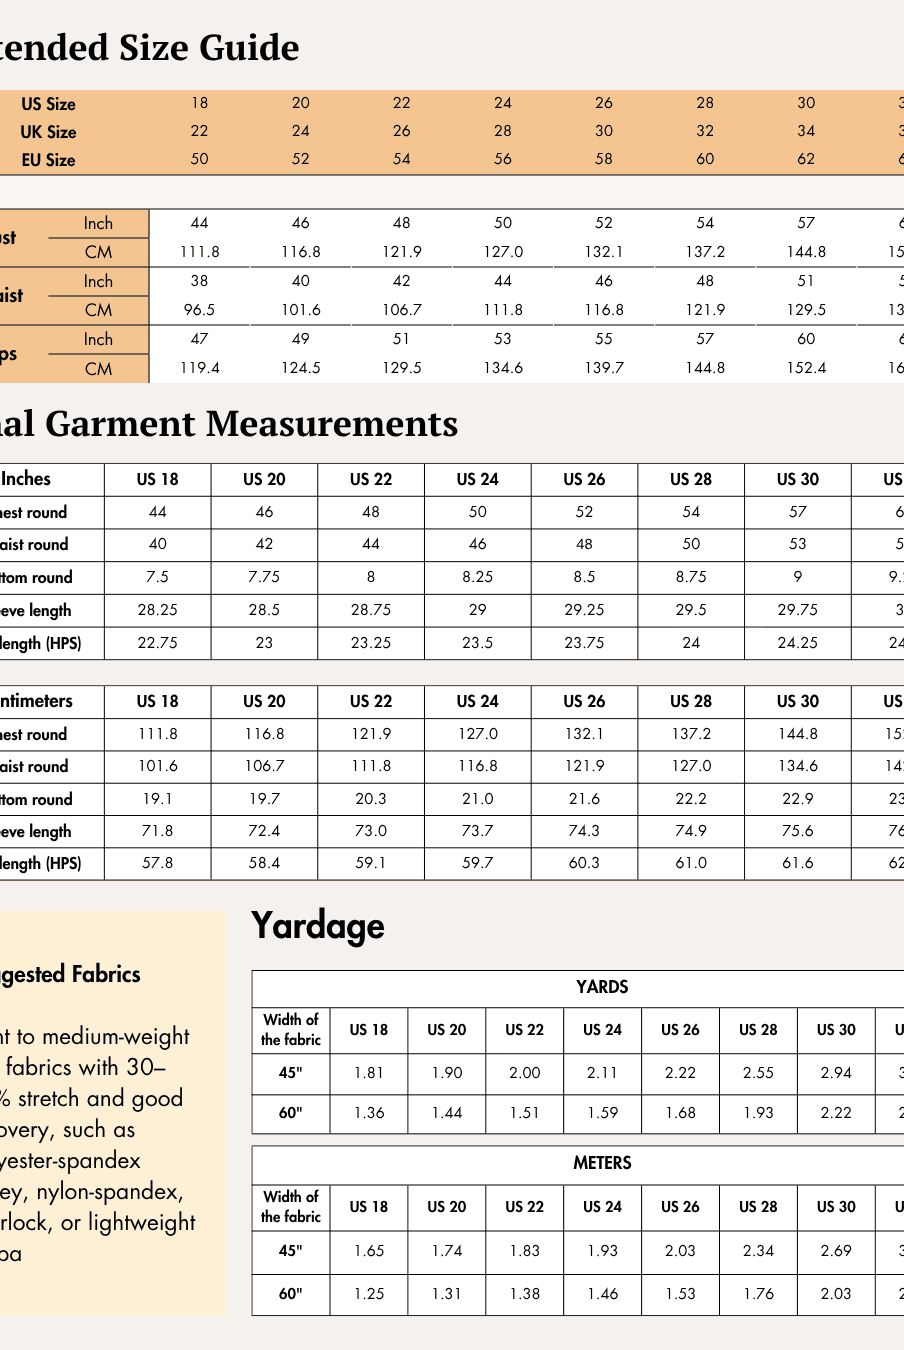
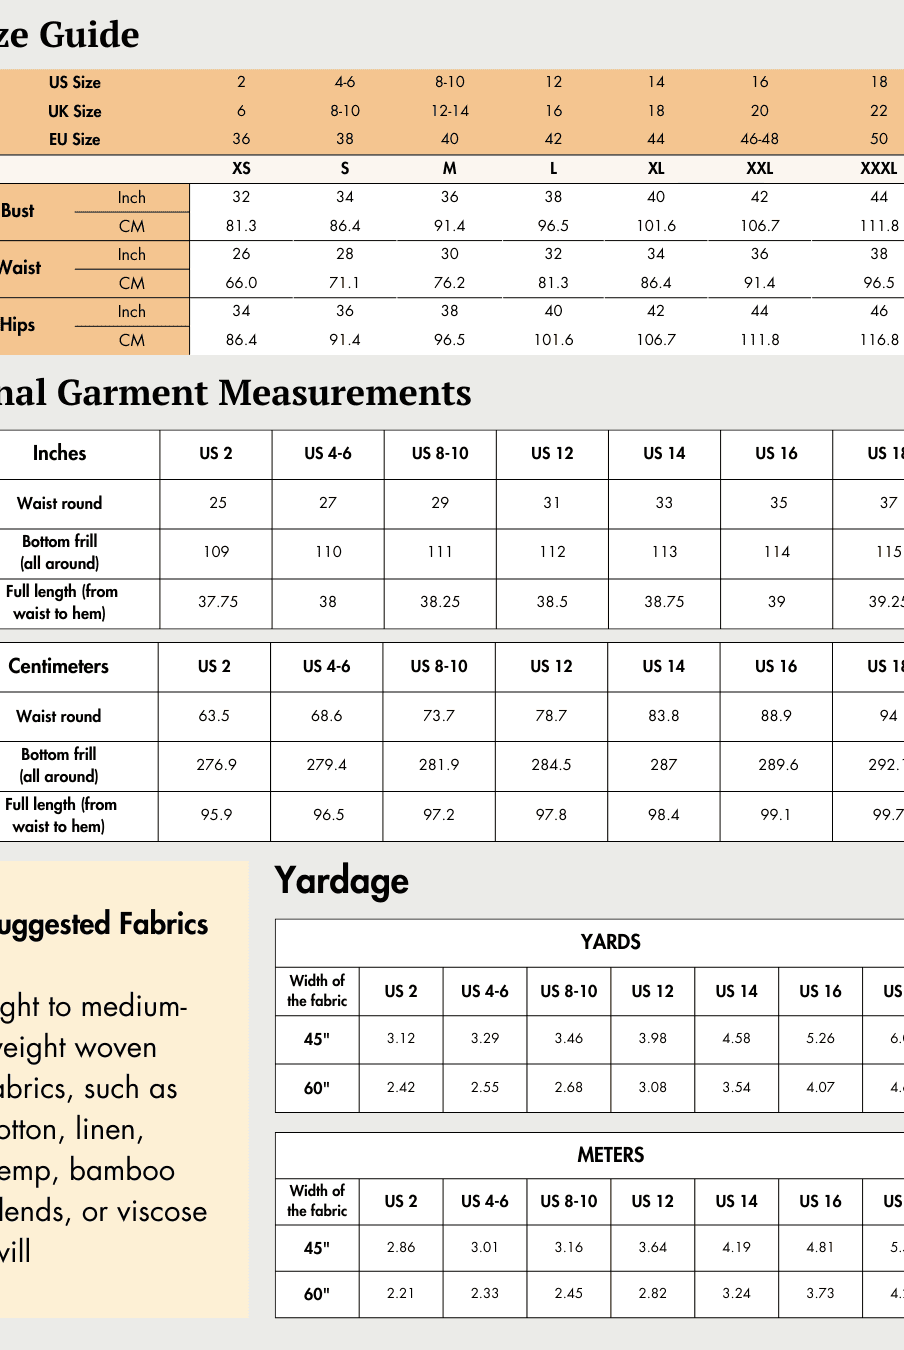
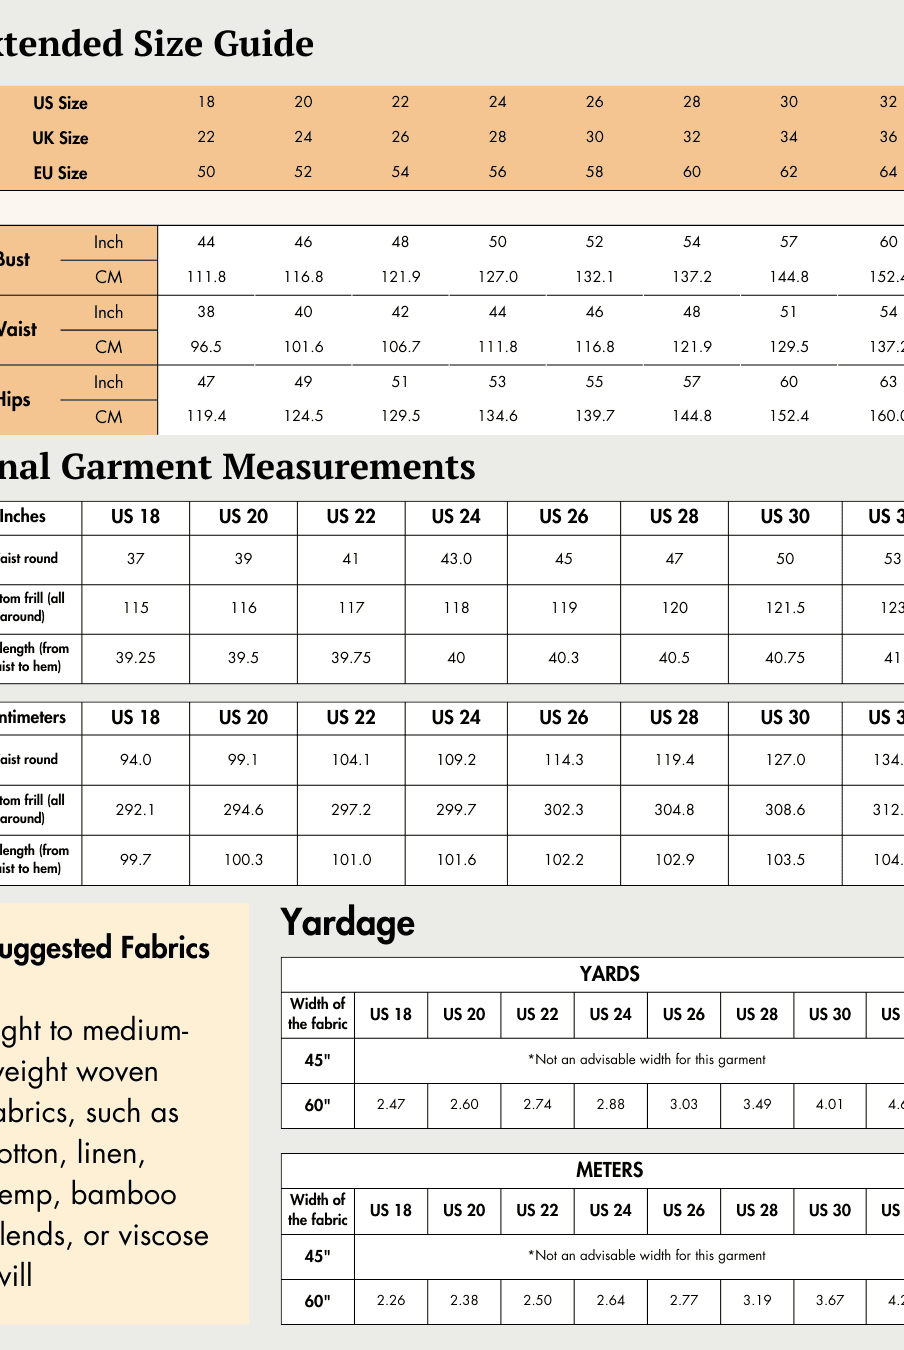
Check the size charts and measure yourself to select the correct size, using the garment and body measurement tables in the guide.
Verify how much fabric you need by referencing the fabric yield table in the guide.
Pattern Inventory: What Pieces to Prepare

Prepare the following pattern pieces before cutting your fabric.
- Front — Cut 1 Fabric
- Side Front — Cut 2 Fabric
- Back — Cut 2 Fabric
- Side Back — Cut 2 Fabric
- Front Bottom 1 — Cut 2 Fabric
- Front Bottom 2 — Cut 2 Fabric
- Back Bottom — Cut 2 Fabric
- Binding Strip (Neck and Armhole) — Cut 3 Fabric
Pattern Marking


Before cutting your fabric, familiarize yourself with the markings shown on each pattern piece.
The pattern includes markings for:
- Grainlines
- Neckline
- Shoulder
- Armhole
- Waistline
- Side seam
- Dart
- Crotch line
- Inseam
- Hemline
- Notches
- Zipper end notch
- Seam allowances
These markings help ensure accurate alignment and smooth garment assembly throughout construction.
Cutting Layout


Arrange the pattern pieces according to the cutting layout diagrams before cutting your fabric.
When laying out the pattern:
- Keep each grainline parallel to the fabric selvage.
- Pin pattern pieces securely before cutting for accurate results.
- Follow the layout provided for either 45-inch or 60-inch fabric widths.
- The layouts are designed for non-directional fabrics.
- Purchase additional fabric when working with fabrics that have a nap or directional print.
- The illustrated cutting layouts use a medium size for demonstration.
Fabric Cutting and Preparation
Arrange the pattern pieces according to the cutting layout diagrams before cutting.
Position every pattern piece so the grainline arrow runs parallel to the fabric selvage.
If using fabric shears, trace each pattern piece before cutting and trim away any pen, pencil, or chalk lines.
Remember to cut all notches along the pattern edges, as they help align the garment accurately during assembly.
Transfer all pattern markings, including circles, buttonholes, fold lines, and center front markings, to the wrong side of the fabric using tailor's chalk, a marking pen, or a fabric pencil.
Seam Allowance
Please follow the seam allowances as indicated on the pattern file layers. These are provided specifically for each piece to ensure accurate construction.
This pattern uses a 1 cm (0.38 inch) seam allowance all around, 2.54 cm (1 inch) at the hem, and 0.6 cm (0.25 inch) all over the necklines and armholes.
Step-by-Step Sewing Instructions
1. Join the Front and Side Front Pieces
1a. Place one Side Front piece and the Front piece with right sides together.
1b. Pin the pieces together, aligning the seamline carefully.
1c. Sew along the seamline.
Press the Side Front seam open.
Pro Tip: Pinning the pieces before sewing helps maintain accurate alignment. It is also recommended to press the pattern pieces after every step for a smoother sewing experience.
2. Attach the Second Side Front
Repeat the same process with the remaining Side Front piece.
Sew along the seamline and press the seam open.
3. Join the Back and Side Back Pieces
Place one Side Back piece and one Back piece with right sides together.
Sew along the seamline and press the Side Back seam open.
Repeat the same process with the remaining Back and Side Back pieces.
4. Sew the Back Darts
Fold each dart by matching the dart legs with right sides together.
Stitch along each dart line on the wrong side of the fabric.
Press each dart flat toward one side.
Repeat for the second dart.
5. Join the Back Bodice and Back Bottom
Place each Back Bottom piece and its corresponding Back bodice with right sides together.
Sew along the waistline.
Repeat the same process for the second back section.
6. Insert the Center Back Zipper
6a. Place one zipper tape onto the Back piece with right sides together, aligning the zipper teeth with the seamline.
Sew along the groove between the zipper teeth and zipper tape until you reach the zipper end notch at the lower back.
6b. Repeat the same process for the opposite zipper tape on the remaining back piece.
Twist both zipper tapes toward the wrong side after stitching.
7. Secure the Zipper
Place the Back pieces with right sides together and gently pull the bottom of the zipper away from the seam.
Sew a few stitches from the edge of the zipper to the zipper end notch to secure the zipper neatly in place.
8. Sew the Back Crotch Seam
Place the Back pieces with right sides together.
Match the notches and sew both back crotch lines from the notch to the end of the crotch seam.
9. Join the Front Bottom Pieces
Place Front Bottom 1 and Front Bottom 2 (Pattern Pieces E and F) with right sides together.
Sew along the seamline to create one completed front leg.
Press the seam open.
Repeat the same process for the second front leg.
10. Sew the Front Crotch Seam
Place both completed Front Bottom sections with right sides together.
Sew along the front crotch seamline to join the two front leg sections.
11. Join the Front Bodice and Front Bottom
Place the completed Front bodice and Front Bottom with right sides together.
Align the waistline and sew along the waist seam.
12. Join the Shoulder Seams
Place the completed Front and Back sections with right sides together.
Align the shoulders carefully.
Sew both shoulder seams.
13. Bind the Neckline
13a. Place one Binding Strip onto the neckline seam allowance with right sides together. Pull the zipper tape outward while sewing.
Stitch along the neckline seamline.
13b. Open the binding strip away from the neckline.
Sew along the seam allowance close to the neckline to create an understitch, helping the binding lie flat inside the garment.
13c. Press the binding strip toward the wrong side of the bodice.
Pro Tip: Clip the neckline seam allowance before turning the binding to create a smooth neckline curve.
13d. Fold the binding strip inward to enclose the neckline edge and press.
Where the zipper tape creates bulk, tuck the binding neatly by hand or stitch it carefully in place.
Sew along the folded edge to complete the neckline binding.
14. Bind the Armholes
Repeat the same process used for the neckline (Step 13) to bind both armholes using the remaining binding strips.
Ensure the binding lies flat and the armholes are neatly finished.
15. Sew the Side Seams
Place the Front and Back of the jumpsuit with right sides together.
Align both side seams carefully.
Sew each side seam from the armhole down to the leg.
16. Sew the Inseam
Match the crotch seam ends of the completed jumpsuit.
Pin the inseam if necessary to keep everything aligned.
Sew the inseam continuously from one leg hem through the crotch to the opposite leg hem.
17. Finish the Hem
Fold each leg hem twice toward the wrong side.
Sew all around each hem, beginning at the side seam and continuing until you return to the starting point.
Press the completed hems for a clean, professional finish.


Ready to Sew Your Own Formal Jumpsuit?


The Vivian Formal Jumpsuit Pattern by Winslet's is a rewarding project for sewists who want to create a polished, elegant garment with clean lines and timeless style. Featuring a flattering fit-and-flare silhouette, wide-leg trousers, a sleeveless bodice, neatly bound neckline and armholes, and a center back zipper, this pattern is designed to produce a sophisticated finish while remaining approachable for easy-level sewists.
Whether you choose breathable cotton, flowing crepe, elegant georgette, or durable poly twill, this pattern offers a beautiful foundation for a handmade jumpsuit you'll enjoy wearing to formal events, celebrations, dinners, and professional occasions.
Ready to begin your next sewing project? Download the Vivian Formal Jumpsuit Pattern by Winslet's and enjoy creating a stylish handmade jumpsuit you'll reach for time and time again.
Explore More Sewing Patterns
Browse our Jumpsuit Sewing Pattern Collection for more stylish handmade jumpsuits featuring elegant silhouettes, versatile designs, and timeless wardrobe staples for every occasion.
Join the Community & Get Support
Share your finished Vivian Formal Jumpsuit Pattern by Winslet's on social media with #MadeWithWinslets. If you have questions, feedback, or customization requests, contact the Winslet's team at support@winslets.com.